tutorial: horizontal 1-row buttonhole
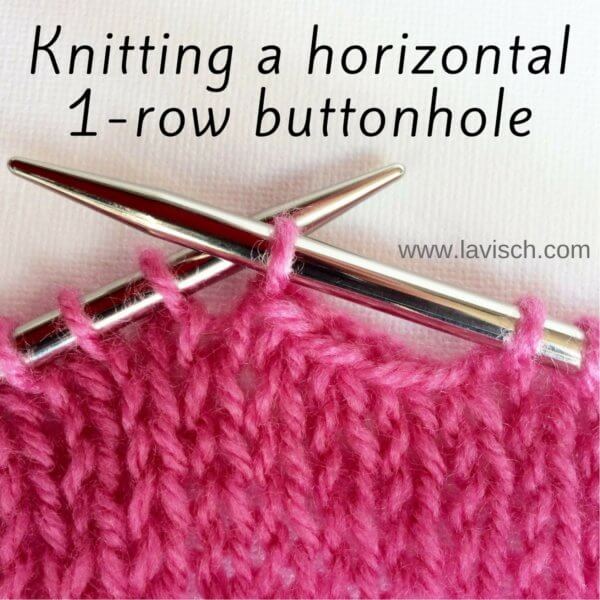
Many projects are not really finished until buttons and buttonholes are added. A simple buttonhole for small buttons is made by making a yarnover, followed by knitting 2 stitches together. This decrease is needed to keep the total number of stitches the same. For larger buttons and a firmer and neater buttonhole I very much like a horizontal 1-row buttonhole, which basically is a buttonhole knitted over 1 row.
In this post, I’ll show you how to make such a buttonhole. If you want to try it yourself, be sure to practice first on a swatch. It may take a few times to make nice consistent buttonholes!
The horizontal 1-row buttonhole step by step
1. First, you must decide where you want to place the buttonhole and how big it should be. Make the buttonhole just big enough to be able to just pass your button through. Much bigger and it will loosen too easily, smaller and buttons are difficult to open and close. This is also a matter of trying out. In this example, I will be placing the buttonhole somewhere in the middle of the sample piece.
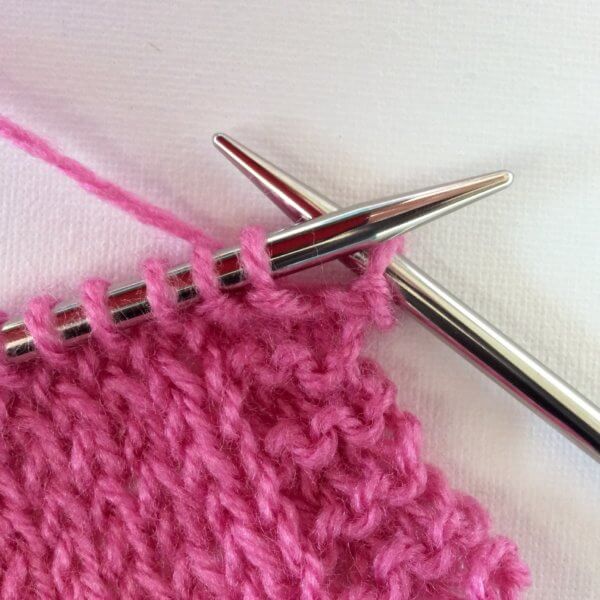
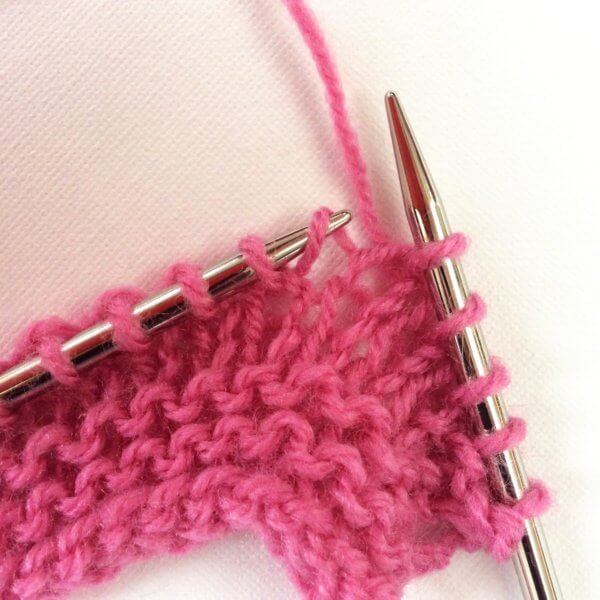
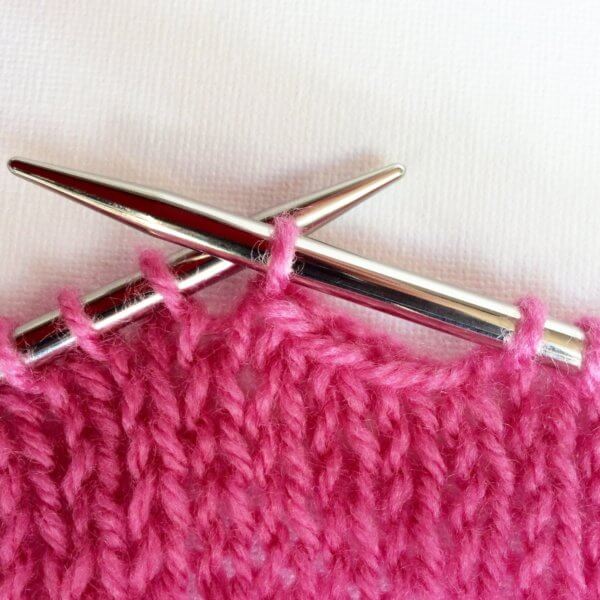
2. Once you get to the point where you want to begin the buttonhole, bring your yarn between the needles to the front. Then slip 1 stitch purlwise from the left needle to the right needle. Next, bring the yarn to the back of the work again.
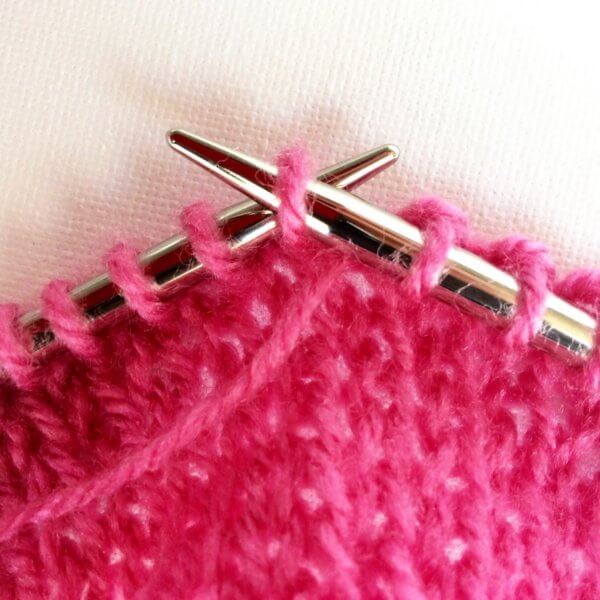
3. Slip 1 stitch purlwise from the left needle to the right needle.
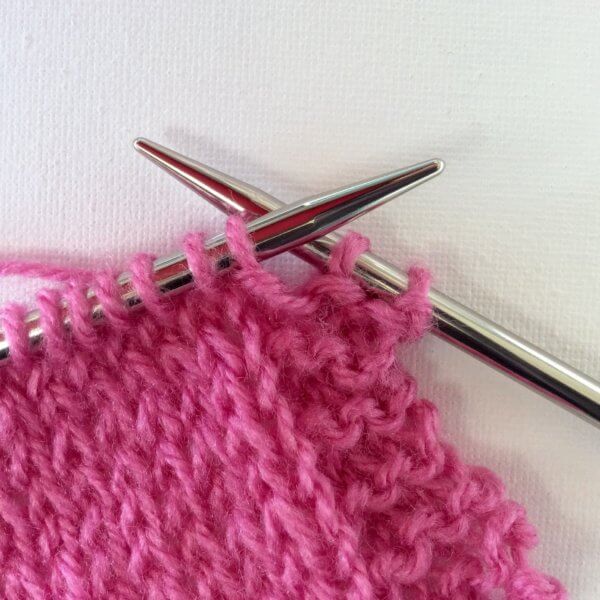
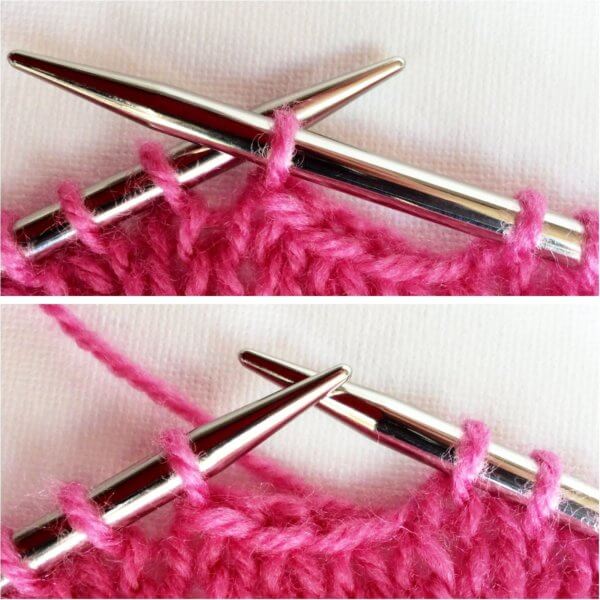
4. Pass the second stitch on your right needle over the first stitch.
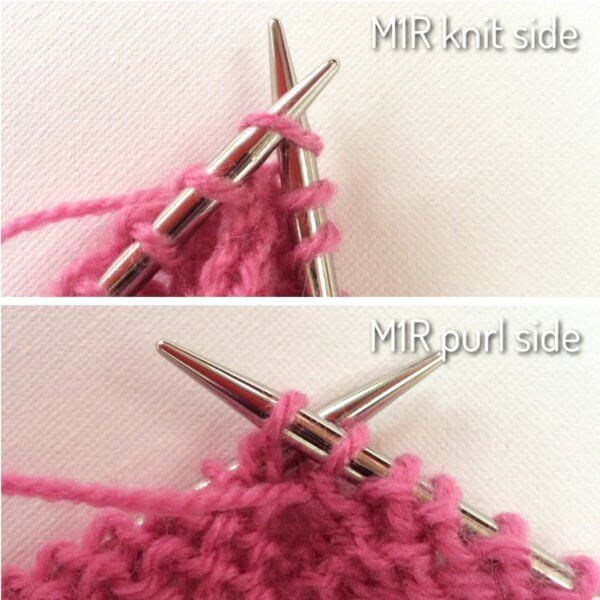
5. Repeat steps 3 and 4 as often as necessary to get the correct number of cast-off stitches for the size button chosen. In this example I repeated steps 3 and 4 twice.
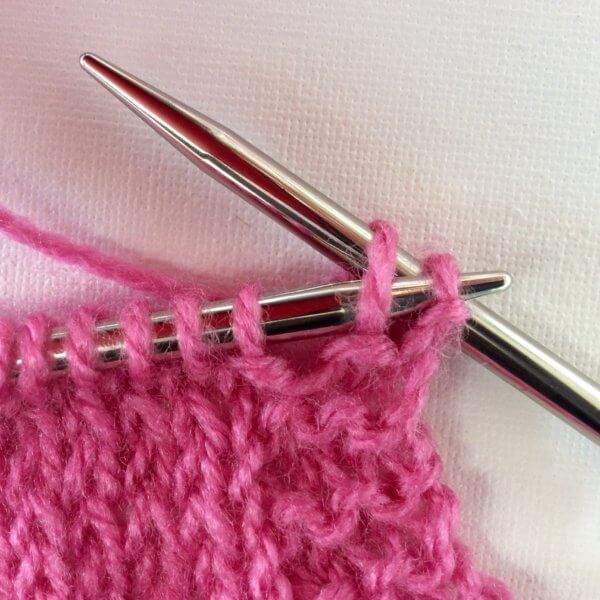
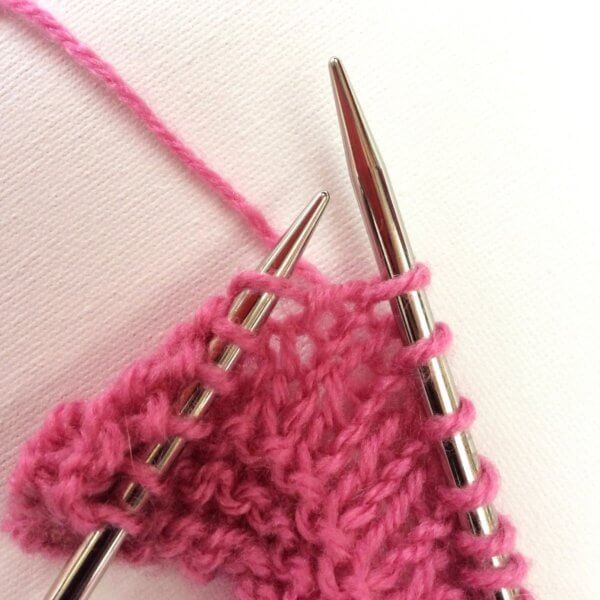
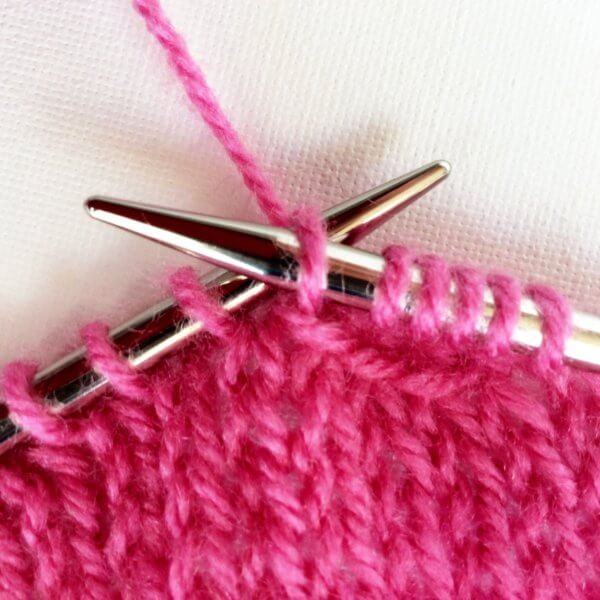
6. Now slip the first stitch from the right needle back to the left needle.
7. Turn your work and pull the yarn tight to prevent holes and loose stitches next to the buttonhole.

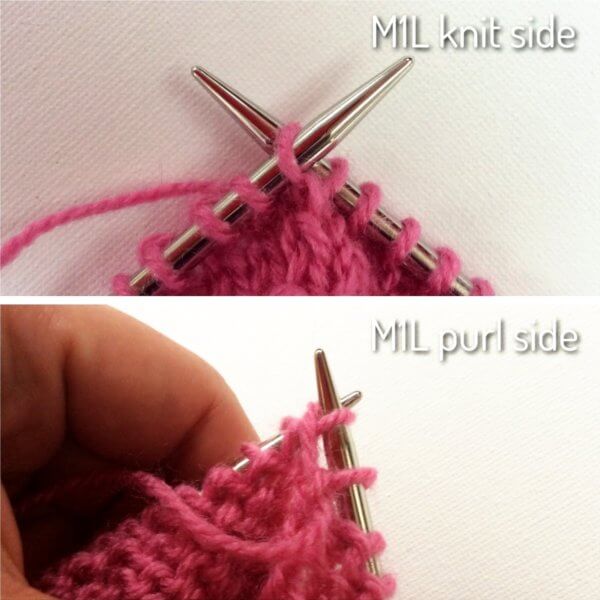
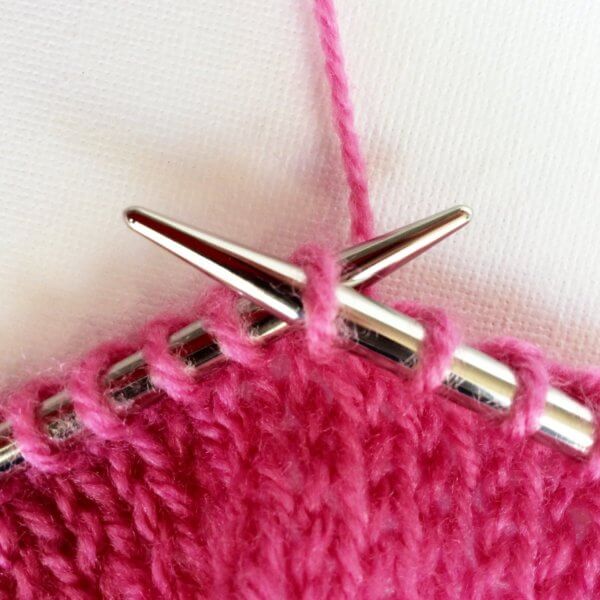
8. Now cast-on stitches, for example by knitting them on, or by using the backward-loop method. Cast-on the number of stitches you have cast-off earlier, plus 1 extra. In the example I cast-on a total of 4 stitches.

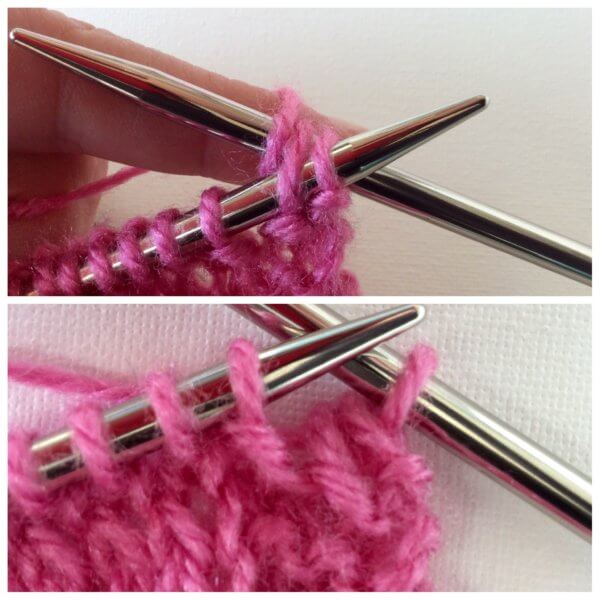
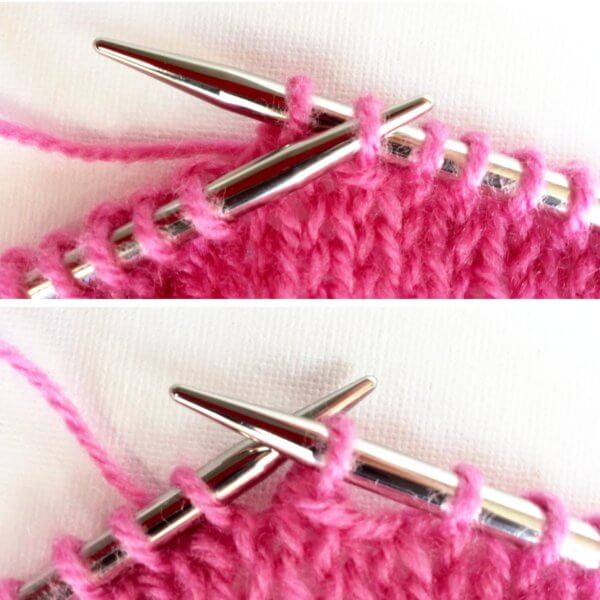
9. Turn piece again and slip the first stitch purl-wise from your left to your right needle.
10. Pass the second stitch on your right needle (the last cast-on extra stitch) over the first stitch.
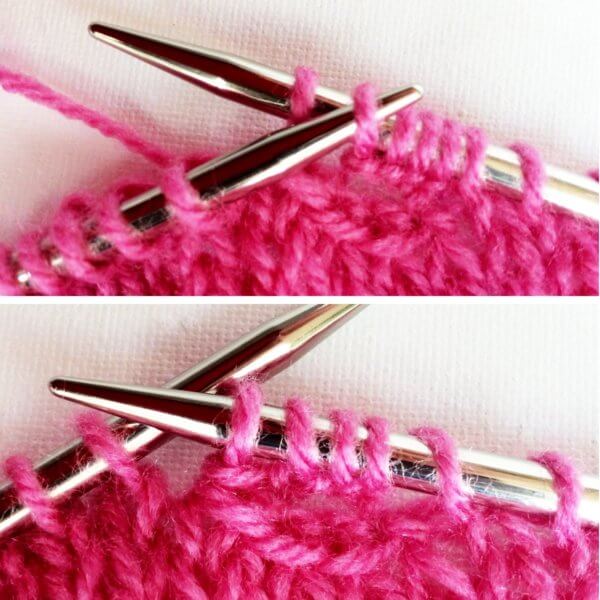
11. Now slip the first stitch from your right needle back to the left needle and continue knitting according to your pattern.

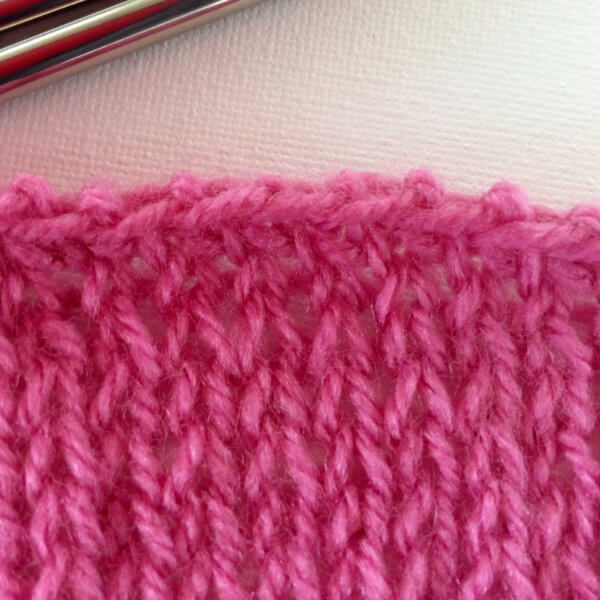
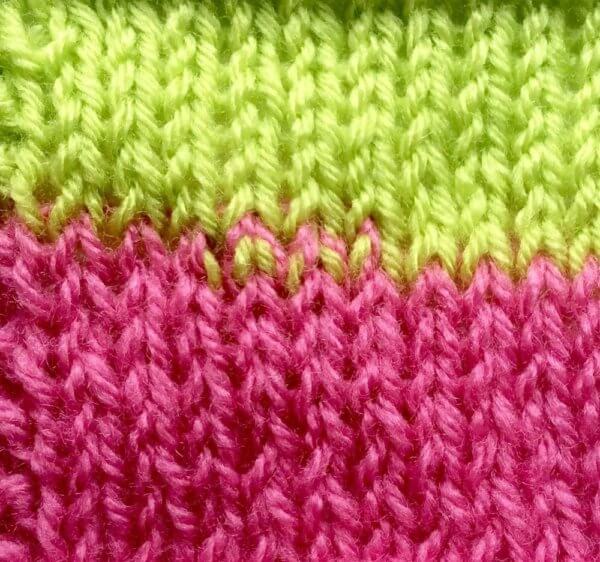
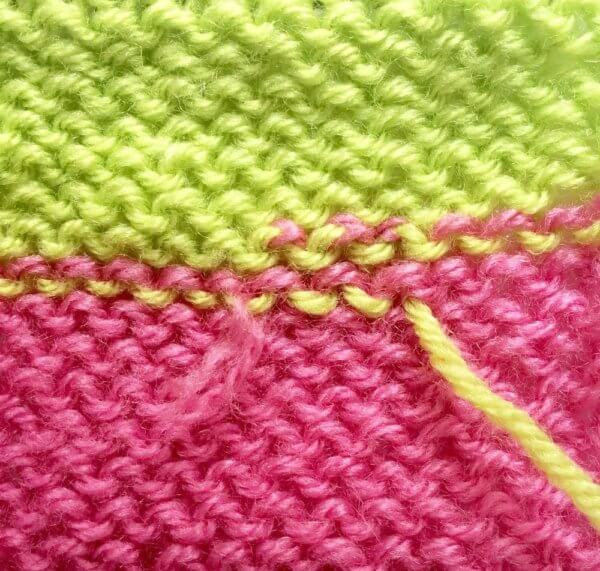
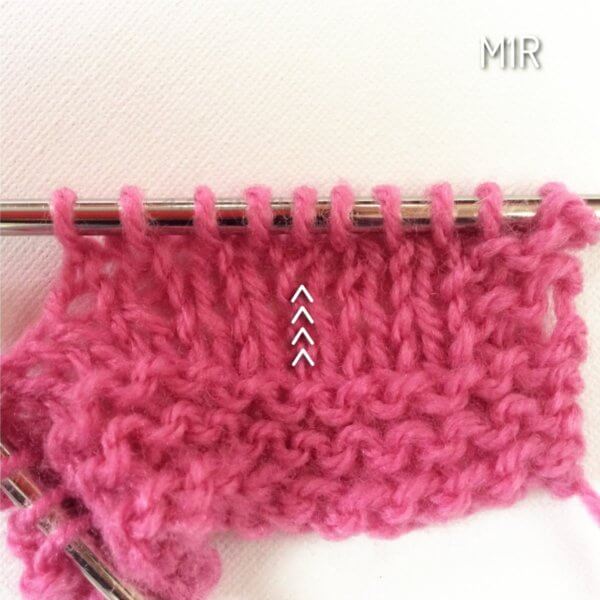
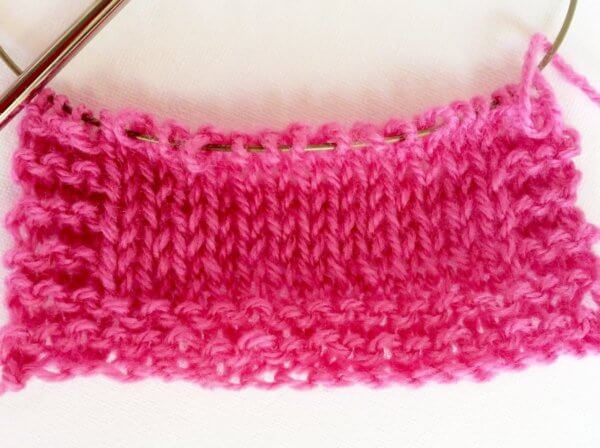
And this is how your horizontal 1-row buttonholehole will look:

tutorial: horizontal 1-row buttonhole Read More »