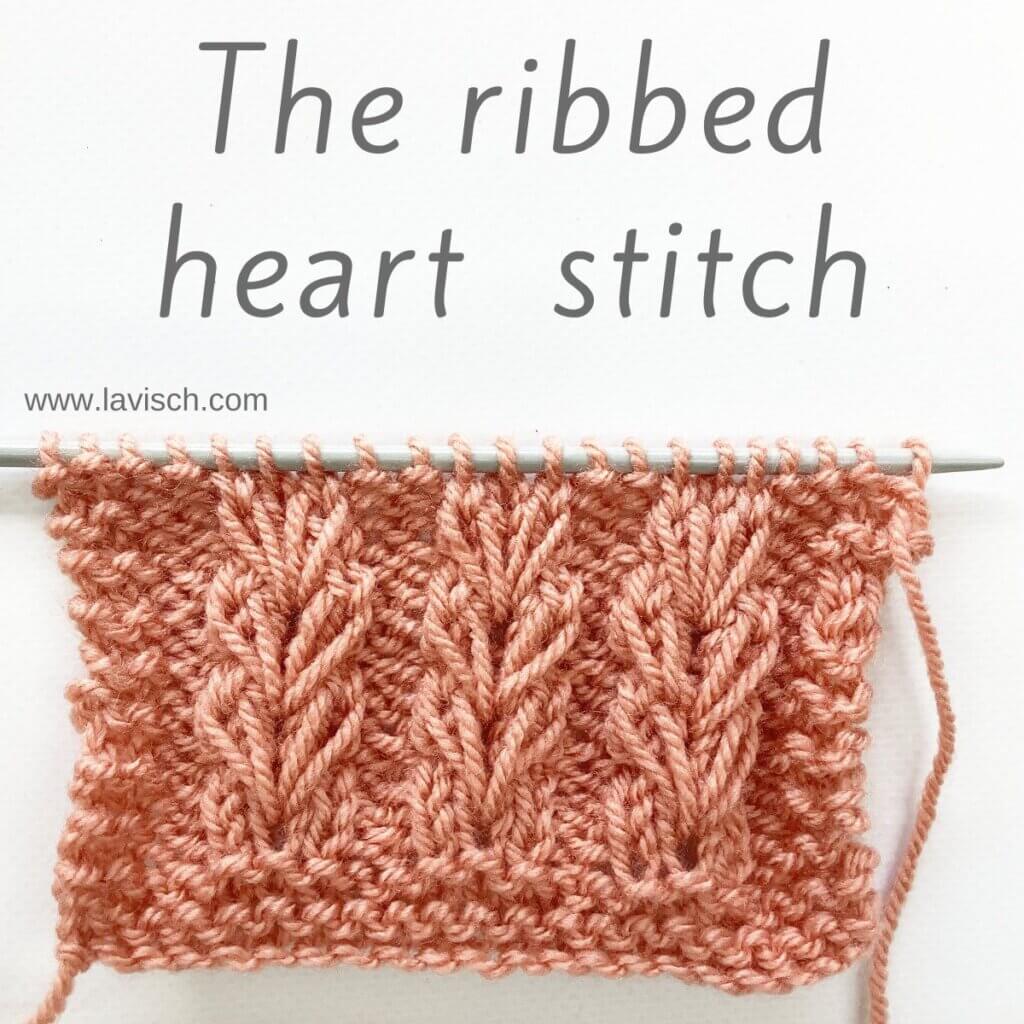
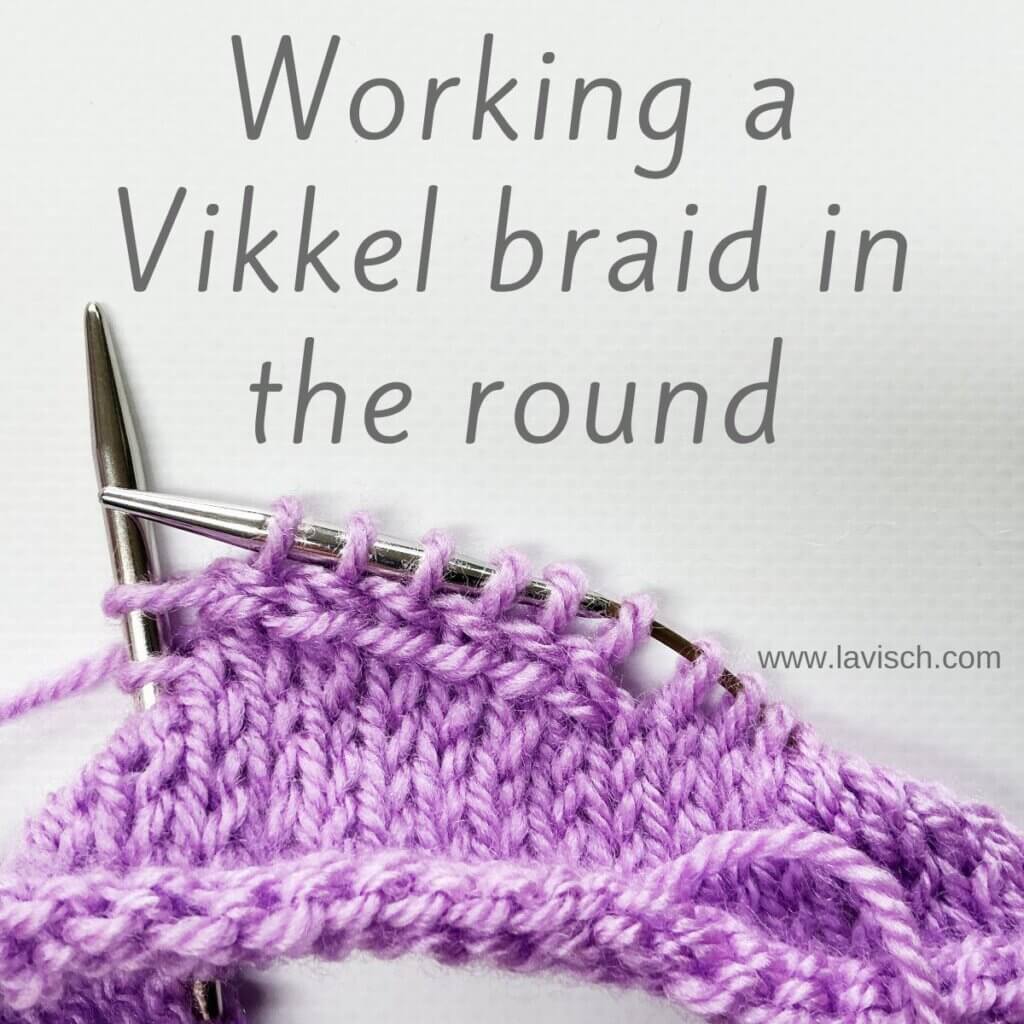
stitch pattern – working a Vikkel braid in the round
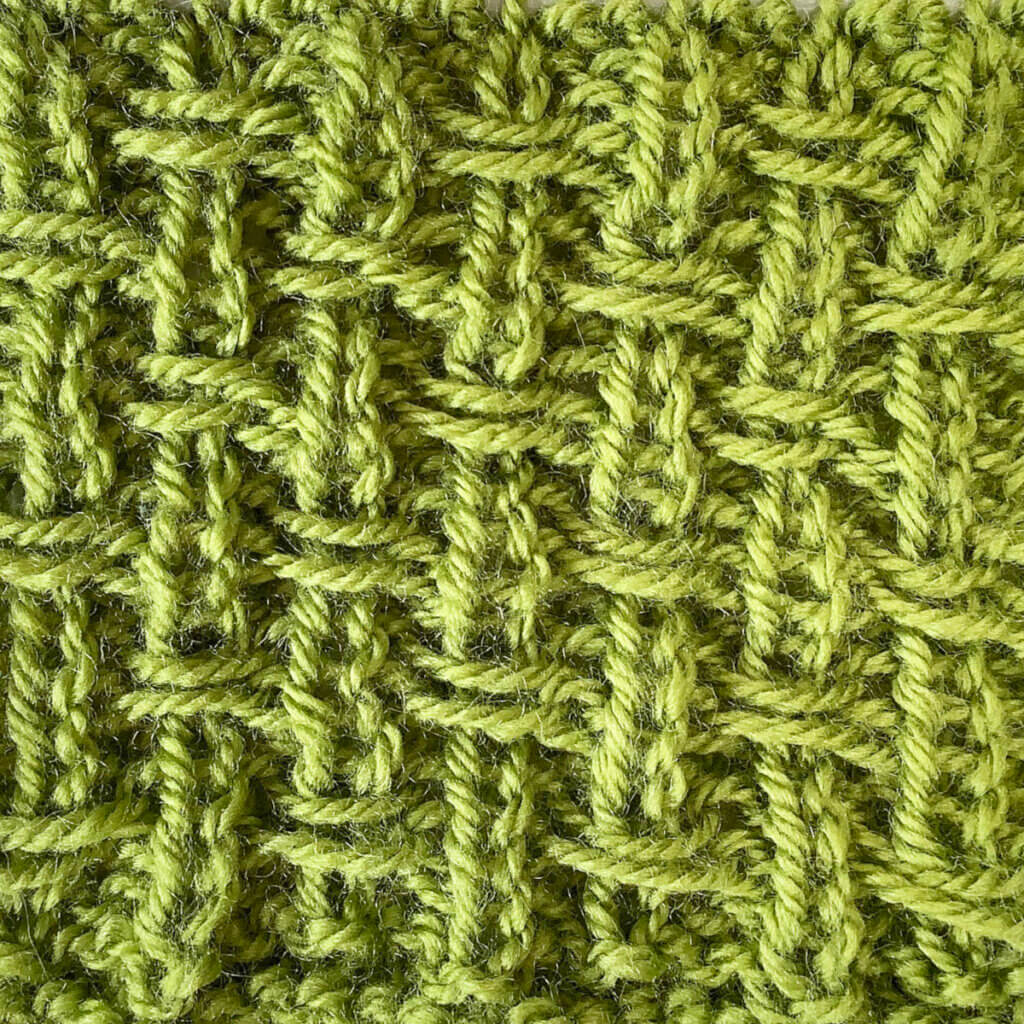
A Vikkel braid, also known as an Estonian or lateral braid, is a decorative knitting technique used to create a horizontal braid-like texture across the fabric. It’s often used in traditional Estonian knitting, especially in mittens and cuffs, to add both structure and ornamentation. It can serve as a nice demarcation of the ribbing and the rest of the fabric. Its key feature, is that it creates a raised, twisted horizontal band that looks like a chain of stitches.
This braid is worked in a single round. It’s common to have a plain round above and below it to frame it nicely, and to prevent the purl stitches in the ribbing to distort the braid. Some folks advise dropping down a needle size when working the braid, because it can be a tad loose otherwise. In this how-to, I didn’t do that and found the tension to be ok. But, be warned, and try it out for yourself and adjust where needed.
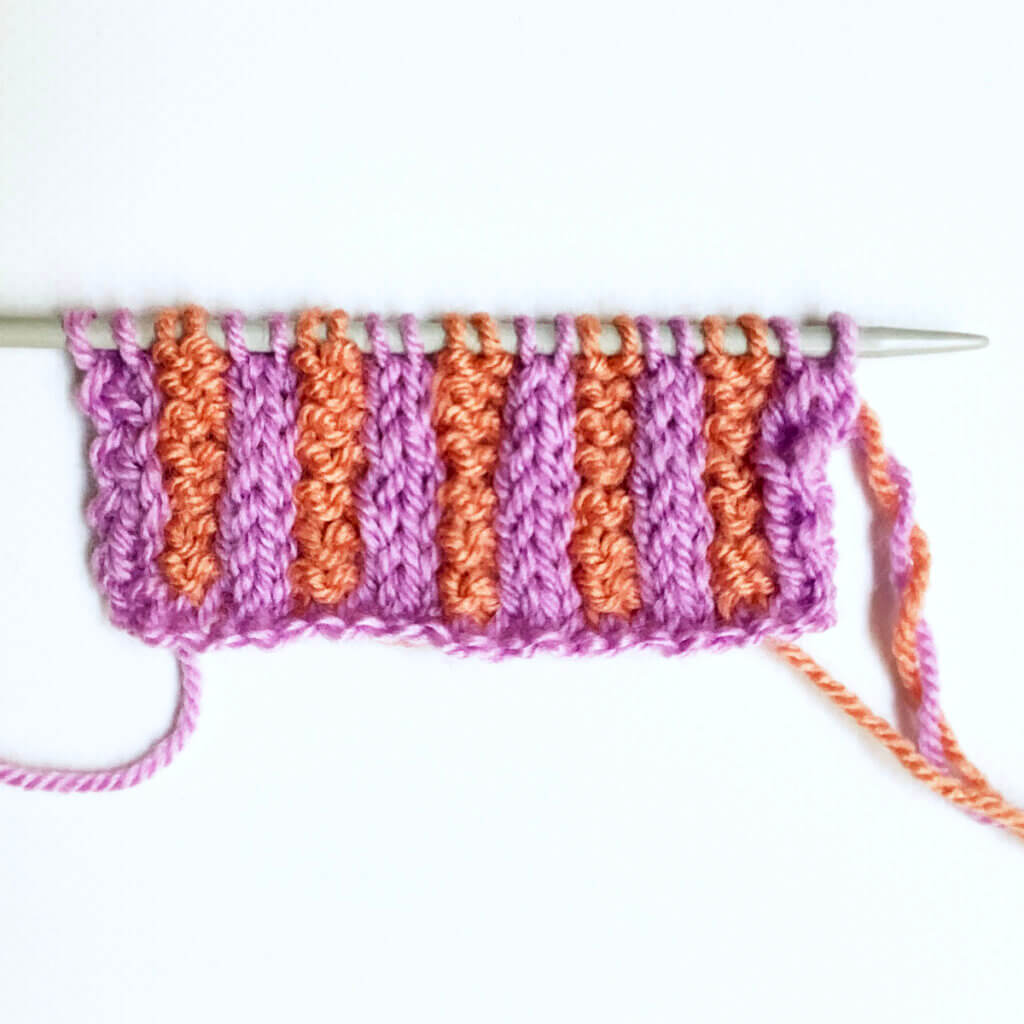
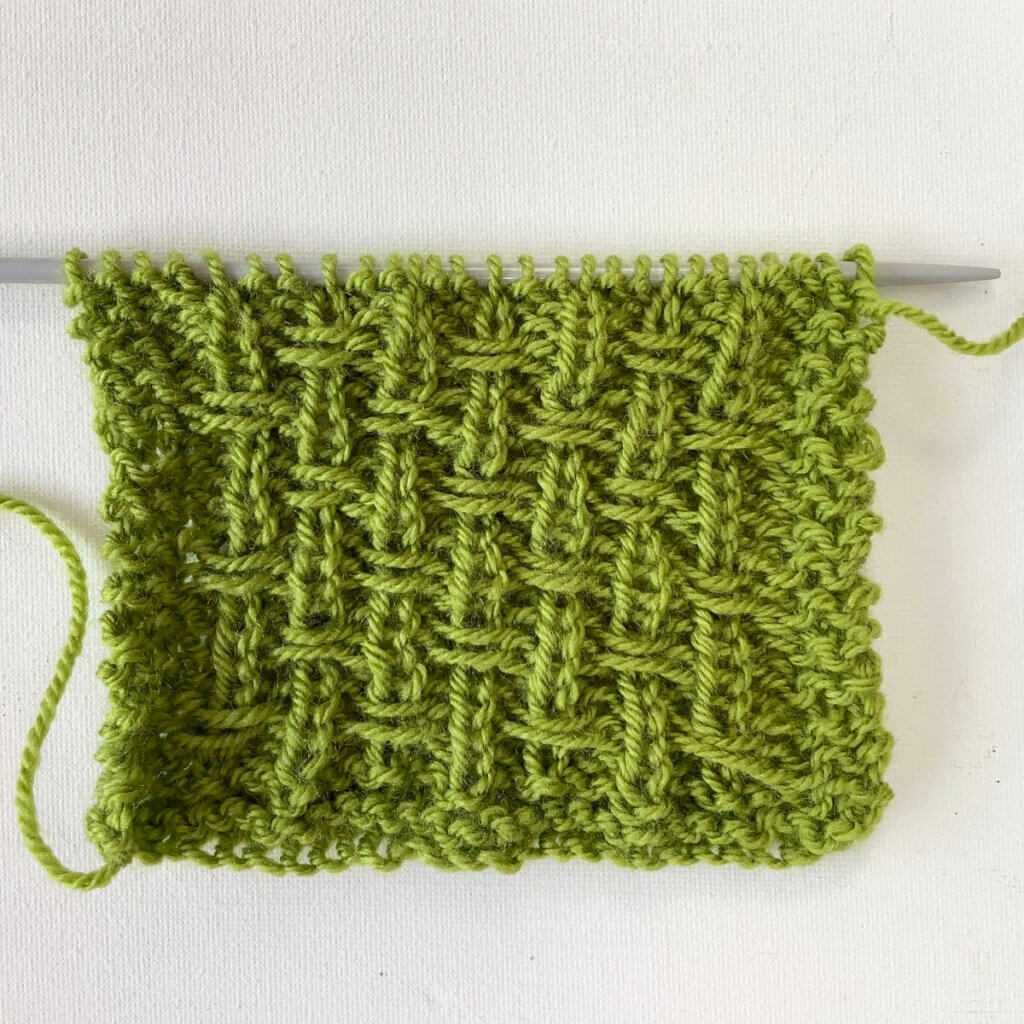
In this article, I’m showing you how to do a Vikkel braid in the round, in a single color. In this post, you can see how to work it flat. The main difference between the in the round version and the flat version, is how it’s started and ended. When working a Vikkel braid in the round, it’s prettiest if the switch to a new round is jogless. There are, of course, many ways to go about it. The version shown here, is just the one that I like best. I’ll show how to braid a lateral braid in a contrasting color, sometime in the future.
Materials used

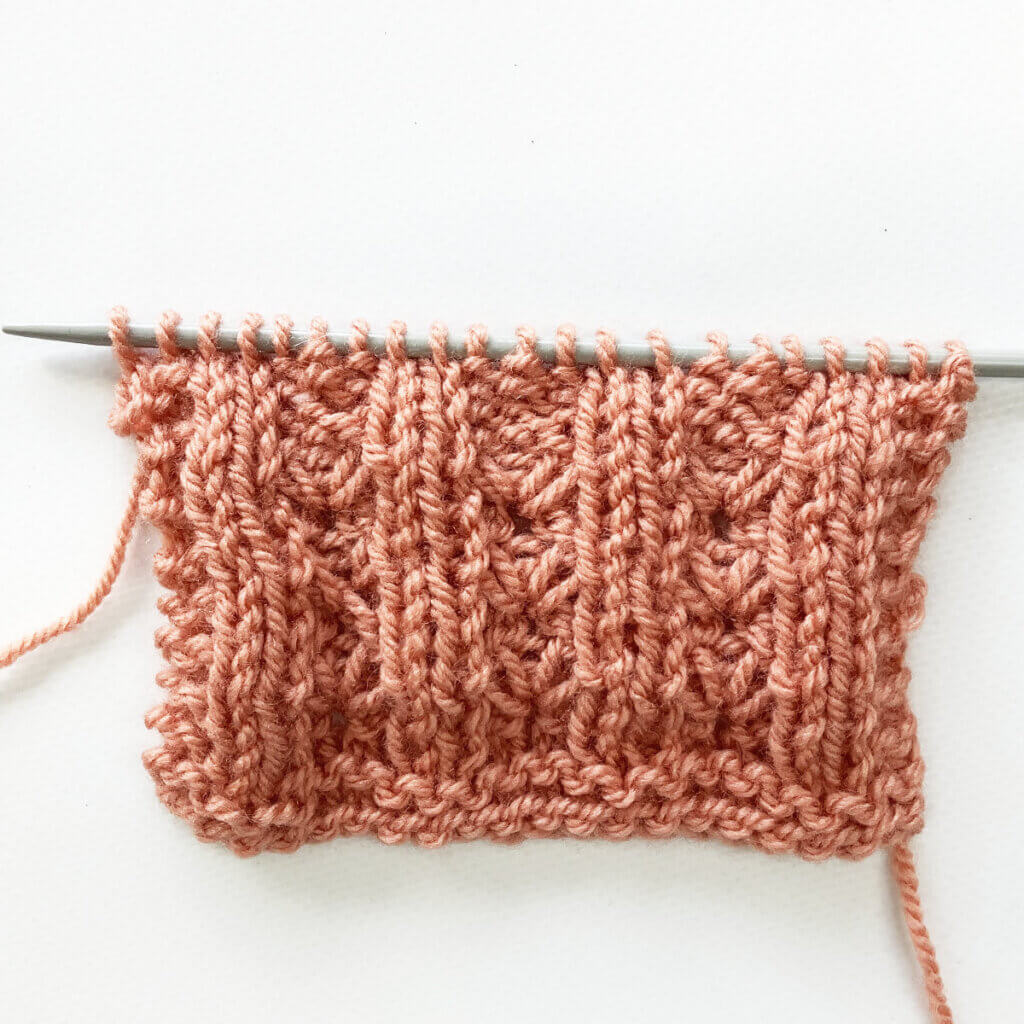
Yarn: Paintbox Yarns Simply DK, a good value, good quality 100% acrylic yarn, here in the color Tea Rose.
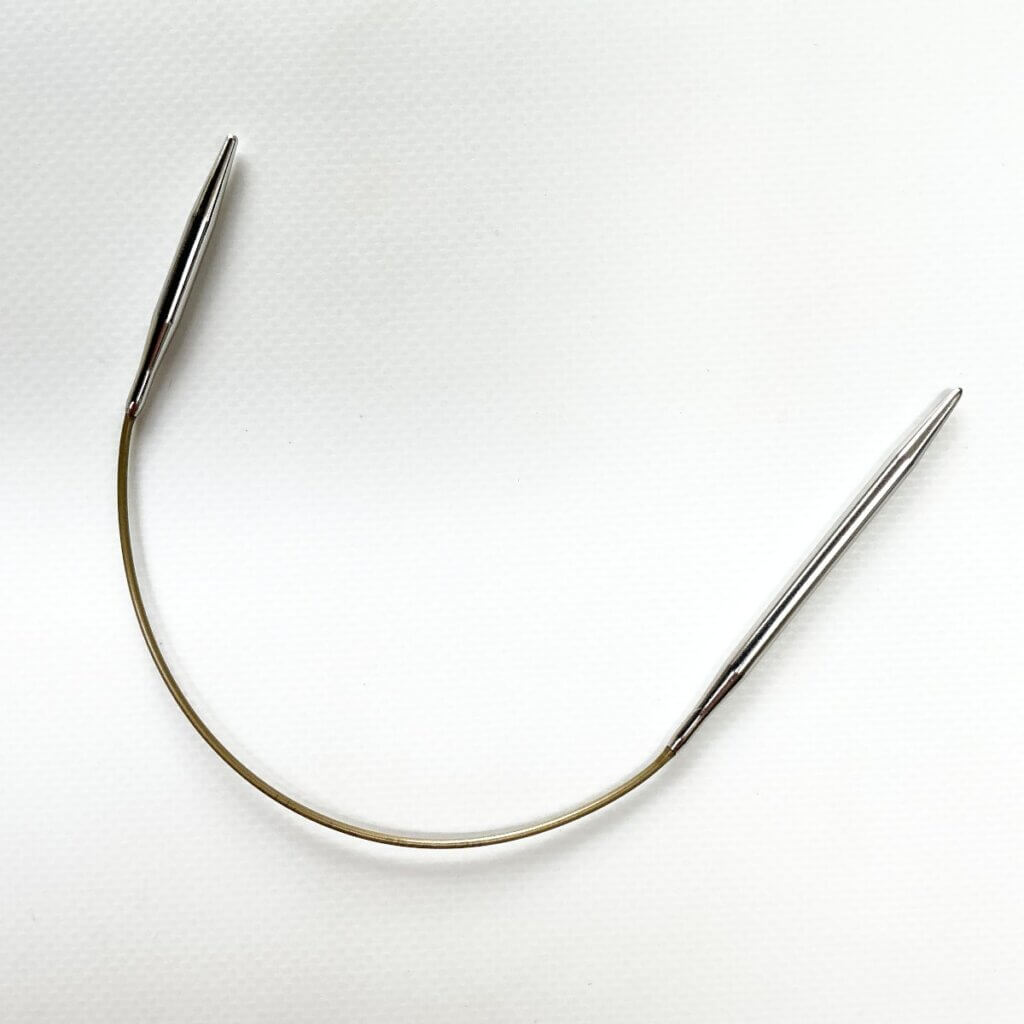
Needles: This is a tiny circular needle by Addi in the size 4 mm (US 6), and a length of 25 cm (10 inches).
Working a Vikkel braid in the round step by step
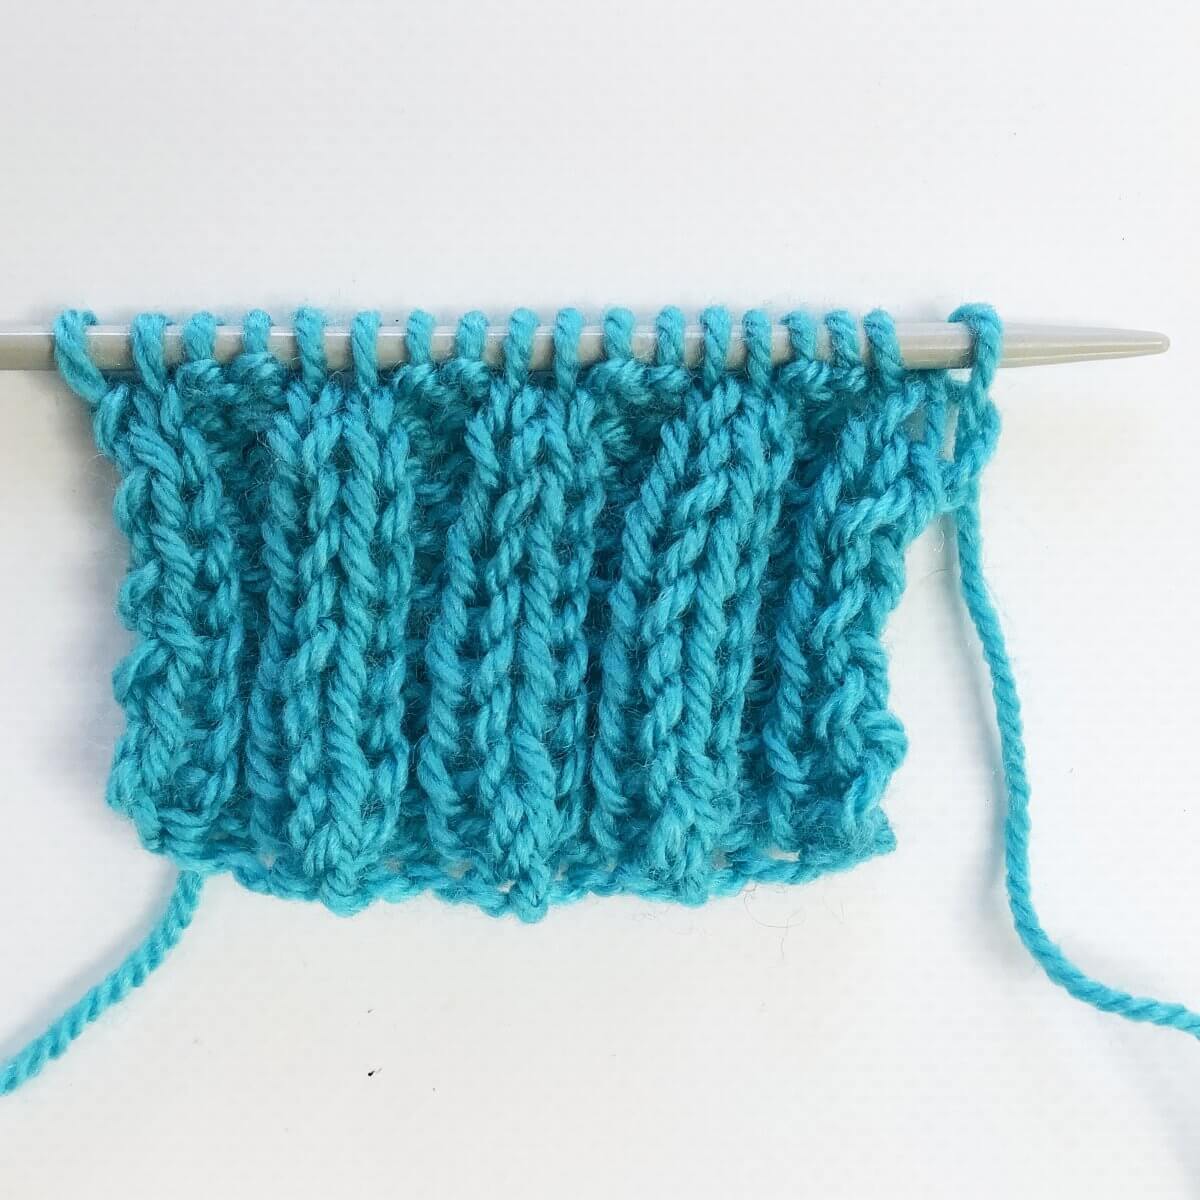
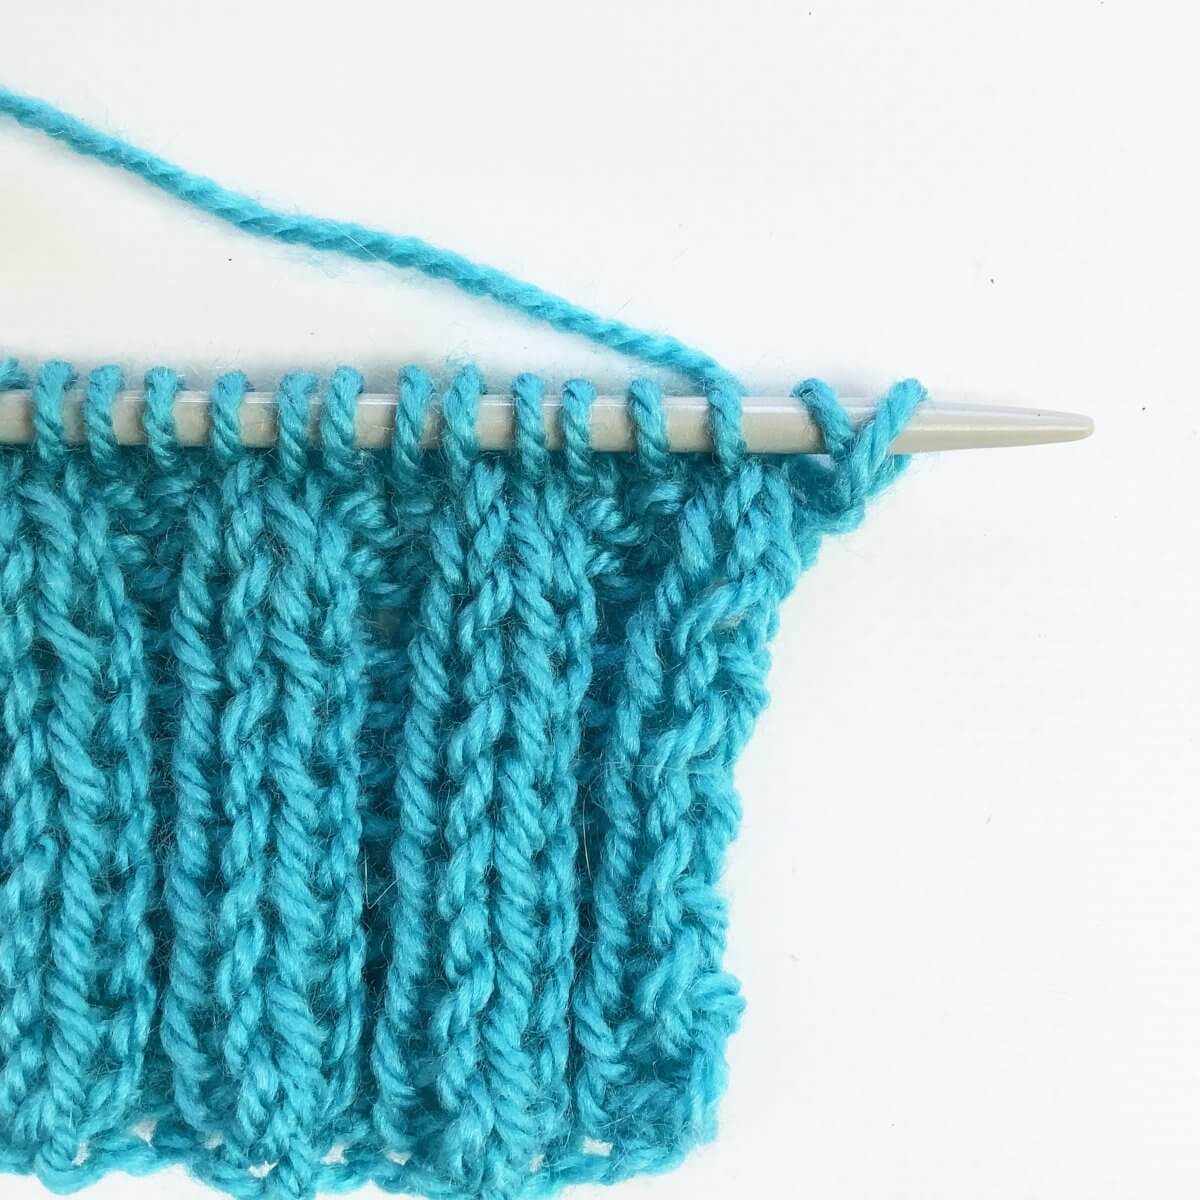
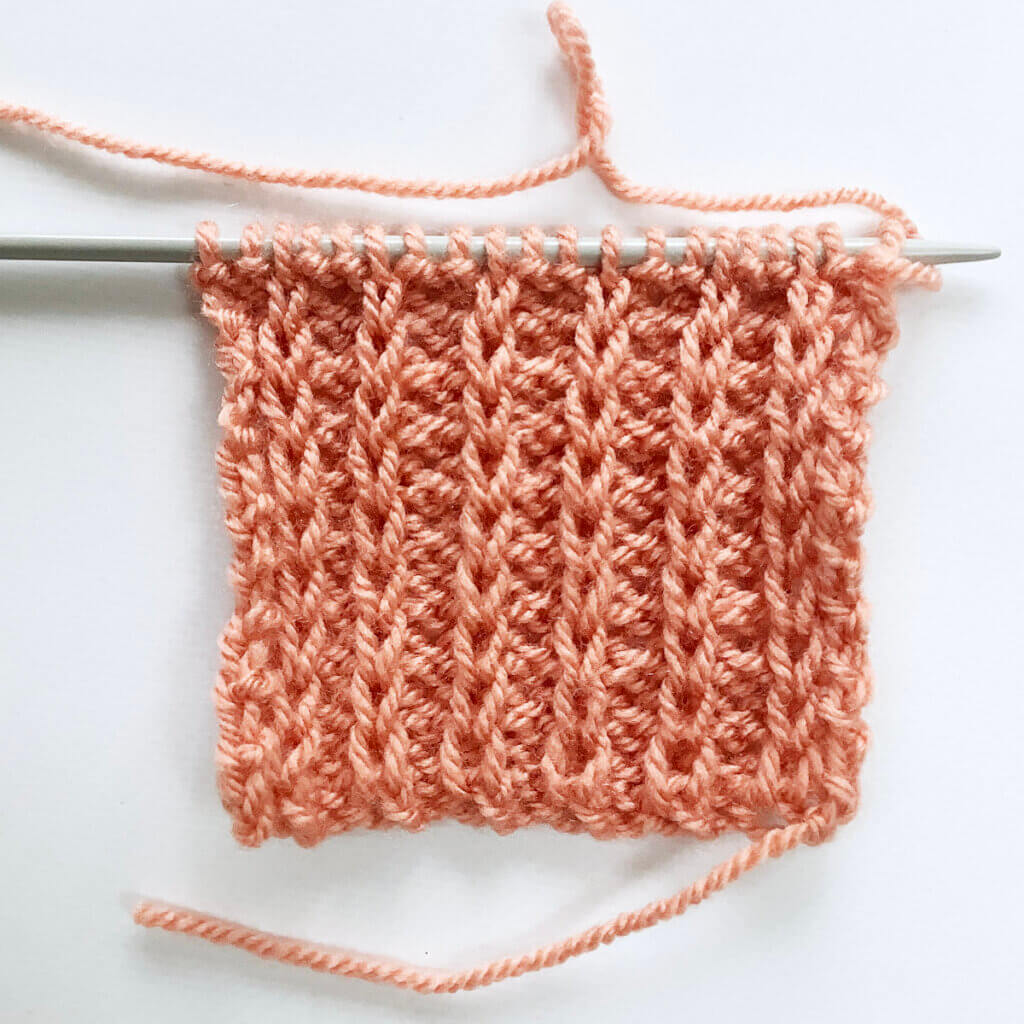
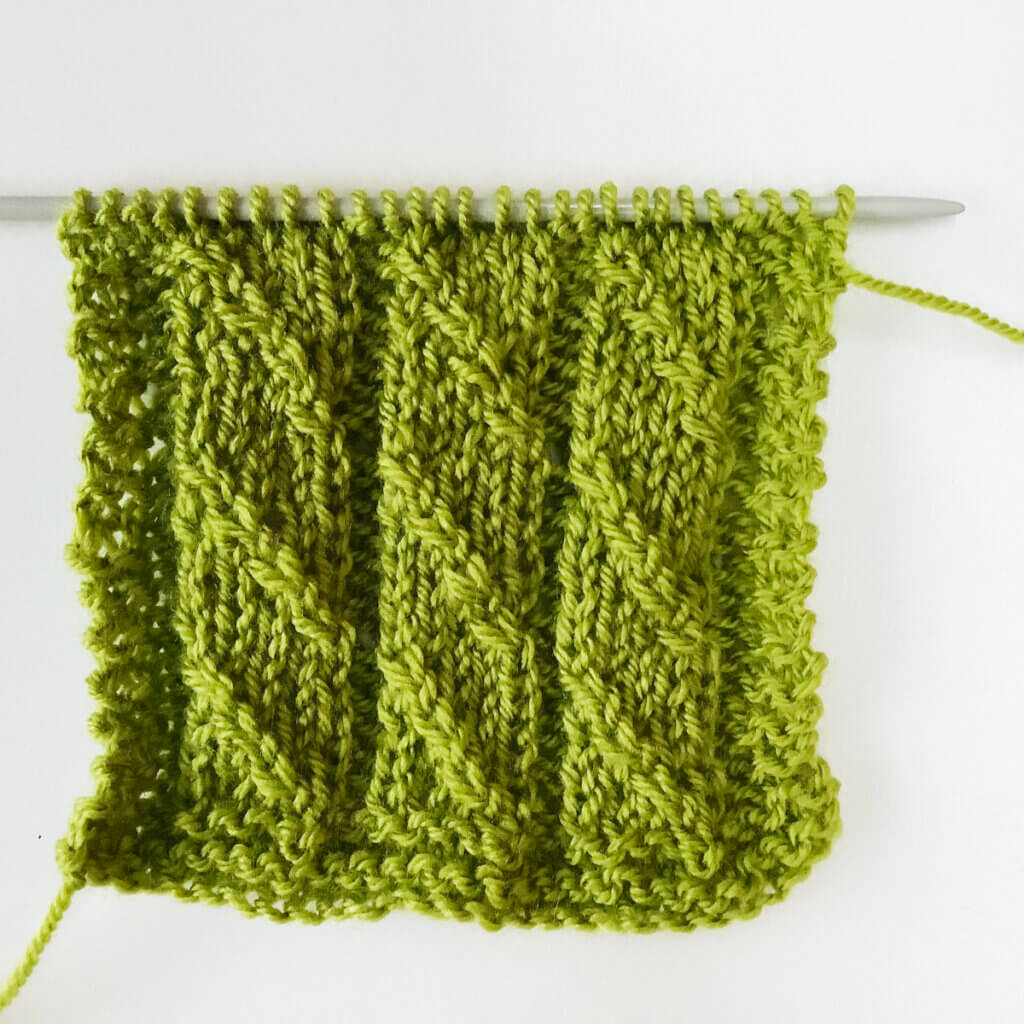
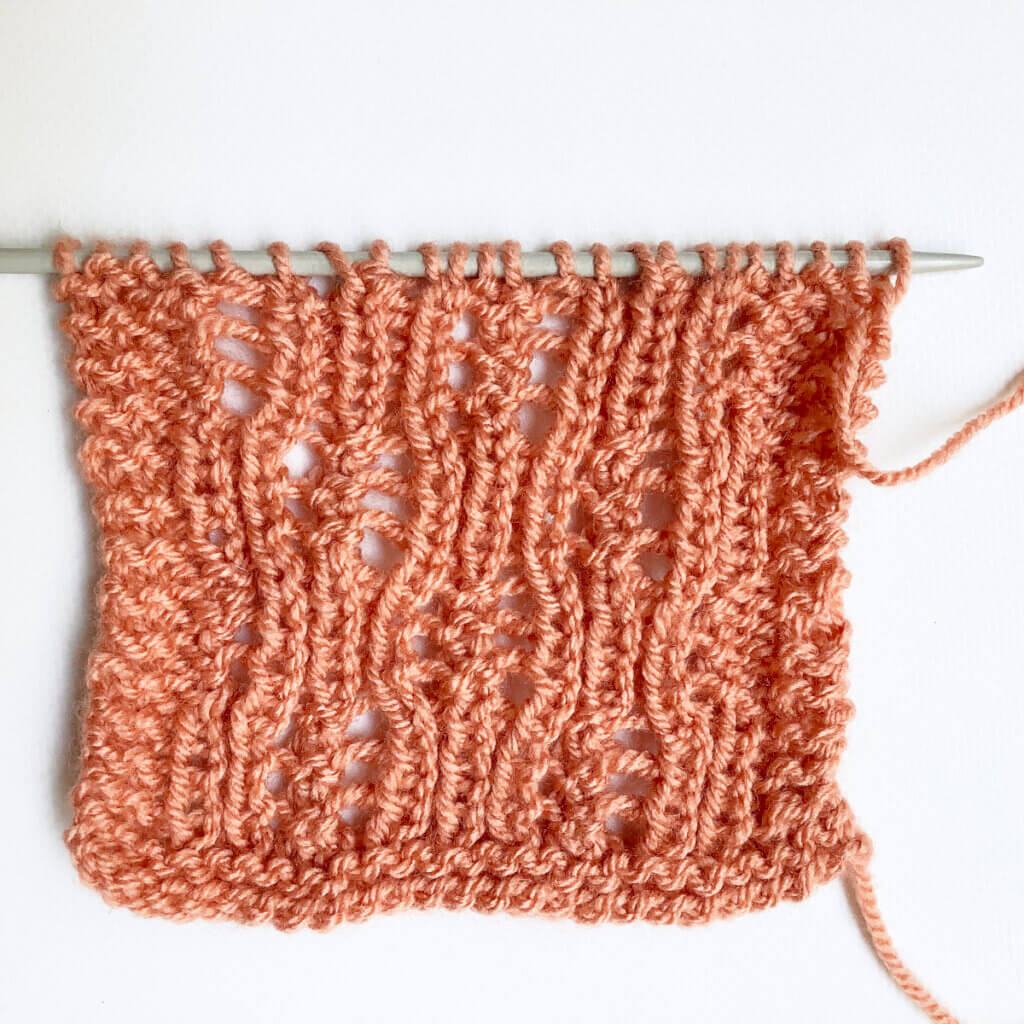
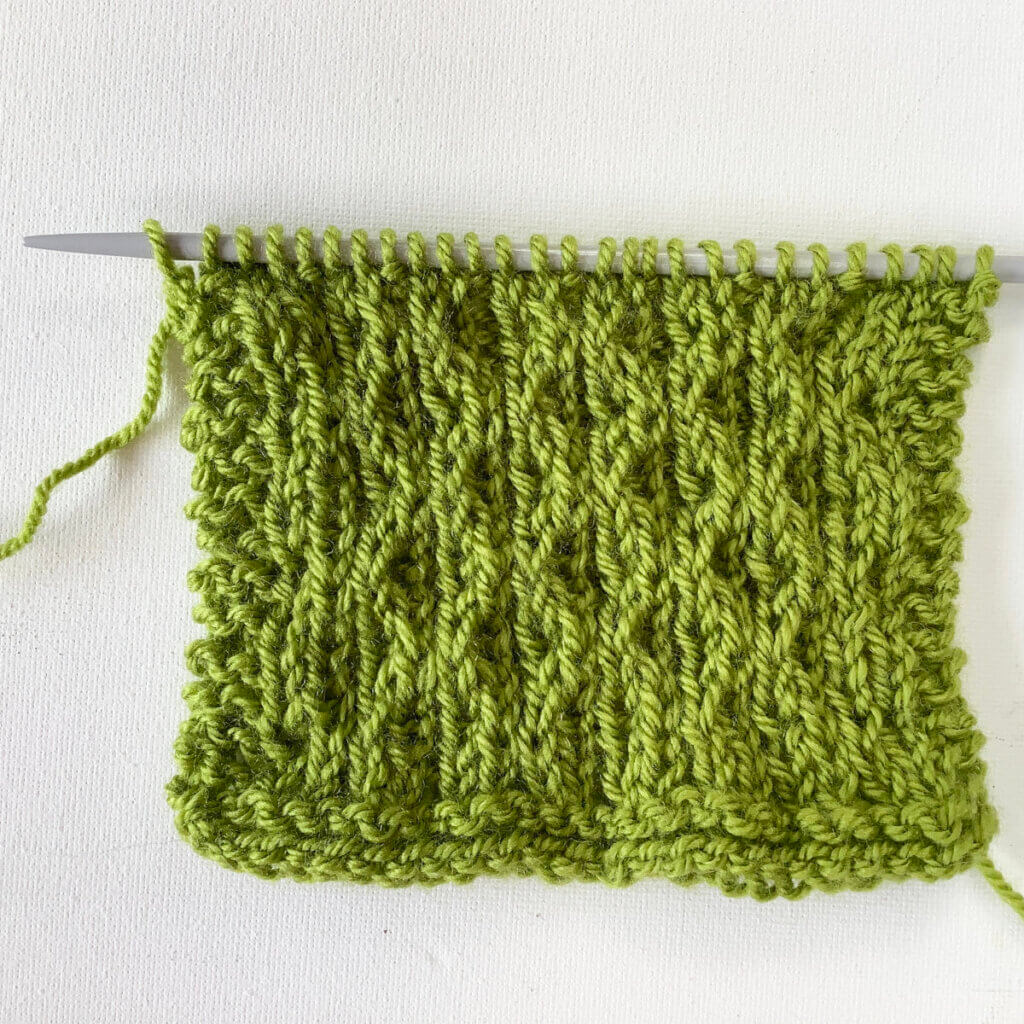
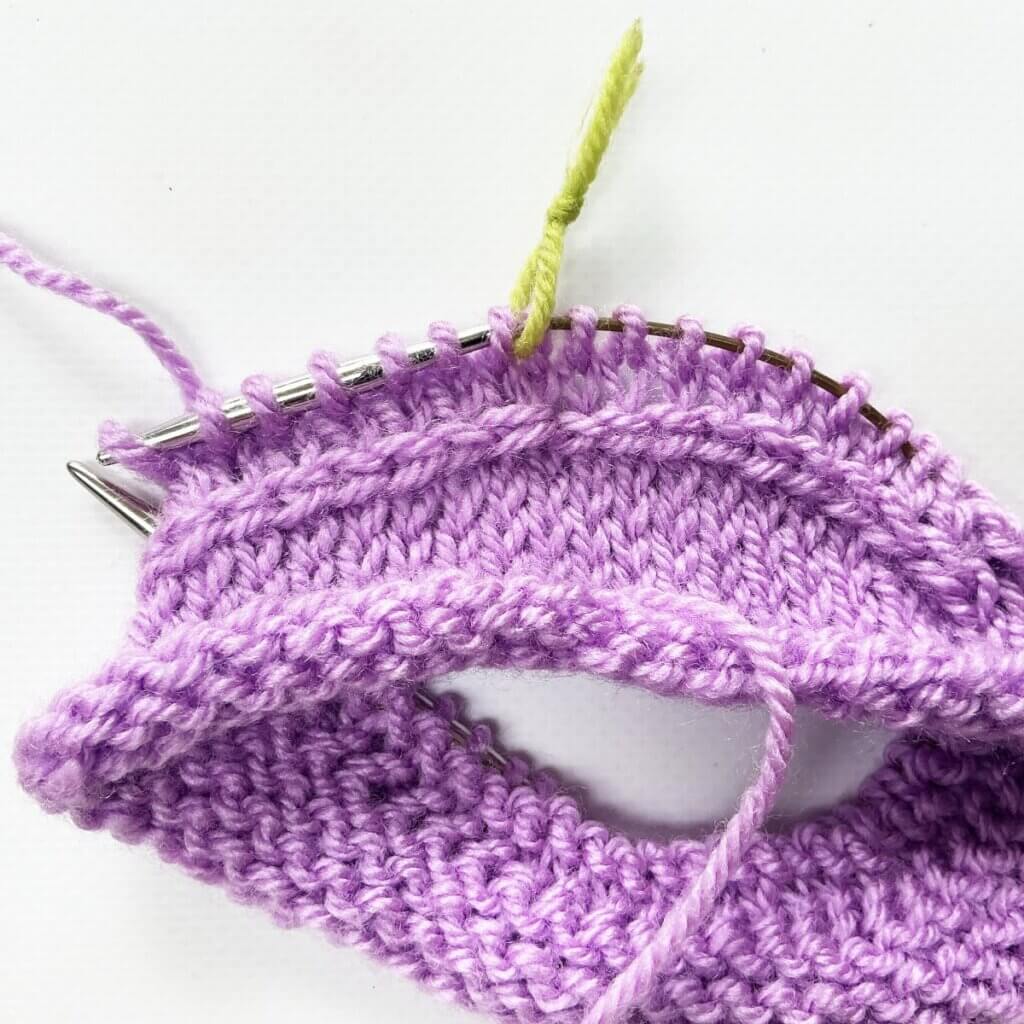
A Vikkel braid can be worked over any number of stitches, after or just before ribbing. In this example, I’m using a swatch worked in the round, in plain stockinette.
- I’m going to work my Vikkel braid onto this swatch.
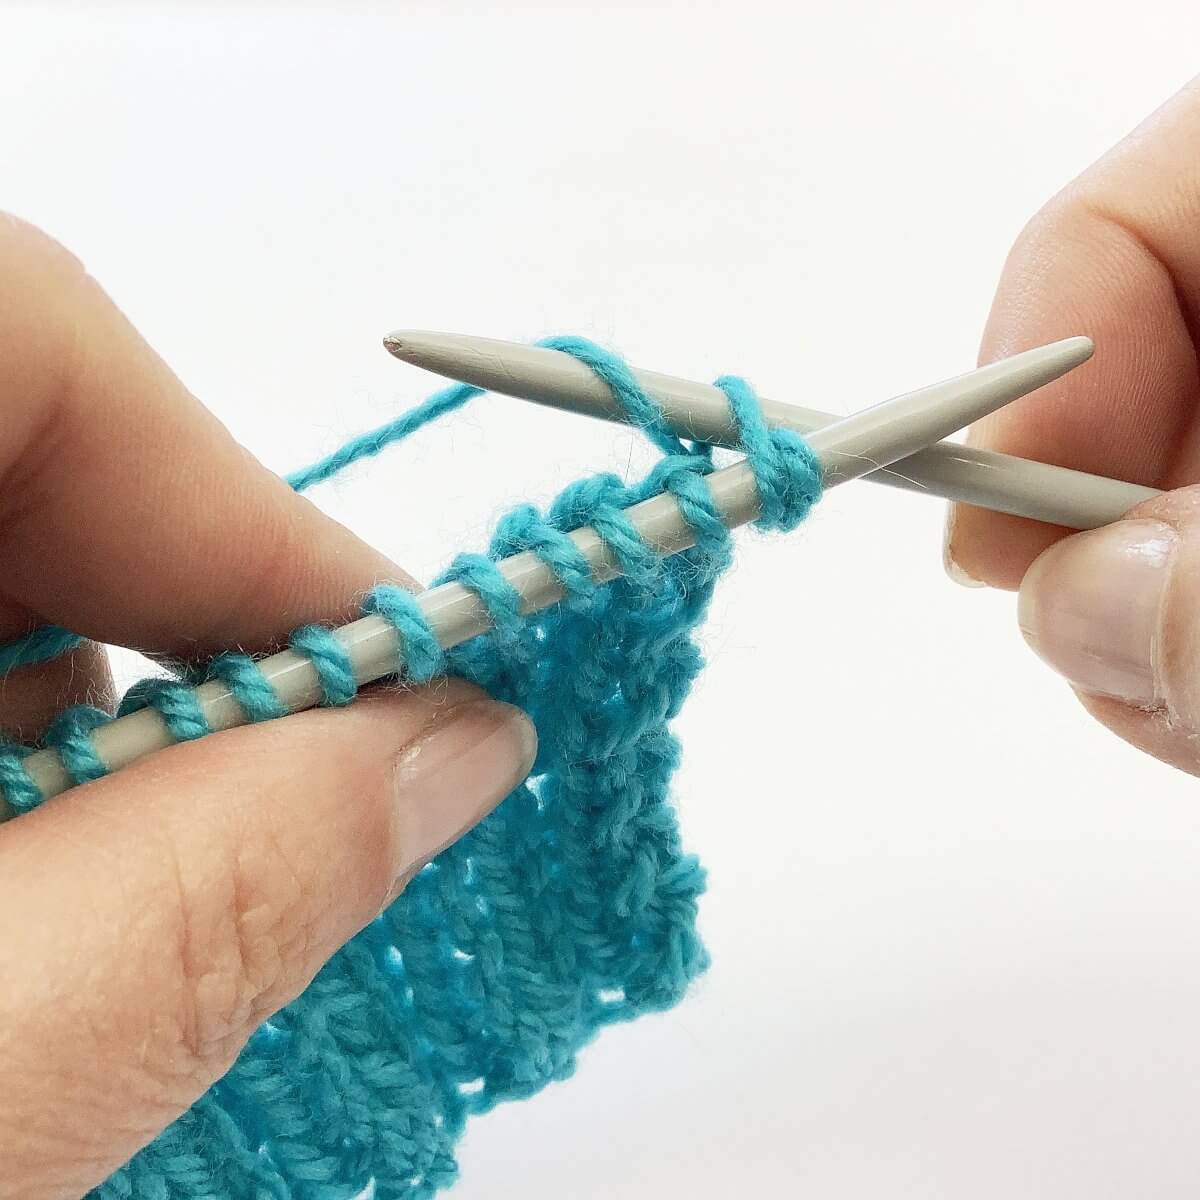
- Slip the last stitch of the previous round from the right-hand to the left-hand needle.
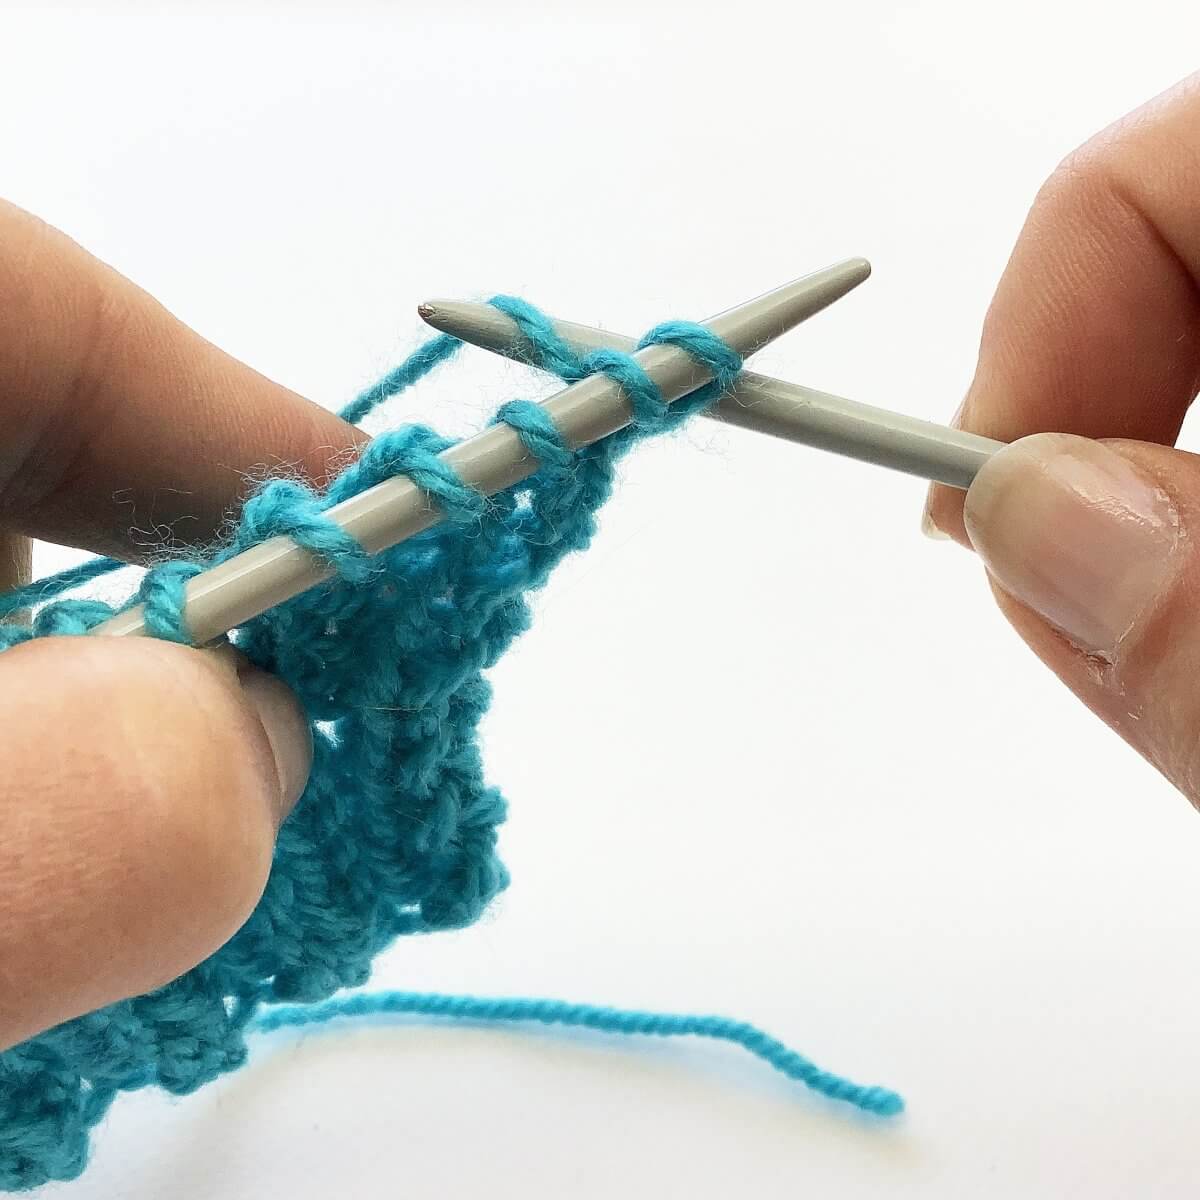
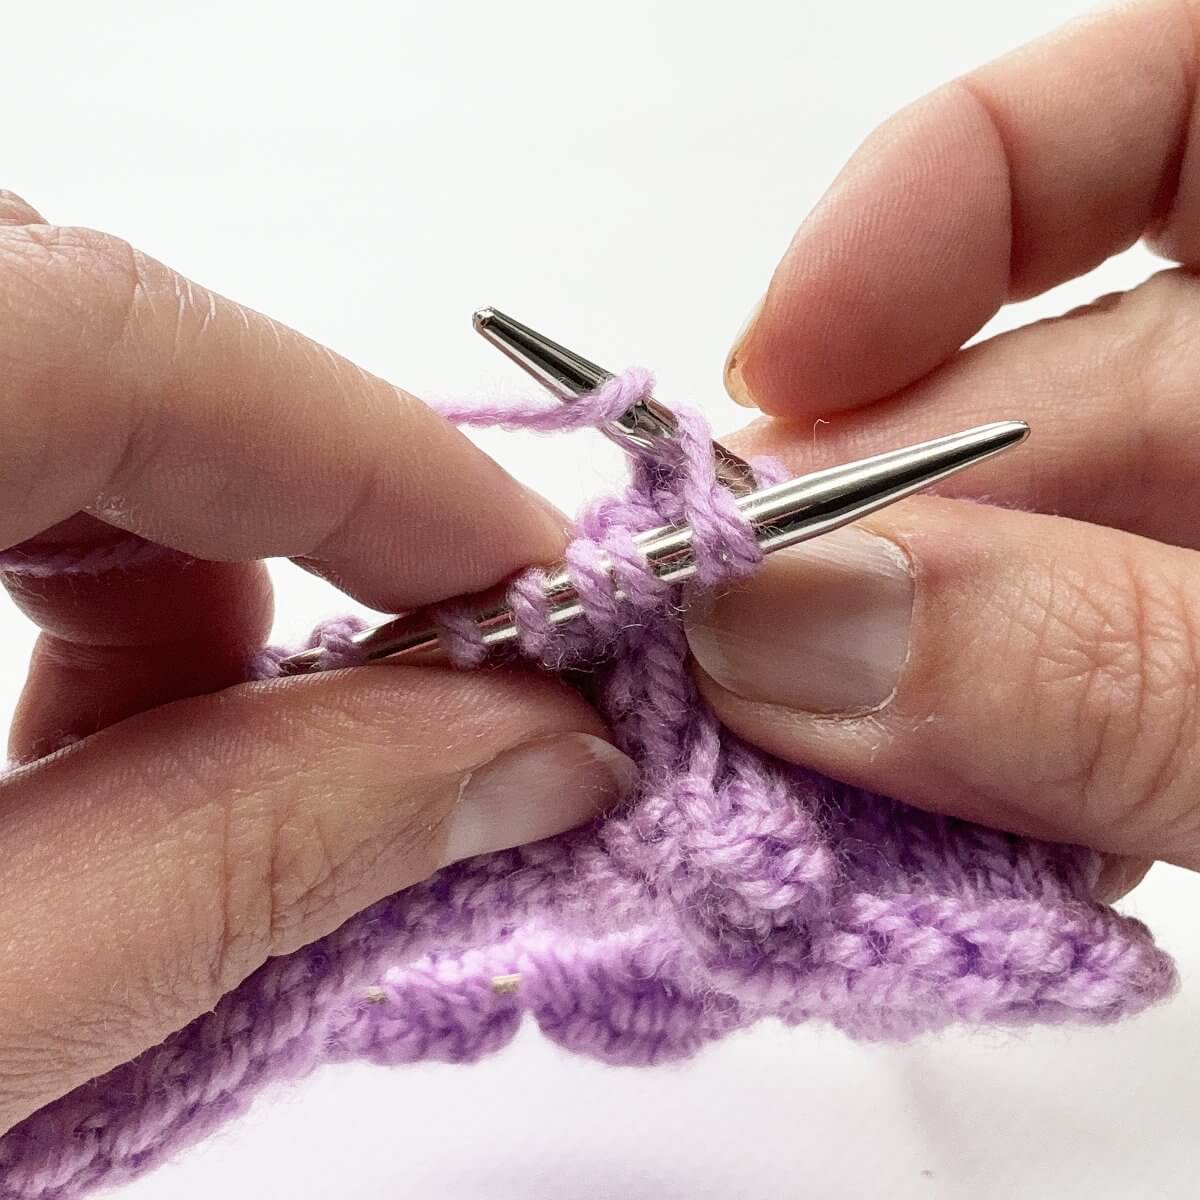
- Next, insert the right-hand needle through the back loop of the 2nd stitch.
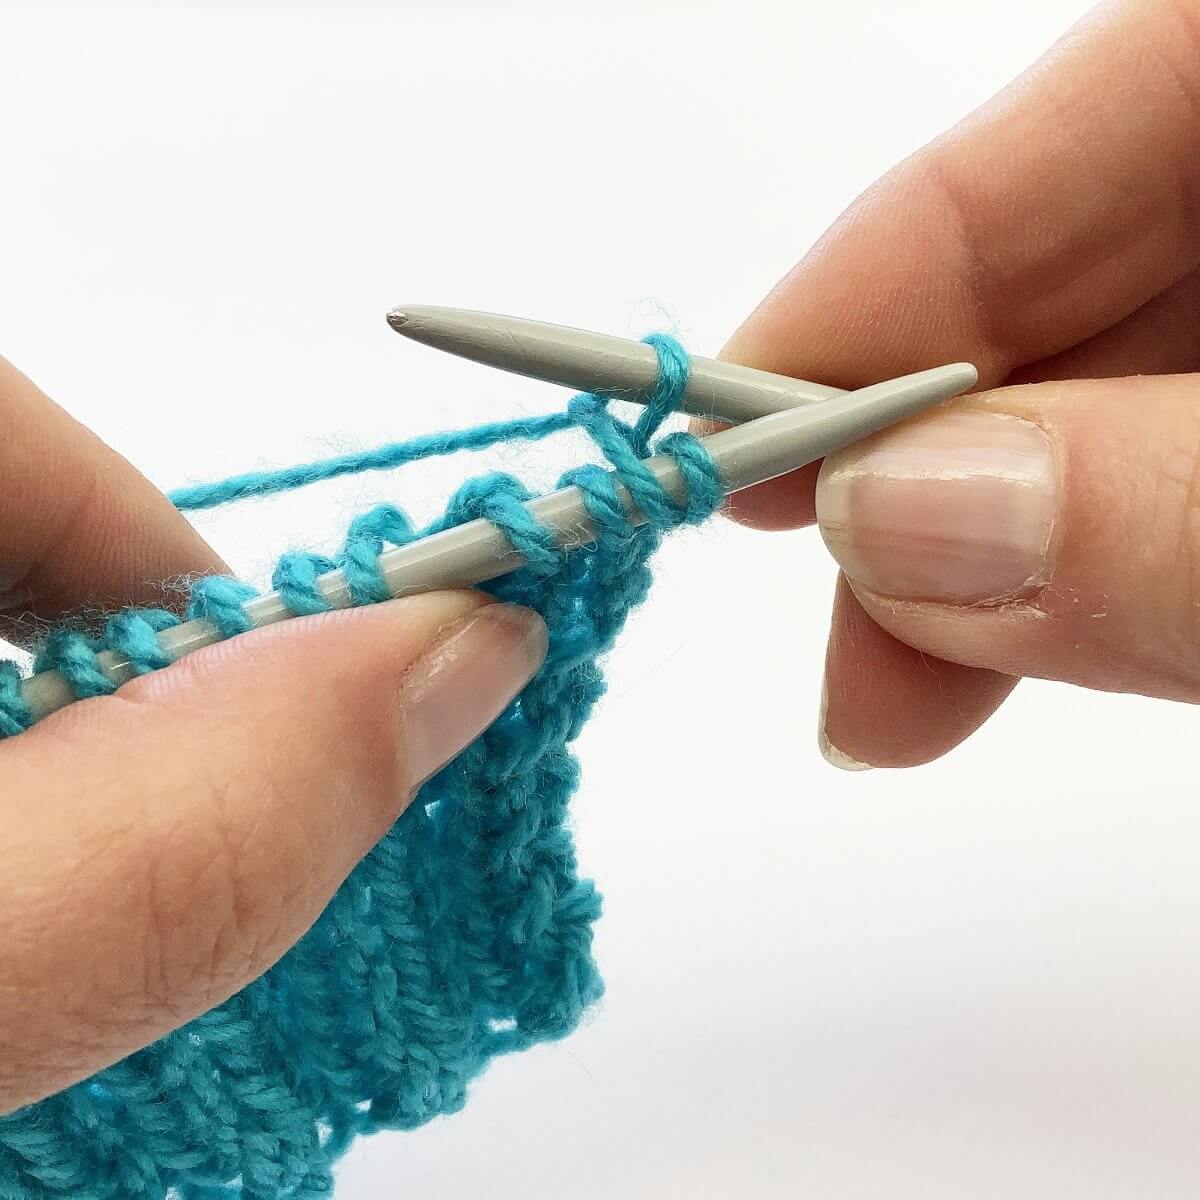
- Wrap the yarn around….
And yes, I know I wrapped the yarn in the picture around the needle not the correct way around. It still delivered knitting!
- …. and pull it through.
Do not slip the stitch of the needle yet!
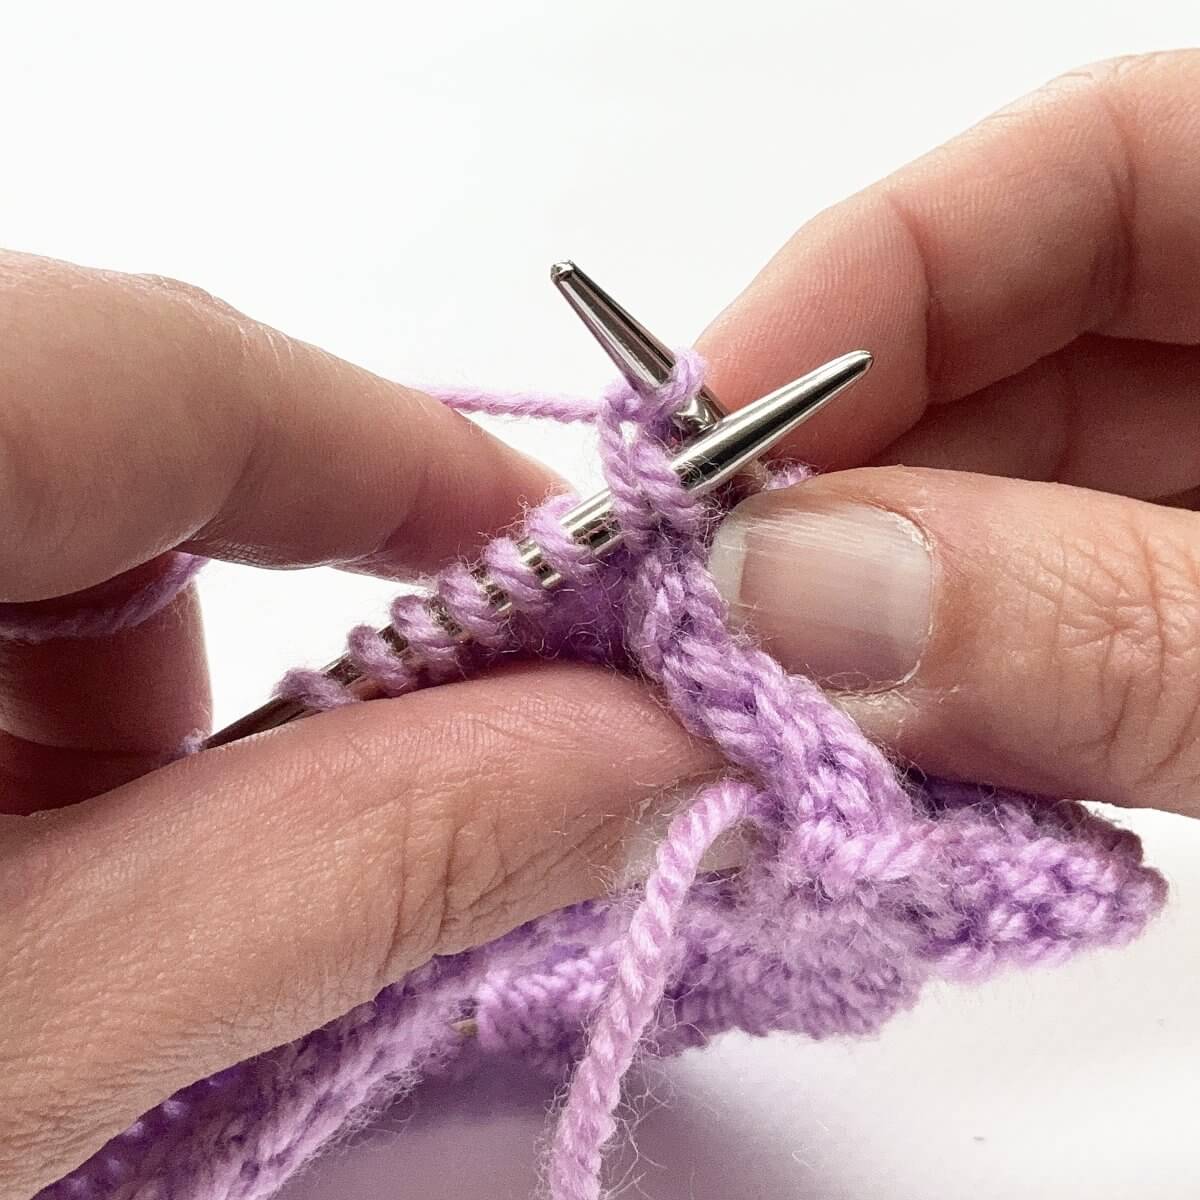
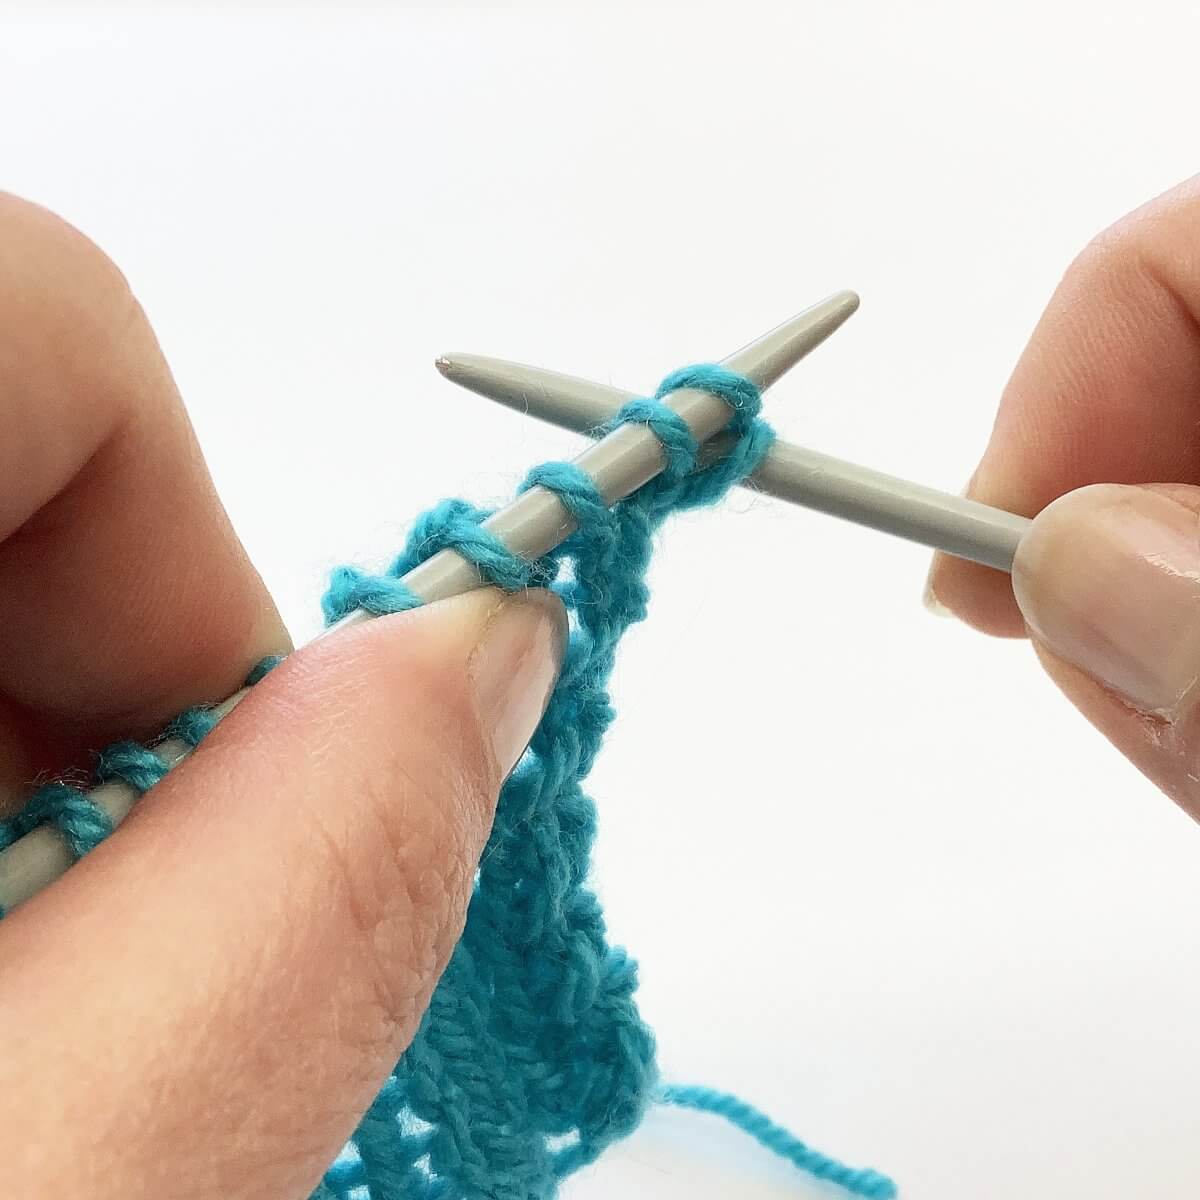
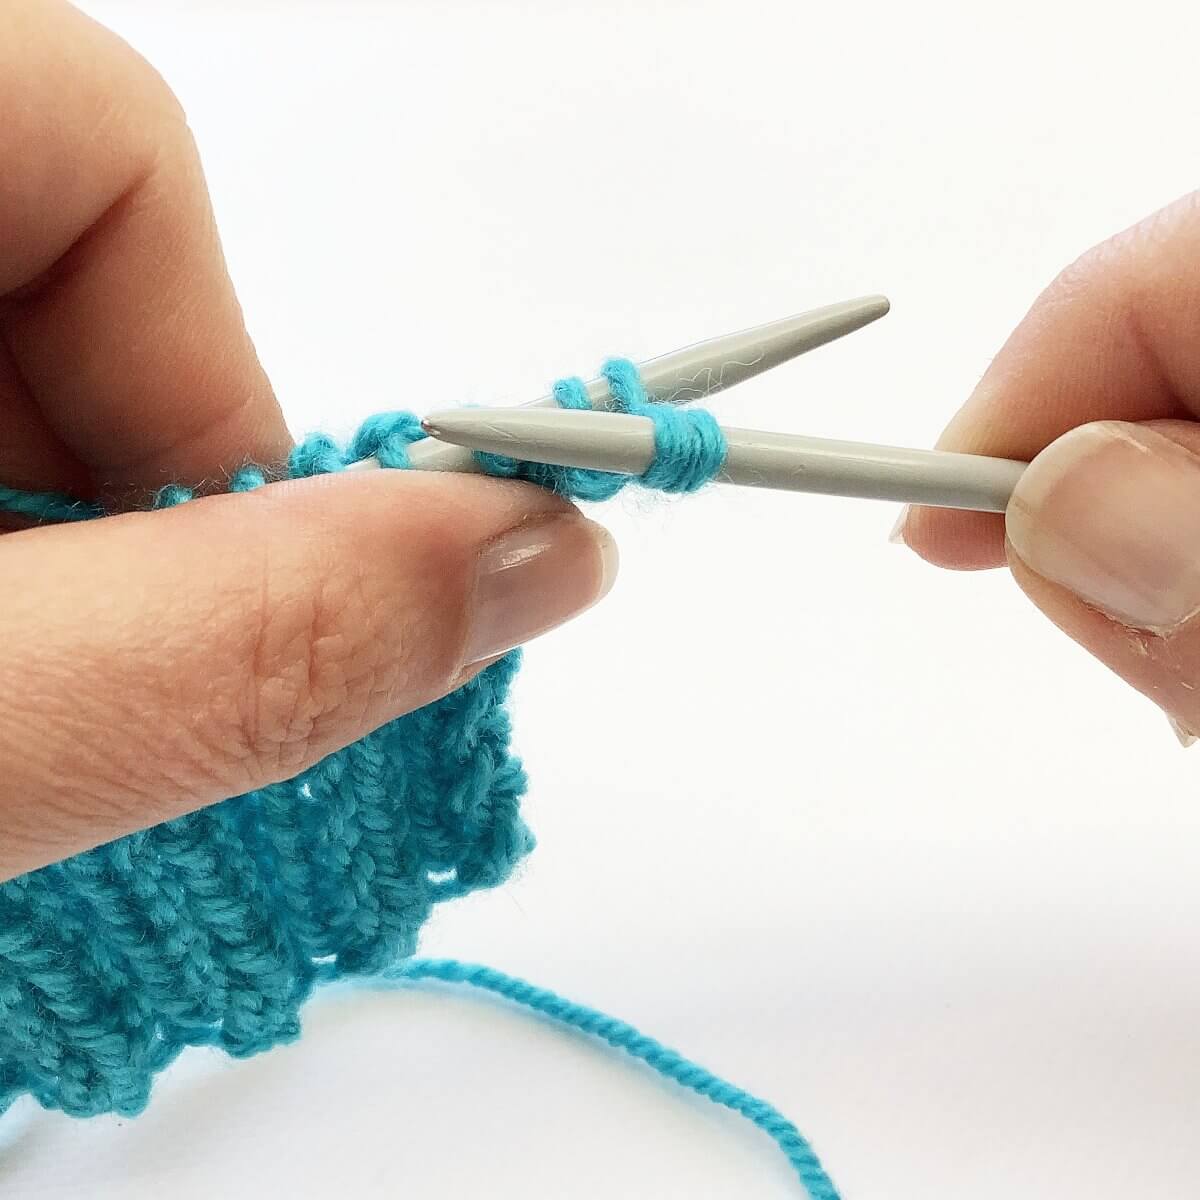
- Now, insert the needle into the first stitch as if to knit (because we’re going to knit it).
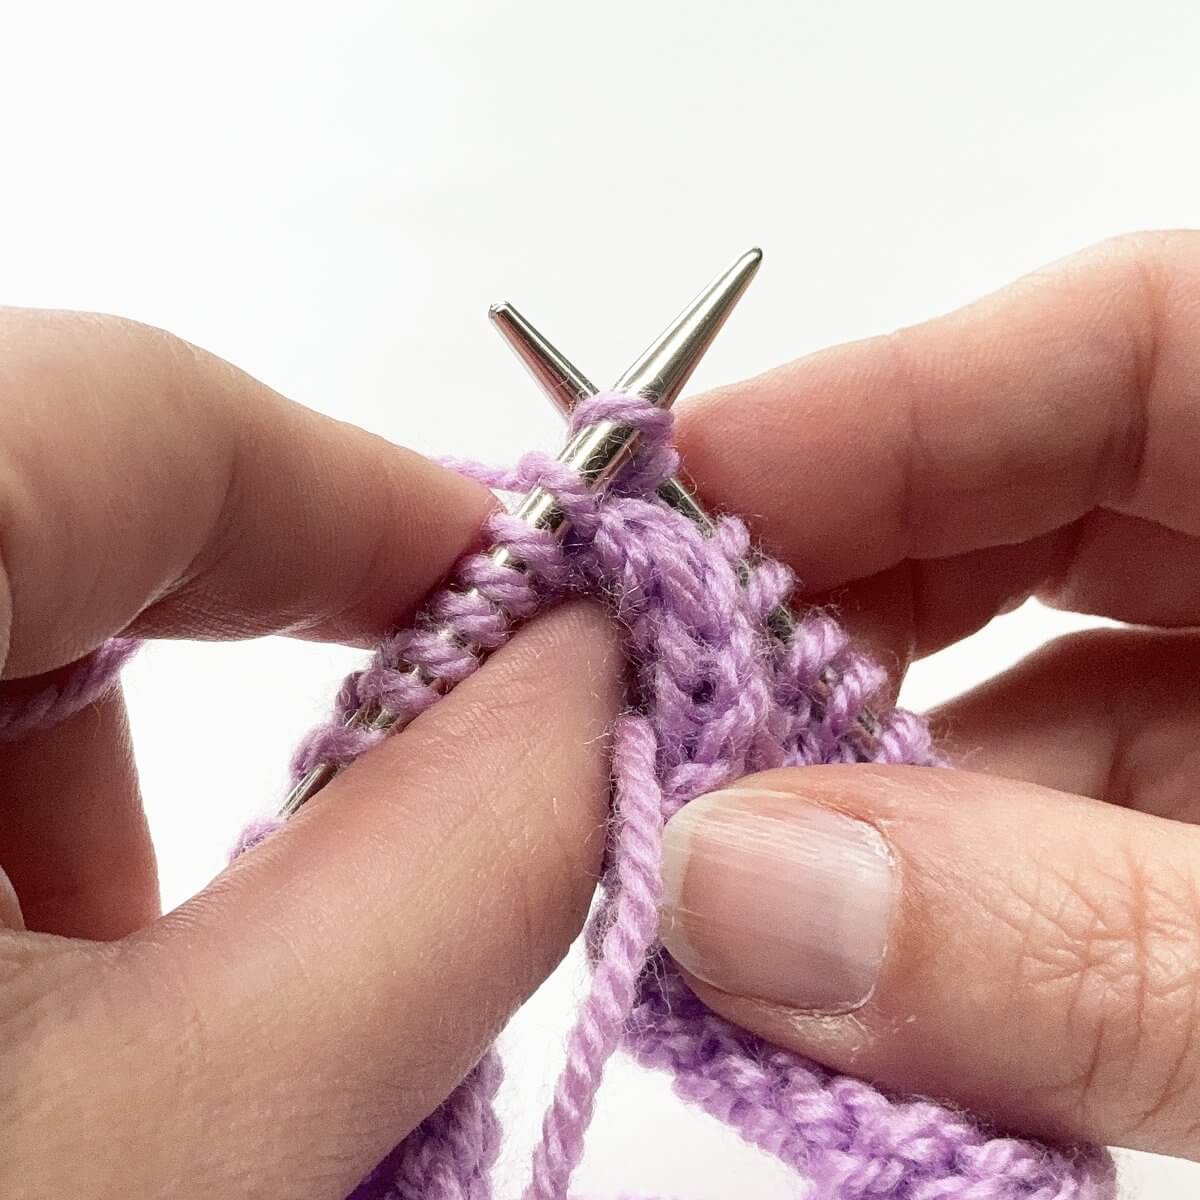
- Again, wrap the yarn around the needle….

- … and pull it through.
- Now you can slip the 2 stitches nearest to the tip of the left-hand needle off.
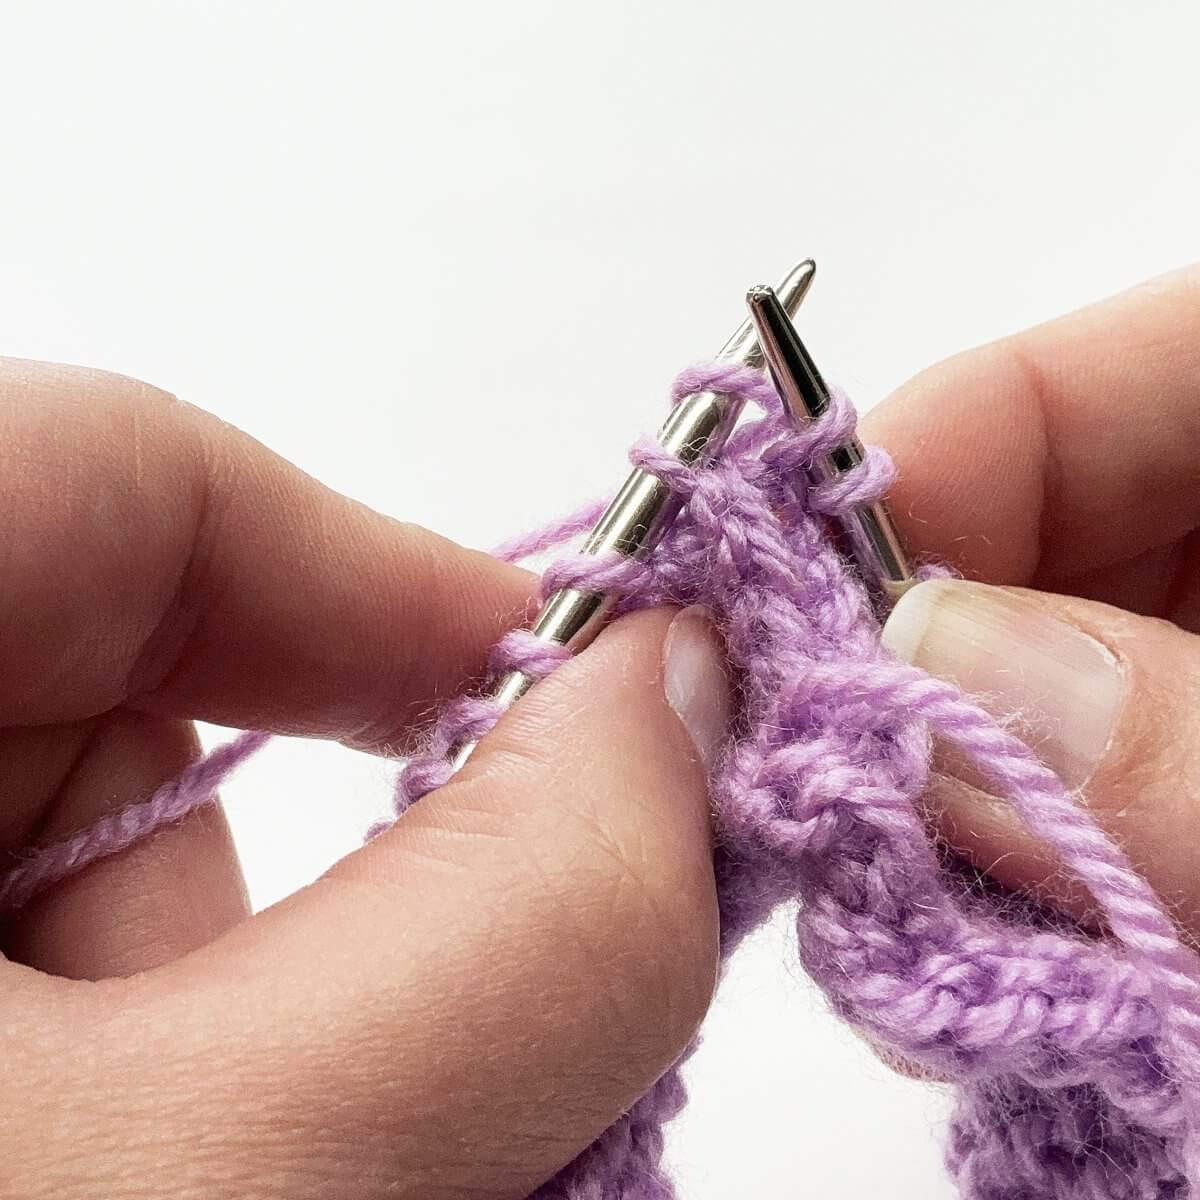
- Slip the stitch nearest to the tip of the right-hand needle, back to the left-hand needle.
- Repeat steps 3-10 until 1 stitch remains.
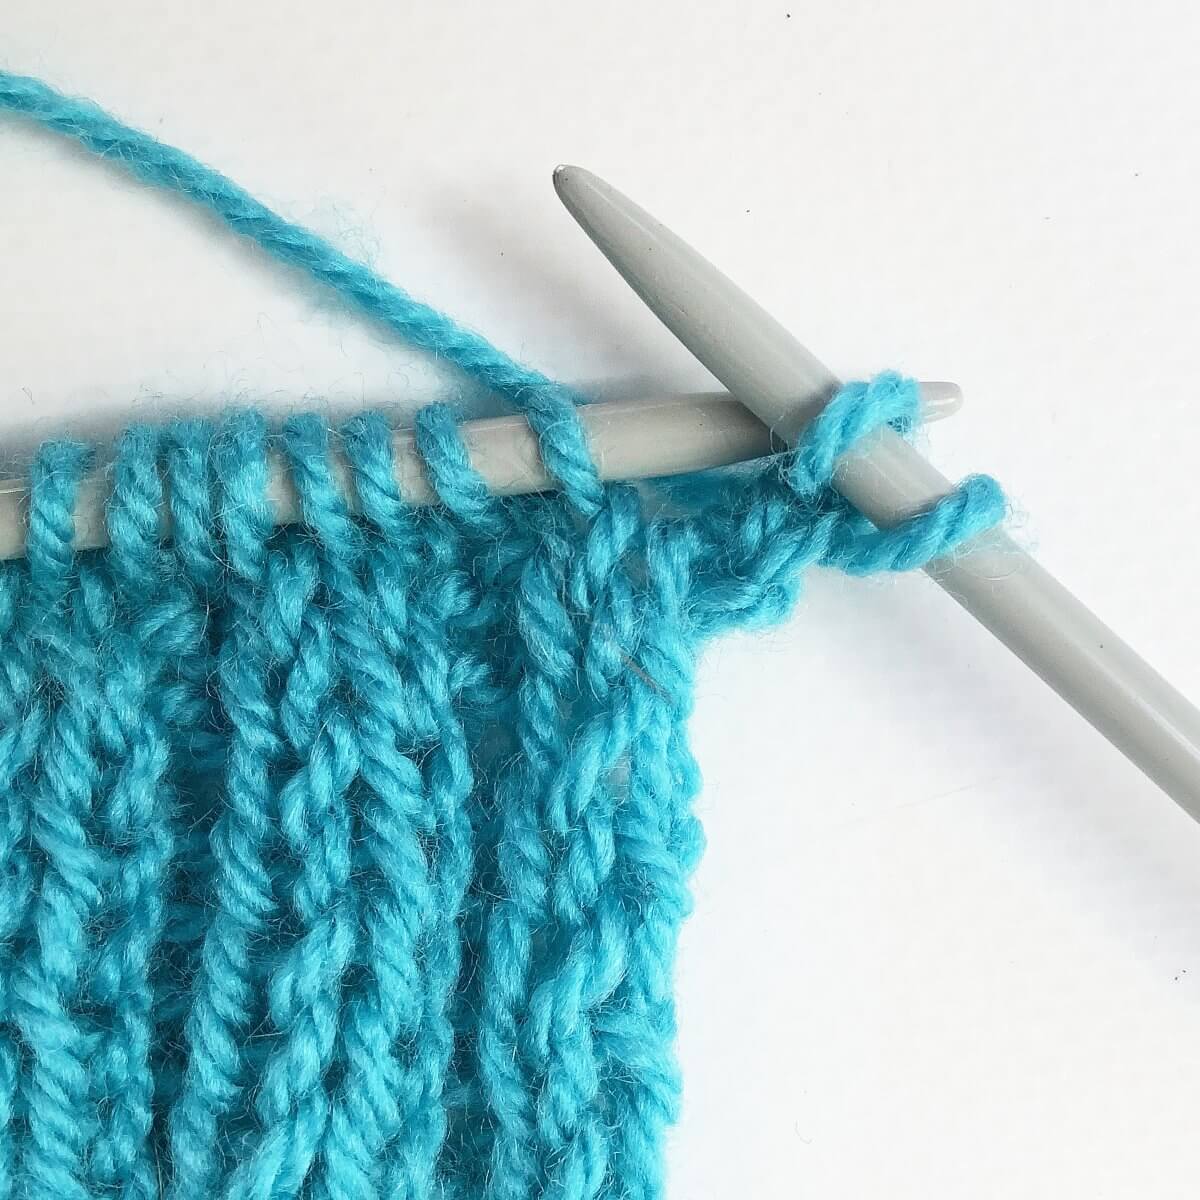
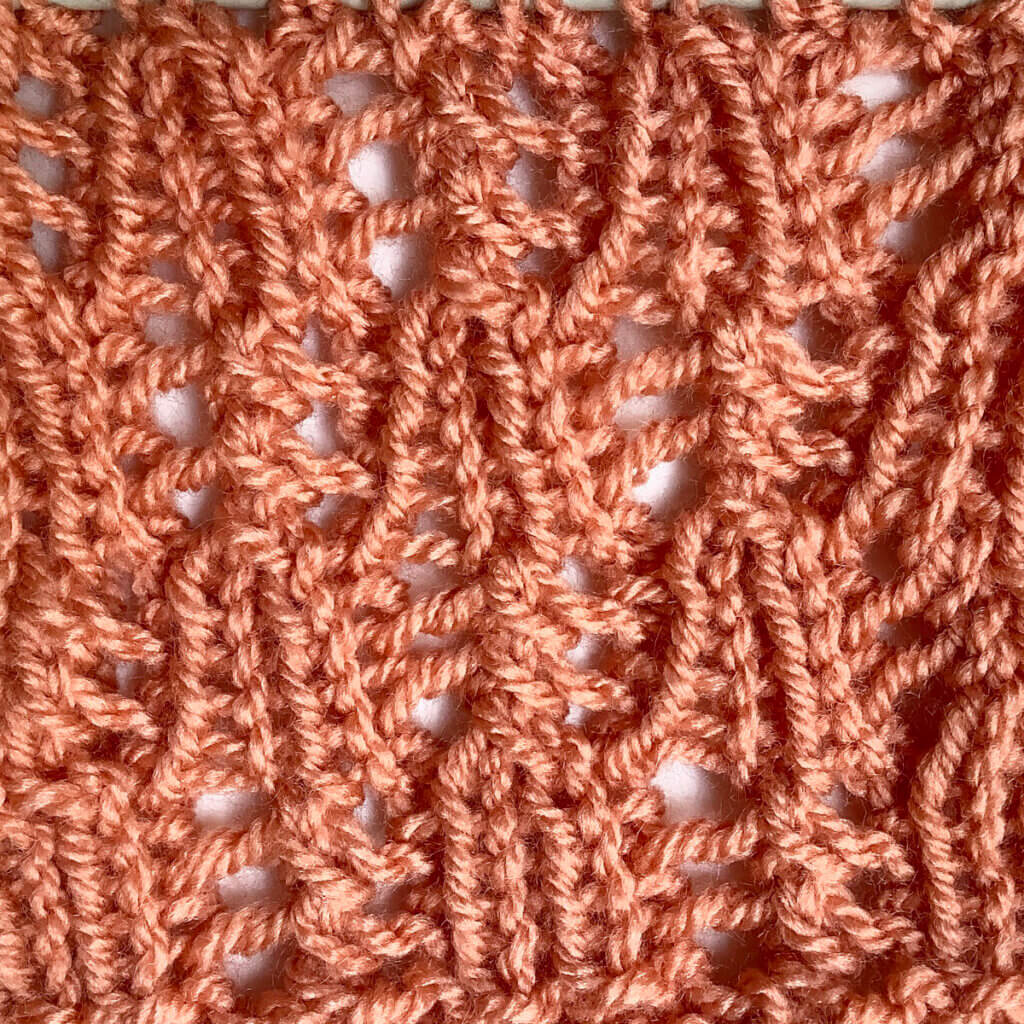
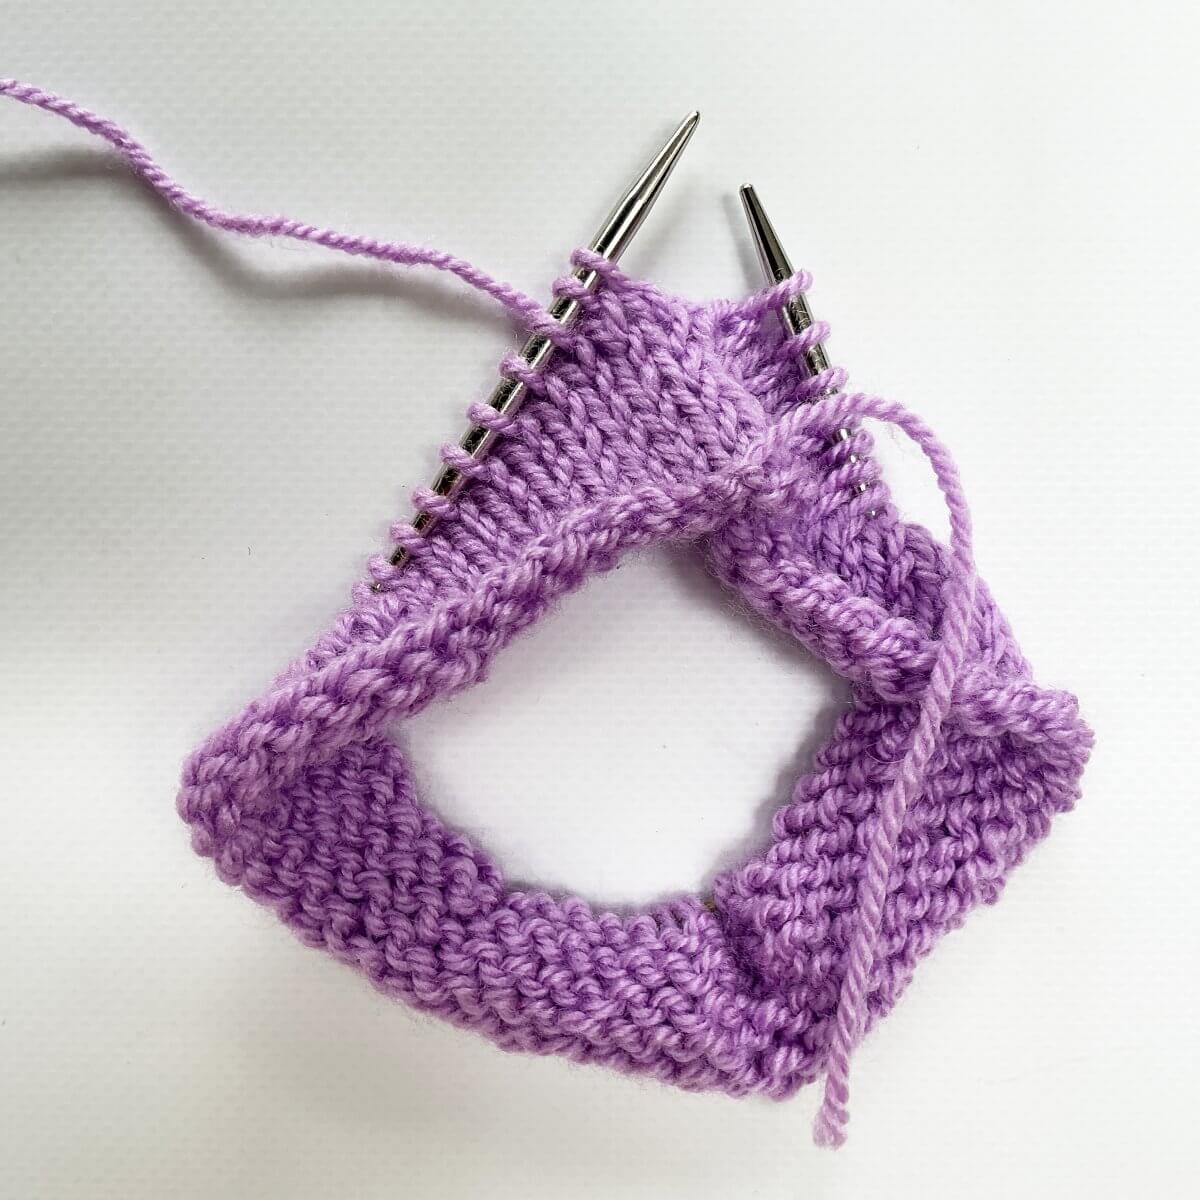
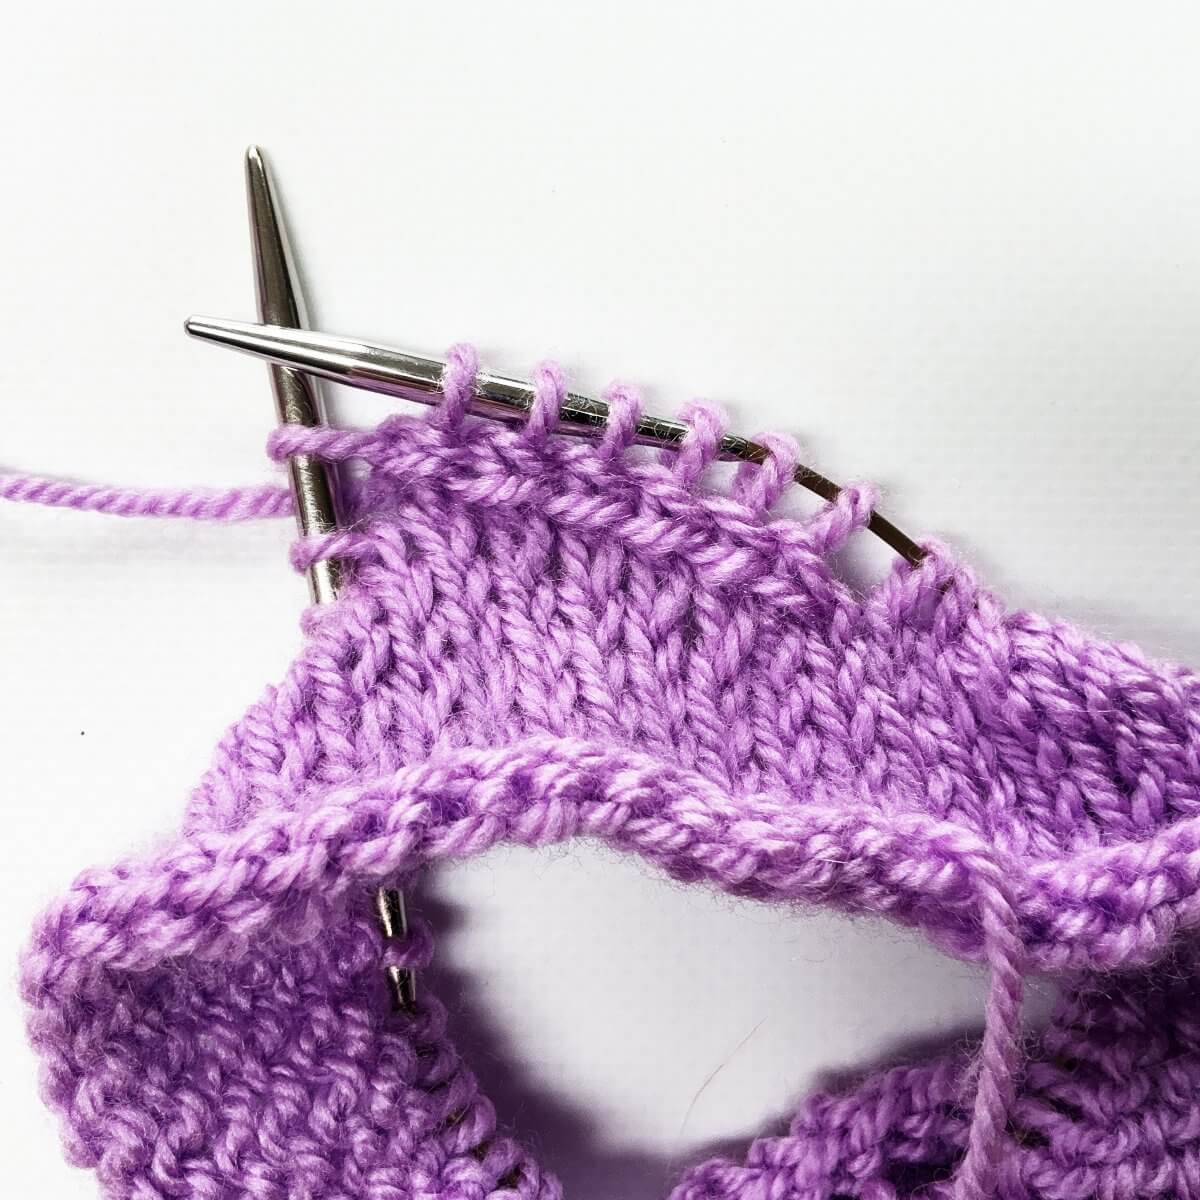
This is how it looks when working the Vikkel braid across the round.
- Next, repeat steps 3-9 once more.
Now it’s time to close the round in such a way that the Vikkel braid appears jogless.
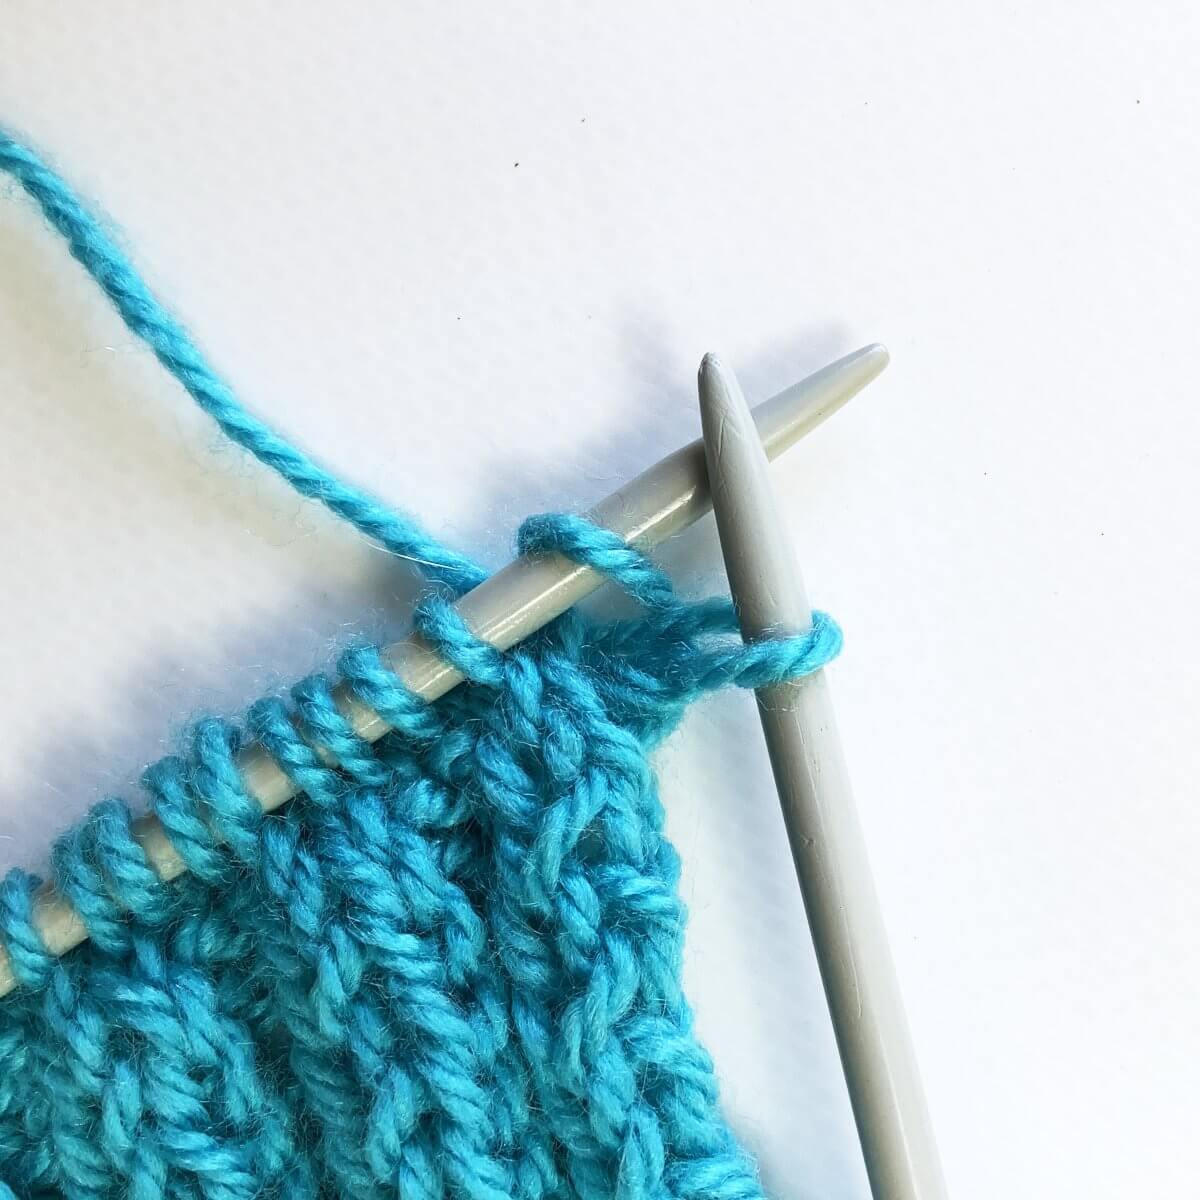
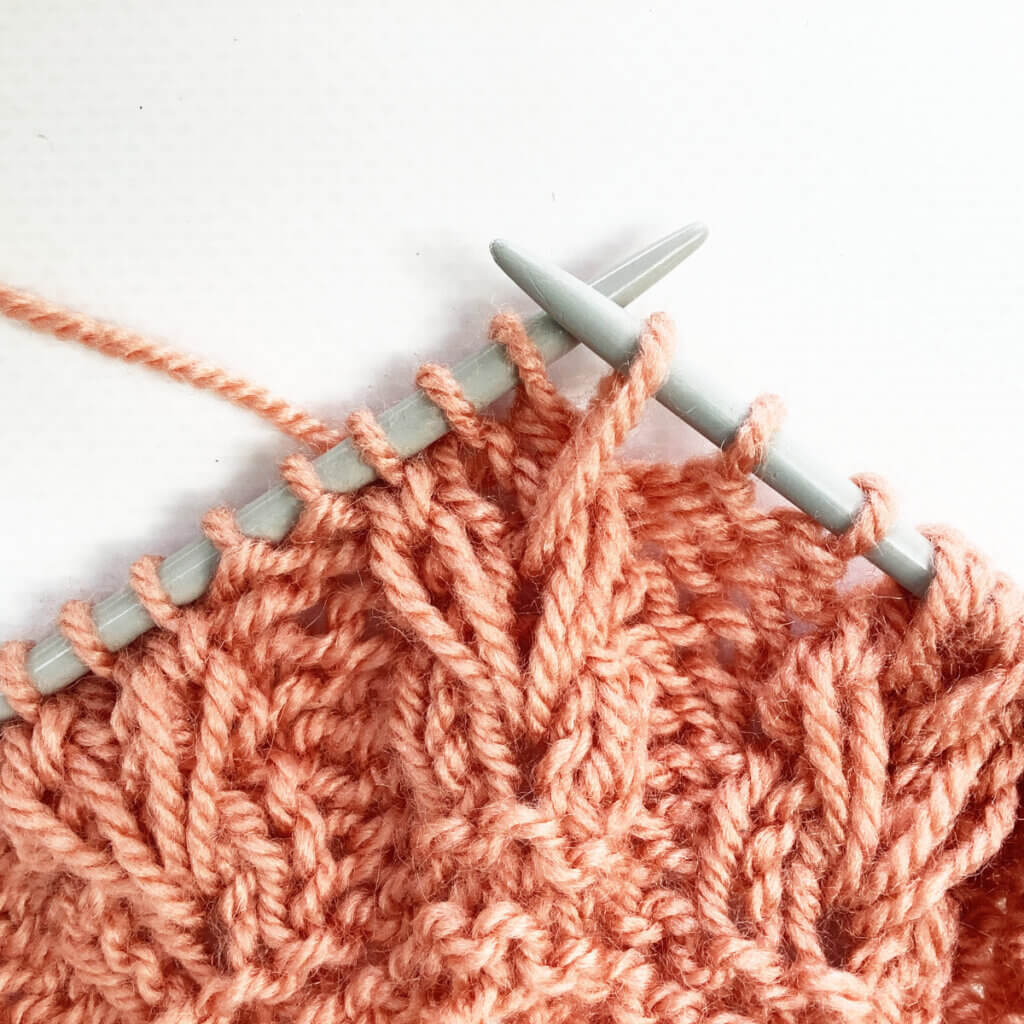
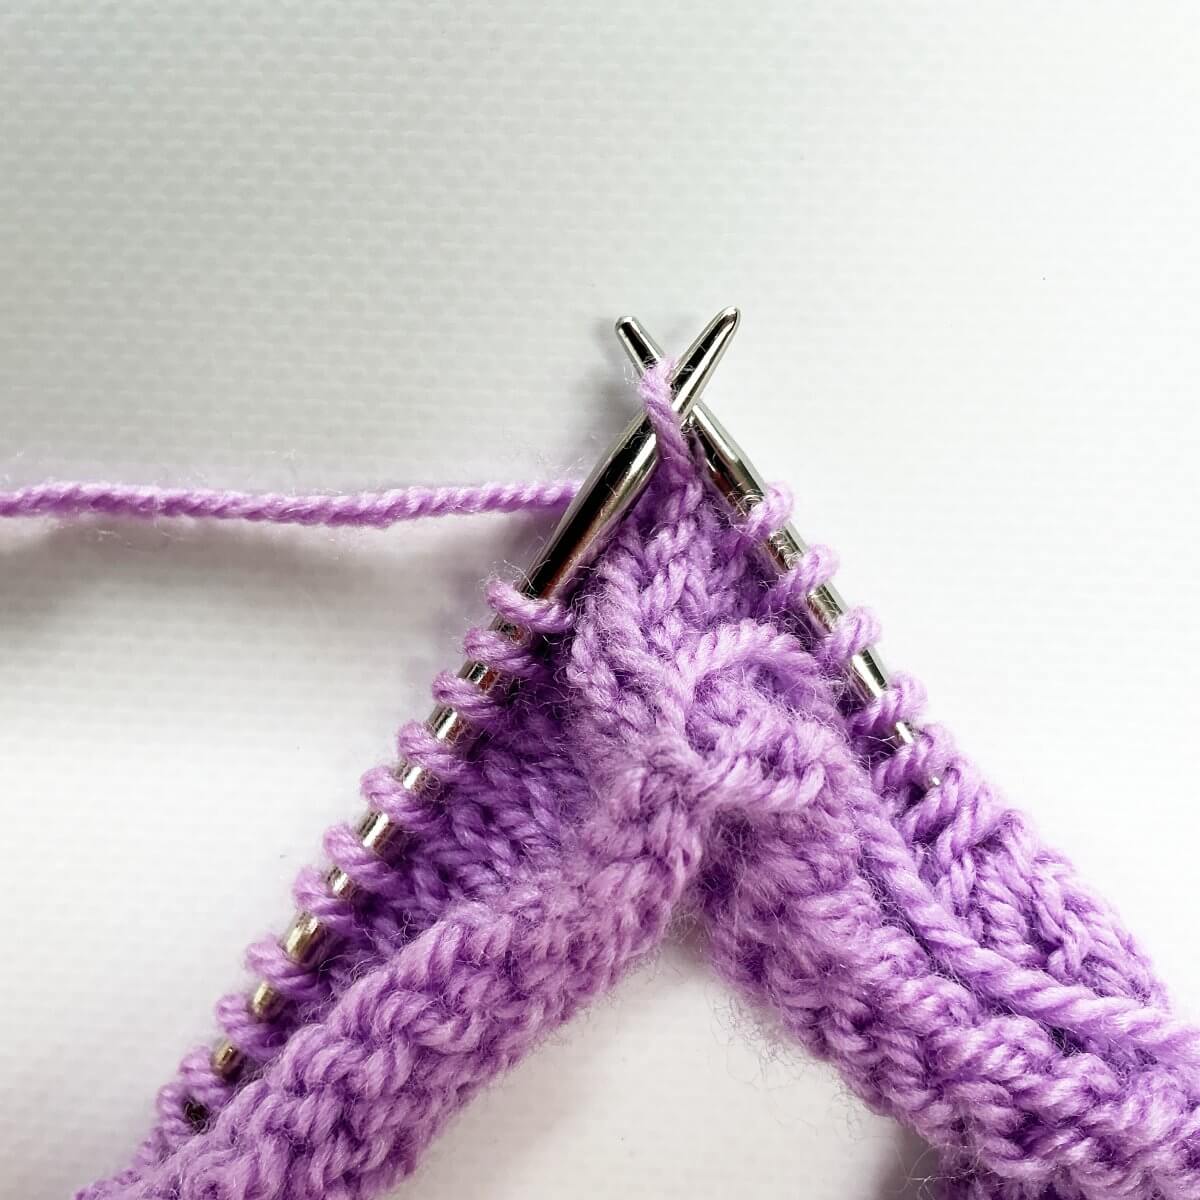
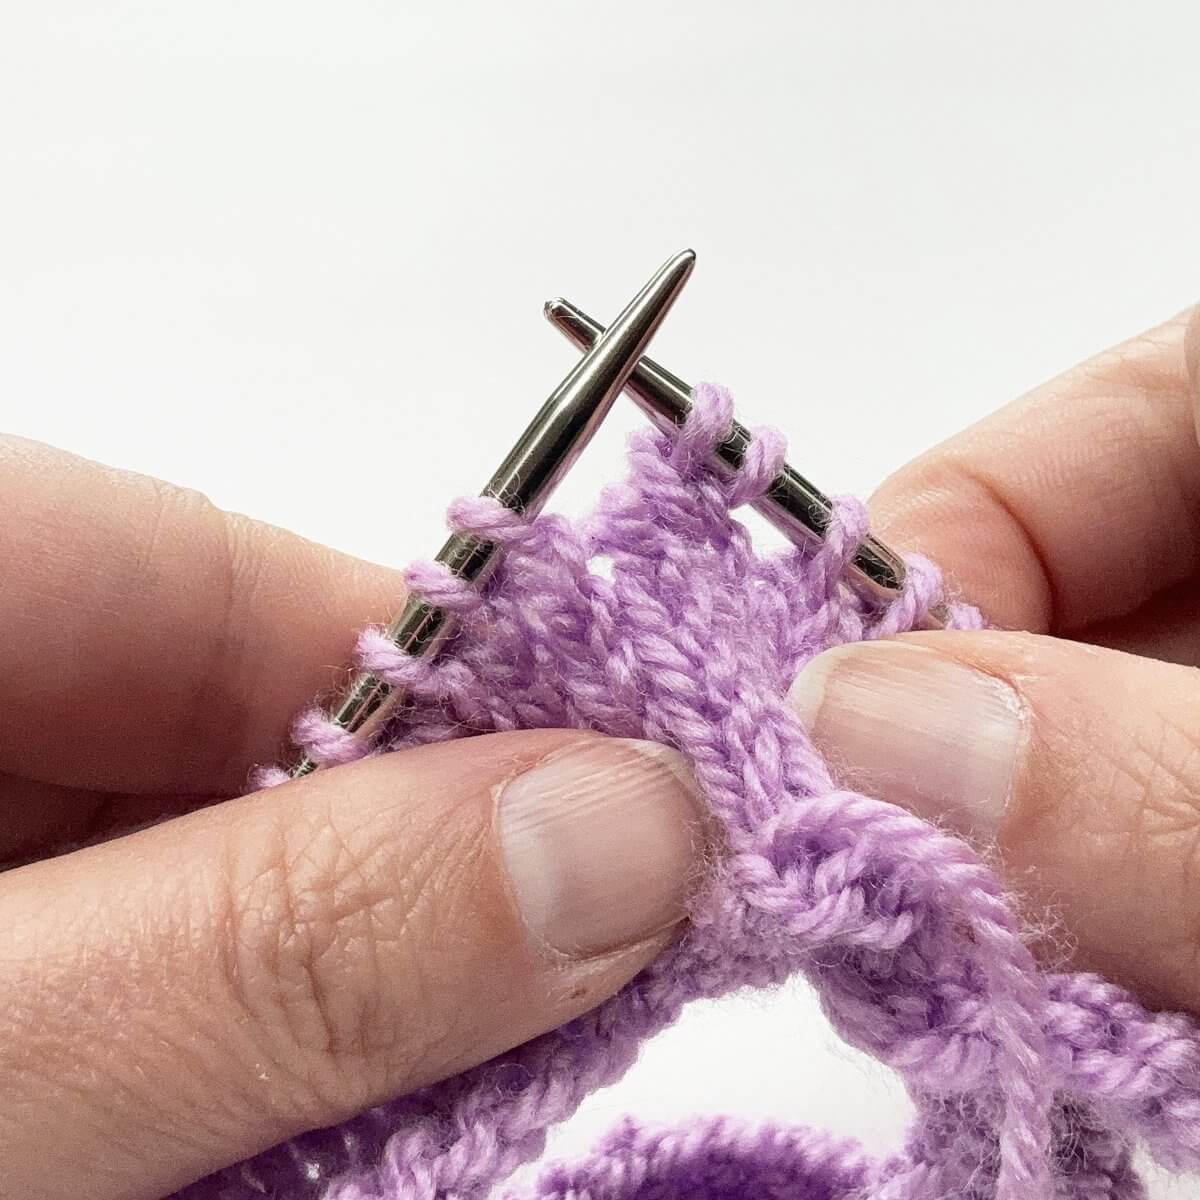
- First, insert your right-hand knitting needle from bottom to top through both legs of the first “V” of the Vikkel braid.
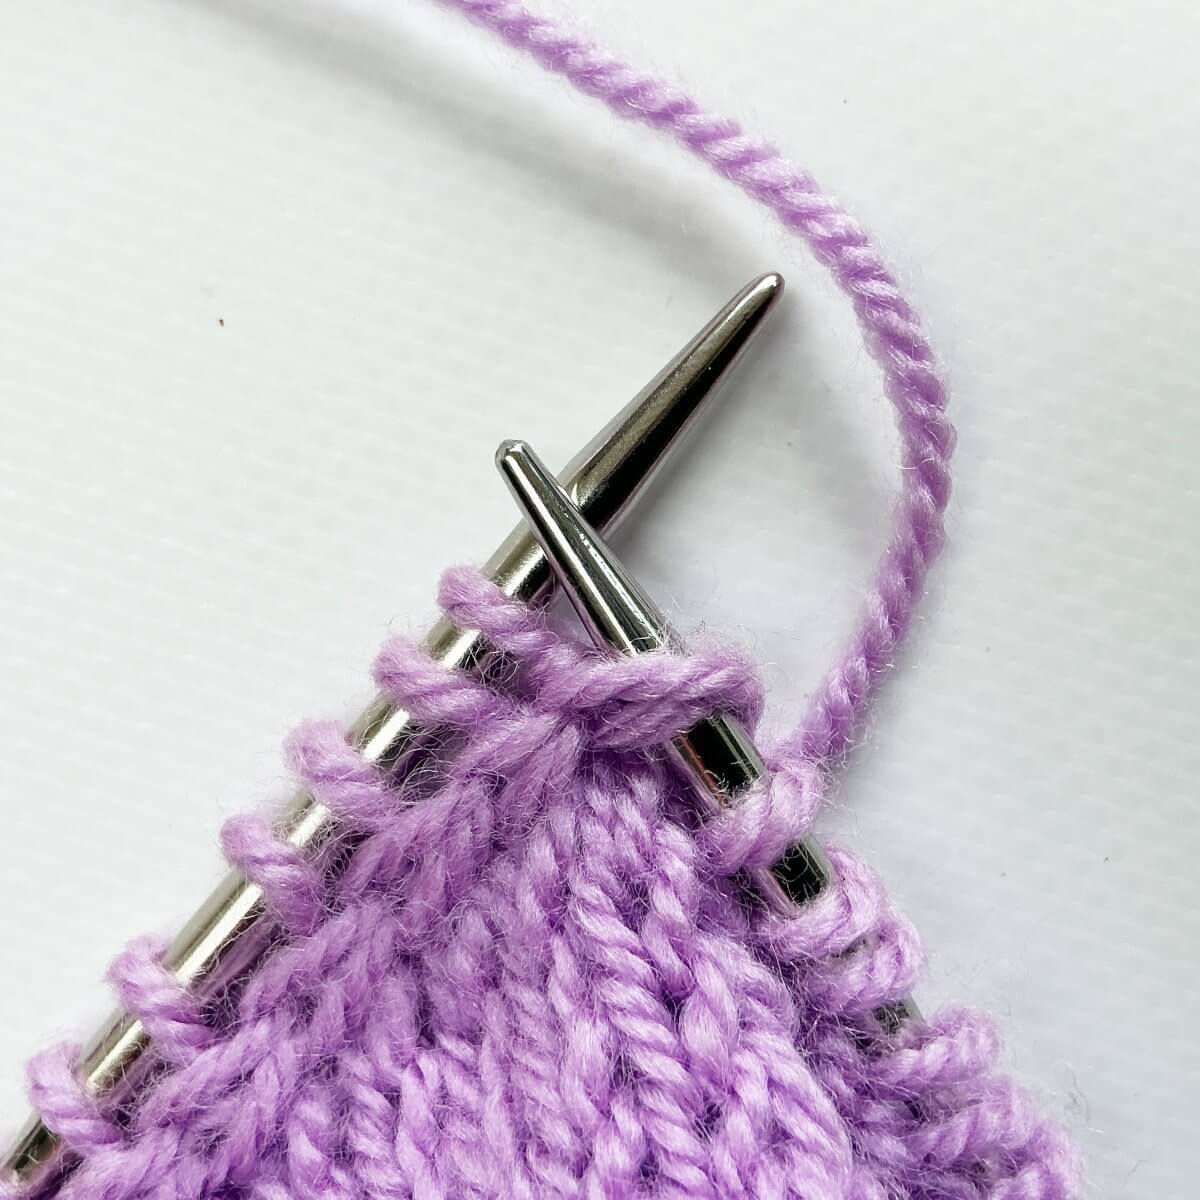
- Then, lift both loops onto the needle as pictured:
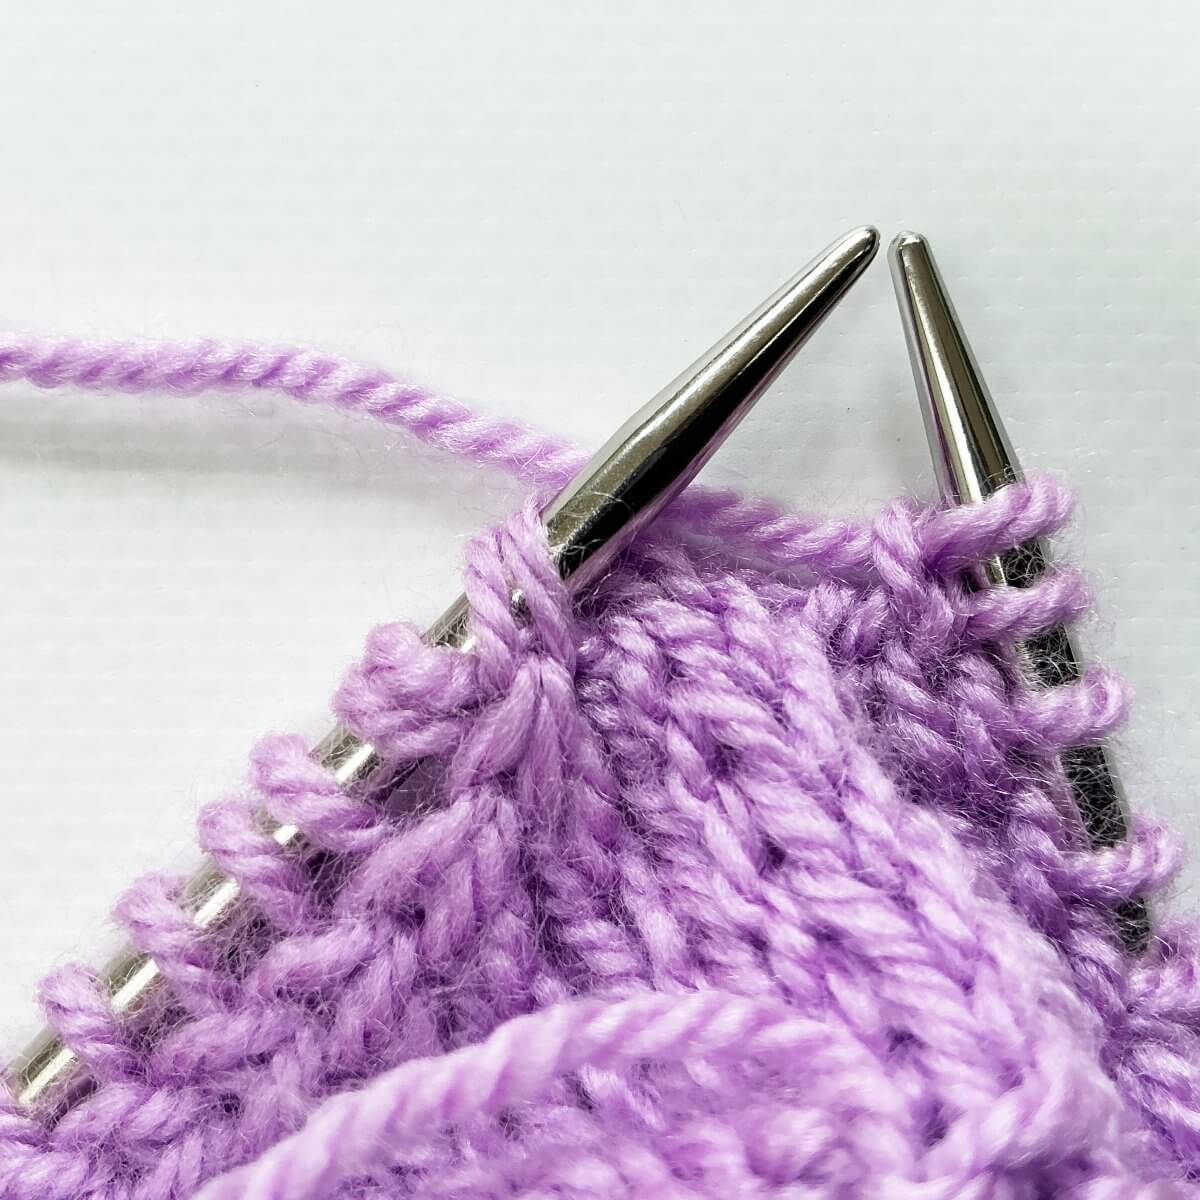
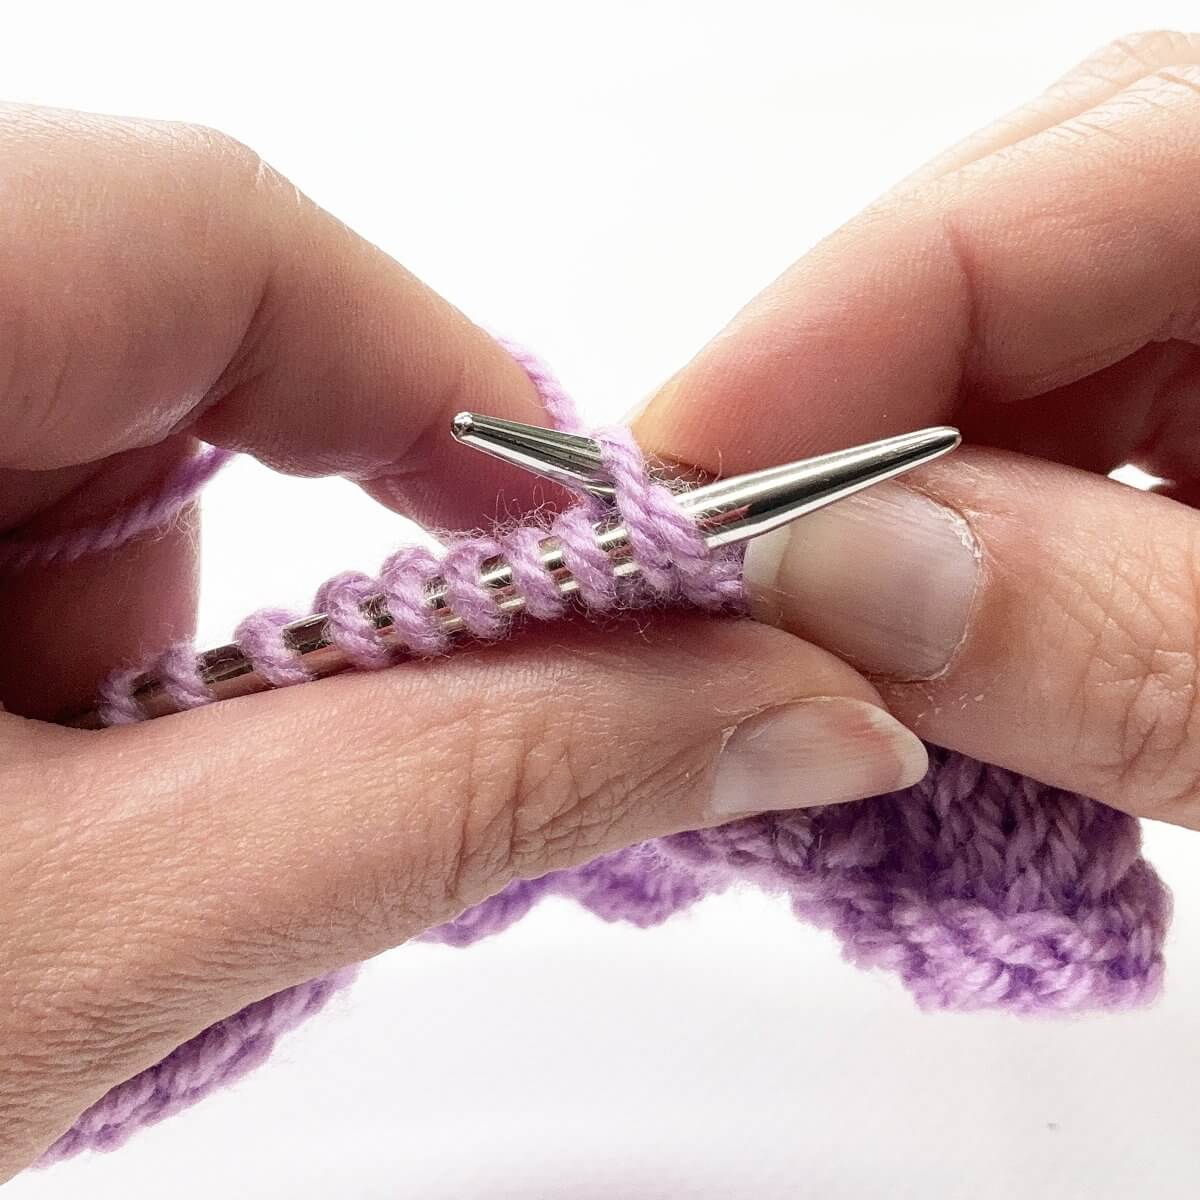
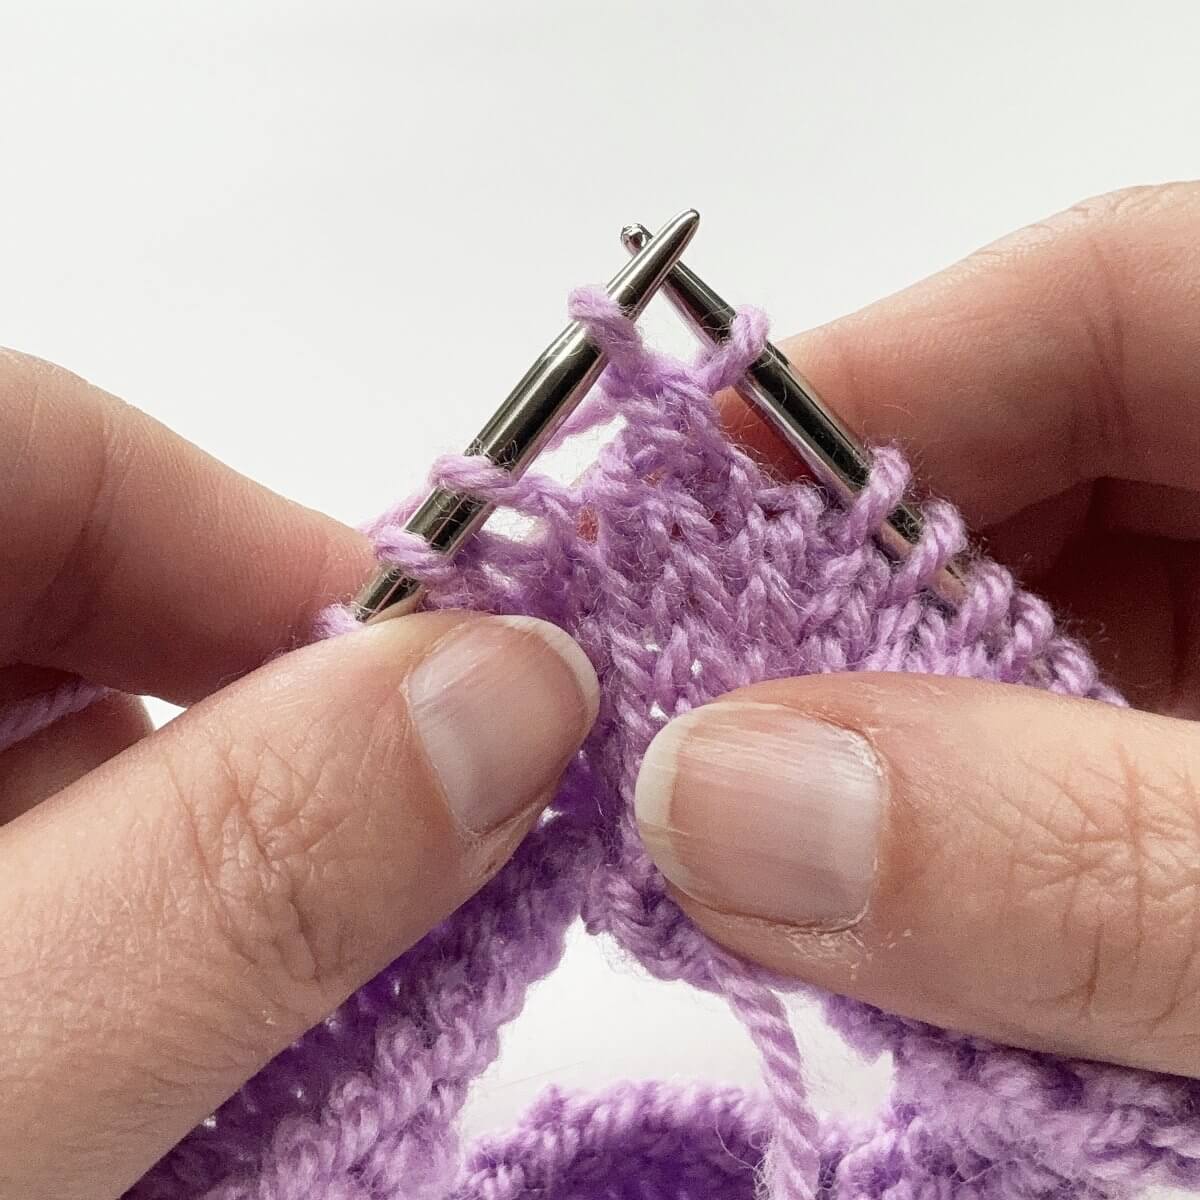
- Now slip the stitch nearest to the tip of the right-hand needle, to the left-hand needle.
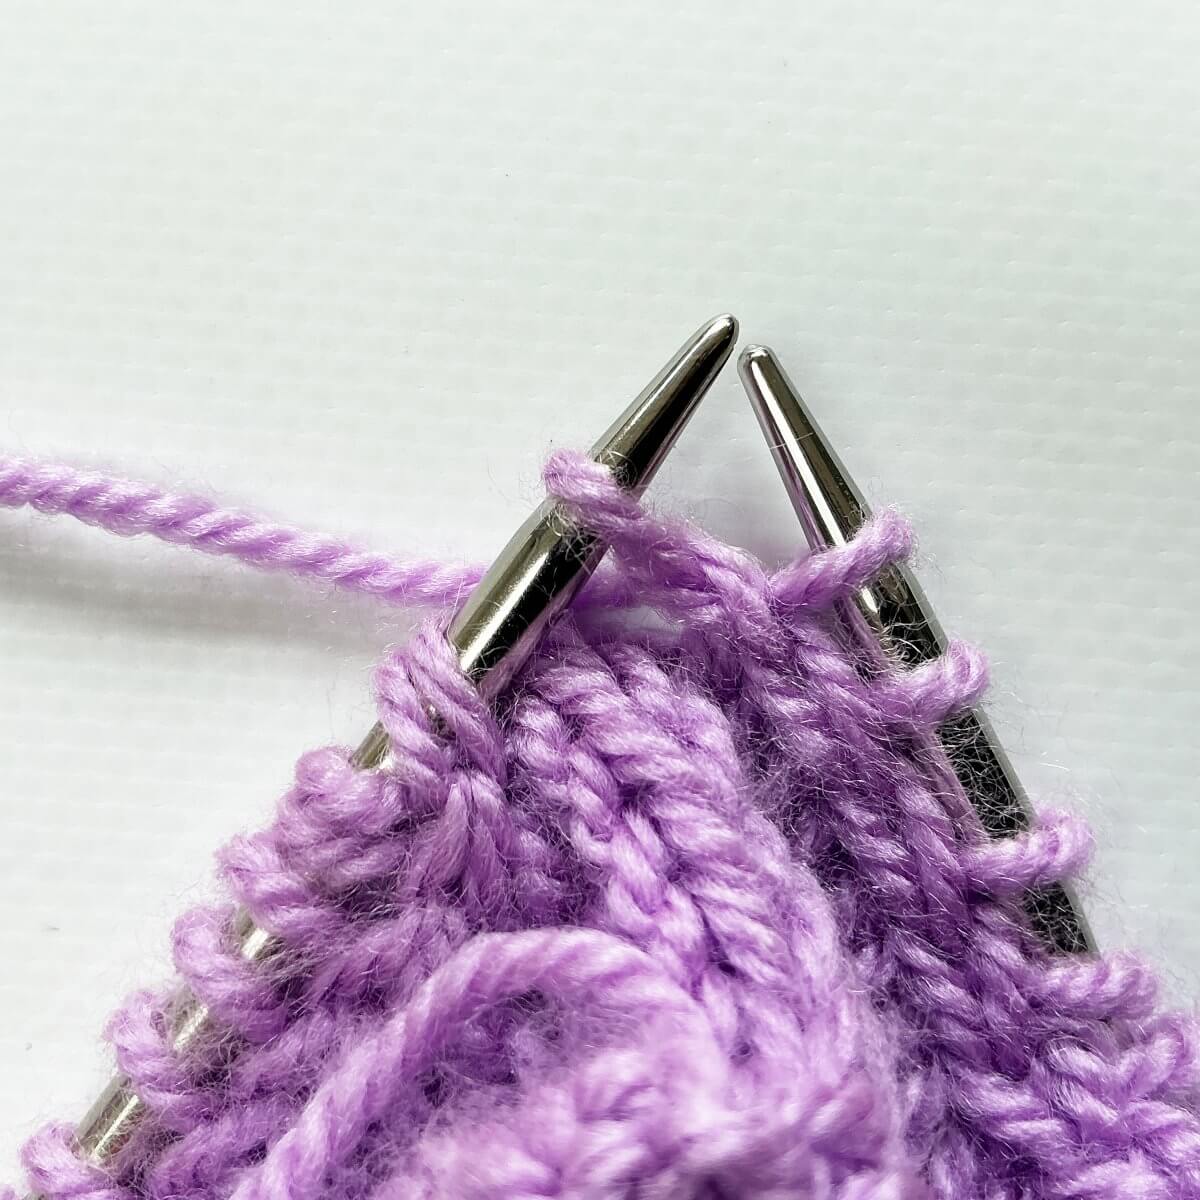
- To finish the round, pull both Vikkel-braid loops over the stitch nearest to the tip of the left-hand needle.
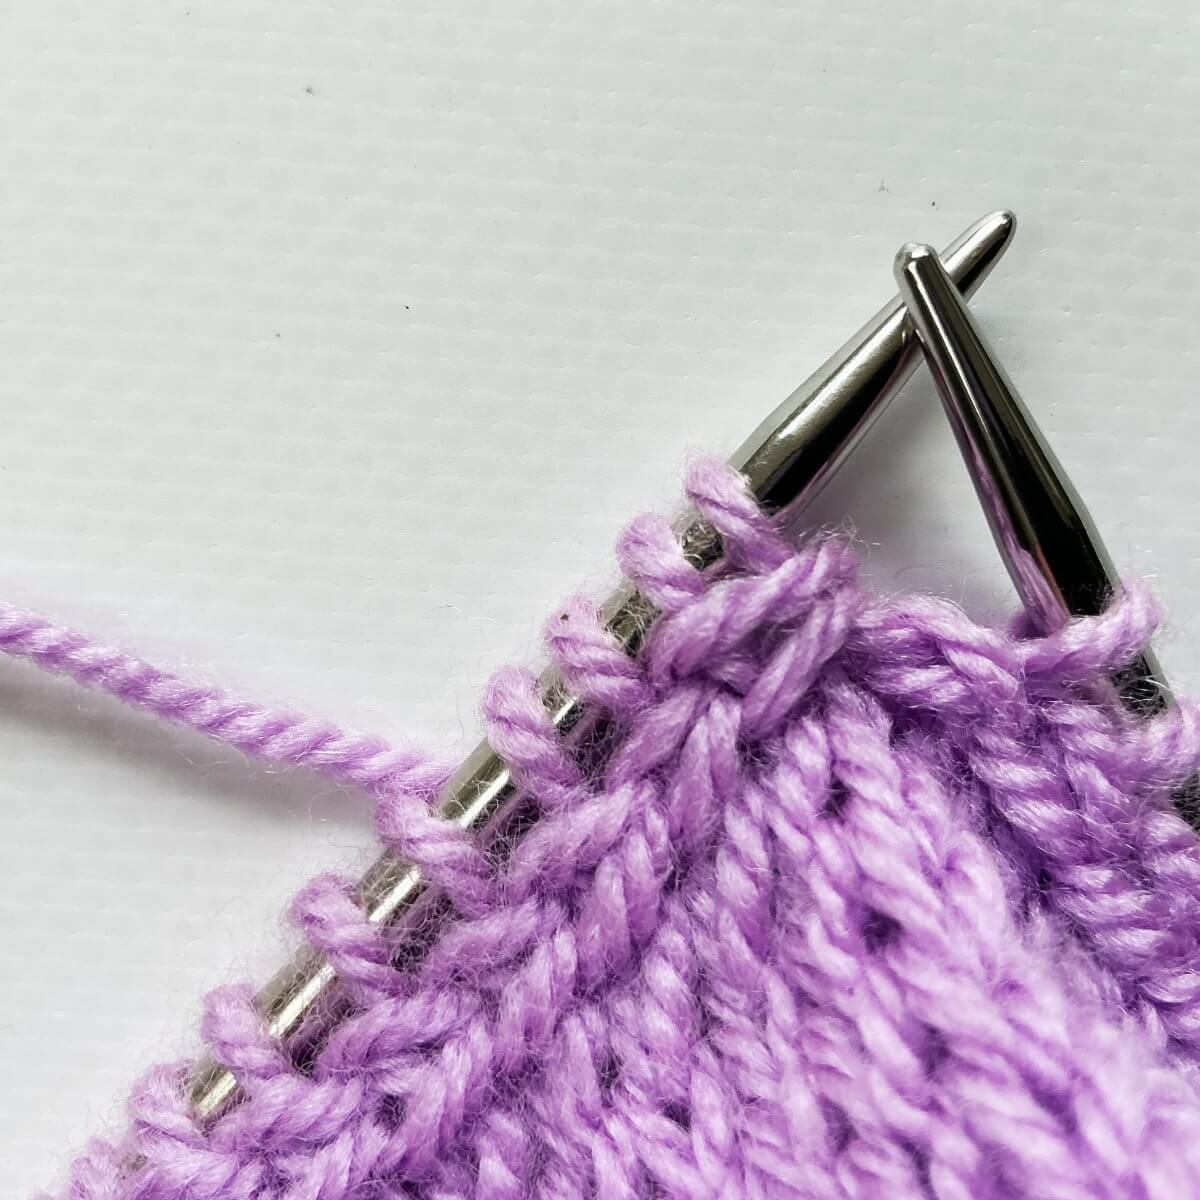
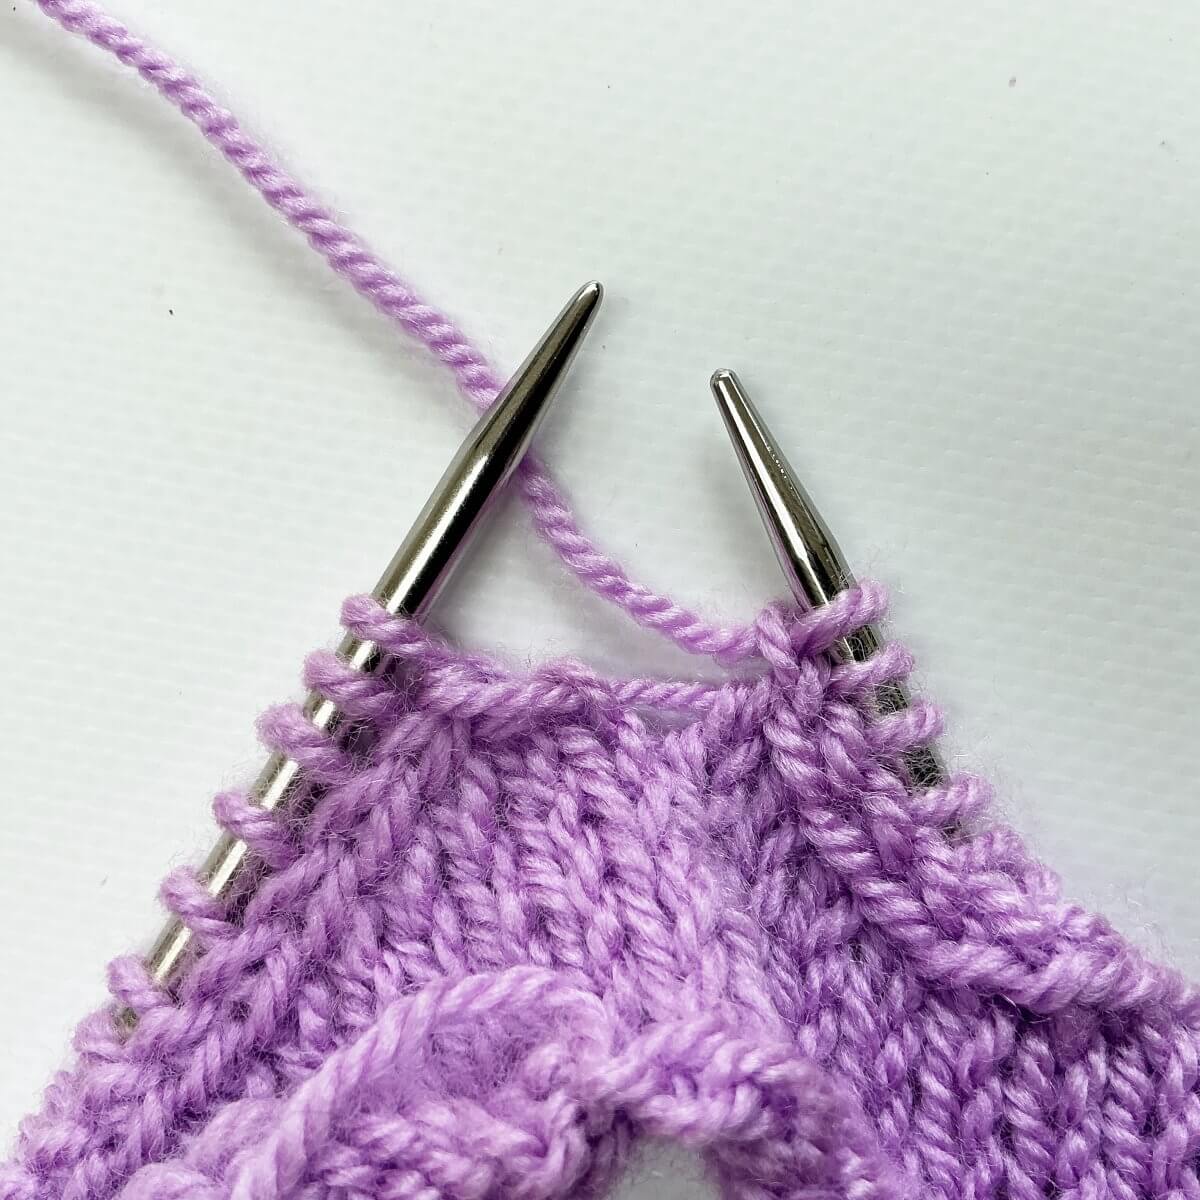
- Slip the stitch back to the right-hand needle, and you’re ready to continue your knitting project.

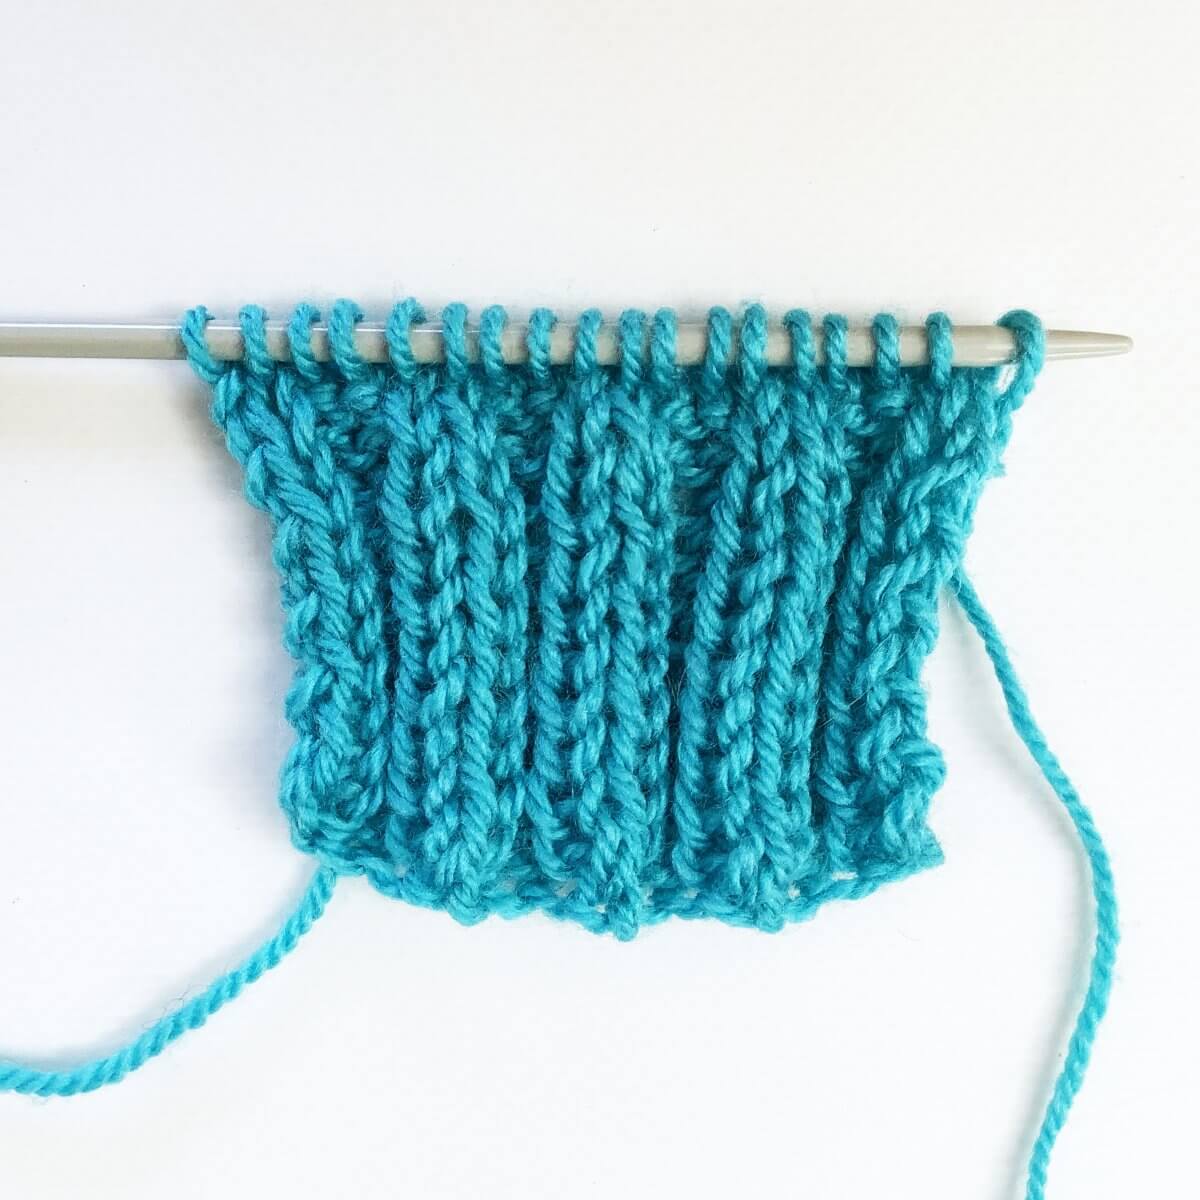
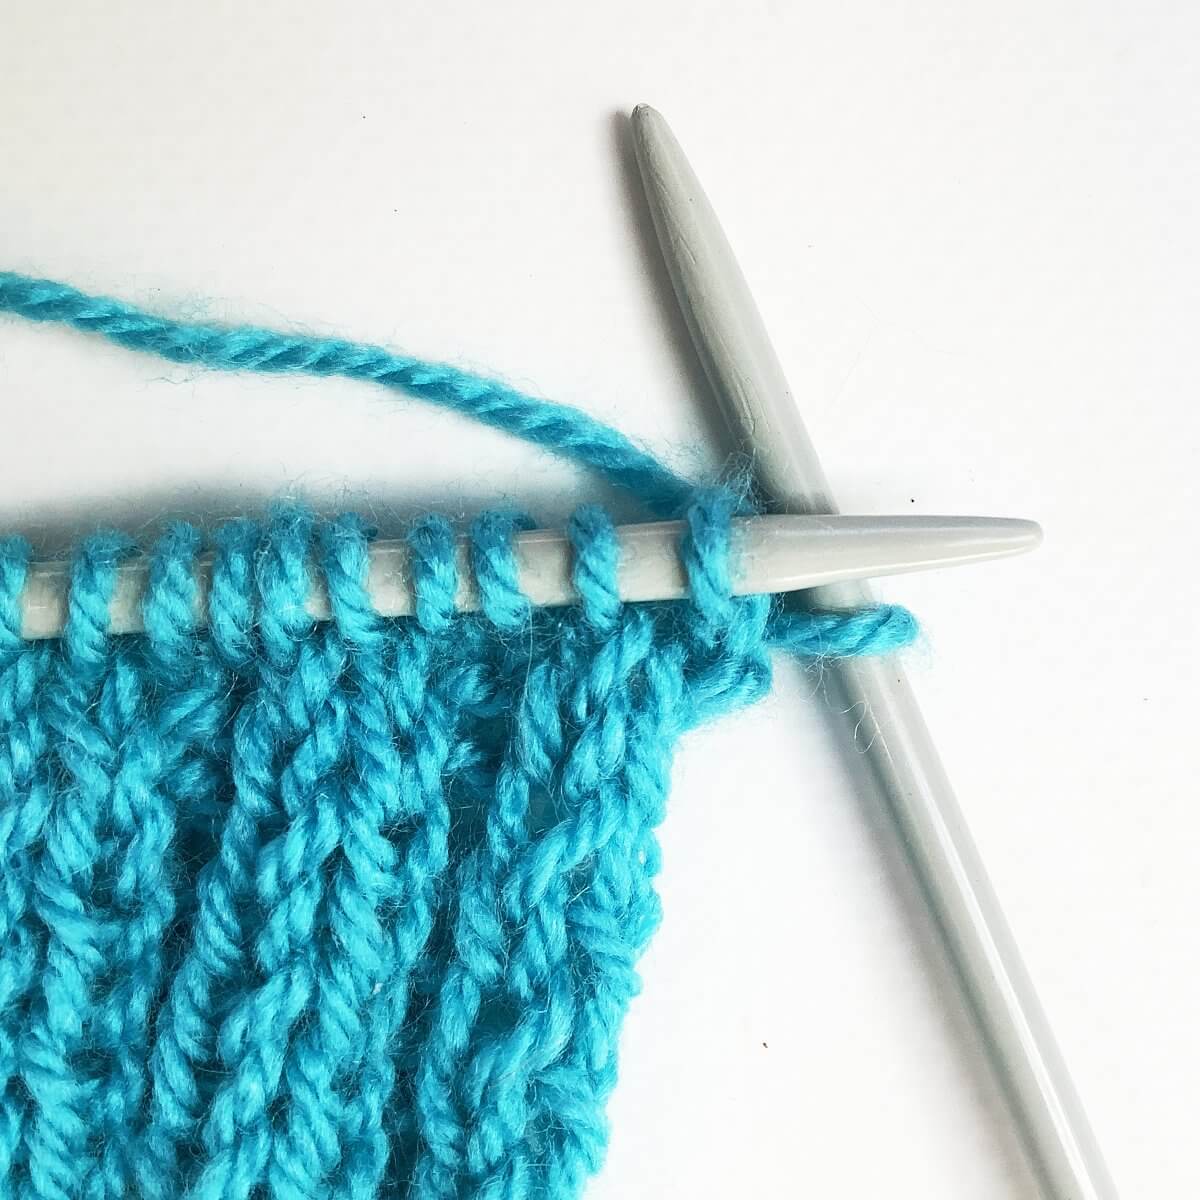
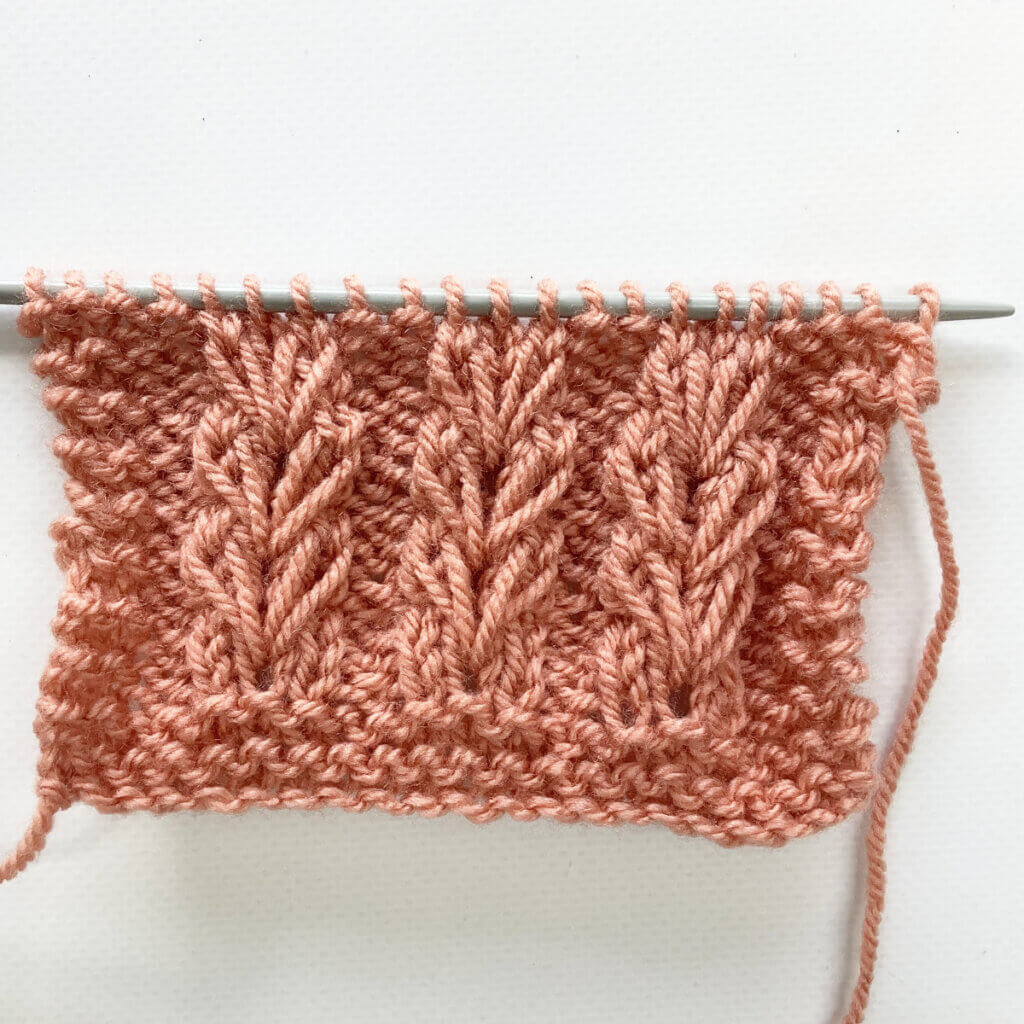
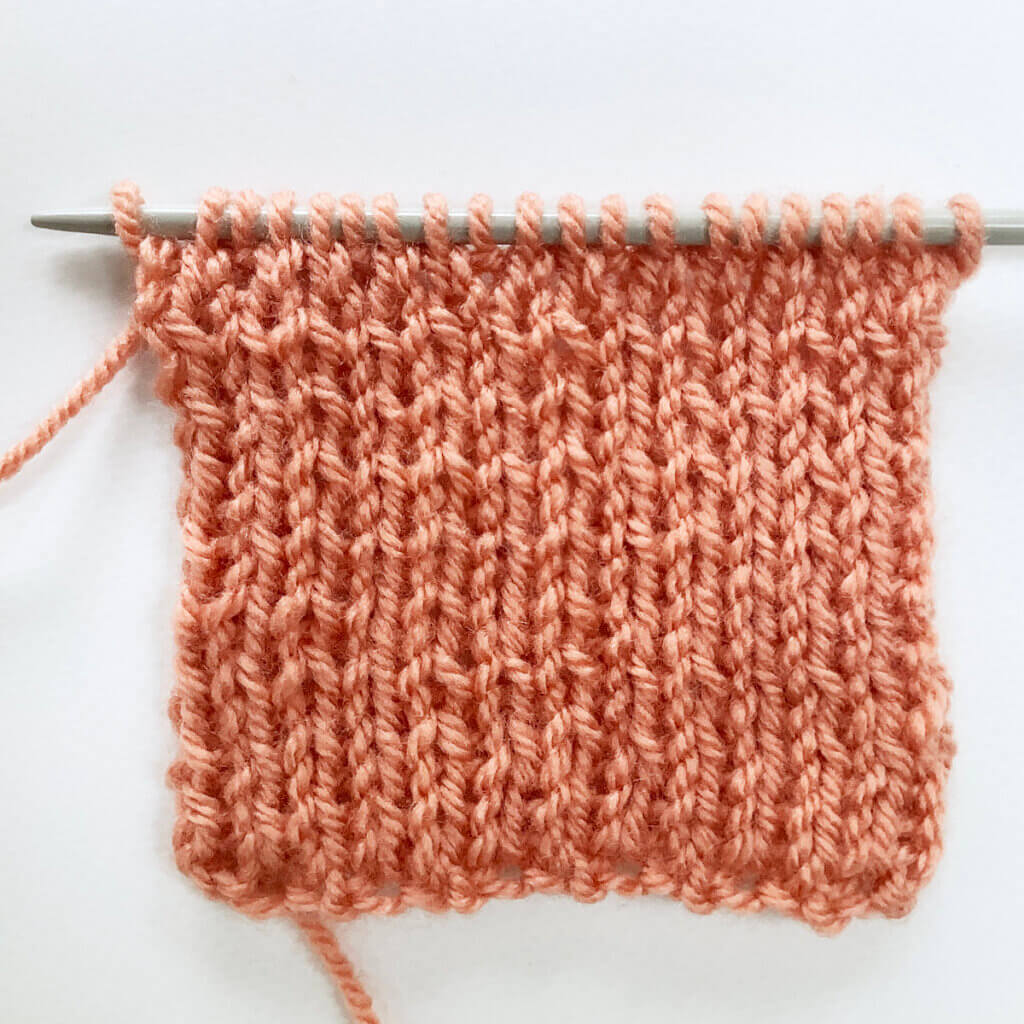
The result
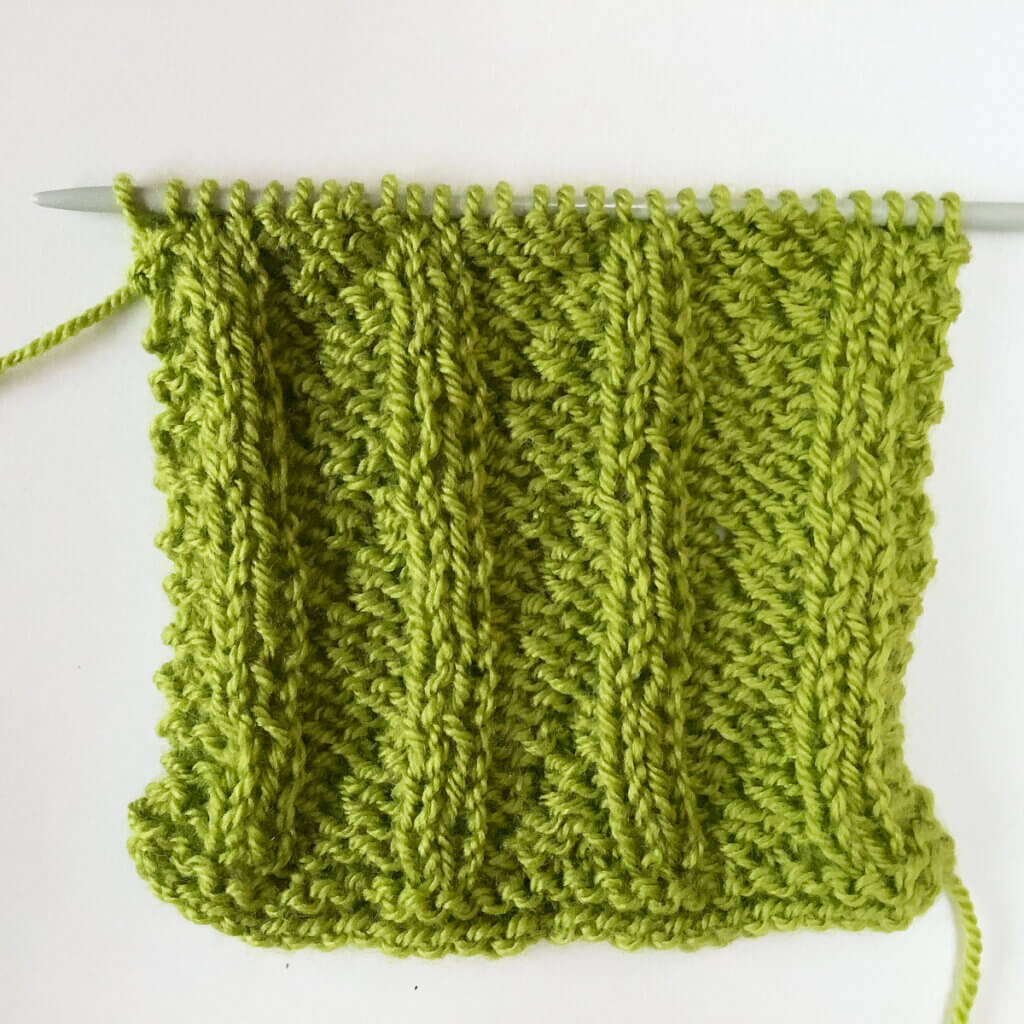
In the below picture, you see the result, after I’ve inserted an end-of-round stitch marker, and worked a bit more than 1 round. Pretty jogless, if you ask me!

Thanks to my Patreon supporters for bringing you this freebie! Creating quality patterns and tutorials is a lot of work and resource-intensive. However, I find it important to give you free content like this tutorial. Thanks to the generous support of my Patreon supporters, I can make it happen. Thank you, patrons! Click here to join, or click here to read more about La Visch Designs on Patreon.
stitch pattern – working a Vikkel braid in the round Read More »