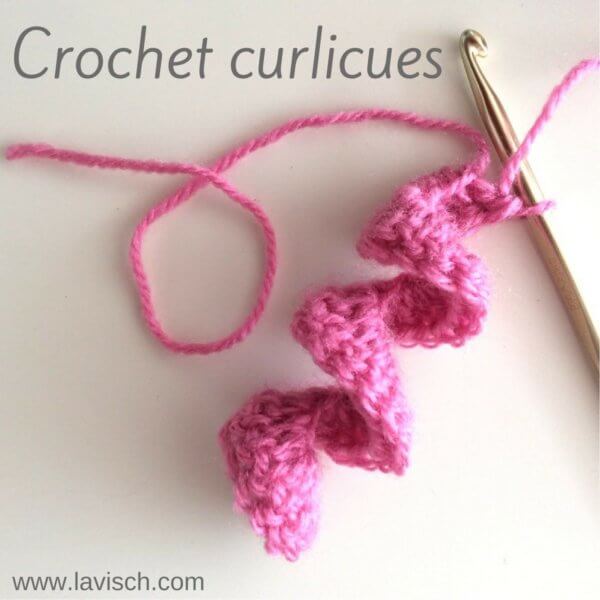
There are many ways to finish the edges of knitted or crochet projects. To name a few examples: crab stitch, shell stitches, and picot stitches. Fringe is also a lovely way to finish scarfs, shawls, blankets etc. But sometimes it is fun to just give it another twist. The answer to that is quite literally curlicues!
Curlicues not only give a lovely result, but are also very addicting to make.
Here you can find how to make curlicues yourself. For the example, I used a generic worsted weight acrylic yarn and a 5 mm (US H-8) hook. These instructions are written in American English crochet terminology.
This is how to make your curlicues step by step:
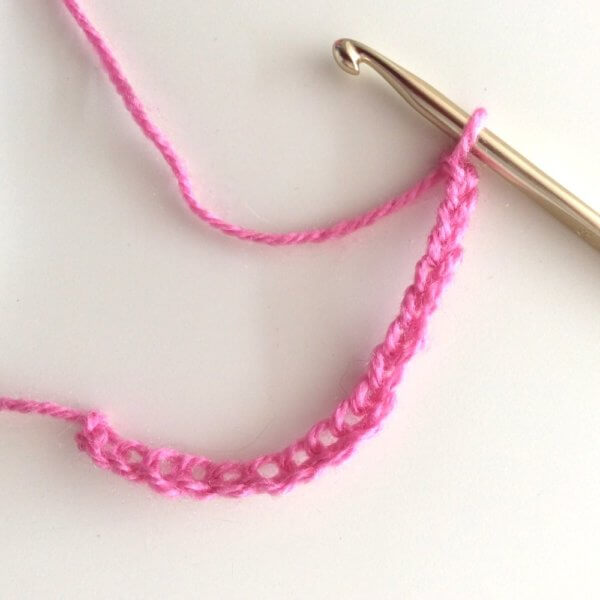
1. Make a chain in the length you would like your curlicue to have, plus 3 extra chains. In this example, I’m using 15 chains + 3 chains. Be careful not to make the chains too tight, because that will make it harder to crochet into it later.
2. Make 2 dc in the 4th chain from the hook.
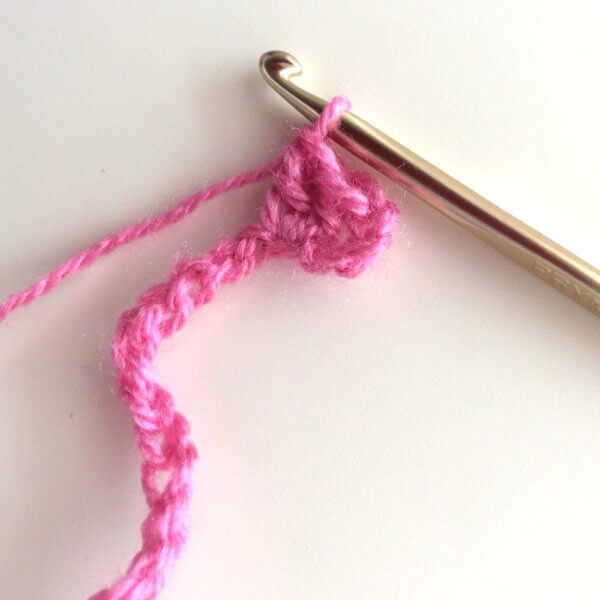
3. Next, make 3 dc in each following chain. For the result, it doesn’t really matter where exactly to place your hook into the chain. Use the way you find easiest or gives the nicest result to you. When you are about halfway the initial chain, you should slowly see the curlicue shape emerge!
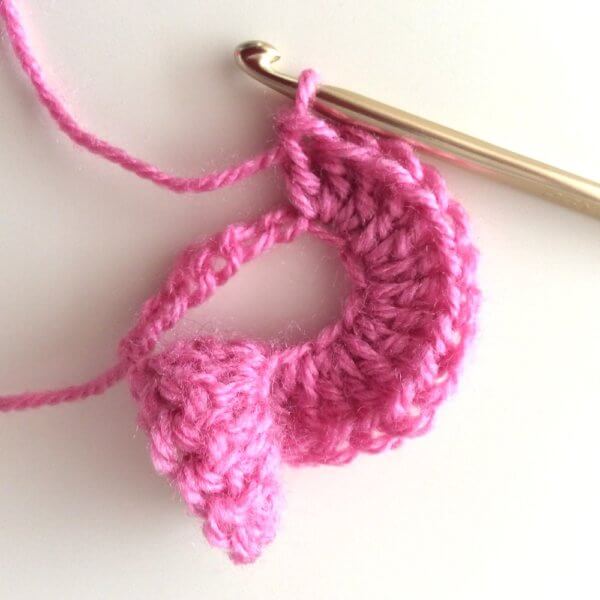
And here the curlicue is all done, isn’t it cute?

You can also get nice effects by not making the curlicues not in a solid colored yarn, but in a variegated one. You can also make curlicues with half double crochet (hdc) stitches instead of double crochet (dc) to get a less wide result.
Curlicues are also fun to dress up stuffed animals with, think of the arms of an octopus, or the wild manes of a lion. The sky is the limit!
")

")
