tutorial – working a double yo
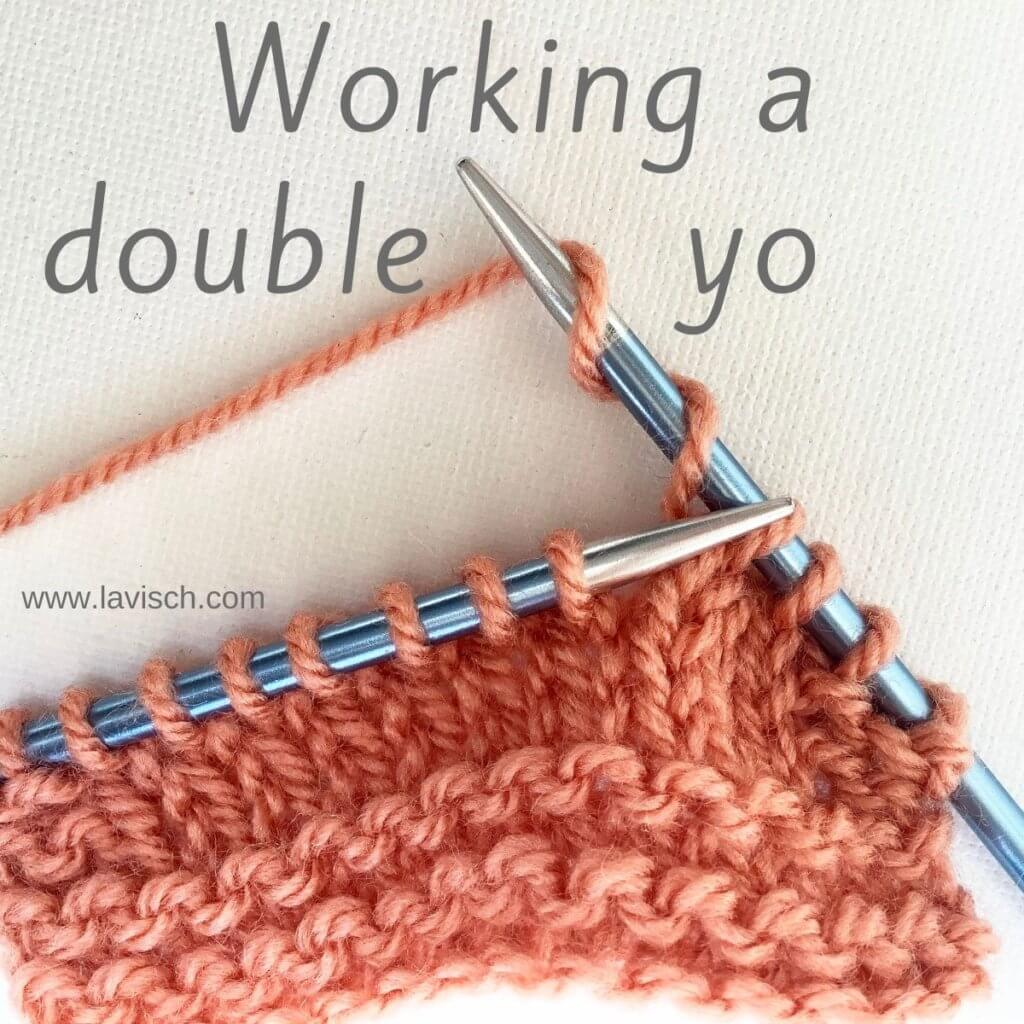
A yarn over (abbreviated as “yo”) is a simple way to increase stitches and deliberately make a little hole in your knitting. I wrote all about it in this tutorial. A double yarn over is exactly what it seems to be: a yarn over that creates two new stitches instead of a single one as with a regular yarn over. And yes, the hole that it creates when using this stitch in lace is bigger as well. In patterns, it’s sometimes referred to as “yarn over twice”.
This tutorial will give you step-by-step instructions on how to work the “double yarn over” increase.
Materials used


Yarn: * Paintbox Yarns Simply DK, a good value, good quality 100% acrylic yarn, here in the color 155 Vintage Pink.
Needles: * KnitPro Zing Fixed Circular Needles. In this tutorial, I used the 4 mm (US 6) size with a cable length of 80 cm (32 inches).
Working a double yo step by step
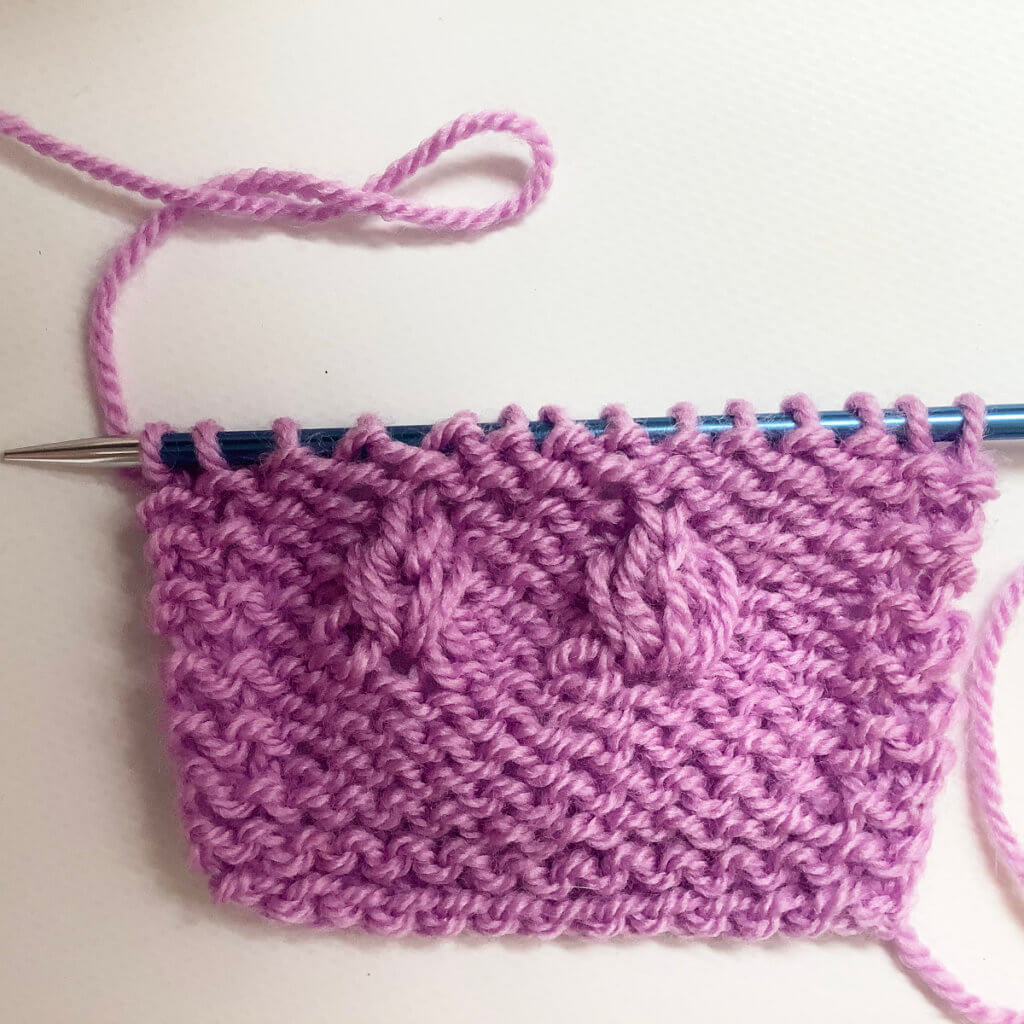
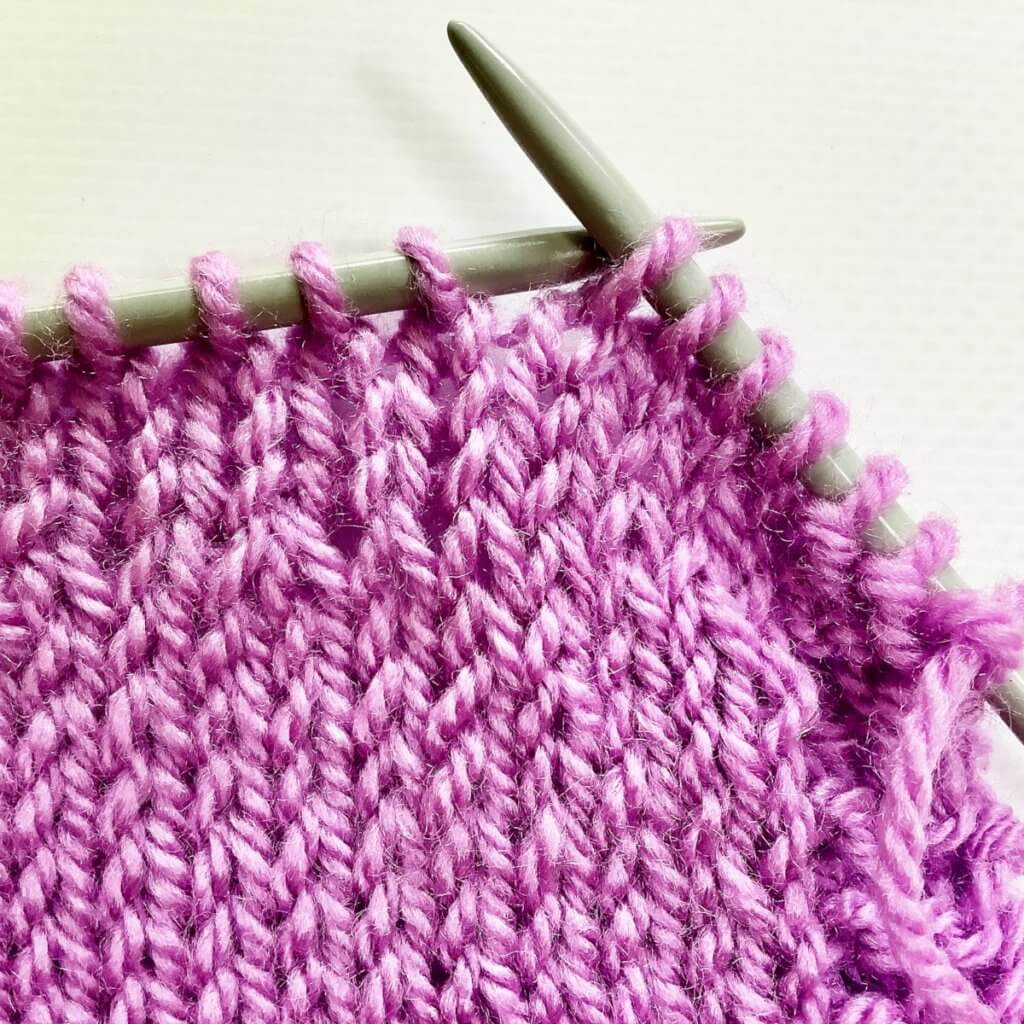
For this tutorial I made a little swatch in stockinette, with garter stitch borders to prevent it from curling.
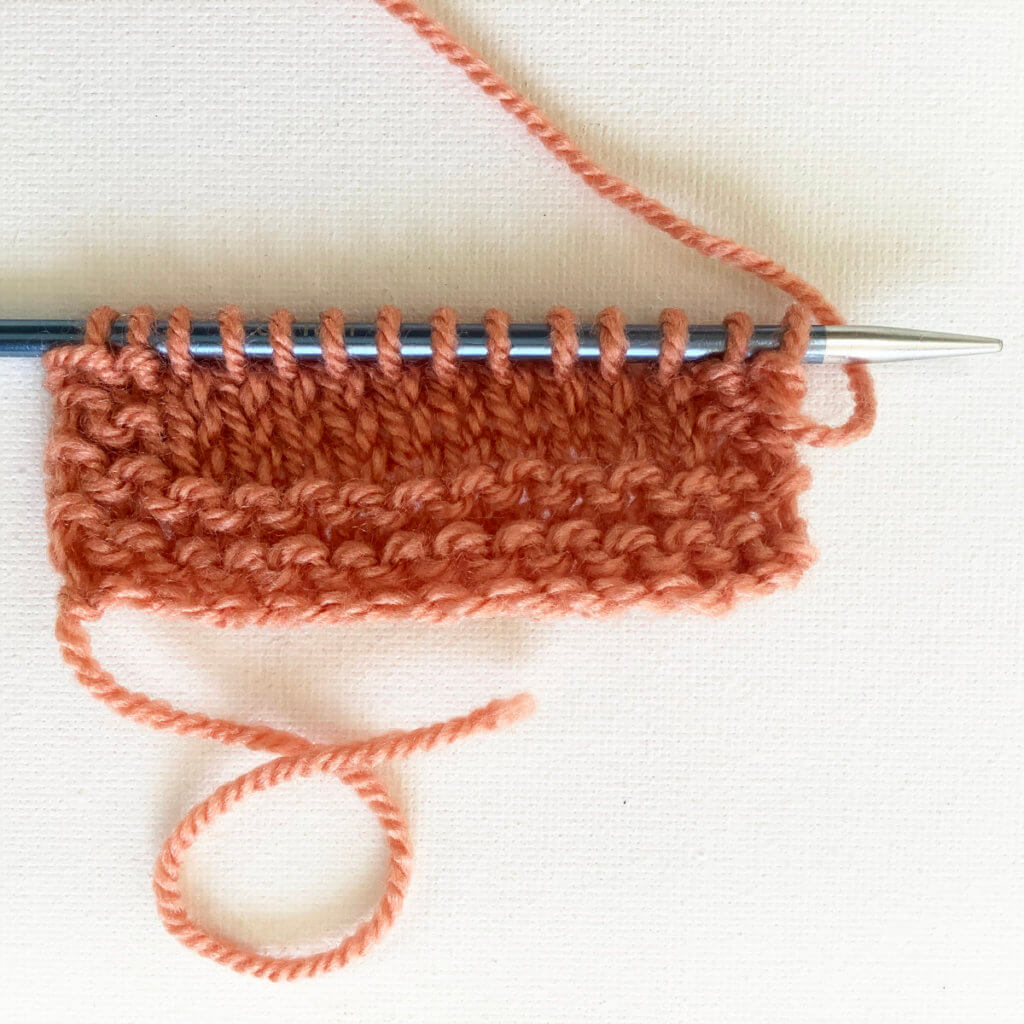
1. First, work your way across the row until you’ve reached the point where you want to make the increase. In this case, I will be making the double yo increase 2 sts in from each of the garter stitch borders. But, I don’t want to increase the total number of stitches on my needles. This means that for every double yo worked, there should also be 2 stitches decreased. In this example I’ll be working a k2tog before the double yo and an skp after it.
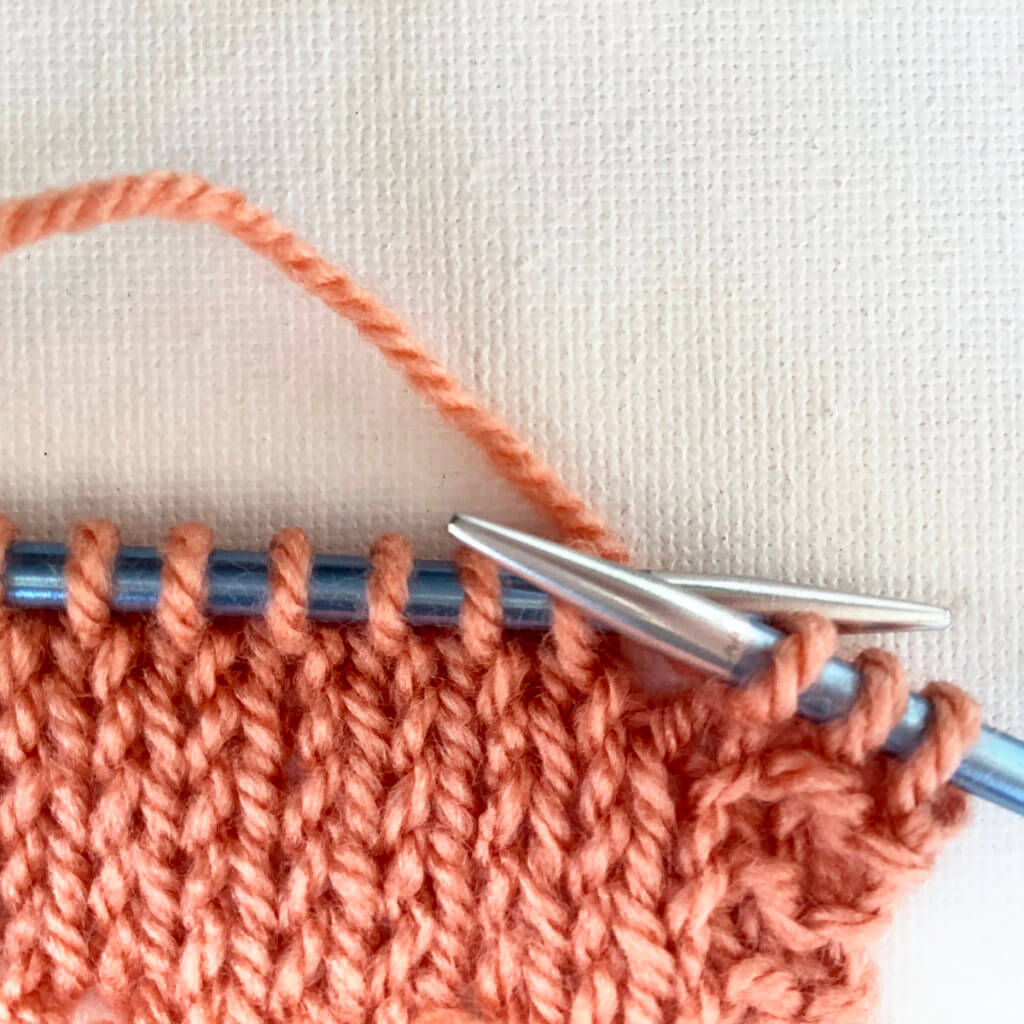
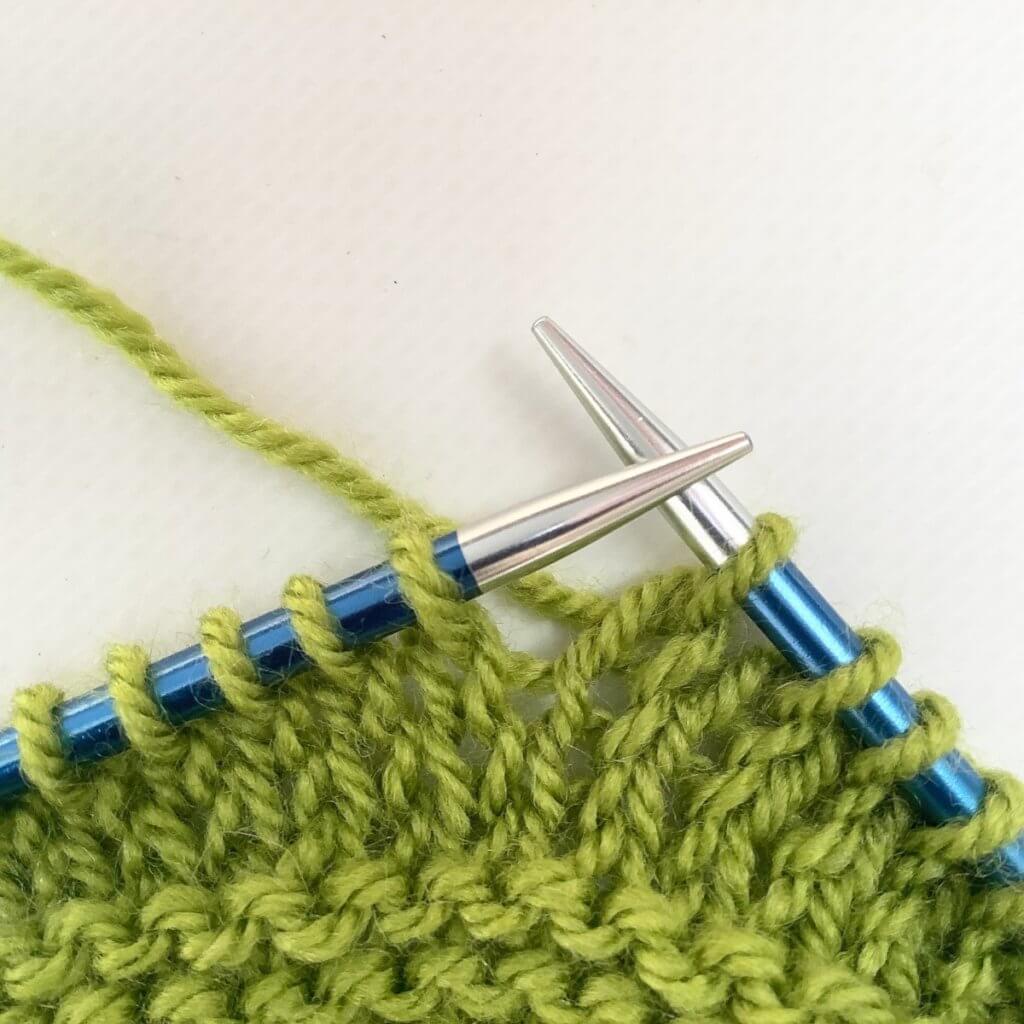
2. In the below picture I’ve worked the k2tog decrease.
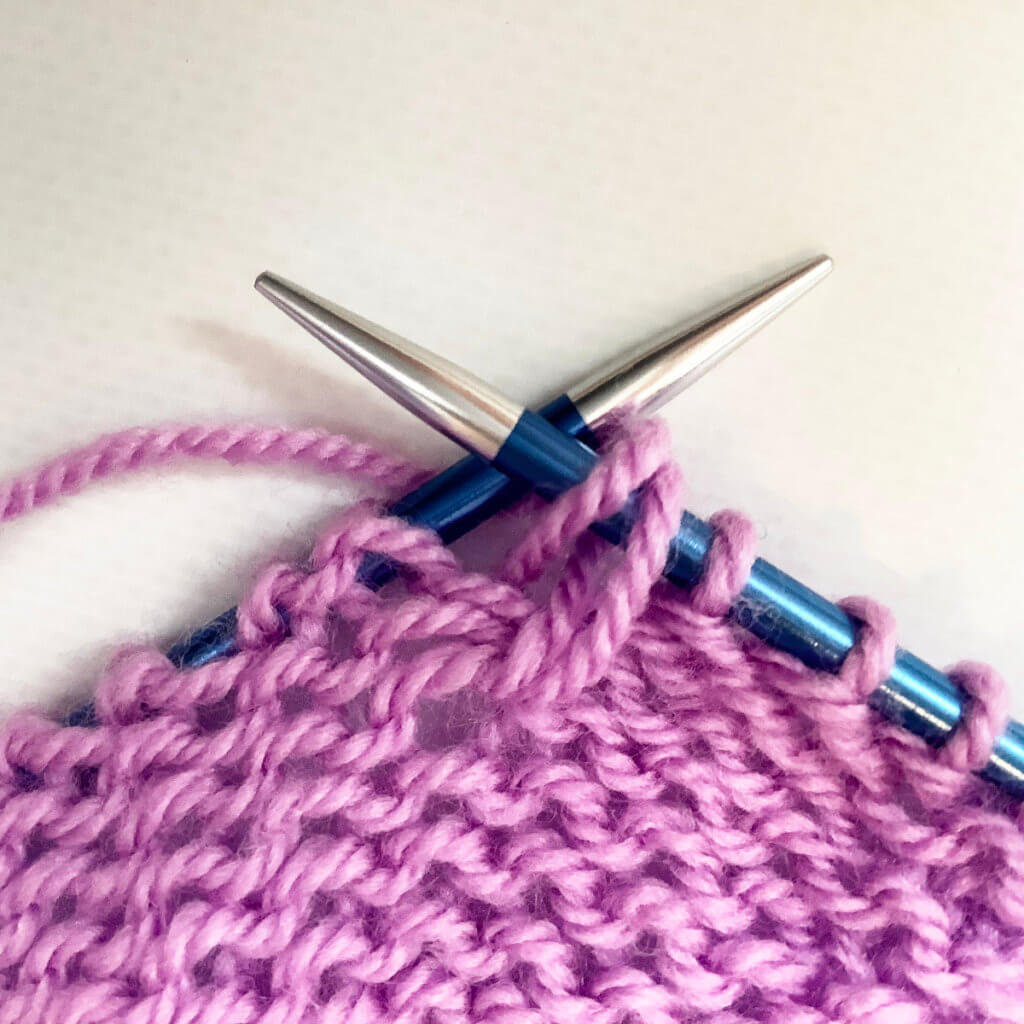
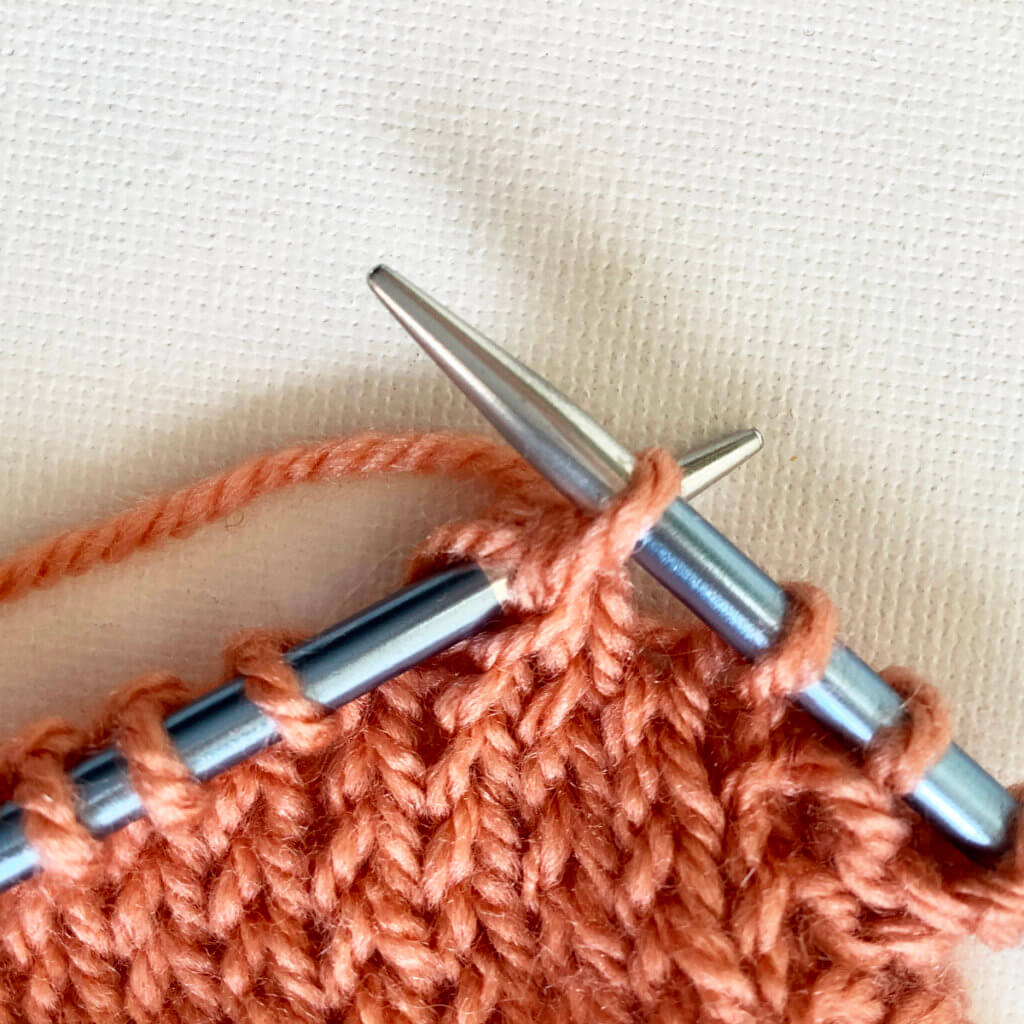
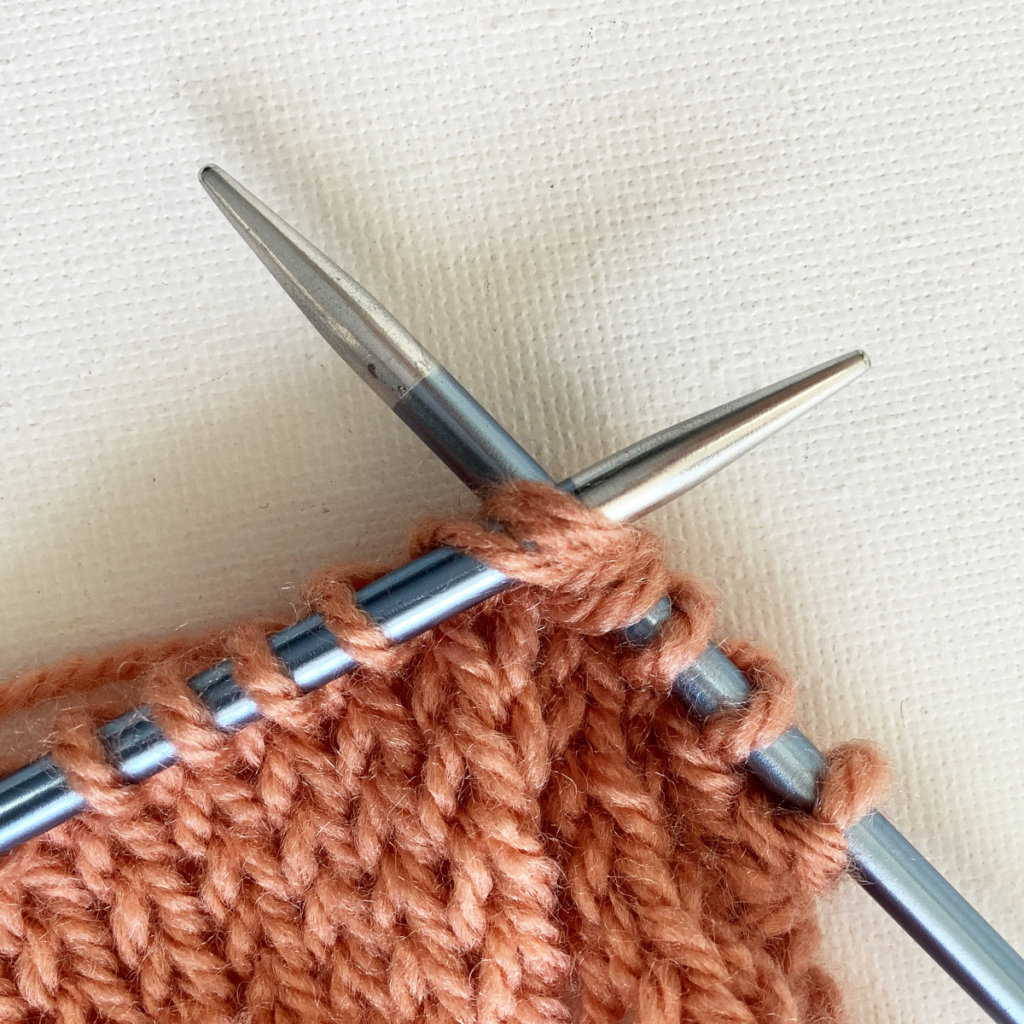
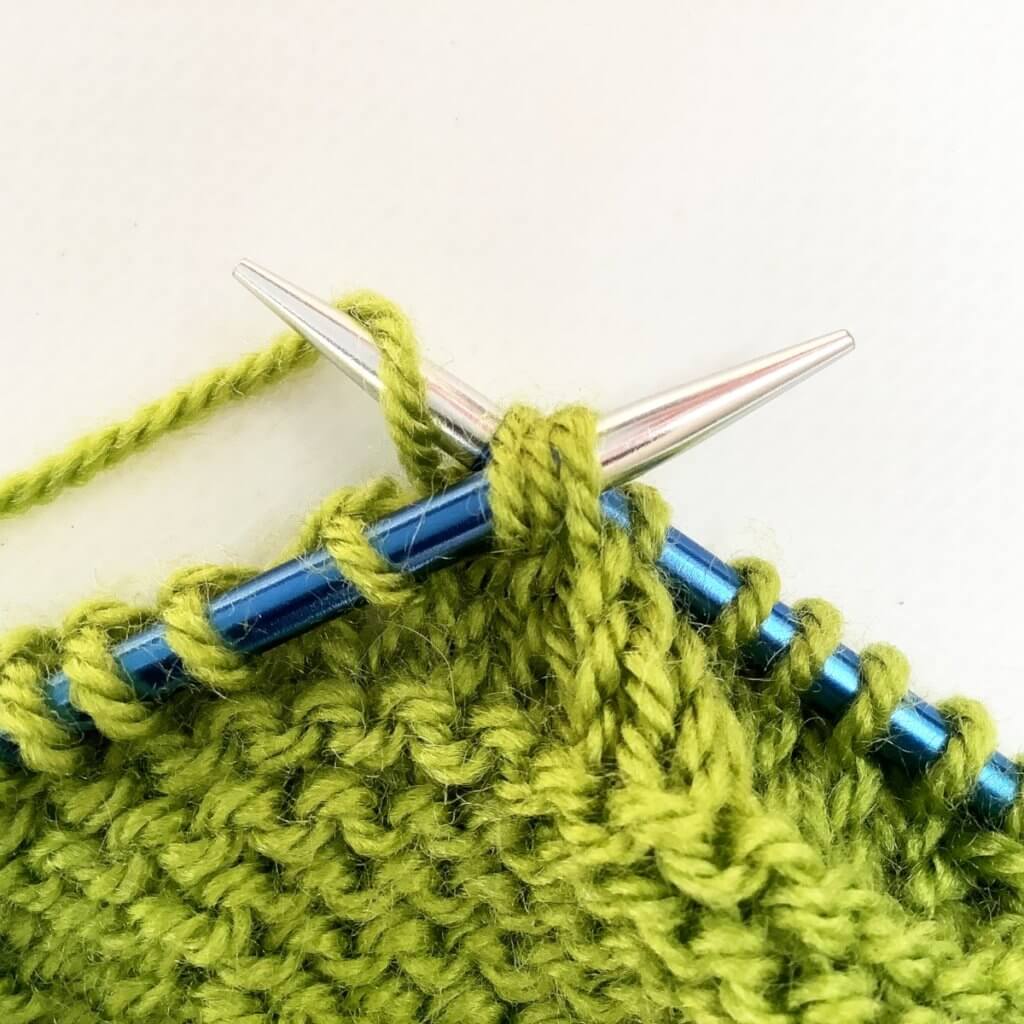
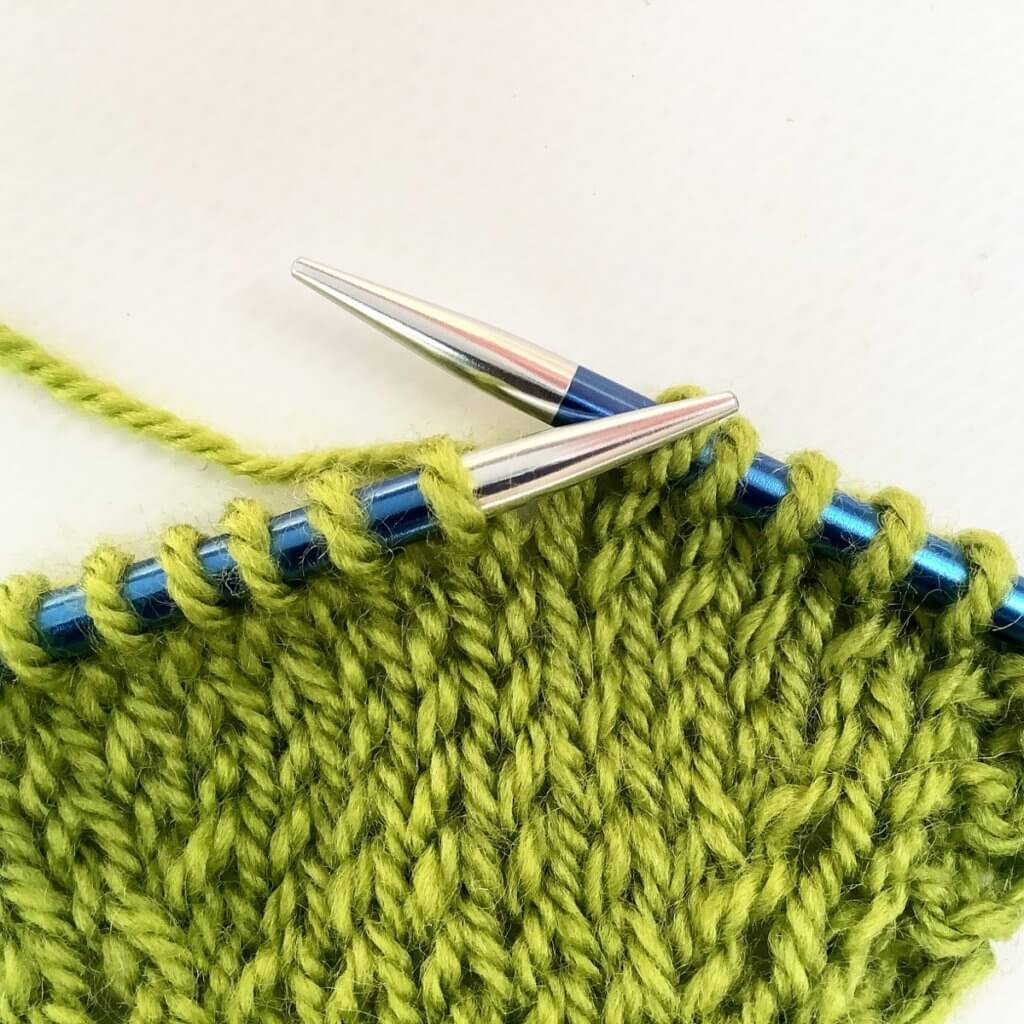
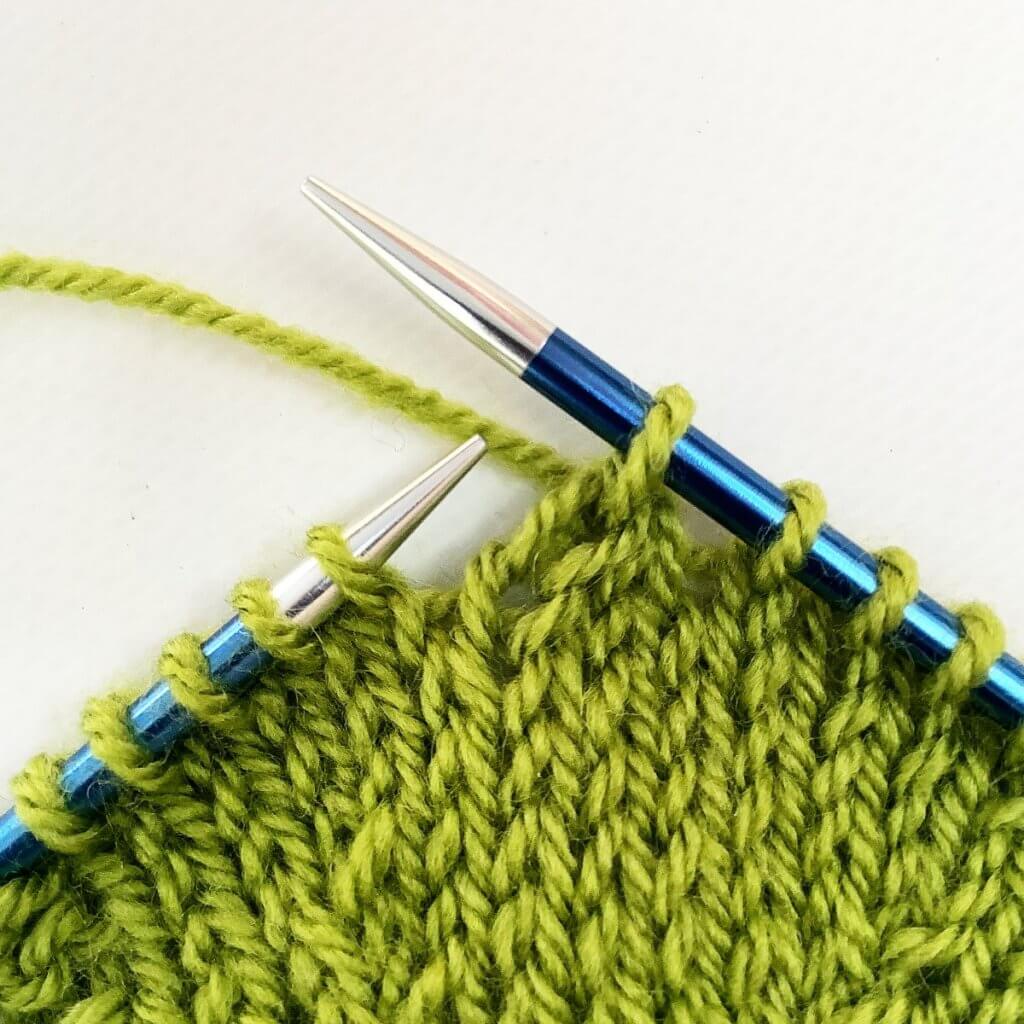
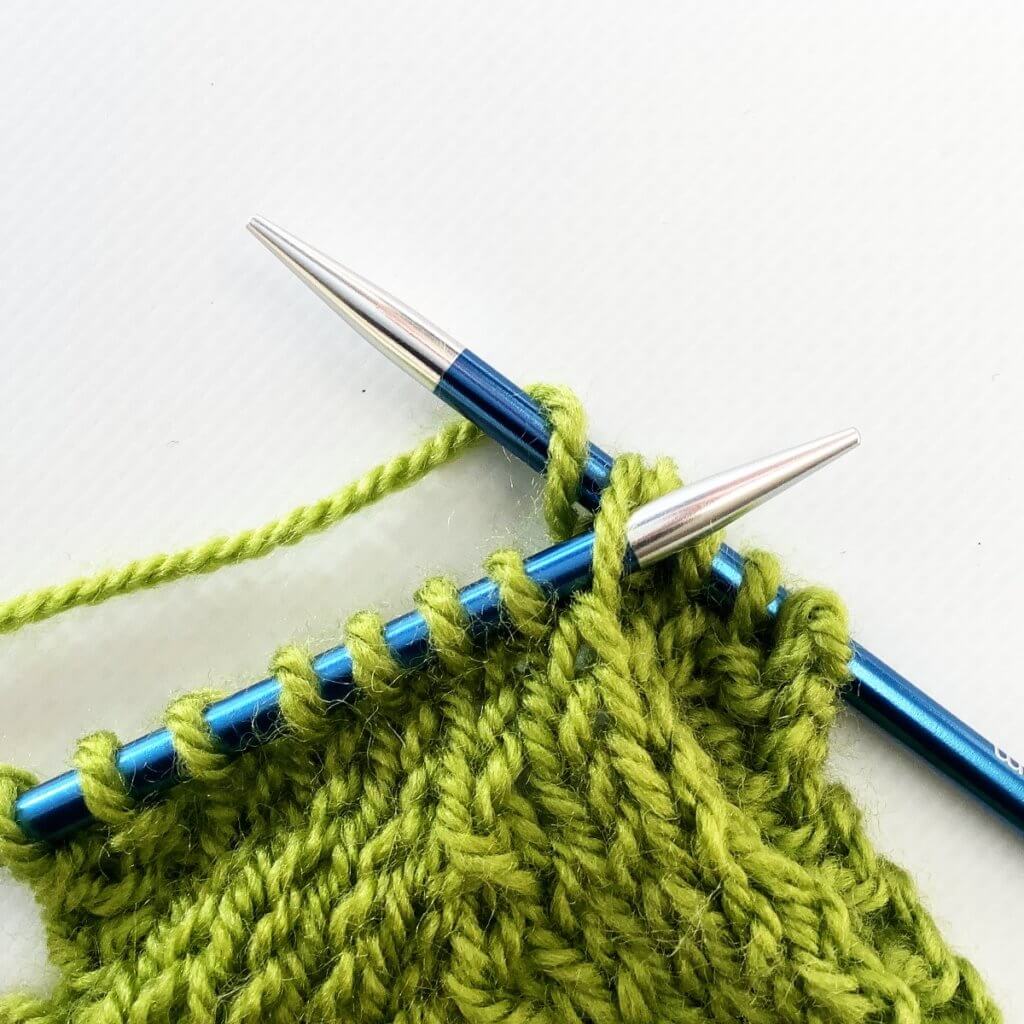
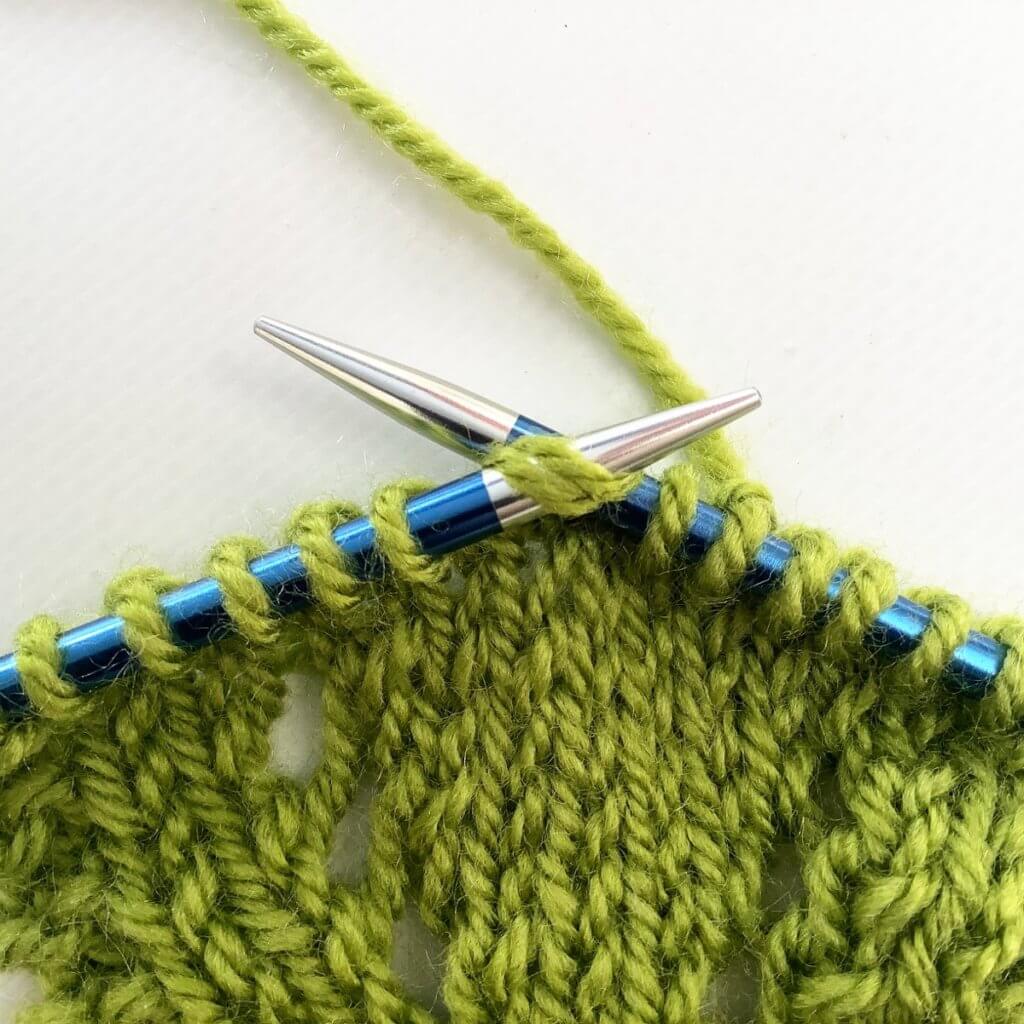
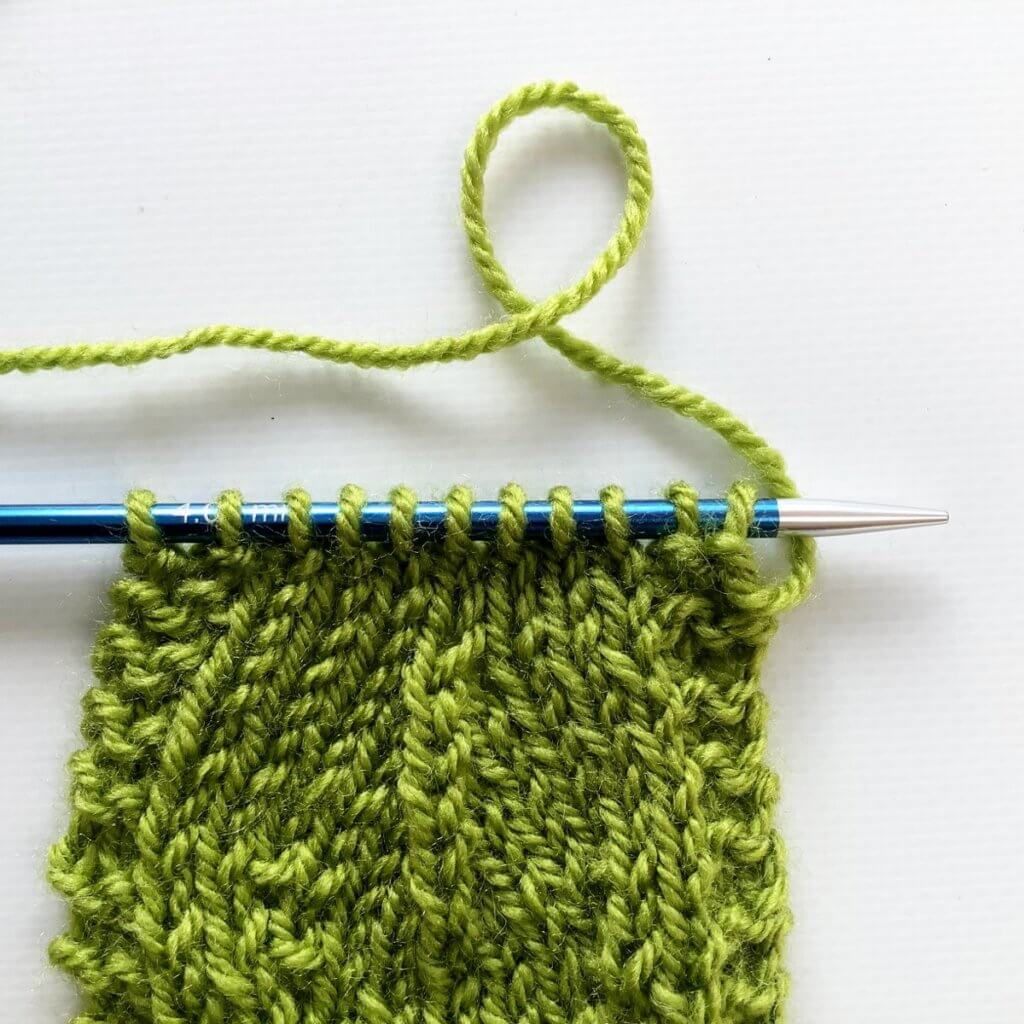
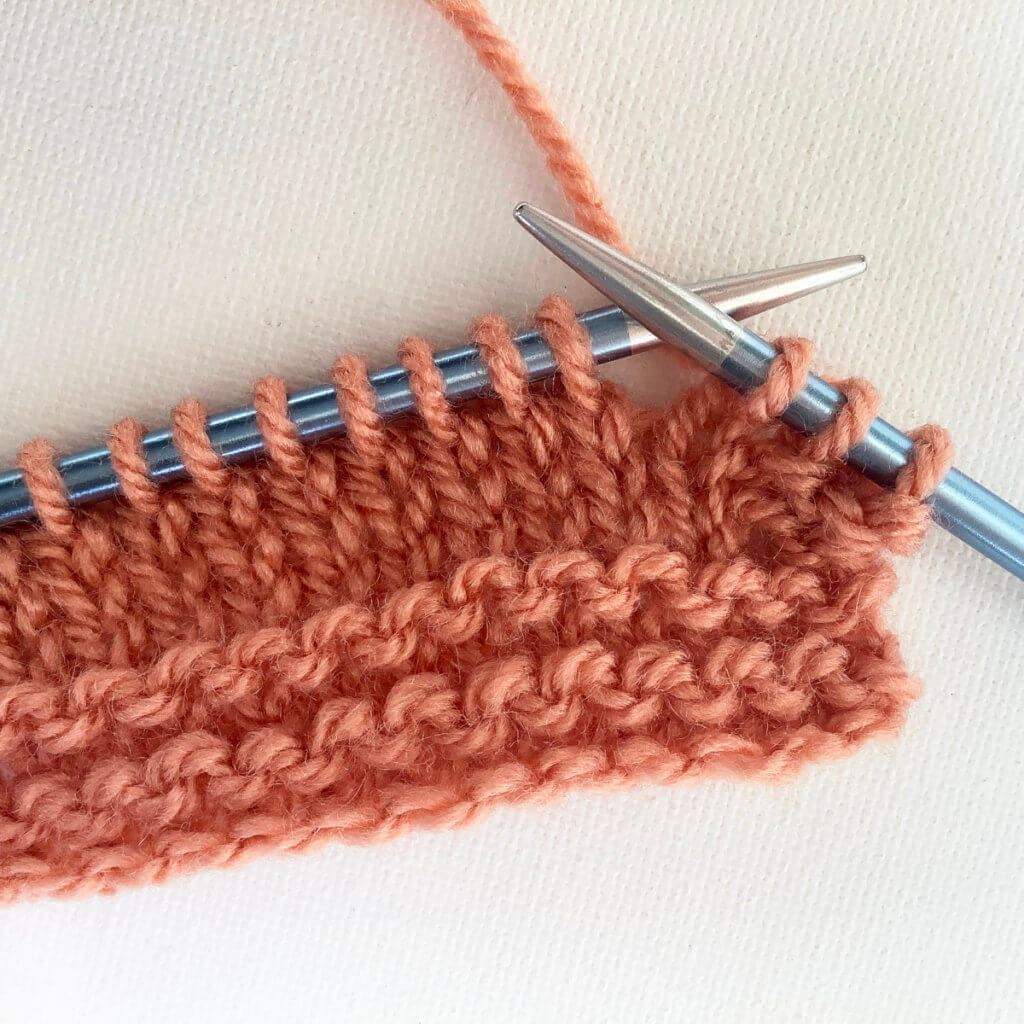
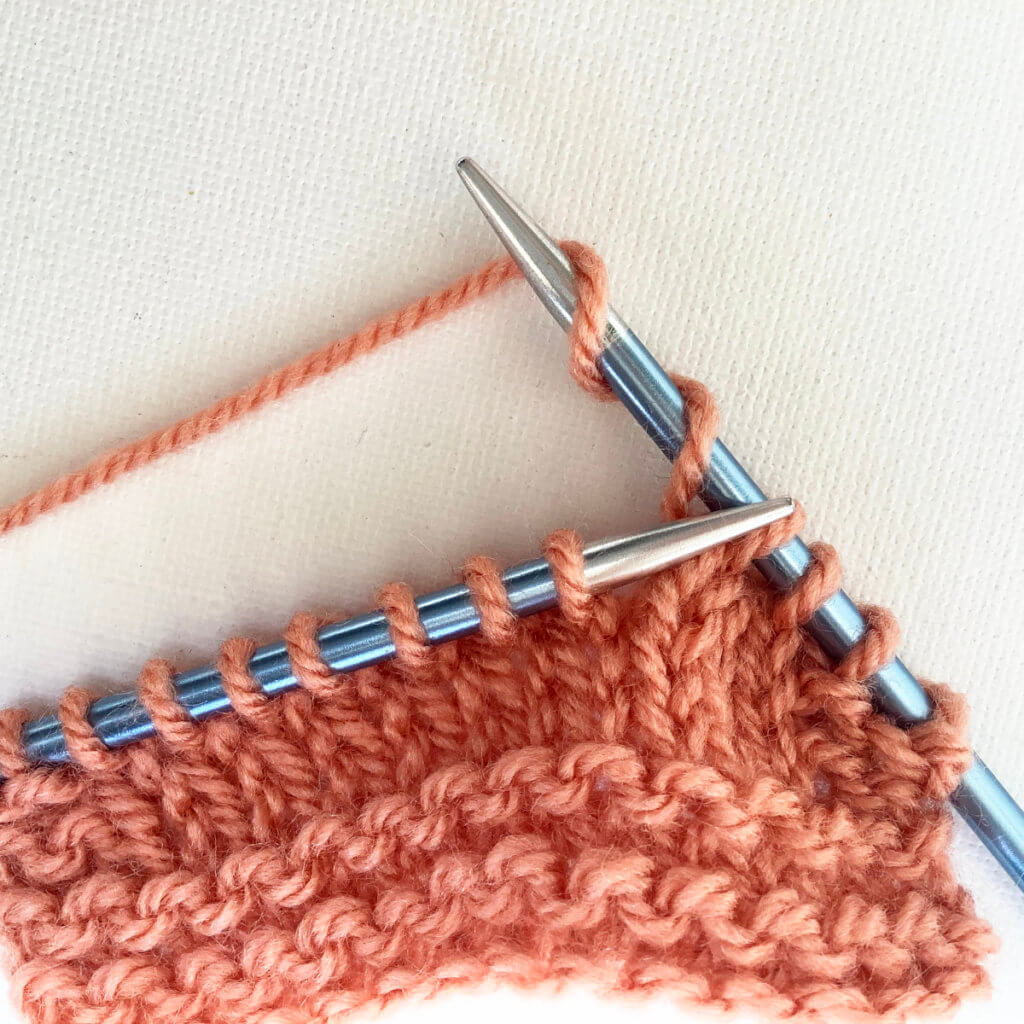
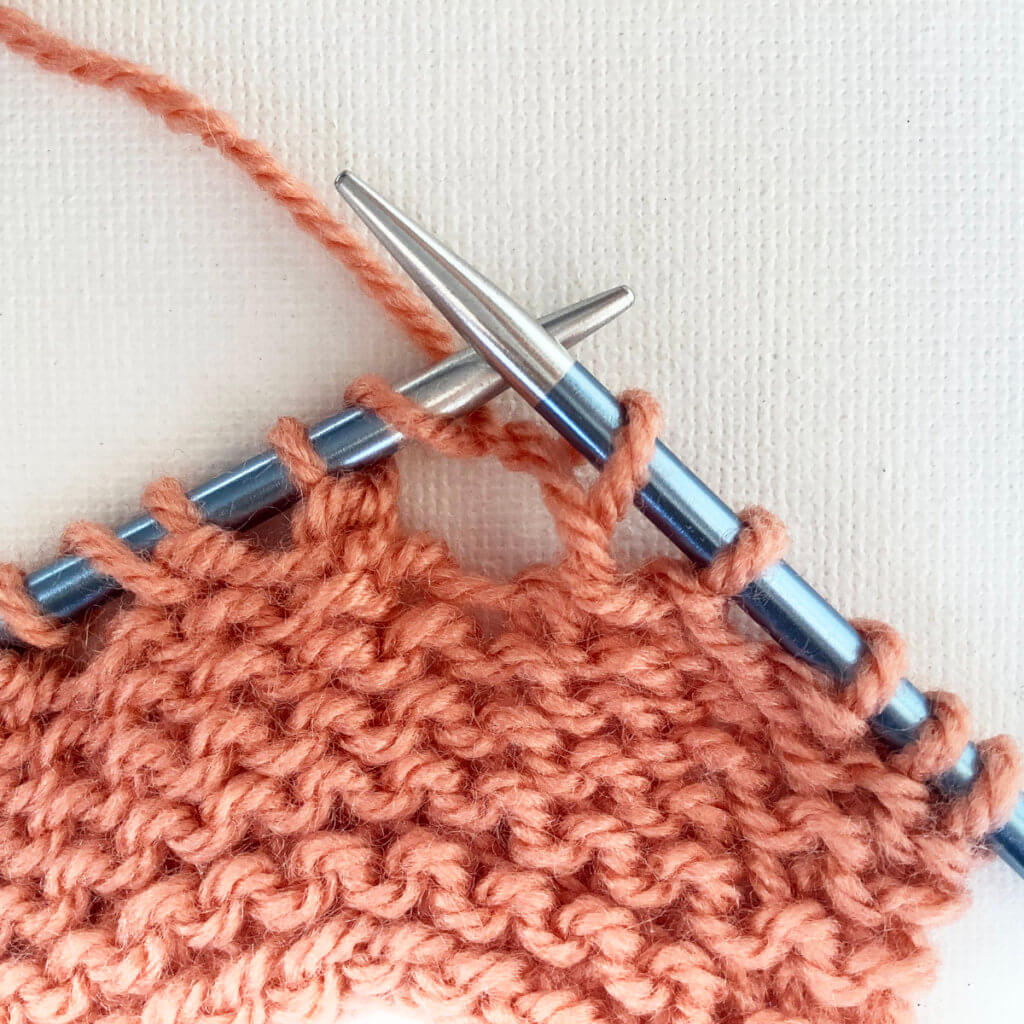
3. To make the double yo, wrap the yarn around the right-hand needle twice. To do so, do the following twice: move the working yarn from the back to the front between the needles and then over the right-hand needle back to the back of the work.
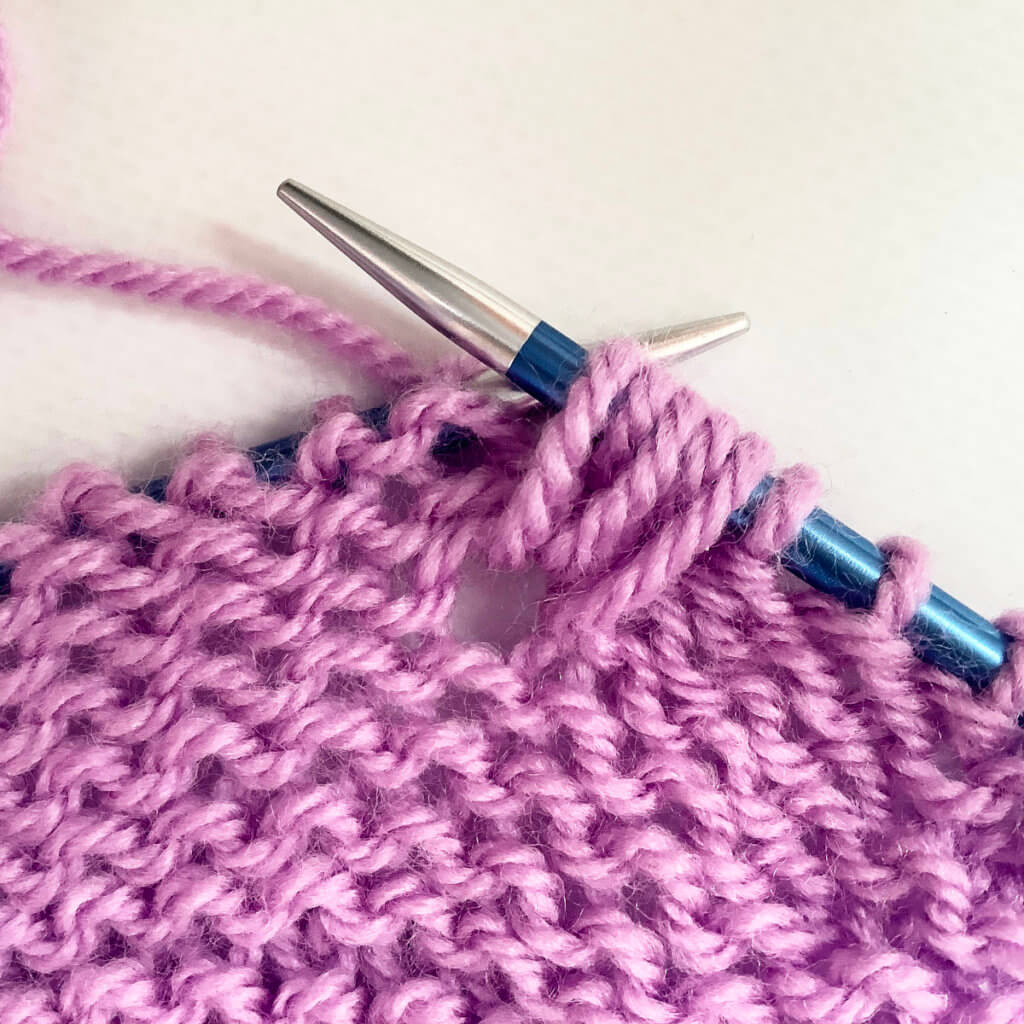
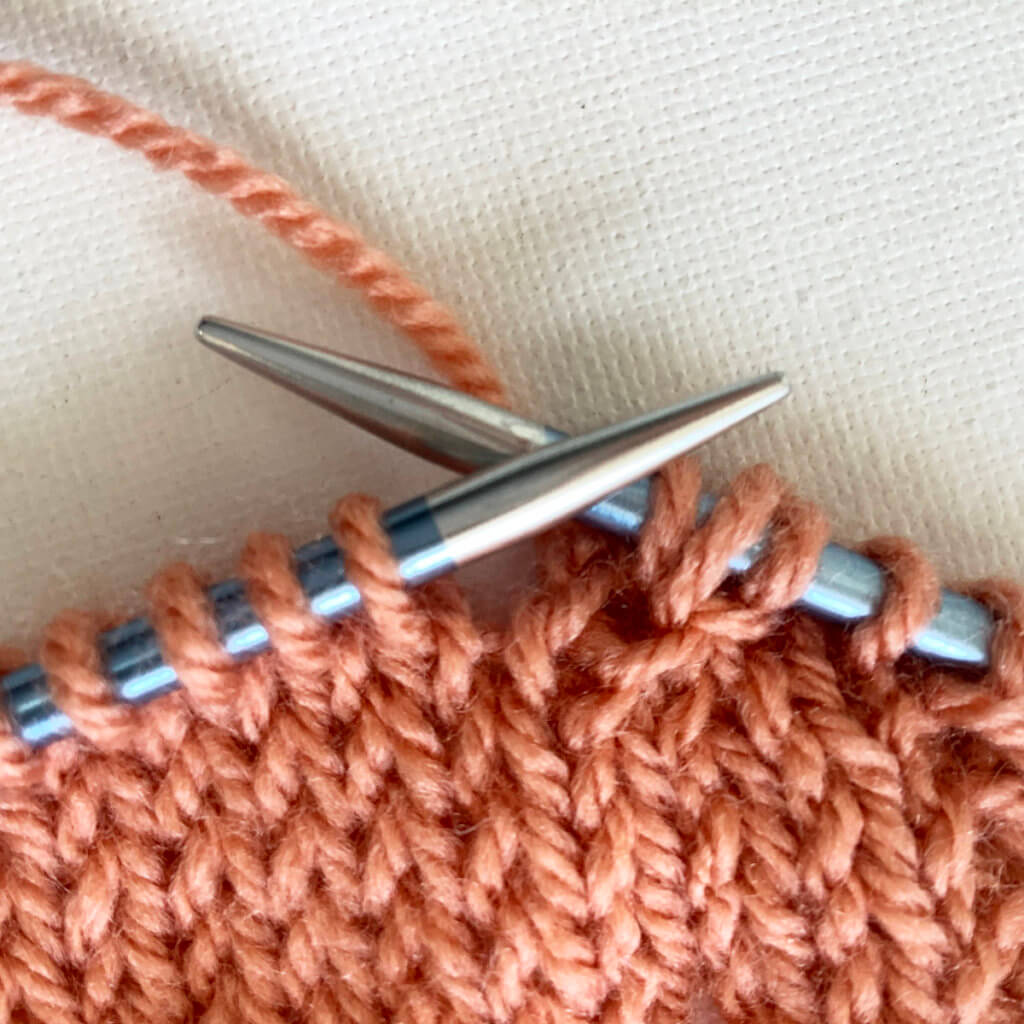
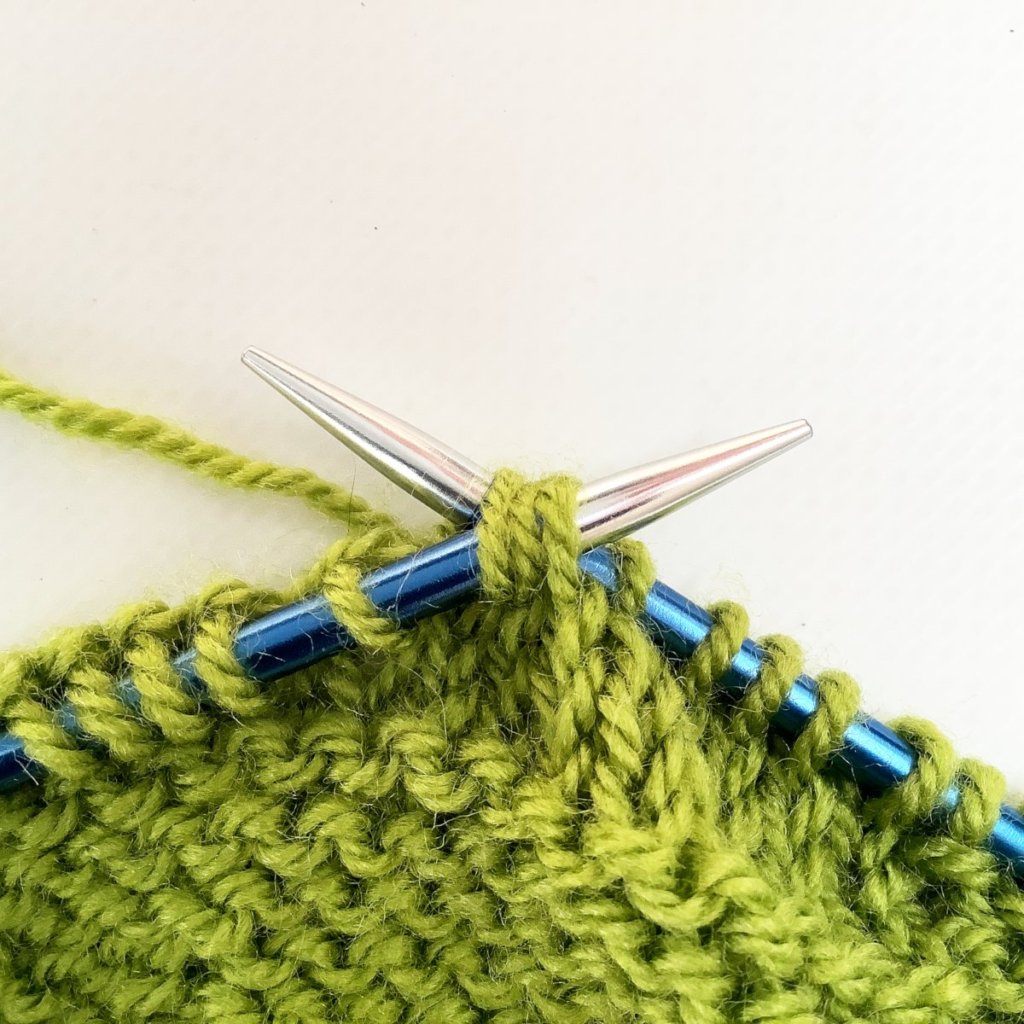
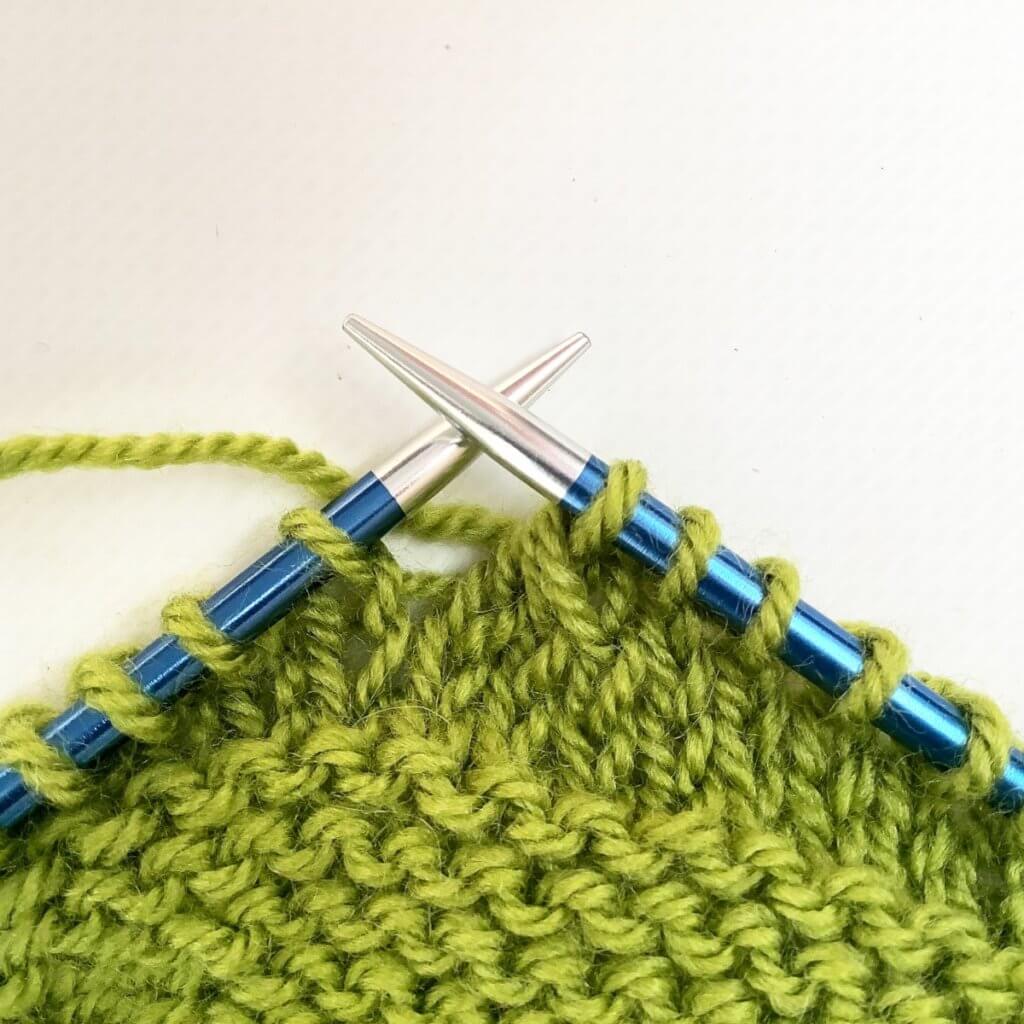
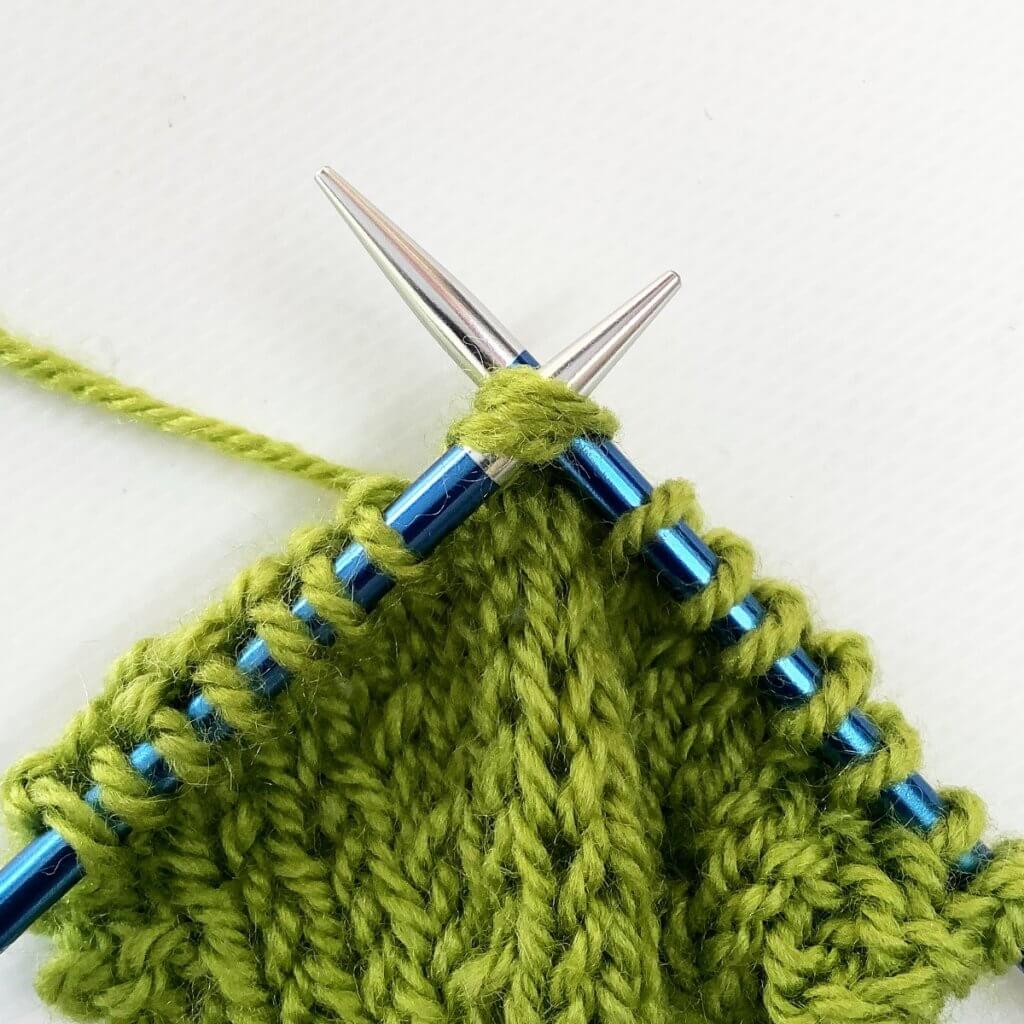
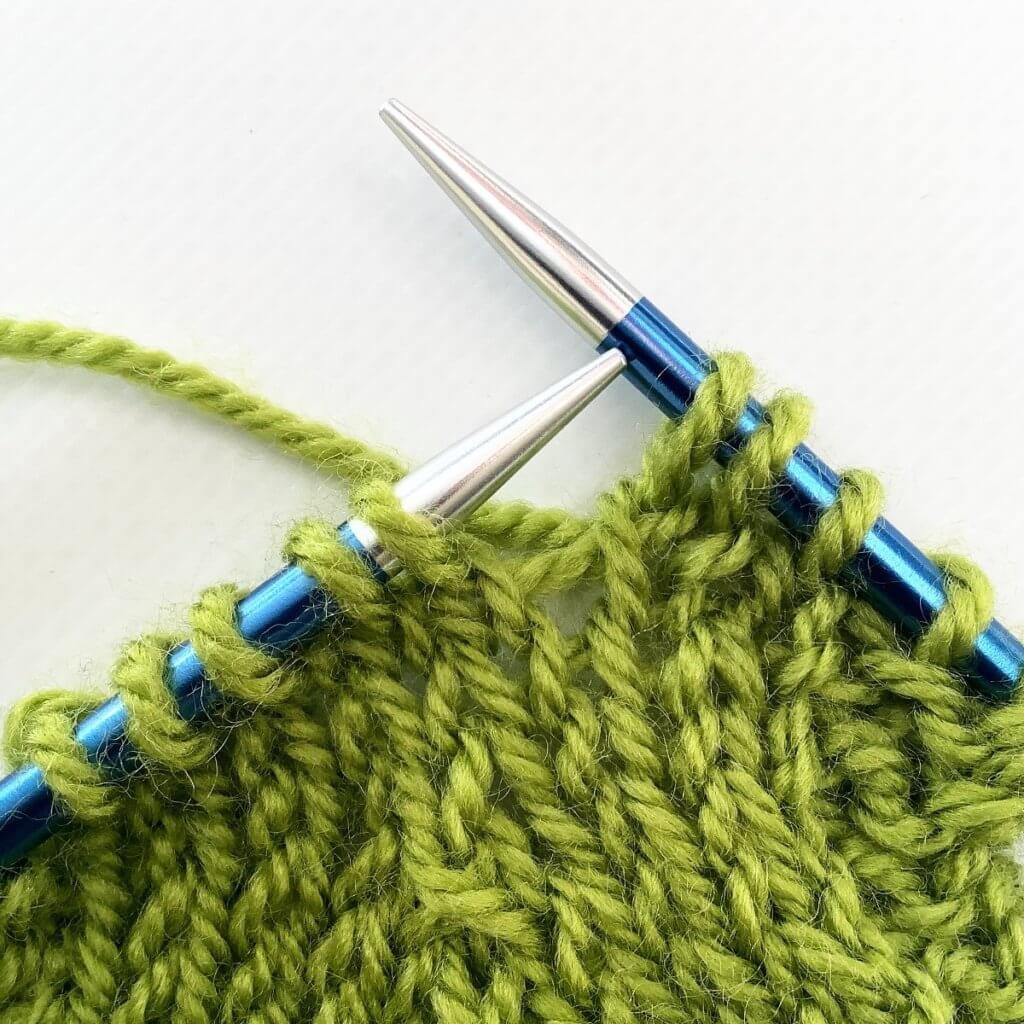
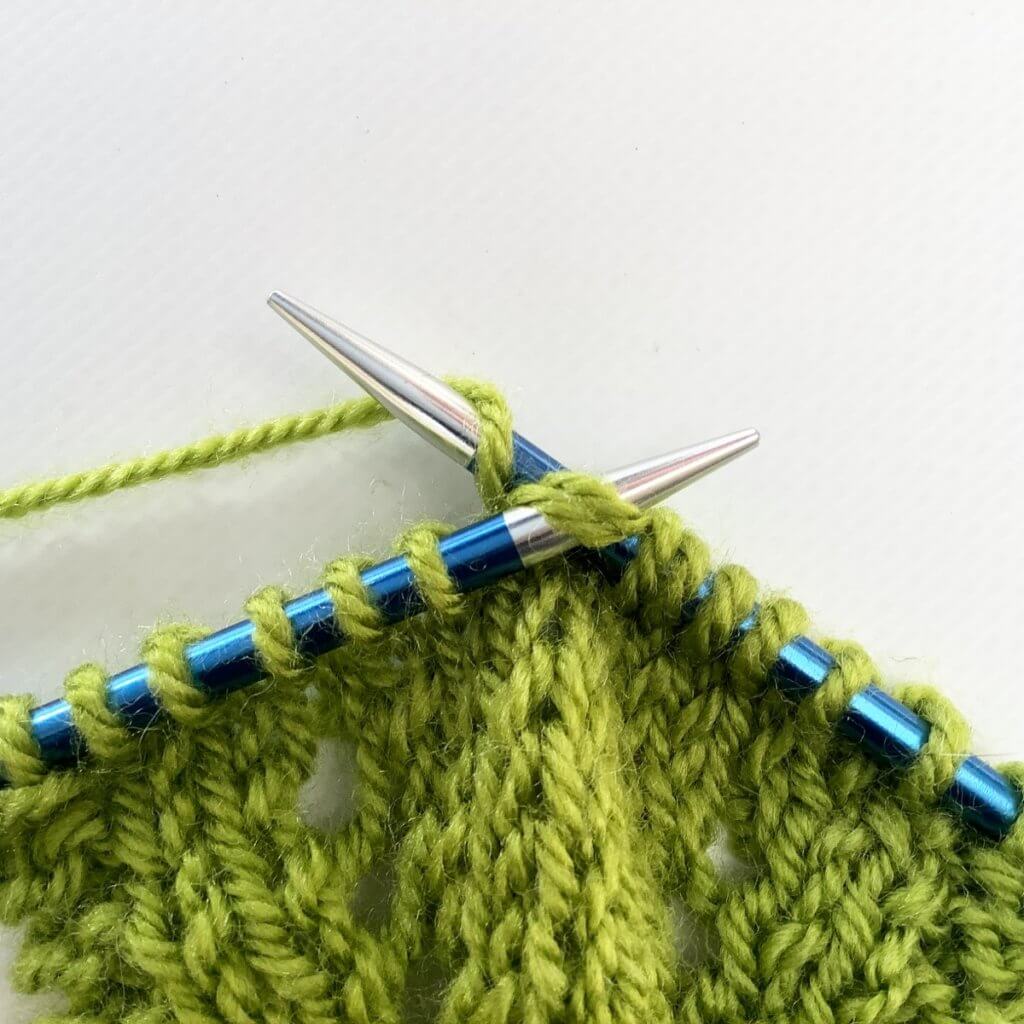
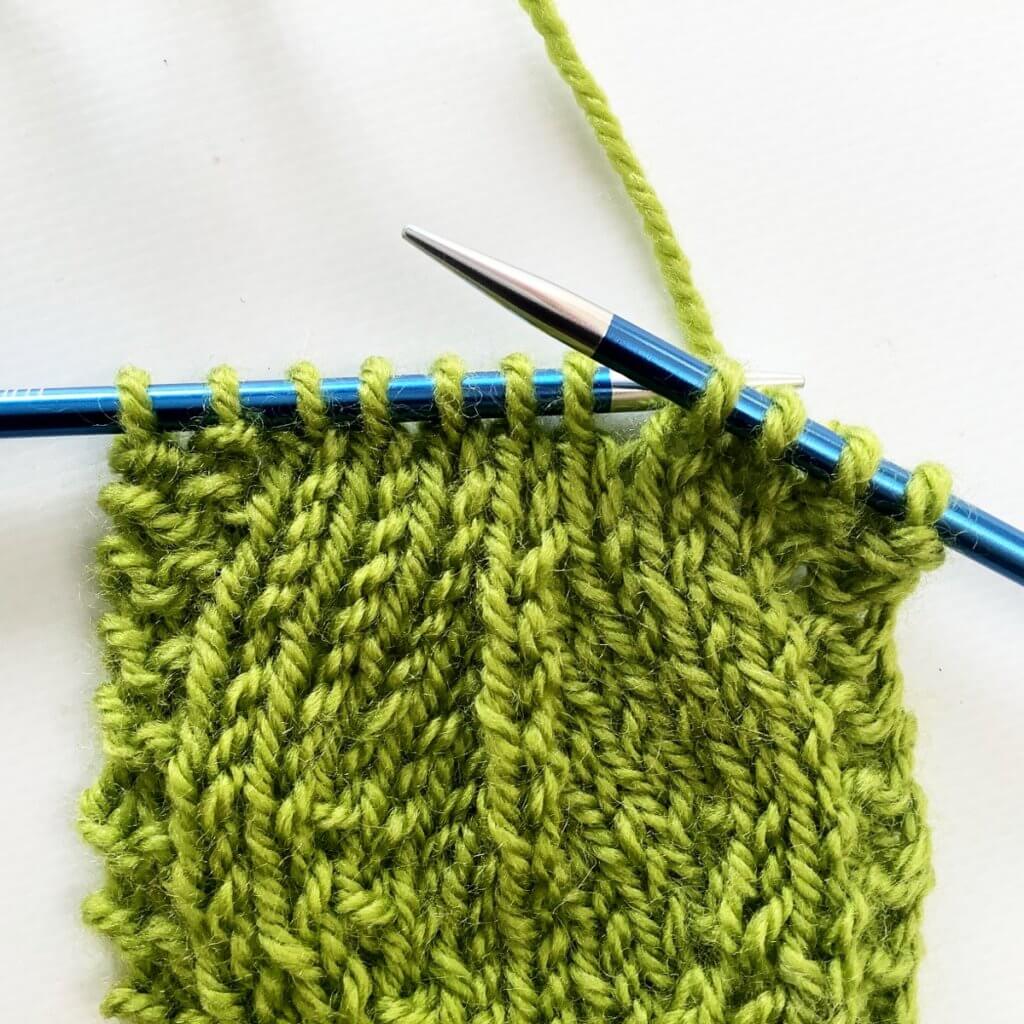
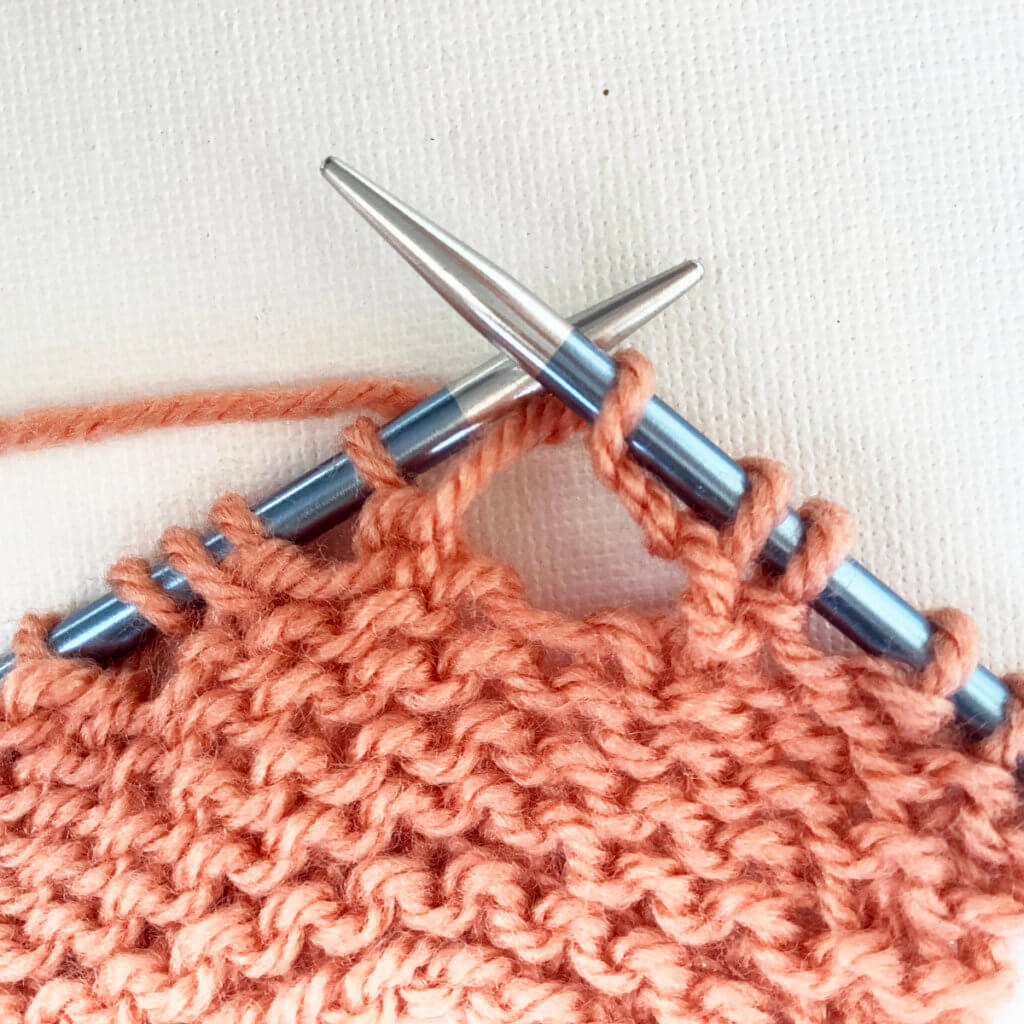
4. In the following picture I worked the skp decrease directly after the double yo.
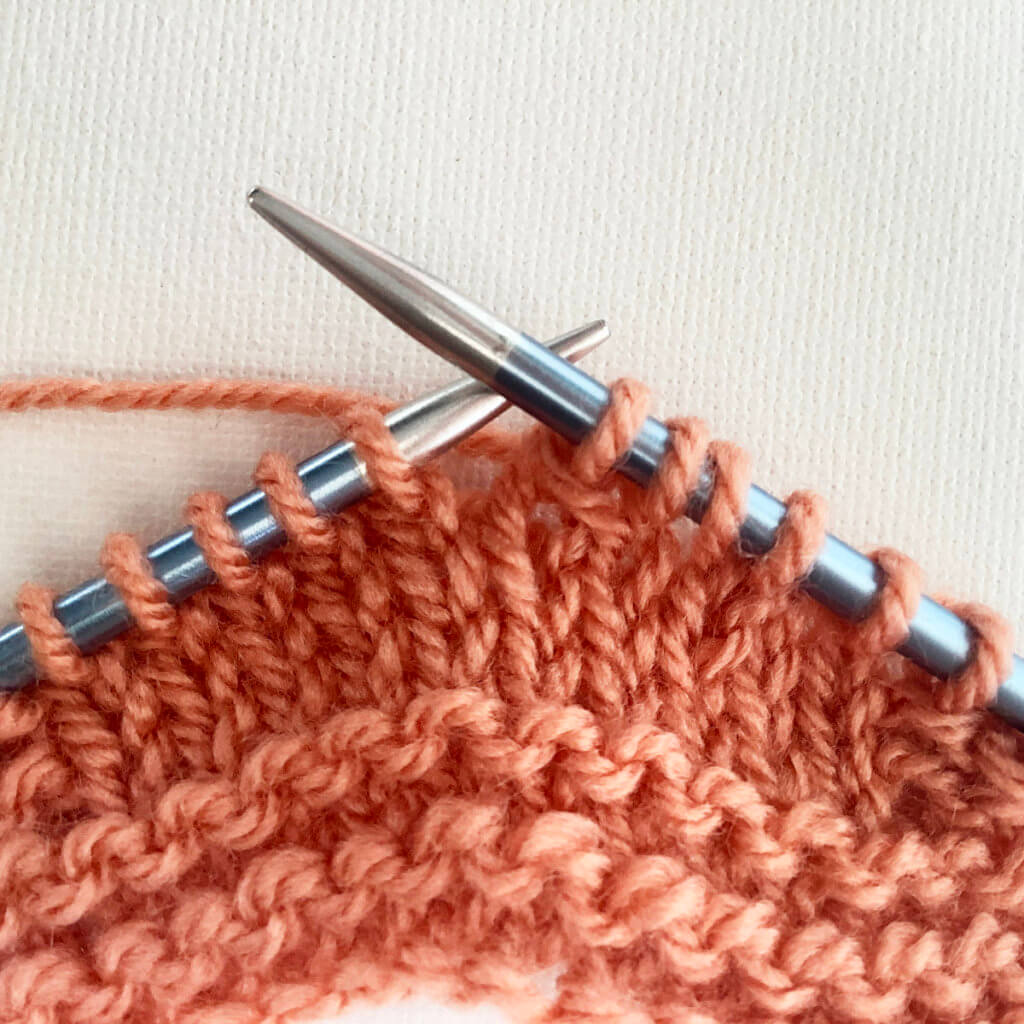
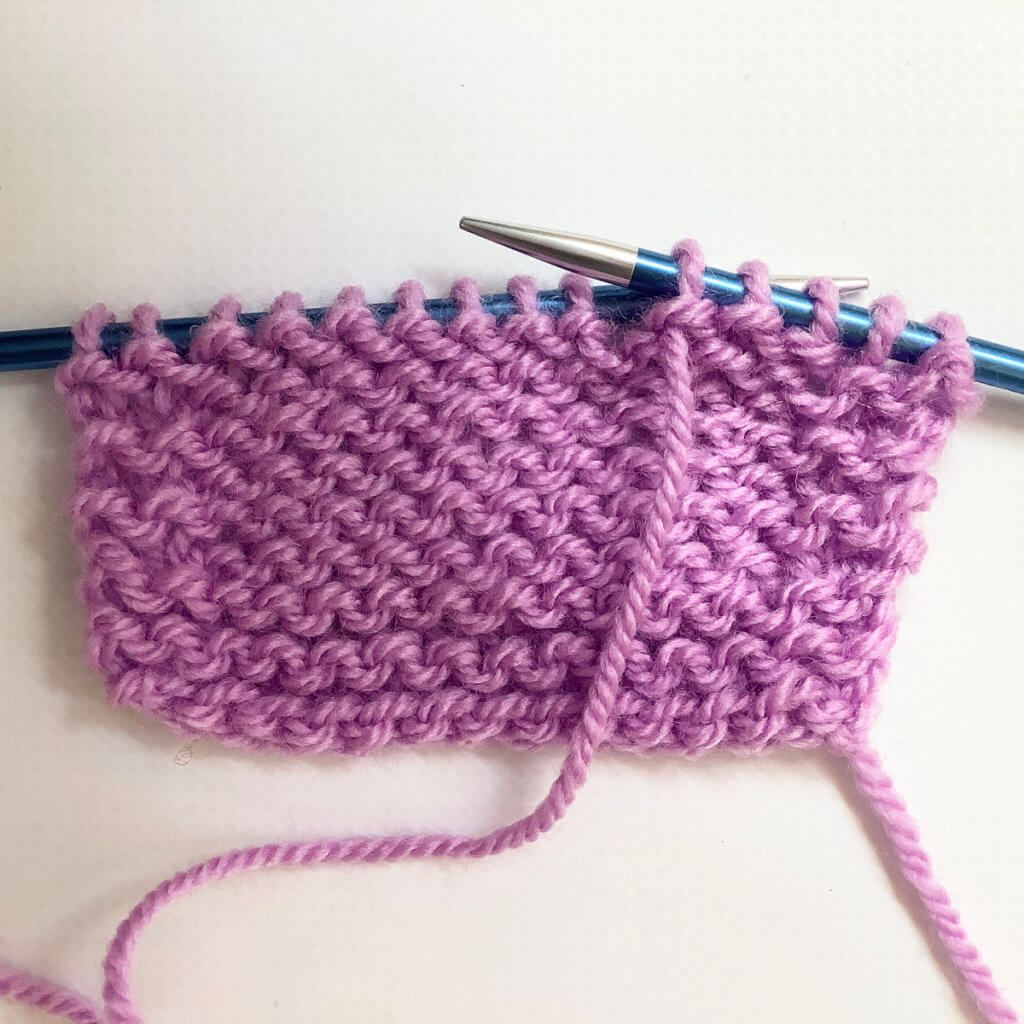
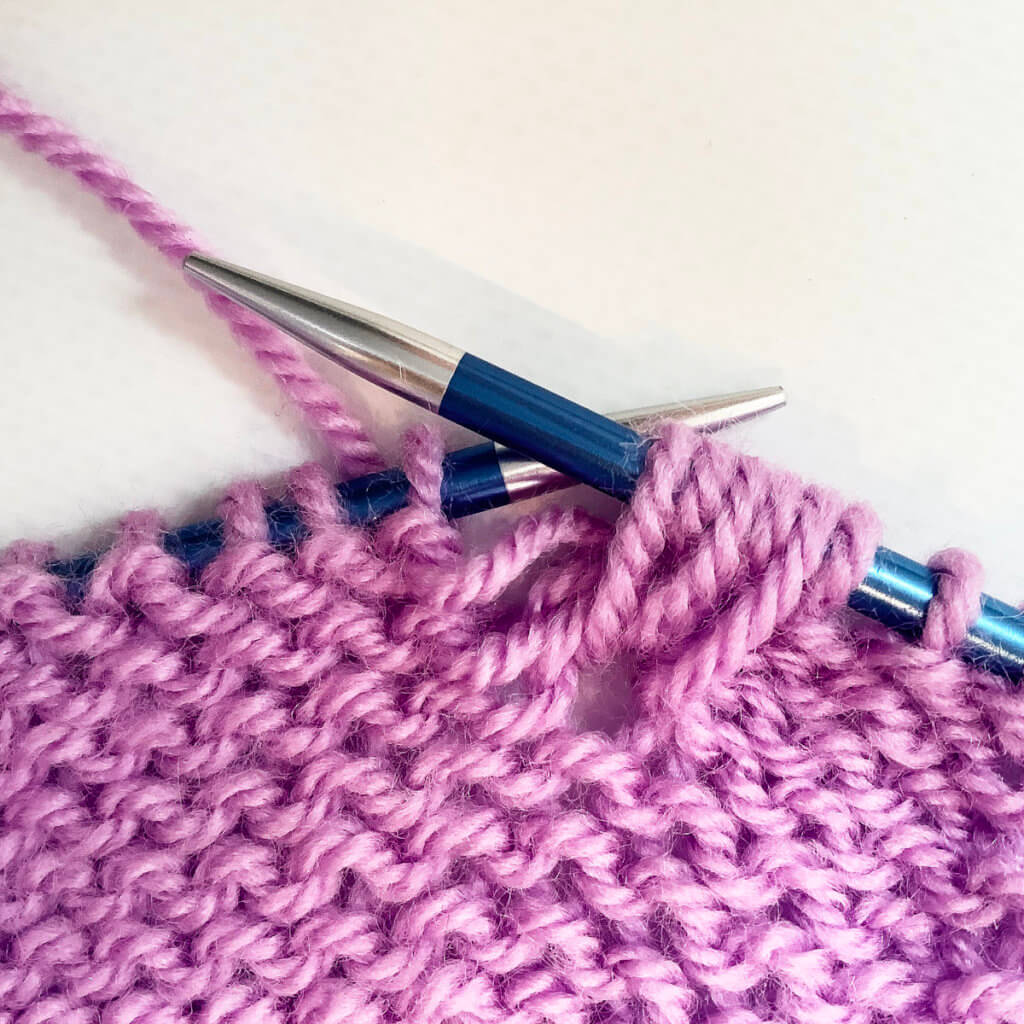
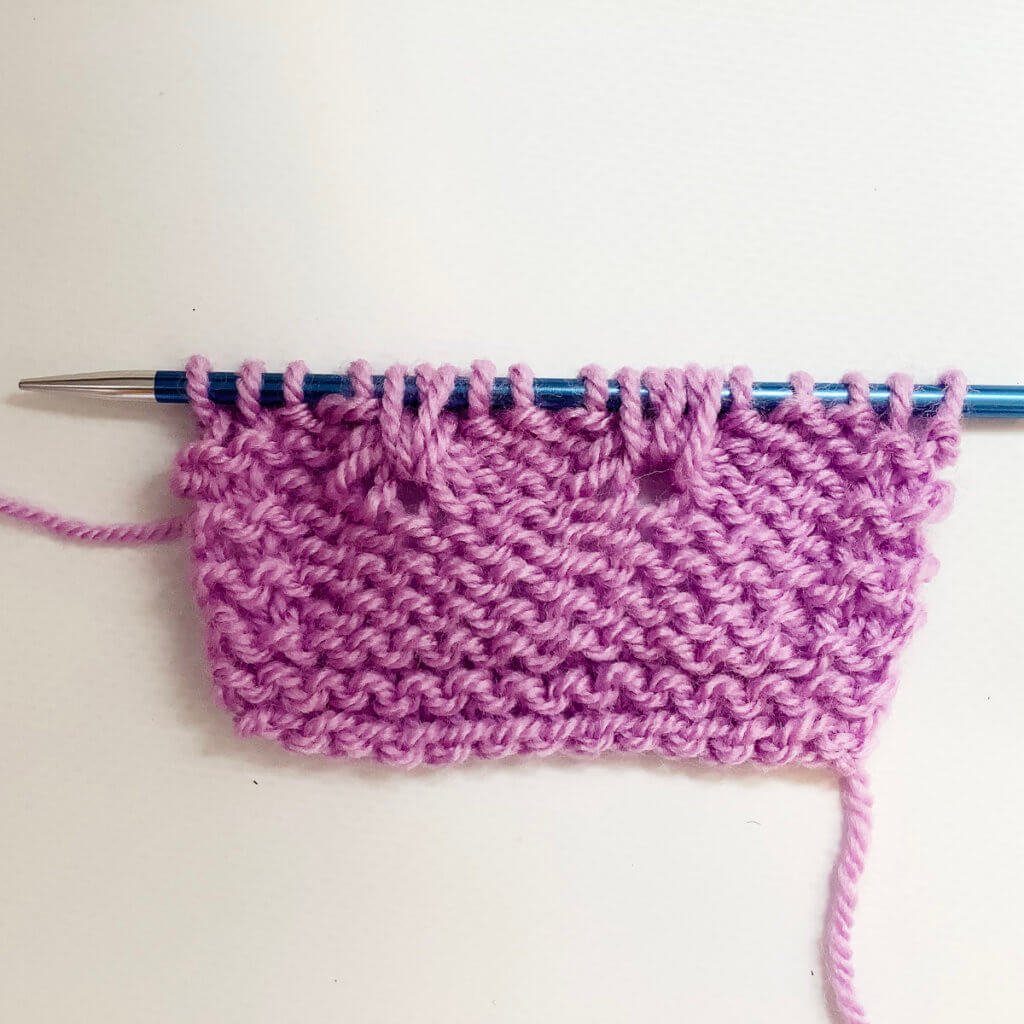
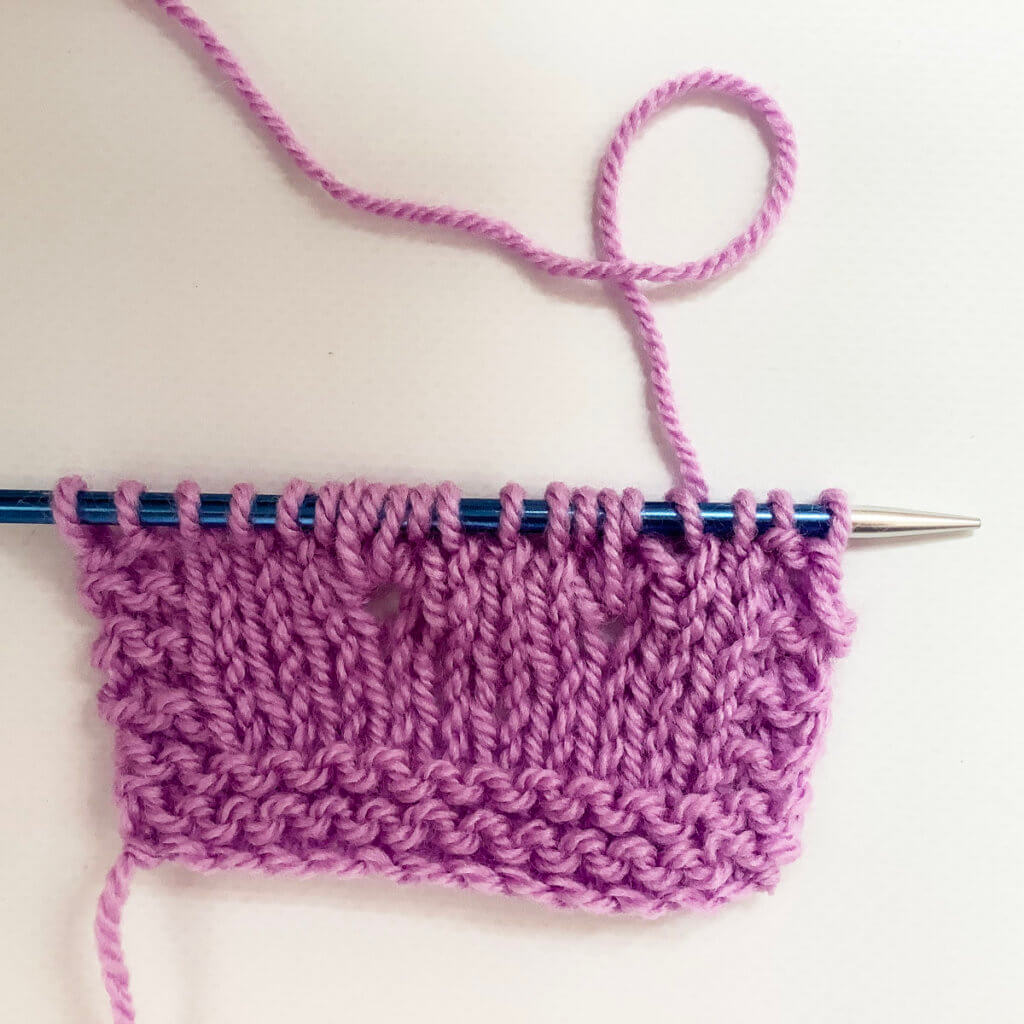
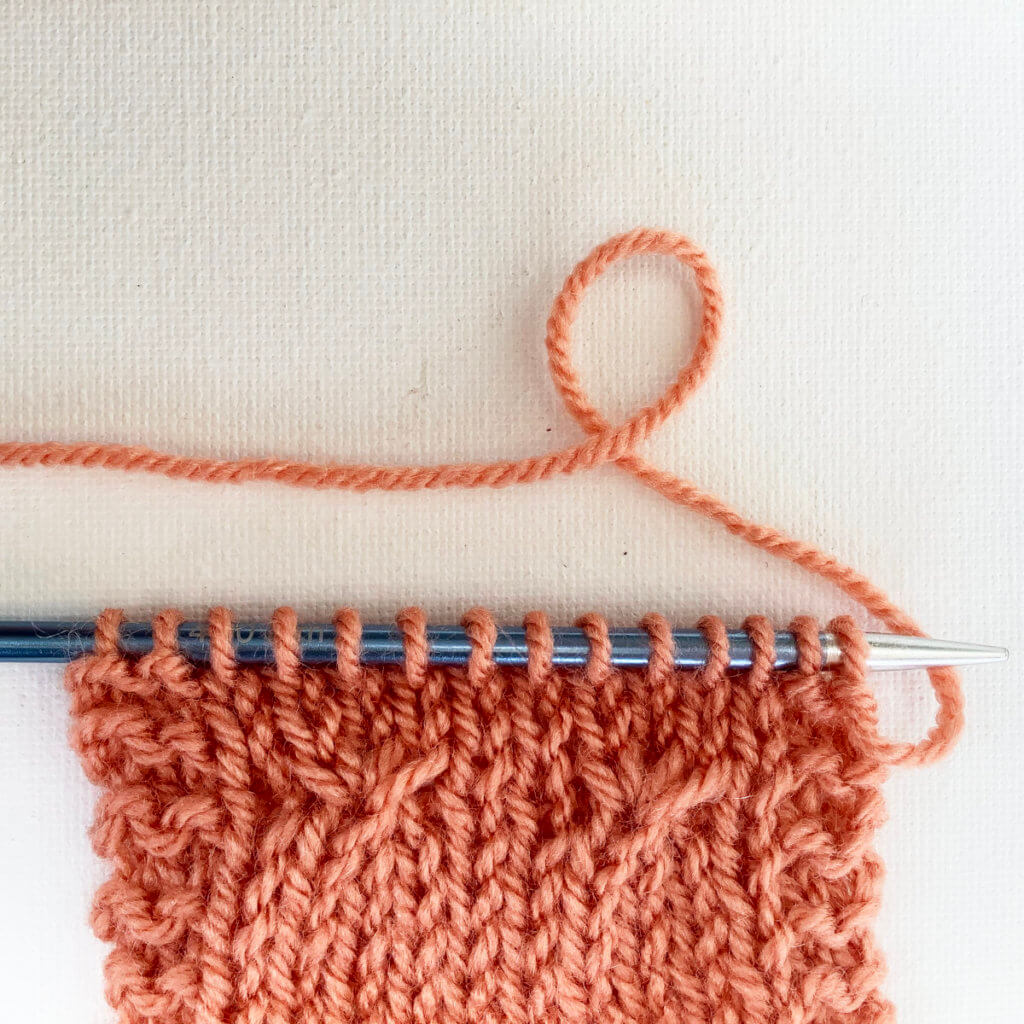
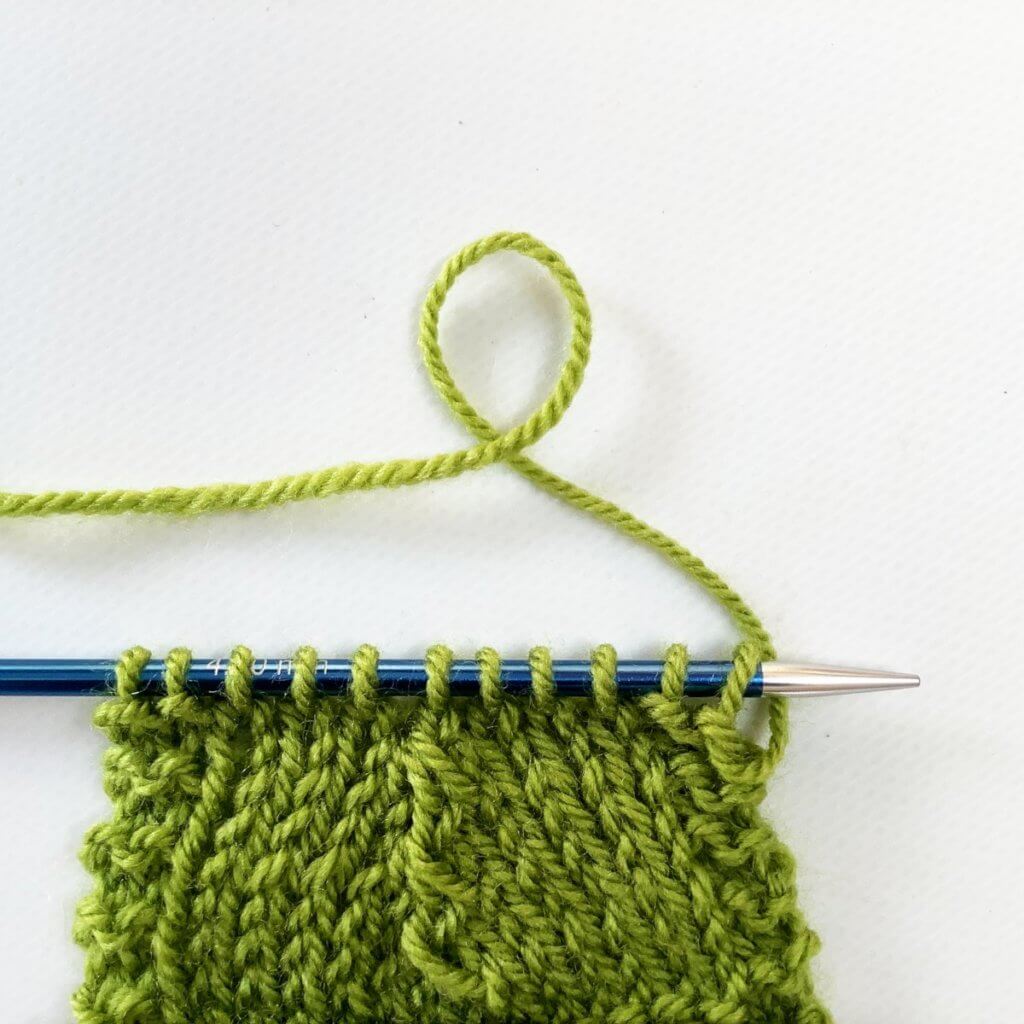
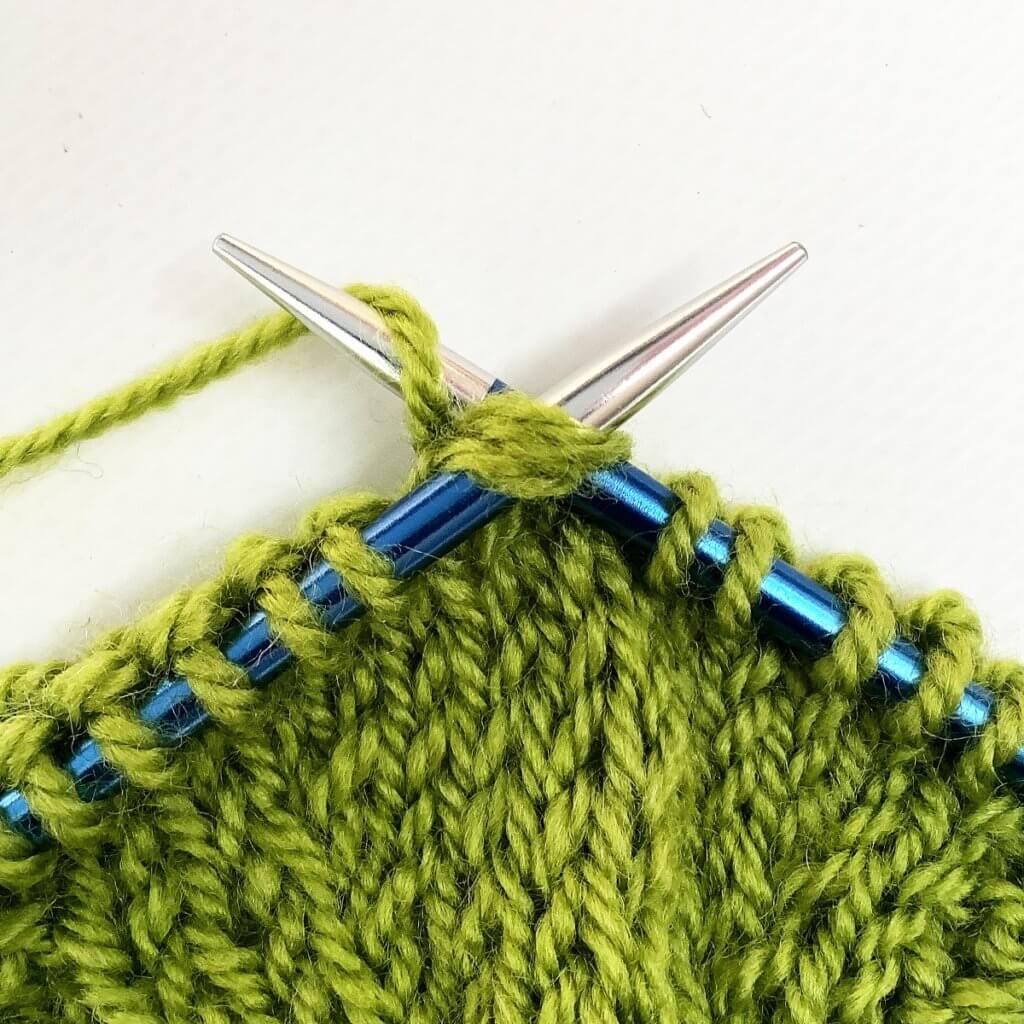
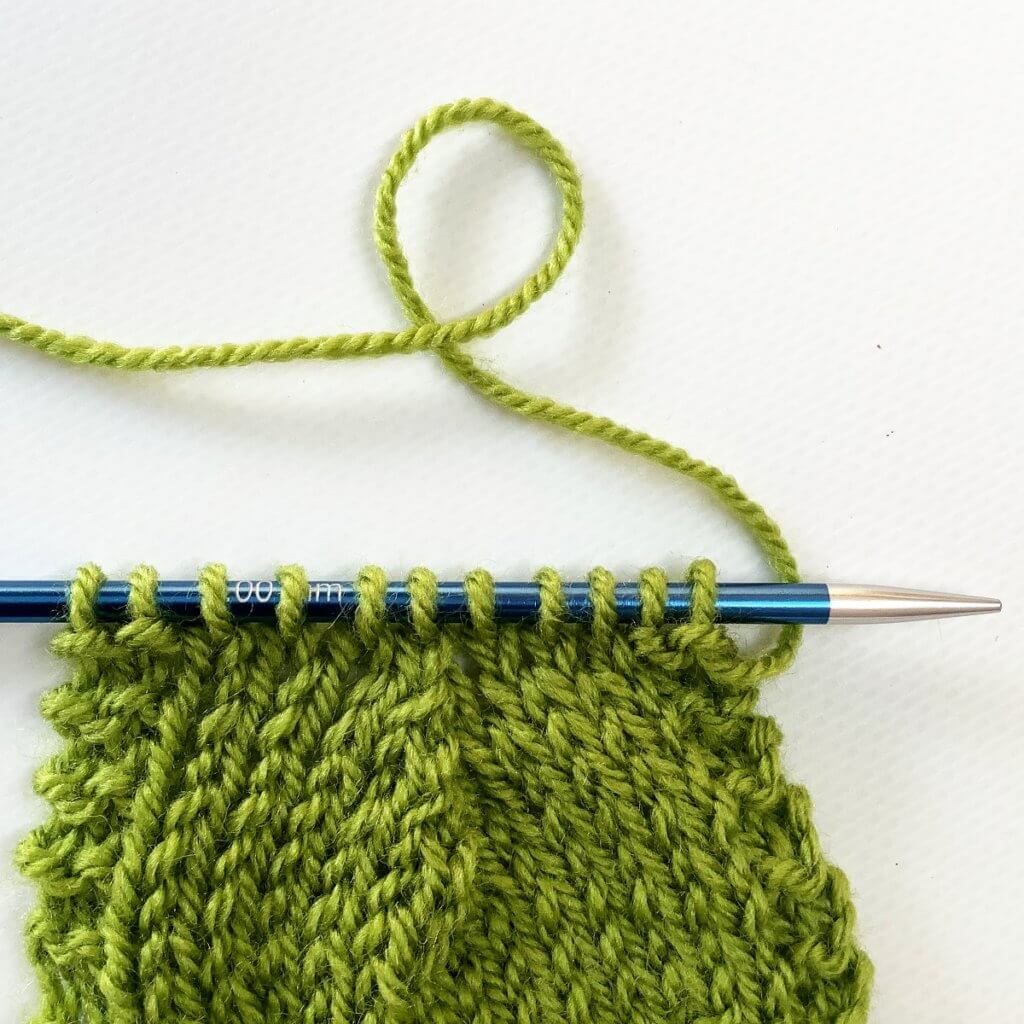
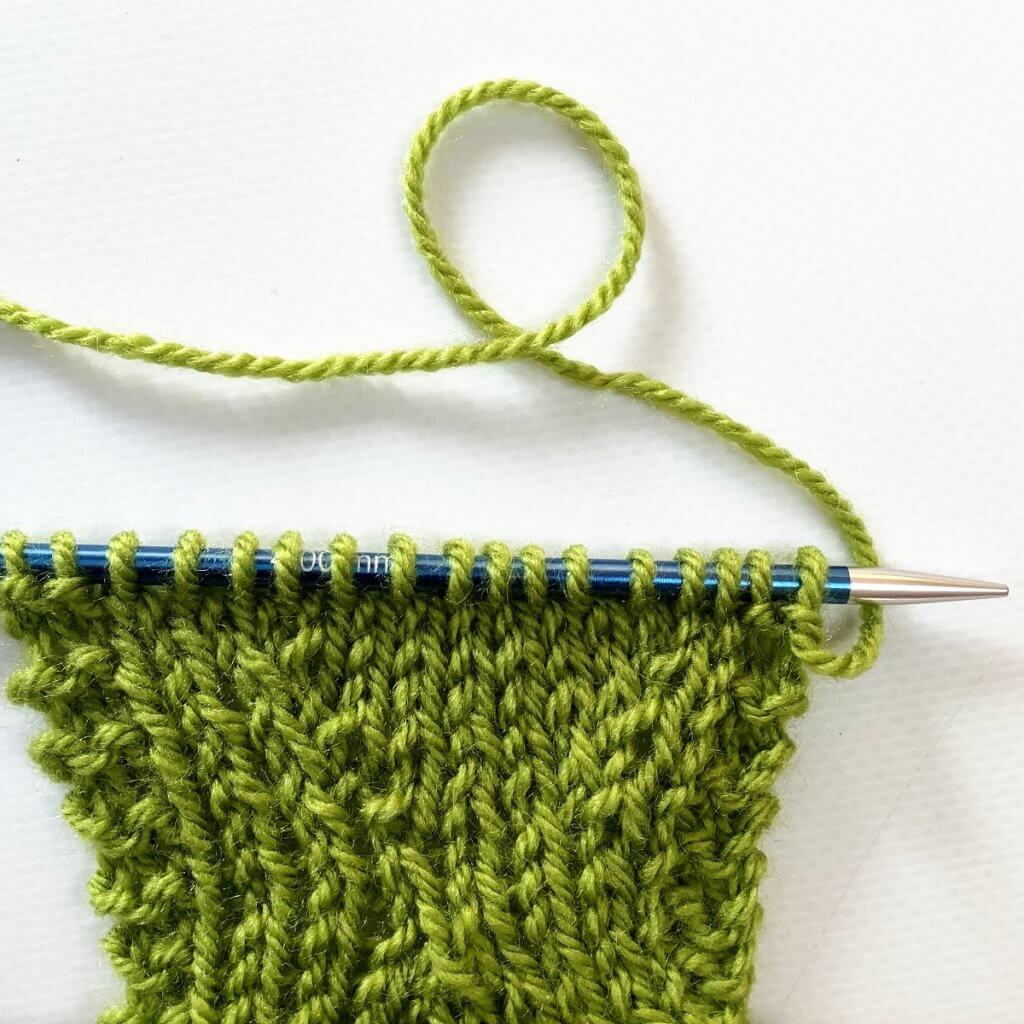
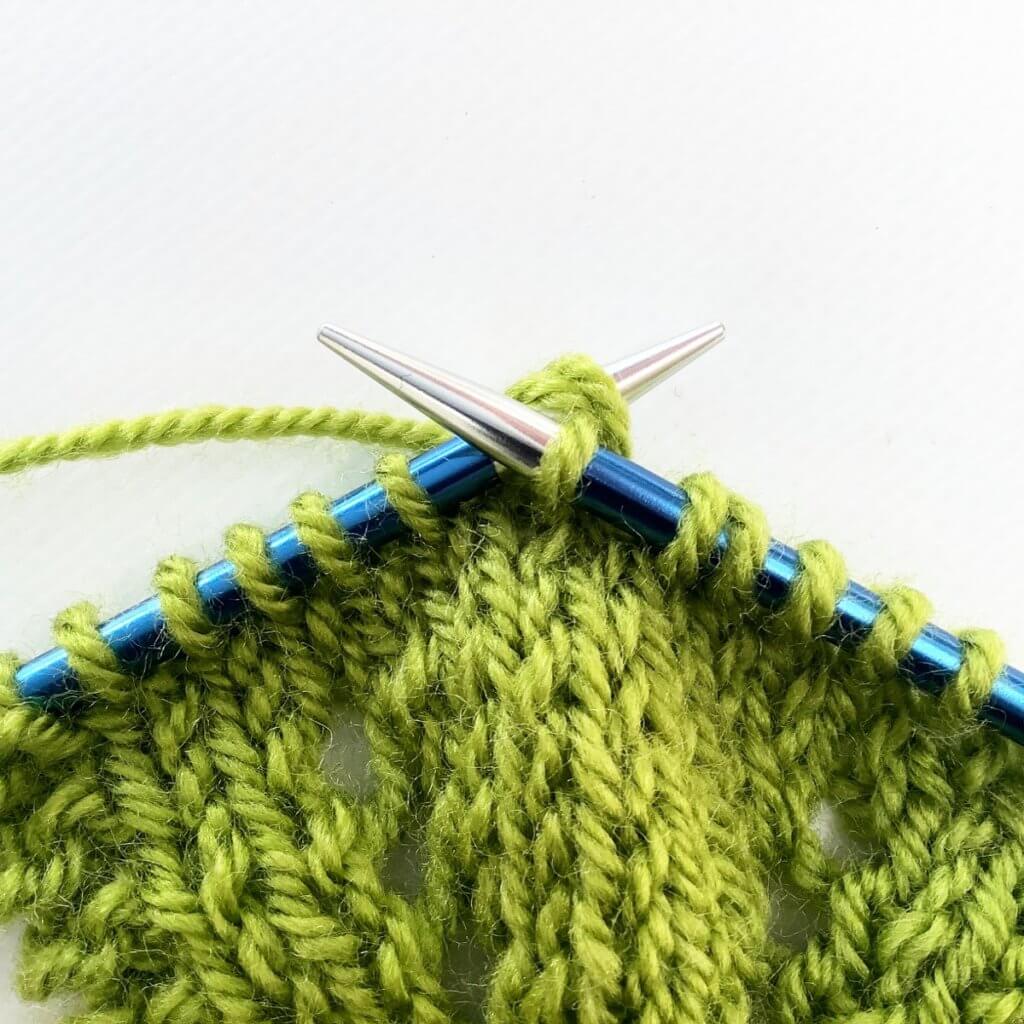
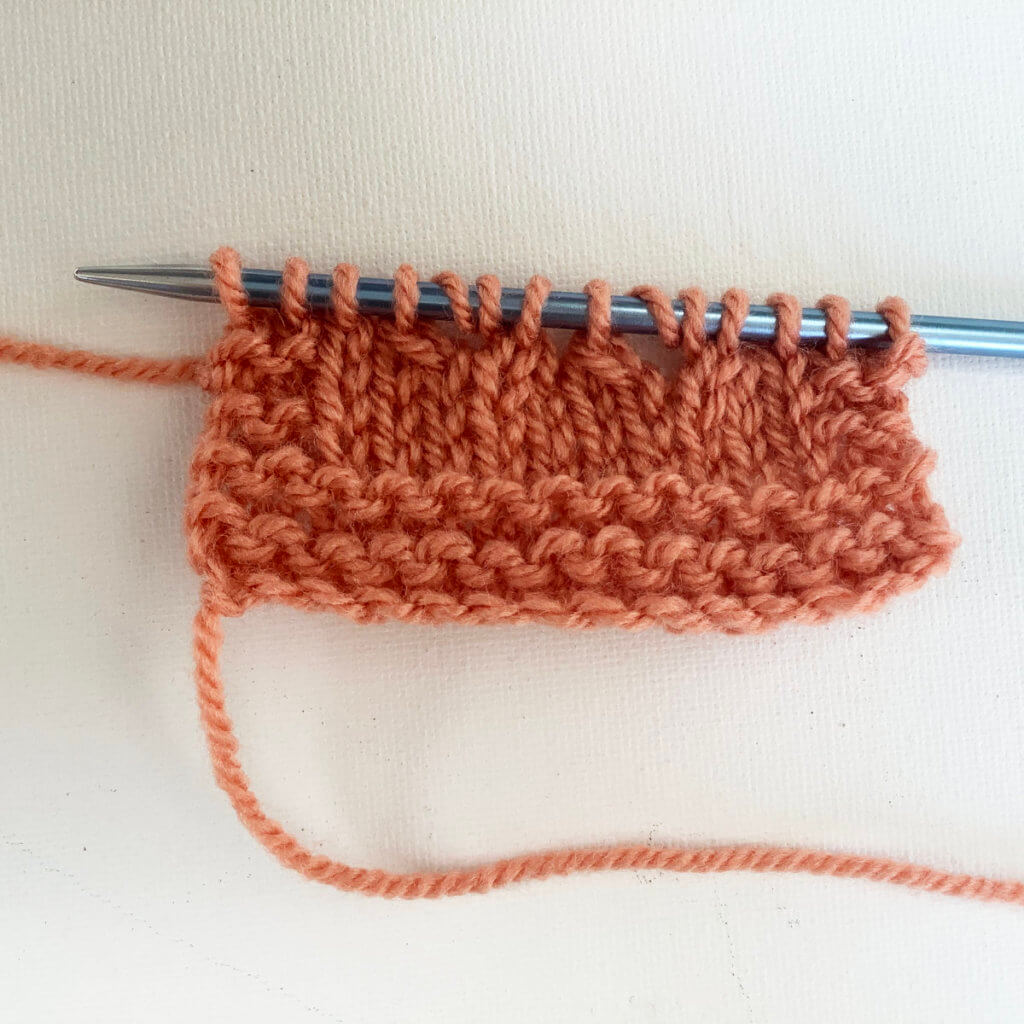
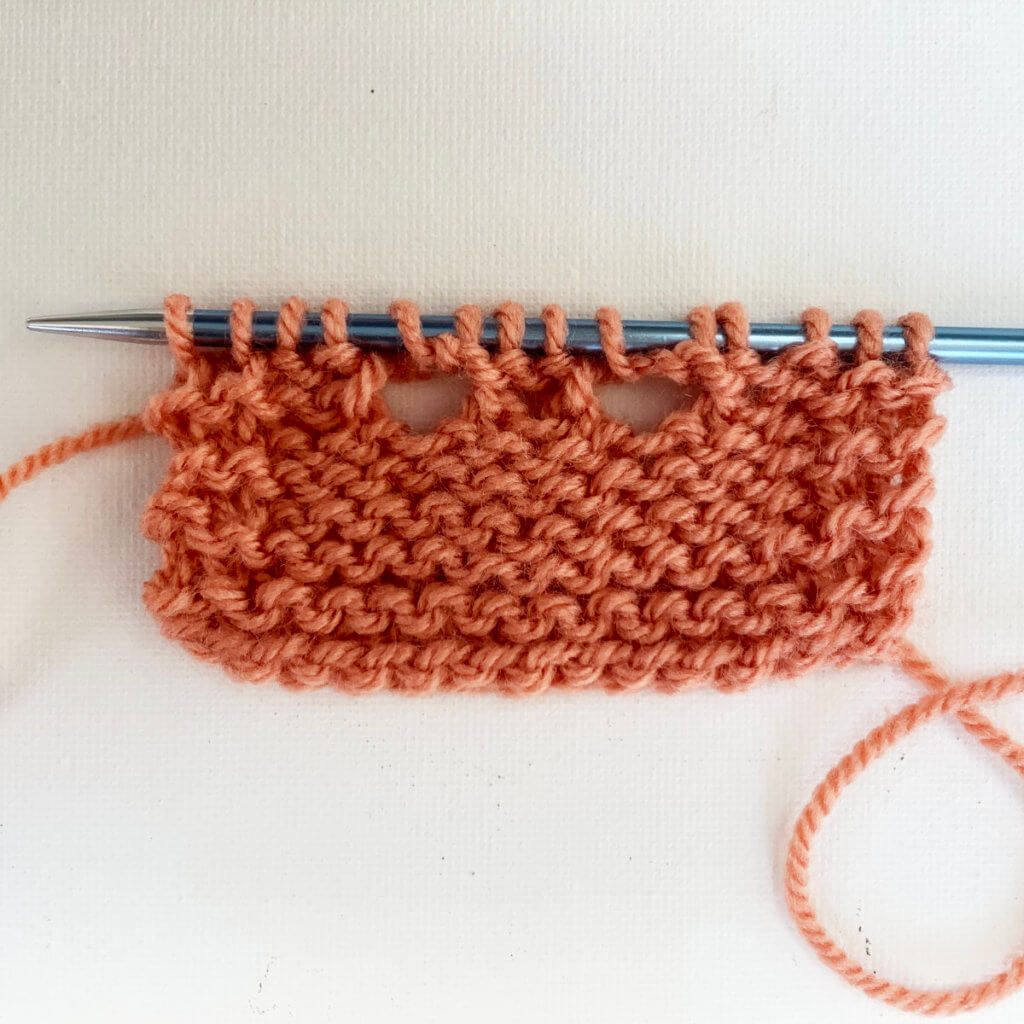
5. This is how it looks after working the entire row, with one more repeat of steps 2-4:
The wrong side steps of working a double yo
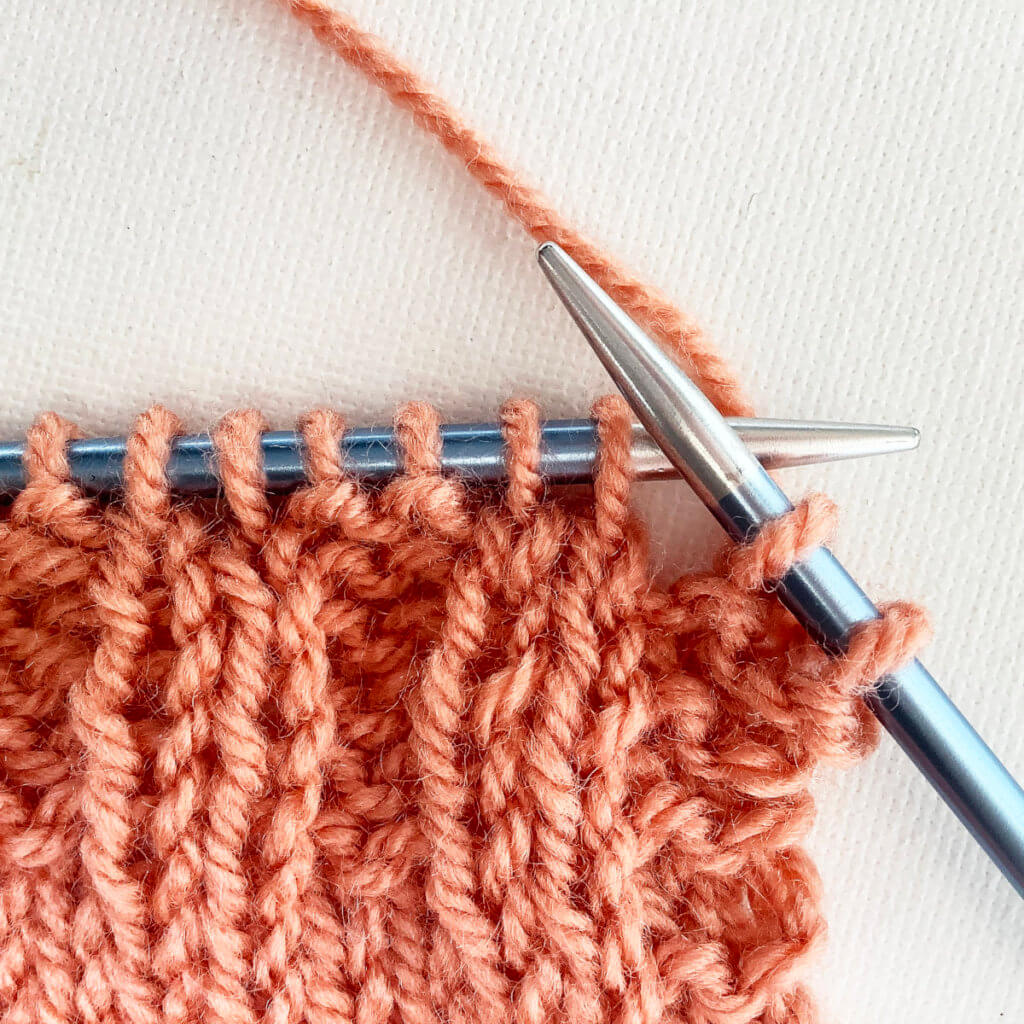
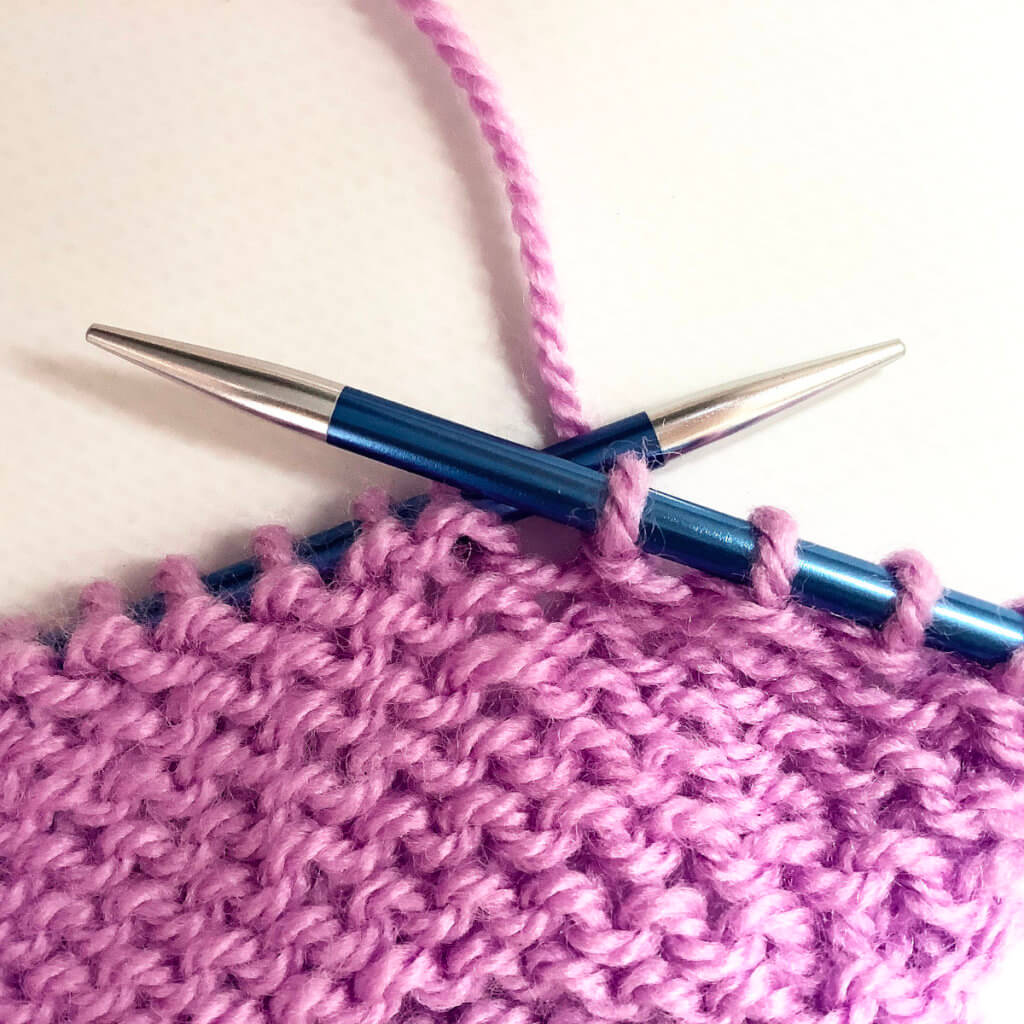
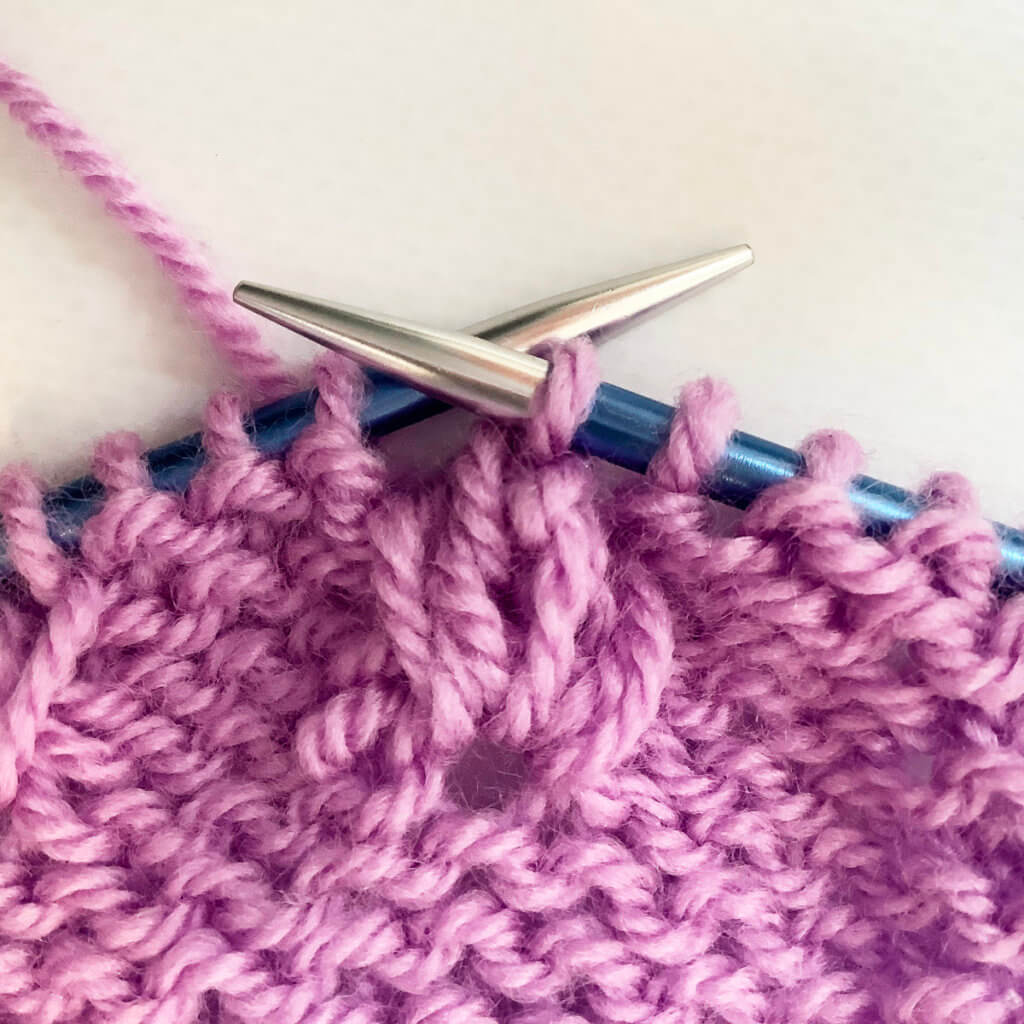
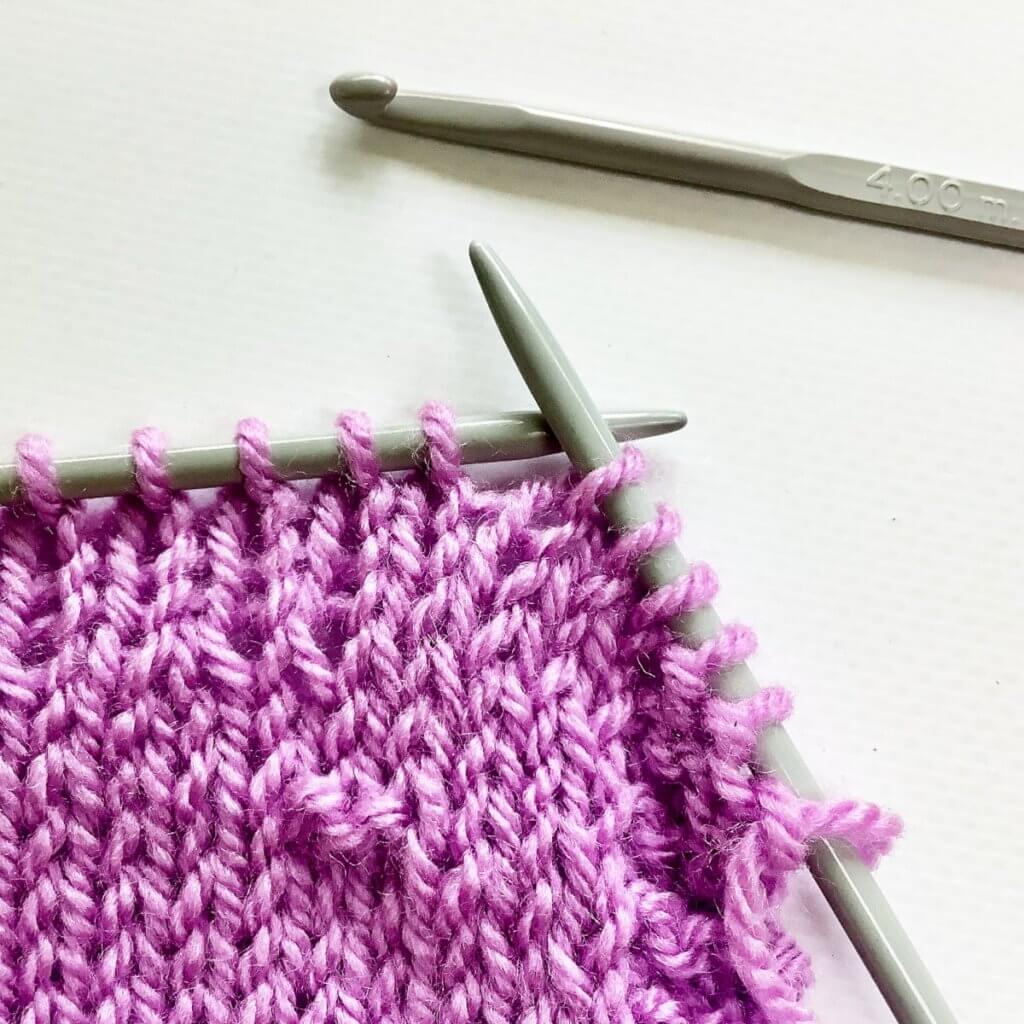
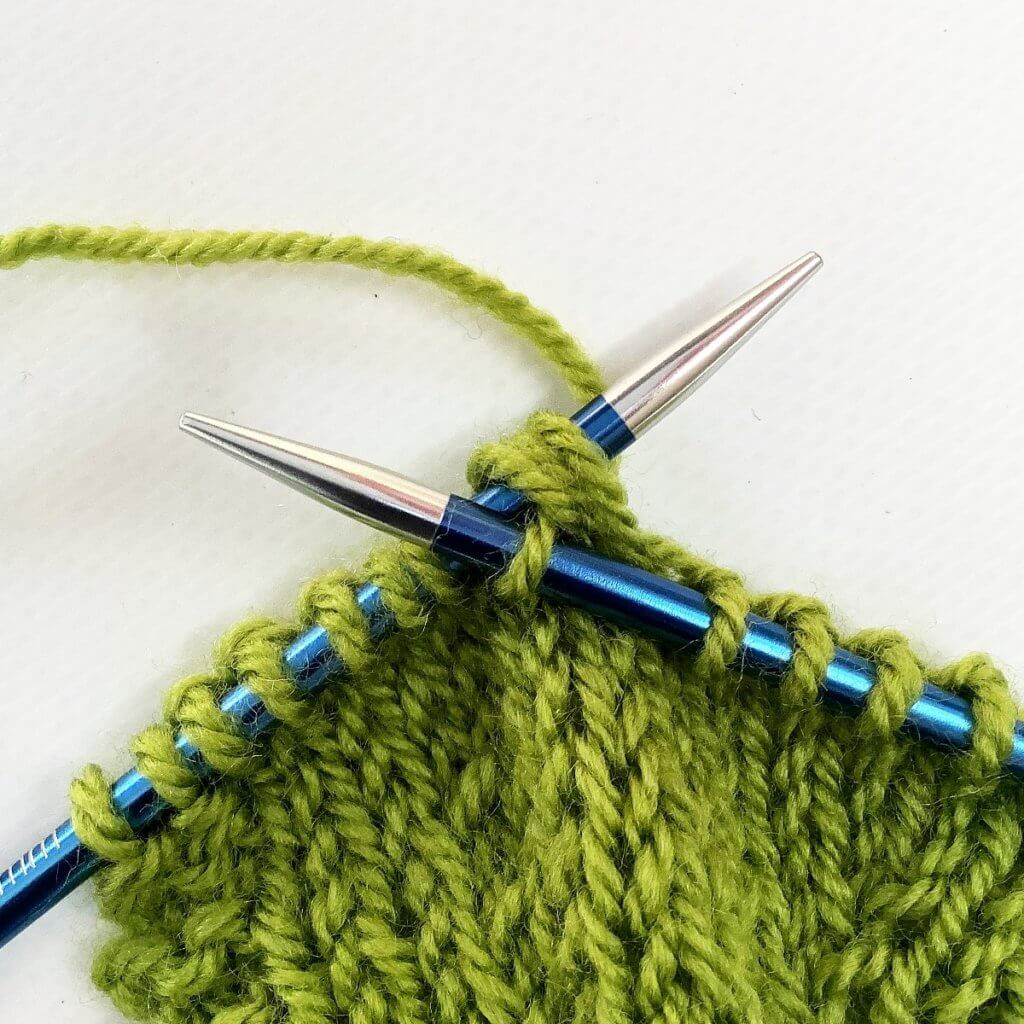
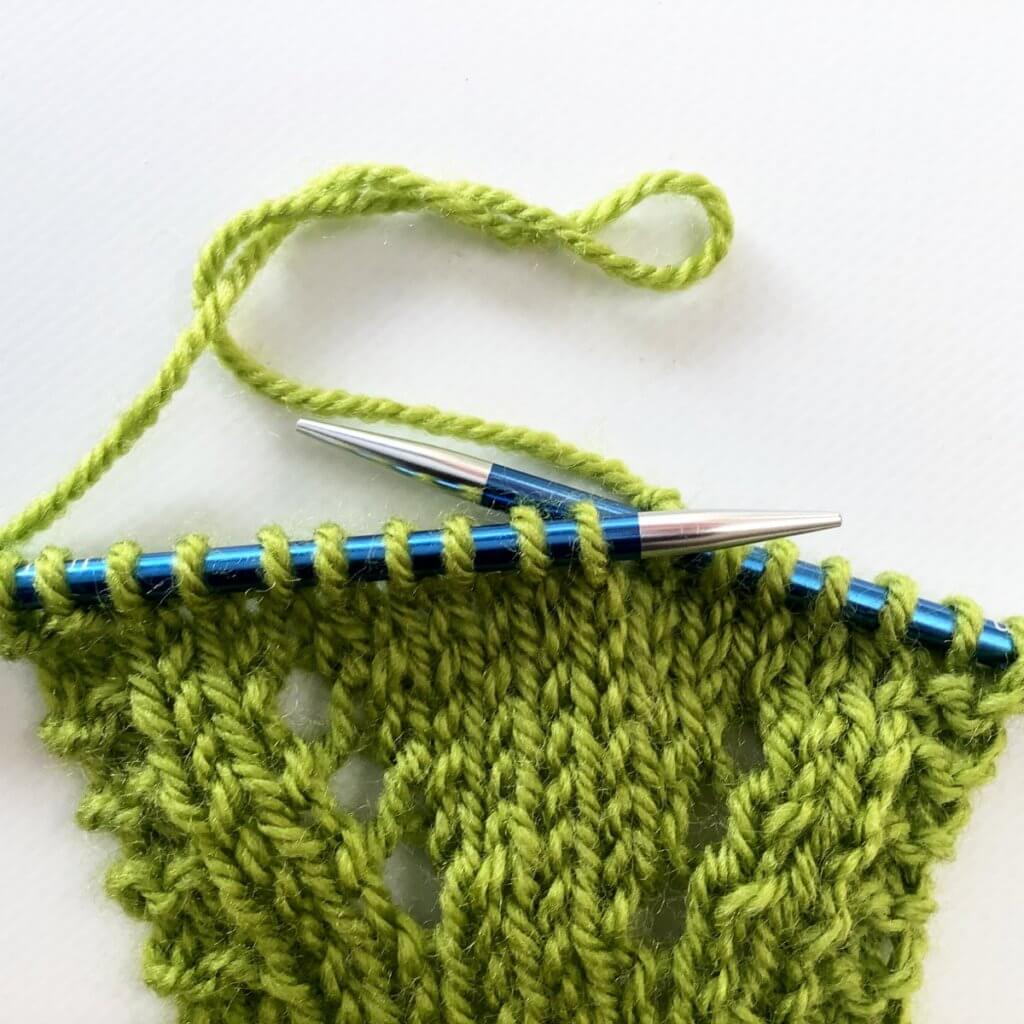
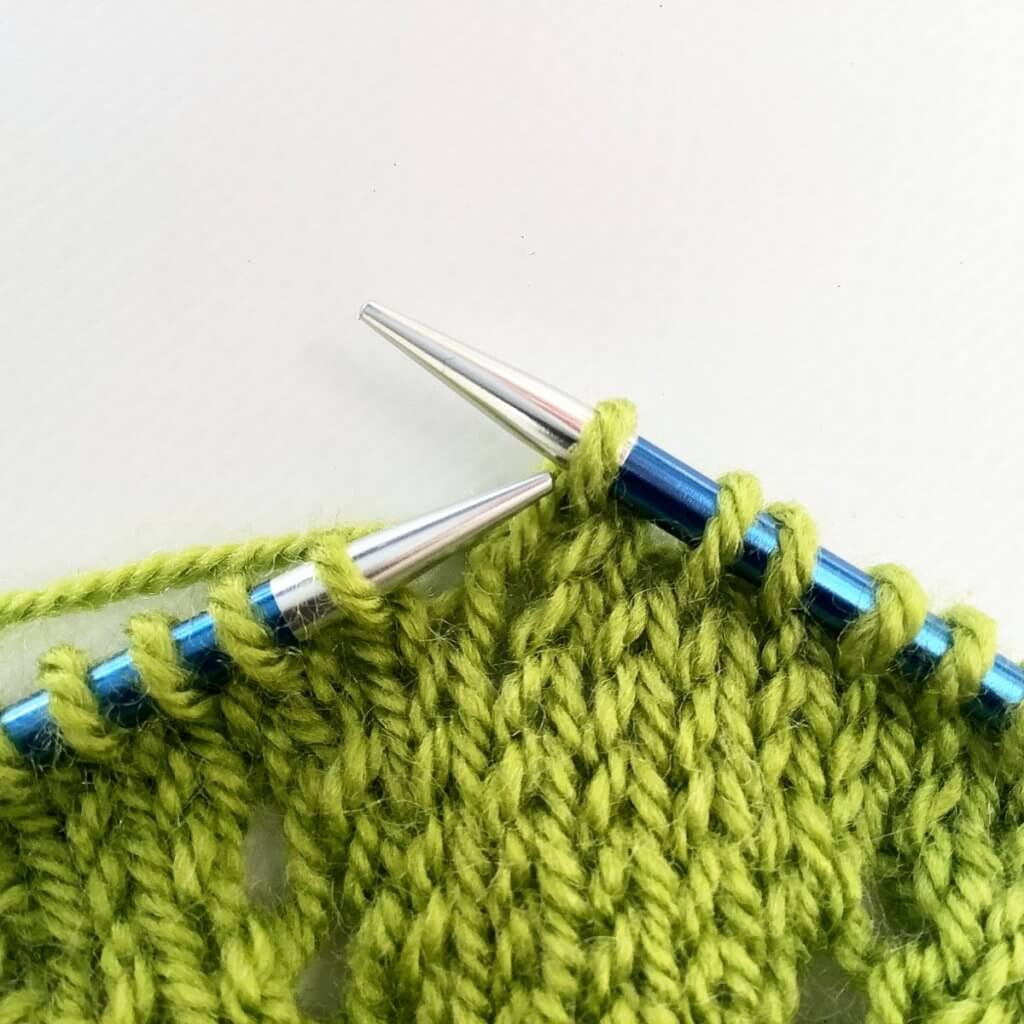
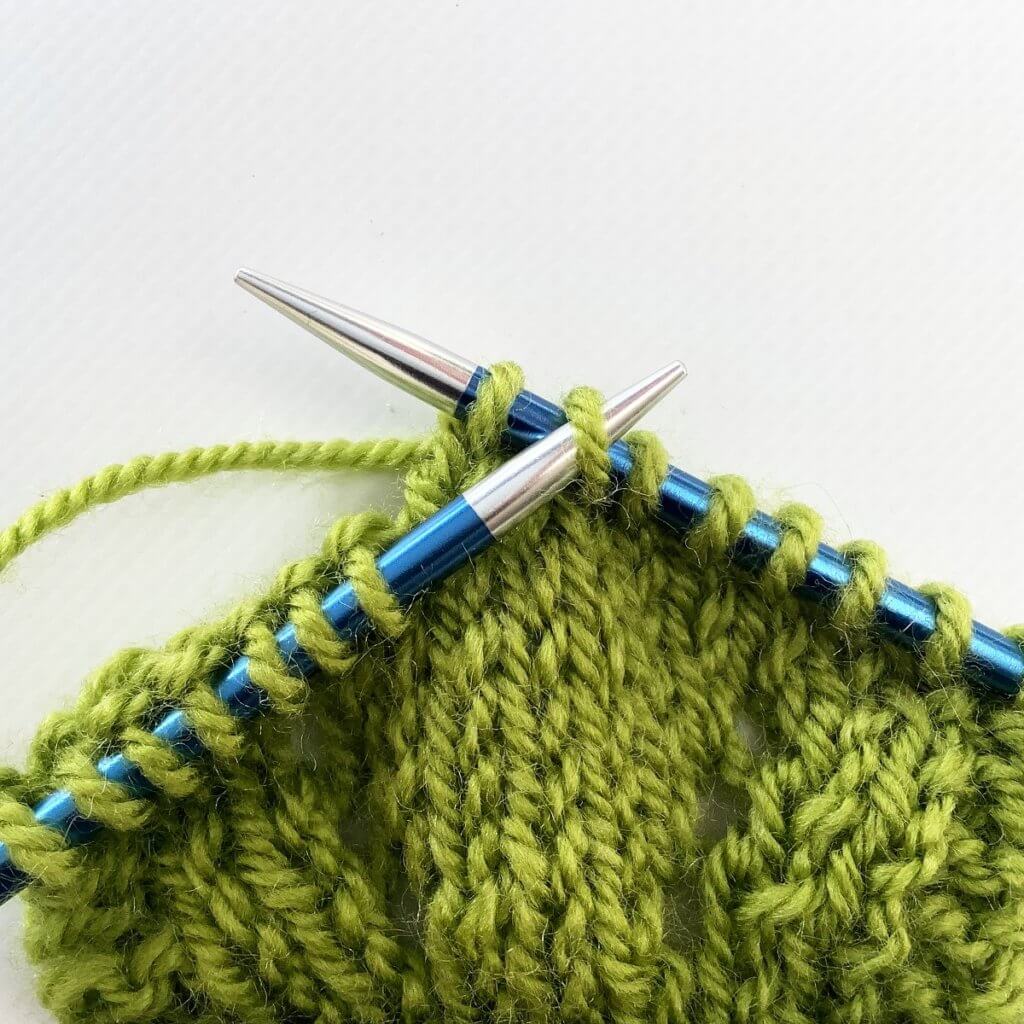
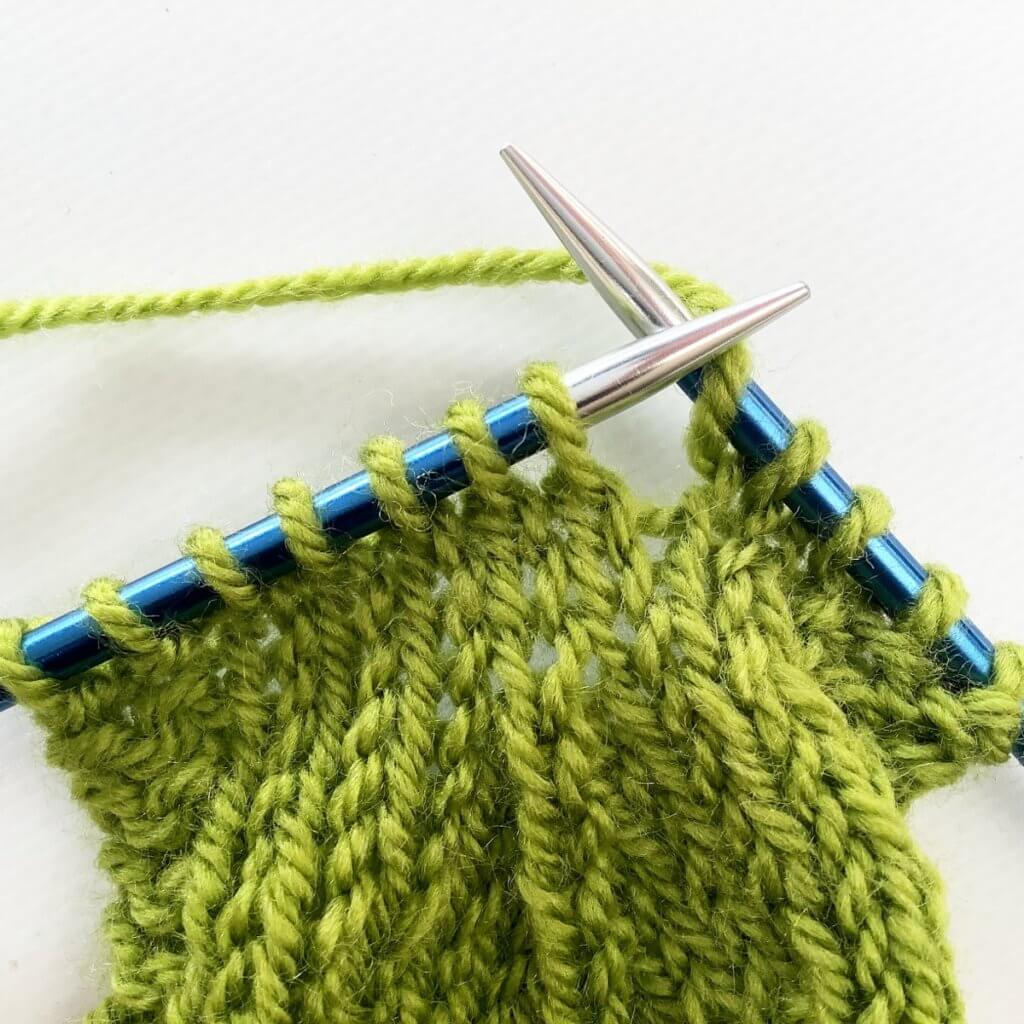
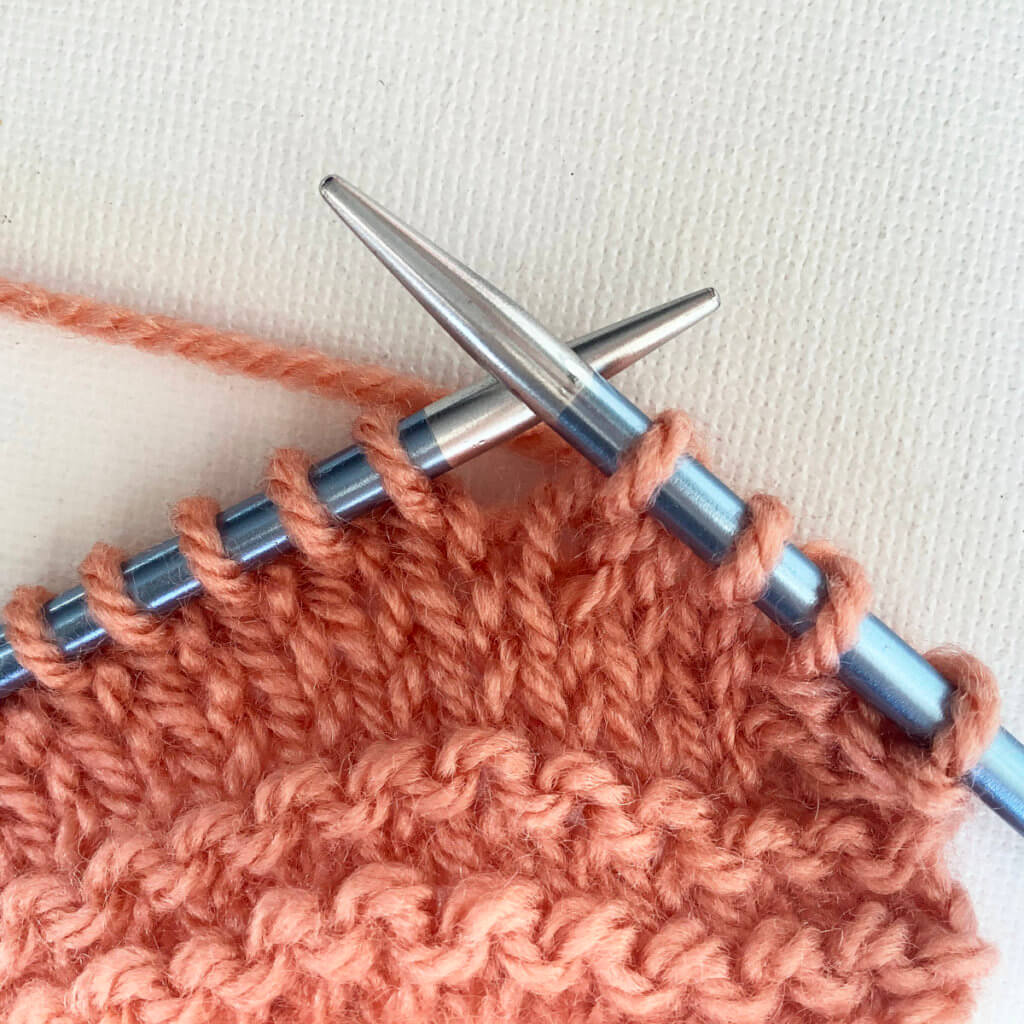
6. Now we’re going to work the wrong side of the fabric. This is where the magic for making a double yarn over really happens. First, work to the point where you encounter the double yo loop.
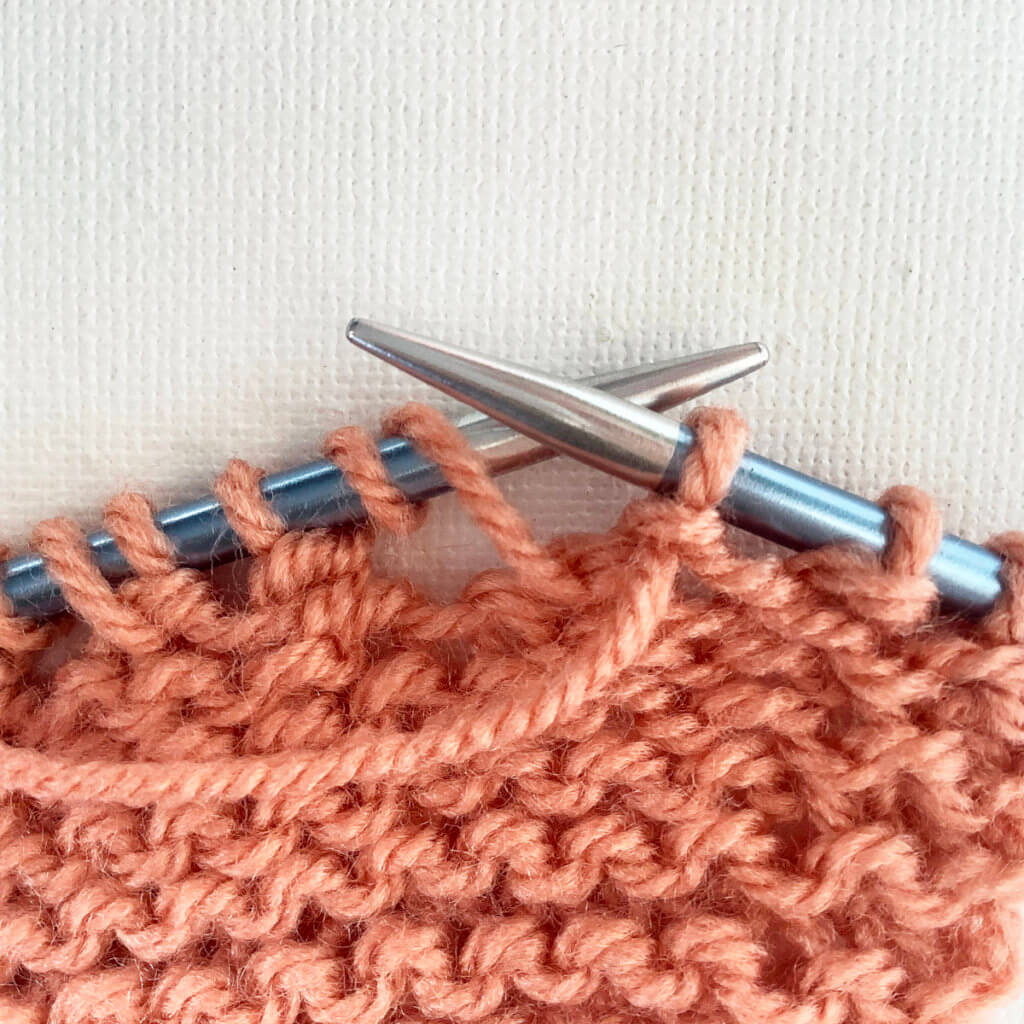
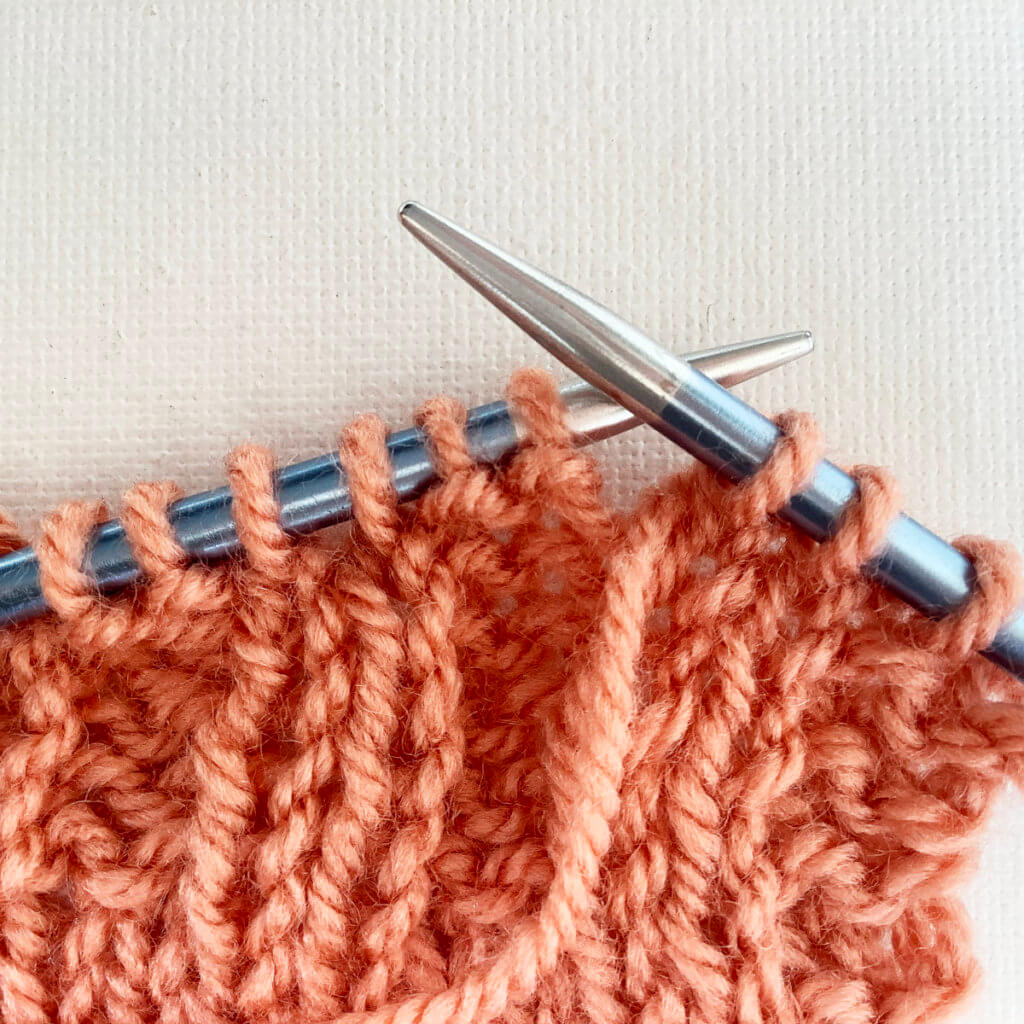
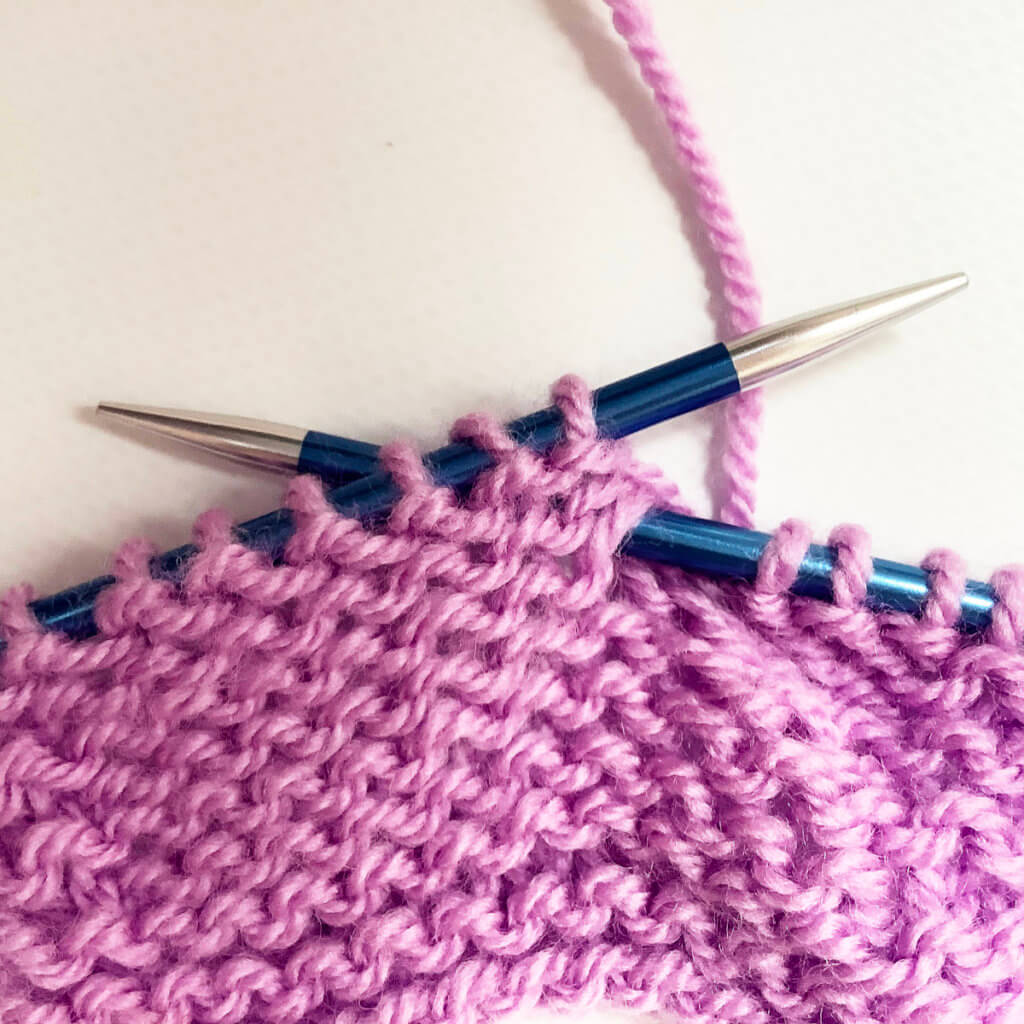
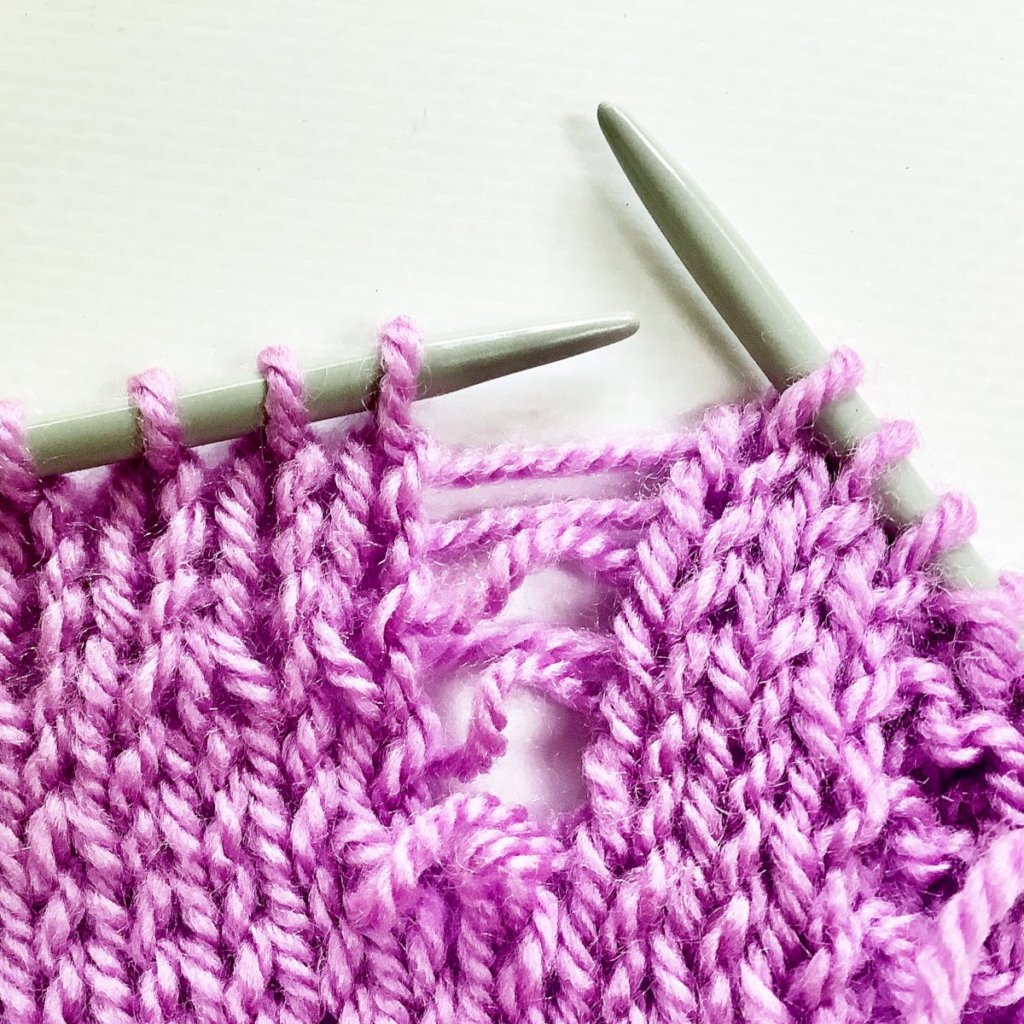
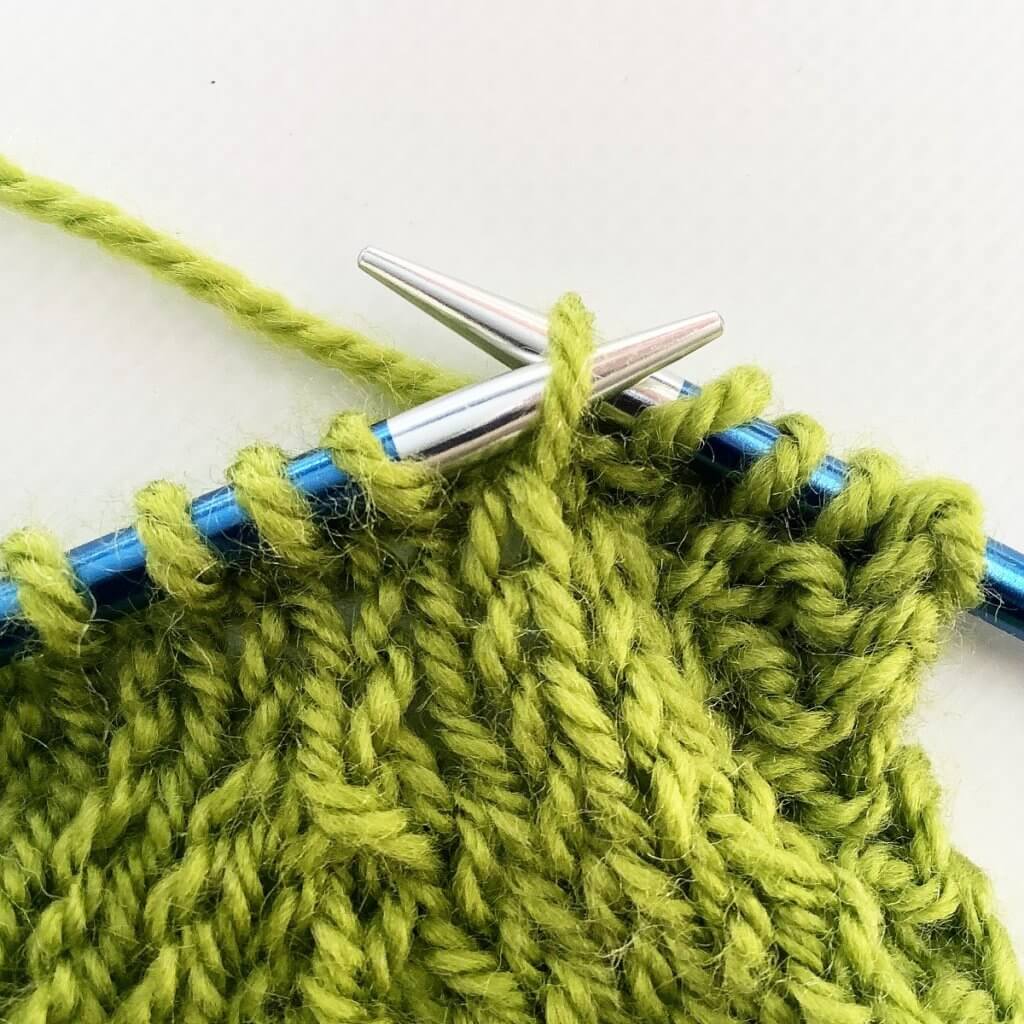
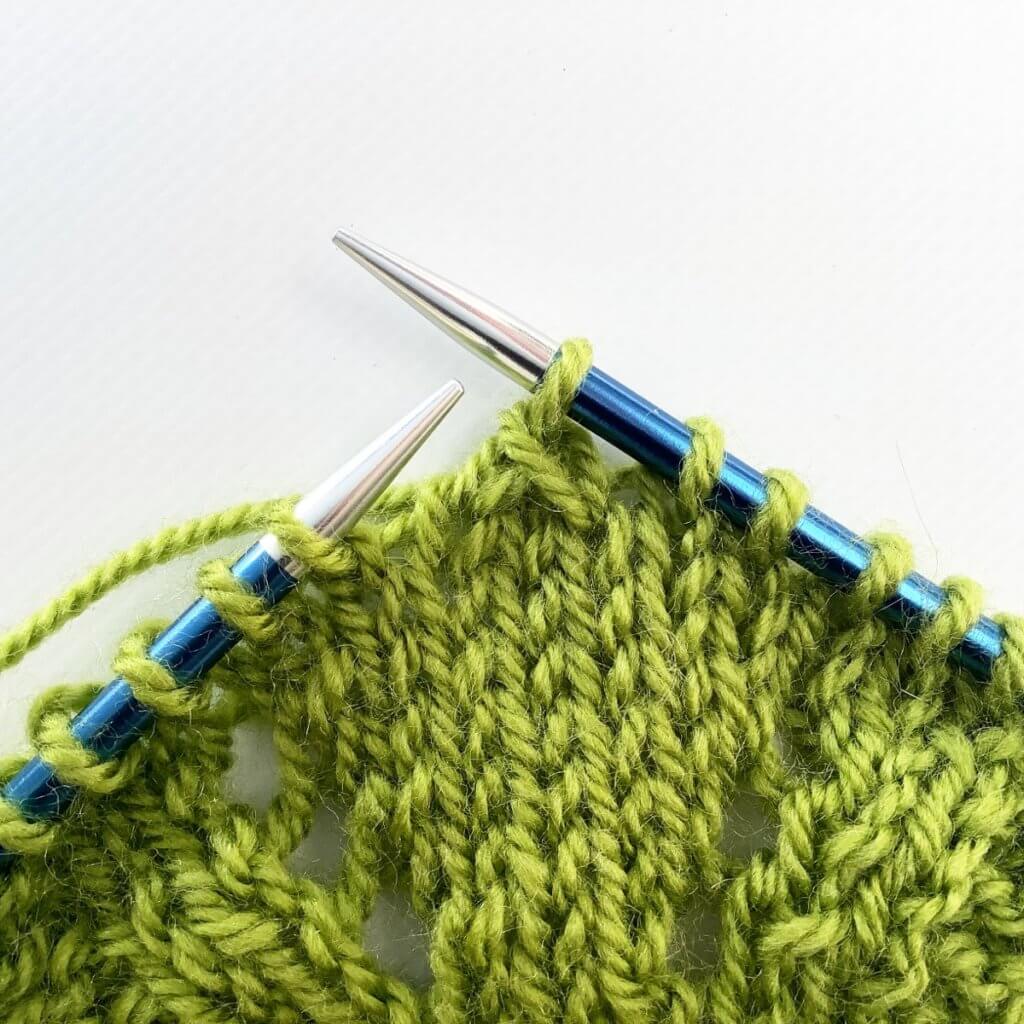
7. The trick with working the double yo on the wrong side row, is to work both a knit and a purl stitch into the double yarn over loop. Both are needed to allow the second stitch to remain a separate one. The order, however, doesn’t matter. I prefer to start with a purl stitch when working stockinette, because that takes out the counting: just purl along until you encounter a double yarn over loop, then work a knit stitch as your second stitch into the loop. In the picture below, I just worked the purl stitch and moved that part of the loop off my left-hand needle.
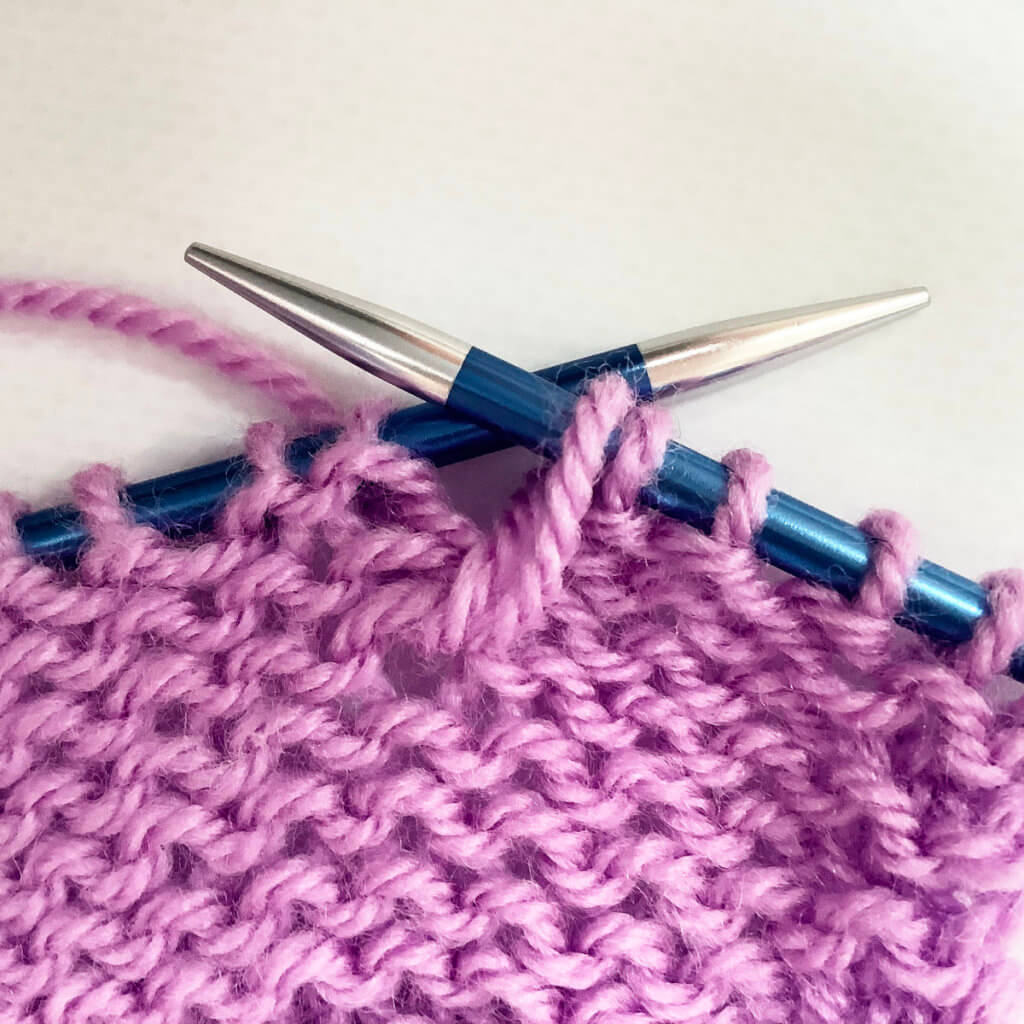
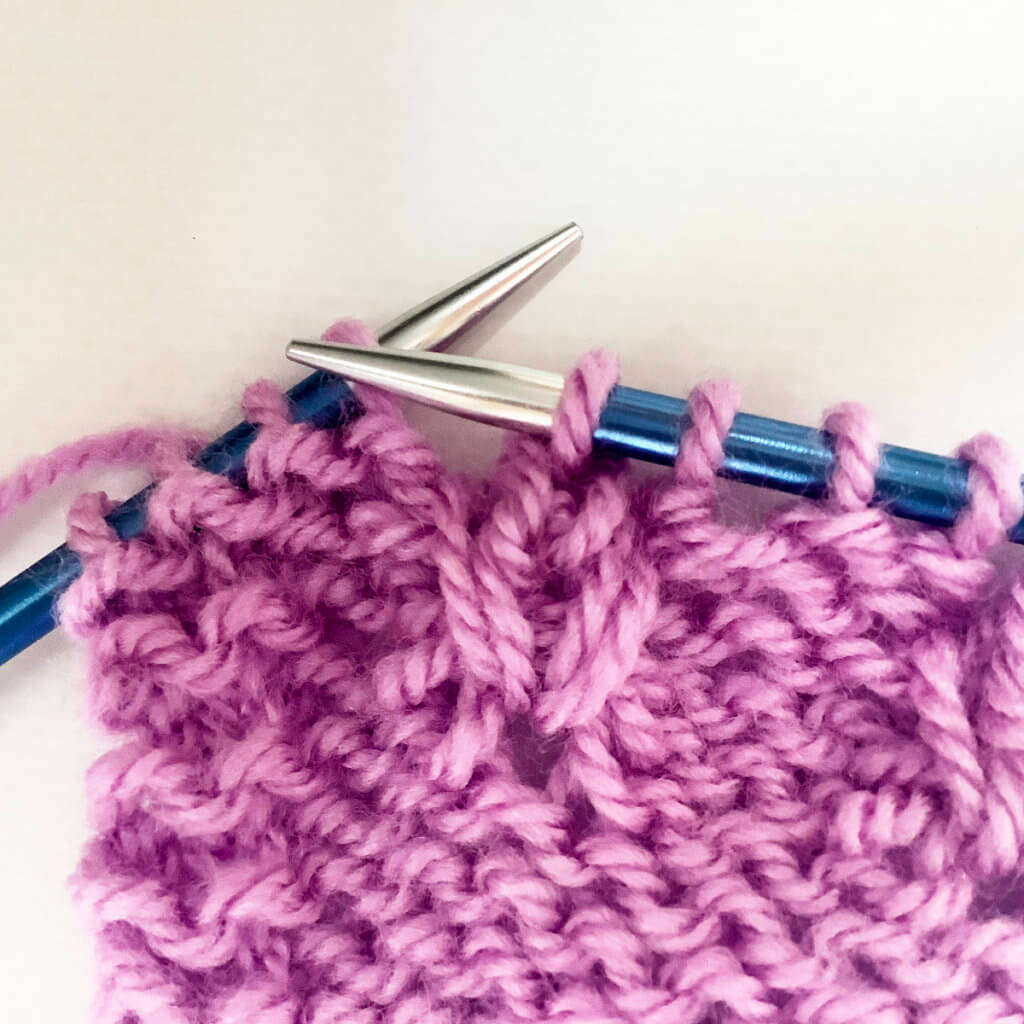
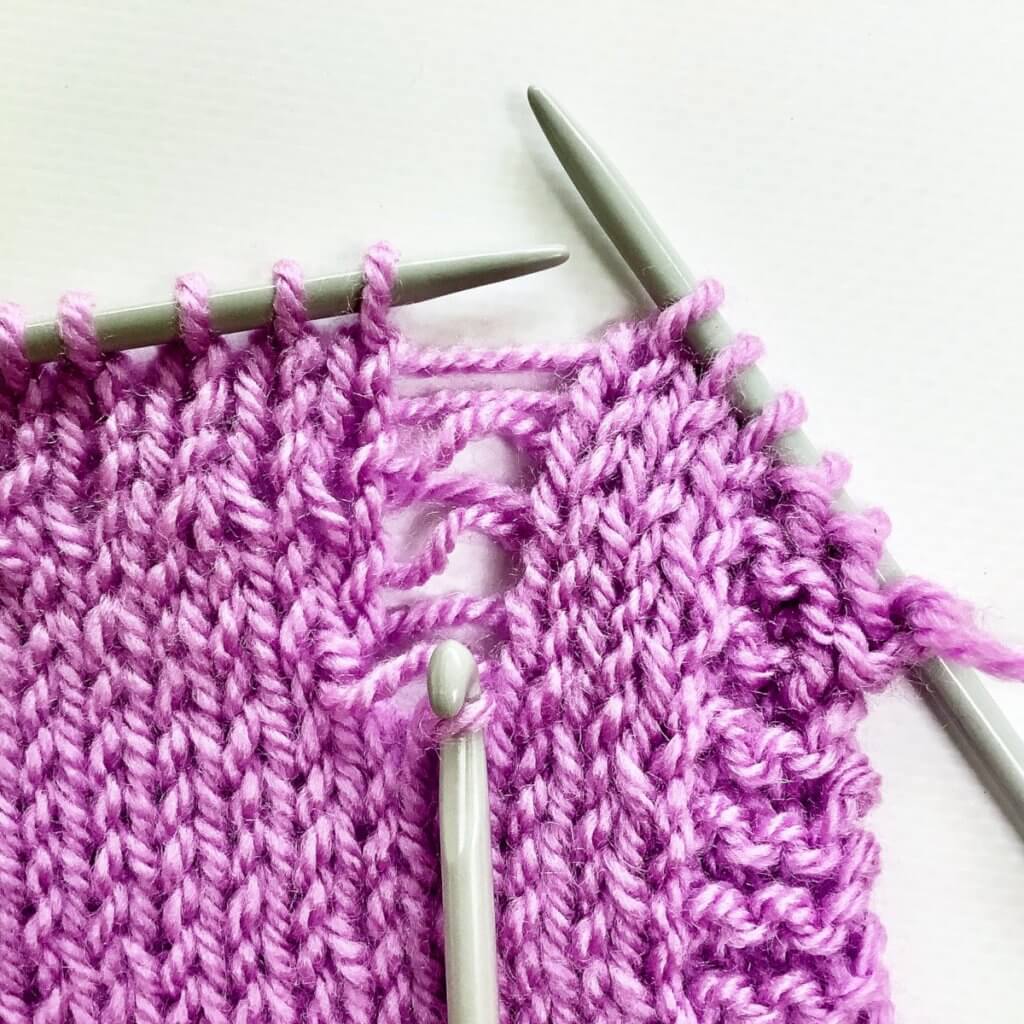
8. Next, I worked a knit stitch into the second part of the double yarn over loop:
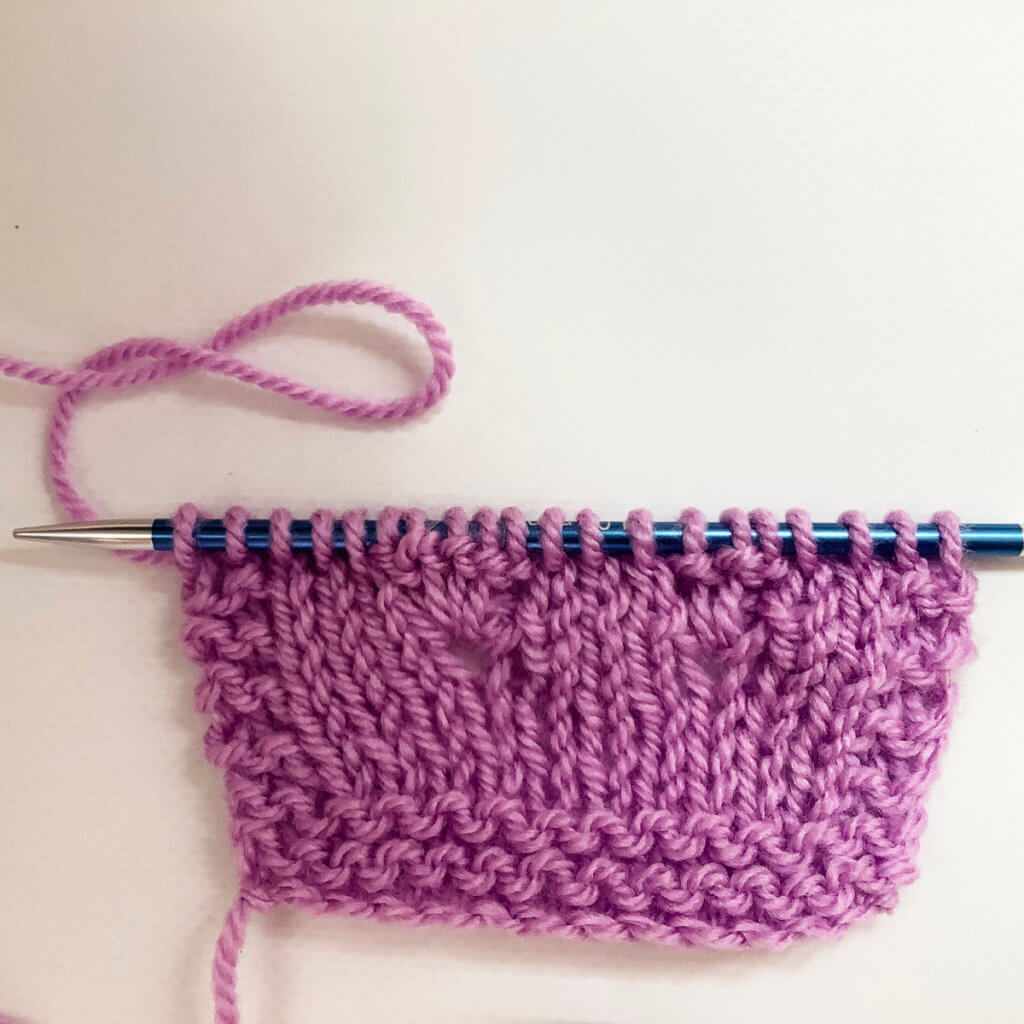
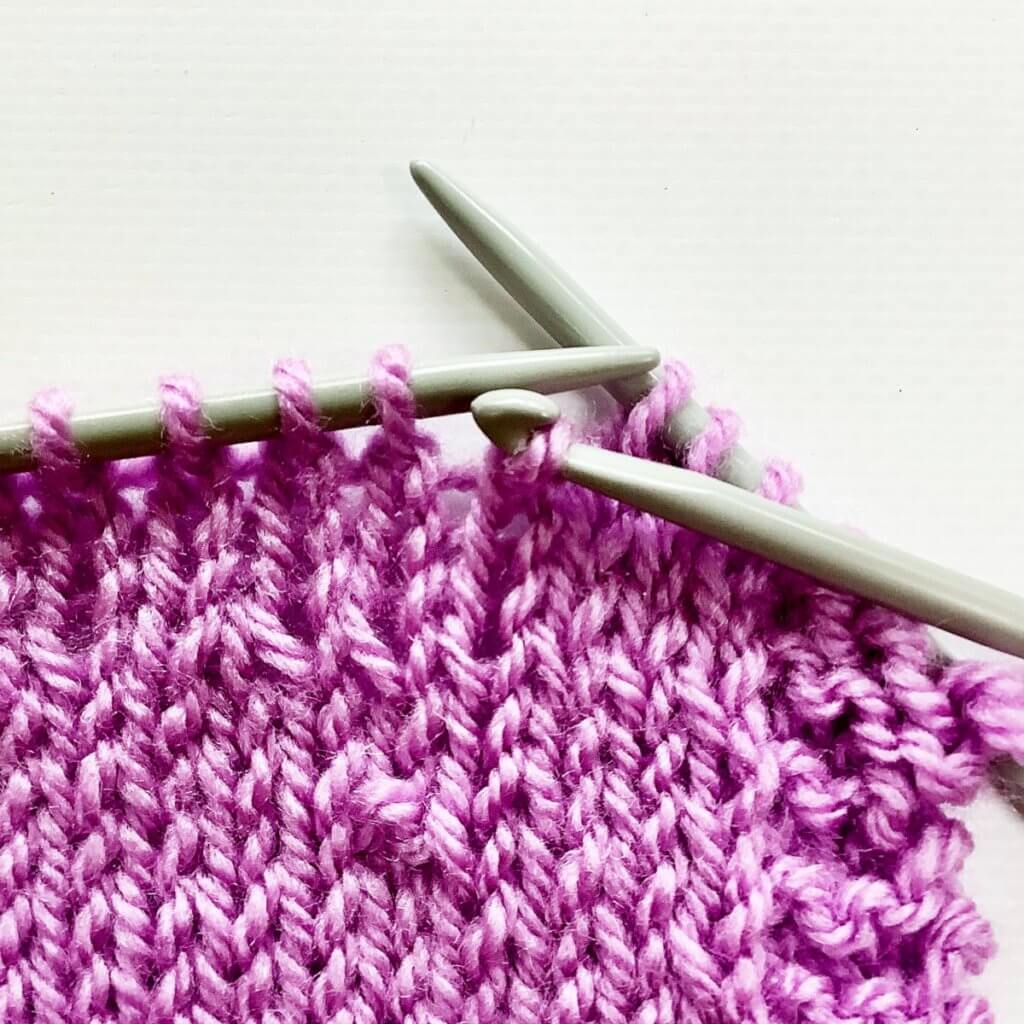
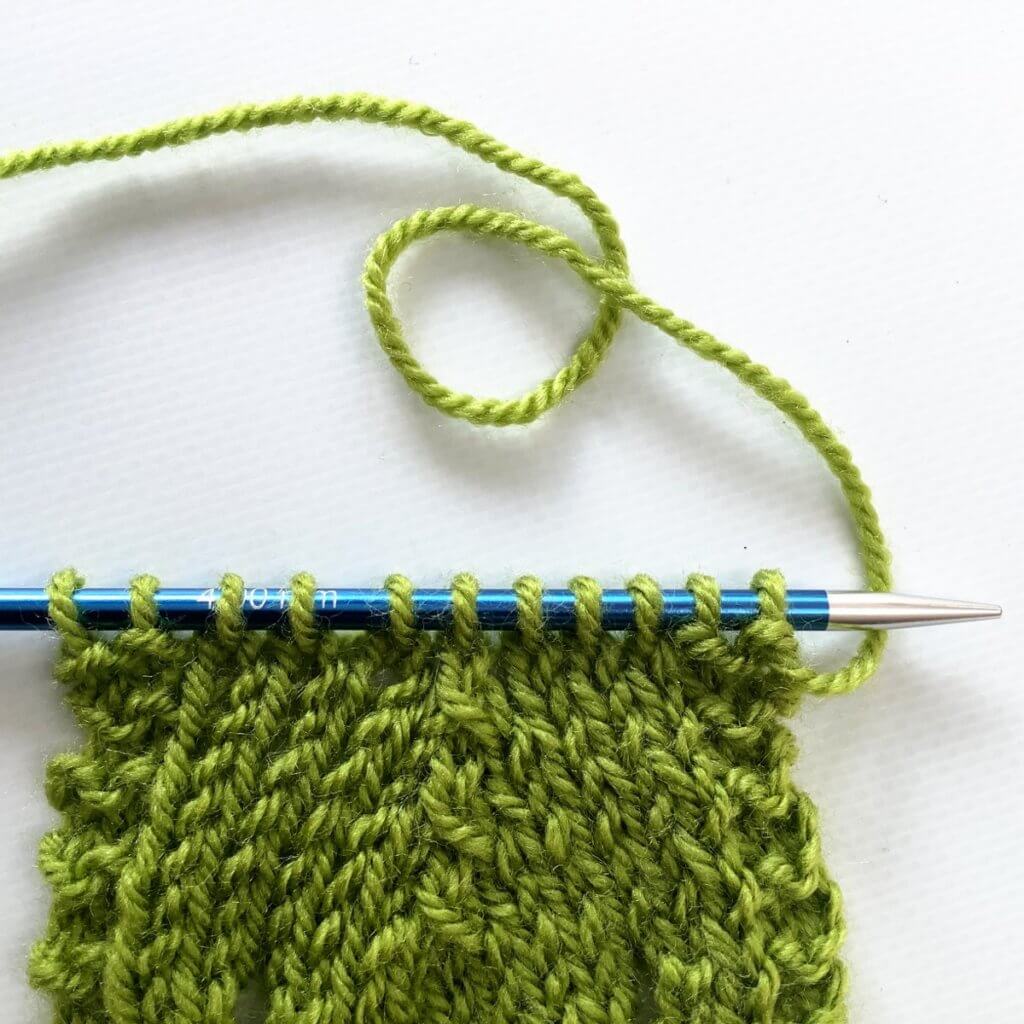
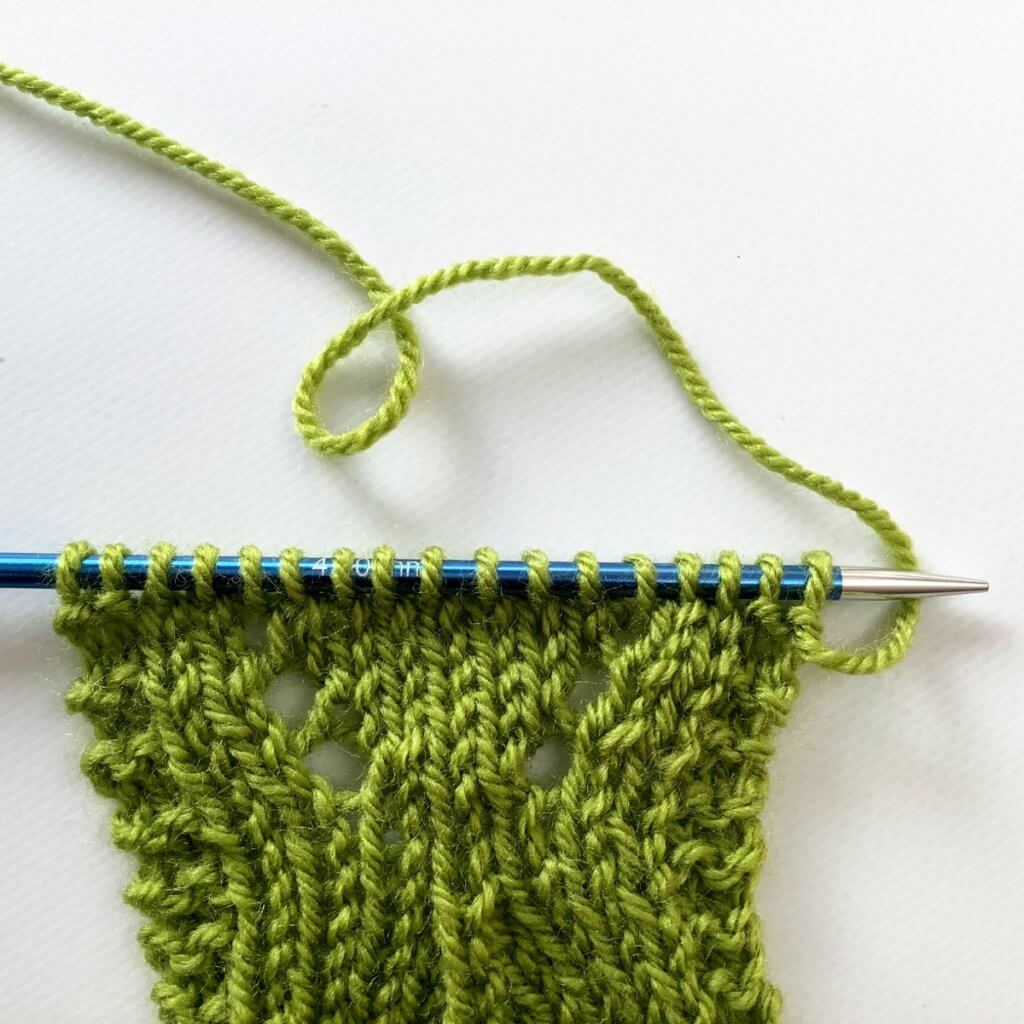
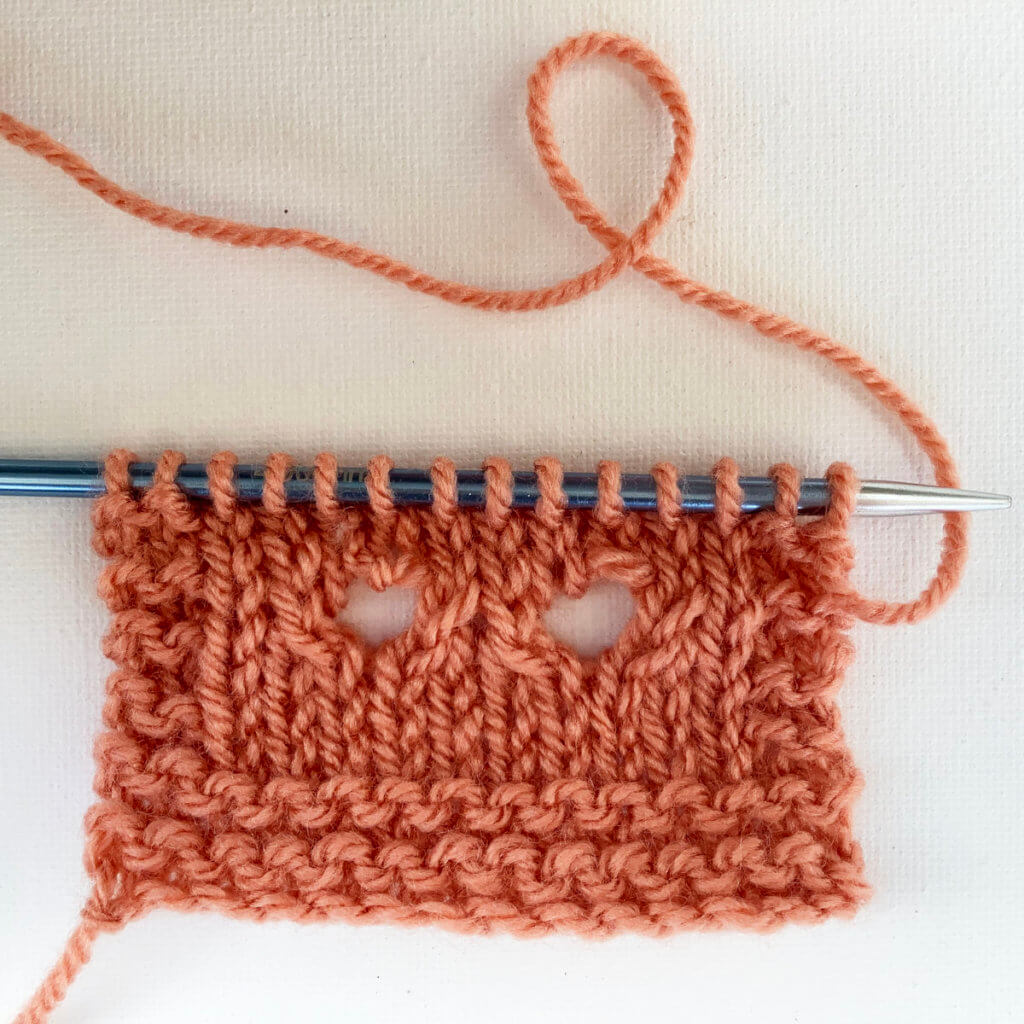
9. This is how it looks after the complete WS row has been worked:
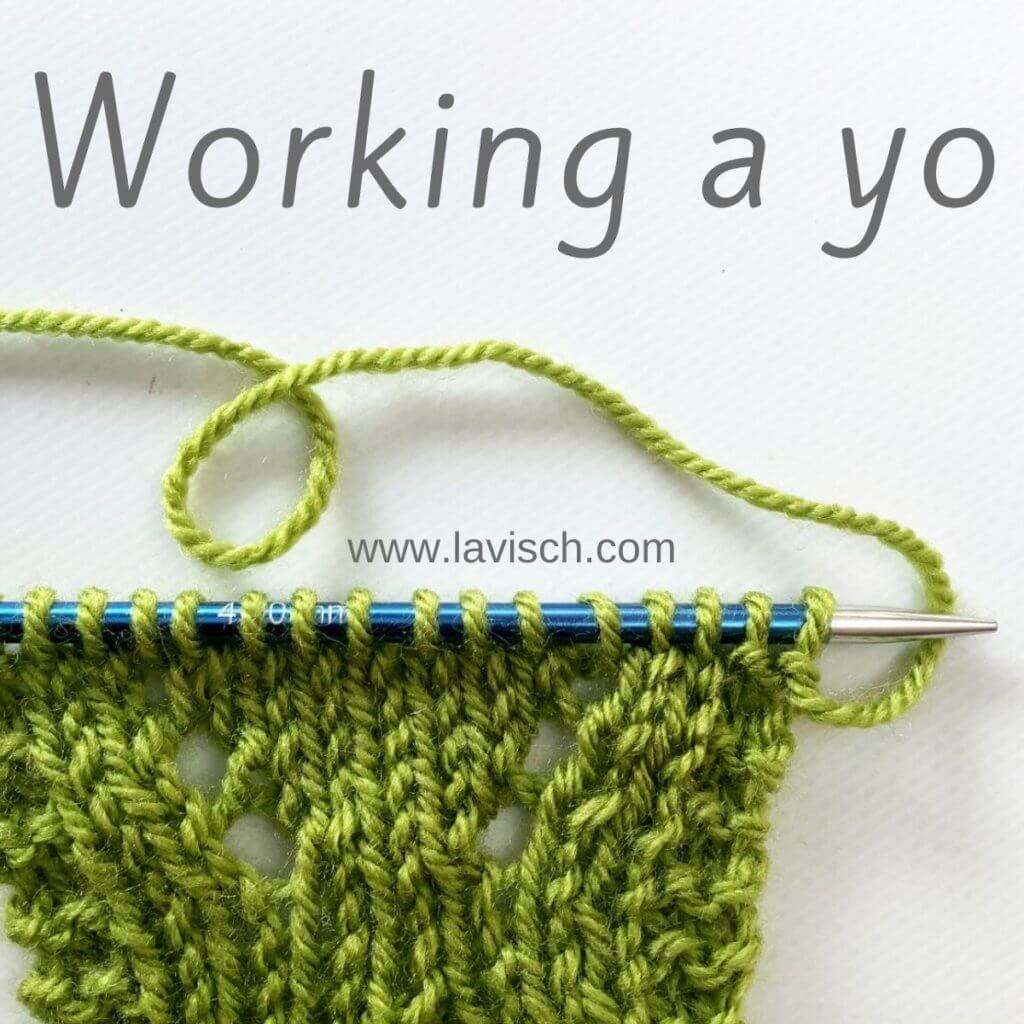
10. In the below picture a few more rows in stockinette have been worked. Do you see there are 2 columns of knit stitches above each double yo?

Thanks to my Patreon supporters for bringing you this freebie! Creating quality patterns and tutorials is a lot of work and resource-intensive. However, I find it important to give you free content like this tutorial. Thanks to the generous support of my Patreon supporters, I can make it happen. Thank you, patrons! Click here to join, or click here to read more about La Visch Designs on Patreon.
tutorial – working a double yo Read More »