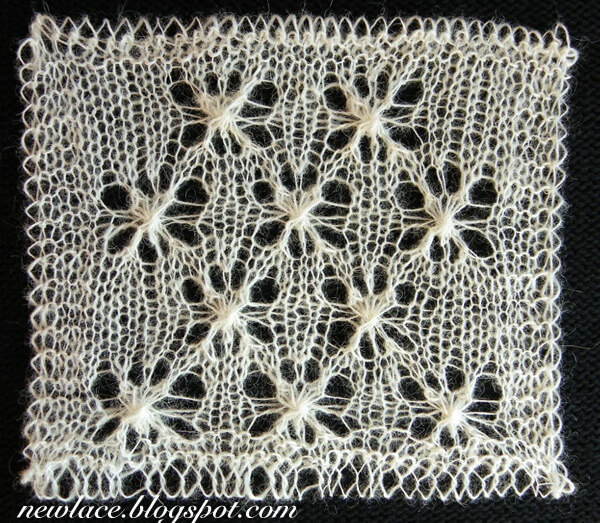
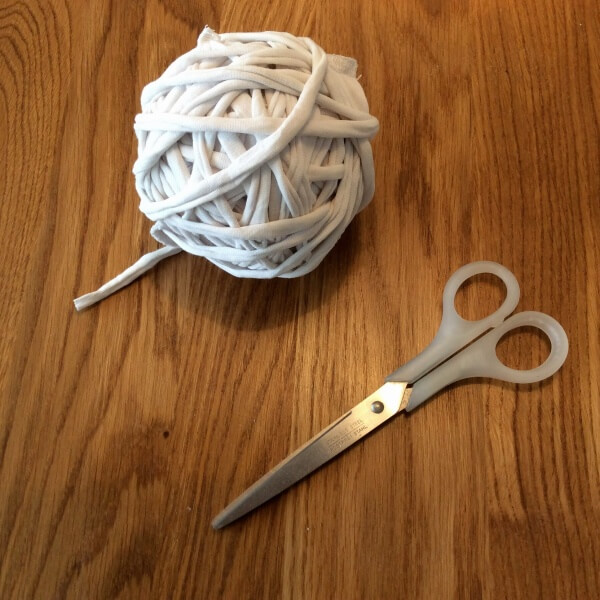
tutorial: crochet lobster stitch cord
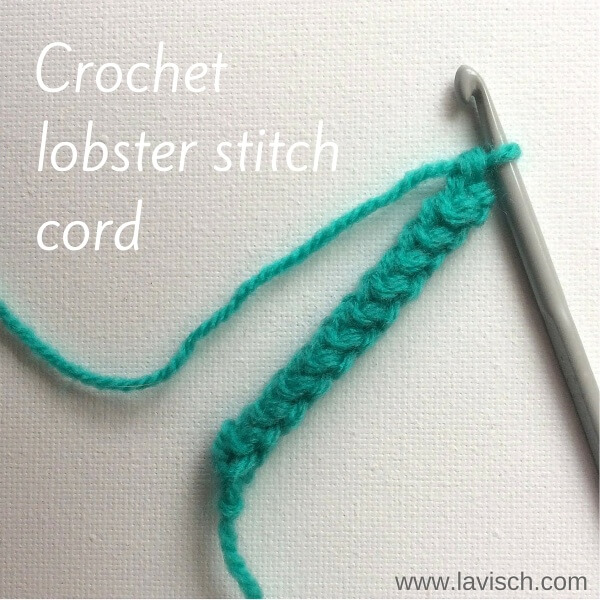
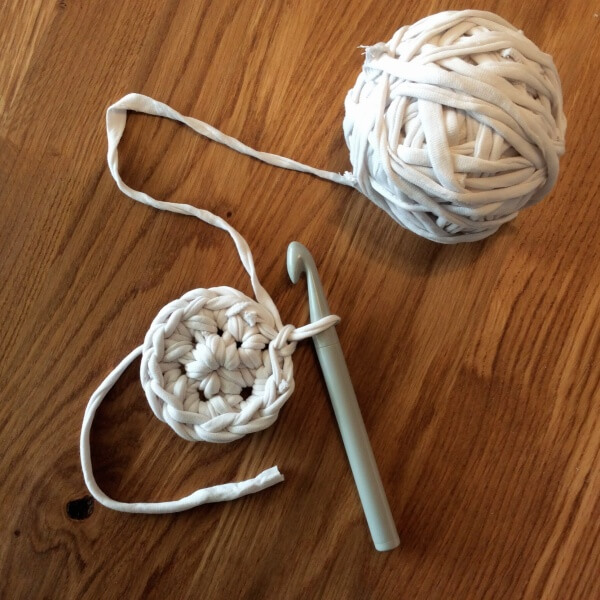
Being it for handles of bags, bracelets, necklaces or other things, crochet cord often comes in handy. Personally, though, I don’t really like making a cord by doing single crochet stitches in a chain because it always so finicky to do. A good and attractive alternative is making a lobster stitch cord.
This type of cord is a tad thicker than a cord made from a chain and single crochet, and therefore also somewhat firmer. Really a good attribute when making bag handles! Of course, if you make lobster stitch cord of a thinnish yarn, the resulting cord will also be finer and thinner than when made from worsted or heavier weight yarn. And best of all: besides being rather decorative, a lobster stitch cord is started with only 2 stitches! You can determine how long to make it as you go.
In this post, I’ll show you how to crochet lobster stitch cord. These instructions are written in American English crochet terminology.
Lobster stitch cord step by step
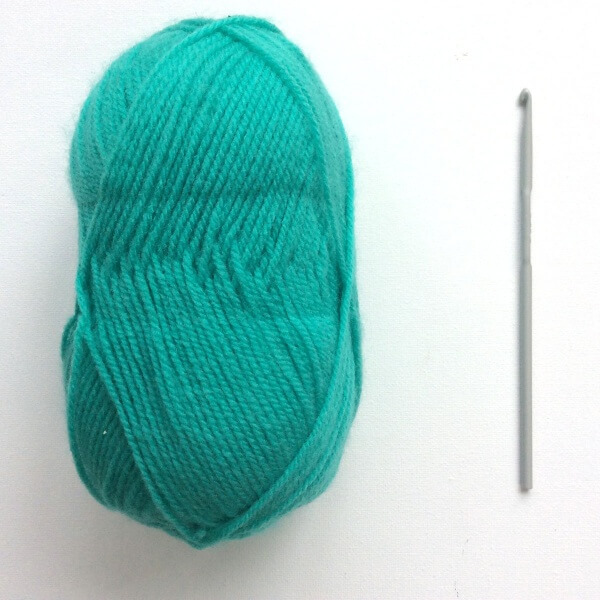
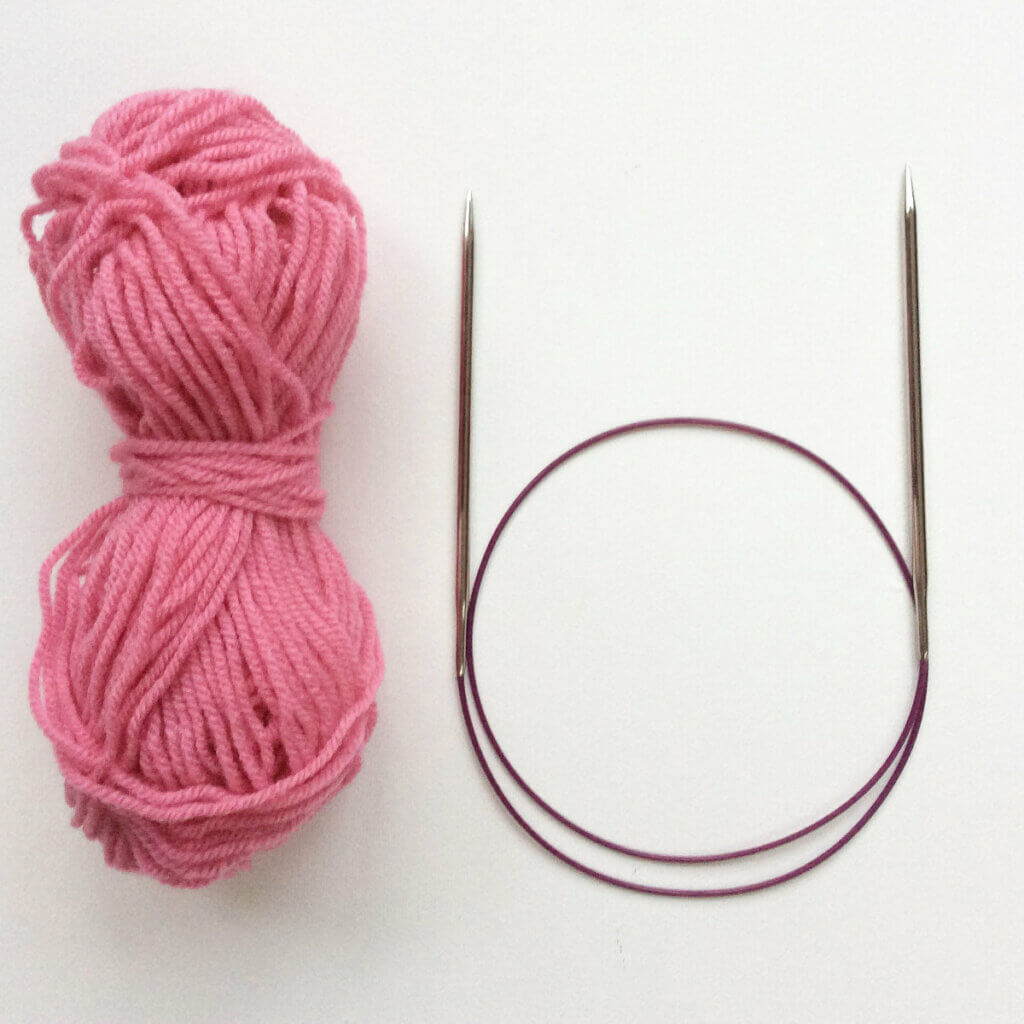
For this example, I’m using Zeeman Super Soft yarn and a crochet hook size 4 mm (US G/6).
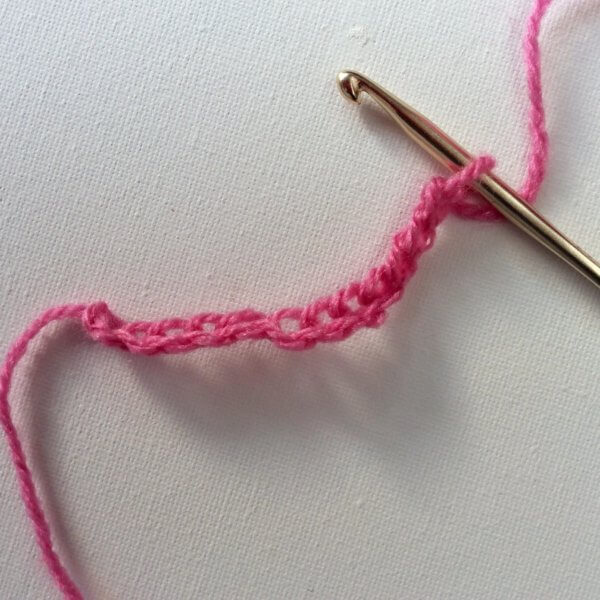
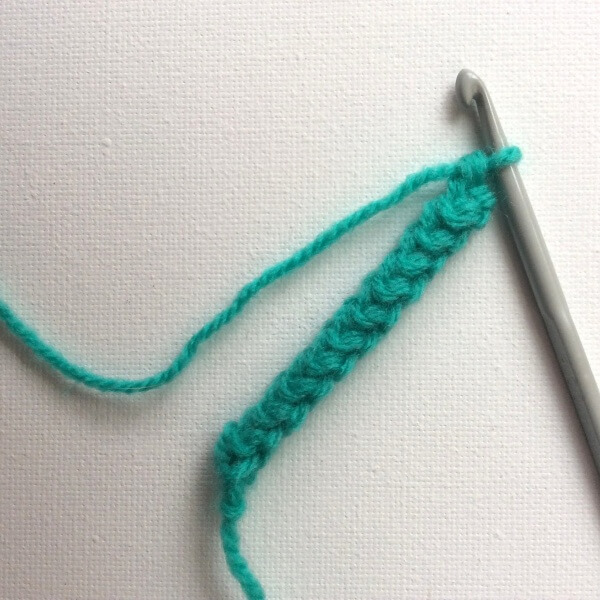
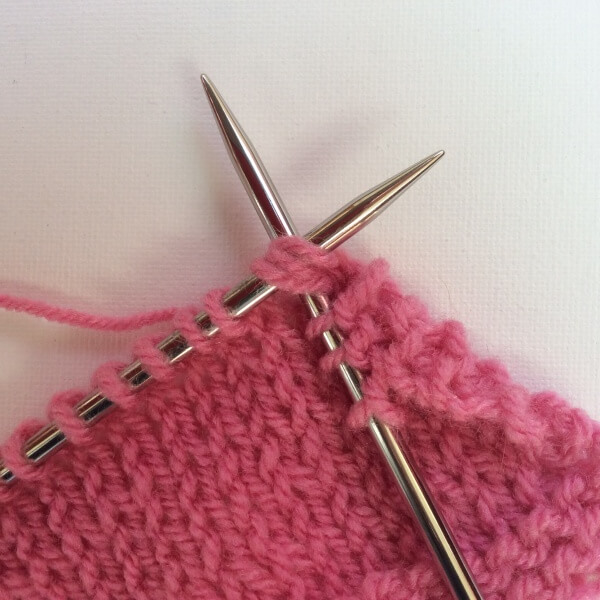
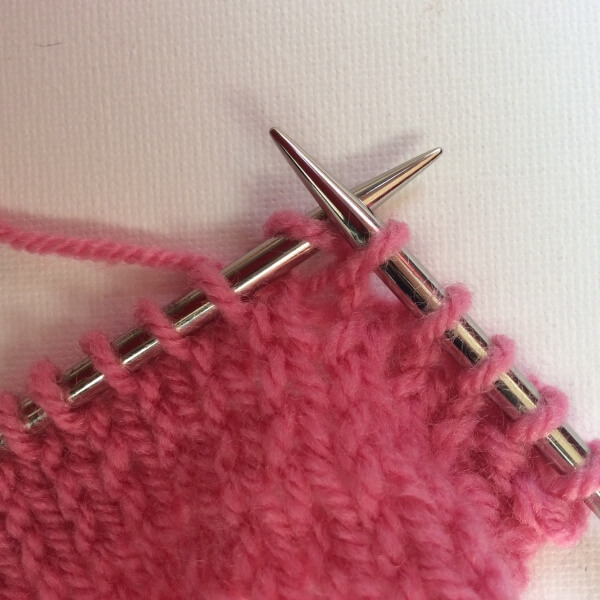
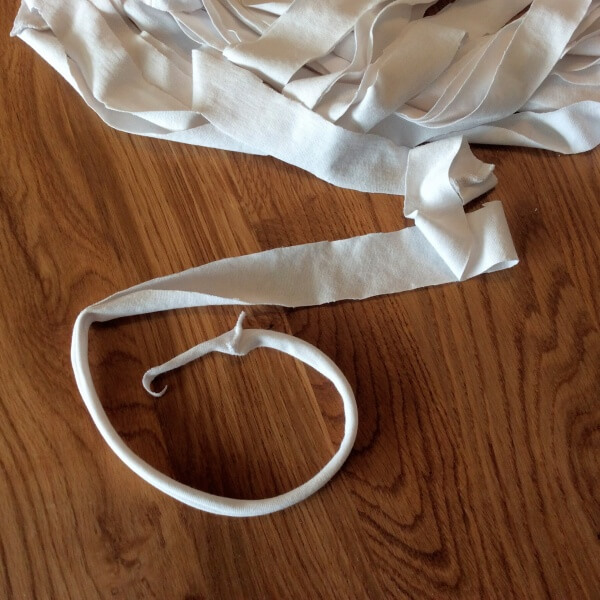
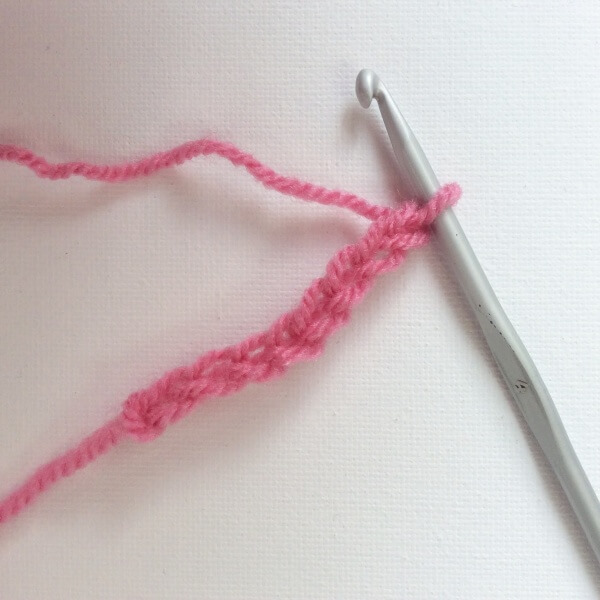
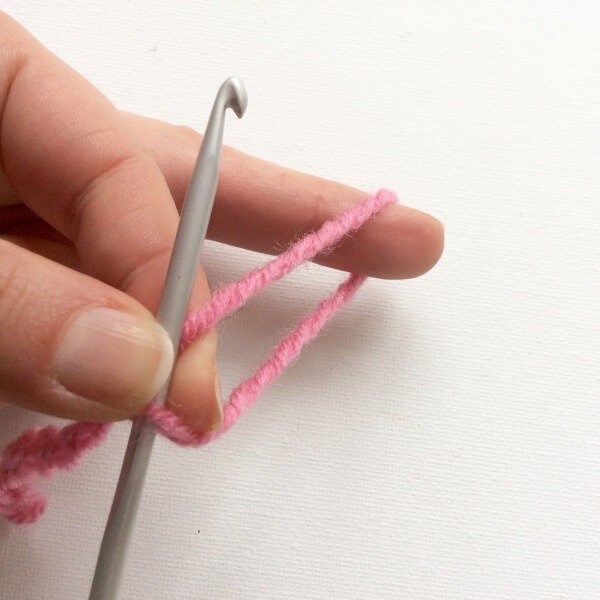
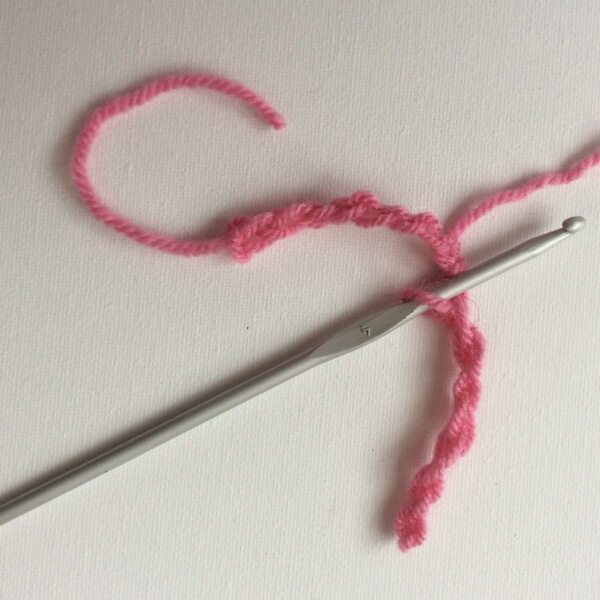
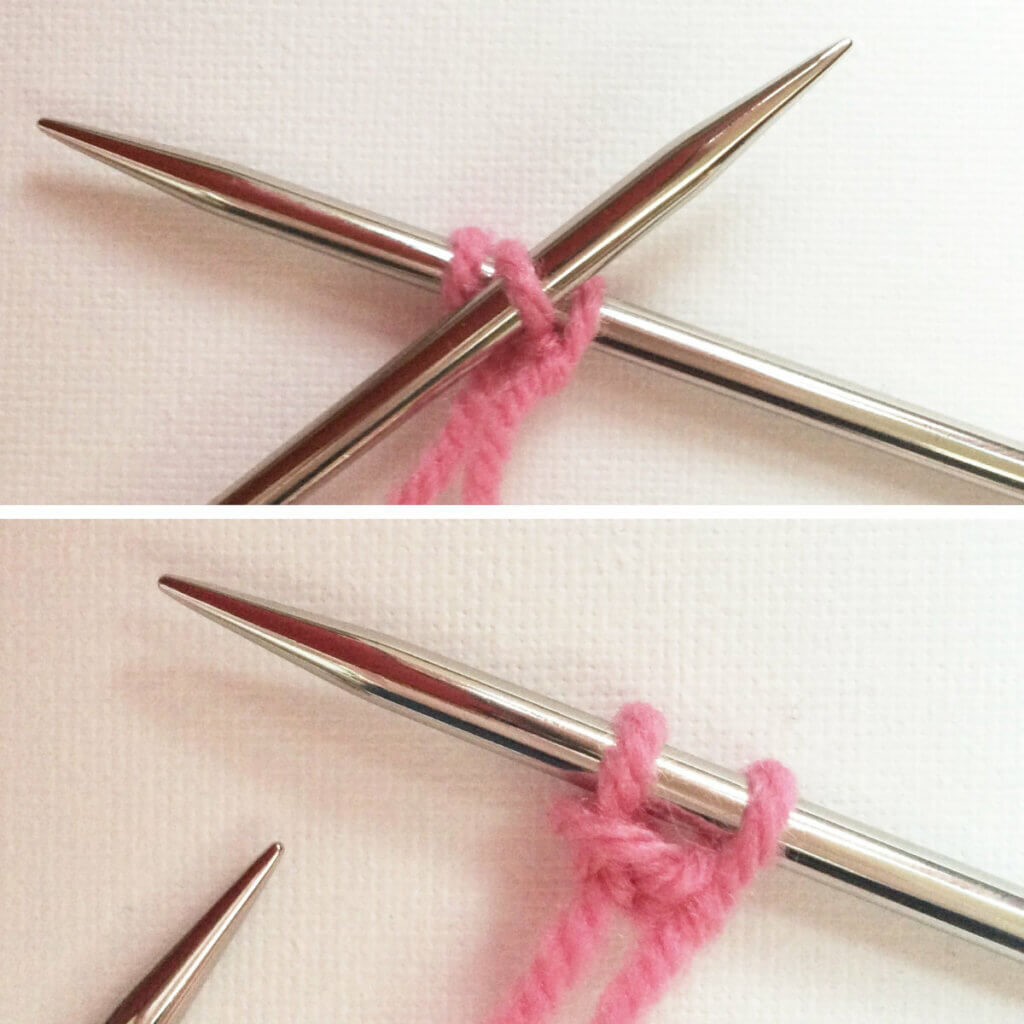
1. Start by chaining 2 stitches, followed by 1 single crochet in the second chain from the hook.
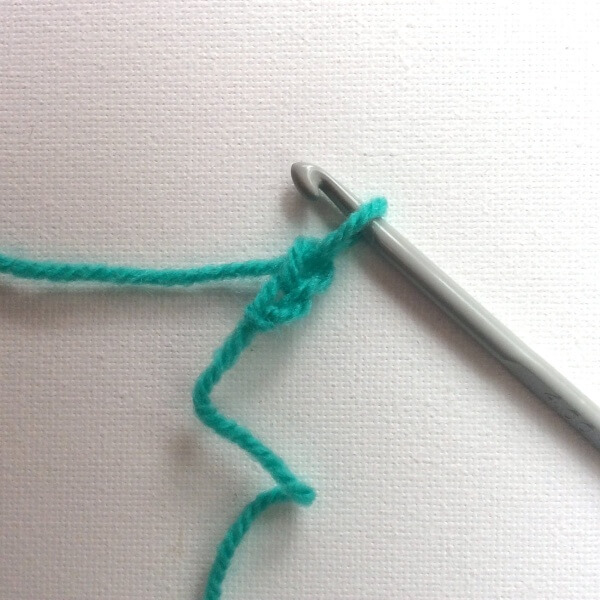
The result will look like the picture below. You can see that the stitch you have just created is pointing down on the side of the hook. This is indicated by the arrow on the right.
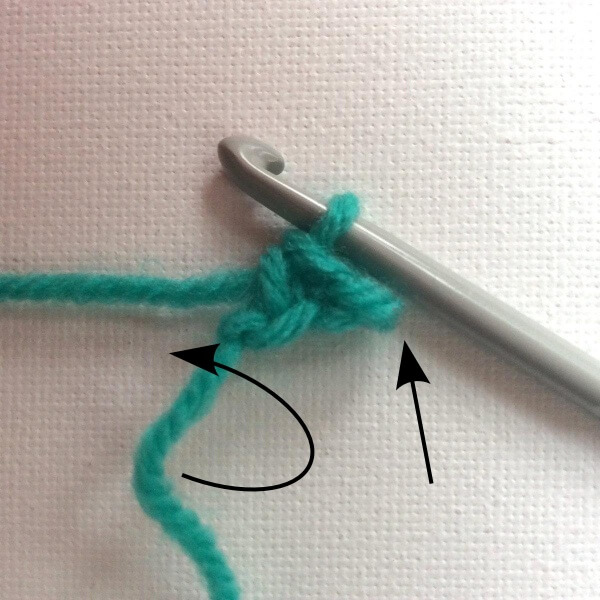
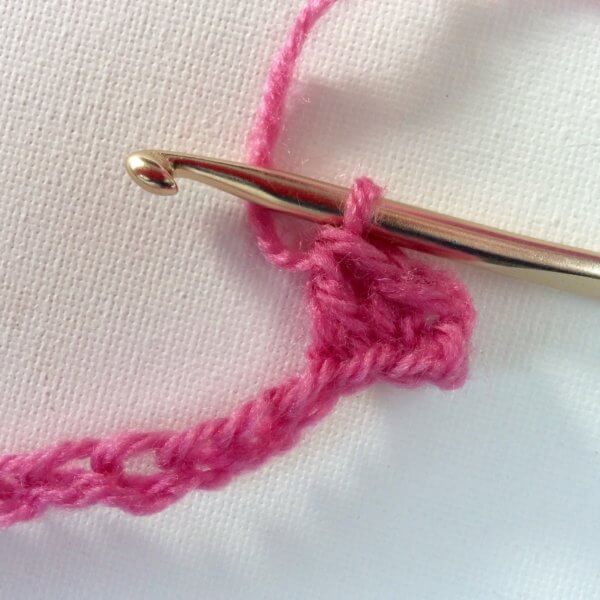
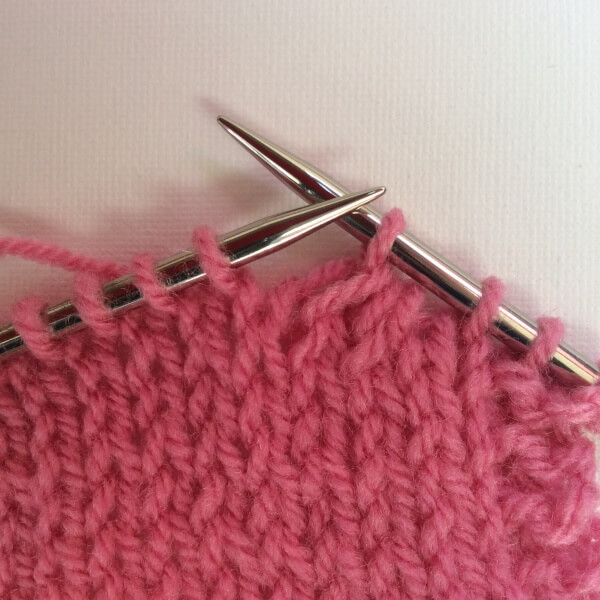
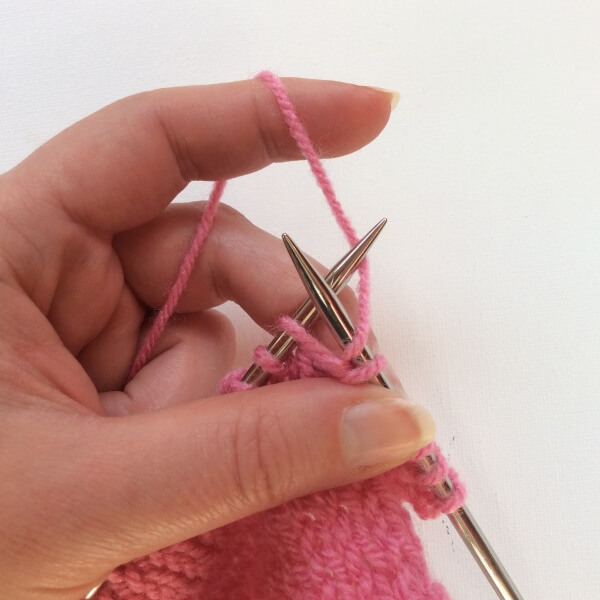
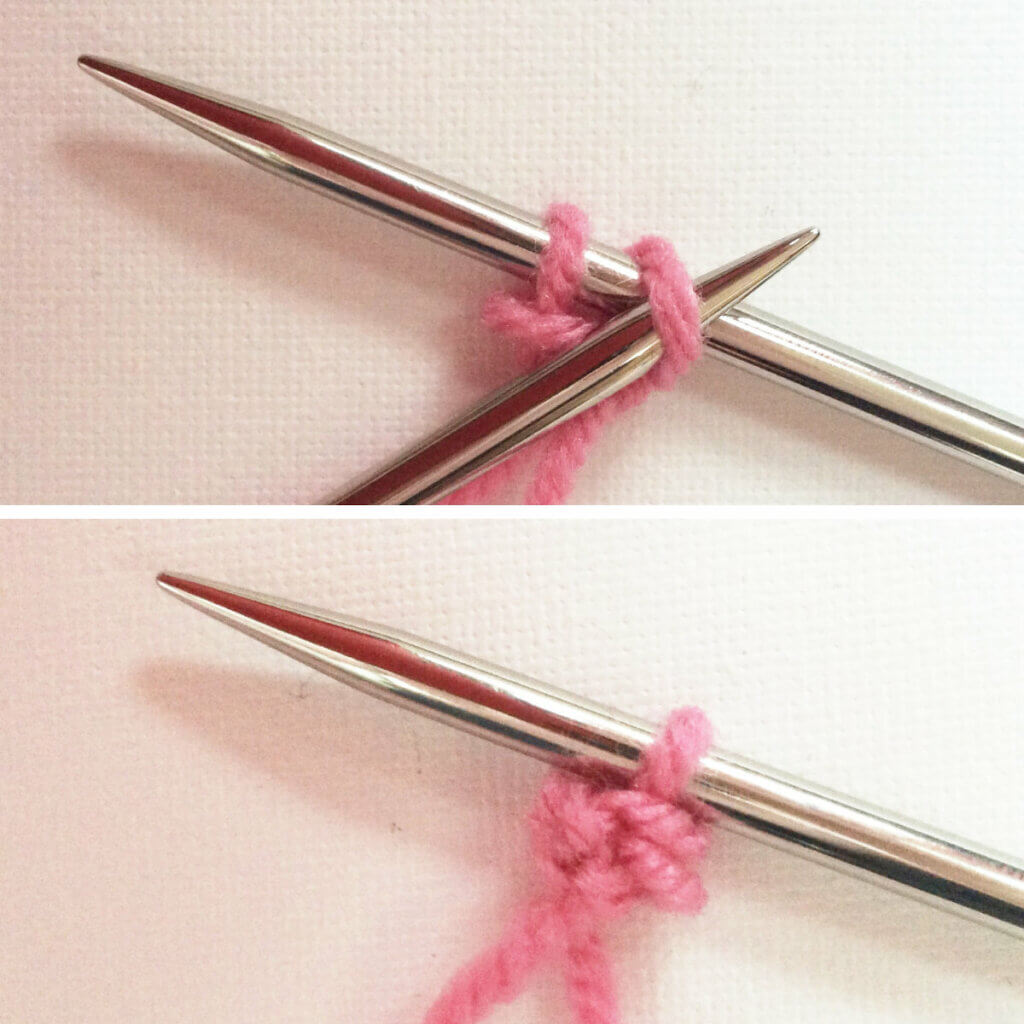
2. In this step, you turn the work towards you, as indicated by the left arrow pictured above. The stitch just made is now facing you, make sure the thread of yarn stays behind the work. In the picture below, the arrow indicates the very same stitch after rotating the work.
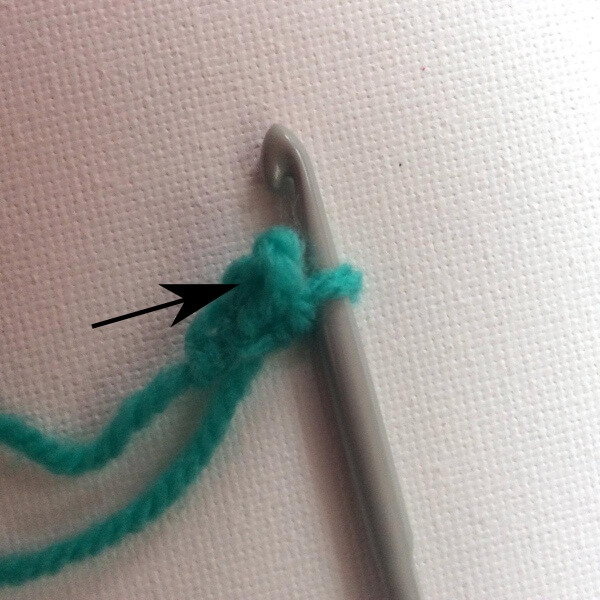
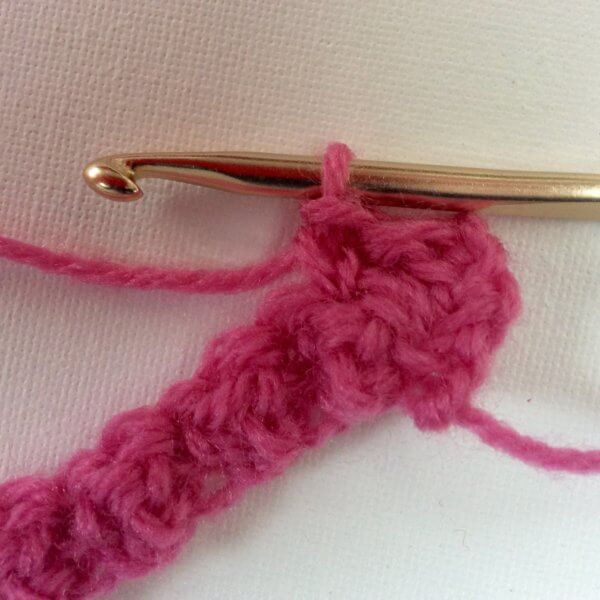
3. Insert your hook in the stitch and make a single crochet by pulling up a loop, wrap the yarn around your hook and pulling it through the two loops on the hook.
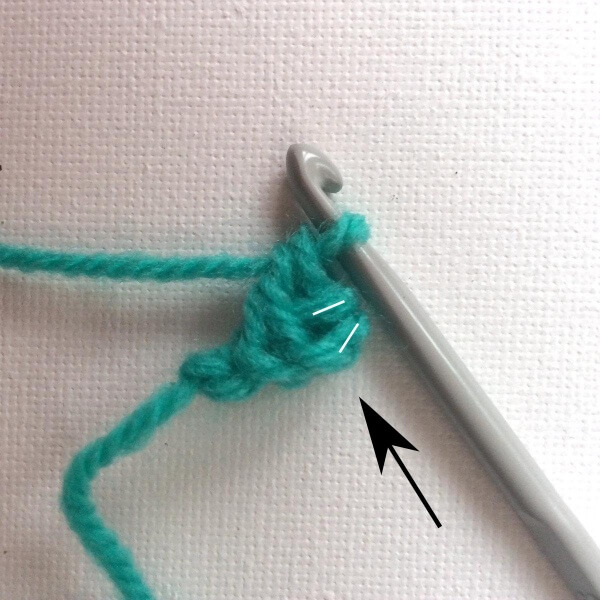
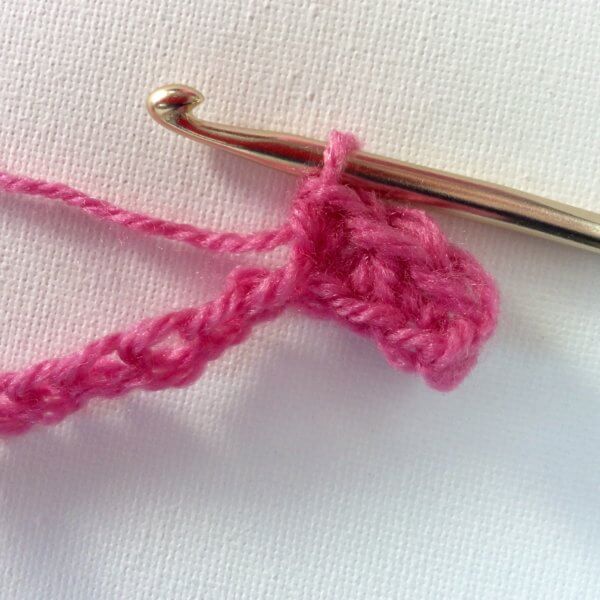
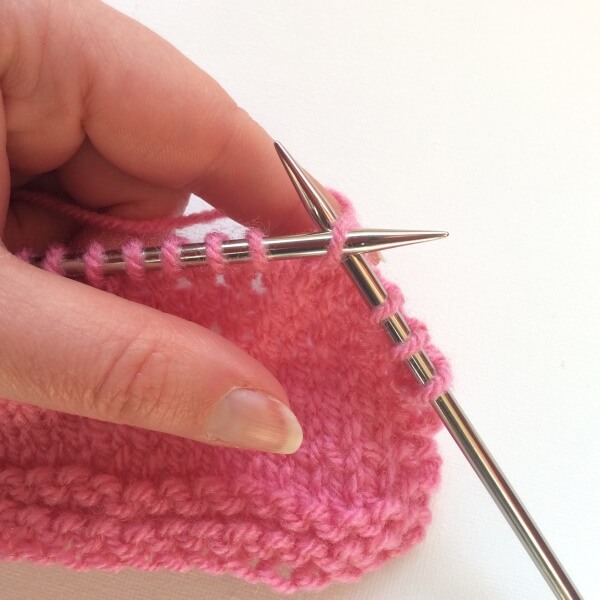
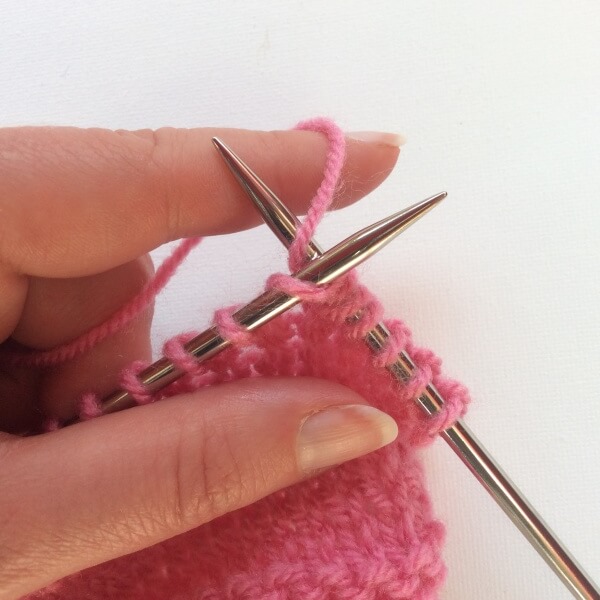
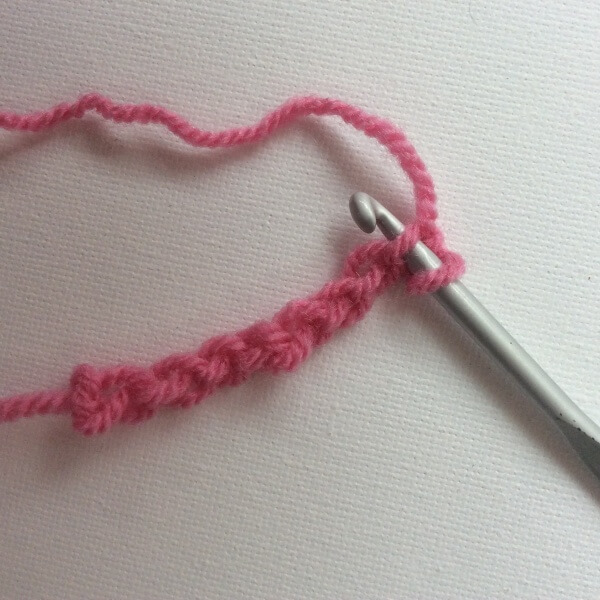
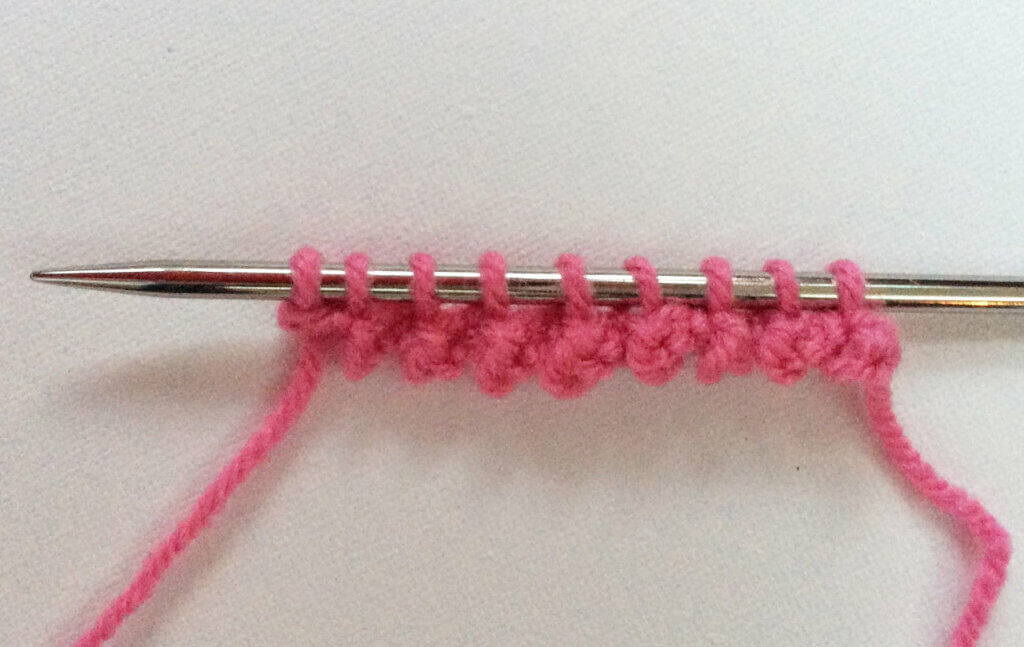
4. After the stitch you just made, you see two loops on the underside of your work (see arrow). These are indicated by the two white lines. Now turn your work towards you, similar as in step 2. Next insert the hook into the two indicated loops and make a single crochet by pulling up a loop, wrap the yarn around your hook and pulling it through the two loops on the hook.
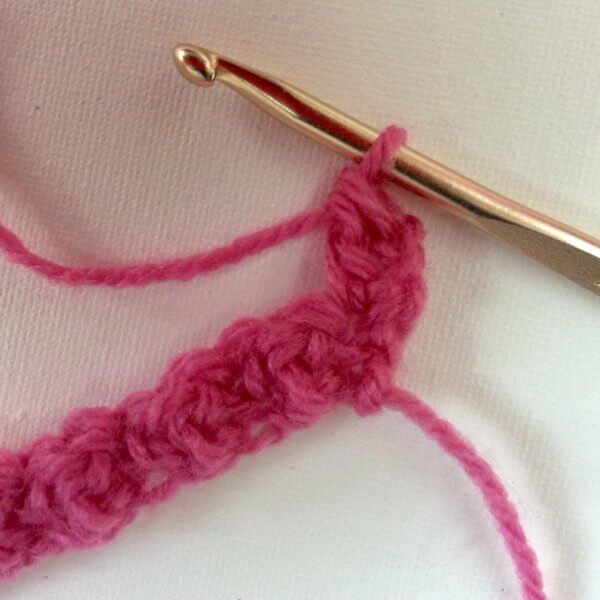
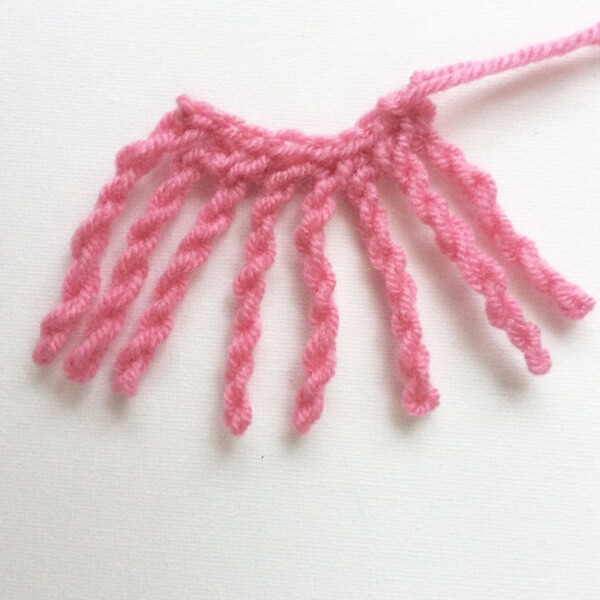
Repeat step 4 until your cord has the desired length.
And that is all there is to it!
tutorial: crochet lobster stitch cord Read More »


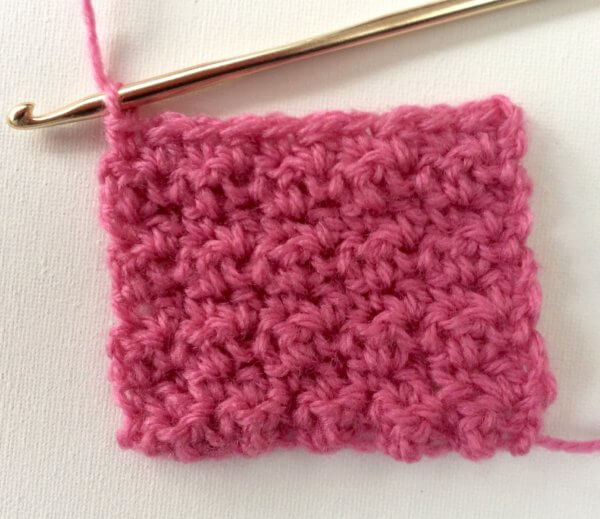
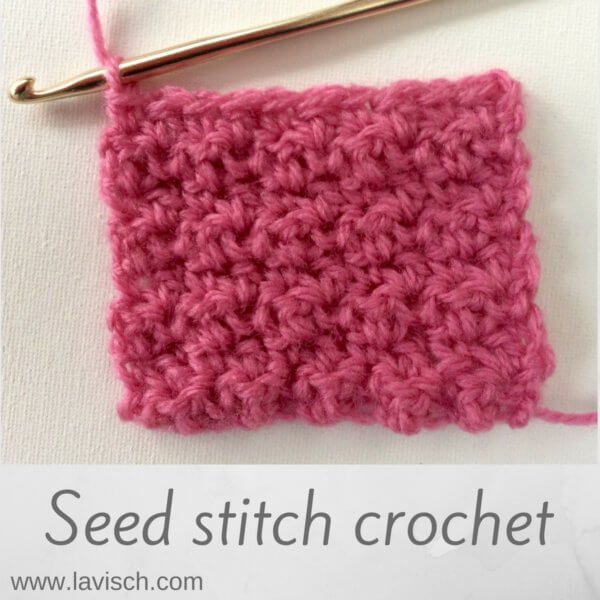 In this post I will show you how to crochet the “seed stitch”. In this stitch single crochet stitches are alternated with double crochet stitches (US crochet terminology!). This gives a really lovely and dense fabric, very suitable for projects like scarves, blankets and bags. Let me show you step by step how it is done.