knitting

waveline

Waveline - a knit shawl design with mosaic patterning by La Visch Designs

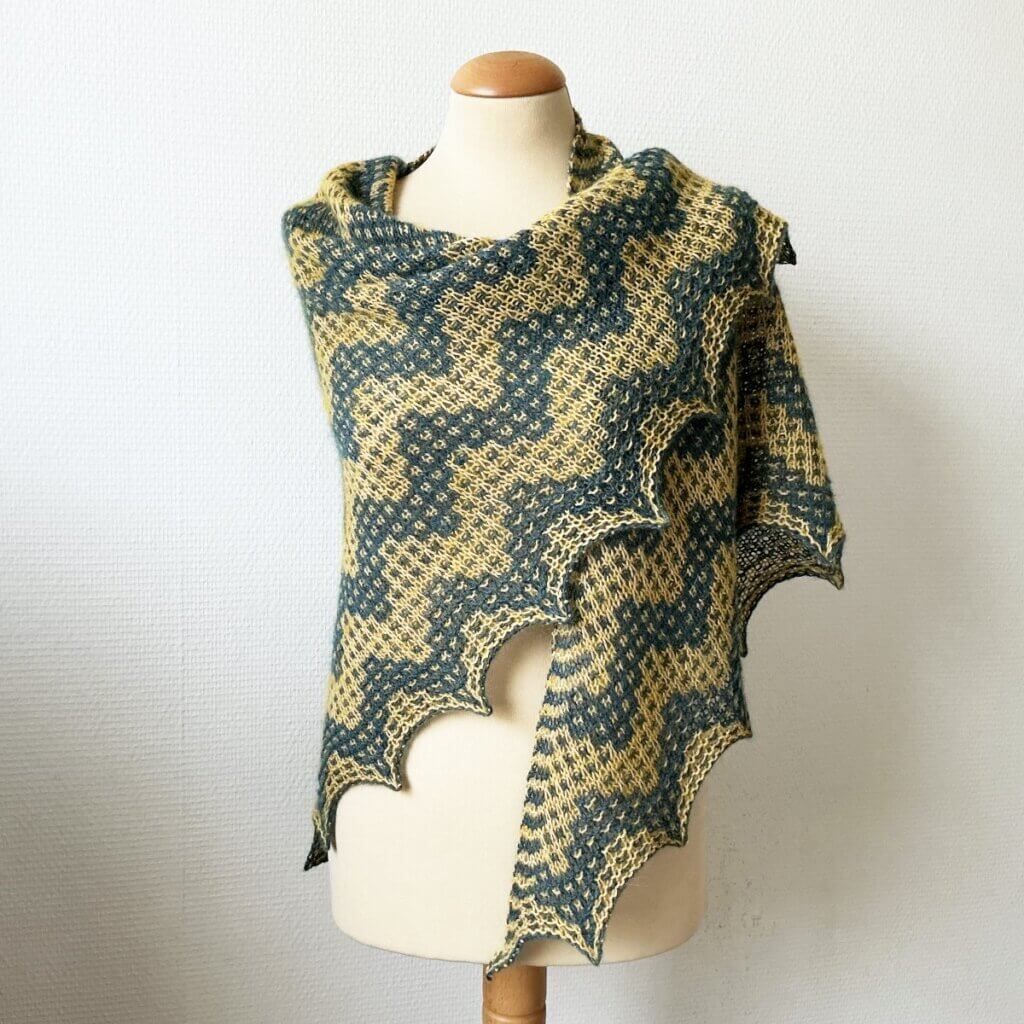
Waveline is a delightfully whimsical shawl. Its allover mosaic color work patterning makes it a lovely layering piece with a lot of playful character. What’s not to like?!

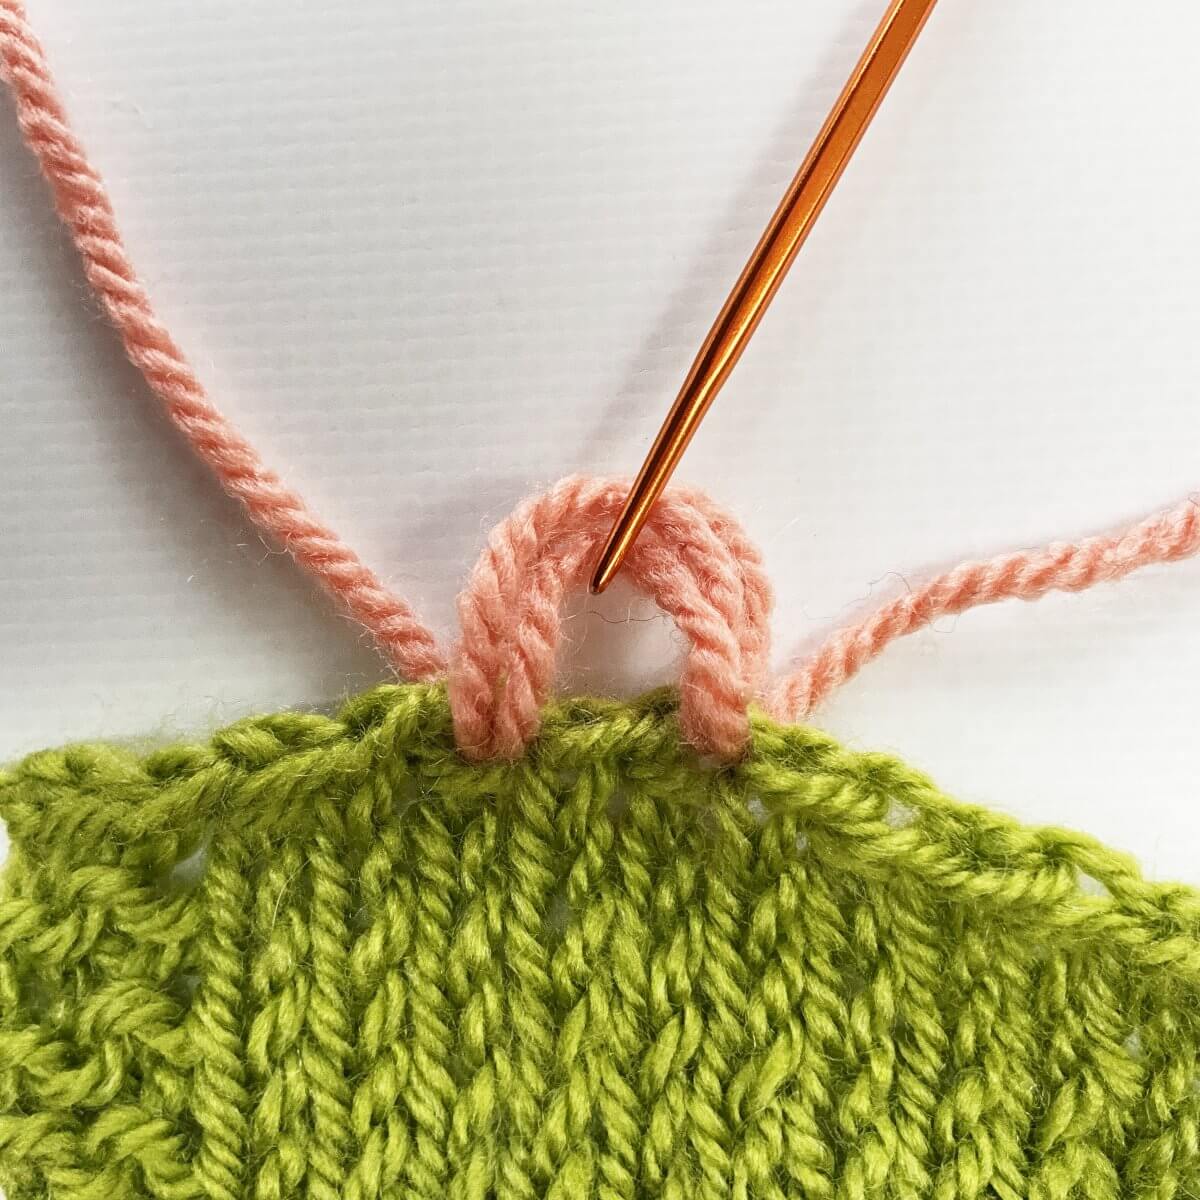
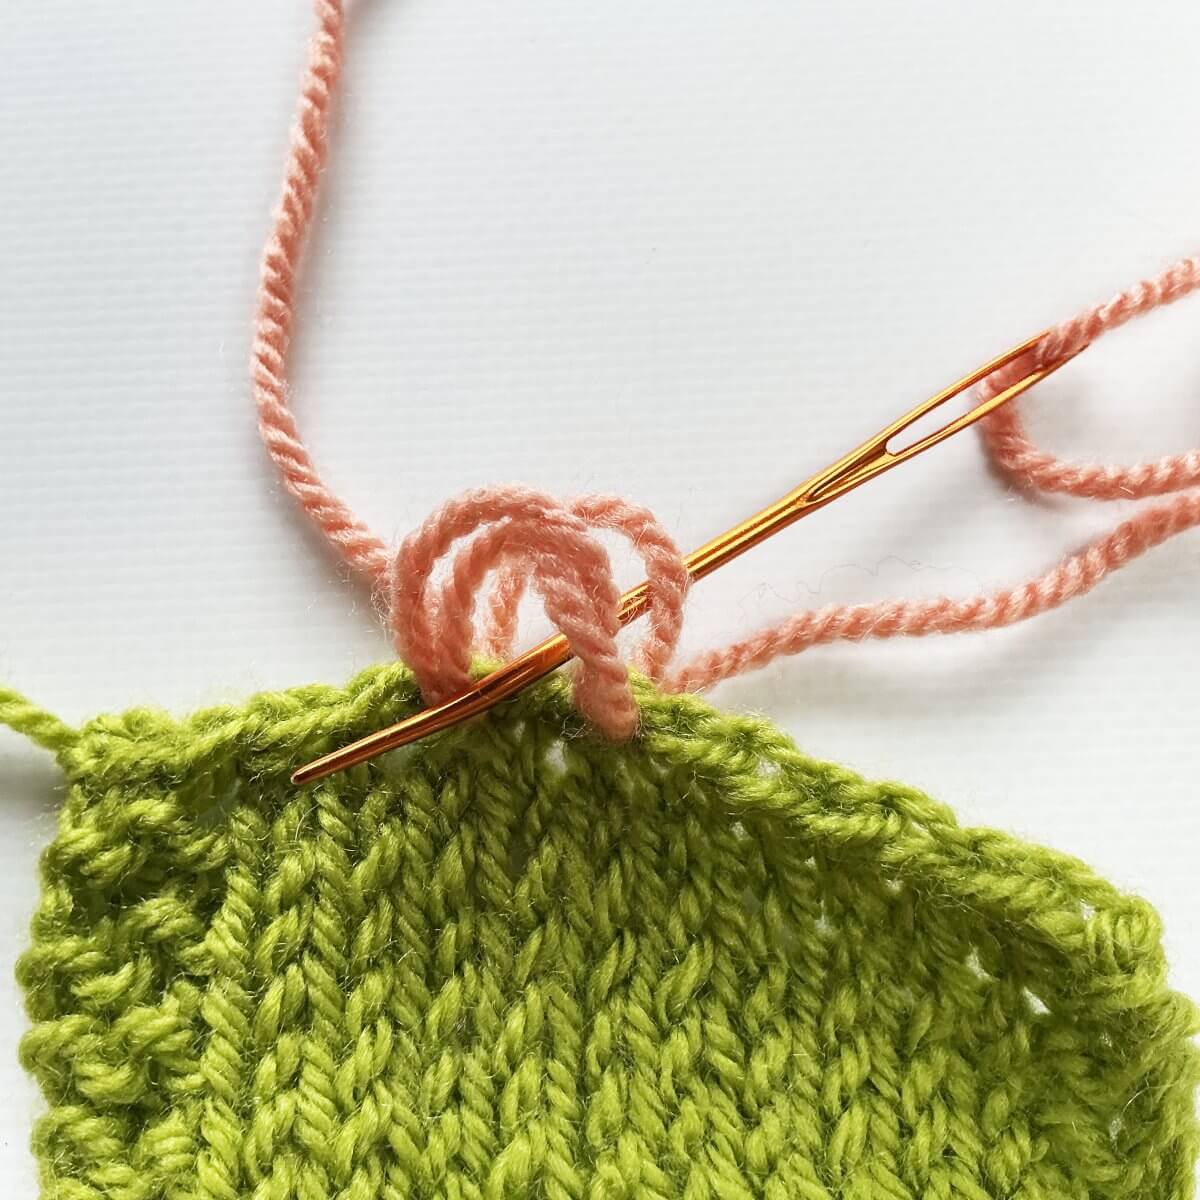
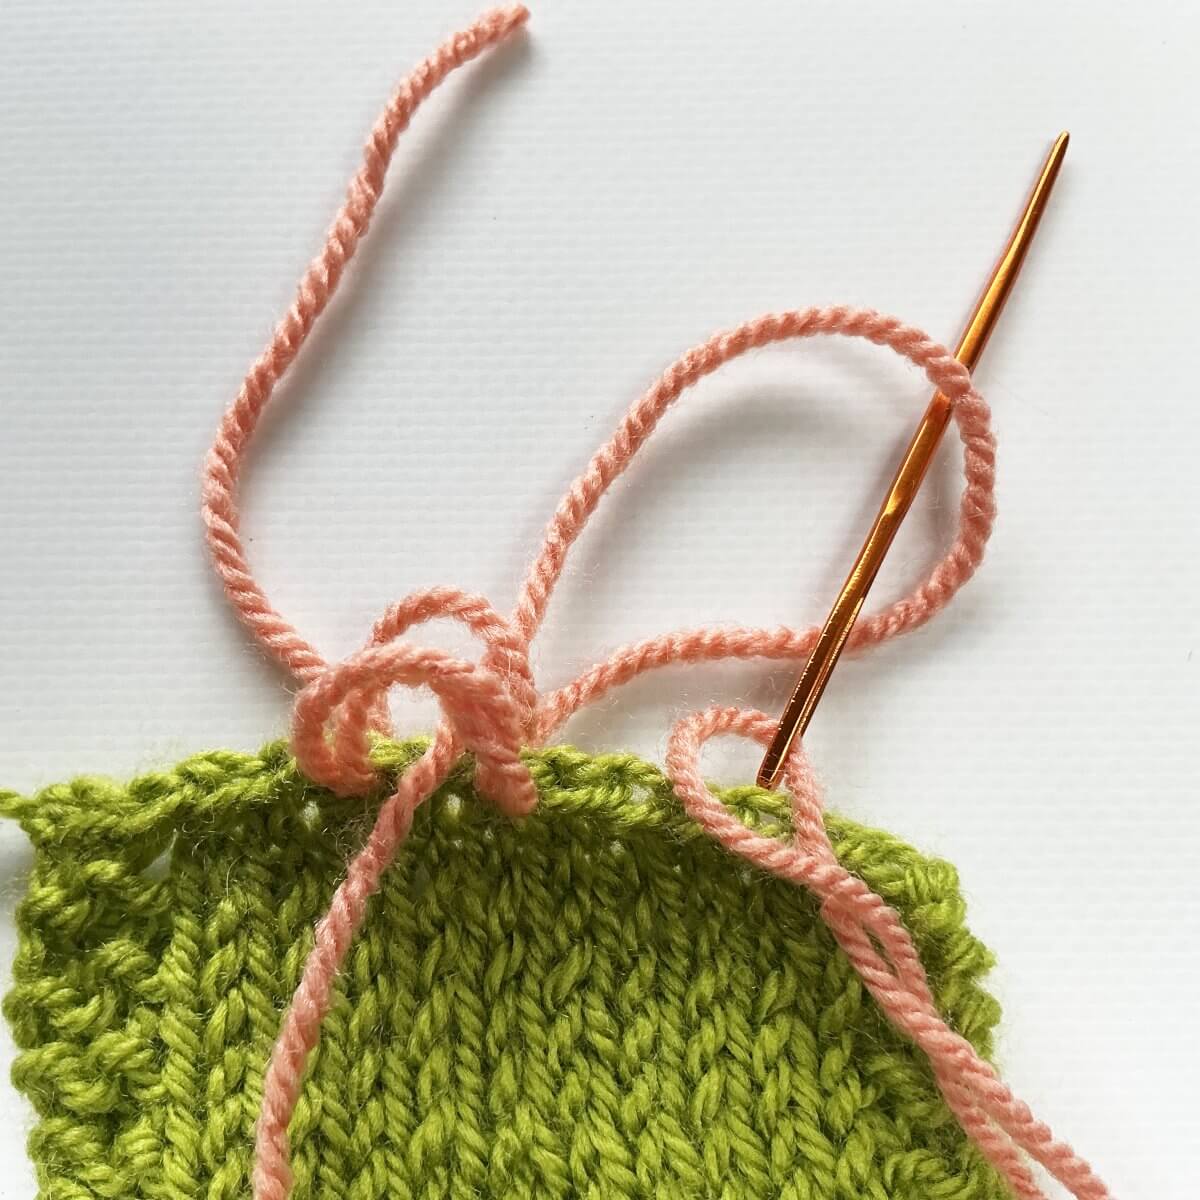
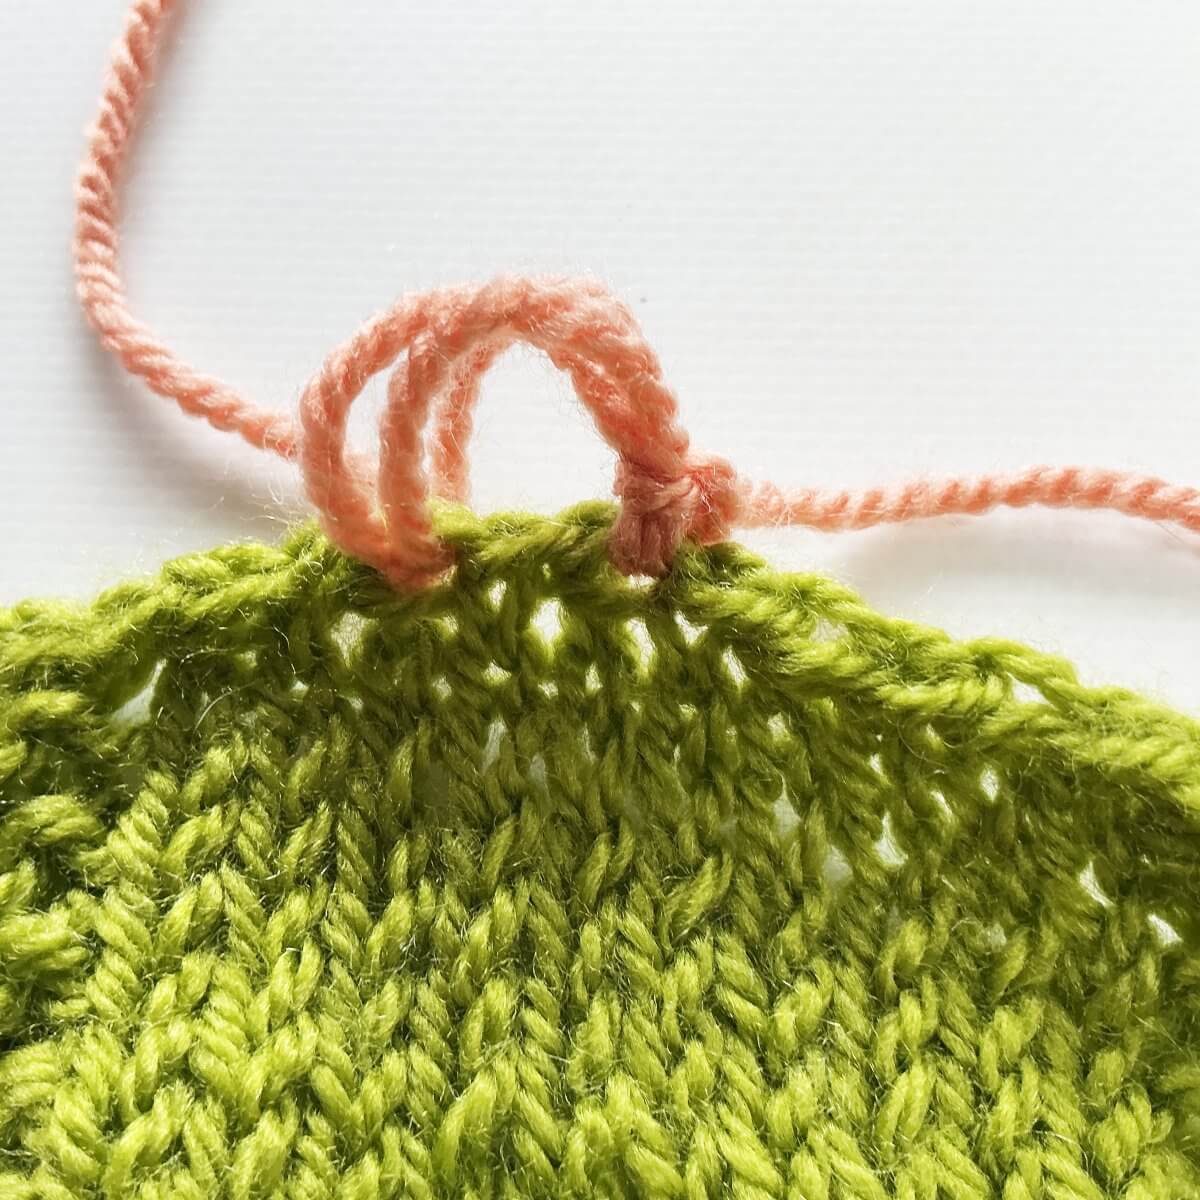
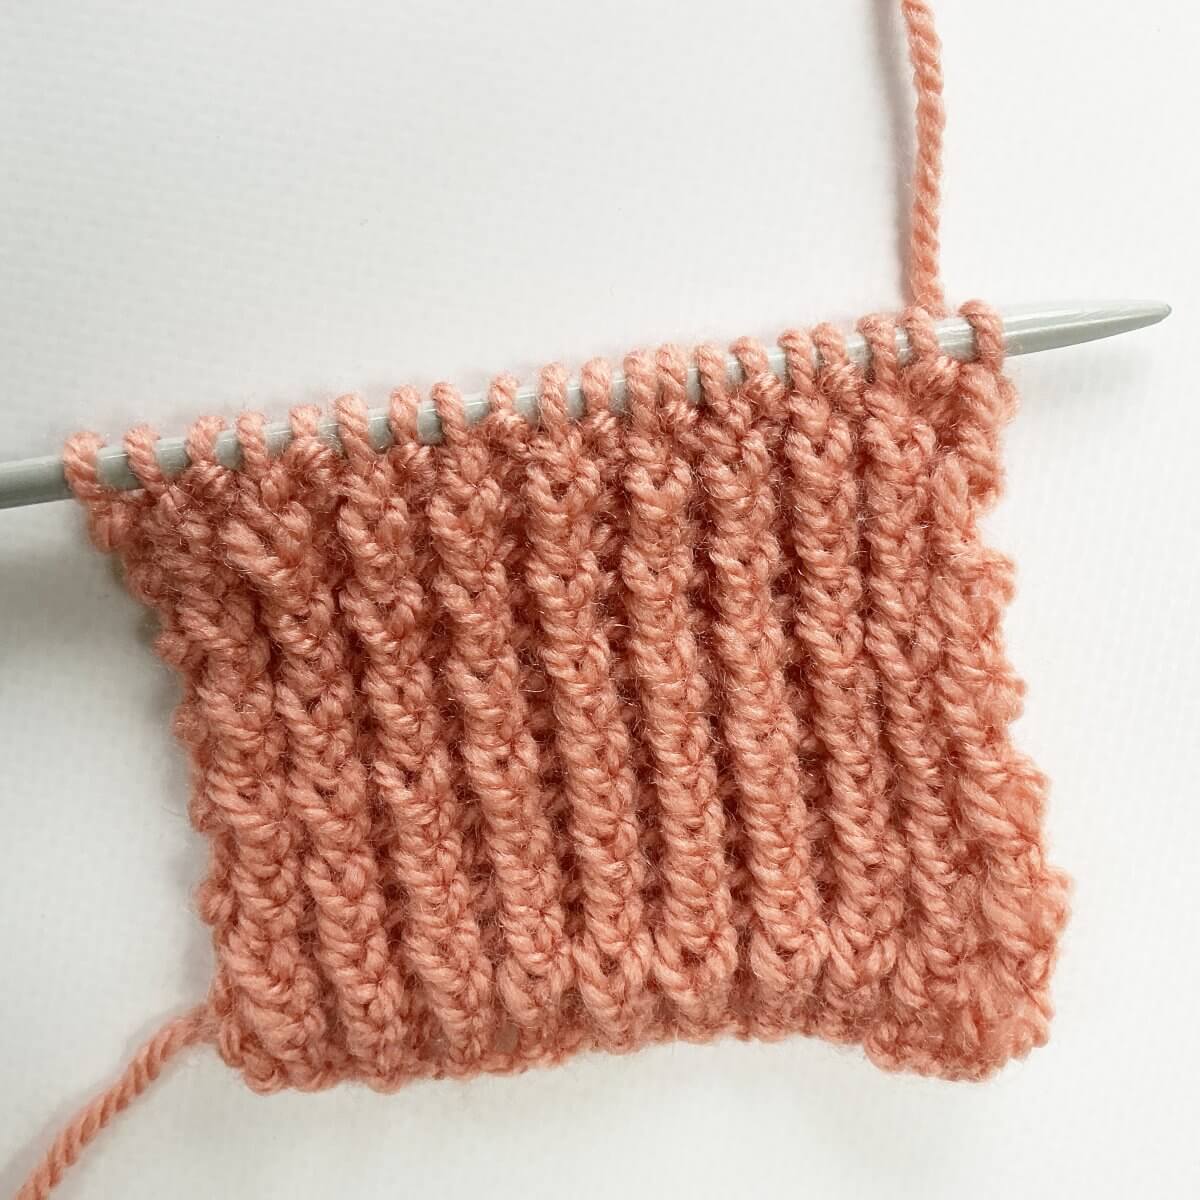
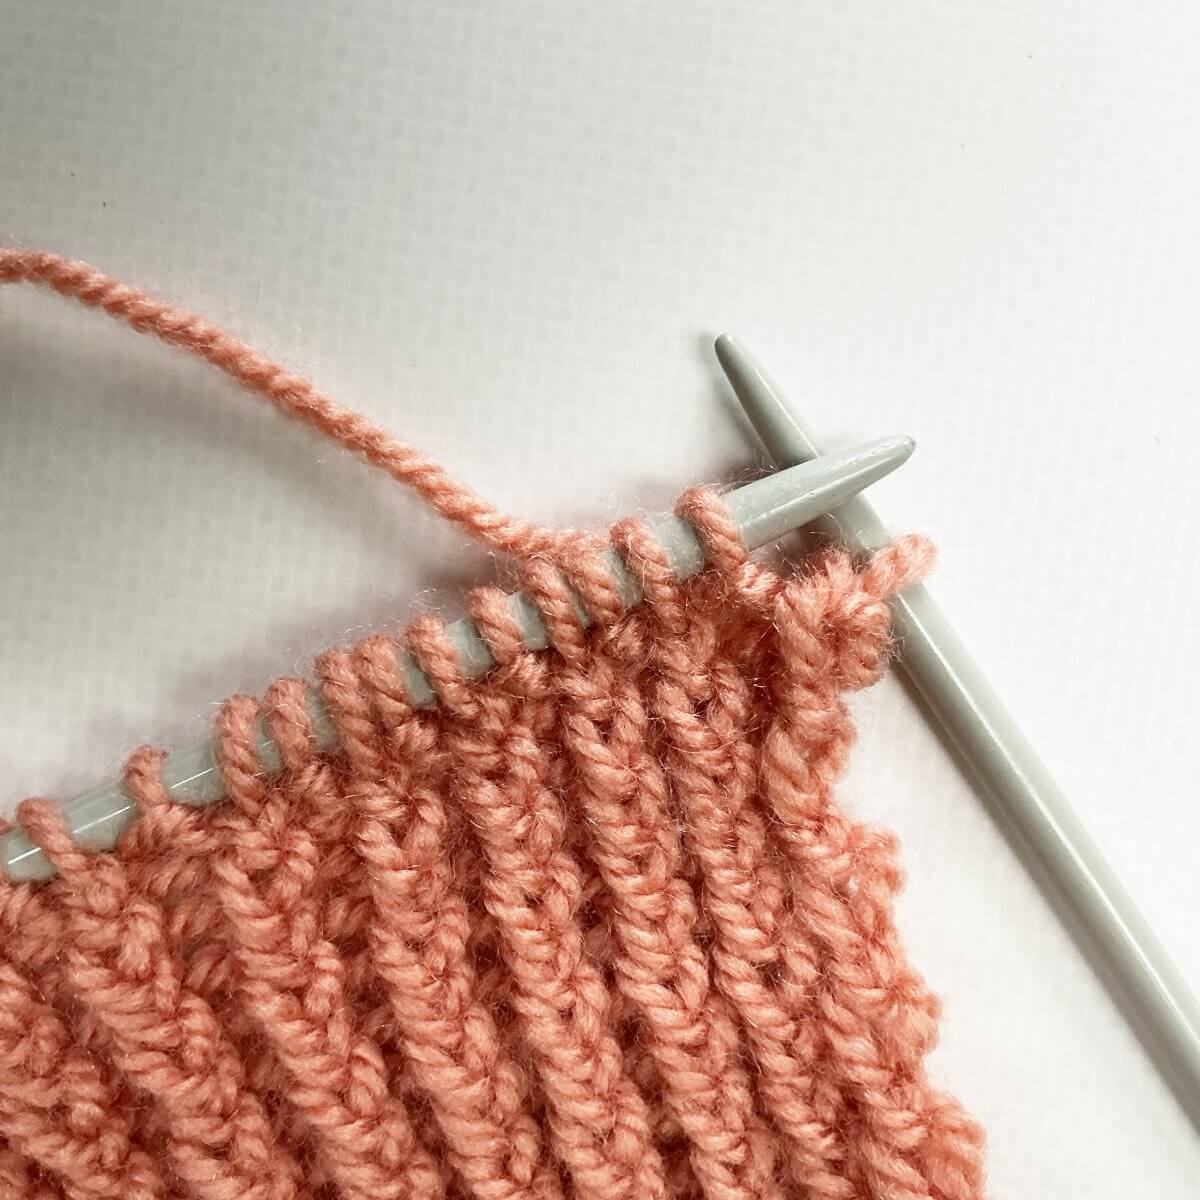
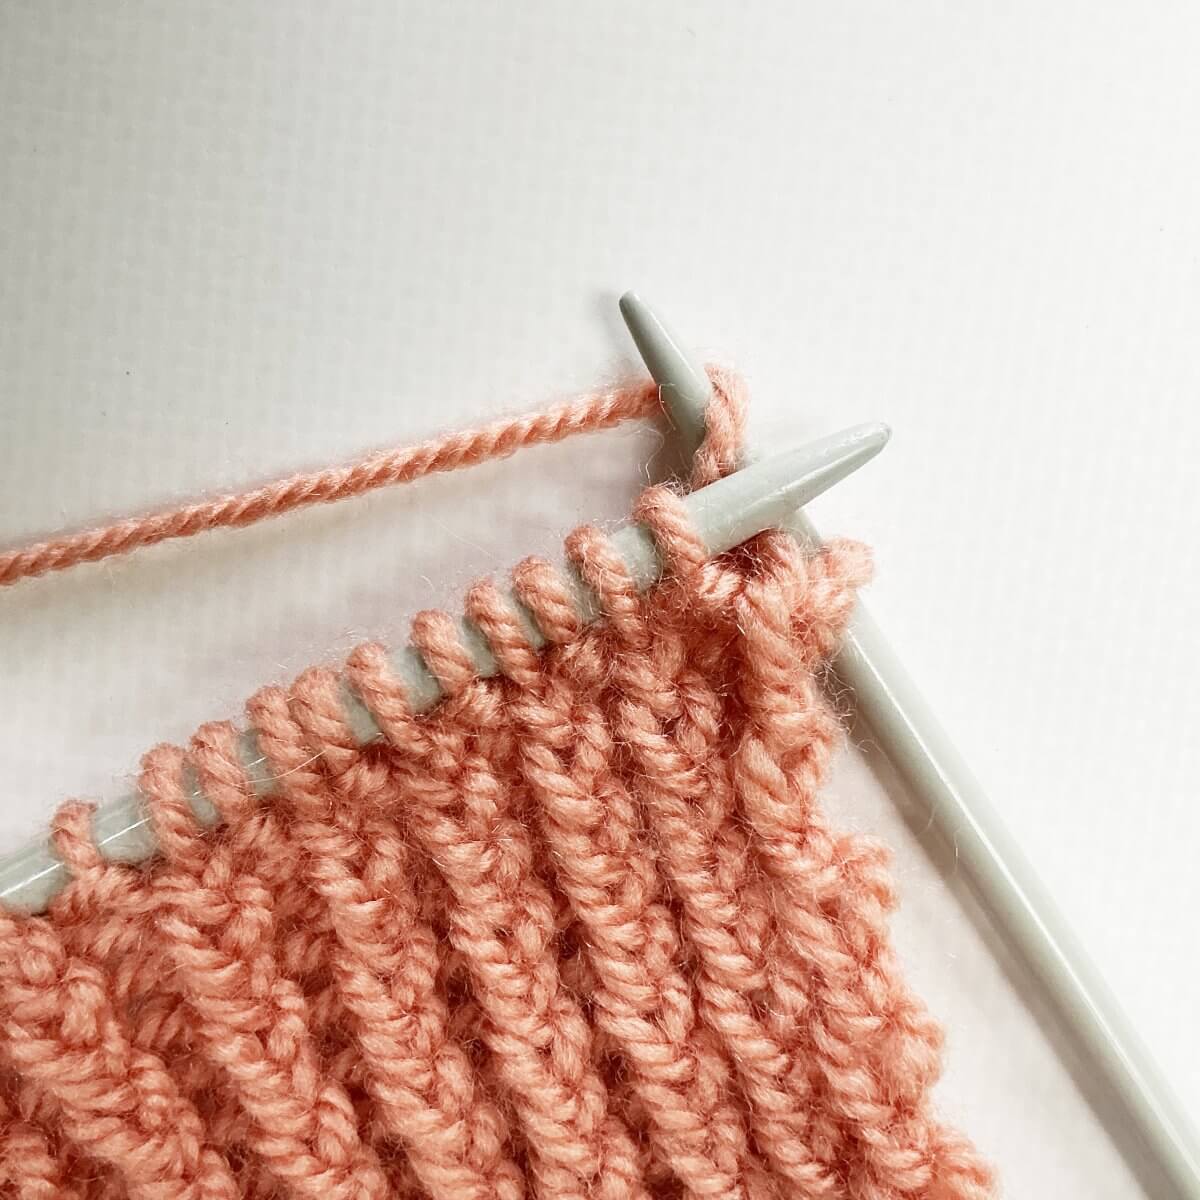
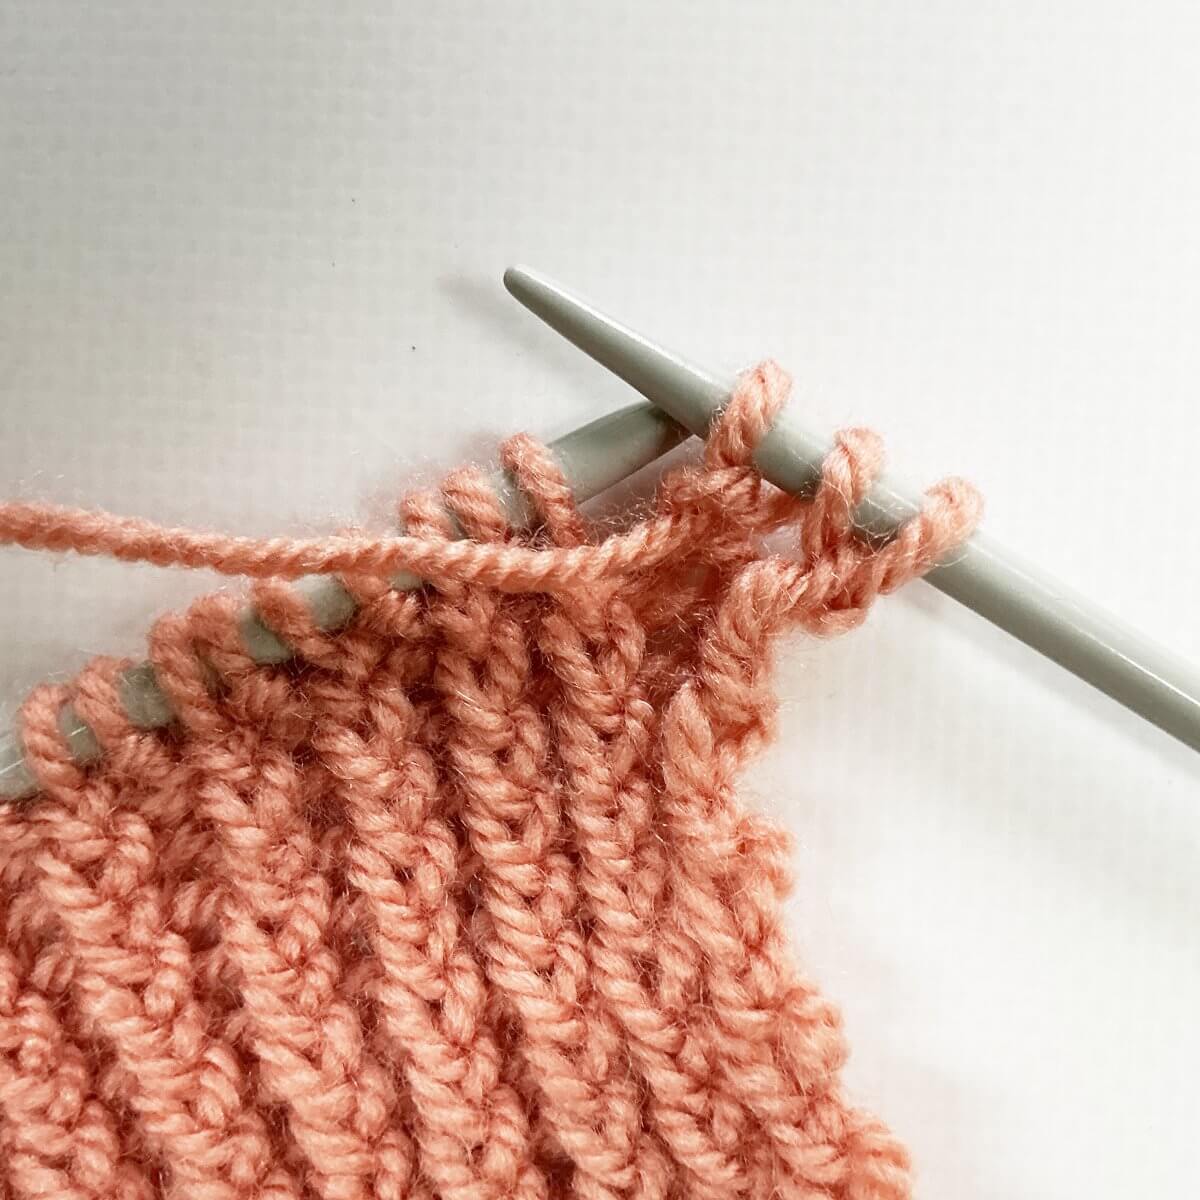
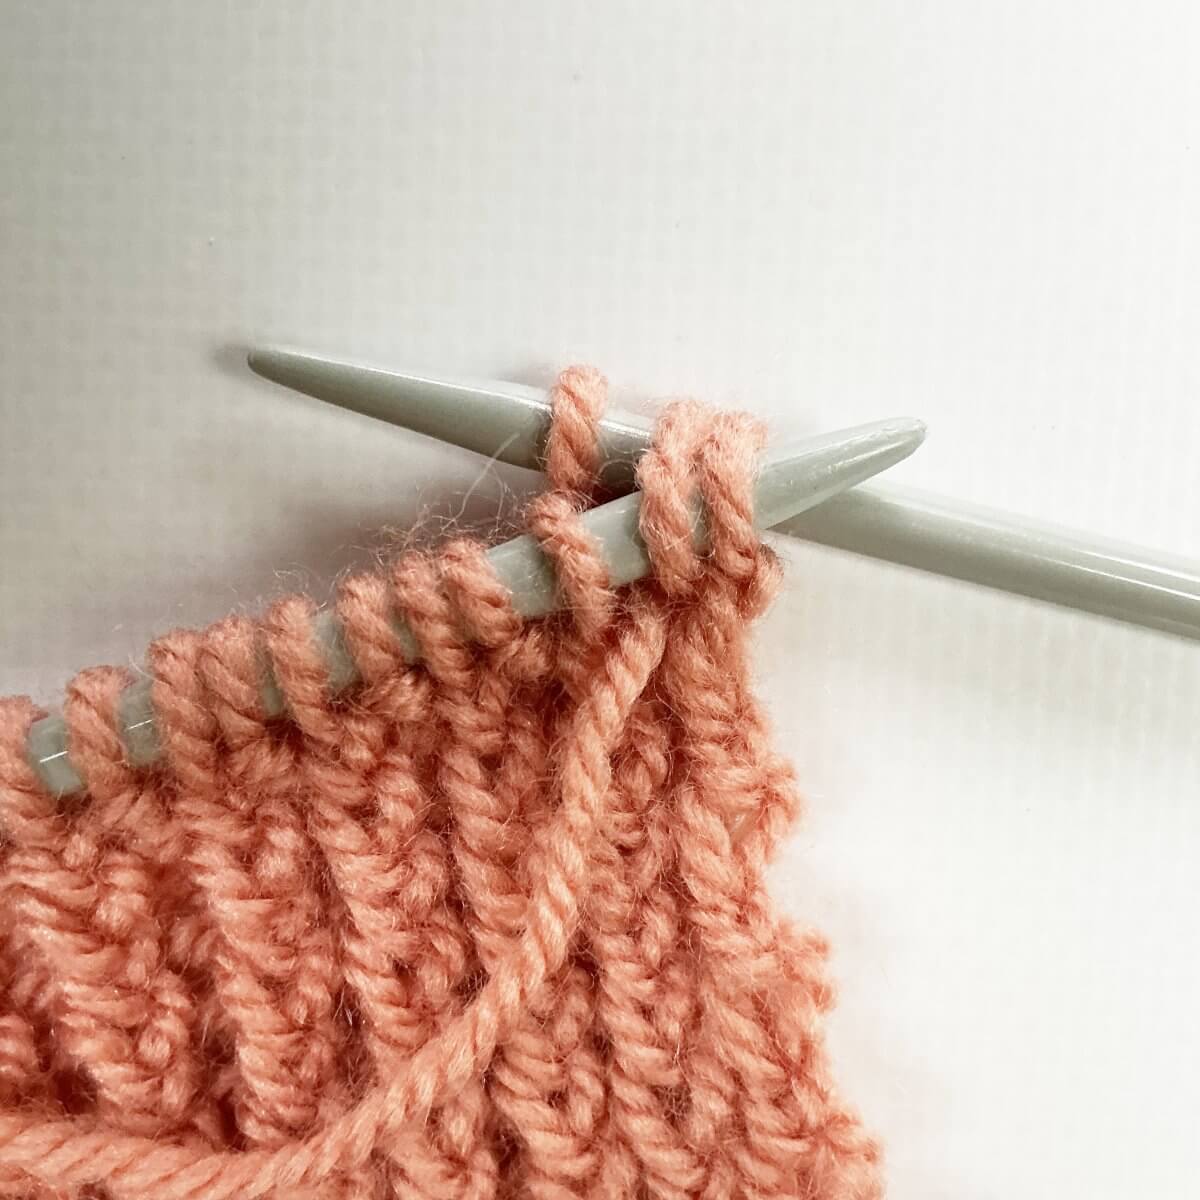
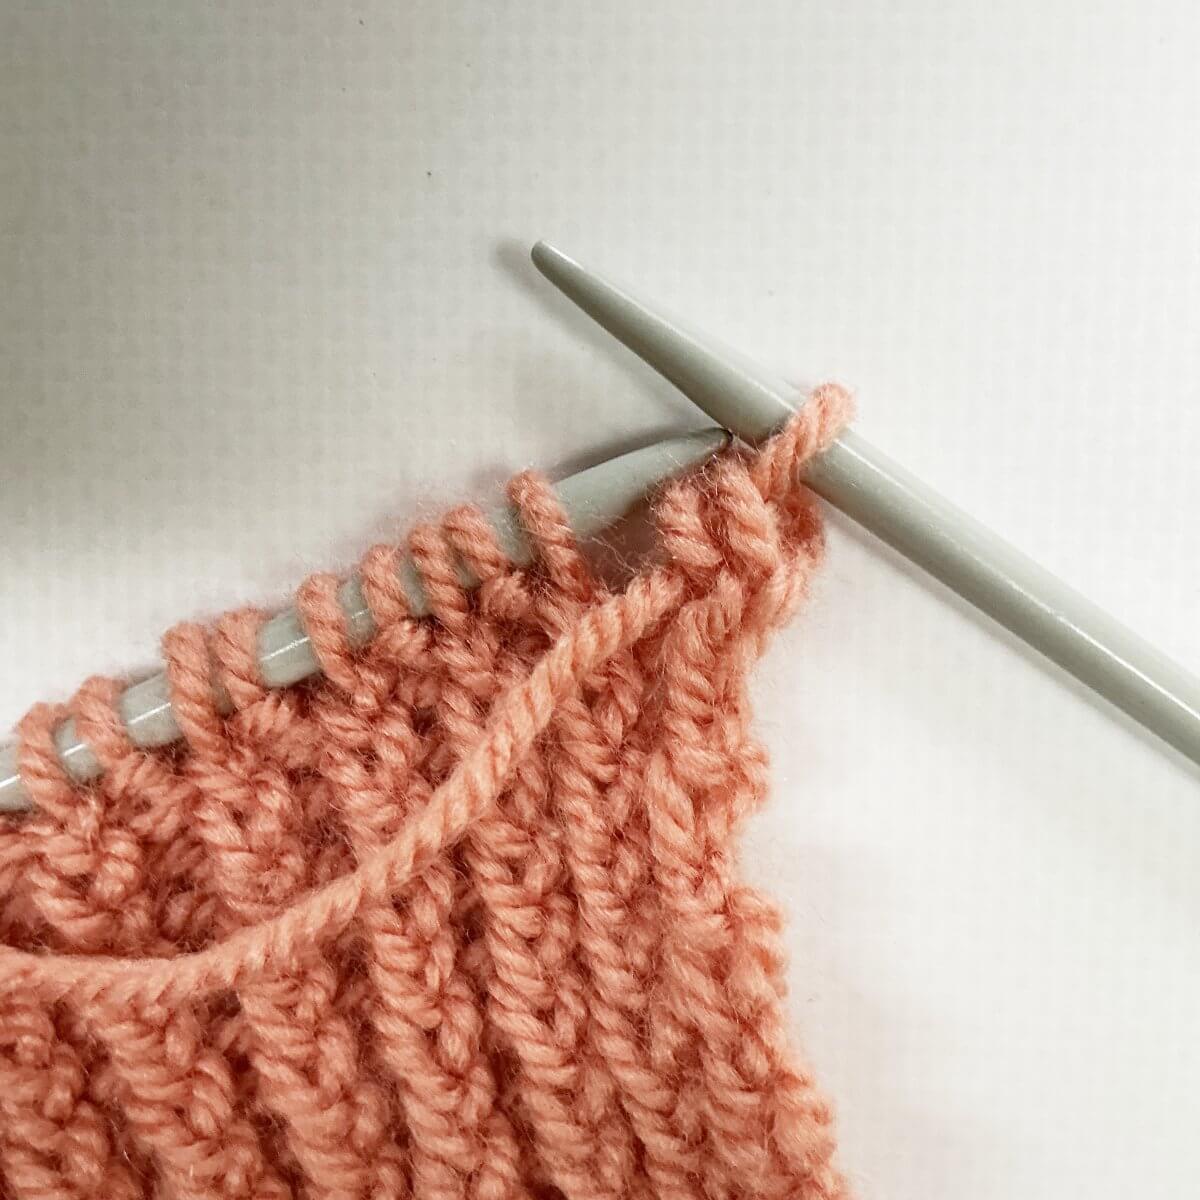
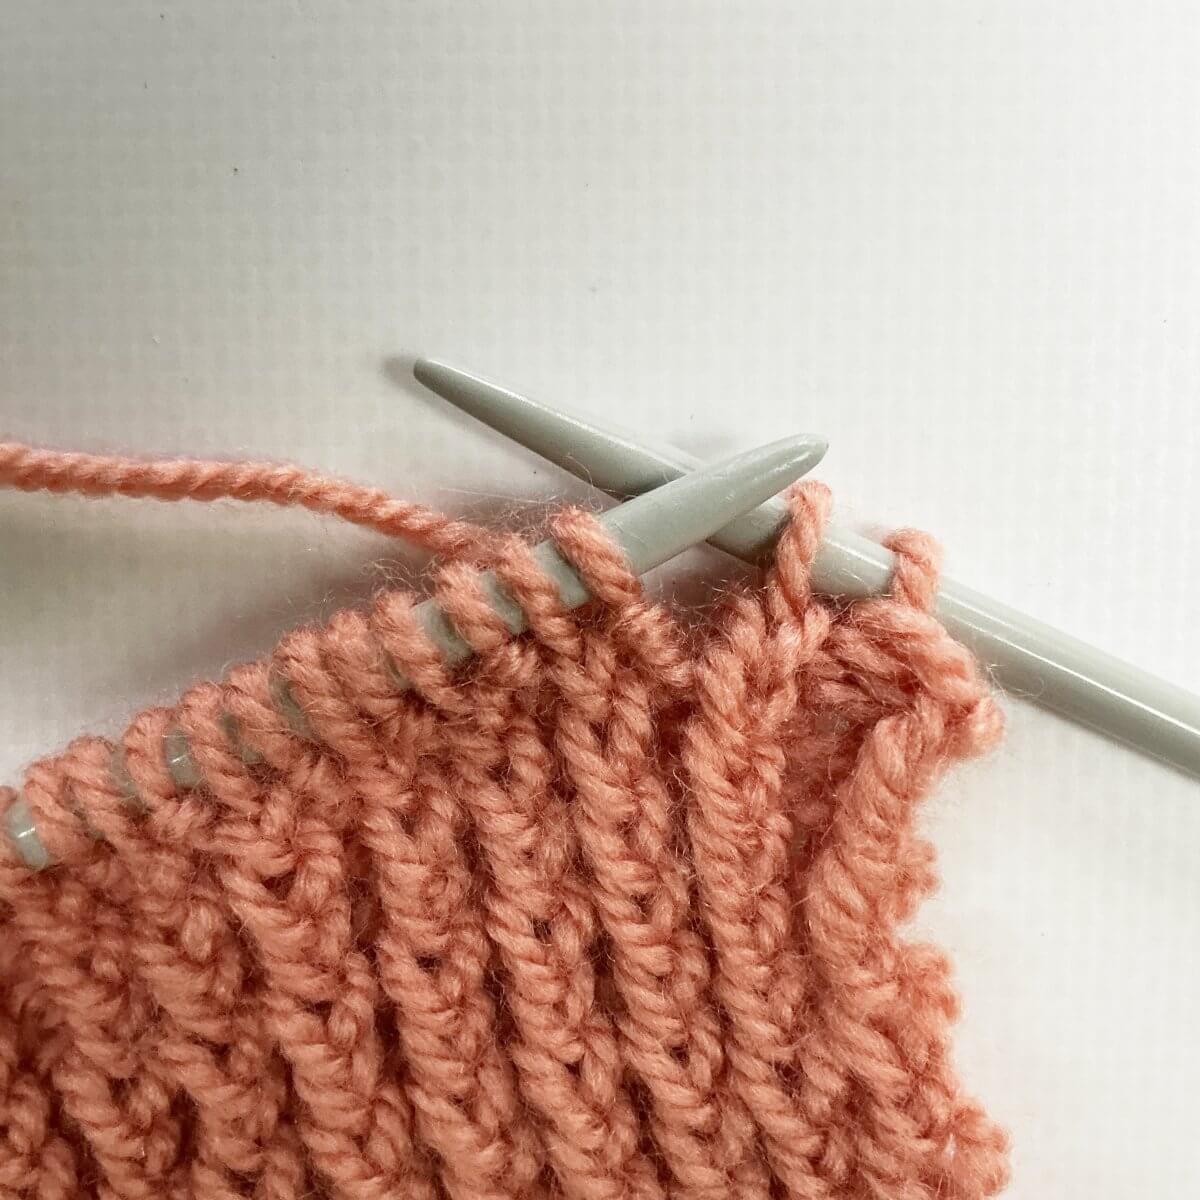
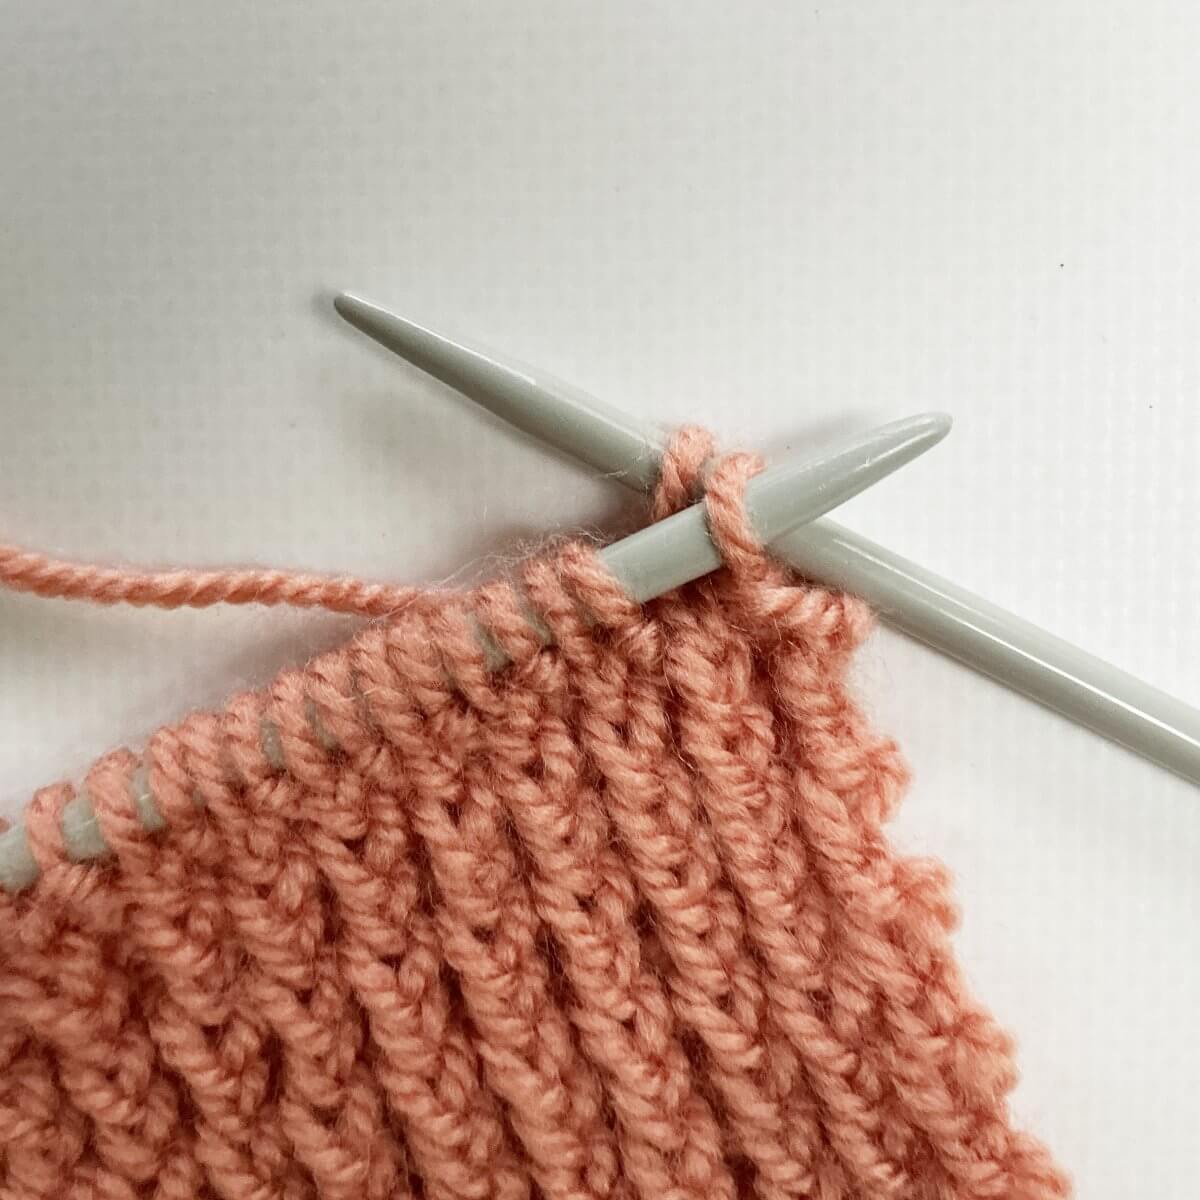
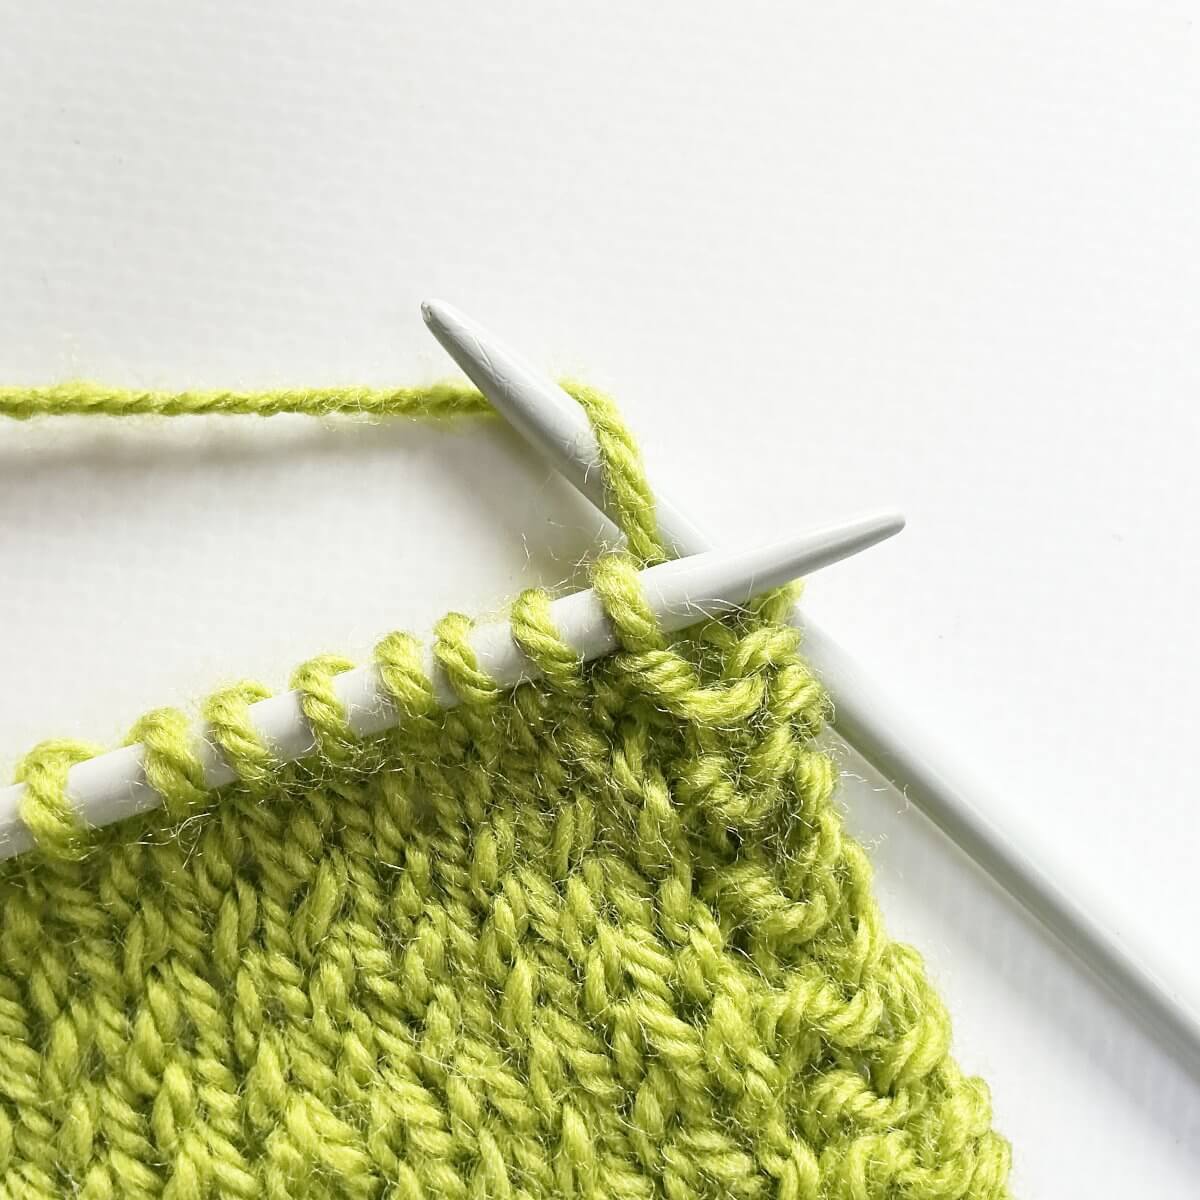
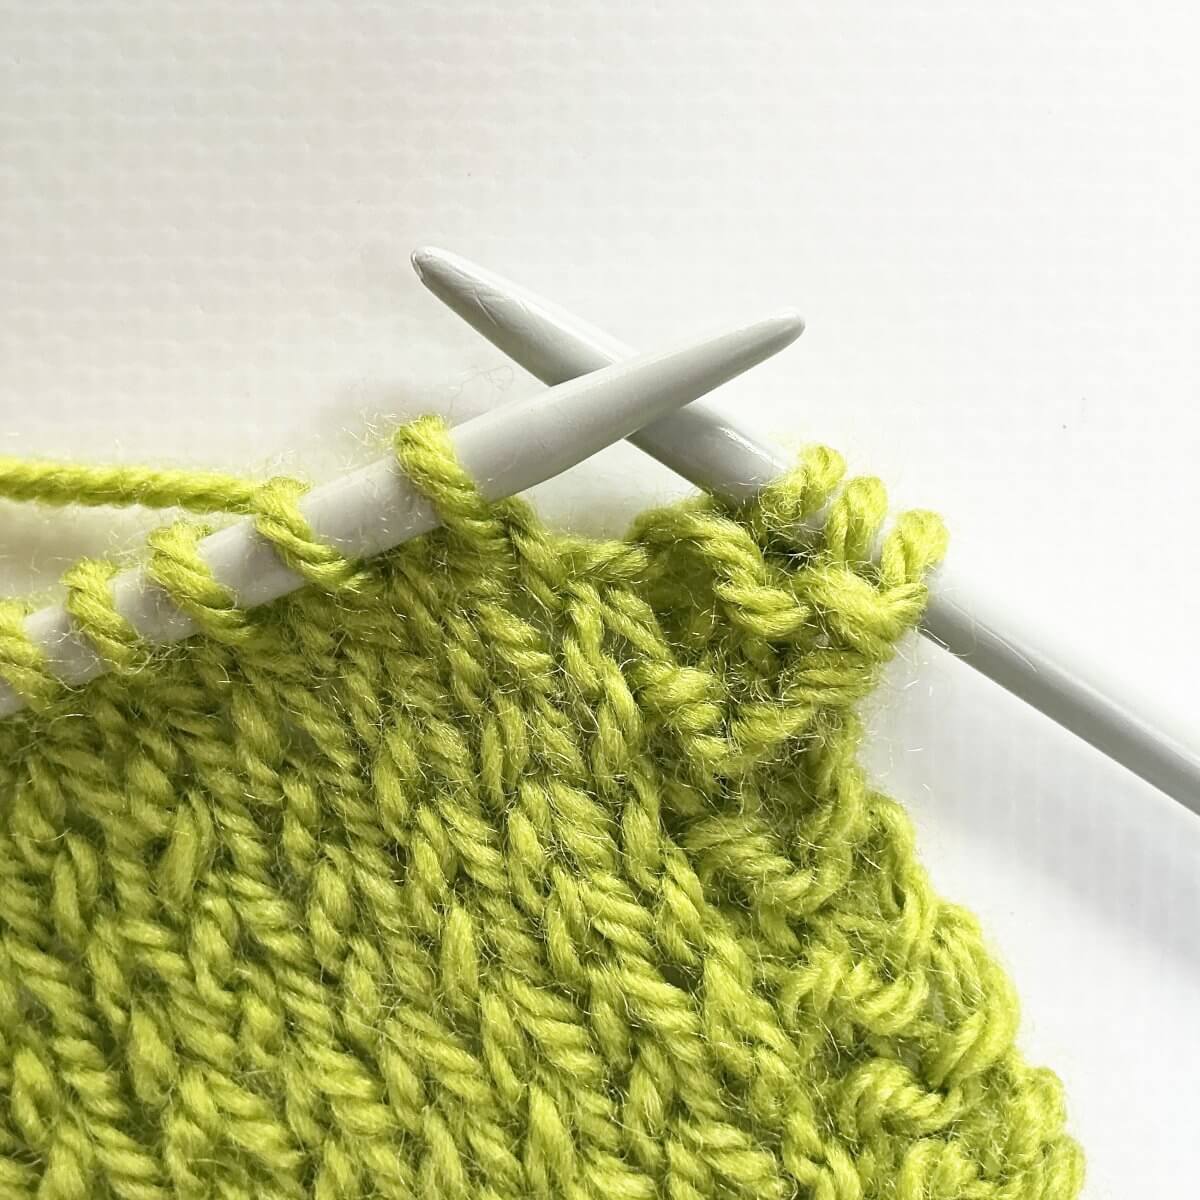
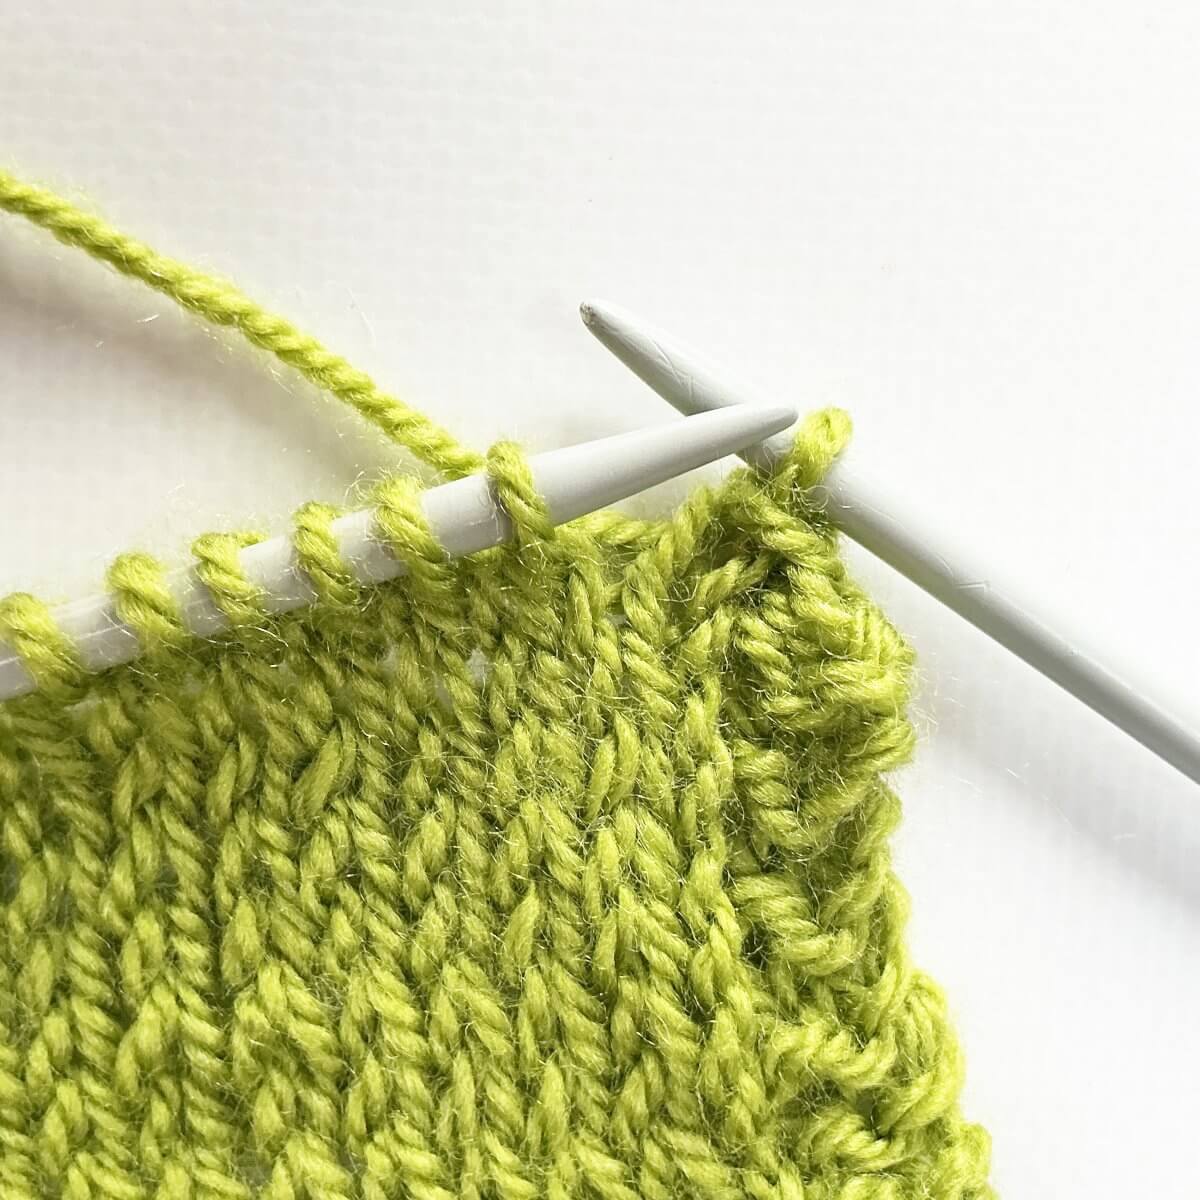
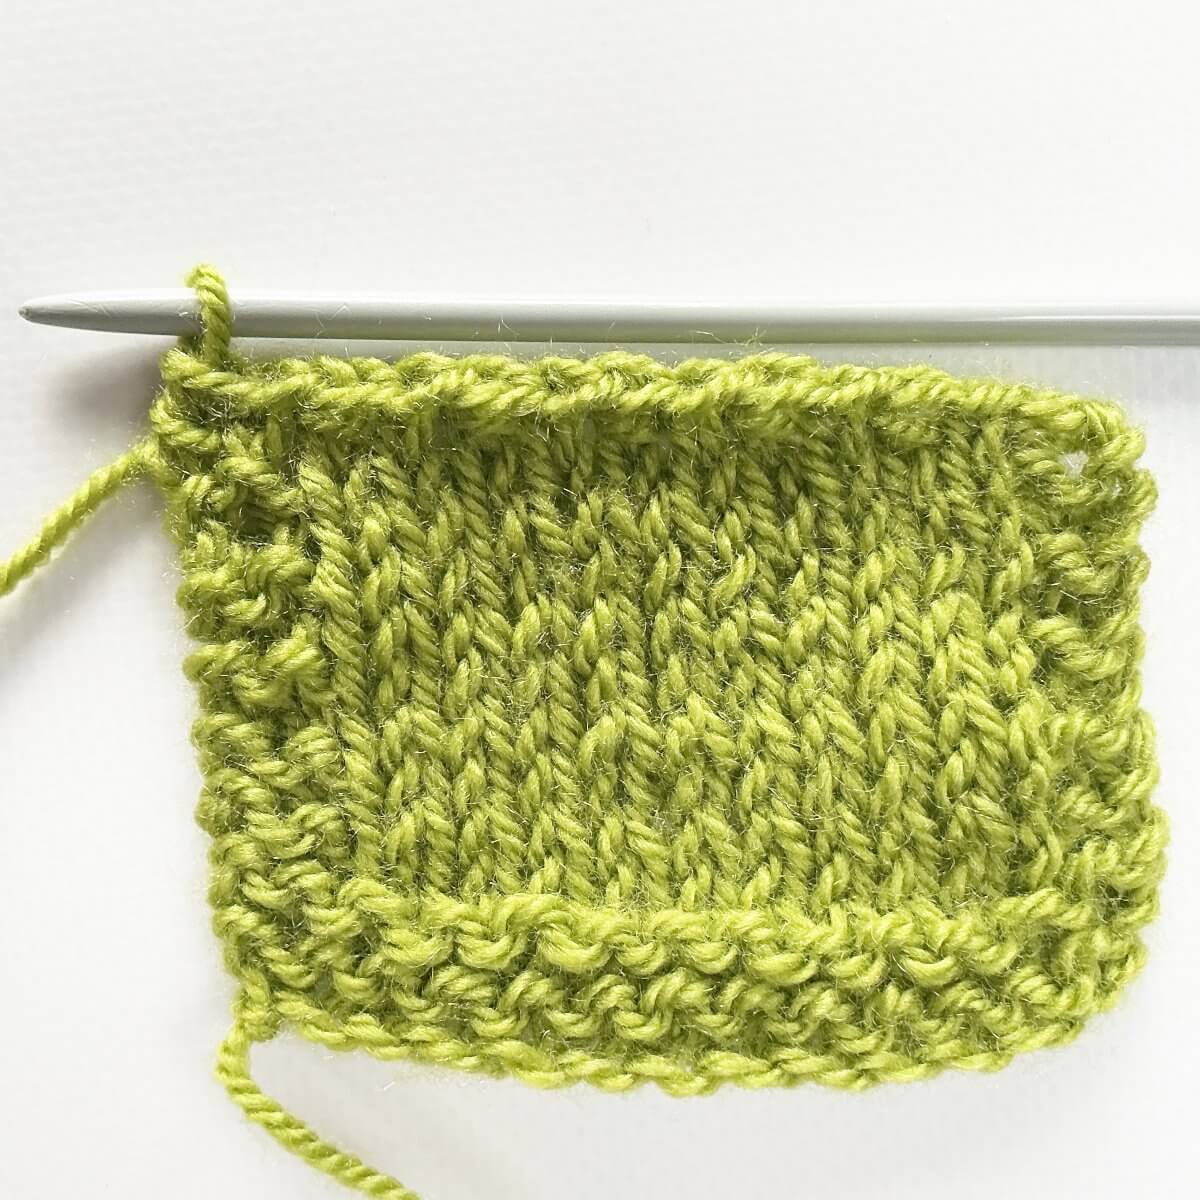
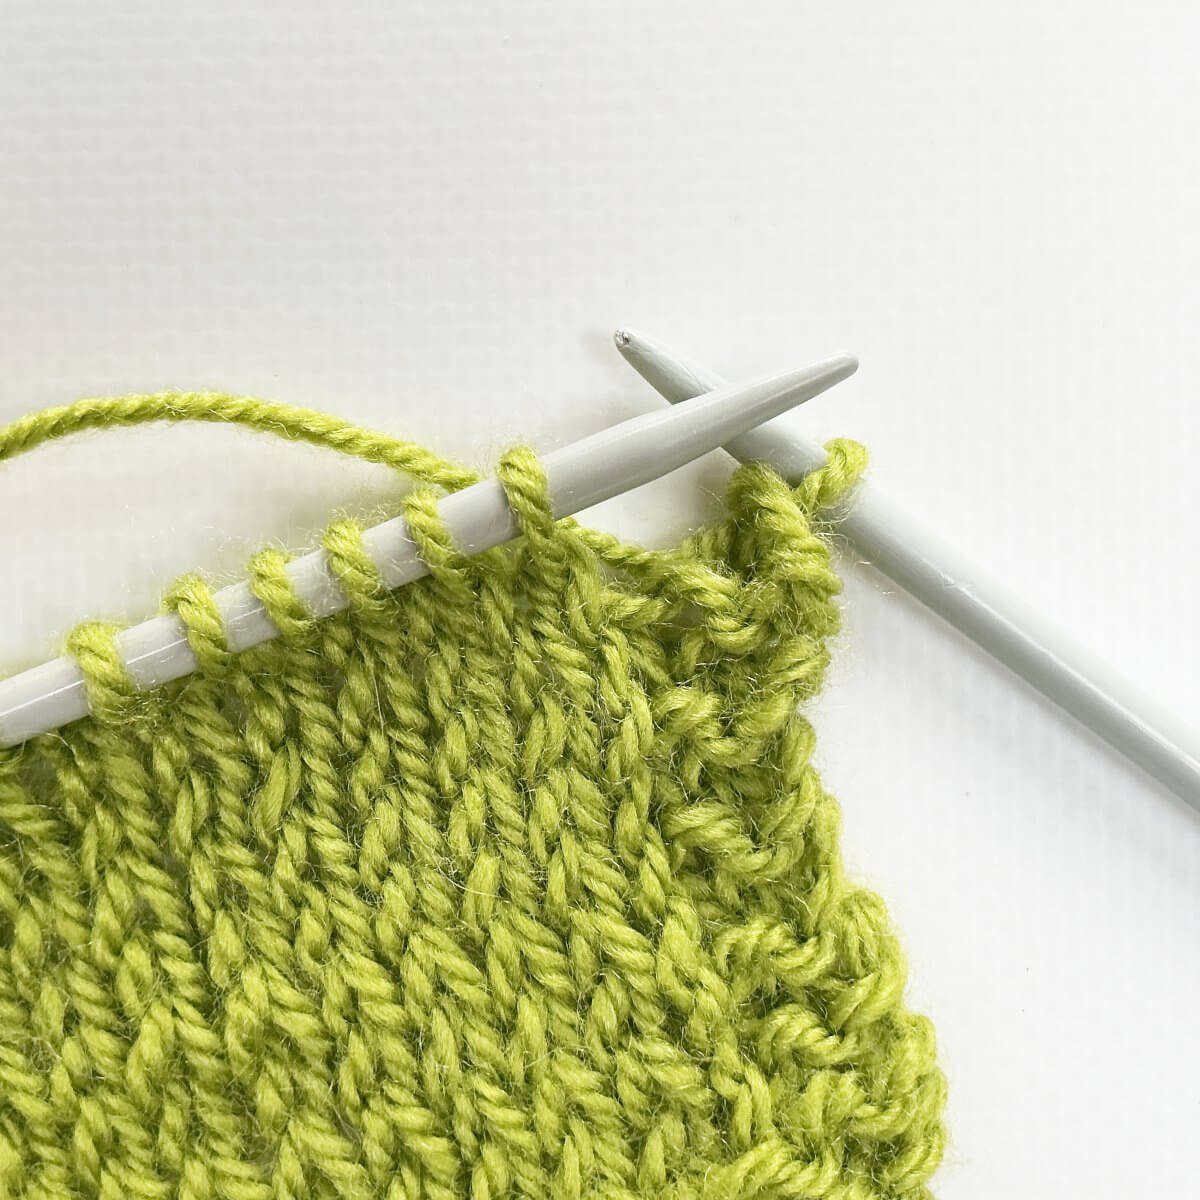
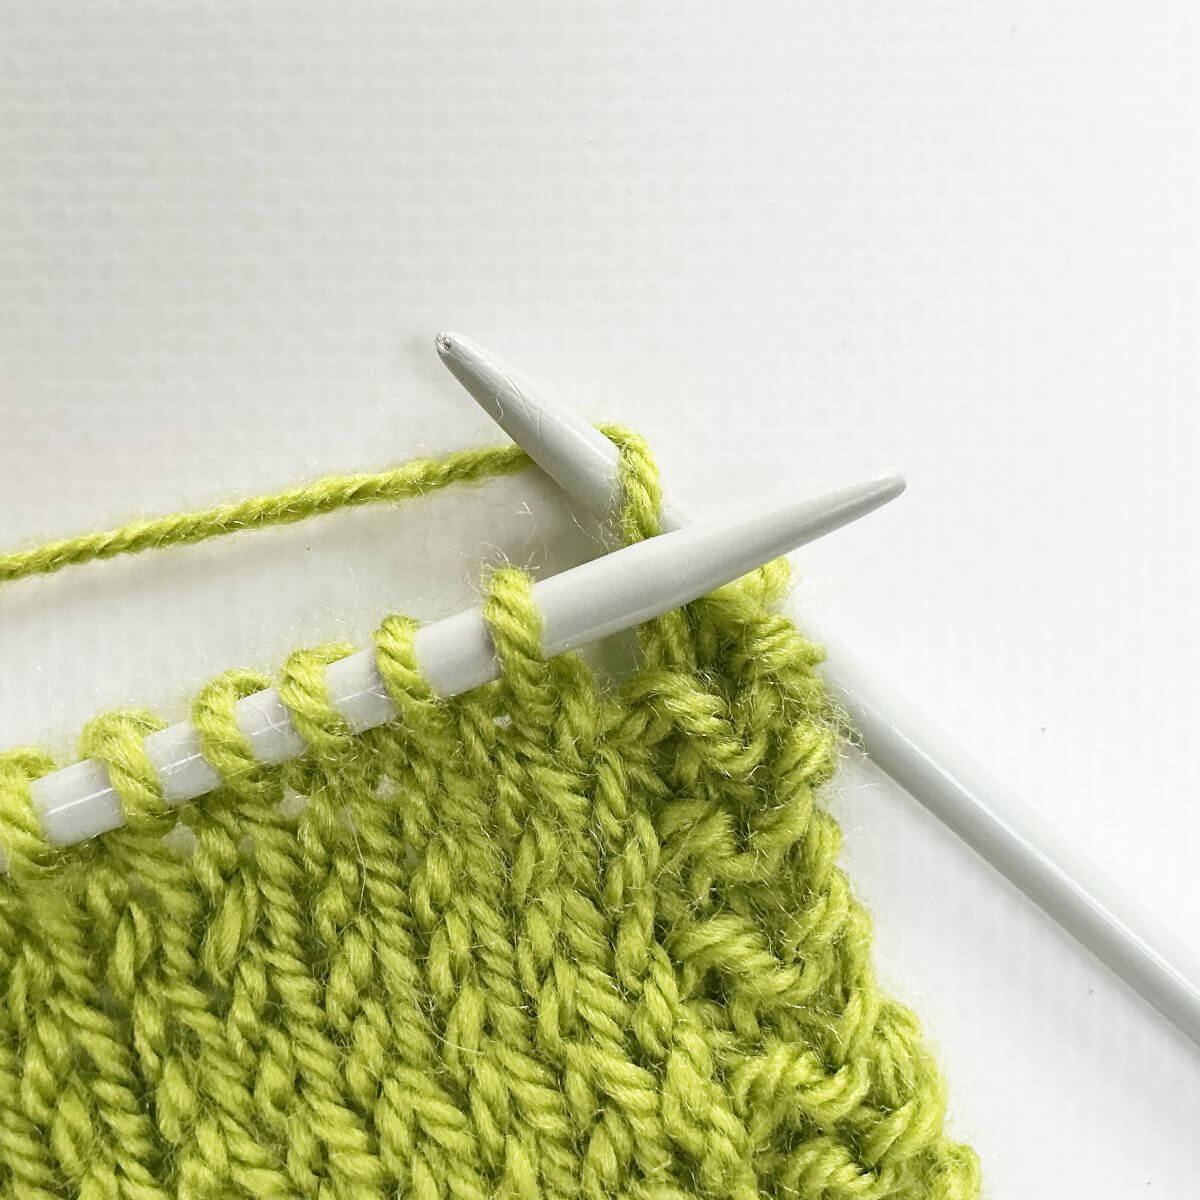
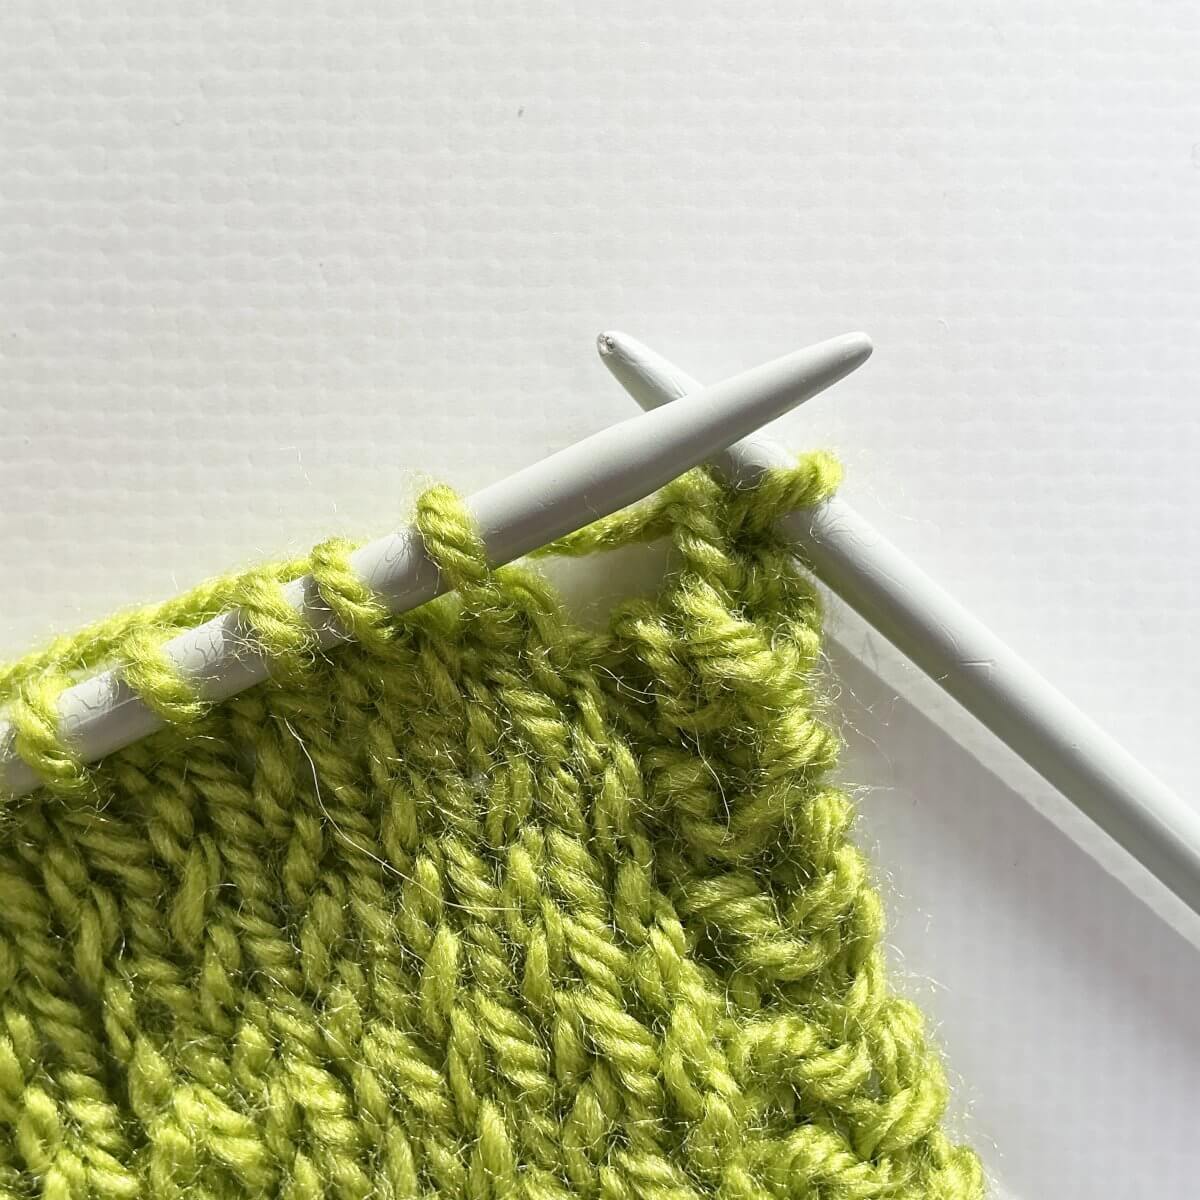
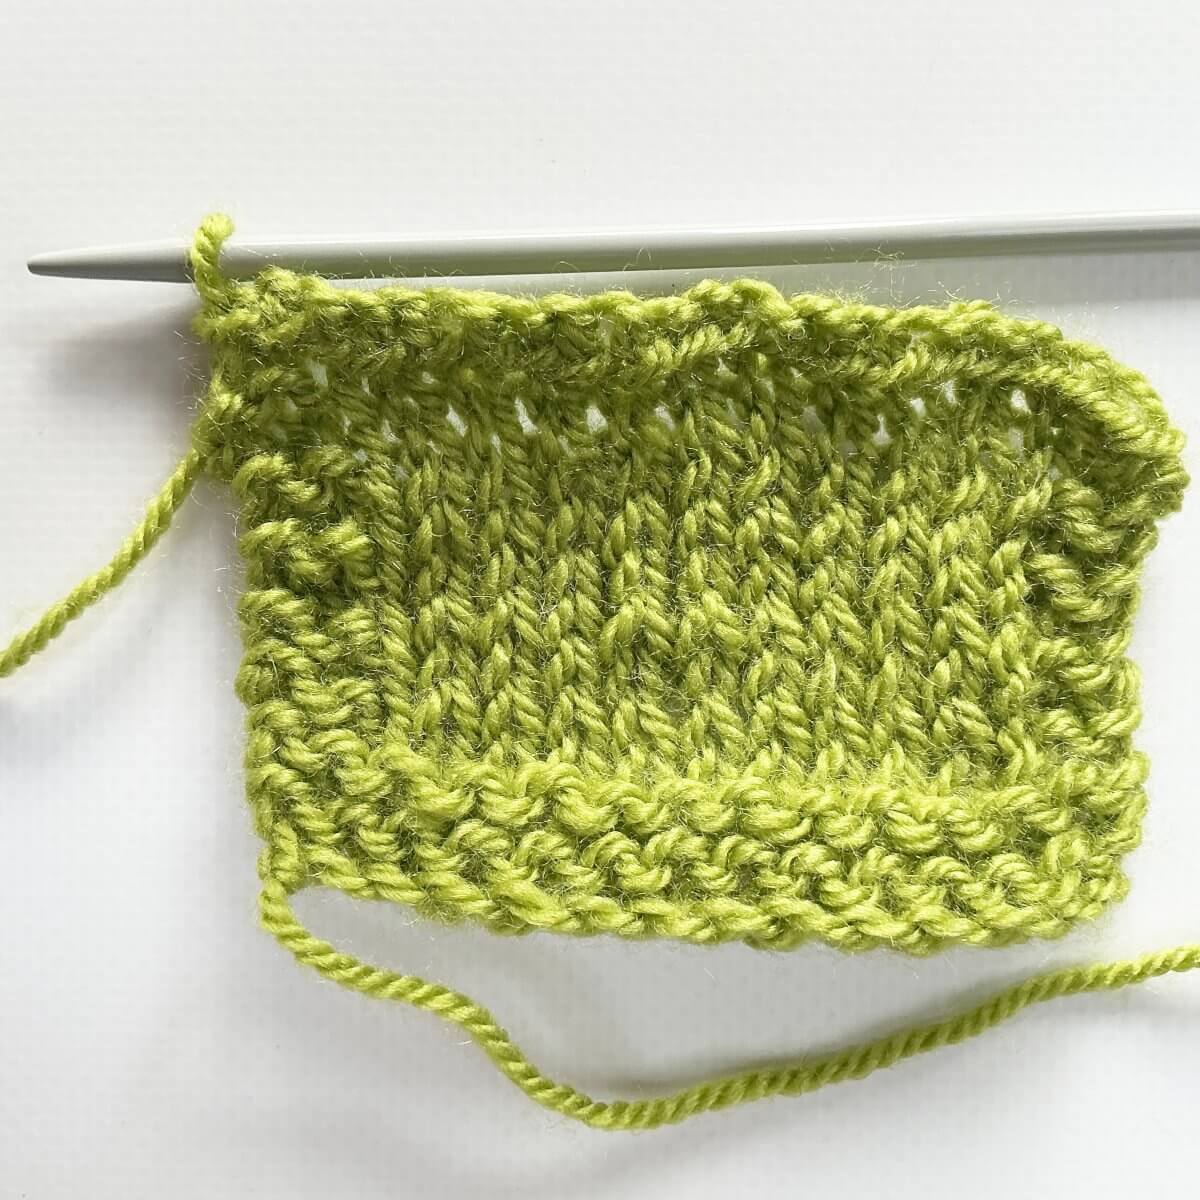
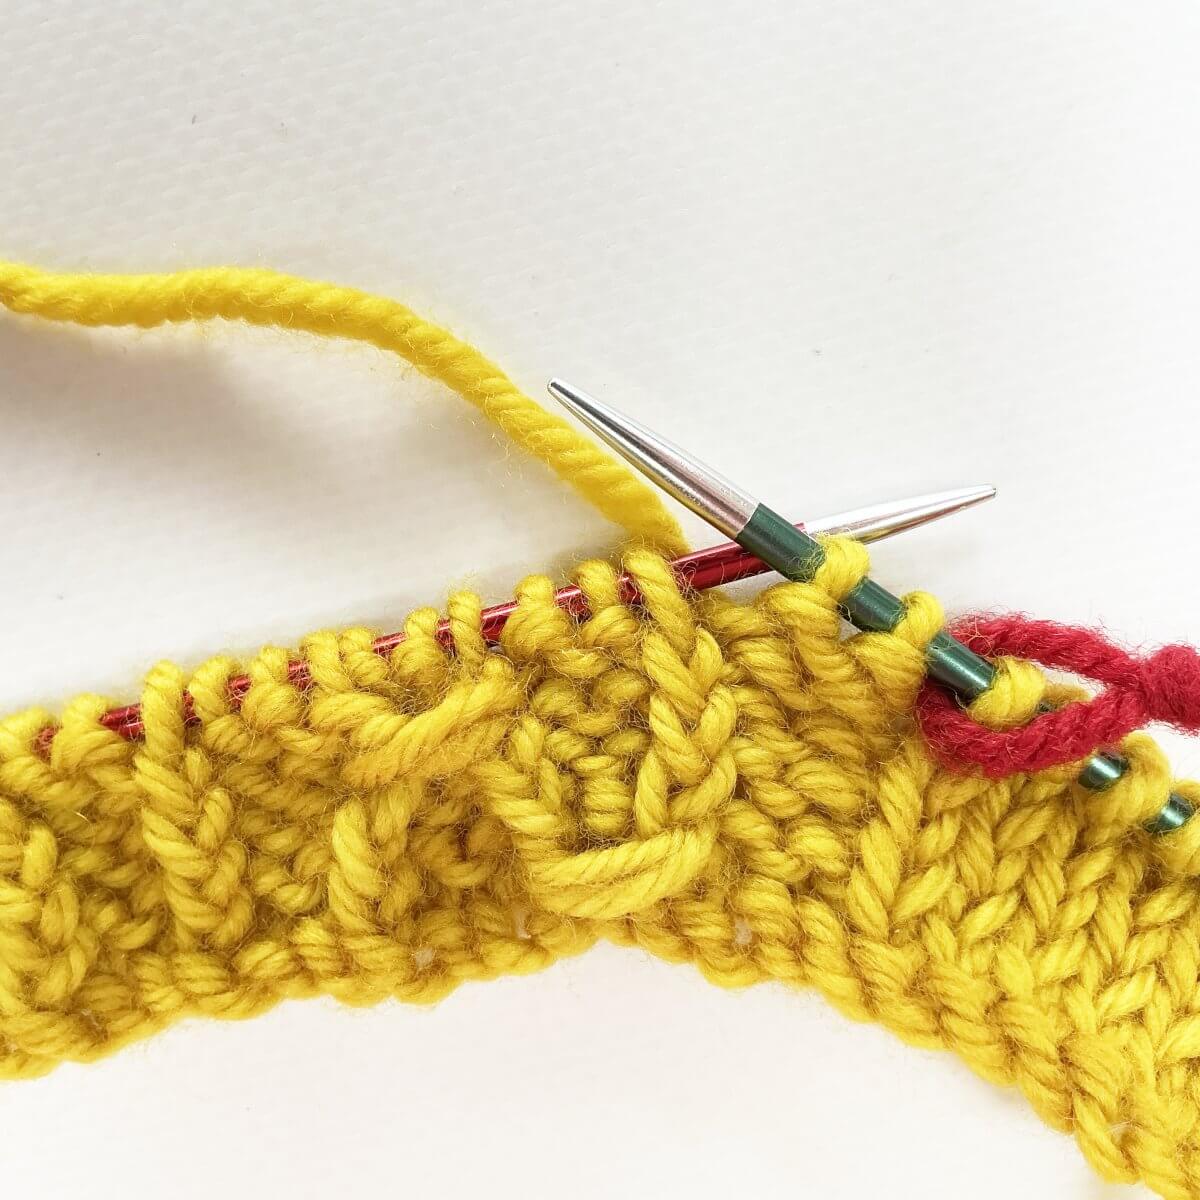
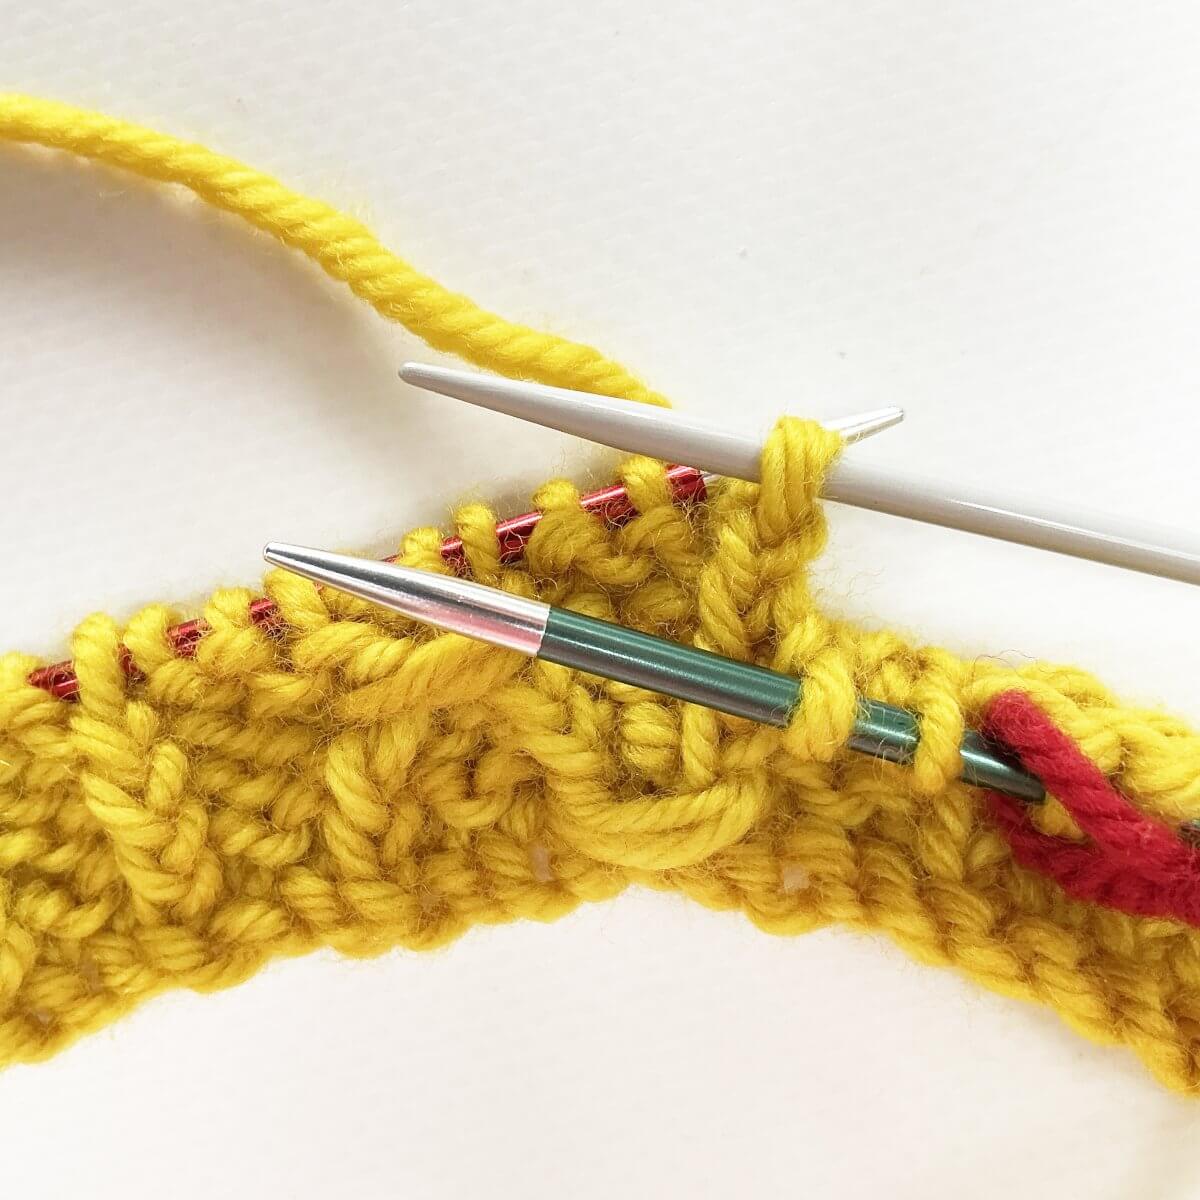
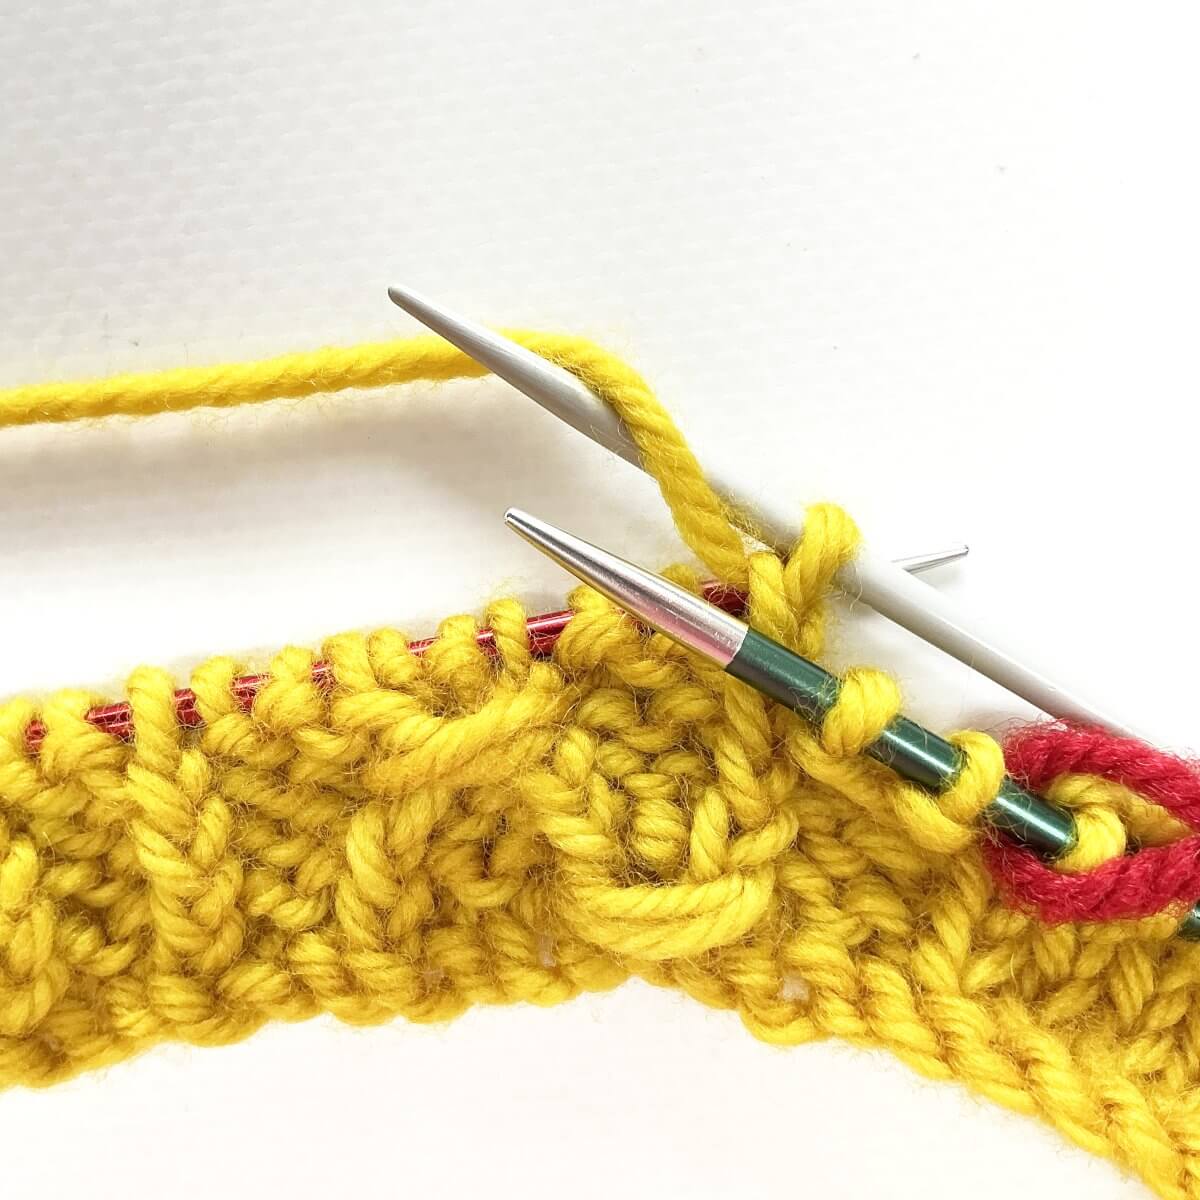
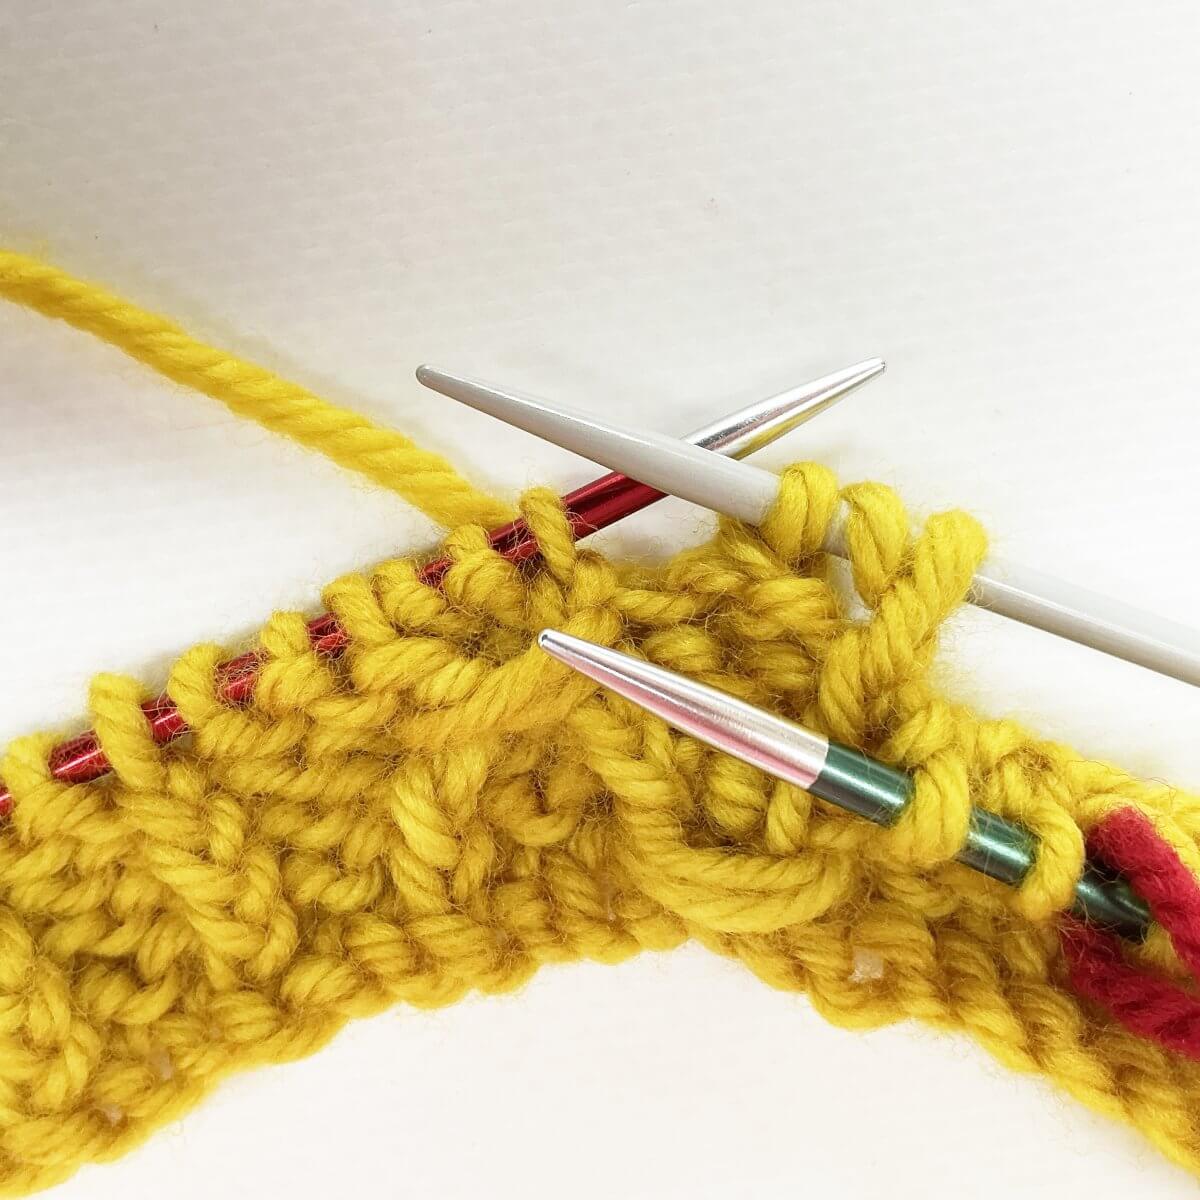
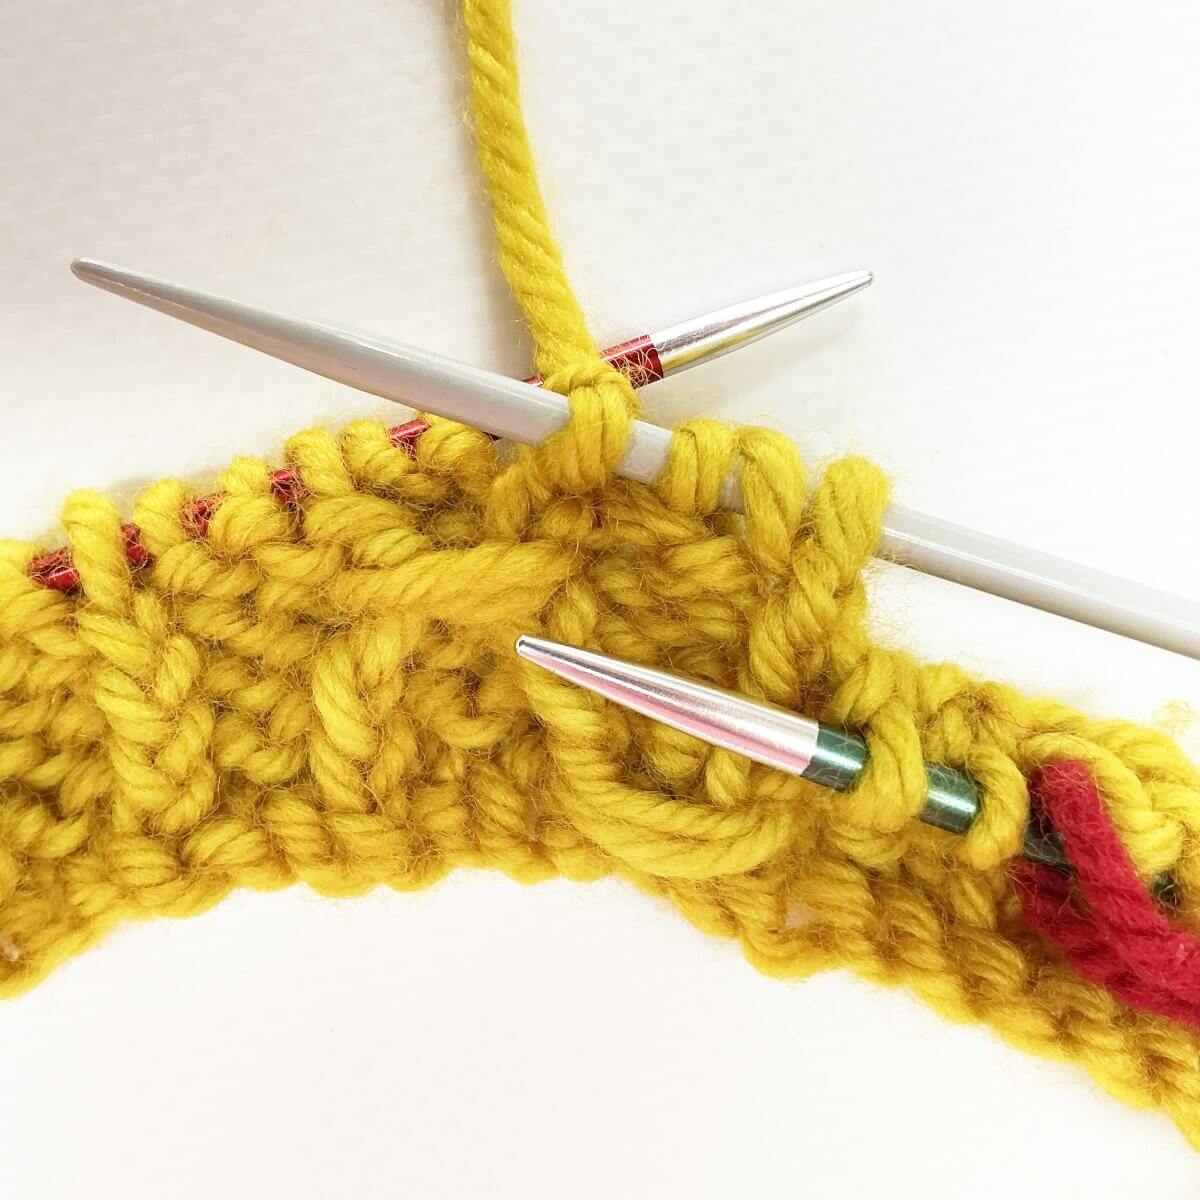
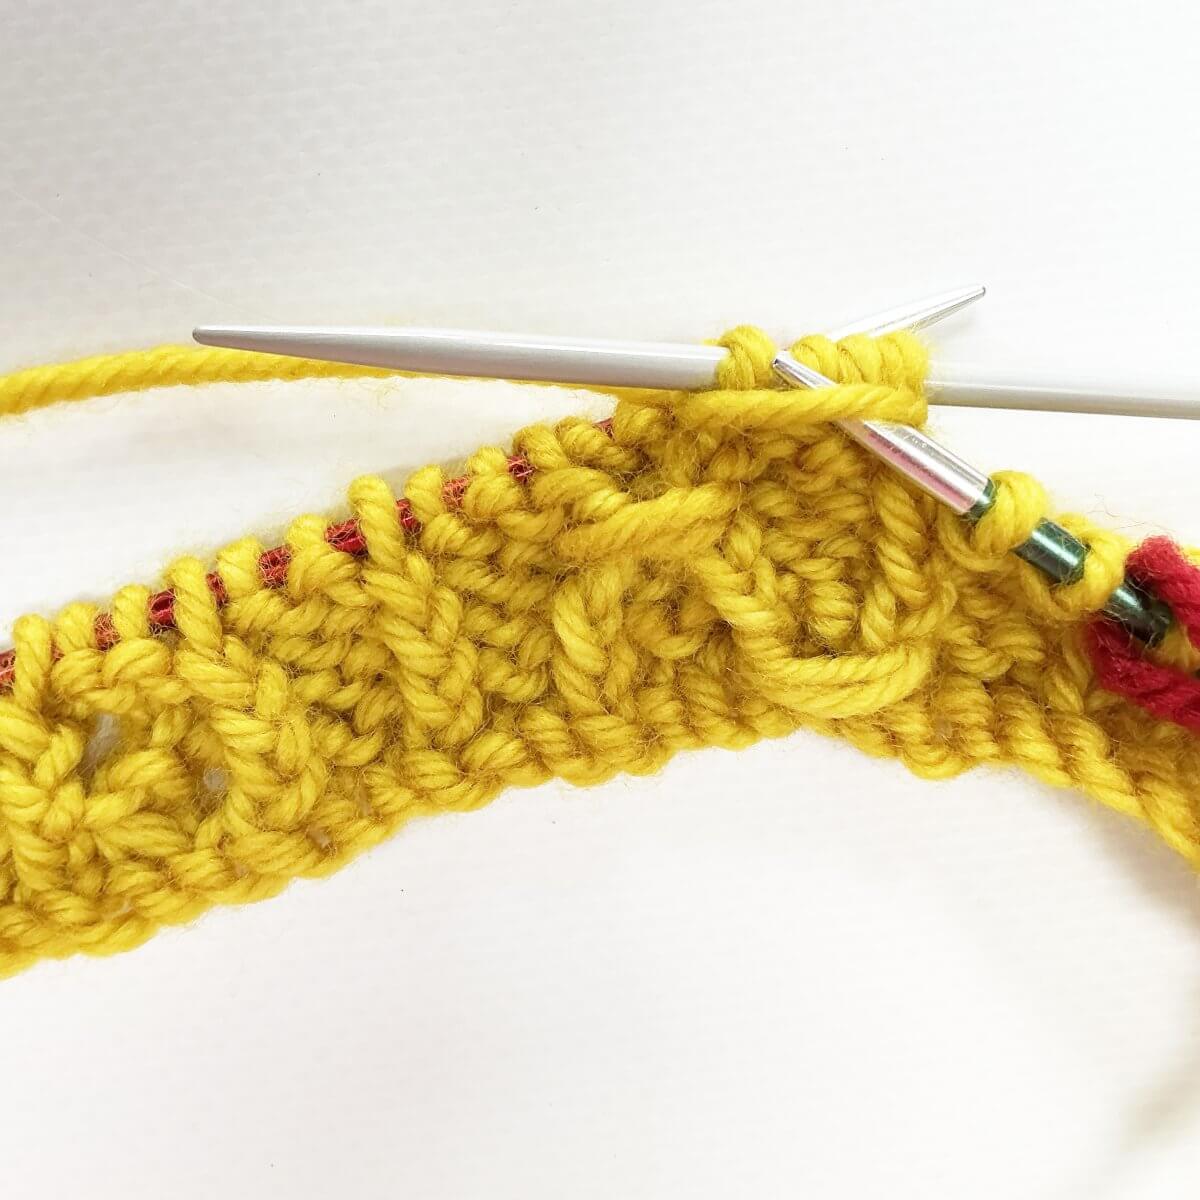
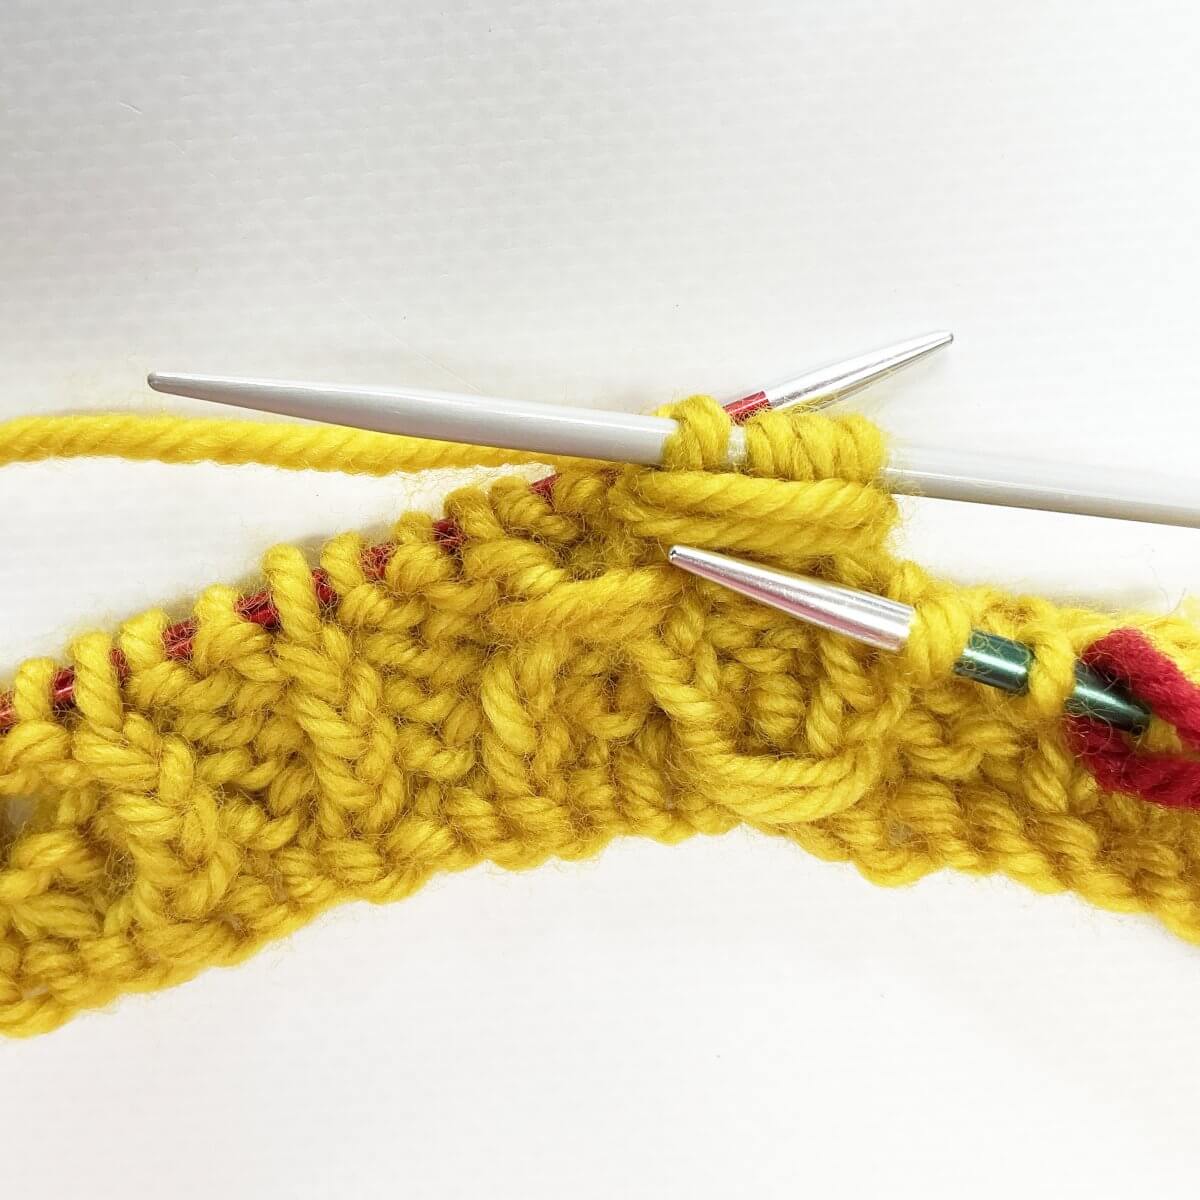
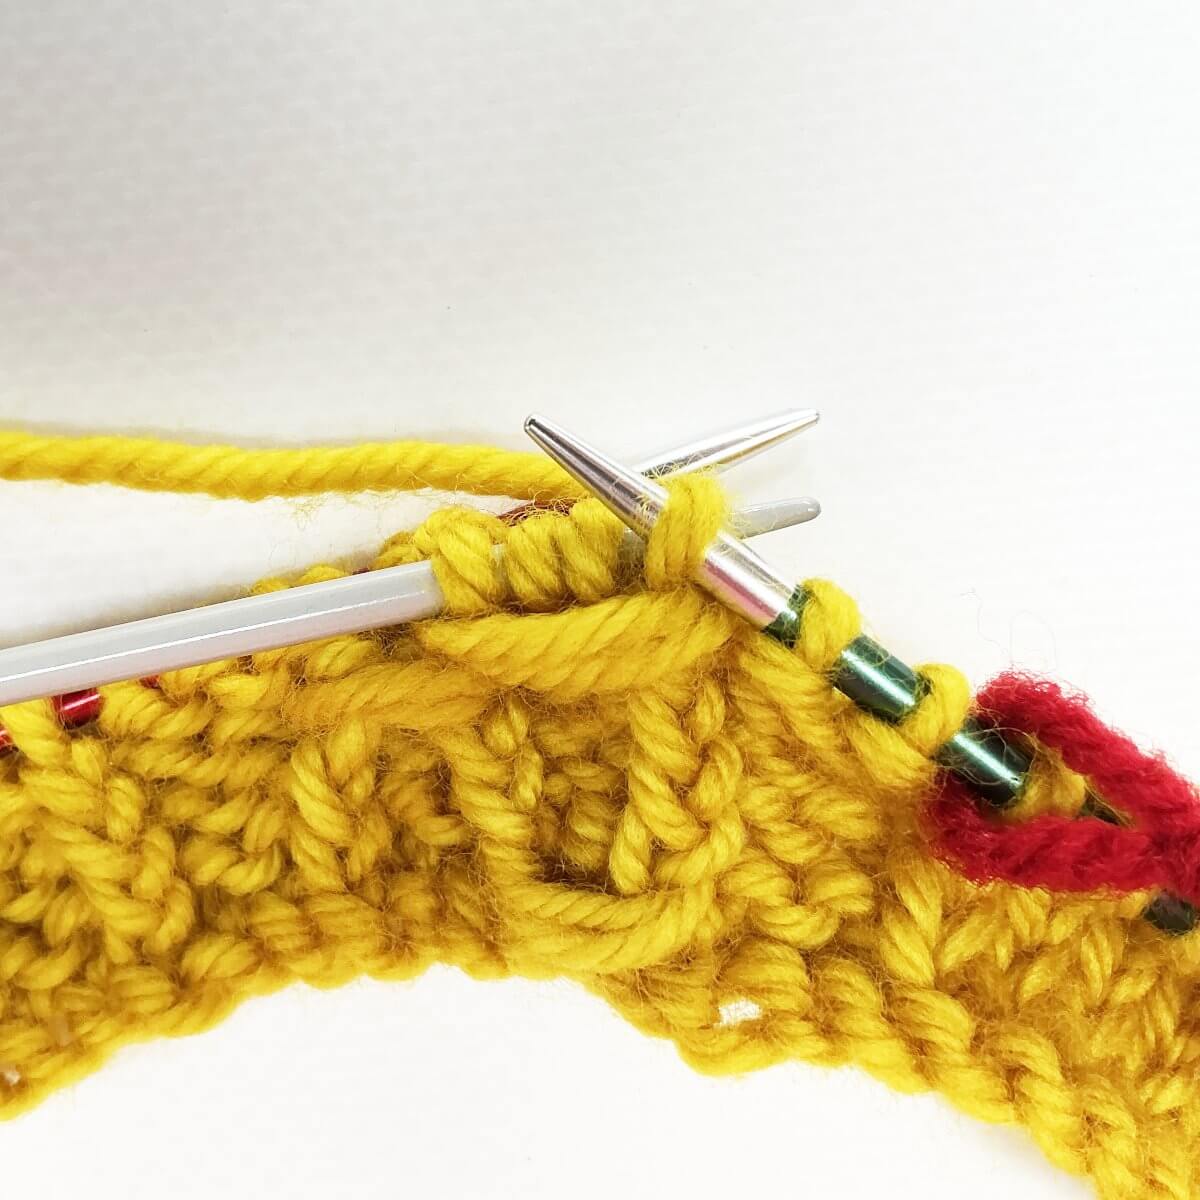
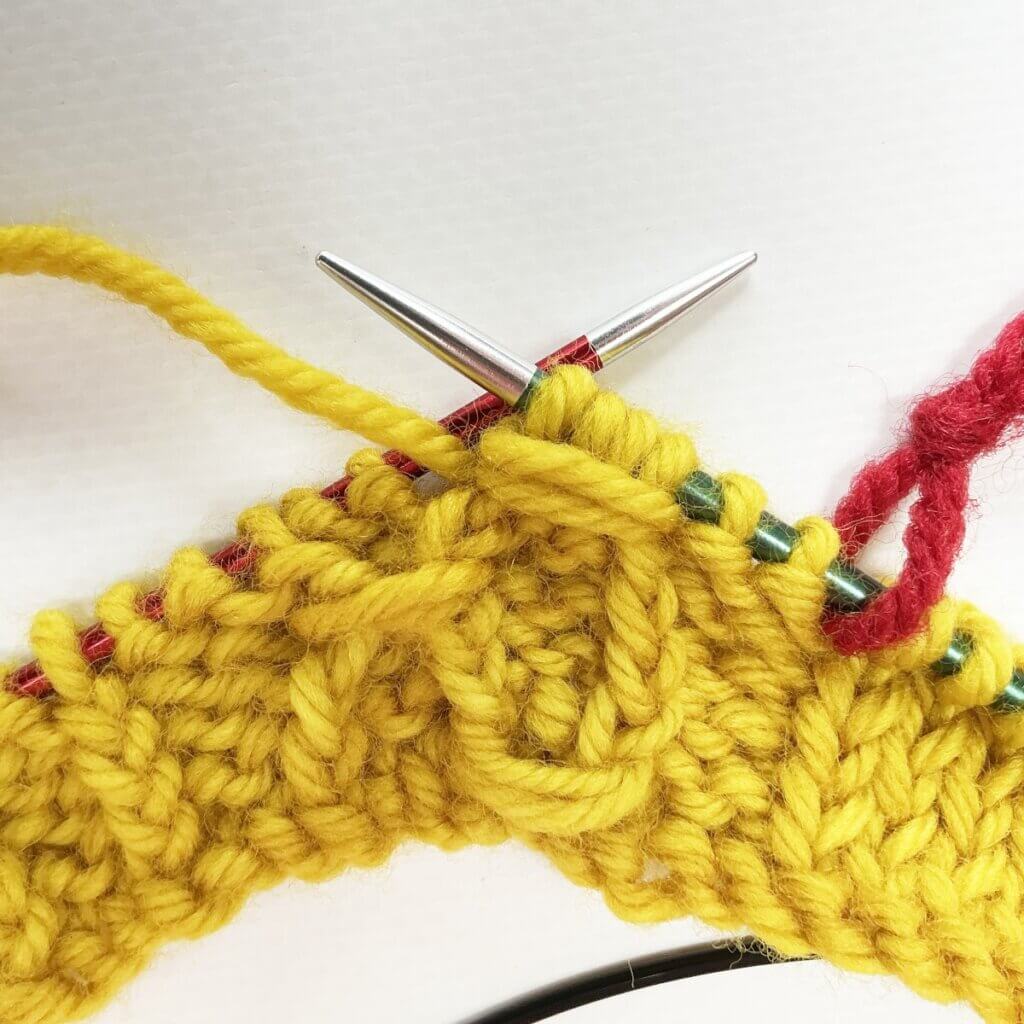
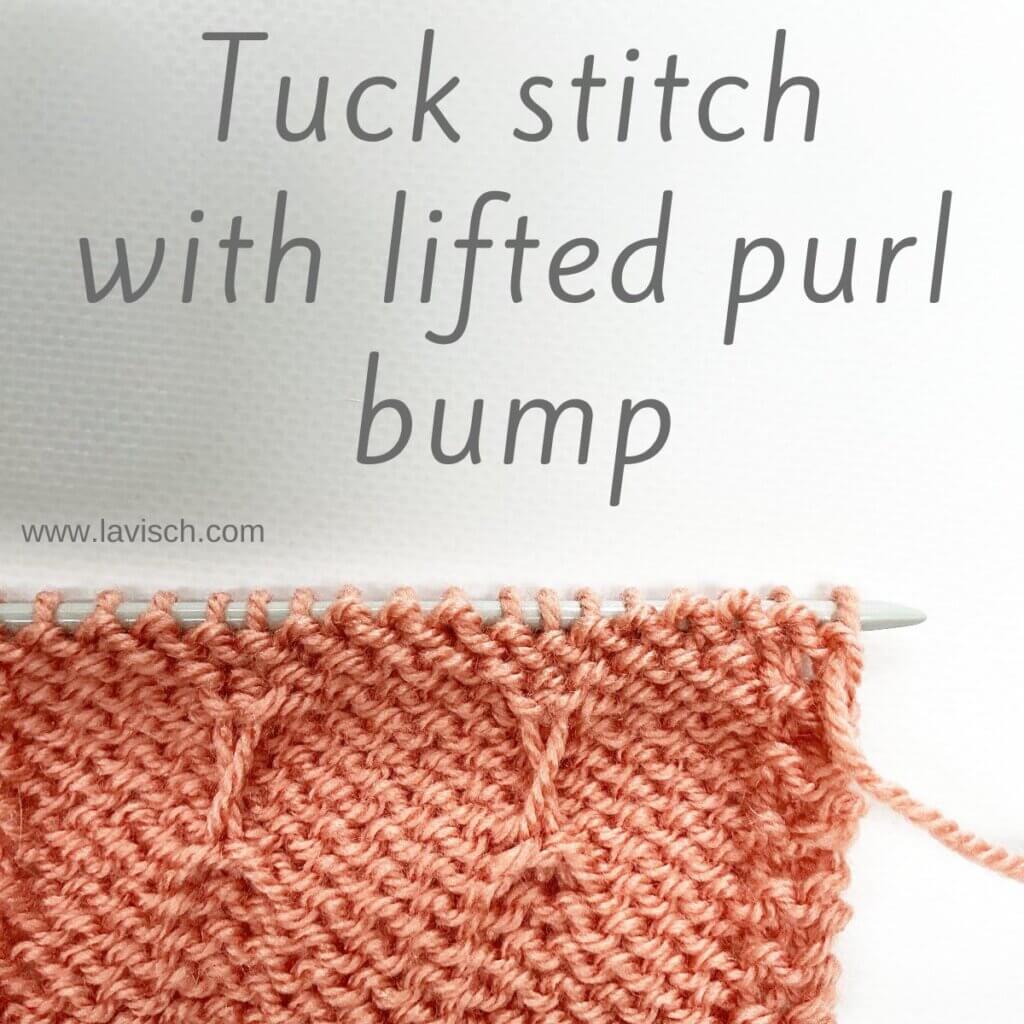
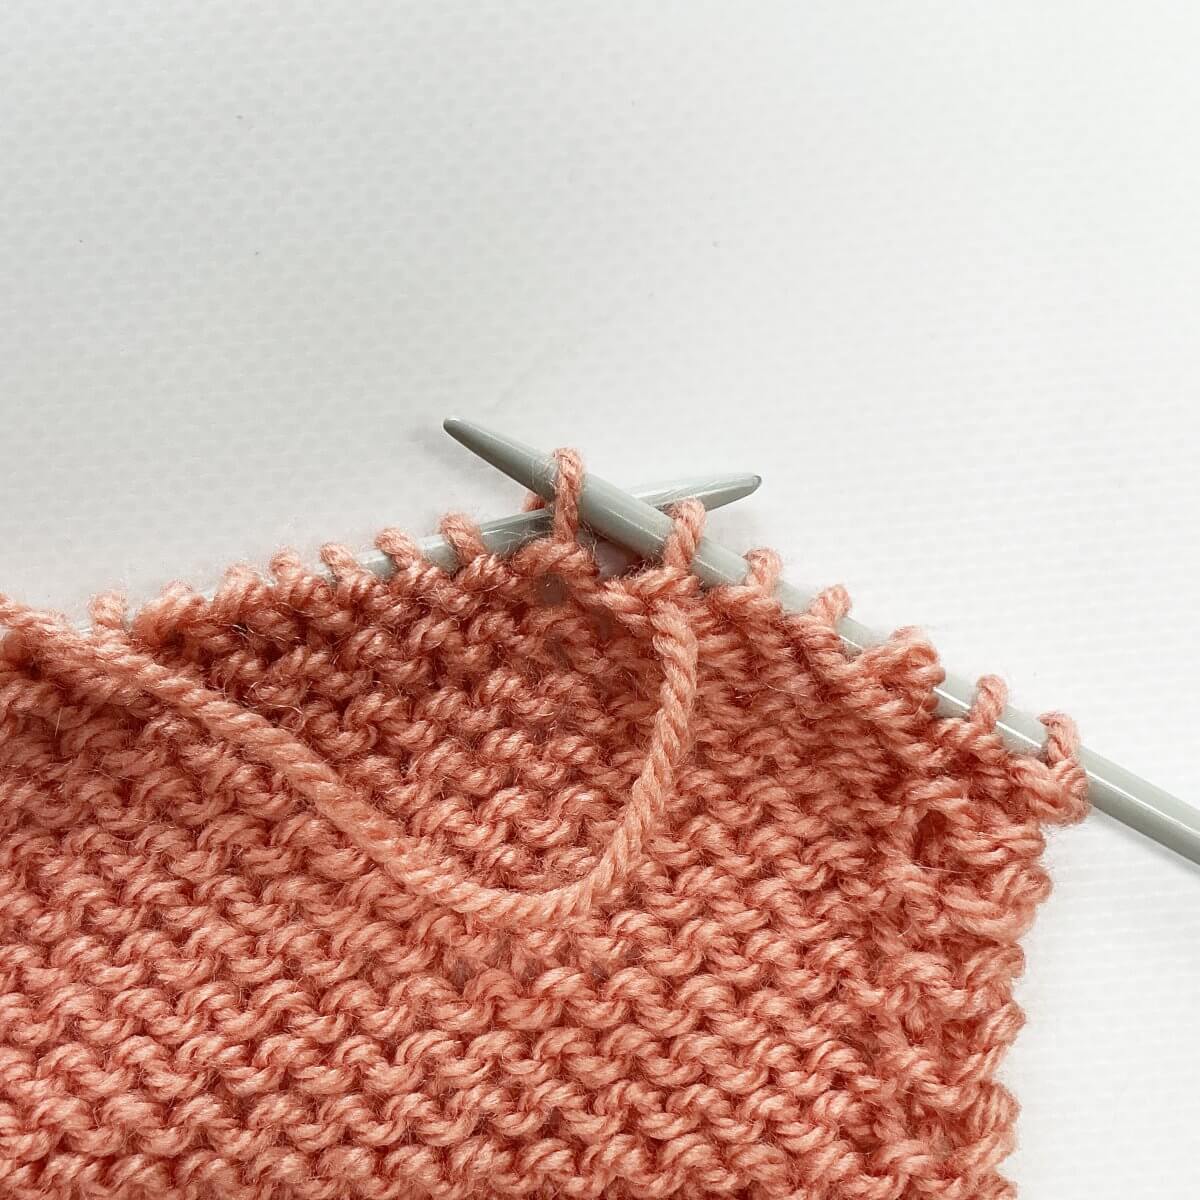
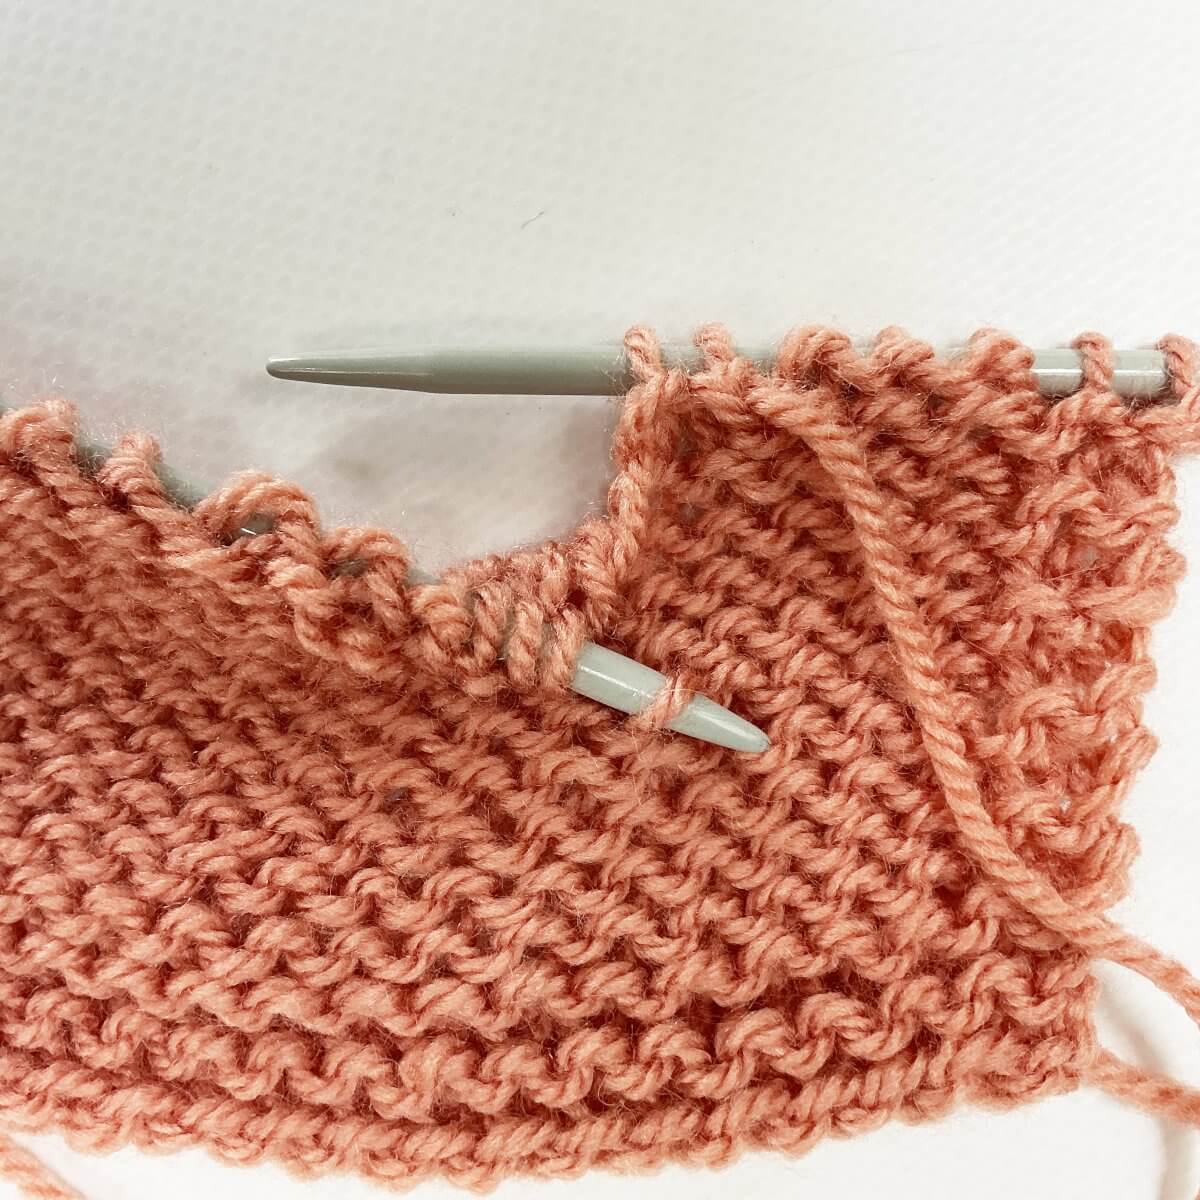
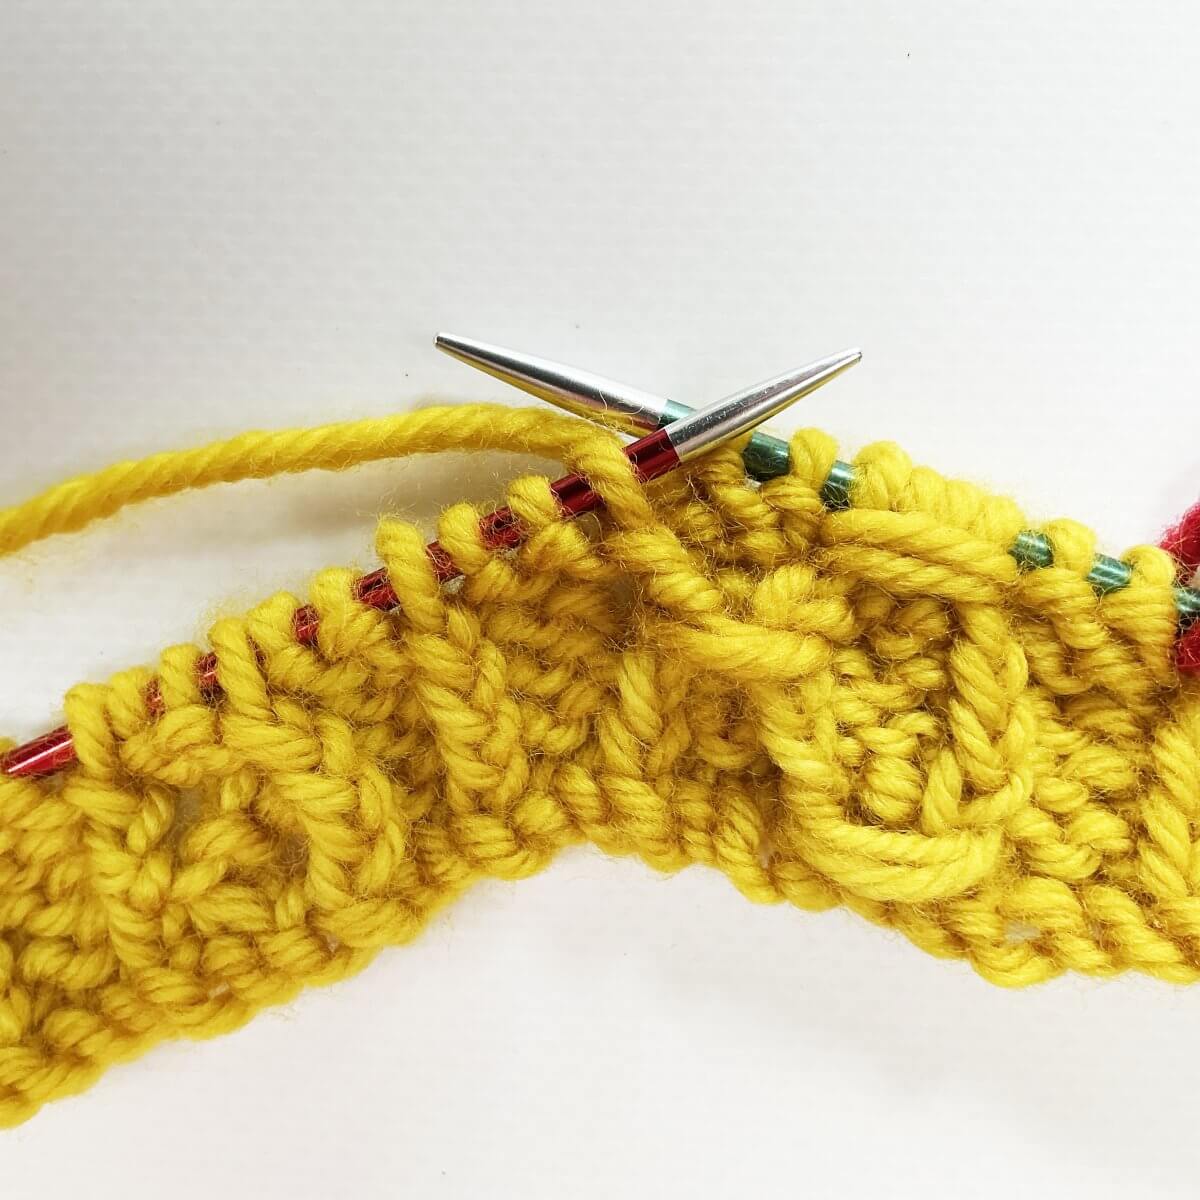
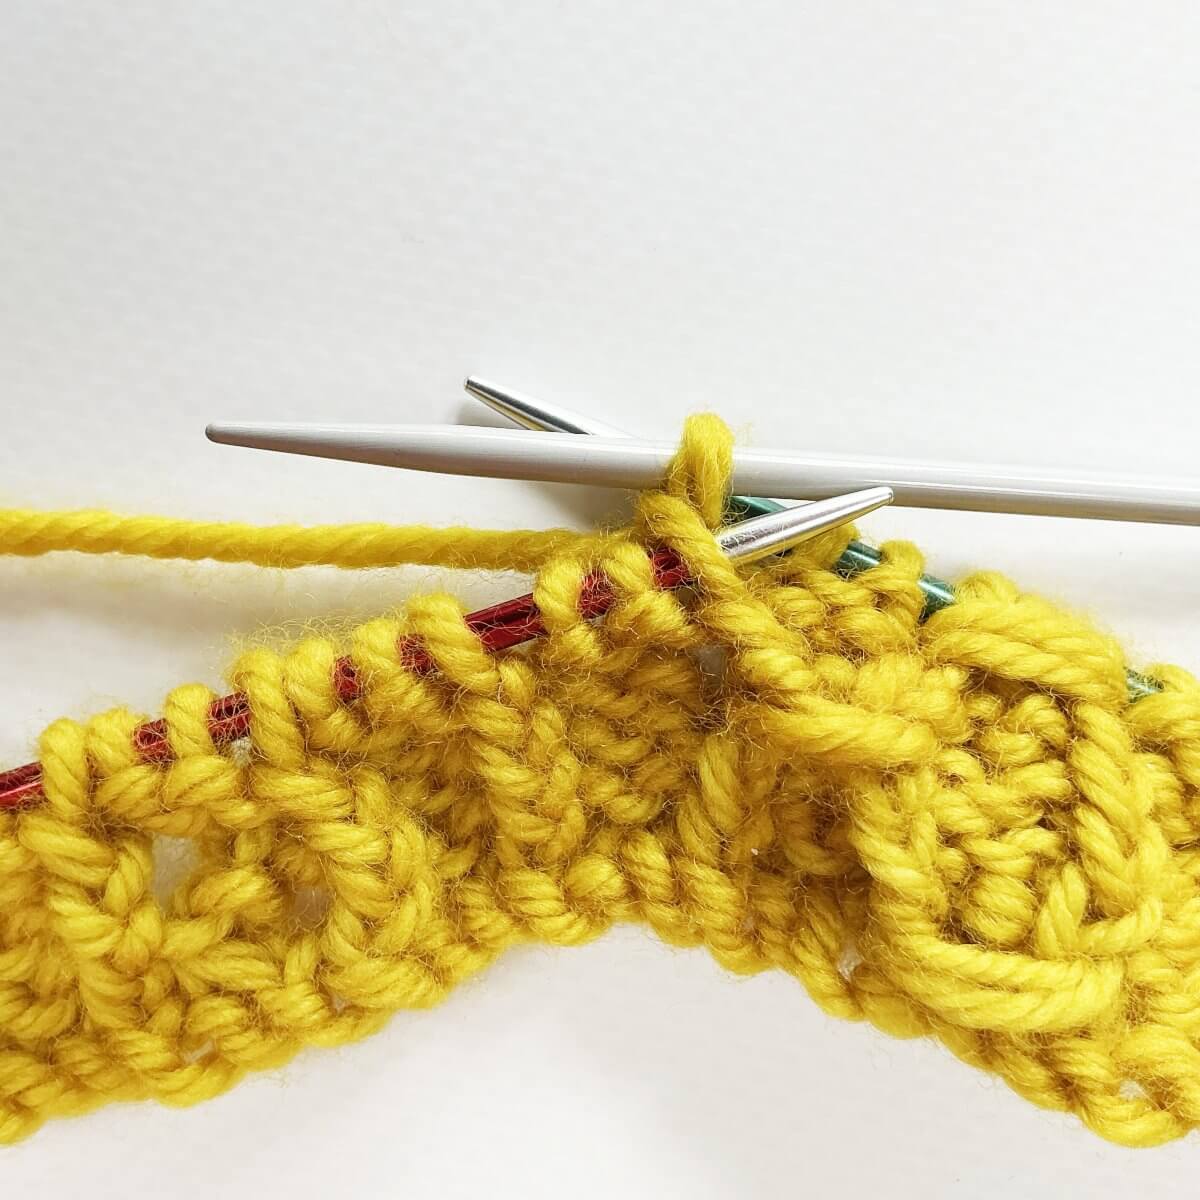
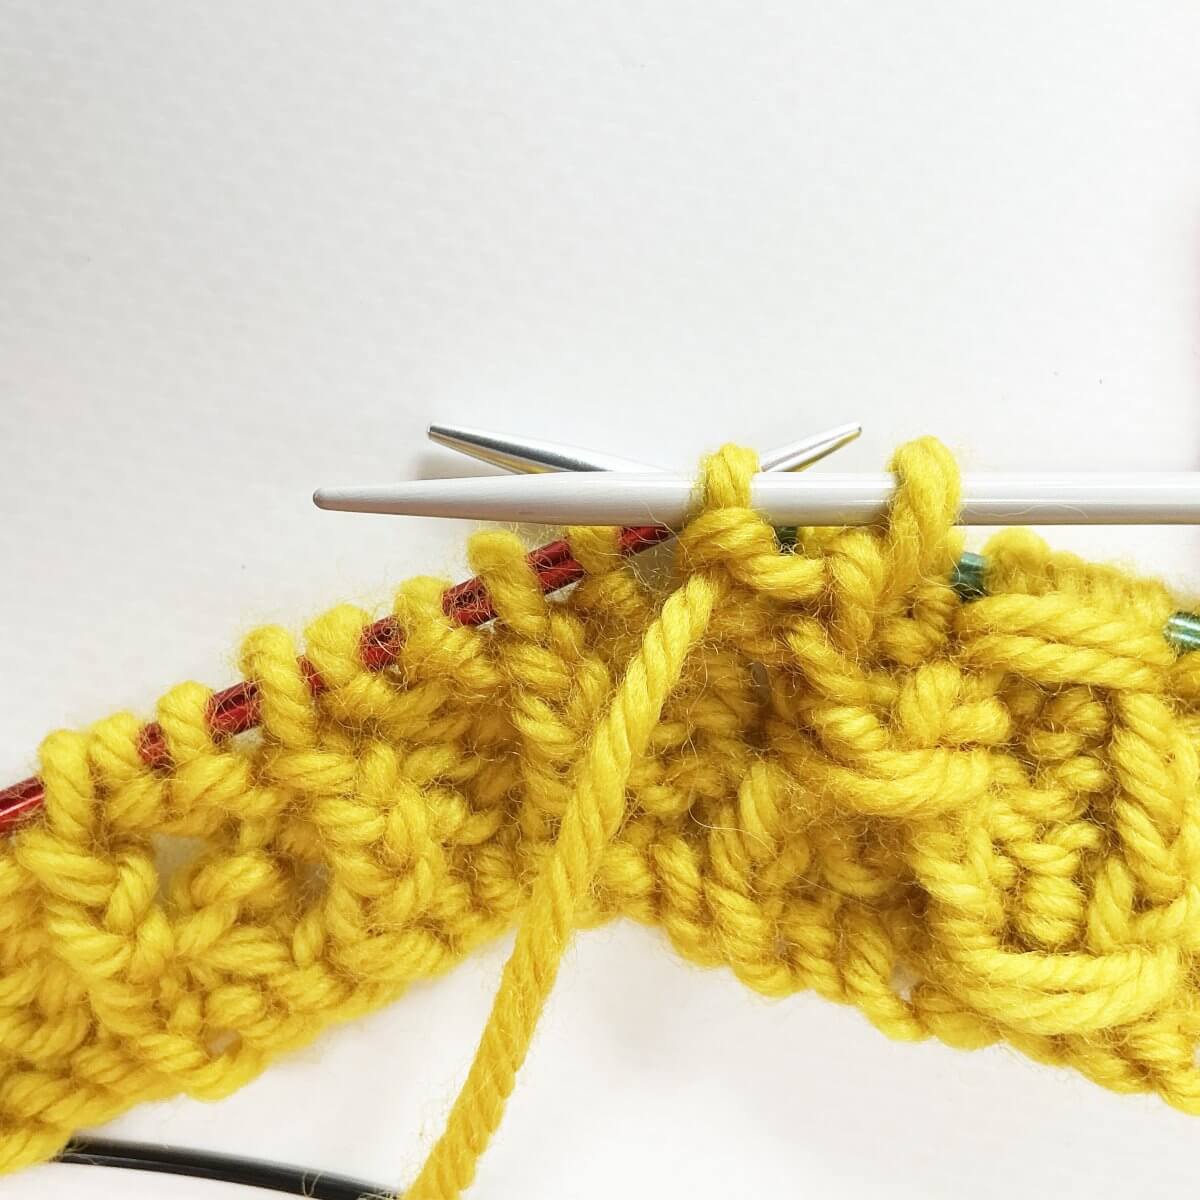
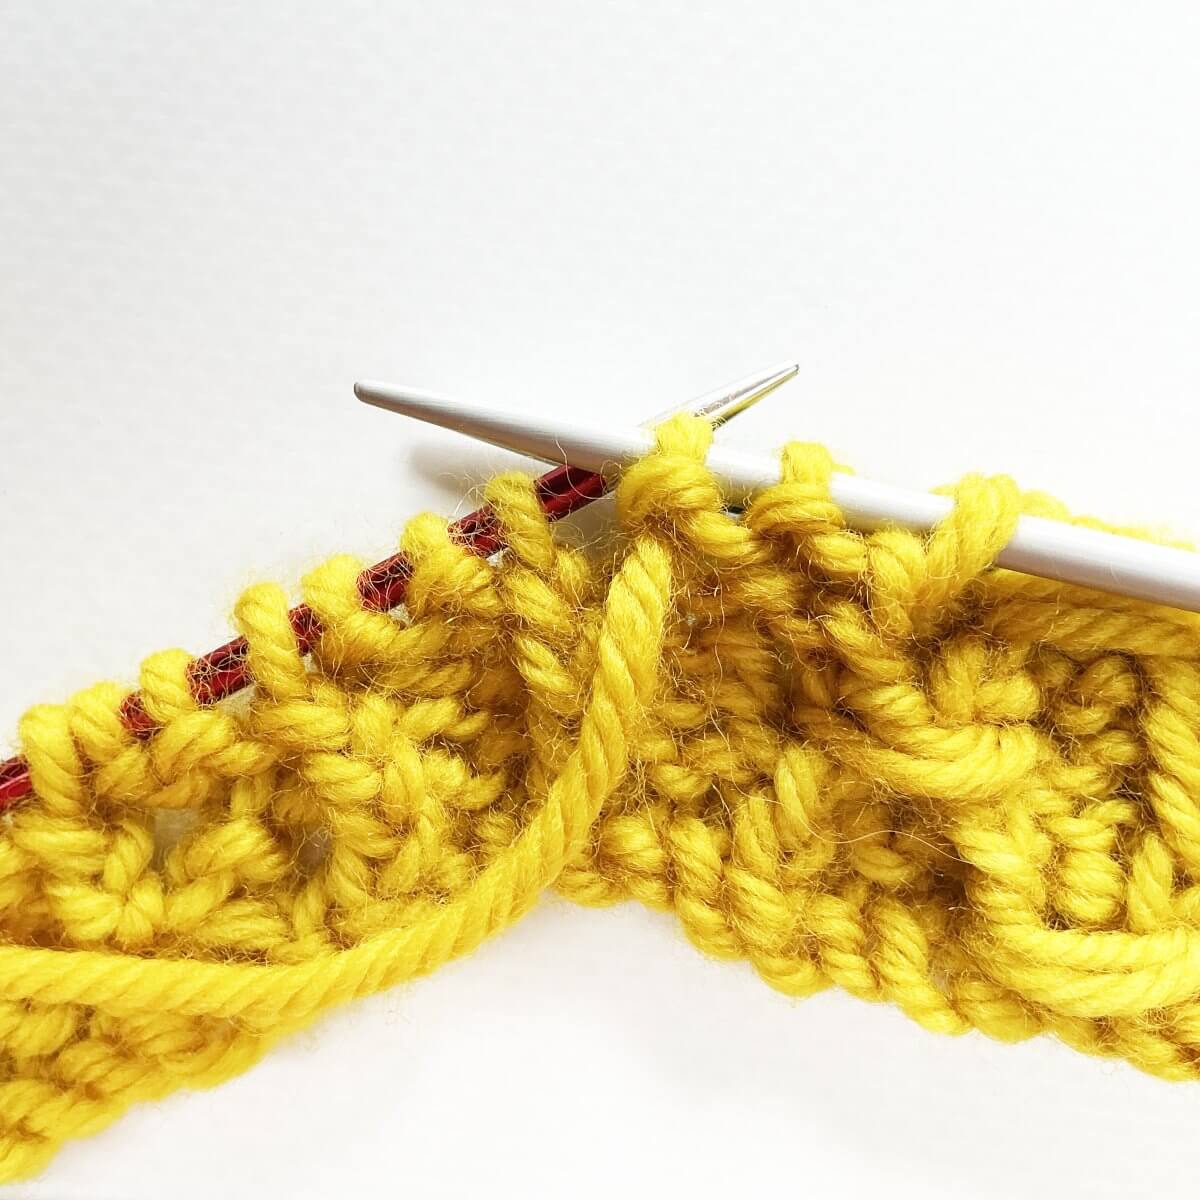
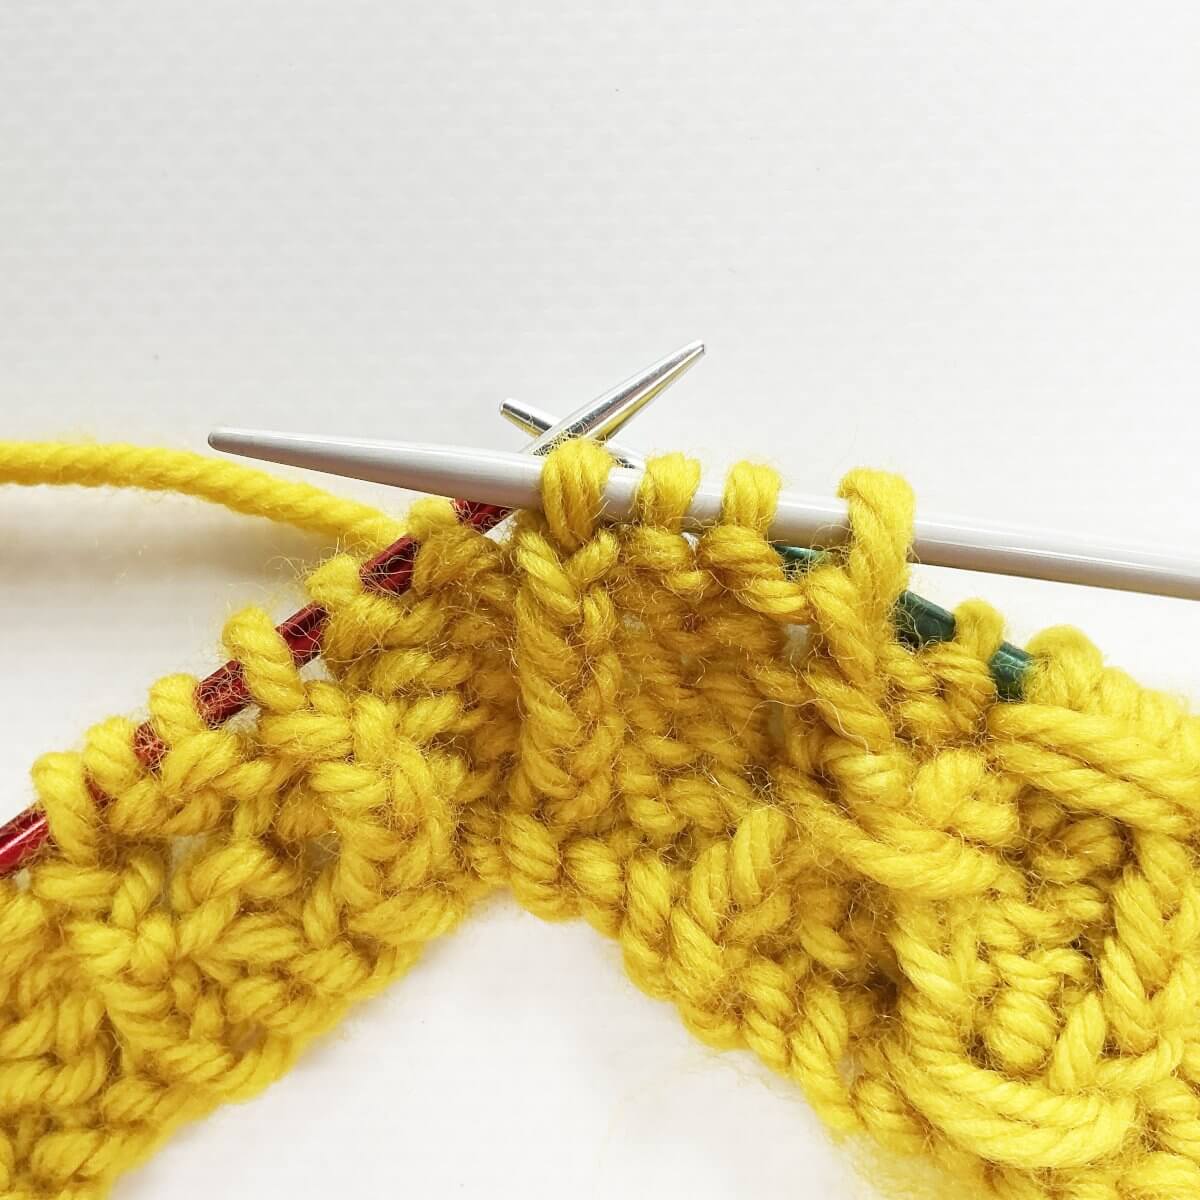
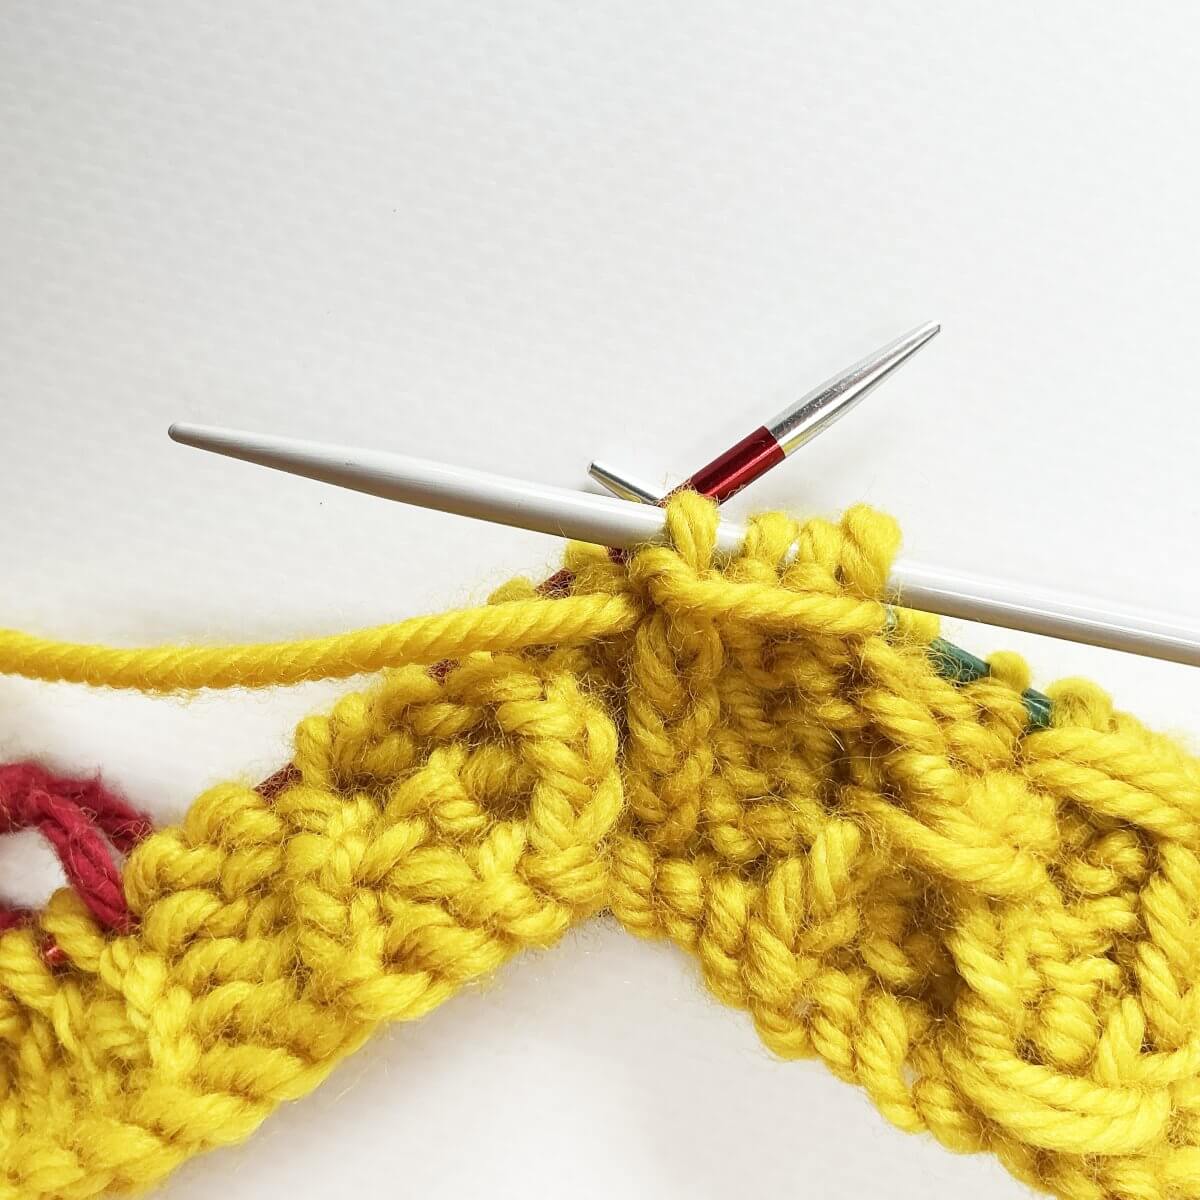
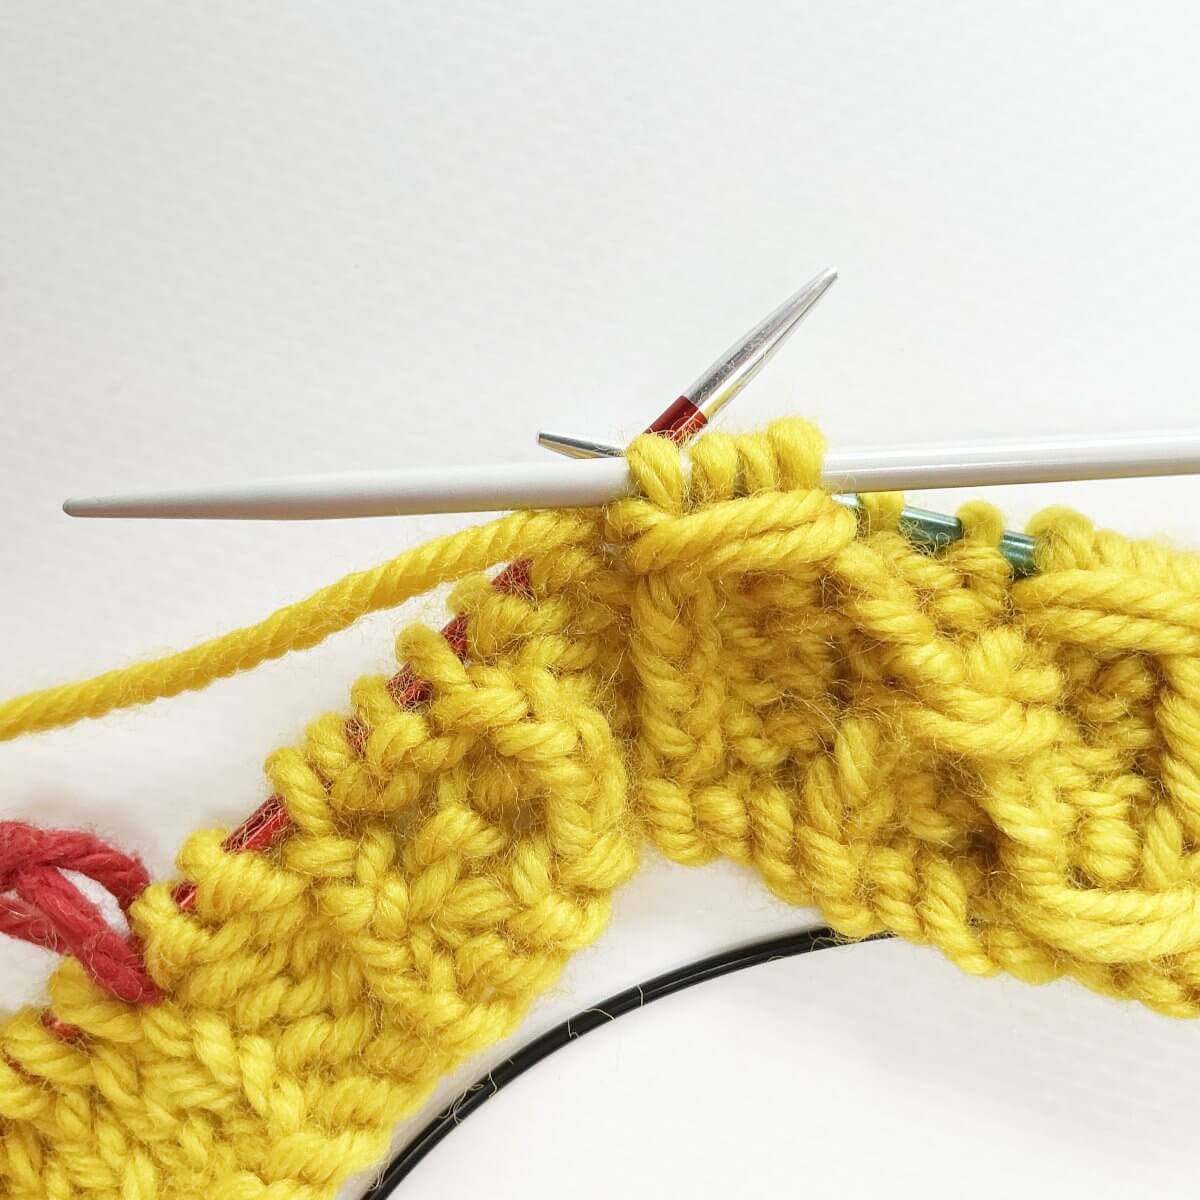
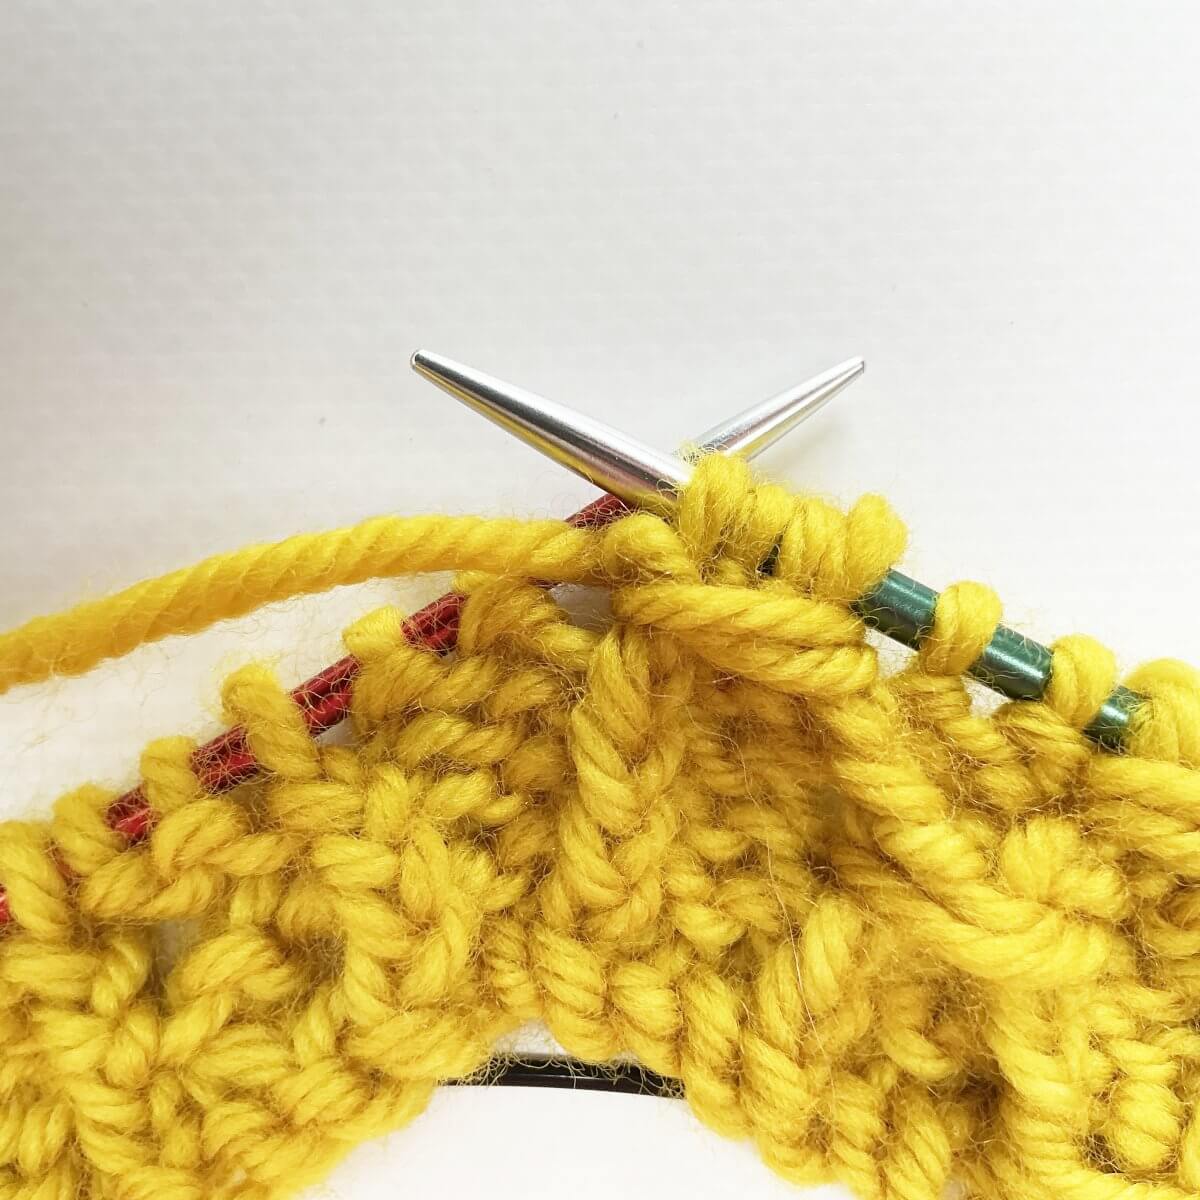
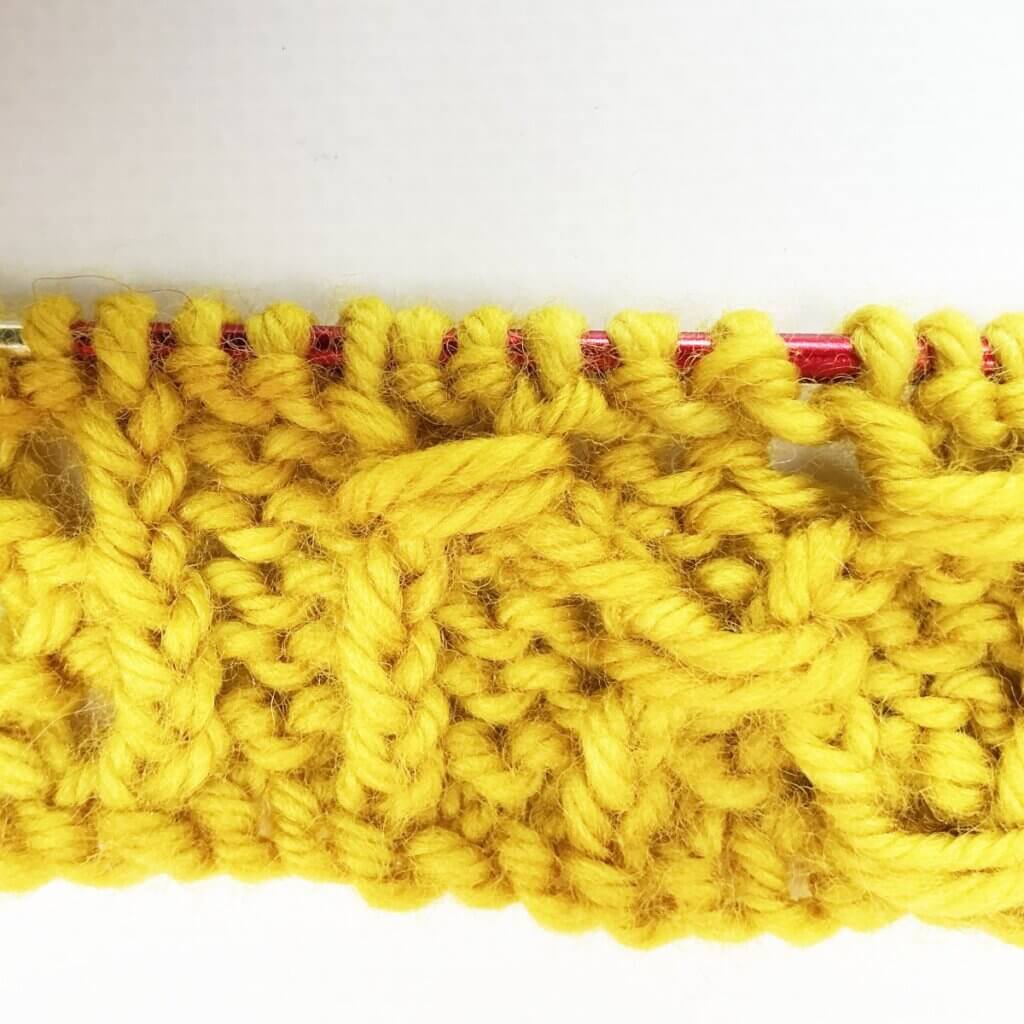
The shawl is started with a garter tab. The color work is done using the slip-stitch mosaic technique, so you will be handling only one strand of yarn at all times. The patterning is both charted and written out.


Pay what you want: (minimum €7.25)

Add to cart


Difficulty level

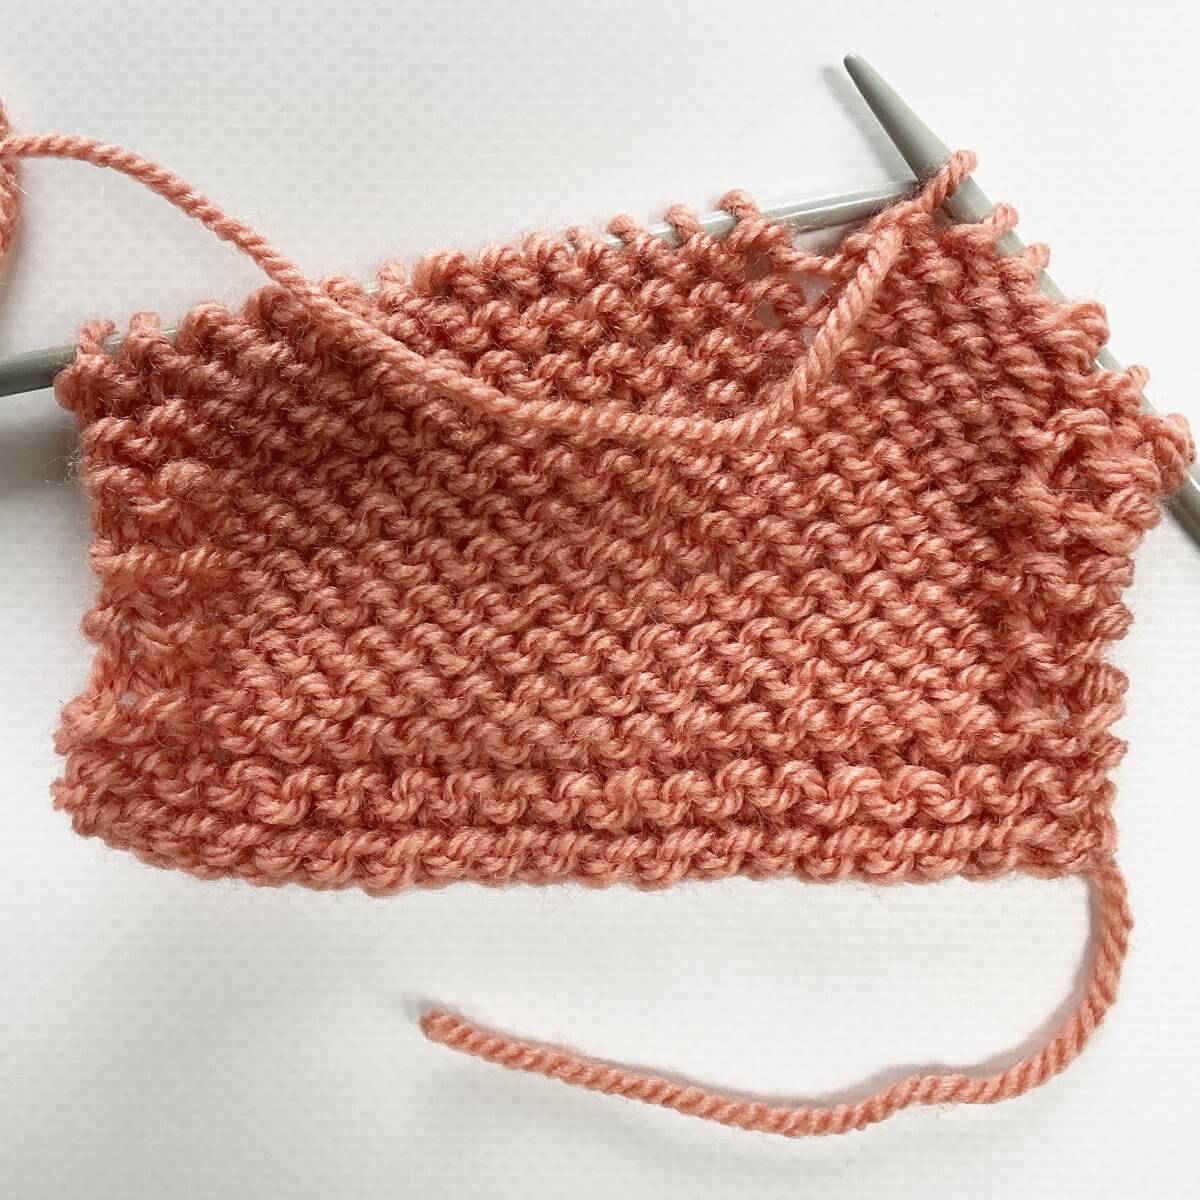
This triangle-shaped shawl is knit from the top down, starting with a garter tab cast-on. The color work uses the slip-stitch mosaic technique. Stitches used include knit, purl, right- and left-leaning increases, k2tog tbl, as well as slipping stitches.

This pattern is therefore suitable for the intermediate to advanced knitter.

Sizes and finished measurements

One size (easily adjusted) – finished dimensions of the sample shawl: 188 cm (74 inches) along the upper edge and a depth of 68 cm (26 ¾ inches), measured after blocking.

Change the size of the Waveline shawl larger by using heavier or lighter weight yarn and/or working less (or more) repeats of the various sections. This will, of course, change the amount of yarn needed.

Pattern details

  • Gauge: 14.6 sts / 32 rows = 10 cm (4 inches) over body pattern, measured after blocking. Gauge is not critical in this design but should give you a fabric that you like with the yarn, and needles used.
  • Pattern languages included: English.
  • Digital PDF has 9 pages (letter size)

Yarn

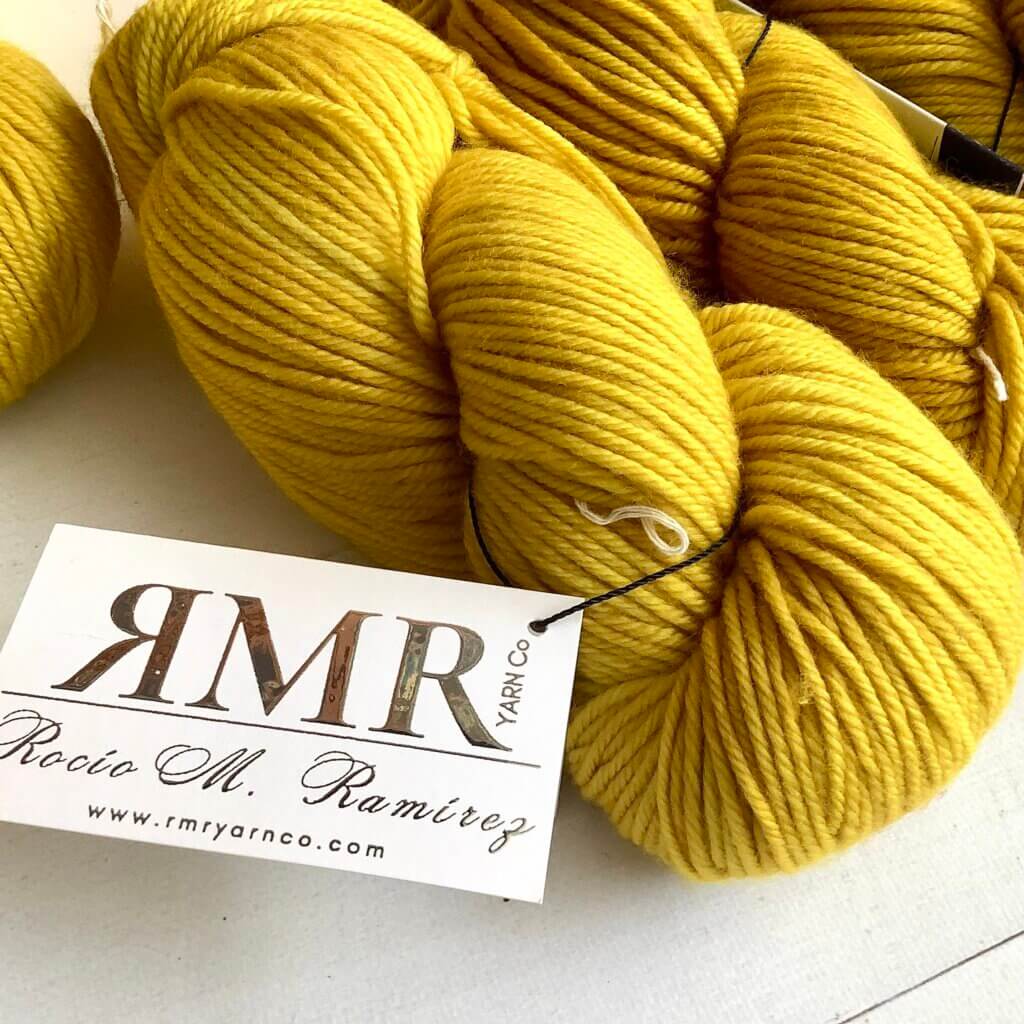
Rico Design Superba Alpaca Luxury Socks (62% Wool, 23% Nylon, 15% Alpaca; 310 m (339 yds) / 100 g) in the following colors:

C1: 310 m (339 yds) / 100 g in 010 Teal
C2: 310 m (339 yds) / 100 g in 007 Yellow

Substitute any sport weight yarn with a halo in solid or tonal colors for a similar result.

Materials

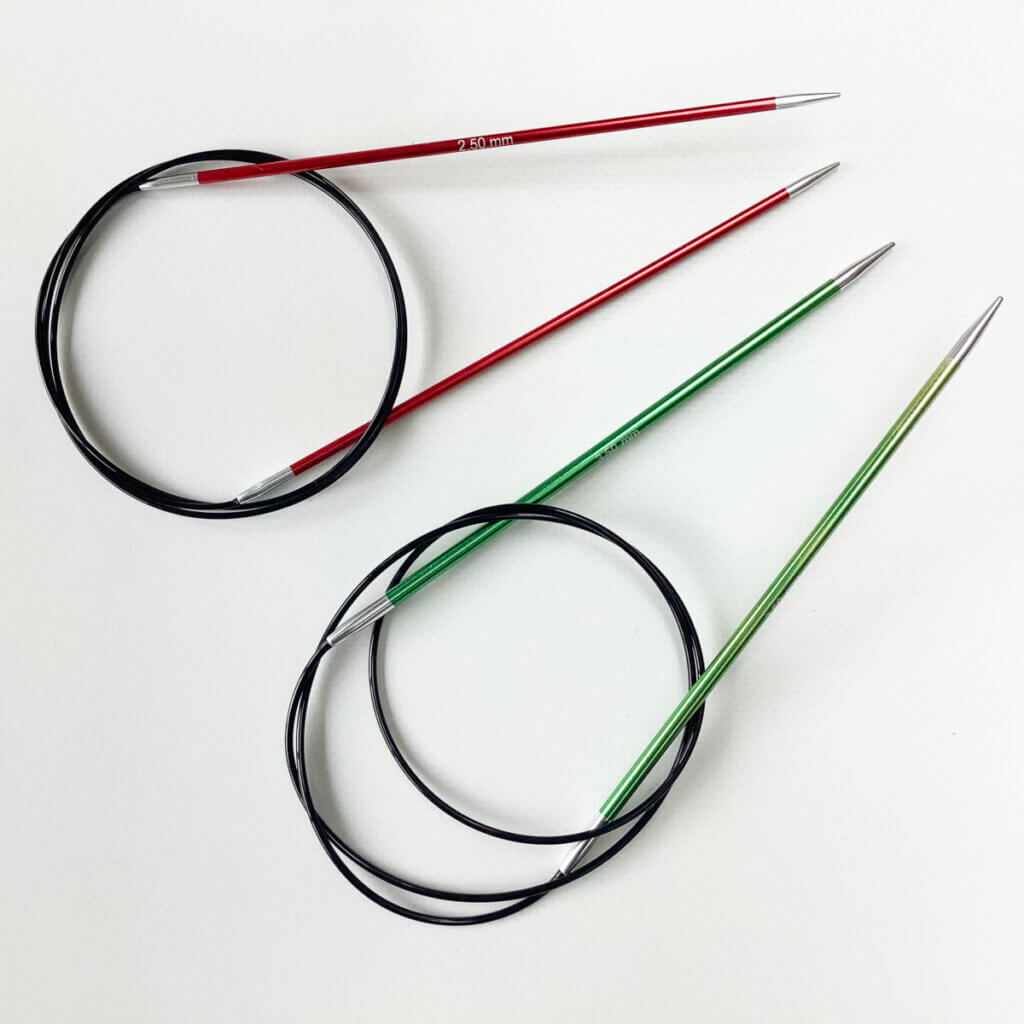
  • Size 4 mm (US 6) / 80 cm (32 inches) circular needles were used for the sample shawl. Use needles appropriate for the yarn chosen.
  • 4 stitch markers
  • Yarn needle

waveline Read More »

tutorial – making a loop buttonhole

Making a loop buttonhole - a tutorial by La Visch Designs

A loop buttonhole is one of those small finishing details that can completely change how polished your project looks. Instead of working a buttonhole into the fabric itself, you create a simple loop right at the edge. It removes the need to plan out your buttonholes while still knitting or crocheting your project. In other words: It’s perfect for cardigans, cuffs, keyhole openings, or anywhere you want a flexible, decorative closure.

In this step-by-step photo tutorial, I show you how to create a neat, loop buttonhole along the edge of your work using a darning needle. The same effect could however also be achieved by crocheting into the loop. Ok, get your things, and follow along!

Materials used

Yarn: Paintbox Yarns Simply DK, a good value, good quality 100% acrylic yarn, here in the color Lime for the swatch, and Vintage Pink for the buttonhole loop.

Darning needle: Hiya Hiya Darn It Yarn Needle, or any other tapestry needle.

Working the loop buttonhole step by step

  1. First, make sure you have your darning needle threaded with the yarn you want to use for the buttonhole loop.

    The buttonhole loop can be attached to any side of a piece of knitting or crochet. In this tutorial, I will be attaching it to the bind-off edge of this swatch.Step 1 of making a loop buttonhole

  2. To start, I insert the darning needle from bottom to top through both loops of one of the stitches on the edge. Pull it through for a bit.

    Step 2

  3. Next, insert the darning needle from top to bottom through both loops of another of the stitches on the edge.

    I skipped 1 stitch, because I though that would give me a nice size for a buttonhole. You can leave less or more room between the 2 points as needed for the size of the buttons you intend to use.Step 3 of making a loop buttonhole

  4. Pull the yarn through until you have a loop of the desired size for your button.

    The loop kept flipping up, so I used the darning needle to hold it down for the picture.Step 4

  5. Repeat steps 2-4 a couple of times. This gives a sturdier buttonhole. The number of times, depends on the thickness of your yarn, as well as on the desired size of the loop.

    I changed the orientation of the edge, because this proved to be easier to work.Step 5 of making a loop buttonhole

  6. Next, take your darning needle, and insert it from bottom to top into the loop.

    Step 6

  7. Pull the yarn through almost, but not entirely all the way. Now take the darning needle and insert it top to bottom through the loop that your working yarn has formed.

    Step 7 of making a loop buttonhole

  8. Pull it all through, and tighten the knot you have created. Make sure to push it right next to the fabric of the piece you’re attaching the buttonhole to.

    Step 8

  9. Repeat steps 6-8 as often as needed to completely cover the loops of yarn made in steps 2-5.

    Step 9 of making a loop buttonhole

  10. To finish, you can thread the yarn through the buttonhole loop, back to the start. Tie a knot, and weave in the ends.

    The result of making a loop buttonhole


Patreon logo

Thanks to my Patreon supporters for bringing you this freebie! Creating quality patterns and tutorials is a lot of work and resource-intensive. However, I find it important to give you free content like this tutorial. Thanks to the generous support of my Patreon supporters, I can make it happen. Thank you, patrons! Click here to join, or click here to read more about La Visch Designs on Patreon.

tutorial – making a loop buttonhole Read More »

zuurstok

Zuurstok - a knit shawl design with lace by La Visch Designs

The yarn used for the body of this shawl brings candy canes to mind, or “zuurstokken”, as they’re called in Dutch, the kind you might buy at a fair. Knit sideways on the bias, the shawl forms a shallow, asymmetrical triangle that’s perfect for wearing as an elegant scarf. The pairing of garter stitch in a self-striping yarn with simple lace offers the best of both worlds: Soothing simplicity and delicate detail.

The pattern contains both fully written out and charted instructions for the lace.


Pay what you want: (minimum €7.25)

Add to cart


Difficulty level

The lace in this pattern is worked on both RS and WS rows. Stitches used include knit, purl, yo, kfb, pfb, skp, k2tog, and p2tog.

This pattern is therefore suitable for the intermediate to advanced knitter.

Sizes and finished measurements

One size (easily adjusted) – finished dimensions of the sample shawl: 192 cm (75 ¾ inches) along the upper edge and a depth of 70 cm (27 ½ inches), measured after blocking.

Make the Zuurstok shawl larger by adding more repeats of the garter stitch and/or by working more repeats in the lace section. This will, of course, increase the amount of yarn needed.

Pattern details

  • Gauge: 16 sts / 32 rows = 10 cm (4 inches) over garter stitch, measured after blocking. Gauge is however not critical for this design.
  • Pattern languages included: English.
  • Digital PDF has 5 pages (letter size)

Yarn

Alize Superwash Artisan (75% Merino, 25% Nylon; 420 m (459 yds) / 100 g) in the following colors:

C1: 210 m (230 yds) / 50 g in color 9003
C2: 420 m (459 yds) / 100 g in color 44

Substitute any self-striping fingering weight yarn for C1 and any solid or tonal colored fingering weight yarn for C2 for a similar result.

Materials

  • Size 3.5 mm (US 4) / 80 cm (32 inches) circular needles were used for the sample shawl. Use needles appropriate for the yarn chosen.
  • Removable stitch marker to denote the RS of the shawl (optional)
  • Stitch markers to indicate repeats of the lace patterning (optional)
  • Yarn needle

zuurstok Read More »

tutorial – working the stretchy yo bind-off for 1×1 rib

Working the stretchy YO bind-off for 1x1 rib - a tutorial by La Visch Designs

This bind-off is very similar to regular “binding of in pattern”, take a look at the tutorial for 1×1 rib that shows you the principal of it. The main difference with the stretchy yo bind-off, is that it adds a yarn over for every purl stitch of the ribbing. As such, it’s less stretchy than a bind-off that includes a yo after every stitch, but much more stretchy than a regular ribbing bind-off that doesn’t include one. I really like to use this one for ribbing on sleeve cuffs, the hems of sweaters etc. It really doesn’t matter if your piece is in regular 1×1 rib, are a twisted one using (k tbl, p1). It doesn’t flare out as much as, for example, the Russian bind-off does.

Let’s get started!

Materials used

Yarn: Paintbox Yarns Simply DK, a good value, good quality 100% acrylic yarn, here in the color Vintage Pink

Knitting needles: This is a pair of straights that I picked up at the second-hand store when I started knitting, brand unknown.

The stretchy yo bind-off for 1×1 rib step by step

In patterns, you may see the following instruction for this bind-off:
K1, *yo, p1, then grab the 2nd and 3rd sts, and pass them both over the st just purled, k1, insert tip of the left-hand needle into second stitch on the right-hand needle, pass this stitch over the stitch just knit*; rep ** to end, yo, p1, then grab the 2nd and 3rd sts, and pass them both over the st just purled.
Below, I’ll show you step by step how this looks like in knitting!

  1. To start, take the piece of knitting you want to bind-off.

    In this case, I’m using a swatch in [k1 tbl, p1] rib.Step 1 of working the stretchy YO bind-off for 1x1 rib.

  2. Knit the first stitch on the left-hand needle.

    Step 2

  3. Next, work a yarn over by wrapping the yarn around the needle.

    Step 3 of working the stretchy YO bind-off for 1x1 rib.

  4. Next is working a purl stitch.

    Depending on your knitting style, it may help to secure the yo of the previous step with your right index finger while you work the purl stitch.Step 4

  5. Insert the tip of the left-hand needle into the second and third stitches on the right-hand needle….

    Step 5 of working the stretchy YO bind-off for 1x1 rib.

  6. … and pass them over the purl stitch.

    Step 6

  7. Knit the first stitch on the left-hand needle.

    Step 7 of working the stretchy YO bind-off for 1x1 rib.

  8. Insert the tip of the left-hand needle into the second stitch on the right-hand needle….

    Step 8

  9. …. then pass it over the stitch just knit.

    Step 9 of working the stretchy YO bind-off for 1x1 rib.

  10. Continue working steps 3-8, ending with a repeat of steps 3-6 for the last purl stitch in the rib (assuming you started with an even number of stitches!).

    To bind-off the last stitch you end up with, just break your yarn, and pull it through.Step 10

The result

Do you see how lovely this bind-off follows the shape of the ribbing?

Patreon logo

Thanks to my Patreon supporters for bringing you this freebie! Creating quality patterns and tutorials is a lot of work and resource-intensive. However, I find it important to give you free content like this tutorial. Thanks to the generous support of my Patreon supporters, I can make it happen. Thank you, patrons! Click here to join, or click here to read more about La Visch Designs on Patreon.

tutorial – working the stretchy yo bind-off for 1×1 rib Read More »

tutorial – knitting the yarn over bind-off (version 2)

Knitting the YO bind-off (version 2) - a tutorial by La Visch Designs

In this tutorial I show you how to work a second version of the yarn over bind-off for stockinette. Remember, the thing that all yarn over bind-off have in common, is that they all use an extra yo somewhere in the bind-off sequence to give the edge some extra stretch. Where they differ, is how that yo is treated within the bind-off repeat. The one I’m showing in this tutorial is one I really like, because it gives decent stretch without a lot of flare at the edge. Ok, grab your things!

Materials used

Yarn: Paintbox Yarns Simply DK, a good value, good quality 100% acrylic yarn, here in the color Lime

Knitting needles: This is a pair of straights that I picked up at the second-hand store when I started knitting, brand unknown.

The yarn over bind-off step by step

In patterns, you may see the following instruction for this bind-off:

*K1, yo, k1, insert tip of the left-hand needle into the first and second stitches on the right-hand needle, pass them over the third stitch*; repeat *-* to end.

Please note, that when I mentioned “first” or “second”, I mean the stitch that was knit first or second, not the location relative to the tip of the right-hand needle. Below, I’ll show you step by step how this looks like in knitting!

  1. To start, take the piece of knitting you want to bind-off, and knit the first stitch on the left-hand needle.

    In this case, I’m using a swatch in stockinette stitch.Step 1 of knitting the yarn over bind-off - version 2

  2. Next, work a yarn over by wrapping the yarn around the needle.

    Step 2

  3. Next, knit the new stitch nearest to the tip of the left-hand needle.

    Step 3 of knitting the yarn over bind-off - version 2

  4. Insert the tip of the left-hand needle into the first and second stitches on the right-hand needle, and pass them over the third (last knit) one.

    Step 4

  5. Continue working steps 1-4 to the end.

    To bind-off the last stitch you end up with, just break your yarn, and pull it through.The result from the RS of knitting the yarn over bind-off - version 2

As you can see in the last picture above, this bind-off has barely any flare to it. When seen from the wrong side, the result looks like this:

The result from the WS of knitting the yarn over bind-off - version 2
Patreon logo

Thanks to my Patreon supporters for bringing you this freebie! Creating quality patterns and tutorials is a lot of work and resource-intensive. However, I find it important to give you free content like this tutorial. Thanks to the generous support of my Patreon supporters, I can make it happen. Thank you, patrons! Click here to join, or click here to read more about La Visch Designs on Patreon.

tutorial – knitting the yarn over bind-off (version 2) Read More »

tutorial – knitting the yarn over bind-off (version 1)

Knitting the YO bind-off (version 1) - a tutorial by La Visch Designs

The thing that all yarn over bind-off have in common, is that they all use an extra yo somewhere in the bind-off sequence to give the edge some extra stretch. Where they differ, is how that yo is treated within the bind-off repeat. The one I’m showing in this tutorial is not really the one I prefer, because it has significant flare at the edge. That said, it’s a good one to know. In a couple of weeks, I’ll share a different yarn over bind-off for stockinette with you. Let’s get started!

Materials used

Yarn: Paintbox Yarns Simply DK, a good value, good quality 100% acrylic yarn, here in the color Lime

Knitting needles: This is a pair of straights that I picked up at the second-hand store when I started knitting, brand unknown.

The yarn over bind-off step by step

In patterns, you may see the following instruction for this bind-off:

K1, *k1, insert tip of the left-hand needle into the first stitch on the right-hand needle, pass this stitch over the second stitch, yo, grab the first st, and pass it over the yo*; repeat *-* to end.

Please note, that when I mentioned “first” or “second”, I mean the stitch that was knit first or second, not the location relative to the tip of the right-hand needle. Below, I’ll show you step by step how this looks like in knitting!

  1. To start, take the piece of knitting you want to bind-off, and knit the first stitch on the left-hand needle.

    In this case, I’m using a swatch in stockinette stitch.Step 1 of knitting the yarn over bind-off - version 1

  2. Next, knit the new stitch nearest to the tip of the left-hand needle.

    Step 2

  3. Insert the tip of the left-hand needle into the first stitch on the right-hand needle, and pass this stitch over the second one.

    Step 3 of knitting the yarn over bind-off - version 1

  4. Next, work a yarn over by wrapping the yarn around the needle.

    Step 4

  5. Insert the tip of the left-hand needle into the first stitch on the right-hand needle, and pass it over the yarn over.

    Step 5 of knitting the yarn over bind-off - version 1

  6. Continue working steps 2-5 for every stitch you encounter.

    To bind-off the last stitch you end up with, just break your yarn, and pull it through.The result from the RS of knitting the yarn over bind-off - version 1

As you can see in the last picture above, this bind-off has quite some flare to it. Reduce the amount of flare by repeating steps 1-5 instead of 2-5. However, this would also reduce the stretchiness. When seen from the wrong side, the result looks like this:

The result from the WS of knitting the yarn over bind-off - version 1
Patreon logo

Thanks to my Patreon supporters for bringing you this freebie! Creating quality patterns and tutorials is a lot of work and resource-intensive. However, I find it important to give you free content like this tutorial. Thanks to the generous support of my Patreon supporters, I can make it happen. Thank you, patrons! Click here to join, or click here to read more about La Visch Designs on Patreon.

tutorial – knitting the yarn over bind-off (version 1) Read More »

stitch pattern – cable on garter stitch

Cable on garter stitch - a tutorial by La Visch Designs

This is a lovely cable on a background of garter stitch, a good way to spruce up a project in garter stitch. Use it solo as pictured here, or make multiple cables. In this stitch pattern, 3/3 RC, and 3/3 LC cables are used to create the fishtail-effect. This stitch pattern is worked in a multiple of 17 + 3 stitches. Please note that in the above picture, no edge stitches were added.

Materials used

Yarn: Paintbox Yarns Simply DK, a good value, good quality 100% acrylic yarn, here in the color Tea Rose.

Knitting needles: This is a pair of straights that I picked up at the second-hand store when I started knitting, brand unknown.

You will also need a cable needle in a similar or slightly smaller size as your knitting needles. Unless, of course, you’re going to work the cables without a cable needle.

Stitches used

  • k – knit
  • p – purl
  • 3/3 LC (3/3 left-cross cable): Slip next 3 stitches to cable needle and place at front of work, k3, then k3 from cable needle.
  • 3/3 RC (3/3 right-cross cable): Slip next 3 stitches to cable needle and place at back of work, k3, then k3 from cable needle.

Cable on garter stitch instructions

Row 1 (right side): K3, *k6, p2, k9*; rep ** to end. (20 sts)
Row 2 (wrong side): *K6, p3, k2, p3*; rep *-* to 3 sts before end, k3.
Rows 3-6: Rep rows 1-2 twice more.
Row 7: K3, *3/3 RC, p2, 3/3 LC, k3*; rep *-* to end.
Row 8: *K6, p3, k2, p3*; rep *-* to 3 sts before end, k3.

Repeat rows 1-8 for pattern.

Cable on garter stitch chart
Cable on garter stitch from the RS
Cable on garter stitch from the WS
Cable on garter stitch from the WS.
Patreon logo

Thanks to my Patreon supporters for bringing you this freebie! Creating quality patterns and tutorials is a lot of work and resource-intensive. However, I find it important to give you free content like this tutorial. Thanks to the generous support of my Patreon supporters, I can make it happen. Thank you, patrons! Click here to join, or click here to read more about La Visch Designs on Patreon.

stitch pattern – cable on garter stitch Read More »

stitch pattern – working the (k tbl, yo, skp, k tbl) wrapped twice stitch

Working the (k tbl, yo, skp, k tbl) wrapped twice stitch - a stitch pattern by La Visch Designs

In one of my new patterns, I used this stitch pattern from the Japanese knitting stitch bible. It consists of (k tbl, p2) rib, with strategically place wrapped stitches to create a lovely smocking effect, It was a bit of a struggle to determine exactly how to execute this stitch. So, I thought to make it into a step-by-step post. As the description says, you basically wrap your working yarn around the group of stitches described. Below, I’ll show you how to work the (k tbl, yo, skp, k tbl) wrapped twice stitch.

Let’s get started!

Materials used

Yarn: RMR Yarn Co. Zihuatanejo DK, a wonderful vibrant 100% Merino yarn, here in the color Casi Casi.

Knitting needles: Some Zing knitting needles, and yes I know I’m using a ridiculously small size for a DK weight yarn; I’m a VERY loose knitter…

I’m also using a cable needle in the same size as my main needles.

Working the (k tbl, yo, skp, k tbl) wrapped twice stitch step by step

  1. To start, work as instructed by your pattern until the point where you want to make the wrapped stitch.

    Step 1 of working the (k tbl, yo, skp, k tbl) wrapped twice stitch

  2. First, insert the cable needle into the first stitch on the left-hand needle, and knit it through the back loop.

    Step 2

  3. Next, wrap the working yarn around the cable needle, to form the yarn over.

    Step 3 of working the (k tbl, yo, skp, k tbl) wrapped twice stitch

  4. Now work a skp decrease over the next 2 stitches on the left-hand needle, again using the cable needle as your right-hand needle.

    In this picture, you can see how it looks after the decrease has been worked.Step 4

  5. Next, insert the cable needle into the stitch on the left-hand needle, and knit it through the back loop.

    With this, we have worked the group of stitches to be wrapped.Step 5 of working the (k tbl, yo, skp, k tbl) wrapped twice stitch

  6. Now take your working yarn, and wrap it around the group of stitches on the cable needle in a counter-clockwise motion.

    In other words, move the yarn to the front, from left to right, and then onwards around the back from right to left until it’s in its starting position.Step 6

  7. Repeat step 6 once again for the second wrap.

    Step 7 of working the (k tbl, yo, skp, k tbl) wrapped twice stitch

  8. To finish the stitch, slip each of the 4 stitches on the cable needle purl-wise to the right-hand knitting needle. At this point, you can tighten the wrapped yarn a bit if the wrap is a bit loose.

    Step 8 of working the (k tbl, yo, skp, k tbl) wrapped twice stitch

The result

In the picture below, you can see the (k tbl, yo, skp, k tbl) wrapped twice stitch, directly after I’ve slipped all the stitches from the cable needle to the right-hand needle. You can also see some of the other wrapped stitches I’ve already worked in this piece of knitting.

The result of working the (k tbl, yo, skp, k tbl) wrapped twice stitch
Patreon logo

Thanks to my Patreon supporters for bringing you this freebie! Creating quality patterns and tutorials is a lot of work and resource-intensive. However, I find it important to give you free content like this tutorial. Thanks to the generous support of my Patreon supporters, I can make it happen. Thank you, patrons! Click here to join, or click here to read more about La Visch Designs on Patreon.

stitch pattern – working the (k tbl, yo, skp, k tbl) wrapped twice stitch Read More »

stitch pattern – tuck stitch with lifted purl bump

Tuck stitch with lifted purl bump - a tutorial by La Visch Designs

When working a tuck stitch, you basically lift a part of a stitch several rows below in your project, and work it together with a stitch to be worked. Doing so, creates ridges due to the fabric pulling in. These, in turn, can be used to create all sorts of patterning with a lot of texture. As said, you’re working a stitch several rows below, usually somewhere between 3 and 9 rows down. It can be worked in knit or in purl, directly below the stitch on the needle, or slightly slanted.

In this particular how-to, I’ll be showing you how to work a tuck stitch 6 rows down, with a lifted purl bump. Because I’m going to lift a purl bump, I will be working it from the wrong side of the fabric. If you’re doing a project in reverse stockinette, though, you would have to work this stitch from the right side where the purl bumps would be.

Ok, get your materials and work along with me!

Materials used

Yarn: Paintbox Yarns Simply DK, a good value, good quality 100% acrylic yarn, here in Vintage Pink.

Needles: This is a pair of straights that I picked up at the second-hand store when I started knitting, brand unknown.

Working the tuck stitch with lifted purl bump step by step

  1. To start, work as instructed by your pattern until the point where you want to make the tuck stitch.

    Tuck stitch with lifted purl bump - step 1

  2. First, slip the next stitch purl-wise from the left-hand to the right-hand knitting needle. In this picture, I’ve just inserted the right-hand needle into that stitch.

    Tuck stitch with lifted purl bump - step 2

  3. Next, insert the tip of the left-hand needle from top to bottom into the purl bump, 6 rows below the stitch slipped to the right-hand needle.

    Inserting the needle from top to bottom places the loop as a twisted stitch on the needle. This way, once worked, it will show as a twisted stitch, with crossed legs and therefor a tad tighter than when worked the other way. Of course, if you don’t want a twisted stitch there, just insert the needle from bottom to top instead.Tuck stitch with lifted purl bump - step 3

  4. Lift the loop of the purl bump up, and place it onto the left-hand needle. In this case, it stretches out quite a bit. Next, slip the first stitch from the right-hand needle back to the left-hand needle.

    Tuck stitch with lifted purl bump - step 4

  5. To finish this tuck stitch, work a p2tog on the slipped stitch, together with the lifted loop.

    As you can see, the fabric draws in a bit. Tuck stitch with lifted purl bump - step 5

The result

Below, you can see the result after working another right side row, first from the wrong side, then from the right side. Due to the picked up loop stretching out that much, the effect isn’t as pronounced as I hoped. That said, this could be tweaked by knitting a tighter fabric and thus causing less stretching, or by picking up the loop more rows below.

Tuck stitch with lifted purl bump - the result on the WS
Tuck stitch with lifted purl bump – the result on the WS
Tuck stitch with lifted purl bump - the result on the RS
Tuck stitch with lifted purl bump – the result on the RS
Patreon logo

Thanks to my Patreon supporters for bringing you this freebie! Creating quality patterns and tutorials is a lot of work and resource-intensive. However, I find it important to give you free content like this tutorial. Thanks to the generous support of my Patreon supporters, I can make it happen. Thank you, patrons! Click here to join, or click here to read more about La Visch Designs on Patreon.

stitch pattern – tuck stitch with lifted purl bump Read More »

stitch pattern – working the (k tbl, p2, k tbl) wrapped twice stitch

Working the (k tbl, p2, k tbl) wrapped twice stitch - a stitch pattern by La Visch Designs

In one of my new patterns, I used this stitch pattern from the Japanese knitting stitch bible. It consists of (k tbl, p2) rib, with strategically place wrapped stitches to create a lovely smocking effect, It was a bit of a struggle to determine exactly how to execute this stitch. So, I thought to make it into a step-by-step post. As the description says, you basically wrap your working yarn around the group of stitches described. Below, I’ll show you how to work the (k tbl, p2, k tbl) wrapped twice stitch.

Let’s get started!

Materials used

Yarn: RMR Yarn Co. Zihuatanejo DK, a wonderful vibrant 100% Merino yarn, here in the color Casi Casi.

Knitting needles: Some Zing knitting needles, and yes I know I’m using a ridiculously small size for a DK weight yarn; I’m a VERY loose knitter…

I’m also using a cable needle in the same size as my main needles.

Working the (k tbl, p2, k tbl) wrapped twice stitch step by step

  1. To start, work as instructed by your pattern until the point where you want to make the wrapped stitch.

    Step 1 of working the (k tbl, p2, k tbl) wrapped twice stitch

  2. First, insert the cable needle into the first stitch on the left-hand needle, and knit it through the back loop. In the below picture, I have not yet slipped the stitch worked off the left-hand knitting needle.

    Step 2

  3. Next, p1 stitch onto the cable needle.

    Step 3 of working the (k tbl, p2, k tbl) wrapped twice stitch

  4. Purl another stitch onto the cable needle.

    Step 4

  5. Next, insert the cable needle into the stitch on the left-hand needle, and knit it through the back loop.

    With this, we have worked the group of stitches to be wrapped.Step 5 of working the (k tbl, p2, k tbl) wrapped twice stitch

  6. Now take your working yarn, and wrap it around the group of stitches on the cable needle in a counter-clockwise motion.

    In other words, move the yarn to the front, from left to right, and then onwards around the back from right to left until it’s in its starting position.Step 6

  7. Repeat step 6 once again for the second wrap.

    Step 7 of working the (k tbl, p2, k tbl) wrapped twice stitch

  8. To finish the stitch, slip each of the 4 stitches on the cable needle purl-wise to the right-hand knitting needle. At this point, you can tighten the wrapped yarn a bit if the wrap is a bit loose.

    Step 8 of working the (k tbl, p2, k tbl) wrapped twice stitch

The result

In the picture below, I’ve also worked a wrong-side row after the row with the (k tbl, p2, k tbl) wrapped twice stitch. You can also see some of the other wrapped stitches I’ve already worked in this piece of knitting.

The result of working the (k tbl, p2, k tbl) wrapped twice stitch
Patreon logo

Thanks to my Patreon supporters for bringing you this freebie! Creating quality patterns and tutorials is a lot of work and resource-intensive. However, I find it important to give you free content like this tutorial. Thanks to the generous support of my Patreon supporters, I can make it happen. Thank you, patrons! Click here to join, or click here to read more about La Visch Designs on Patreon.

stitch pattern – working the (k tbl, p2, k tbl) wrapped twice stitch Read More »