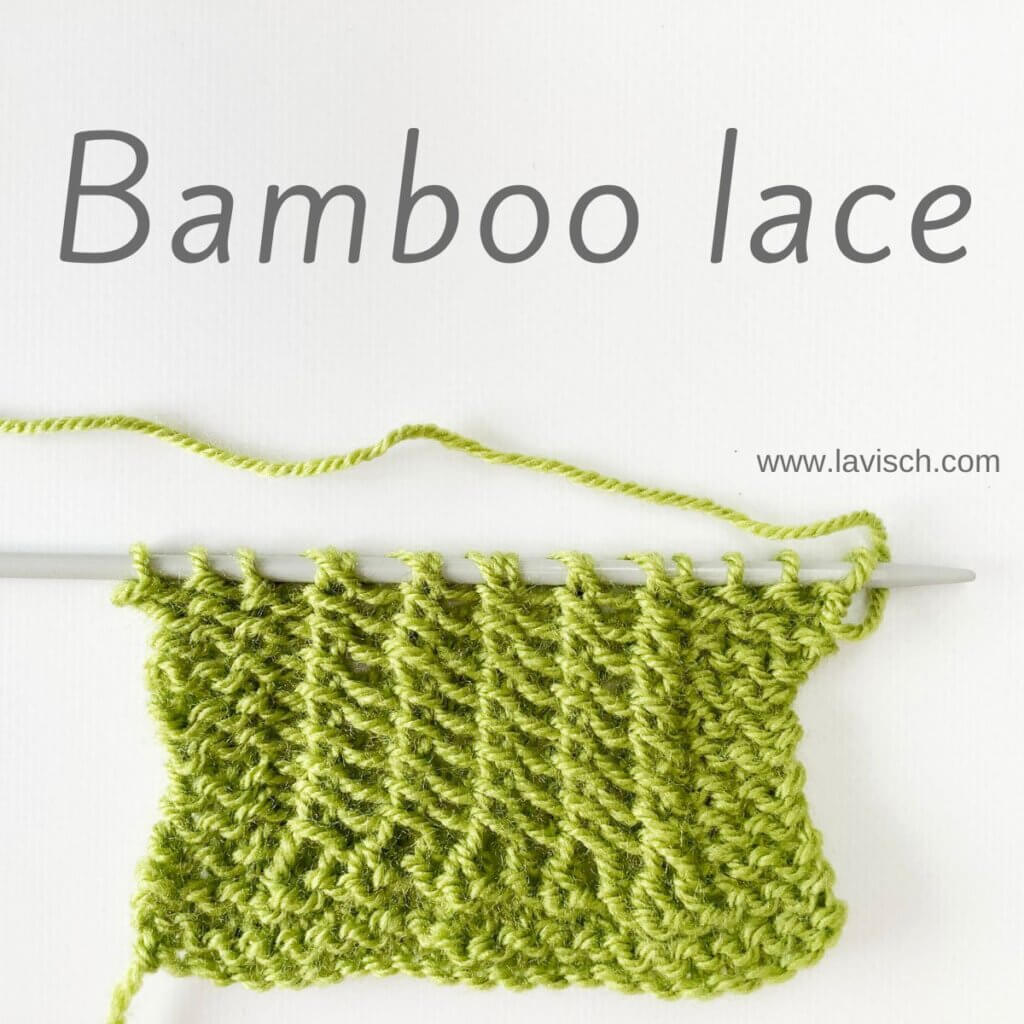
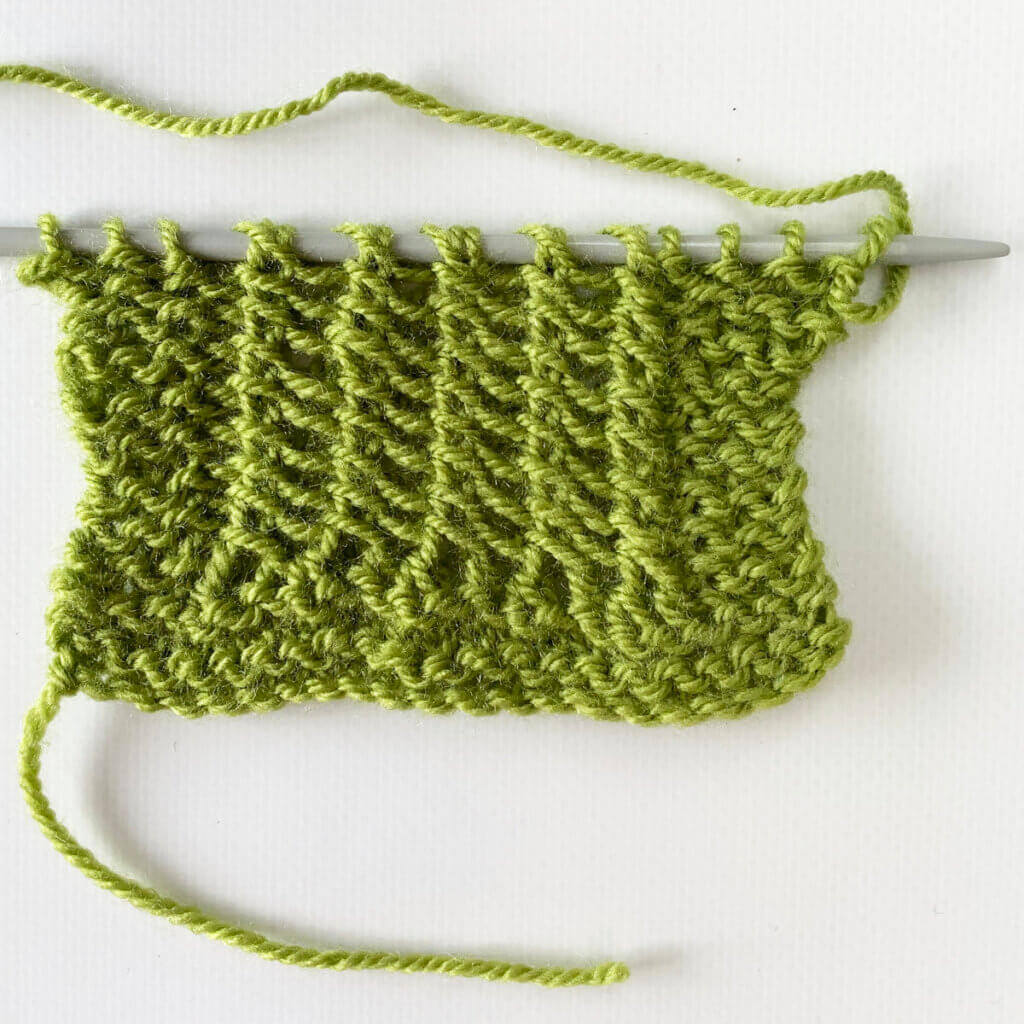
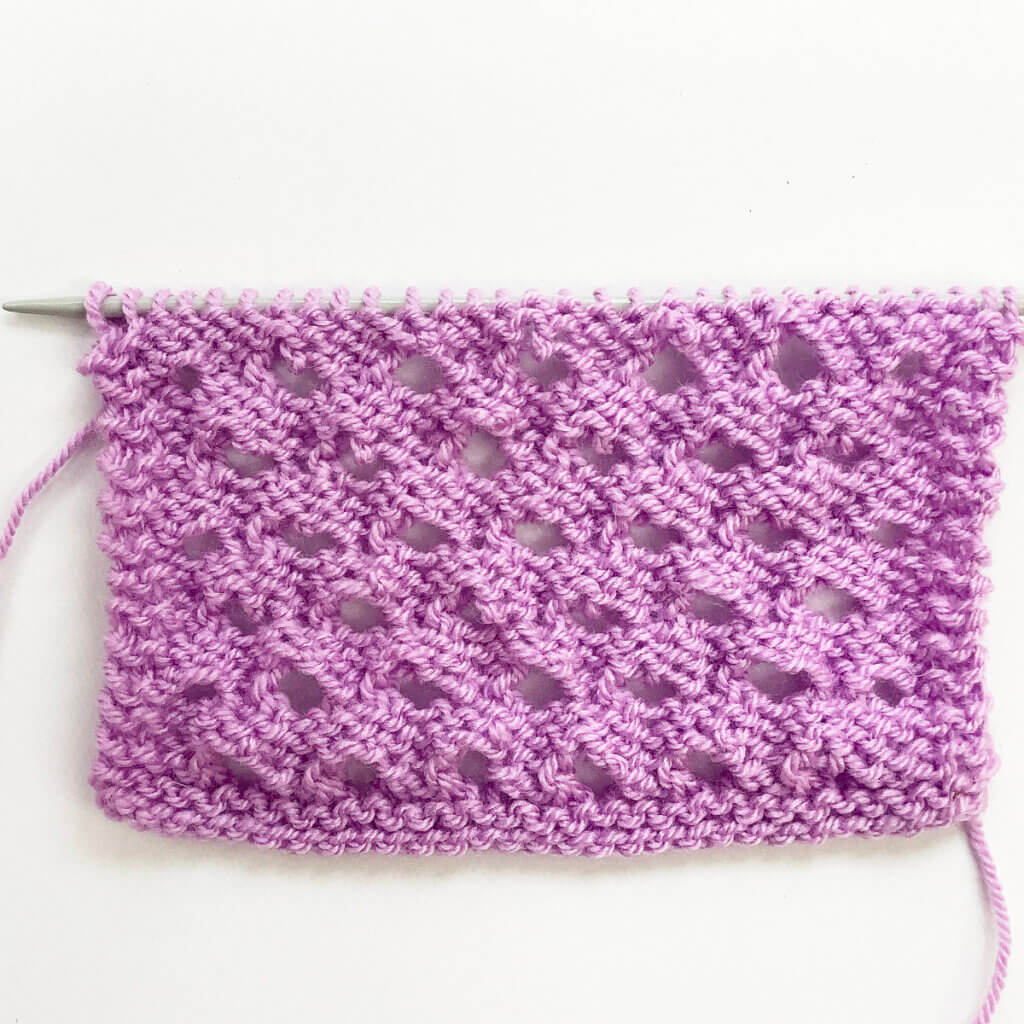
stitch pattern – grand staggered eyelet stitch
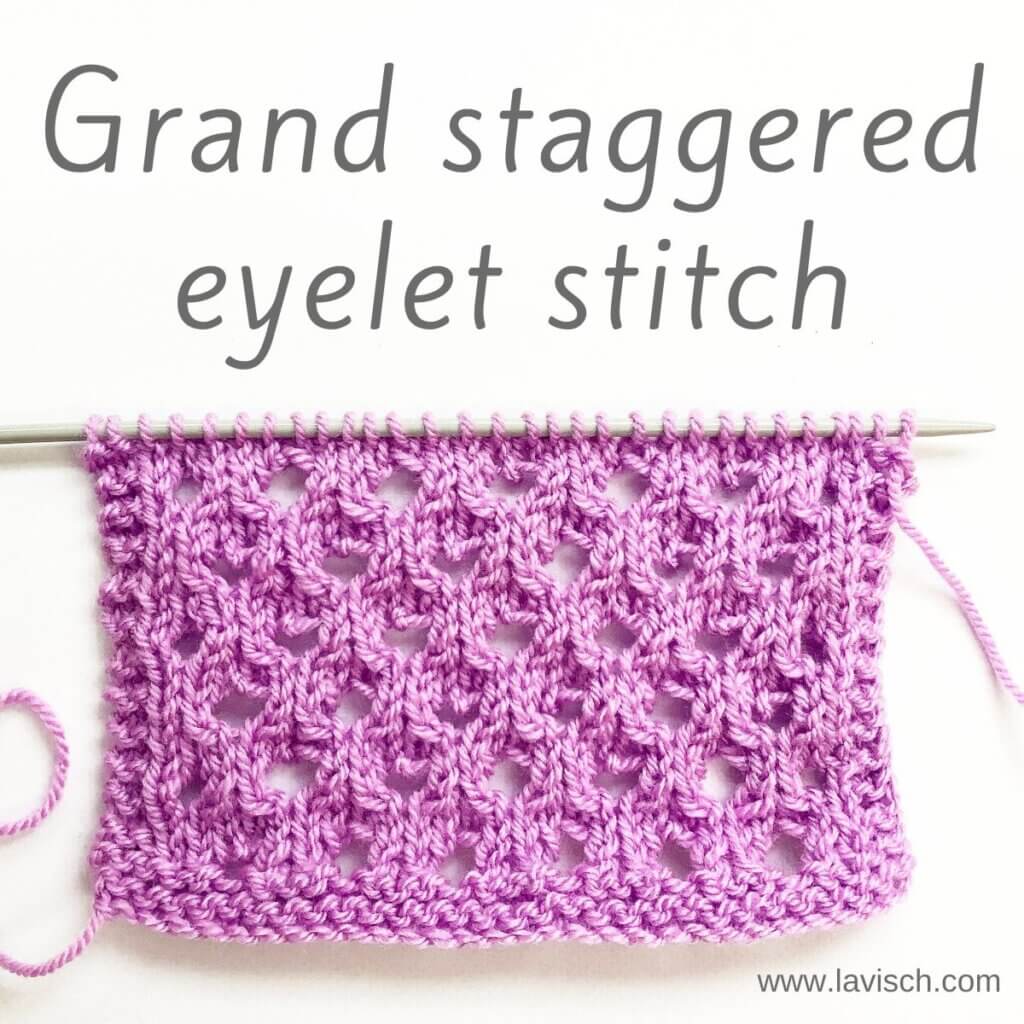
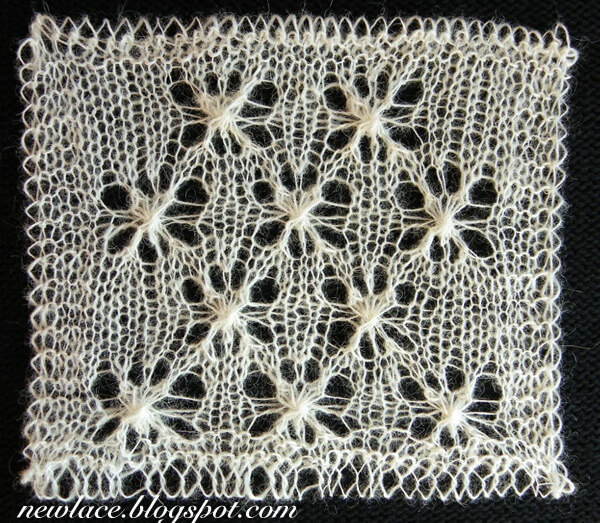
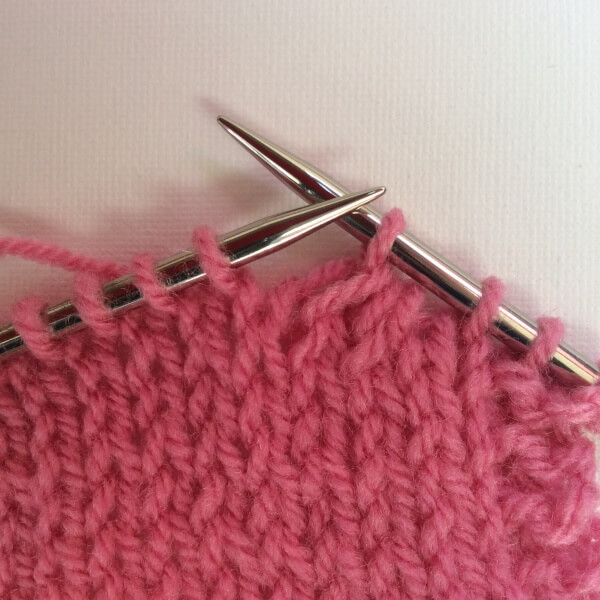
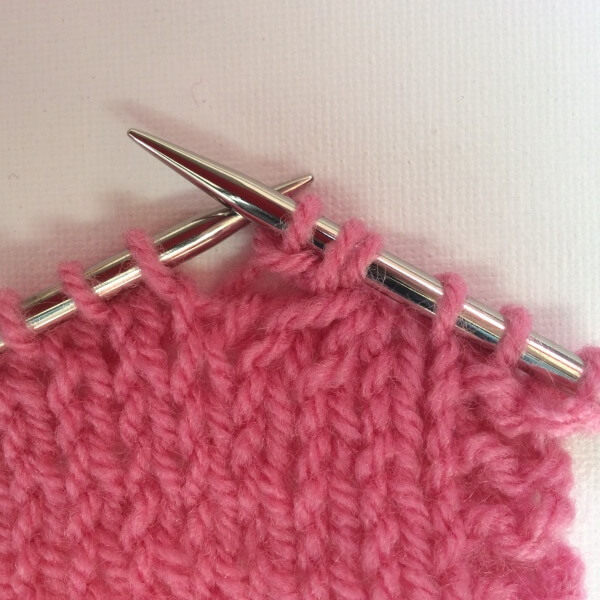
The grand staggered eyelet stitch is a bold lace pattern consisting of double yarn overs, flanked by left- and right-leaning decreases. In this version, the second half of the patterning is offset by 2 stitches when compared with the first half. You can, of course, also just repeat the first 4 rows of the patterning all-over. This will result in the eyelets neatly stacked above each other. In this example, I have worked the pattern in acrylic yarn, the swatch has not been blocked. The patterning will pop a lot more if you do block your project.
This stitch pattern is worked as a multiple of 4 stitches + 6, and in an eight-row repeat. Please note that I’ve added 2 edge stitches in garter stitch on both sides of the swatch.
Materials used


Yarn: Paintbox Yarns Simply DK, a good value, good quality 100% acrylic yarn, in the color Tea Rose.
Needles: This is a pair of straights that I picked up at the second-hand store when I started knitting, brand unknown.
Stitches used
- k – knit
- p – purl
- k2tog – knit 2 stitches together
- RS / WS – right side / wrong side
- skp – slip 1, knit 1, pass the slipped stitch over the knitted stitch. Replace this decrease with a ssk, if preferred.
- yo – yarn over
- double yo – wrap the yarn around the needle twice
- rep – repeat
- st(s) – stitch(es)
Grand staggered eyelet stitch
Row 1 (RS): K1, k2tog, * yo twice, skp, k2tog; rep from * 3 sts before end, yo twice, skp, k1. (10 sts)
Row 2 (WS): P2, (p1, k1) in double yo, * p2, (p1, k1) in double yo; rep from * to 2 sts before end, p2.
Row 3: Knit.
Row 4: Purl.
Row 5: K1, yo, * skp, k2tog, yo twice; rep from * to 5 sts before end, skp, k2tog, yo, k1.
Row 6: P4, * (p1, k1) in double yo, p2; rep from * to 2 sts before M, p2.
Row 7: Knit.
Row 8: Purl.
Repeat rows 1-8 for pattern until desired length.

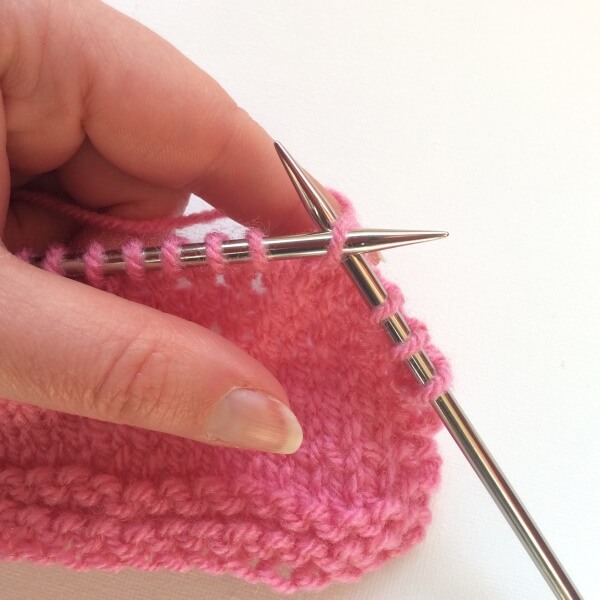
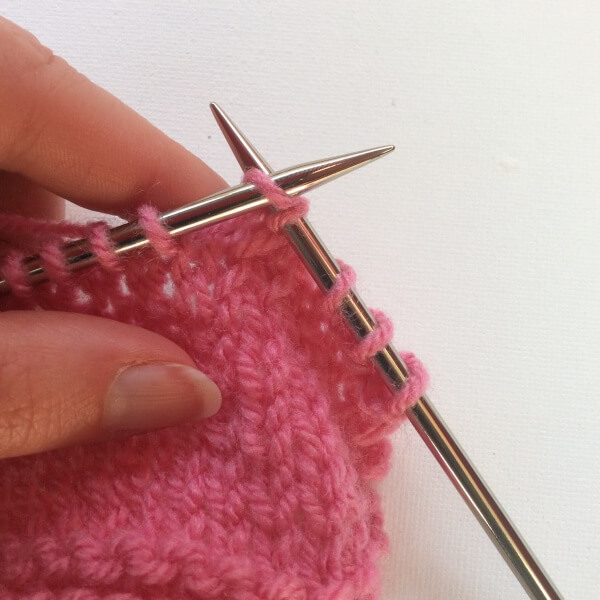
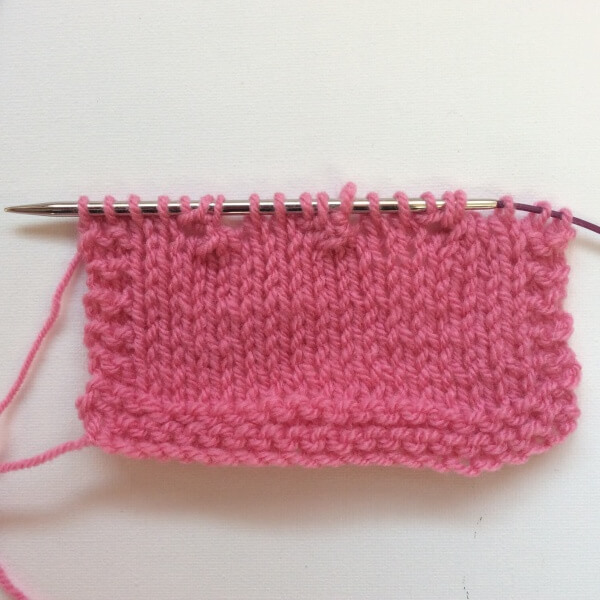
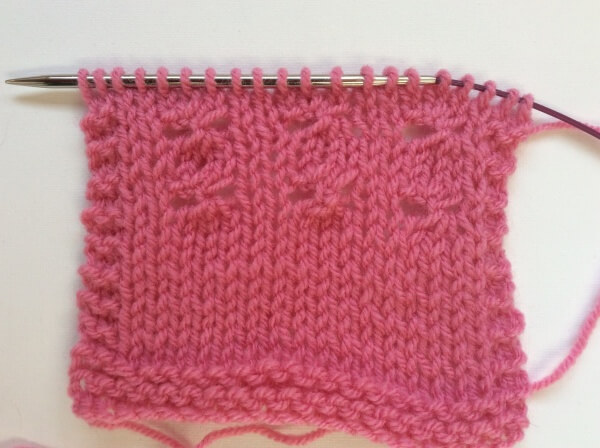
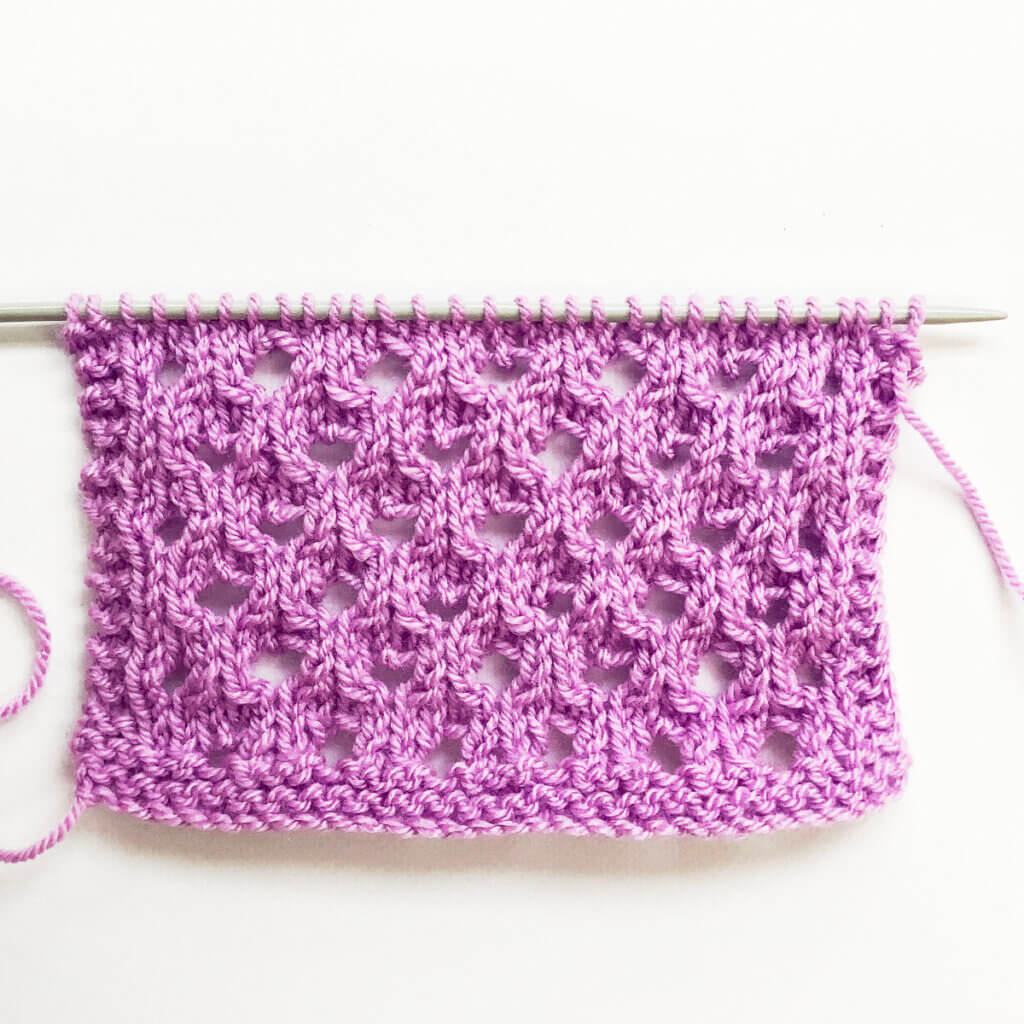
In the below pictures, you see the patterning first from the right, and then also from the wrong side of the fabric:

Thanks to my Patreon supporters for bringing you this freebie! Creating quality patterns and tutorials is a lot of work and resource-intensive. However, I find it important to give you free content like this tutorial. Thanks to the generous support of my Patreon supporters, I can make it happen. Thank you, patrons! Click here to join, or click here to read more about La Visch Designs on Patreon.
stitch pattern – grand staggered eyelet stitch Read More »