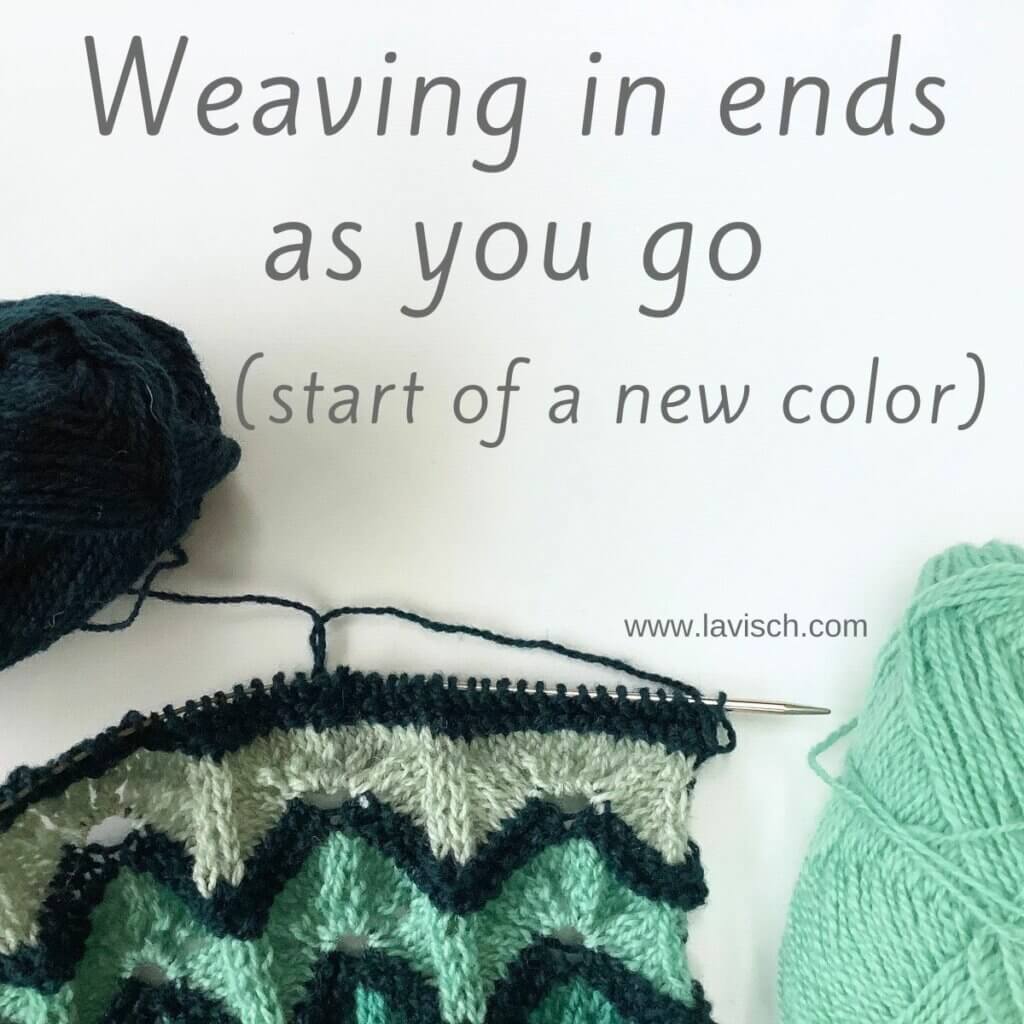
Weaving in ends is a thing that just happens in projects. I mean, every ball of yarn has a beginning and an end, and when it’s through when the project is not, a new one has to be attached. When working in a solid color, depending on the type of yarn, the Russian join, braided join or the felted join may be just what you’re looking for. However, if there are a lot of joins, because you’re, for example, working wide stripes in different colors, these usually are not the best option.
Therefor, I want to focus in this tutorial on a different method to join a new yarn in a new color. For this method, you don’t need to tie knots, or even use a tapestry needle. And you can work it on the go, so that when you’re finished with the project, you’re also already finished with weaving in the ends. The downside is that this method is best to use in combination with feltable fibers. In other words: yarns that are somewhat “grabby” like wool and alpaca. Worked in ends with smoother yarns like silk and cotton may become undone.
Let’s get started!
Materials used
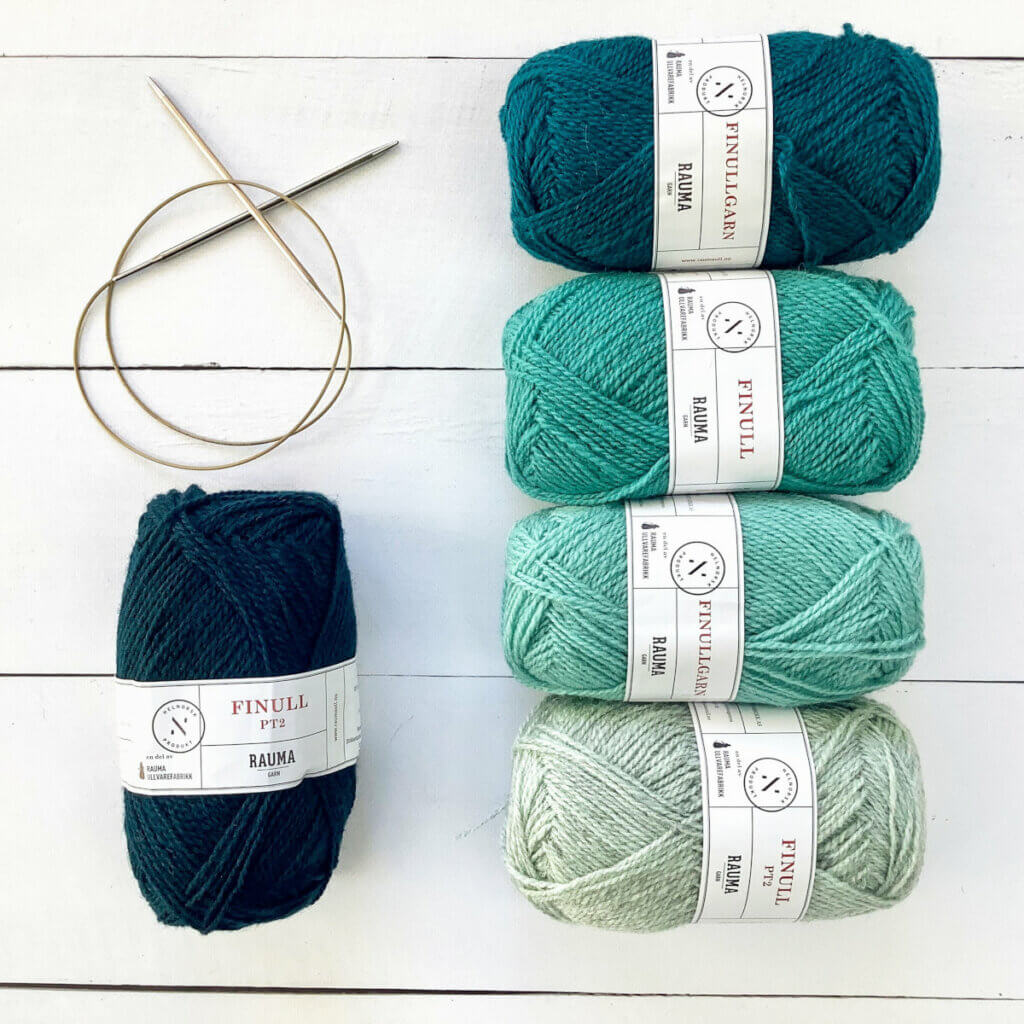
Yarn: Rauma Finull a sportweight wool yarn from Norway. It has a crisp hand and works well for stranded color designs. The yarn also softens up with washing.
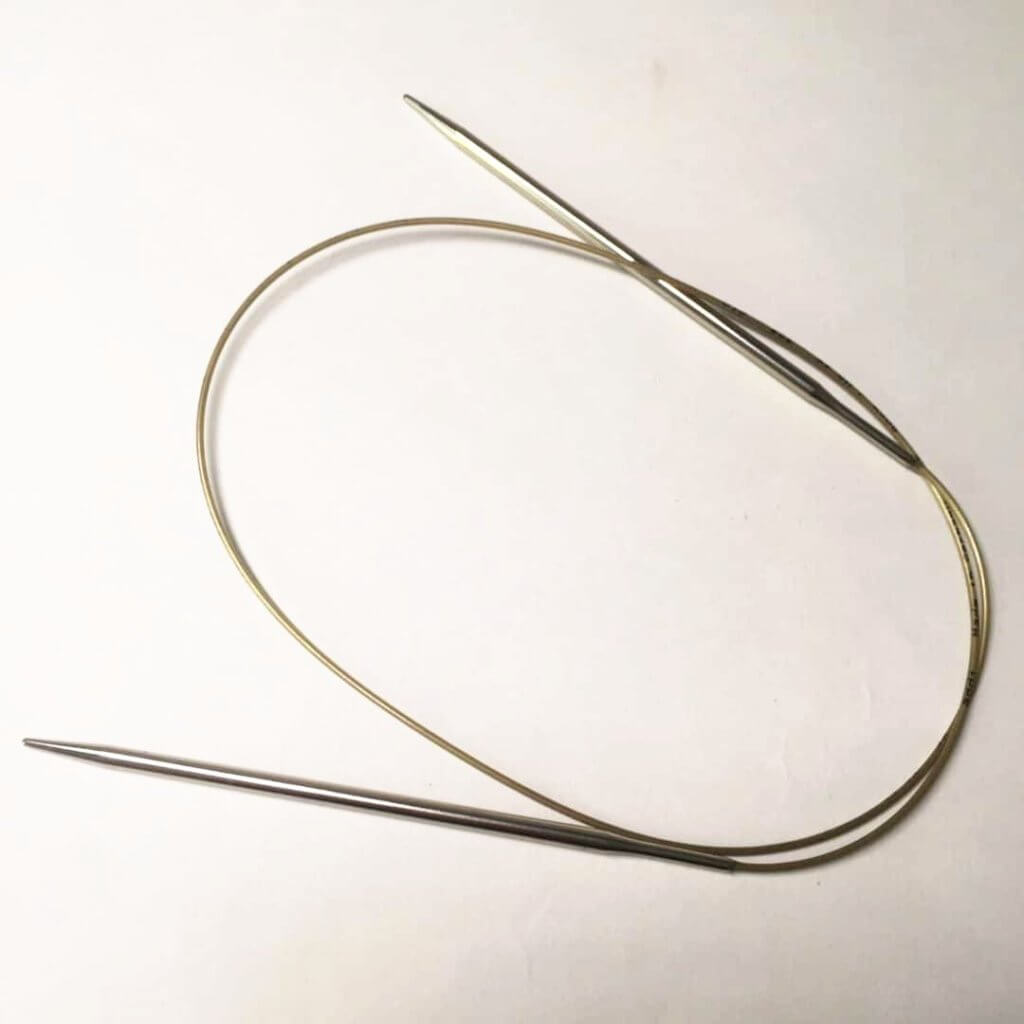
Knitting needles: A pair of Addi circular needles in size 4 mm (US6).
Weaving in ends as you go, step by step
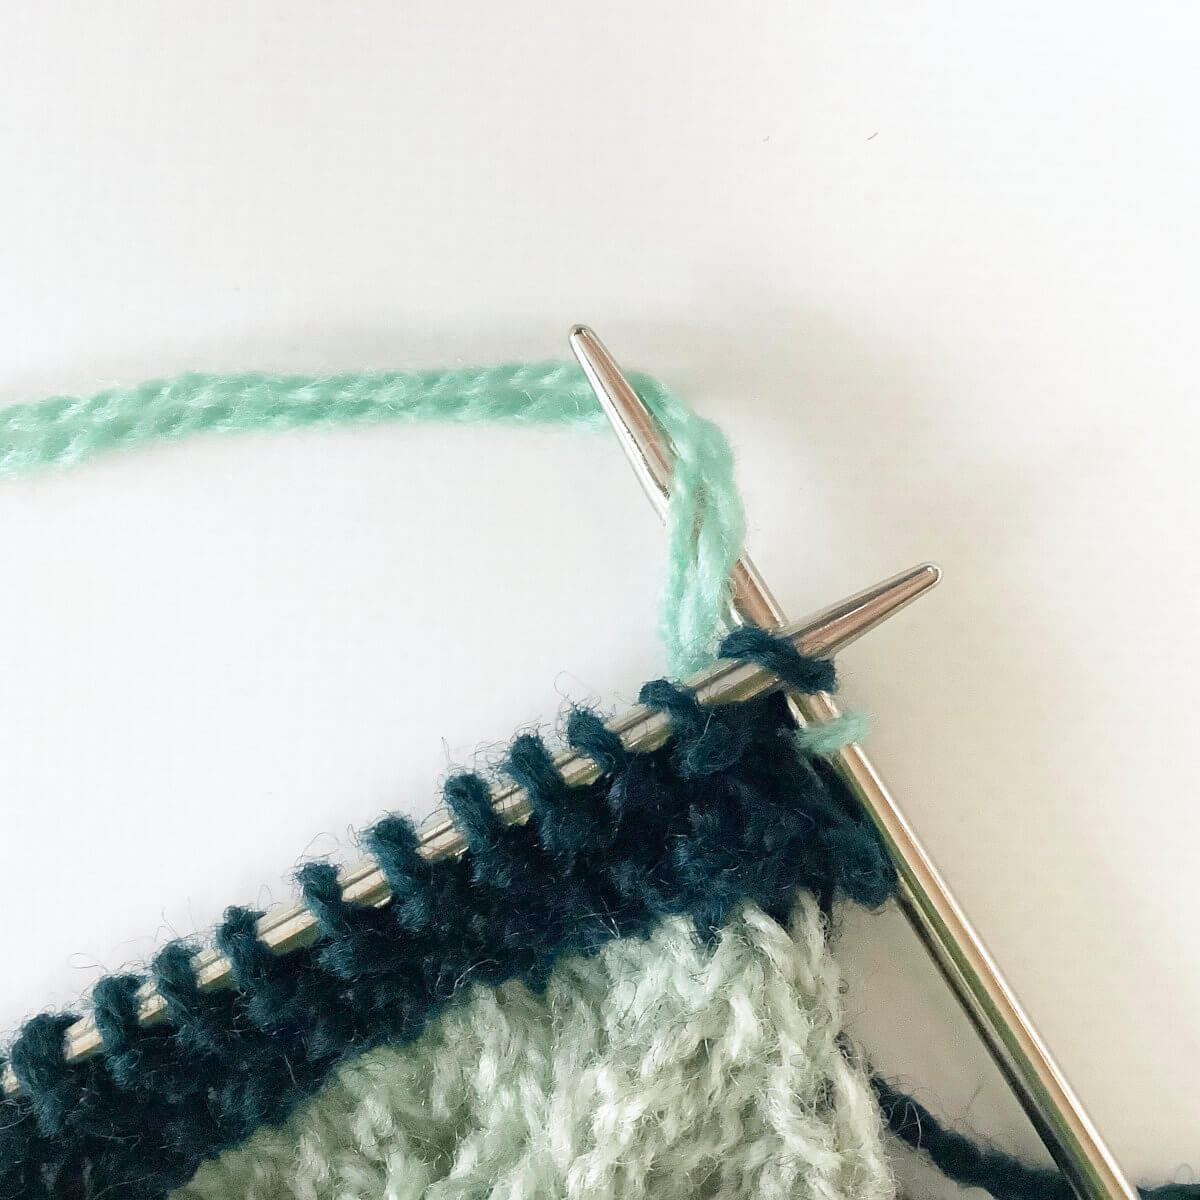
To start, grab your new ball of yarn!
- Making sure you leave a yarn tail of approx. 10 cm (4 inches), work the first stitch of the row as instructed, using the new color of yarn.
In this case, I worked a knit stitch.
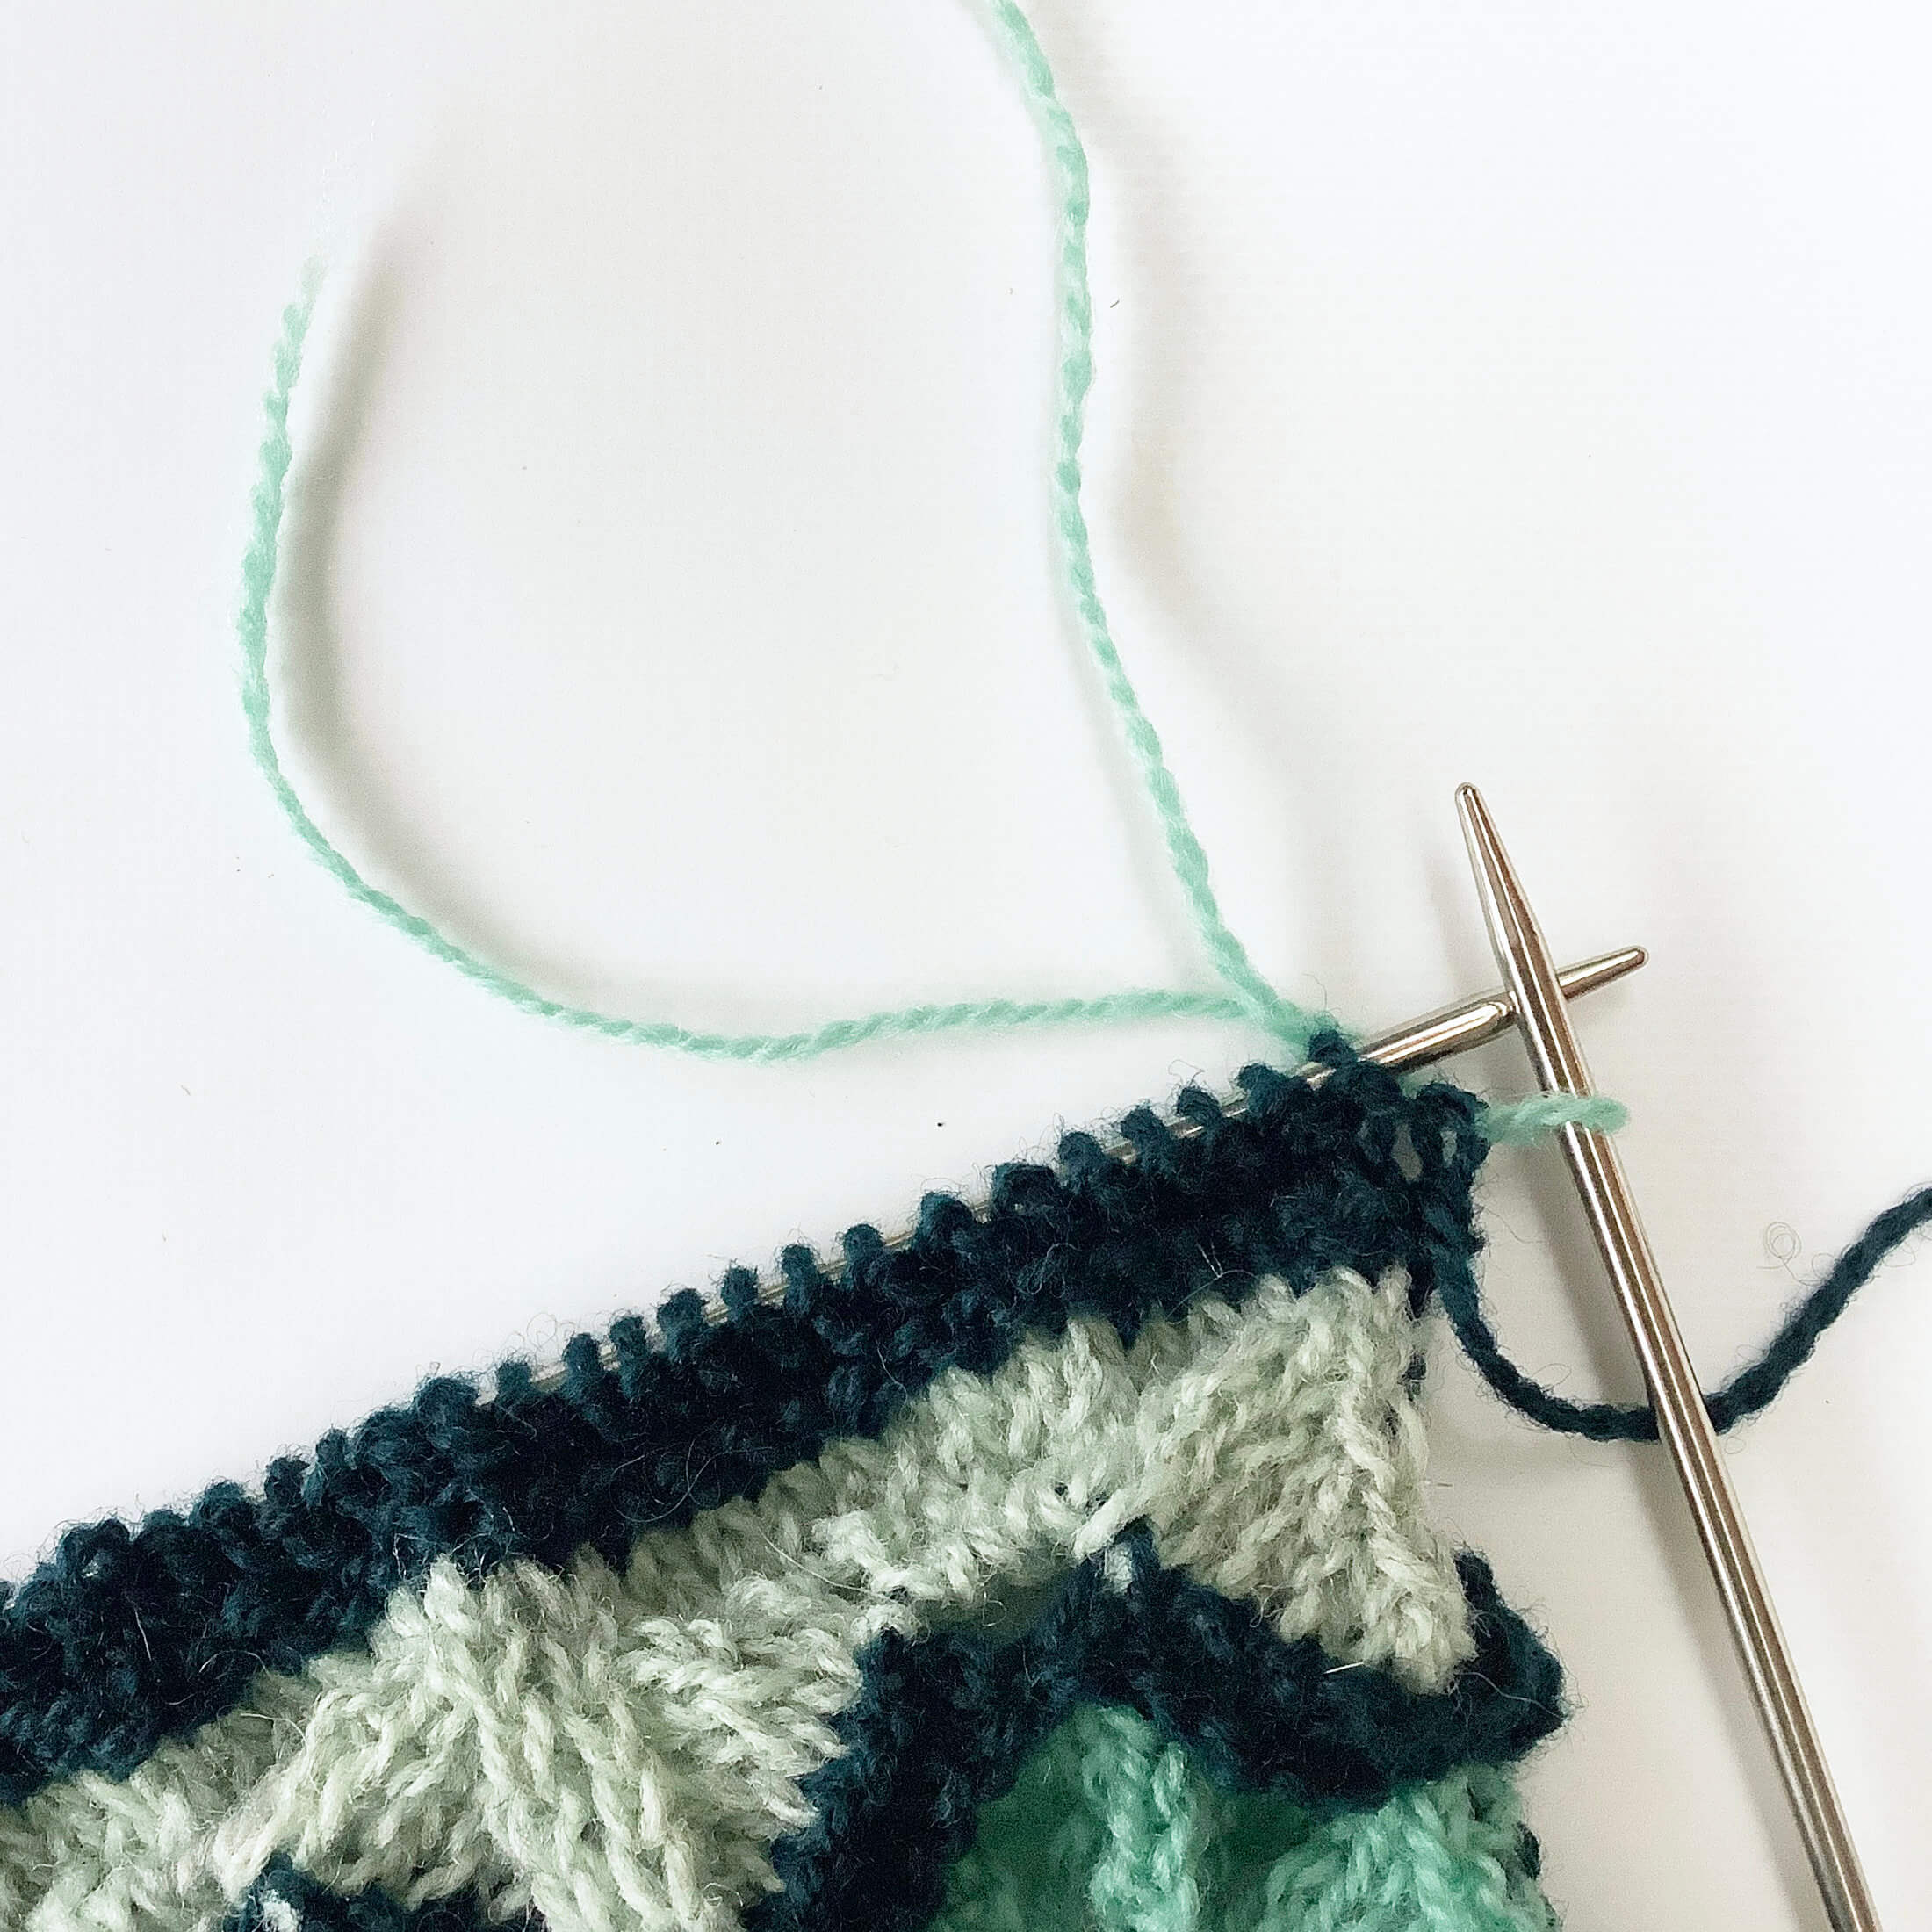
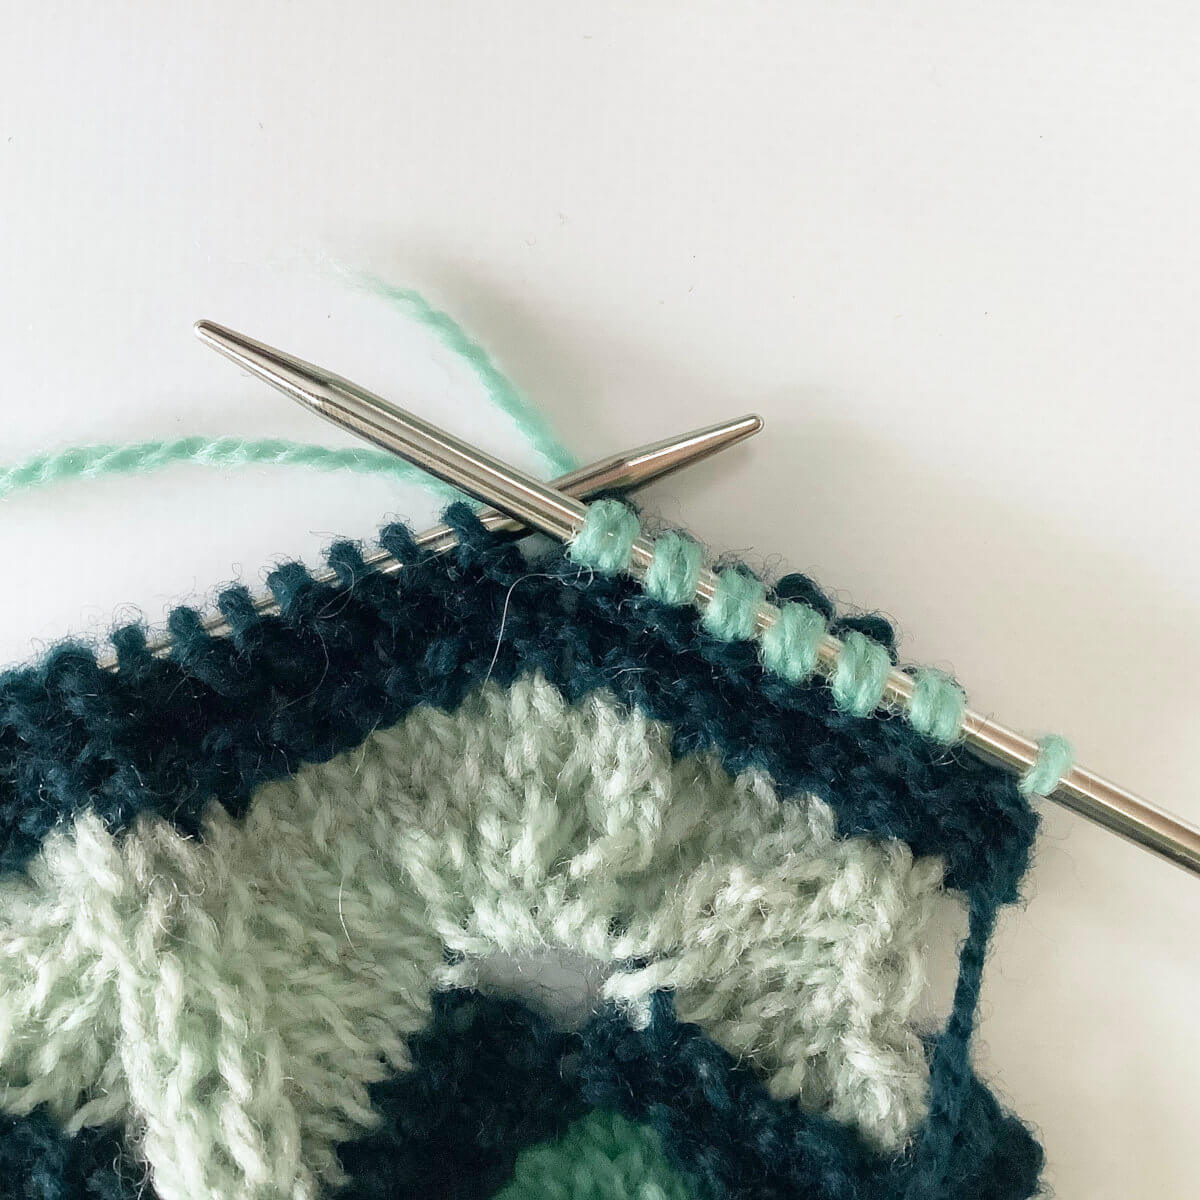
- Next, hold the yarn tail together with the working yarn and work approx. 4 to 5 stitches as instructed, with the yarn held double.
- Here, you see the result after I worked those stitches and I have a little bit of yarn tail remaining.
After this, work the rest of the row as instructed in your pattern, and continue with the next (WS) row as well.
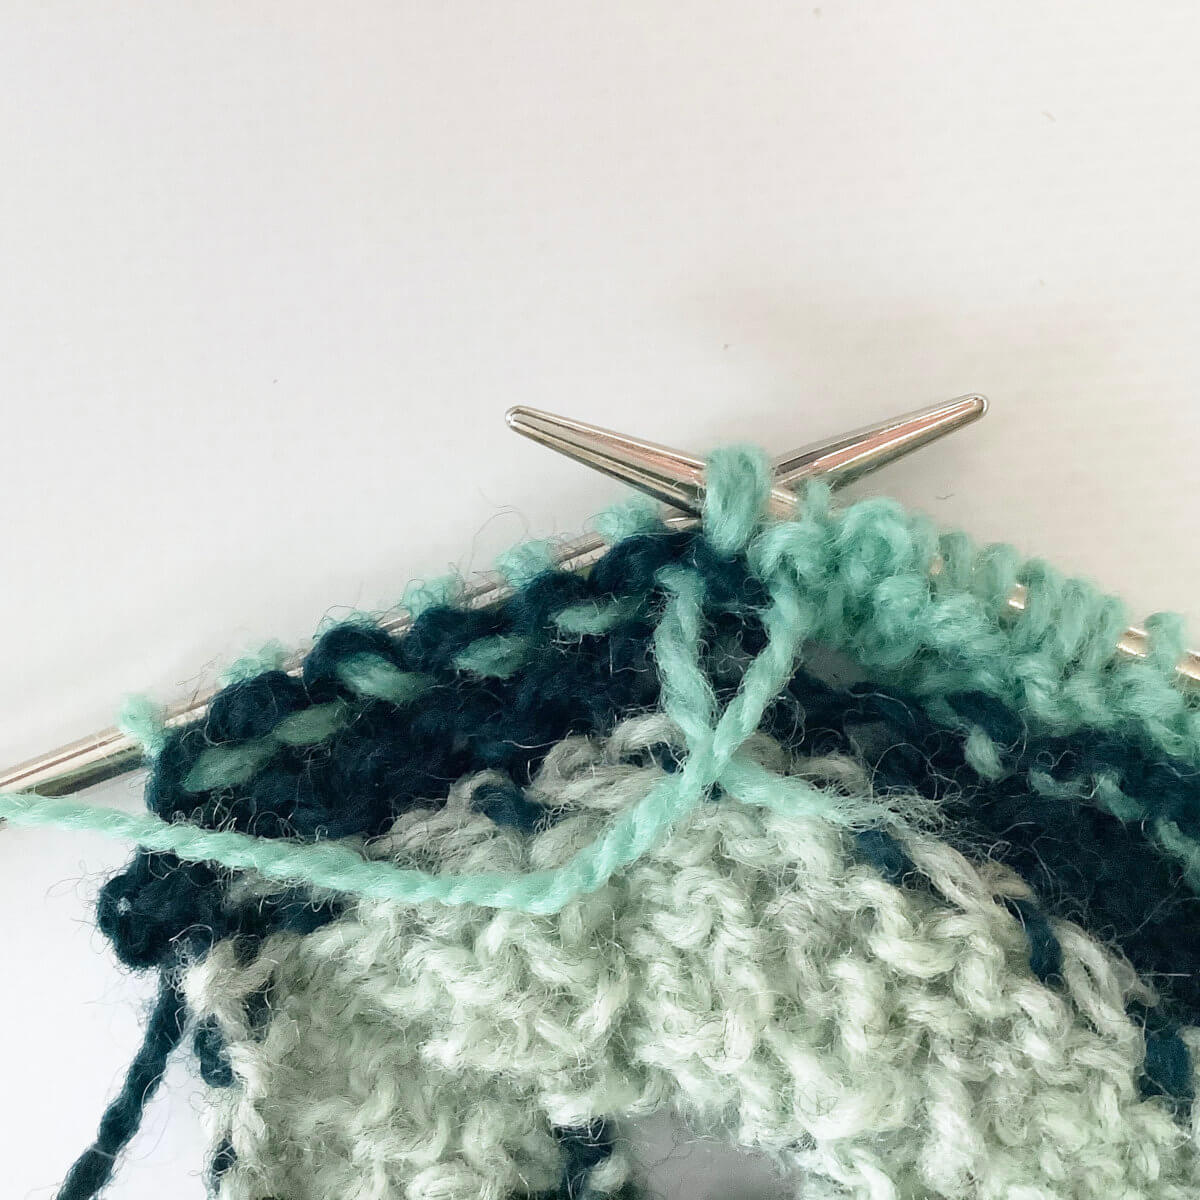
- When you arrive at the double strands on the WS row, just work them as if they are a single strand of yarn.
In this picture, I’ve inserted the right-hand needle into the first stitch to purl it.
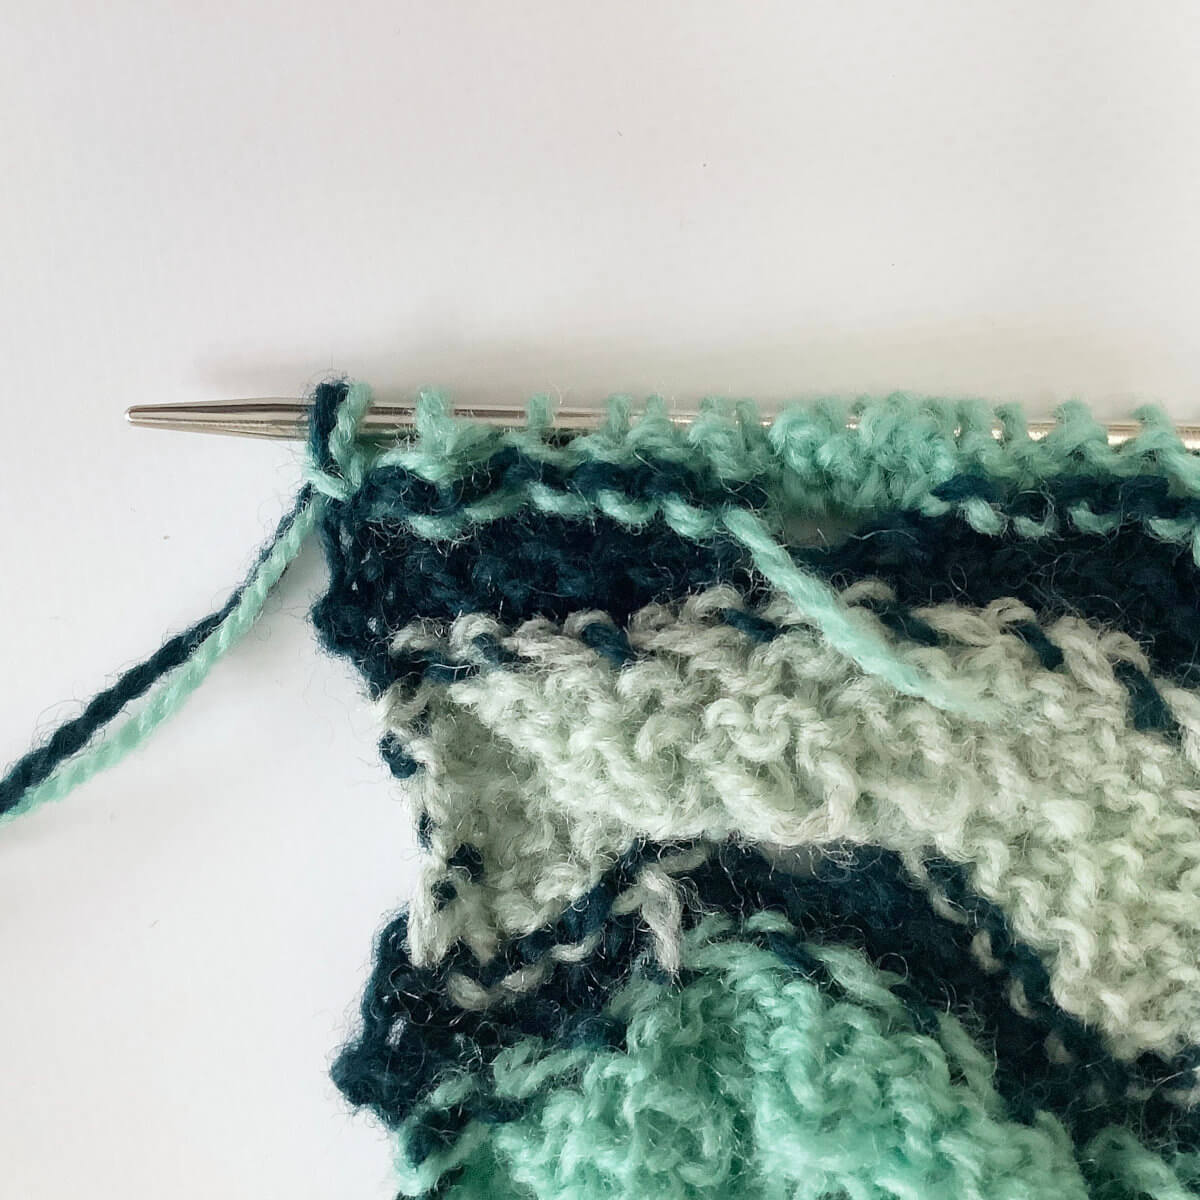
- Once the row is finished, this is how it looks.
Please note, that I’ve worked the last stitch with the new color yarn held double with the old color, as explained in the tutorial about carrying yarn up the side.
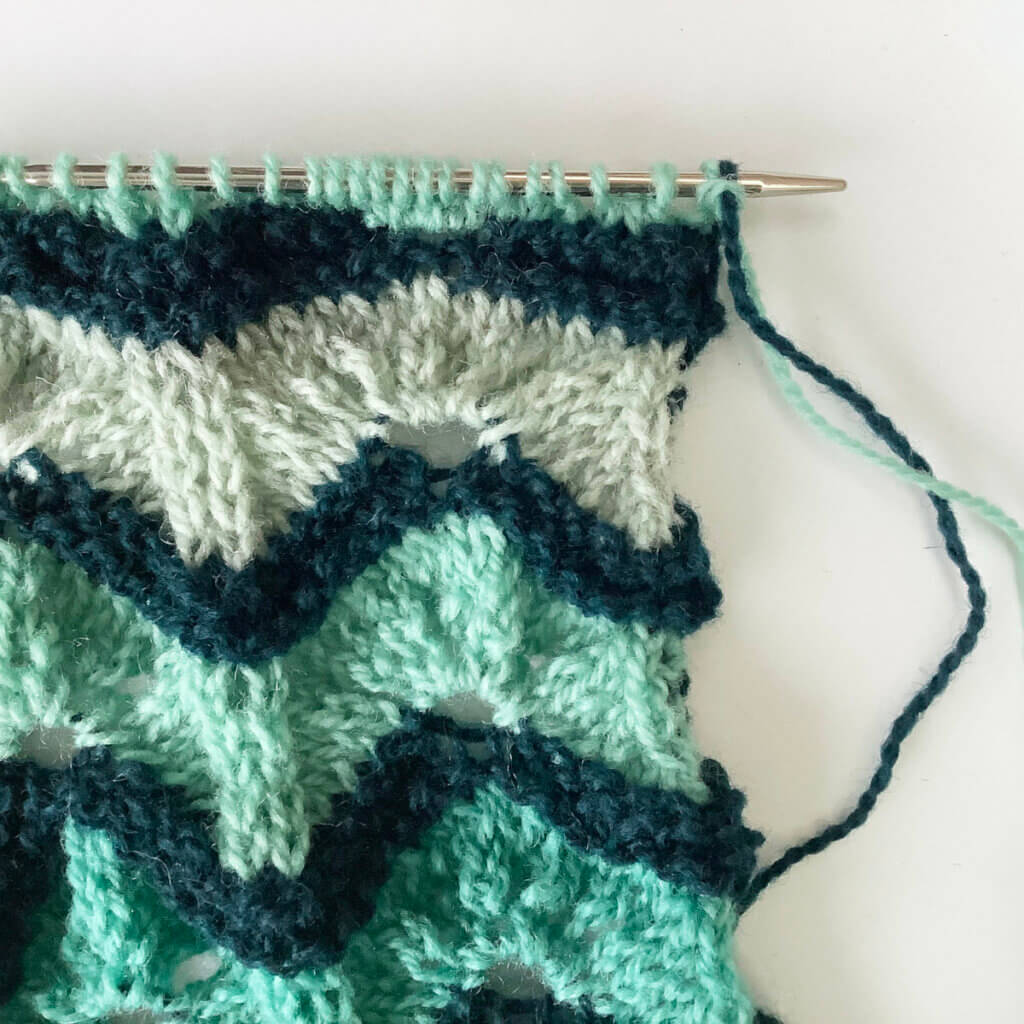
The result
Below, you can see the result of when viewed from the right side of the fabric. All new colors started (except the darkest one, which has been carried up along the side), were woven in as explained above. As you can see, the few stitches with the yarn held double at the beginning of these rows do not have a significant impact on how it looks. It sure makes a difference in the amount of finishing to when the knitting is done, though!

Thanks to my Patreon supporters for bringing you this freebie! Creating quality patterns and tutorials is a lot of work and resource-intensive. However, I find it important to give you free content like this tutorial. Thanks to the generous support of my Patreon supporters, I can make it happen. Thank you, patrons! Click here to join, or click here to read more about La Visch Designs on Patreon.


")
