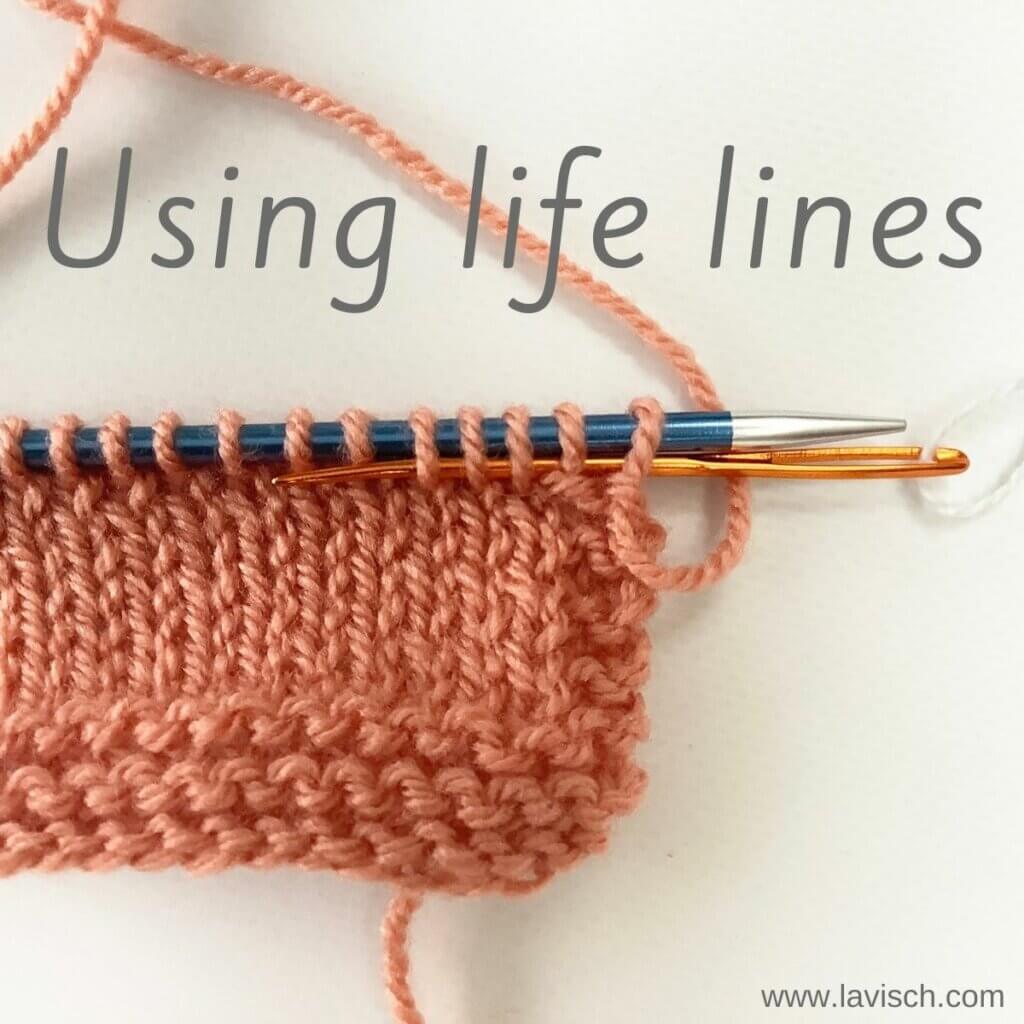
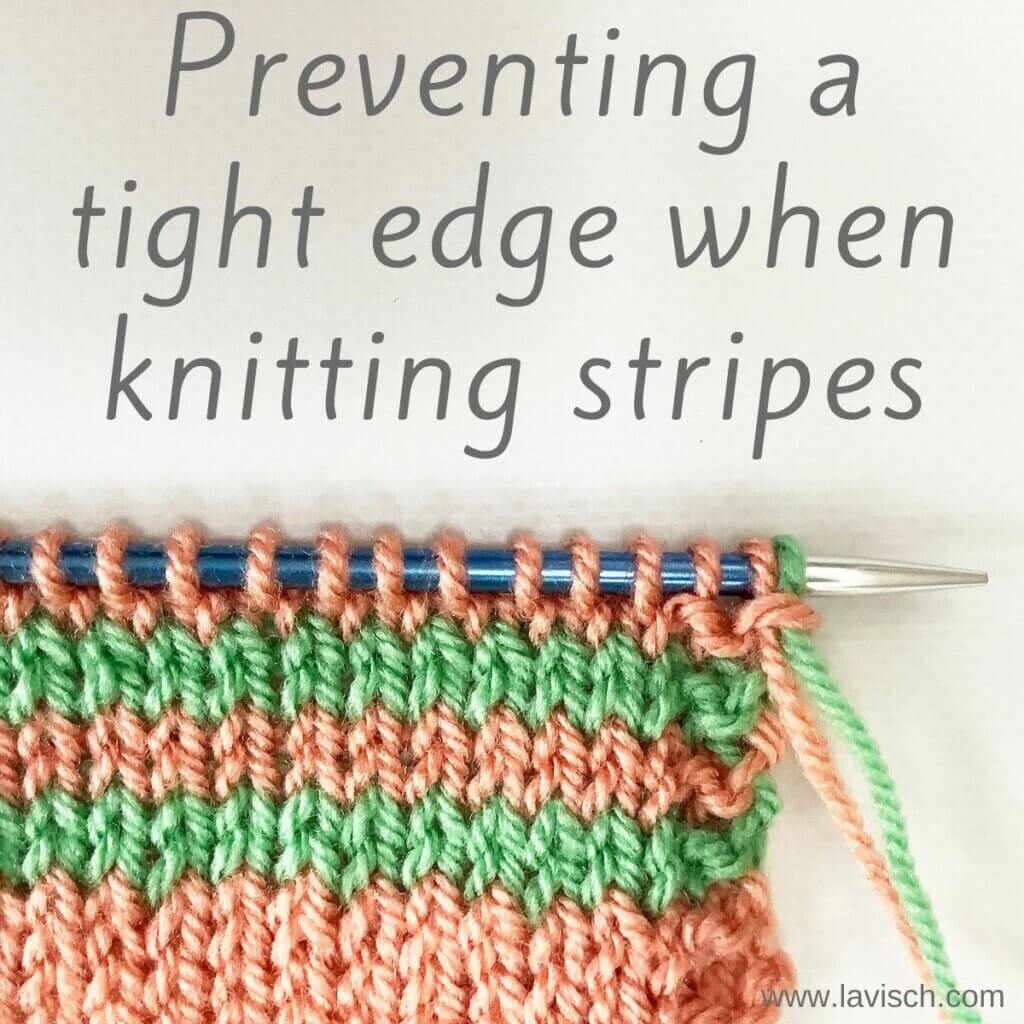
tutorial – preventing a tight edge when knitting stripes
When knitting stripes, especially the thinner ones, it often doesn’t make sense to break the yarn when switching to a different color. It mostly gives you a ton of ends to weave in later on. And personally, I’m just not a fan of extra and unnecessary work. That said, carrying the unused yarn along the side of the fabric has its own disadvantages.
For one, you have to remember to actually wrap the yarn you’re working with around the yarn you’re carrying along, before you go on knitting. Without securing the yarn to the side of the project and moving it up to where you’ll need it next, you’ll have a loose hanging strand on the edge of your work. And if you do remember to wrap the carried-along yarn, you may do it with a different tension than in the knitted fabric. This one is especially hard to judge, because both stitch pattern and yarn composition have a big influence on the tension of knitted fabric after blocking. This may very well result in a too tight or too loose tension at the edge, where it initially seemed to be just right.
In this post I’ll show you how I prevent these issues when carrying along the unused yarn at the side of the work.
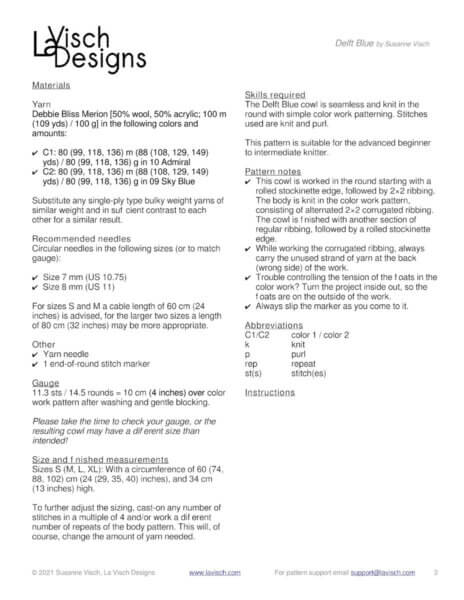
Materials used


Yarn: * Paintbox Yarns Simply DK, a good value, good quality 100% acrylic yarn, here in the colors 155 Vintage Pink and 125 Spearmint Green.
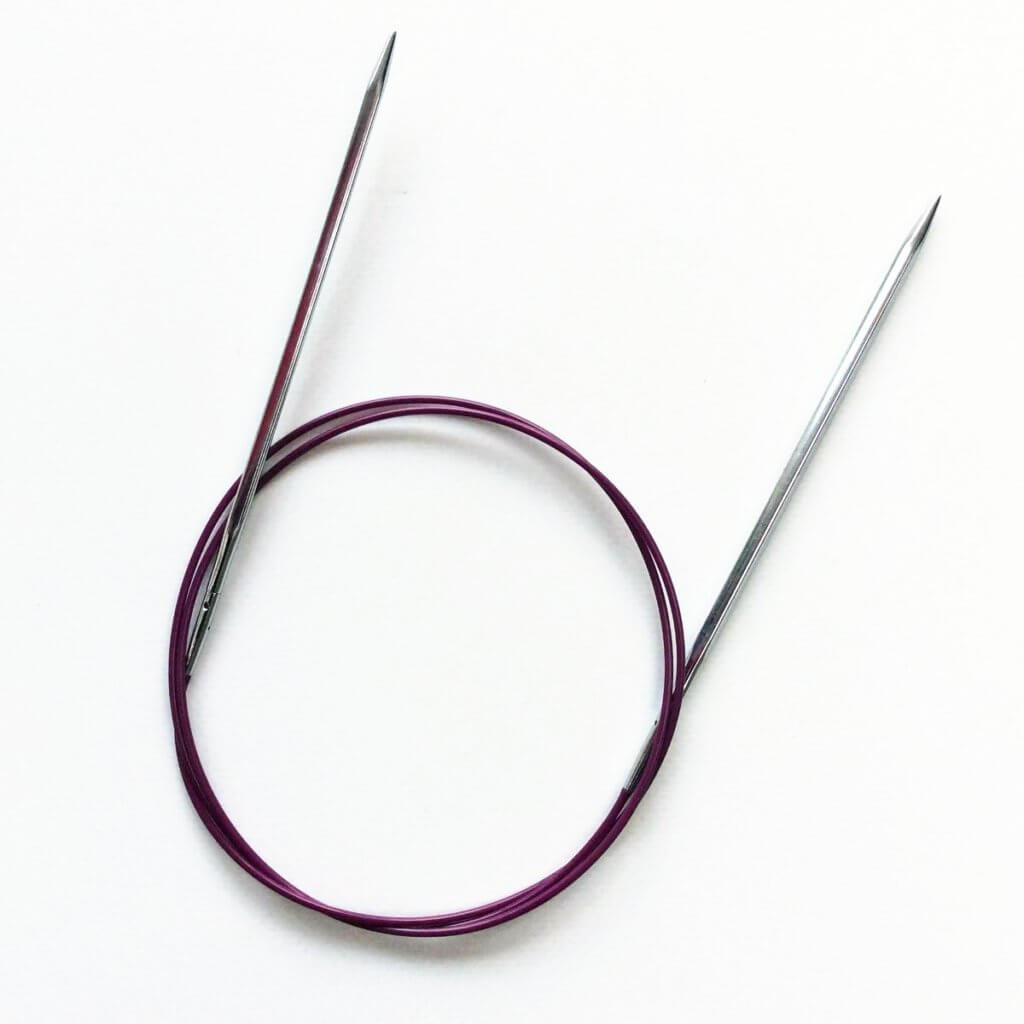
Needles: * KnitPro Zing Fixed Circular Needles. In this tutorial, I used the 4 mm (US 6) size with a cable length of 80 cm (32 inches).
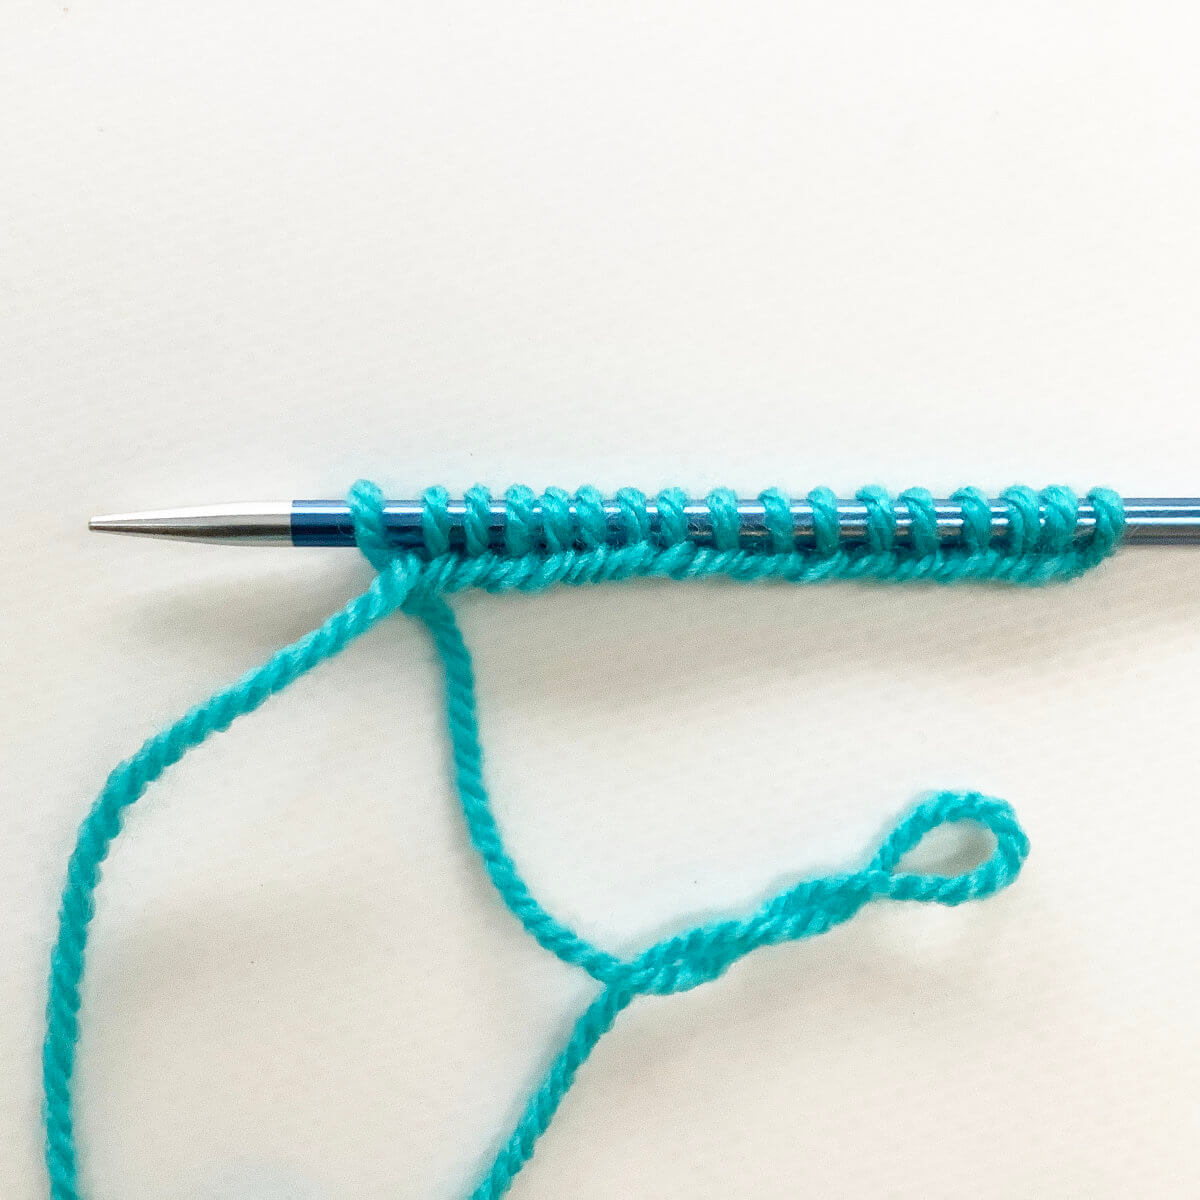
Preventing a tight edge when knitting stripes step by step
In this example I’m knitting thin 2-row stripes, but it would work just as well with deeper/wider stripes.
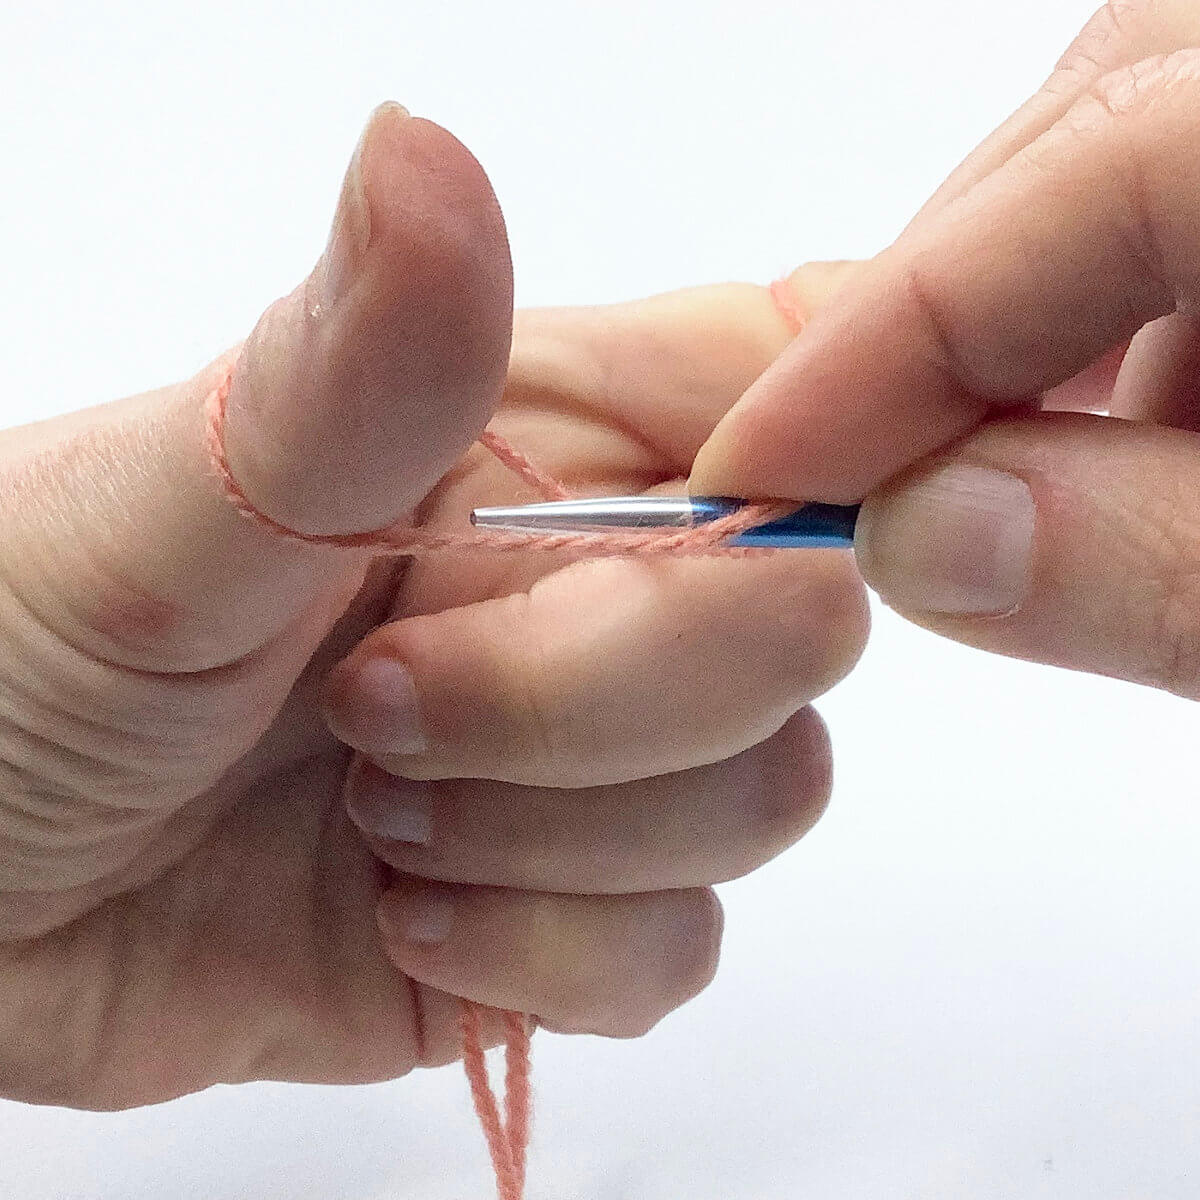
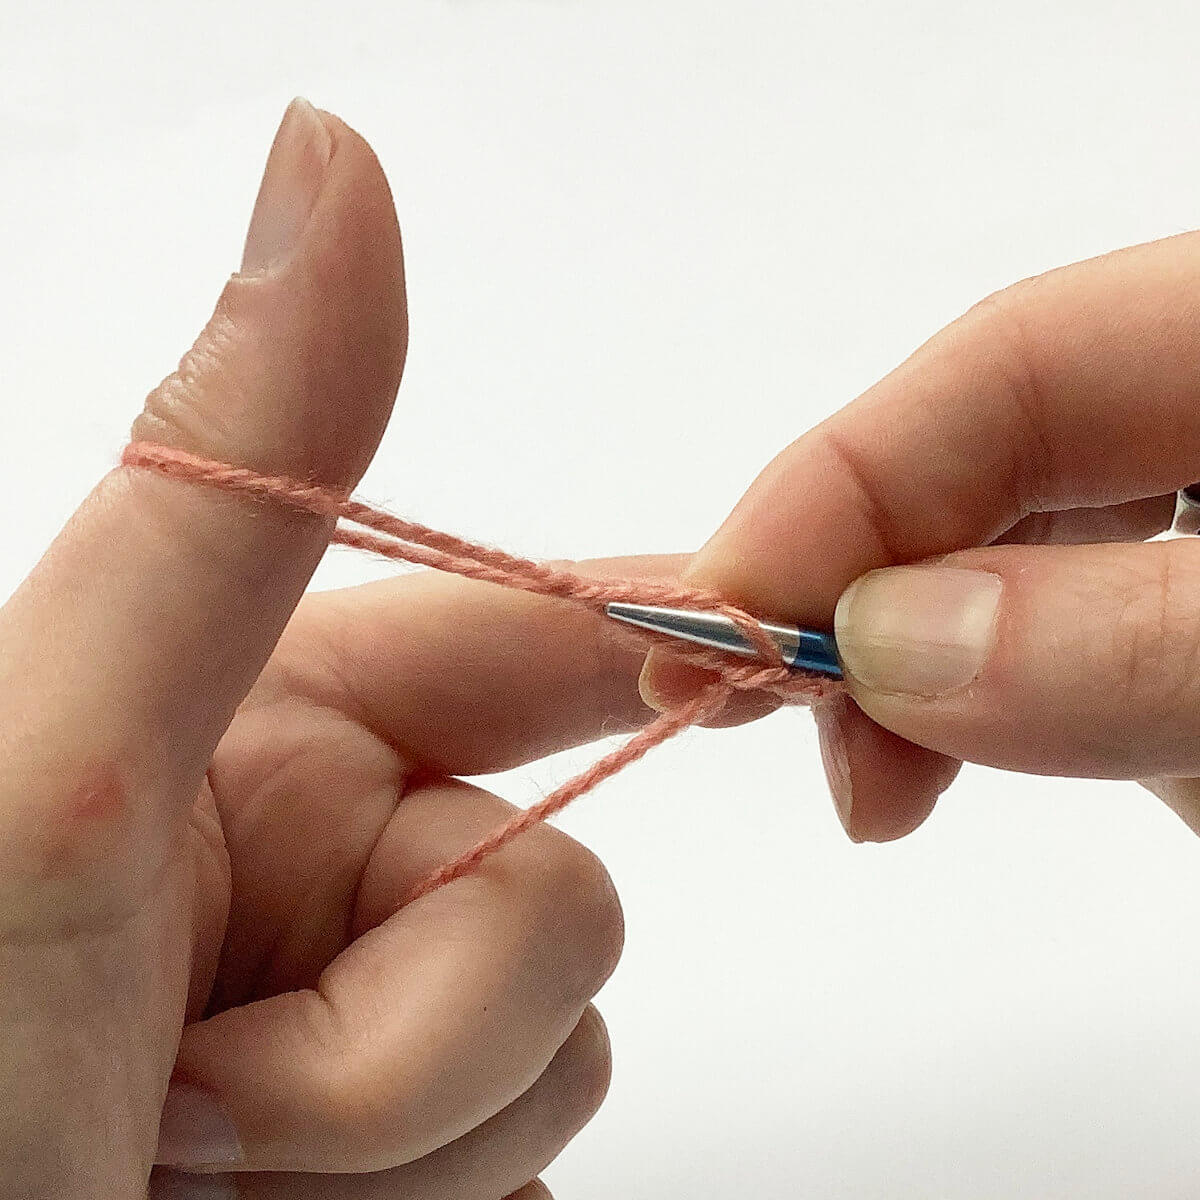
- Work to 1 stitch before the end of the row, at which point you’ll be switching to the other color yarn.
This particular technique does assume that the new color of yarn is started and ended at the same side edge of the fabric. This means working an even number of rows in every stripe.
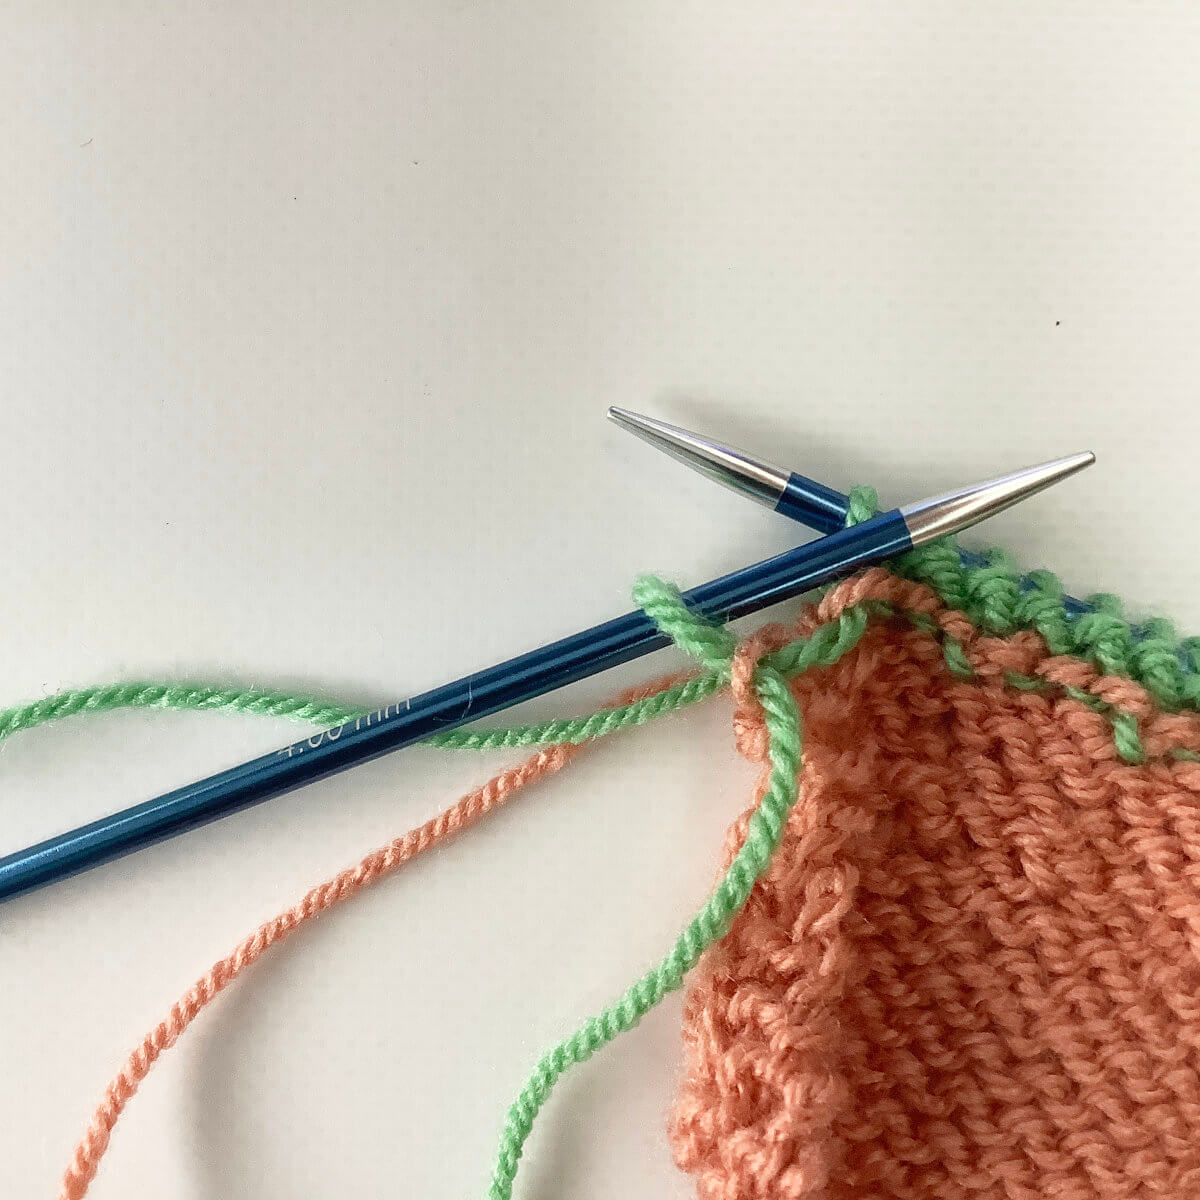
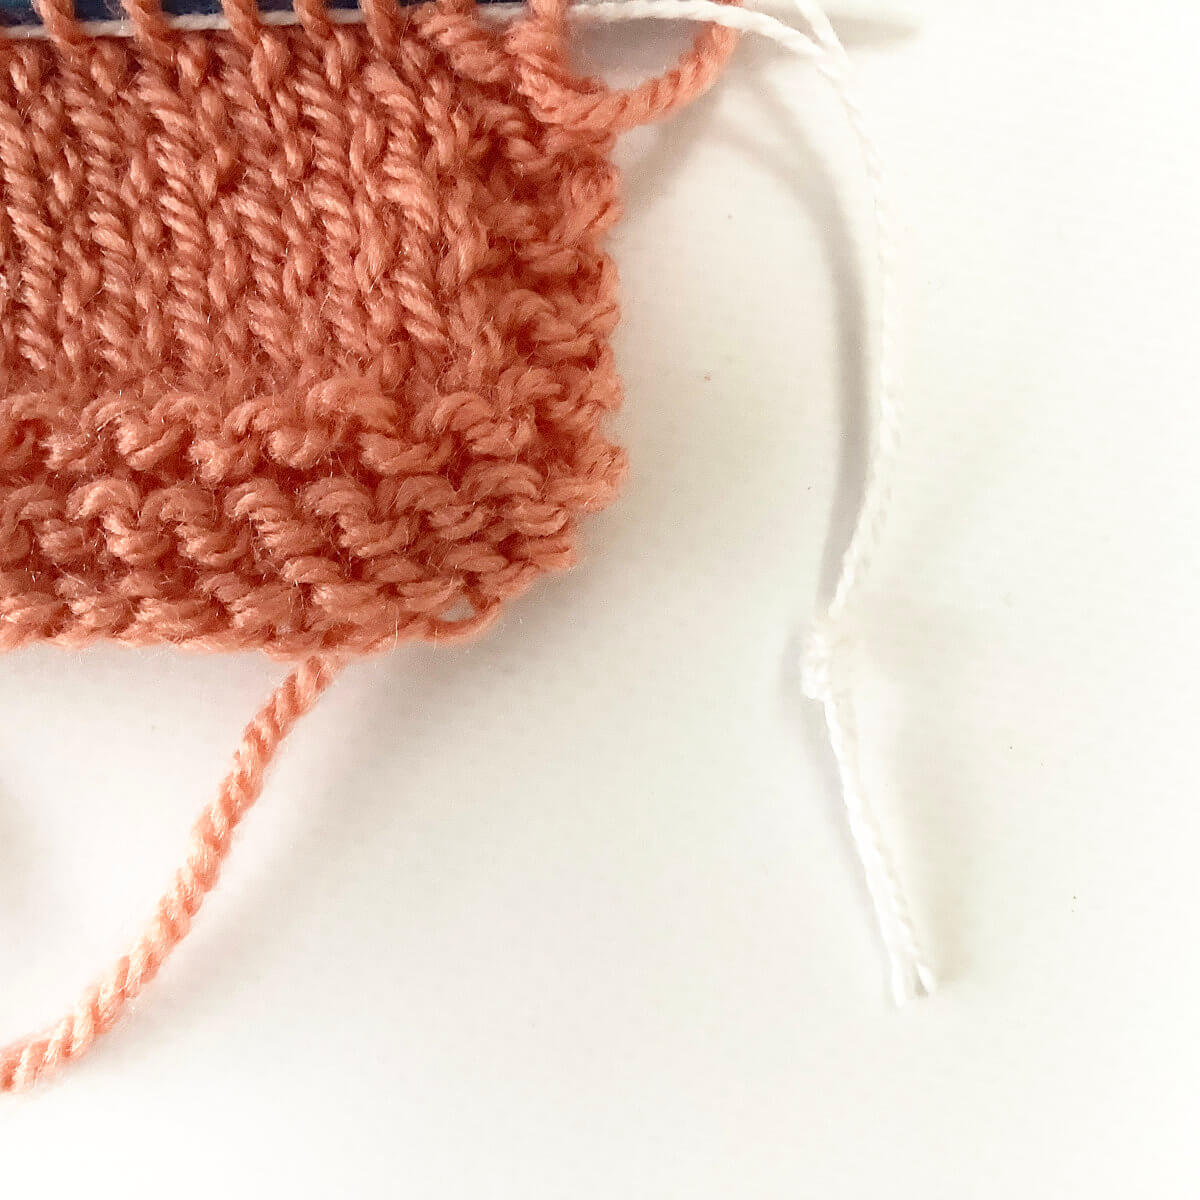
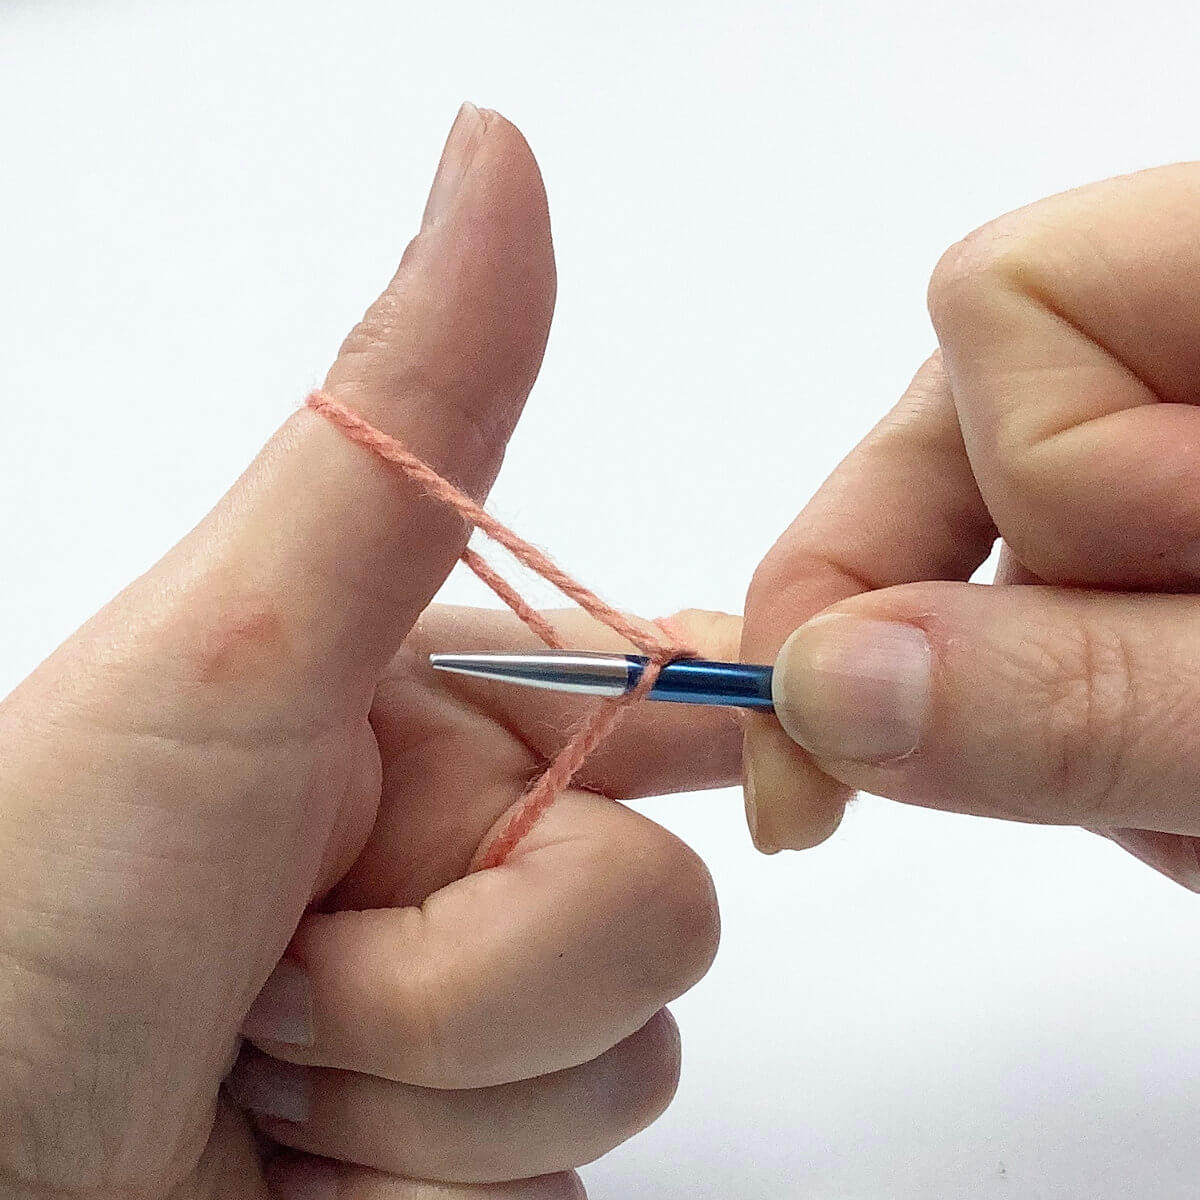
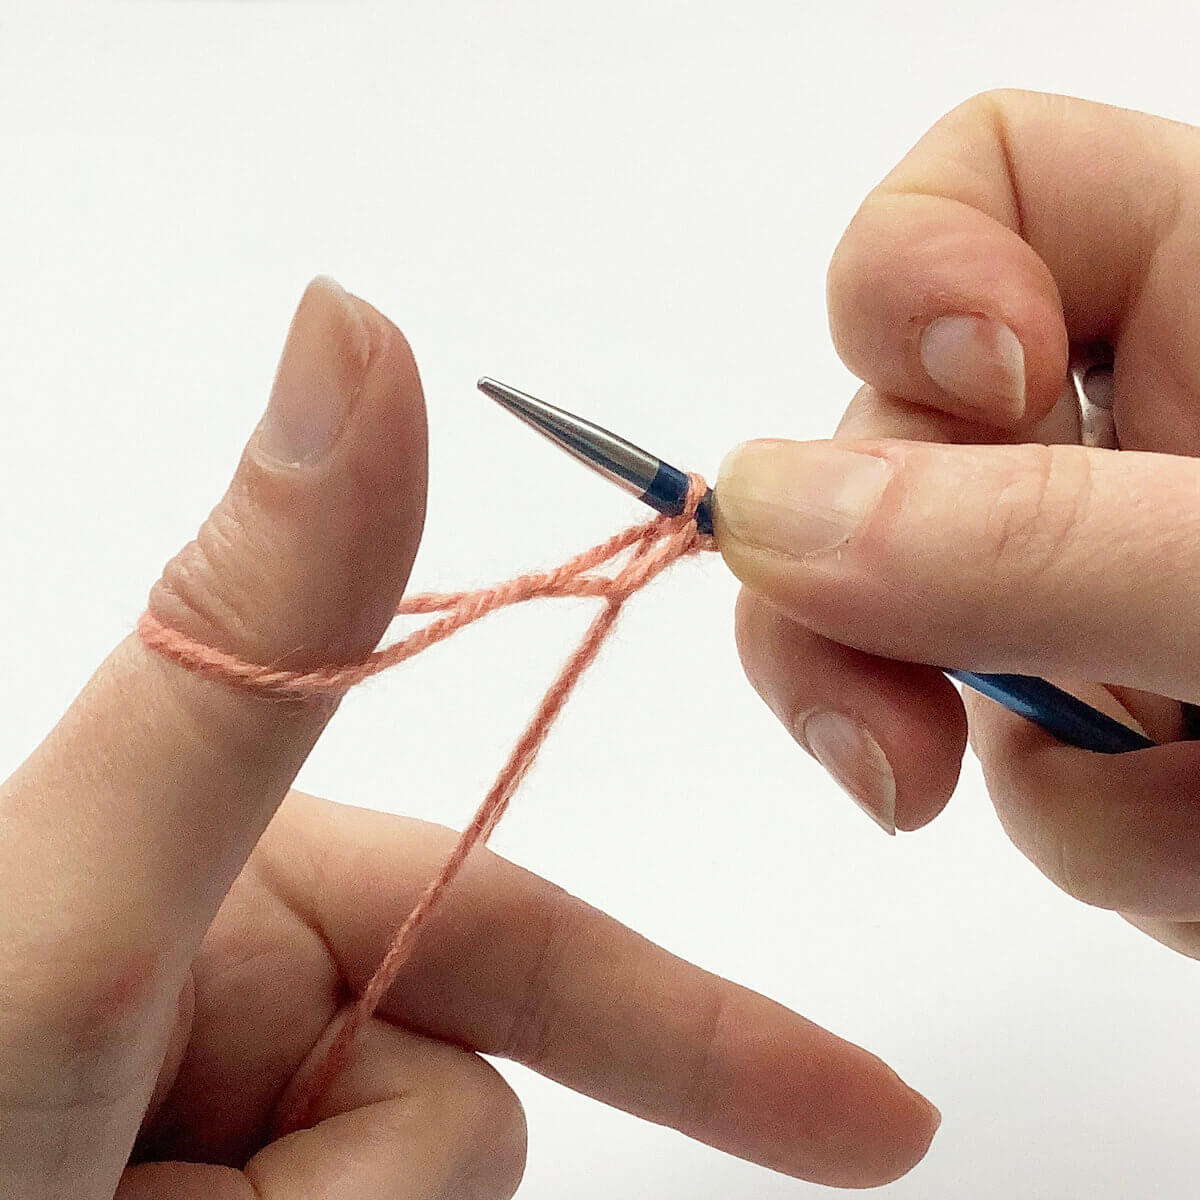
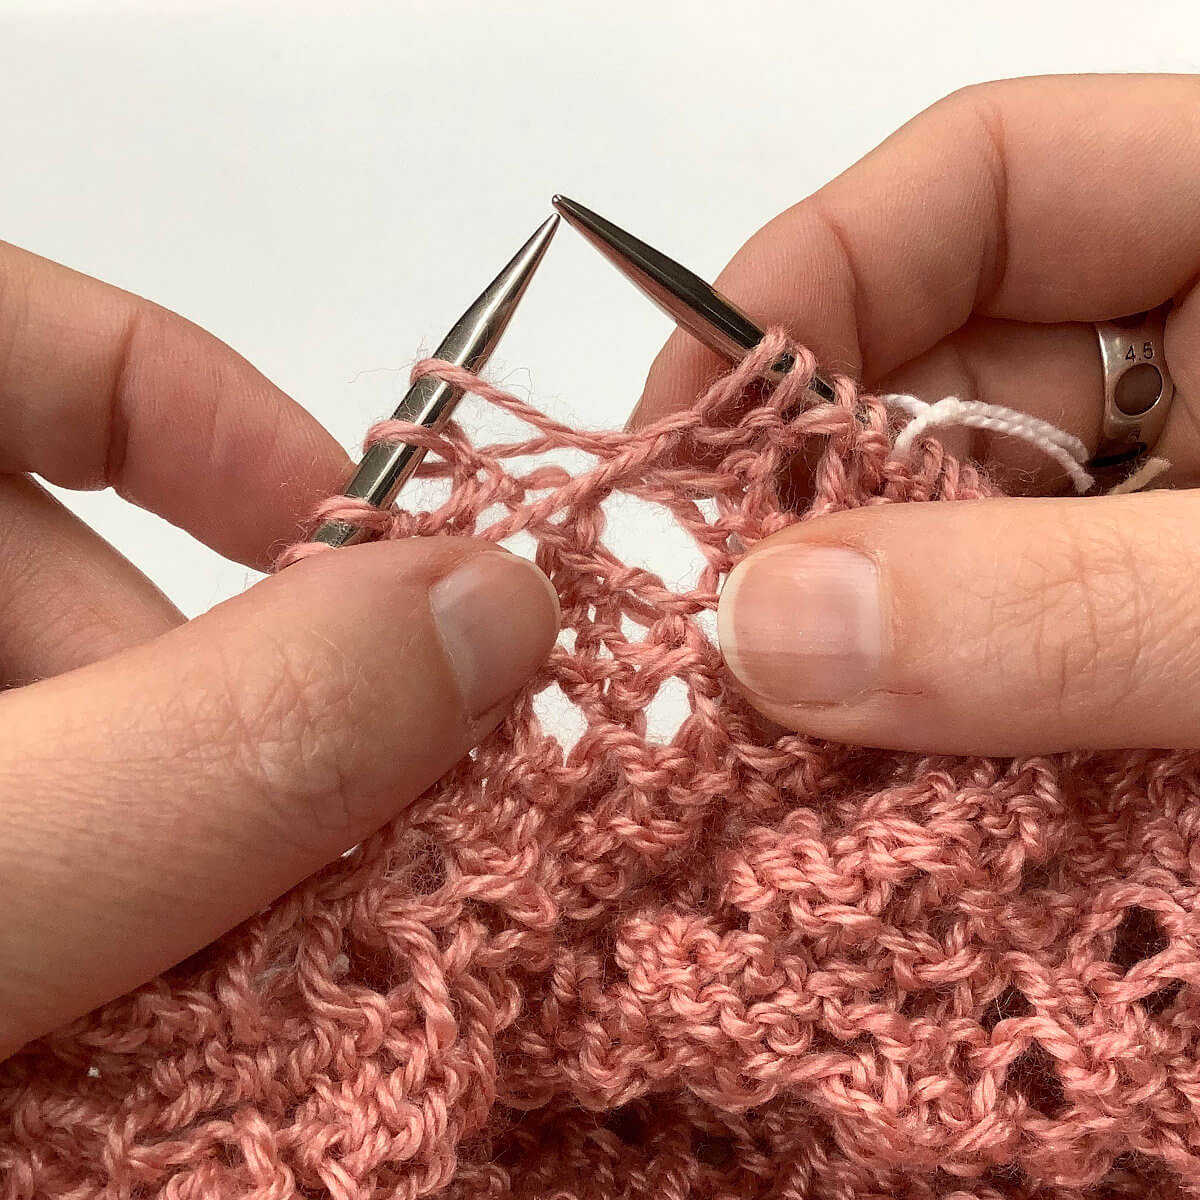
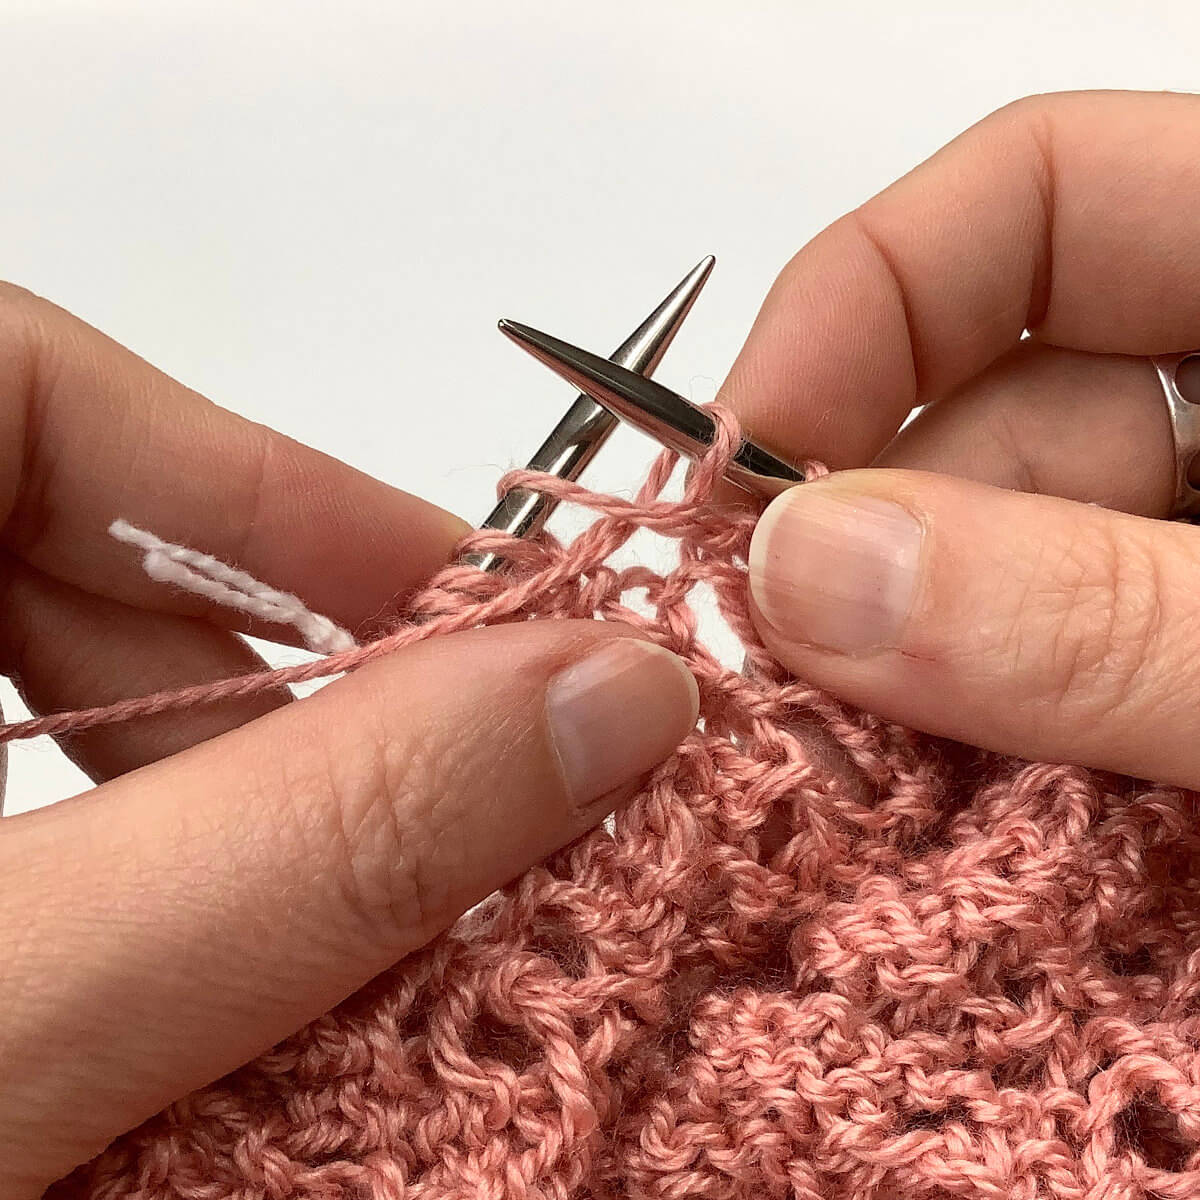
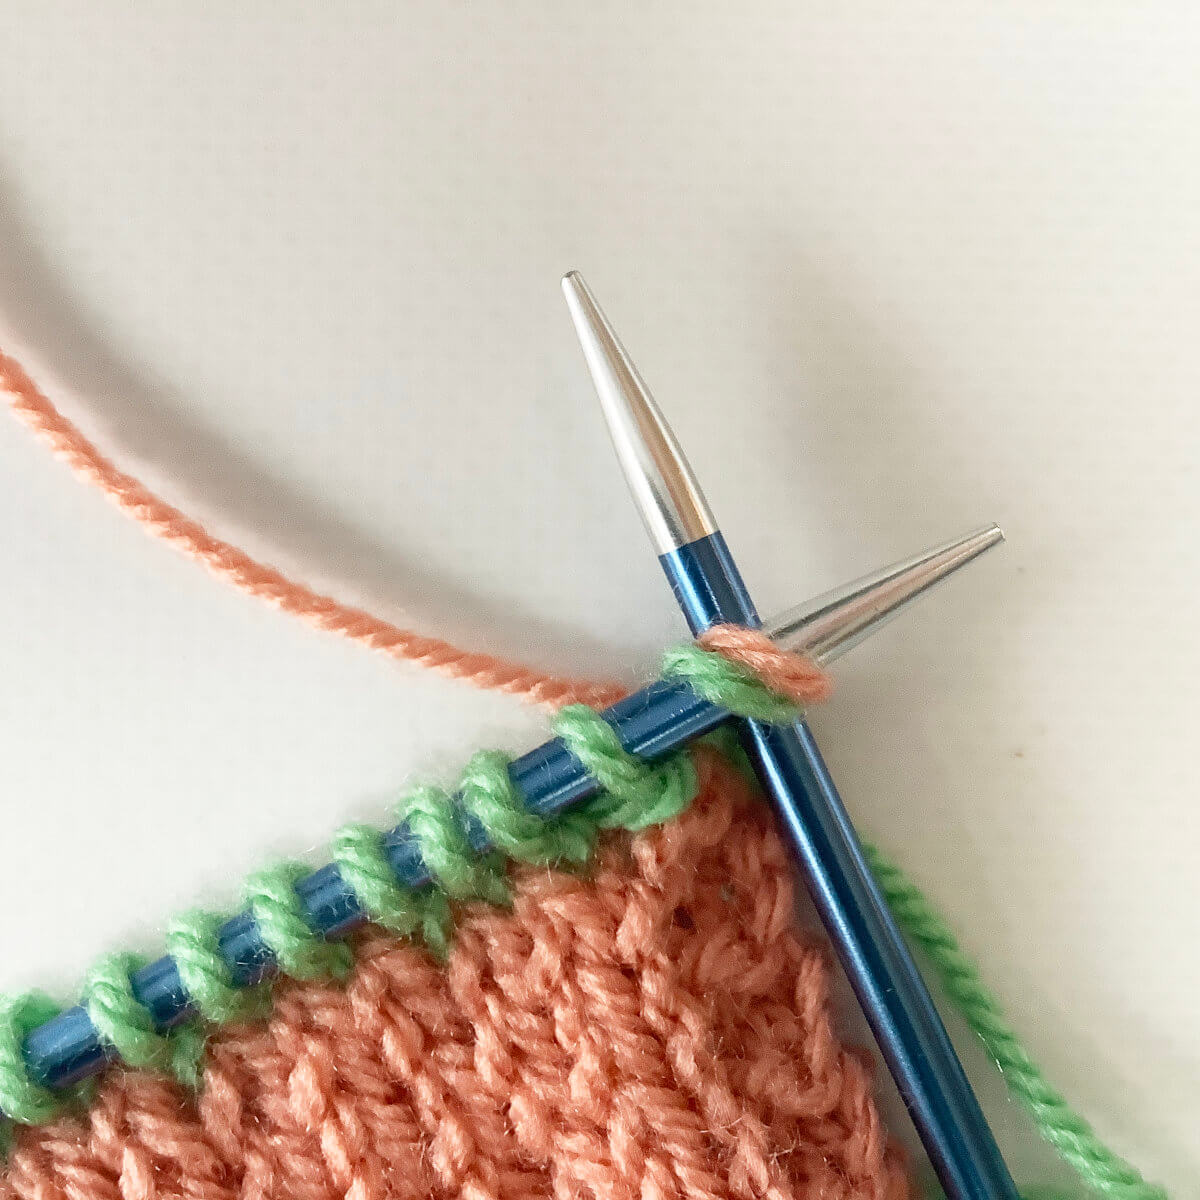
- Next, insert your needle into the stitch to work it and wrap both color yarns around the needle.
In this case, the edge is worked in garter stitch, so we’re talking about a knit stitch here. But it can, of course, just as easily be done in a purl stitch.
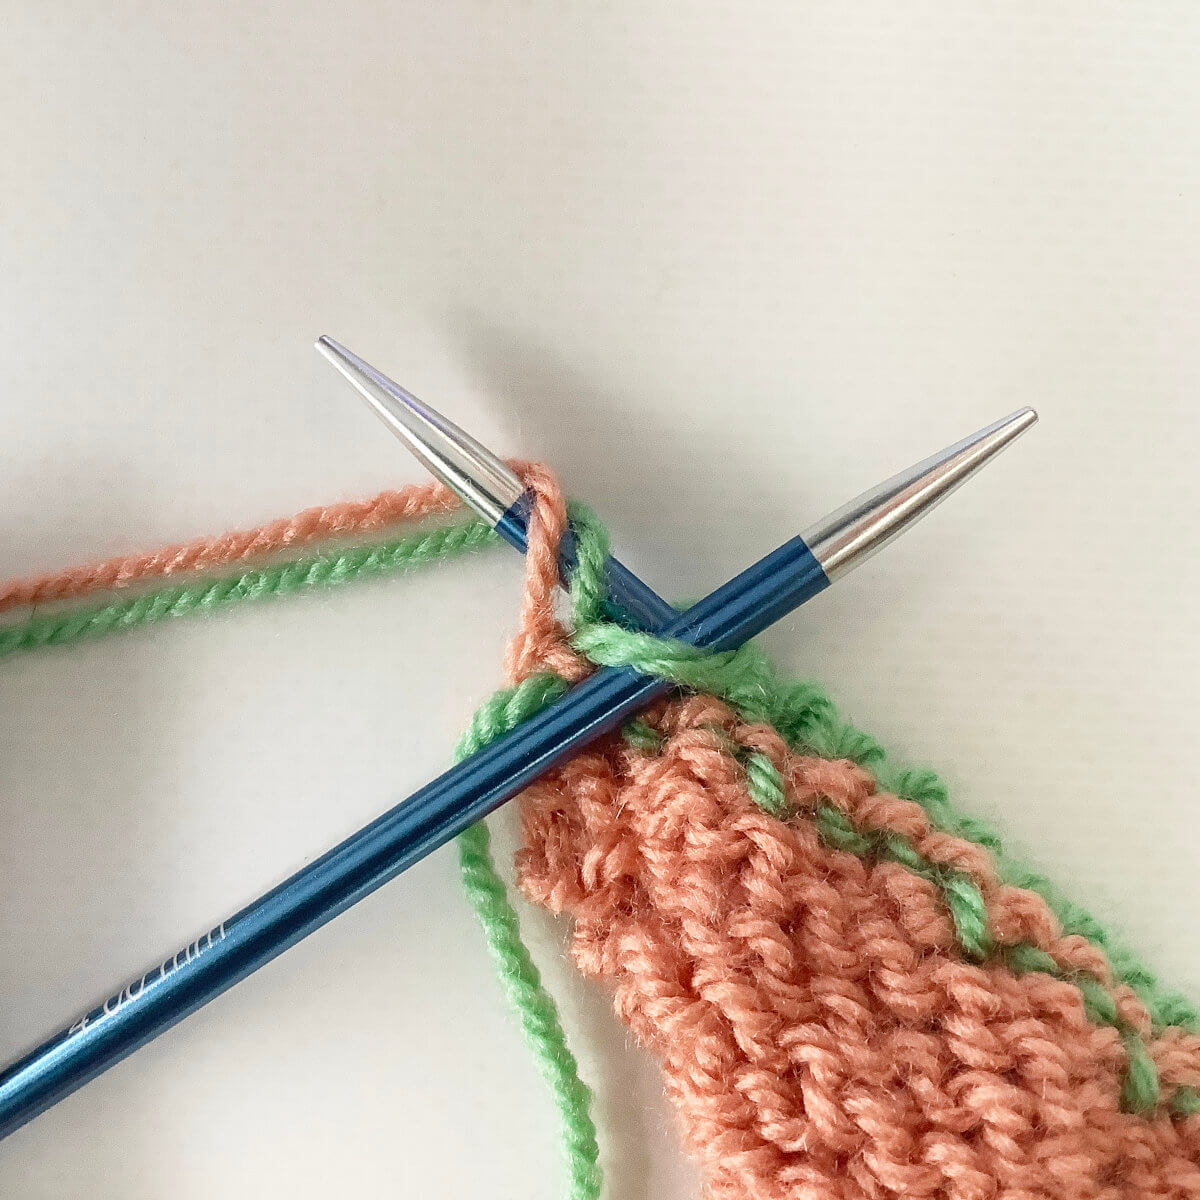
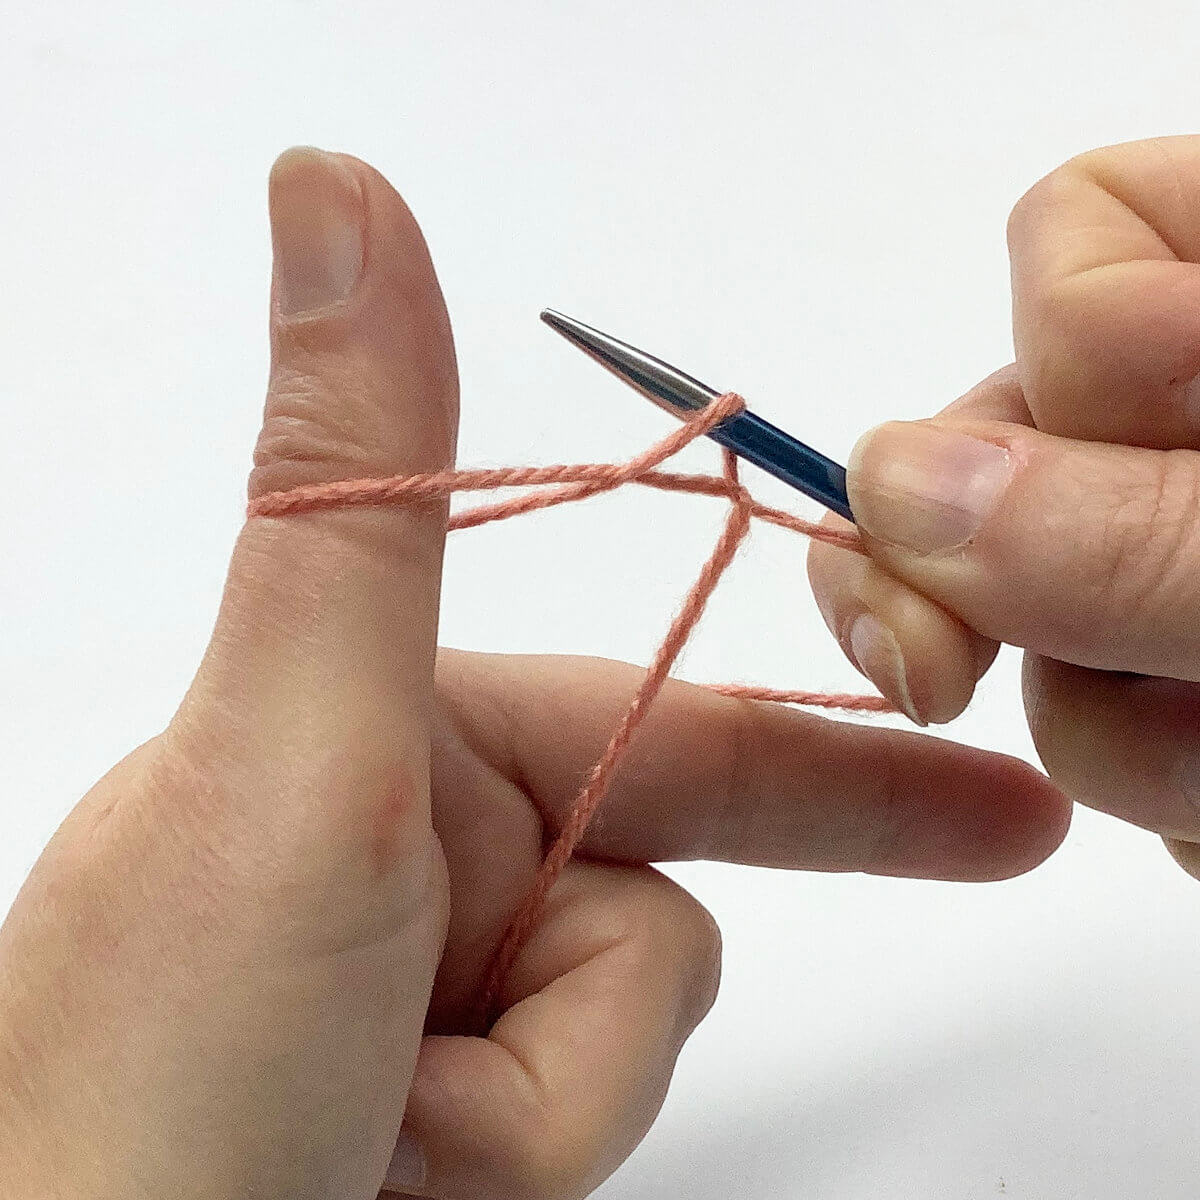
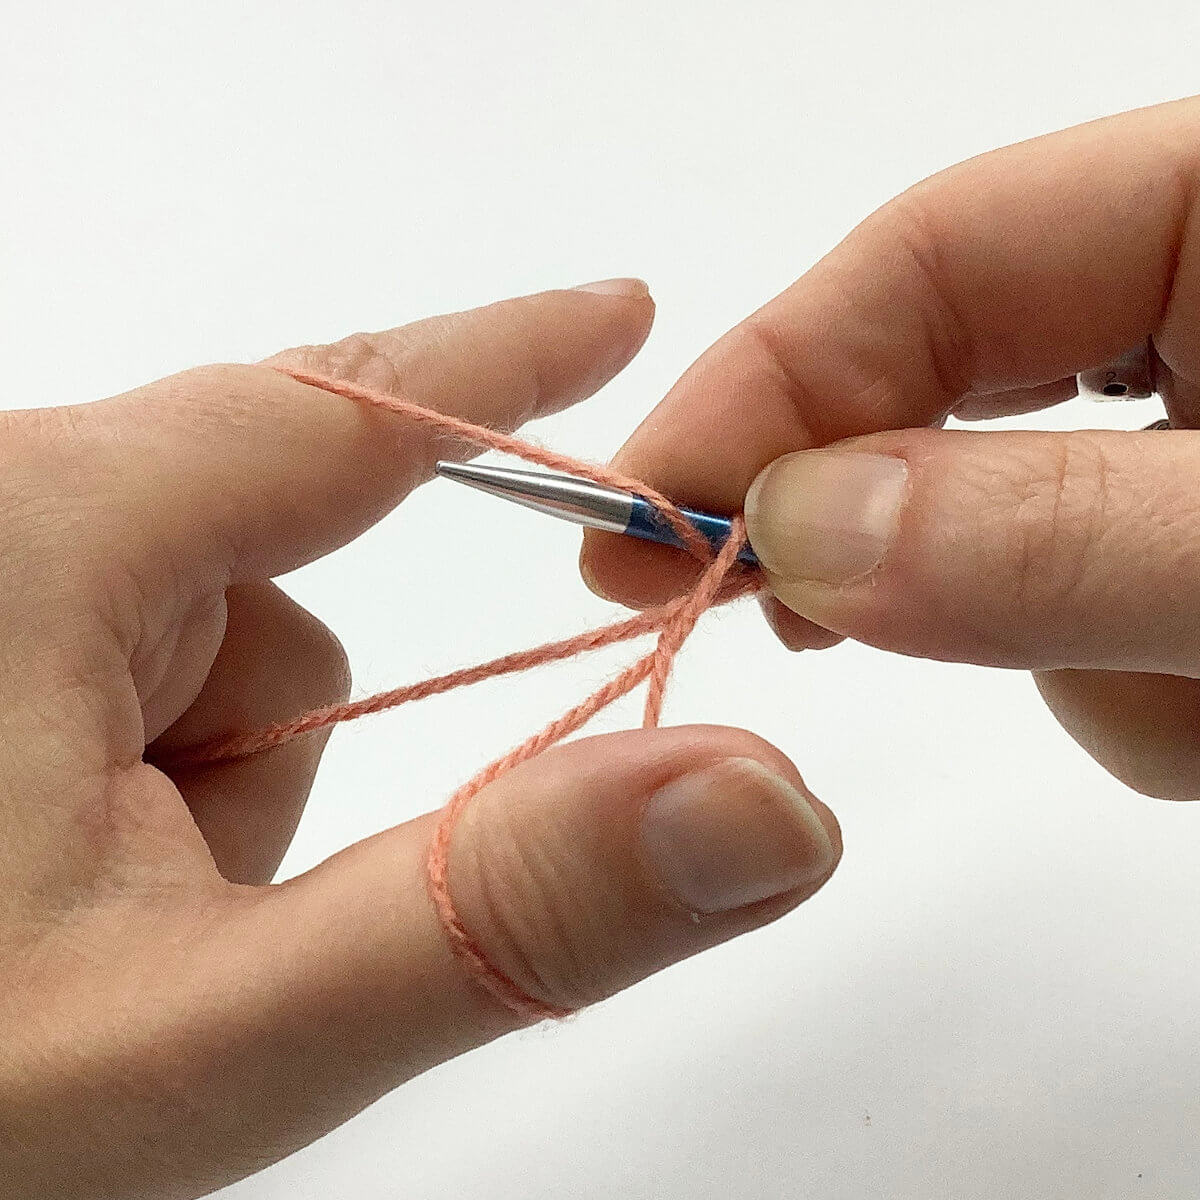
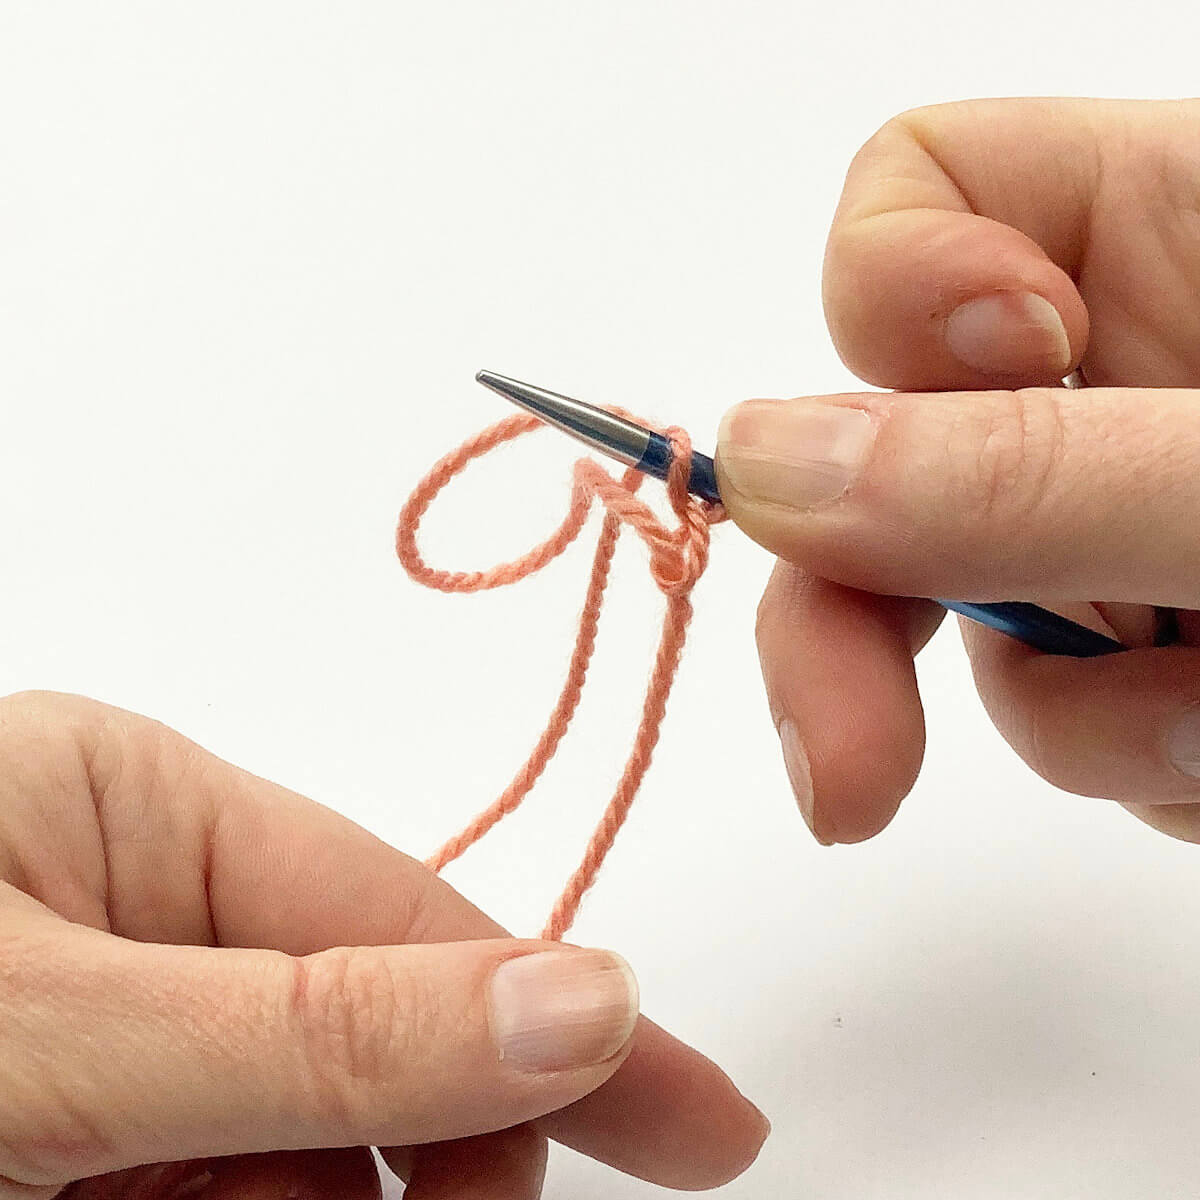
- Now pull both strands of yarn through the stitch on the left-hand needle…
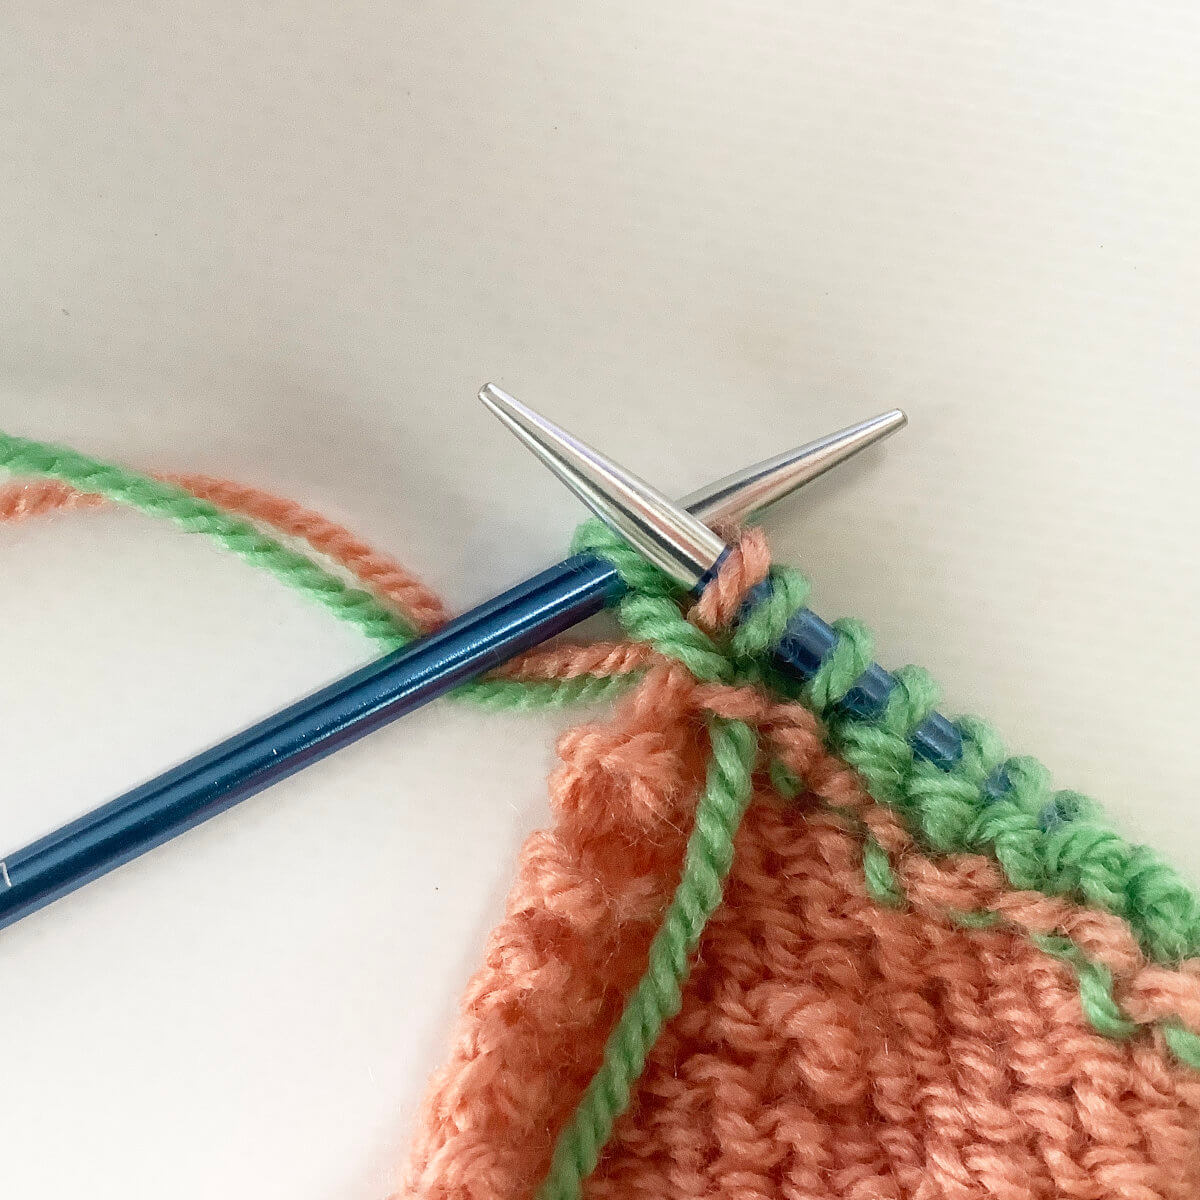
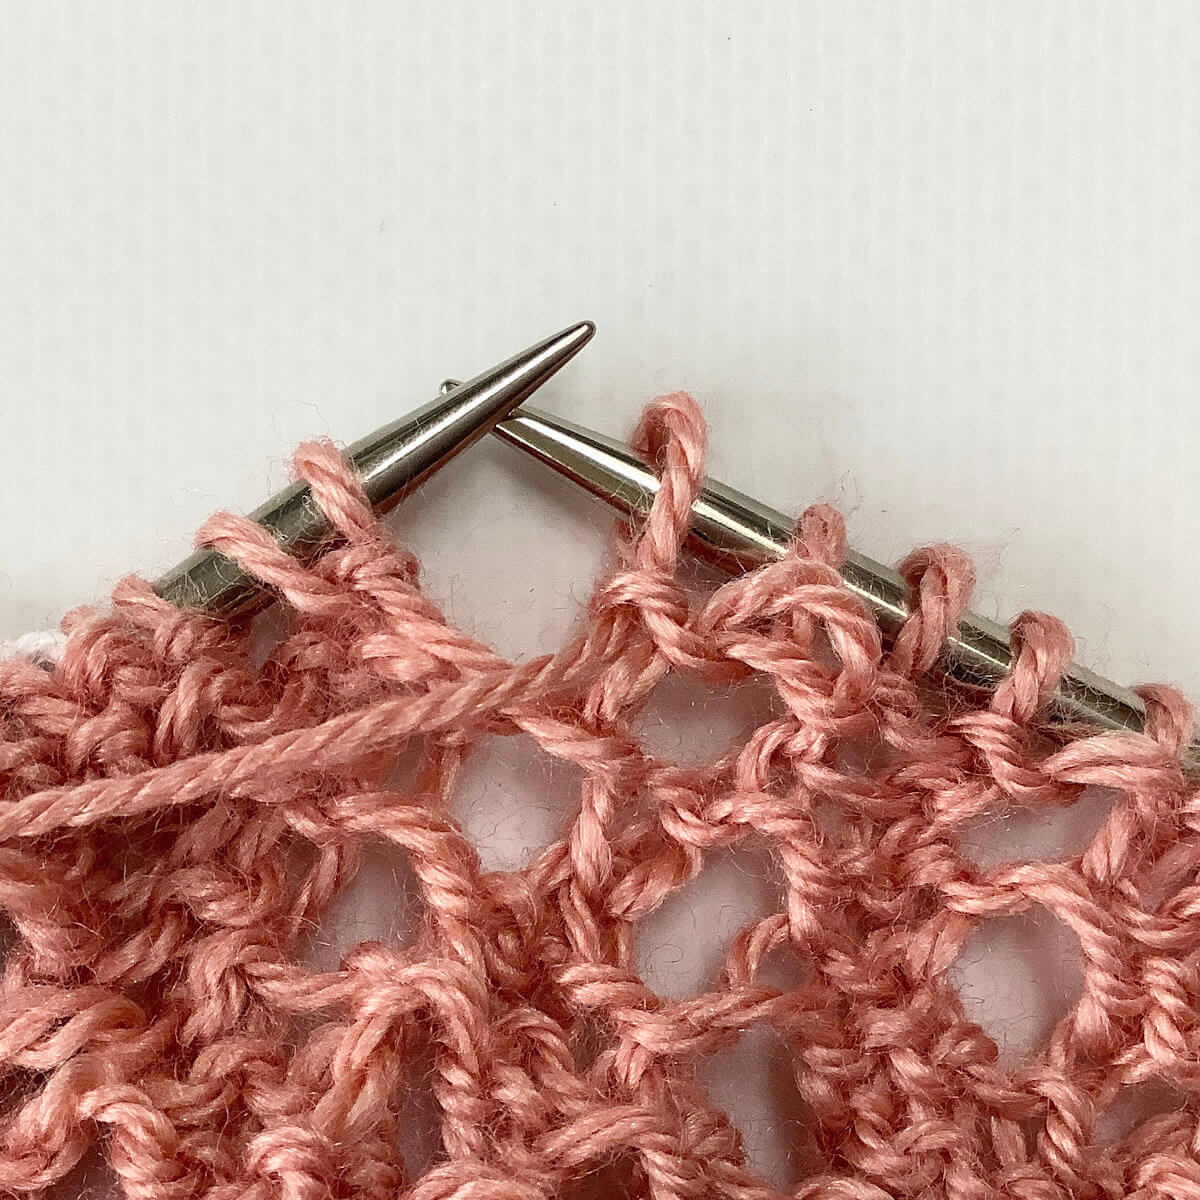
- … and slide the original stitch of the needle to complete the stitch.
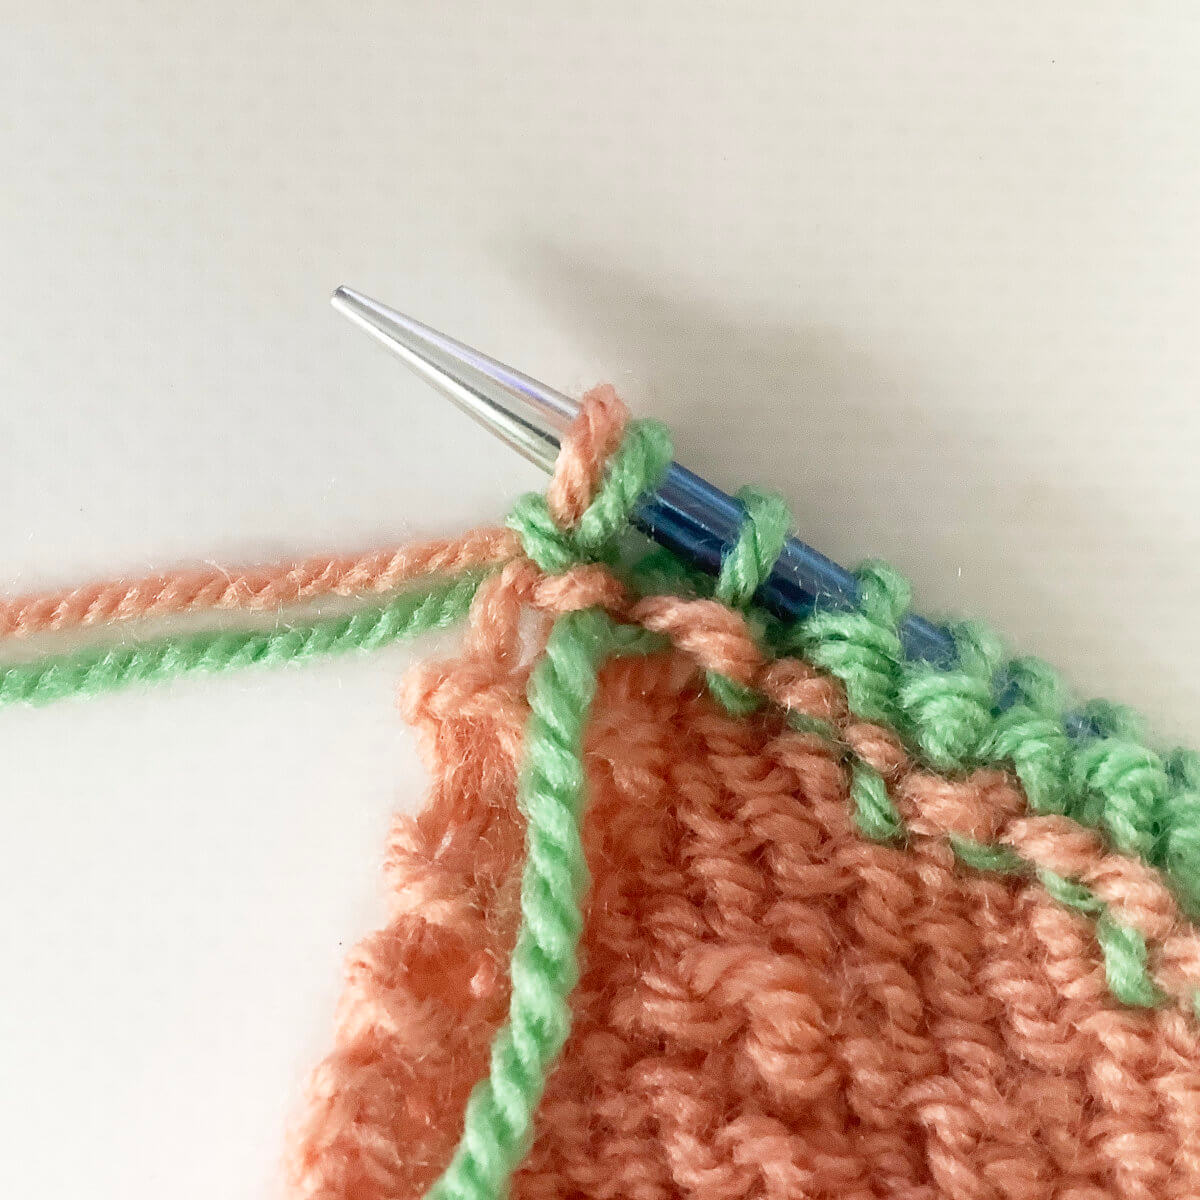
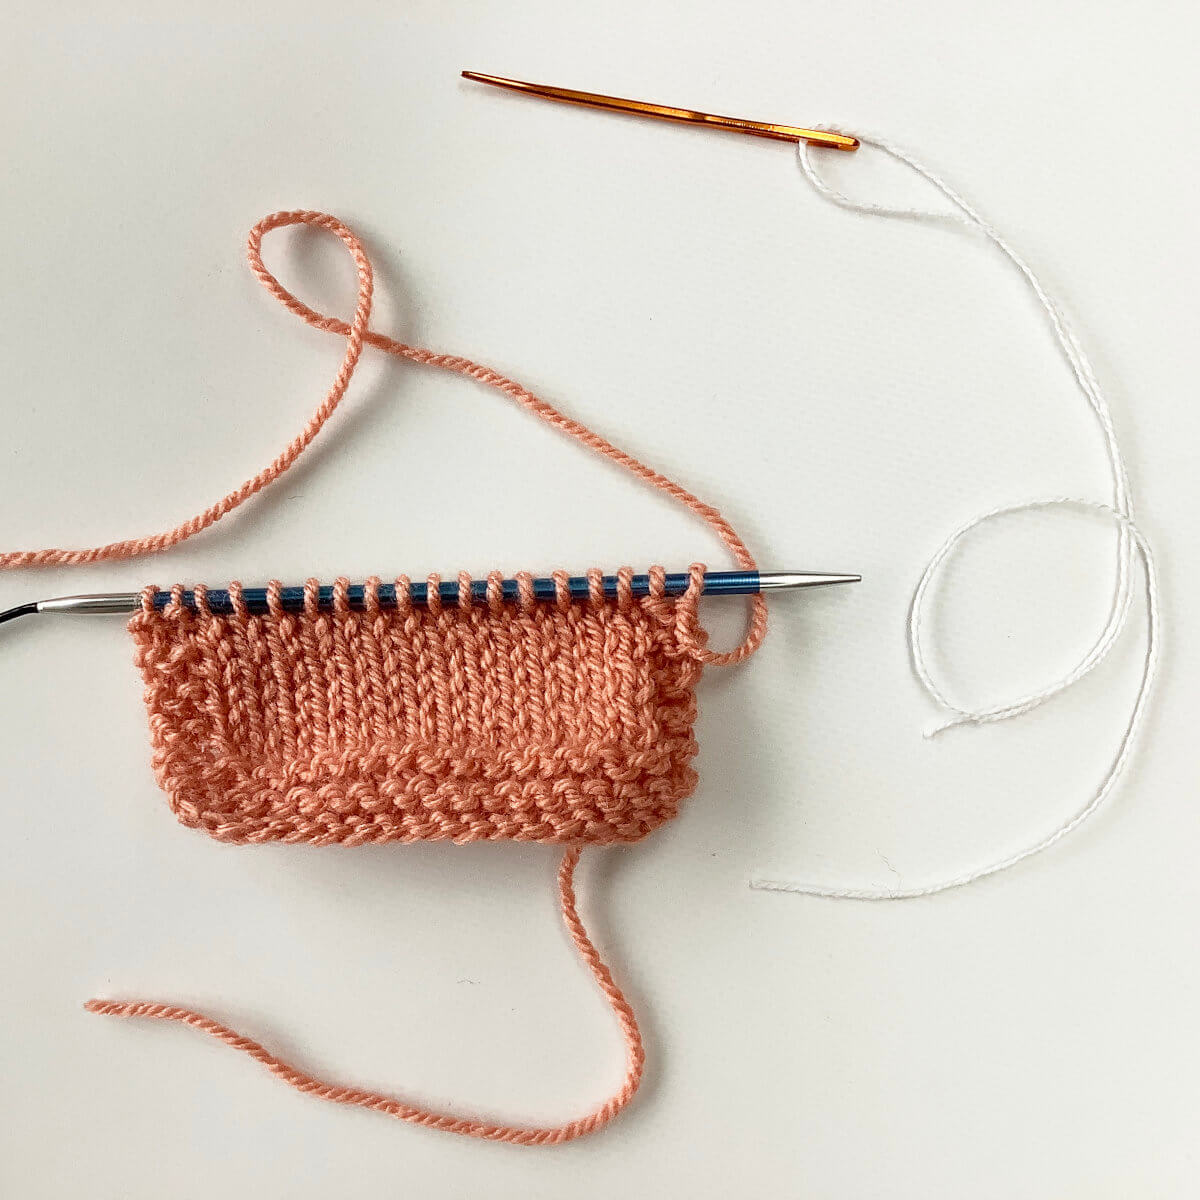
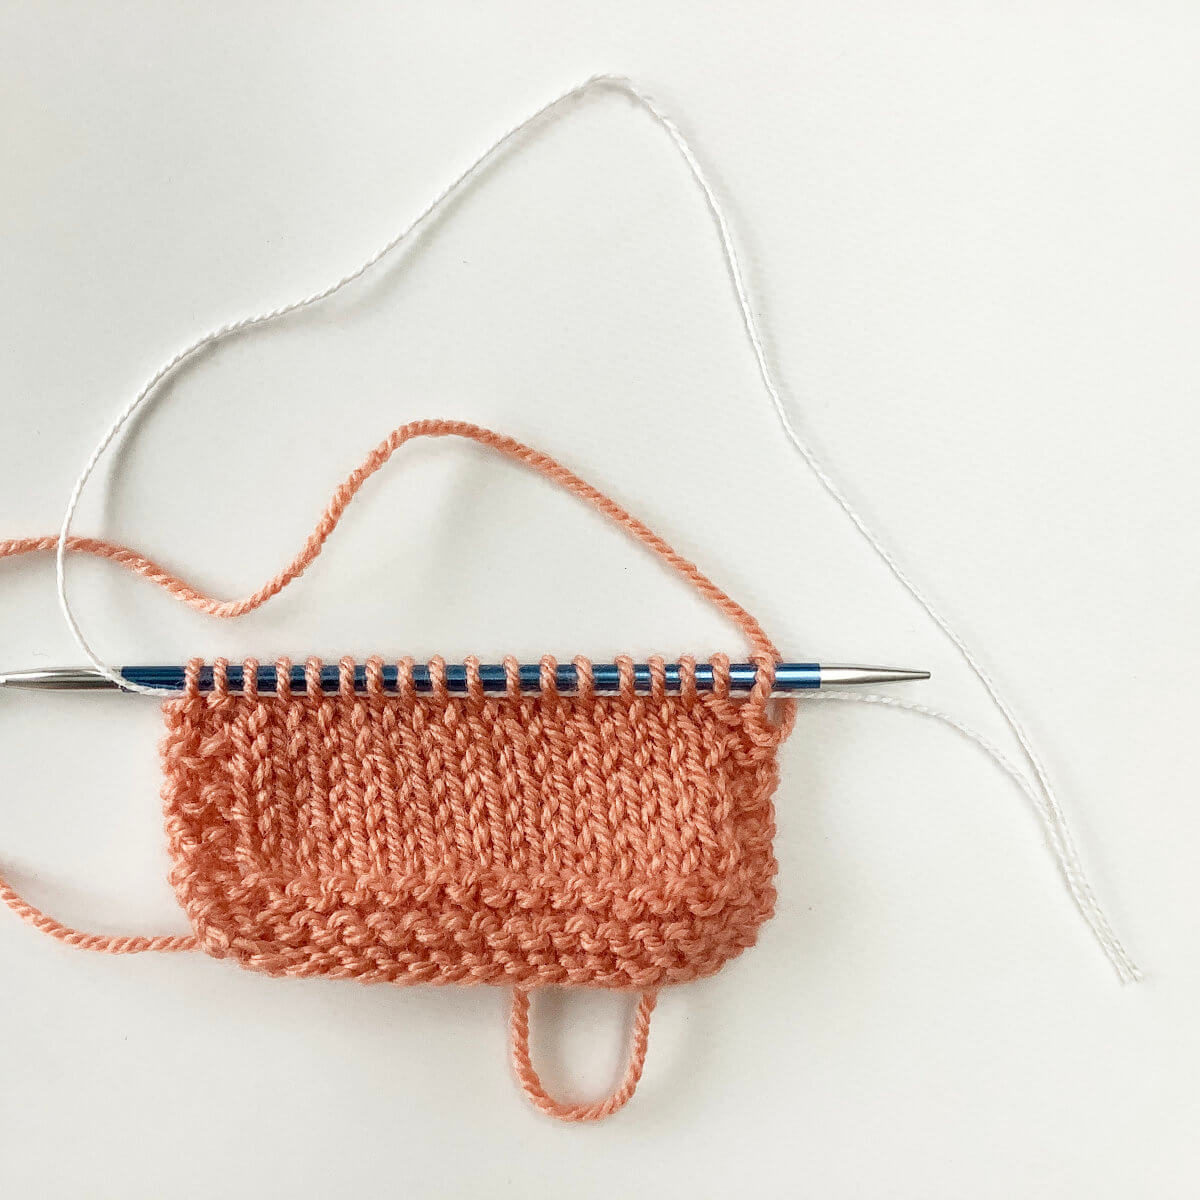
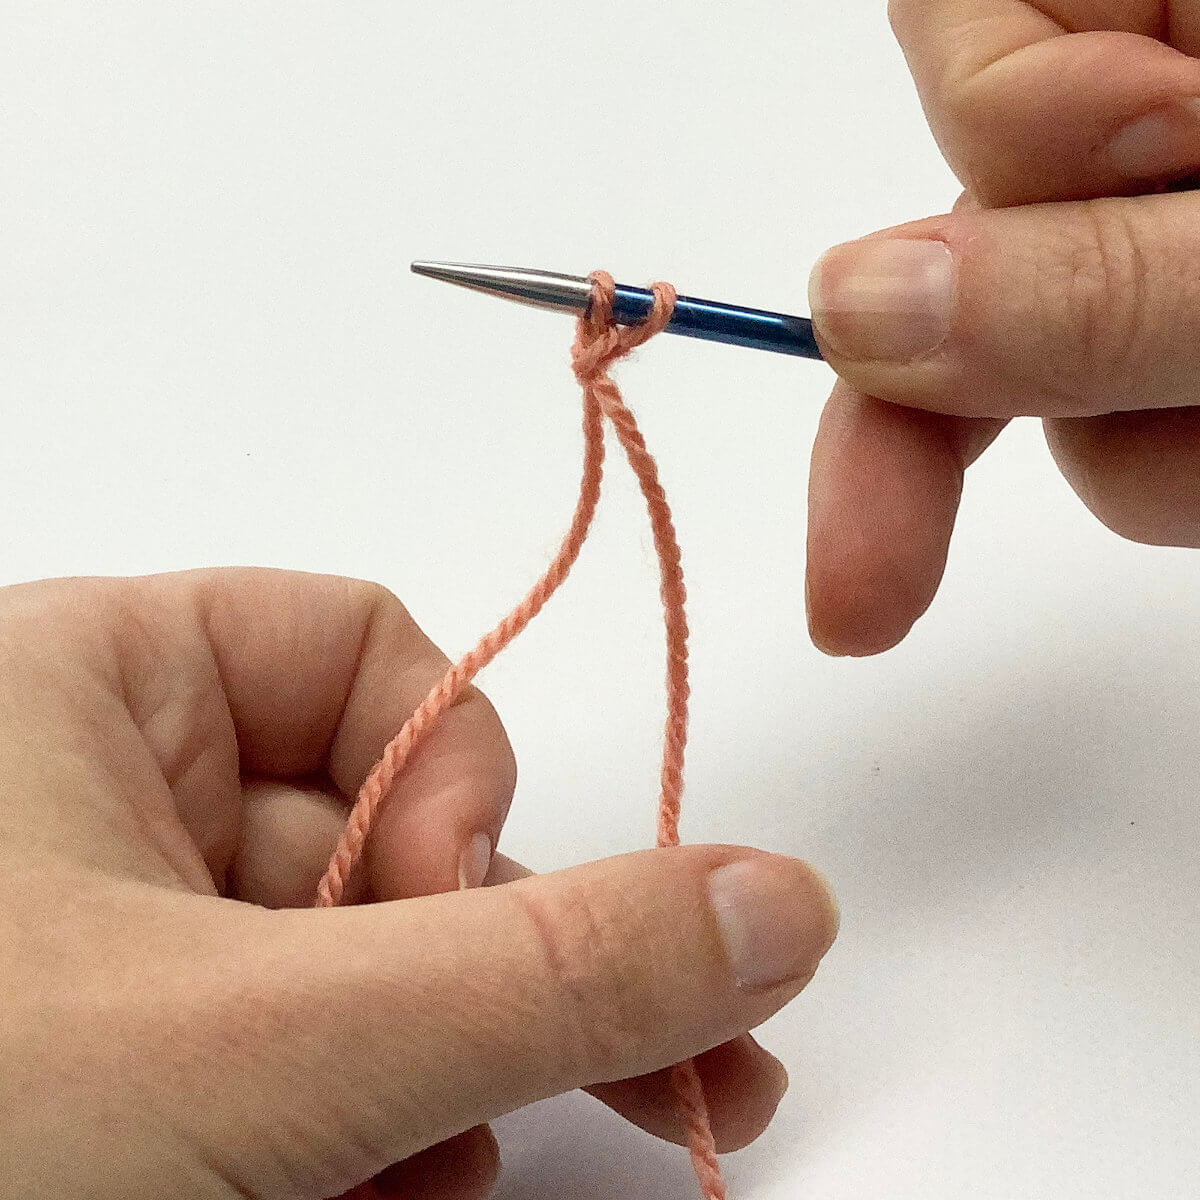
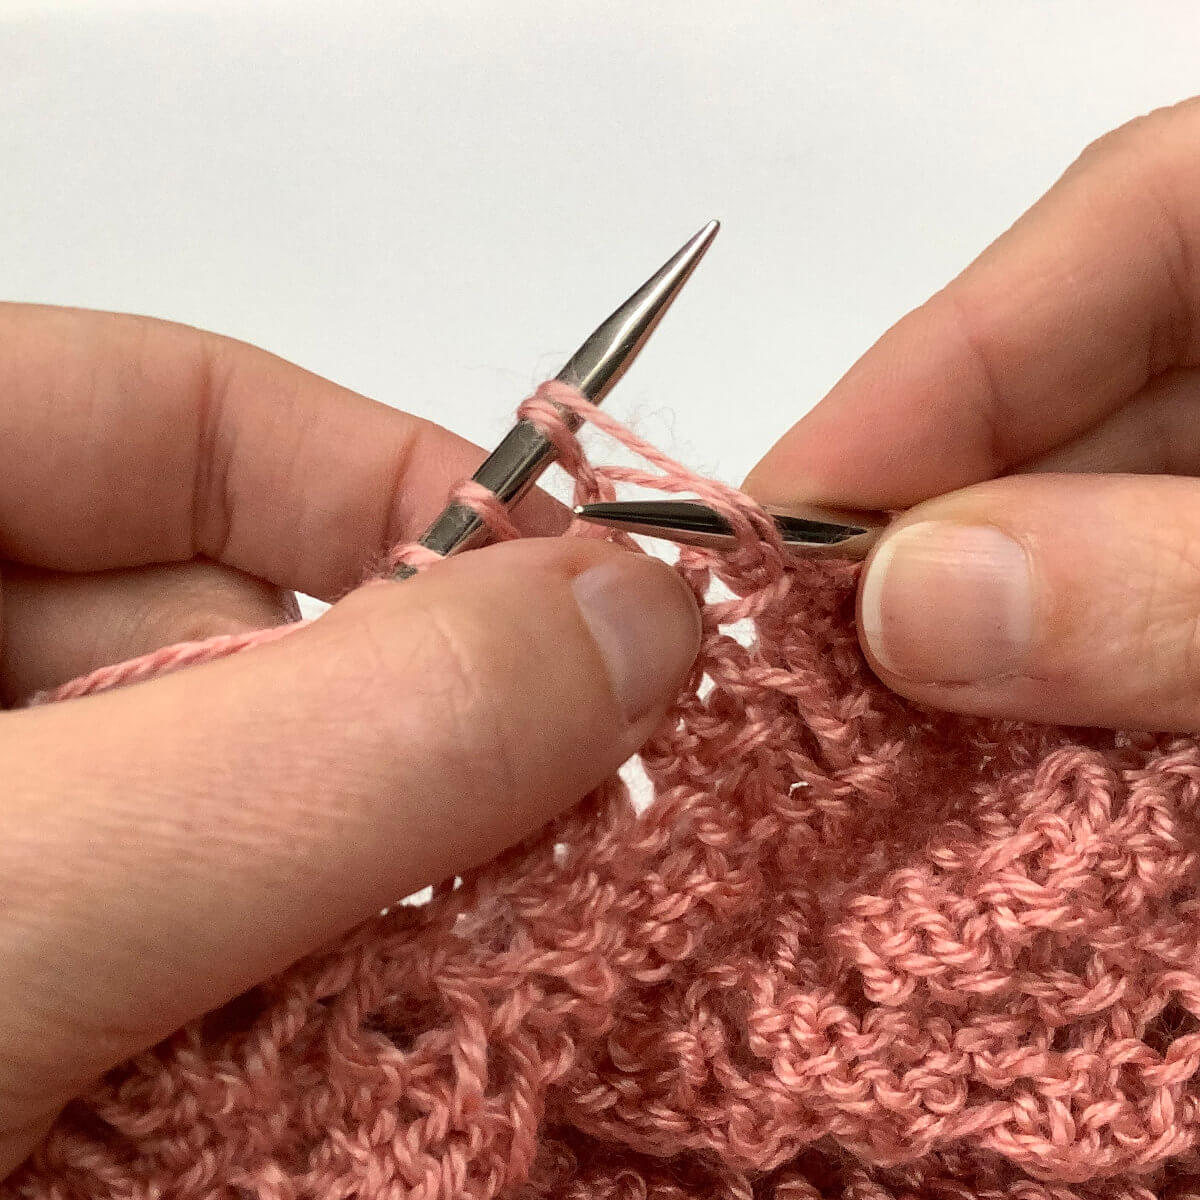
- Now, turn the work and get ready to start the new row in the new color.
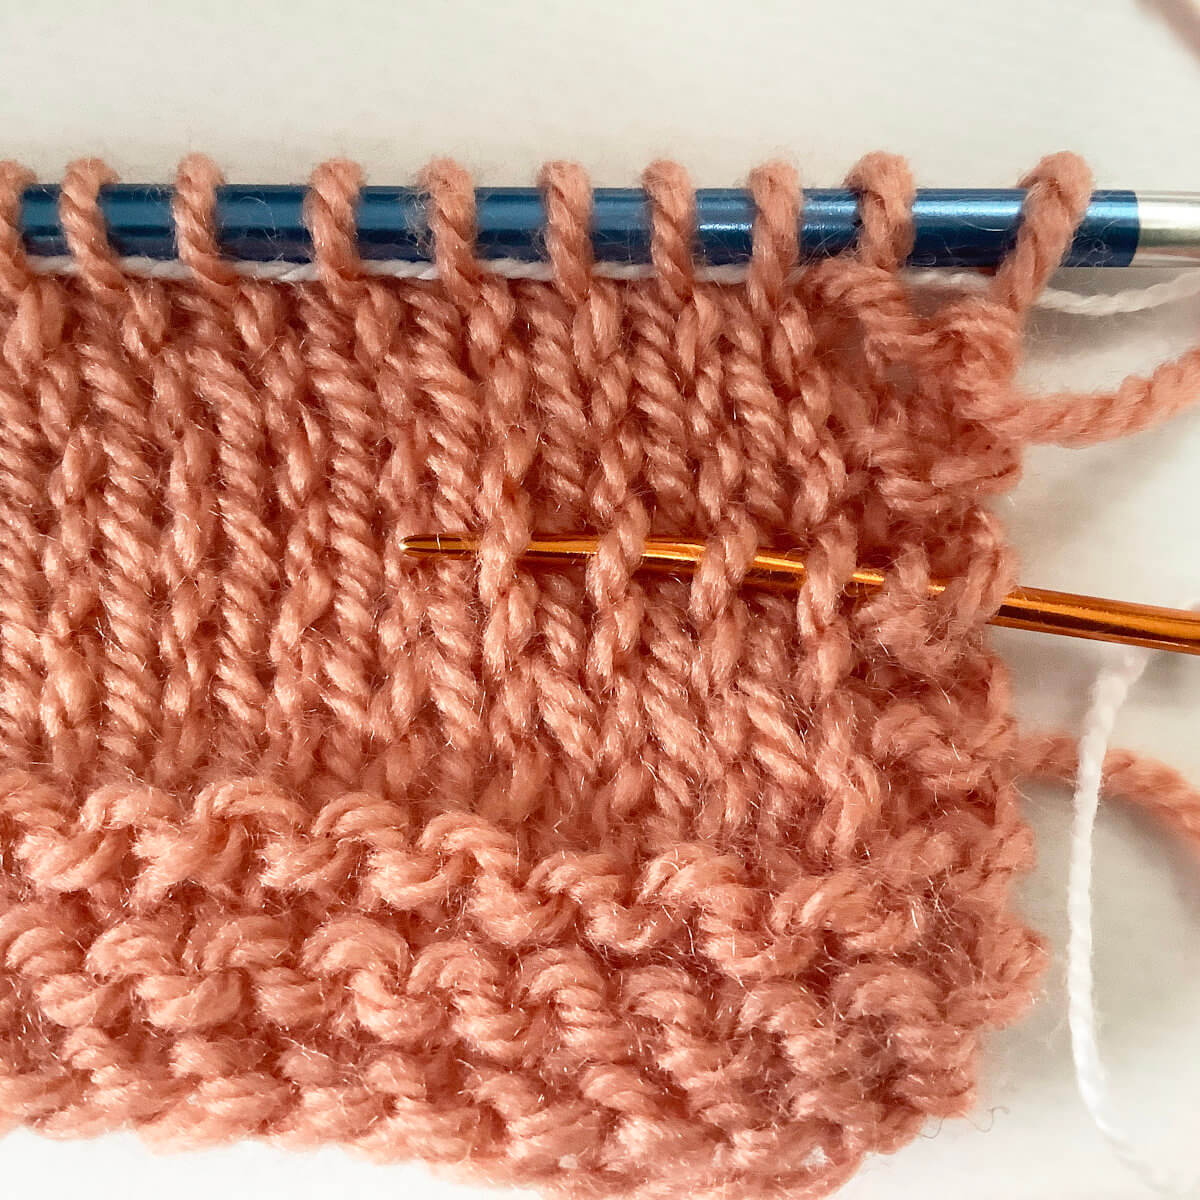
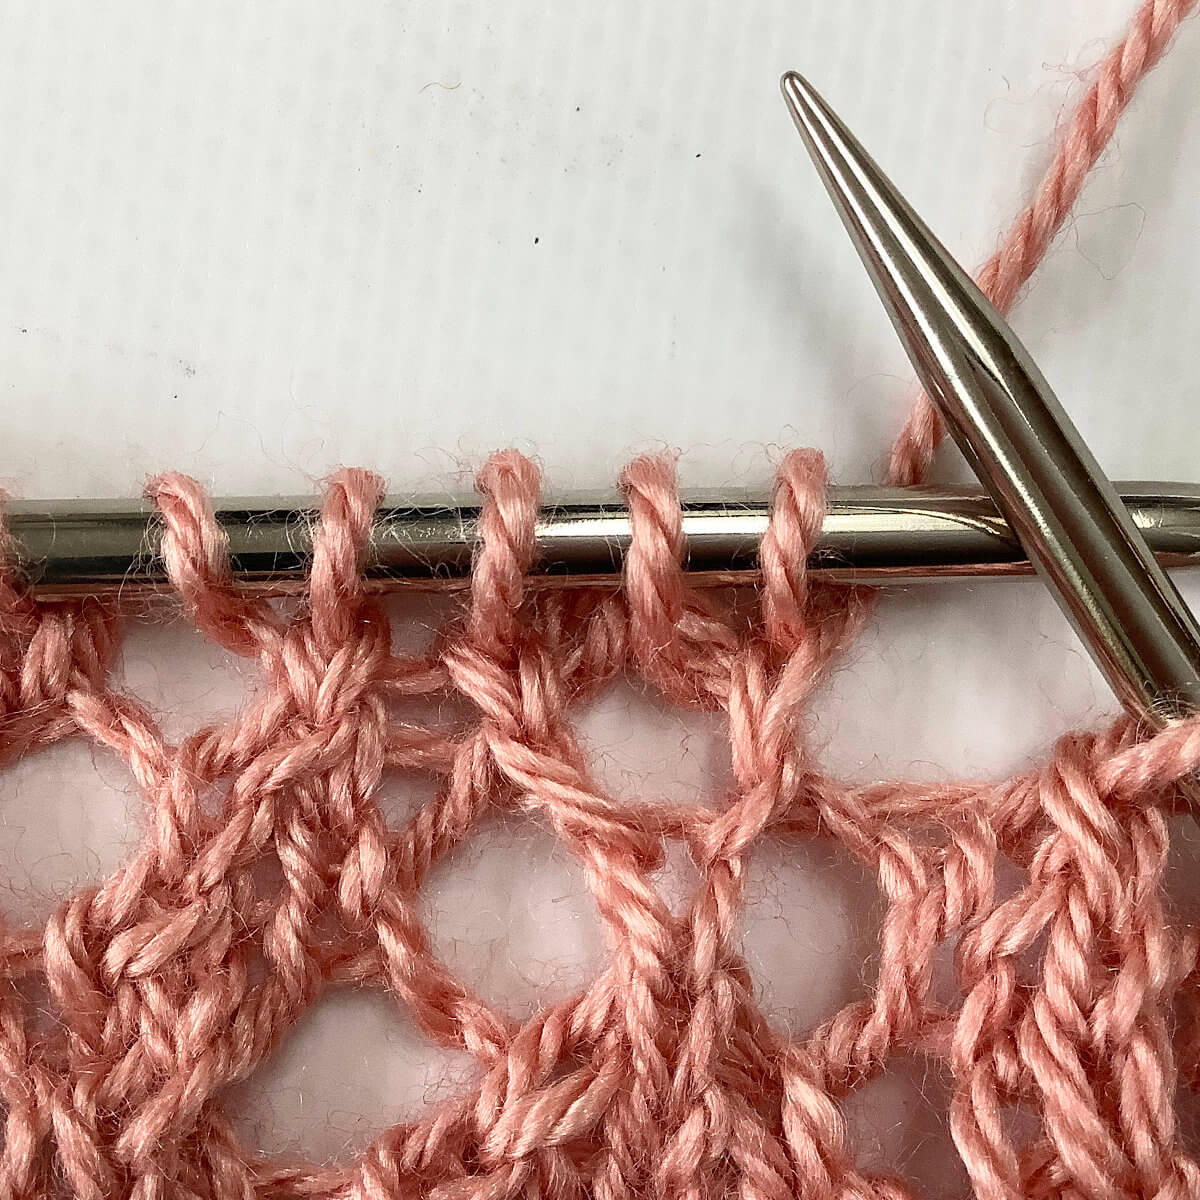
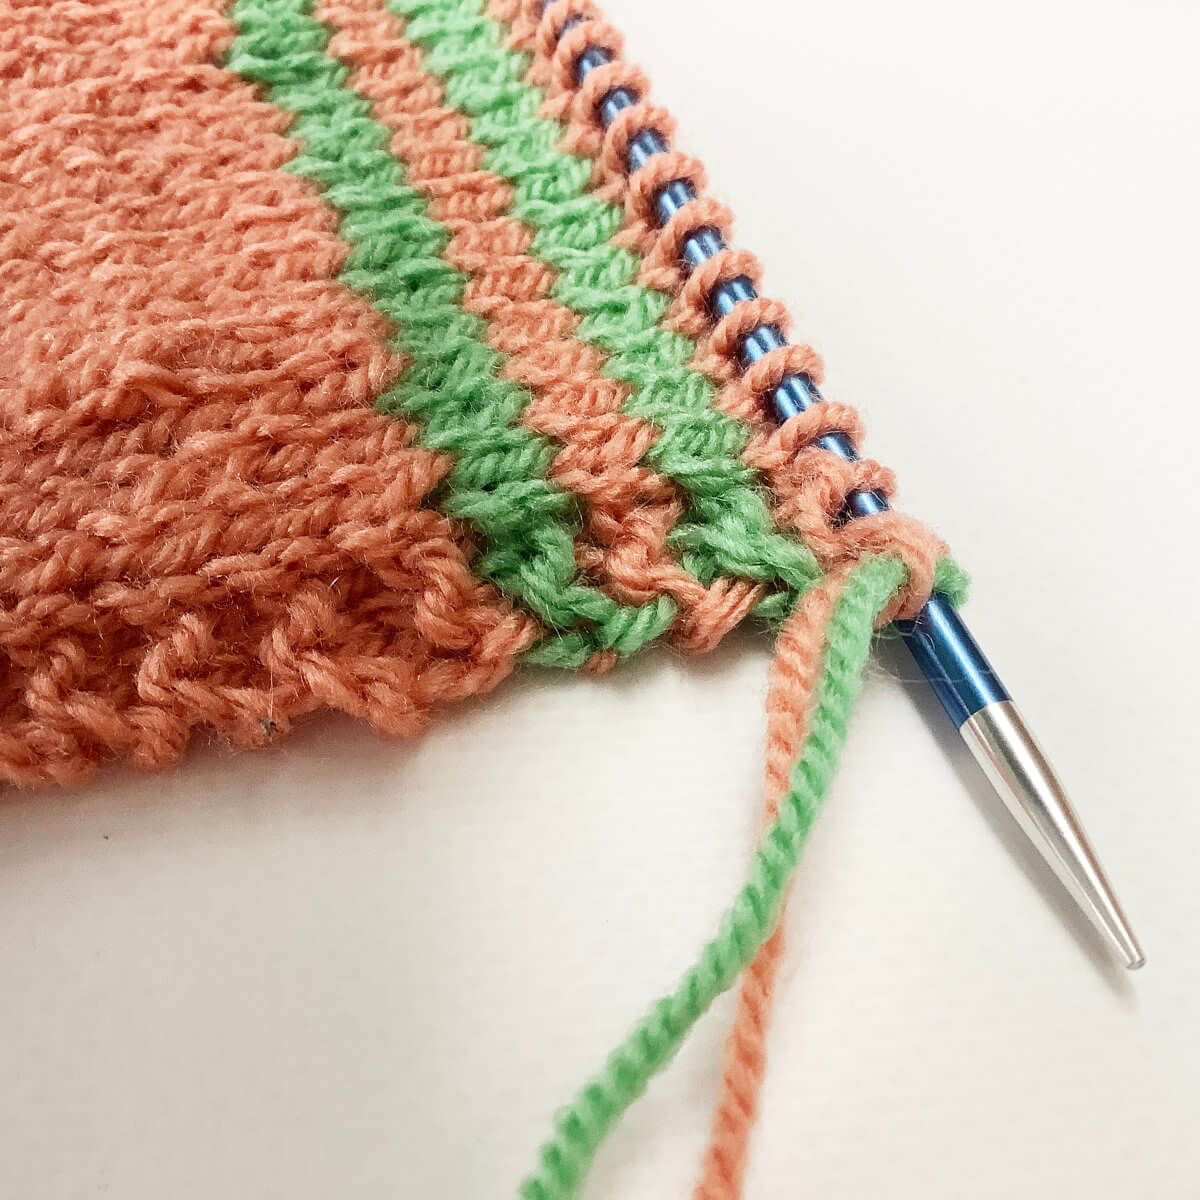
To do so, insert your needle into both strands and work it as one using the new color yarn. What you’re basically doing is carrying along the unused yarn by knitting it into the last stitch of the row. This way the unused yarn is incorporated into the main fabric and will behave similarly upon blocking. In other words: no tension differences!
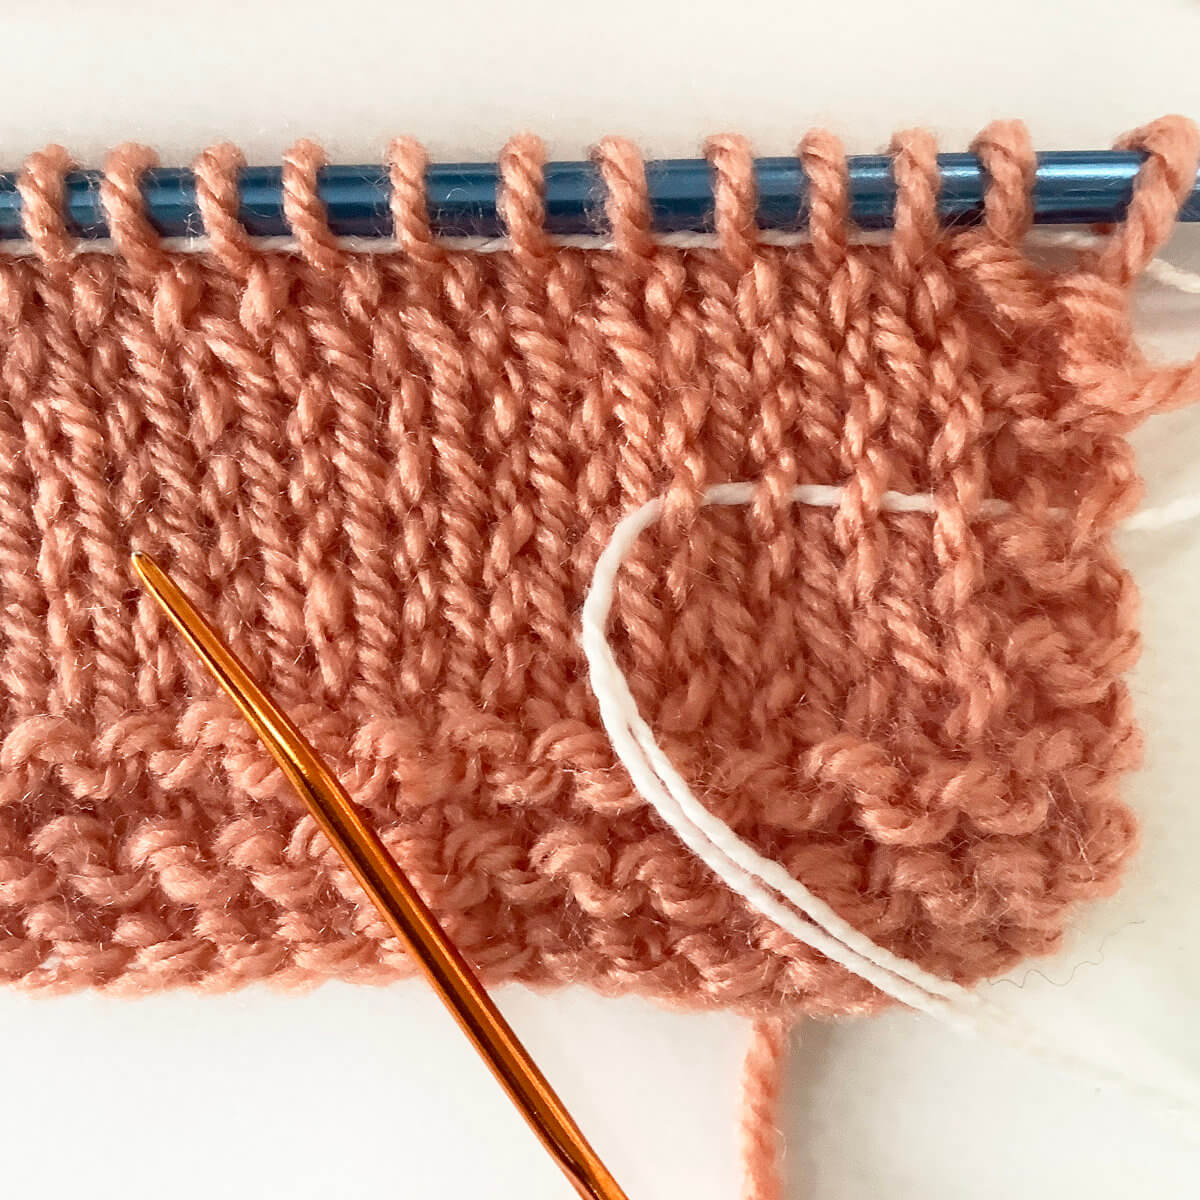
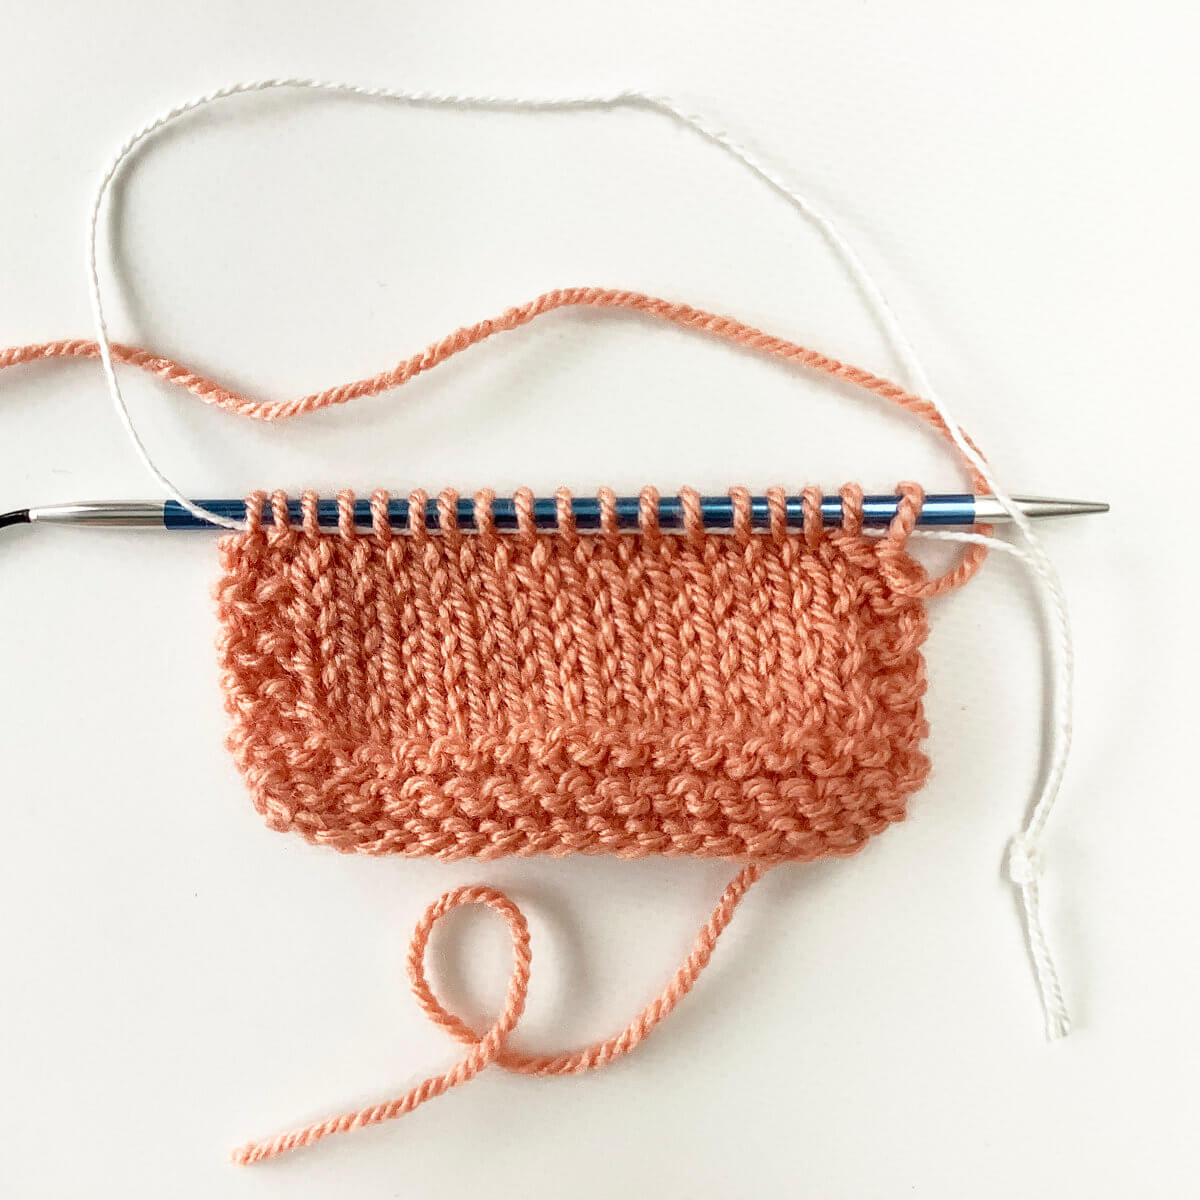
- This is how the resulting edge looks.
Yes, the edge will be slightly bulkier than its non-doubled counterpart at the other side edge. But usually it’s not very noticeable.
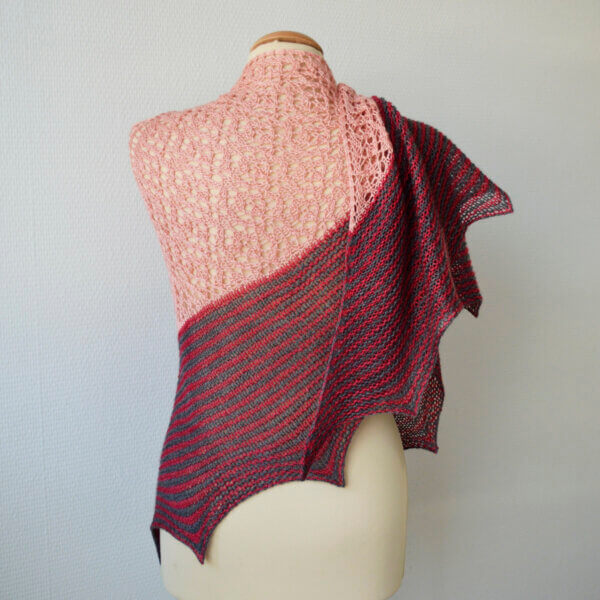
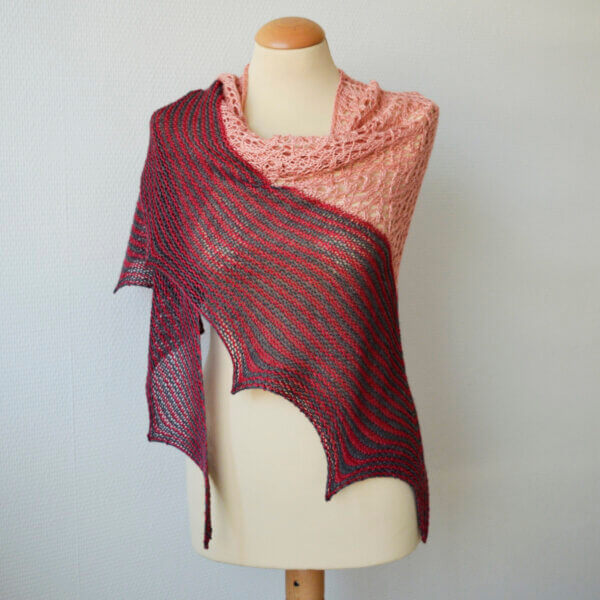
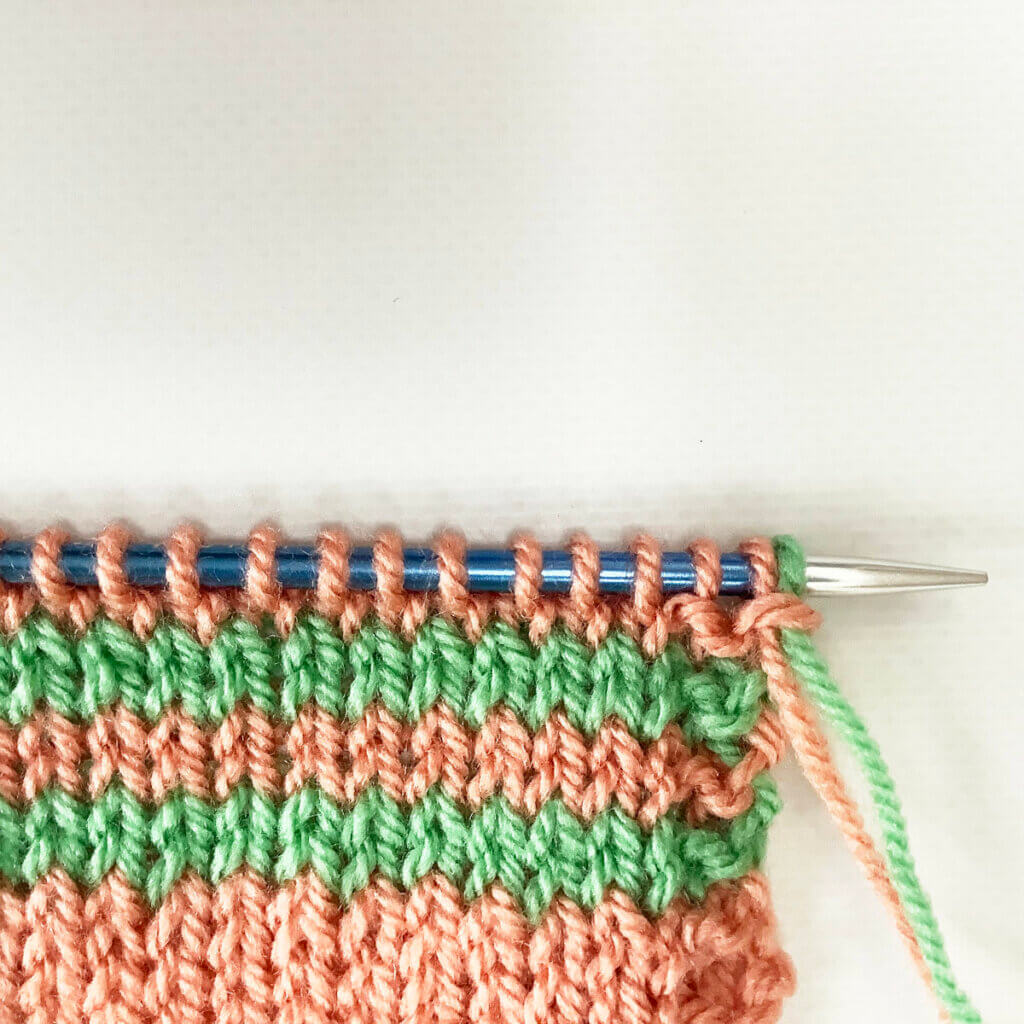
Overall look
You may wonder how this looks on both the right and wrong side of the fabric. This is how:
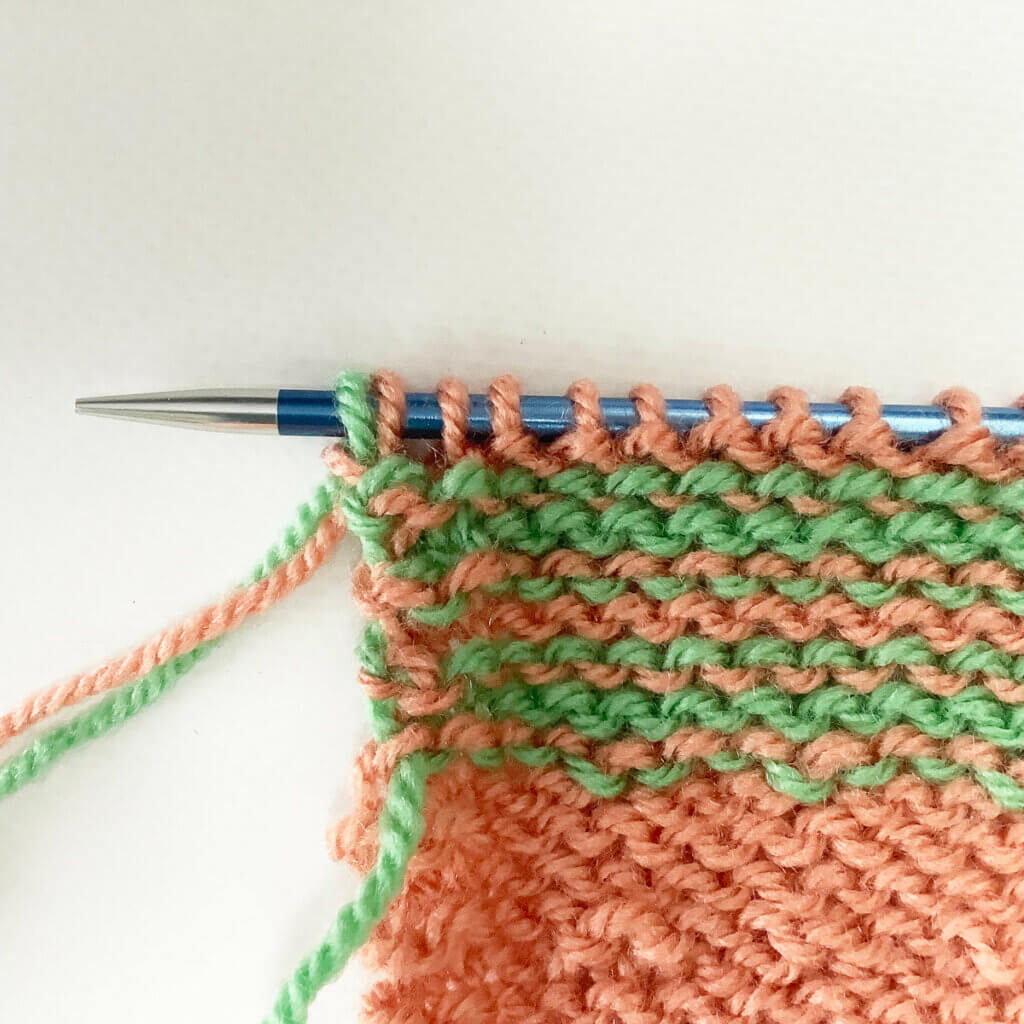
And that’s how to go about preventing a tight edge when knitting stripes!

Thanks to my Patreon supporters for bringing you this freebie! Creating quality patterns and tutorials is a lot of work and resource-intensive. However, I find it important to give you free content like this tutorial. Thanks to the generous support of my Patreon supporters, I can make it happen. Thank you, patrons! Click here to join, or click here to read more about La Visch Designs on Patreon.
tutorial – preventing a tight edge when knitting stripes Read More »