knitting

stitch pattern – quatrefoil stitch

Quatrefoil stitch

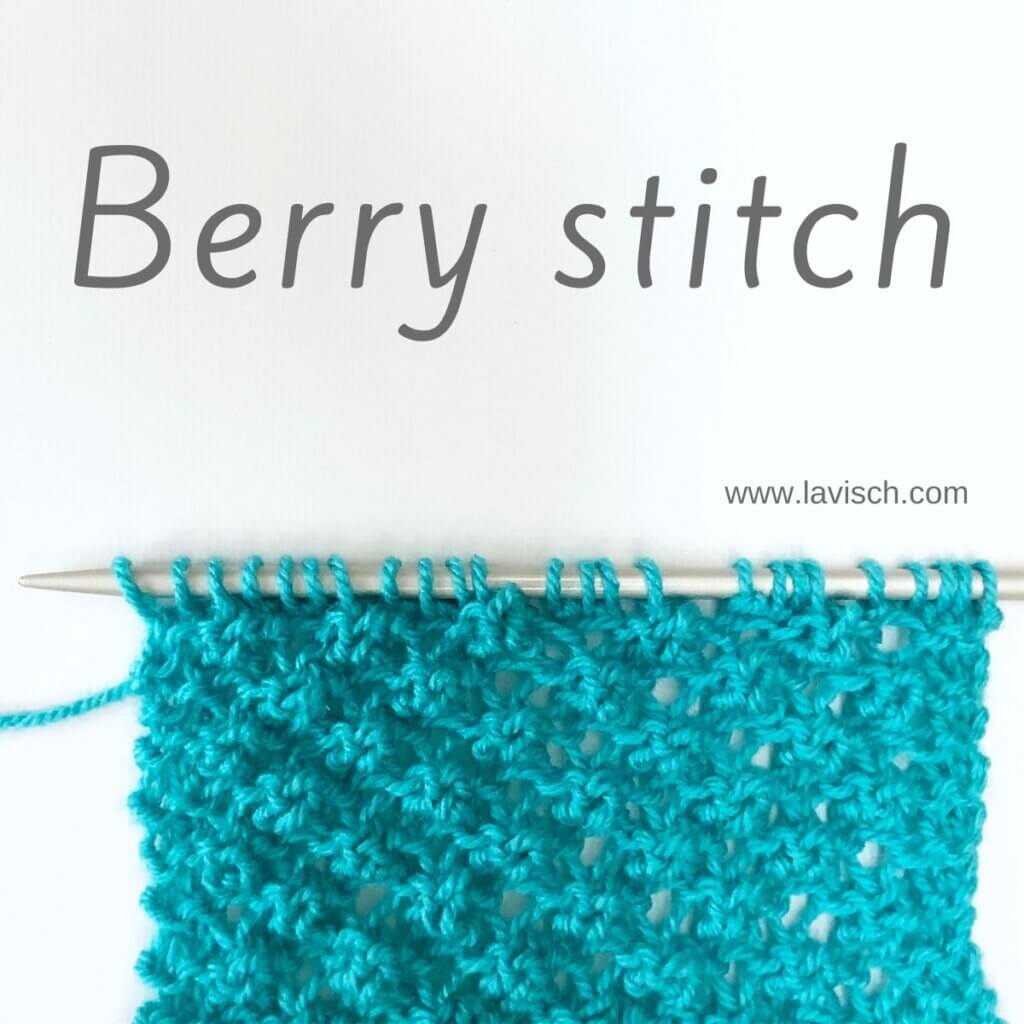
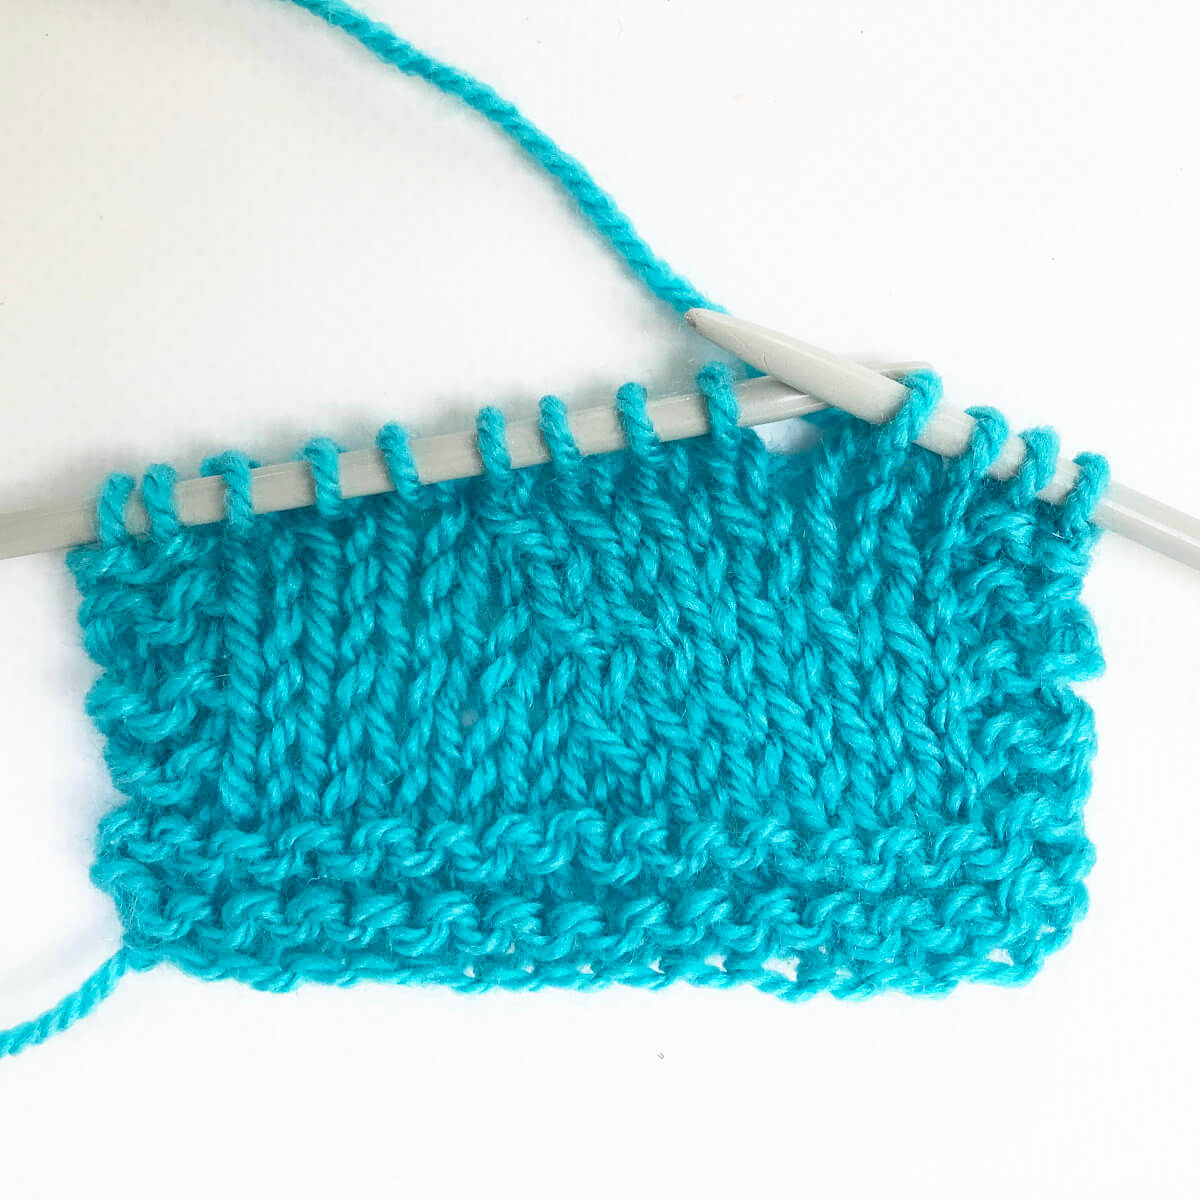
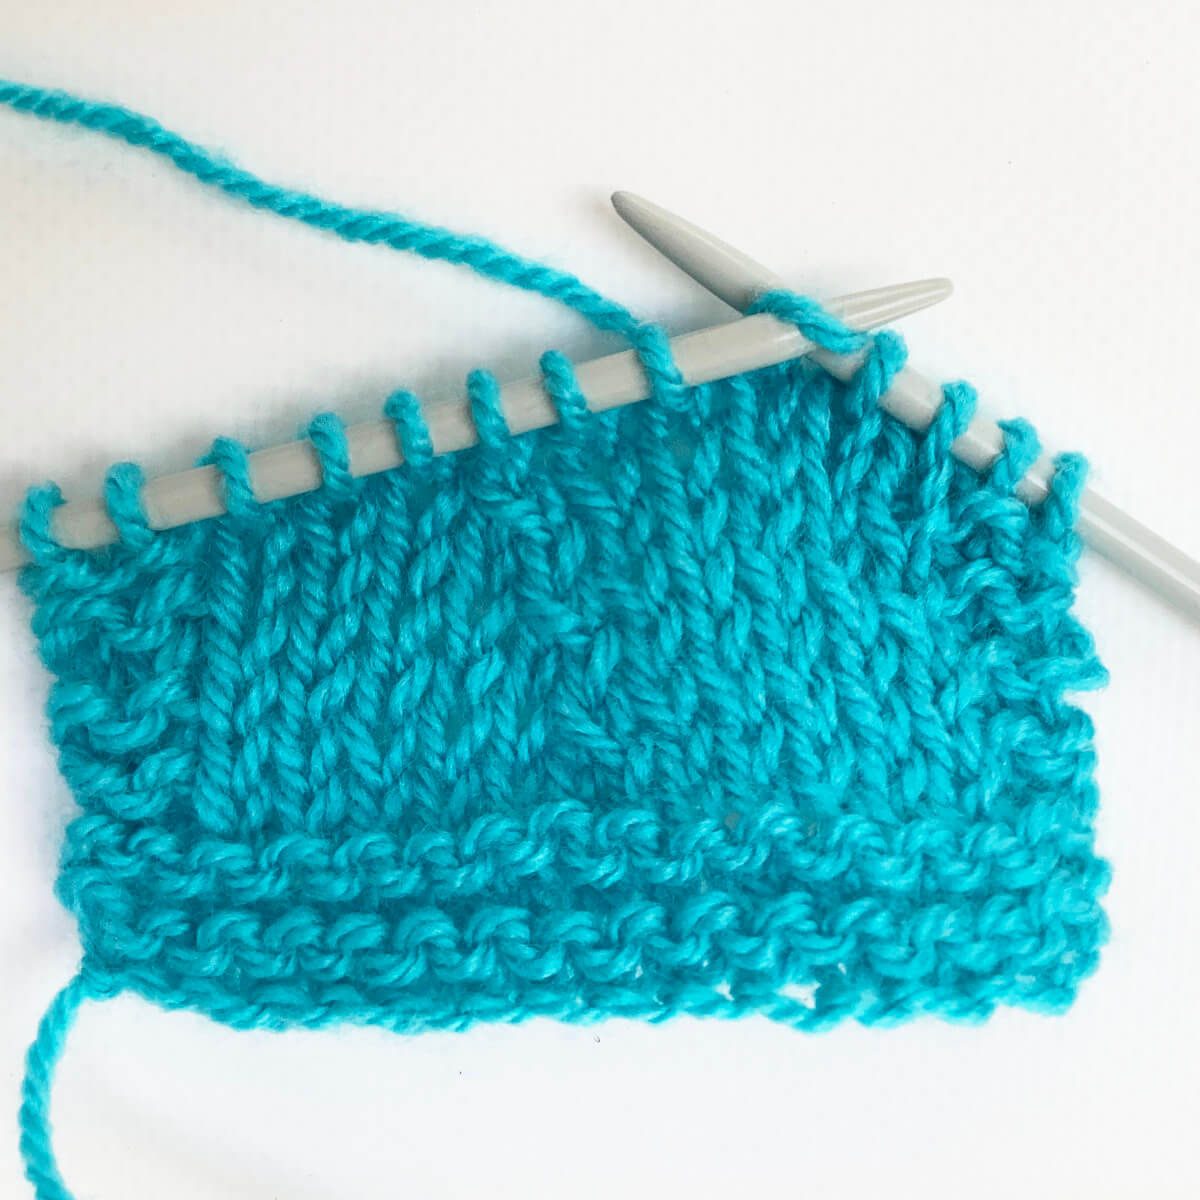
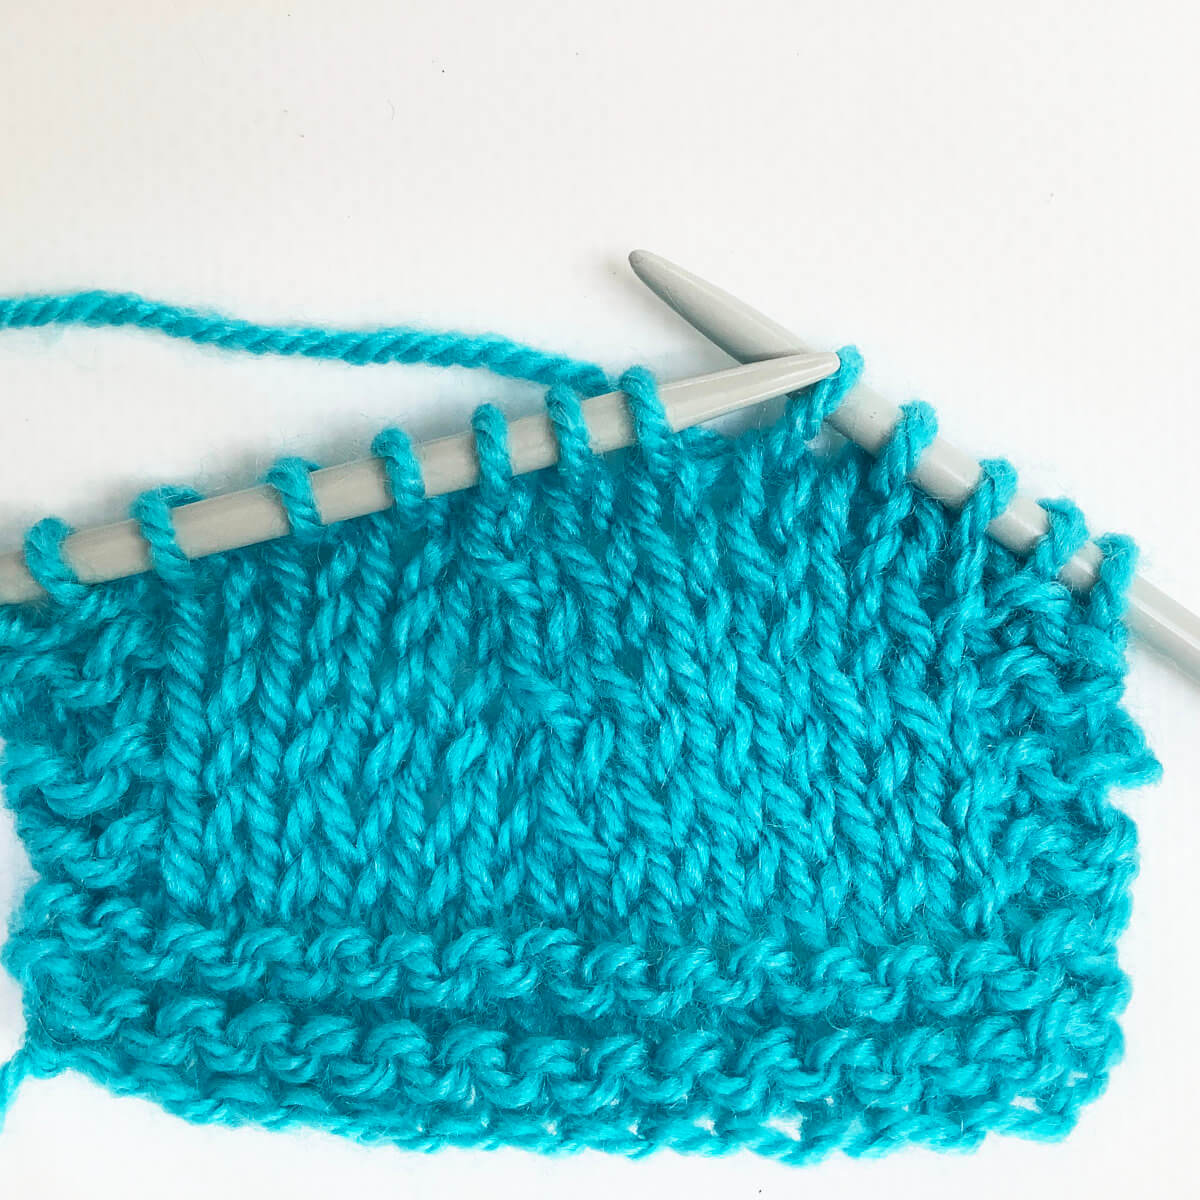
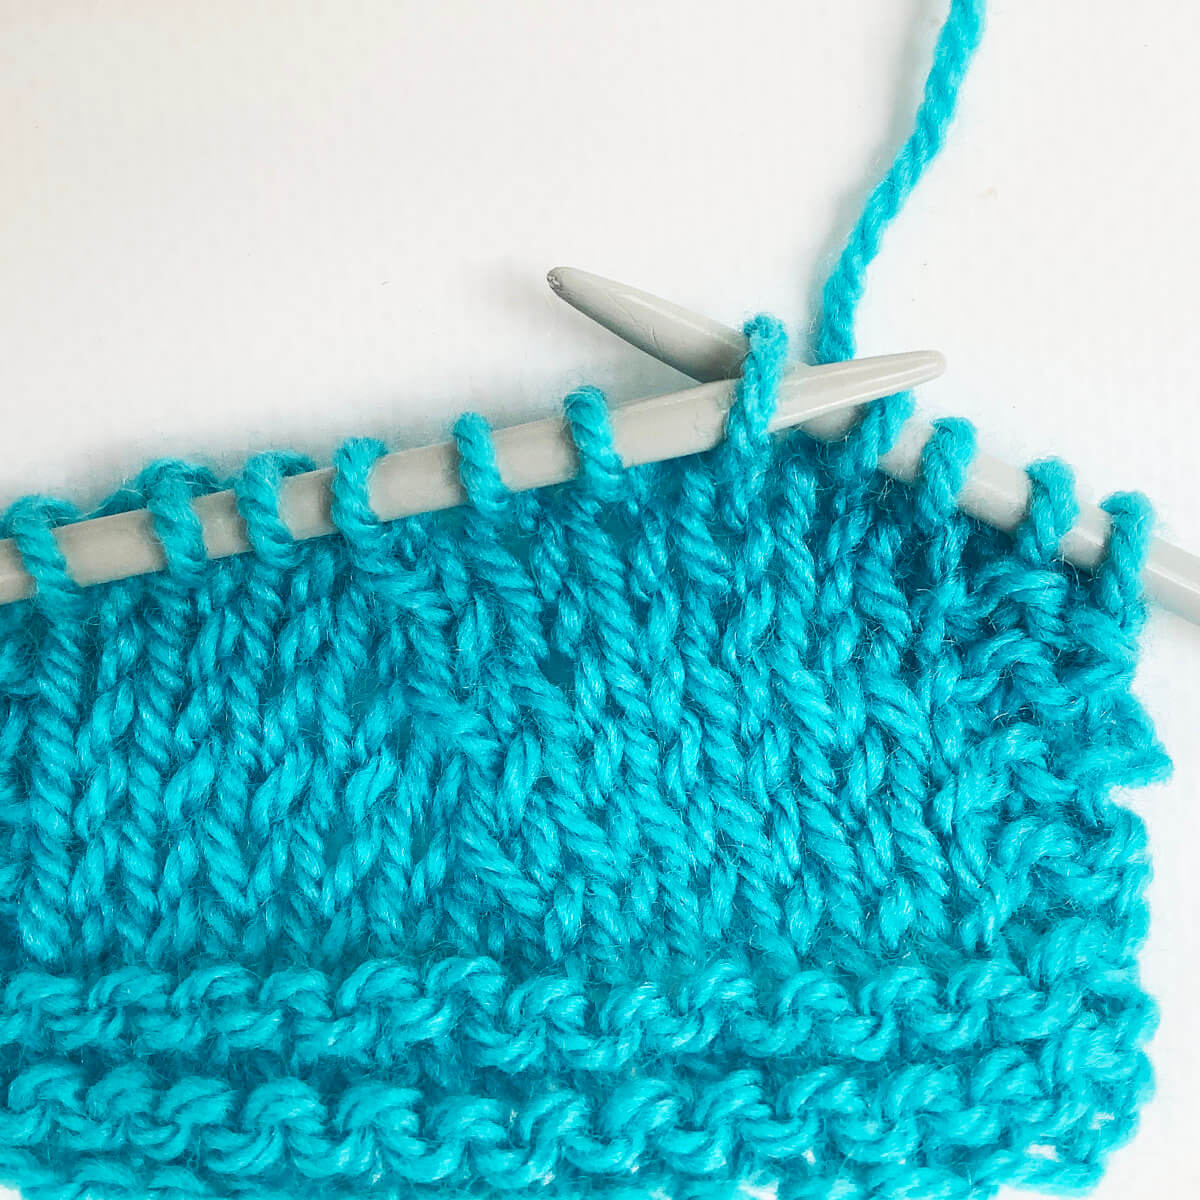
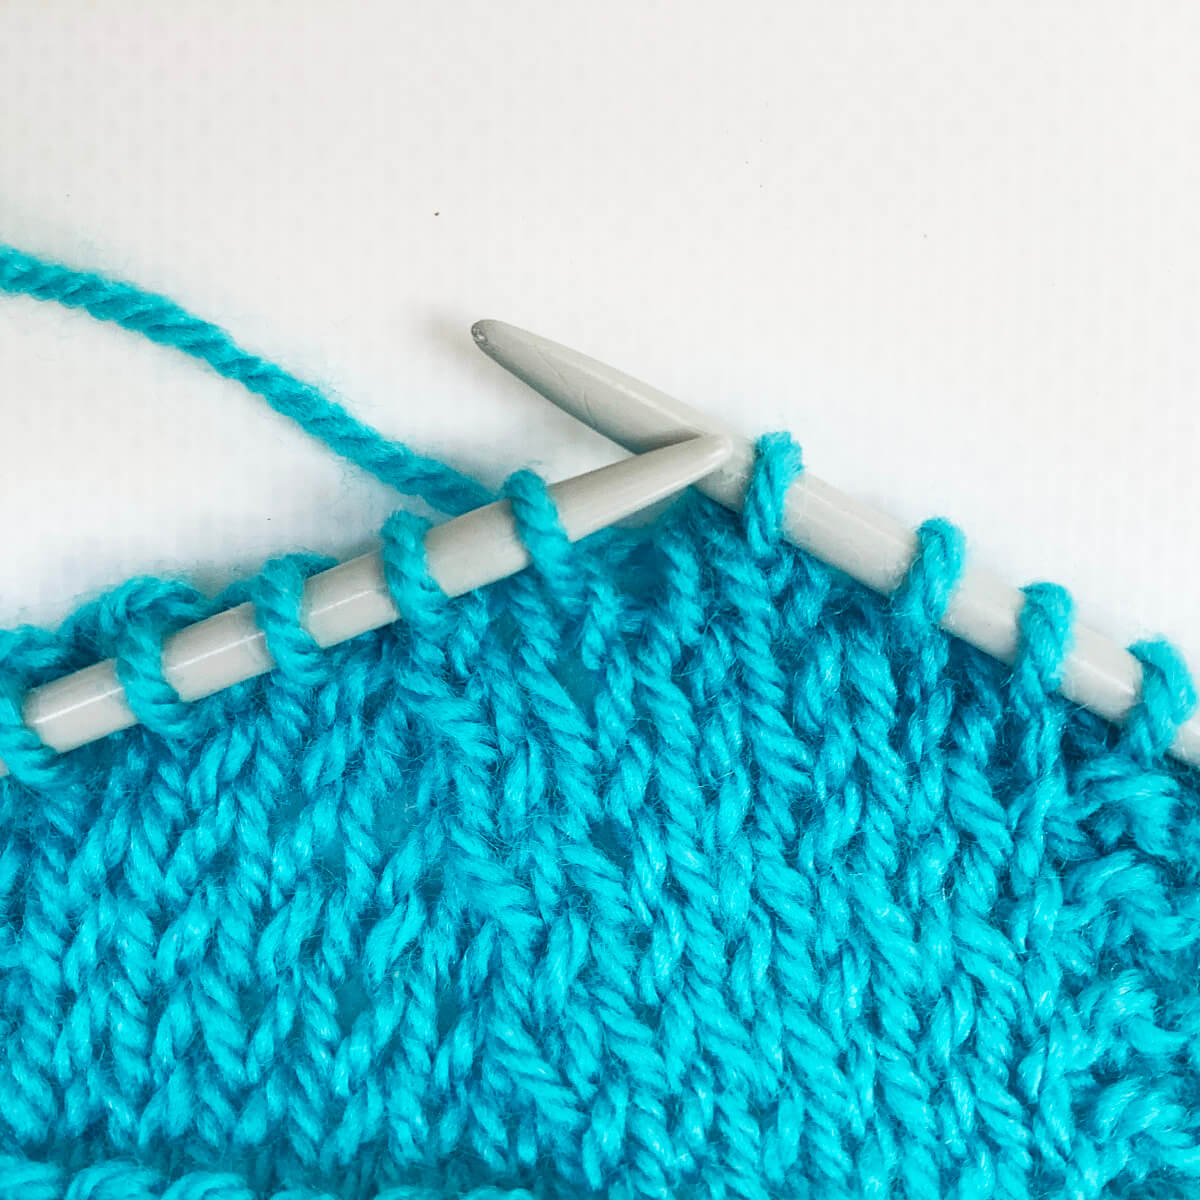
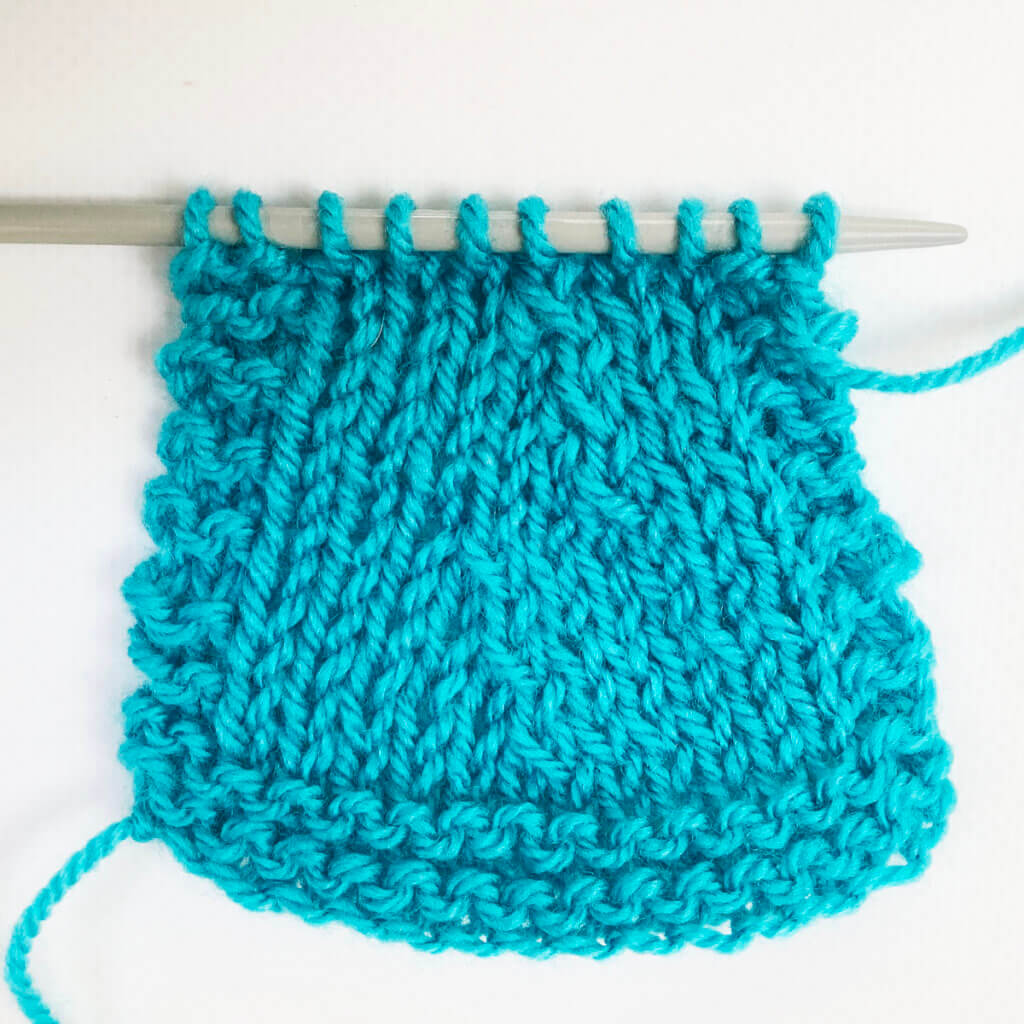
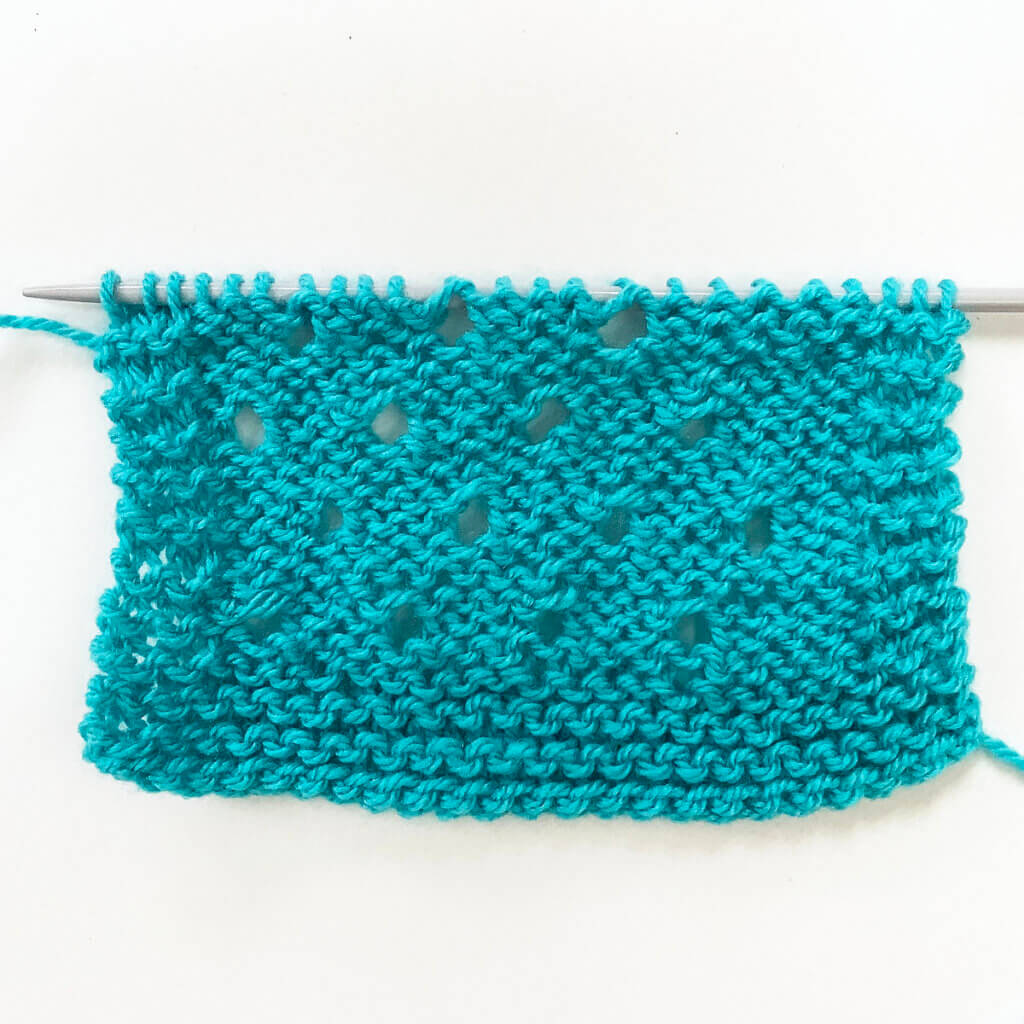
The quatrefoil stitch is a stitch pattern in the category of eyelet stitches. It’s made by working a group of 4 yarn overs, each flanked by a single decrease. Each group of 4 eyelets is alternated, making this a lovely pattern to use allover in a project.

This stitch pattern is worked as a multiple of 8 stitches, and in a sixteen-row repeat. Please note that I’ve added 2 edge stitches in garter stitch on both sides of the swatch.

Materials used

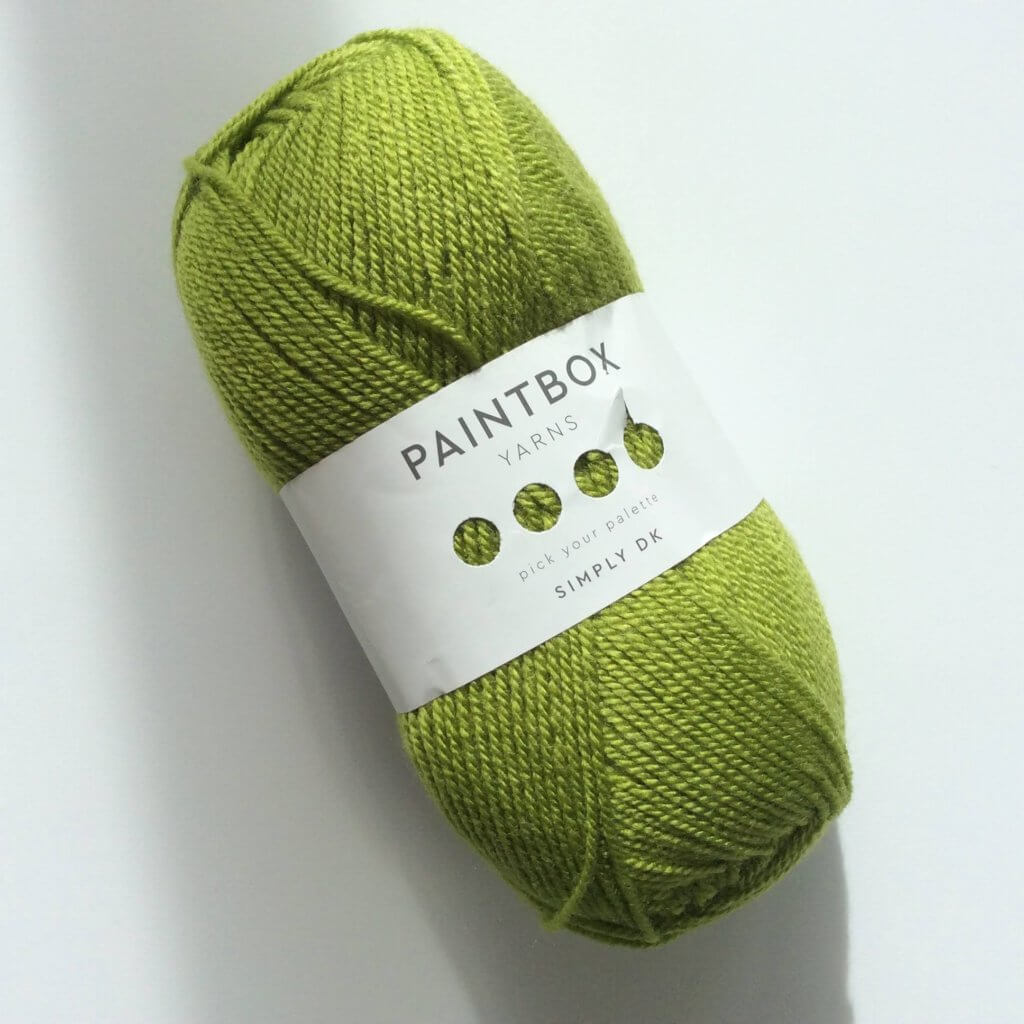
Yarn: Paintbox Yarns Simply DK, a good value, good quality 100% acrylic yarn, in the color Spearmint green.

Needles: This is a pair of straights that I picked up at the second-hand store when I started knitting, brand unknown.

Stitches used

  • k – knit
  • k2tog – knit 2 stitches together
  • p – purl
  • RS / WS – right side / wrong side
  • yo – yarn over
  • rep – repeat
  • skp – slip 1 stitch, knit 1 stitch, pass the slipped stitch over
  • st(s) – stitch(es)

Quatrefoil stitch

Row 1 (RS): Knit. (15 sts)
Row 2 and all following WS rows: Purl.
Row 3: K2, *k1, yo, skp, k5; rep from * to 5 sts before end, k1, yo, skp, k2.
Row 5: K1, k2tog, *yo, k1, yo, skp, k3, k2tog; rep from * to 4 sts before end, yo, k1, yo, skp, k1.
Row 7: K2, *k1, yo, k2tog, k5; rep from * to 5 sts before end, k1, yo, k2tog, k2.
Row 9: Knit.
Row 11: K2, *k5, yo, skp, k1; rep from * to 5 sts before end, k5.
Row 13: K2, *k3, k2tog, yo, k1, yo, skp; rep from * to 5 sts before end, k5.
Row 15: K2, *k5, yo, k2tog, k1; rep from * to 5 sts before end, k5.
Row 16: Purl.

Repeat rows 1-16 for pattern until desired length.

Quatrefoil stitch chart

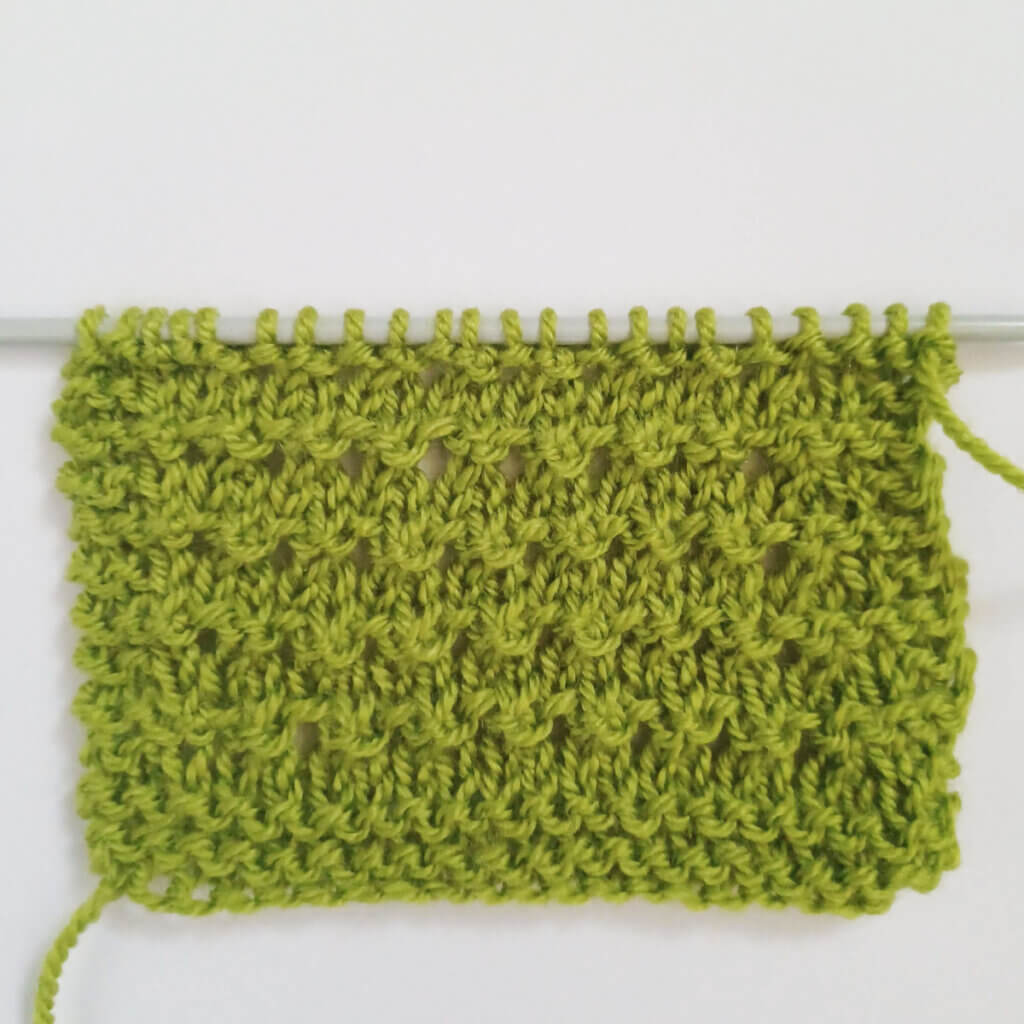
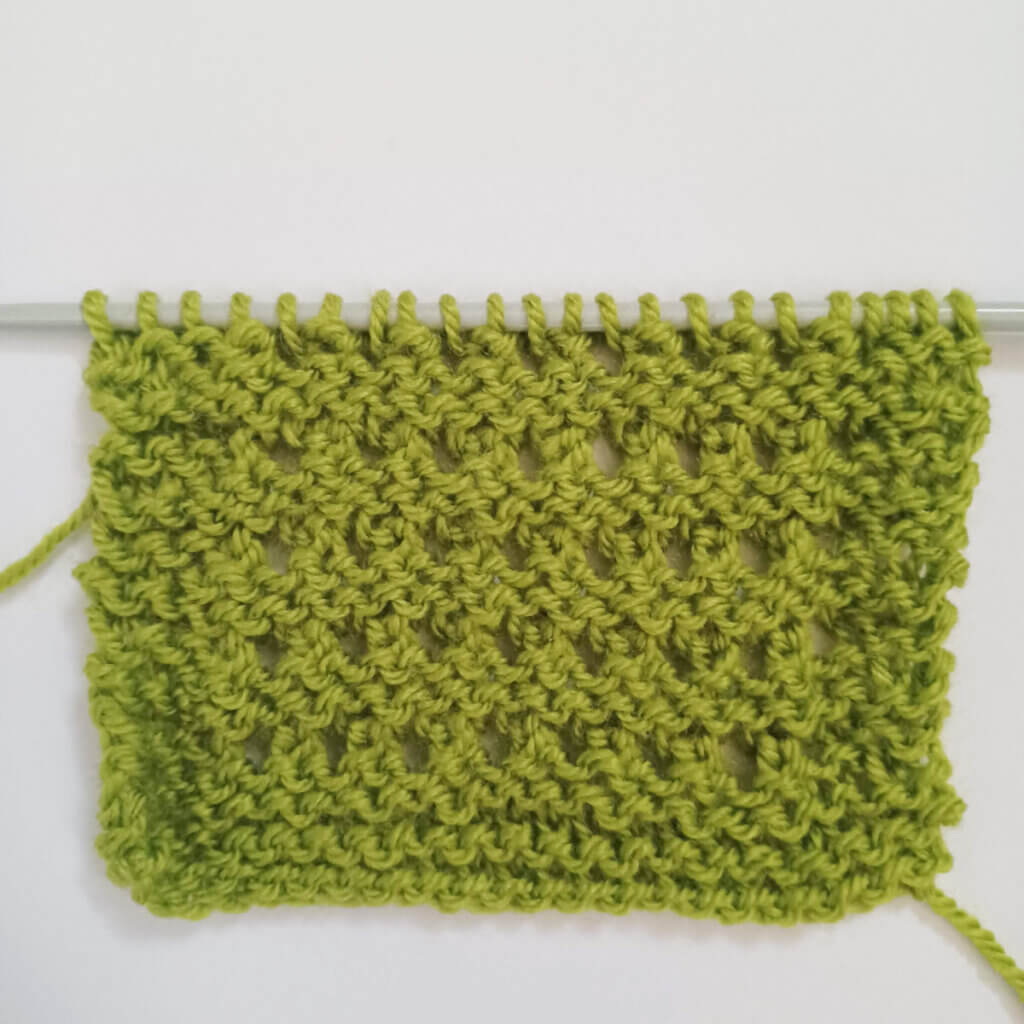
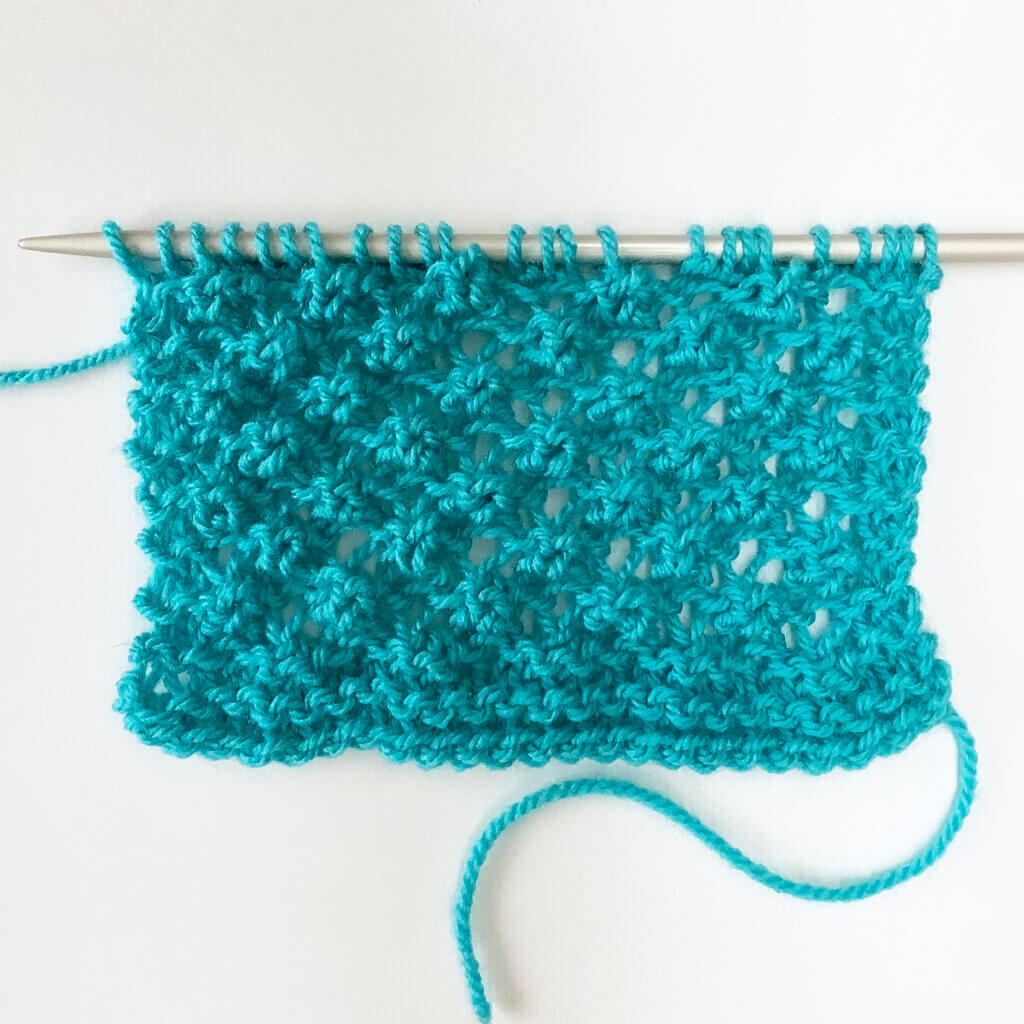
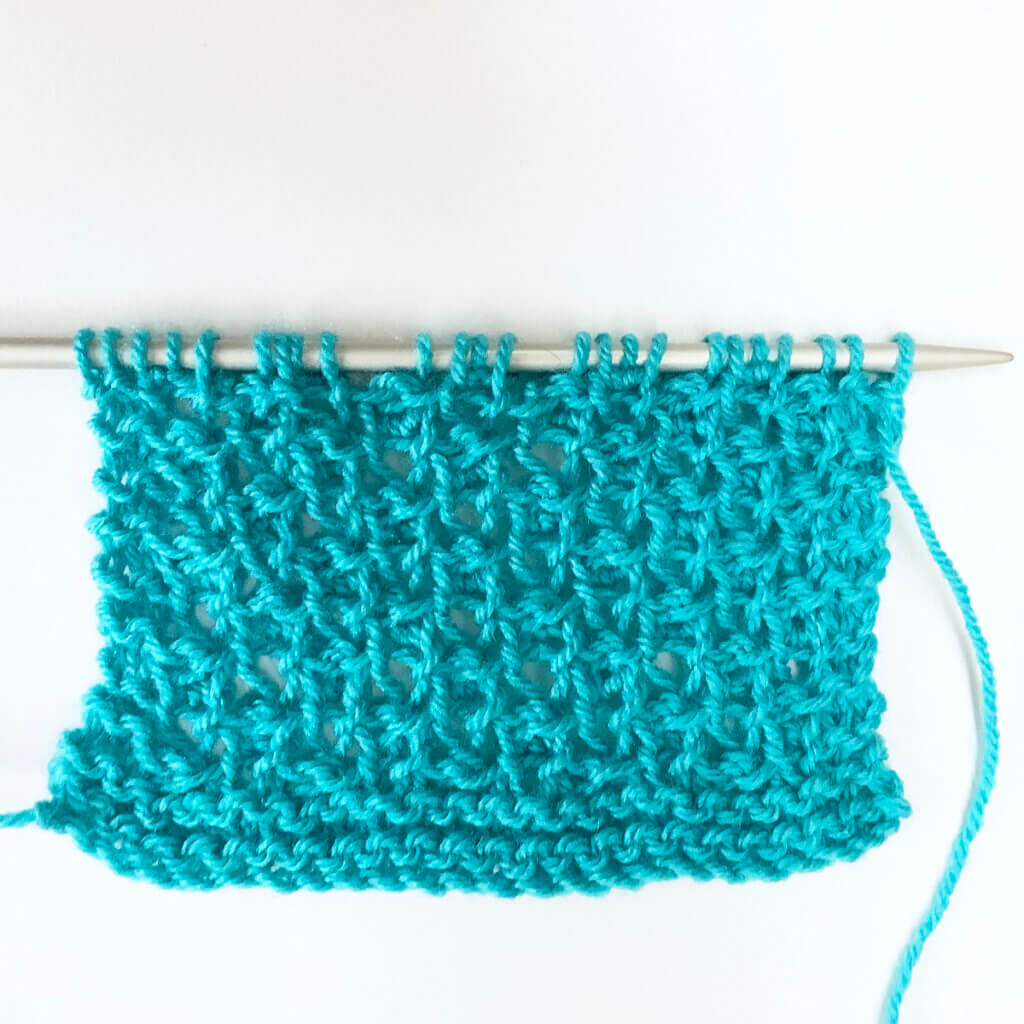
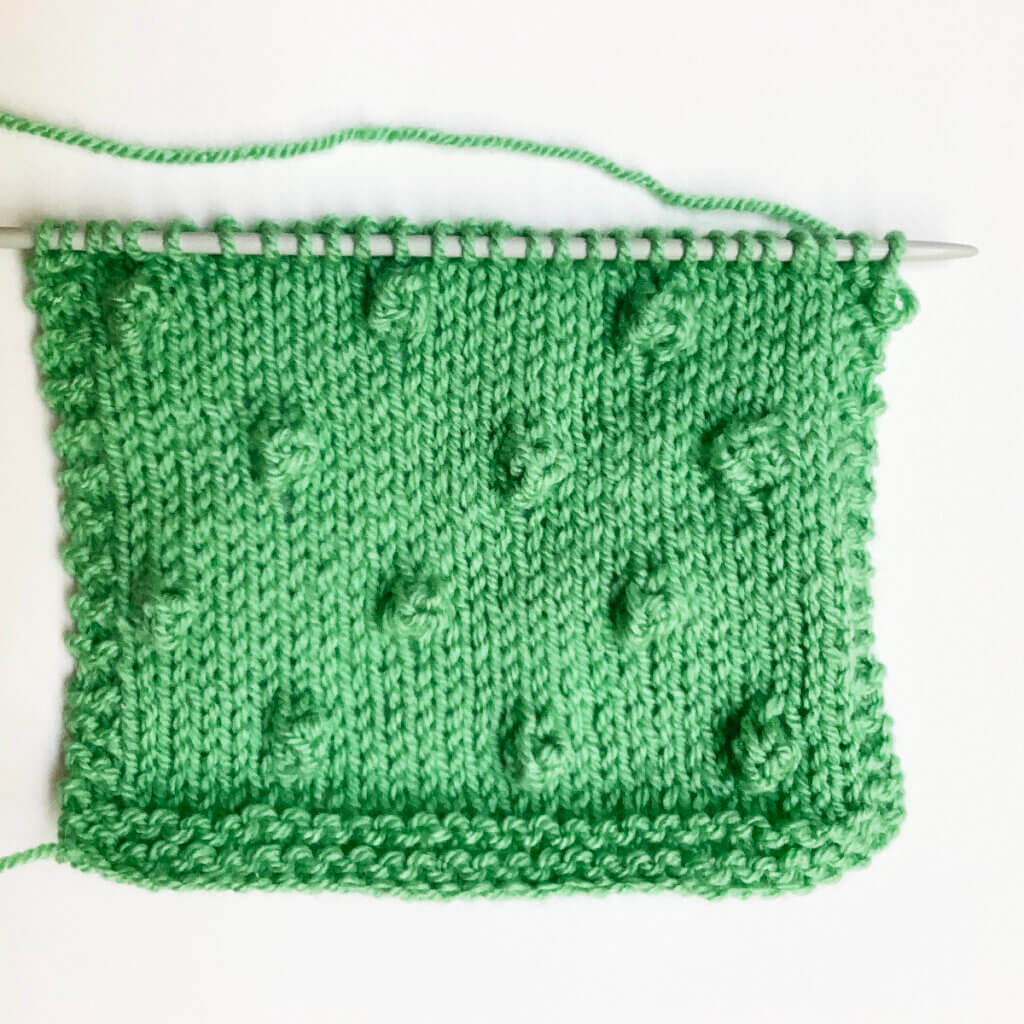
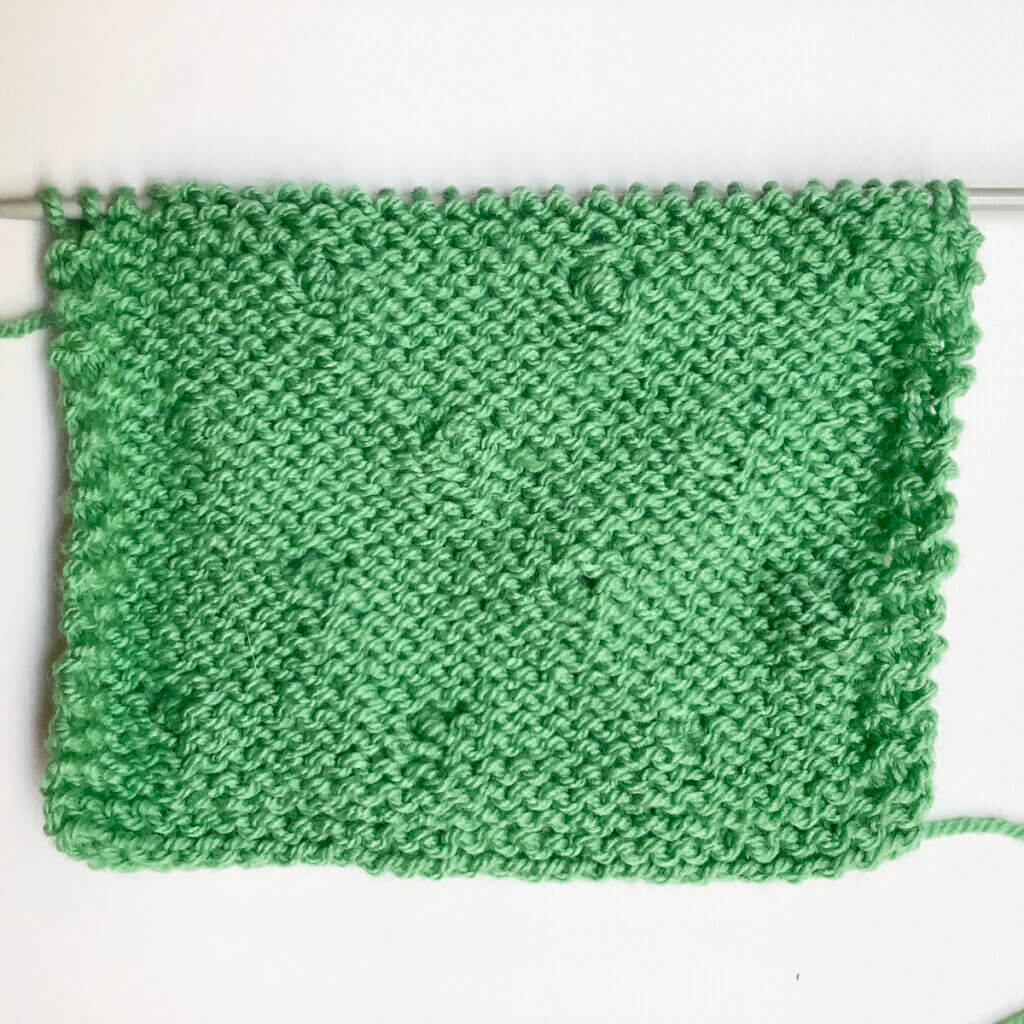
In the below pictures, you see the patterning first from the right, and then also from the wrong side of the fabric:

Quatrefoil stitch as seen from the RS
The stitch as seen from the RS.
Quatrefoil stitch as seen from the WS
The stitch as seen from the WS.

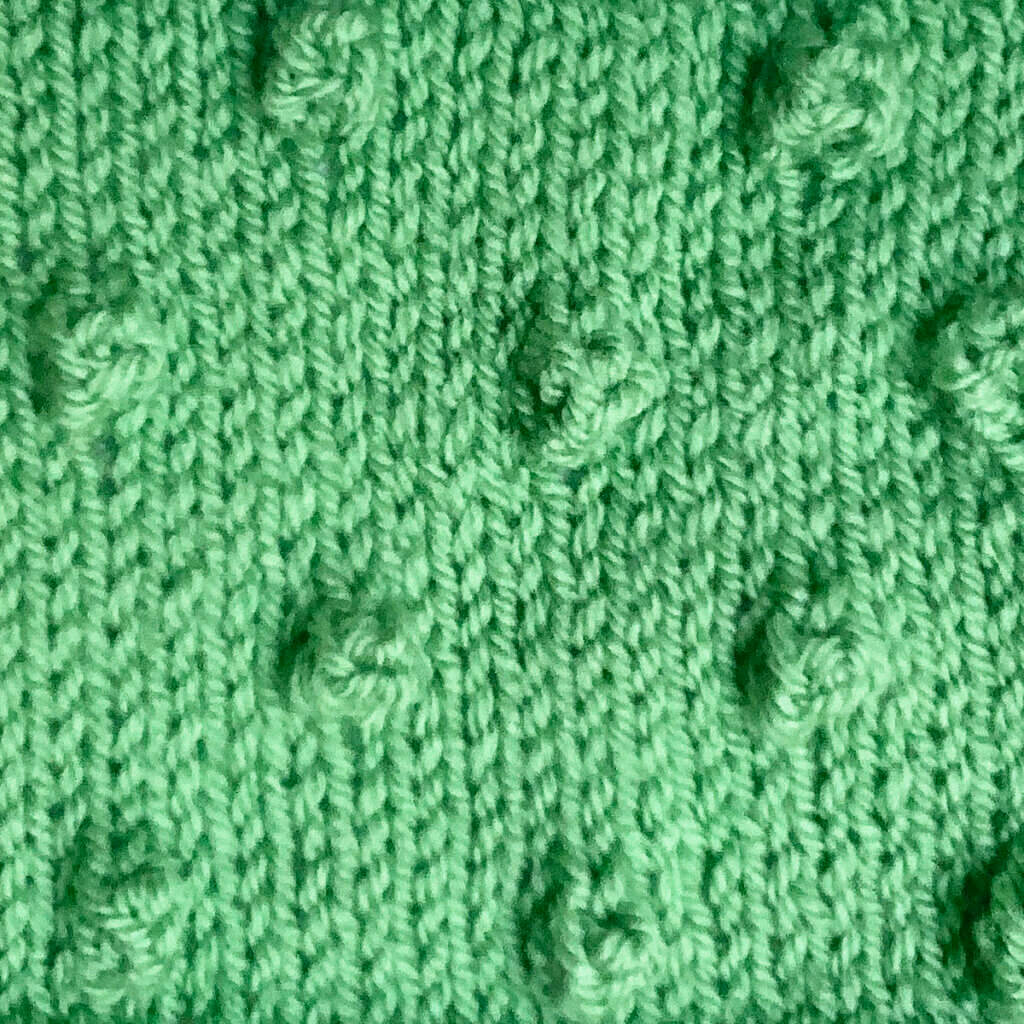
To get an impression of how this stitch looks as an all-over pattern:

Quatrefoil stitch as seen from the RS - all over
Patreon logo

Thanks to my Patreon supporters for bringing you this freebie! Creating quality patterns and tutorials is a lot of work and resource-intensive. However, I find it important to give you free content like this tutorial. Thanks to the generous support of my Patreon supporters, I can make it happen. Thank you, patrons! Click here to join, or click here to read more about La Visch Designs on Patreon.

stitch pattern – quatrefoil stitch Read More »

tutorial – working the SSK decrease

Tutorial on working the SSK decrease

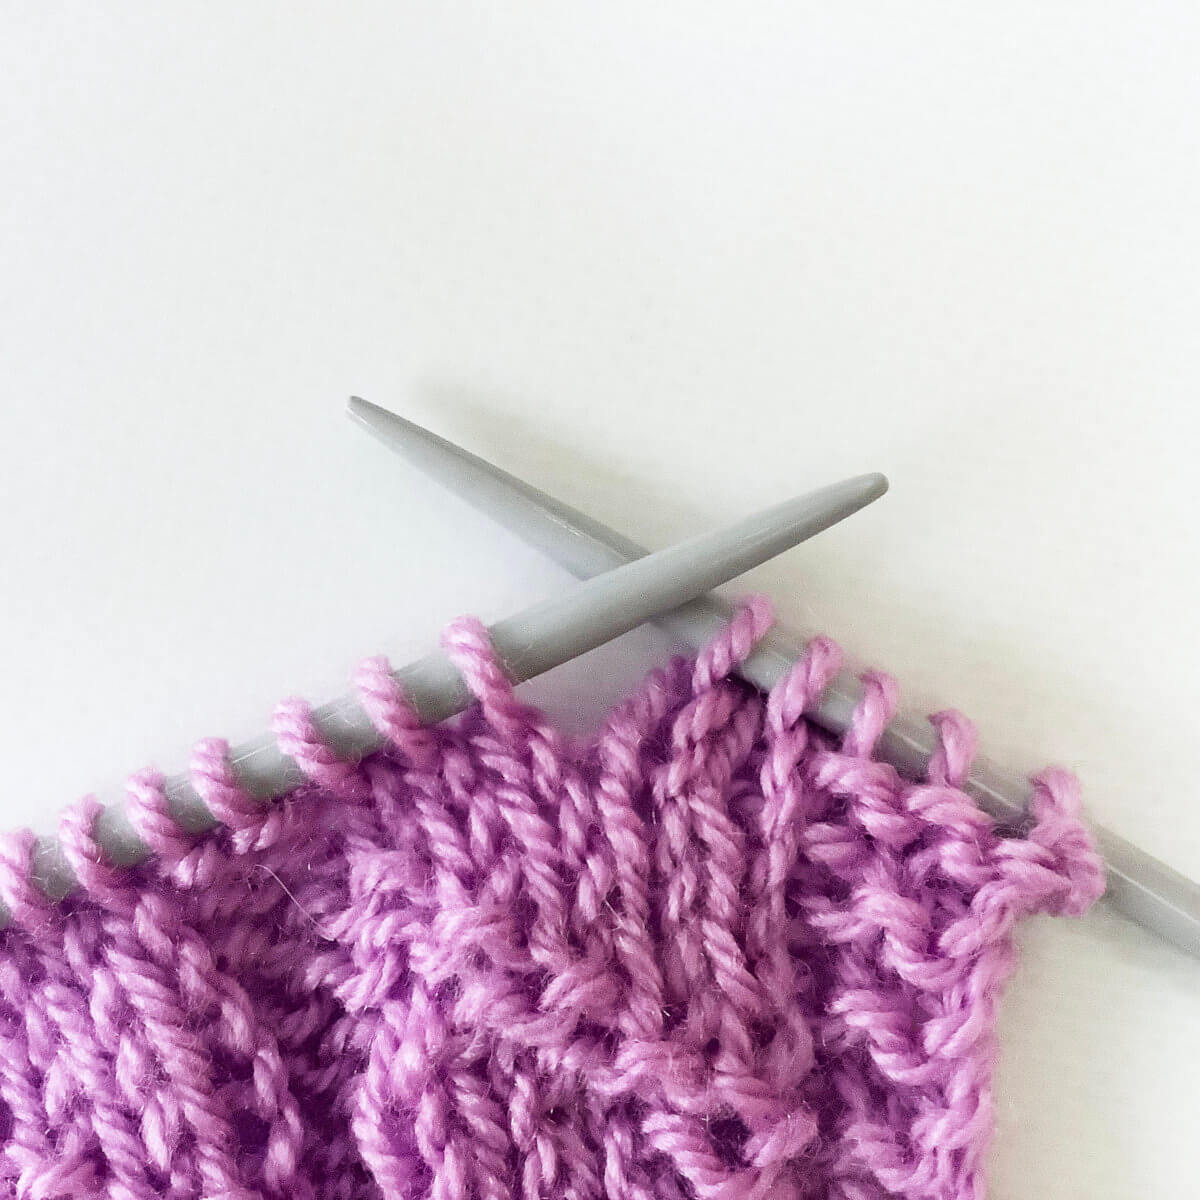
When we’re talking about a single, left-leaning decrease, I usually prefer working the SKP decrease. This abbreviation stands for “slip 1, knit 1, pass slipped stitch over”. However, many people prefer the SSK decrease instead. SSK stands for “slip slip knit”, but working the decrease entails a bit more than that. Don’t get me wrong, it’s not a hard decrease to work, but you do have to know how to slip the stitches.

Below, I’ll show you how to work this decrease step by step.

Materials

Yarn: Paintbox Yarns Simply DK, a good value, good quality 100% acrylic yarn, here in the color Marine Blue.

Needles: This is a pair of straights that I picked up at the second-hand store when I started knitting, brand unknown.

Working the SSK decrease step by step

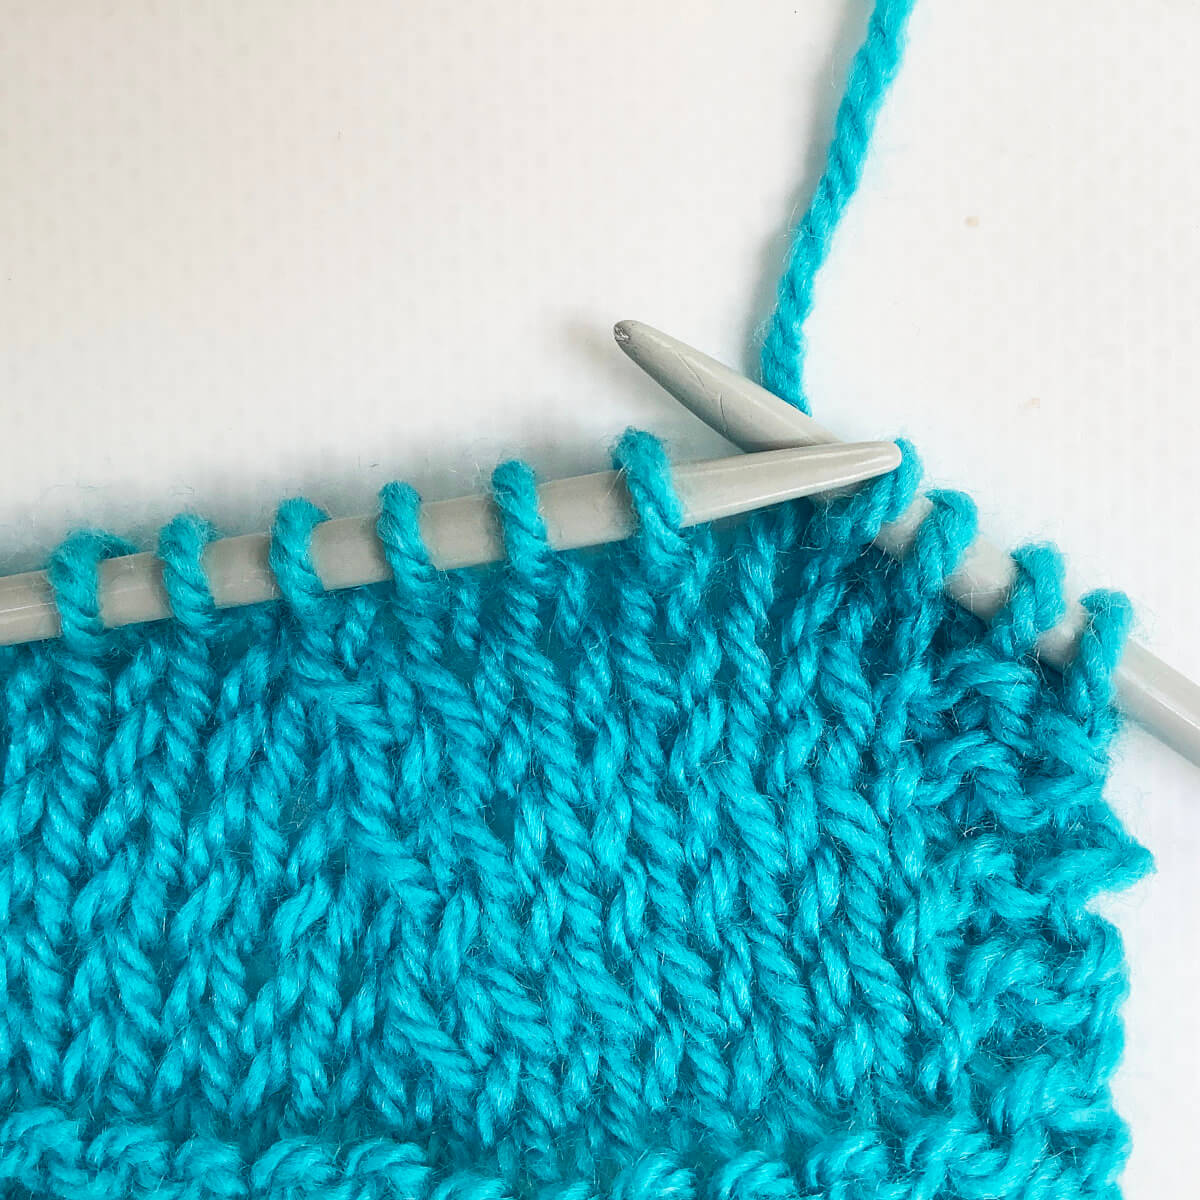
  1. Work your way across the row until you’ve reached the point where you want to make the decrease

    In this case, I want to work the decrease 7 stitches in from the left side of the swatch. That is including the edge stitches in garter stitch.Step 1 of working the SSK

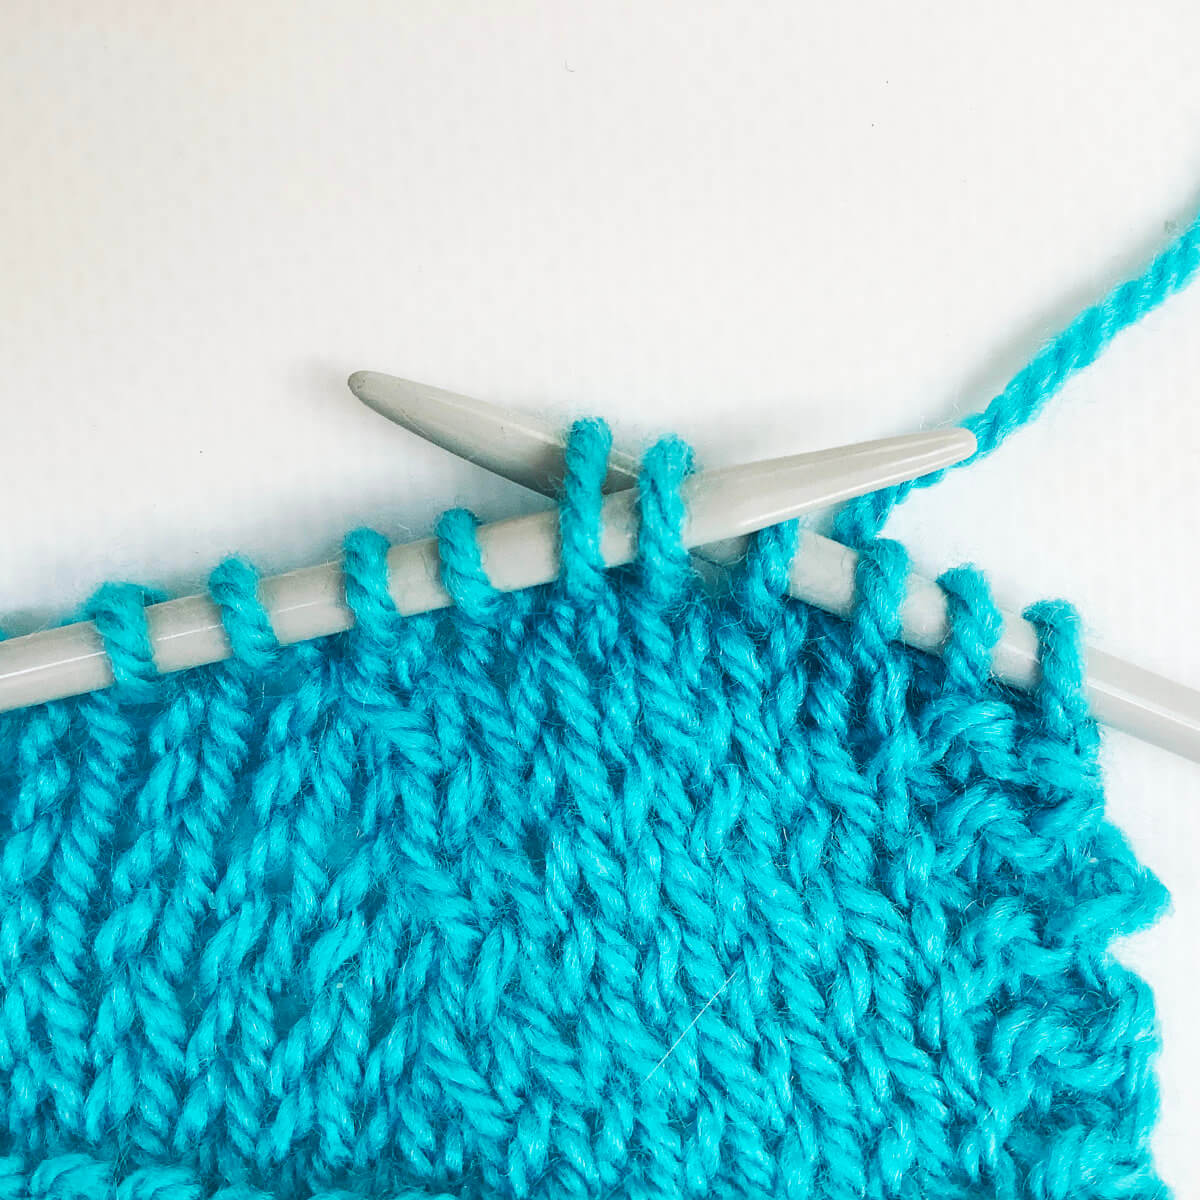
  2. Insert the needle into the first stitch on the left-hand needle as if to knit…

    Step 2

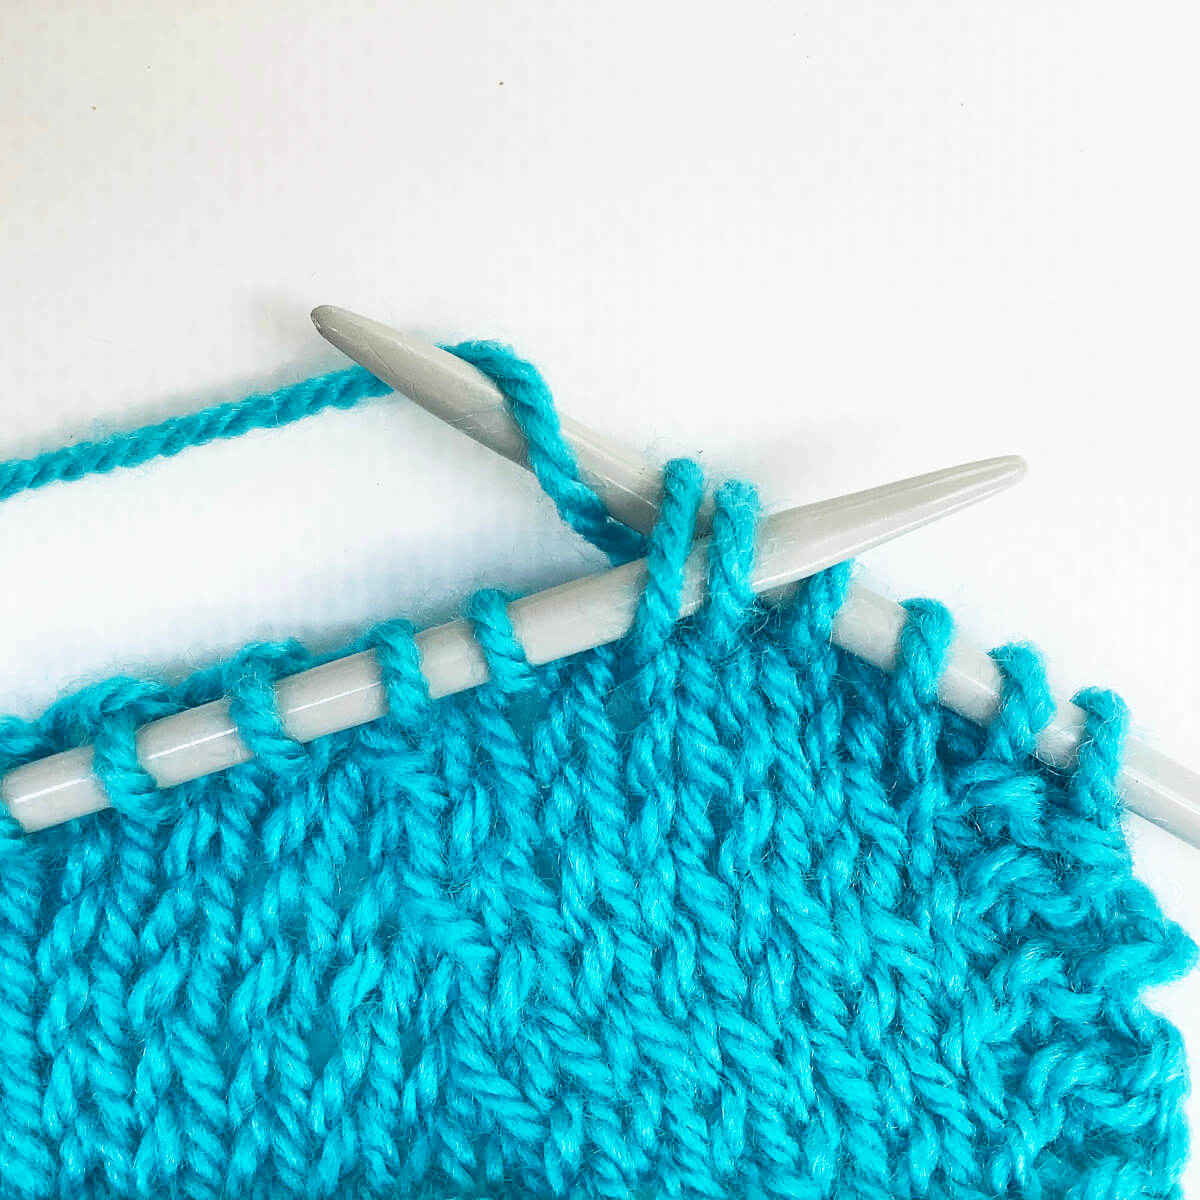
  3. … and slip the stitch to the right-hand needle.

    With this action, you twist the stitch mount of the stitch. Do you see how it sits differently on the needle when compared with the other stitches?Step 3

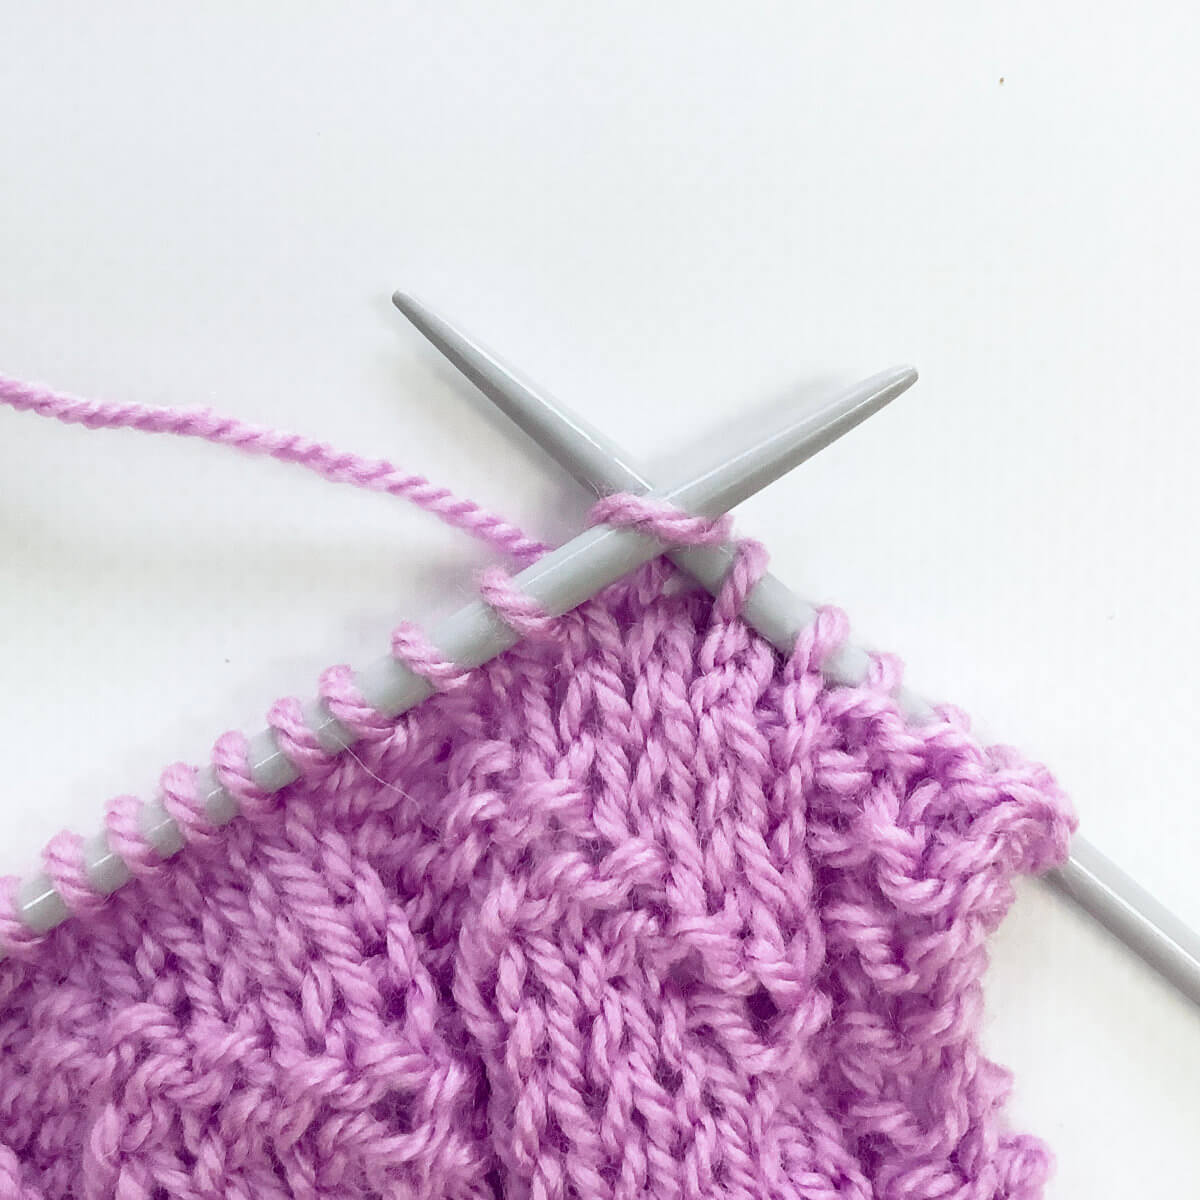
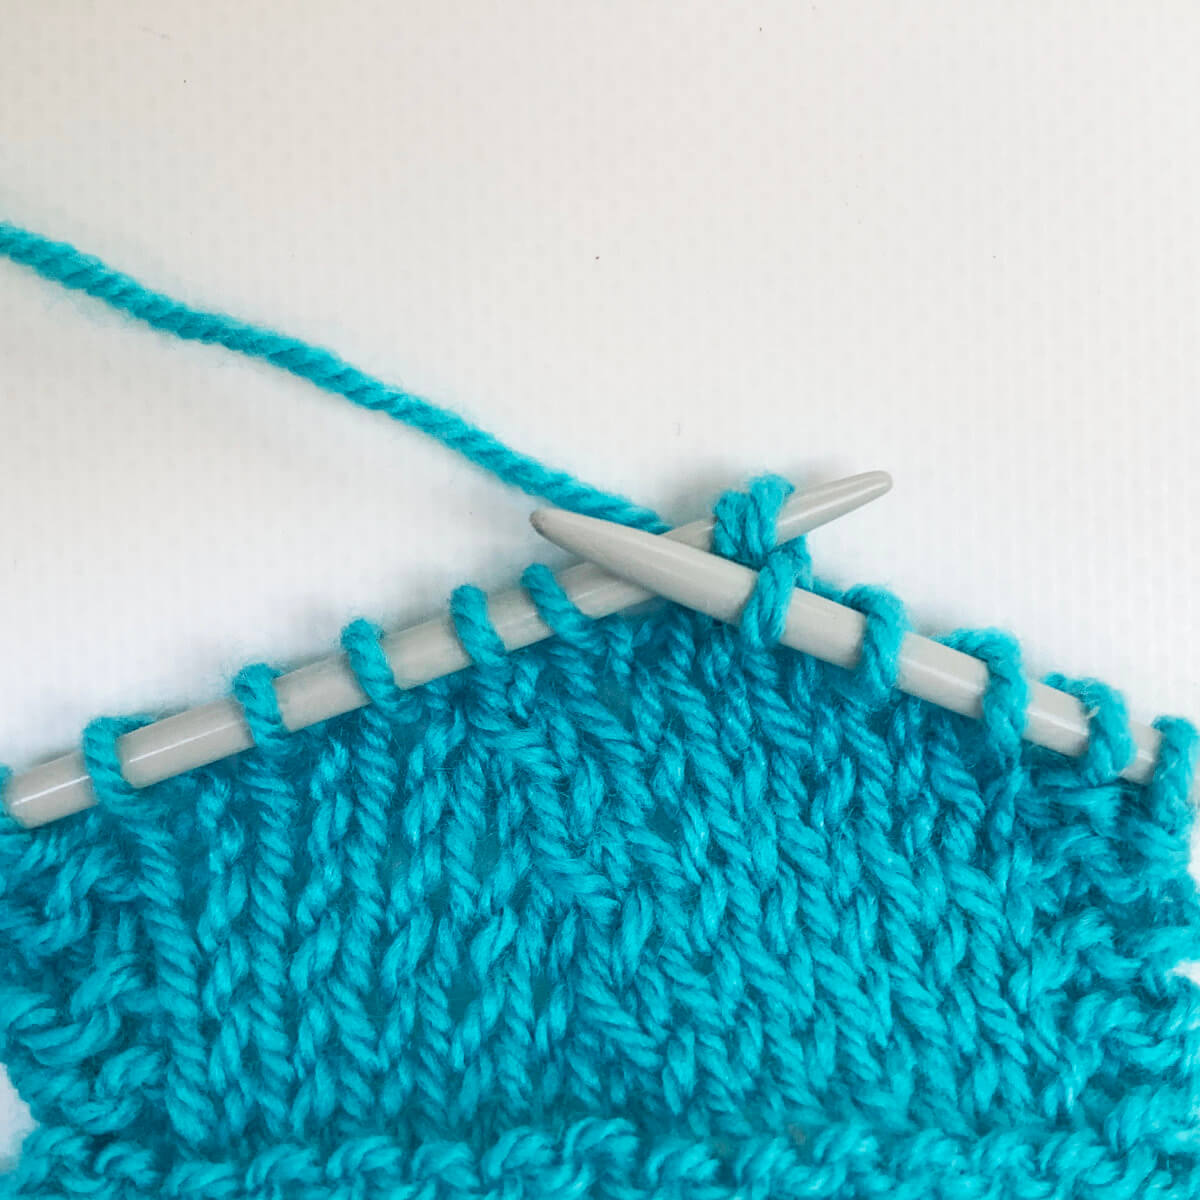
  4. Repeat steps 2 and 3 with the next stitch on the left-hand needle.

    Step 4 of working the SSK

  5. Now, we have to put those 2 stitches back onto the left-hand needle. To do so, insert the left-hand needle into the front loops of the 2 stitches on the right-hand needle.

    Step 5

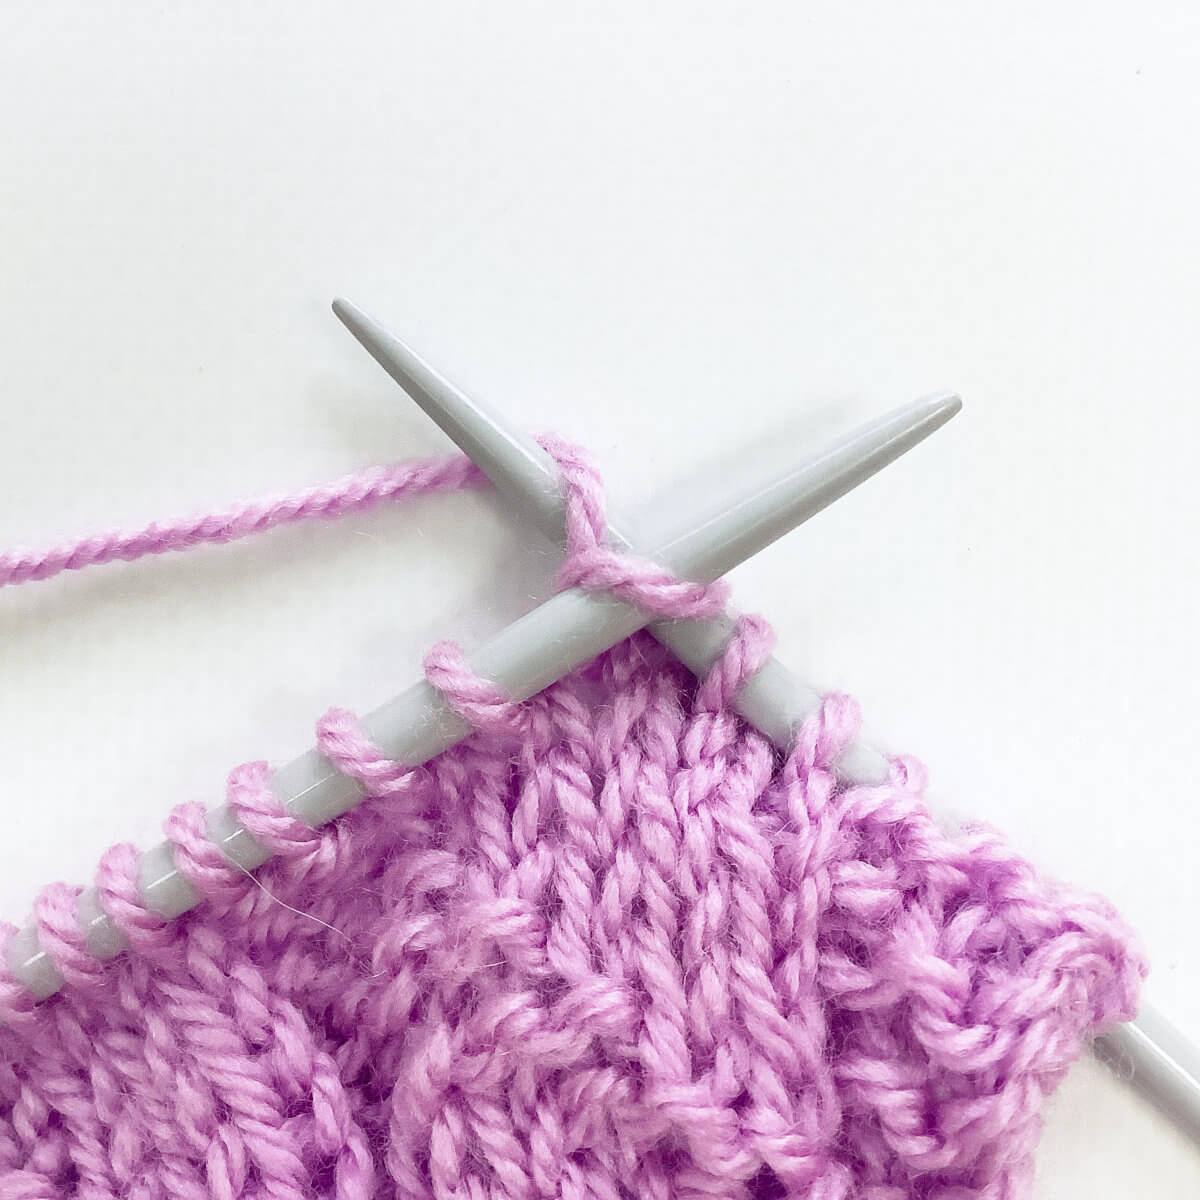
  6. With the action of the last step, we have already positioned these 2 stitches for the next step: Knitting them together through the back loop (k2tog tbl). This means we now only have to wrap the yarn around the needle….

    Step 6

  7. … Pull the yarn through…

    Step 7

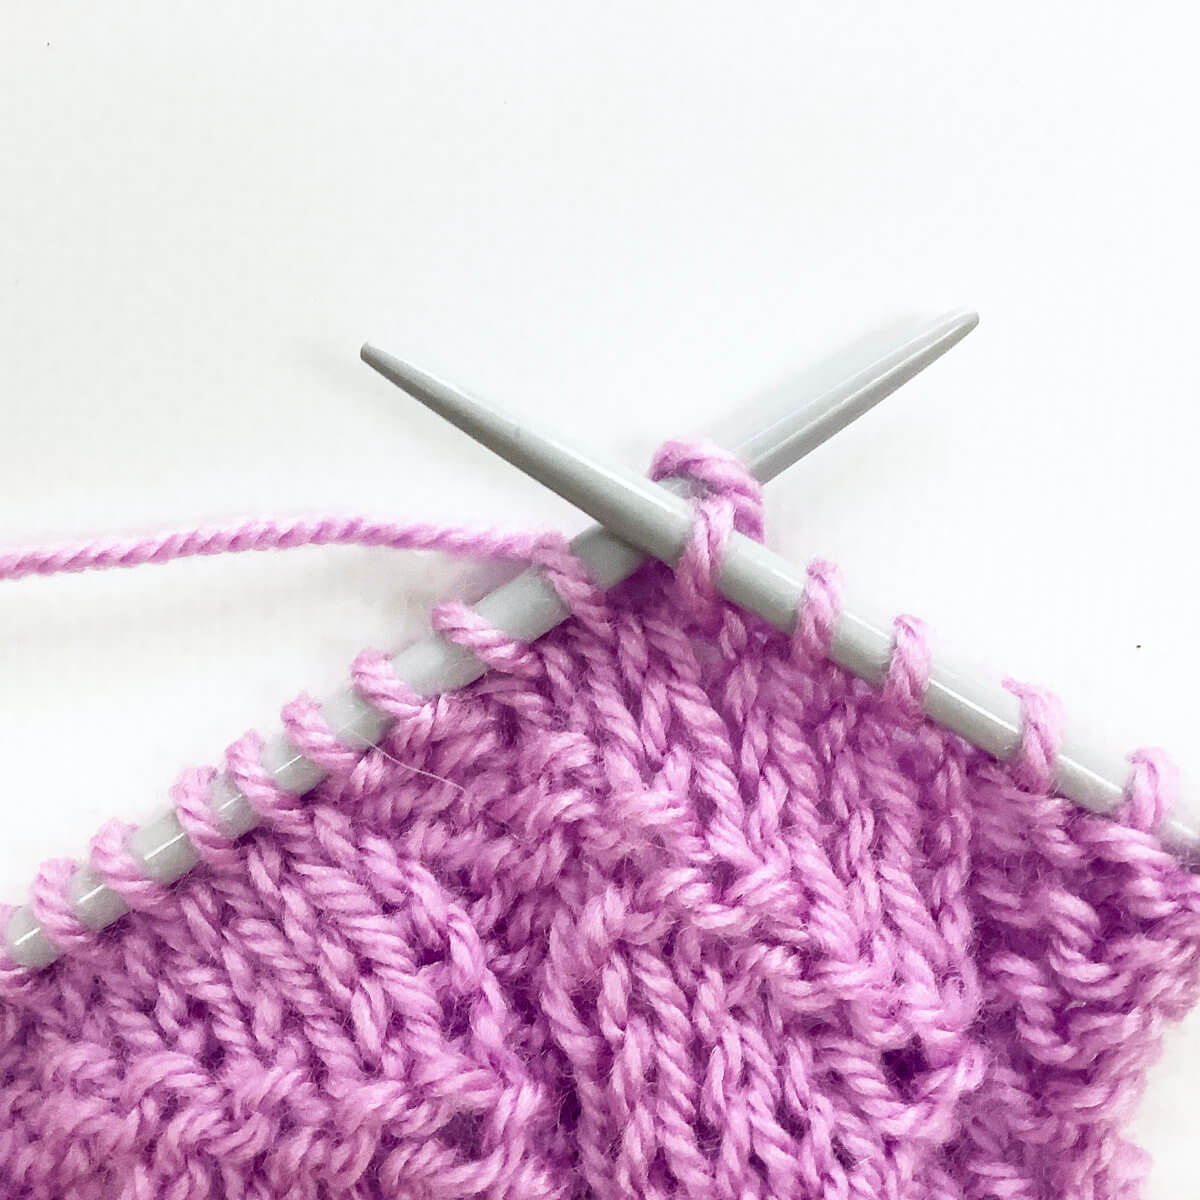
  8. … and slip the stitch of the needle to finish the decrease.

    This is how it then looks:The result of working the SSK

The below picture shows how it looks after 2 more decrease rows have been worked. 

The result of several SSK decreases
Patreon logo

Thanks to my Patreon supporters for bringing you this freebie! Creating quality patterns and tutorials is a lot of work and resource-intensive. However, I find it important to give you free content like this tutorial. Thanks to the generous support of my Patreon supporters, I can make it happen. Thank you, patrons! Click here to join, or click here to read more about La Visch Designs on Patreon.

tutorial – working the SSK decrease Read More »

stitch pattern – fountain stitch

Fountain stitch

The fountain stitch is an elegant lace pattern, that looks rather like water flowing from a fountain. Hence, the name! It really looks much more intricate and complex than it really is. The stitch pattern consists of yarn overs and a left-leaning double decrease. You can easily adjust the looks of this lace pattern, by replacing the decrease by a centered double decrease. In this example, I have worked the pattern in acrylic yarn, the swatch has not been blocked. The patterning will pop a lot more if you do block your project.

This stitch pattern is worked as a multiple of 4 stitches + 1, and in a four-row repeat. Something to keep in mind, is that the increases are decreased away again on another row, so your stitch count will differ from row to row. Please note that I’ve added 2 edge stitches in garter stitch on both sides of the swatch.

Materials used

Yarn: Paintbox Yarns Simply DK, a good value, good quality 100% acrylic yarn, in the color Vintage Pink.

Needles: This is a pair of straights that I picked up at the second-hand store when I started knitting, brand unknown.

Stitches used

Fountain stitch

Row 1 (RS): K1, * yo, k3, yo, k1; rep from * to end.
Row 2 (WS): Purl.
Row 3: K1, * k2, sl1-k2tog-psso, k3; rep from * to end.
Row 4: Purl.

Repeat rows 1-4 for pattern until desired length.

Fountain stitch chart

In the below pictures, you see the patterning first from the right, and then also from the wrong side of the fabric:

Fountain stitch shown from the RS
Fountain stitch as seen from the right side
Fountain stitch shown from the WS
Fountain stitch as seen from the wrong side

To get an impression of how this stitch looks as an all-over pattern:

fountain stitch -all-over
Patreon logo

Thanks to my Patreon supporters for bringing you this freebie! Creating quality patterns and tutorials is a lot of work and resource-intensive. However, I find it important to give you free content like this tutorial. Thanks to the generous support of my Patreon supporters, I can make it happen. Thank you, patrons! Click here to join, or click here to read more about La Visch Designs on Patreon.

stitch pattern – fountain stitch Read More »

tutorial – replacing the toe of a hand-knit sock

Replacing the worn-down toe of a hand-knit sock

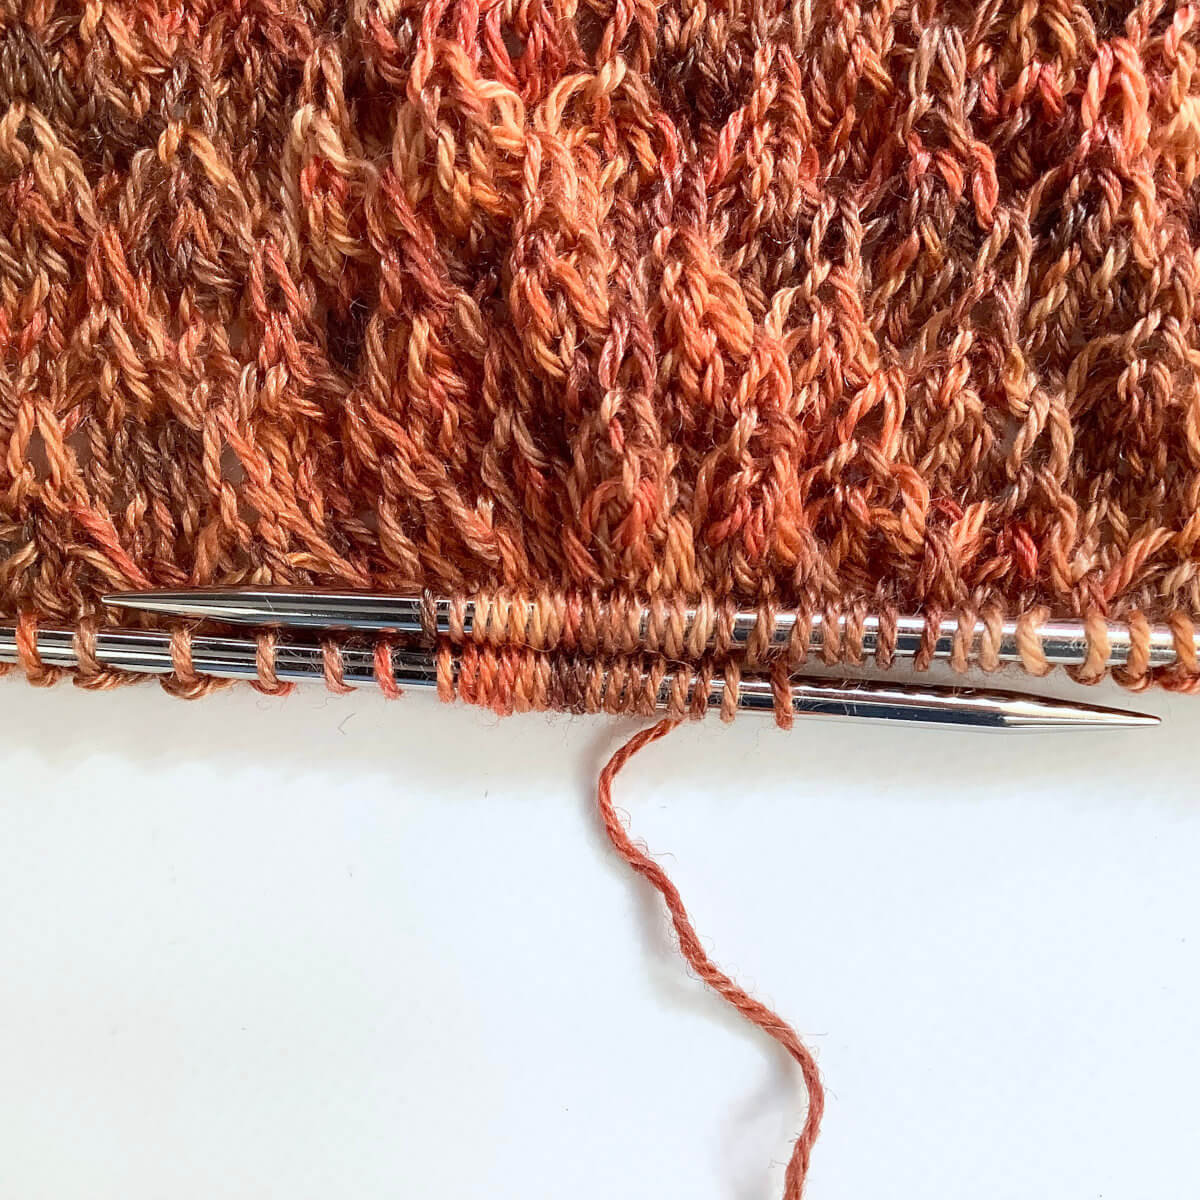
My youngest is a big fan of wearing hand knit socks. To make sure he gets enough wear out of a pair before growing out of them, I make him tube socks. The pattern I use is usually the No-Heel Spiral Socks by La Maison Rililie. Anyway, he wears these socks a lot, and that means they also get a lot of wear. With the sock pictured, a hole developed in the lilac toe section. On further inspection, it became clear that the whole lilac toe was thin all over, but that the rest of the sock was still good for a lot of wearing. So, time to learn how to go about replacing the worn-down toe of a hand-knit sock!

In this post, I show you how I go about it. There are probably many more ways to tackle this, this is just the one that I used here.

Materials used

Yarn: New sock yarn to work the new toe.

Tools: A pair of circular needles in size 2 mm (US 00) and a small circular in the same size.

Replacing the toe, step by step

I determined that all the lilac was bad, but that the pink variegated yarn was still good.

  1. To start, I snipped some of the lilac yarn to free up the stitches in the pink and to put those on a circular needle.

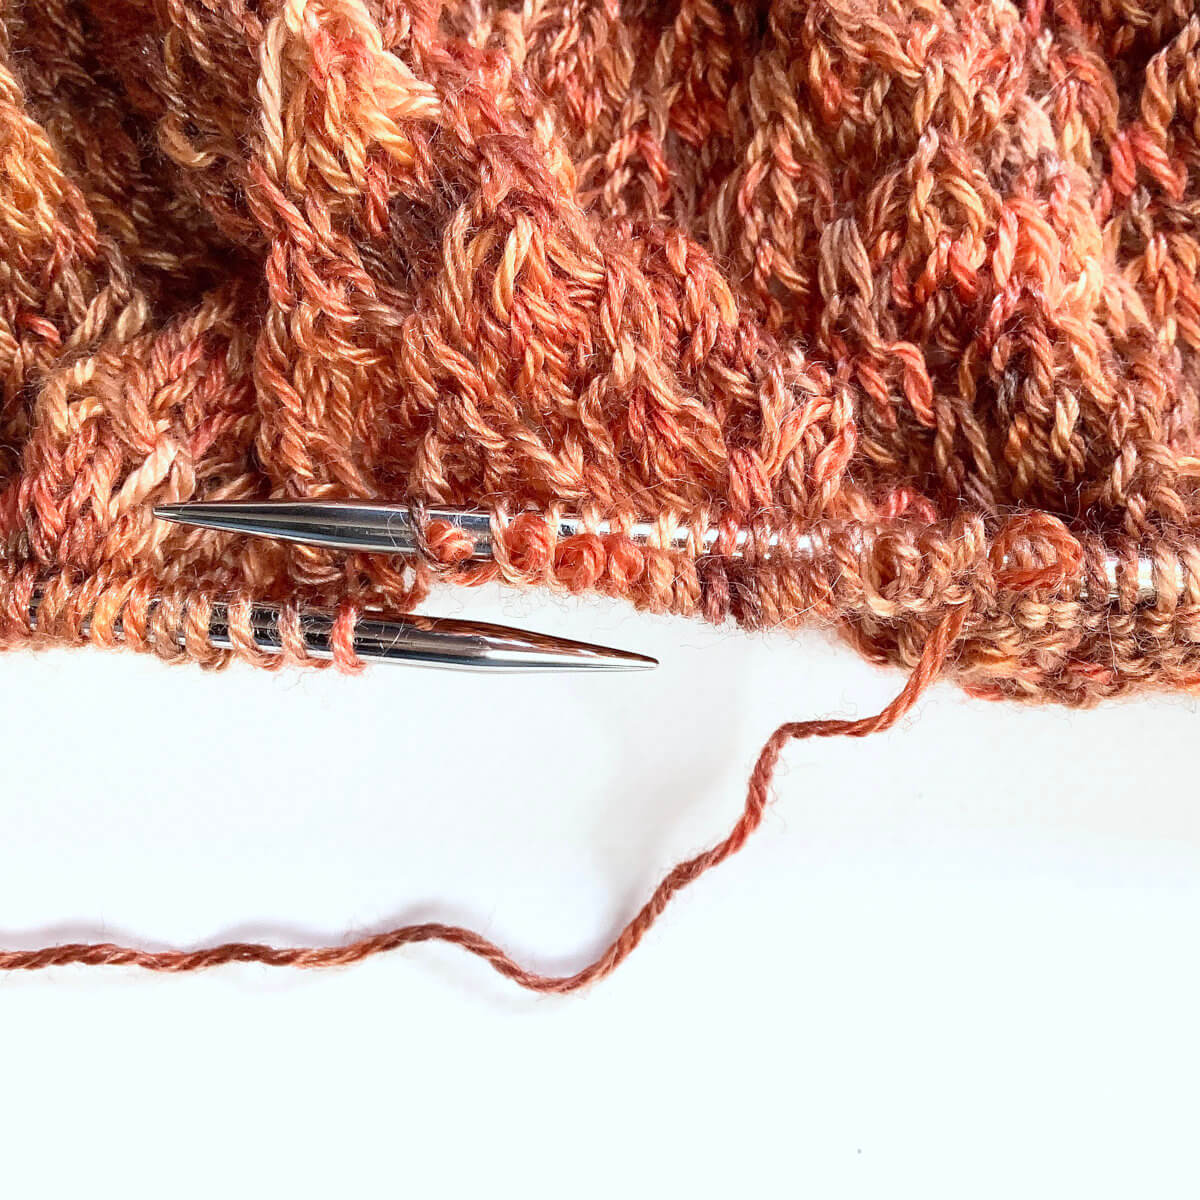
    This sock was originally knit toe-up, but the replacement toe will be knit the other way around. Because of this difference in knitting direction, I can’t unravel the lilac yarn easily. Instead, I have to tease it loose stitch by stitch with the smaller needle. This is not a problem, because it greatly reduces the risk of dropped stitches and running down stitches.Picking up stitches

  2. Tease all the pink stitches loose and put them on the needle.

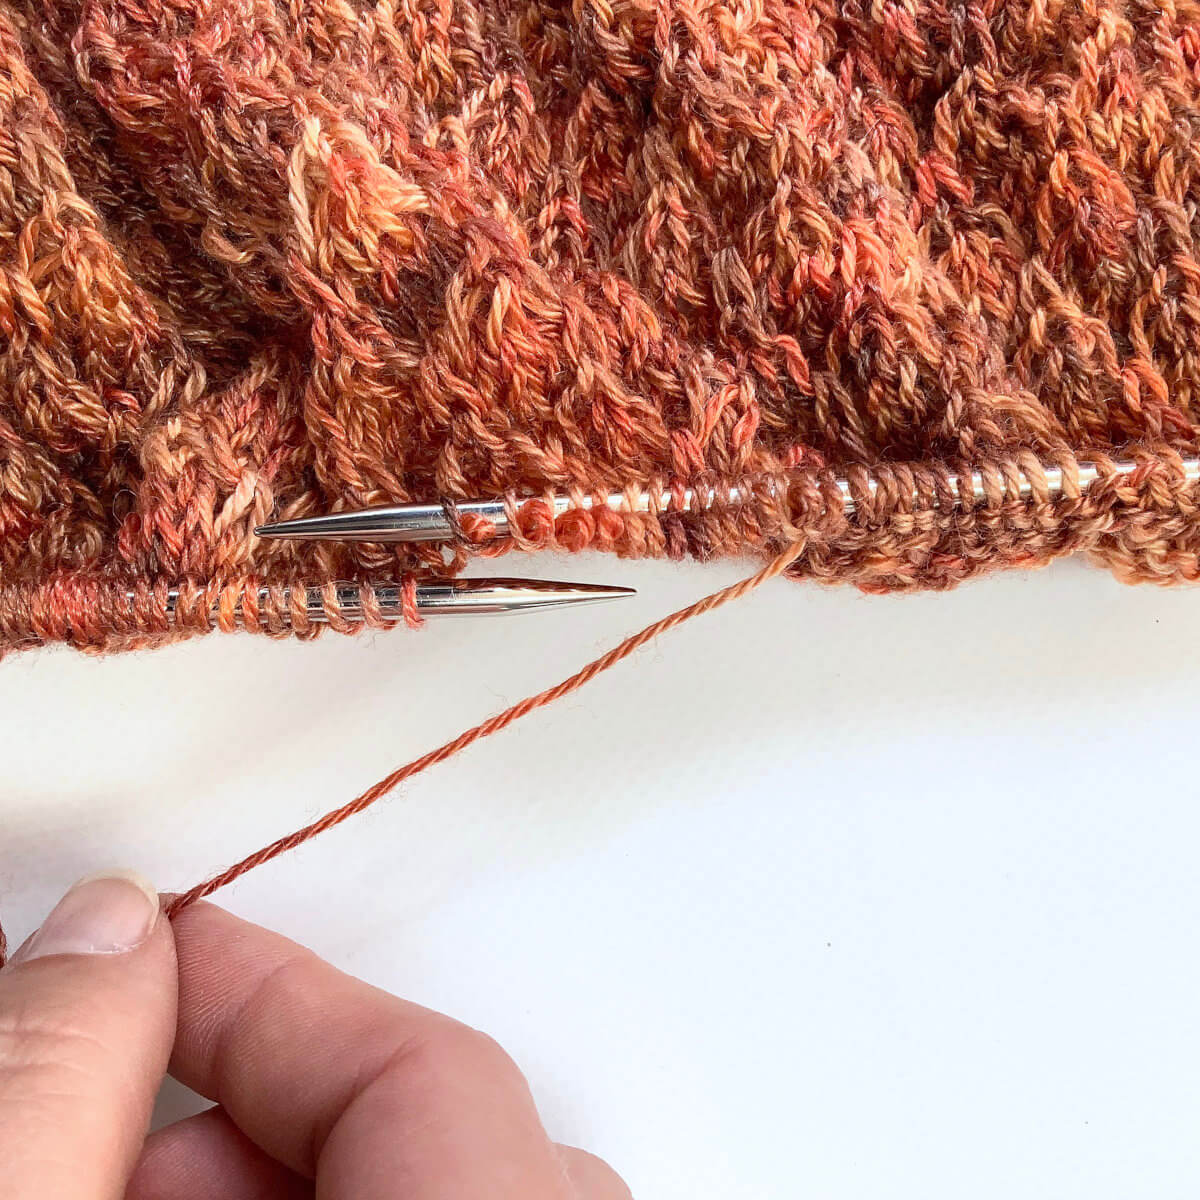
    When this is done, you have a loose, worn-out toe and a project ready for knitting.A loose toe

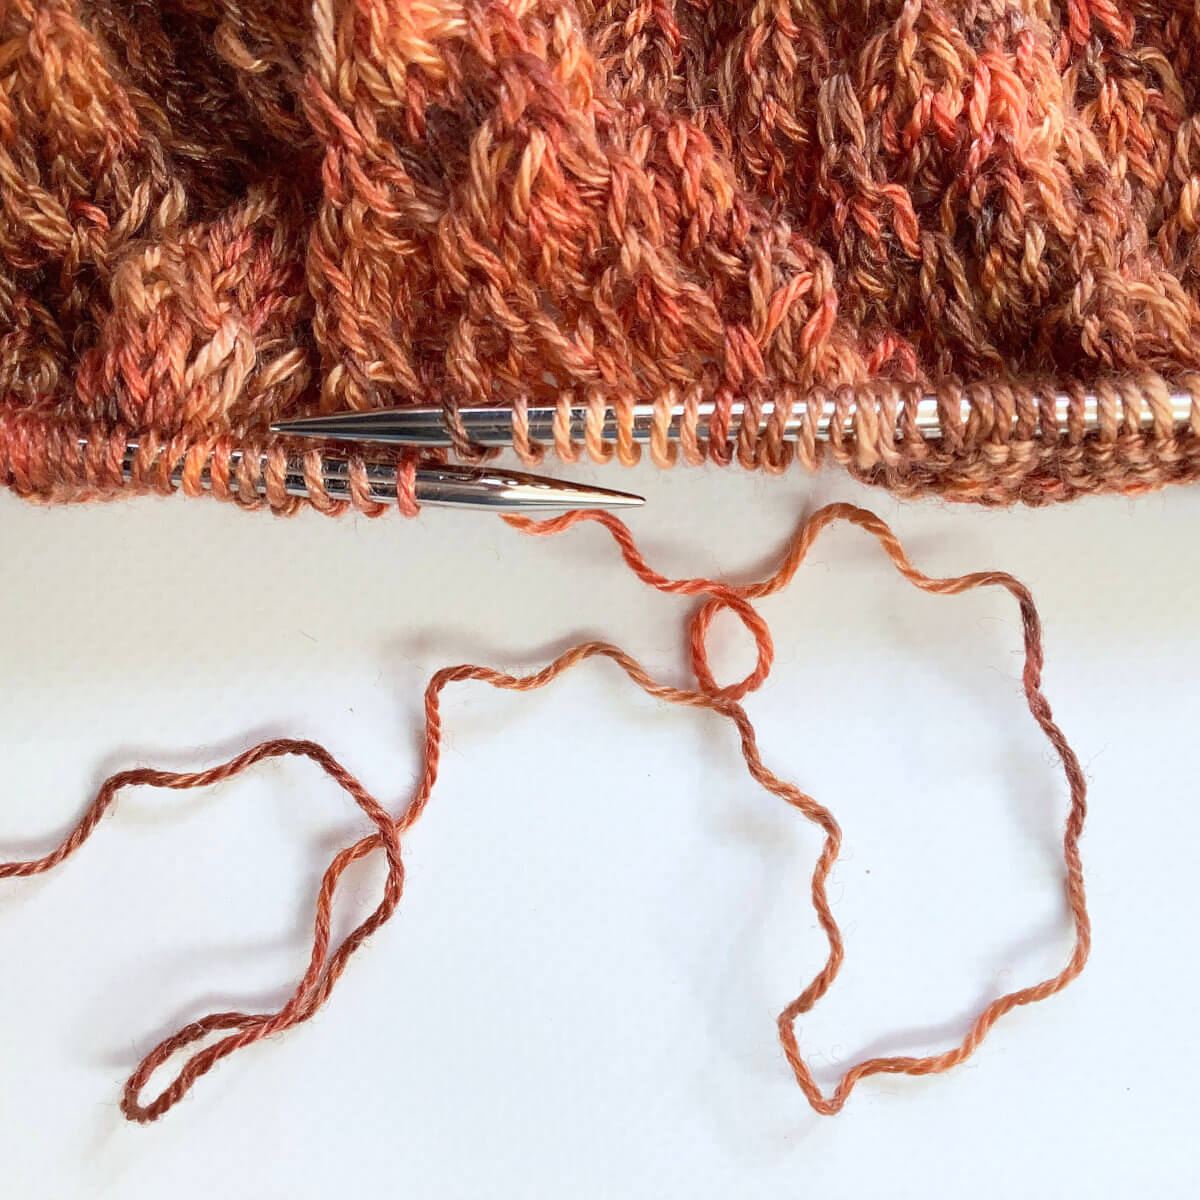
  3. Attach your new yarn and work the new toe.

    In this picture, I’m ready to join the new yarn.ready to attach new yarn

The result

The result of replacing the worn-down toe of a hand-knit sock: A sock with a new toe, ready for some more wearing!

The result of replacing a worn-out toe
Patreon logo

Thanks to my Patreon supporters for bringing you this freebie! Creating quality patterns and tutorials is a lot of work and resource-intensive. However, I find it important to give you free content like this tutorial. Thanks to the generous support of my Patreon supporters, I can make it happen. Thank you, patrons! Click here to join, or click here to read more about La Visch Designs on Patreon.

tutorial – replacing the toe of a hand-knit sock Read More »

stitch pattern – hexagon stitch

Hexagon stitch

The hexagon stitch is a very striking stitch that is nevertheless not hard to knit. It’s made by working a yarn over and passing it over a group of stitches. This sequence is alternated, making it look like little hexagons. Because of the passed-over yarn overs, the fabric is a bit tighter than regular stockinette. It shares its tendency to roll, though.

This stitch pattern is worked as a multiple of 4 stitches, and in a four-row repeat. Please note that I’ve added 2 edge stitches in garter stitch on both sides of the swatch.

Materials used

Yarn: Paintbox Yarns Simply DK, a good value, good quality 100% acrylic yarn, in the color Lime.

Needles: This is a pair of straights that I picked up at the second-hand store when I started knitting, brand unknown.

Stitches used

  • k – knit
  • p – purl
  • RS / WS – right side / wrong side
  • yo – yarn over
  • yo-k3-pass yo over – yarn over, knit 3 stitches, pass the yarn over, over the 3 knit stitches
  • rep – repeat
  • st(s) – stitch(es)

Grand staggered eyelet stitch

Row 1 (RS): *Yo-k3-pass yo over, k3; rep from * to end. (6 sts)
Row 2 (WS): Purl.
Row 3: *K3, yo-k3-pass yo over; rep from * to end.
Row 4: Purl.

Repeat rows 1-4 for pattern until desired length.

In the below pictures, you see the patterning first from the right, and then also from the wrong side of the fabric:

Hexagon stitch as seen from the RS
Hexagon stitch as seen from the RS.
Hexagon stitch as seen from the WS
Hexagon stitch as seen from the WS.

To get an impression of how this stitch looks as an all-over pattern:

Hexagon stitch as seen from the RS - all over
Patreon logo

Thanks to my Patreon supporters for bringing you this freebie! Creating quality patterns and tutorials is a lot of work and resource-intensive. However, I find it important to give you free content like this tutorial. Thanks to the generous support of my Patreon supporters, I can make it happen. Thank you, patrons! Click here to join, or click here to read more about La Visch Designs on Patreon.

stitch pattern – hexagon stitch Read More »

tutorial – avoiding holes at the underarm with top-down sweaters

Avoiding holes at the underarm with top-down sweaters

Whenever you’re knitting a top-down sweater, there comes a point where you’re going to pick up the held stitches to work the sleeves. There will, however, be a difference between working those sleeves for a raglan or a circular yoke garment vs a set-in sleeve garment where the sleeve cap is worked top down with short rows. In the case of a raglan or circular yoke, stitches are often cast-on at the underarm. In the corners, where those stitches meet the live stitches being held for the sleeves, there is a risk of holes in the resulting garment. Instructions often say to close those up with the yarn tail. But, in my opinion, it’s better to avoid them than to fix them! That’s the reason that in my garment patterns, detailed instructions are included for this.

In this tutorial, I’ll show you how to avoid holes at the underarm with a circular yoke top-down sweater I currently have on the needles. It’s the Knitwords Sweater (Ravelry link!) by Cori Eichelberger.

Materials used

Avoiding holes at the underarm with top-down sweaters - materials

Garment WIP: Knitwords sweater work-in-progress, with the sleeves stitches held on waste yarn. You’ll also need yarn to work the sleeve. Here I’m using a DK weight sock wool.

Other materials: A circular knitting needle in the size needed for the garment gauge, bulb pins or removable stitch markers, and a crochet hook in a similar size as the knitting needles. The crochet hook is optional, but I find it makes picking up stitches a lot easier. Therefor, I certainly recommend using one.

Let’s get started!

  1. To start, put the live stitches on the knitting needle.

    I’m using a circular needle, but you could, of course, also use DPN’s. I often leave the waste yarn in for a bit, it can be removed once the sleeve has a bit of length and there is no risk of dropping stitches anymore.Step 1 - putting the stitches back on the needle

  2. In this picture, all stitches are replaced on the needle.

    Step 2

  3. Here, you can see the stitches that were cast-on for the underarm. I have marked the first and the last stitch, because this will make it easier to know where to start and stop picking up those stitches.

    Step 3 of avoiding holes

  4. Next, find the middle of those stitches (if you want the end-of-round to be in the middle). Insert the crochet hook in the middle of the “V” formed by the stitch….

    step 4

  5. … wrap the yarn around the hook and pull it through.

    Step 5 of avoiding holes

  6. Repeat steps 4 and 5 until you’ve worked the marked stitch.

    In this example, I’ve left the picked up and knit stitches on the crochet hook to be placed on the knitting needle once they were all worked. You can, of course, also do that after every stitch worked.step 6

  7. Here, I’ve placed the stitches on the right-hand part of the circular knitting needle.

    Now we’re getting to the actual “avoiding holes” part!Step 7 of avoiding holes

  8. Do you see the 2 strands of yarn indicated by the triangles? This is where we have to pick up extra stitches to avoid those holes!

    Step 9

  9. When picking up these stitches, you want to twist the strand, to close up the hole. To do so, insert your crochet hook as pictured…

    Step 9 of avoiding holes

  10. … twist the hook around, then wrap the yarn around the hook and pull it through.

    Step 10

  11. This is how it looks after the stitch has been placed on the needle.

    Step 11

  12. Repeat steps 9-11 for the second strand.

    Step 12 of avoiding holes

  13. Next, work over the live stitches until you’ve worked the last one.

    In my case, this looks like this, because I’ve raised the back neck according to the method described here. As a consequence, the 2 strands of yarn to be picked up to avoid the holes, are more apart than on the other side of the armhole. When not raising the back neck according to this method, it would like similar to the other “corner”.Step 13

  14. Here, I’ve repeated steps 9-11 on the first strand.

    Step 14 of avoiding holes

  15. Next, I’ve picked up and knit stitches on the vertical section. And finally, I’ve repeated steps 9-11 on the last strand.

    Step 15

  16. But we’re not ready yet! We’ve picked up an extra 4 stitches total for the corners. It may mean that you have some welcome extra ease in the upper arm. In that case, just follow the pattern for a larger size that has the same approx. number of sleeve stitches. Otherwise, we’ll need to decrease those extra stitches in the following round.

    To do so, work to 1 stitch before the first picked-up-and-knit stitch in the corner.Step 16 of avoiding holes

  17. Next, work 2 decreases over the 4 following stitches.

    Here, I first worked a skp, followed by a k2tog. Repeat this step at the other corner.

The result of avoiding holes at the underarm with top-down sweaters

This is how I go about avoiding holes at the underarm with top-down sweaters. The picture below shows how it looks after a few more rounds have been worked. Pretty neat, right?!

The result of avoiding holes
Patreon logo

Thanks to my Patreon supporters for bringing you this freebie! Creating quality patterns and tutorials is a lot of work and resource-intensive. However, I find it important to give you free content like this tutorial. Thanks to the generous support of my Patreon supporters, I can make it happen. Thank you, patrons! Click here to join, or click here to read more about La Visch Designs on Patreon.

tutorial – avoiding holes at the underarm with top-down sweaters Read More »

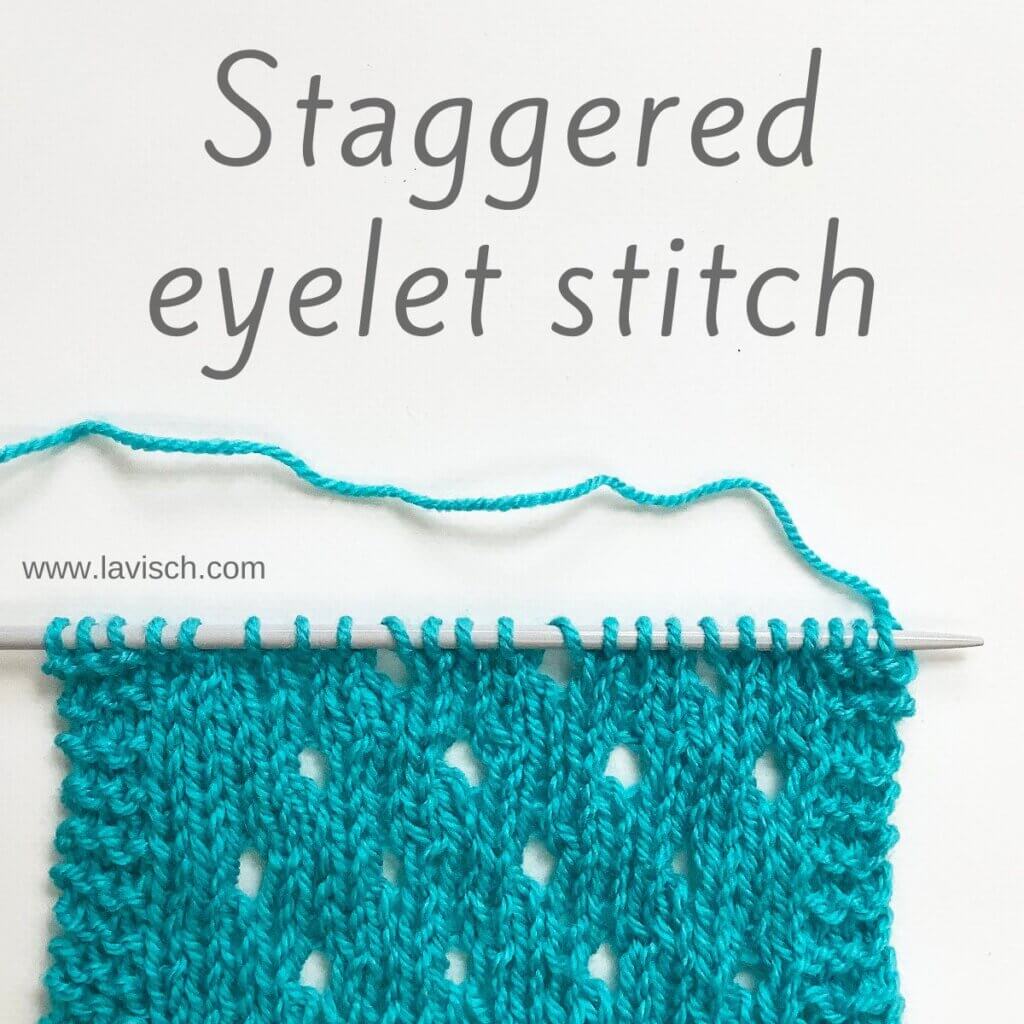
stitch pattern – grand staggered eyelet stitch

Grand staggered eyelet stitch

The grand staggered eyelet stitch is a bold lace pattern consisting of double yarn overs, flanked by left- and right-leaning decreases. In this version, the second half of the patterning is offset by 2 stitches when compared with the first half. You can, of course, also just repeat the first 4 rows of the patterning all-over. This will result in the eyelets neatly stacked above each other. In this example, I have worked the pattern in acrylic yarn, the swatch has not been blocked. The patterning will pop a lot more if you do block your project.

This stitch pattern is worked as a multiple of 4 stitches + 6, and in an eight-row repeat. Please note that I’ve added 2 edge stitches in garter stitch on both sides of the swatch.

Materials used

Yarn: Paintbox Yarns Simply DK, a good value, good quality 100% acrylic yarn, in the color Tea Rose.

Needles: This is a pair of straights that I picked up at the second-hand store when I started knitting, brand unknown.

Stitches used

Grand staggered eyelet stitch

Row 1 (RS): K1, k2tog, * yo twice, skp, k2tog; rep from * 3 sts before end, yo twice, skp, k1. (10 sts)
Row 2 (WS): P2, (p1, k1) in double yo, * p2, (p1, k1) in double yo; rep from * to 2 sts before end, p2.
Row 3: Knit.
Row 4: Purl.
Row 5: K1, yo, * skp, k2tog, yo twice; rep from * to 5 sts before end, skp, k2tog, yo, k1.
Row 6: P4, * (p1, k1) in double yo, p2; rep from * to 2 sts before M, p2.
Row 7: Knit.
Row 8: Purl.

Repeat rows 1-8 for pattern until desired length.
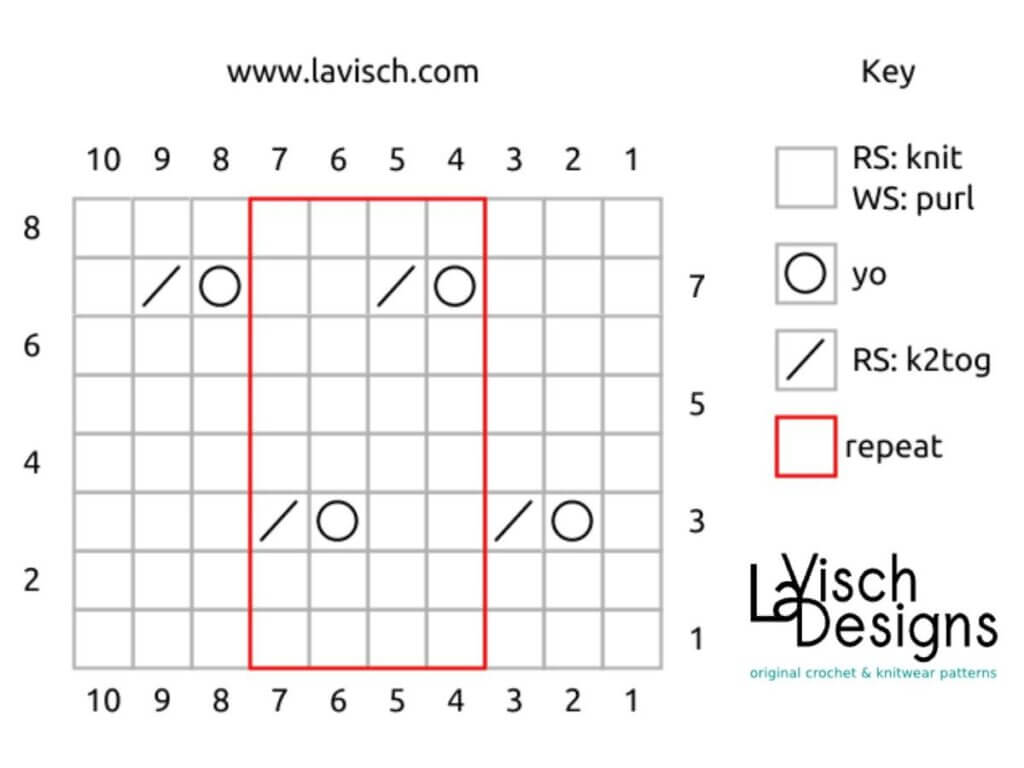
Grand staggered eyelet stitch chart

In the below pictures, you see the patterning first from the right, and then also from the wrong side of the fabric:
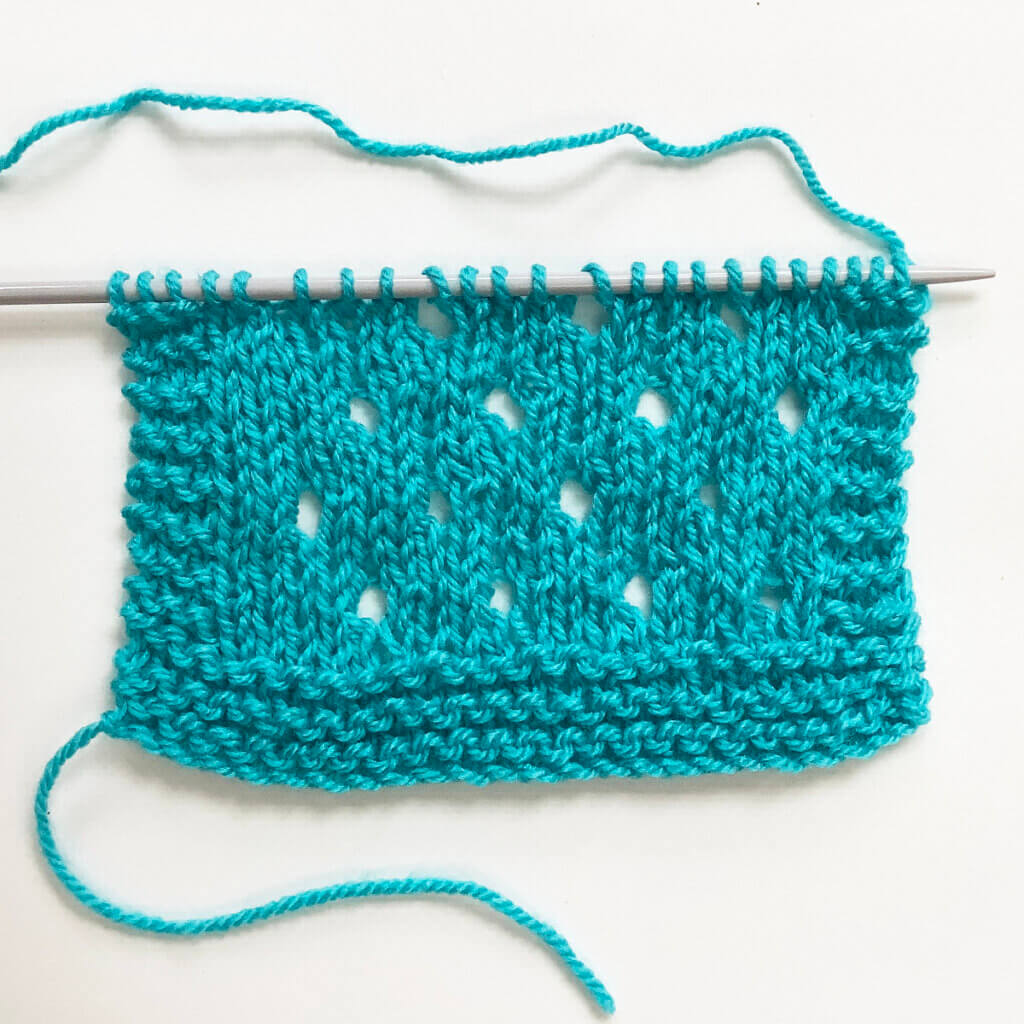
Grand staggered eyelet stitch shown from the RS
Grand staggered eyelet stitch as seen from the right side
Grand staggered eyelet stitch shown from the WS
Grand staggered eyelet stitch as seen from the wrong side
Patreon logo

Thanks to my Patreon supporters for bringing you this freebie! Creating quality patterns and tutorials is a lot of work and resource-intensive. However, I find it important to give you free content like this tutorial. Thanks to the generous support of my Patreon supporters, I can make it happen. Thank you, patrons! Click here to join, or click here to read more about La Visch Designs on Patreon.

stitch pattern – grand staggered eyelet stitch Read More »

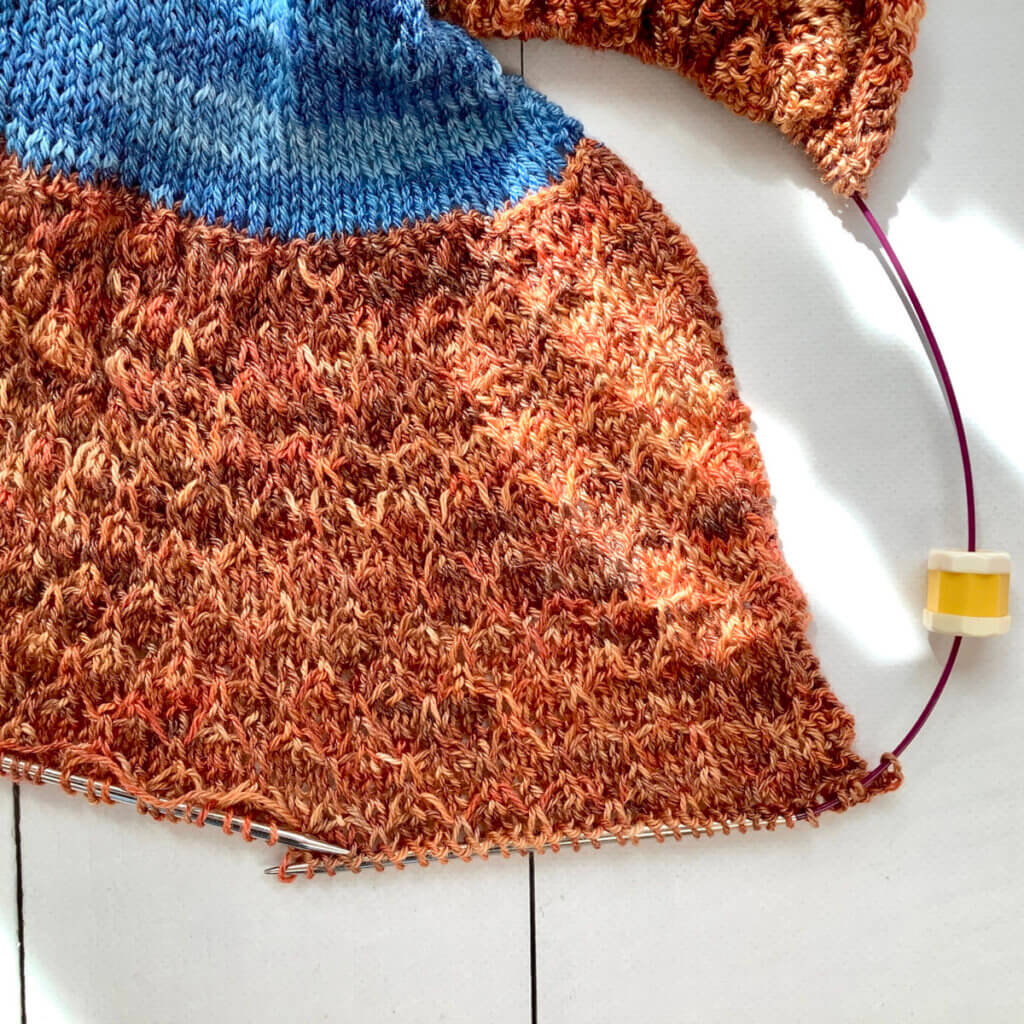
psychedelica

Psychedelica shawl

Sometimes, you just want a knit that quickly gives results. This design uses aran weight yarn, which definitely delivers on that! The patterning in the Psychedelica shawl may look challenging, but if you’ve ever knit lace, you can absolutely work this too.

This shawl is knit from the top-down in one piece, starting at the neck edge with a garter tab. The instructions for the psychedelic patterning are both charted and written out.


Pay what you want: (minimum €6.95)

€

Add to cart


Difficulty level

The Psychedelica shawl is worked from the top-down, starting with a garter tab cast-on. The psychedelic patterning is worked on both the RS and the WS of the work. Stitches used include knit, knit tbl, purl, purl tbl, m1bl, k2tog, k2tog tbl, skp, p2tog, and p2tog tbl.

This pattern is therefor suitable for the intermediate to advanced knitter.

Sizes and finished measurements

One size: Span width of 215 cm (84 ¾ inches) measured along the upper edge, and a depth of 99 cm (39 inches), measured after blocking.

Adjust the size of this shawl by using lighter or heavier yarn and/or working fewer (or more) repeats of the various sections of the shawl. This will, of course, change the amount of yarn needed.

Pattern details

  • Gauge: Approx. 10 sts / 19 rows = 10 cm (4 inches) over striped stockinette, measured after blocking. Gauge is not critical in this design, but should give you a fabric that you like with the yarn used.
  • Pattern languages included: English.
  • Digital PDF has 5 pages (letter size)

Yarn

Garnstudio Drops Big Fabel (75% wool, 25% nylon; 150 m (164 yds) / 100 g) in the following colors and quantities:

  • C1: 450 m (492 yds) / 300 g) in 105 – turquoise
  • C2: 300 m (328 yds) / 200 g) in 102 – green

This particular yarn is discontinued, but could be substituted with Garnstudio Drops Big Merino (100% wool; 75 m (82 yds) / 50 g). Substitute a plied aran weight yarn in solid or tonal colors for a similar result.

Materials

  • Size 4.5 mm (US 7) / 100 cm (40 inches) circular needles were used for the sample shawl. Use needles appropriate for the yarn chosen.
  • Yarn needle.
  • 4 stitch markers to indicate the center stitch and the edge stitches.
  • Stitch markers to use in between patterning repeats (optional).

psychedelica Read More »

tutorial – knitting jogless stripes in the round

Knitting jogless stripes in the round

When working knitting in the round, you’re actually working in a spiral. This means, that when knitting stripes, you get a little “jog” when switching from the one to the other color. Of course, there are also many ways to help counteract this effect. Some methods only work well with very wide stripes. However, the one I’ll be showing here, also works well with narrow stripes.

Materials used

Yarn: Scheepjes Sunkissed, a fingering weight 100% cotton yarn (170 meters / 50 grams). Pictured here in the colors 7 Pistachio Ice and 6 Oceanside.

Needles: * KnitPro Zing Fixed Circular Needles. In this tutorial, I used the 3 mm (US 2 1/2) size with a cable length of 60 cm (24 inches).

Knitting jogless stripes in the round step by step

  1. To start, finish your round with the old color, but do not yet move the end-of-round stitch marker to the other needle.

    Step 1 of knitting jogless stripes

  2. Next, place the last worked stitch back on to the left-hand needle.

    Step 2

  3. Now take the other color yarn and knit the stitch you just placed back onto the left-hand needle.

  4. With the new color, continue working the round until you’re one stitch before the end-of-round.

  5. Insert the right-hand needle in the stitch below the one near the tip of the left-hand needle and place it back on the needle.

    Step 5 of knitting jogless stripes

  6. Make sure to place the stitch in the “old color” in front of the one in the “new color”

    This is what covers the jog!step 6

  7. Finally, knit both loops together.

    And that’s it!The last and final step of working jogless stripes

Considering that I’m knitting this tee with a 100% cotton yarn at a relatively loose gauge, I find the end result to be amazingly jogless indeed. I mean, it’s not absolutely invisible, but still pretty hard to detect!

Patreon logo

Thanks to my Patreon supporters for bringing you this freebie! Creating quality patterns and tutorials is a lot of work and resource-intensive. However, I find it important to give you free content like this tutorial. Thanks to the generous support of my Patreon supporters, I can make it happen. Thank you, patrons! Click here to join, or click here to read more about La Visch Designs on Patreon.

tutorial – knitting jogless stripes in the round Read More »

stitch pattern – crescent stitch

A swatch showing the crescent stitch in green yarn.

The crescent stitch uses both “Cable 3 Left (C3L)” as “Cable 3 Right (C3R)” stitches to create the wavy lines visible in the swatch pictured. Due to all the cabling, it’s not a very fast stitch pattern to work. This may, however, be improved if you can do these cable stitches without the use of a cable needle. I’m not a good enough cable knitter to manage it with any time savings. But perhaps you can!

This stitch pattern is worked as a multiple of 3 stitches + 2, and in a six-row repeat. Please note that I’ve added 2 edge stitches in garter stitch on both sides of the swatch.

Materials used

Yarn: Paintbox Yarns Simply DK, a good value, good quality 100% acrylic yarn, in the color 128 Lime Green.

Needles: This is a pair of straights that I picked up at the second-hand store when I started knitting, brand unknown. You will also need a cable needle.

Stitches used

  • C3L (Cable 3 left) – Slip next st onto cable needle and hold at front of work, knit next 2 sts from left-hand needle, then knit st from cable needle
  • C3R (Cable 3 right) – Slip next 2 sts onto cable needle and hold at back of work, knit next st from left-hand needle, then knit 2 sts from cable needle
  • k – knit
  • p – purl
  • rep – repeat
  • st(s) – stitch(es)

Crescent stitch

Row 1 (right side): Knit.

Row 2 (and all following wrong side rows): Purl.

Row 3: K1, *C3R; rep from * to 1 st before end, k1.

Row 5: K1, *C3L; rep from * to 1 st before end, k1.

Row 6: Purl.

Repeat rows 1-6 for pattern until desired length.

In the below pictures, you see the patterning first from the right, and then also from the wrong side of the fabric:

Crescent stitch as seen from the right side
Crescent stitch as seen from the wrong side
Patreon logo

Thanks to my Patreon supporters for bringing you this freebie! Creating quality patterns and tutorials is a lot of work and resource-intensive. However, I find it important to give you free content like this tutorial. Thanks to the generous support of my Patreon supporters, I can make it happen. Thank you, patrons! Click here to join, or click here to read more about La Visch Designs on Patreon.

stitch pattern – crescent stitch Read More »