tutorial – inserting an afterthought life line

As shown in the post about life lines, these are very handy. They can be used for added security when you’re sure that a certain stretch of knitting is error-free. Just insert the life line and you have a safe place in your knitting to rip back to in the event you make a mistake in your knitting. But what to do when you’ve forgotten to add in a life line?
No worries! In that case you can insert an afterthought life line. In this post I’ll show you how.
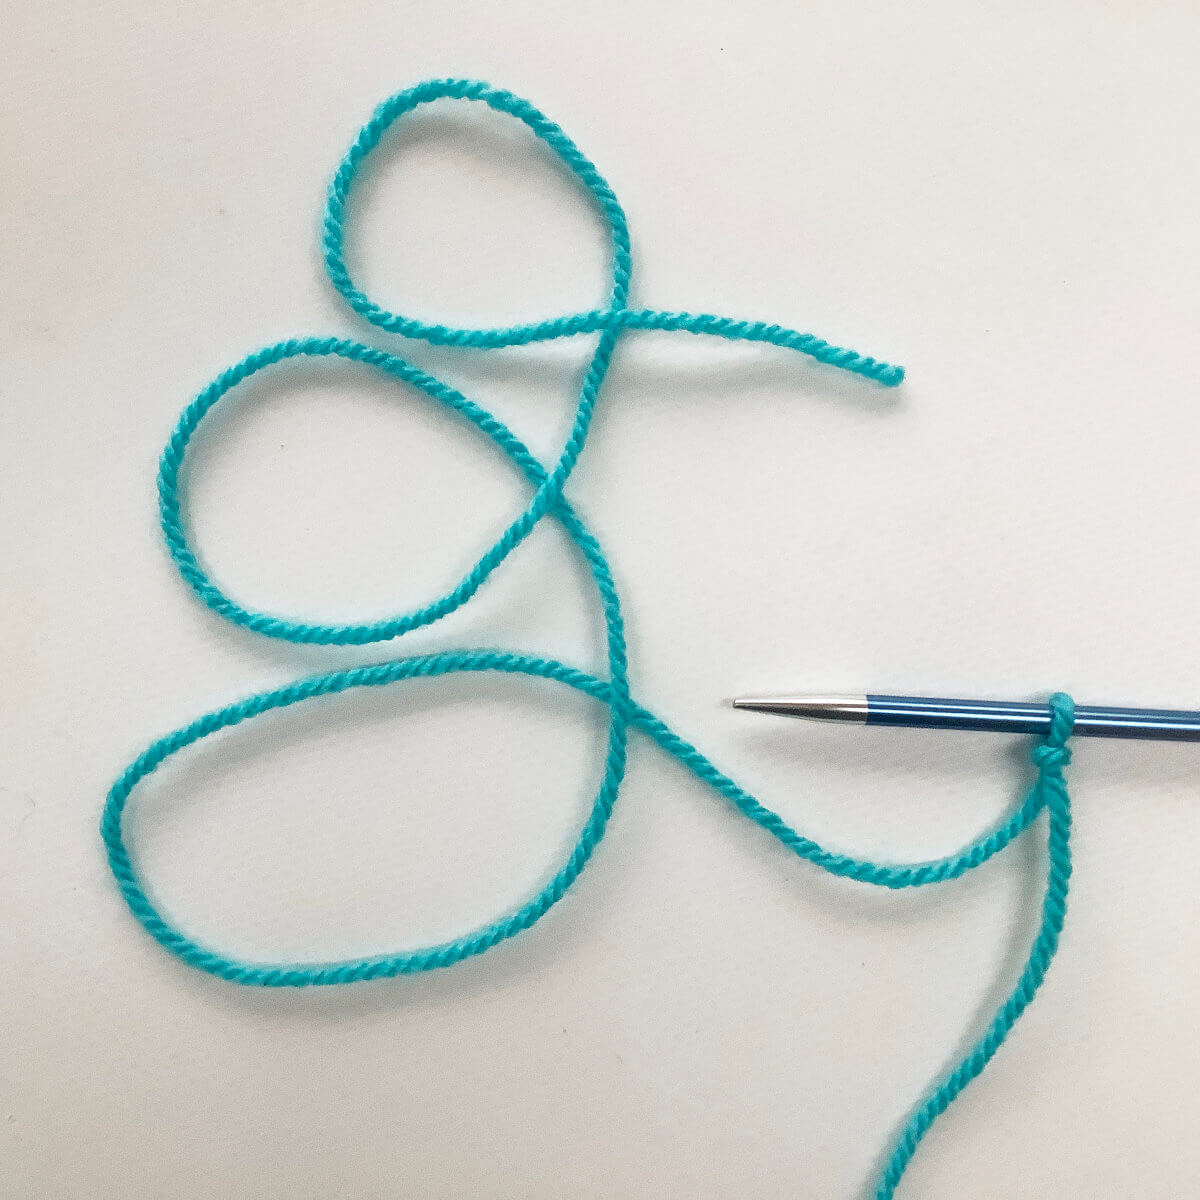
Materials used


Yarn: * Paintbox Yarns Simply DK, a good value, good quality 100% acrylic yarn. Pictured here in the color 155 Vintage Pink.
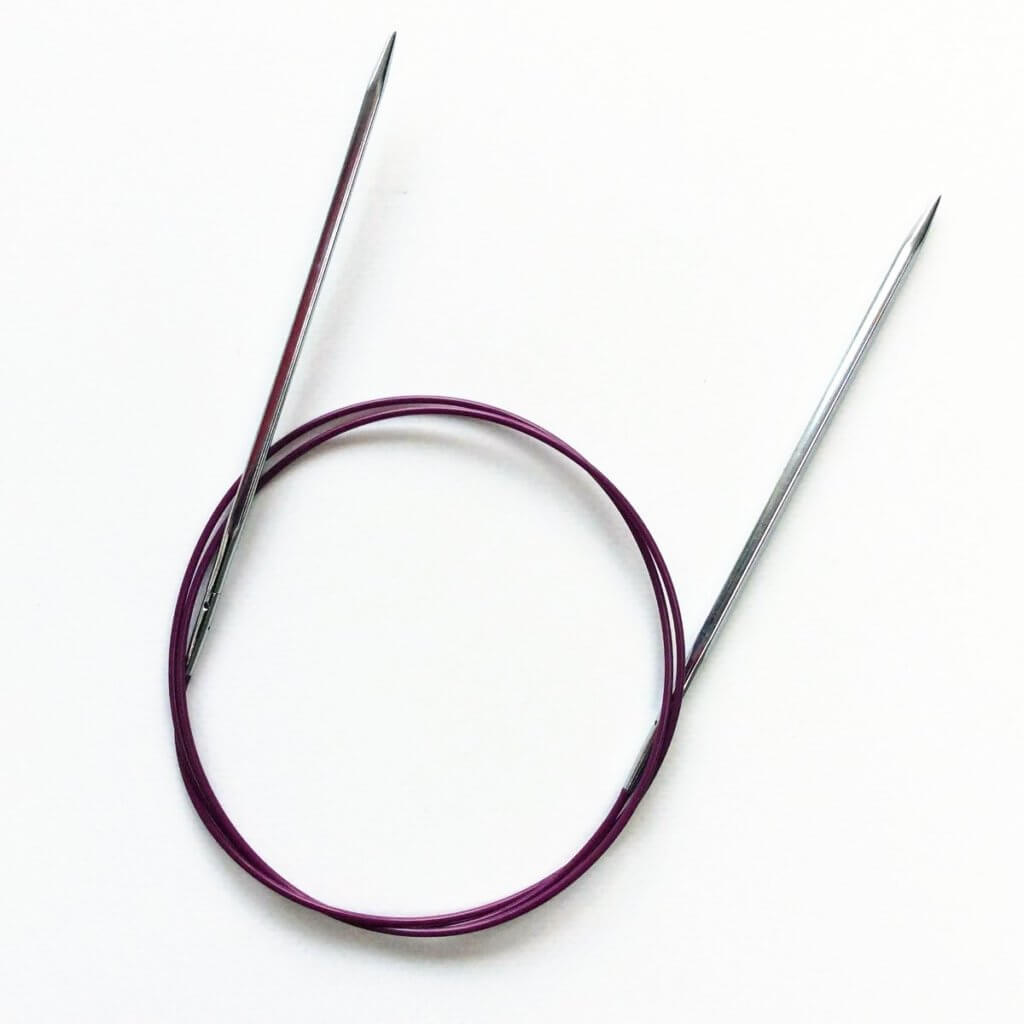
Needles: * KnitPro Zing Fixed Circular Needles. In this tutorial, I used the 4 mm (US 6) size with a cable length of 80 cm (32 inches).
Darning needle: * Hiya Hiya Darn It Yarn Needle, or any other tapestry needle, threaded with yarn.
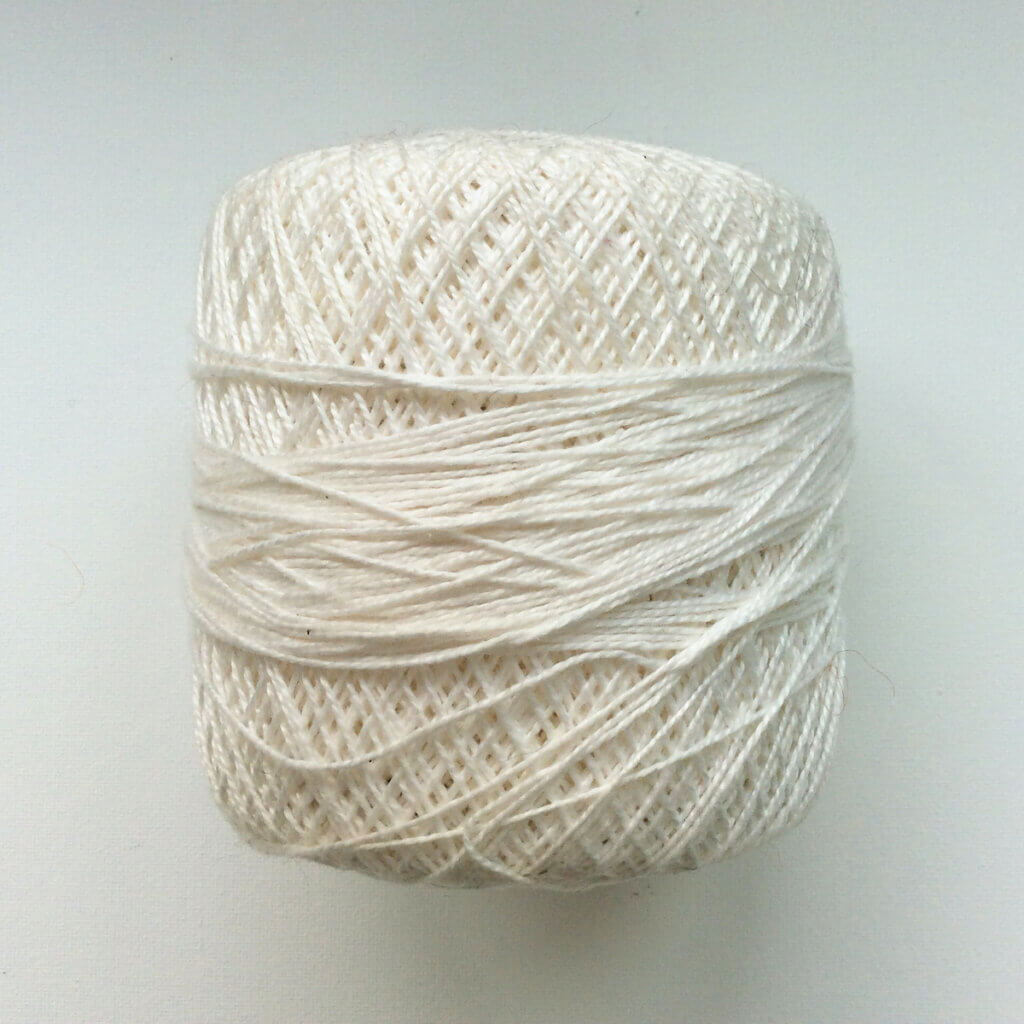
Crochet cotton: Manuela N° 5 from Schoeller+Stahl, a 100% mercerized cotton 6-ply thread (200 m (219 yds) / 50 g)
Inserting an afterthought life line step by step
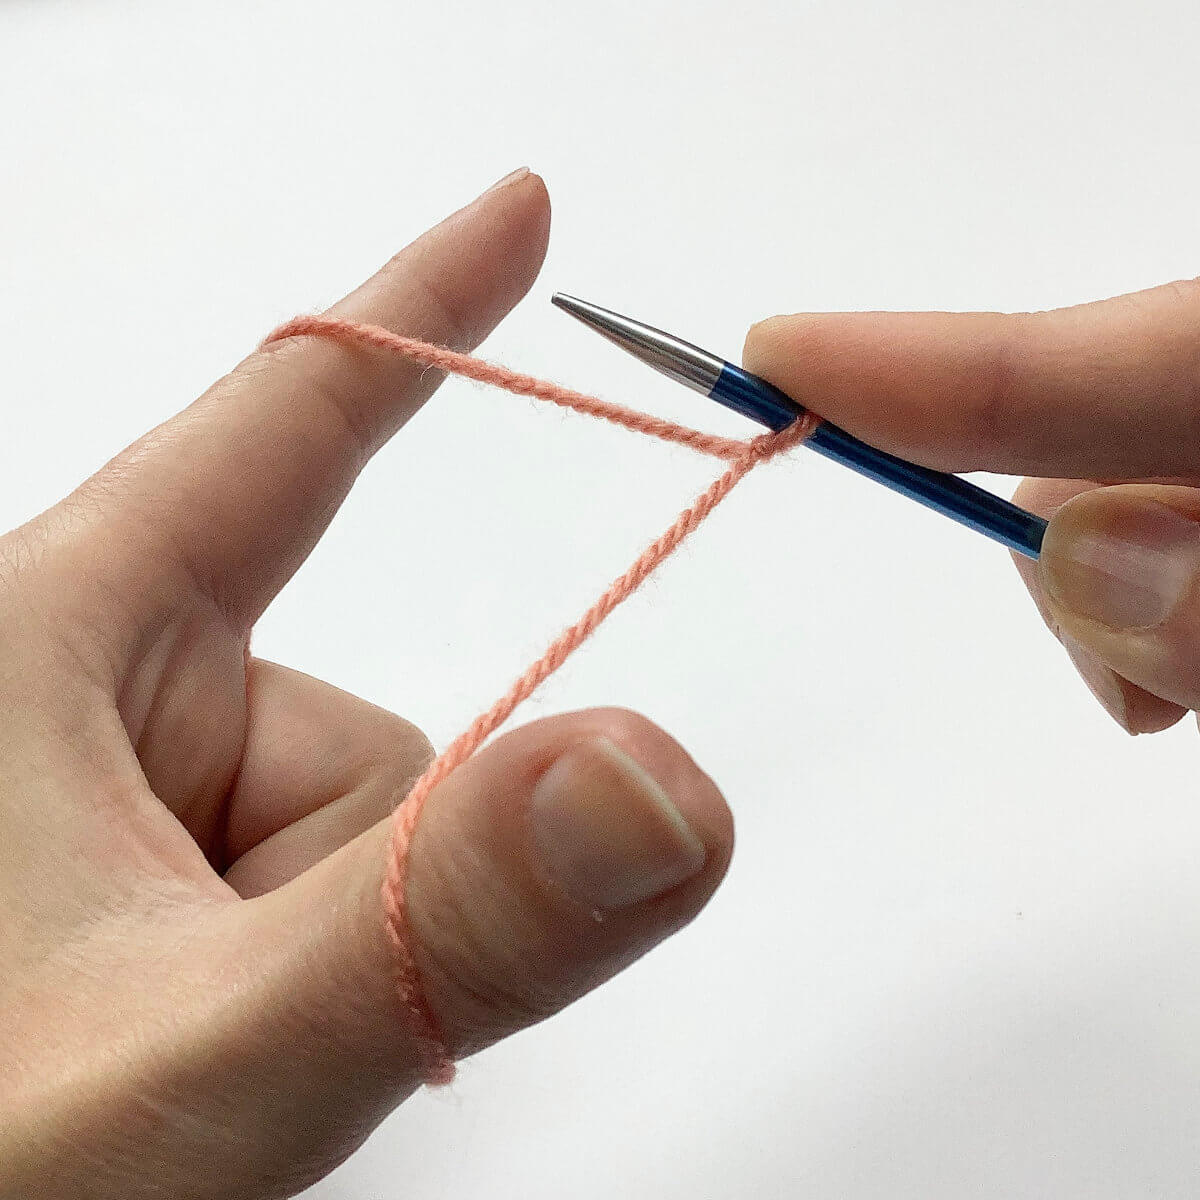
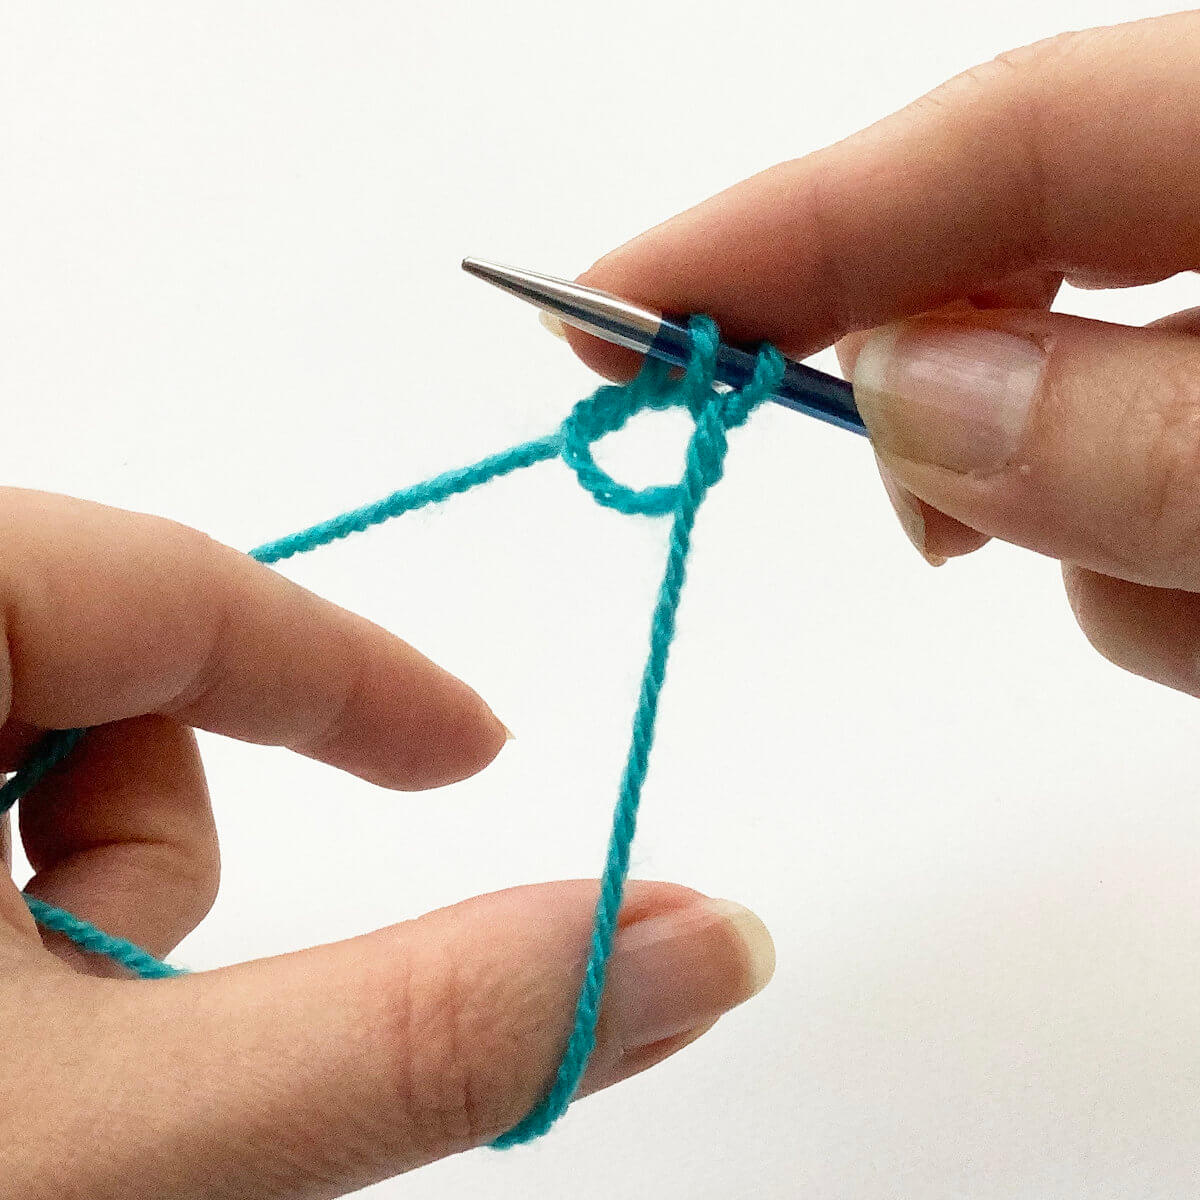
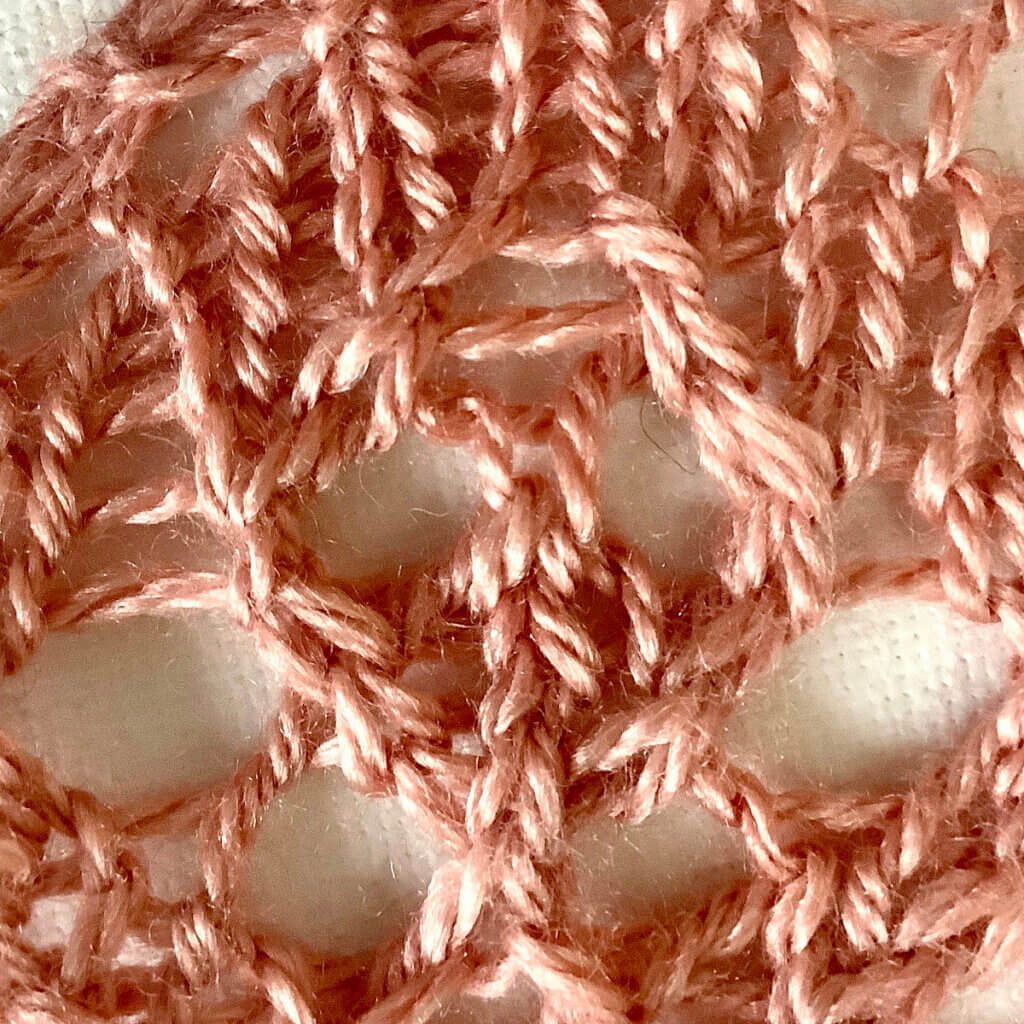
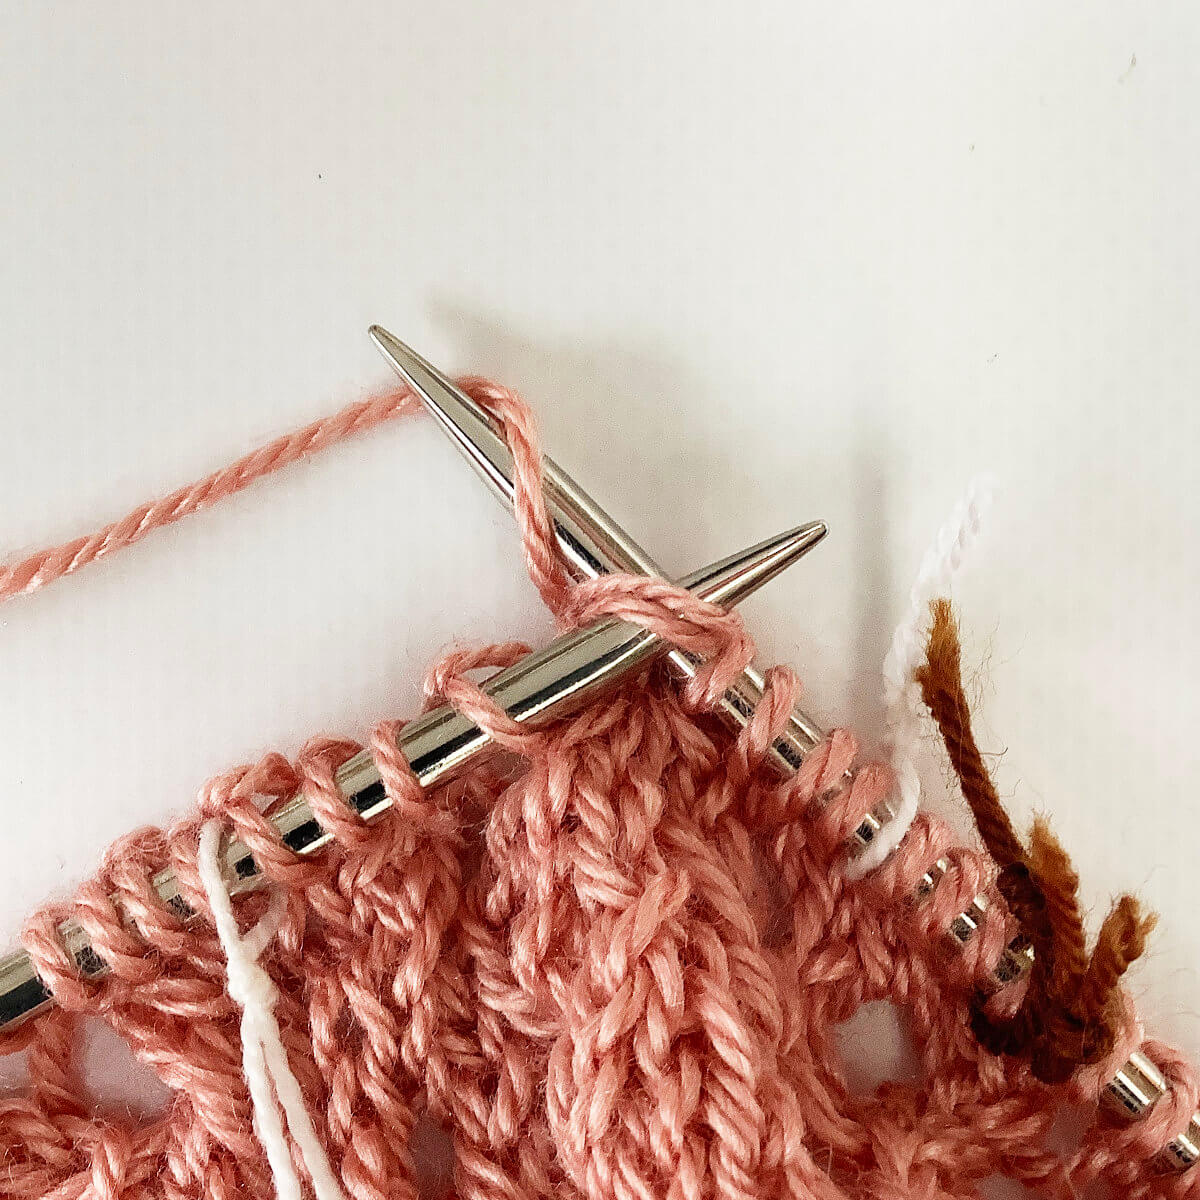
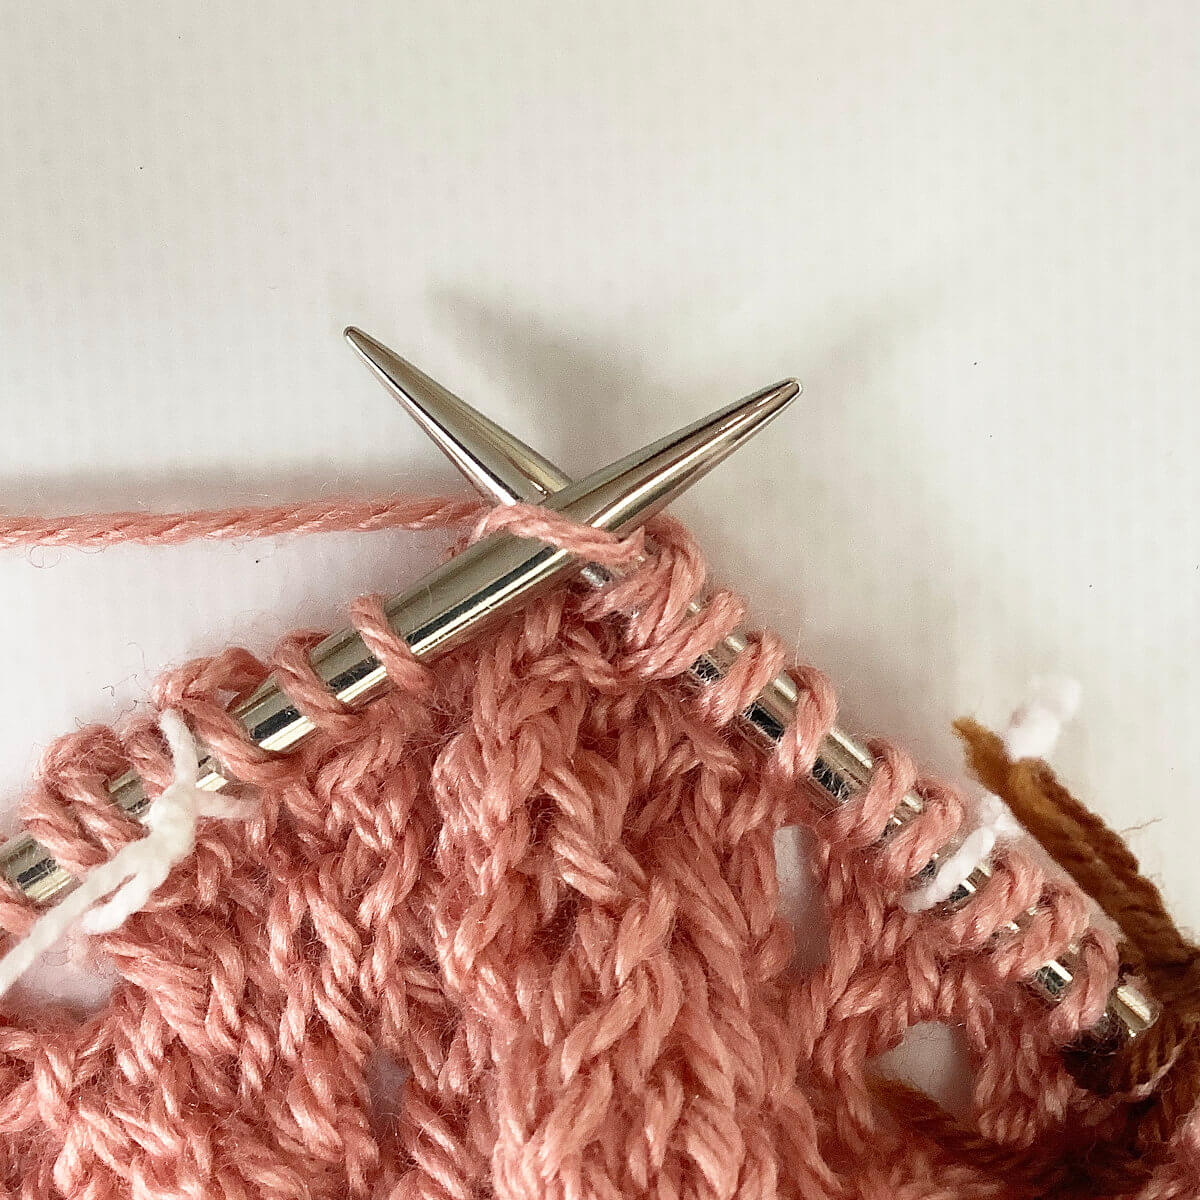
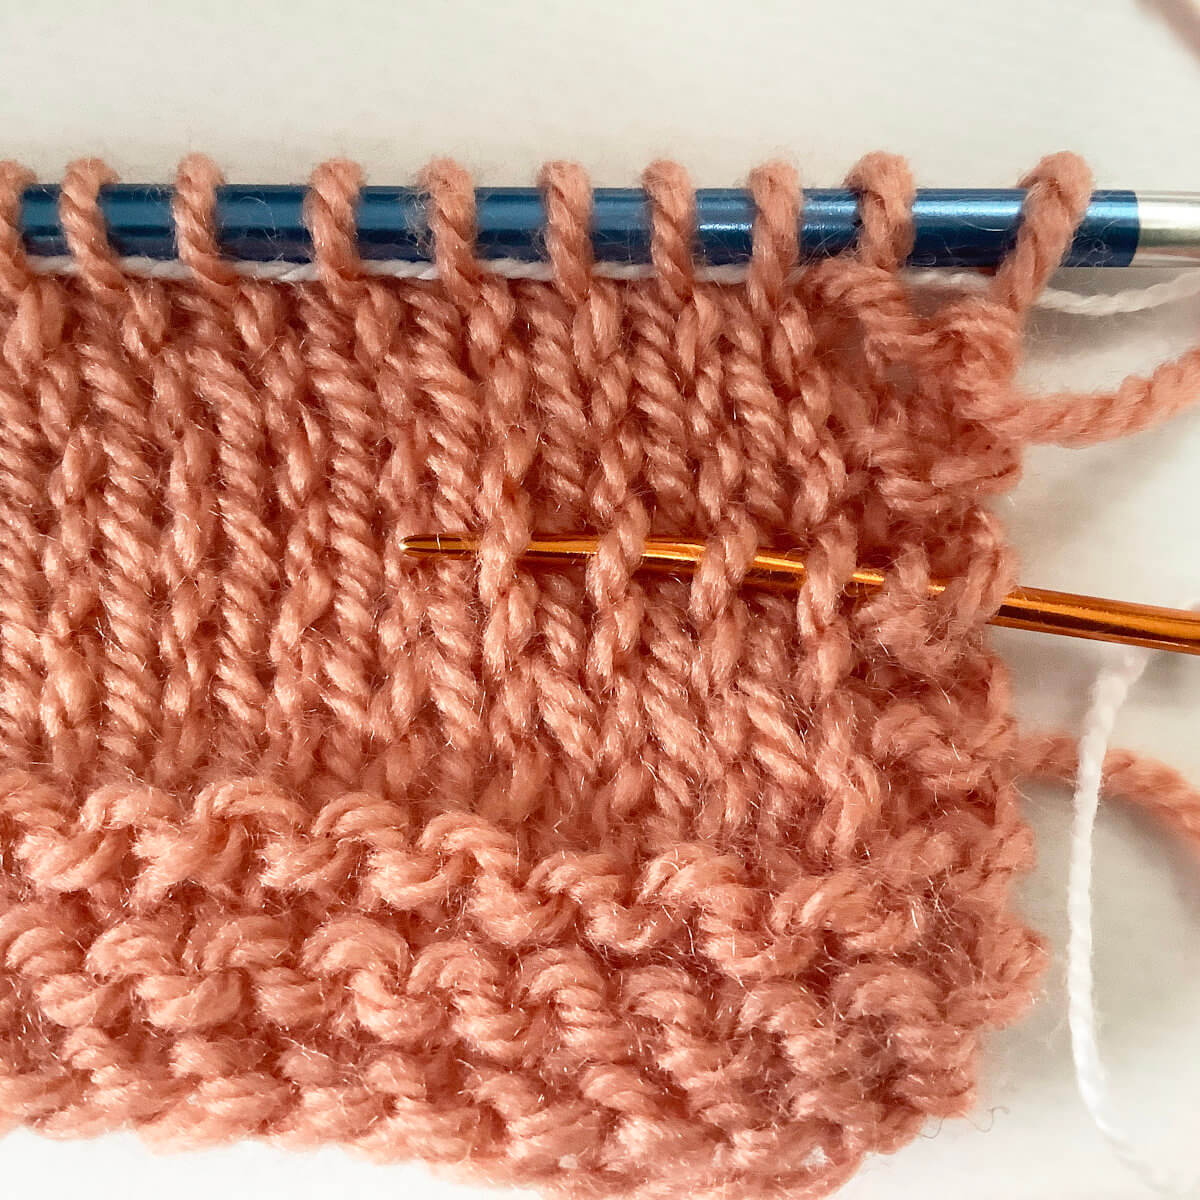
In this example, I’m using the same stockinette swatch as for the previous life line tutorial. I’ll use it to show you how to insert a life line using a darning needle and thread. When doing so in a piece of knitted lace, you may find it easiest to do so after a plain knit of purl row if that’s possible in your patterning.
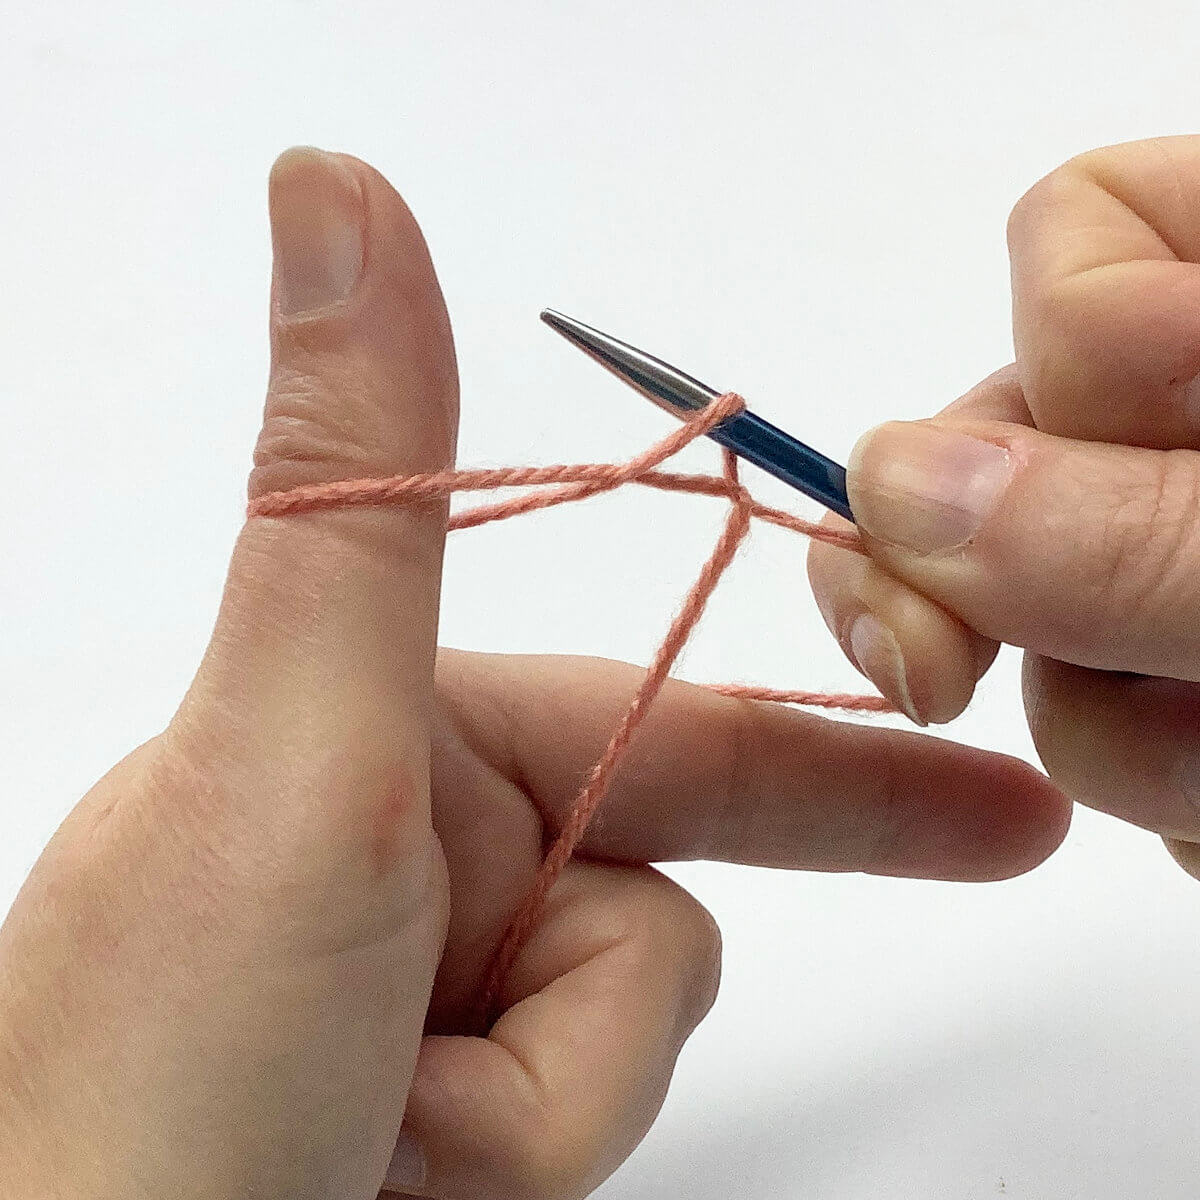
- First, make sure you have your thread and darning needle ready.
Don’t cut your thread too short, or you may not have enough length to thread through all stitches, and allow for some stretch.
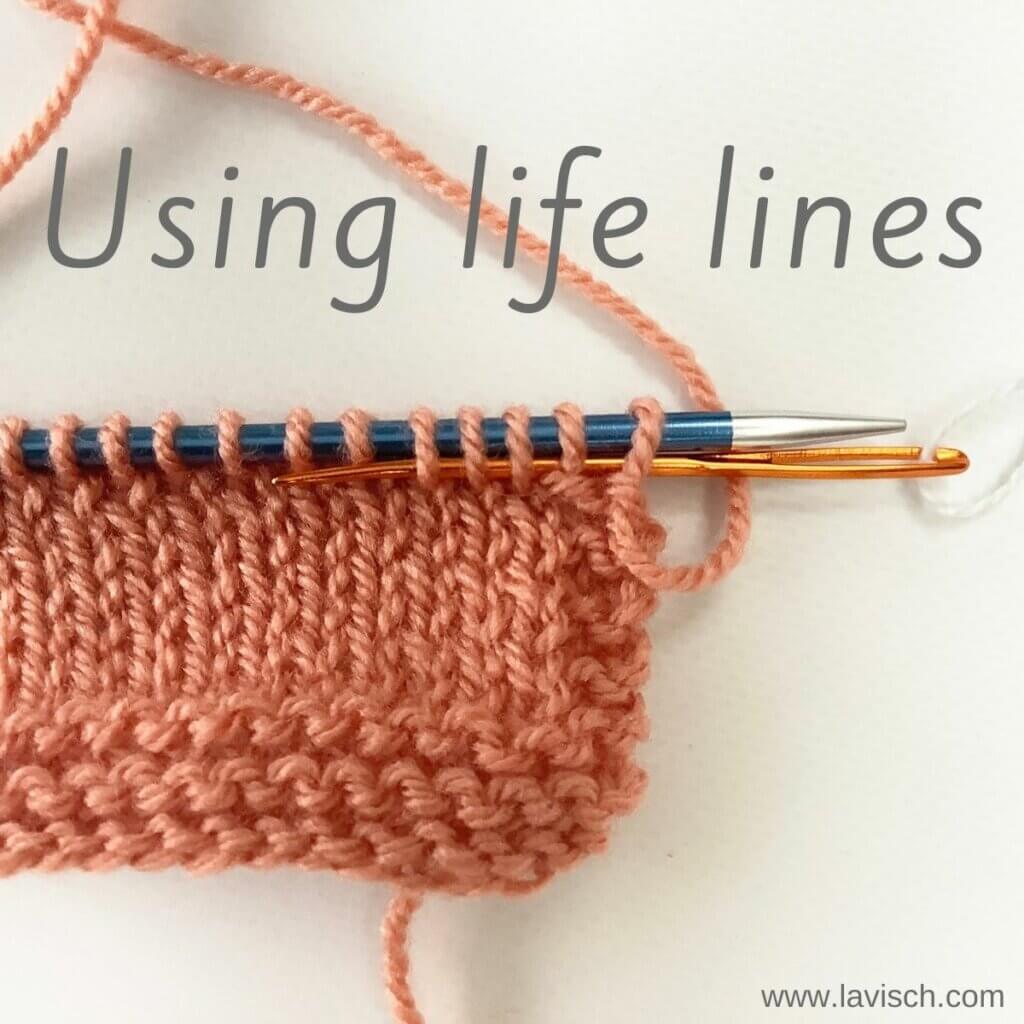
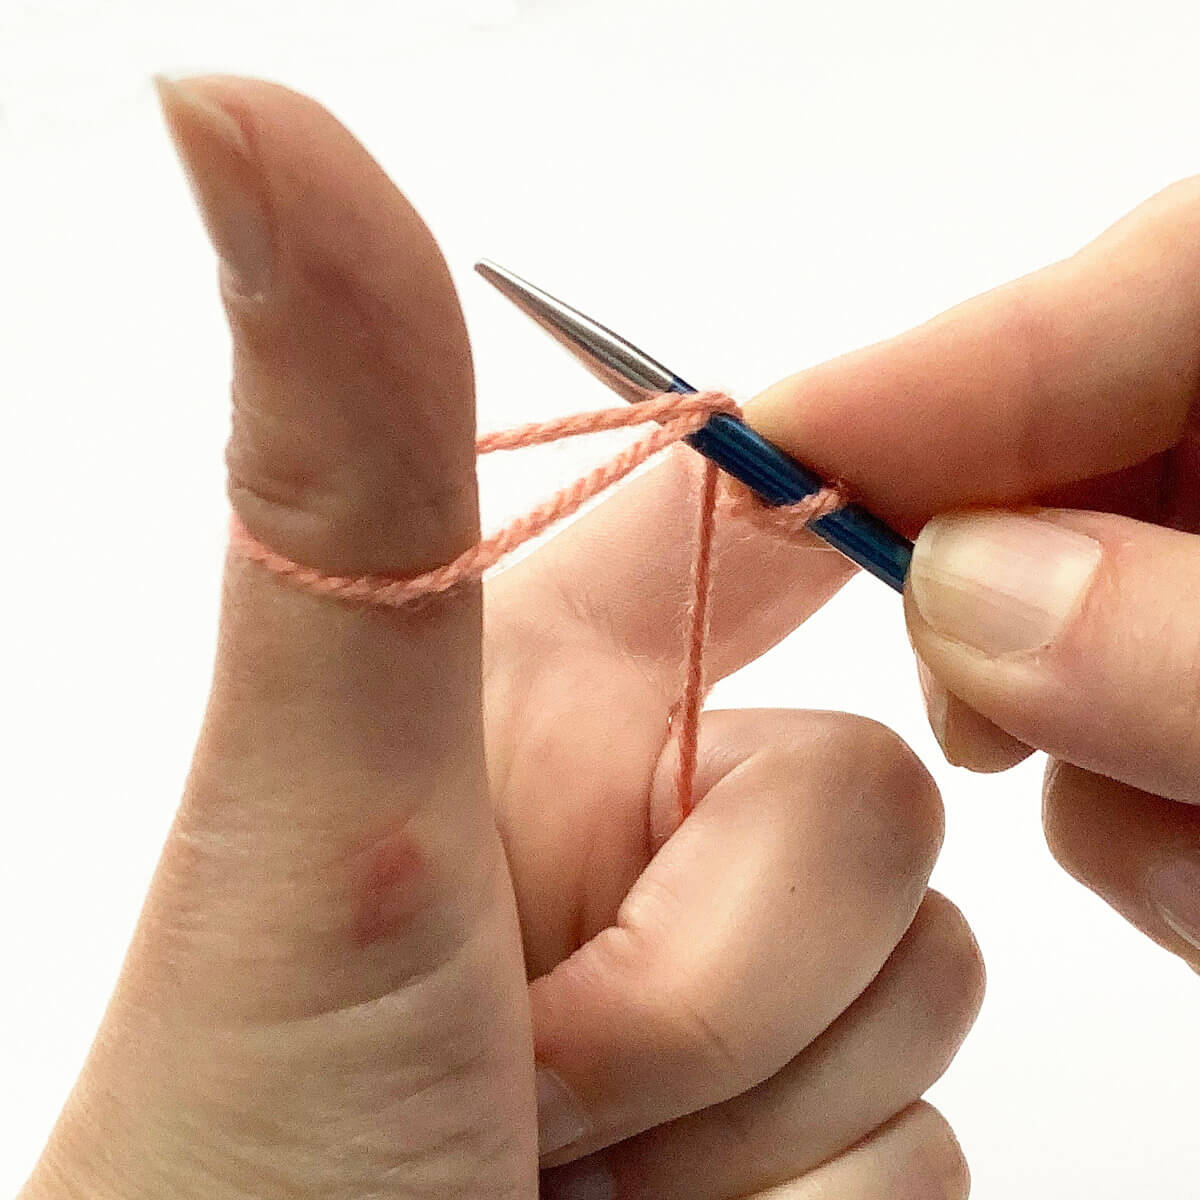
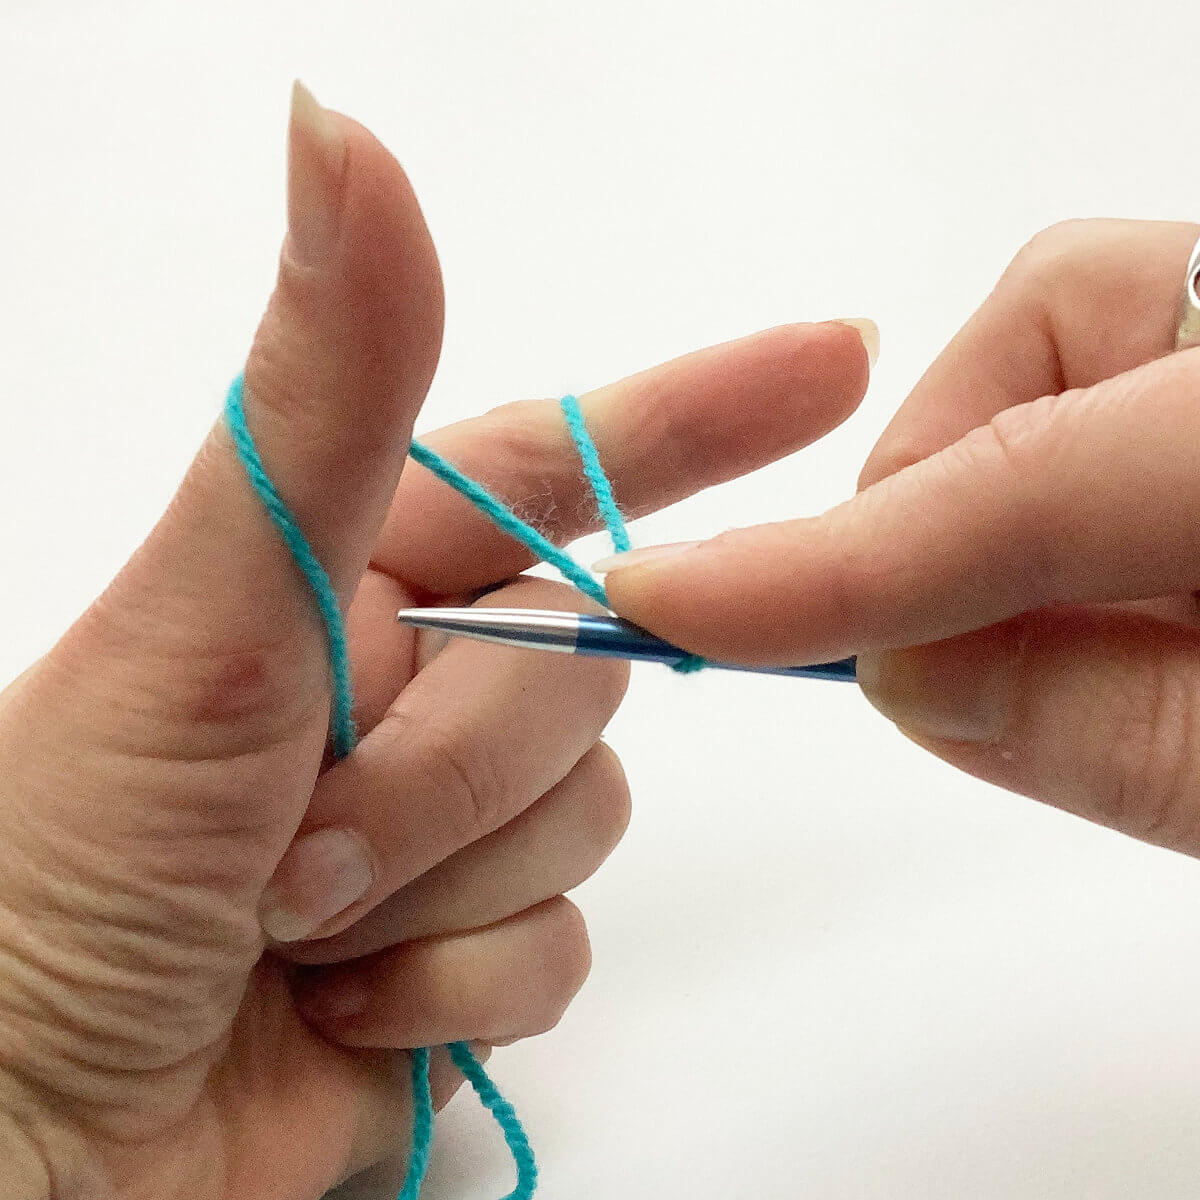
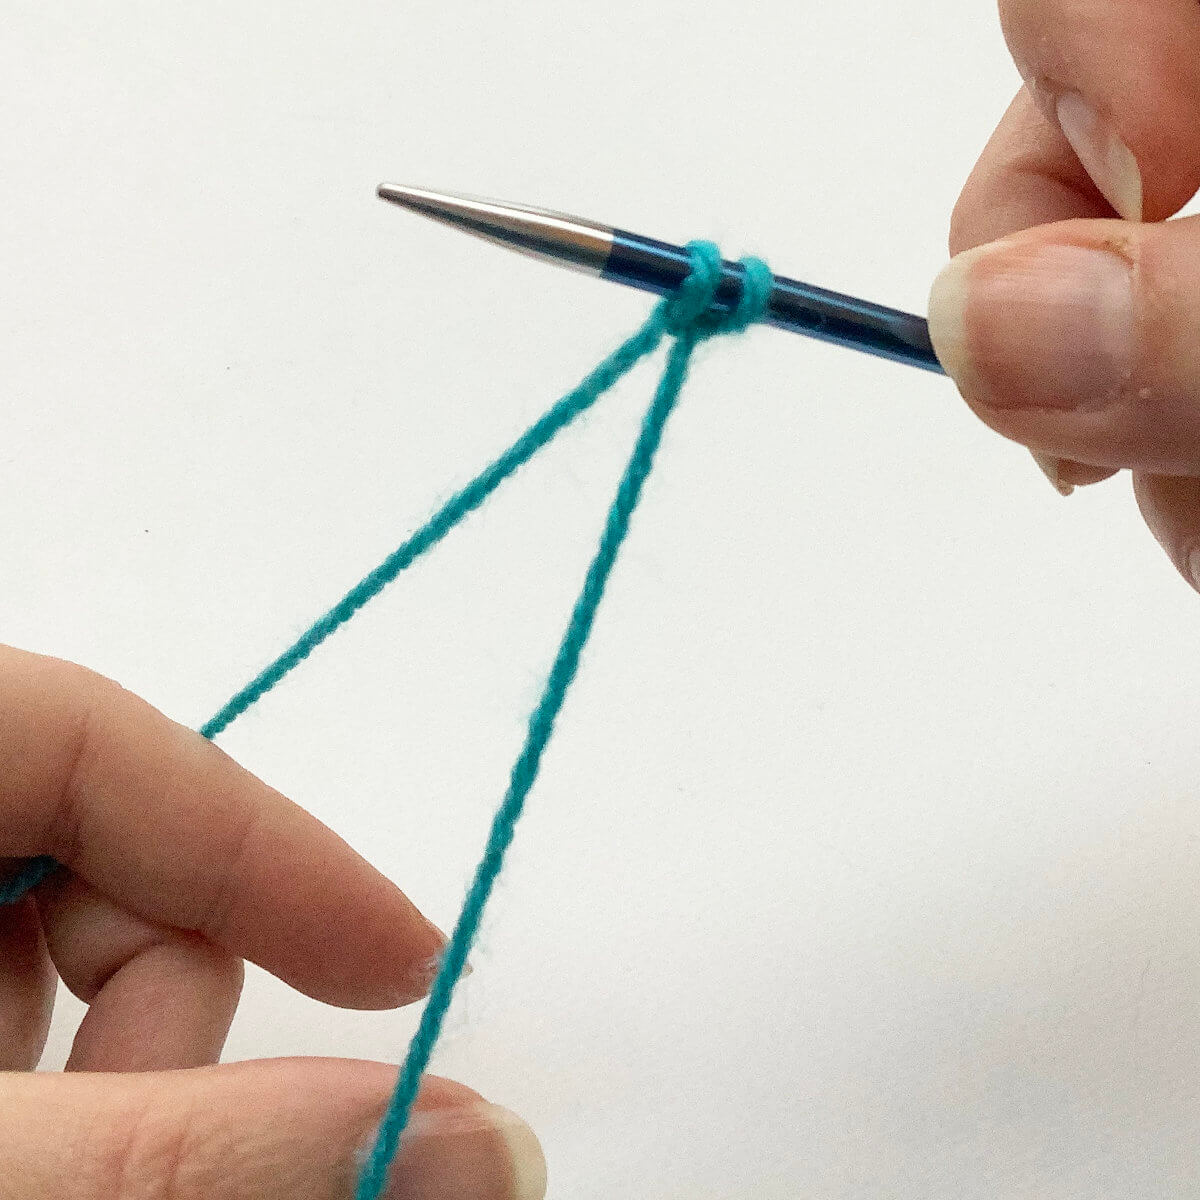
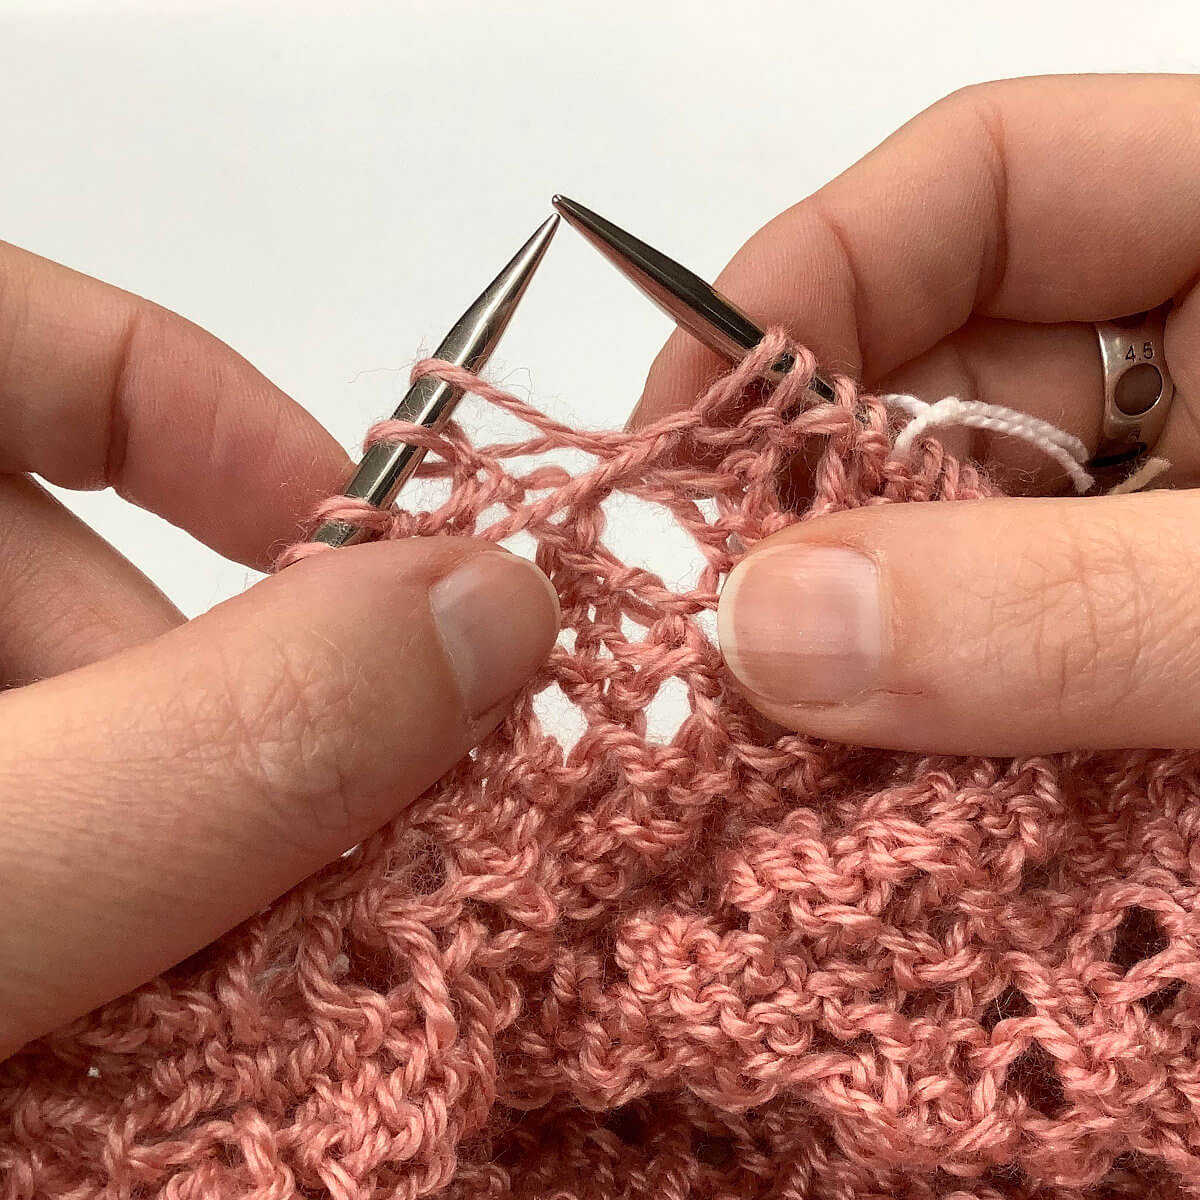
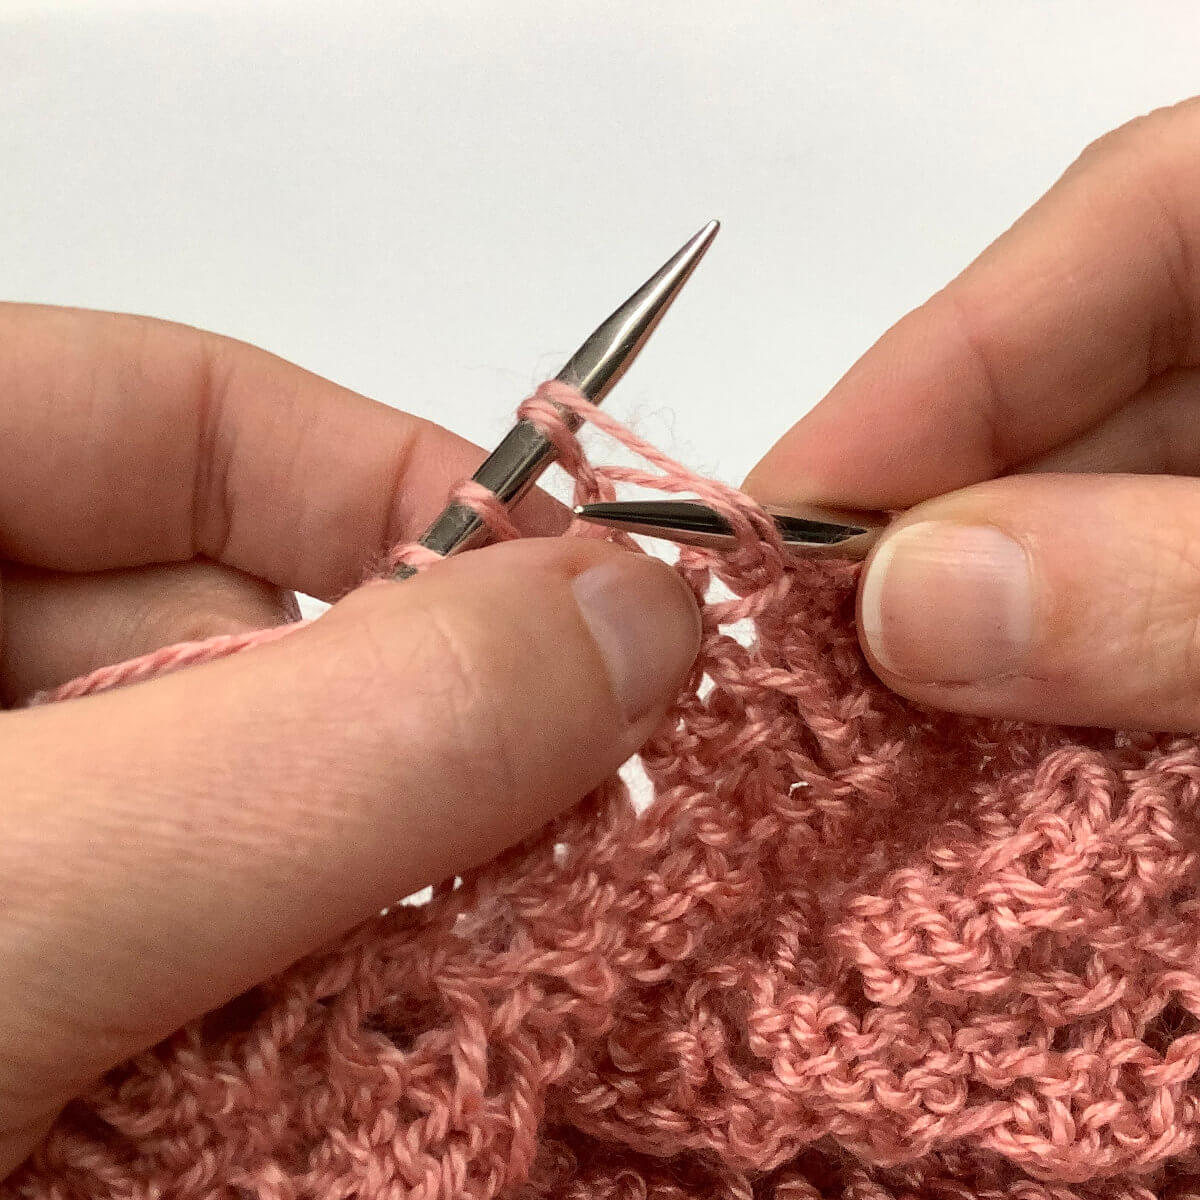
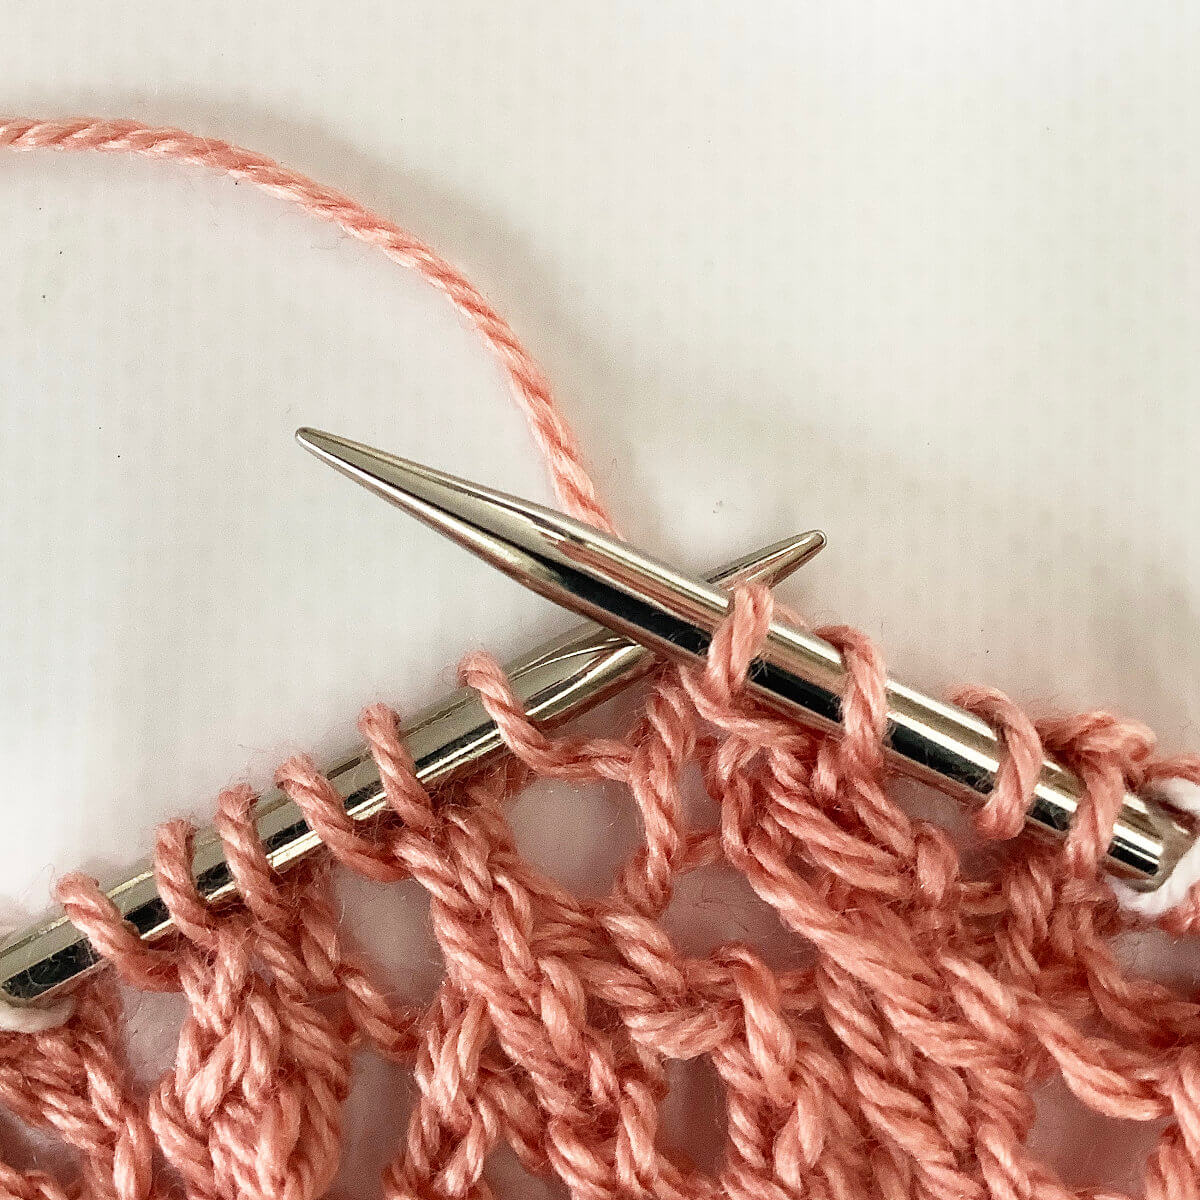
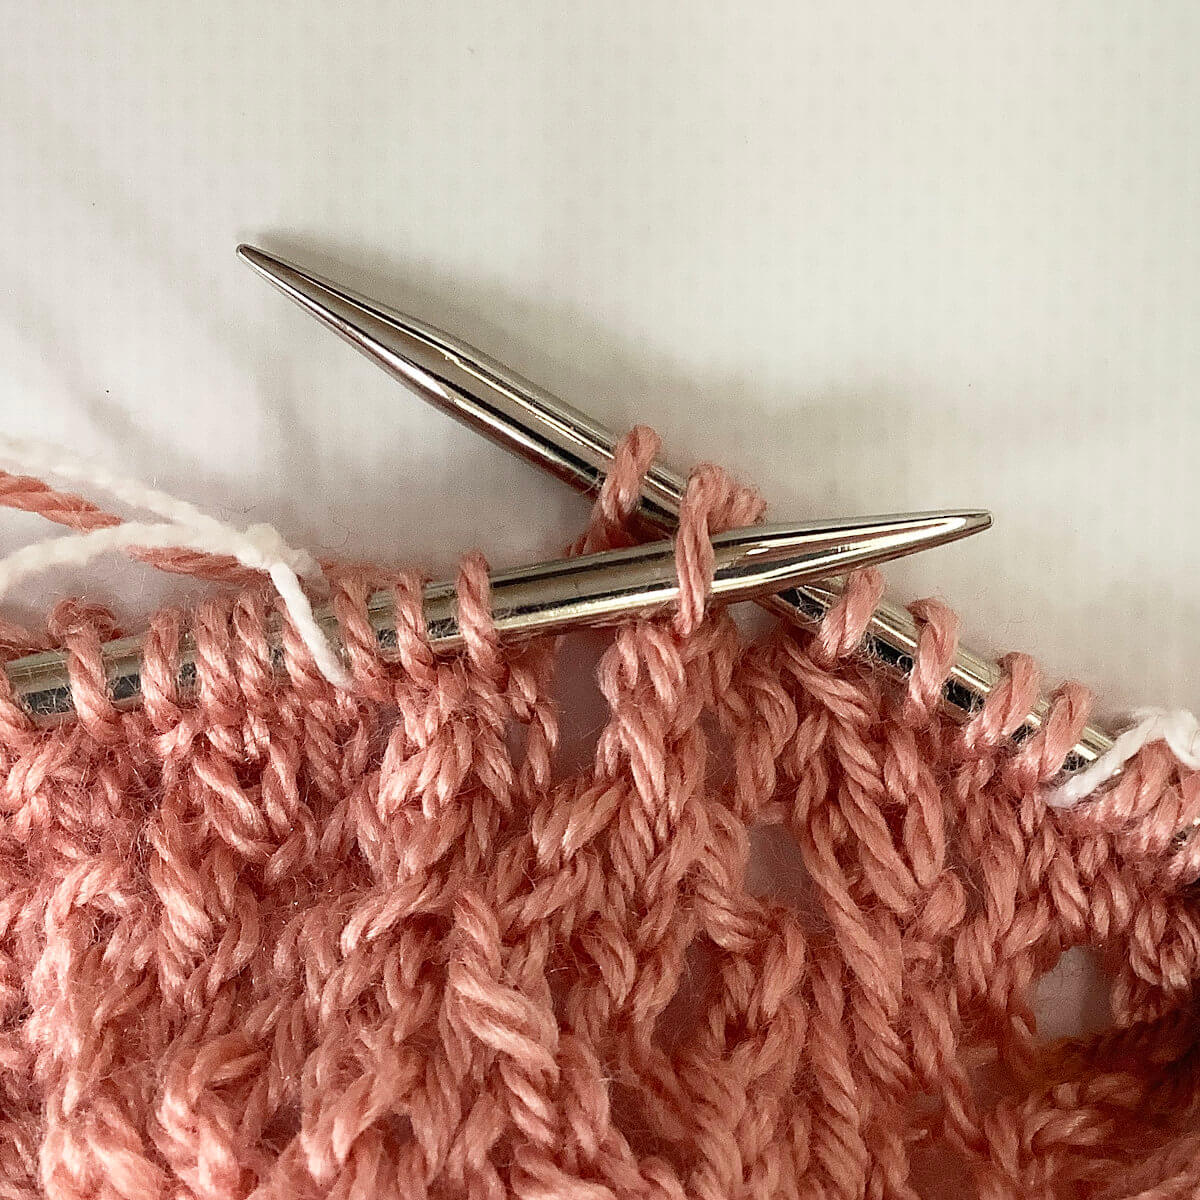
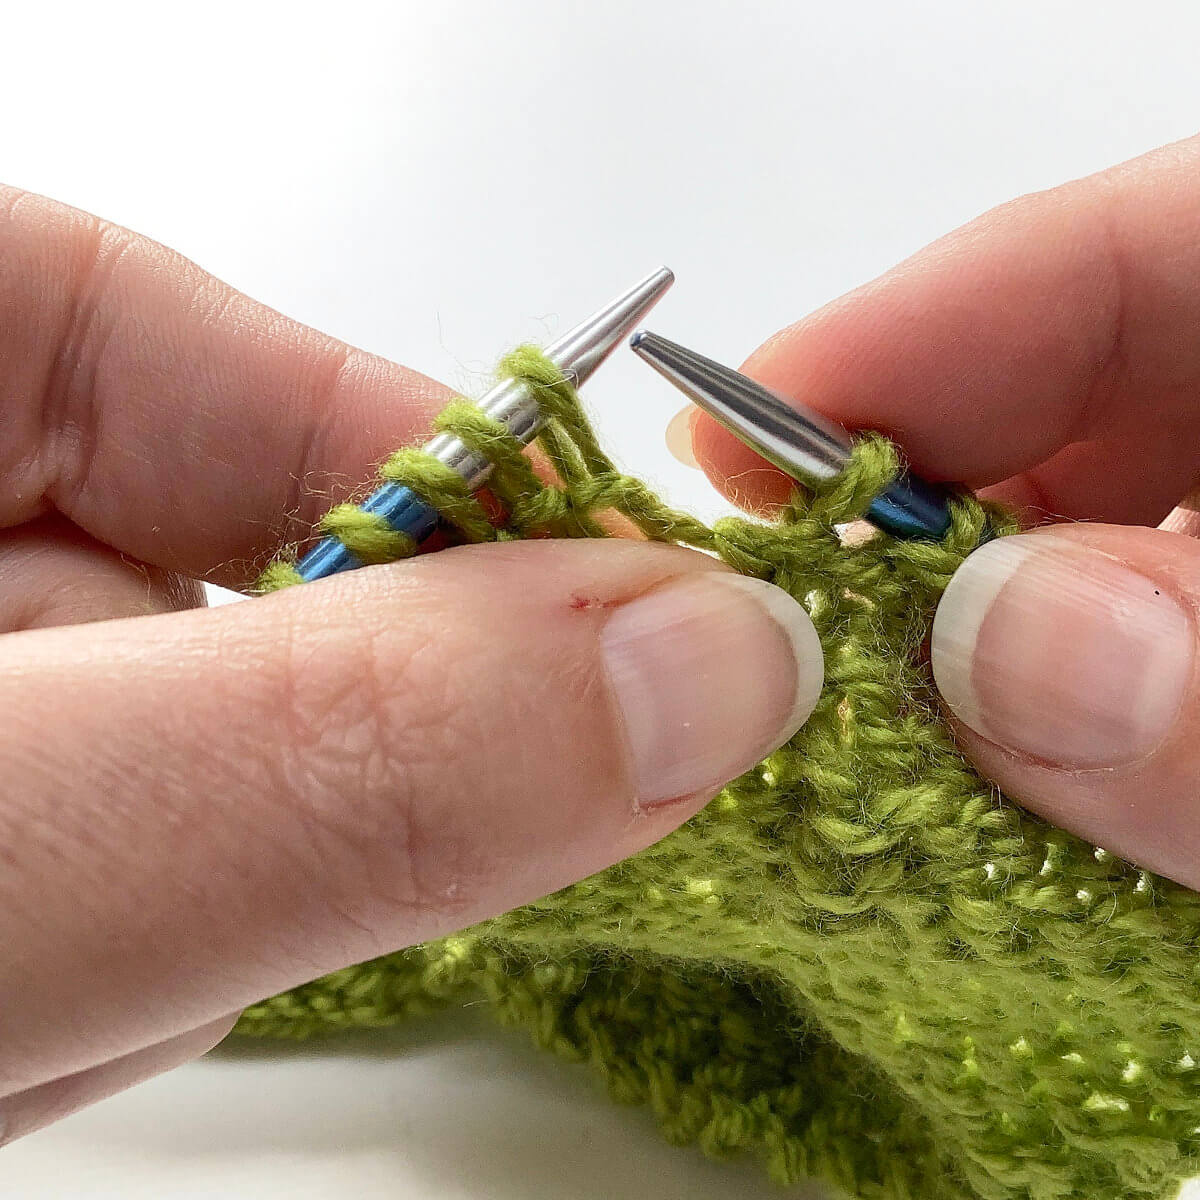
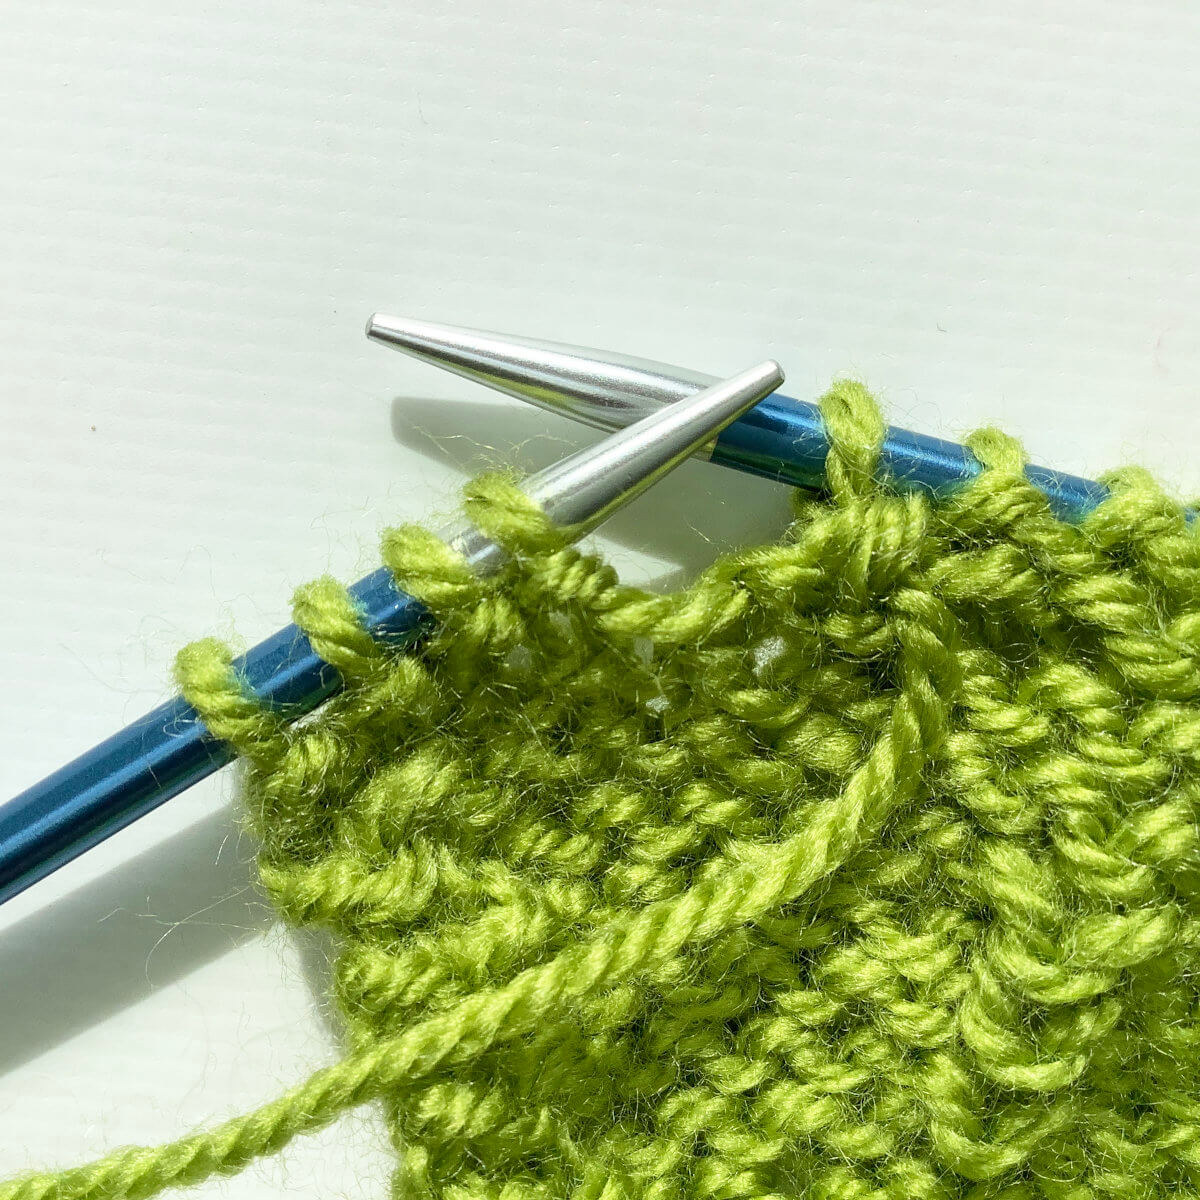
- Next, identify the row and stitches to insert the life line in, take your darning needle and insert it through the first couple of stitches on the needle.
For this, it is of importance to correctly select which “leg” of the stitch to insert the darning needle under. In stockinette stitch fabric, the individual stitches look like a “V”. When inserting the needle, make sure to insert pass it underneath the right leg and over the left leg of the “V”. This way the stitches are mounted correctly on the life line. When doing it like this, you just have to follow the path of the life line when putting the fabric back on your knitting needle, to correctly mount the stitches there too. In other words: not twisted! Take care not to pierce any strands of yarn.
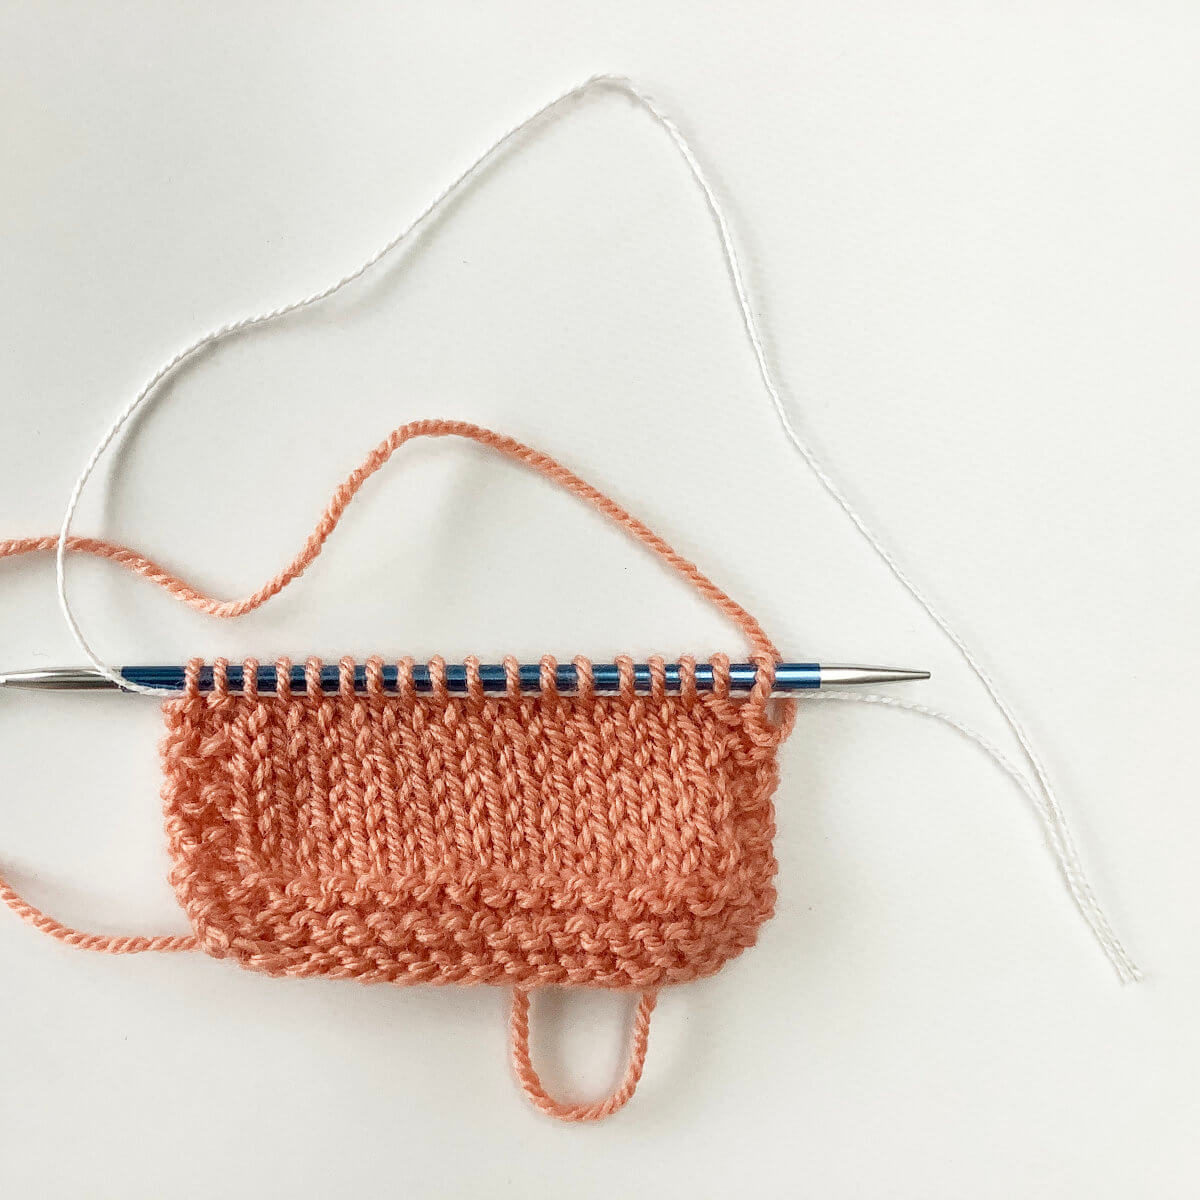
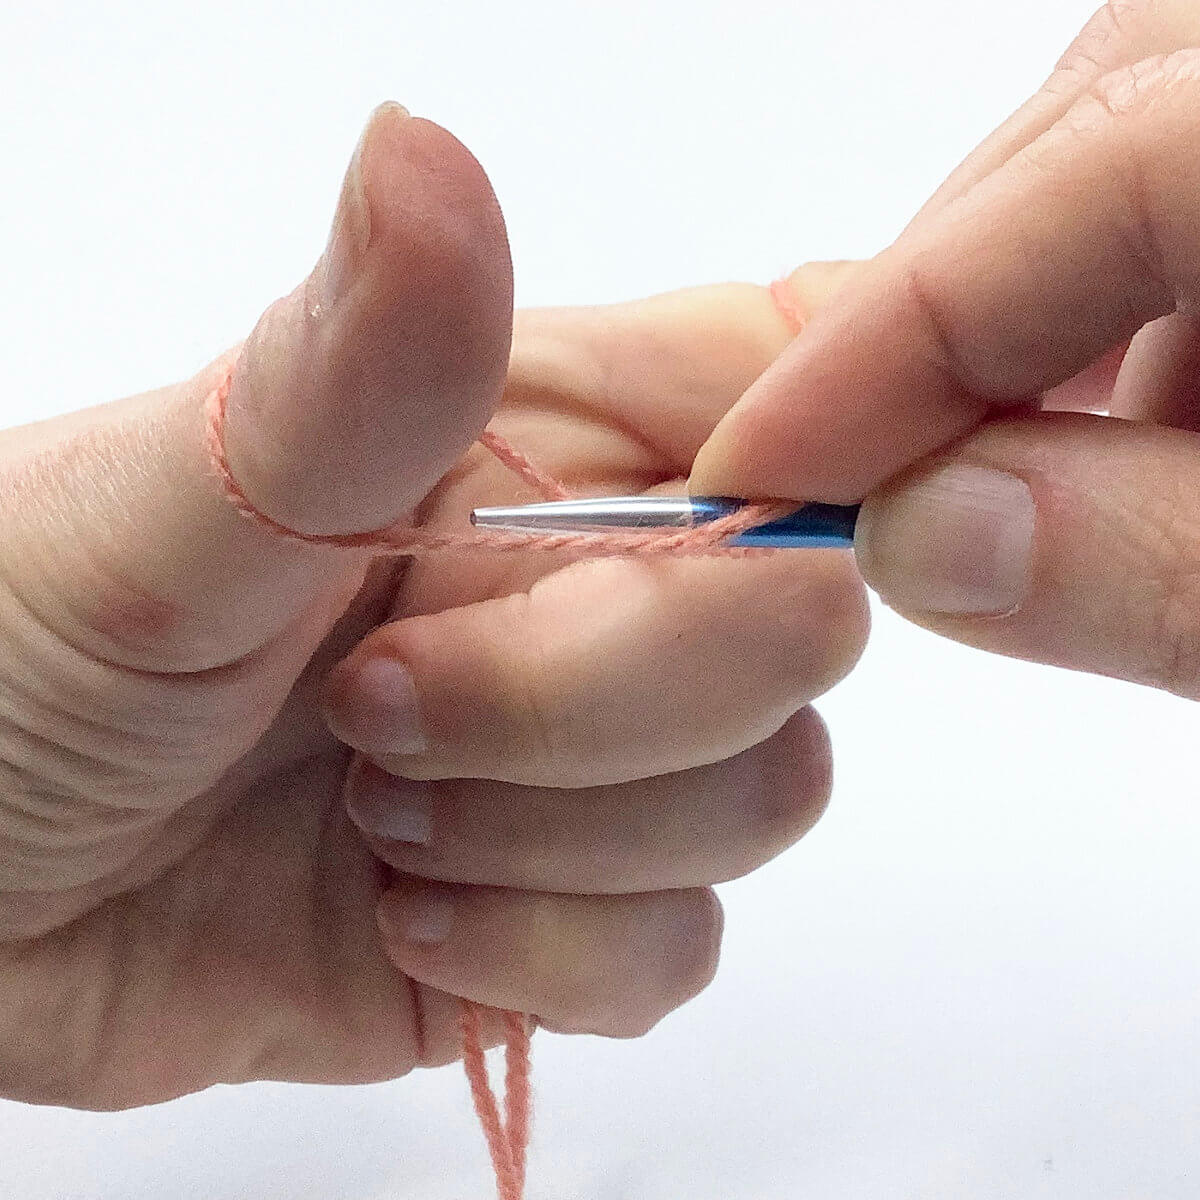
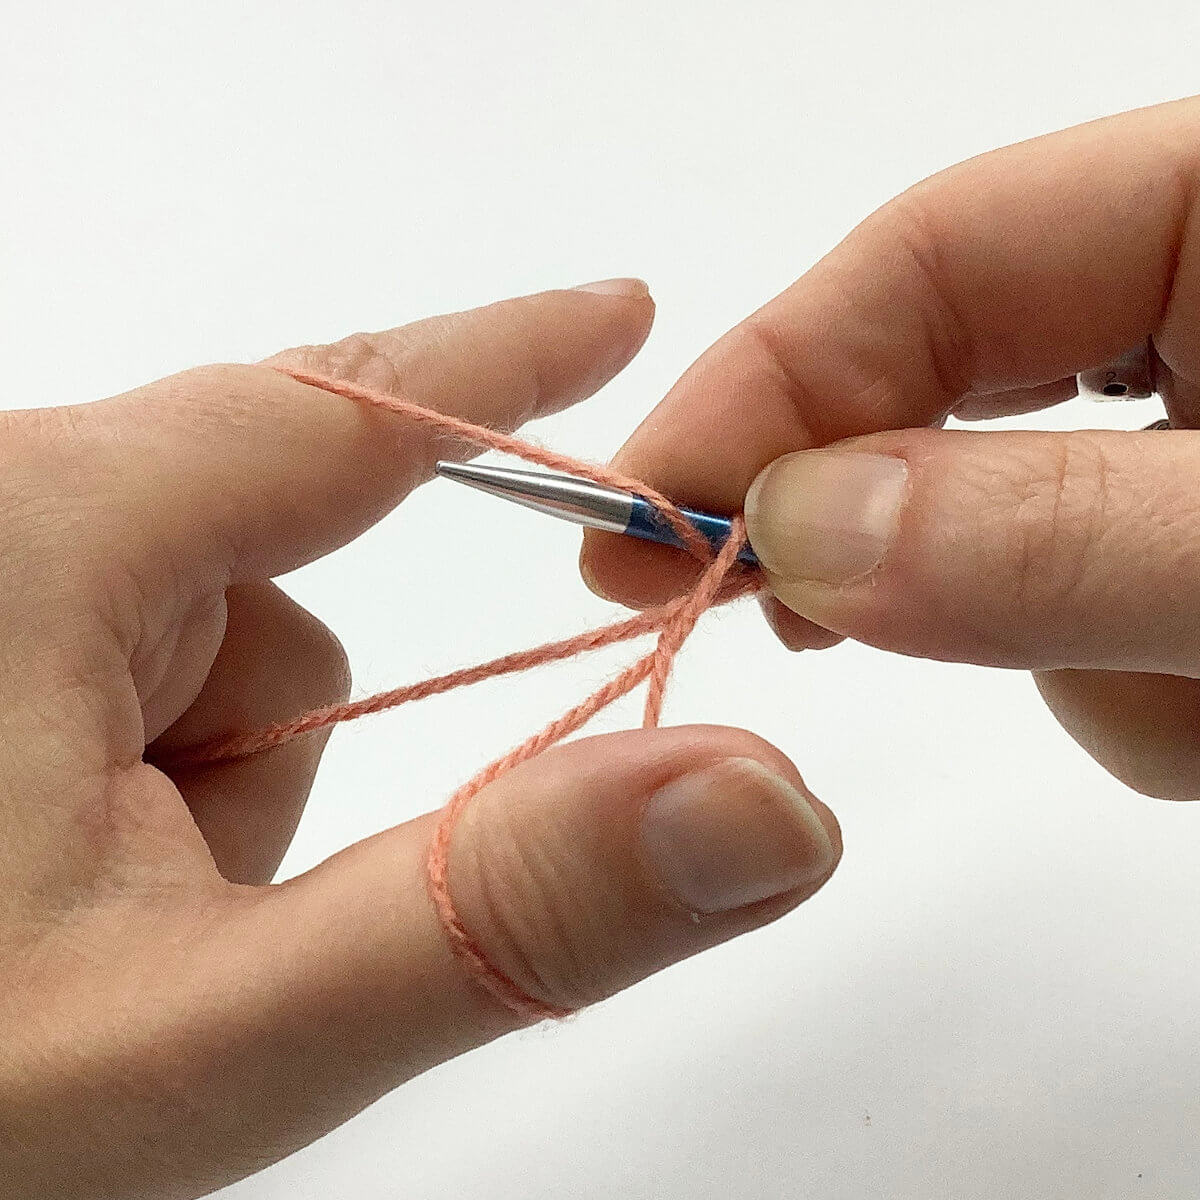
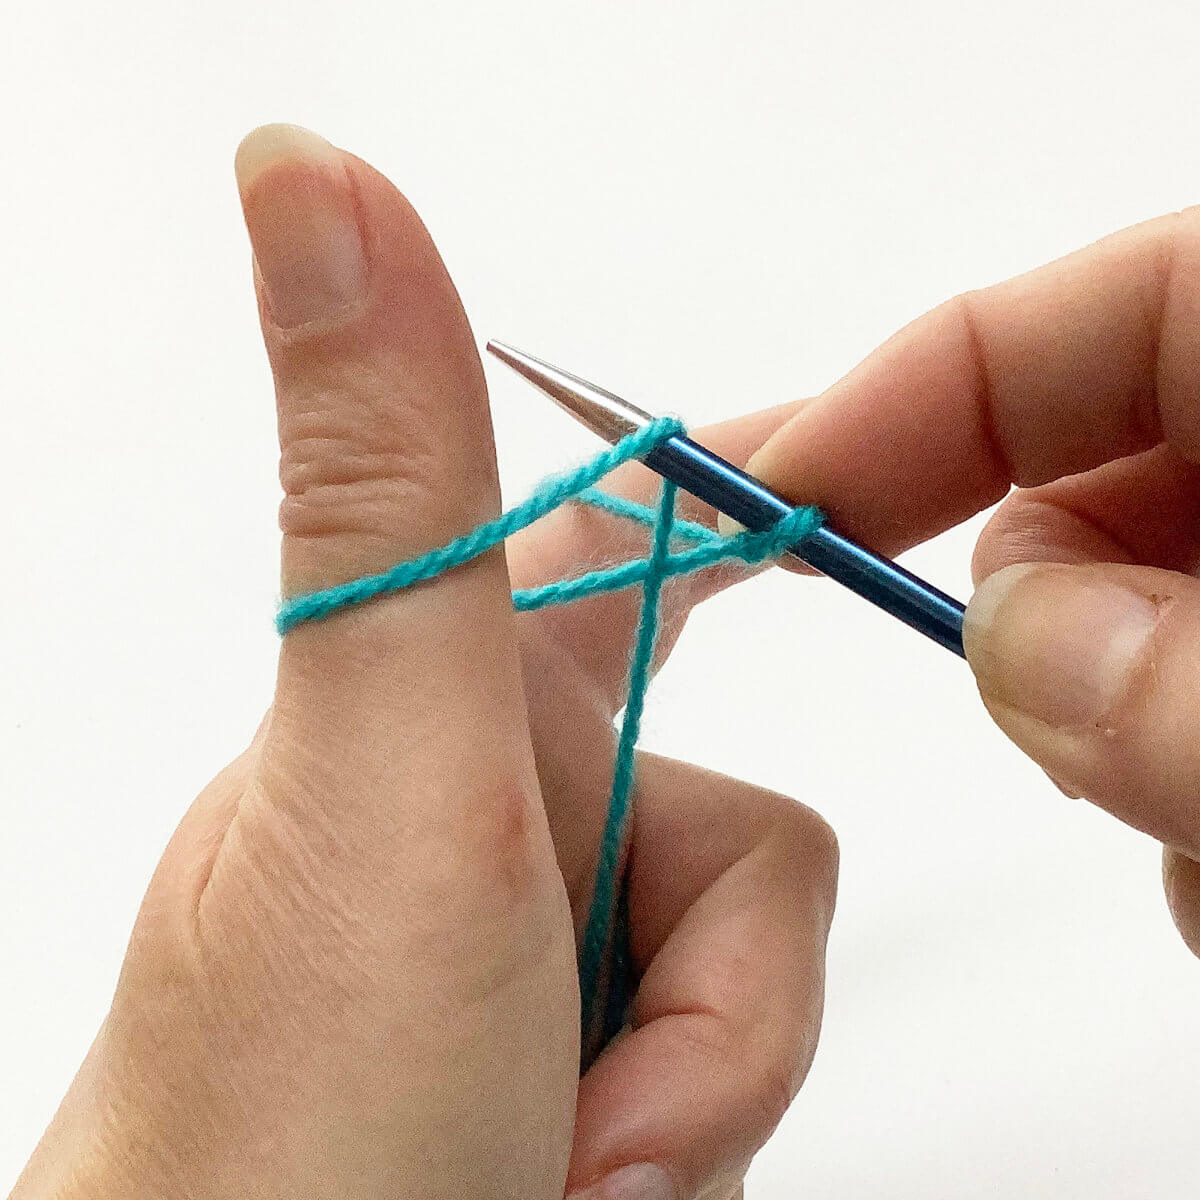
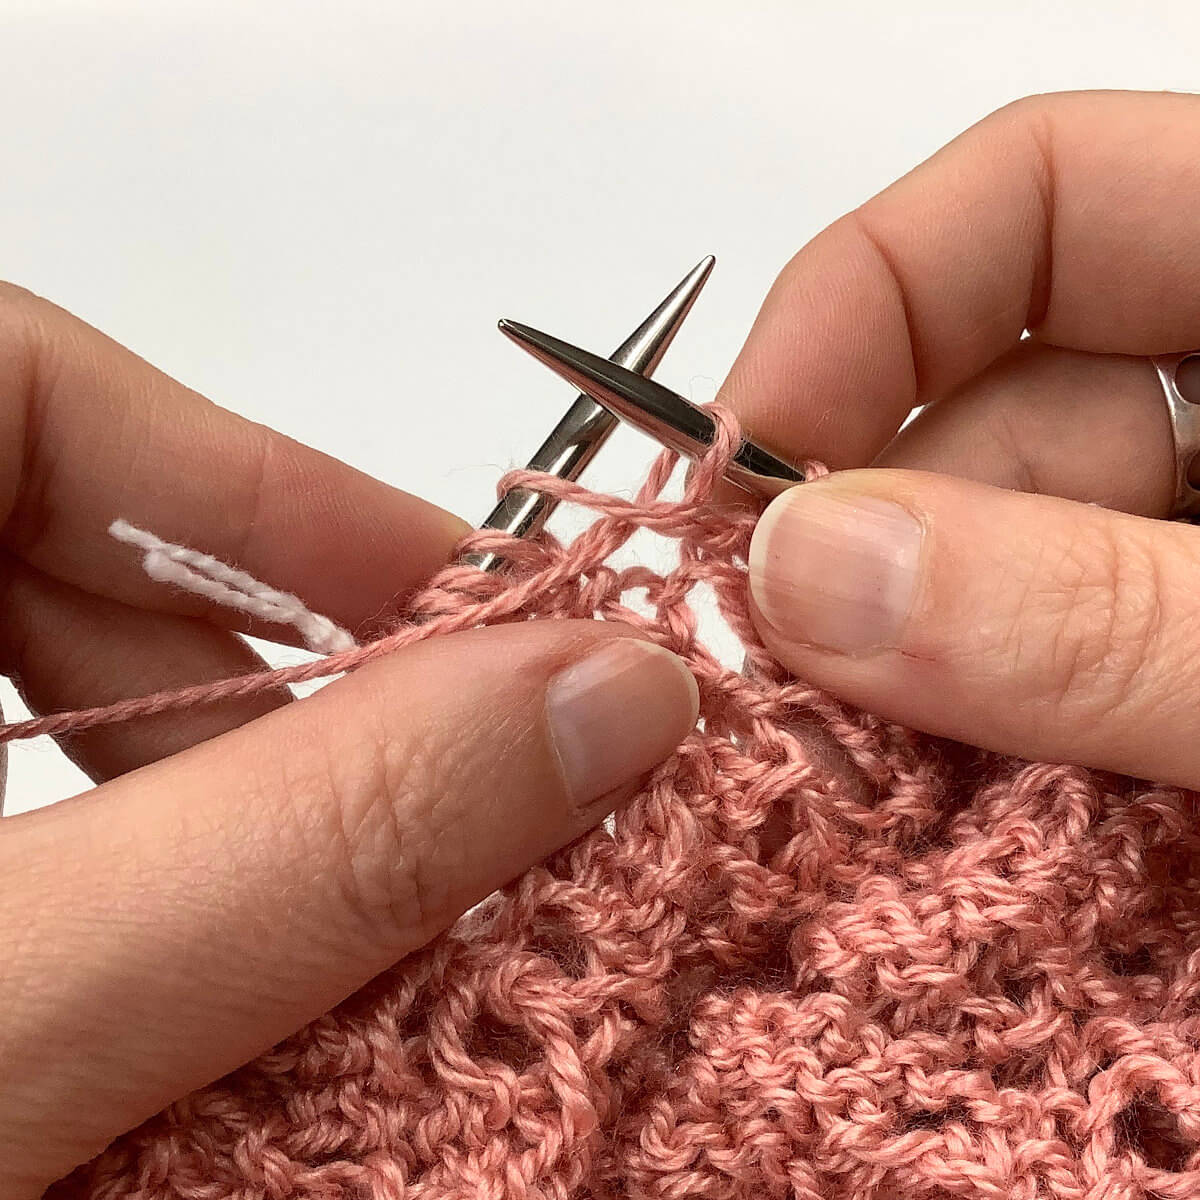
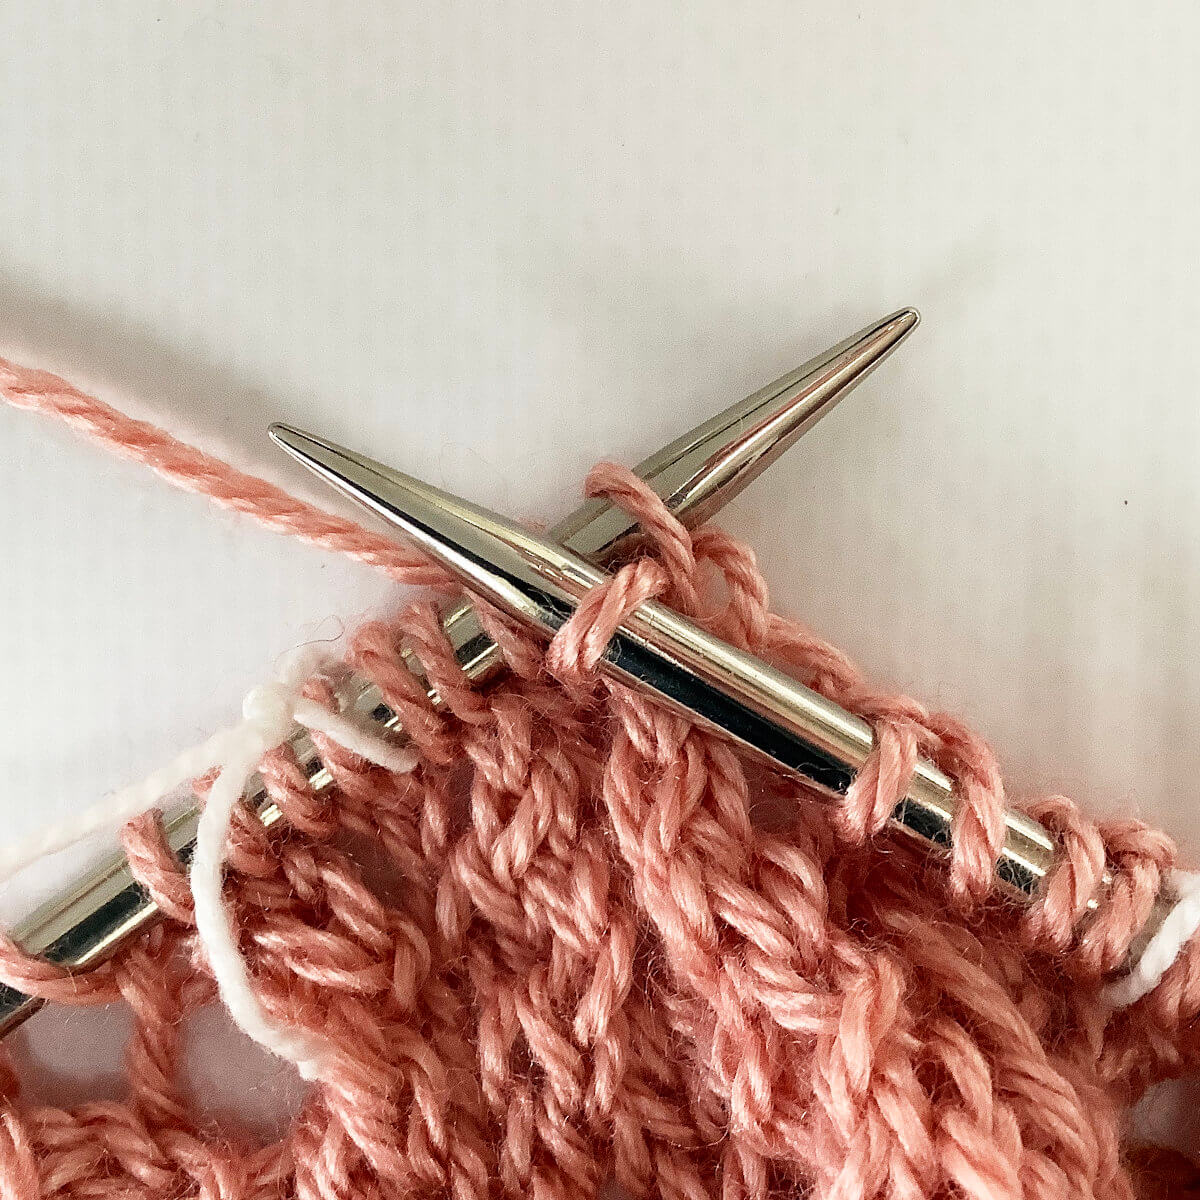
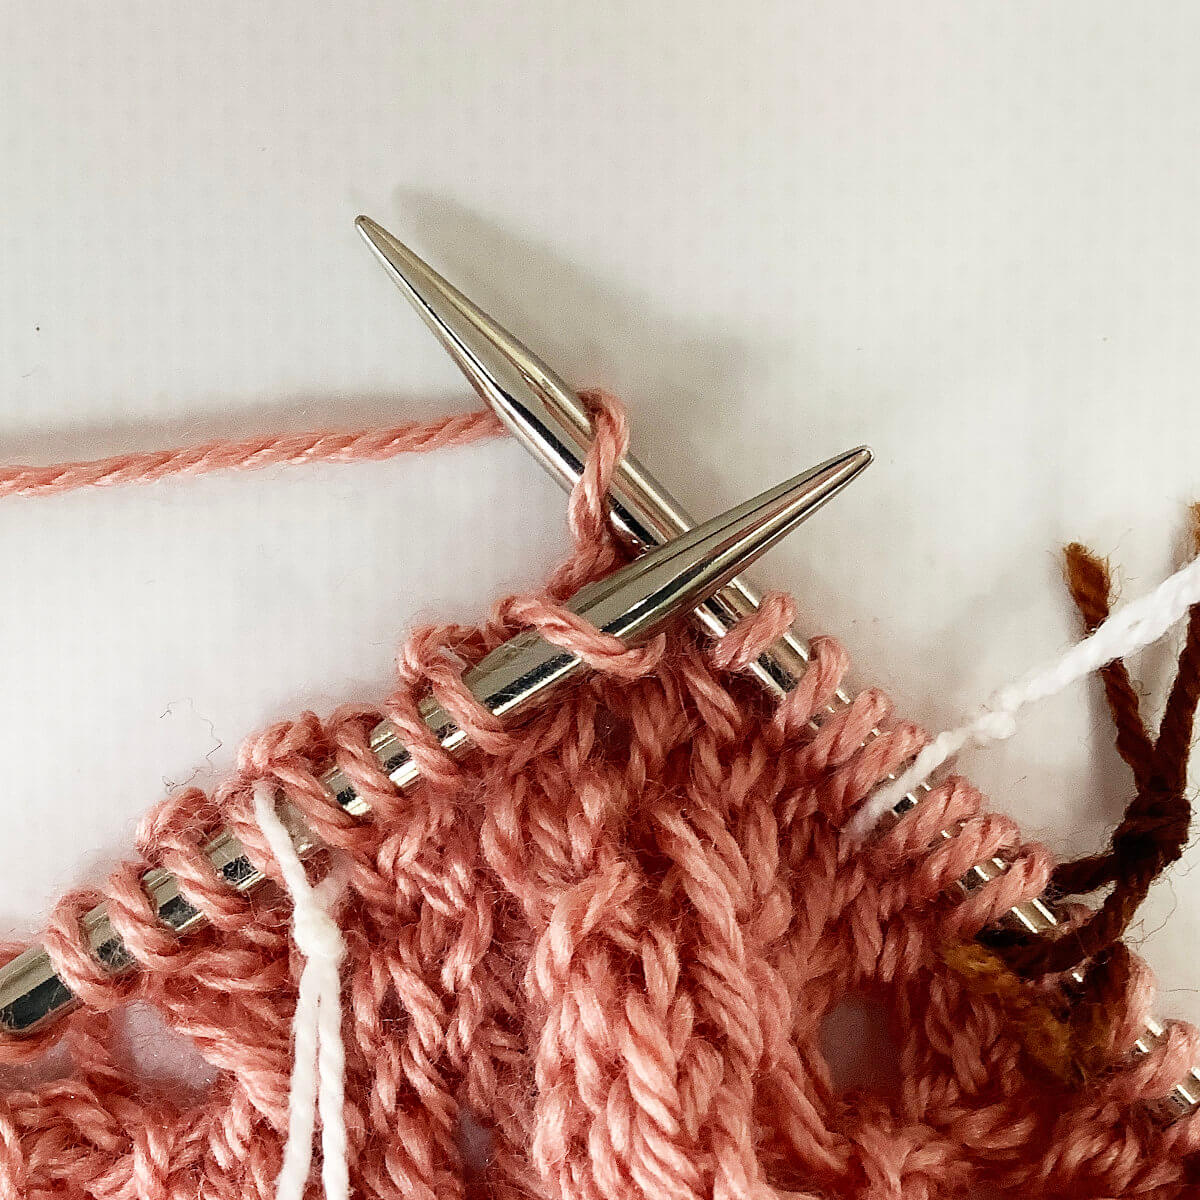
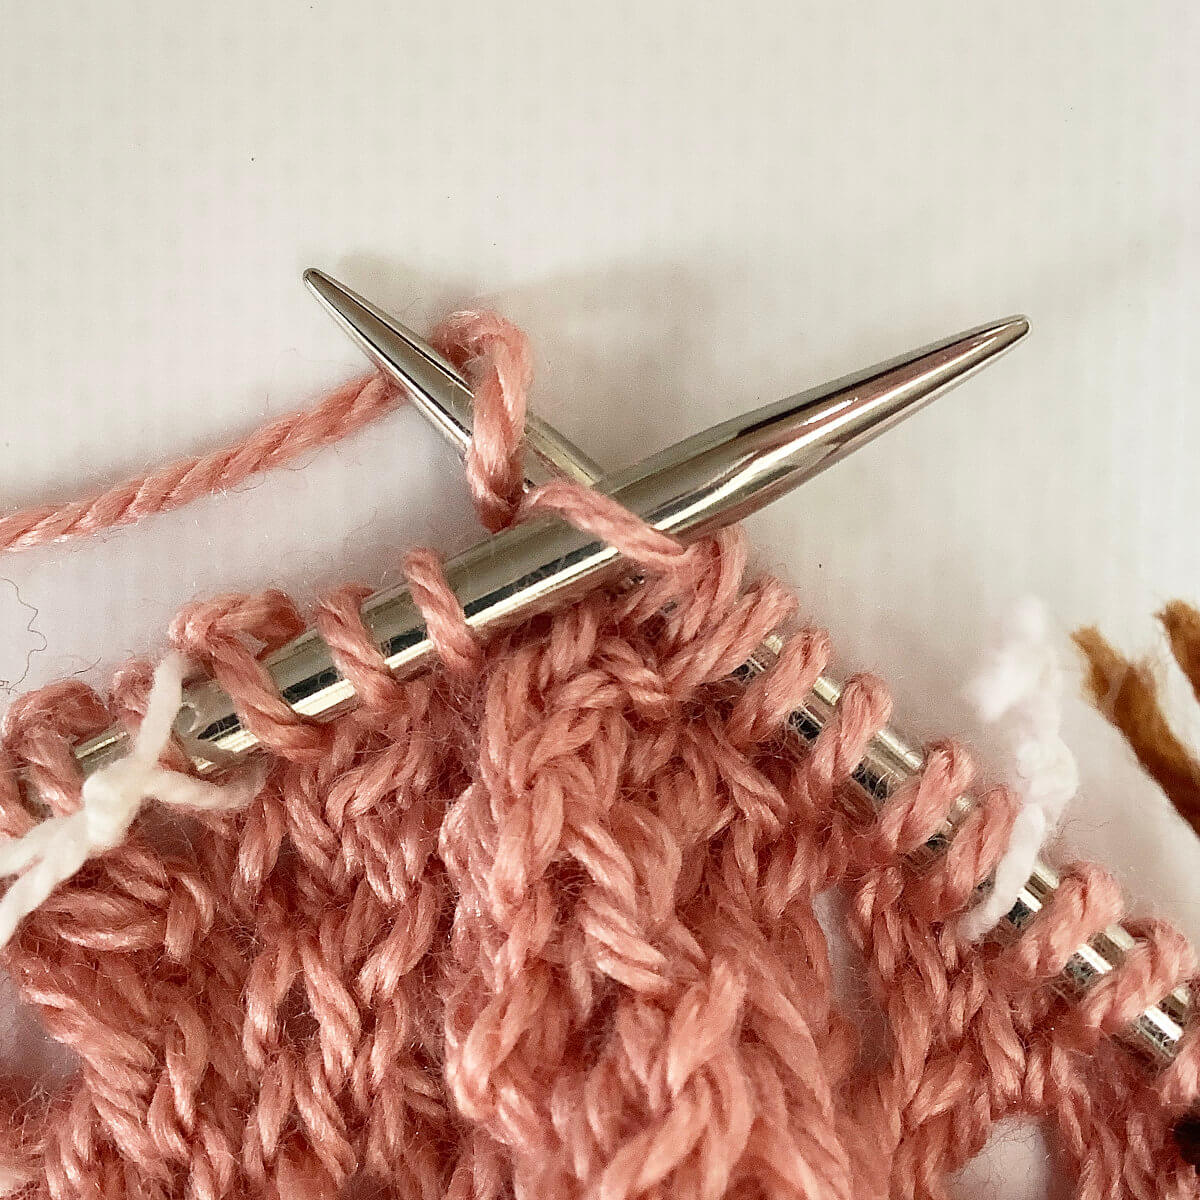
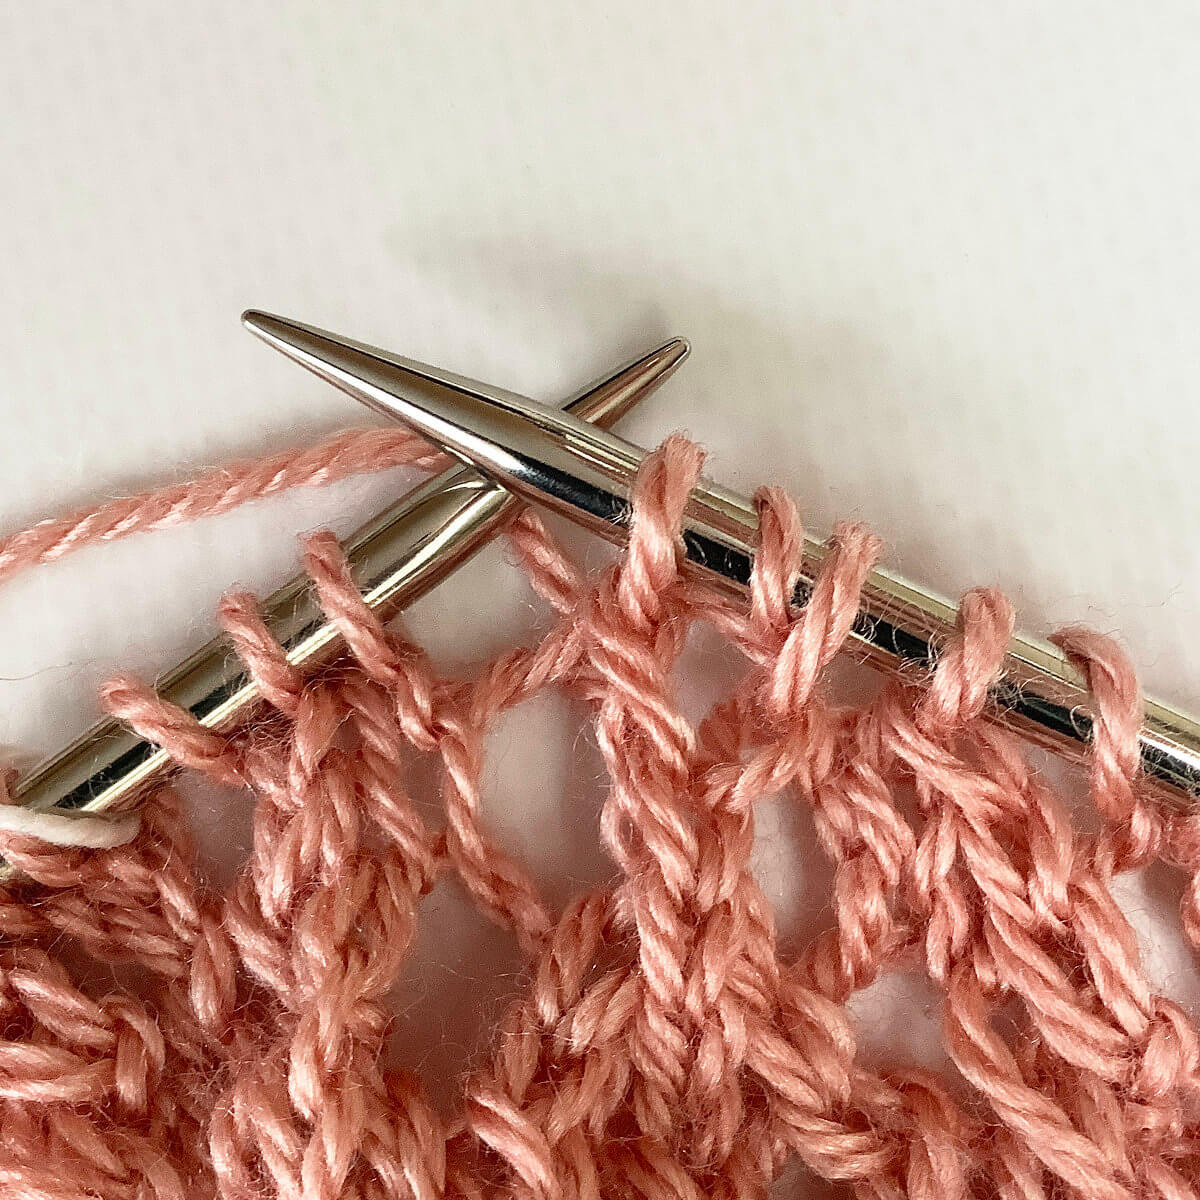
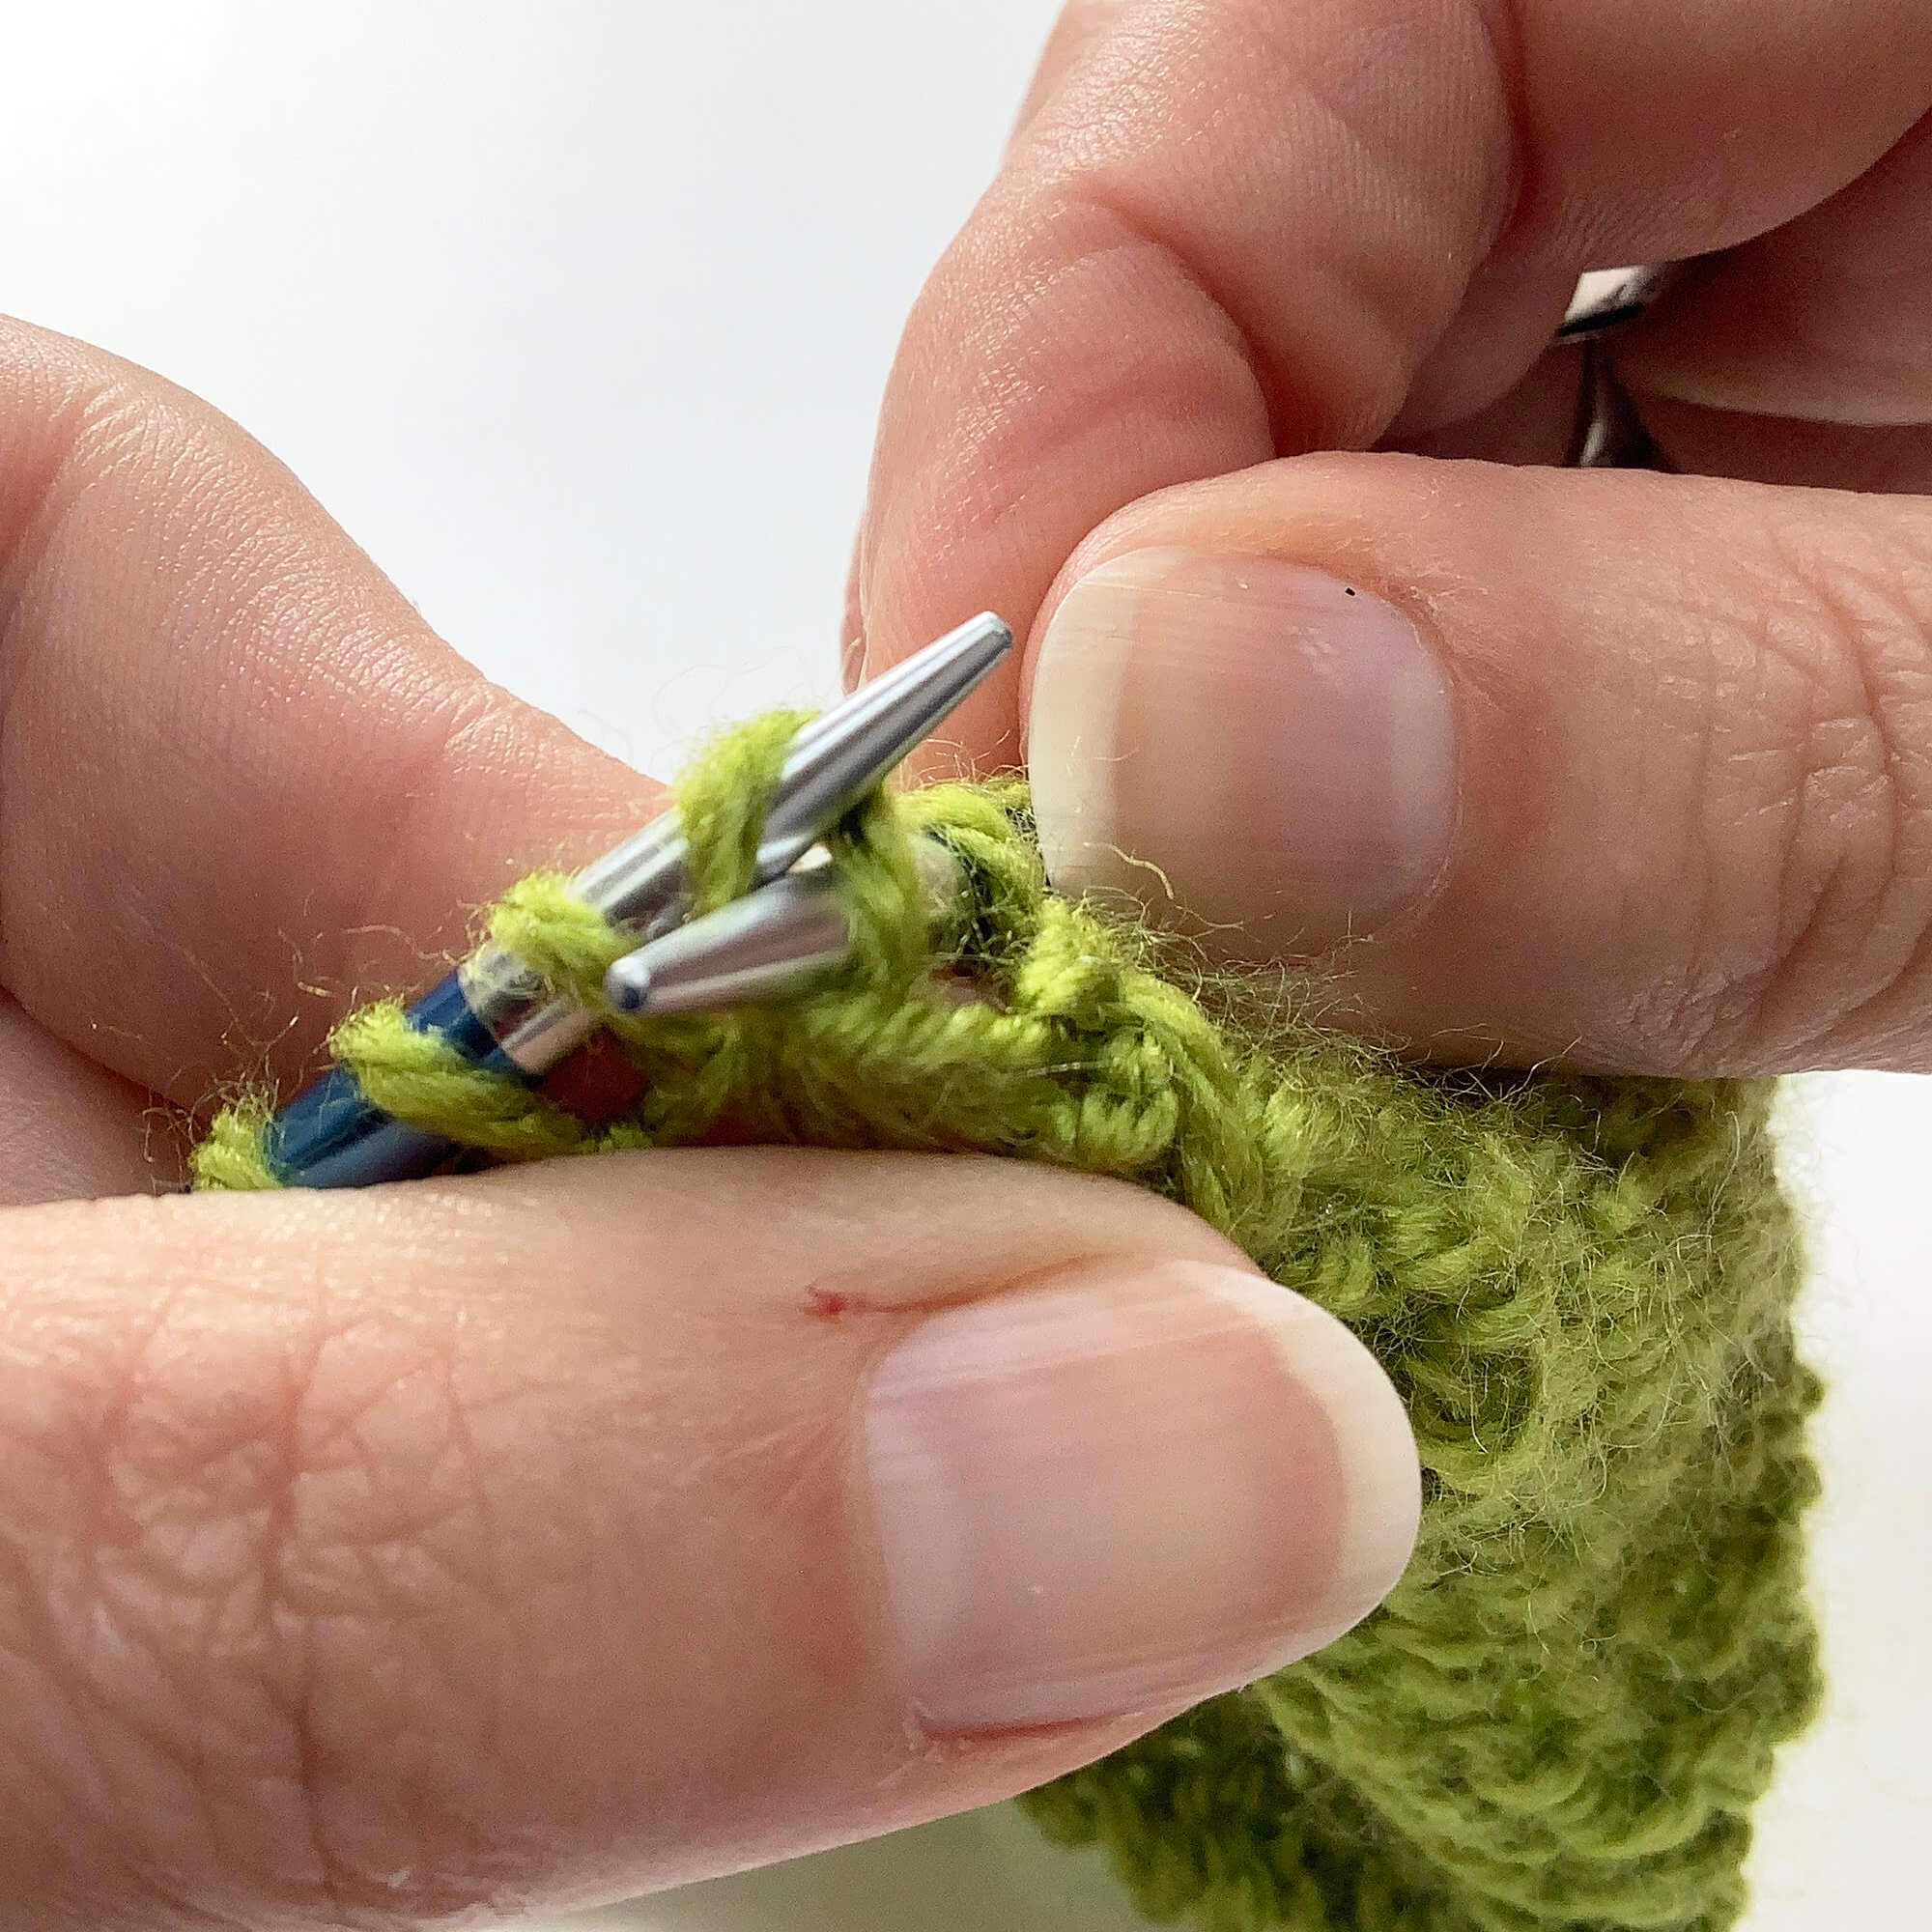
- After the first few stitches, pull the cotton thread through, taking care to leave a tail outside the piece of knitting.
Then, you can insert the darning needle into the next couple of stitches and so on, to put all stitches on the thread.
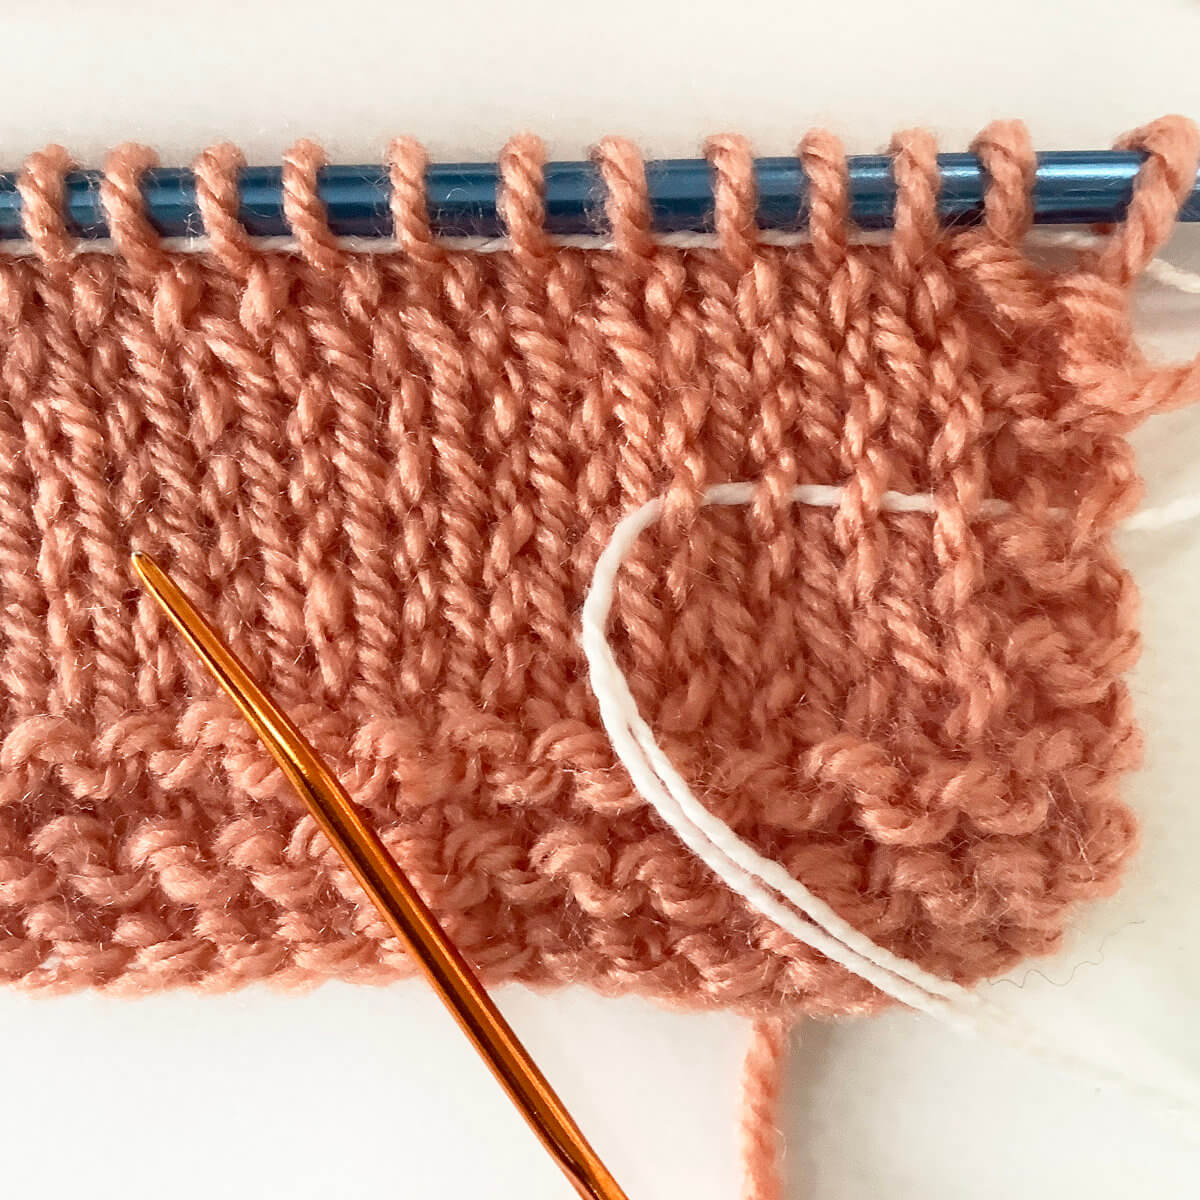
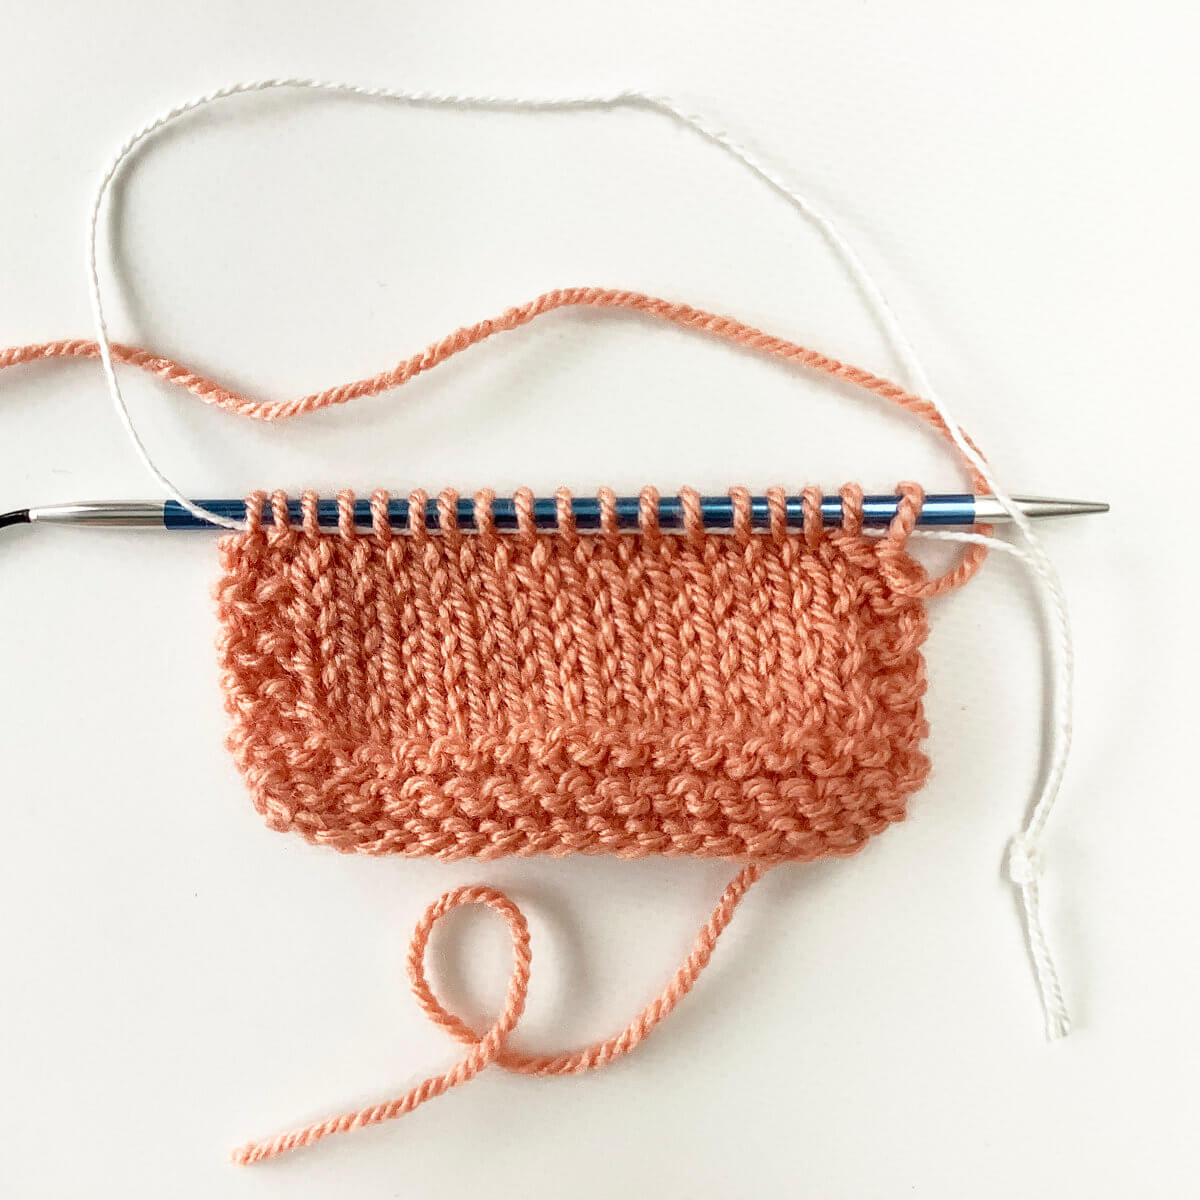
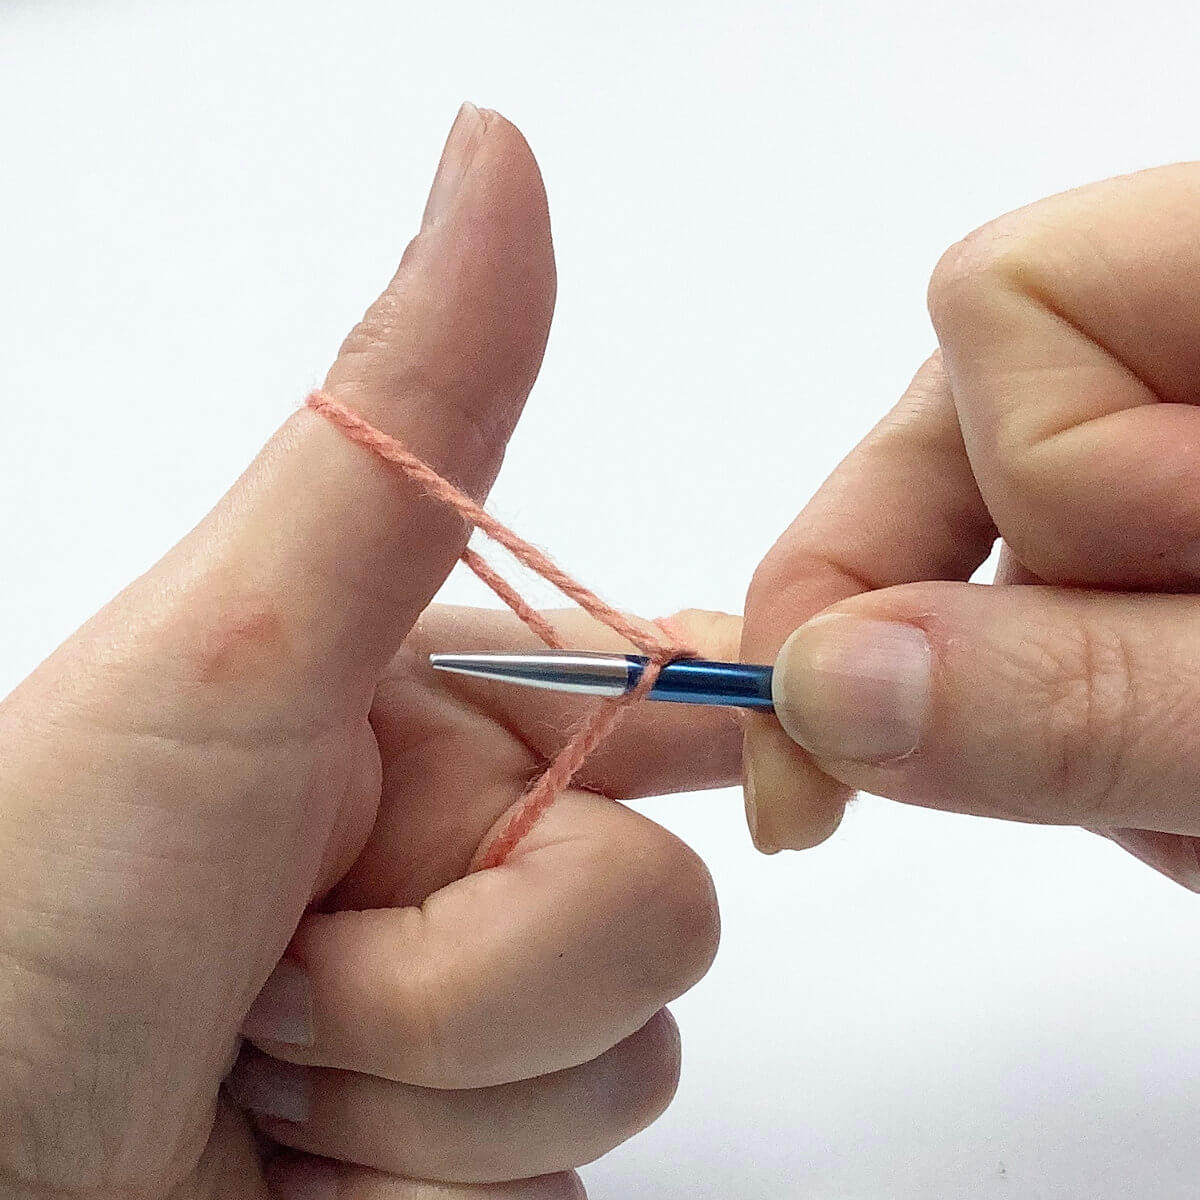
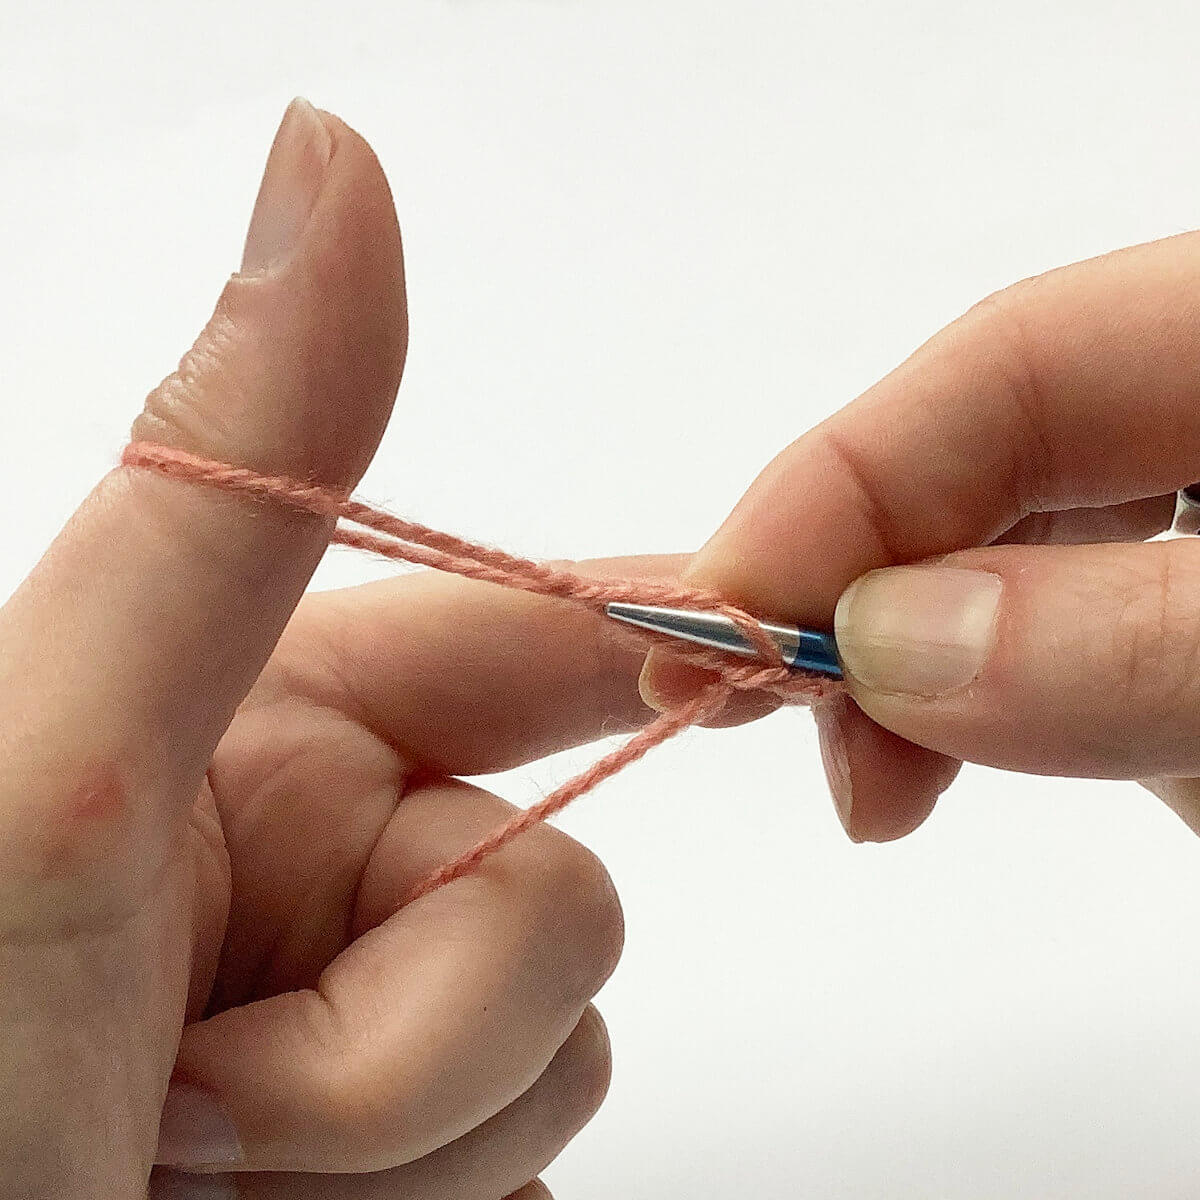
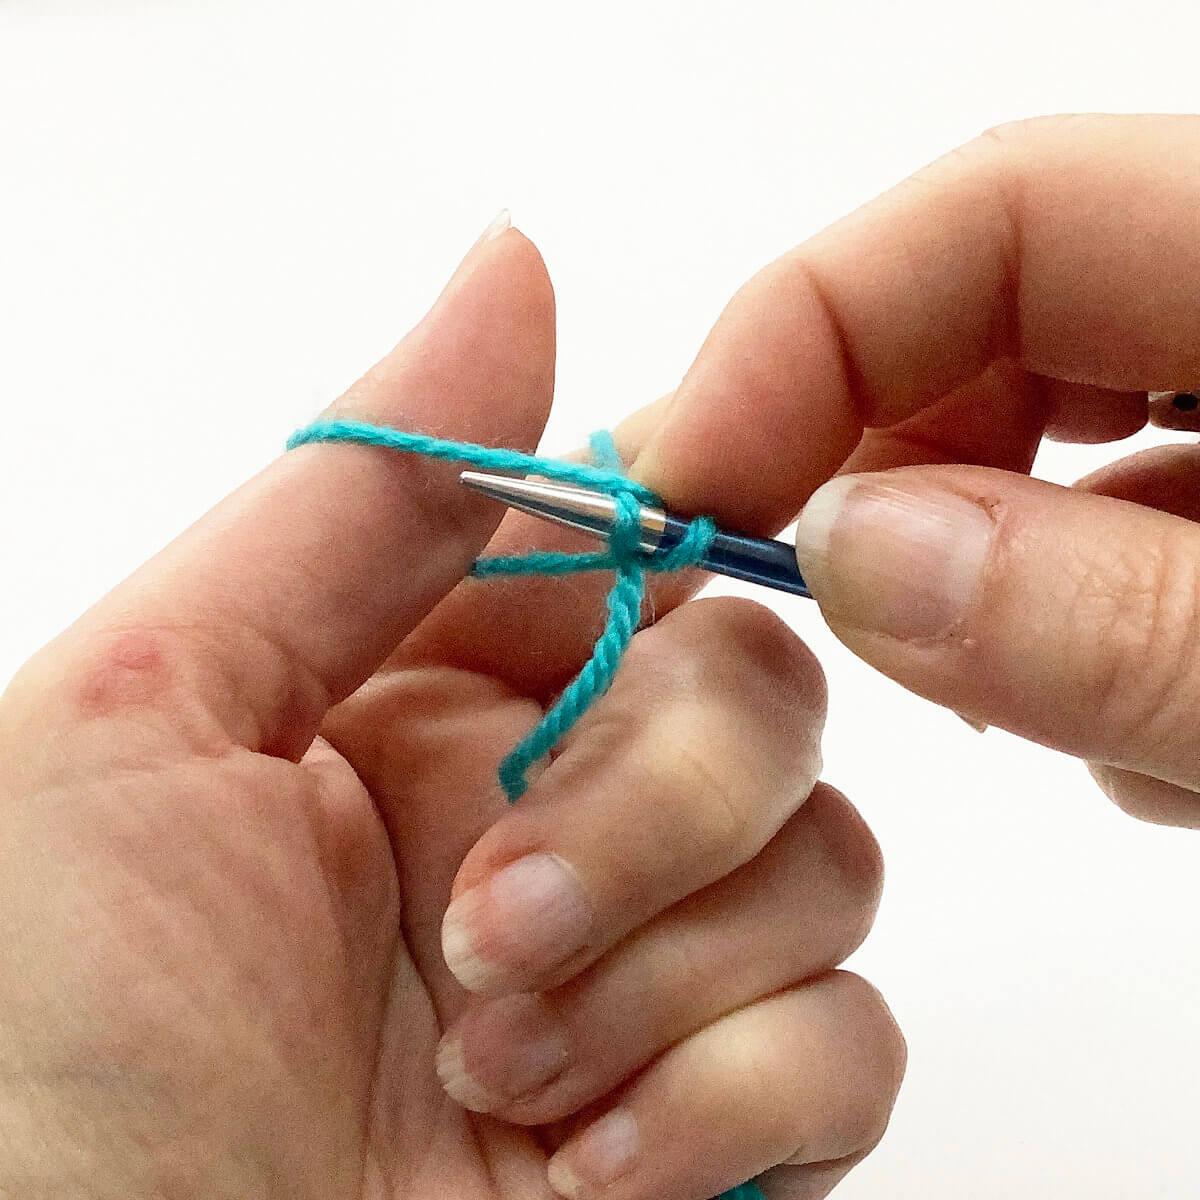
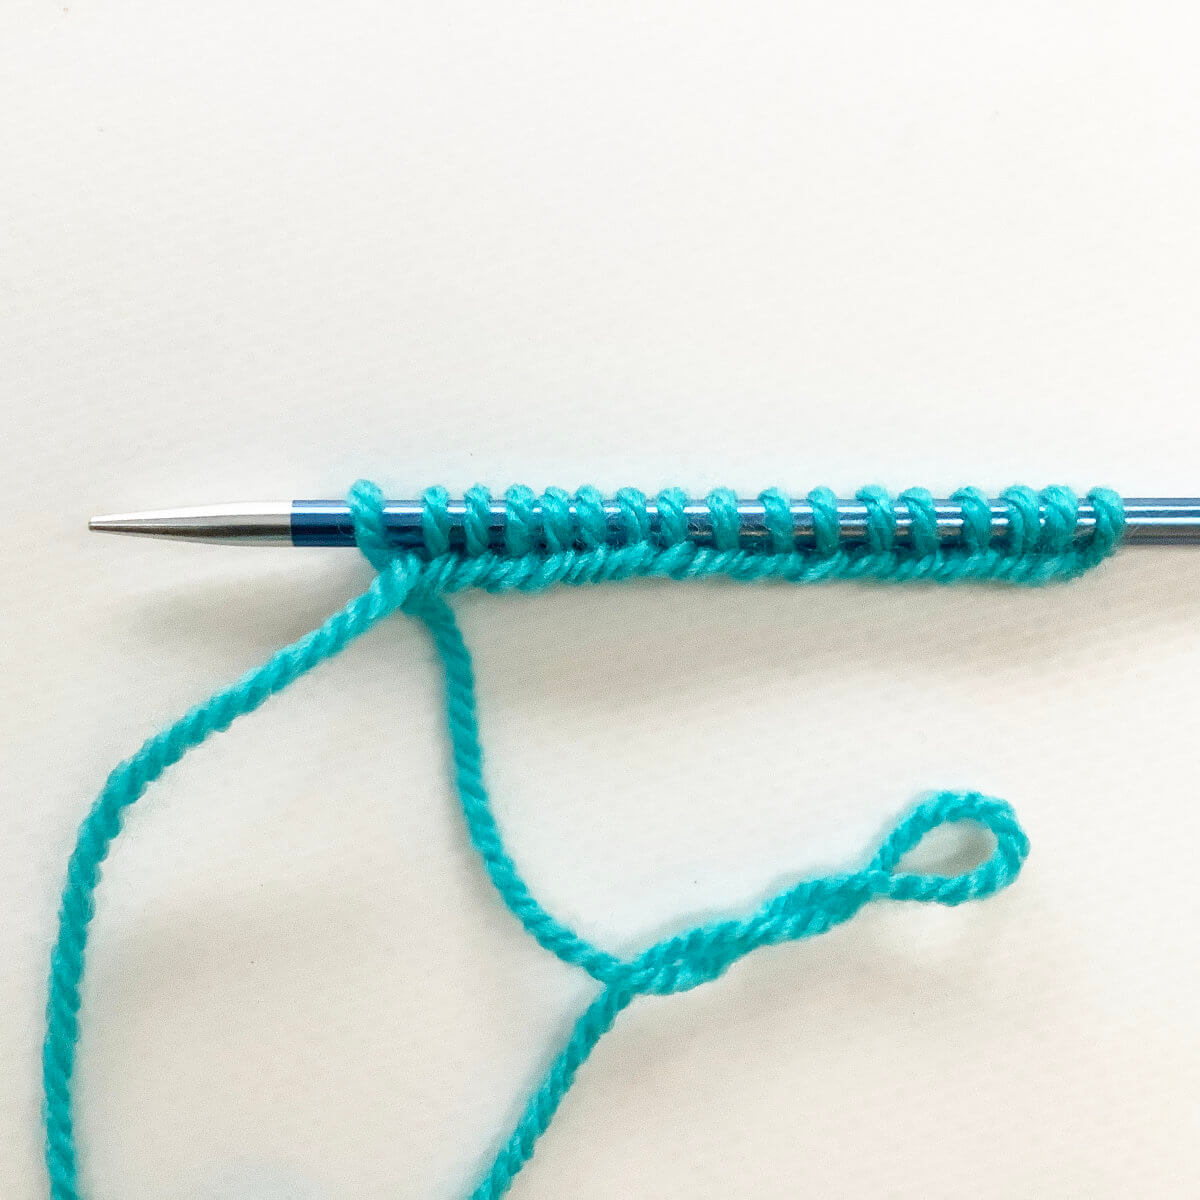
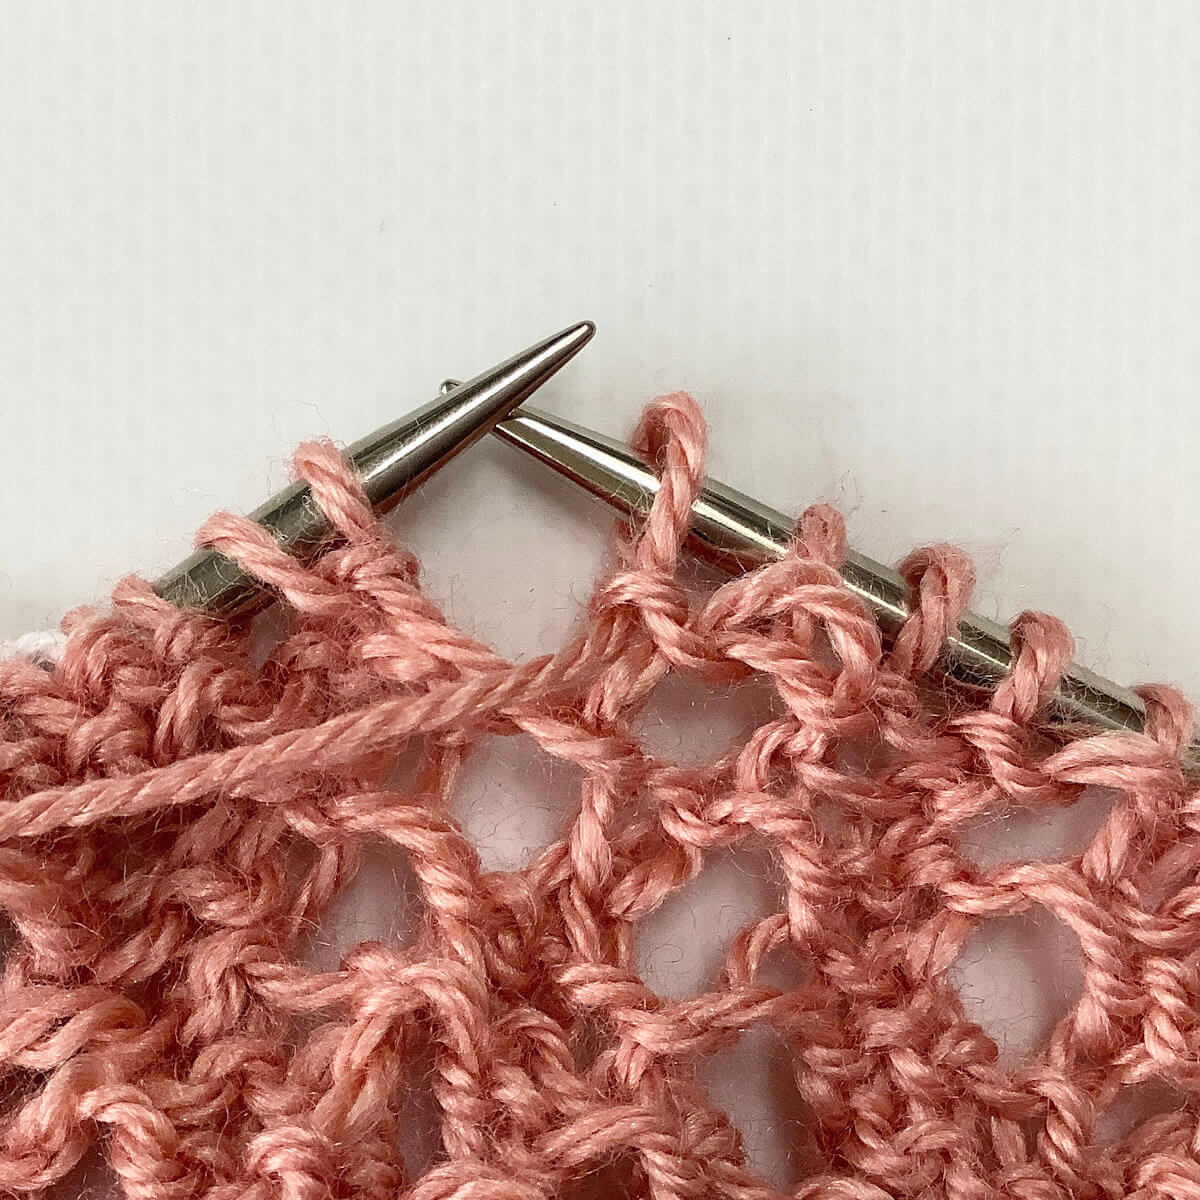
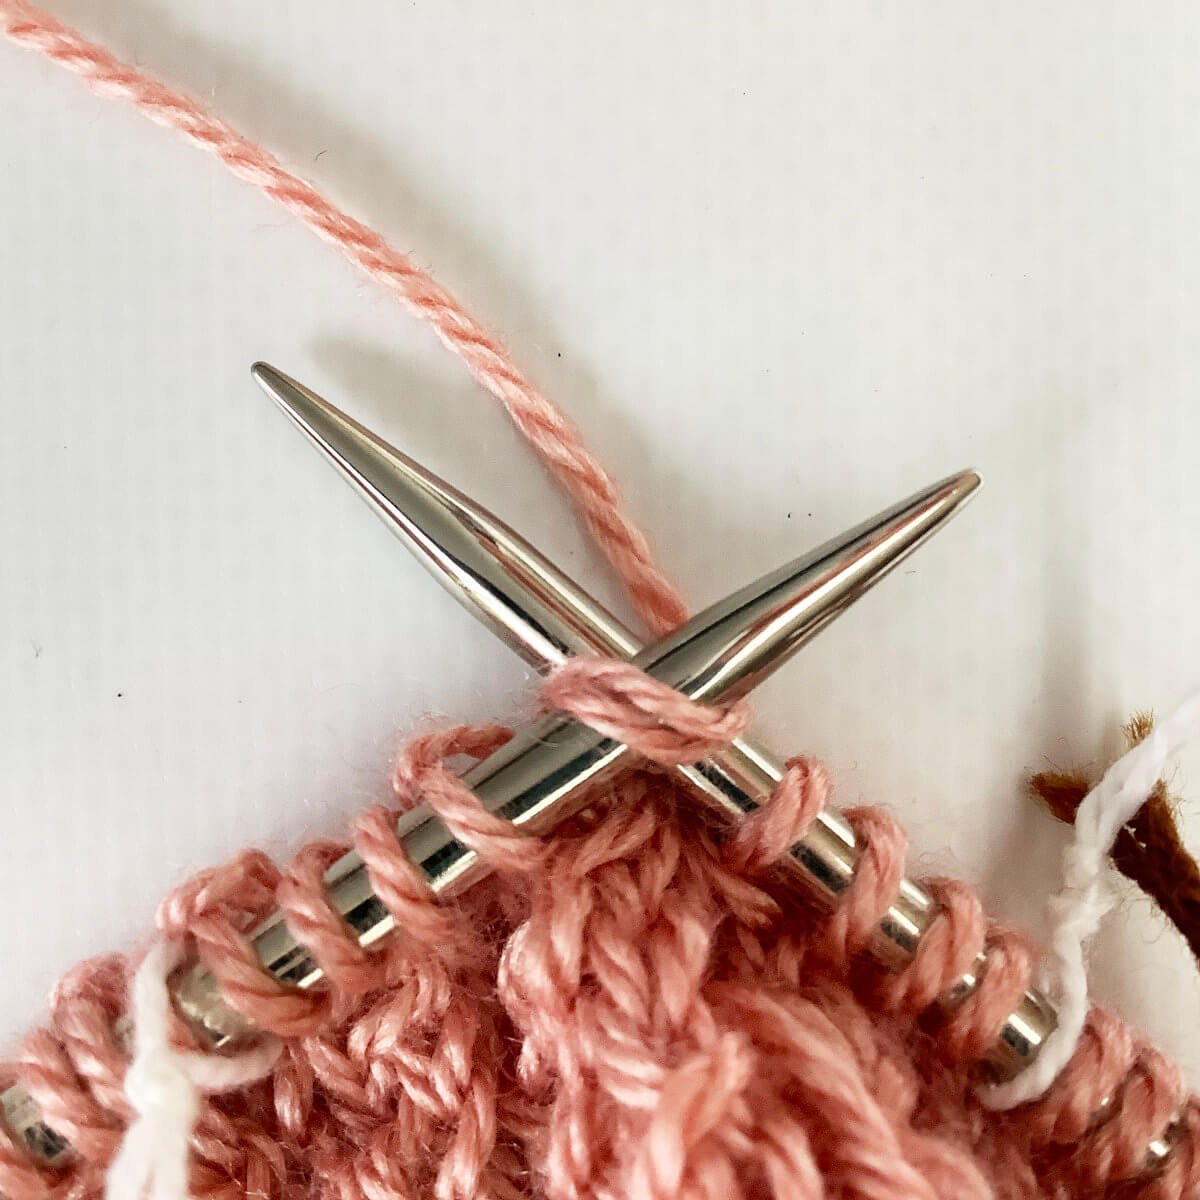
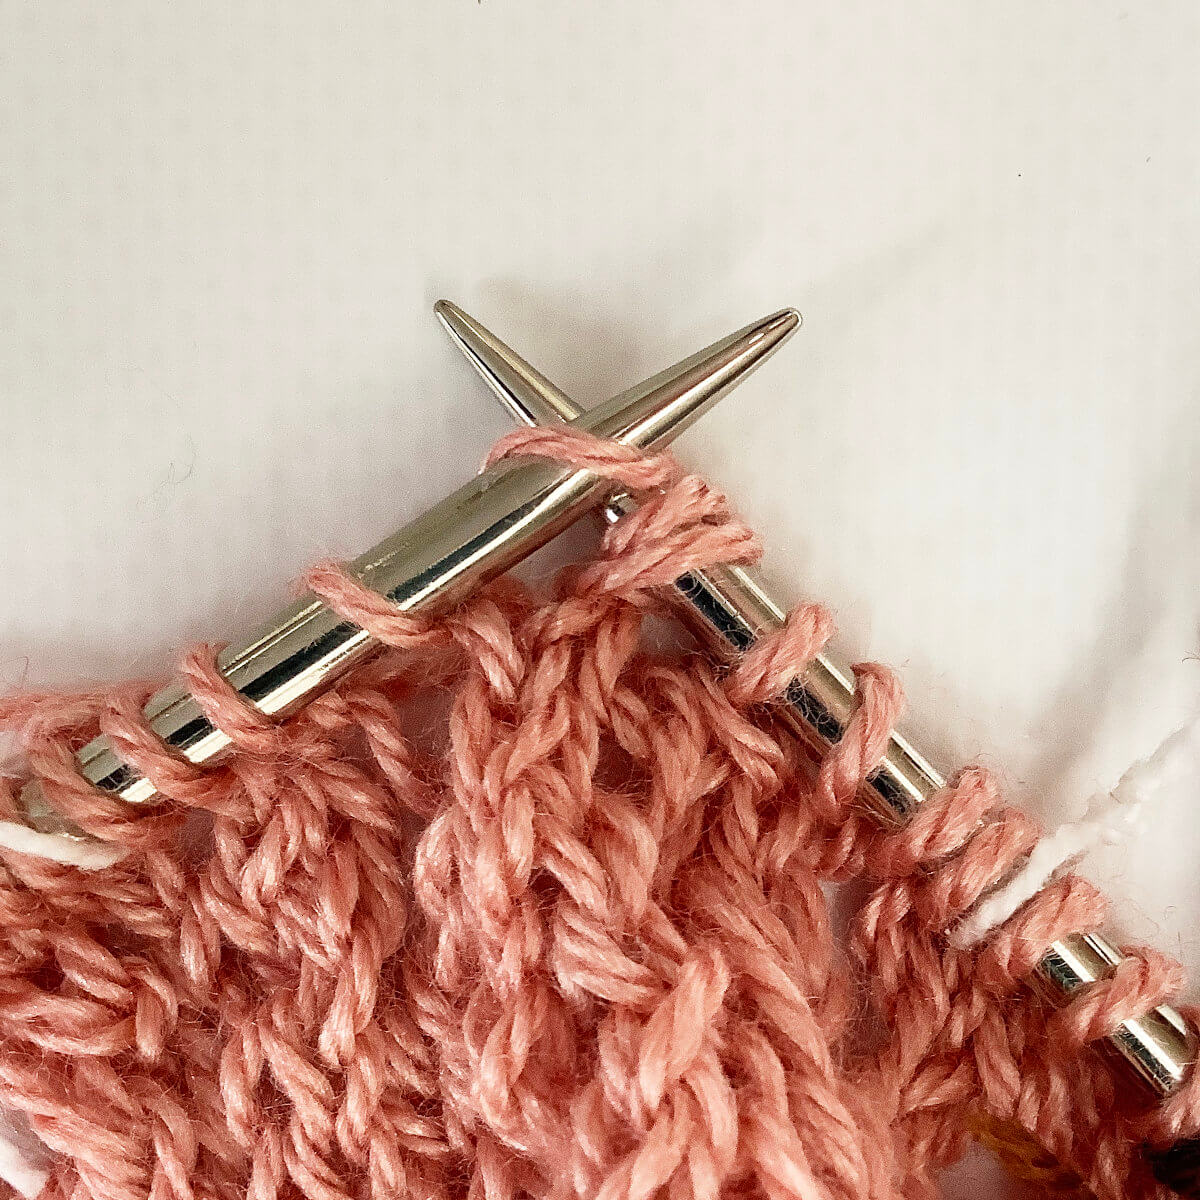
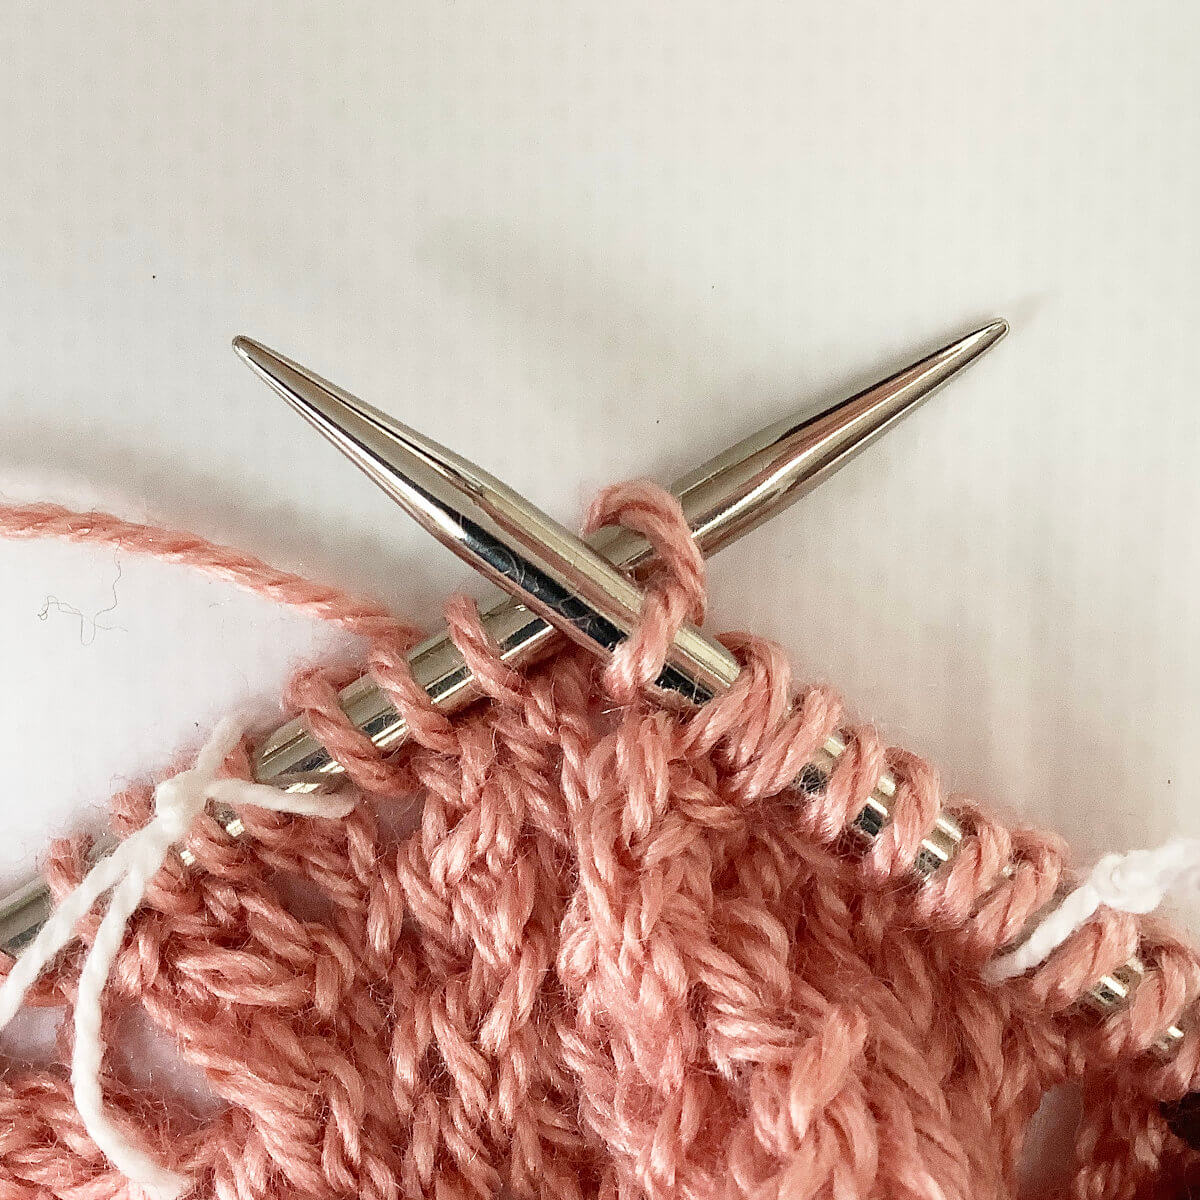
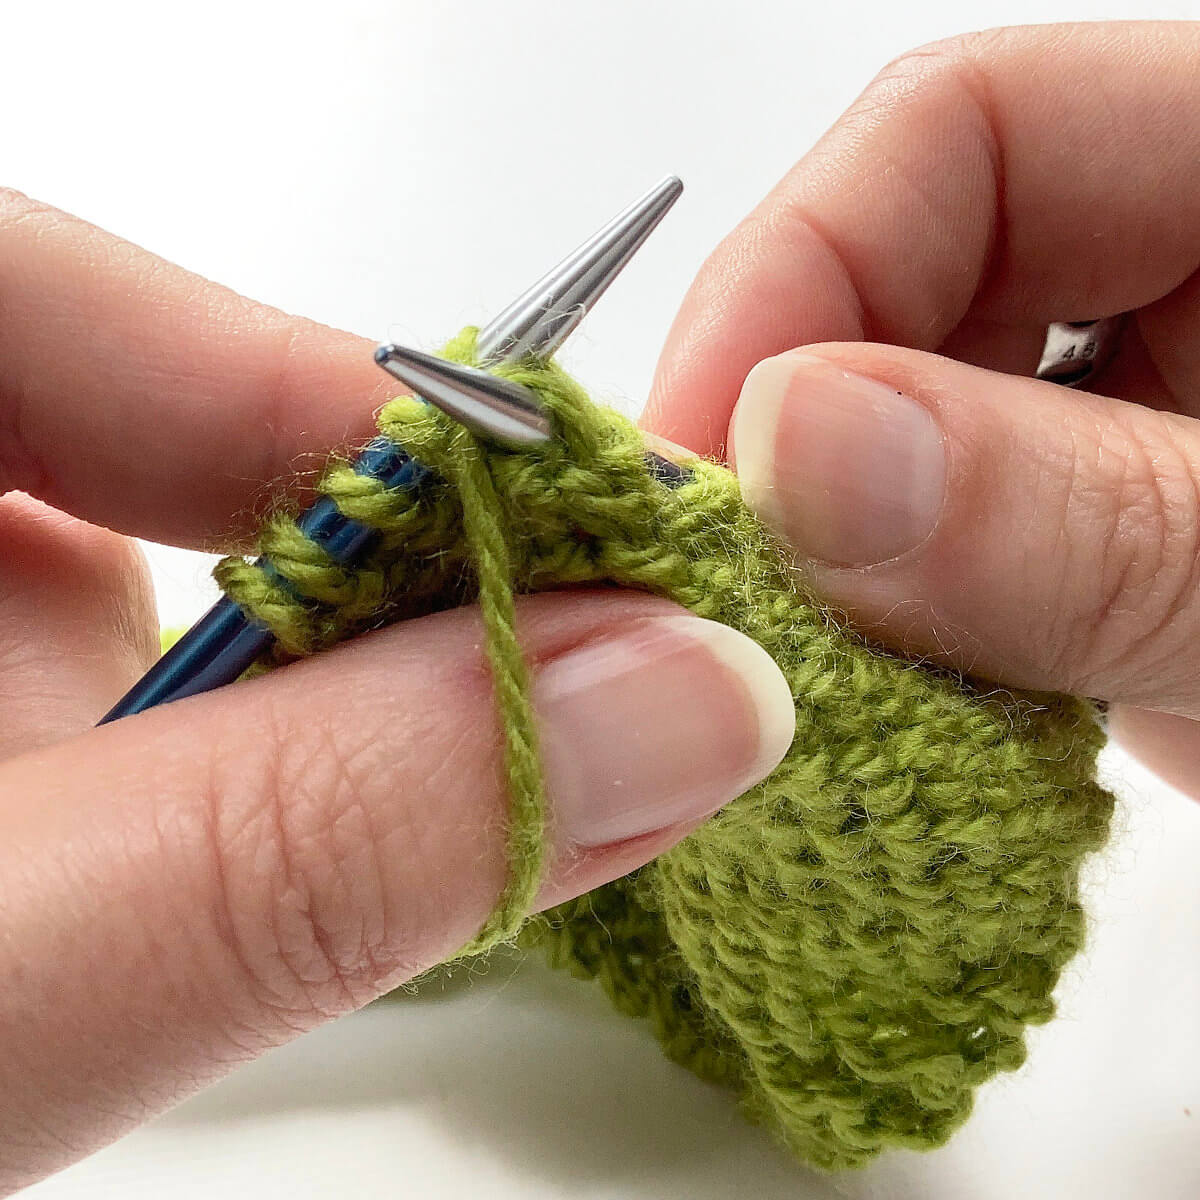
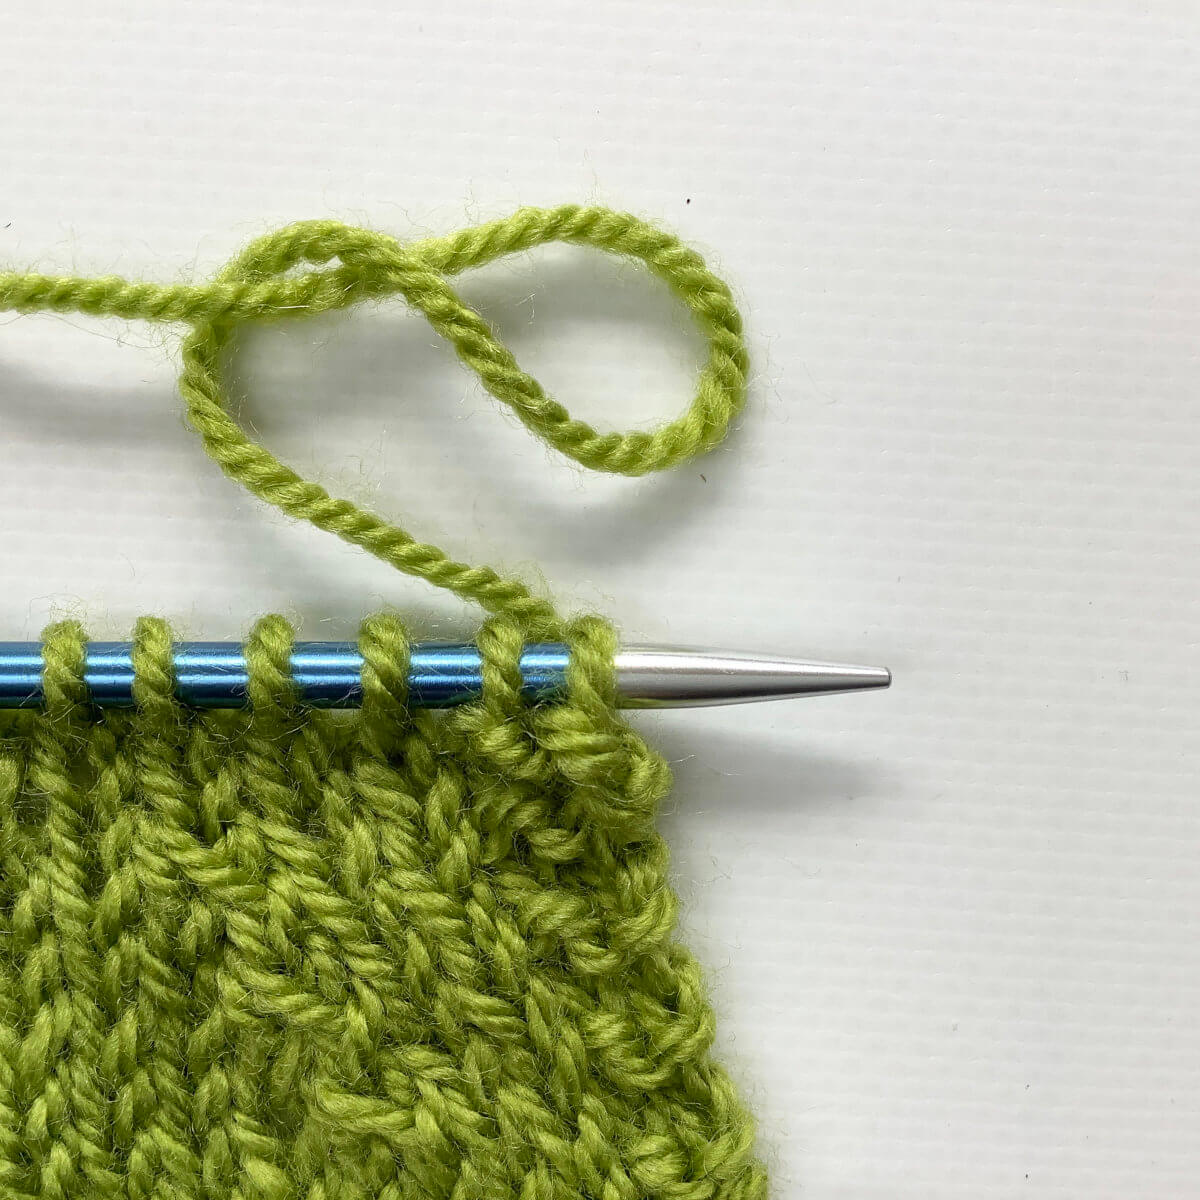
- Now we have to secure the life line.
To do so, I prefer making a loose knot in the ends of the cotton thread.
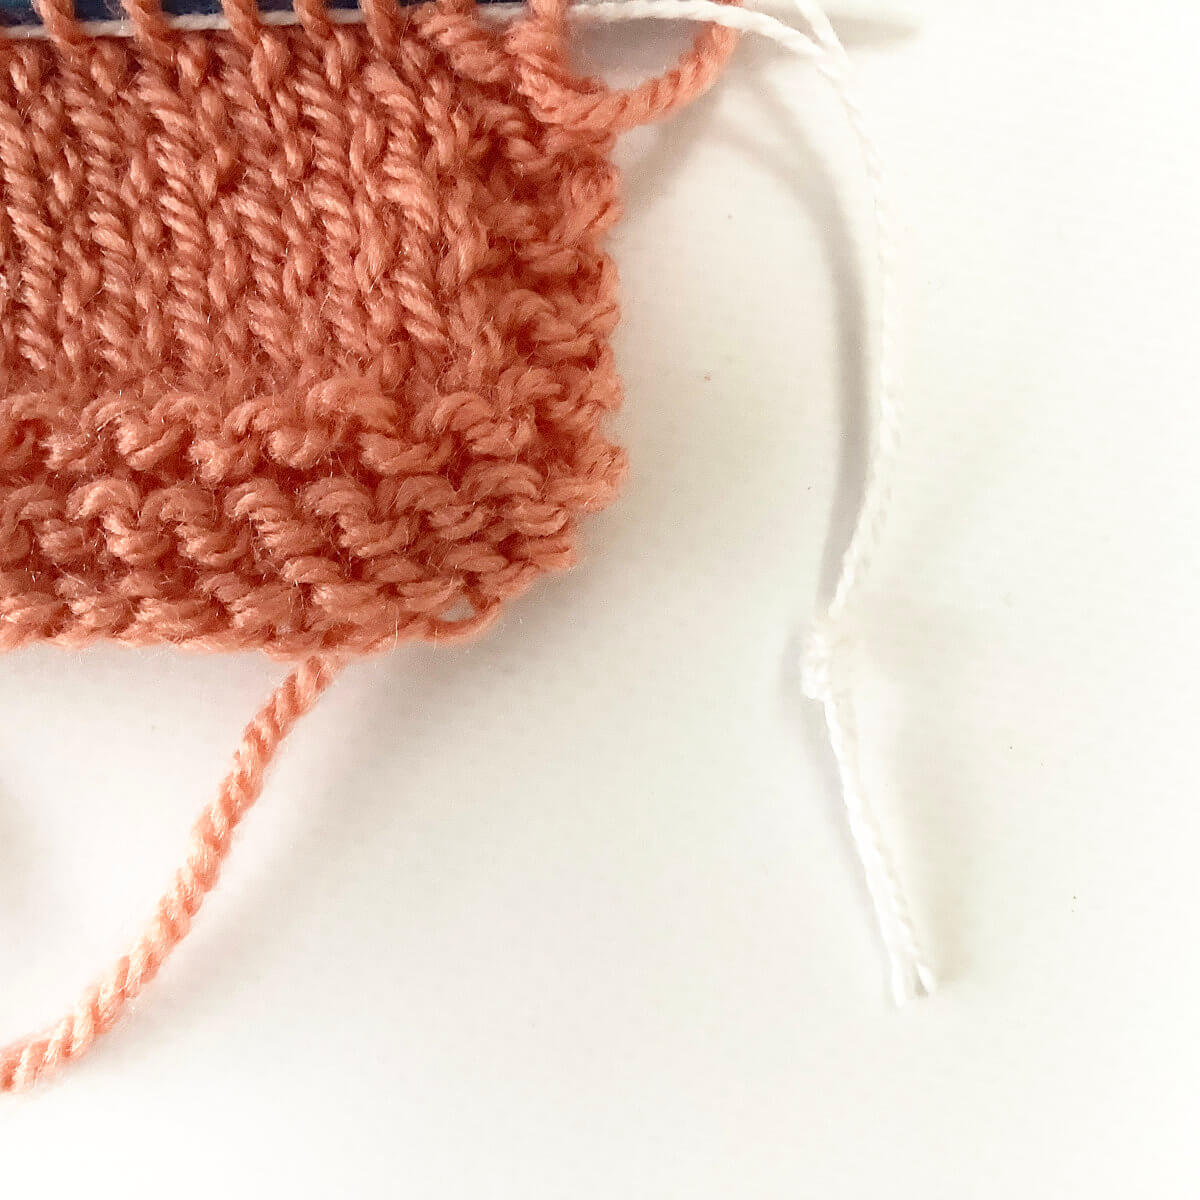
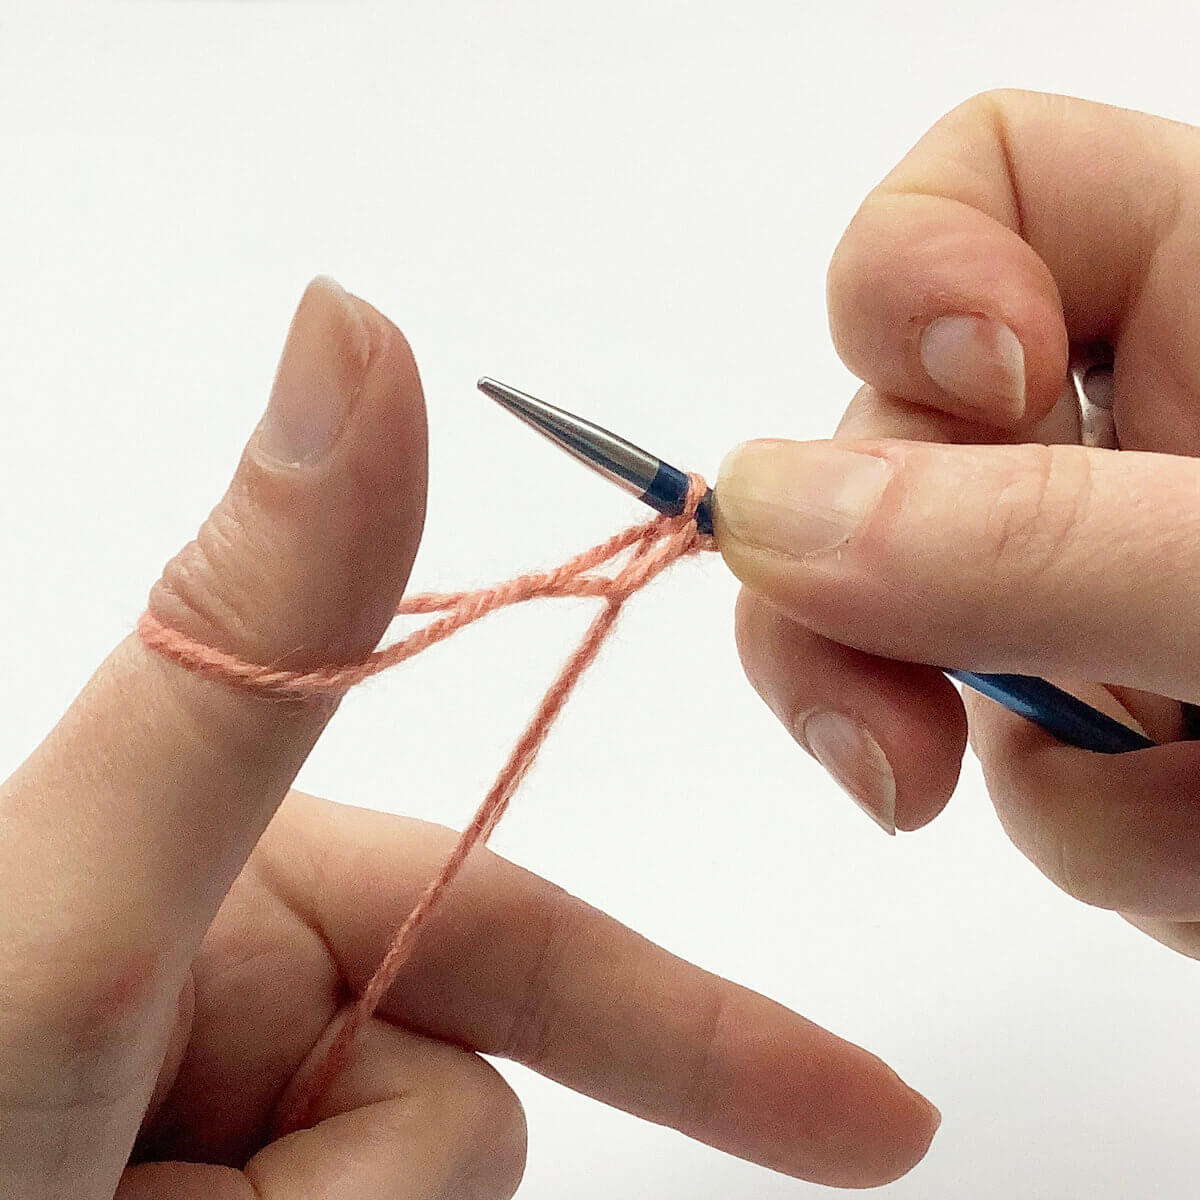
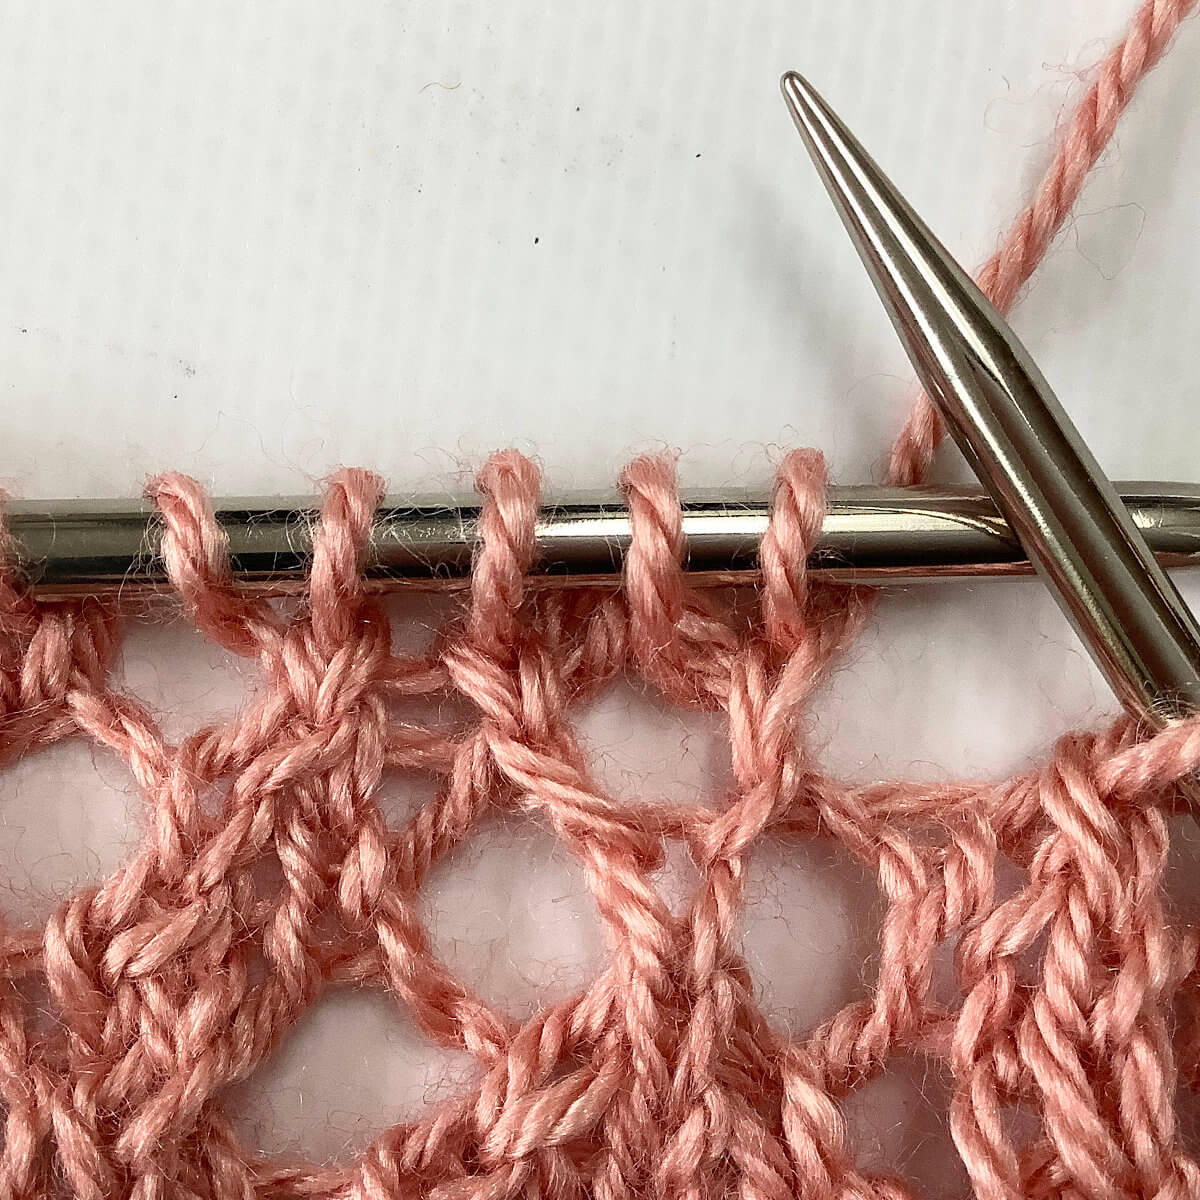
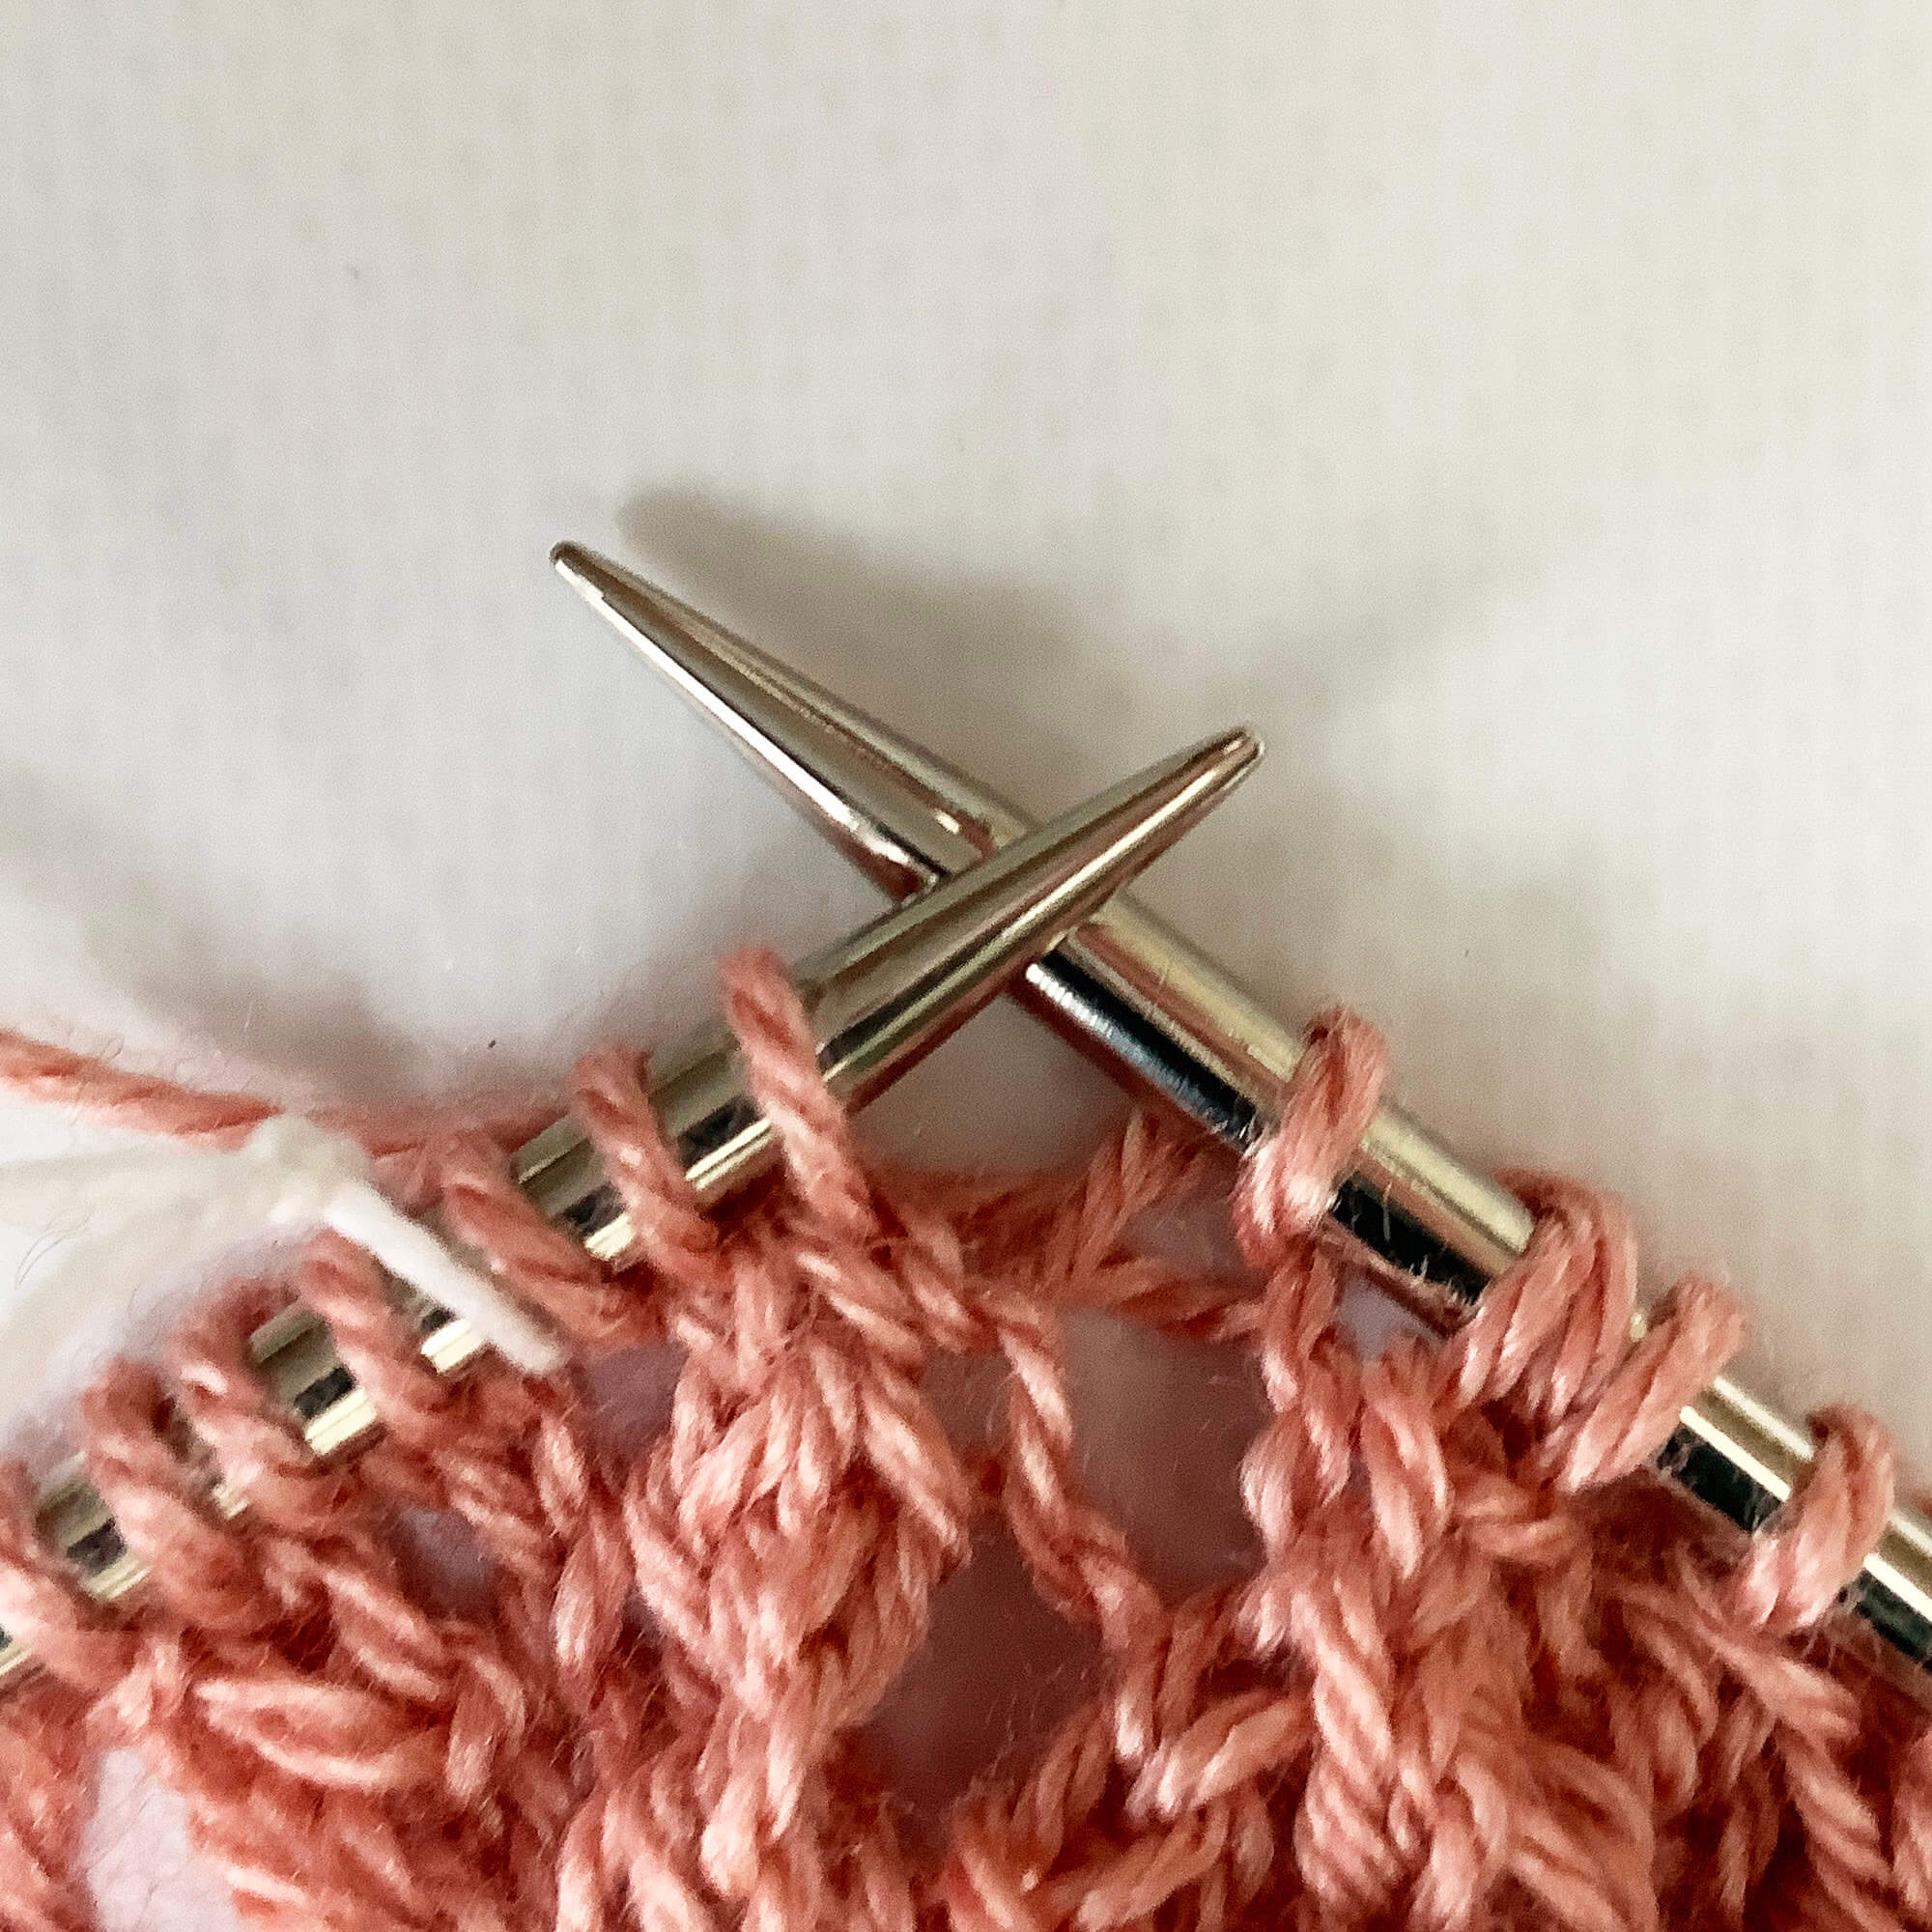
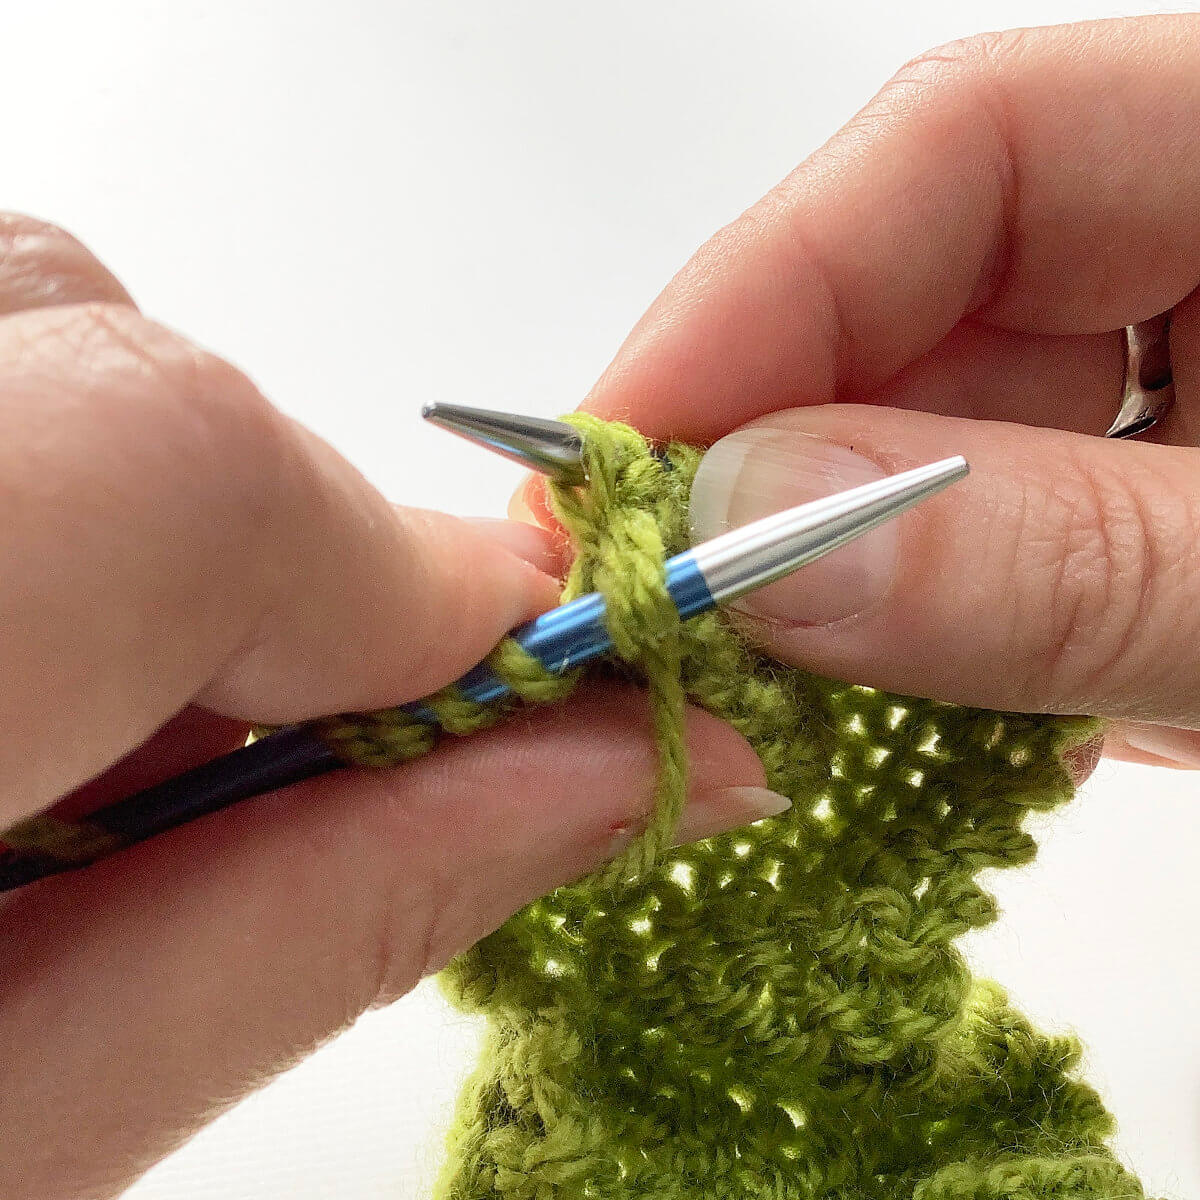
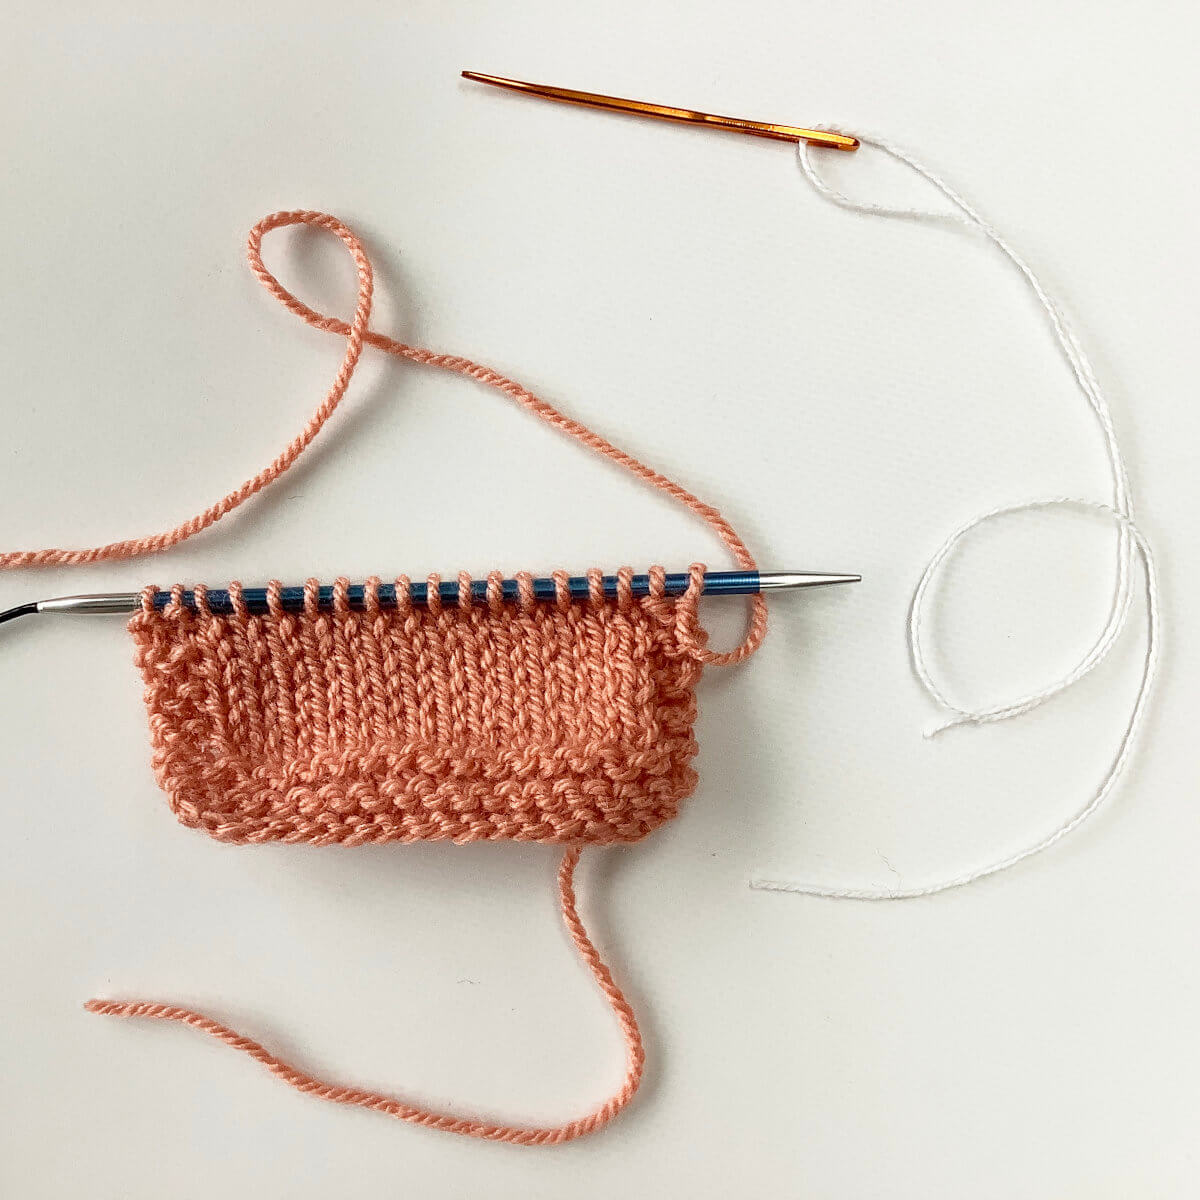
- And this is the result!
When the life line is no longer needed, just undo the knot and pull the thread out of the knitting. Or follow the path of the life line through the stitches with a knitting needle before ripping back your knitting…

Thanks to my Patreon supporters for bringing you this freebie! Creating quality patterns and tutorials is a lot of work and resource-intensive. However, I find it important to give you free content like this tutorial. Thanks to the generous support of my Patreon supporters, I can make it happen. Thank you, patrons! Click here to join, or click here to read more about La Visch Designs on Patreon.
tutorial – inserting an afterthought life line Read More »