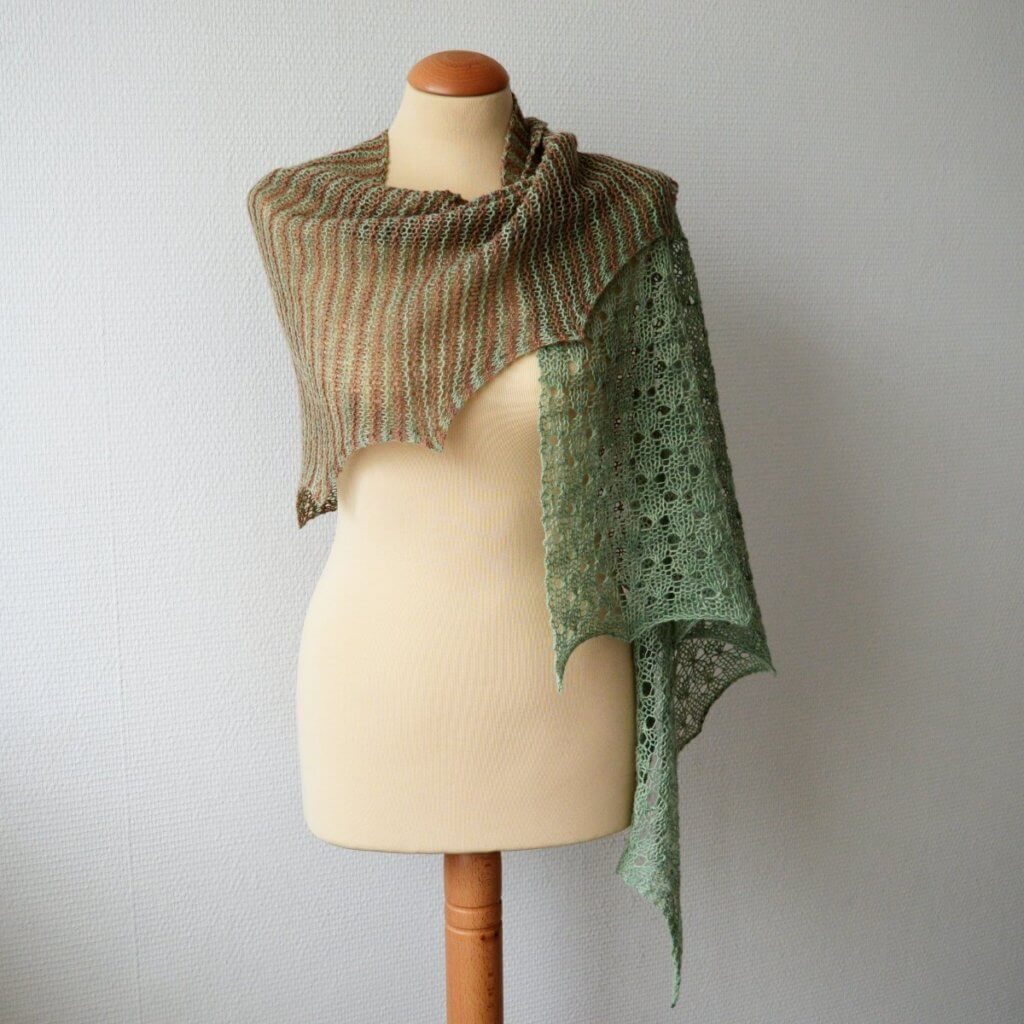
strawberry confetti cupcake
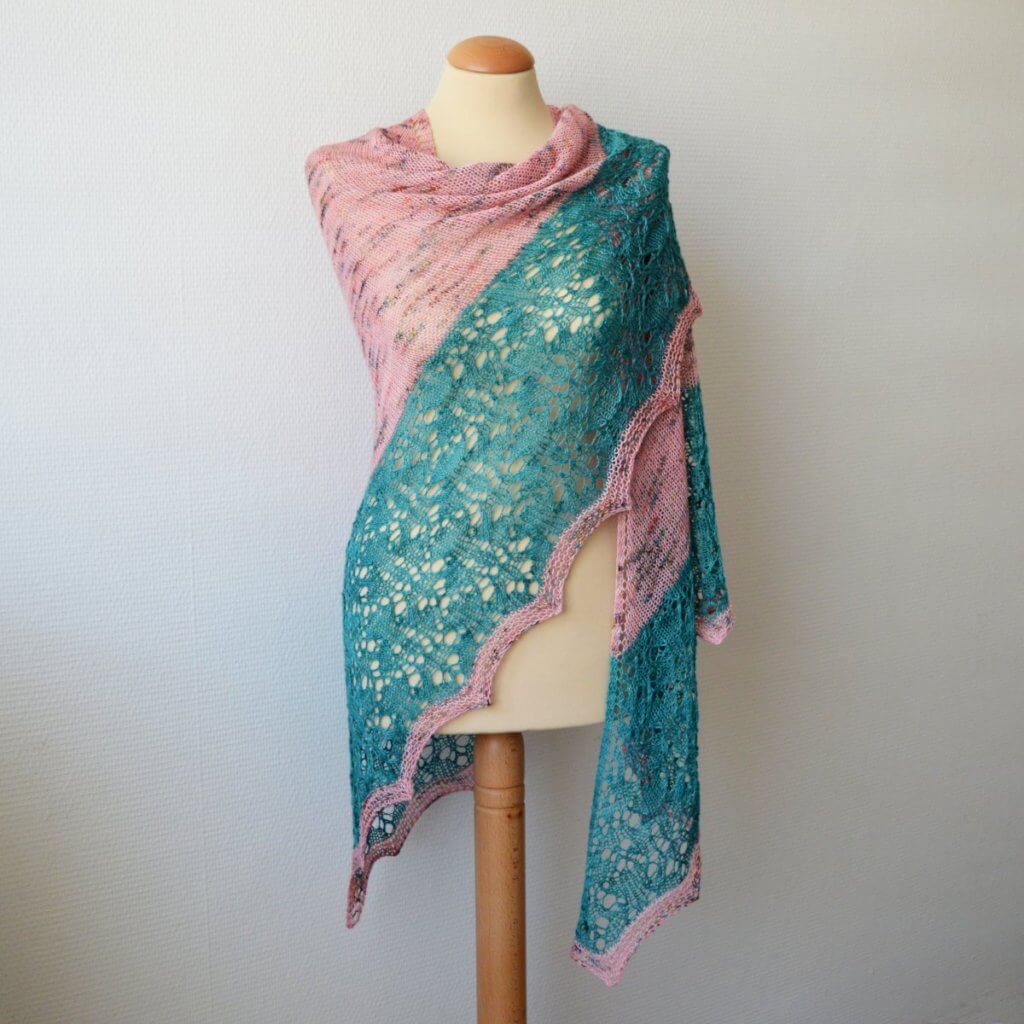
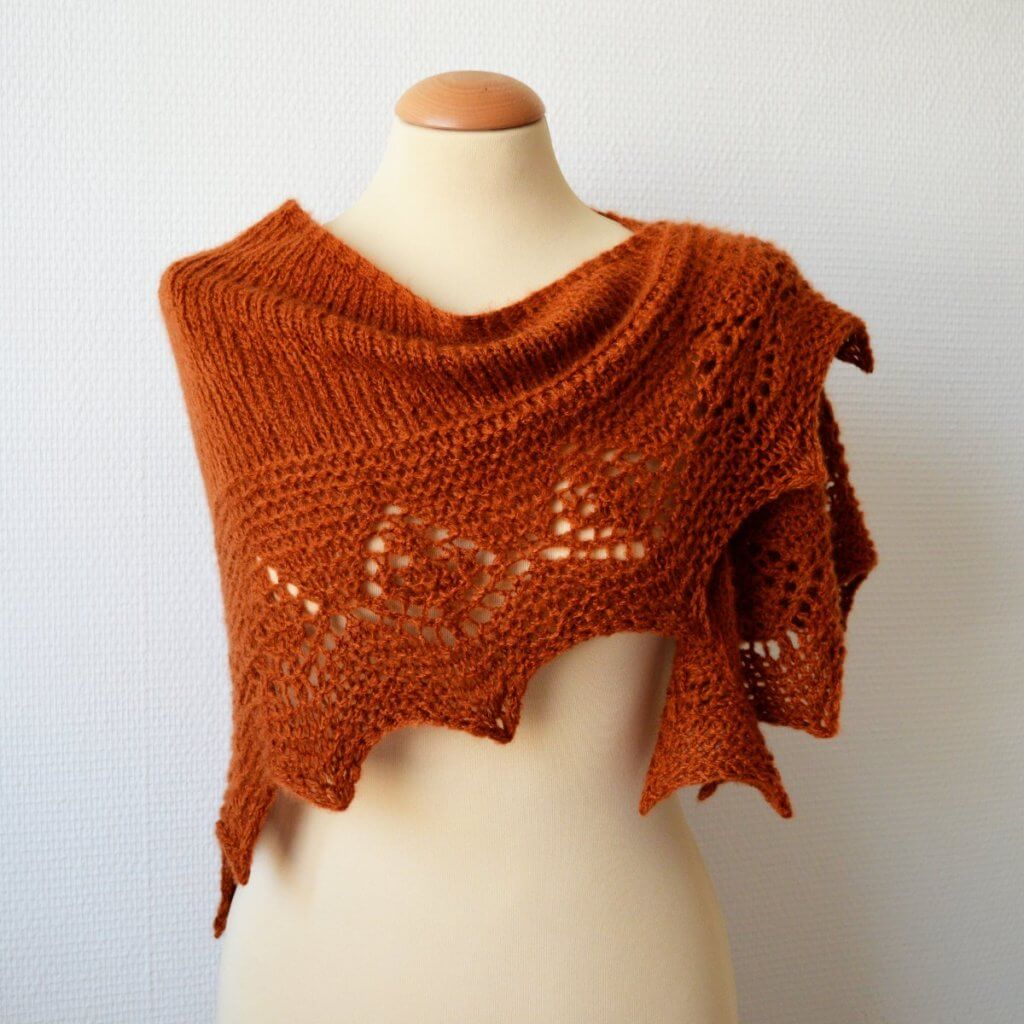
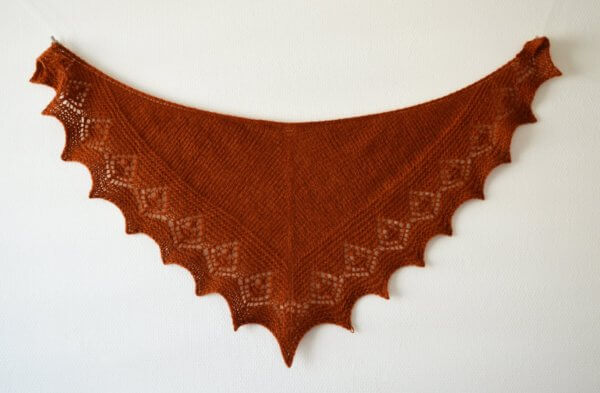
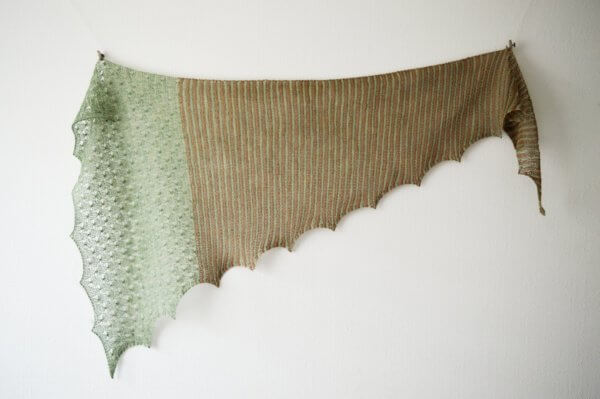
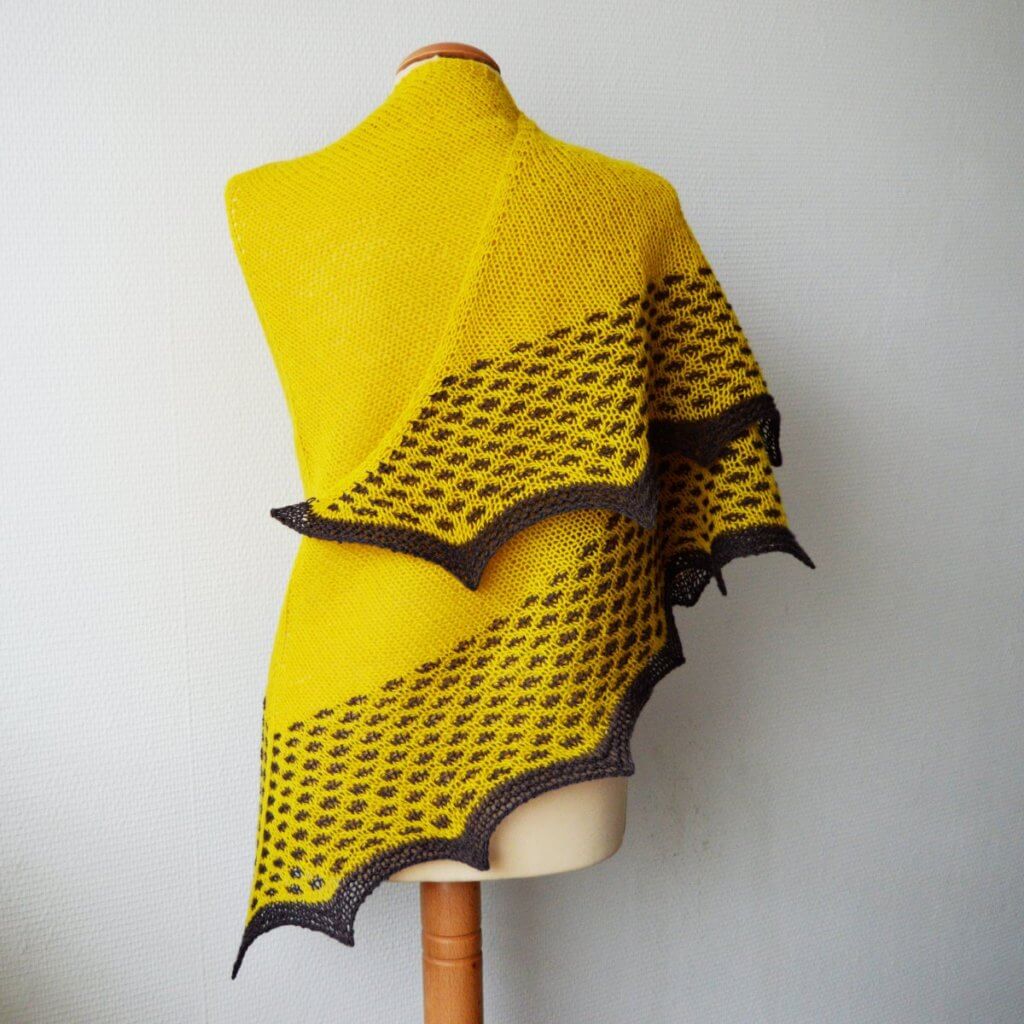
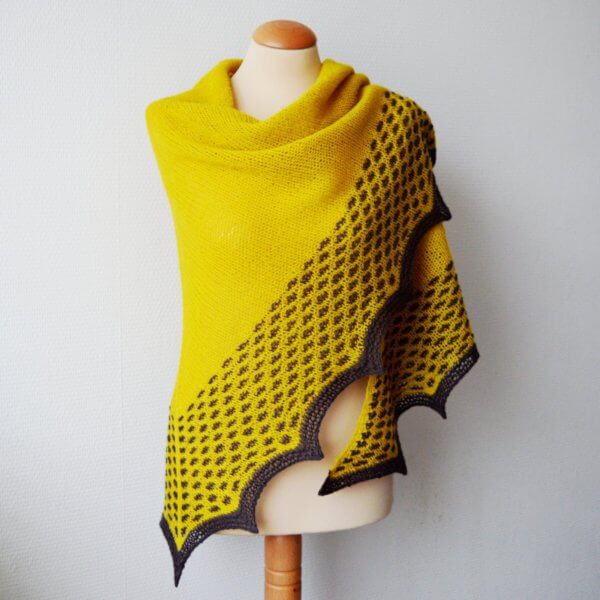
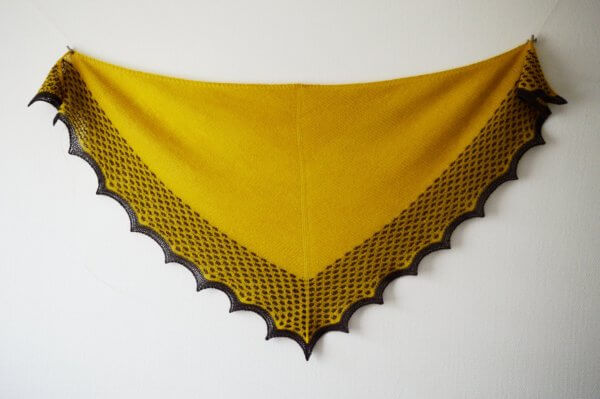
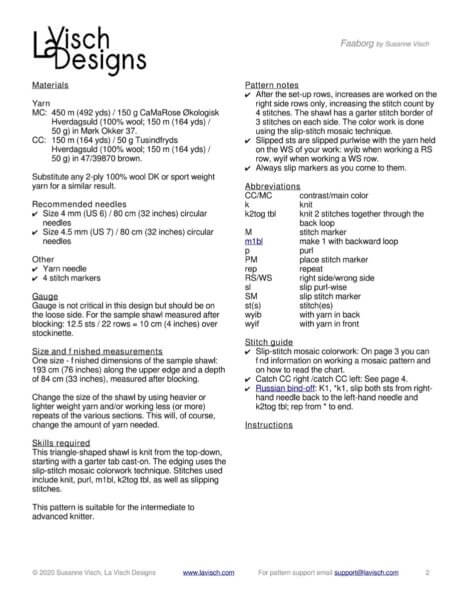
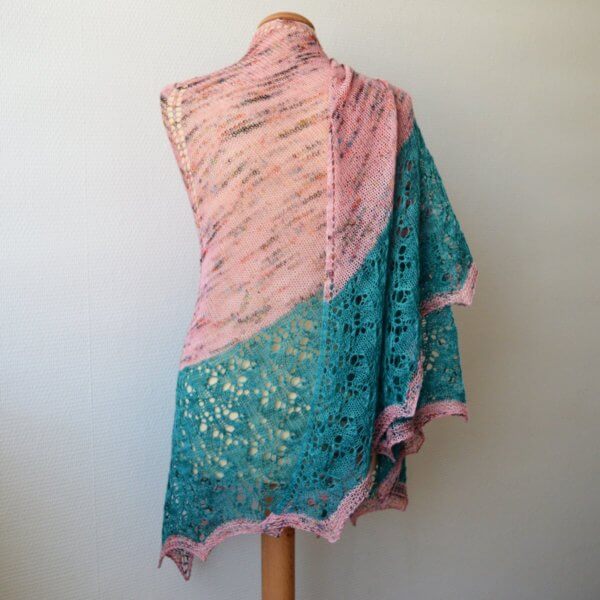
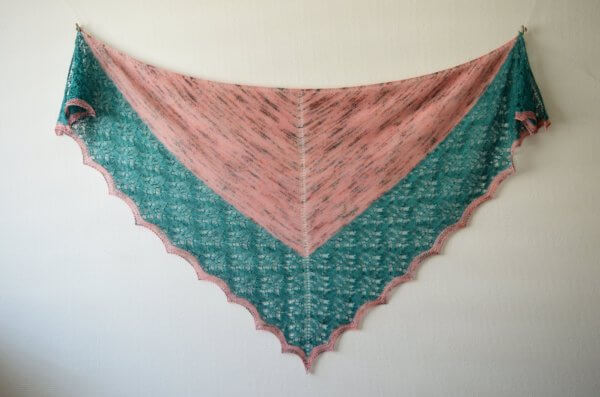
Strawberry Confetti Cupcake is a shawl designed to use that skein of speckled yarn you just couldn’t resist. In this design, it is paired with the lovely lace border in a contrasting solid color. Go wild with the color combinations!
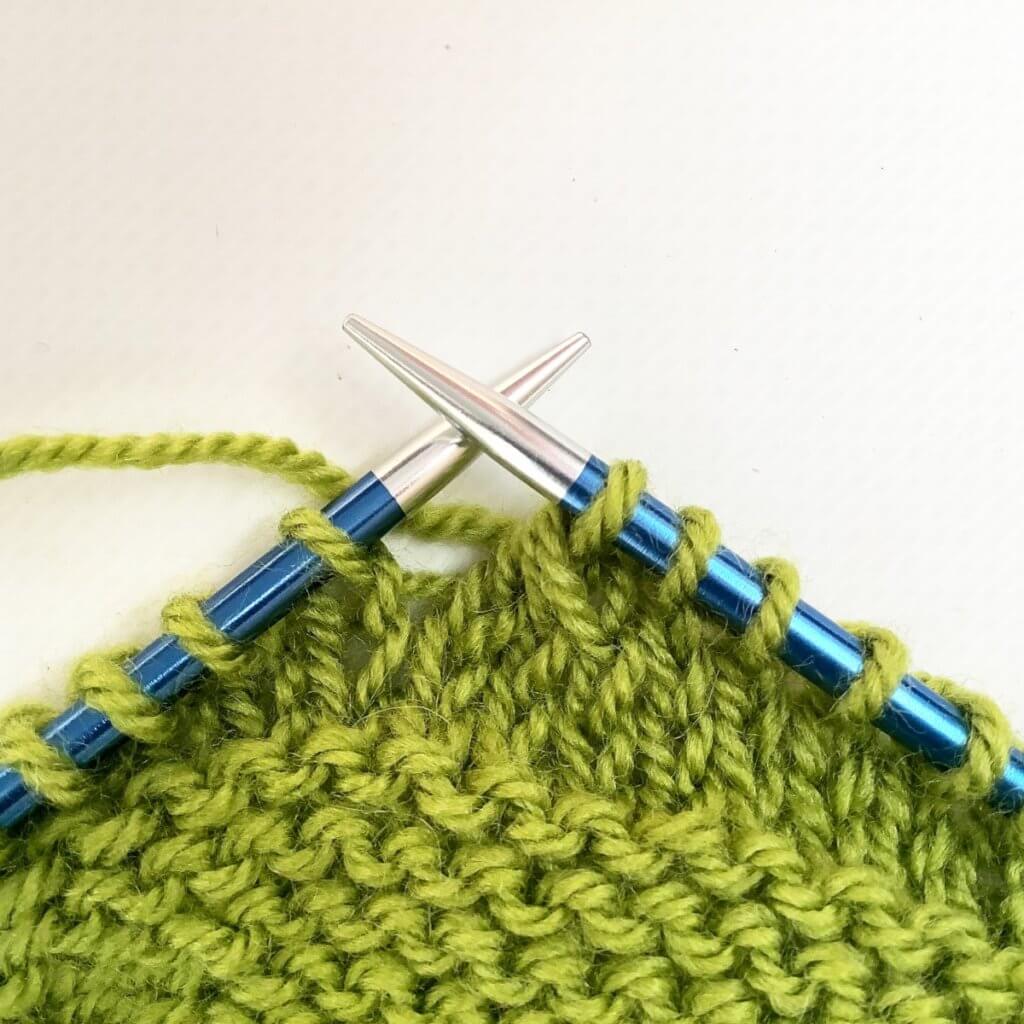
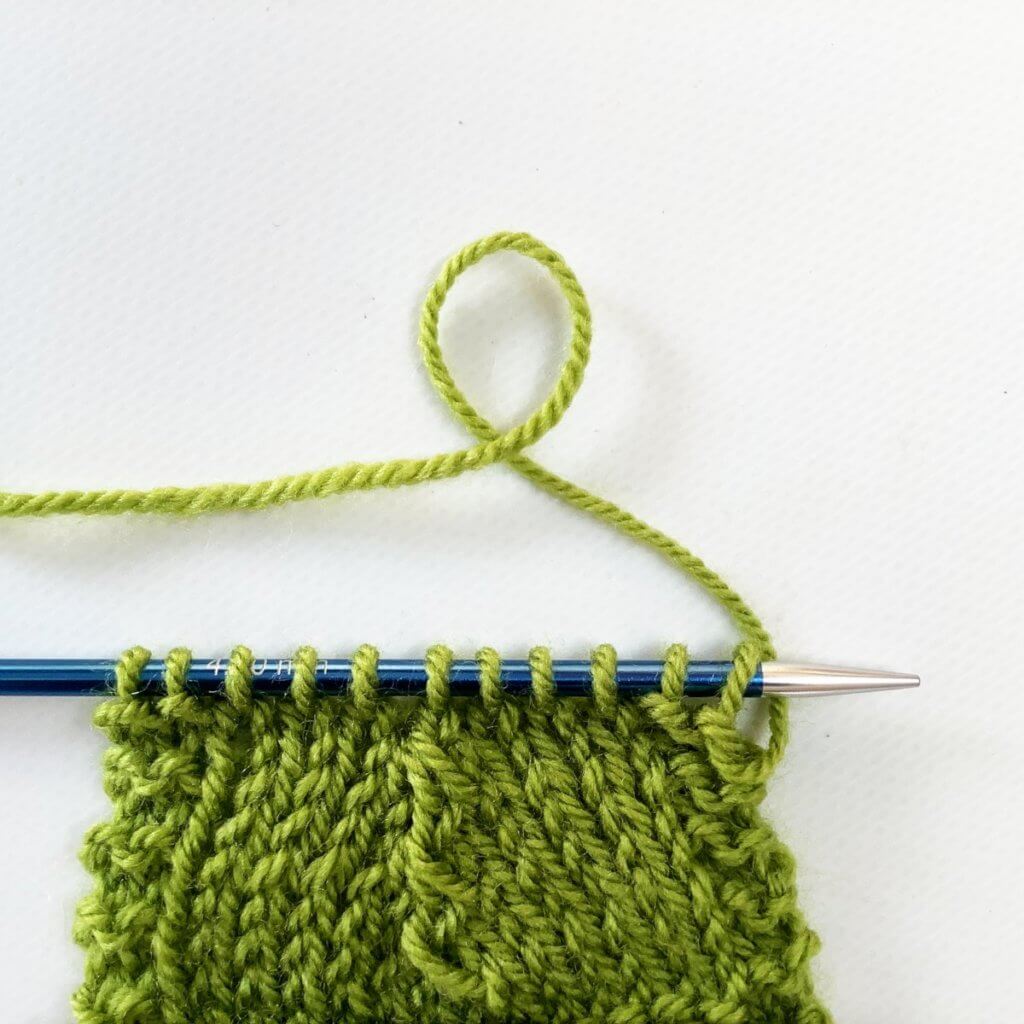
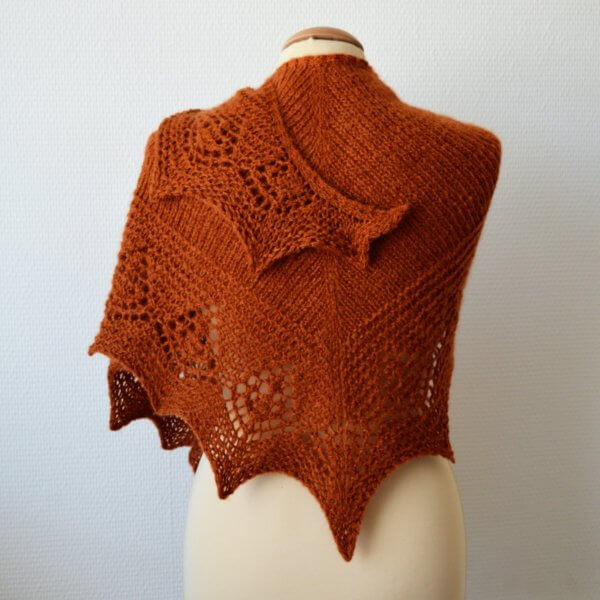
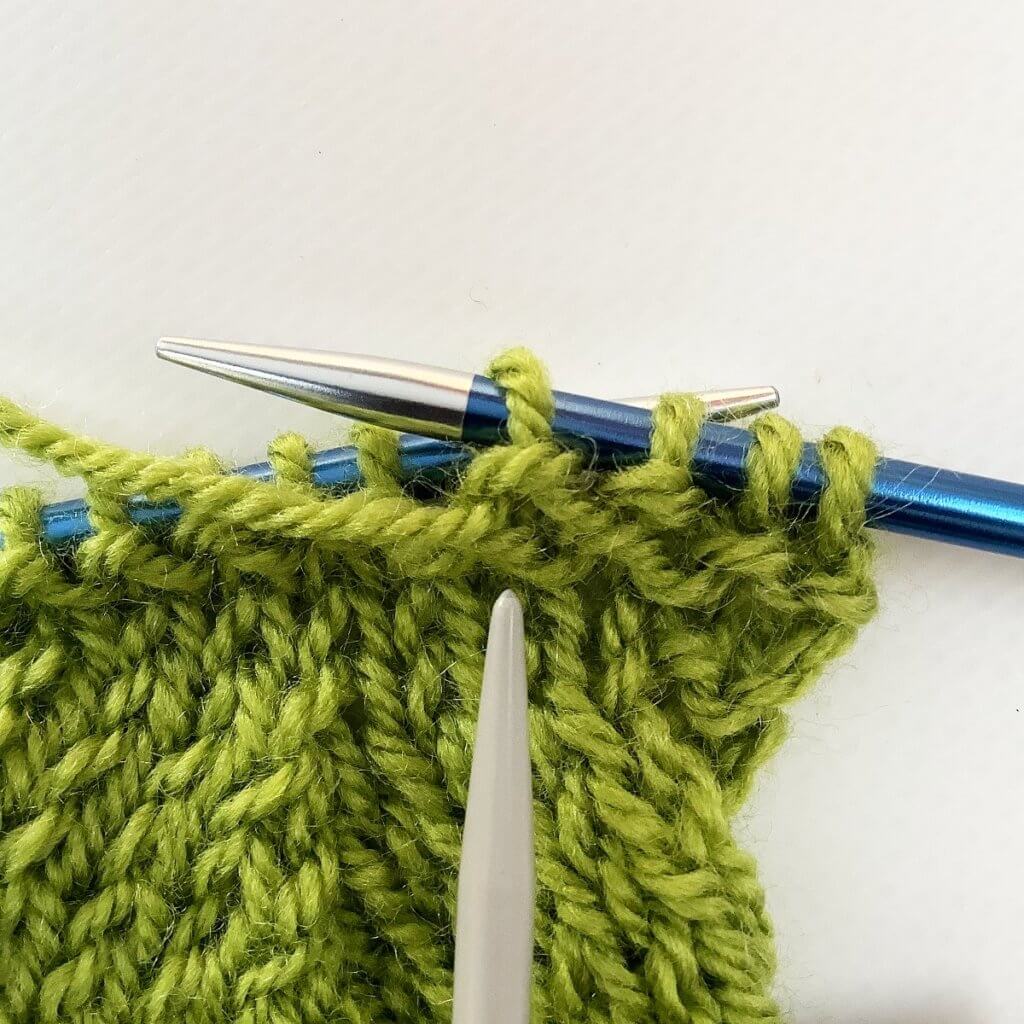
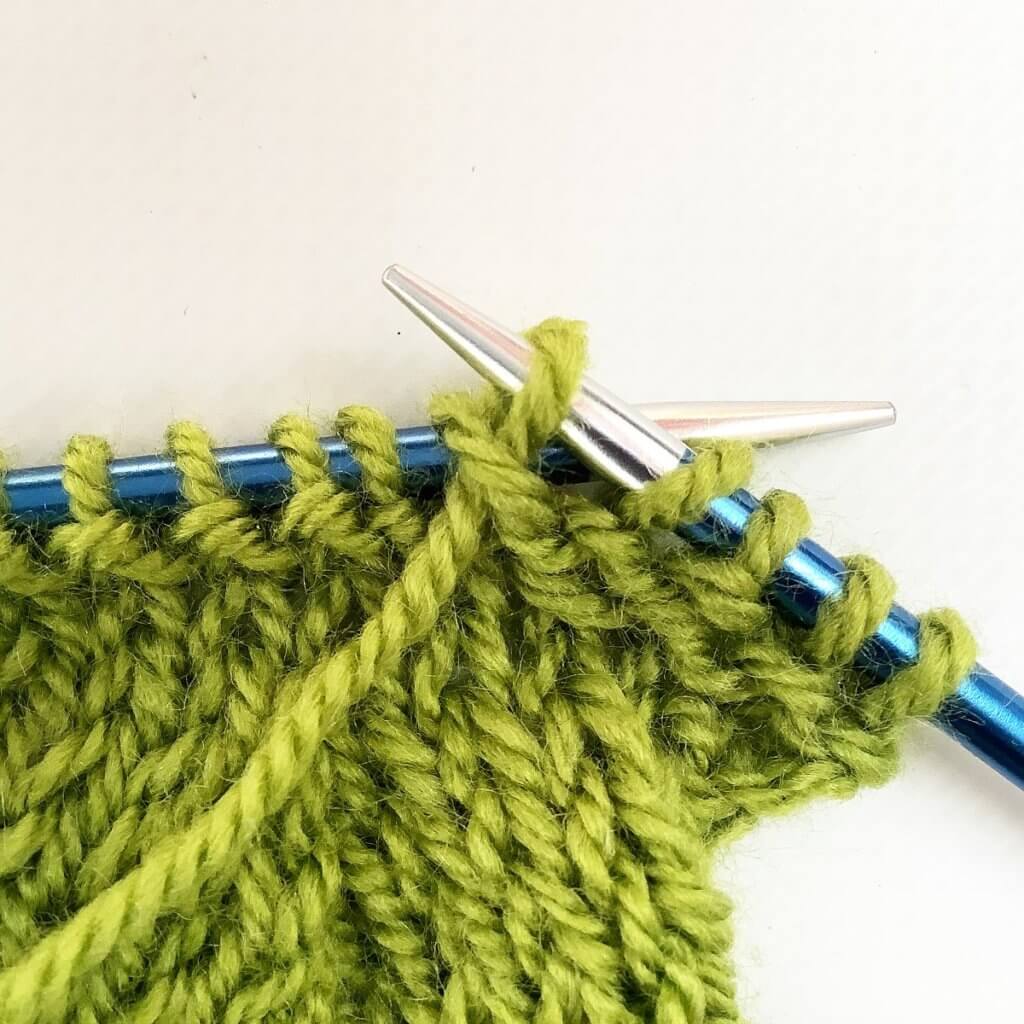
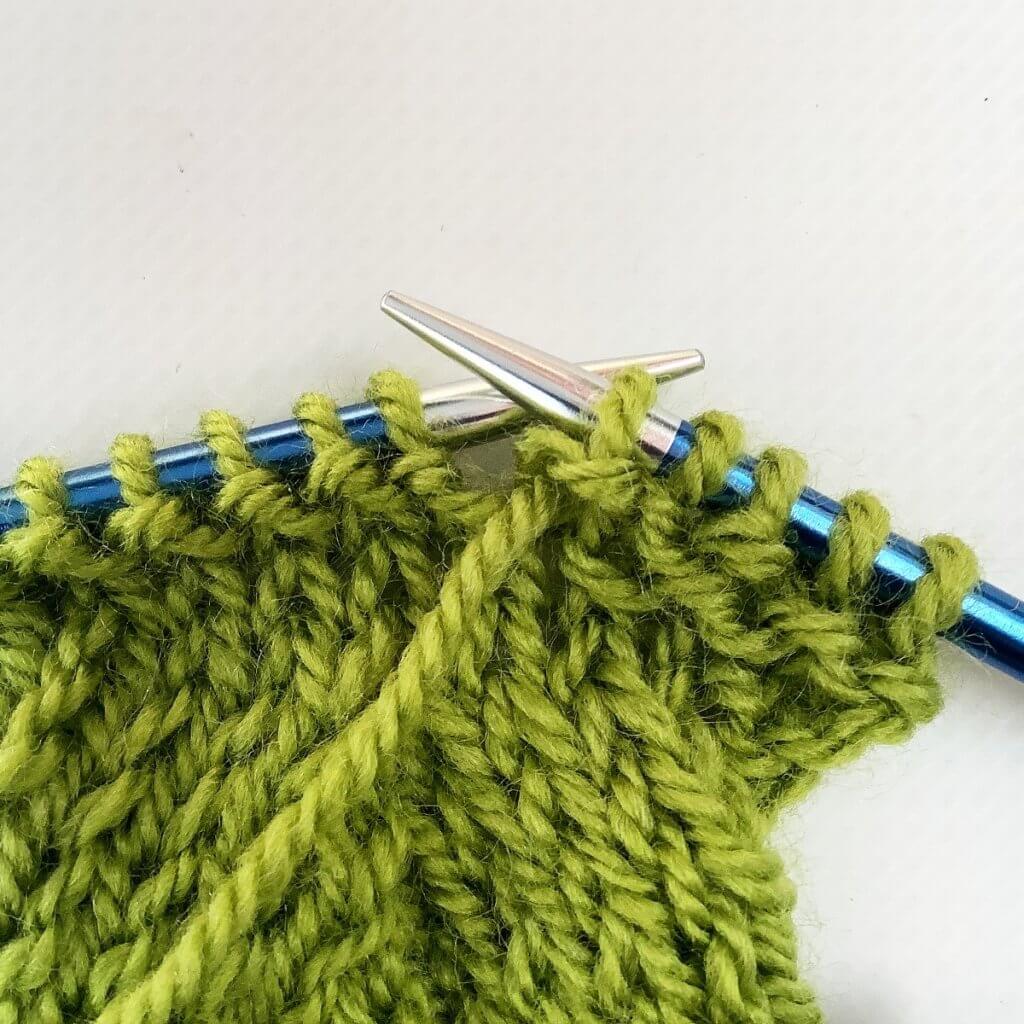
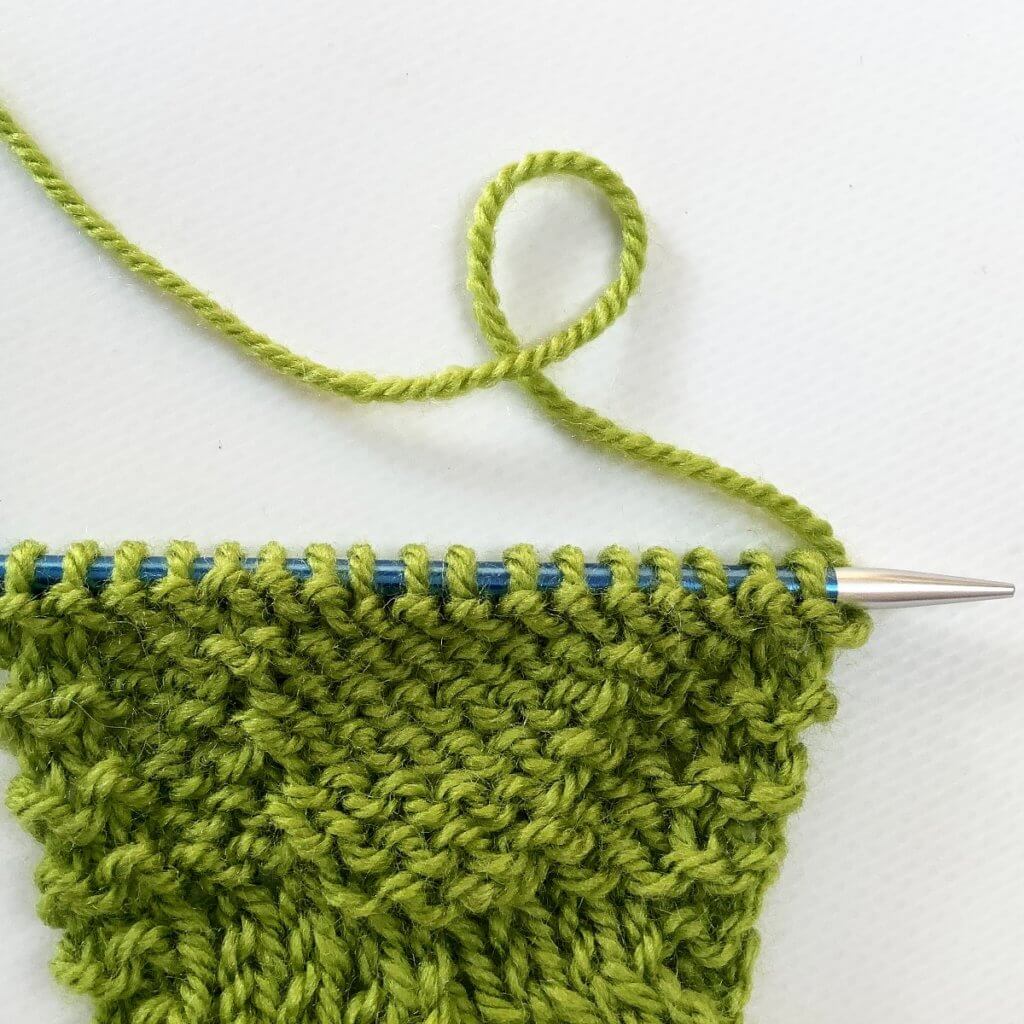
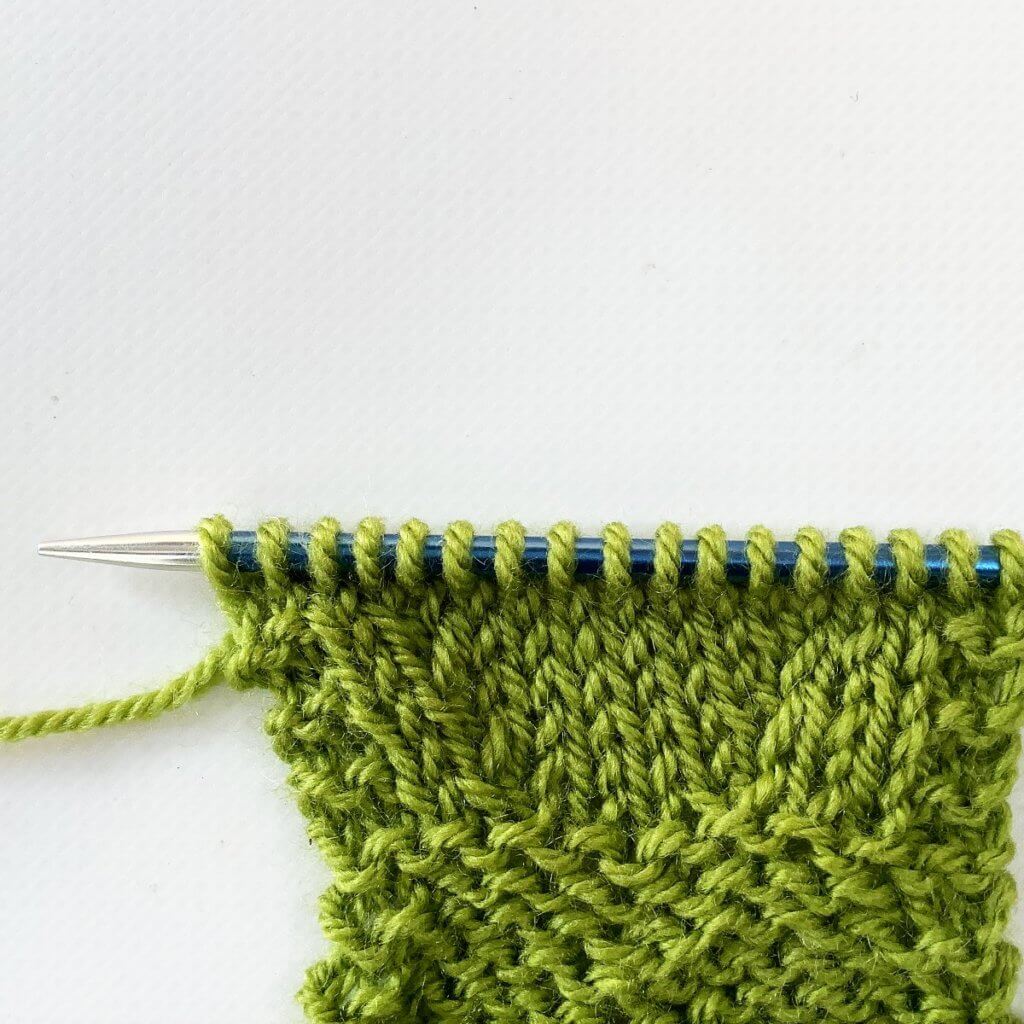
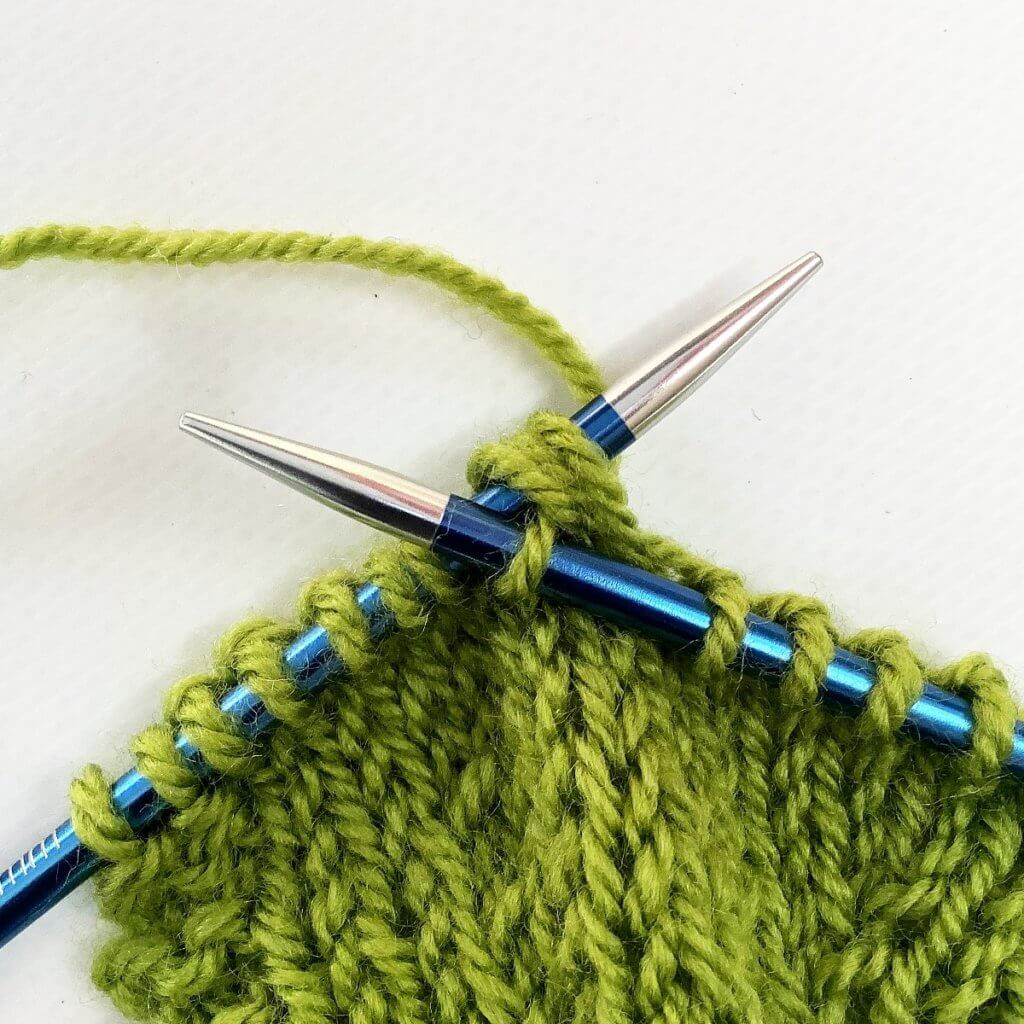
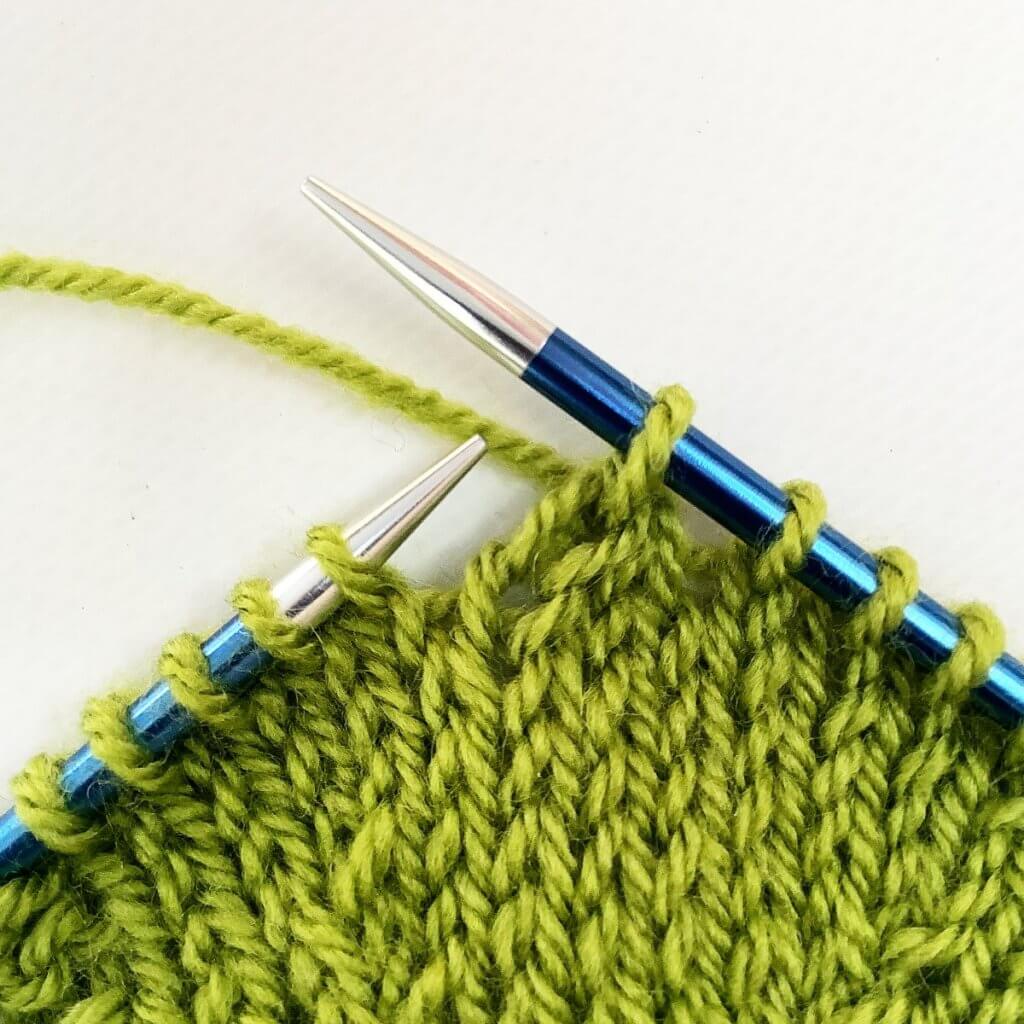
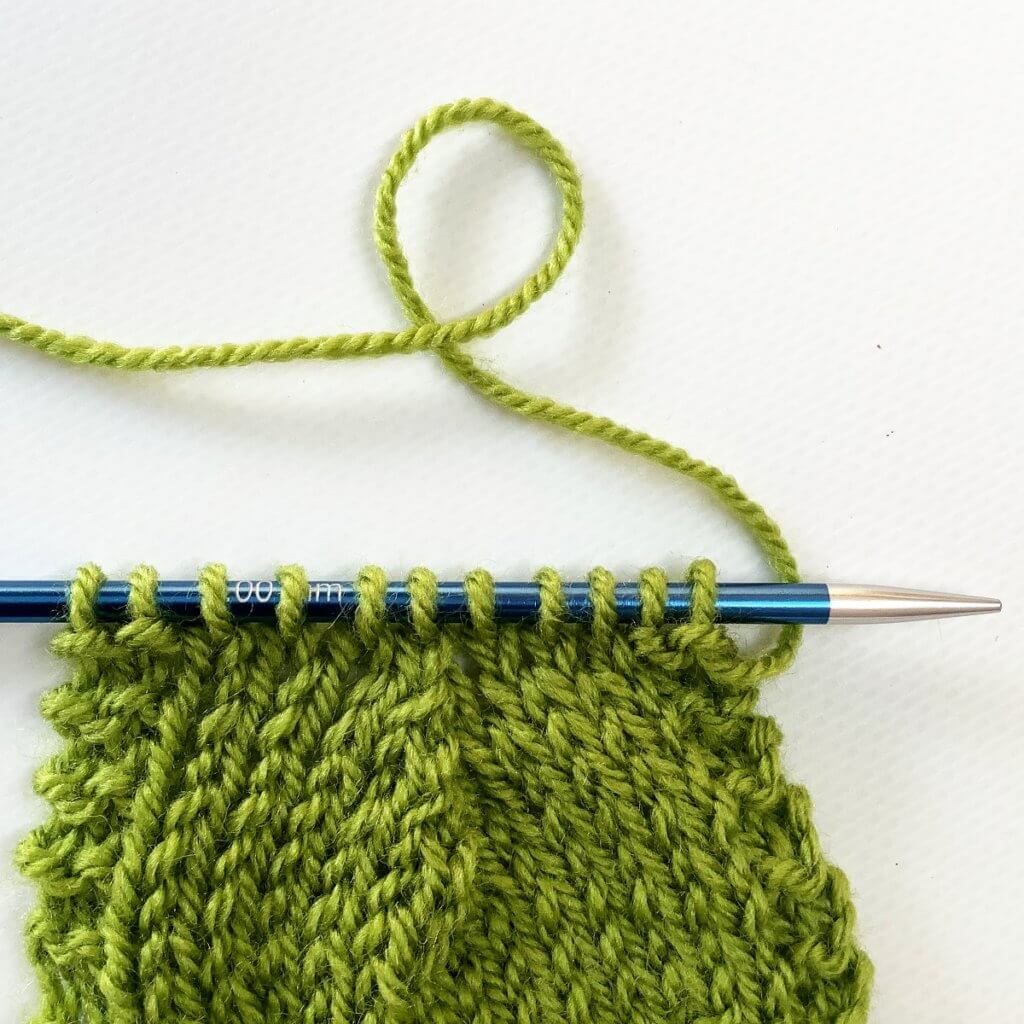
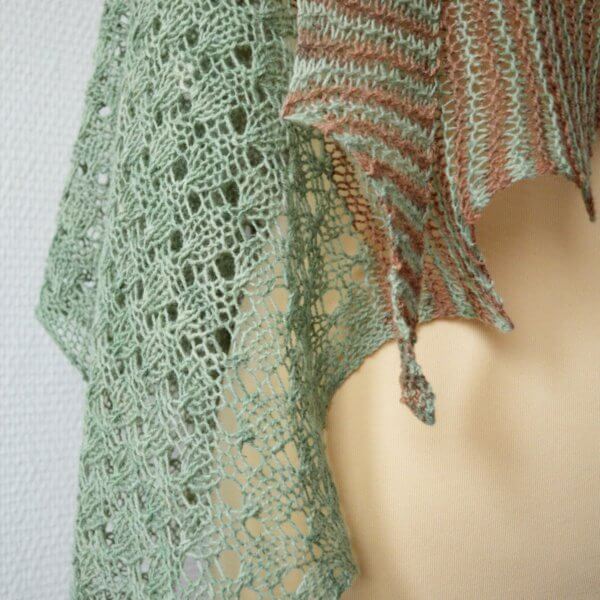
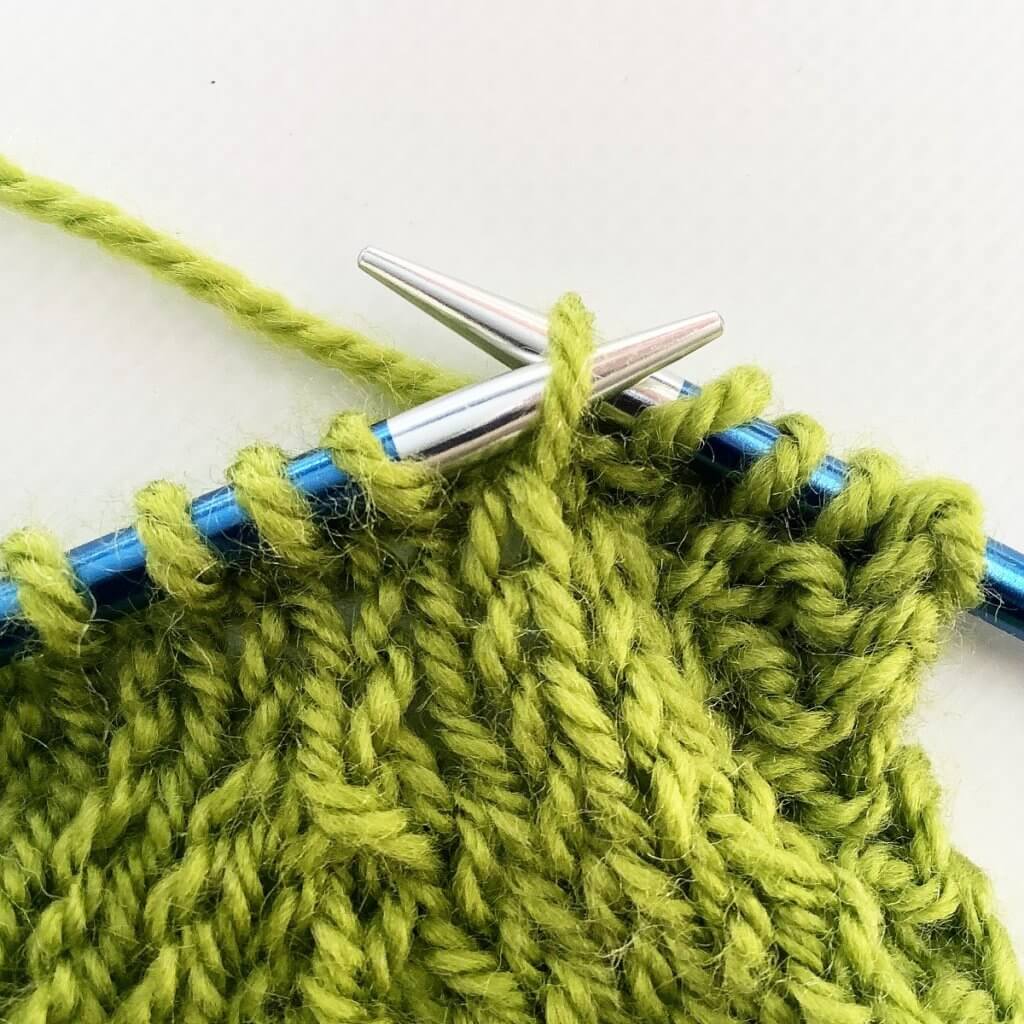
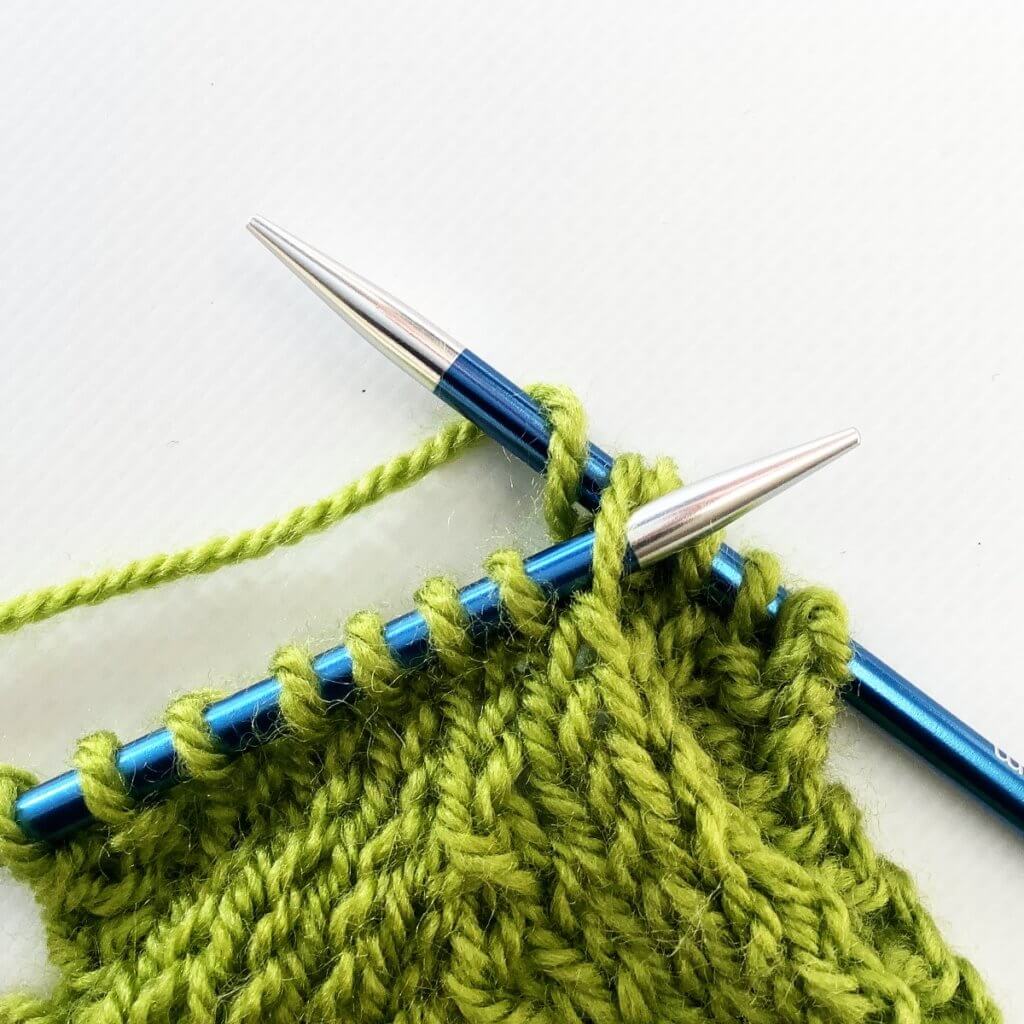
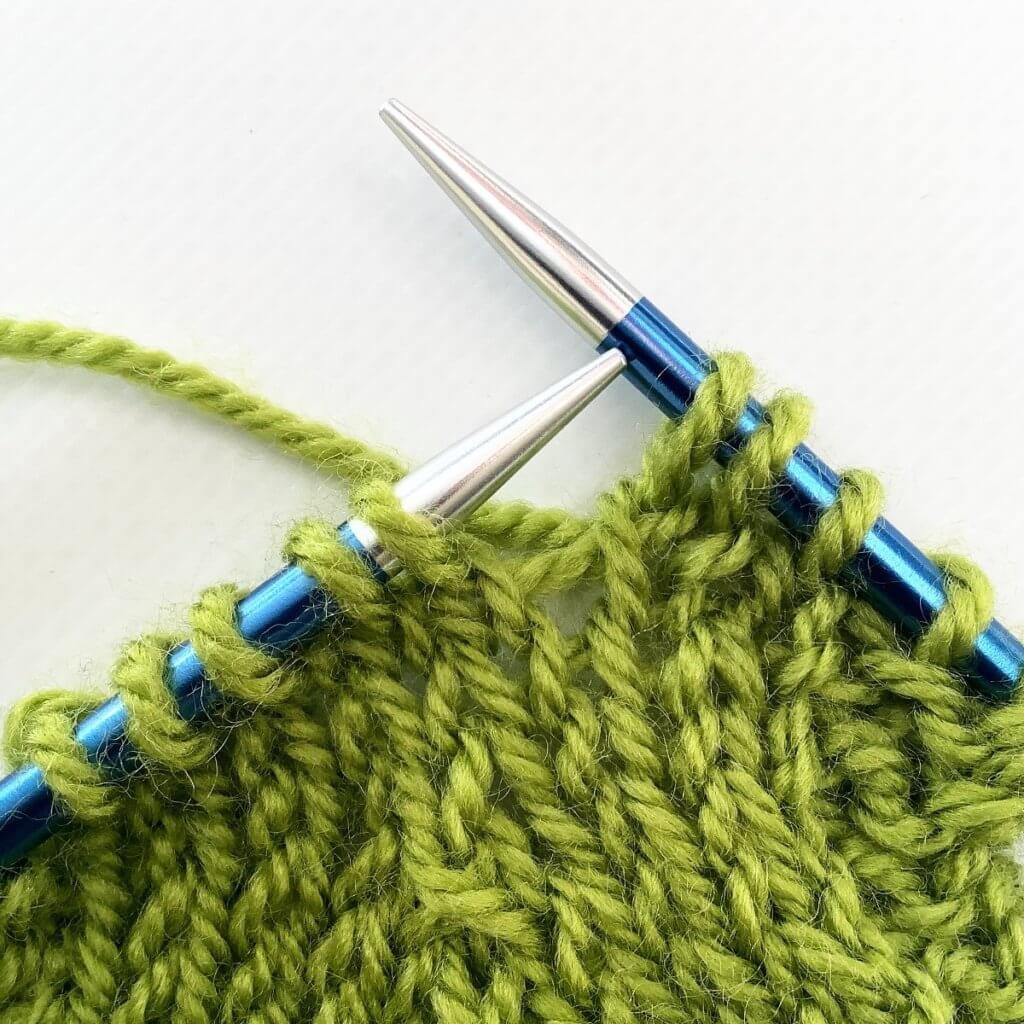
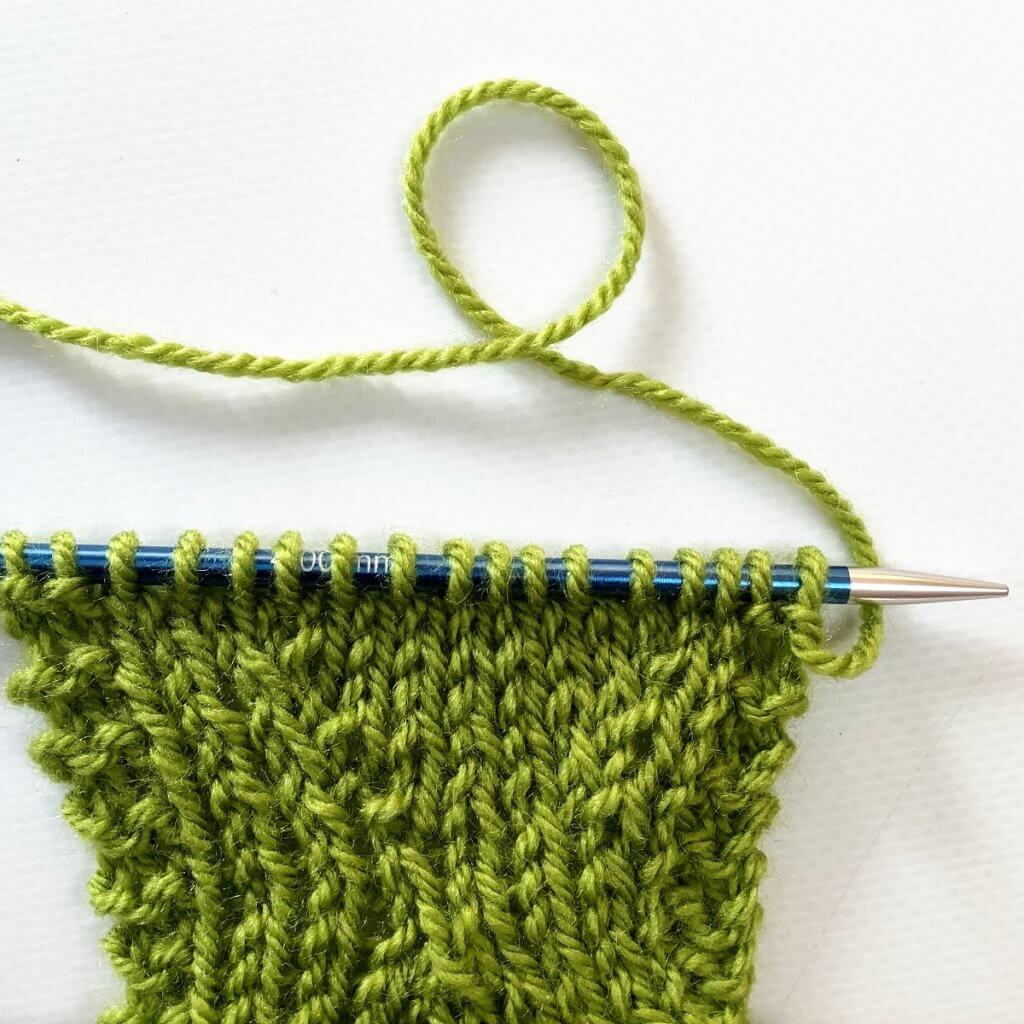
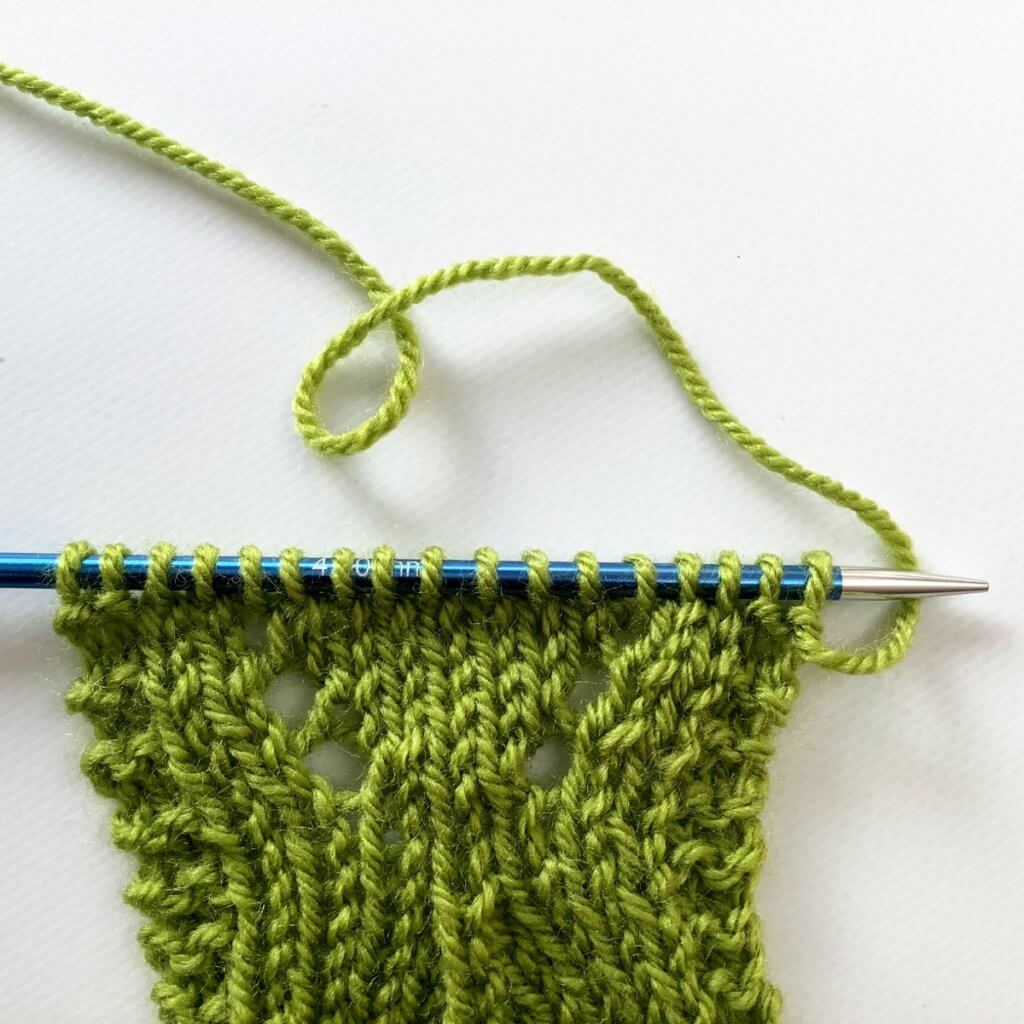
This shawl is knitted from the top-down in one piece, starting at the neck edge with a garter tab. The patterning in the edging is based on a stitch pattern by Naomi Parkhurst and is worked on both right and wrong side rows. The instructions for the edging are both charted and written out.
Pay what you want: (minimum €6.50)

Difficulty level
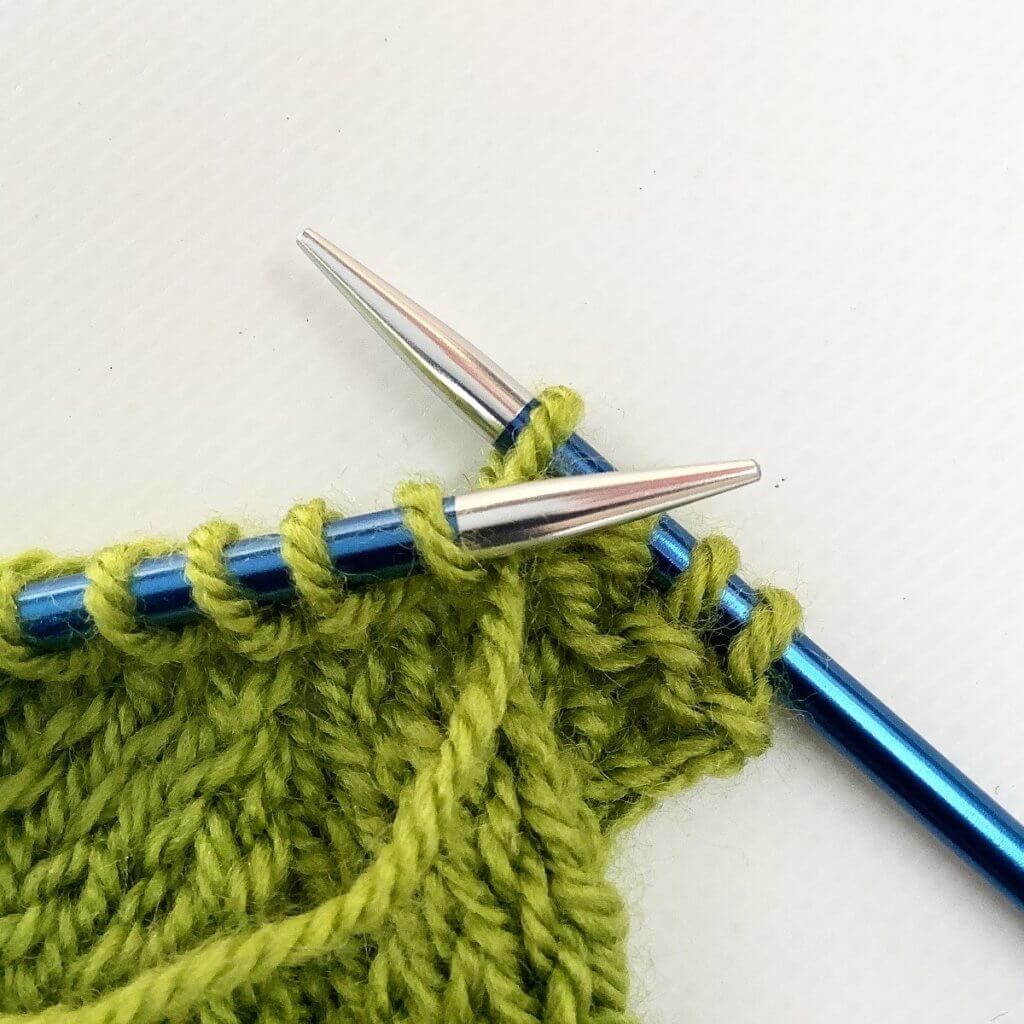
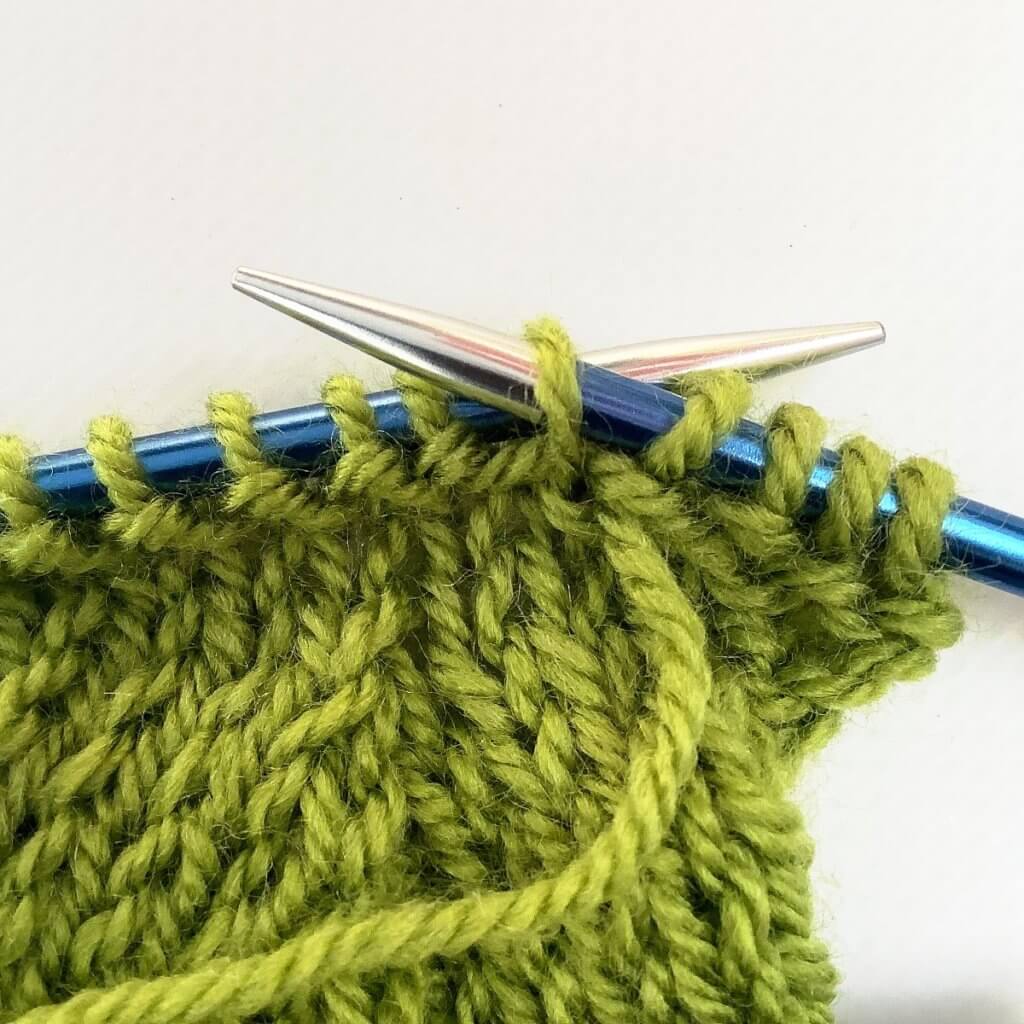
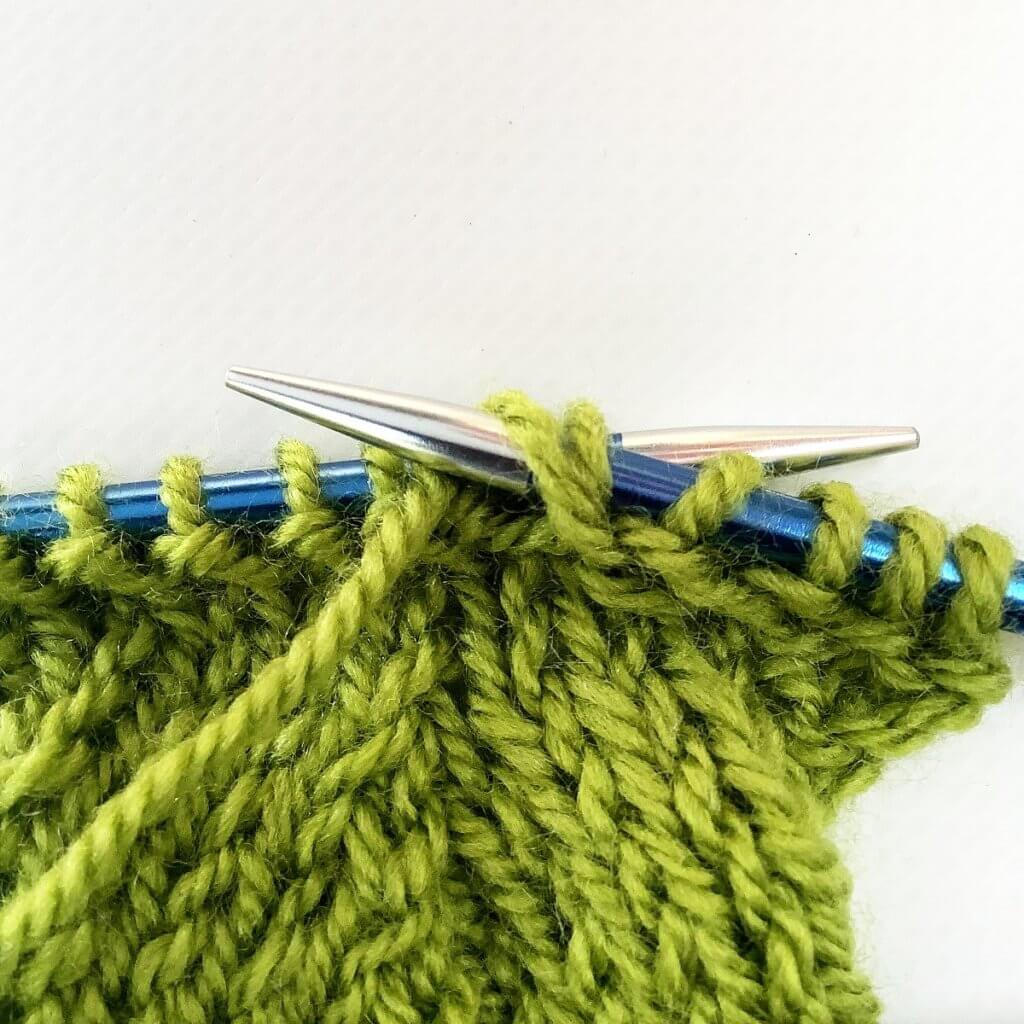
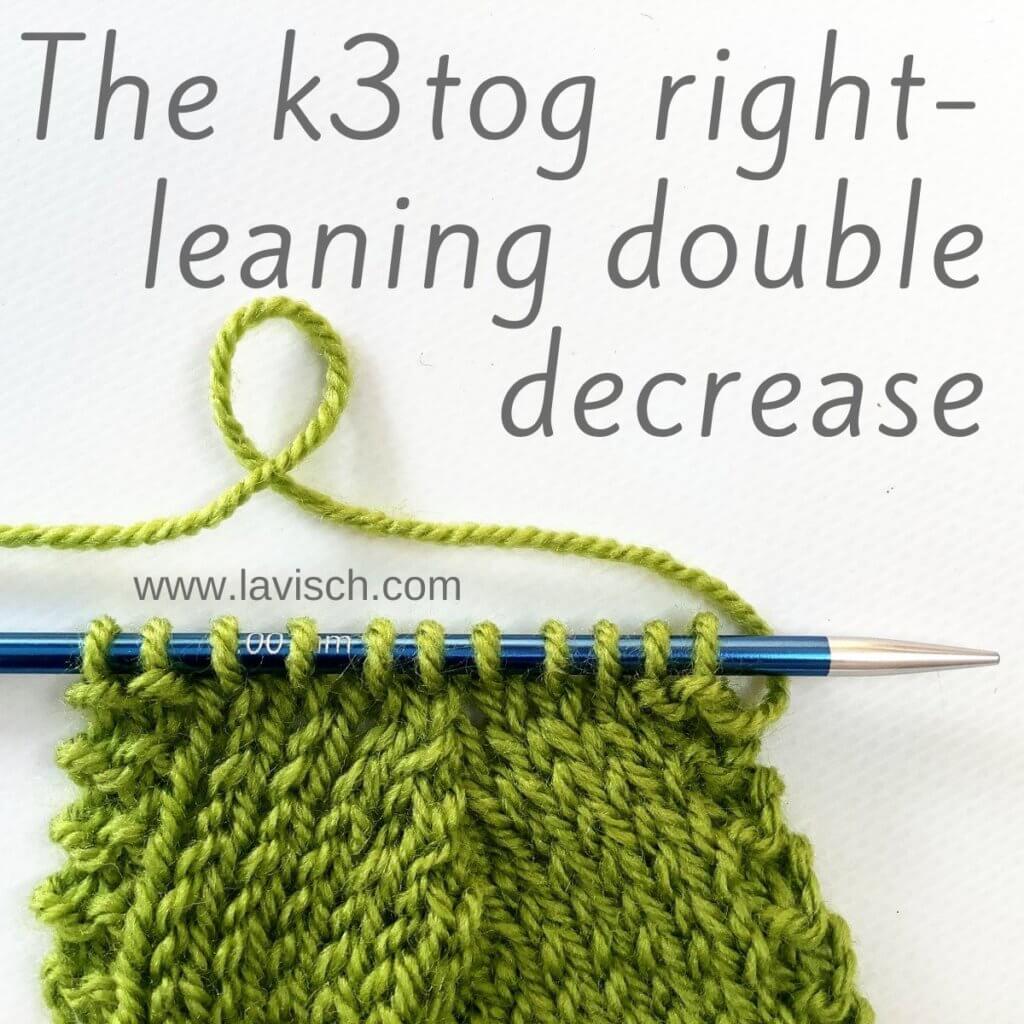
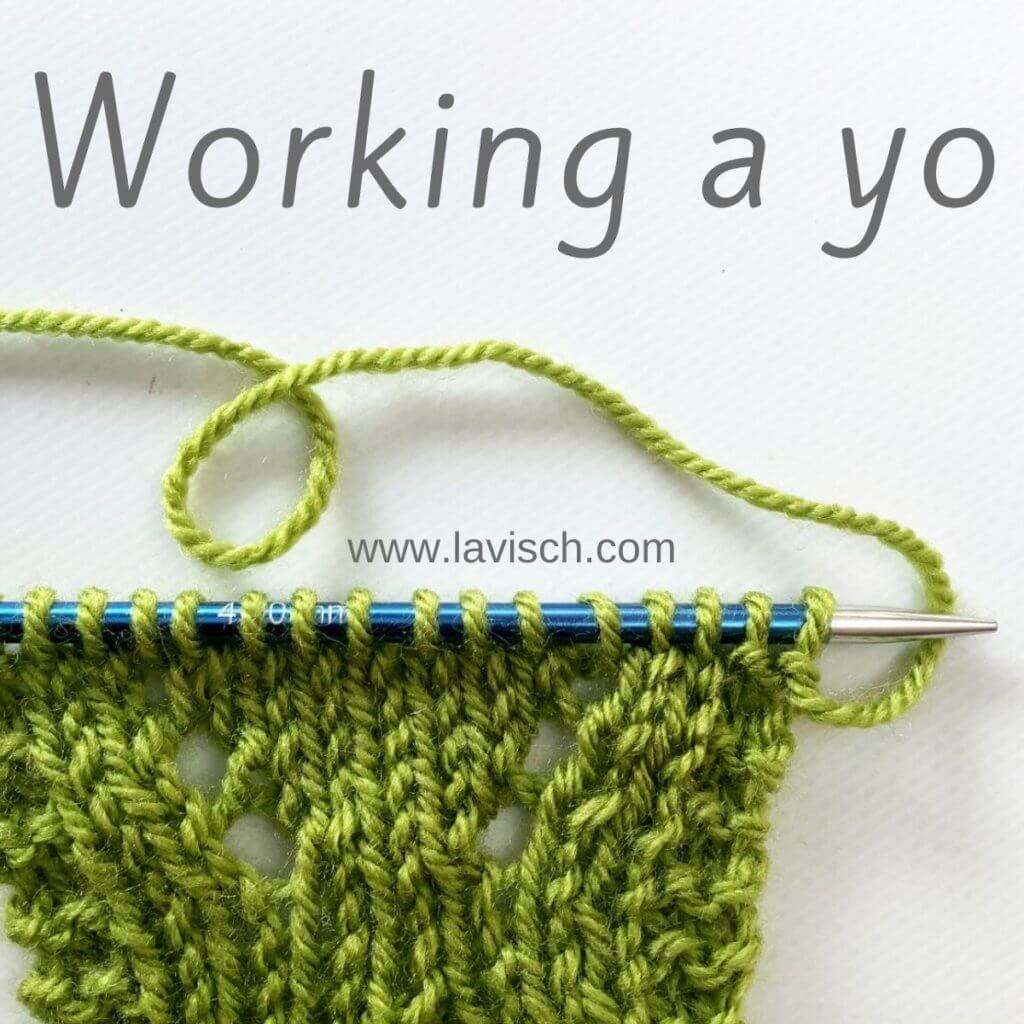
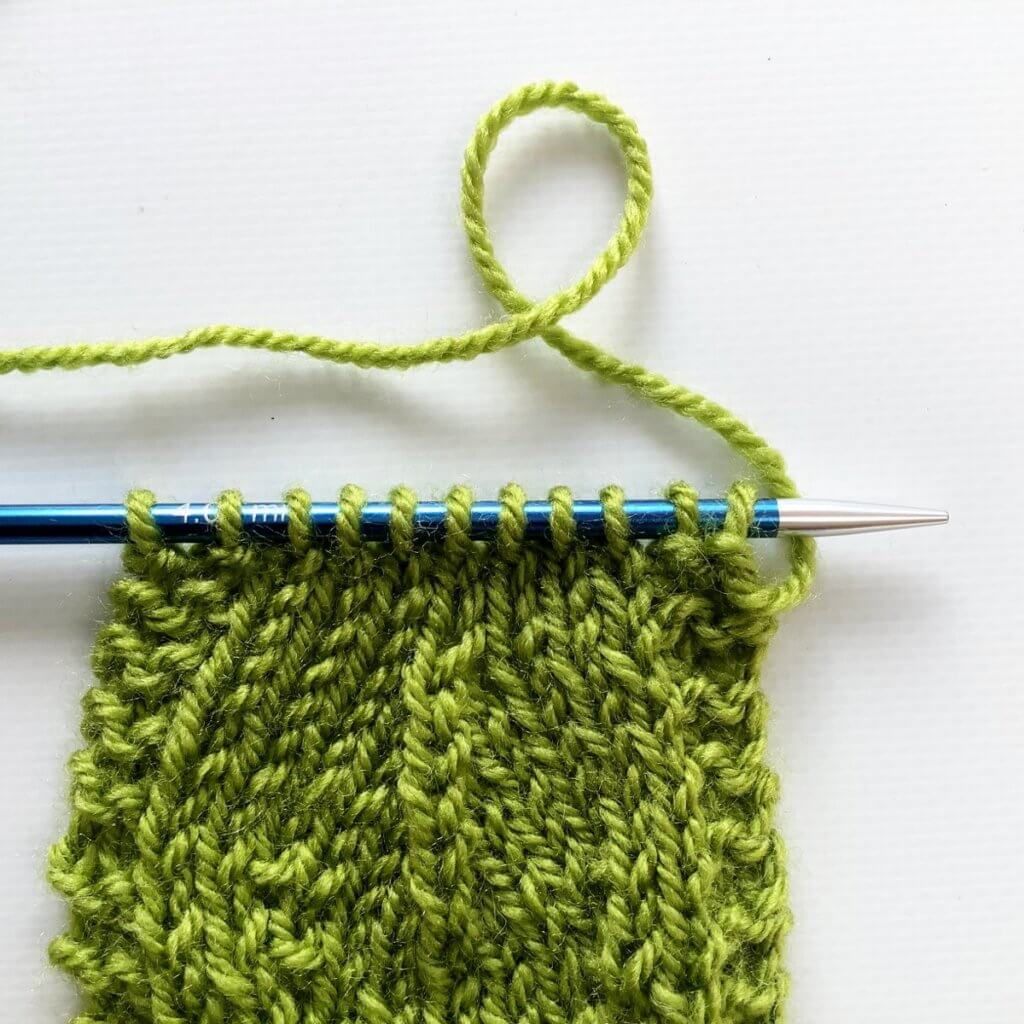
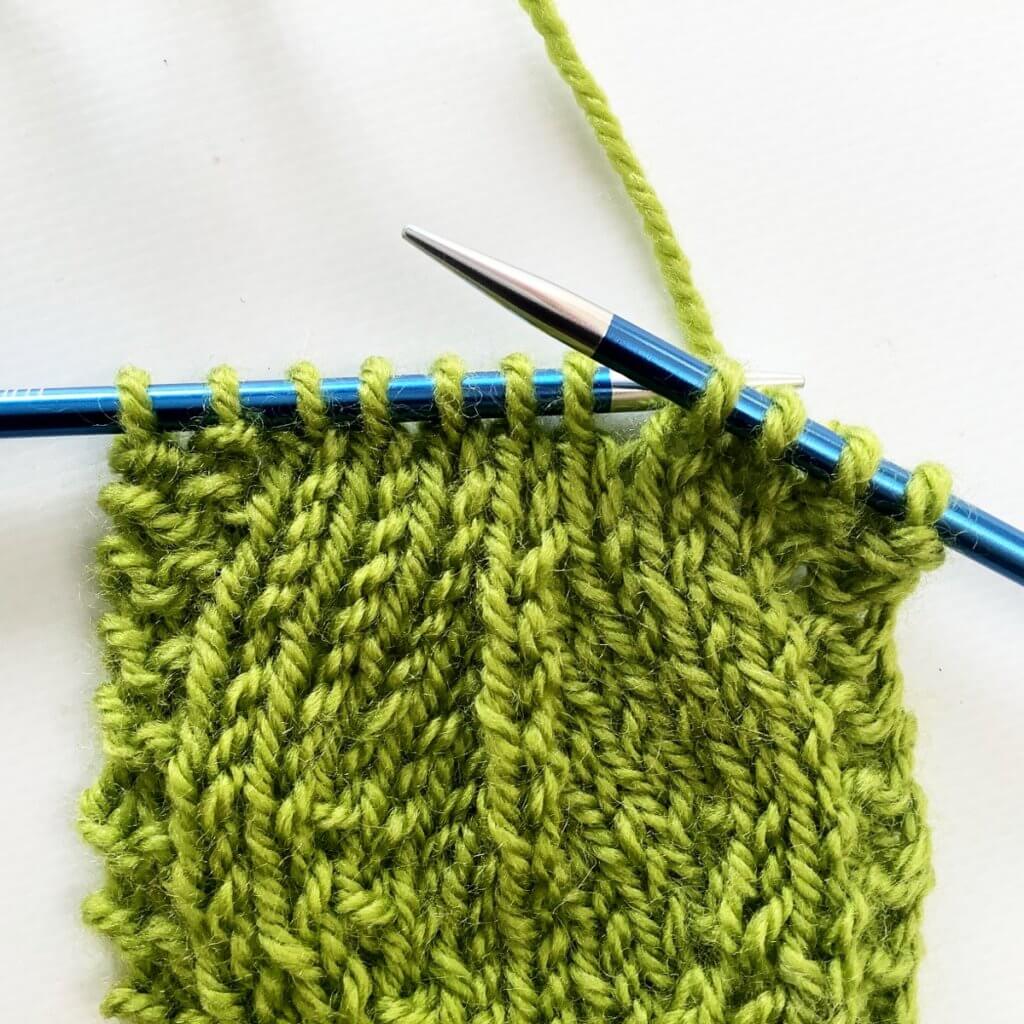
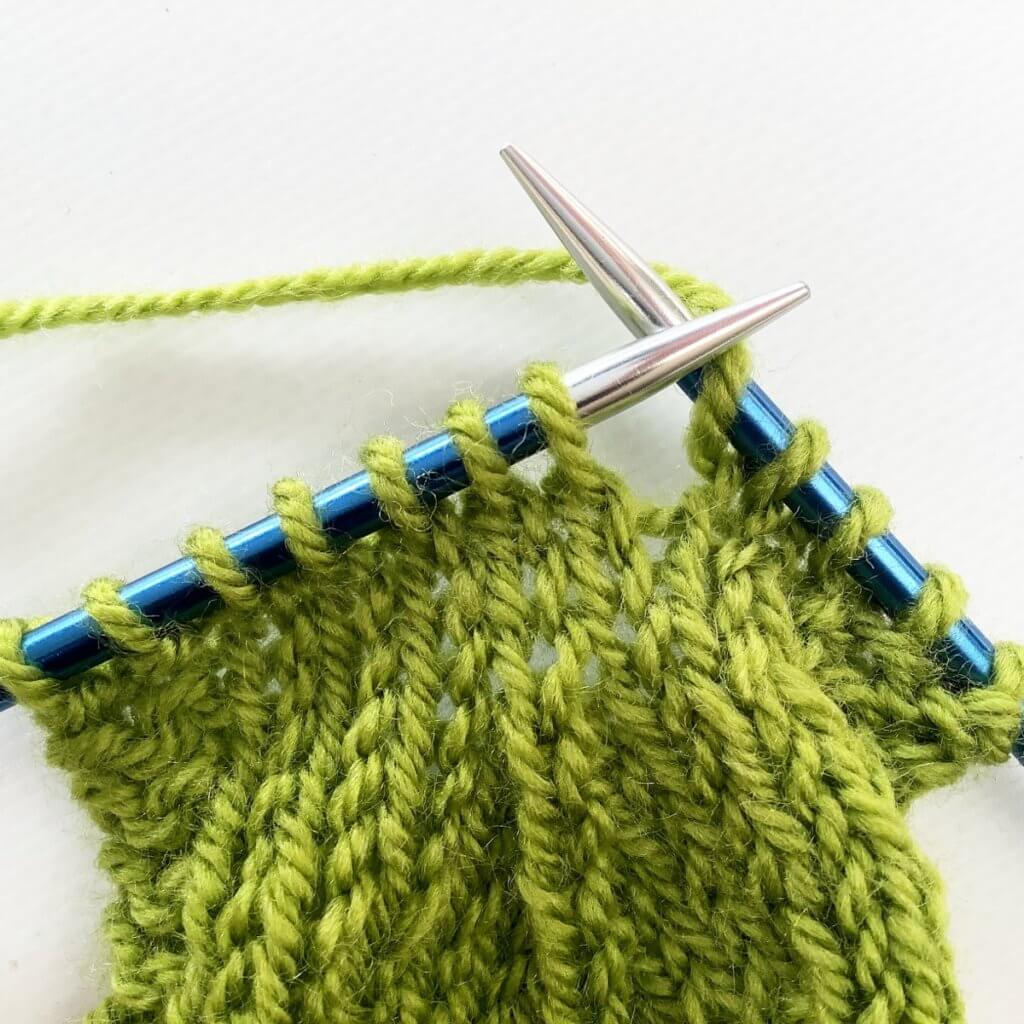
Patterning in the edging of the shawl is on both RS and WS rows and contains simple cables. Stitches used include knit, purl, skp, k2tog, left and right leaning double decreases, yo, and double yo. This pattern is suitable for the intermediate to advanced knitter.
Sizes and finished measurements
One size: Wingspan of 223 cm (87 ¾ inches) and a depth of 100 cm (39 ½ inches), measured after blocking.
Change the size of this shawl by using lighter or heavier yarn and/or working fewer (or more) repeats of the various sections in the body of the shawl. This will of course change the amount of yarn needed.
Pattern details
- Gauge: approx. 14 sts / 27 rows = 10 cm (4 inches) over stockinette, after blocking.
- Pattern languages included: English and Dutch (Dit patroon omvat zowel een Nederlandse als een Engelse versie)
- Digital PDF has 5 pages (letter size)
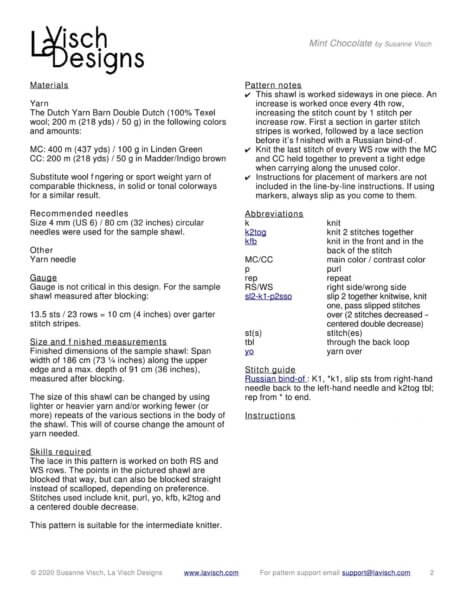
Materials
- Yarn: Diva Sock Star by Dutch Wool Diva (75% merino wool, 25% nylon; 425 m (465 yds) / 100 g) in the following colors and amounts: MC: 425 m (465 yds) / 100 g in Ariël and CC: 425 m (465 yds) / 100 g in Tannenbaum. Substitute wool fingering weight yarn of comparable thickness, in a speckled colorway for the MC and a solid or tonal colorway as a CC for a similar result.
- Size 4 mm (US 6) / 80 cm (32 inches) circular needles.
- Yarn needle.
- Cable needle.
- 4 stitch markers to indicate the center stitch and the edge stitches.
- Stitch markers to indicate repeats of the lace patterning (optional).
strawberry confetti cupcake Read More »