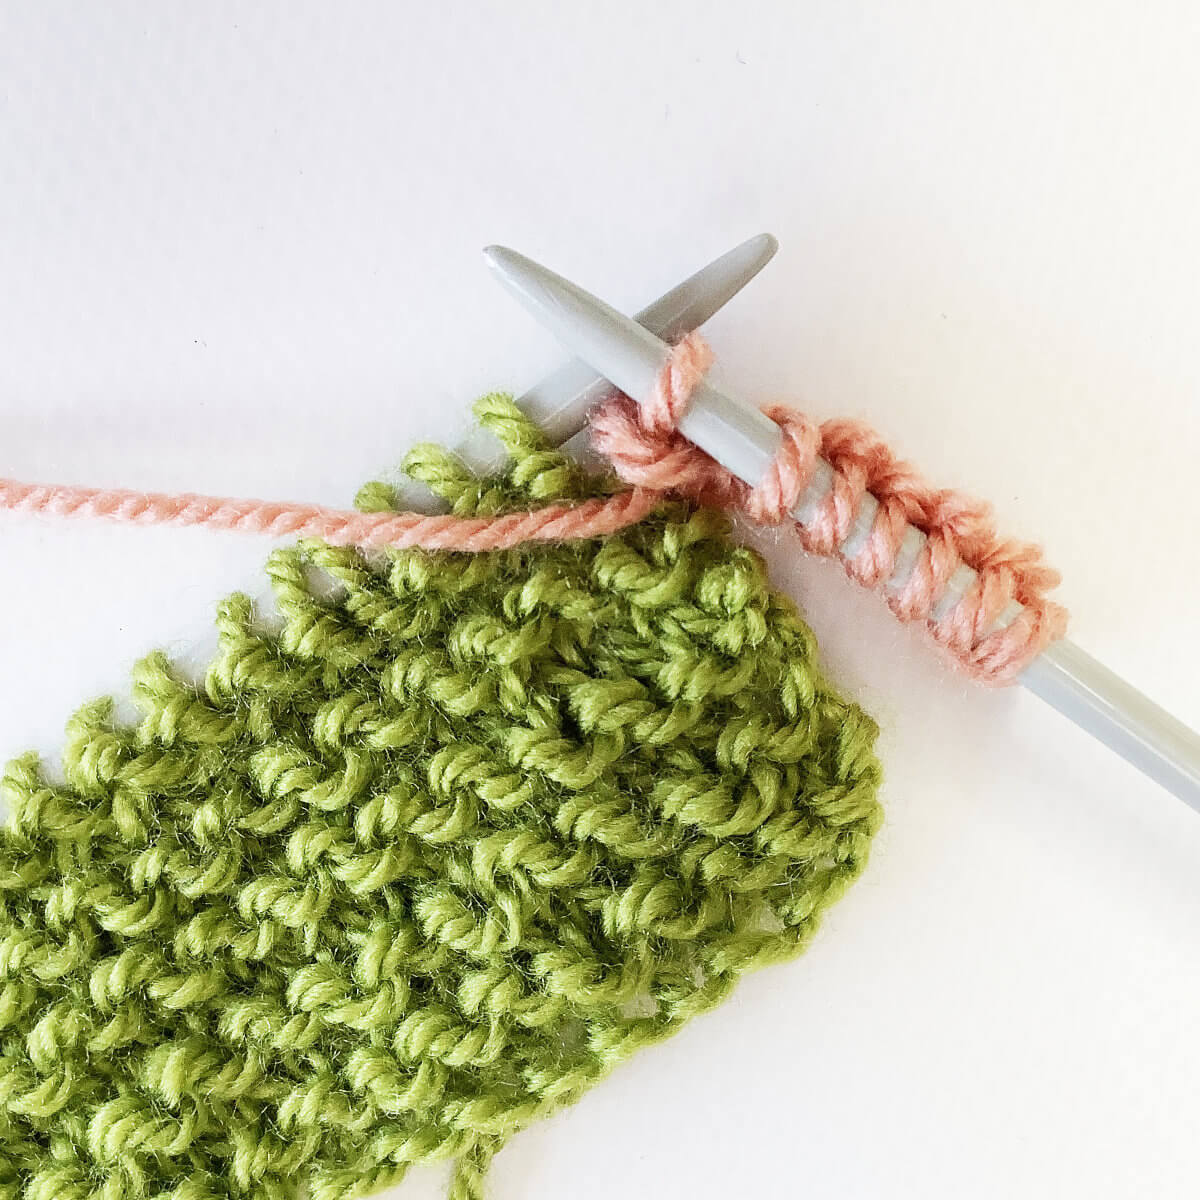
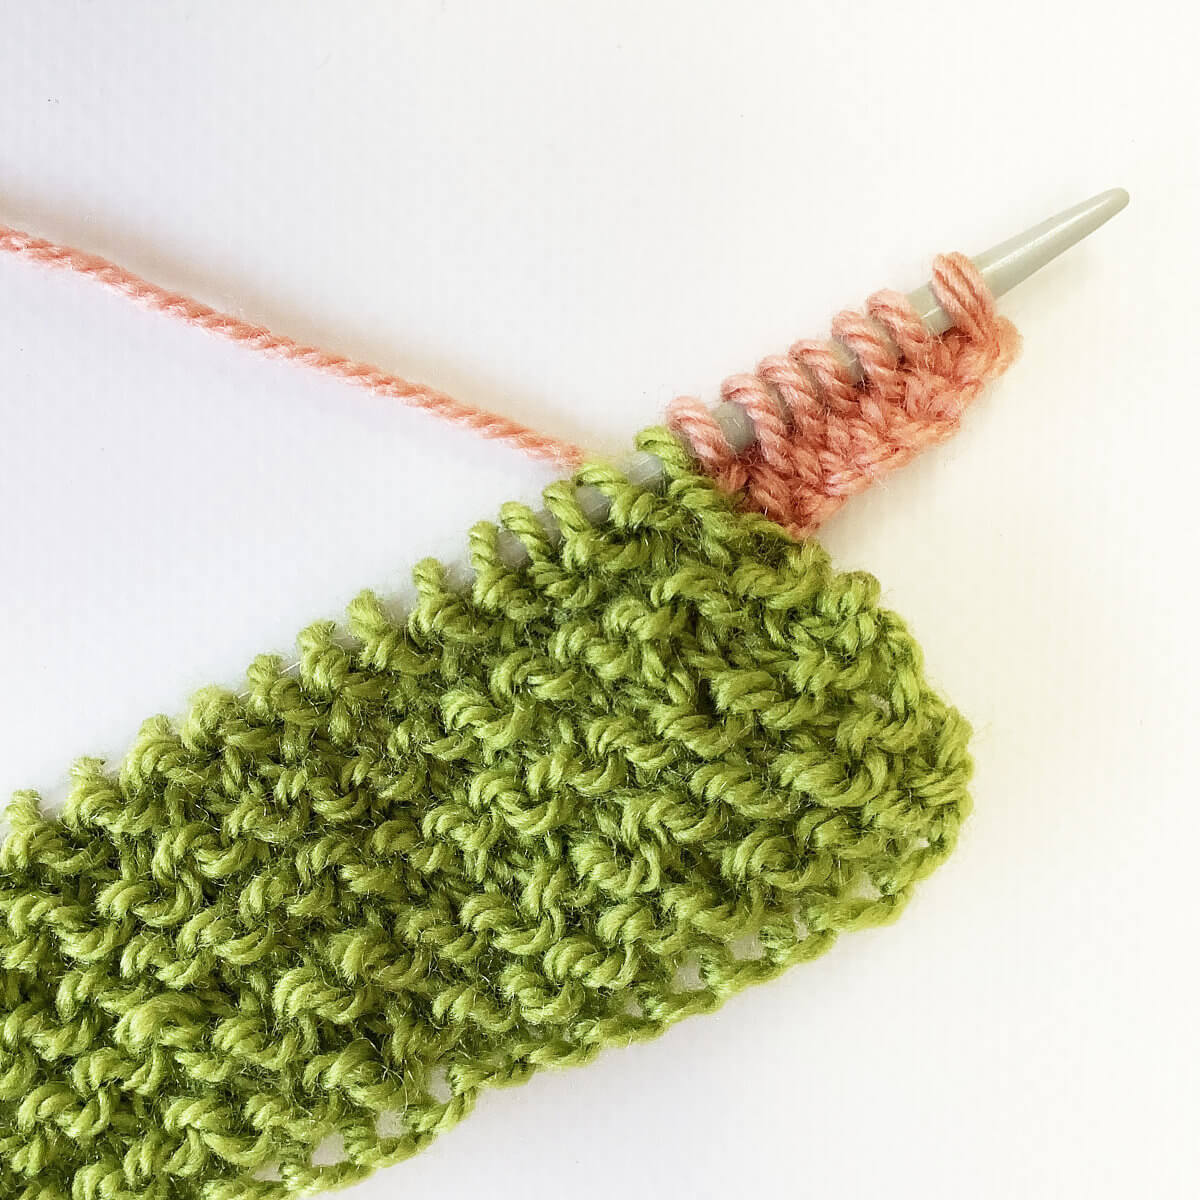
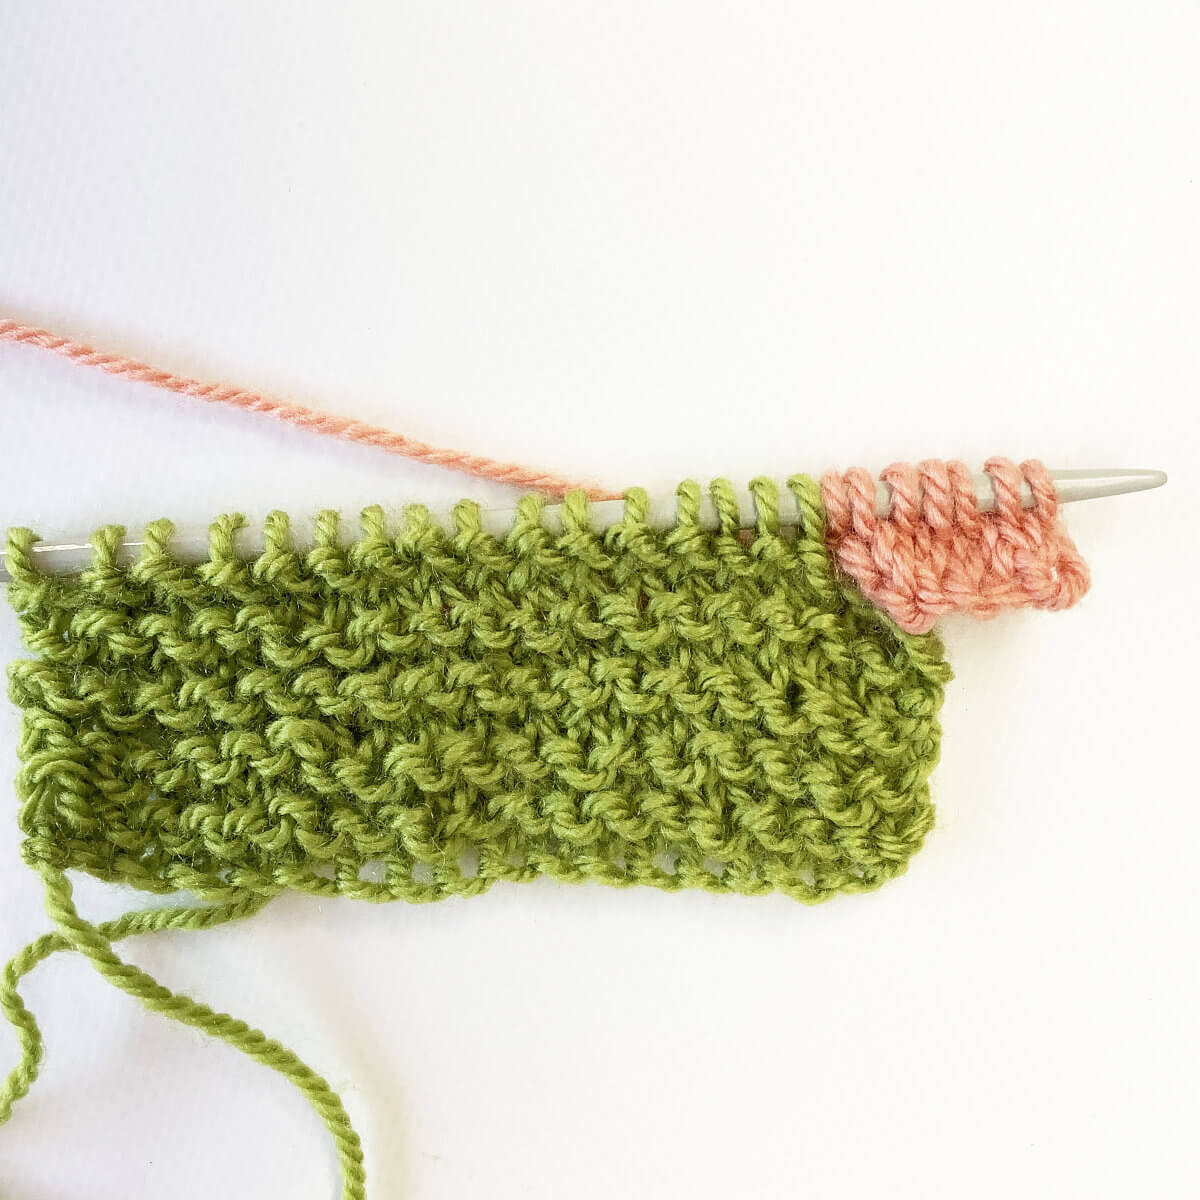
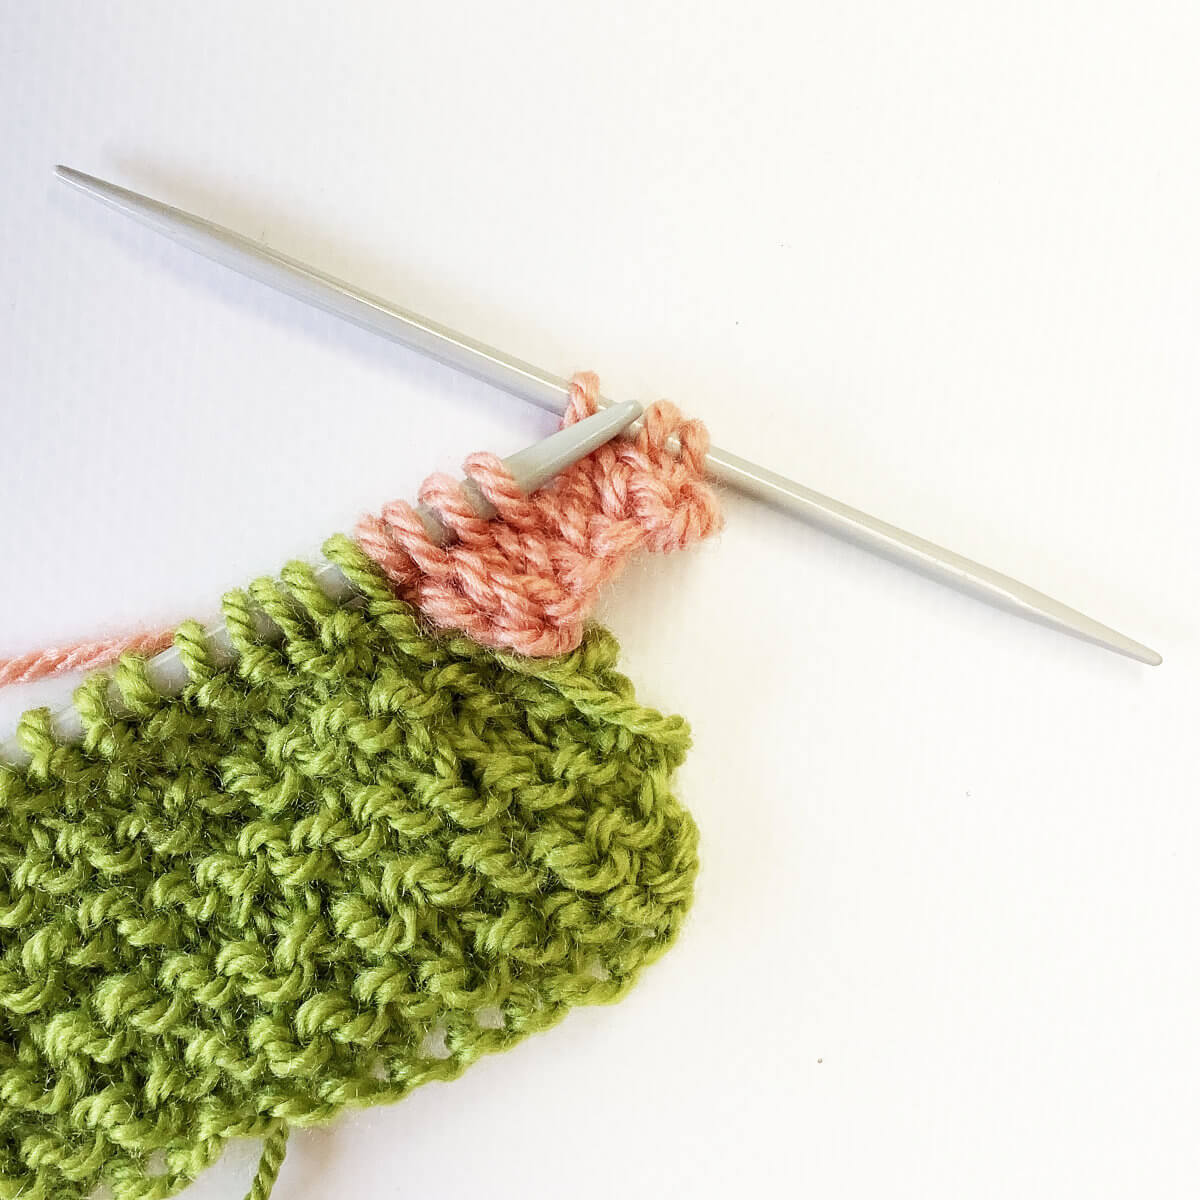
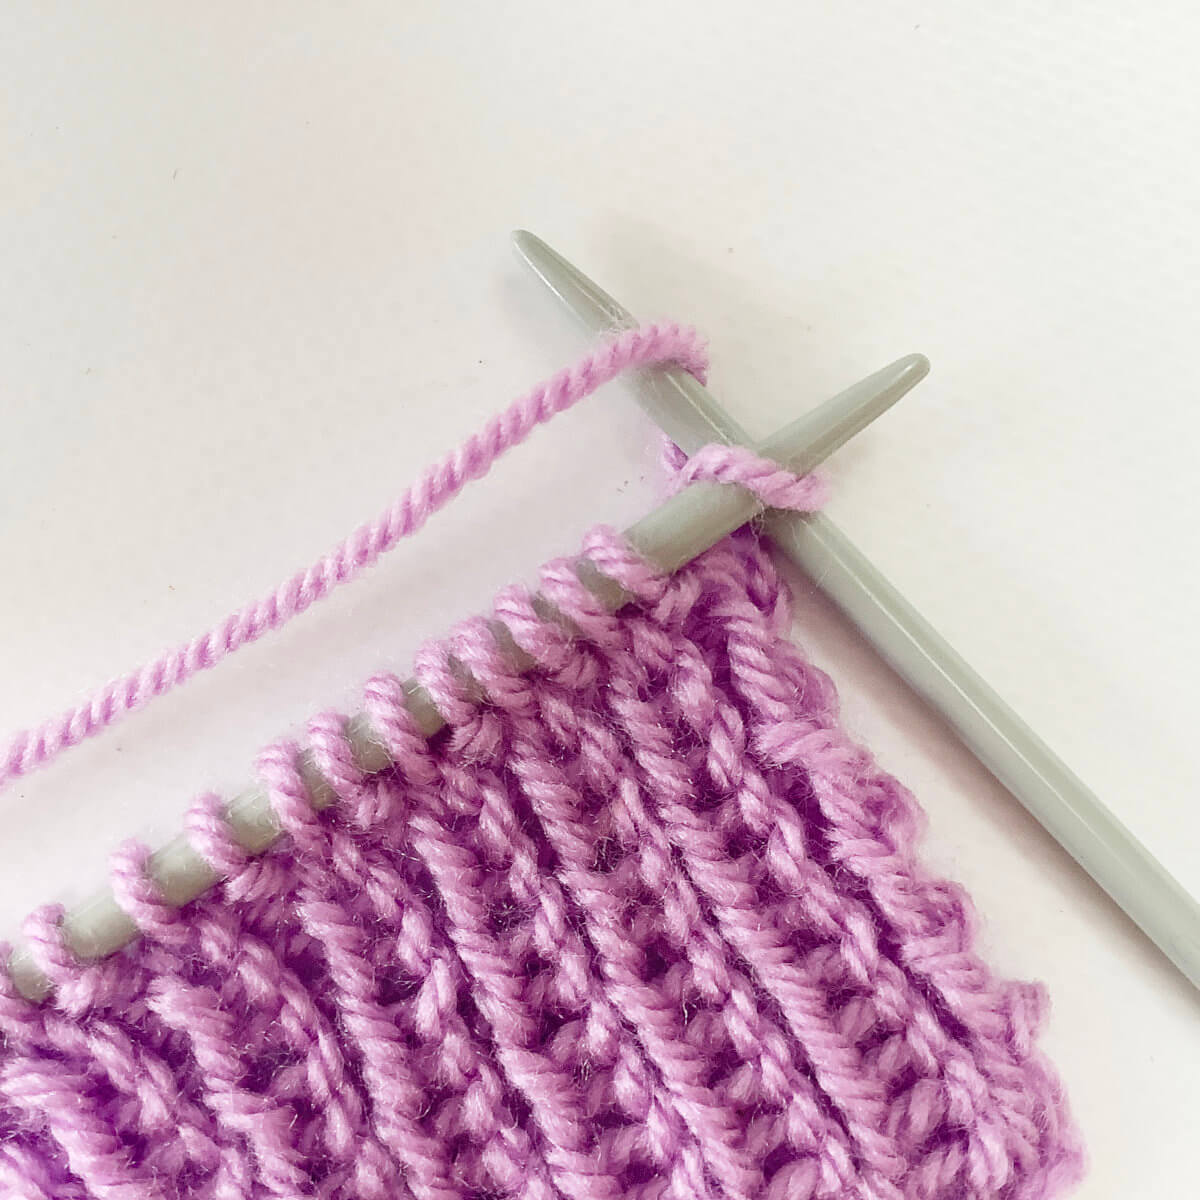
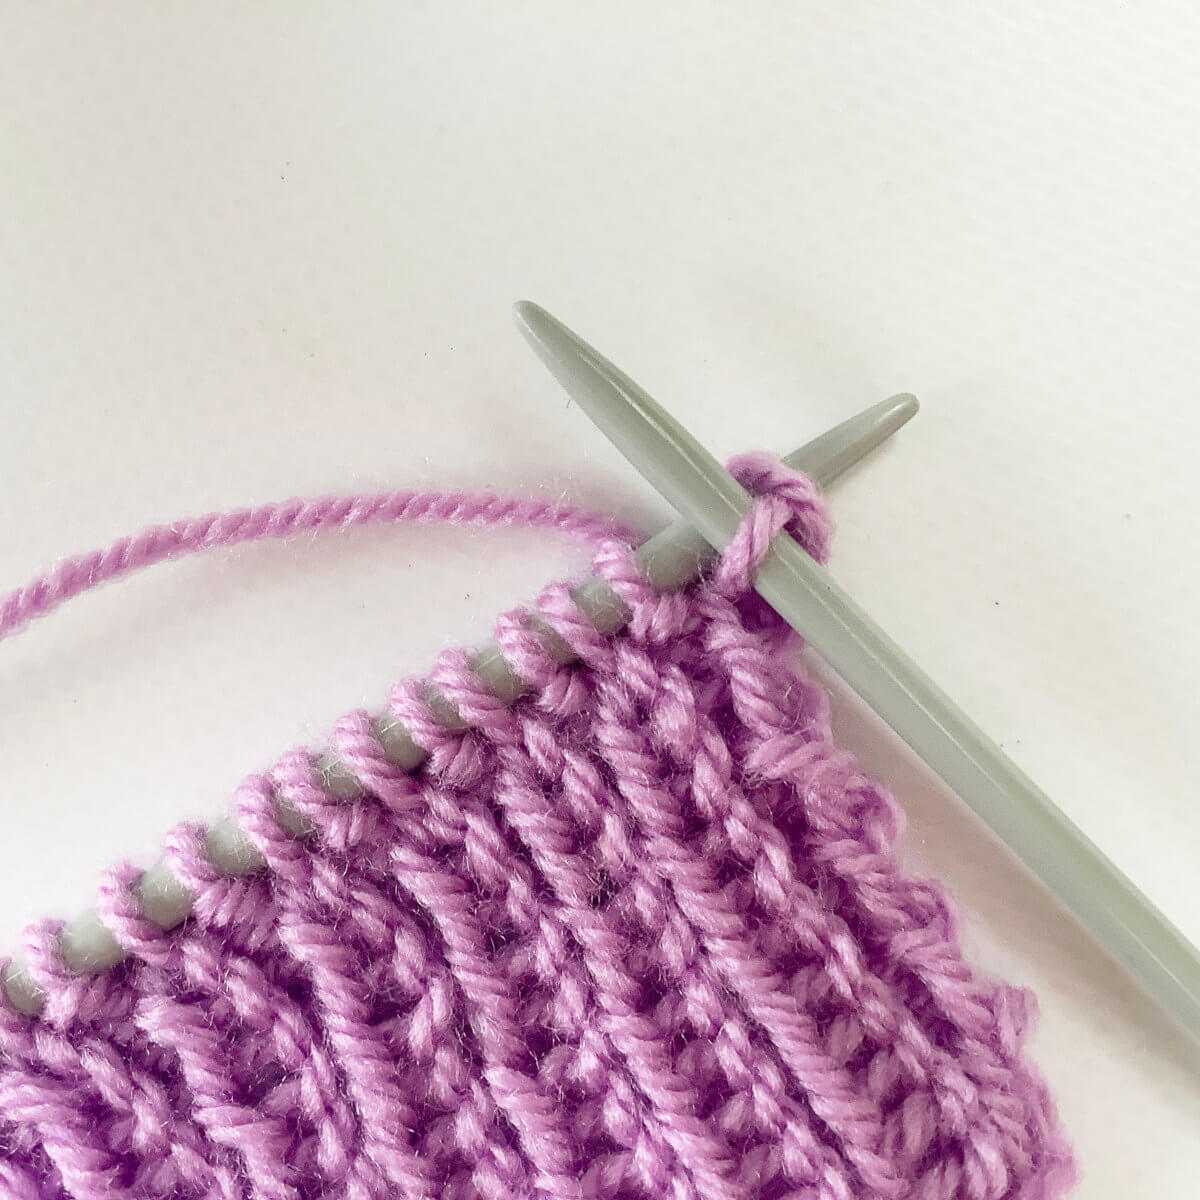
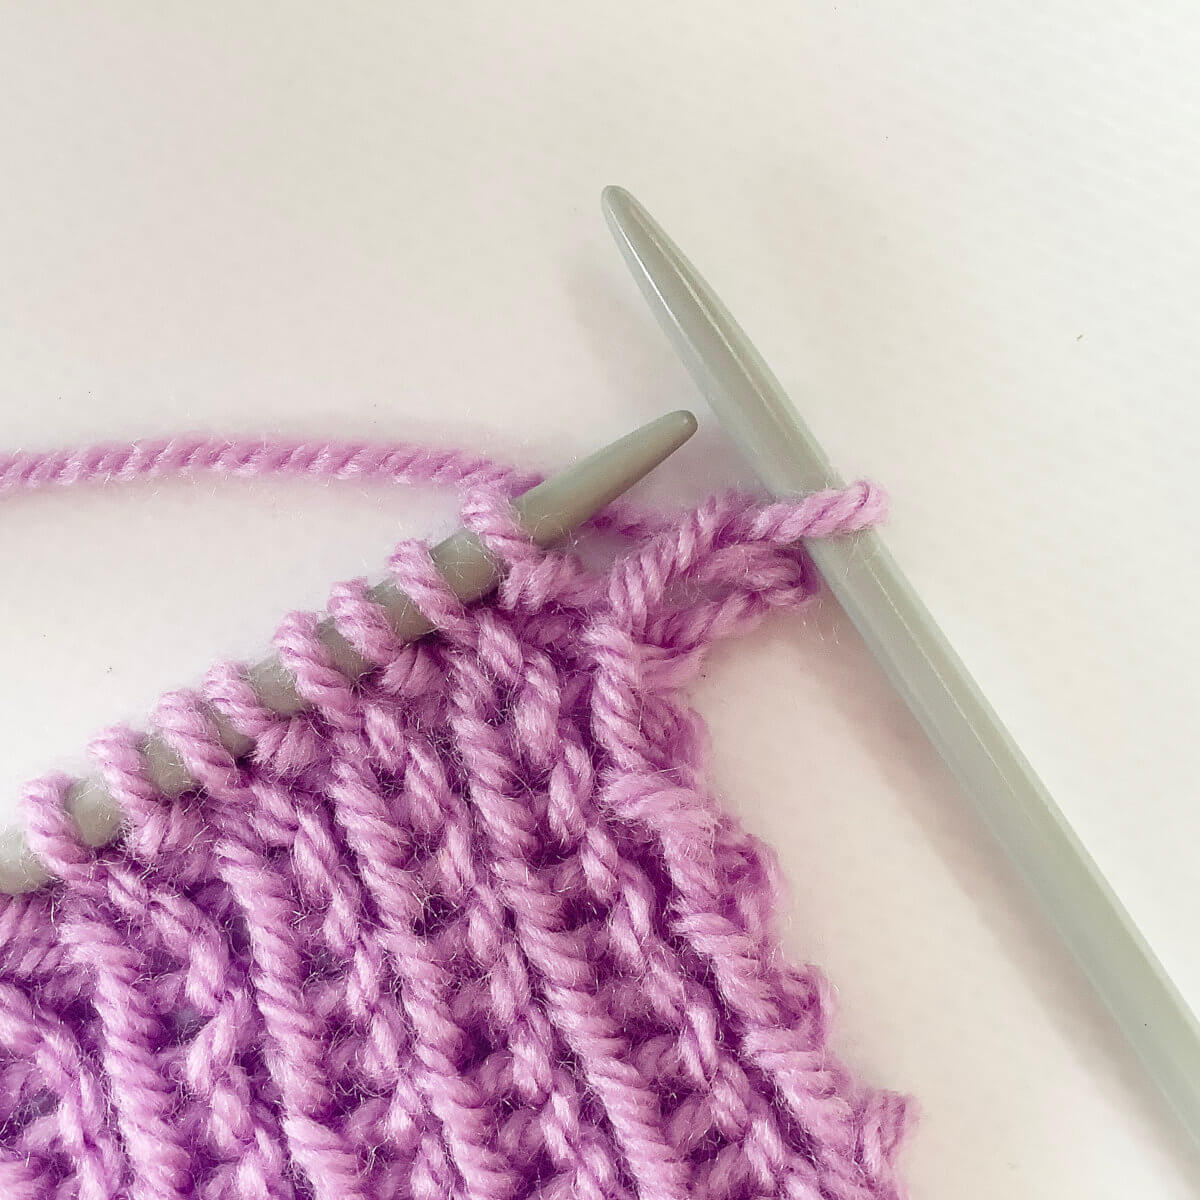
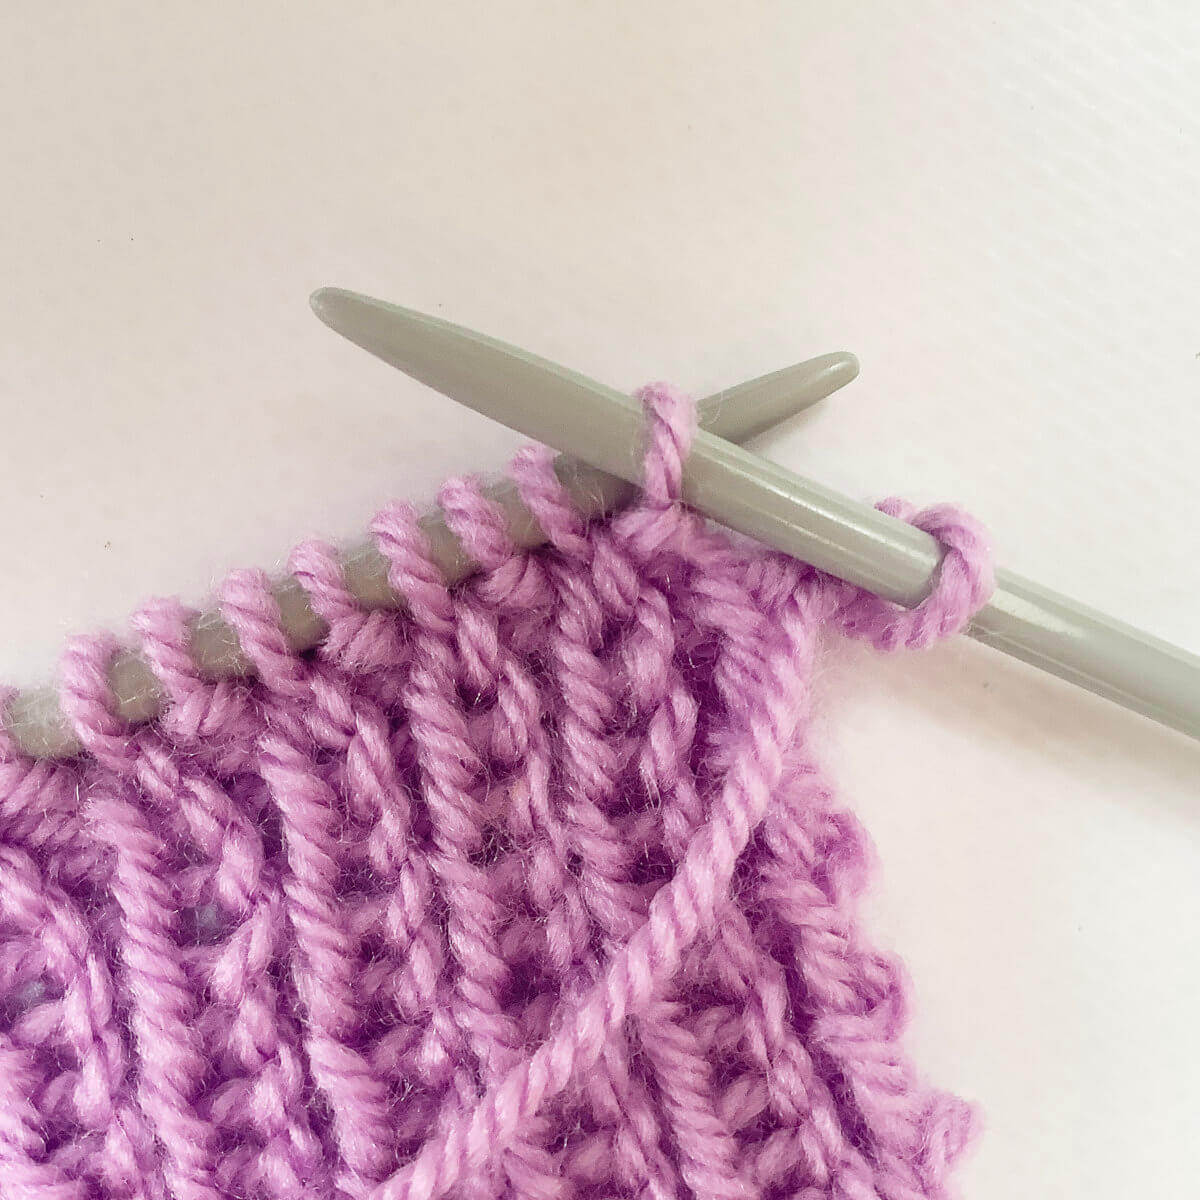
bind-off

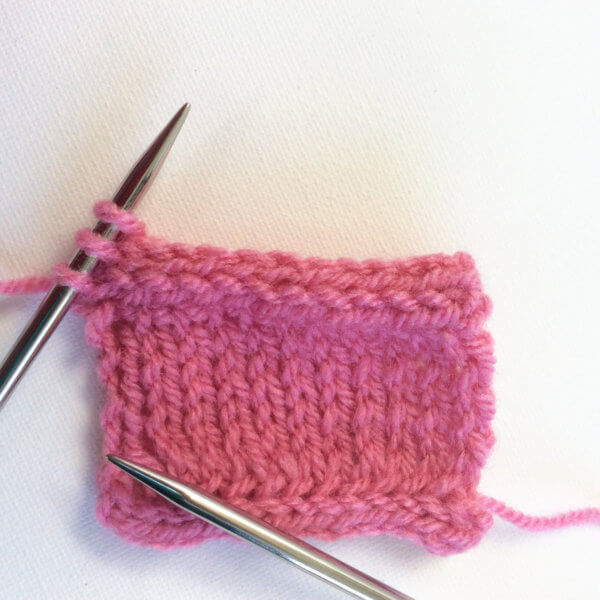
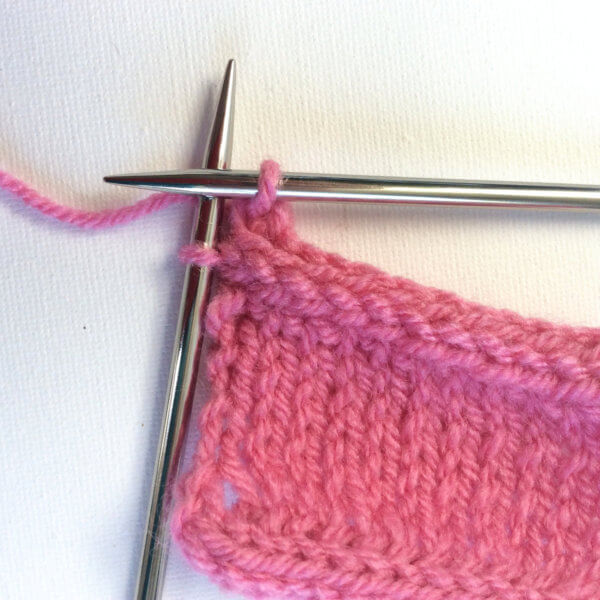
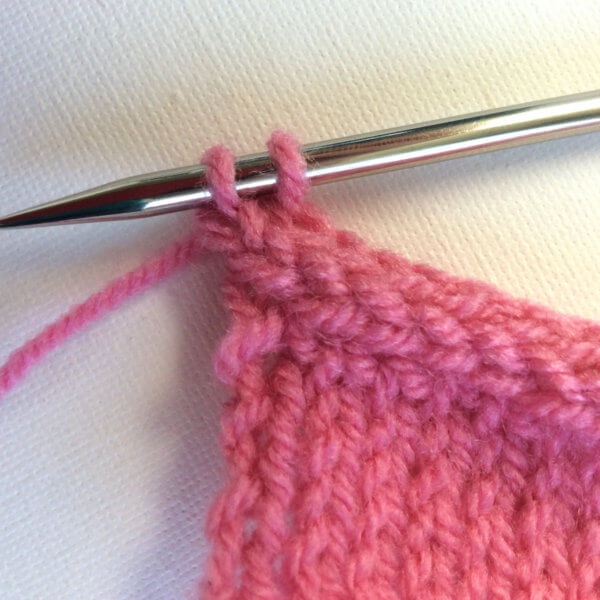
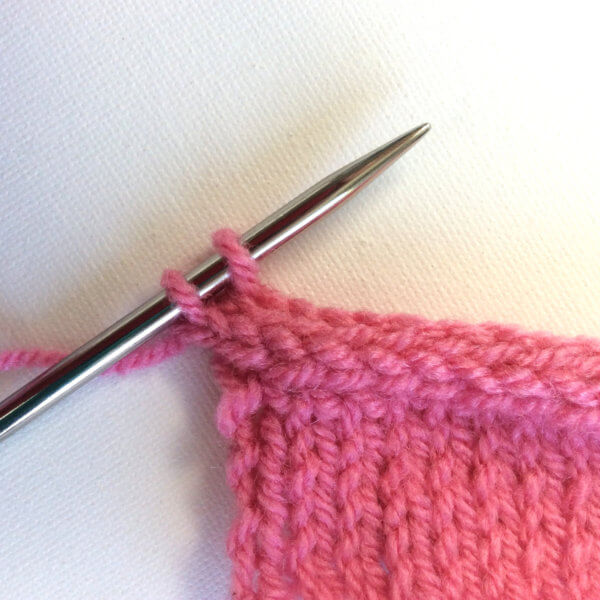
tutorial – working a tubular bind off for 1×1 rib

Tutorial - working a tubular bind off for 1x1 rib

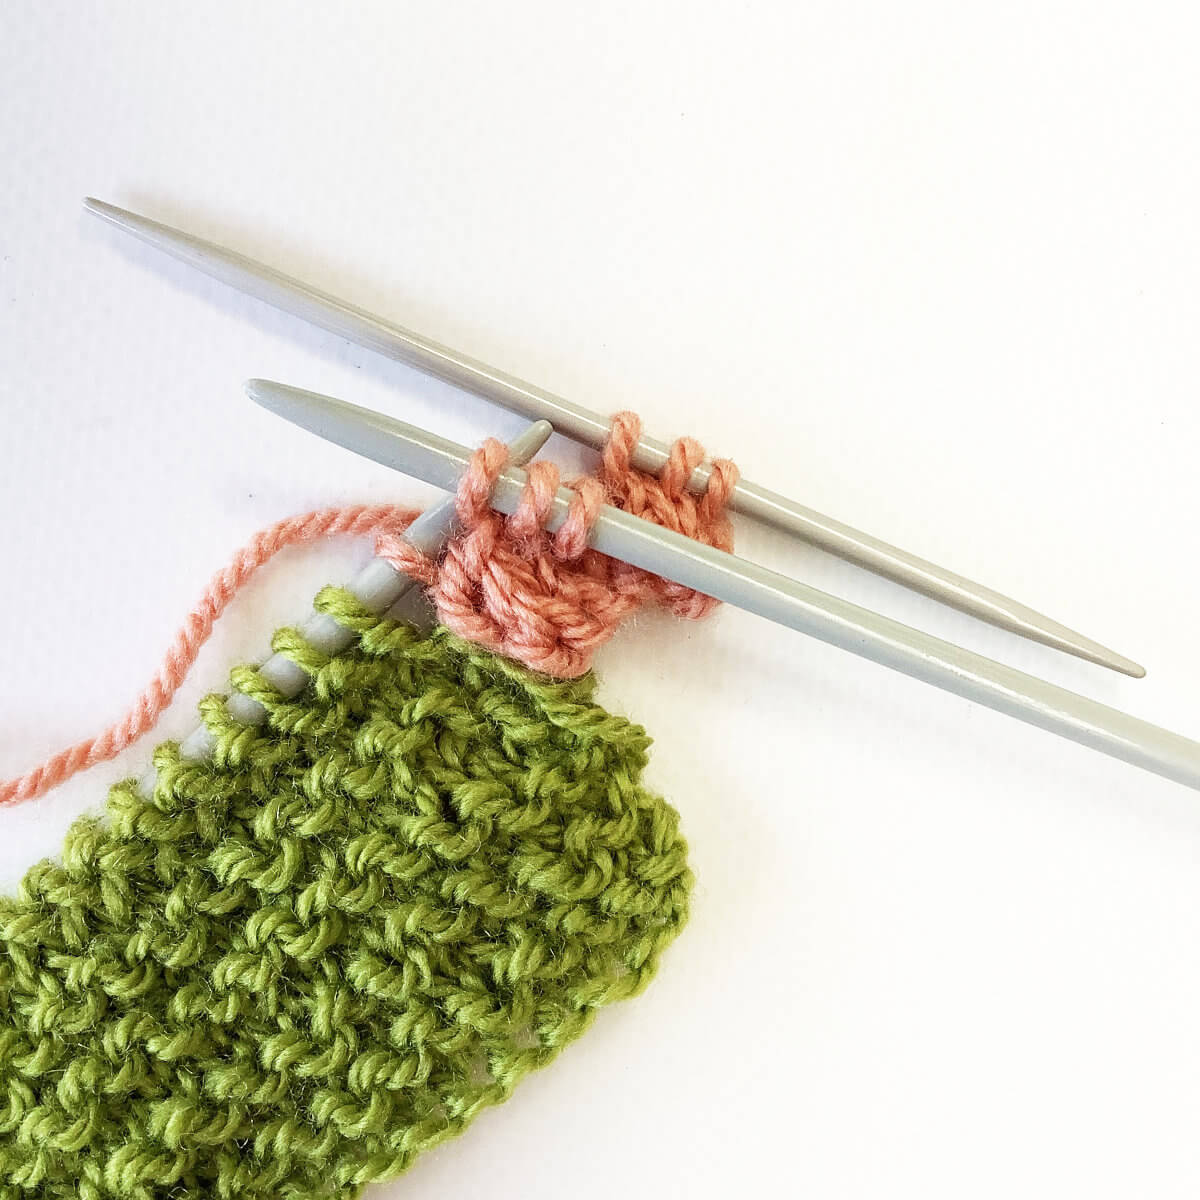
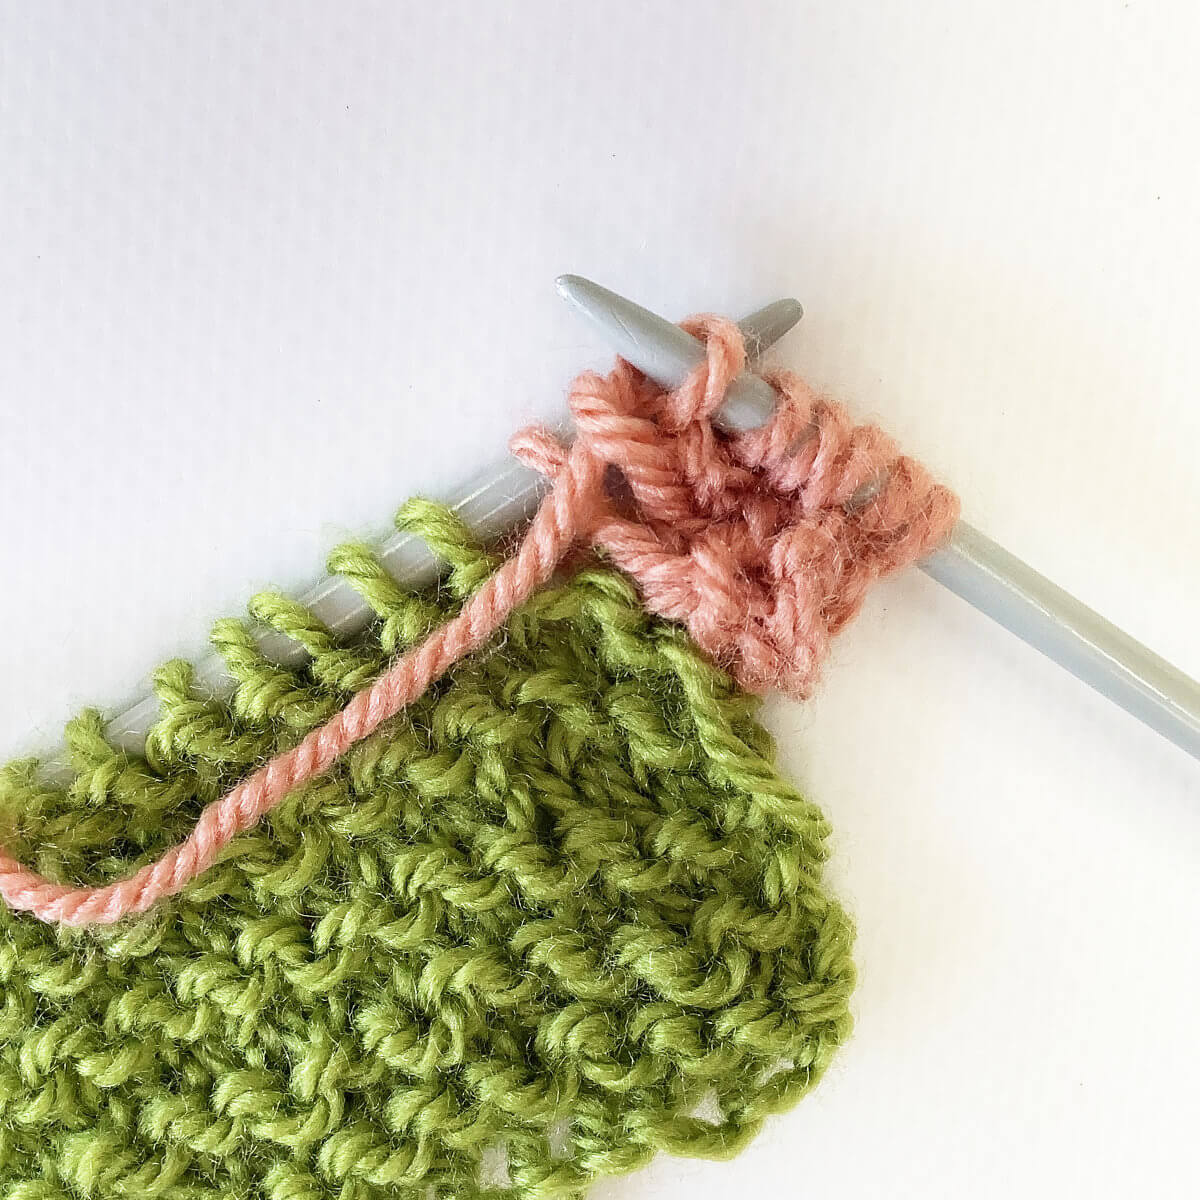
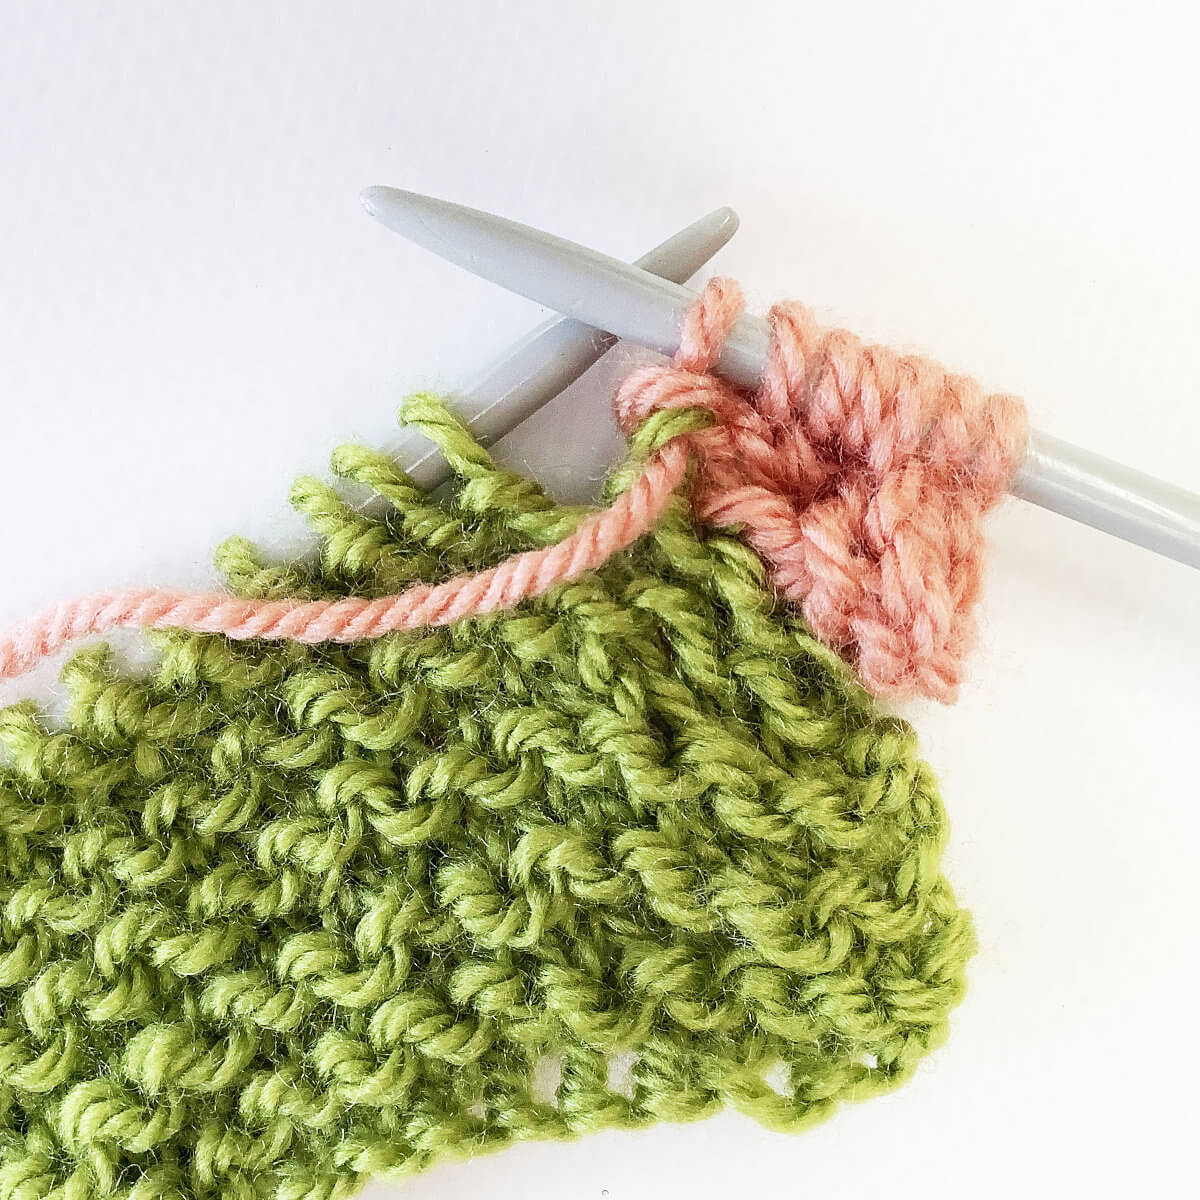
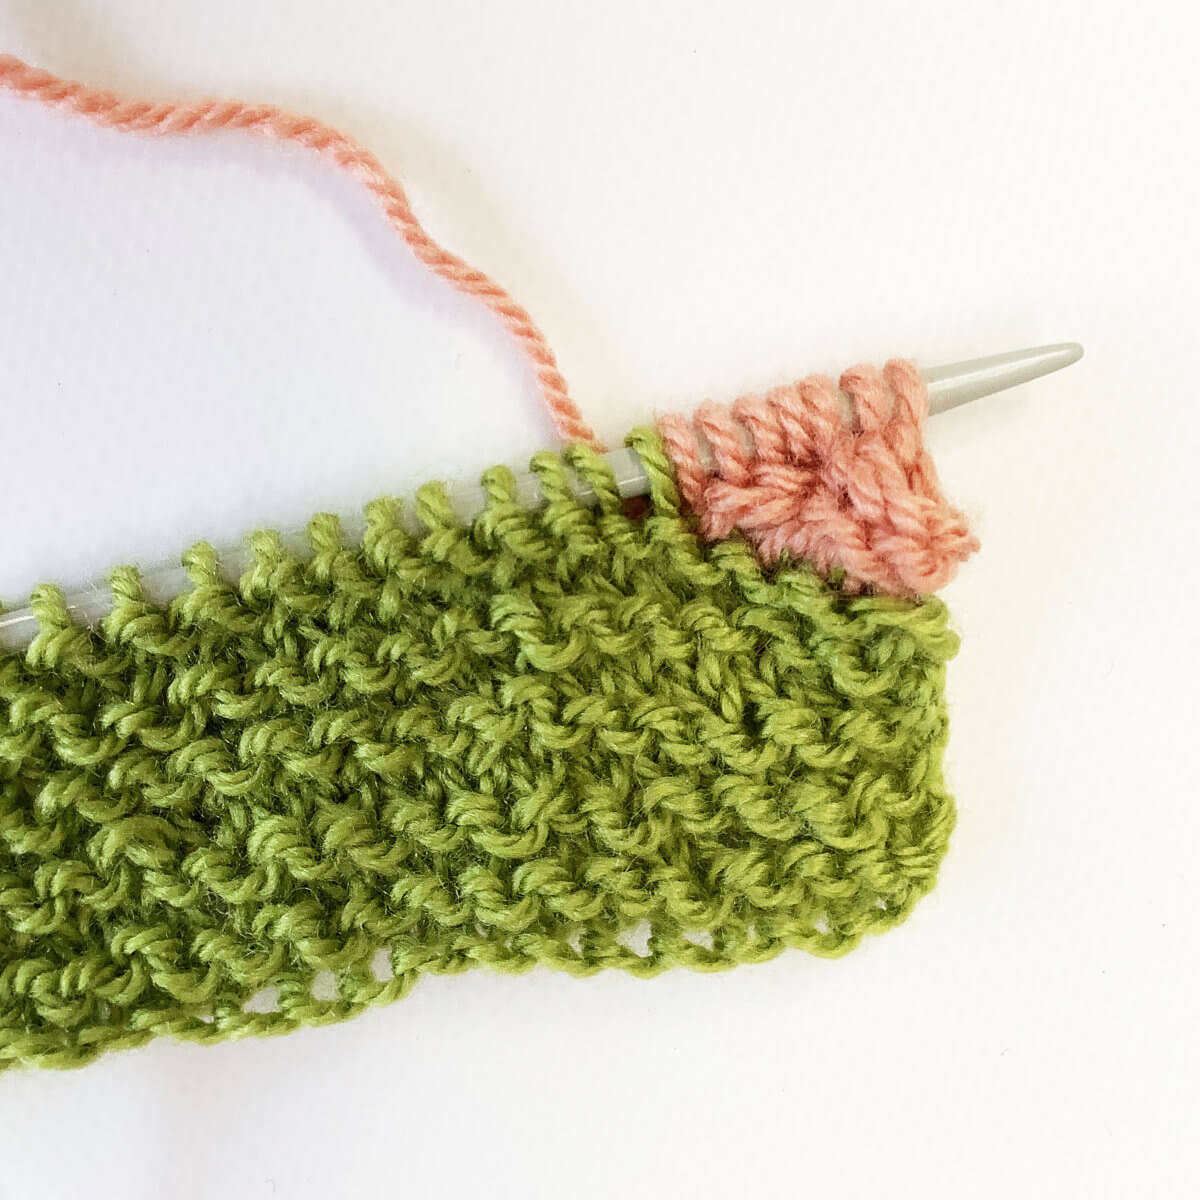
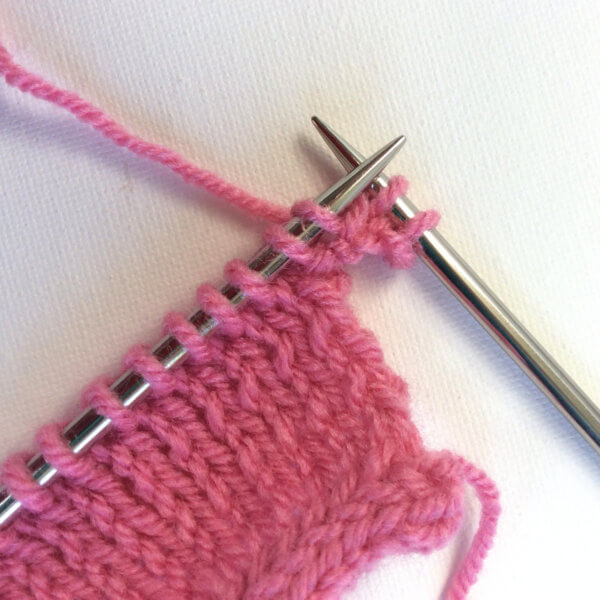
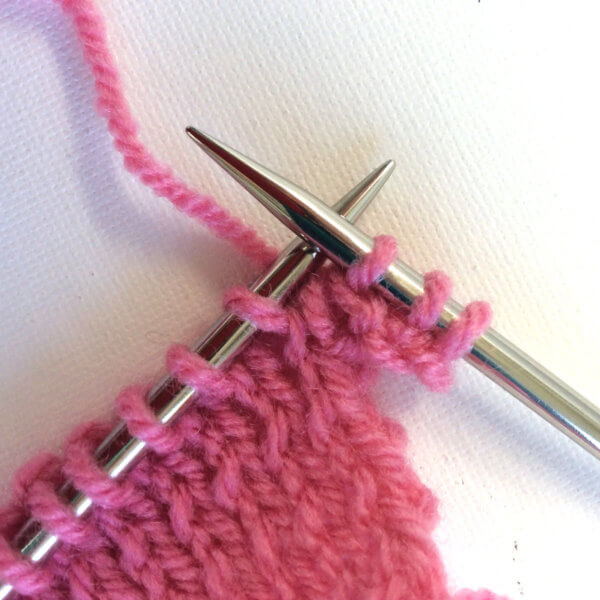
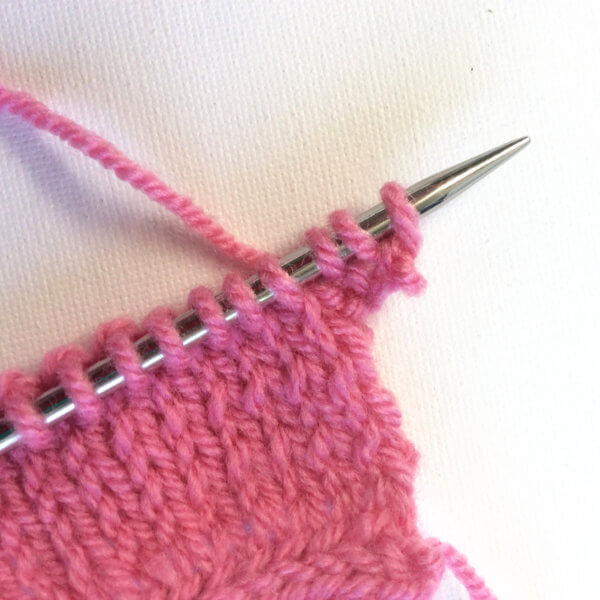
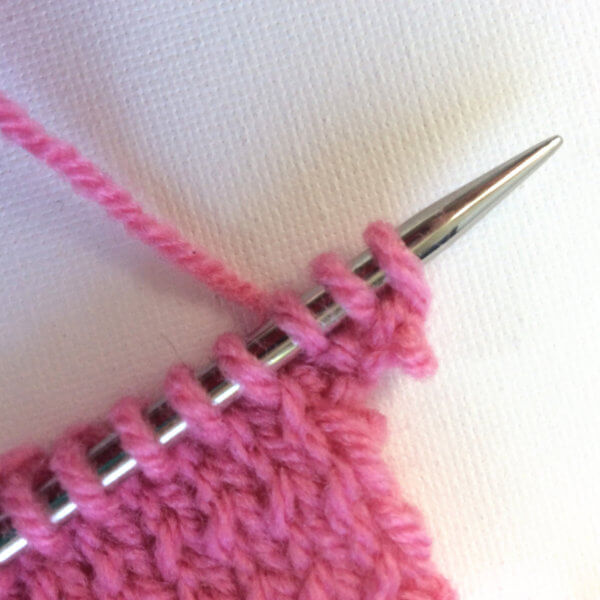
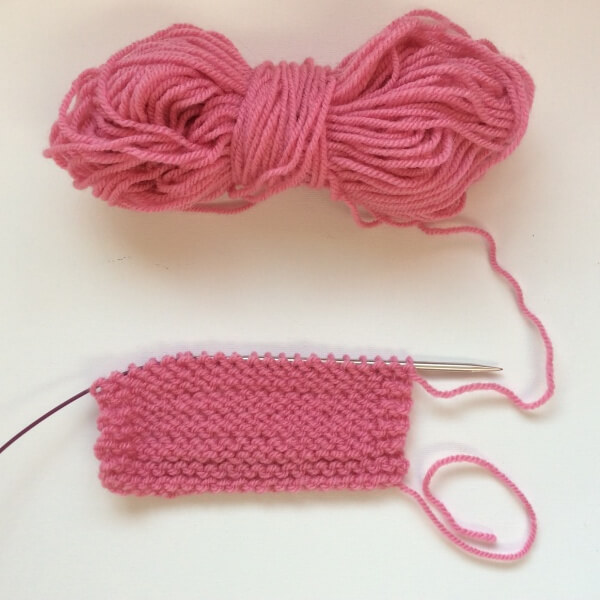
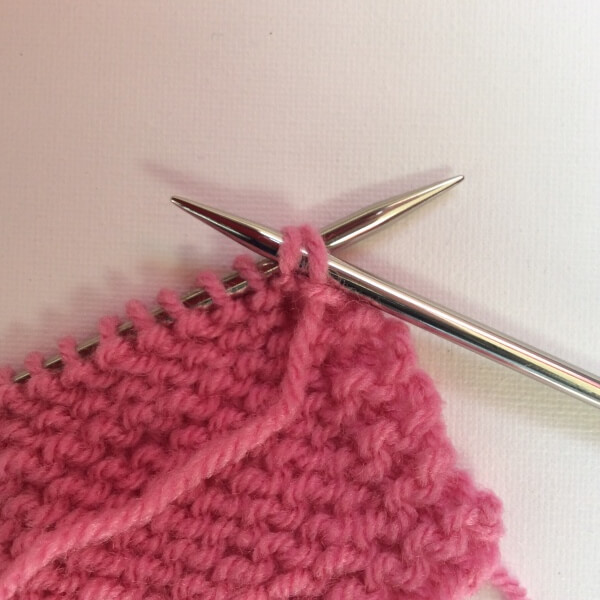
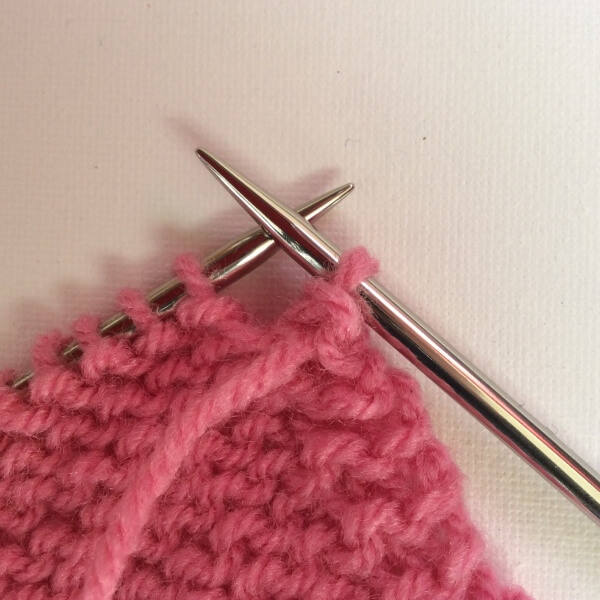
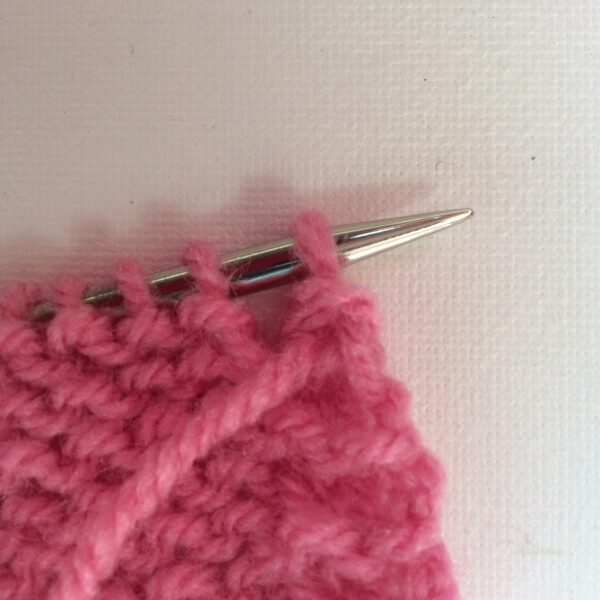
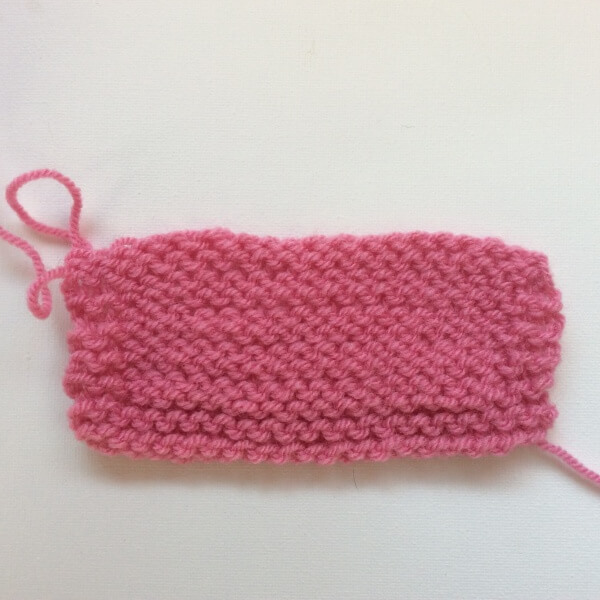
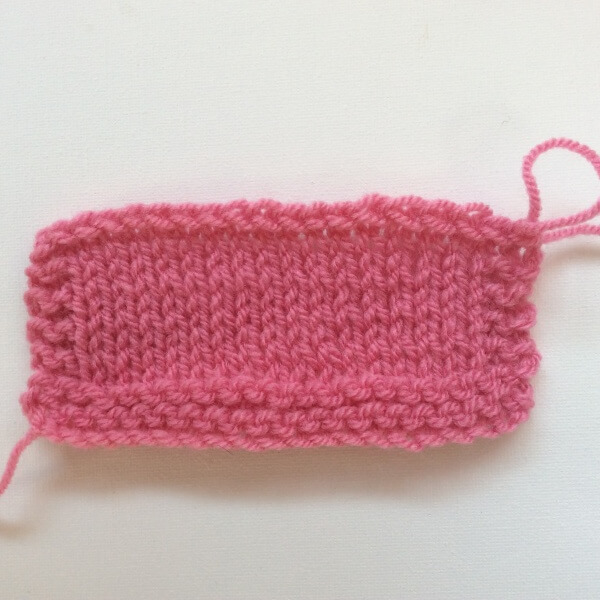
The tubular bind-off creates a rounded edge of your knitting project, as well as being very stretchy. This makes it a very good bind-off for edges that are prone to wear and tear. And, of course, where the stretch is useful. Think, for example, of bottom-up socks. In this example, I’m binding off a sleeve of a top-down sweater. That said, this bind-off is very time-consuming to work, very much worth it in my opinion, though!

Of course, there are many ways to work a tubular bind-off. This particular version is for working in k1, p1 rib patterning. It can be used both in the round and for knits worked flat, and is a perfect match for the tubular cast on I did a tutorial about recently.

Materials used

Yarn: Paintbox Yarns Simply DK, a good value, good quality 100% acrylic yarn, here in the color 142 Tea Rose.

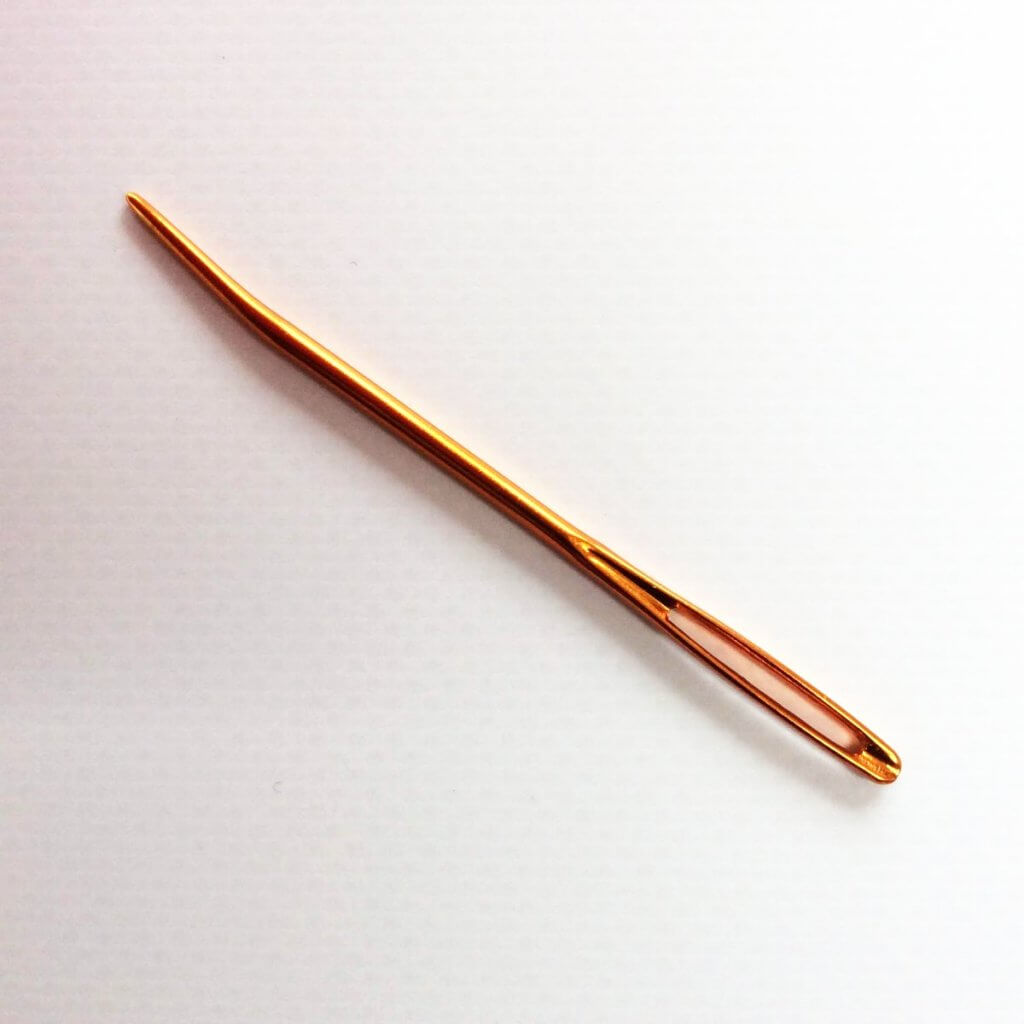
Darning needle: Hiya Hiya Darn It Yarn Needle, or any other tapestry needle, threaded with yarn.

Working a tubular bind-off for 1×1 rib step by step

Before we can start, we have to measure out a length of the working yarn, before breaking it. For this, a length of approx. 3 to 4 times the length of the edge that you want to bind-off is advised. However, if you want to bind-off a long edge like the body of a sweater, this means that the length of yarn can get very unyielding and prone to tangling. So when using a feltable yarn, I highly recommend only measuring out about twice the length needed. When the yarn tail runs out, a new length can be added by first using the braided join, followed by felting the join between your hands. This would have saved me quite aggravation on a recent sweater project!

When you have measured out the length of yarn, break it, and thread it onto the darning needle.

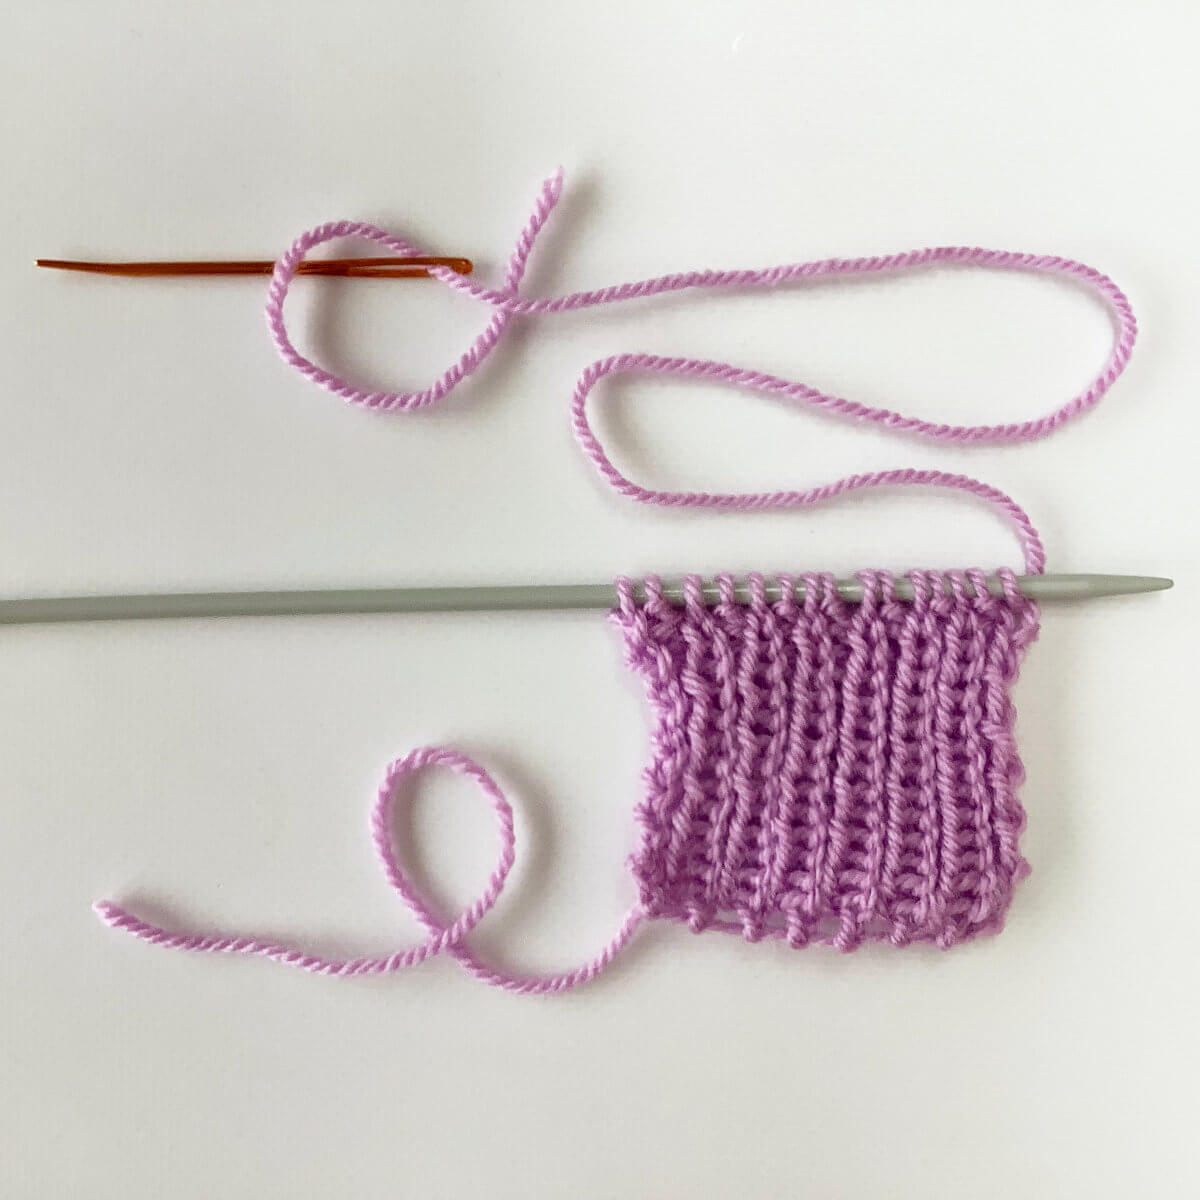
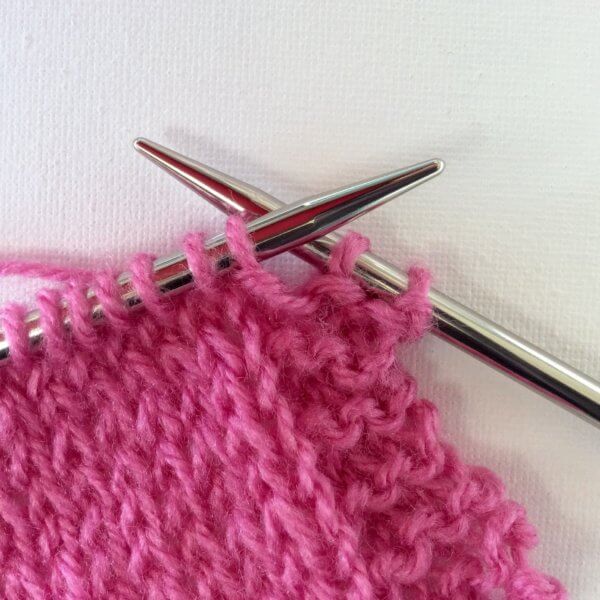
  1. First, make sure you have your work in front of you on the left-hand needle, ready to work.

    We’ll be working on binding the stitches off from right to left.Tubular BO for 1x1 rib - step 1

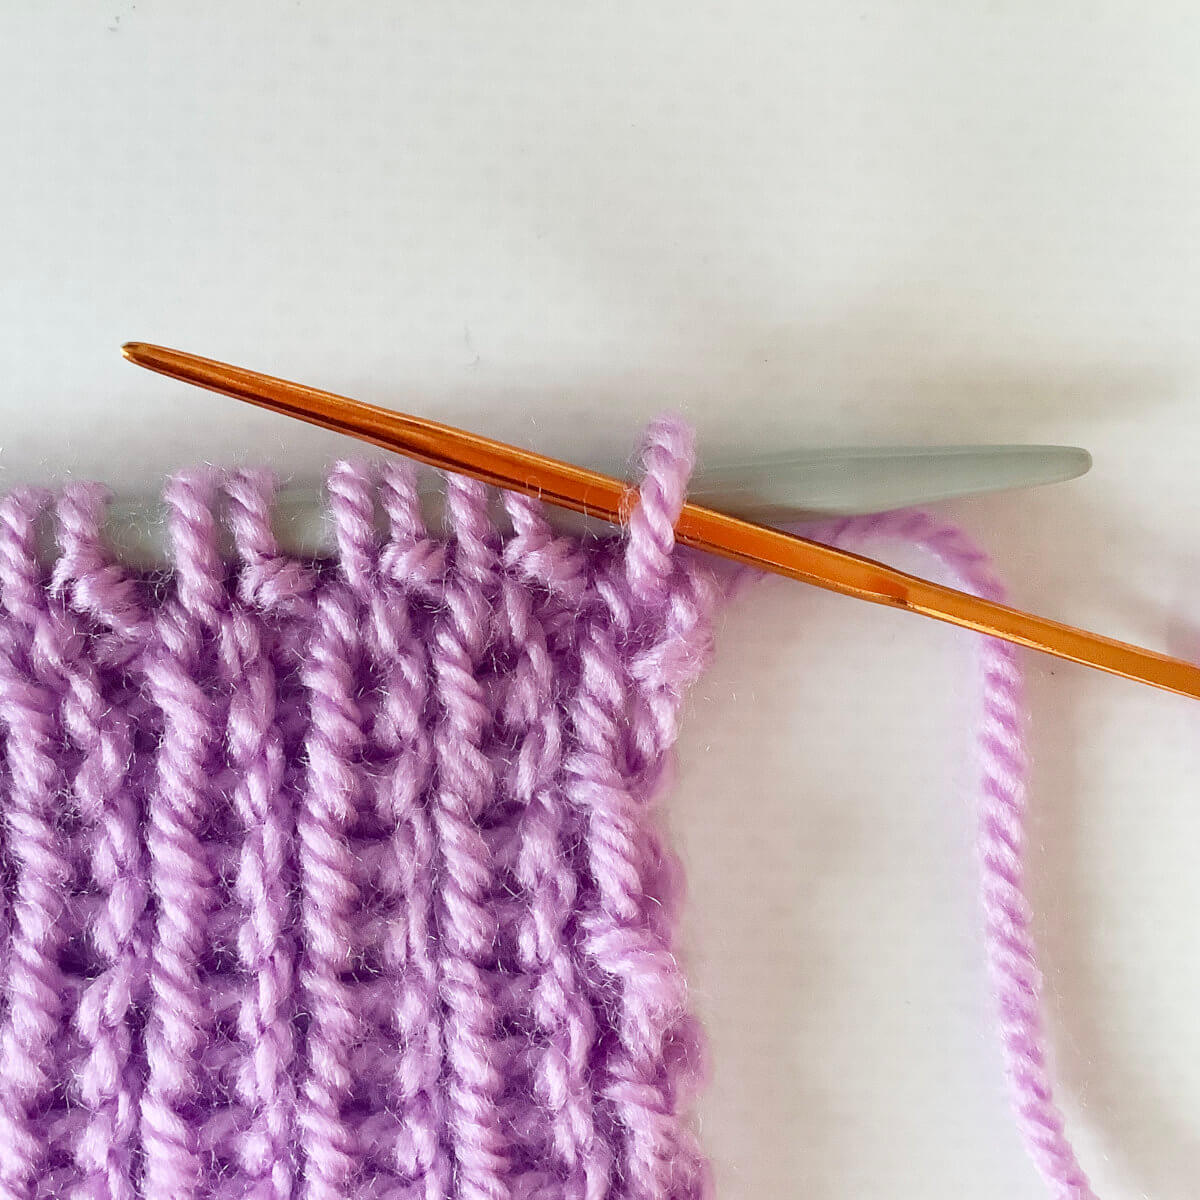
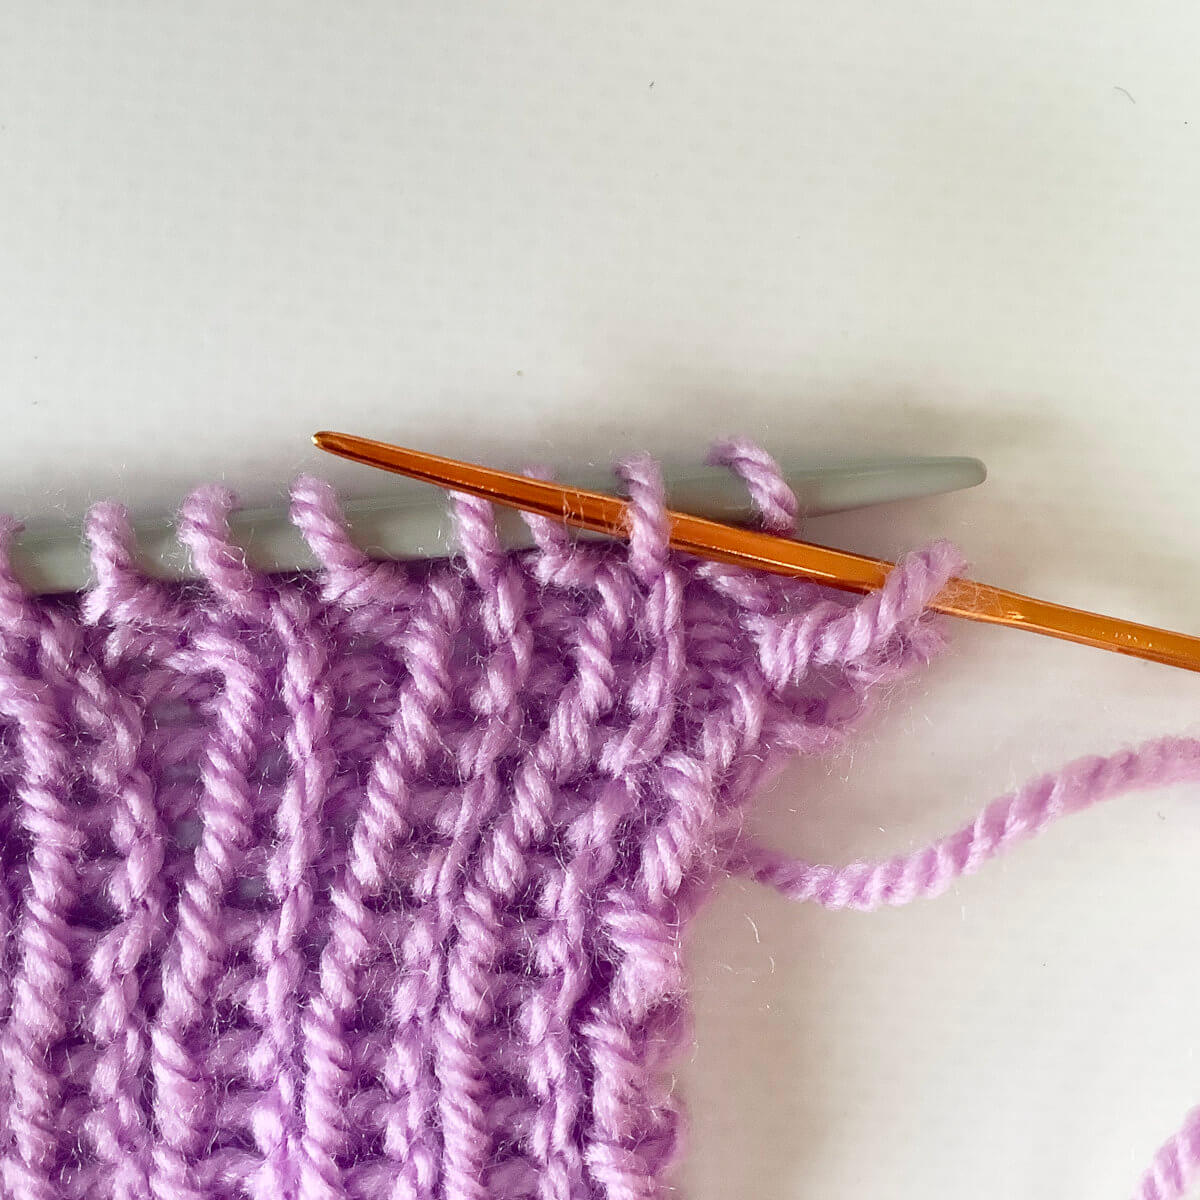
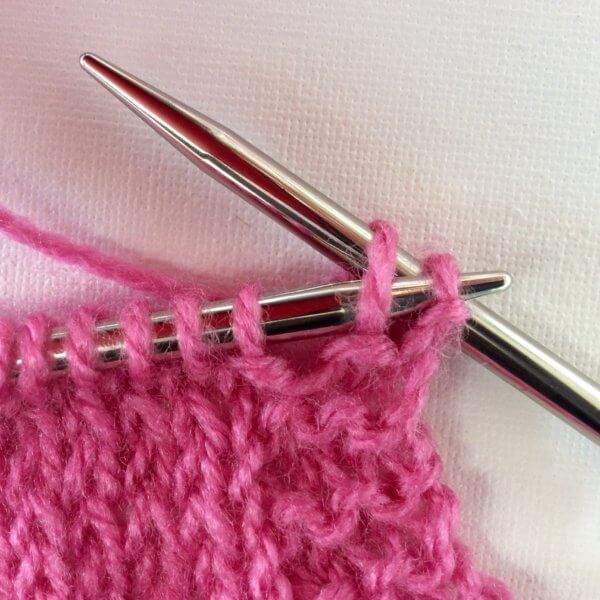
  2. To start, insert the darning needle purl-wise into the first stitch on the needle, and pull the yarn through.

    This first stitch is a knit stitch.Step 2

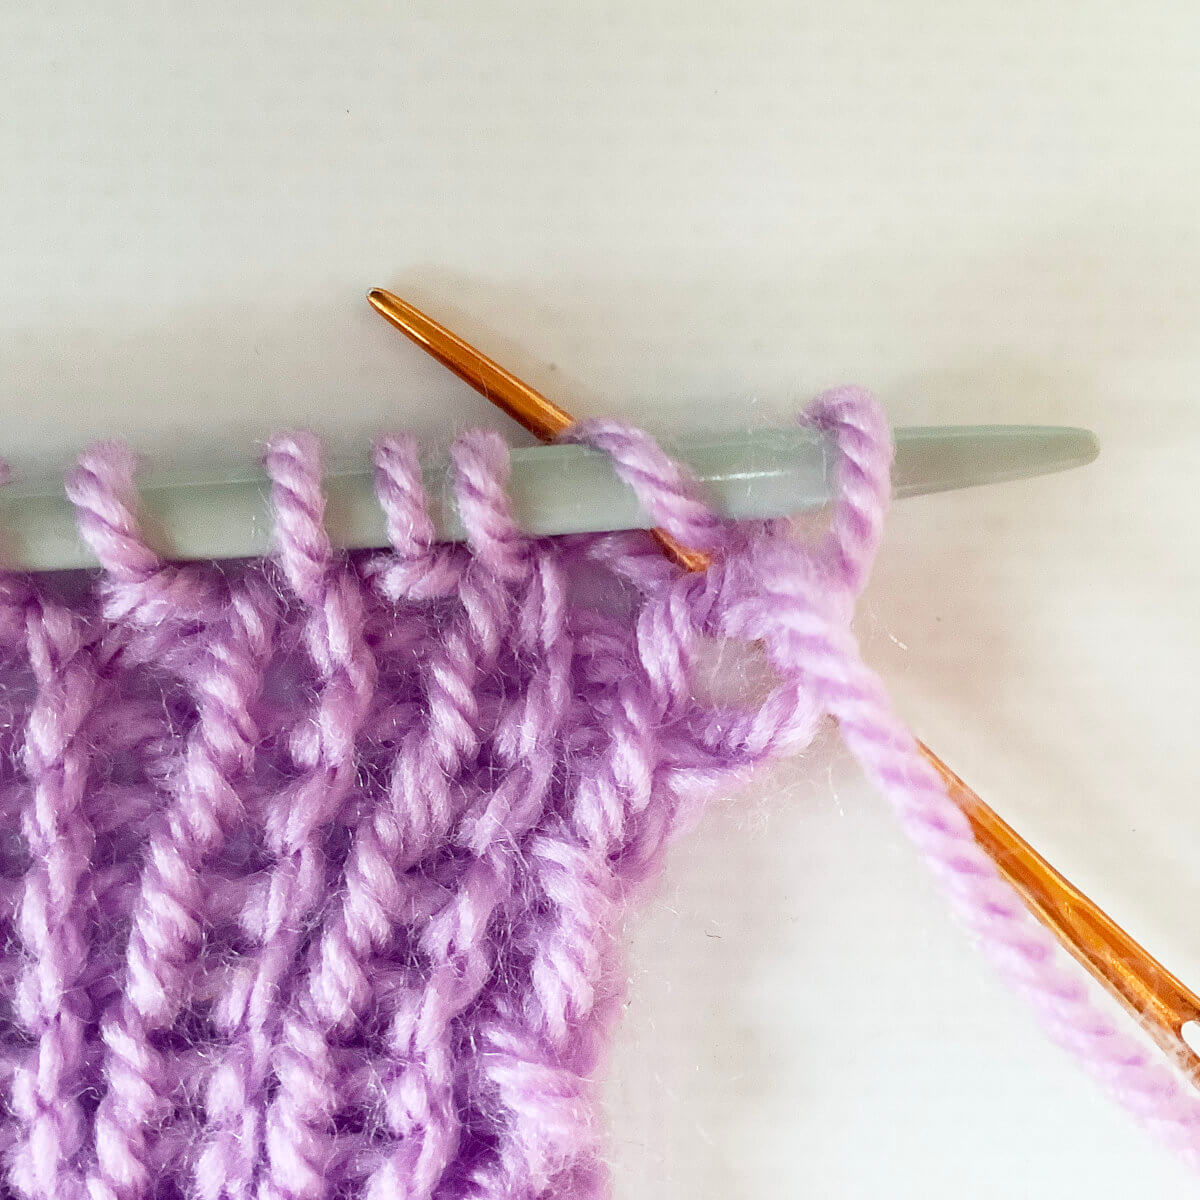
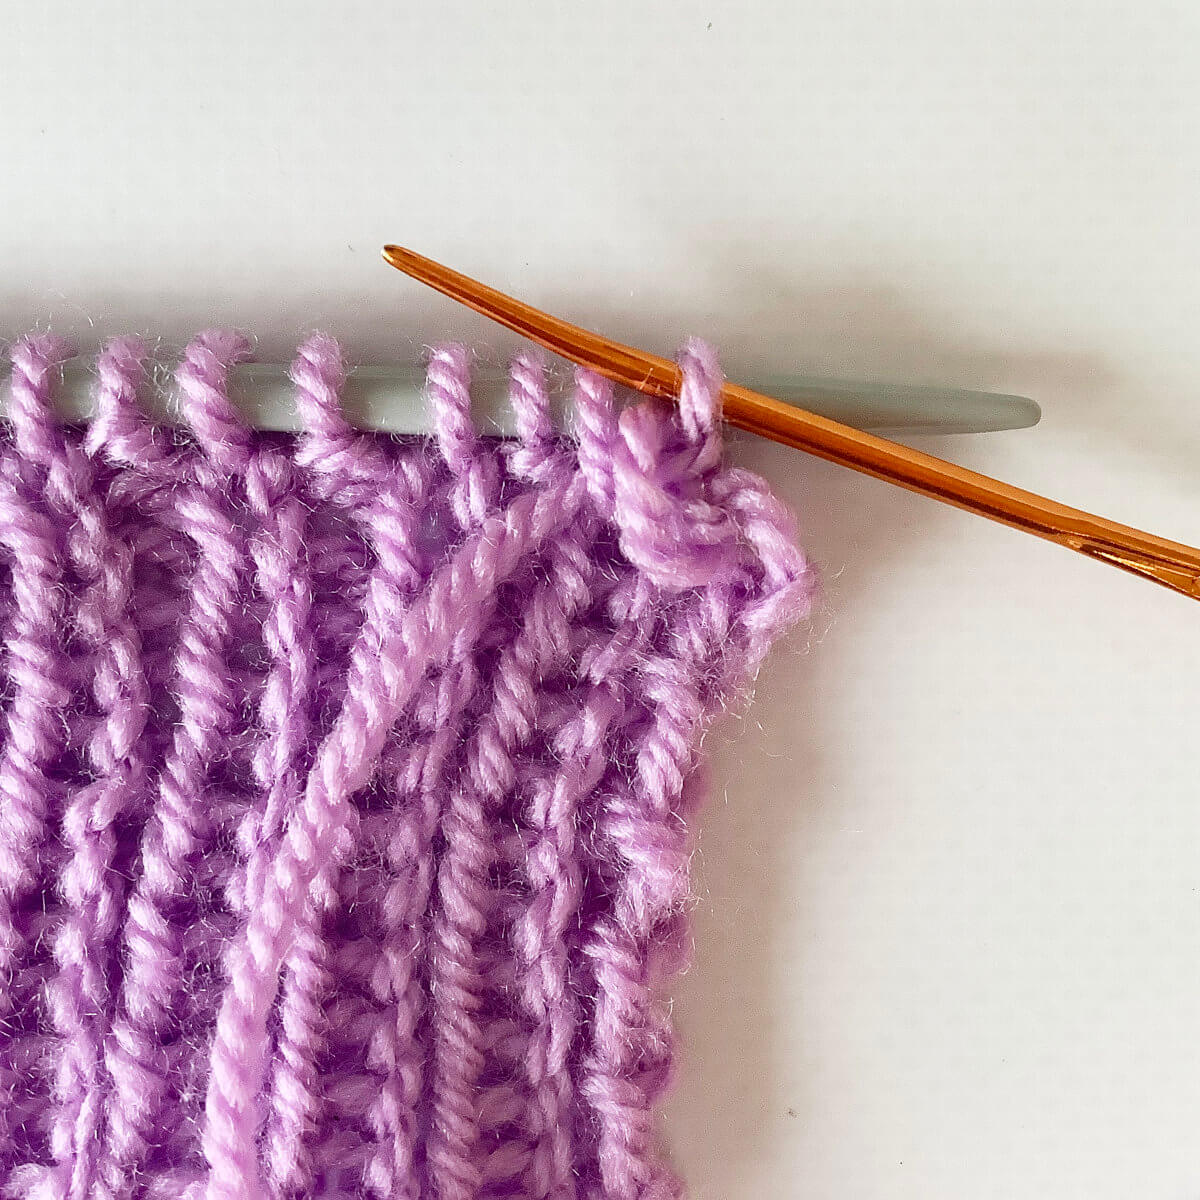
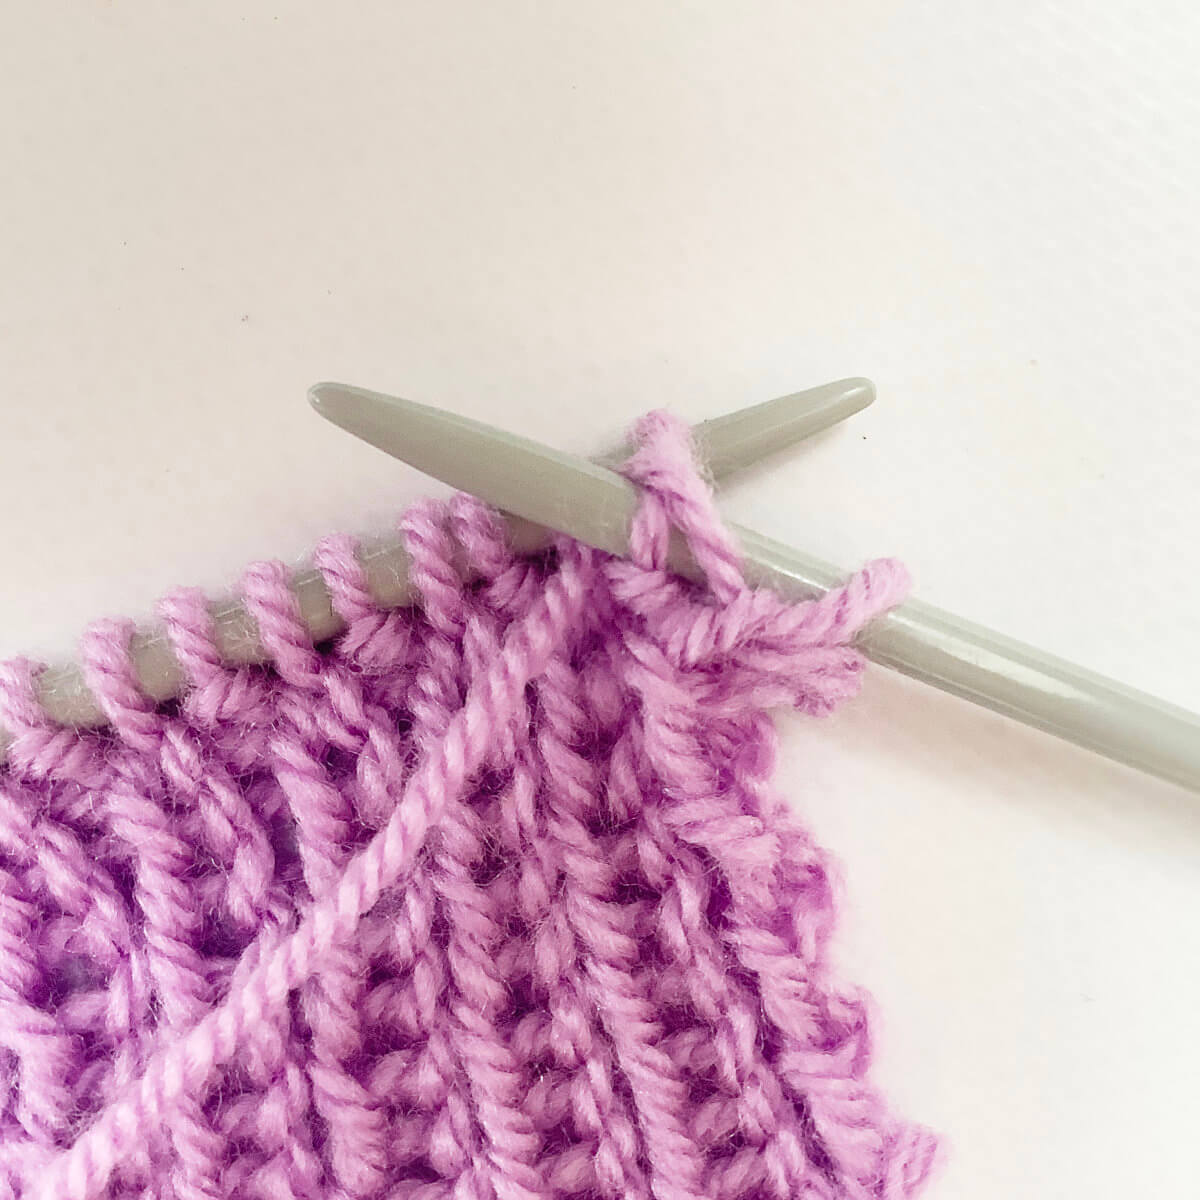
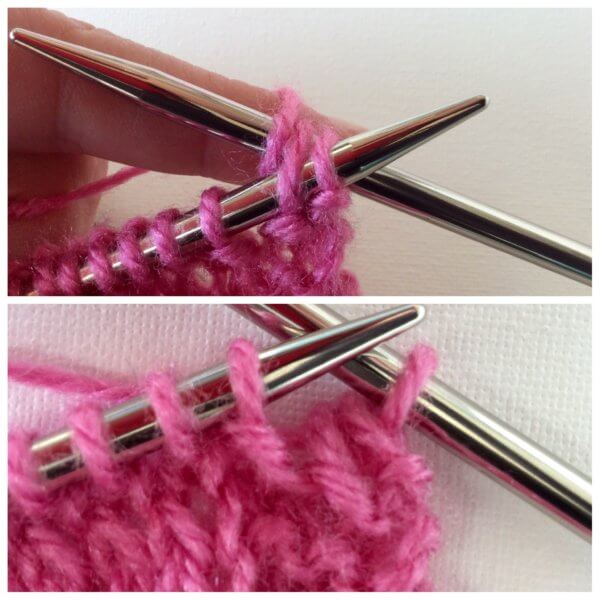
  3. Next, hold the darning needle behind the work, insert it between the first 2 stitches on the needle from back to front, then twist it around to insert it knit-wise into the second stitch (purl stitch) on the needle.

    Pull the yarn through.Step 3

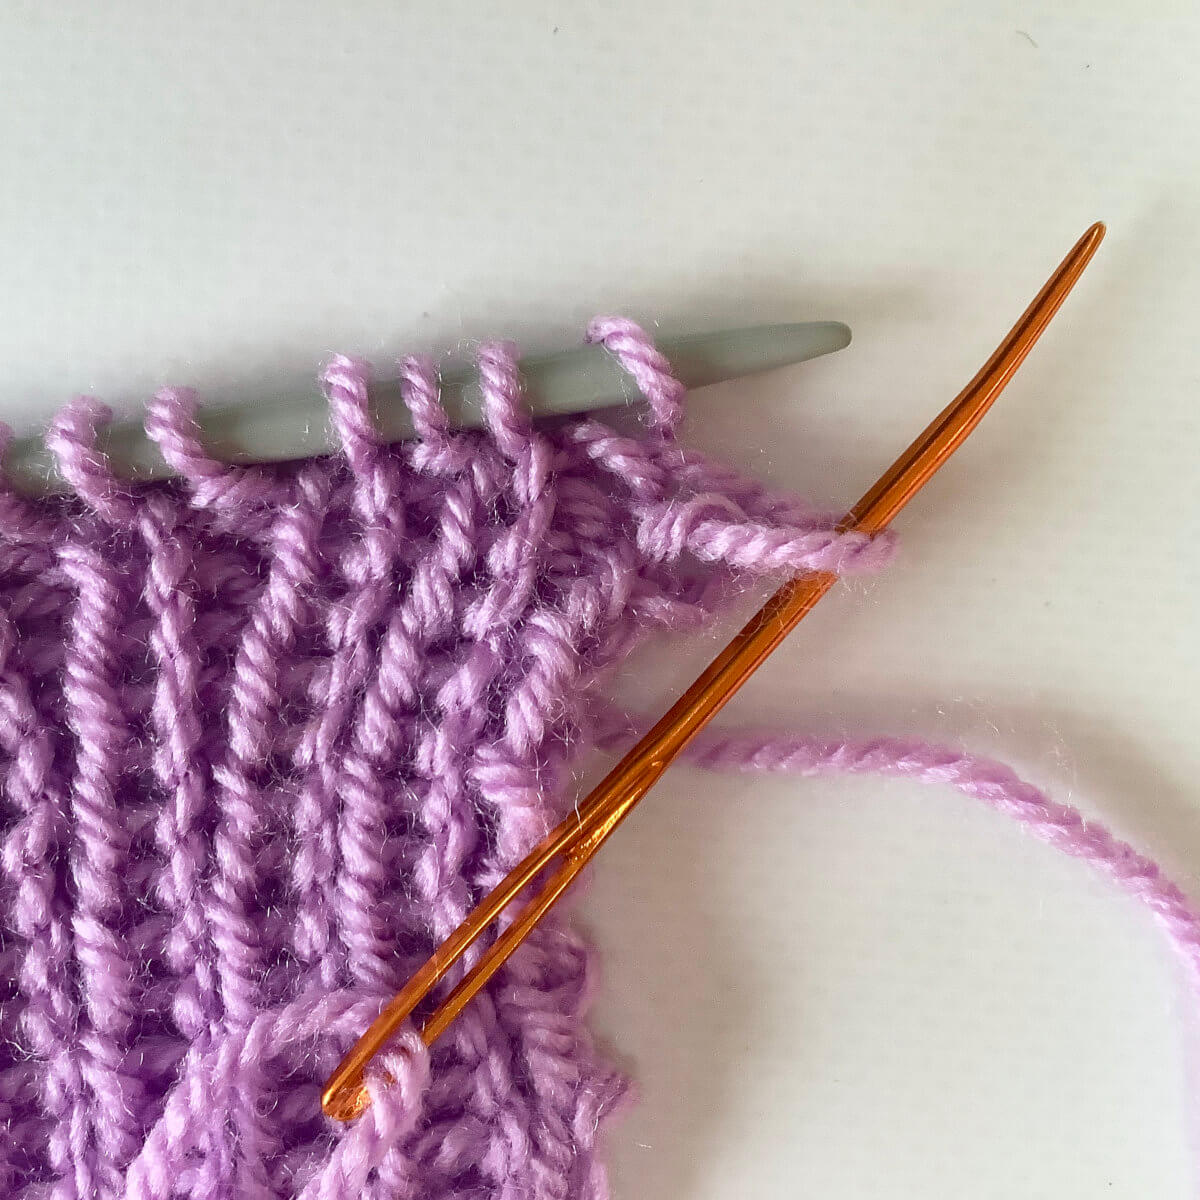
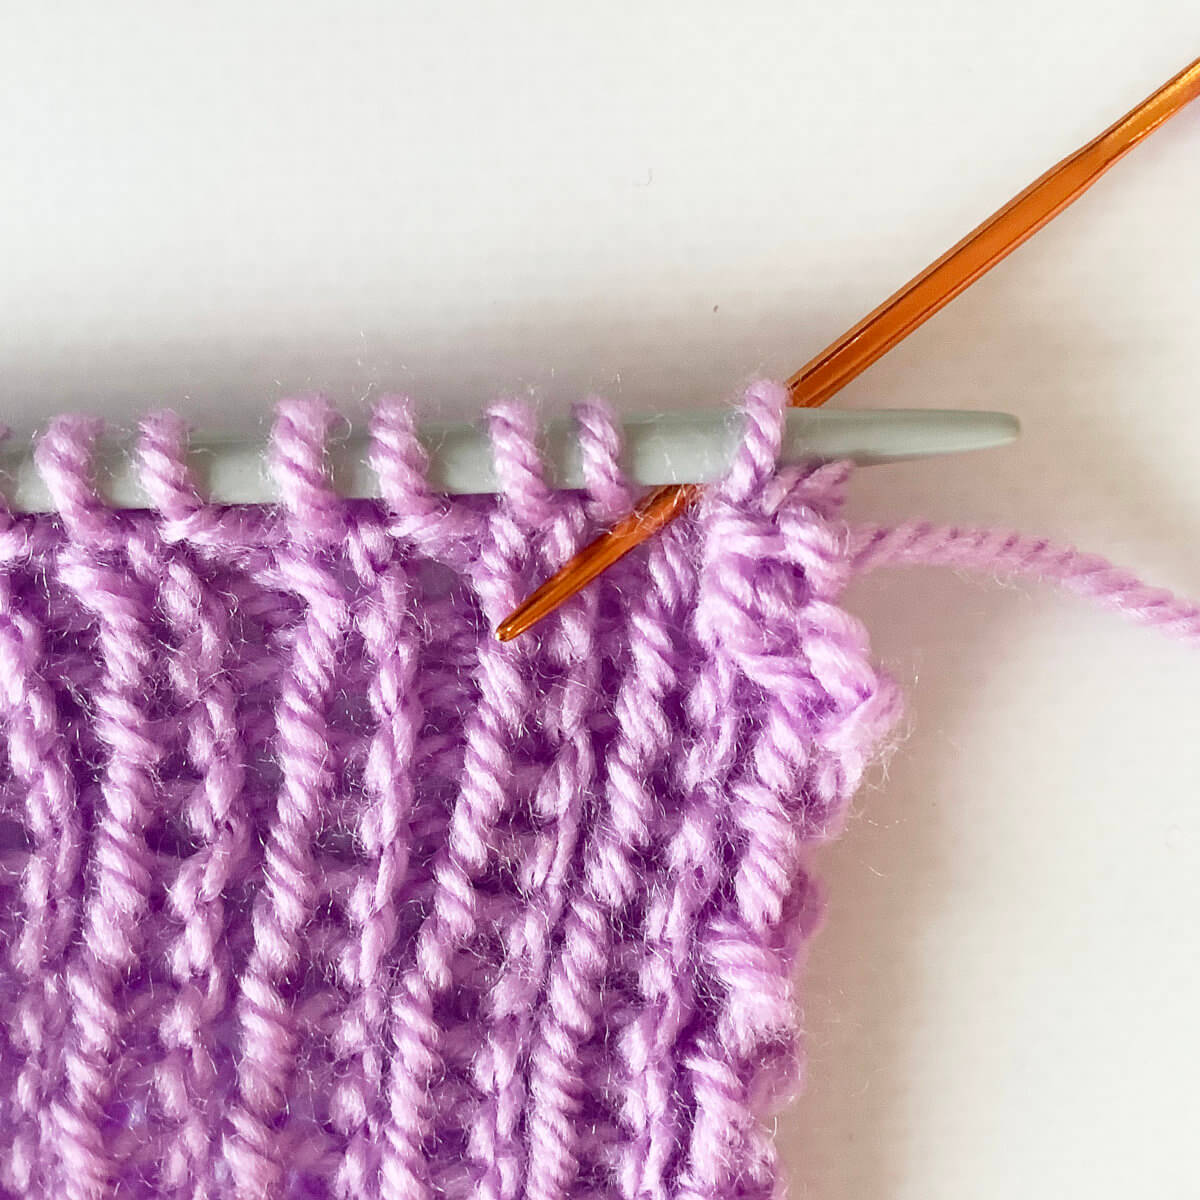
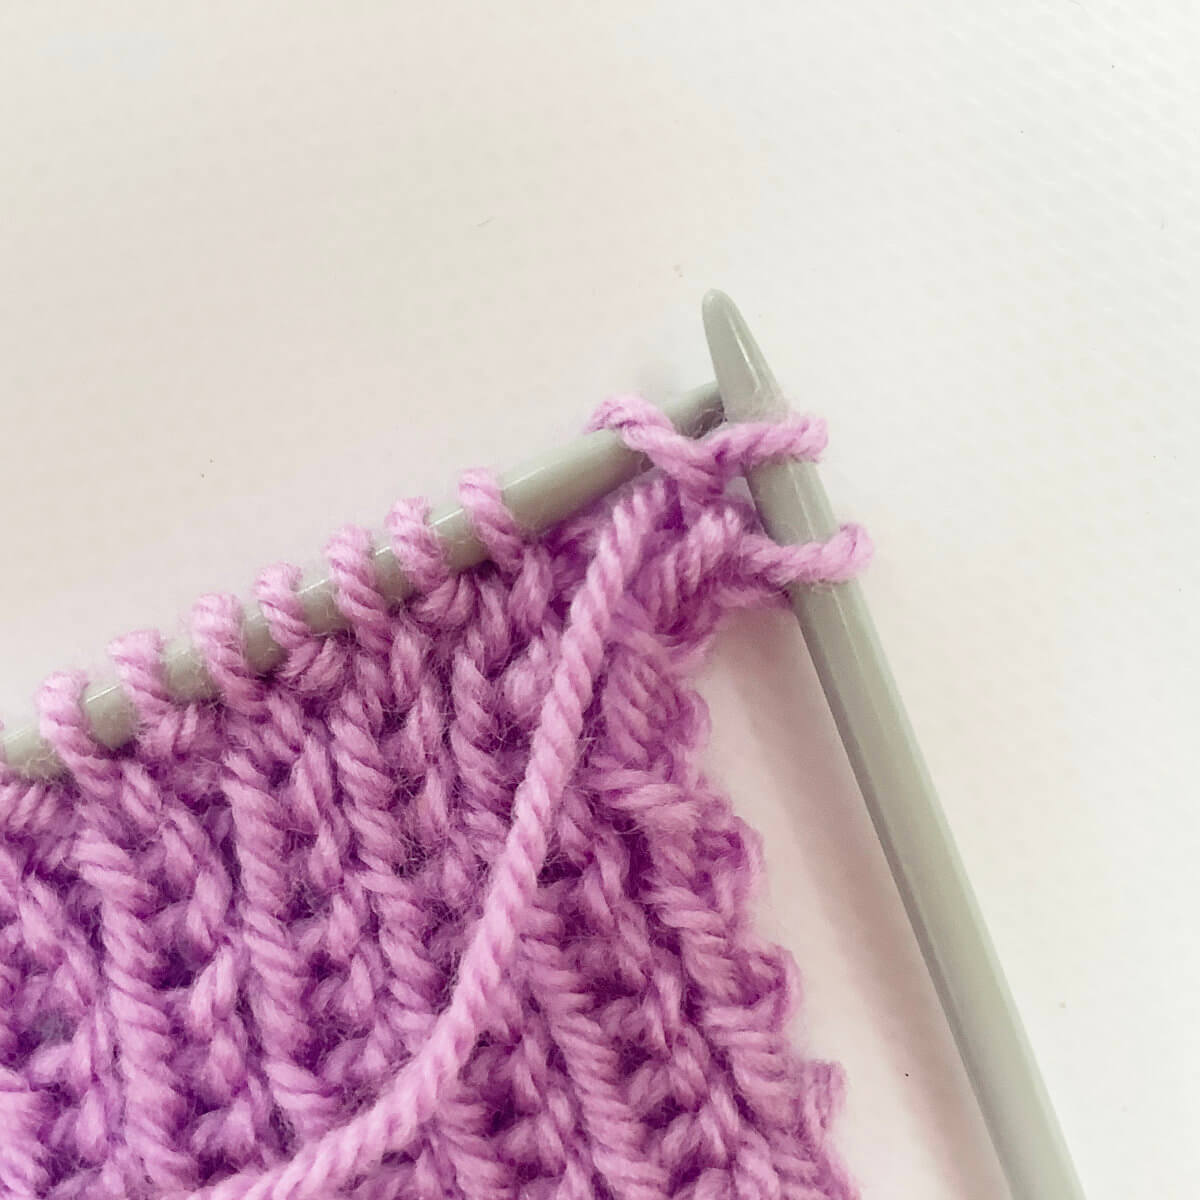
  4. Now move the darning needle back to the front of the work, insert it knit-wise in the first stitch on the needle (a knit stitch) and slip this stitch off the knitting needle.

    Don’t pull the yarn through yet!Step 4 of working a tubular BO for 1x1 rib

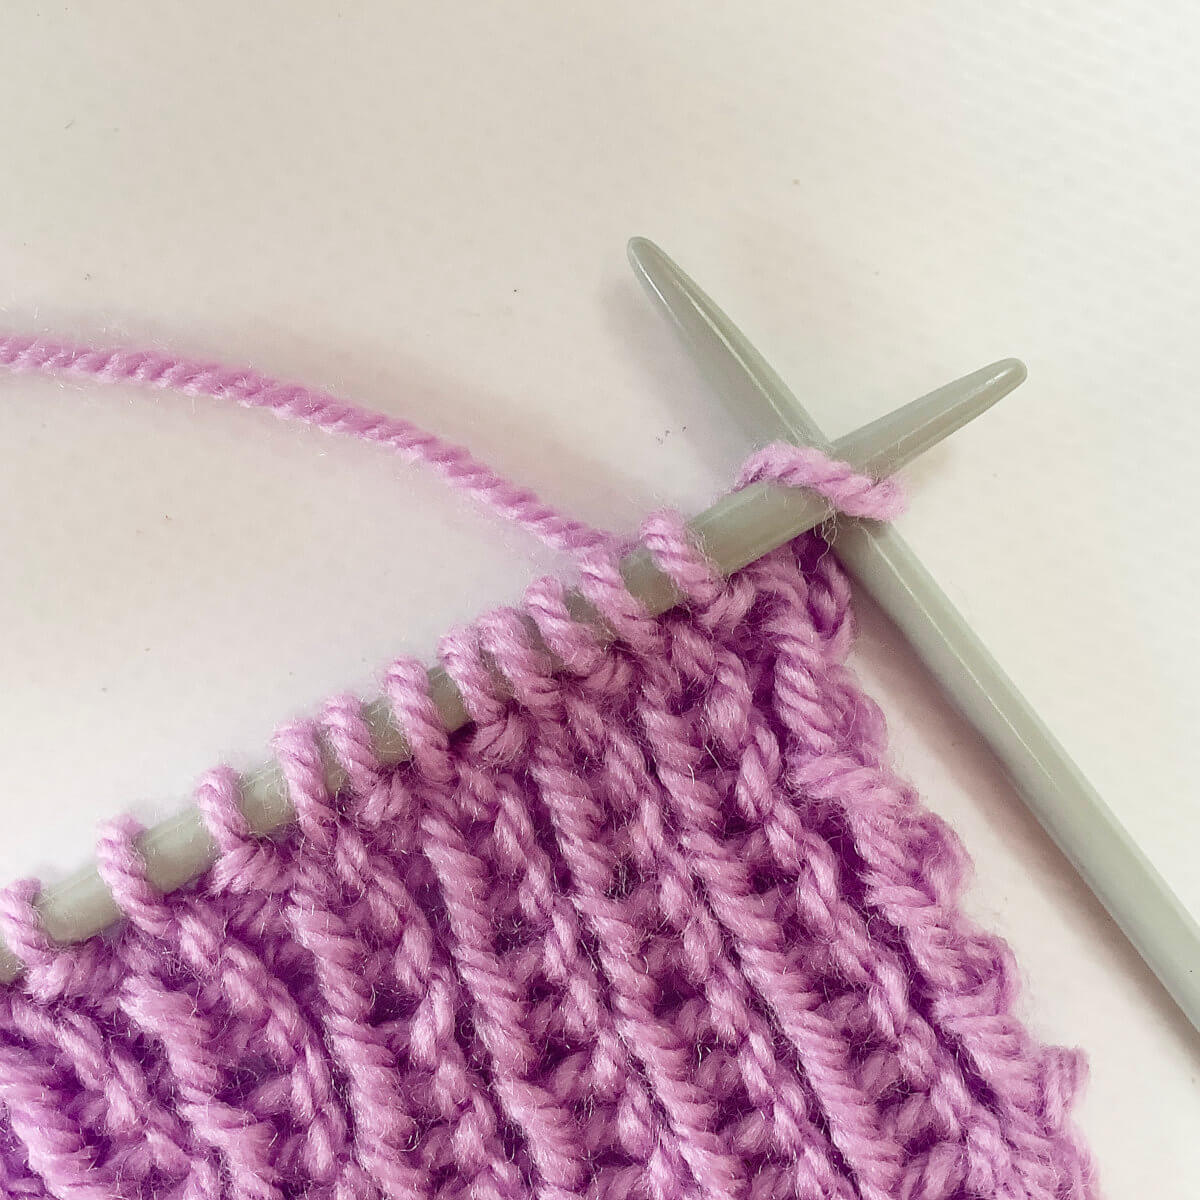
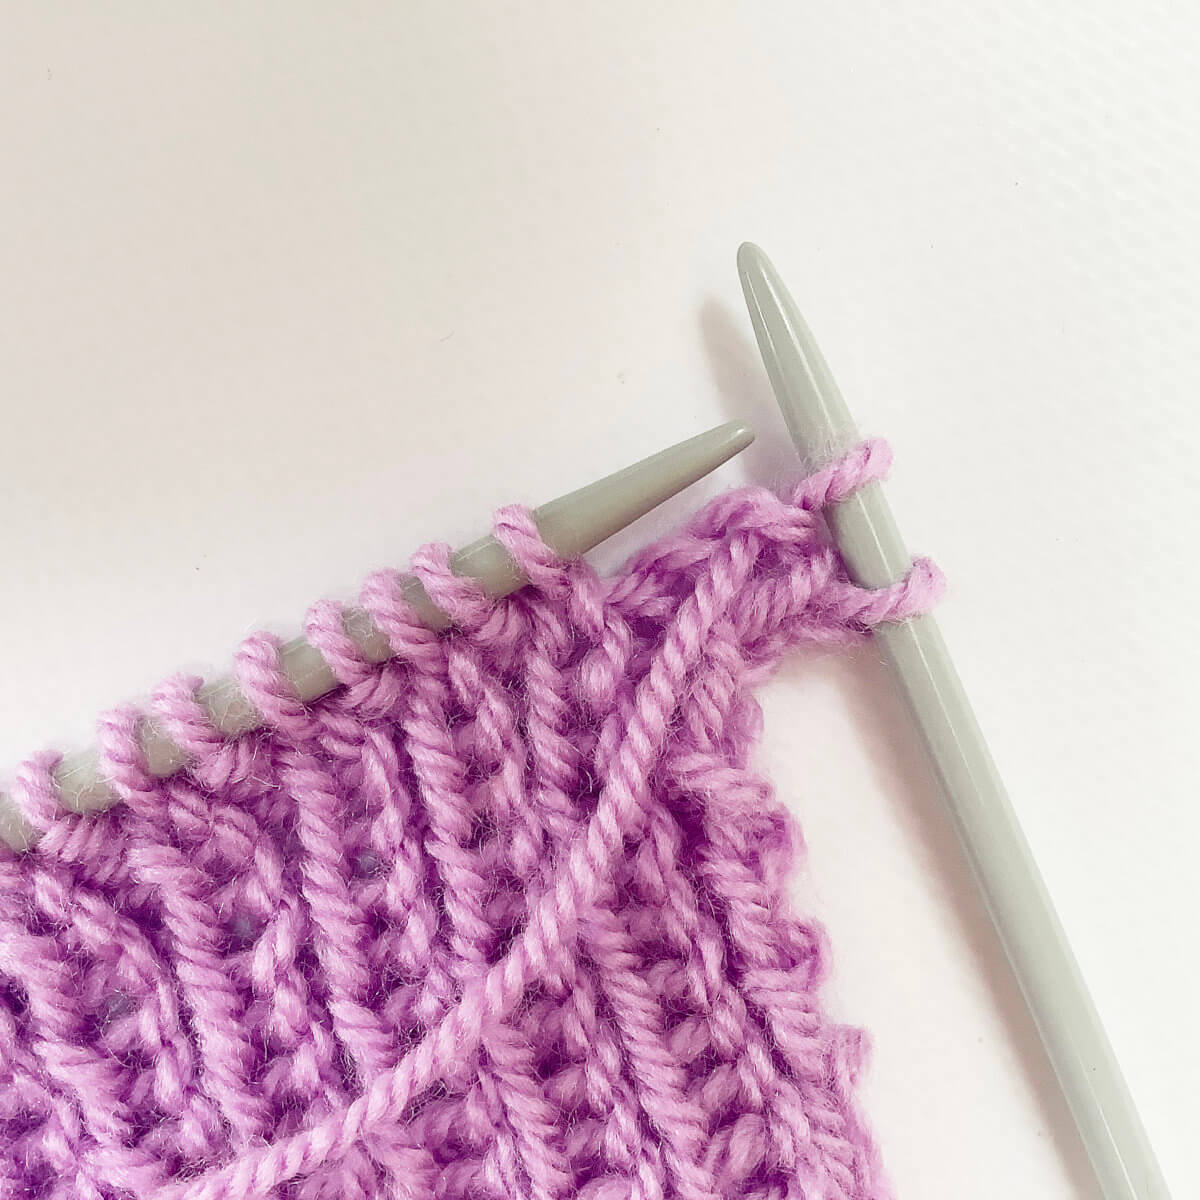
  5. Still with the darning needle at the front of the work, insert it purl-wise into the second stitch on the needle (a knit stitch), skipping the first (purl) stitch.

    Now pull the yarn through.Step 5

  6. Next, insert the darning needle purl-wise into the first stitch (the purl stitch that was skipped in the previous step), and slip it off the knitting needle.

    Pull the yarn through.Step 6

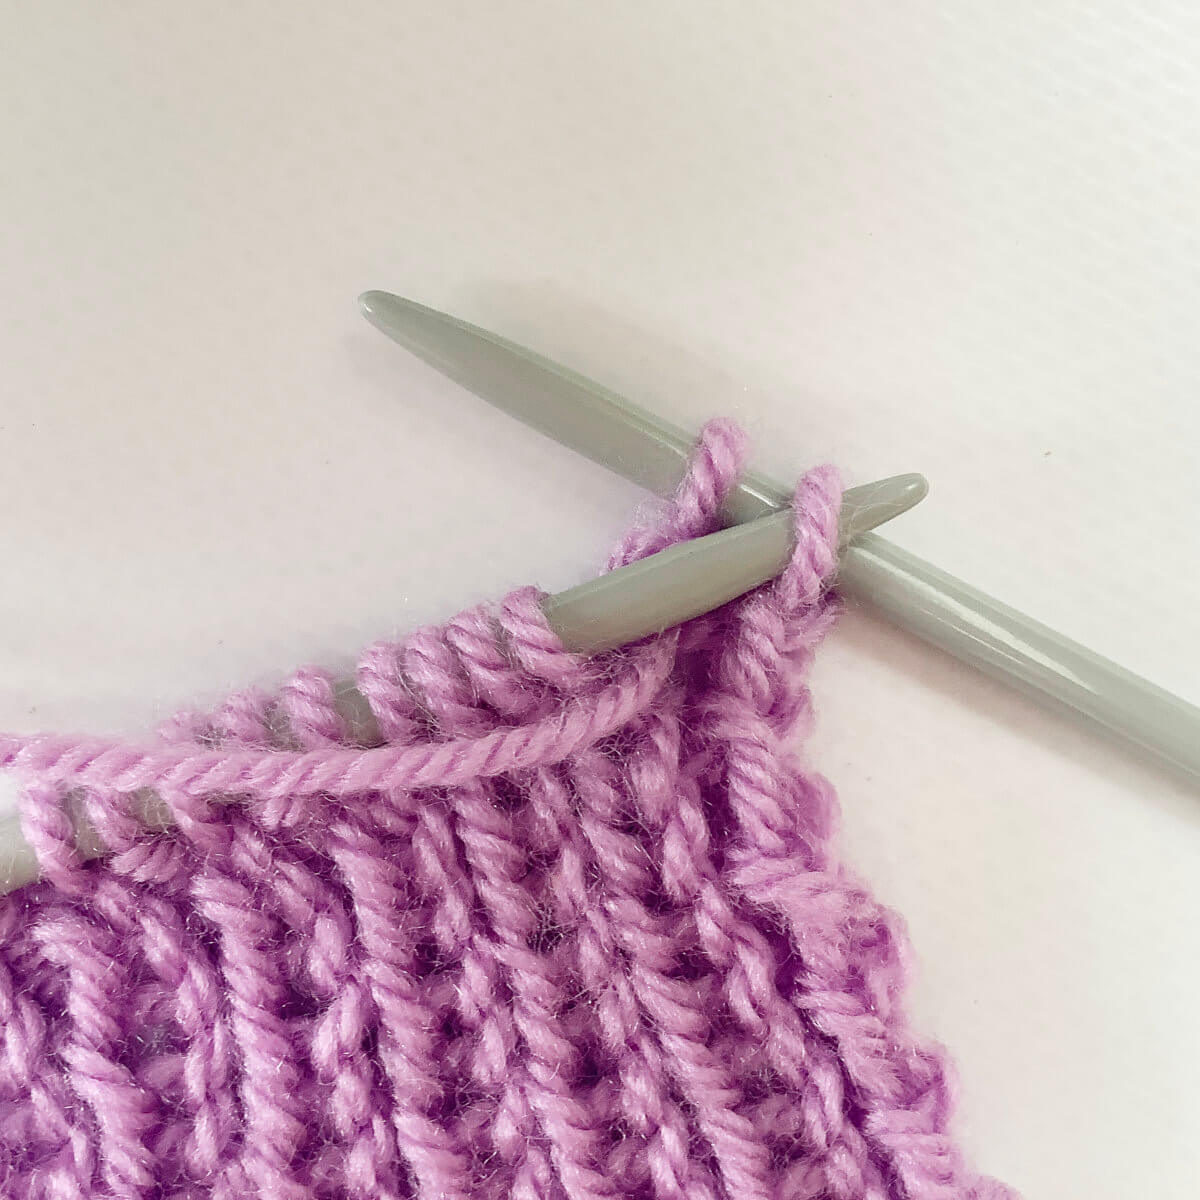
  7. Next, hold the darning needle behind the work, insert it between the first 2 stitches on the needle from back to front, then twist it around to insert it knit-wise into the second stitch (purl stitch) on the needle. This is similar to step 3.

    Pull the yarn through. Step 7

  8. Repeat steps 4 to 7 until 3 stitches remain on the knitting needle.

    In this tutorial I used a swatch with an odd number of stitches. If you have a piece with an even number of stitches, repeat steps 4 to 7 until 2 stitches remain.Step 8

  9. To finish the bind-off work steps 4 to 6 once again (in case of an even number of stitches work only step 4 once more), so only 1 stitch remains, then insert the darning needle purl-wise into the last stitch and pull the yarn through.

    Step 9 of working a tubular bind off for 1x1 rib

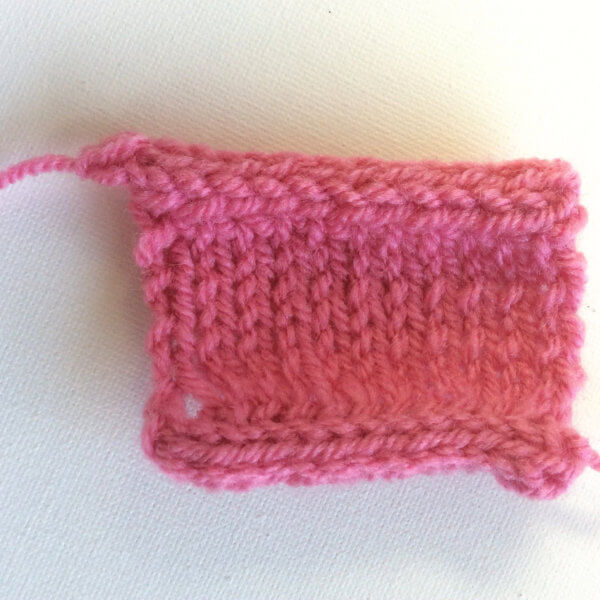
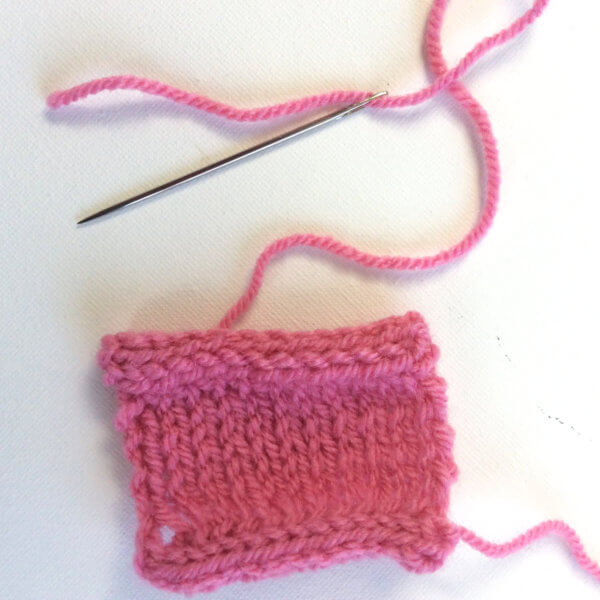
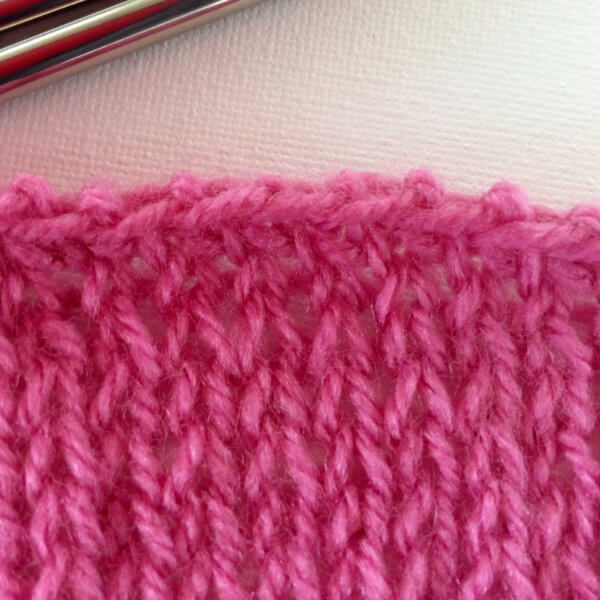
  10. This is the bind-off result, isn’t it neat?!

    The result of working a tubular bind off for 1x1 rib

When viewed from the side, this is how the bind off edge looks:

The result - side view
Patreon logo

Thanks to my Patreon supporters for bringing you this freebie! Creating quality patterns and tutorials is a lot of work and resource-intensive. However, I find it important to give you free content like this tutorial. Thanks to the generous support of my Patreon supporters, I can make it happen. Thank you, patrons! Click here to join, or click here to read more about La Visch Designs on Patreon.

tutorial – working a tubular bind off for 1×1 rib Read More »
tutorial – binding off in 1×1 rib

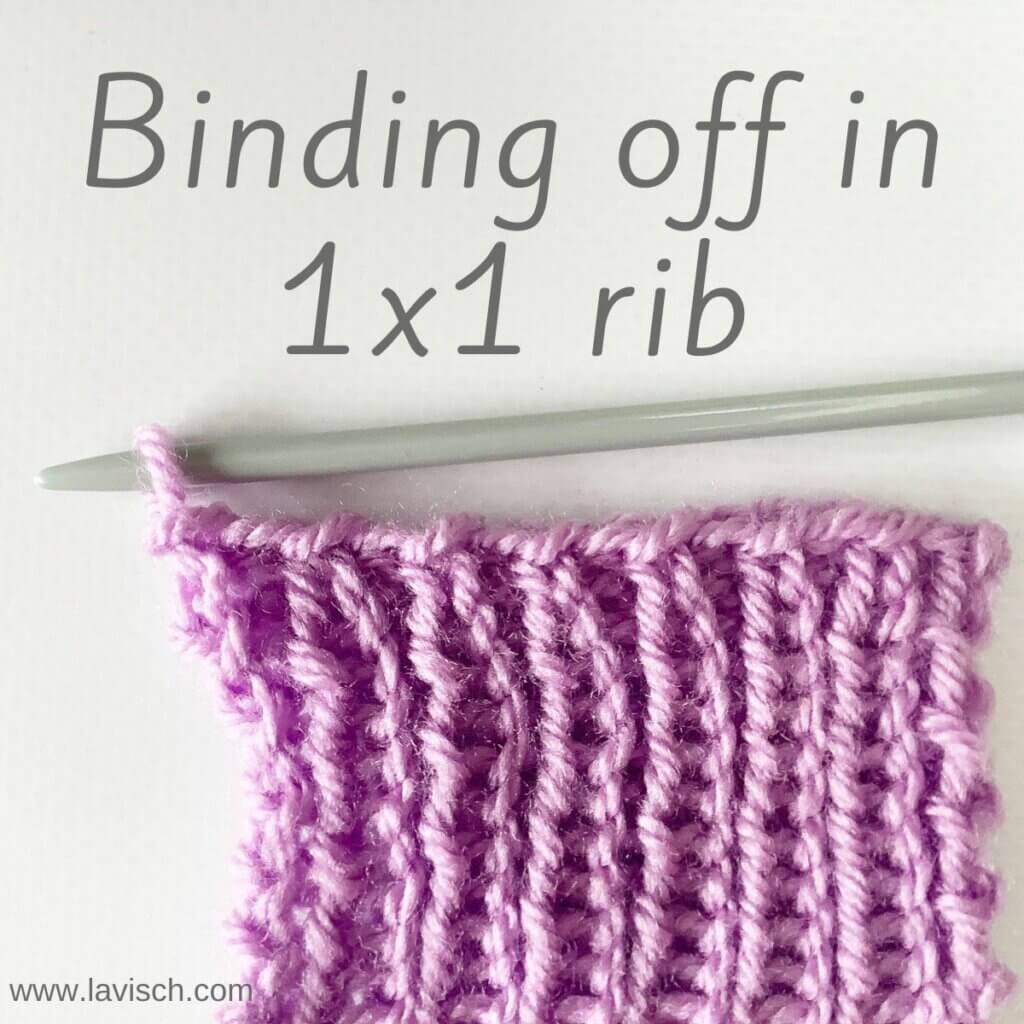
Tutorial on binding off in 1x1 rib

In this tutorial, I’ll show you how to work binding off in 1×1 rib patterning. In knitting patterns you may encounter the phrase “to bind off in pattern”, after working (k1, p1) ribbing. For example, after knitting the cuff of a sleeve or the hem of a sweater. The basic premise of it, is that you continue working the knit stitches as knits, and the purl stitches as purls while binding off. The resulting edge to your work seamlessly blends into the stitch pattern. Also, working the bind off itself in rib patterning ensures that it pulls in somewhat, as ribbing tends to do. This way, it won’t flare out, as it may do when working a non-patterned bind off.

Materials used

Yarn: Paintbox Yarns Simply DK, a good value, good quality 100% acrylic yarn, here in the color 142 Tea Rose.

Knitting needles: This is a pair of straights that I picked up at the second-hand store when I started knitting, brand unknown.

Binding off in 1×1 rib step by step

  1. To start, take the piece of knitting you want to bind-off.

    Step 1 of binding off in 1x1 rib

  2. First, we’re going to knit the first stitch on the left-hand needle. To do so, insert the right-hand needle knit wise into the first stitch.

    Step 2

  3. Wrap the yarn around the needle…

    Step 3

  4. … and pull it through the stitch.

    step 4

  5. To complete knitting the first stitch, slip it off the left-hand needle.

    Step 5 of binding off in 1x1 rib

  6. Next, we’re going to purl the new stitch nearest to the tip of the left-hand needle. To do so, insert the right-hand needle purl wise into the first stitch.

    Step 6

  7. Wrap the yarn around the needle…

    Step 7

  8. … and pull it through the stitch.

    Step 8

  9. To complete purling the stitch, slip it off the left-hand needle.

    Step 9

  10. Now insert the tip of the left-hand needle into the second stitch on the right-hand needle….

    Step 10 in binding off in 1x1 rib

  11. …., and pass this second stitch over the first one.

    You have now bound-off a stitch!Step 11

  12. Repeat steps 2-5 plus 10-11, followed by steps 6-9 plus 10-11 until all stitches have been bound-off.

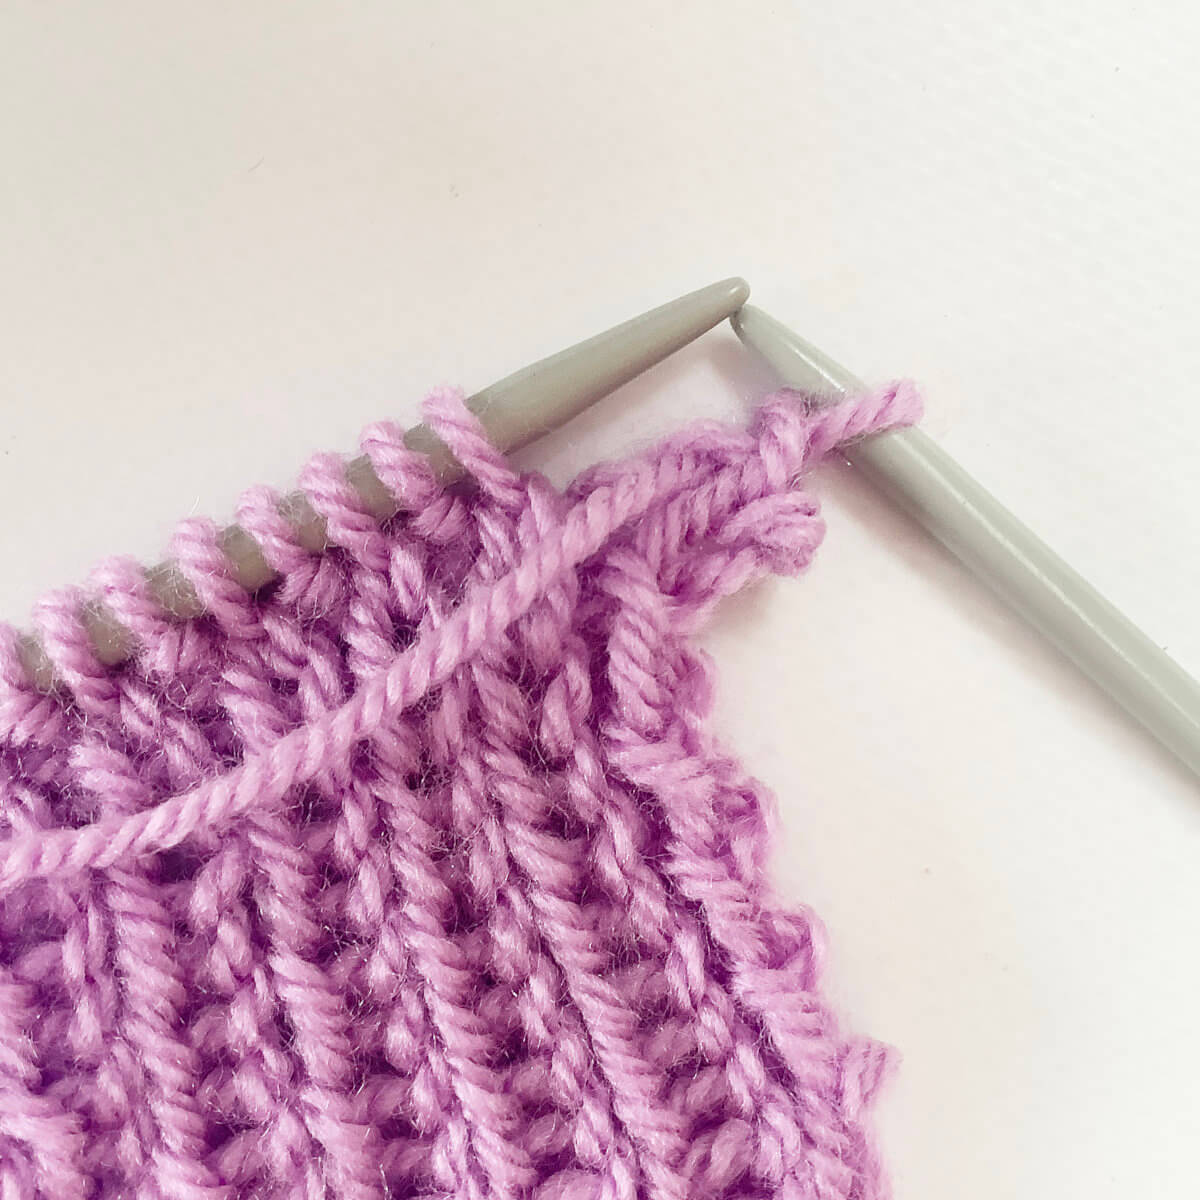
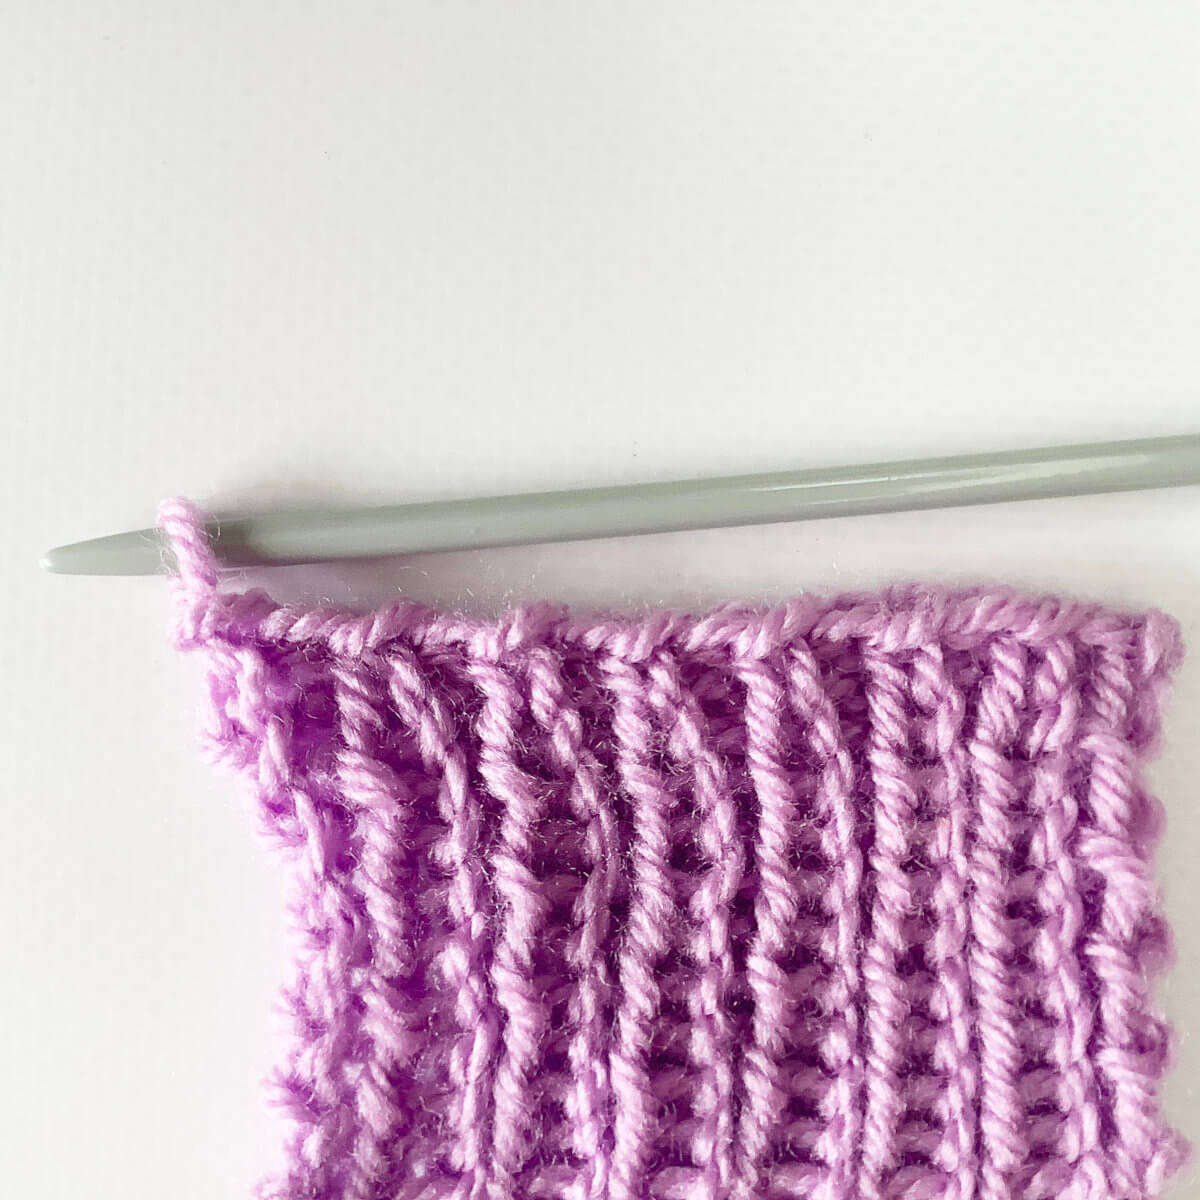
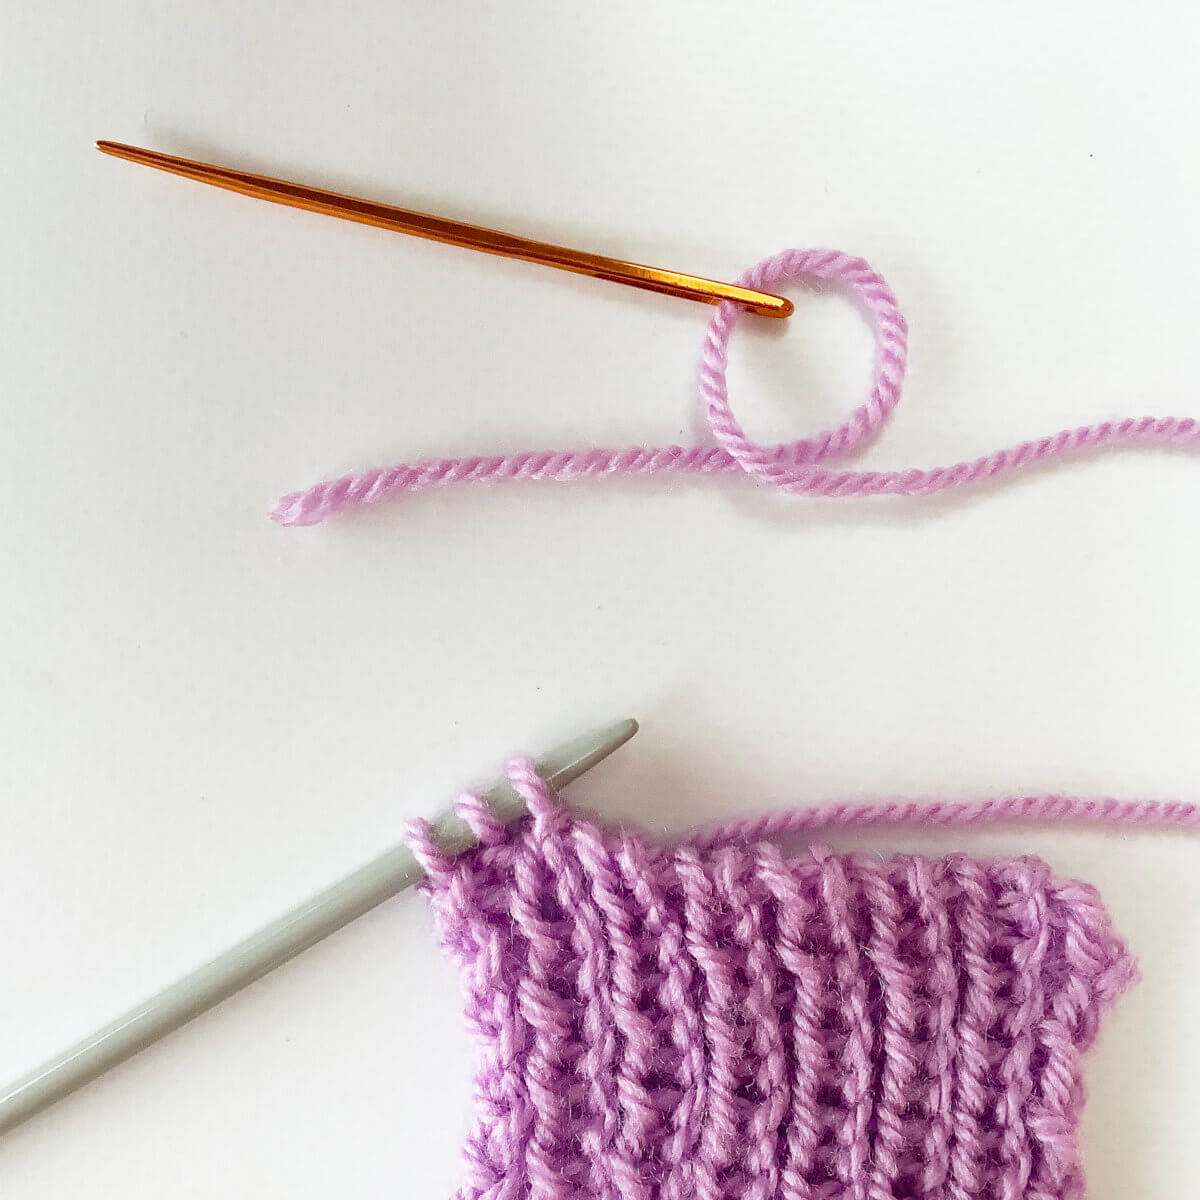
    It will look something like this:The result

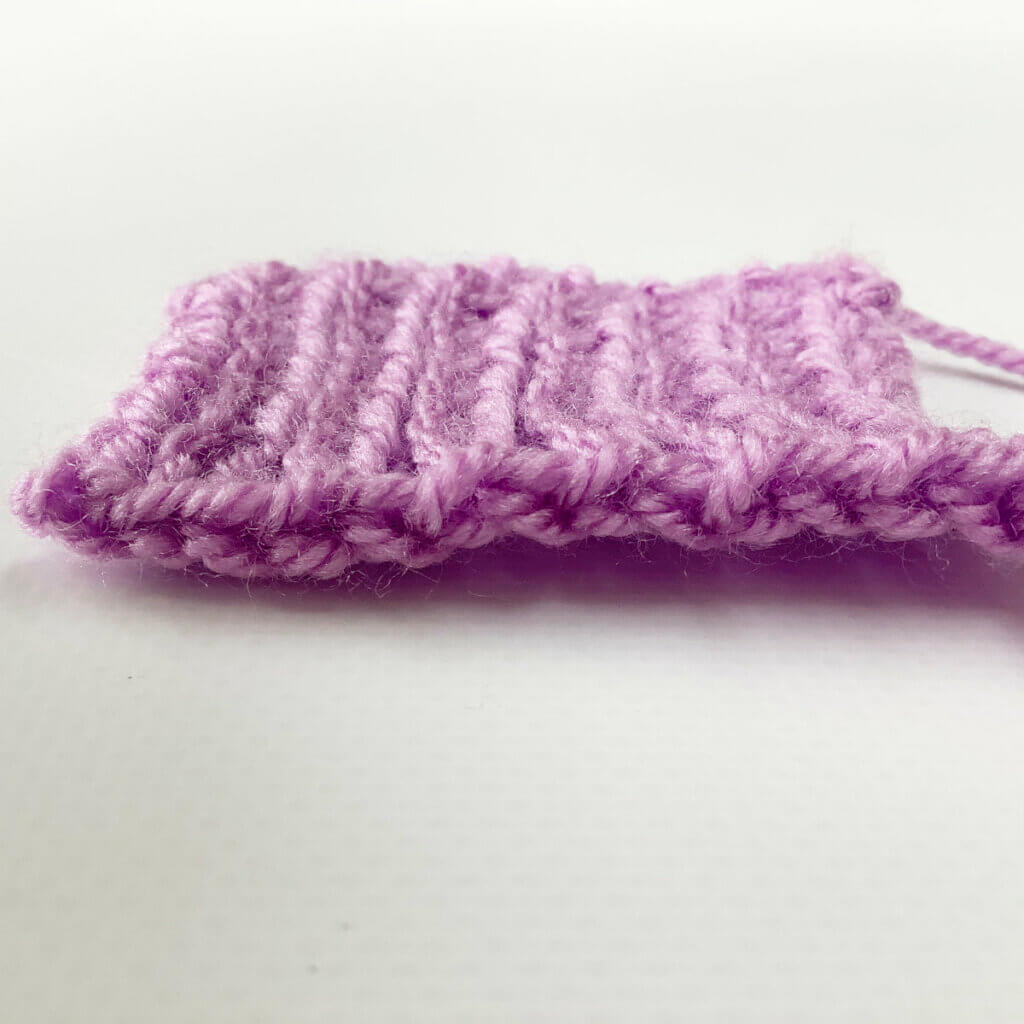
That’s how binding off in 1×1 rib is done! And here is a picture of the resulting edge. Pretty, isn’t it?!

Side view of a BO edge in 1x1 rib
Patreon logo

Thanks to my Patreon supporters for bringing you this freebie! Creating quality patterns and tutorials is a lot of work and resource-intensive. However, I find it important to give you free content like this tutorial. Thanks to the generous support of my Patreon supporters, I can make it happen. Thank you, patrons! Click here to join, or click here to read more about La Visch Designs on Patreon.

tutorial – binding off in 1×1 rib Read More »
tutorial: knitting the loopy bind-off

Knitting the loopy bind-off - a tutorial by La Visch Designs - www.lavisch.com

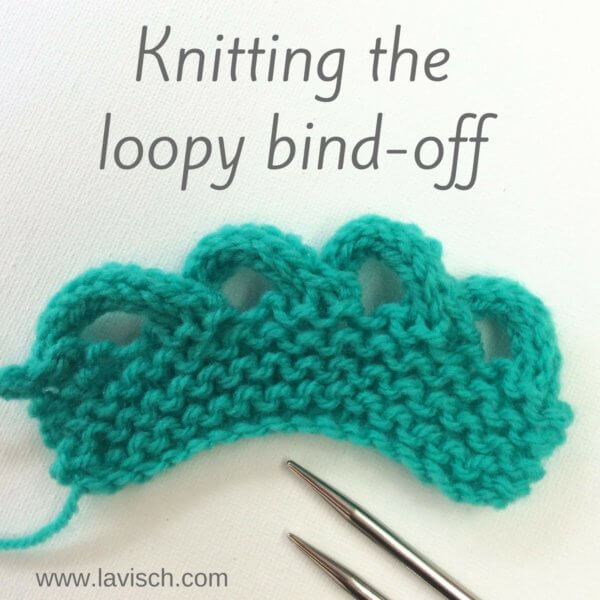
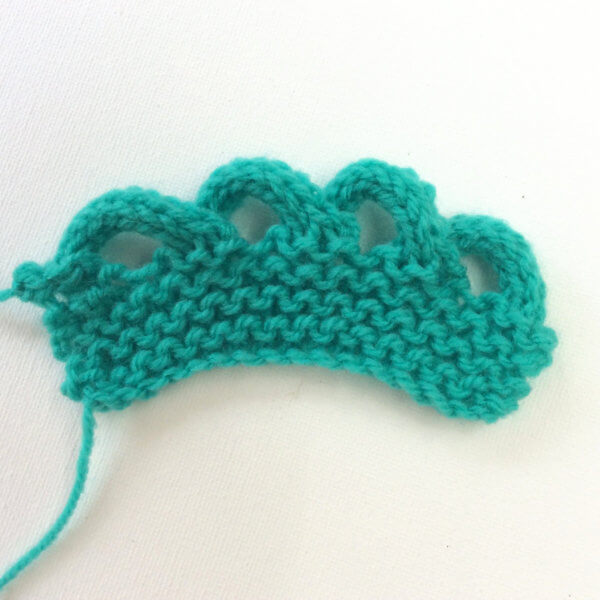
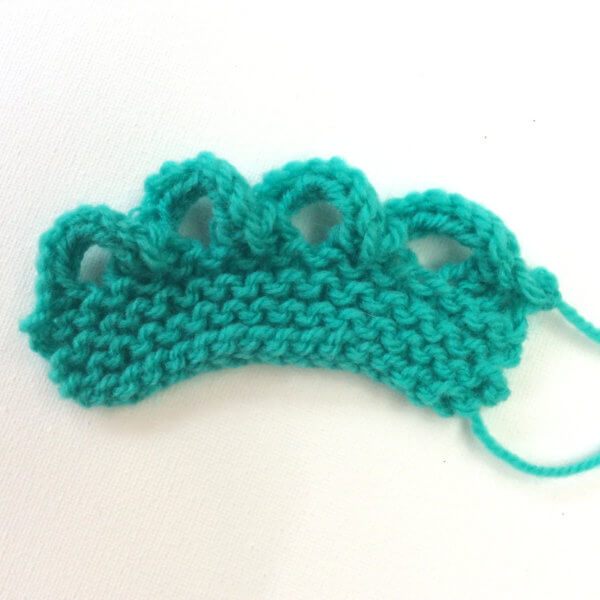
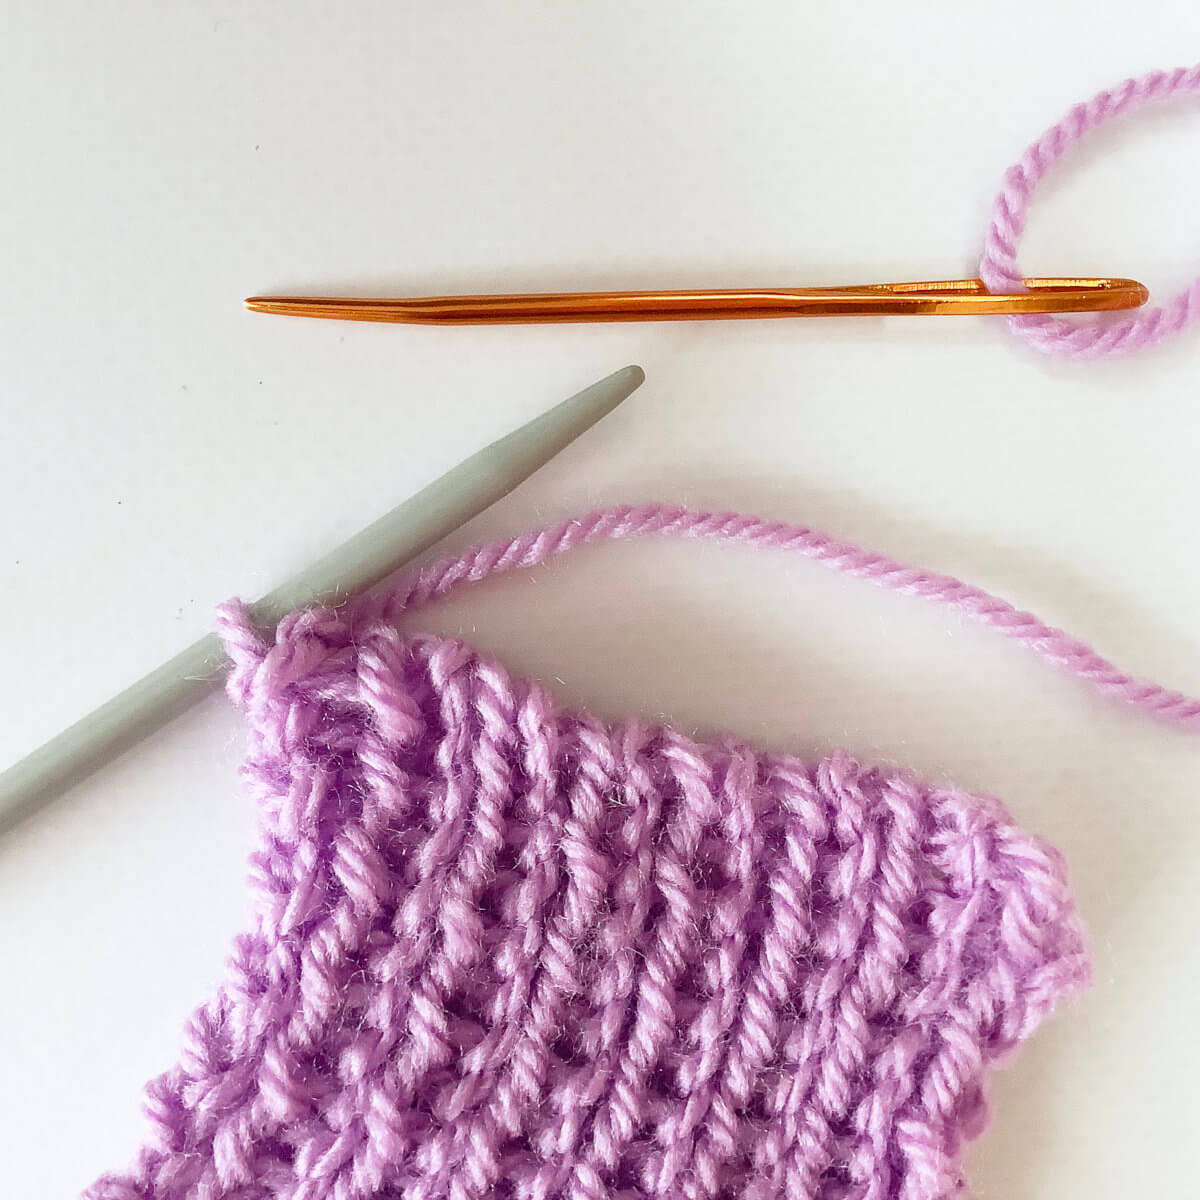
In this post I want to show you a variation of the i-cord BO: the loopy bind-off. With a regular i-cord BO you work directly over all stitches, binding them off. With the loopy bind-off loops of i-cord are made in between the stitches that are to be bound off. This does not only give a highly decorative edge, but is also a very elastic finishing. For this reason, this would be a nice BO to use on items like shawls, that have to be blocked quite aggressively for the best results.

Similar to regular i-cord (click here for the post about it!), this stitch can be knit over 3, 4 or 5 stitches. The more stitches, the fatter the resulting i-cord will be. The number of stitches also affects the loops in this bind-off: if you want to knit the i-cord for the loops over 3 stitches, you will need a multiple of 3 stitches to bind-off.

Knitting the loopy bind-off - a tutorial by La Visch Designs - www.lavisch.com

To knit the loopy bind-off, you need a set of knitting needles, plus one extra needle in the same size. It can be worked on both the good and the wrong side of the work. In this example I’m binding off a small swatch in garter stitch.

The loopy bind-off step by step

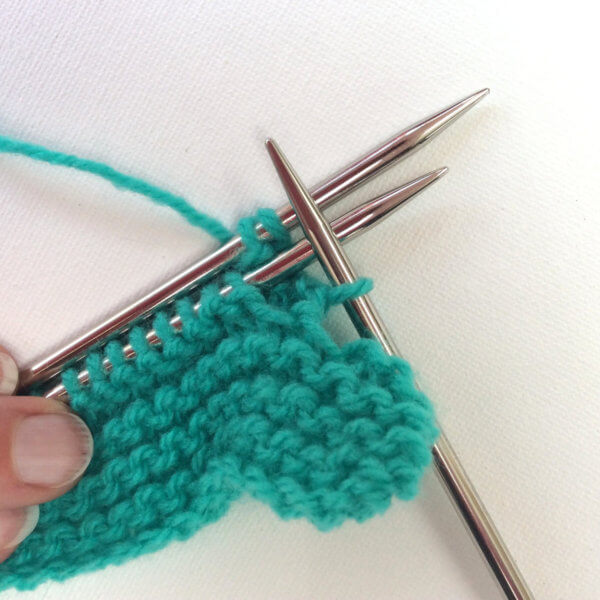
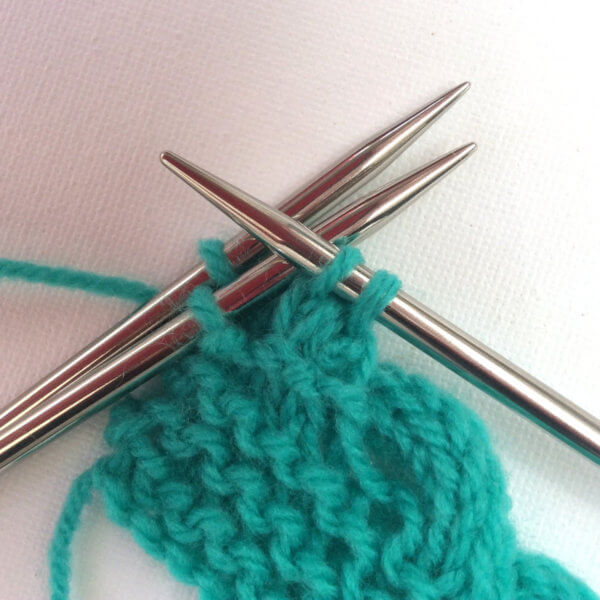
1. Use the first 3 stitches on the left needle to knit regular i-cord. You can decide how long to make the cord, as long as it is equal for all loops. In this example I made cord with a length of 3.5 cm, which was 10 rows.

Knitting the loopy bind-off - a tutorial by La Visch Designs - www.lavisch.com

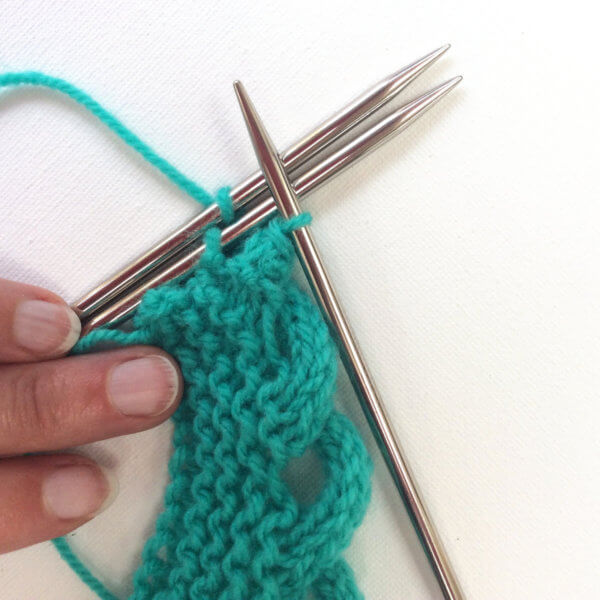
2. Next, bring the needle with the i-cord stitches parallel to the needle with the stitches to be bound off, by twisting it counterclockwise.

Knitting the loopy bind-off - a tutorial by La Visch Designs - www.lavisch.com

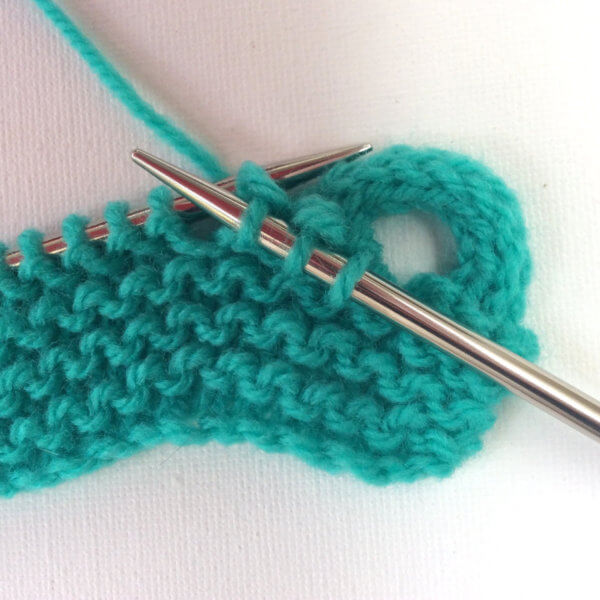
3. Insert the third needle into the first stitch on the front needle, then immediately also into the first stitch of the back needle. Wind the yarn around the needle as usual, pull the yarn through both stitches and then slip off the first stitch of both the front and back needle. This is really very similar to working a three-needle BO.

Knitting the loopy bind-off - a tutorial by La Visch Designs - www.lavisch.com

4. Repeat step 3 twice.

Knitting the loopy bind-off - a tutorial by La Visch Designs - www.lavisch.com

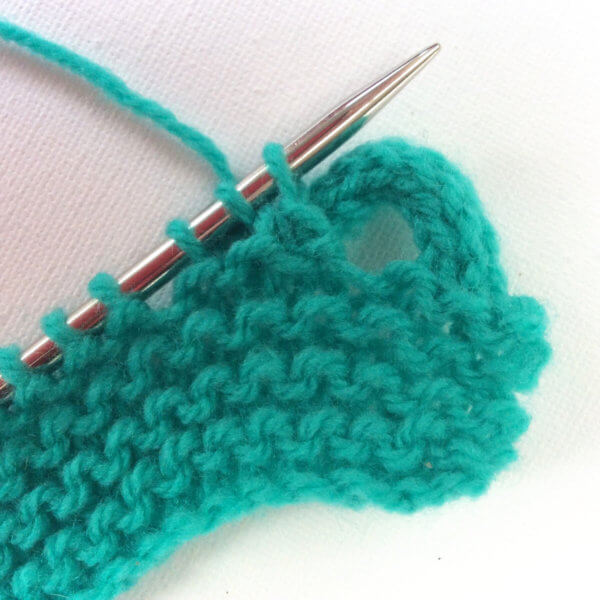
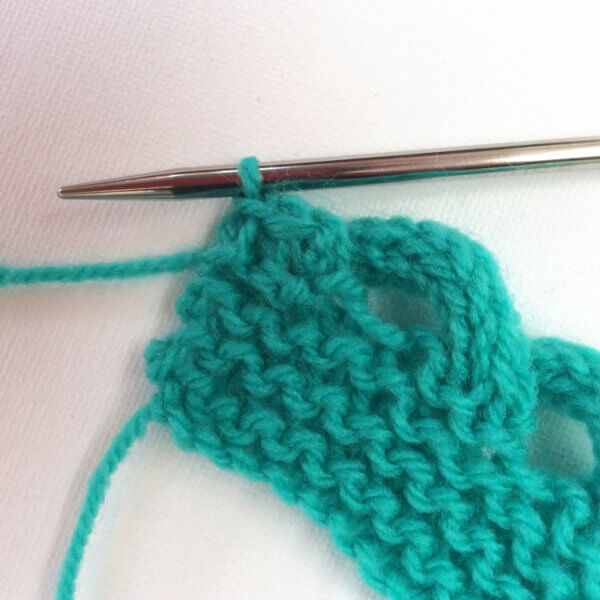
5. Next, slip the 3 newly knitted stitches back to the left-hand needle.

Knitting the loopy bind-off - a tutorial by La Visch Designs - www.lavisch.com

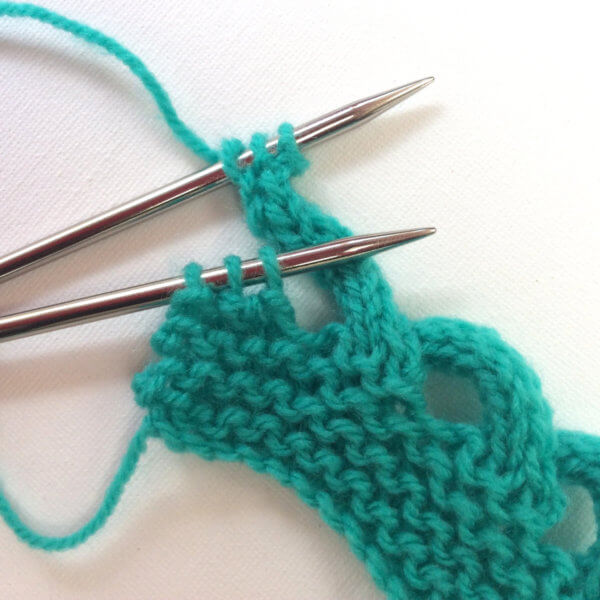
6. Repeat steps 1 to 5 until 3 stitches remain on the left-hand needle. Next, repeat steps 1 and 2 once more.

Knitting the loopy bind-off - a tutorial by La Visch Designs - www.lavisch.com

7. Work step 3 twice, you now have 2 stitches on the right-hand needle.

Knitting the loopy bind-off - a tutorial by La Visch Designs - www.lavisch.com

8. Pass the first stitch over the second stitch, you now have 1 stitch remaining on the right-hand needle.

Knitting the loopy bind-off - a tutorial by La Visch Designs - www.lavisch.com

9. Repeat step 3 once more, followed by 1 repetition of step 8. All stitches are now cast off, you can now cut the yarn and pull the tail through the last loop.

Knitting the loopy bind-off - a tutorial by La Visch Designs - www.lavisch.com

This is how the loopy bind-off edge will look like on the right side of the work:

Knitting the loopy bind-off - a tutorial by La Visch Designs - www.lavisch.com

And this is how it looks on the wrong side of the work:

Knitting the loopy bind-off - a tutorial by La Visch Designs - www.lavisch.com

Depending on the desired effect you can use either the right or wrong side of this bind-off.

And that is all there is to it!

tutorial: knitting the loopy bind-off Read More »
tutorial: knitting a bobble bind-off

Bobble bind-off tutorial by La Visch Designs - www.lavisch.com

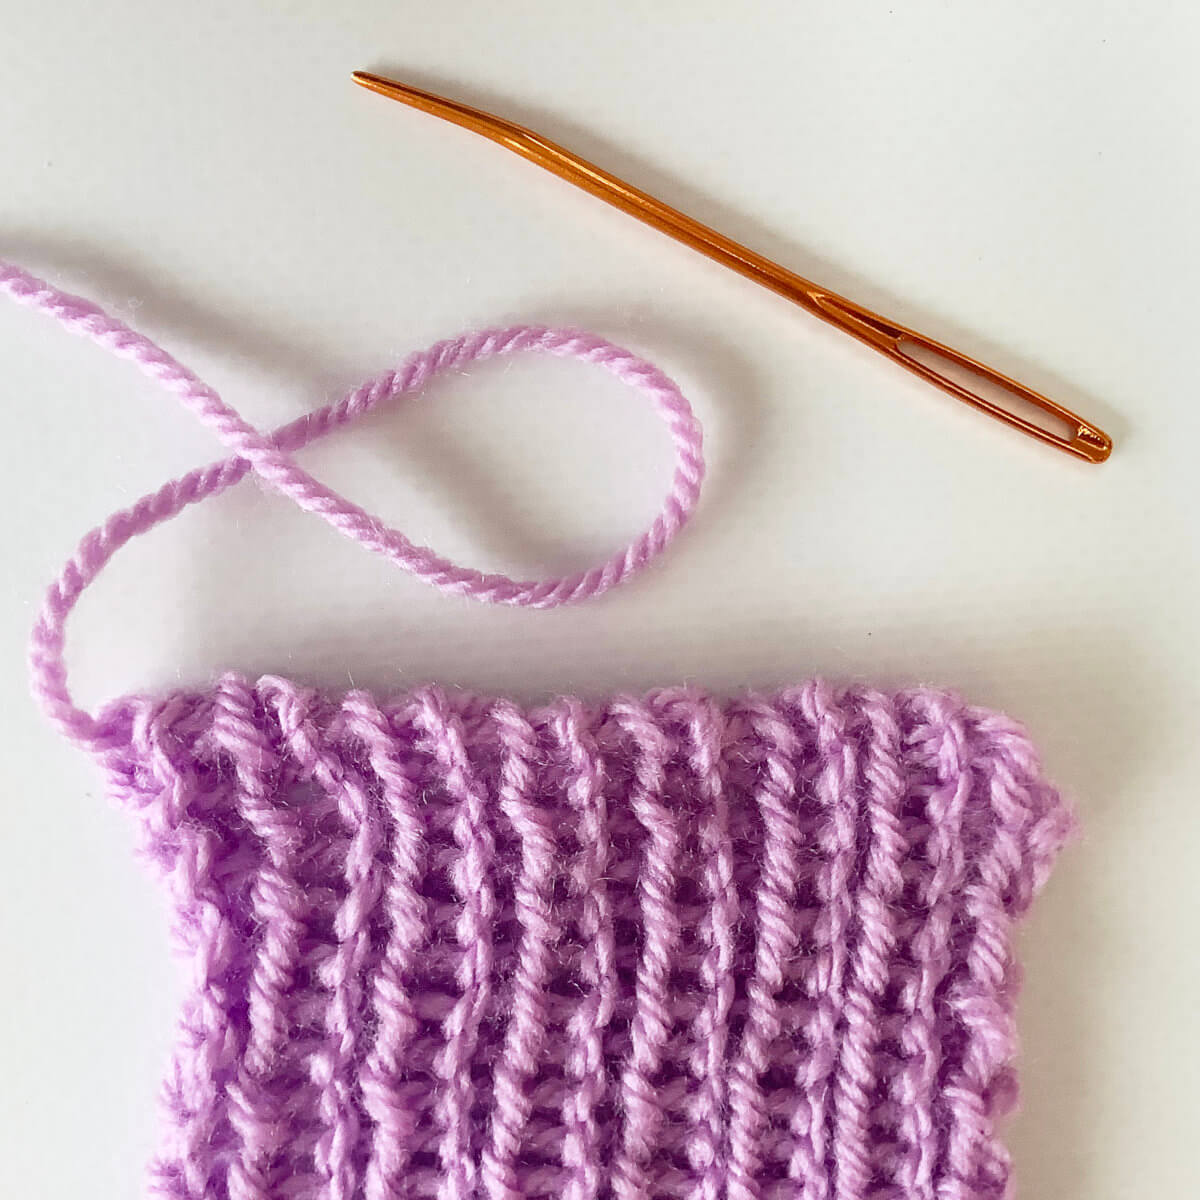
In a previous blog I’ve already shown you how to cast on your knitting project with decorative bobbles. Of course we also want to know how to knit the matching bobble bind-off. You never know when it comes in handy!

There are many different types of bobbles possible for this application. However, you want a reasonably “fat” bobble for the best result, because these makes the bobble “pop” better.

In short an instruction for such a bobble would will be as follows:

Bobble of 5 stitches: Work [k1, yo, k1 , yo, k1] all in the same st. Turn work, p1, p1 tbl, p1, p1 tbl, p1. Turn and k5. Turn work, and p5. Turn work, k5, * pass second st on the right hand needle over the first stitch; rep from * until 1 st remains – 1 bobble made.

Below I’ll show you step by step how this looks when used at the bind-off edge of your knitting.

Knitting a bobble bind-off step by step

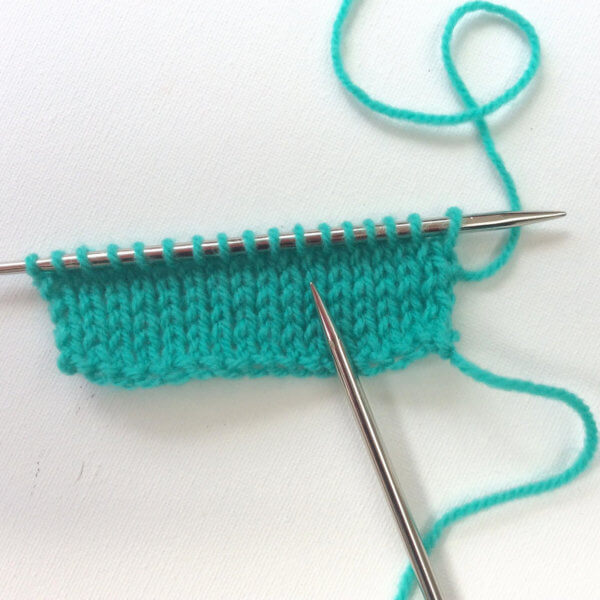
1. Your project is ready and you want to bind-off. First of all, make sure you’re using a multiple of 4+1 stitches plus any edge stitches. In this example I’m using a multiple of 4 + 1 + 2×2 edge stitches for both sides of the work. The 4 stitches consist of 1 stitch for every bobble and 3 stitches distance between each bobble.

Bobble bind-off tutorial by La Visch Designs - www.lavisch.com

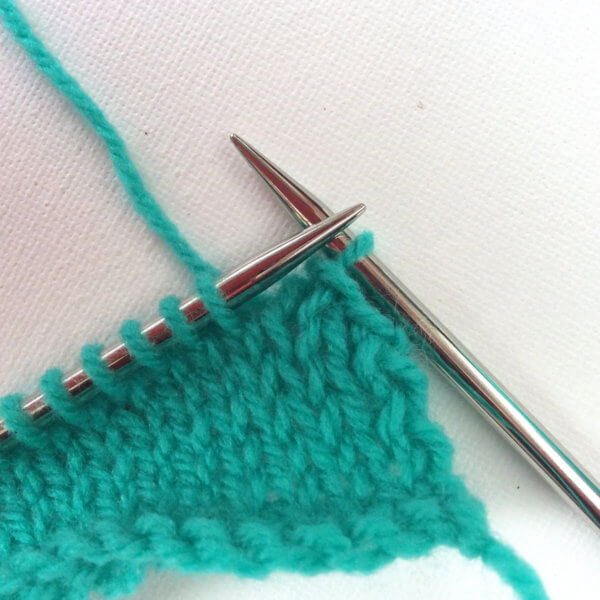
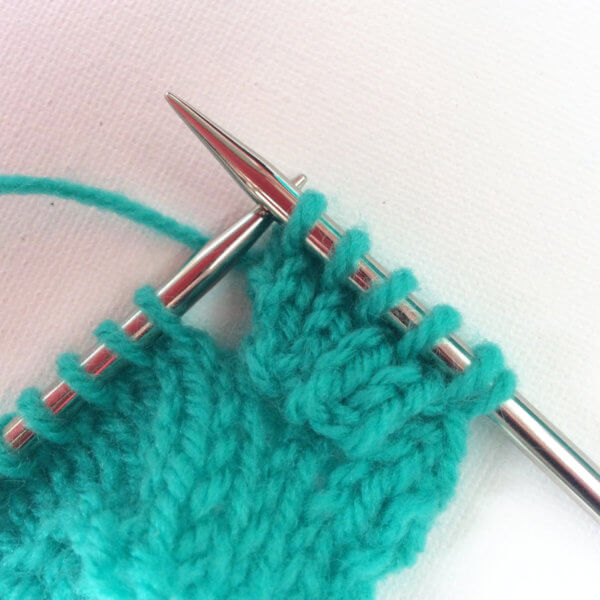
2. Make sure you are on the right side of the work and knit 2 stitches. Next pass the second stitch on the right-hand needle over the first stitch to cast it off.

Bobble bind-off tutorial by La Visch Designs - www.lavisch.com

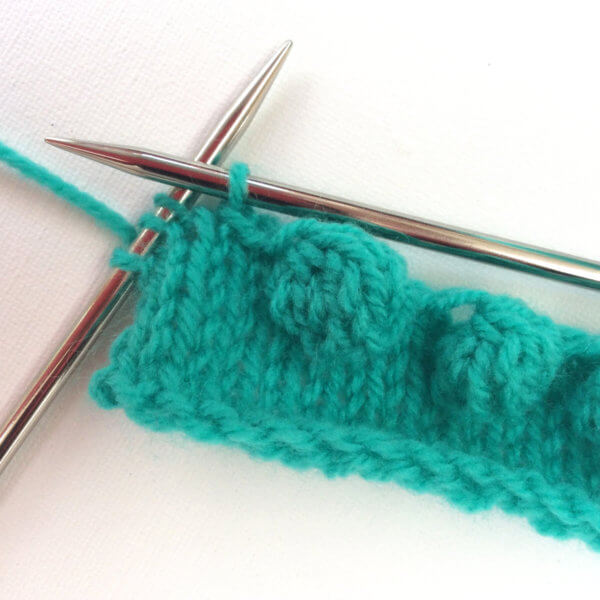
3.In the next stitch we will be making a bobble as follows: Work [k1, yo, k1 , yo, k1] all in the next stitch, without sliding it off prematurely. You now have 6 stitches on the right hand needle, we will knit the bobble over 5 of them.

Bobble bind-off tutorial by La Visch Designs - www.lavisch.com

4. Turn work, p1, p1 tbl, p1, p1 tbl, p1. The “p tbl” stitches are worked that way to close up the yo’s of the previous row. This will make the resulting bobble smoother, this may require some practice!

Bobble bind-off tutorial by La Visch Designs - www.lavisch.com

5. Turn work and knit 5 stitches.

Bobble bind-off tutorial by La Visch Designs - www.lavisch.com

6. Turn work and purl 5 stitches.

Bobble bind-off tutorial by La Visch Designs - www.lavisch.com

7. Turn work again and knit 5 stitches.

Bobble bind-off tutorial by La Visch Designs - www.lavisch.com

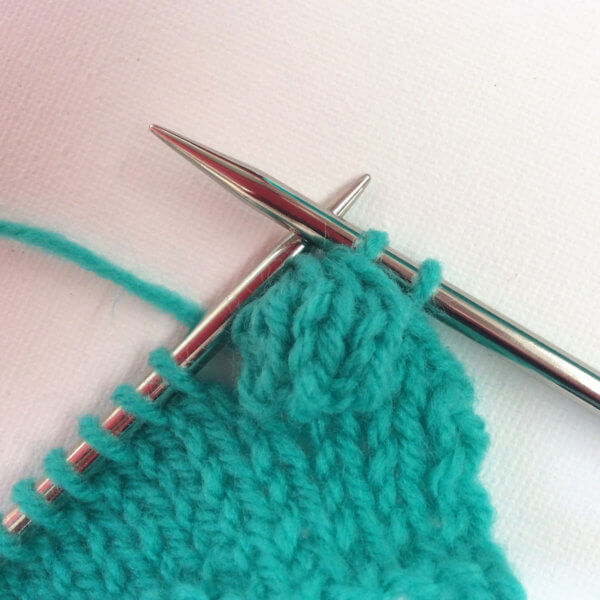
8. Now pass the second stitch on the right hand needle over the first stitch, repeat this until only 1 of the 5 bobble stitches remains. You have now created one bobble! You can push it out a bit to the right side of the work to show it to its best advantage. There are now only 2 stitches left on your right hand needle.

Bobble bind-off tutorial by La Visch Designs - www.lavisch.com

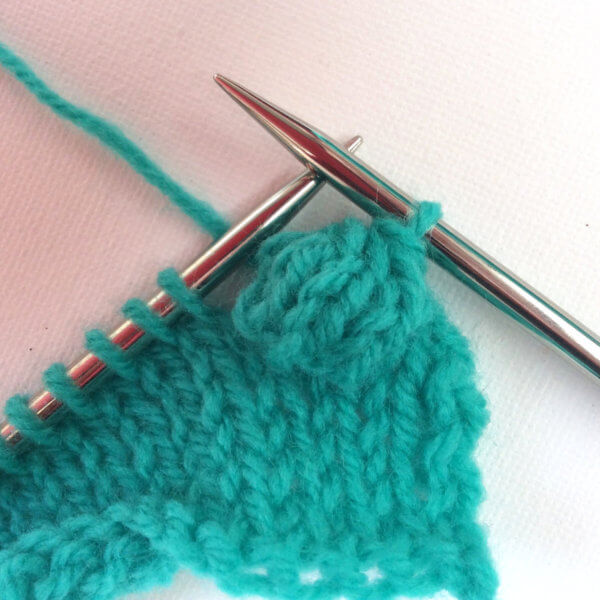
9. Next pass the second stitch on the right-hand needle over the first stitch to cast it off.

Bobble bind-off tutorial by La Visch Designs - www.lavisch.com

10. Knit one stitch and again pass the second stitch on the right-hand needle over the first stitch to cast it off. Repeat two more times to bind off 3 stitches in total.

Bobble bind-off tutorial by La Visch Designs - www.lavisch.com

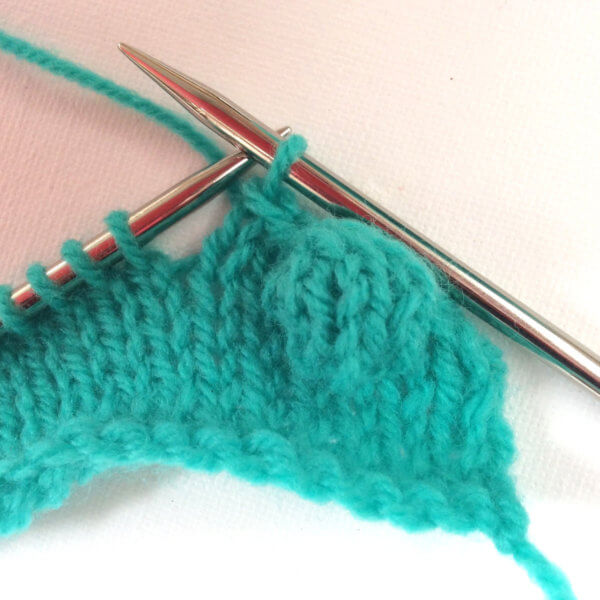
11. Repeat steps 3 to 10 until 3 stitches on the left-hand needle remain.

Bobble bind-off tutorial by La Visch Designs - www.lavisch.com

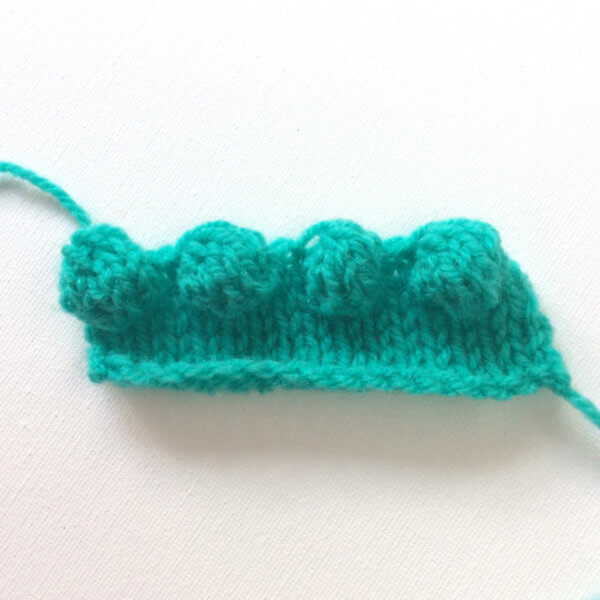
12. Repeat steps 3 to 9 once more to knit the last bobble and end with binding off the 2 edge stitches.

Bobble bind-off tutorial by La Visch Designs - www.lavisch.com

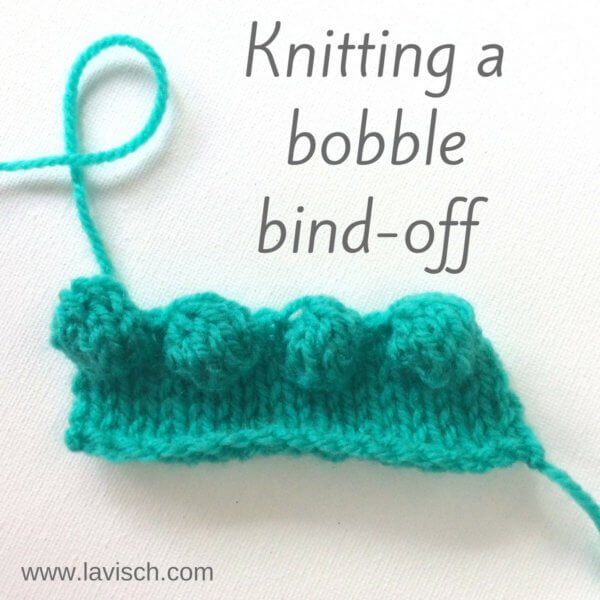
And this is how the bobble bind-off is done!

tutorial: knitting a bobble bind-off Read More »
tutorial: knitting the i-cord bind-off

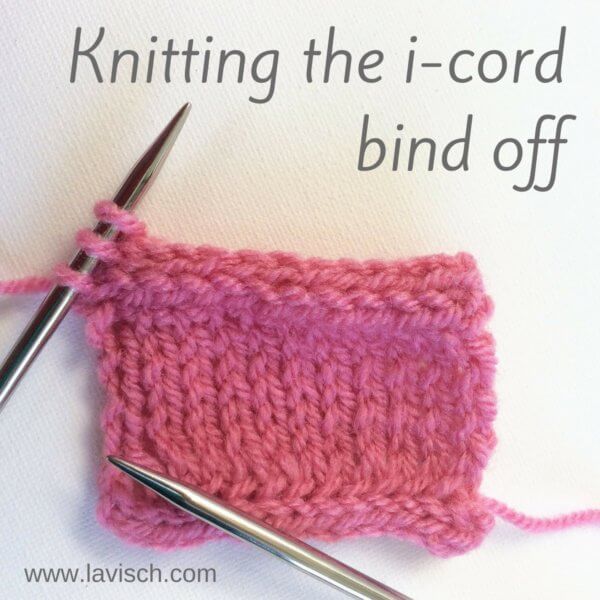
Knitting the i-cord bind-off - a tutorial by La Visch Designs - www.lavisch.com

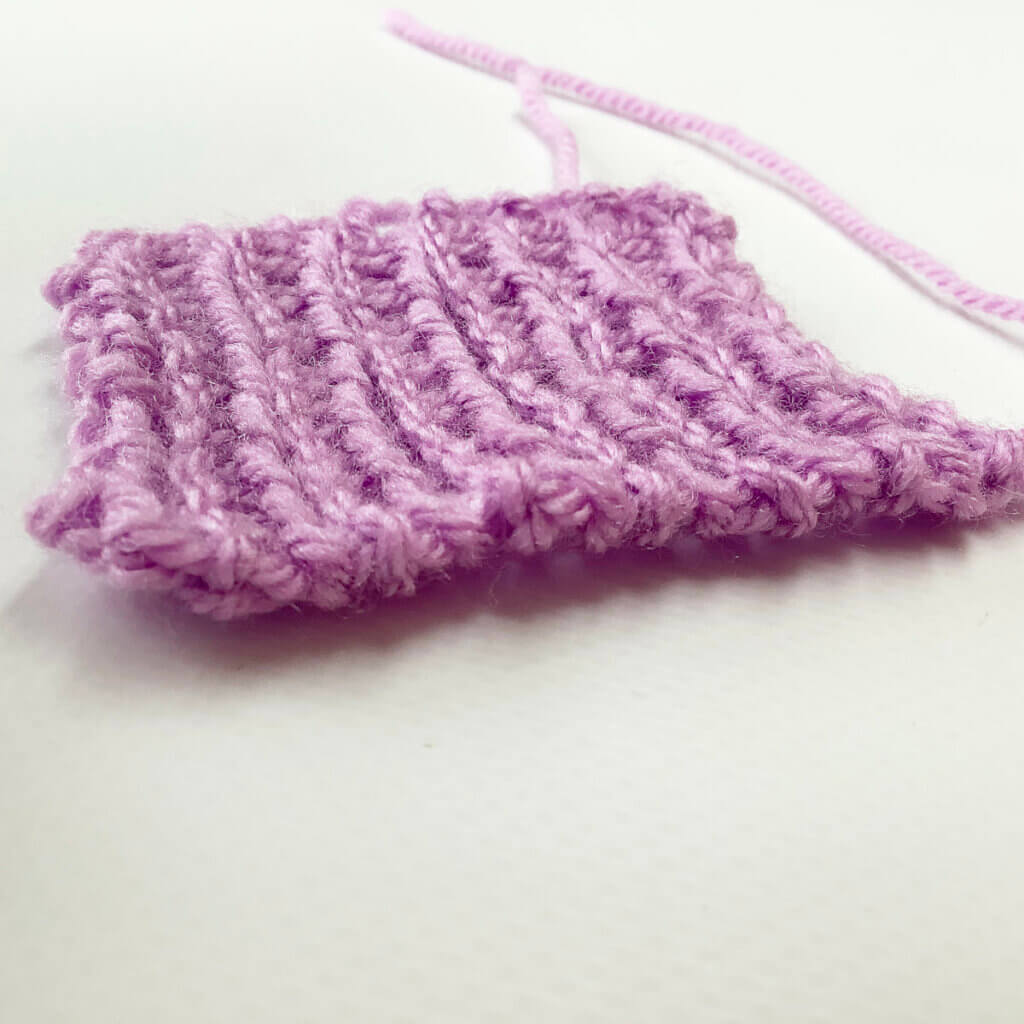
In a previous post I’ve already shown you how to cast-on your knitting project with an i-cord cast-on. And of course it would be nice to be able to bind-off with a matching i-cord bind-off finishing. Fortunately, we can!

The i-cord bind-off is usually knit over 3 to 5 stitches. In this example I’m going to show the version made over 3 stitches. In short, instructions would look something like this:

I-cord bind off: Cast-on 3 sts, *k2, k2tog tbl, sl 3 sts just worked back to LH needle, pull yarn tight across back of sts; rep from * until 3 sts remain.
Next: K2tog tbl, k1, sl 2 sts to LH needle, k2tog tbl and fasten off.

The i-cord bind-off step by step

You can start casting off as soon as the last row of your work has been knit, and after your work has been turned when working flat back and forth.

1. With the right side facing, cast-on 3 stitches. I used the knitted-on method.

Knitting the i-cord bind-off - a tutorial by La Visch Designs - www.lavisch.com

2. Knit 2 stitches.

Knitting the i-cord bind-off - a tutorial by La Visch Designs - www.lavisch.com

3. Knit 2 stitches together through the back loop.

Knitting the i-cord bind-off - a tutorial by La Visch Designs - www.lavisch.com

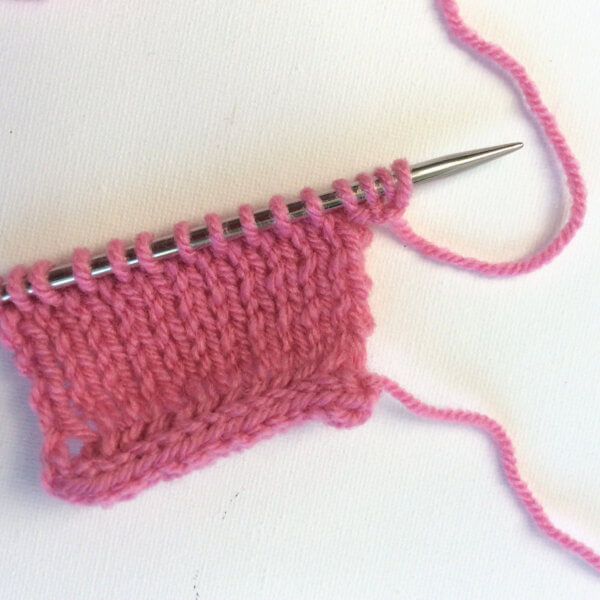
4. Move the 3 stitches on the right needle back to the left hand needle one by one.

Knitting the i-cord bind-off - a tutorial by La Visch Designs - www.lavisch.com

5. Pull the yarn tight and make sure that it is behind your work.

Knitting the i-cord bind-off - a tutorial by La Visch Designs - www.lavisch.com

6. Repeat steps 2 to 5 until 3 stitches to bind-off remain.

Knitting the i-cord bind-off - a tutorial by La Visch Designs - www.lavisch.com

7. Knit 2 stitches together through the back loop.

Knitting the i-cord bind-off - a tutorial by La Visch Designs - www.lavisch.com

8. Knit 1 stitch.

Knitting the i-cord bind-off - a tutorial by La Visch Designs - www.lavisch.com

9. Move the 2 stitches on the right needle back to the left hand needle one by one.

Knitting the i-cord bind-off - a tutorial by La Visch Designs - www.lavisch.com

10 Knit 2 remaining stitches together through the back loop and fasten off.

Knitting the i-cord bind-off - a tutorial by La Visch Designs - www.lavisch.com
The “ear” where the yarn was fastened off, can be reduced by using a tapestry needle to pull it into the i-cord tube. Front and back of the work then look as follows:

Knitting the i-cord bind-off - a tutorial by La Visch Designs - www.lavisch.com

Knitting the i-cord bind-off - a tutorial by La Visch Designs - www.lavisch.com

Tip 1

It can be very nice to knit the i-cord bind-off in a contrasting color to the rest of your project. It may however happen, that the main color shines through in the i-cord BO. To avoid that, I would recommend to first knit a row in the contrast color, before starting the i-cord bind-off.

Tip 2

An i-cord bind-off edge on a piece worked in stockinette stitch is very pretty. As you know however, stockinette tends to curl…. A lot. An i-cord bind-off is usually not sufficient to prevent curling. For this you will have to look at other methods, such as garter stitch or rib. So if you purely want the effect of a stockinette stitch edge to your work, you better have a look at a folded hem.

tutorial: knitting the i-cord bind-off Read More »
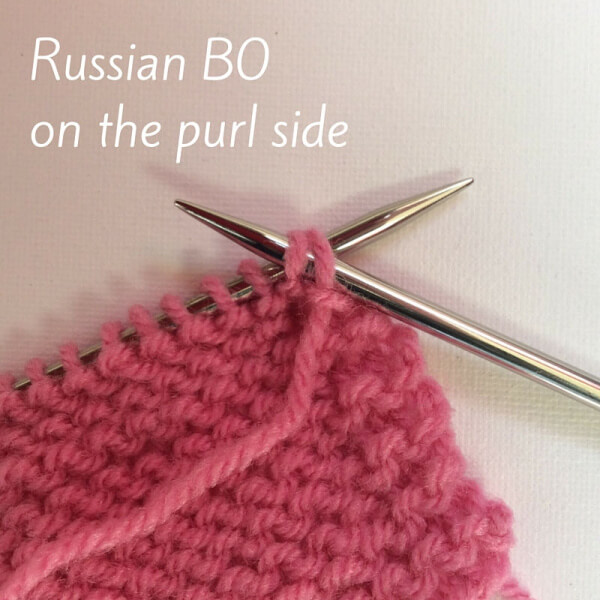
tutorial: Russian bind-off on the purl side

Tutorial Russian bind-off on the purl side by La Visch Designs

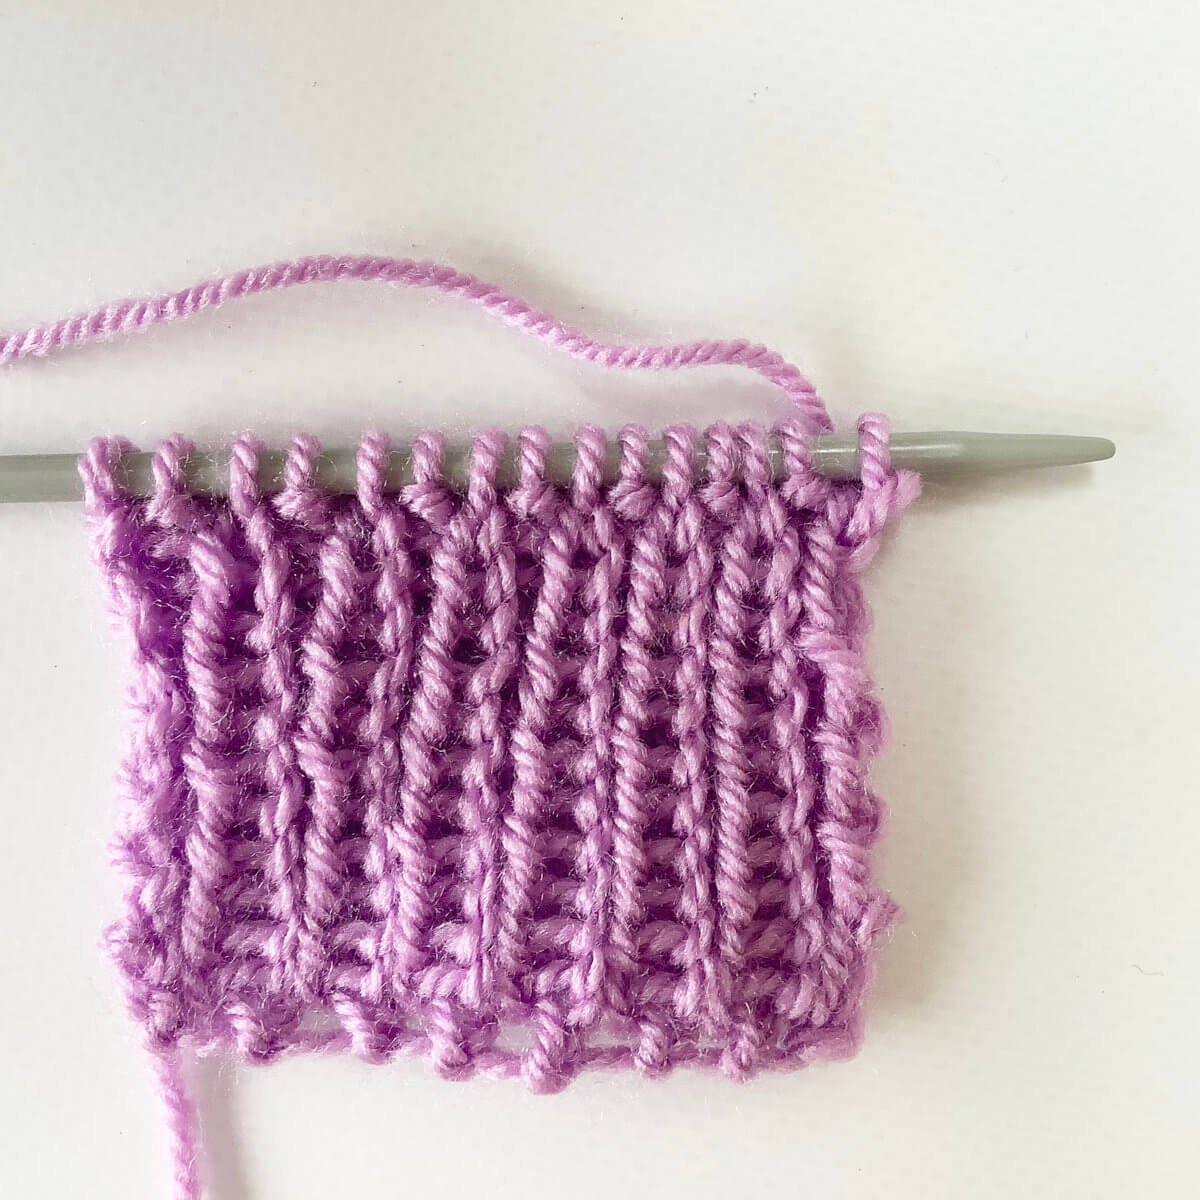
In a previous post I have shown you my favorite method of binding off: The Russian bind-off method. This is a very elegant way to bind-off your knitting project to get a very elastic edge on your piece. This is often important to me, because I knit a lot of lace shawls. Knitted lace usually shows its beauty best when it has been gently washed and blocked out. This is only possible if the edge has plenty of stretch.

But what if you need to cast off from the wrong side of the work? Think of a situation that you don’t have enough yarn to knit another row before binding off. In such a case, it is nice to know that you can also bind-off the Russian way on the wrong or purl side of your work!

In short instructions for a Russian bind-off on the purl side may look like this:
Russian bind-off on the WS: *P2tog, slip stitch from right-hand back to the left-hand needle; repeat from * to end.

The Russian bind-off on the purl side step-by-step

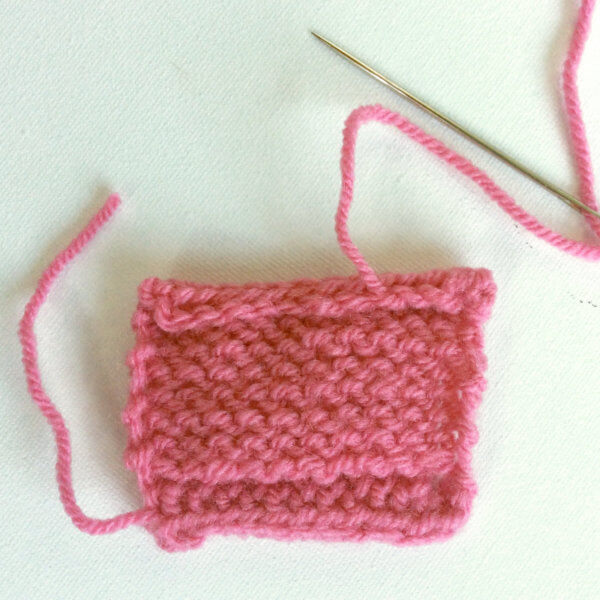
For this tutorial I have prepared a little swatch to bind off:

Tutorial Russian bind-off on the purl side by La Visch Designs

1. Purl the first 2 stitches together.

Tutorial Russian bind-off on the purl side by La Visch Designs

Tutorial Russian bind-off on the purl side by La Visch Designs

2. Slip the new stitch on right hand needle back to the left hand needle.

Tutorial Russian bind-off on the purl side by La Visch Designs

3. Repeat steps 1 and 2 until all stitches have been worked. On the wrong side of the work this will look as follows:

Tutorial Russian bind-off on the purl side by La Visch Designs

And on the right side of the work the Russian bind-off on the purl side will look like this:

Tutorial Russian bind-off on the purl side by La Visch Designs

Looking good, right?!

tutorial: Russian bind-off on the purl side Read More »
tutorial: Russian bind-off

Tutorial on how to work the Russian bind-off - La Visch Designs

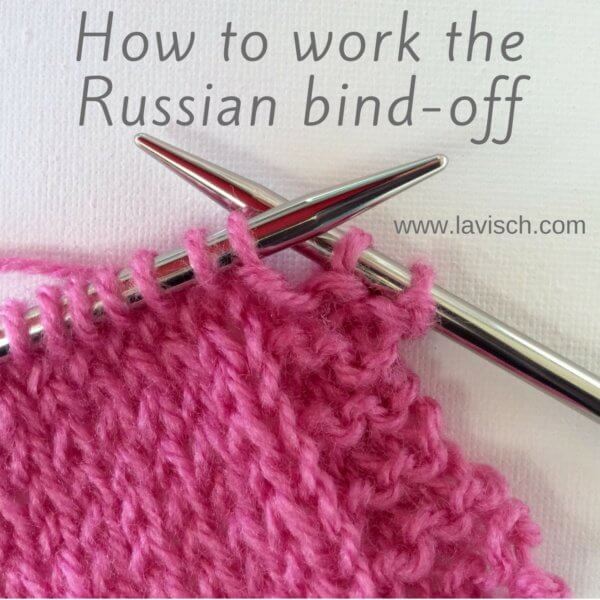
You probably already know that there are many different ways to bind off. A problem that sometimes occurs is that the bind off too tight. That is when you get the sweaters were no head fits through the neck opening, or those toe-up knitted socks where no foot can be put in and lace shawls that can’t be blocked out to reveal their patterning.

Of course, you can choose to go up in needle size when binding off. However, a too loose bind off is not pretty either… What to do? In these cases, my go-to bind off is the Russian bind-off. This is an elegant way to get a very elastic edge on your piece. This is often important to me because I knit a lot of lace shawls.

In patterns you may encounter the following instructions for this type of bind off:
Russian bind-off: K1, * k1, slip stitches from right-hand back to left-hand needle and k2tog tbl. Repeat from * to end.

The Russian bind-off step by step

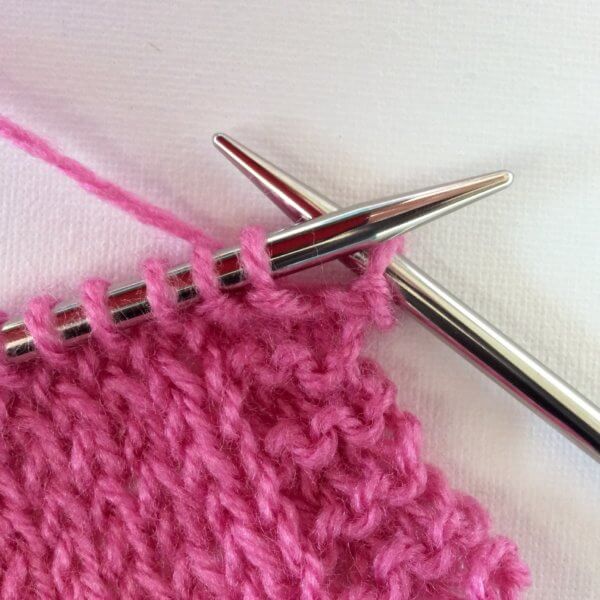
1. Knit the first stitch.

Tutorial on how to work the Russian bind-off - La Visch Designs

2. Knit the next stitch

Tutorial on how to work the Russian bind-off - La Visch Designs

3. Slip the two stitches on your right-hand needle back to your left-hand needle.

Tutorial on how to work the Russian bind-off - La Visch Designs

4. Knit these two stitches together through the back loop.

Tutorial on how to work the Russian bind-off - La Visch Designs

5. Repeat steps 2 to 4 until you have reached the end. The result on a piece in stockinette stitch will look like this:

Tutorial on how to work the Russian bind-off - La Visch Designs

Tip

The Russian bind-off can for example also be used to bind off in rib pattern. You only need to adjust step 2 of the above instructions: Knit the knit stitches that you encounter and purl the purl stitches. That’s all there is to it!

tutorial: Russian bind-off Read More »