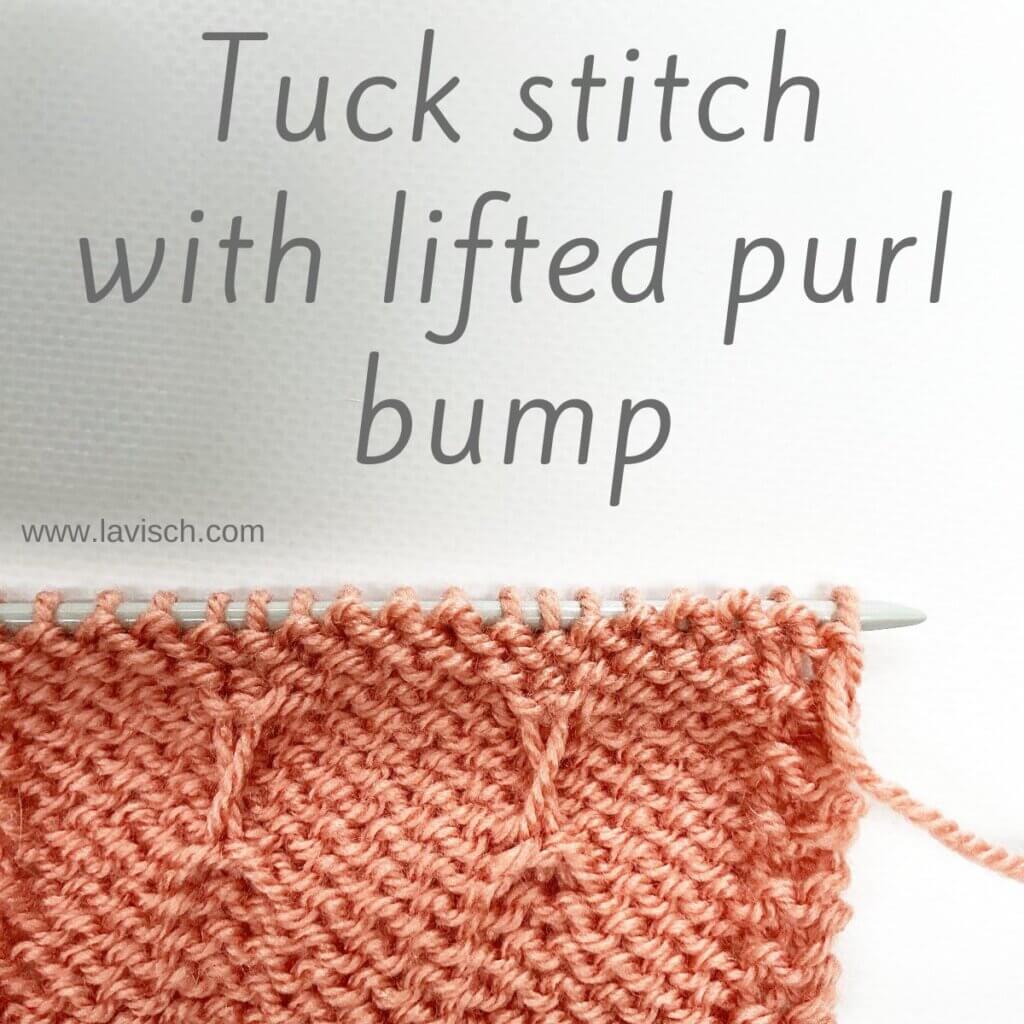
stitch pattern – tuck stitch with lifted purl bump
When working a tuck stitch, you basically lift a part of a stitch several rows below in your project, and work it together with a stitch to be worked. Doing so, creates ridges due to the fabric pulling in. These, in turn, can be used to create all sorts of patterning with a lot of texture. As said, you’re working a stitch several rows below, usually somewhere between 3 and 9 rows down. It can be worked in knit or in purl, directly below the stitch on the needle, or slightly slanted.
In this particular how-to, I’ll be showing you how to work a tuck stitch 6 rows down, with a lifted purl bump. Because I’m going to lift a purl bump, I will be working it from the wrong side of the fabric. If you’re doing a project in reverse stockinette, though, you would have to work this stitch from the right side where the purl bumps would be.
Ok, get your materials and work along with me!
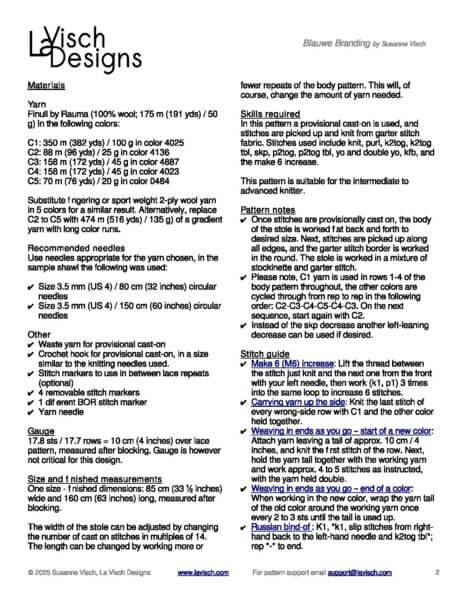
Materials used


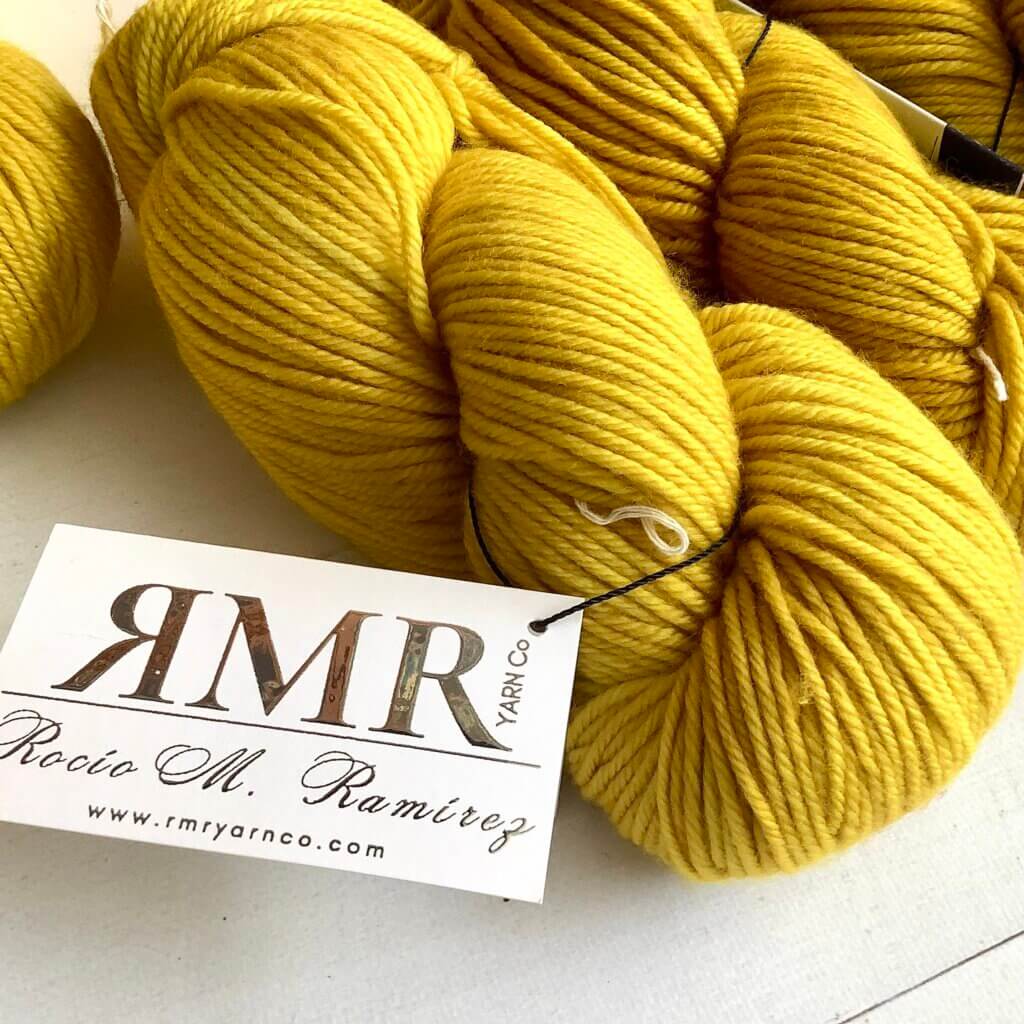
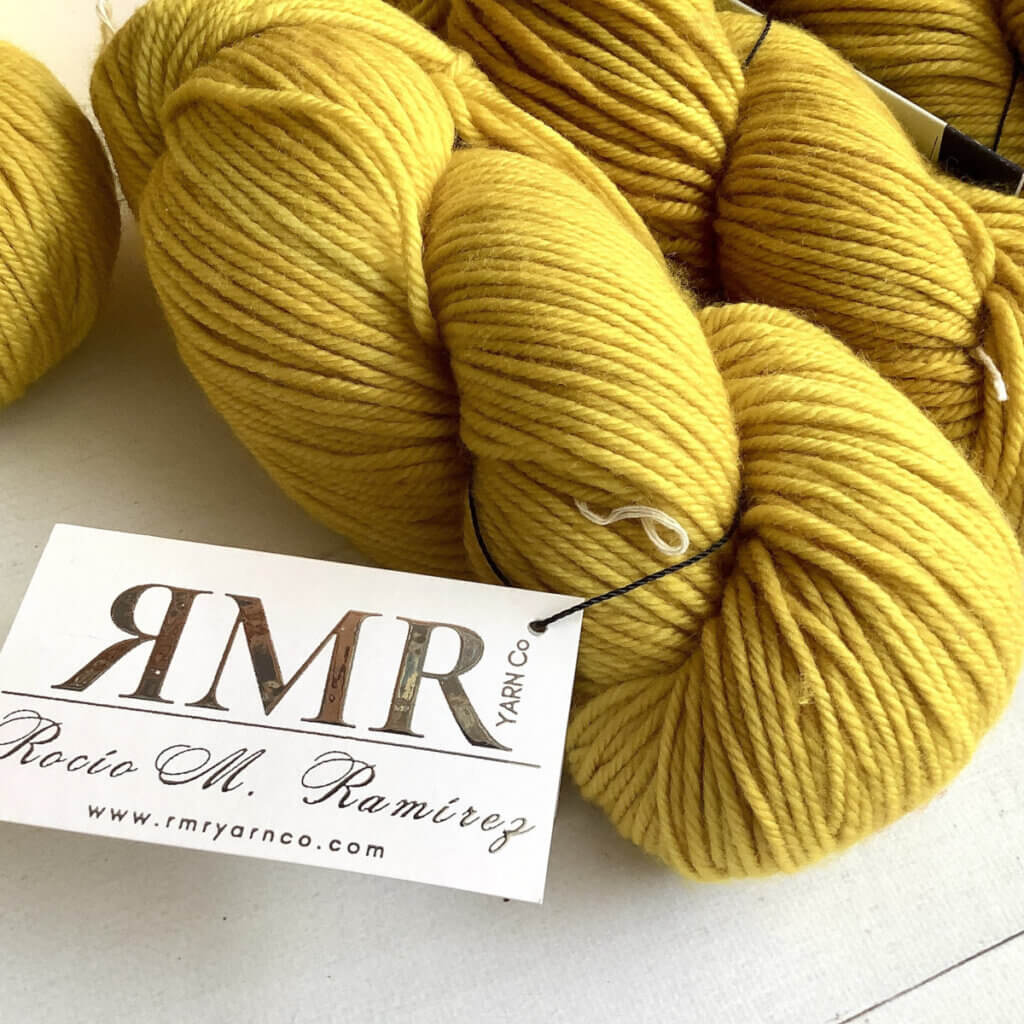
Yarn: Paintbox Yarns Simply DK, a good value, good quality 100% acrylic yarn, here in Vintage Pink.
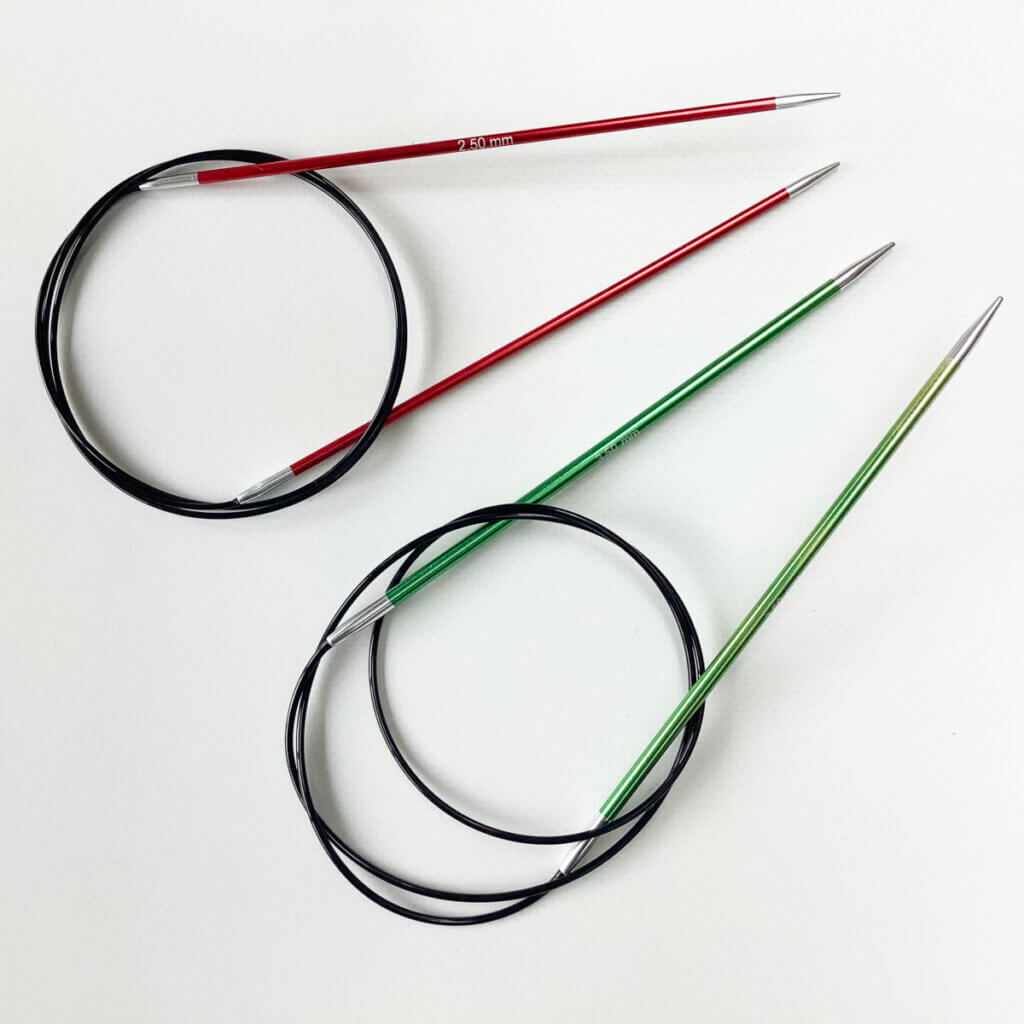
Needles: This is a pair of straights that I picked up at the second-hand store when I started knitting, brand unknown.
Working the tuck stitch with lifted purl bump step by step
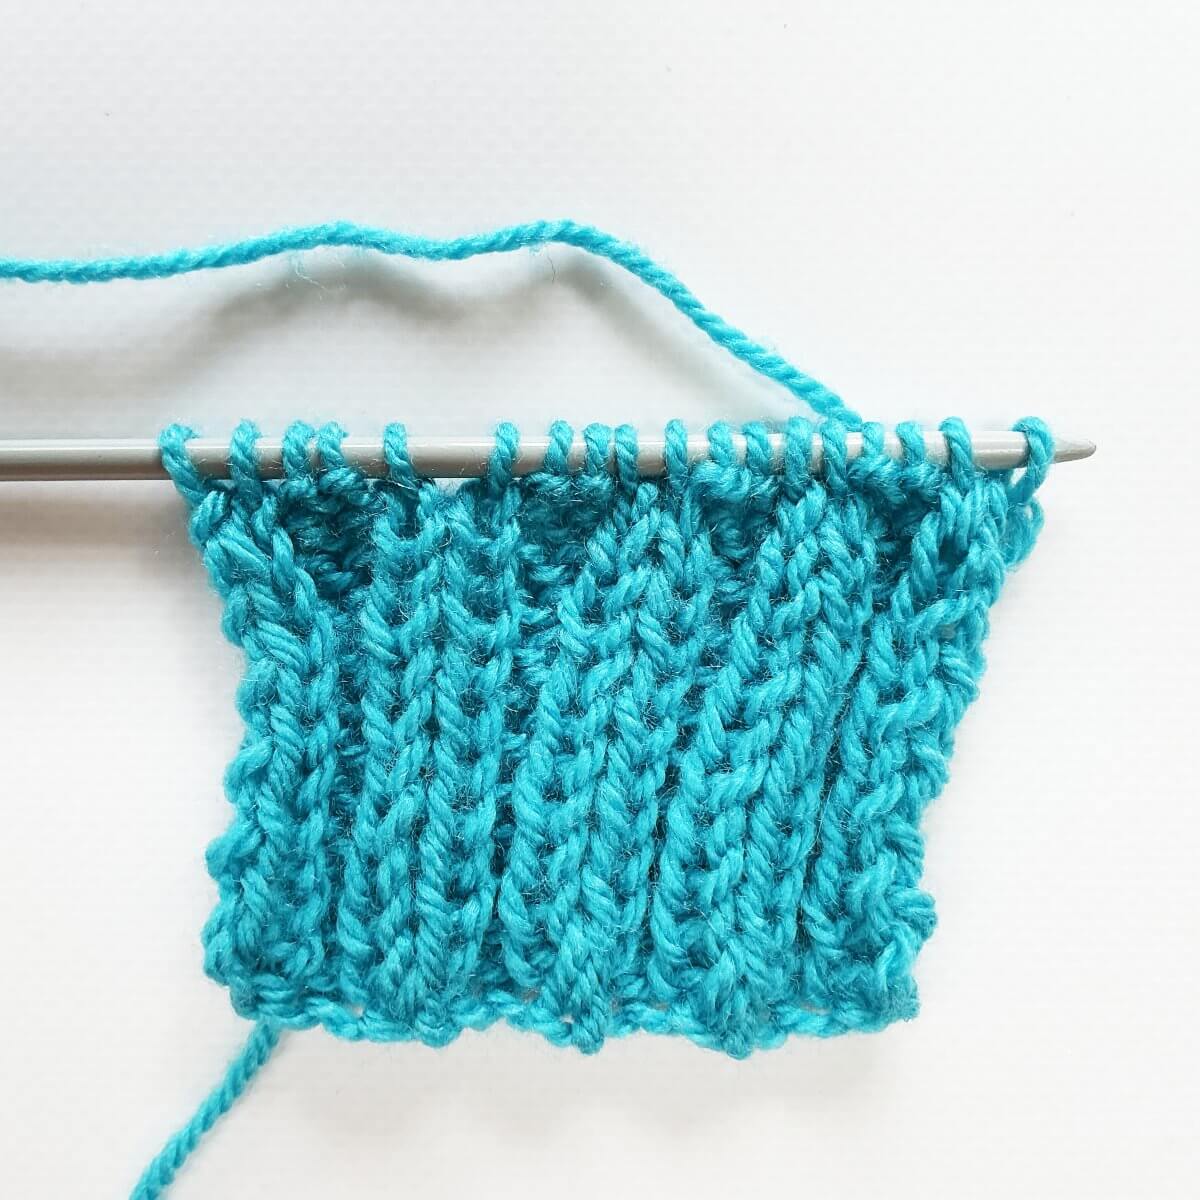
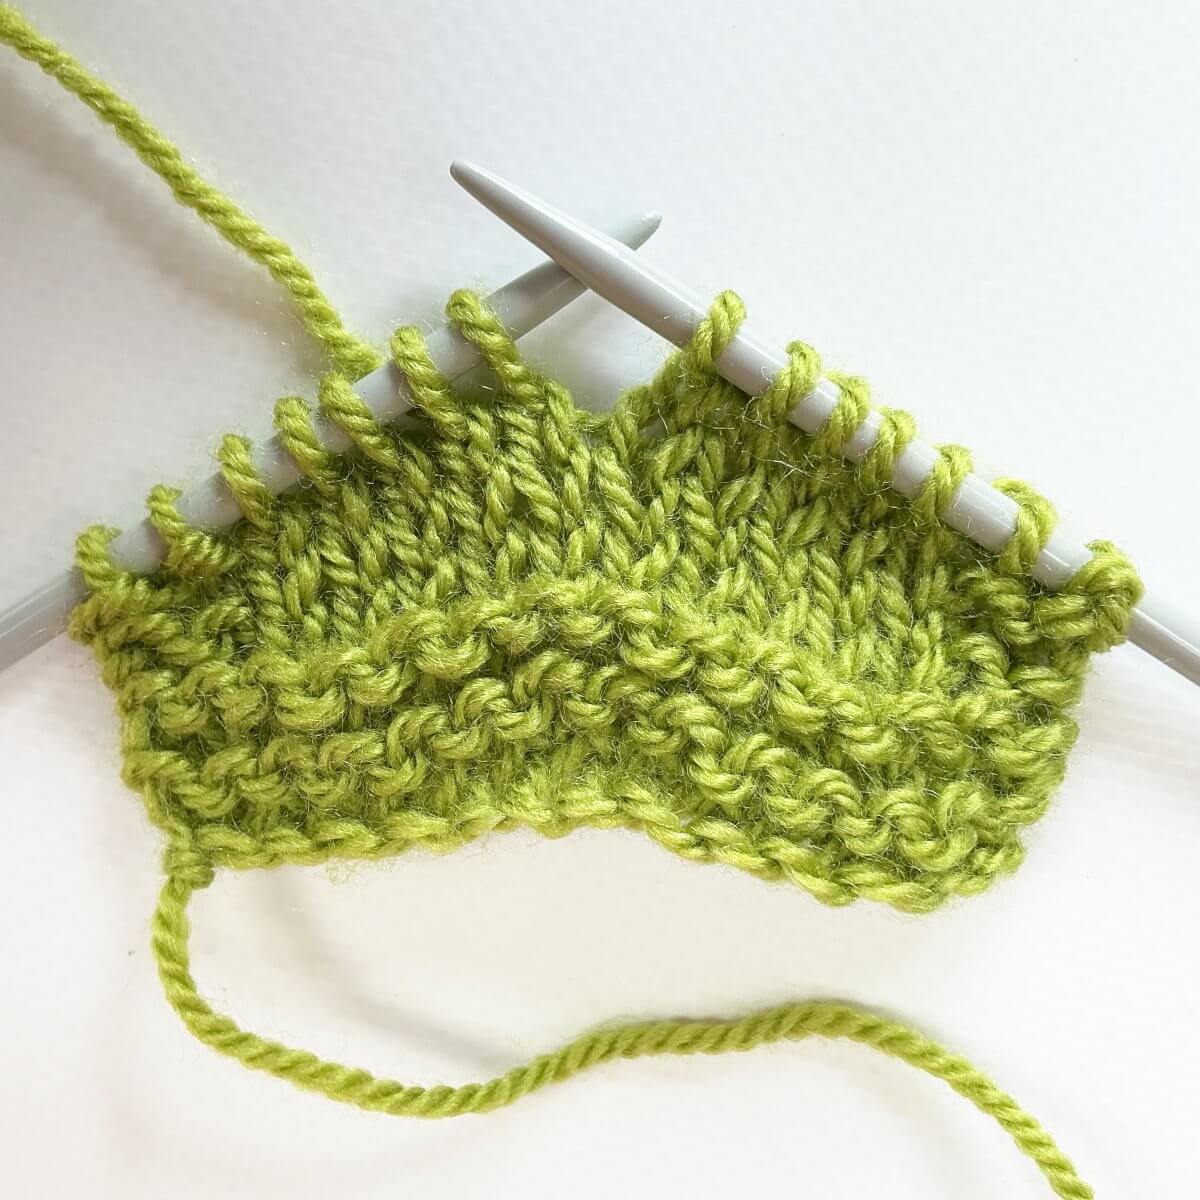
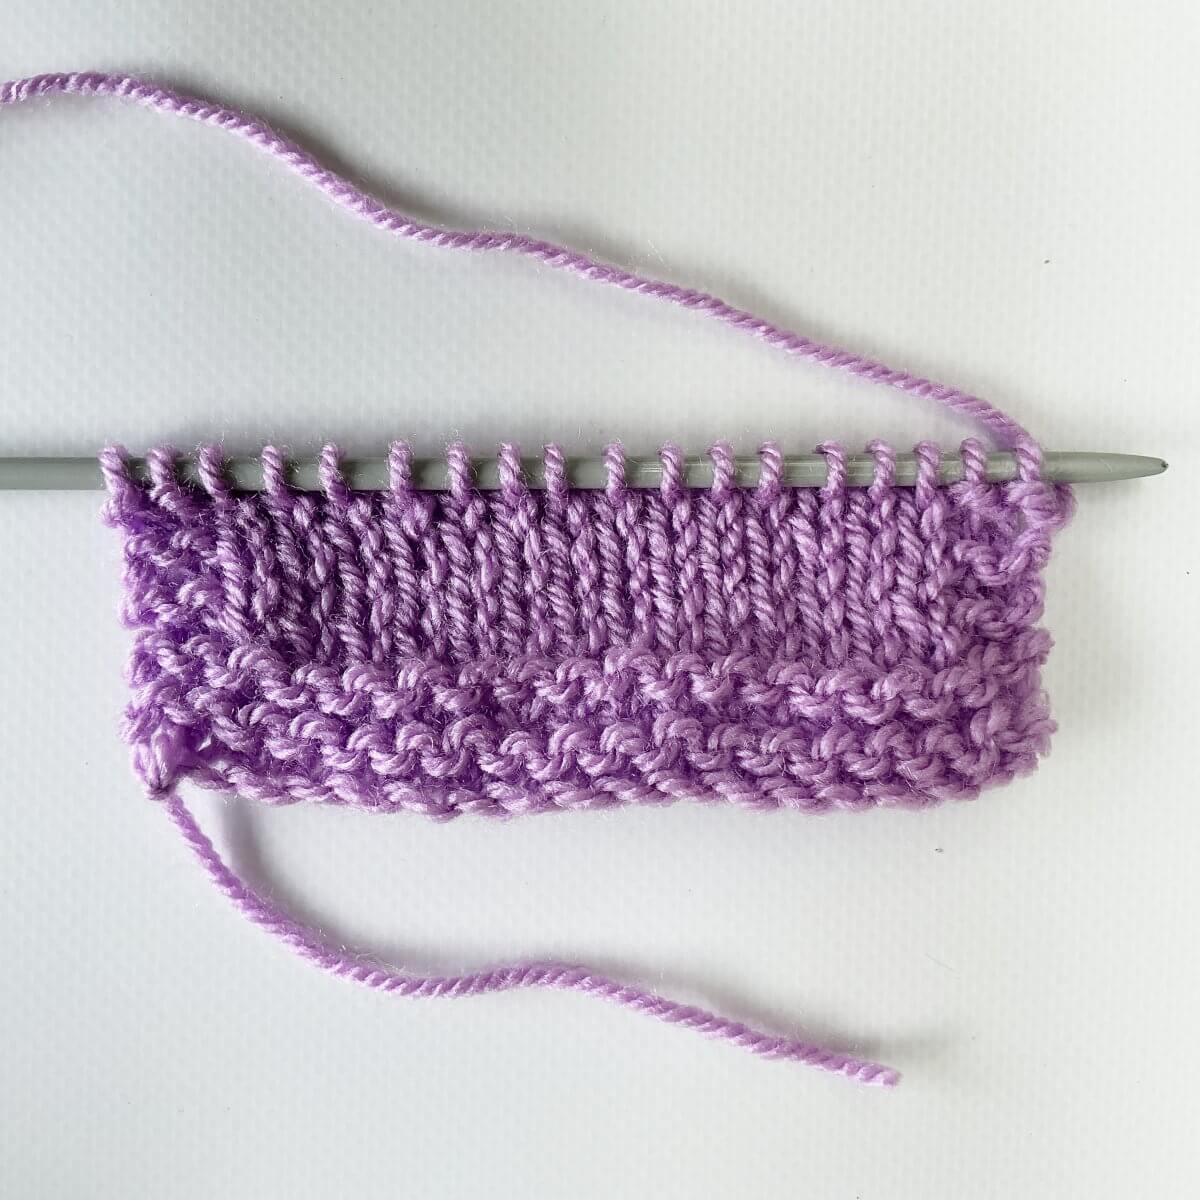
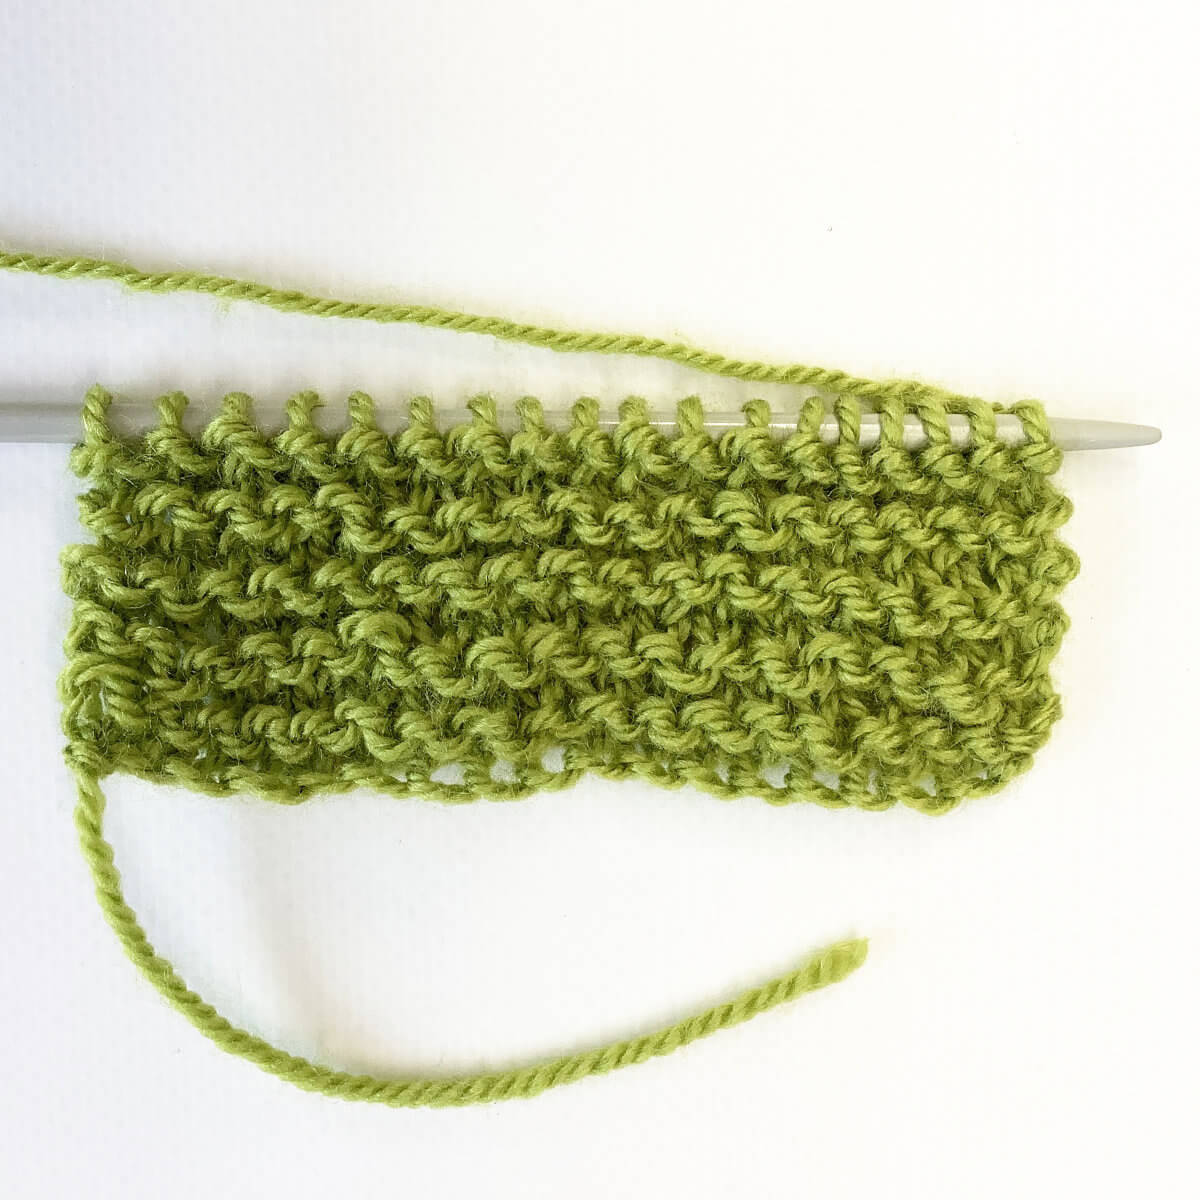
- To start, work as instructed by your pattern until the point where you want to make the tuck stitch.
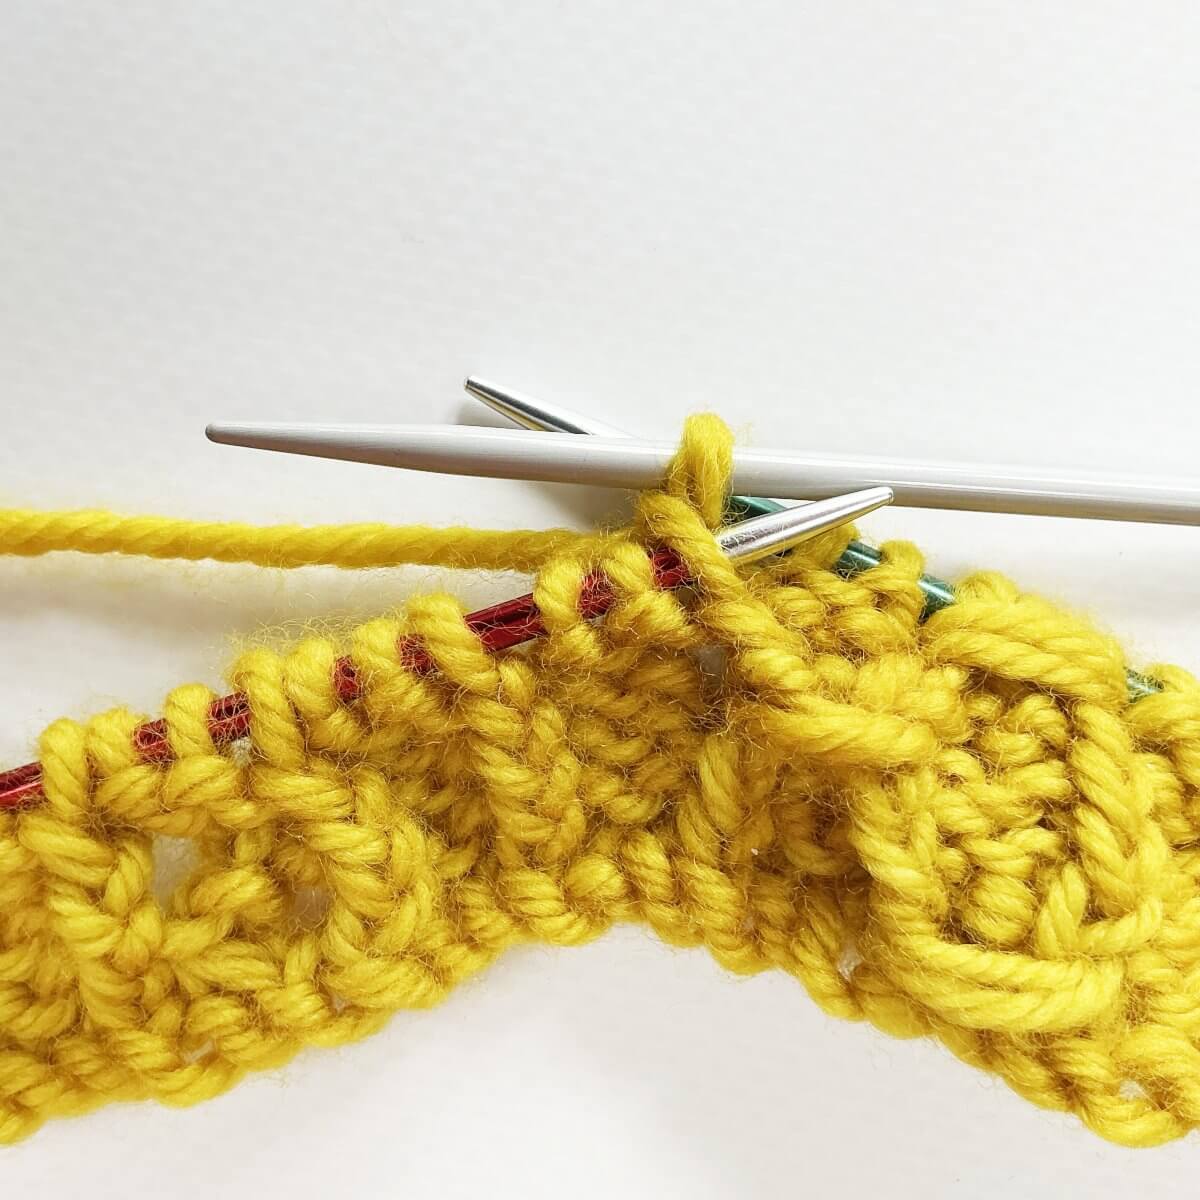
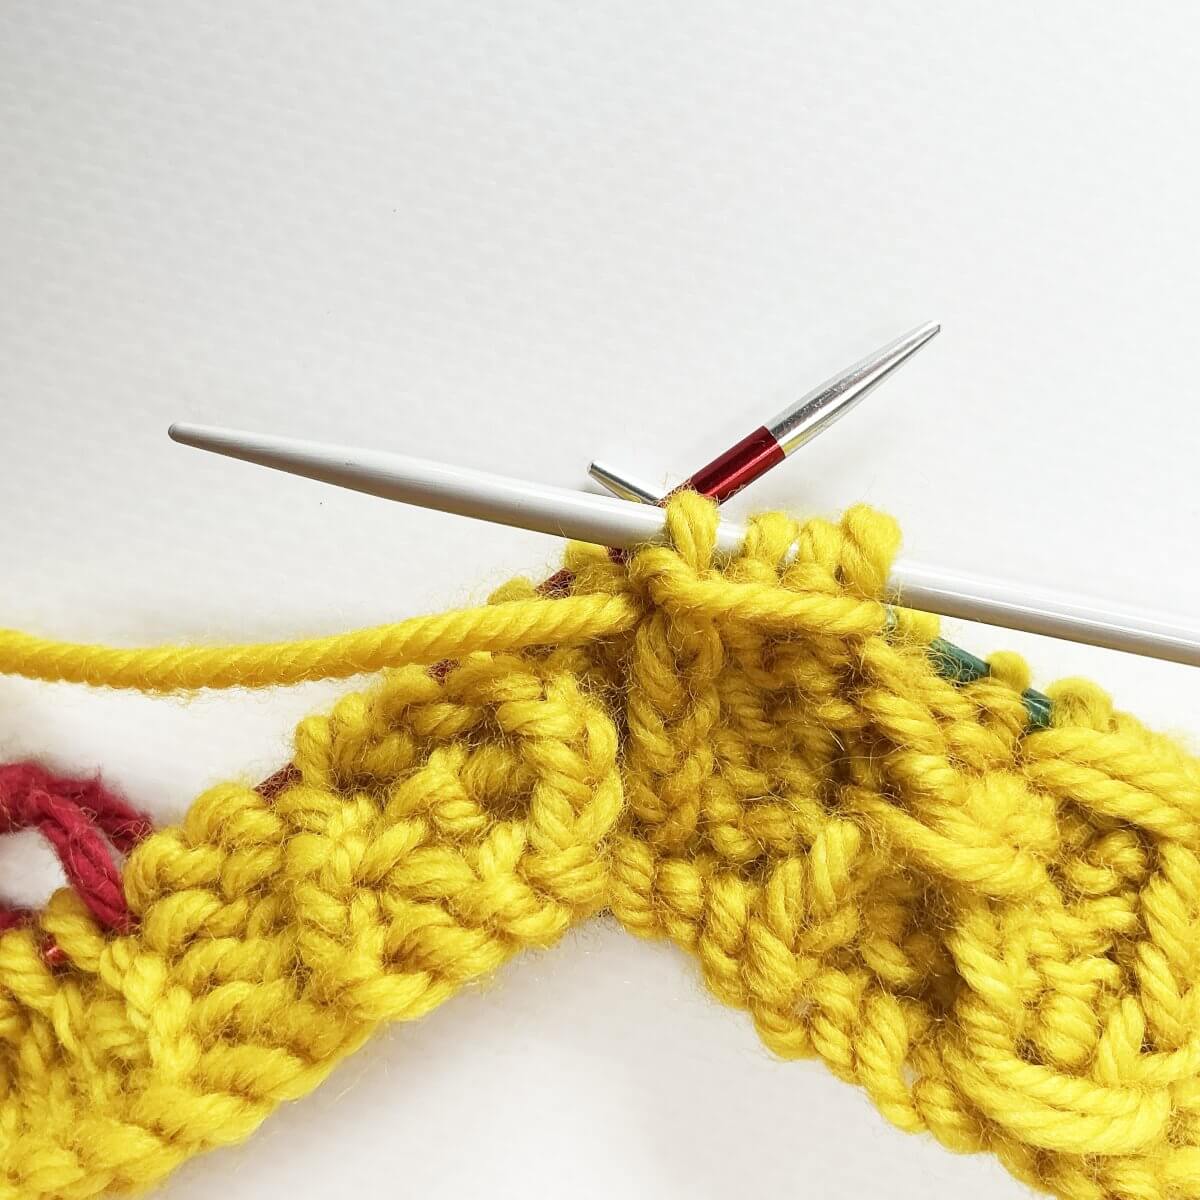
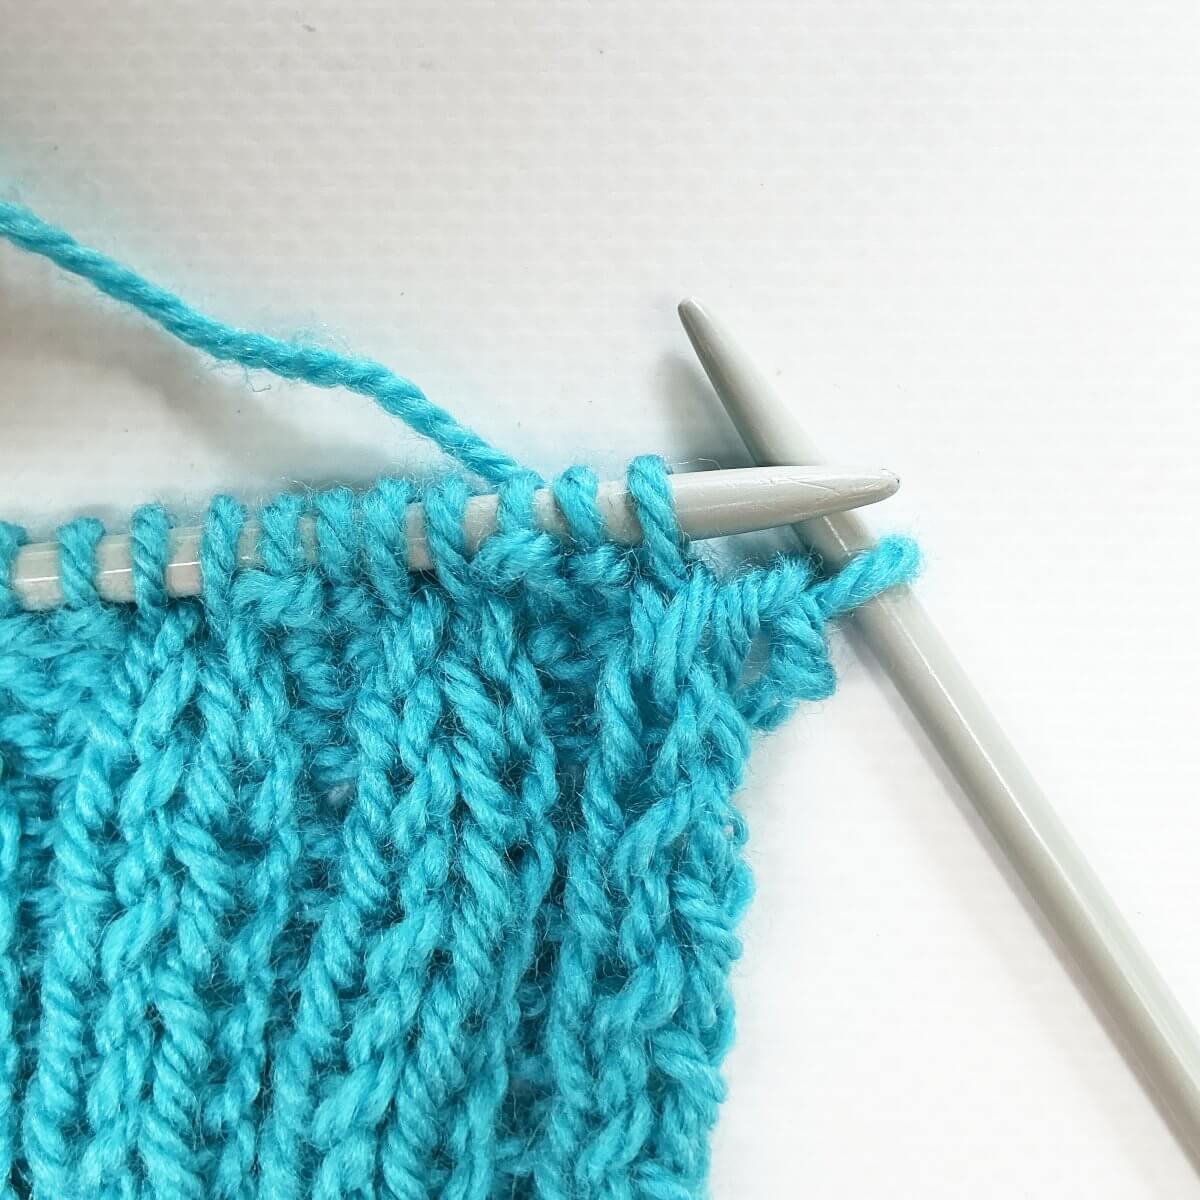
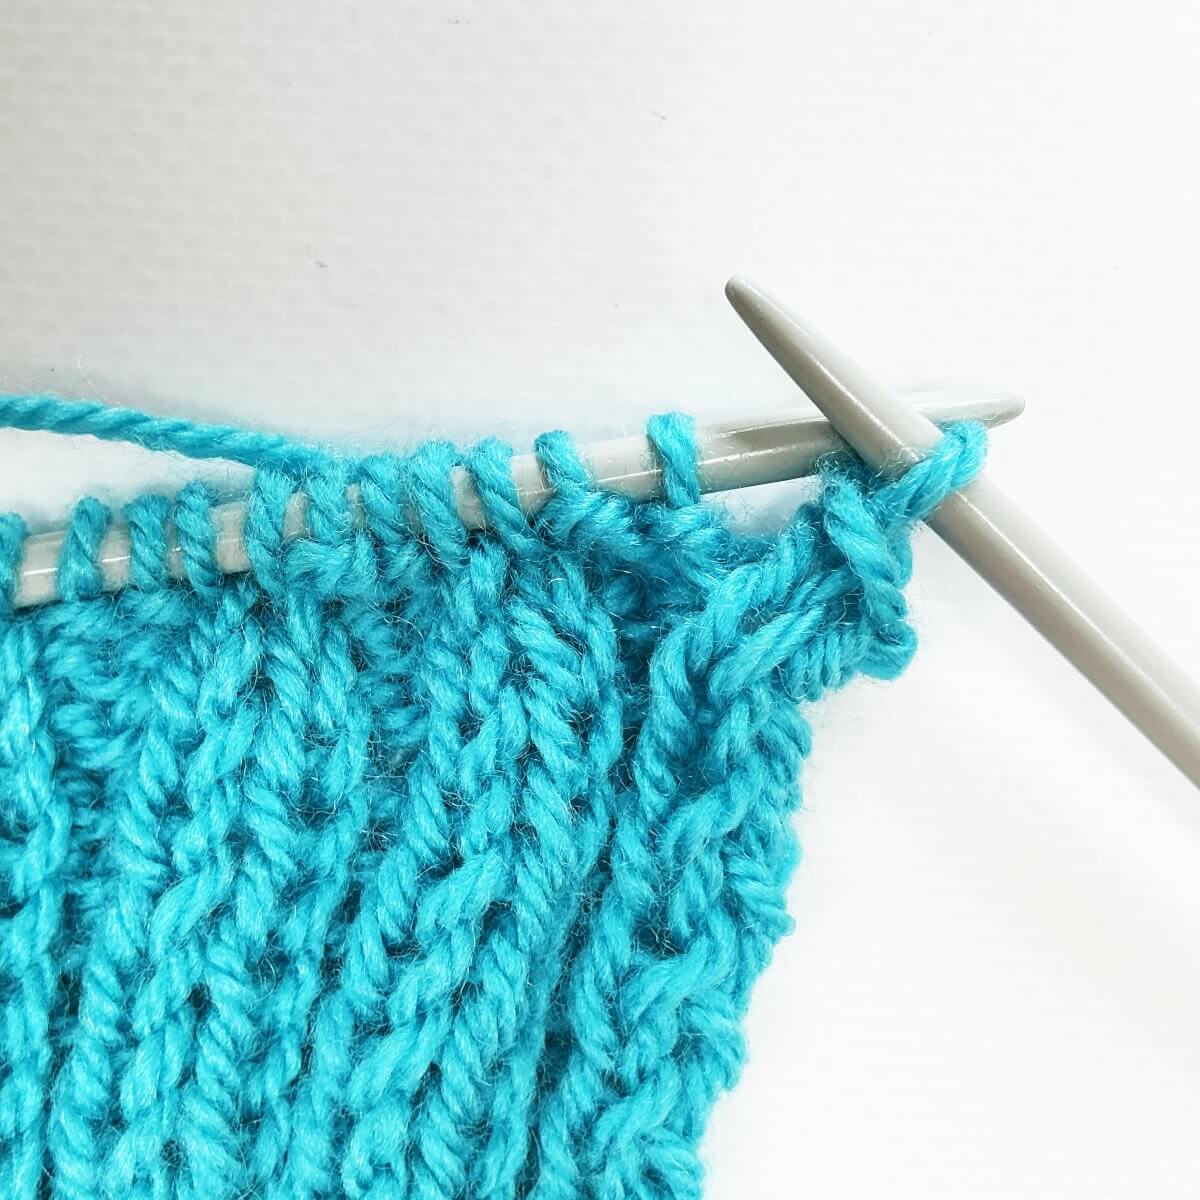
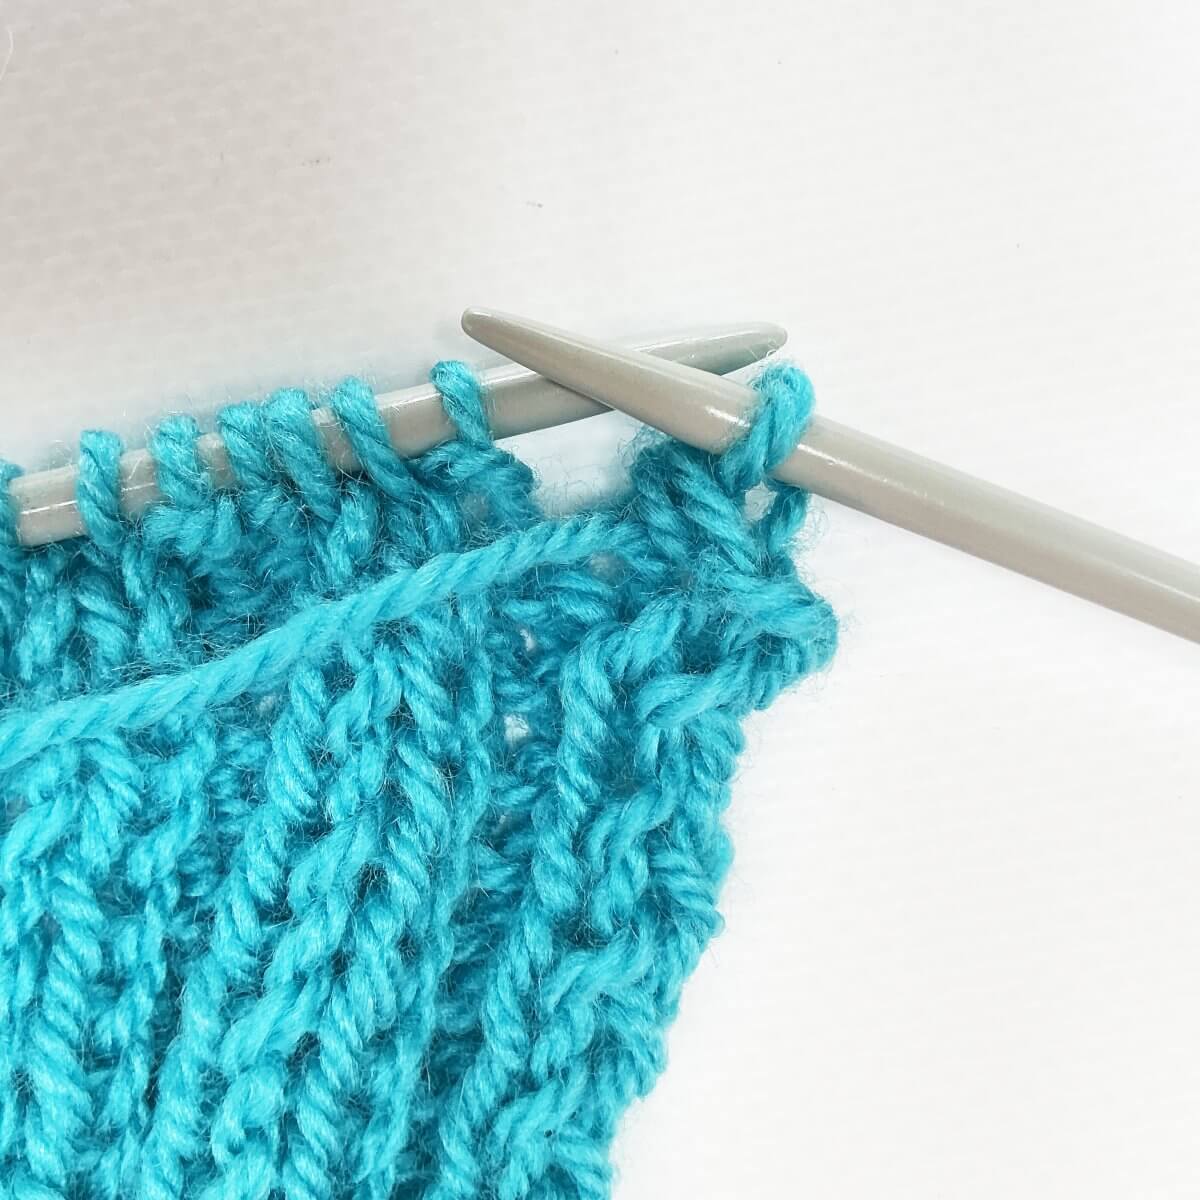
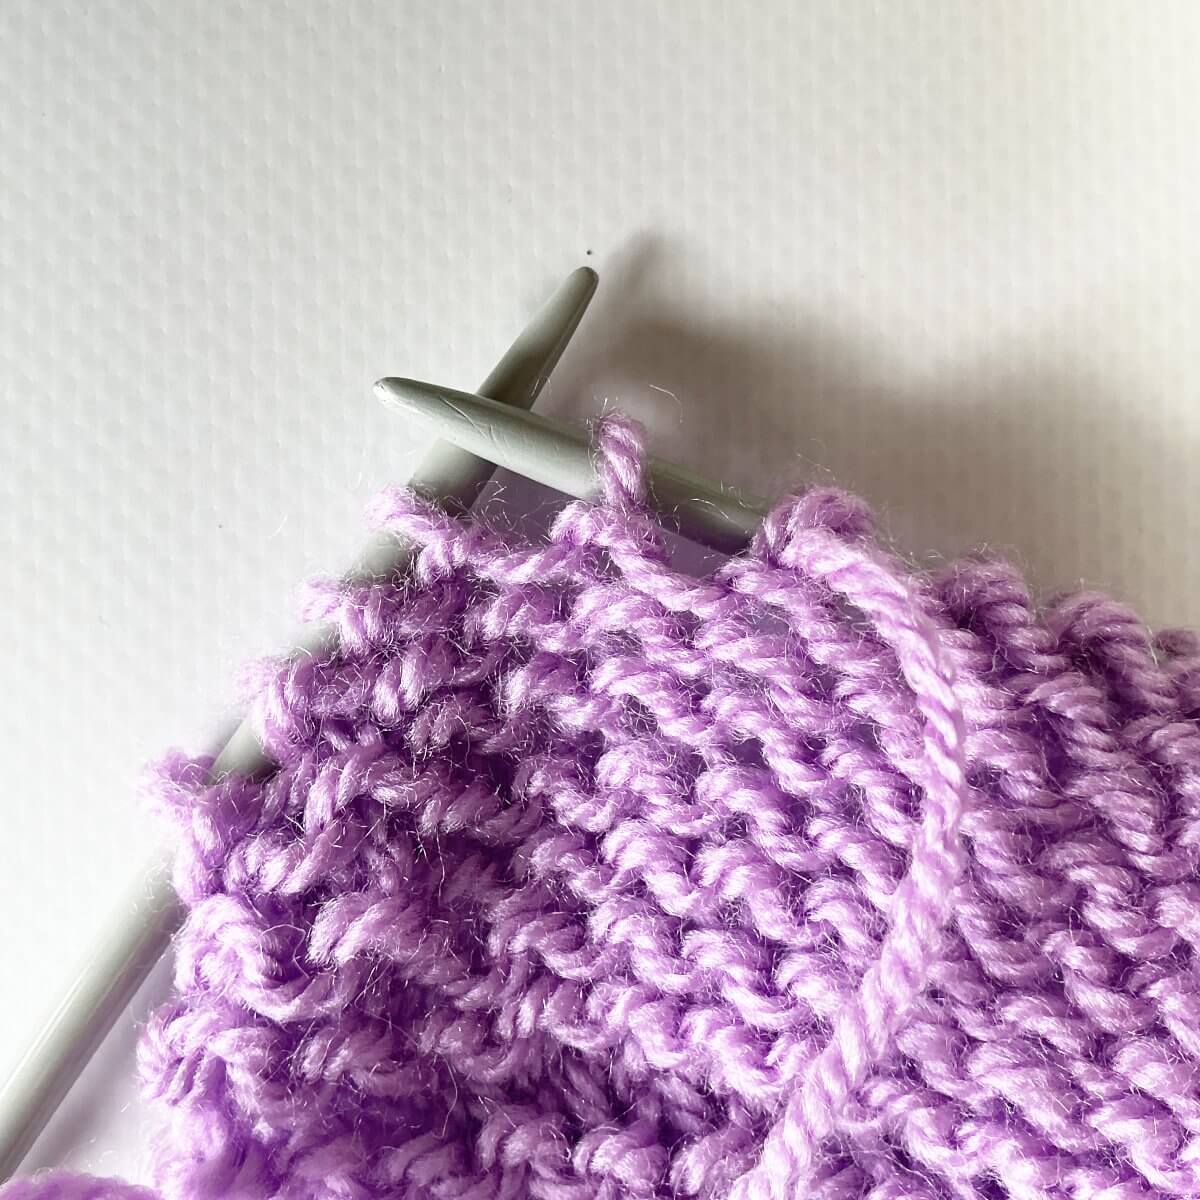
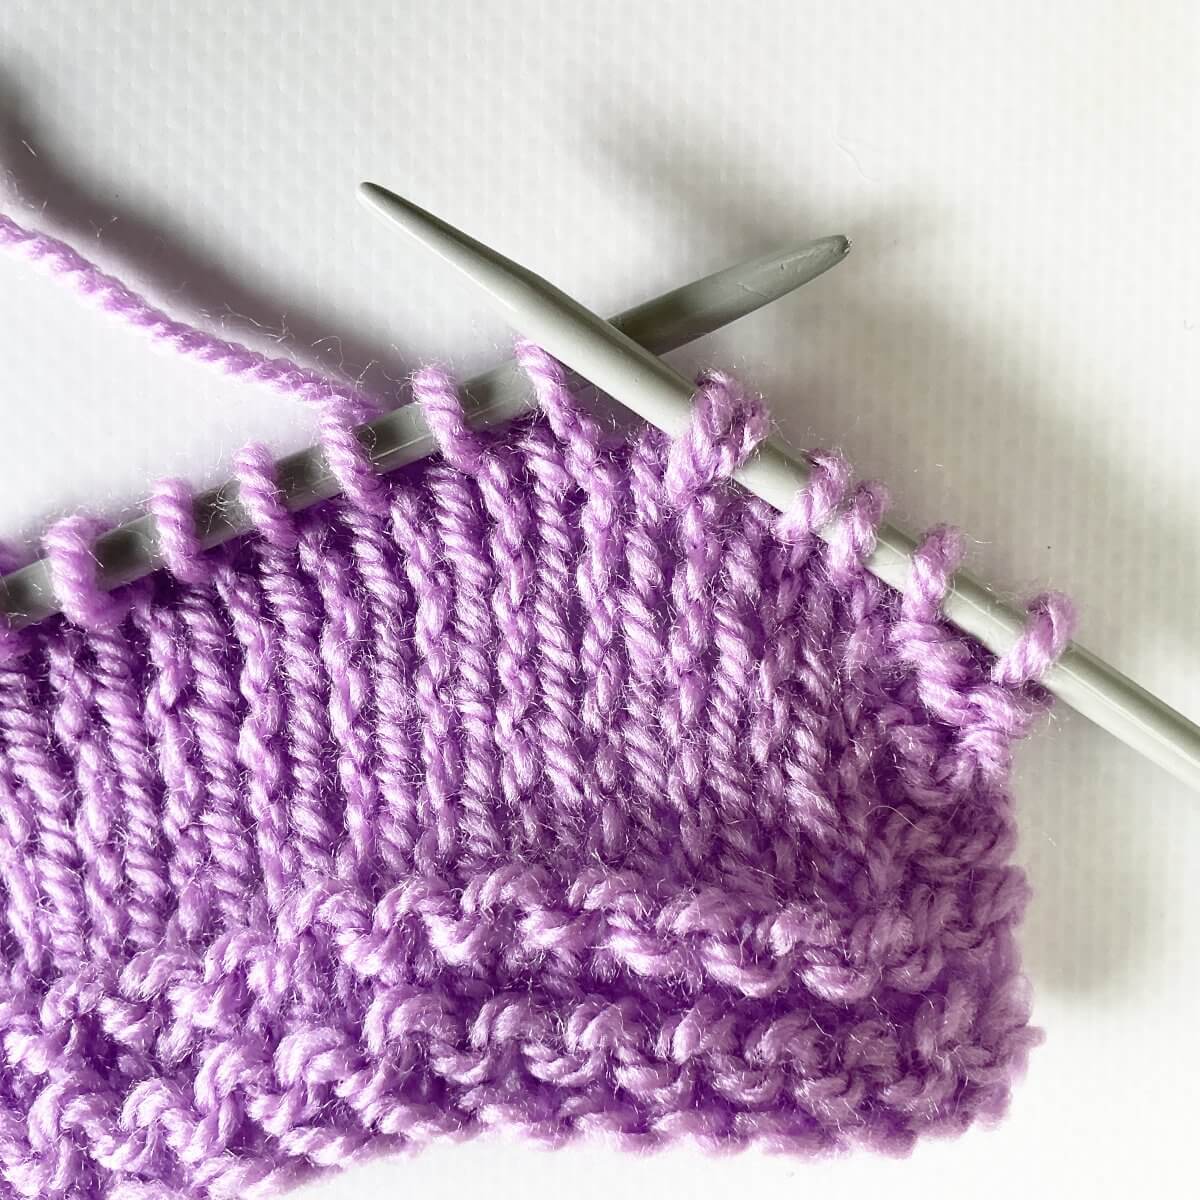
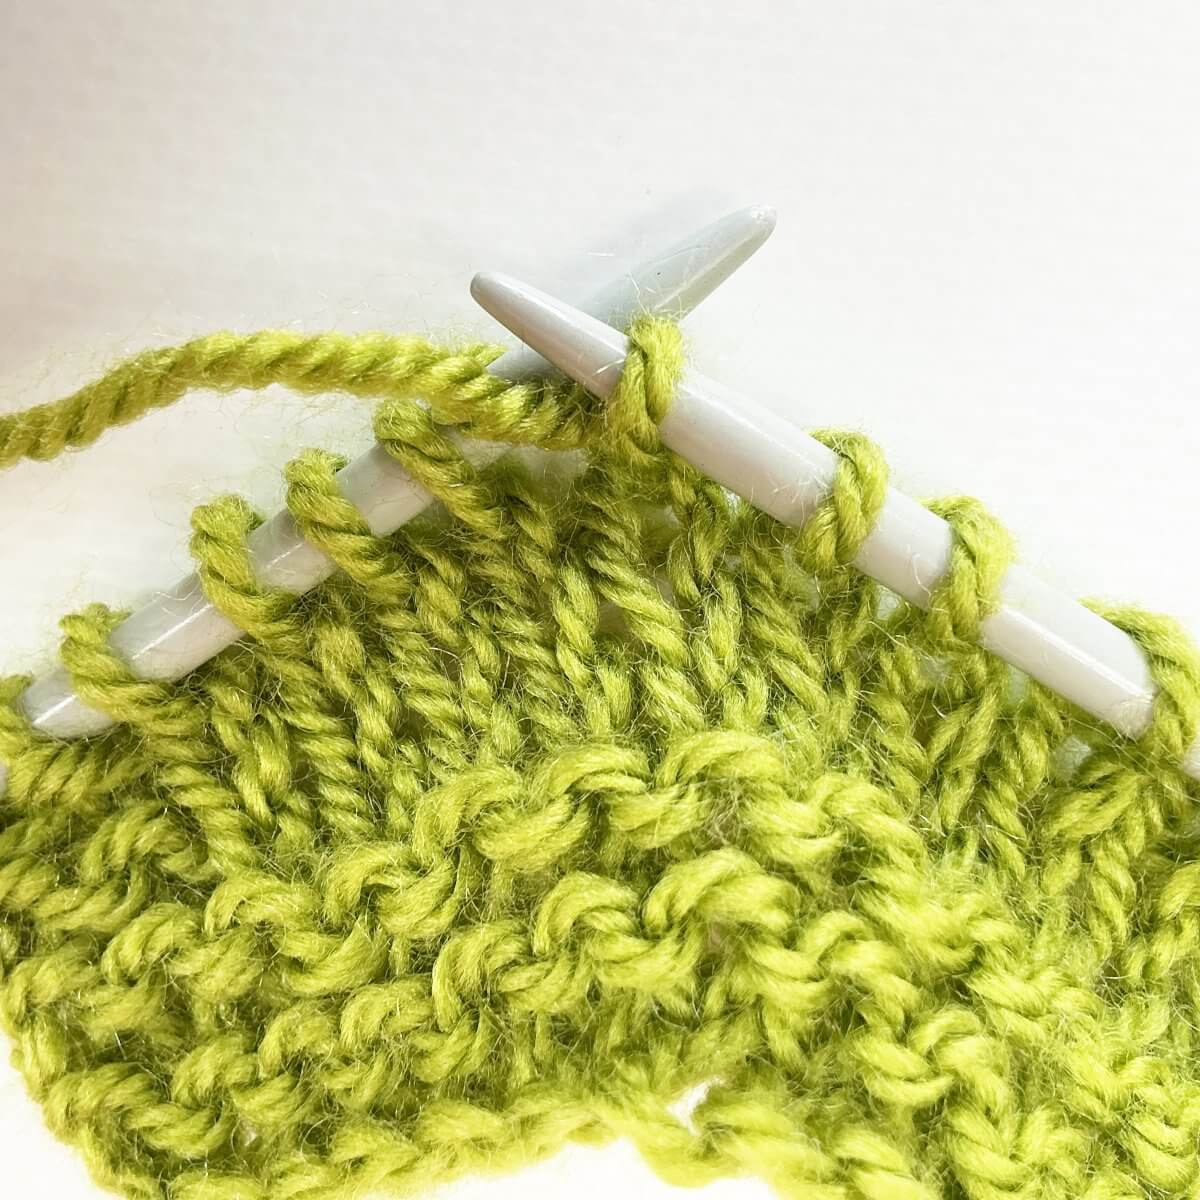
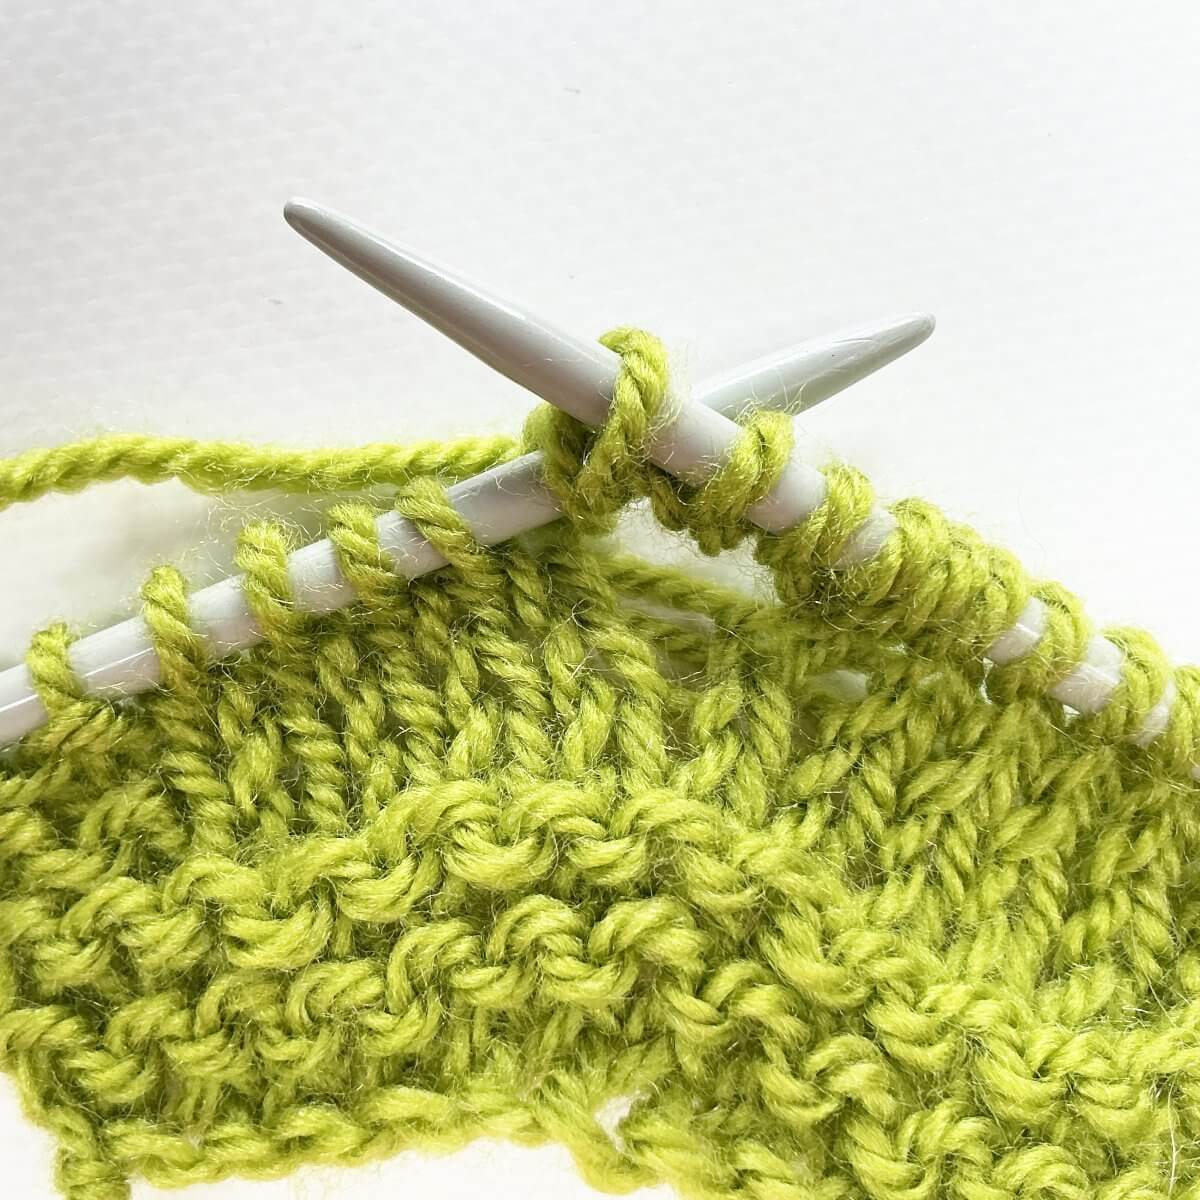
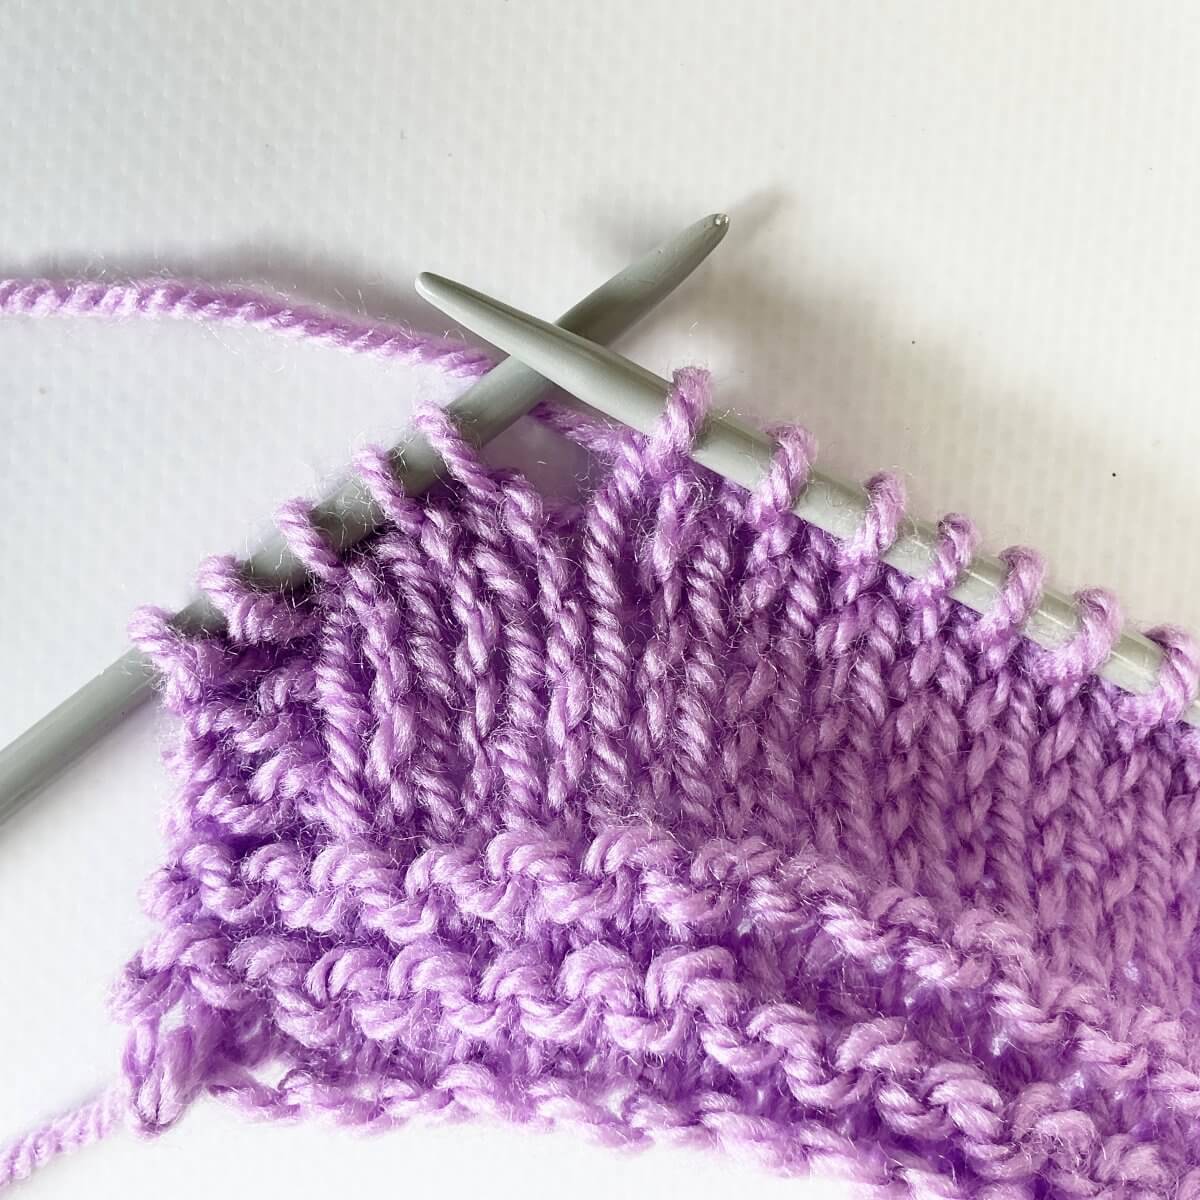
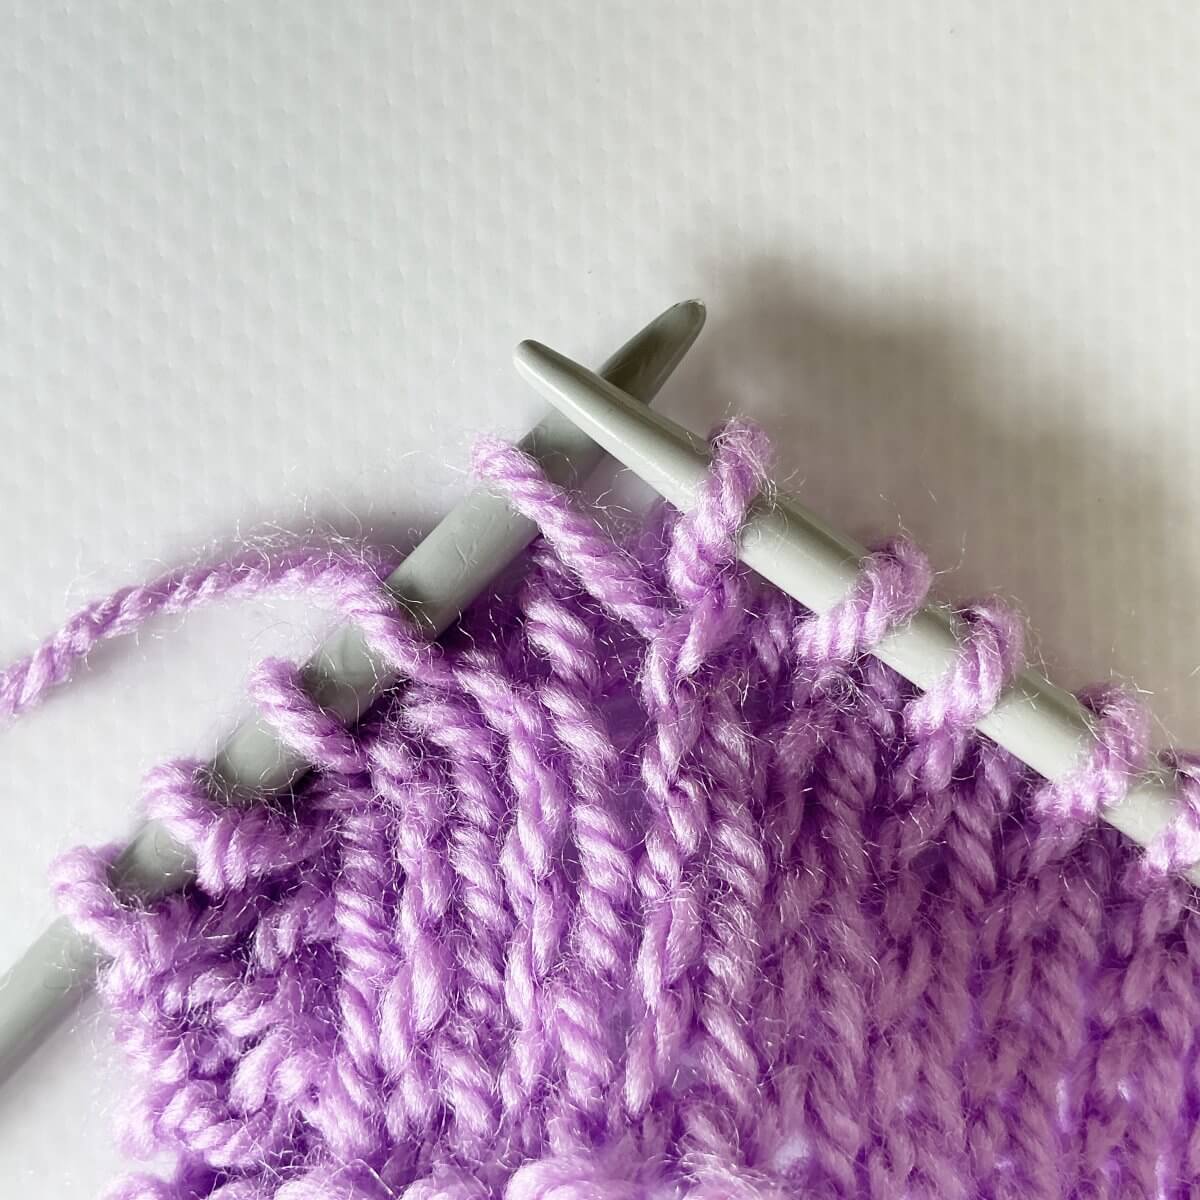
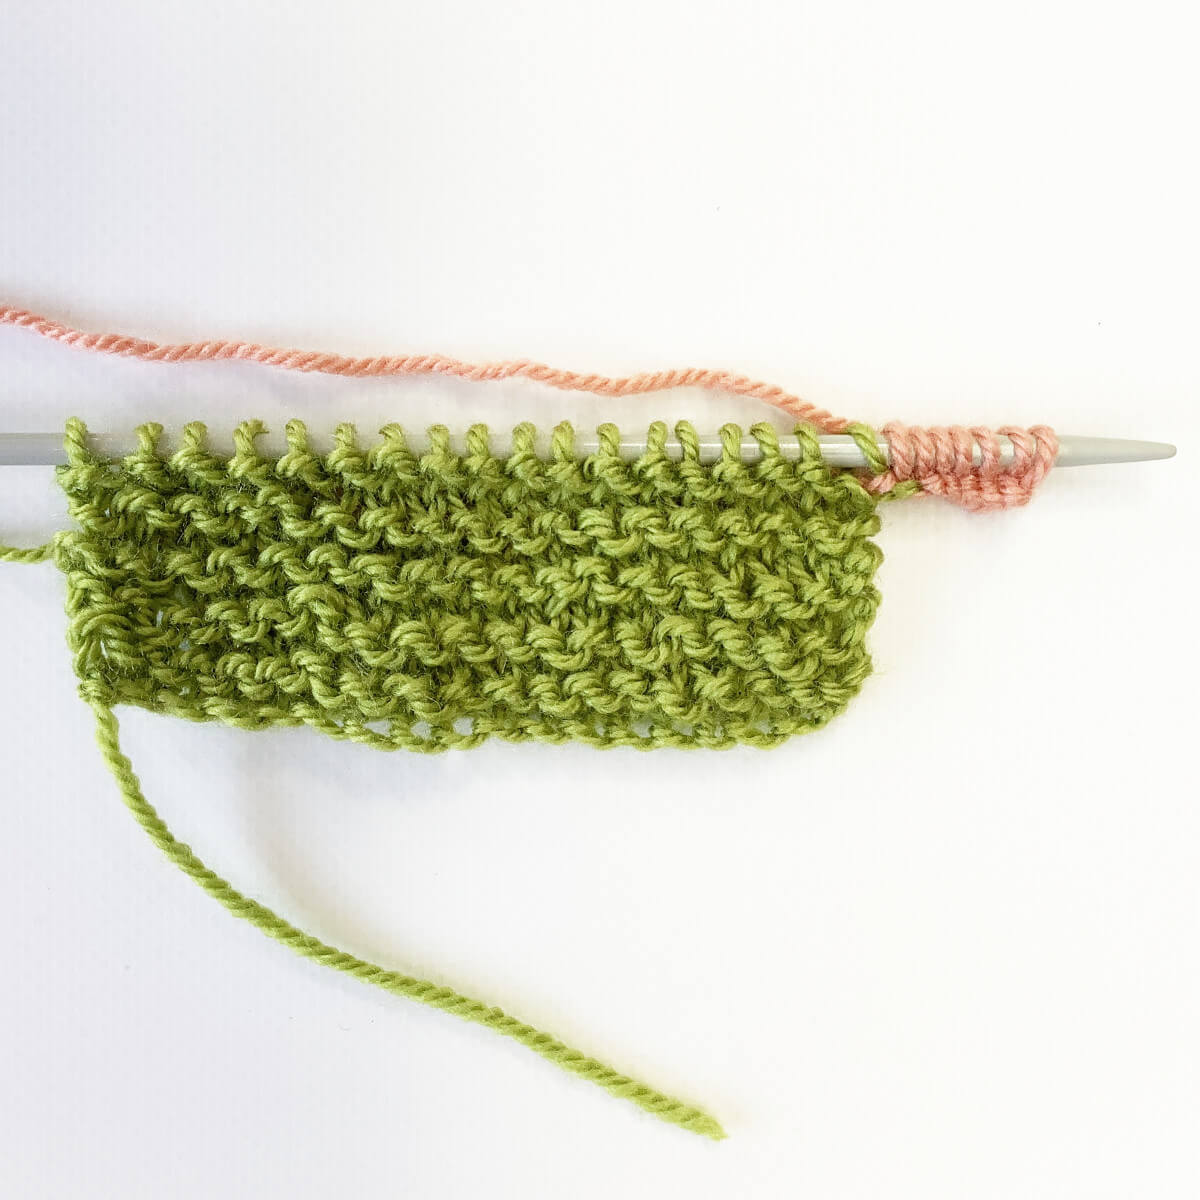
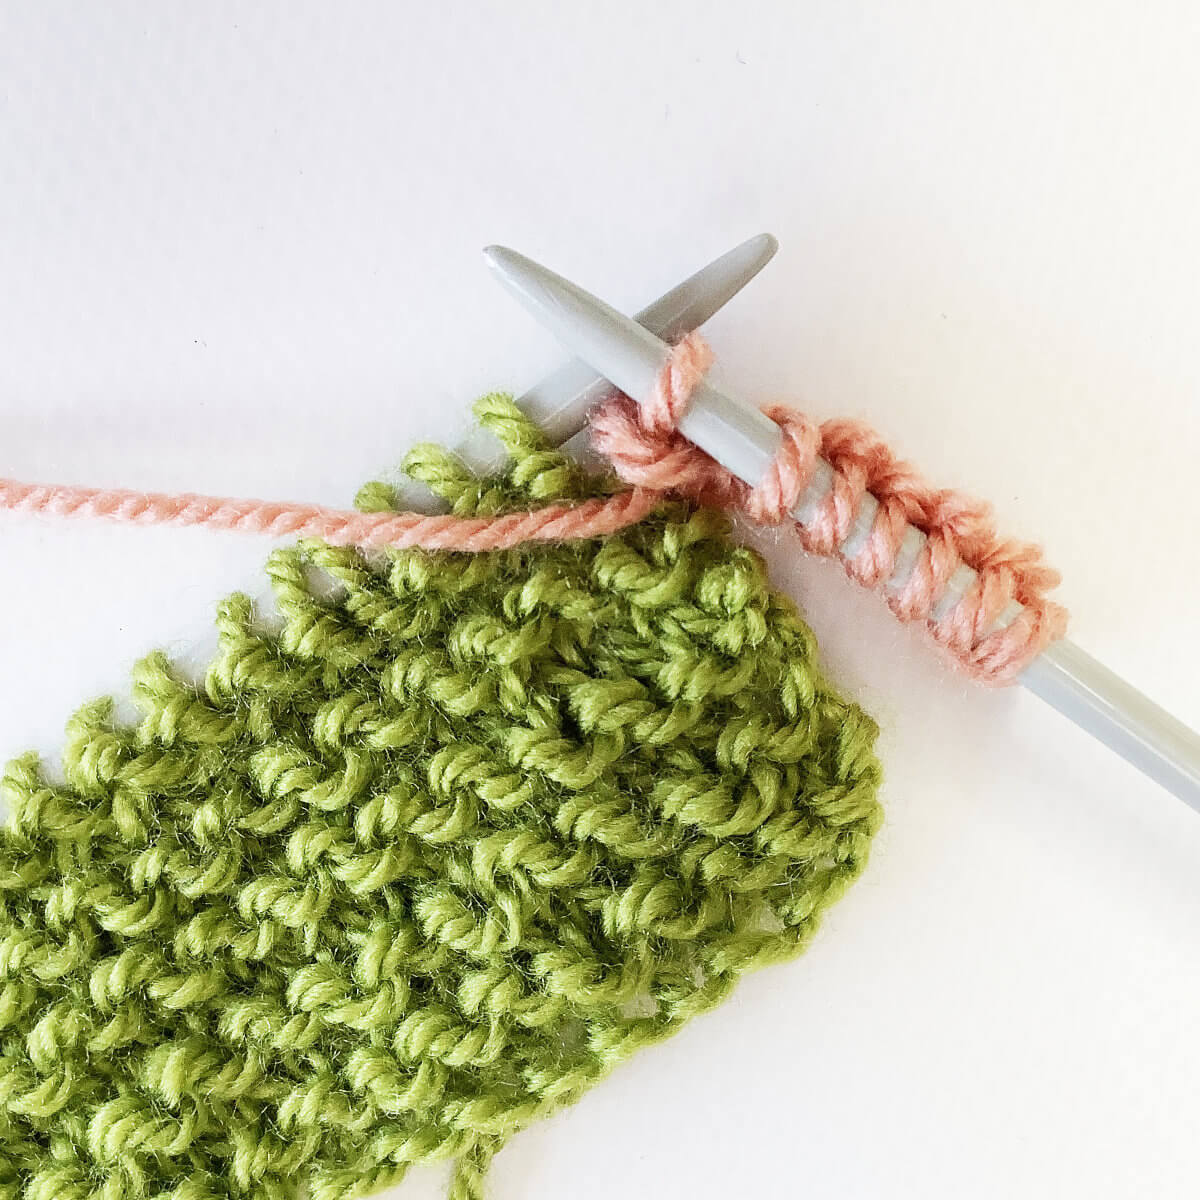
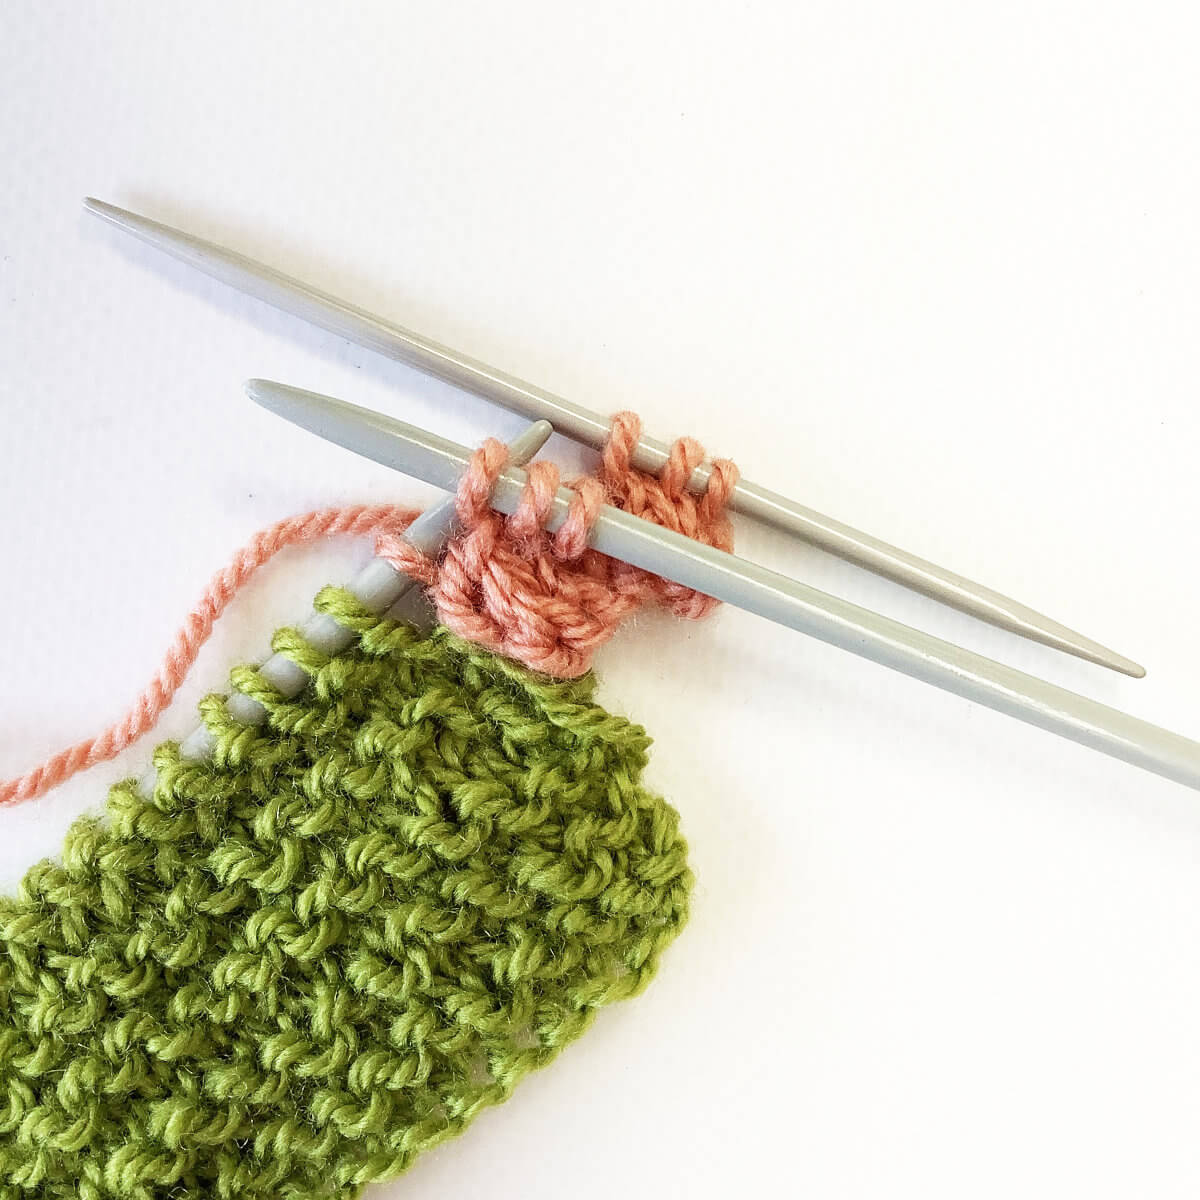
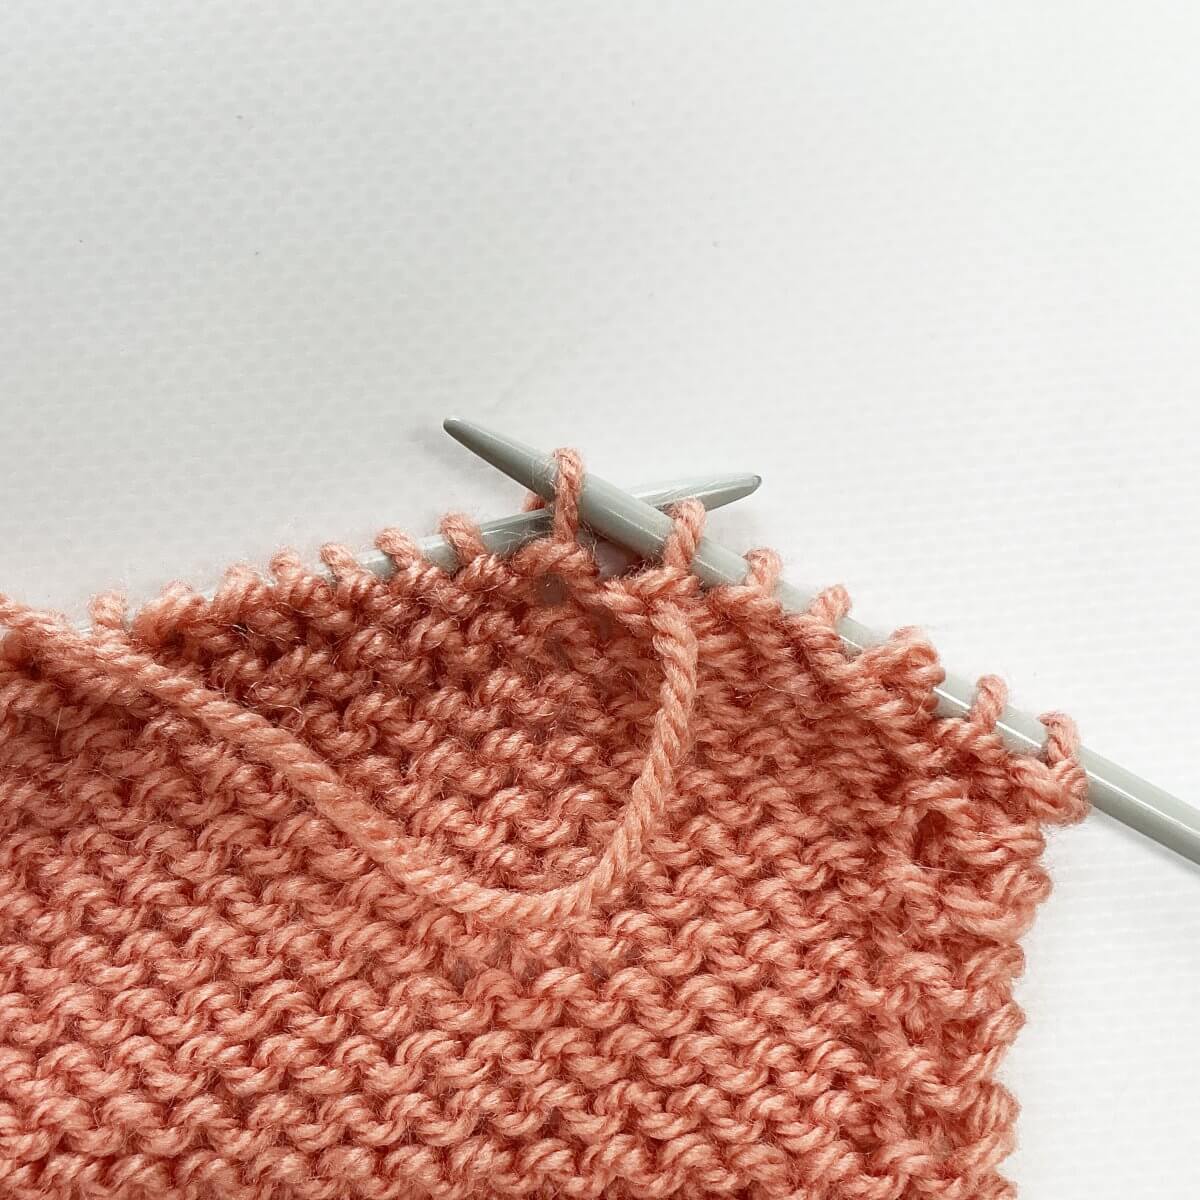
- First, slip the next stitch purl-wise from the left-hand to the right-hand knitting needle. In this picture, I’ve just inserted the right-hand needle into that stitch.
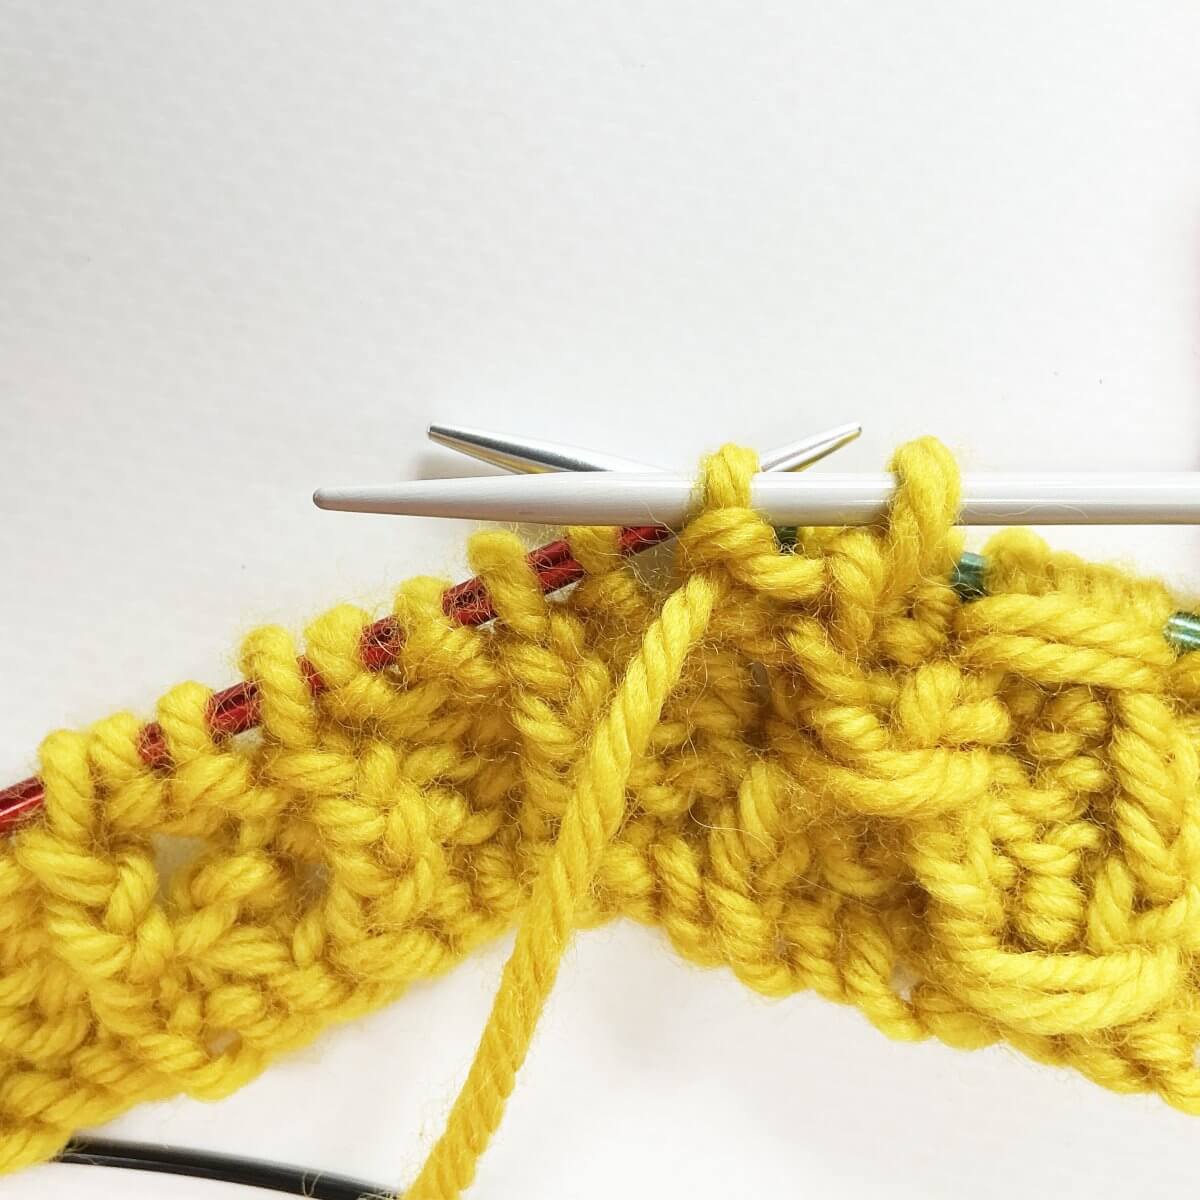
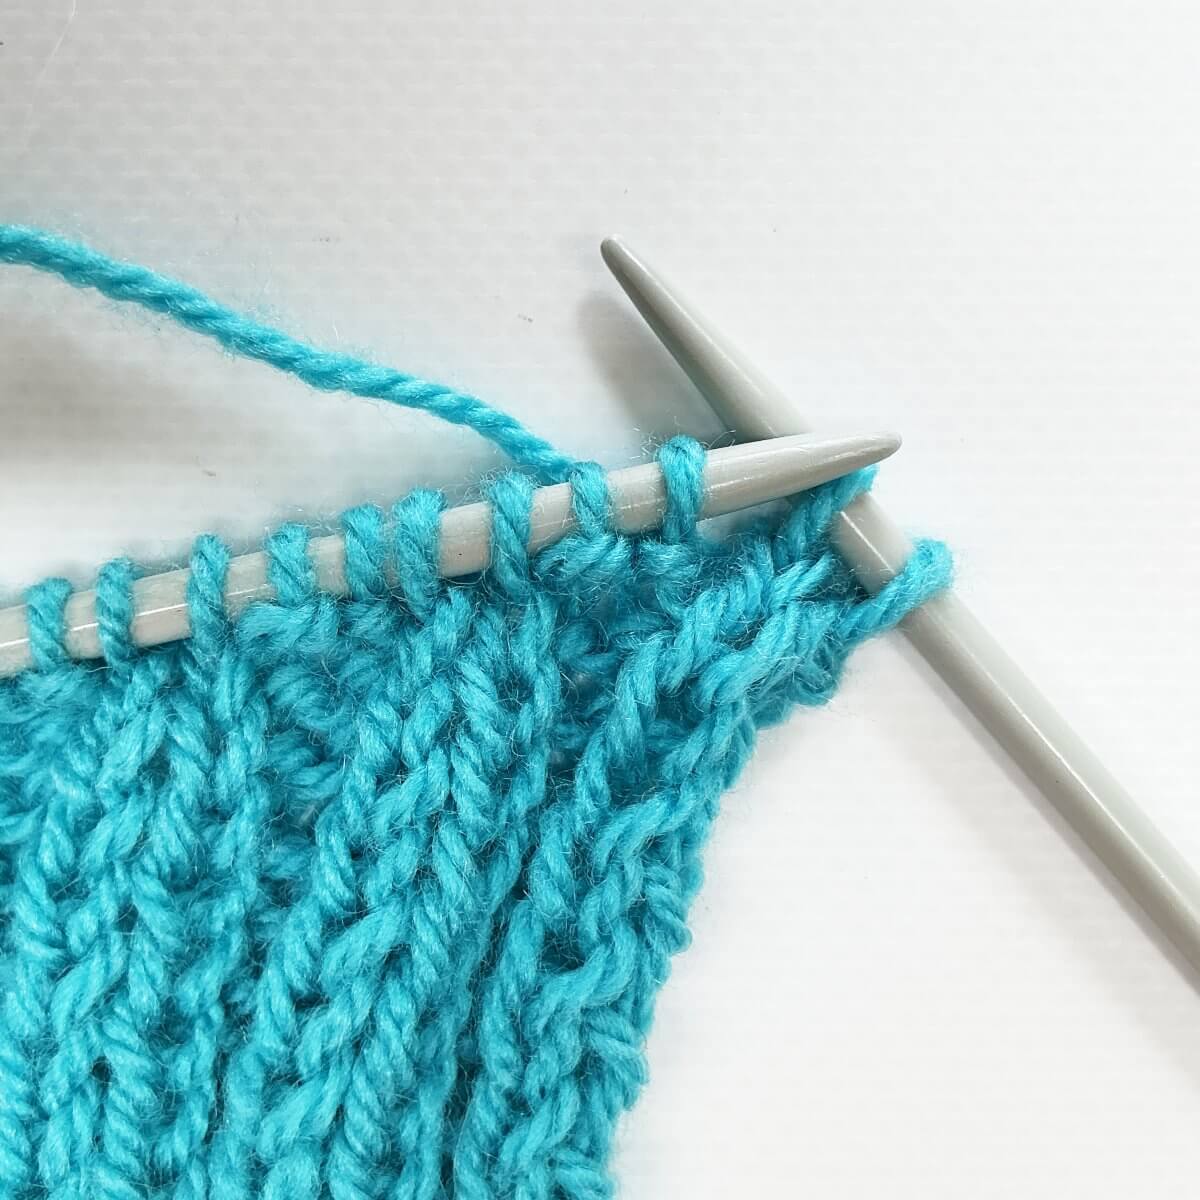
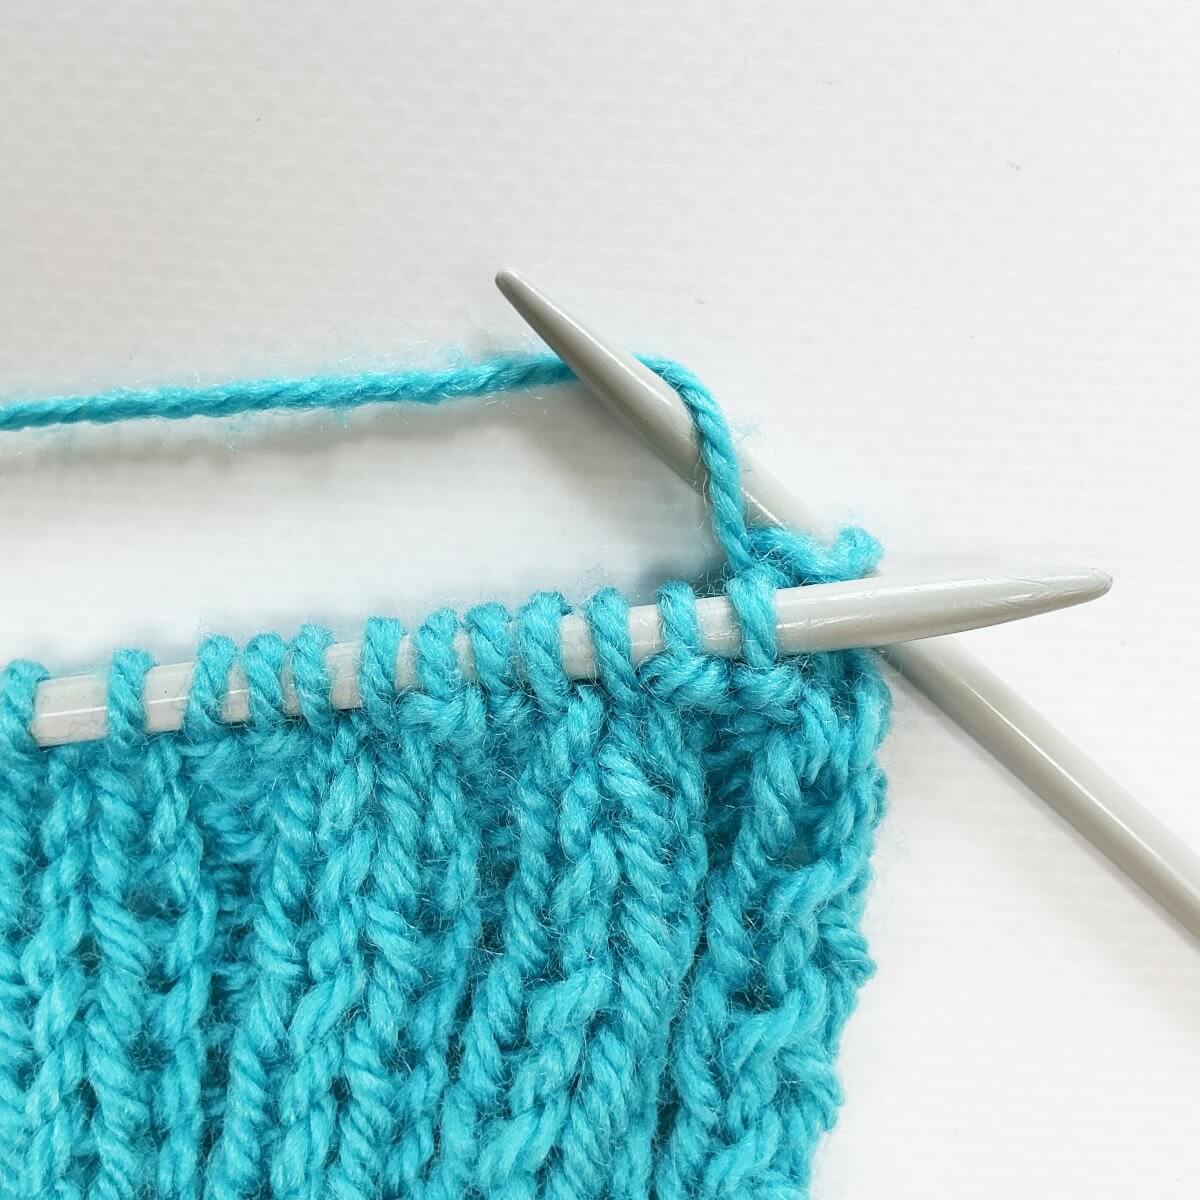
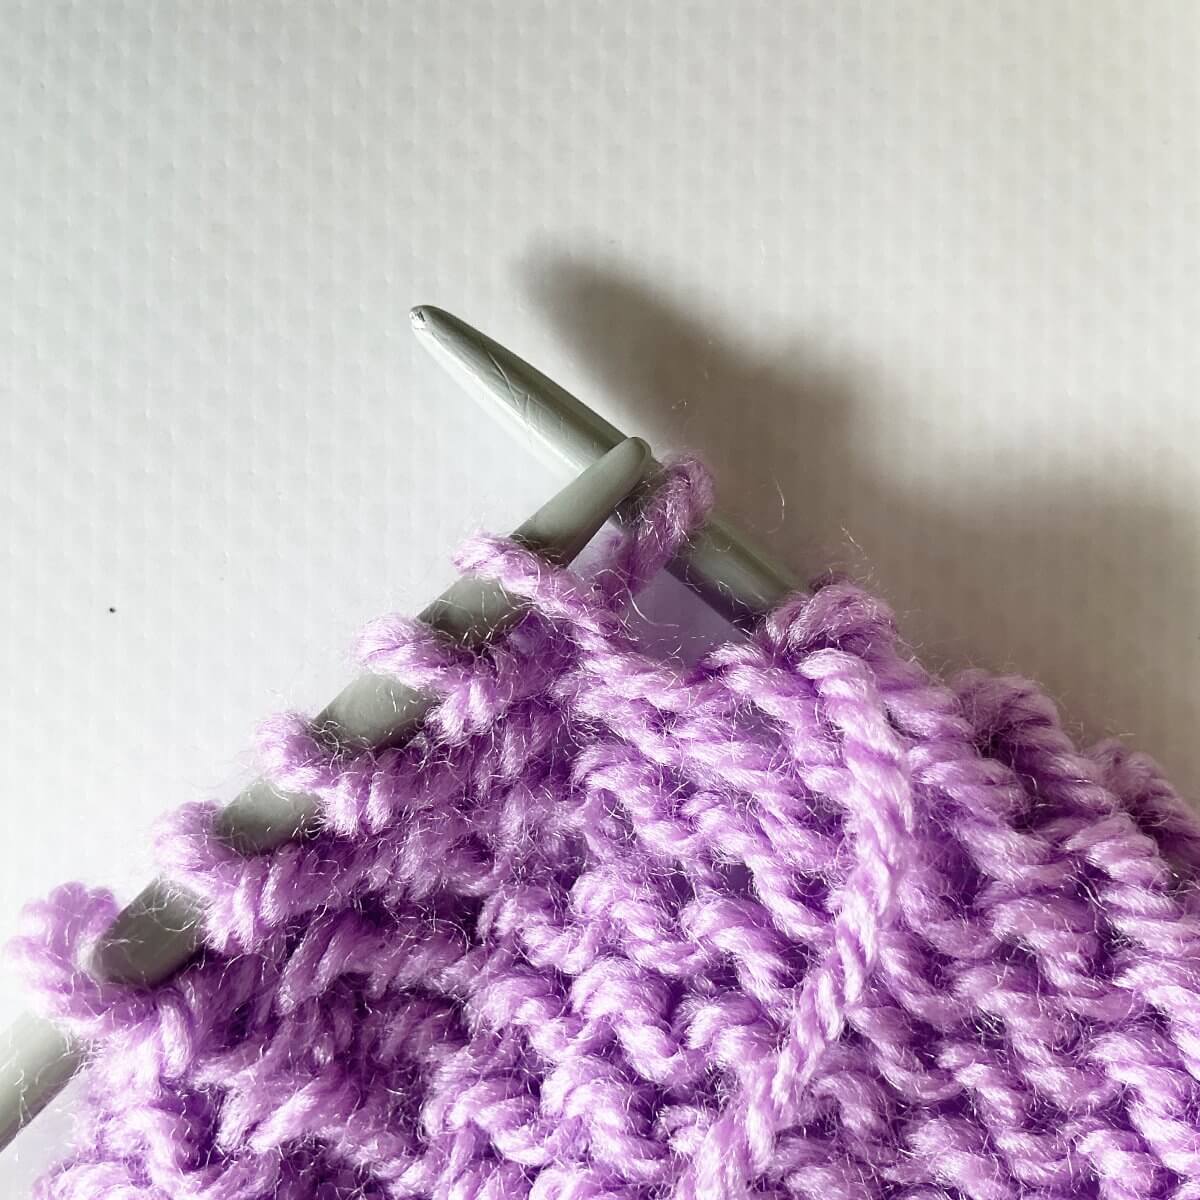
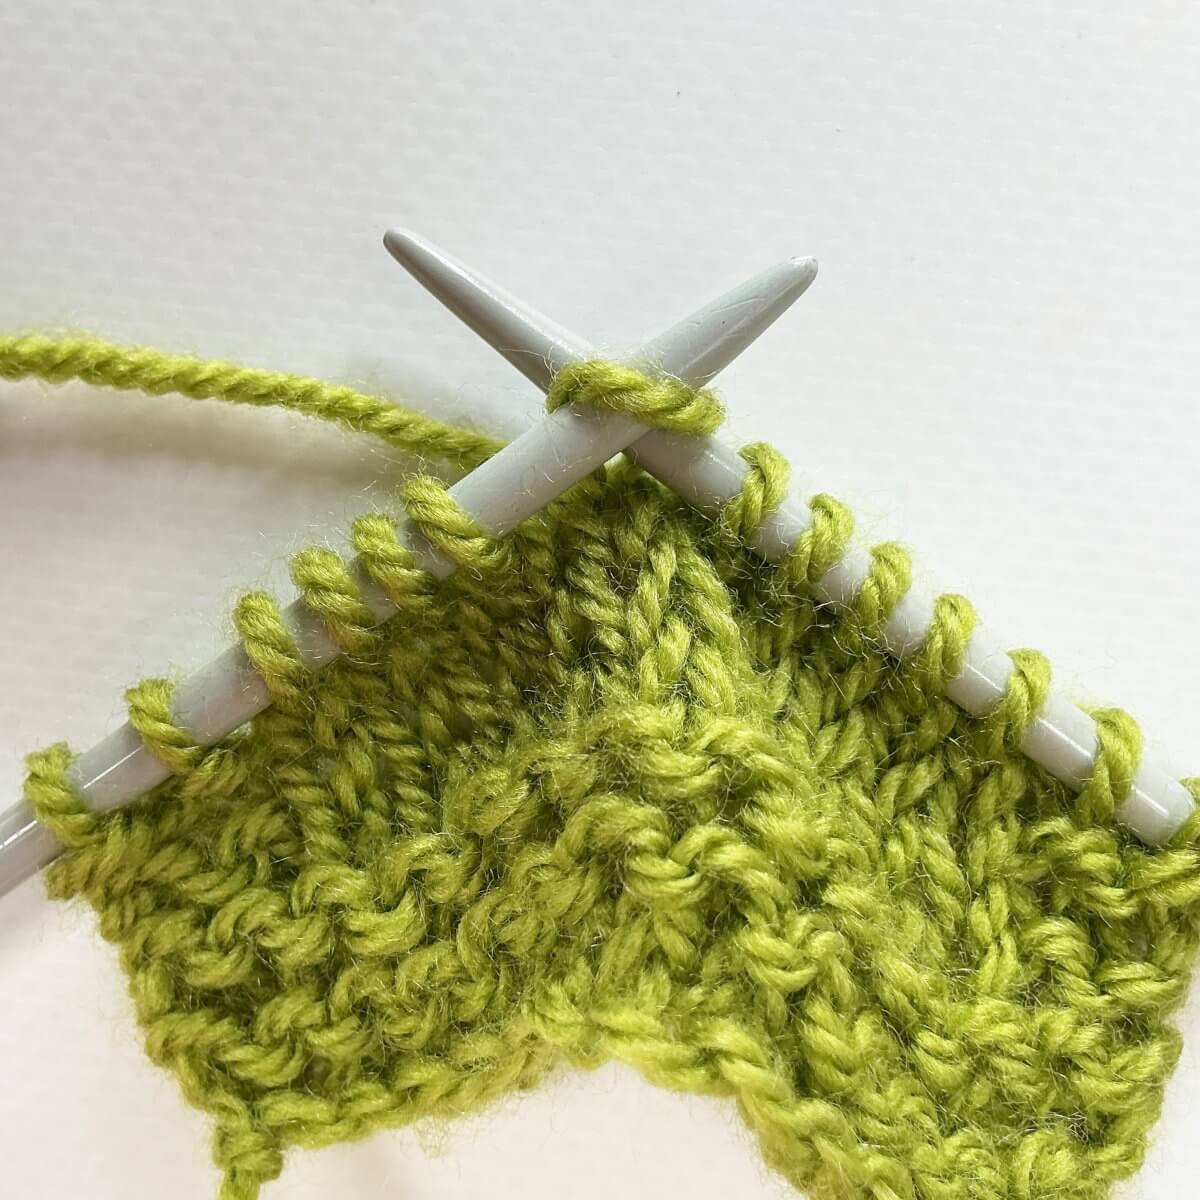
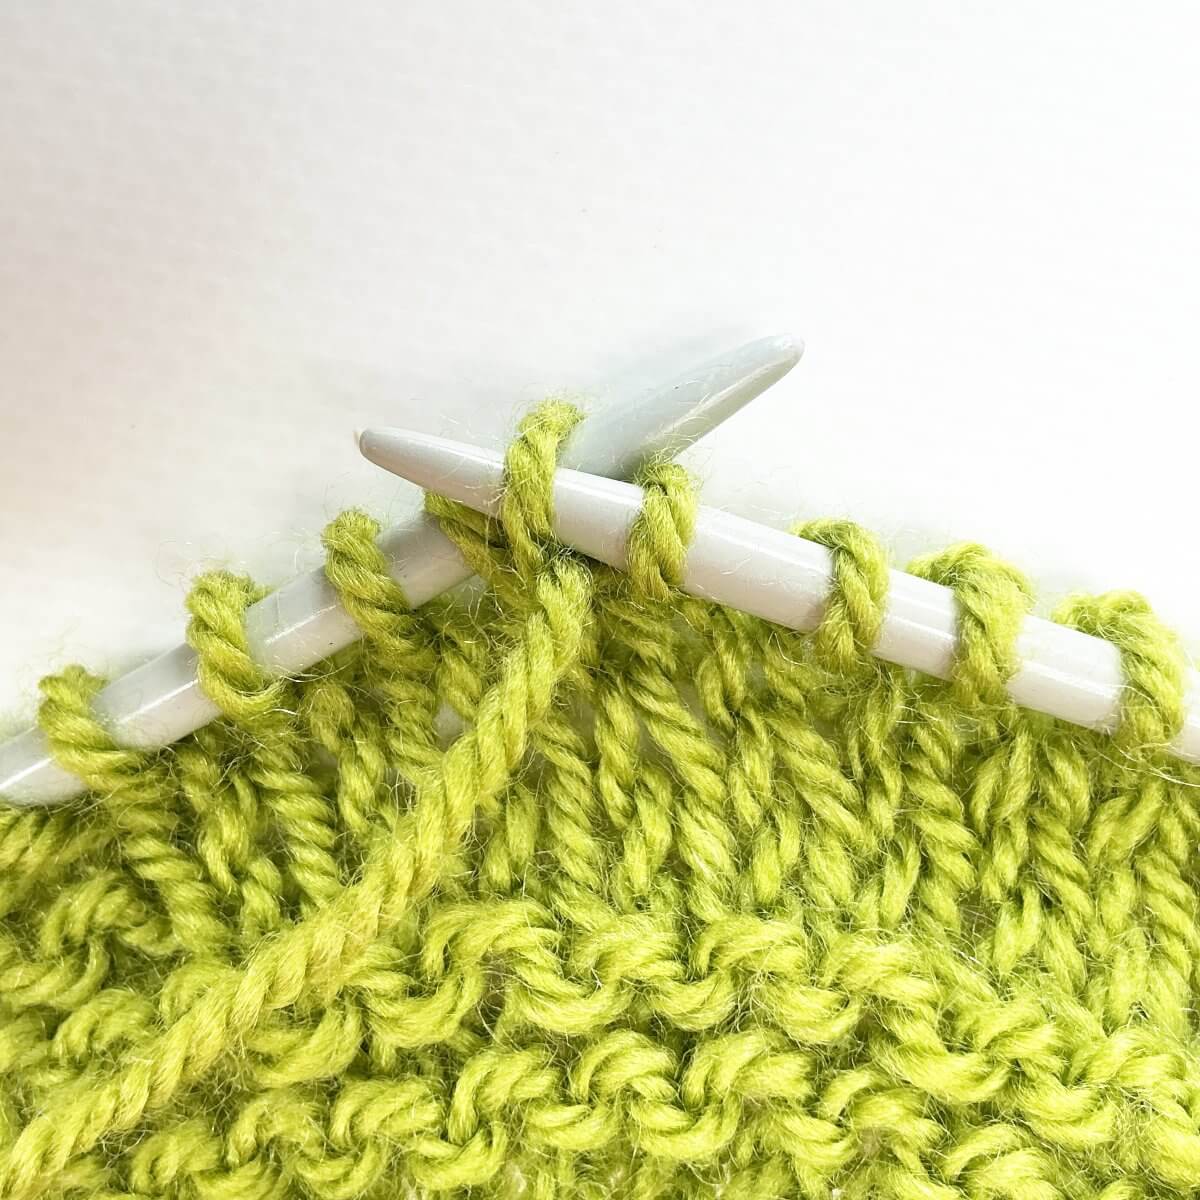
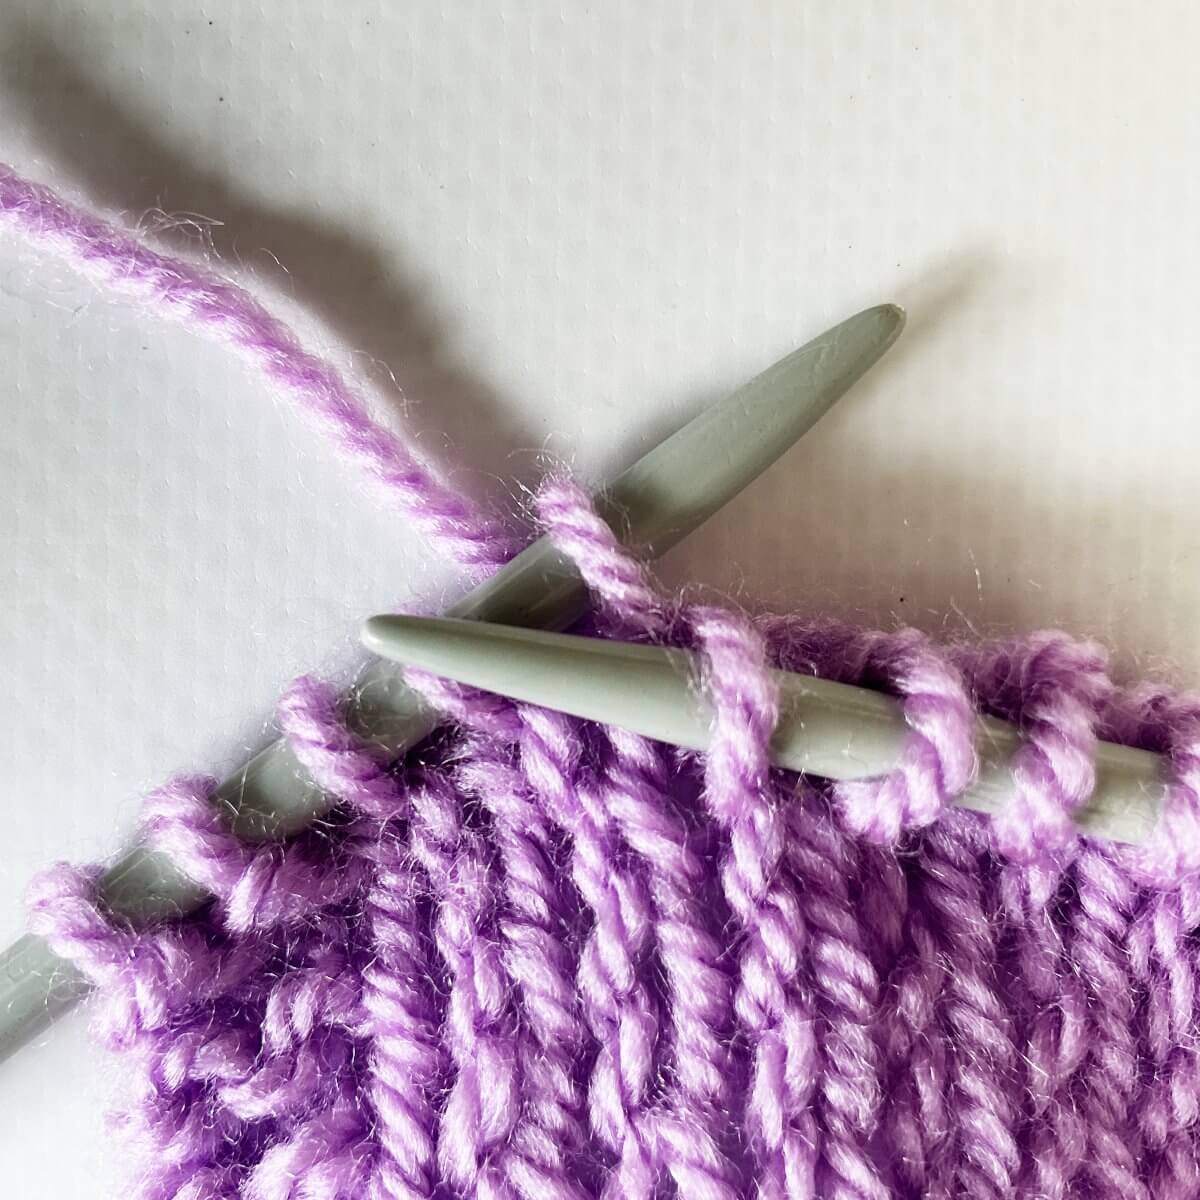
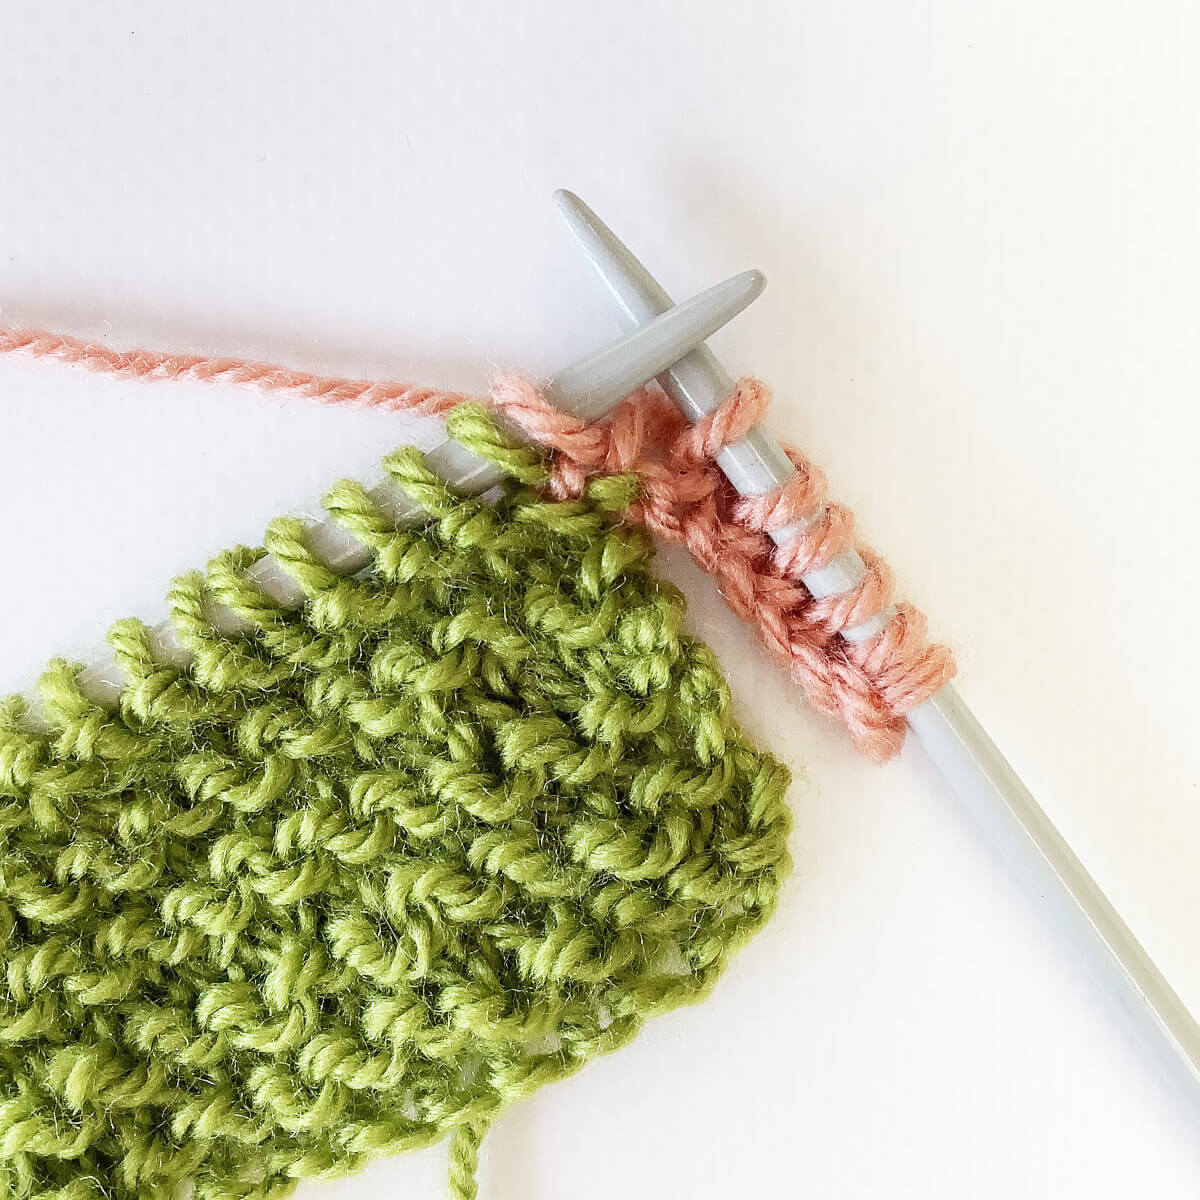
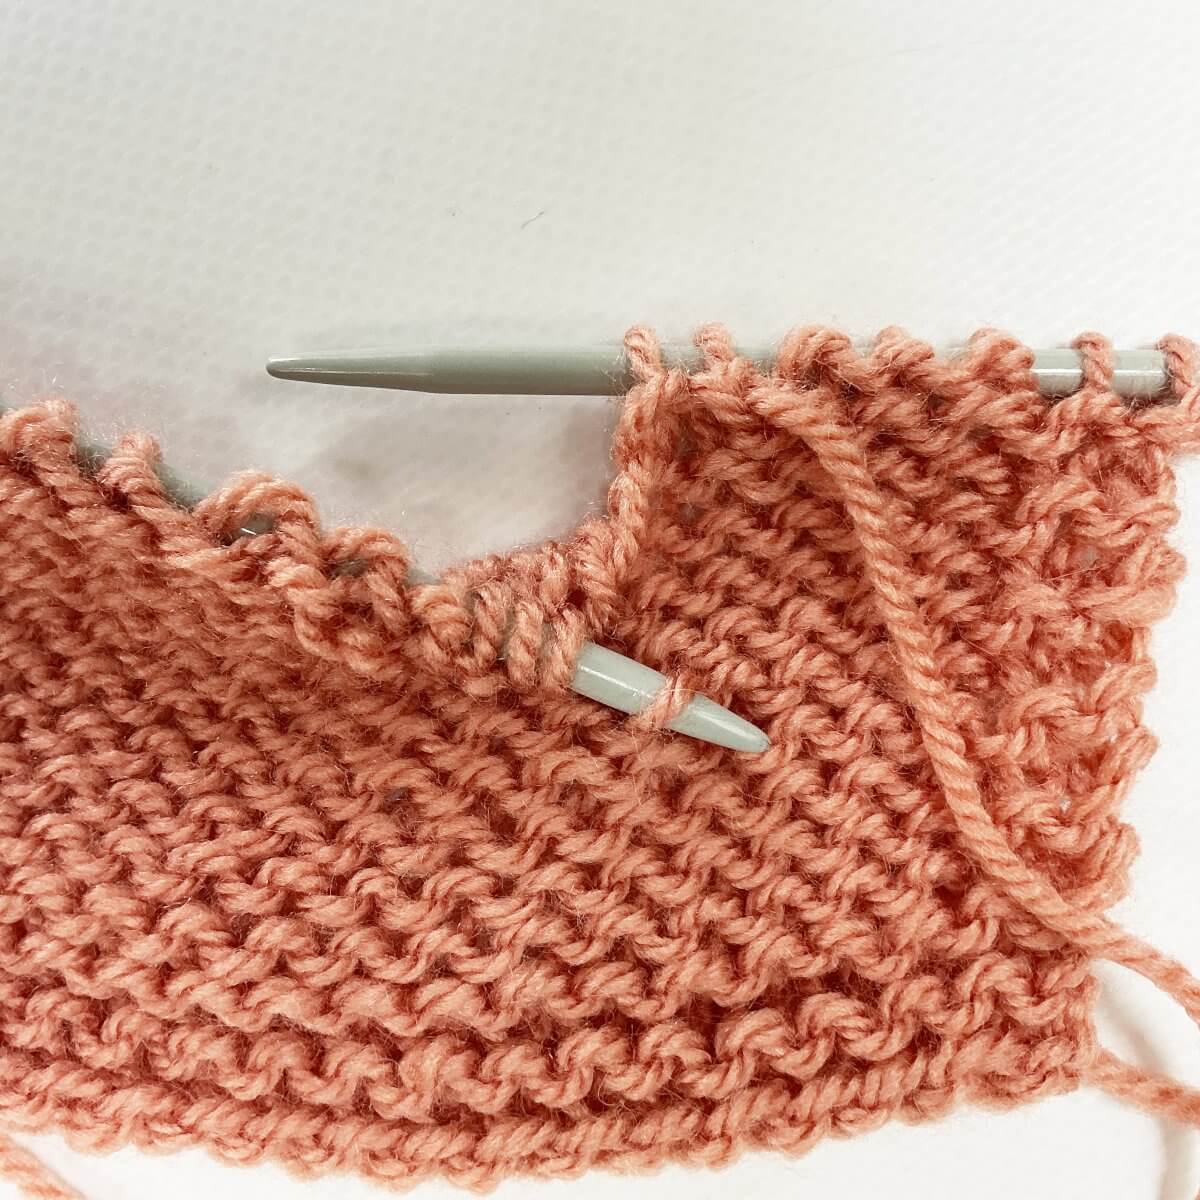
- Next, insert the tip of the left-hand needle from top to bottom into the purl bump, 6 rows below the stitch slipped to the right-hand needle.
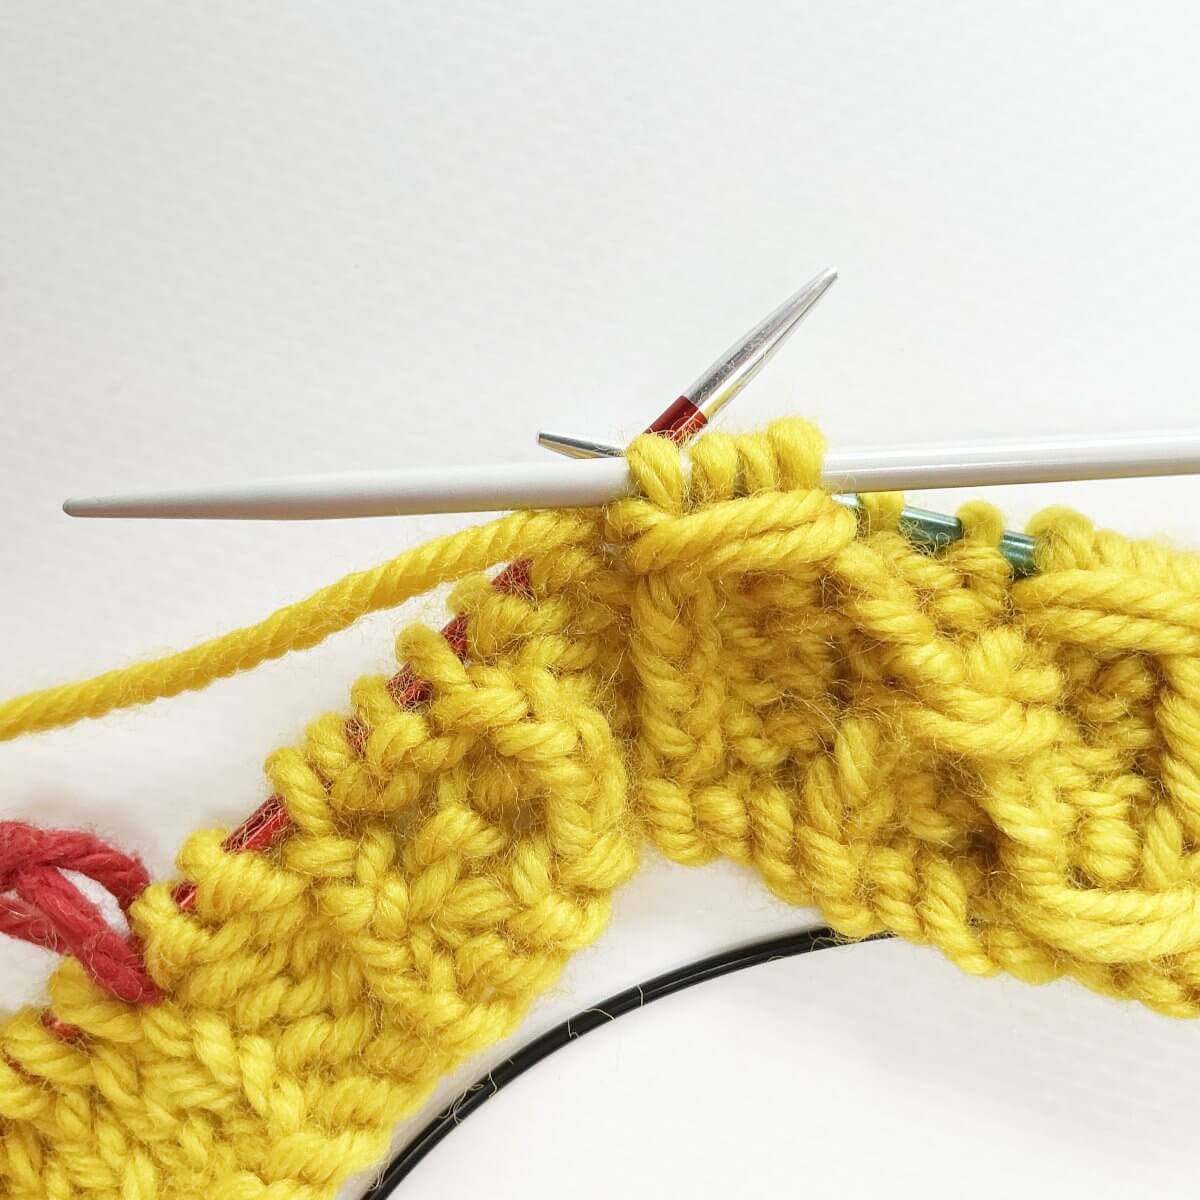
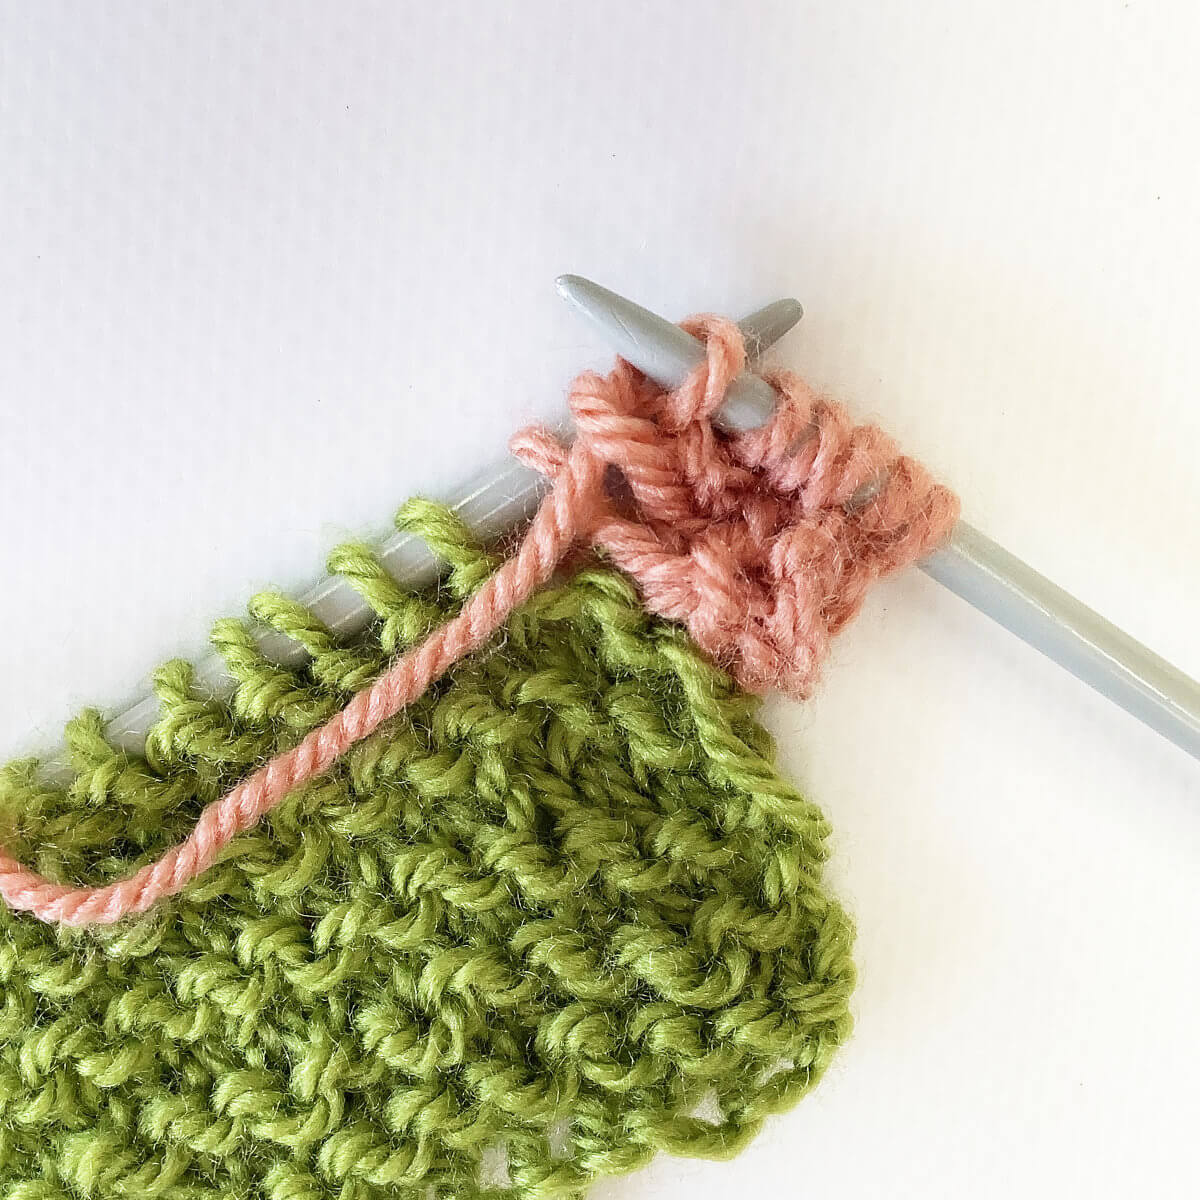
Inserting the needle from top to bottom places the loop as a twisted stitch on the needle. This way, once worked, it will show as a twisted stitch, with crossed legs and therefor a tad tighter than when worked the other way. Of course, if you don’t want a twisted stitch there, just insert the needle from bottom to top instead.
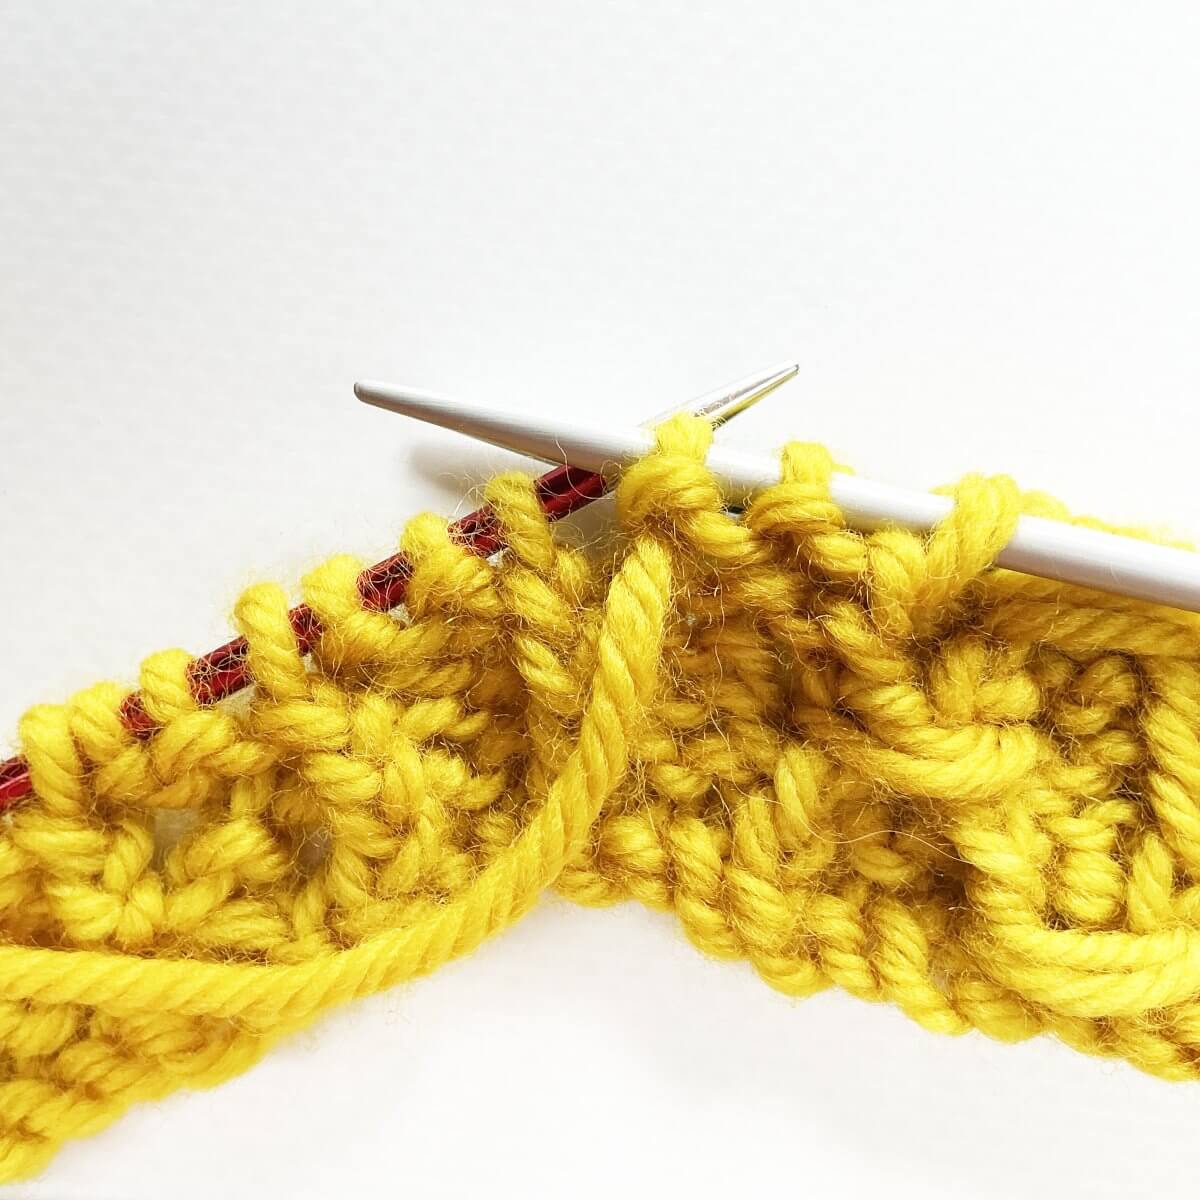
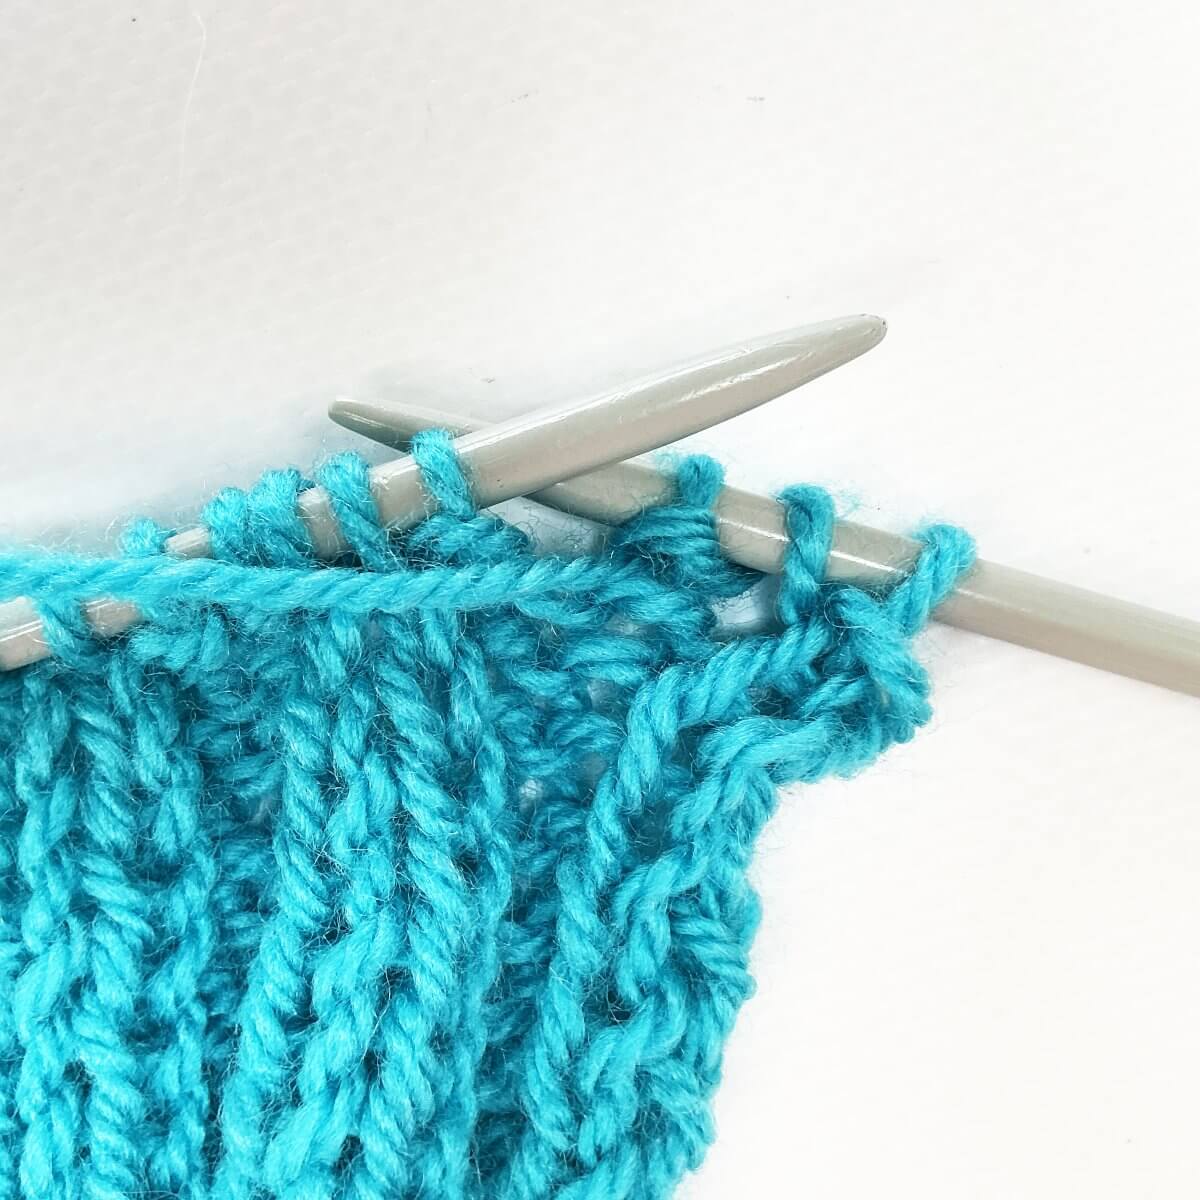
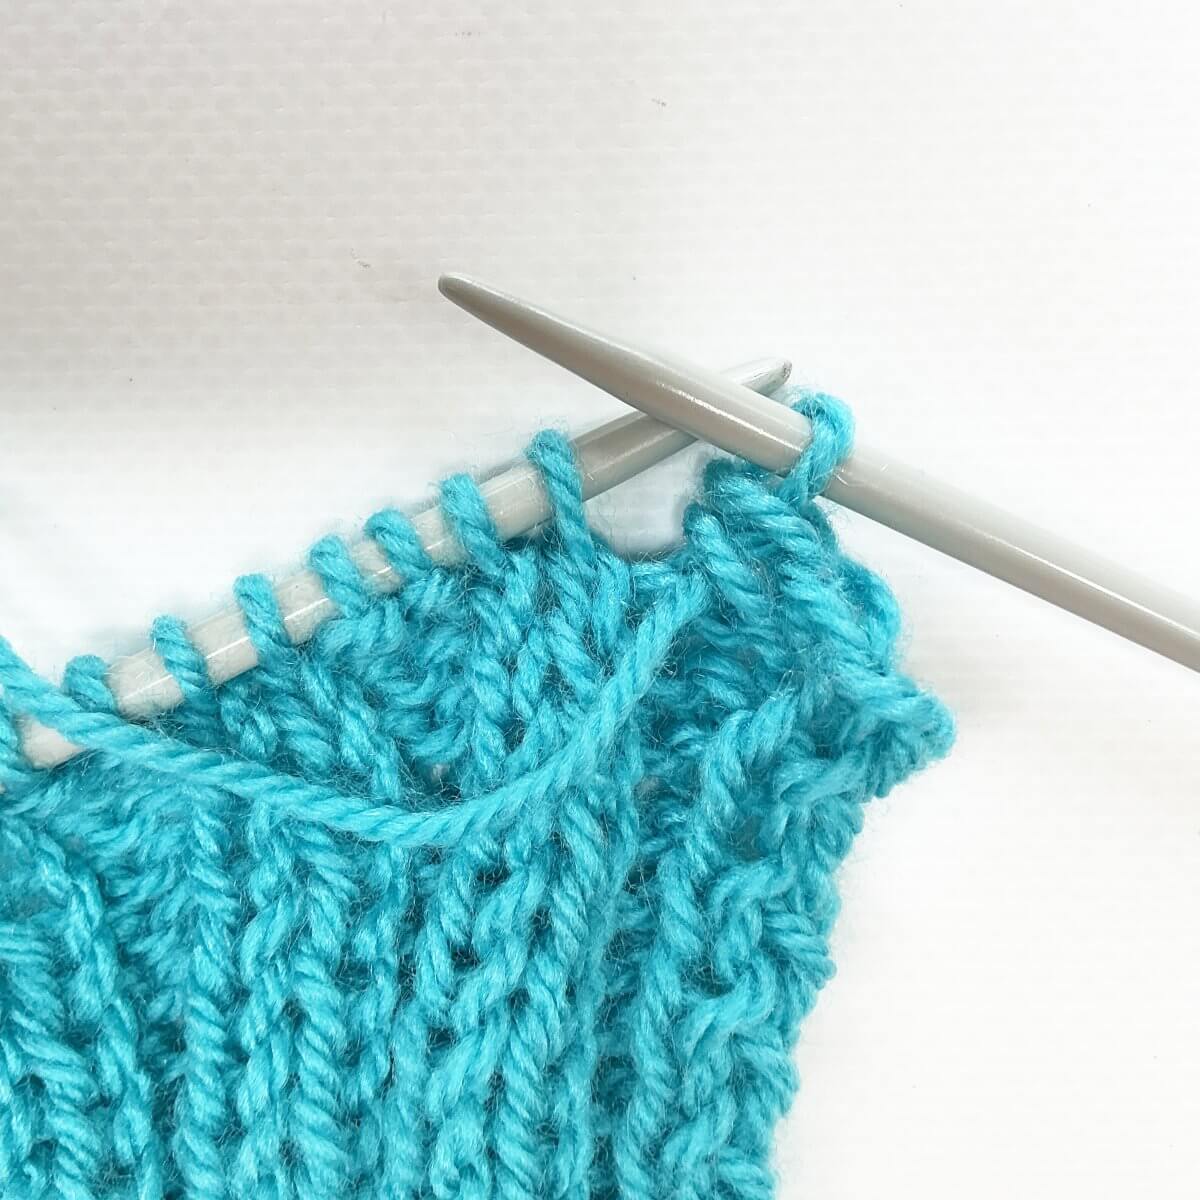
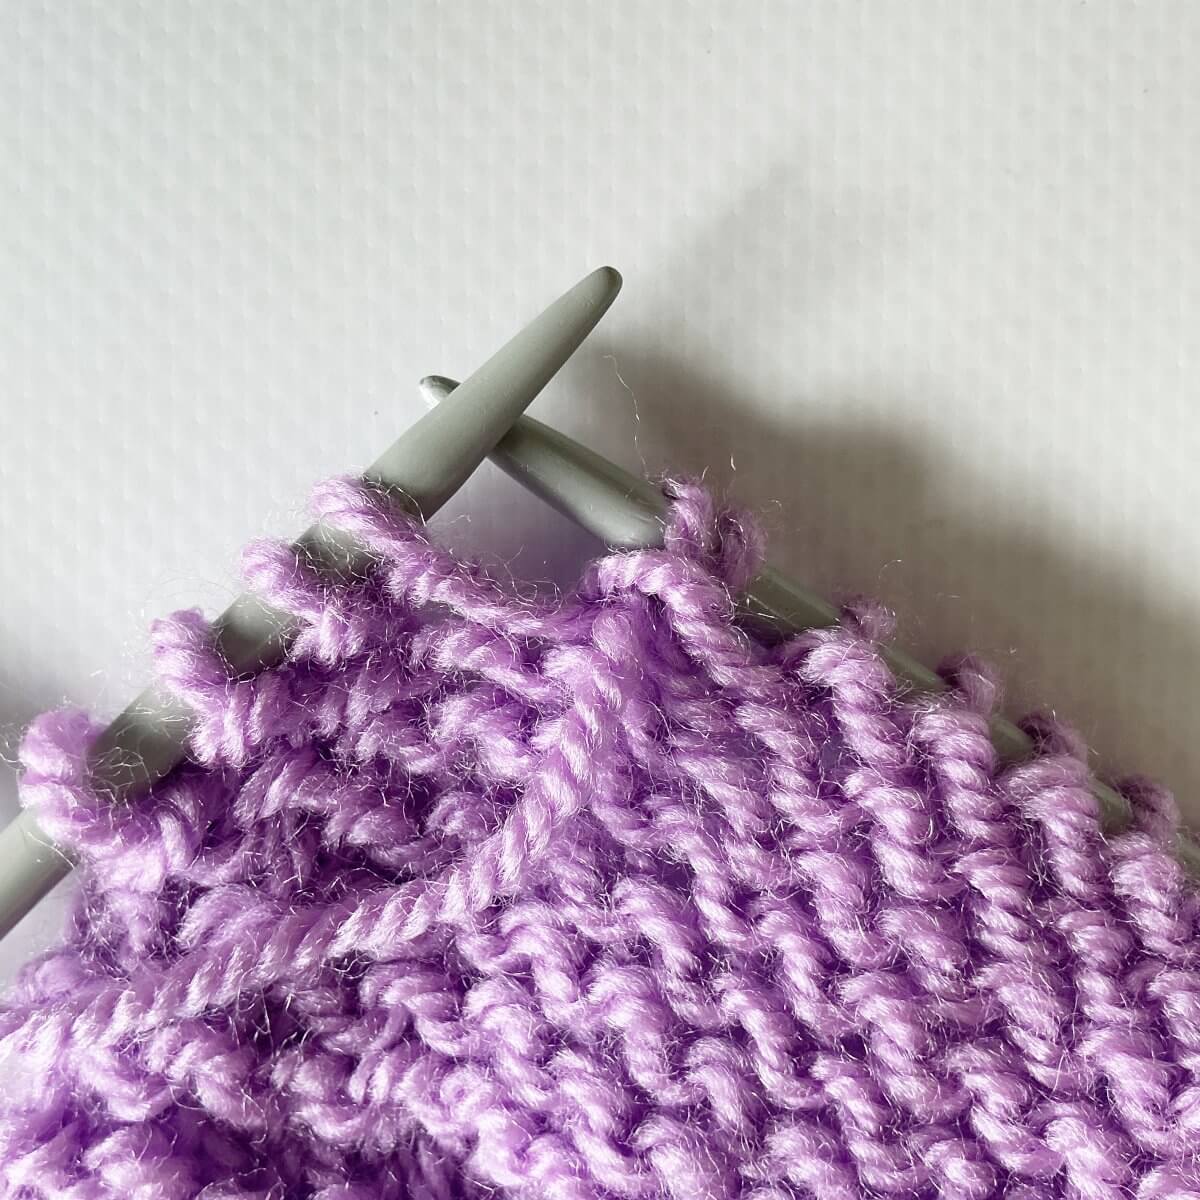
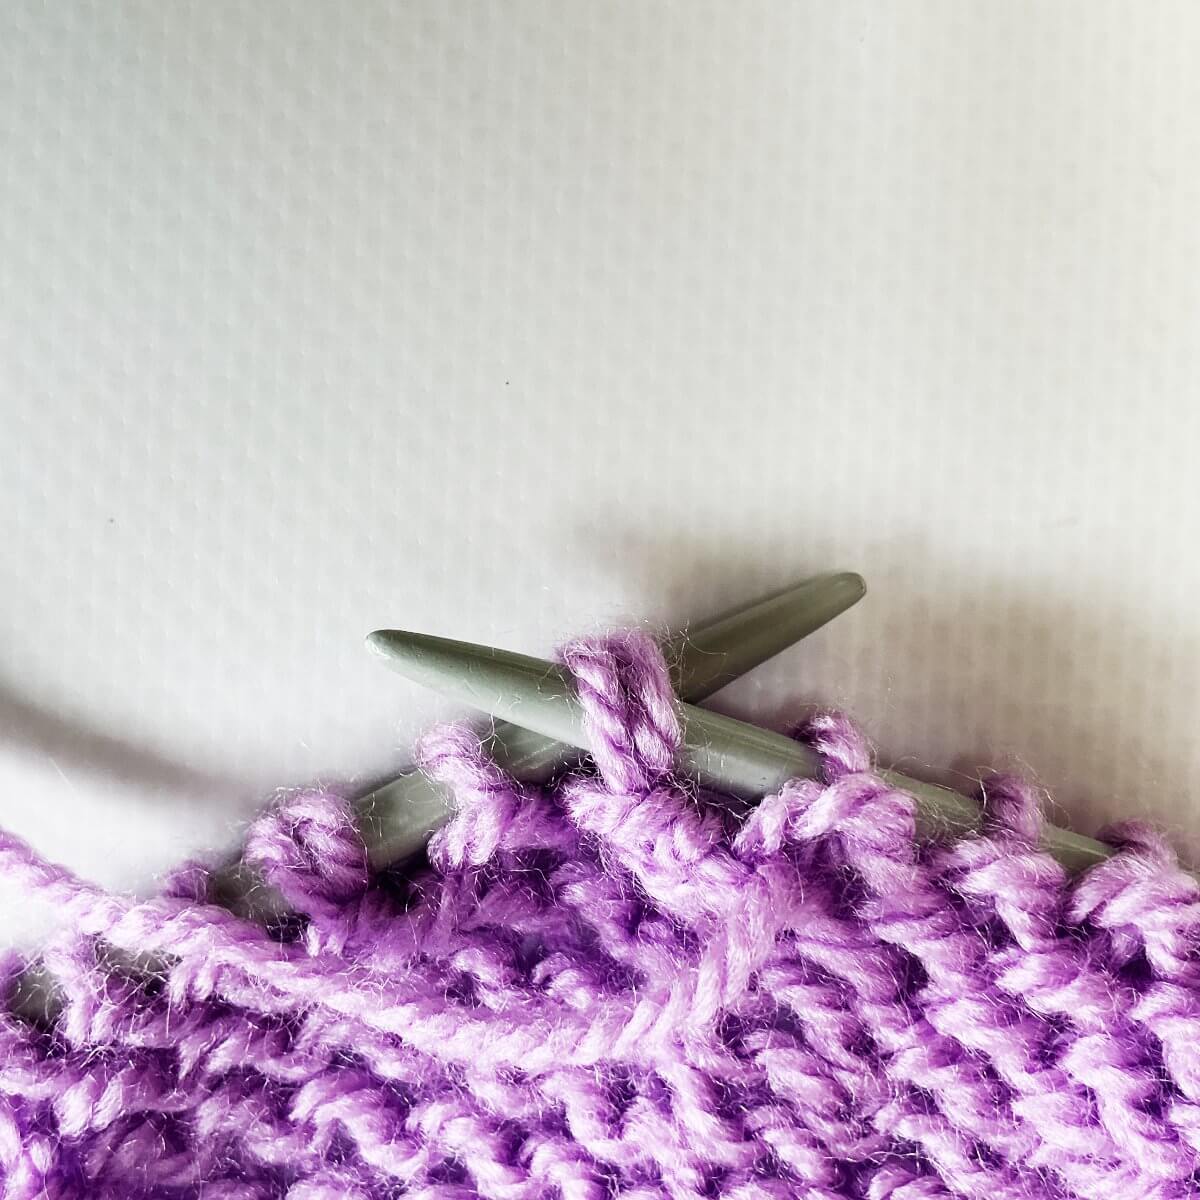
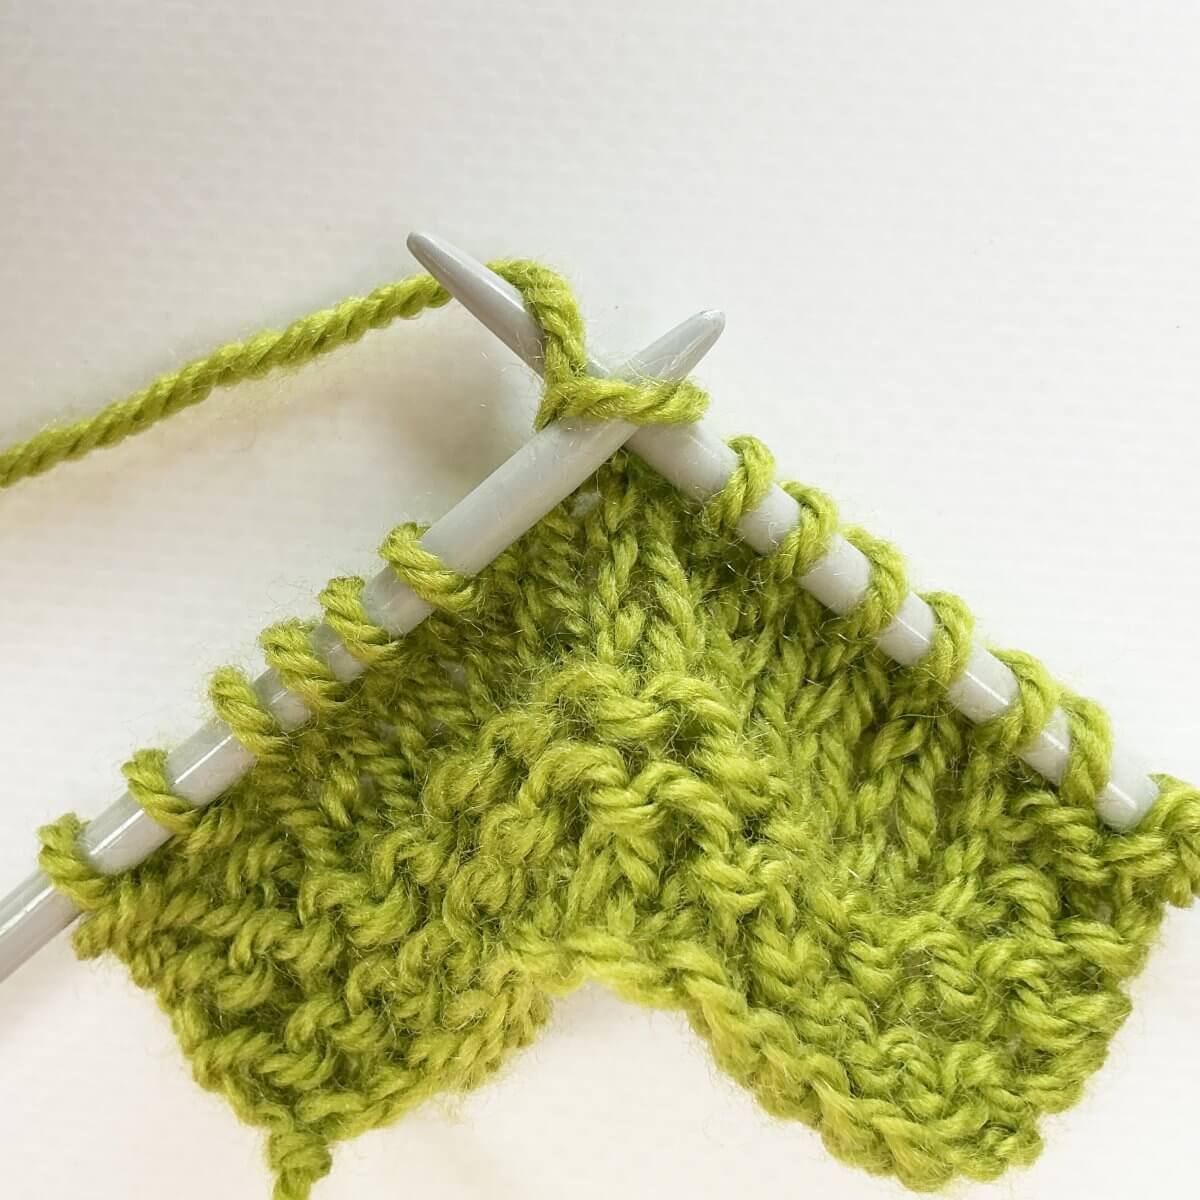
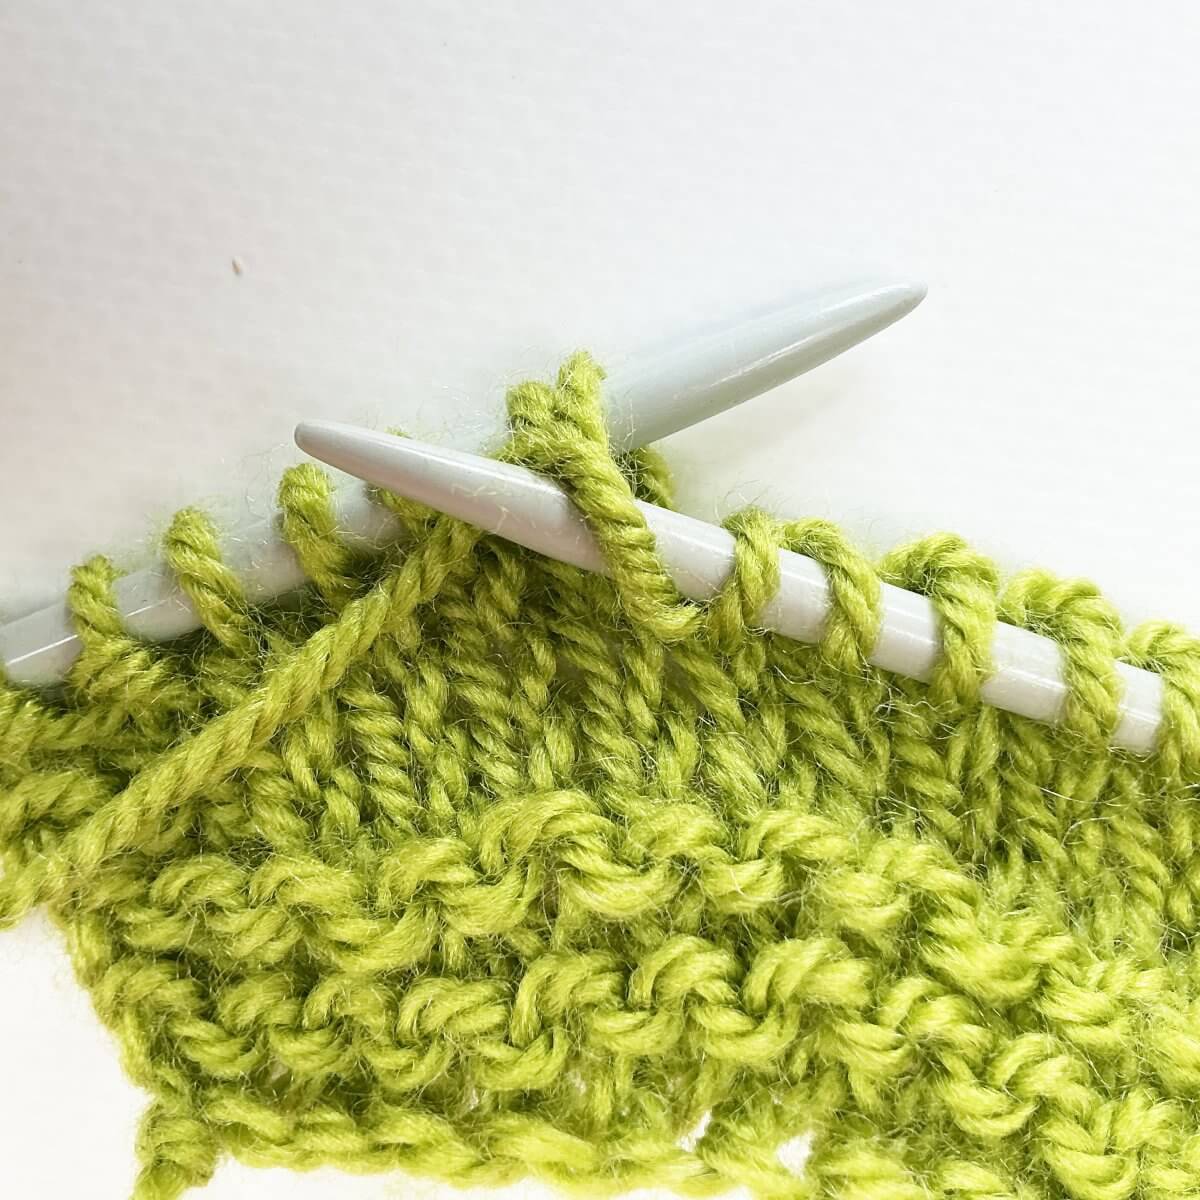
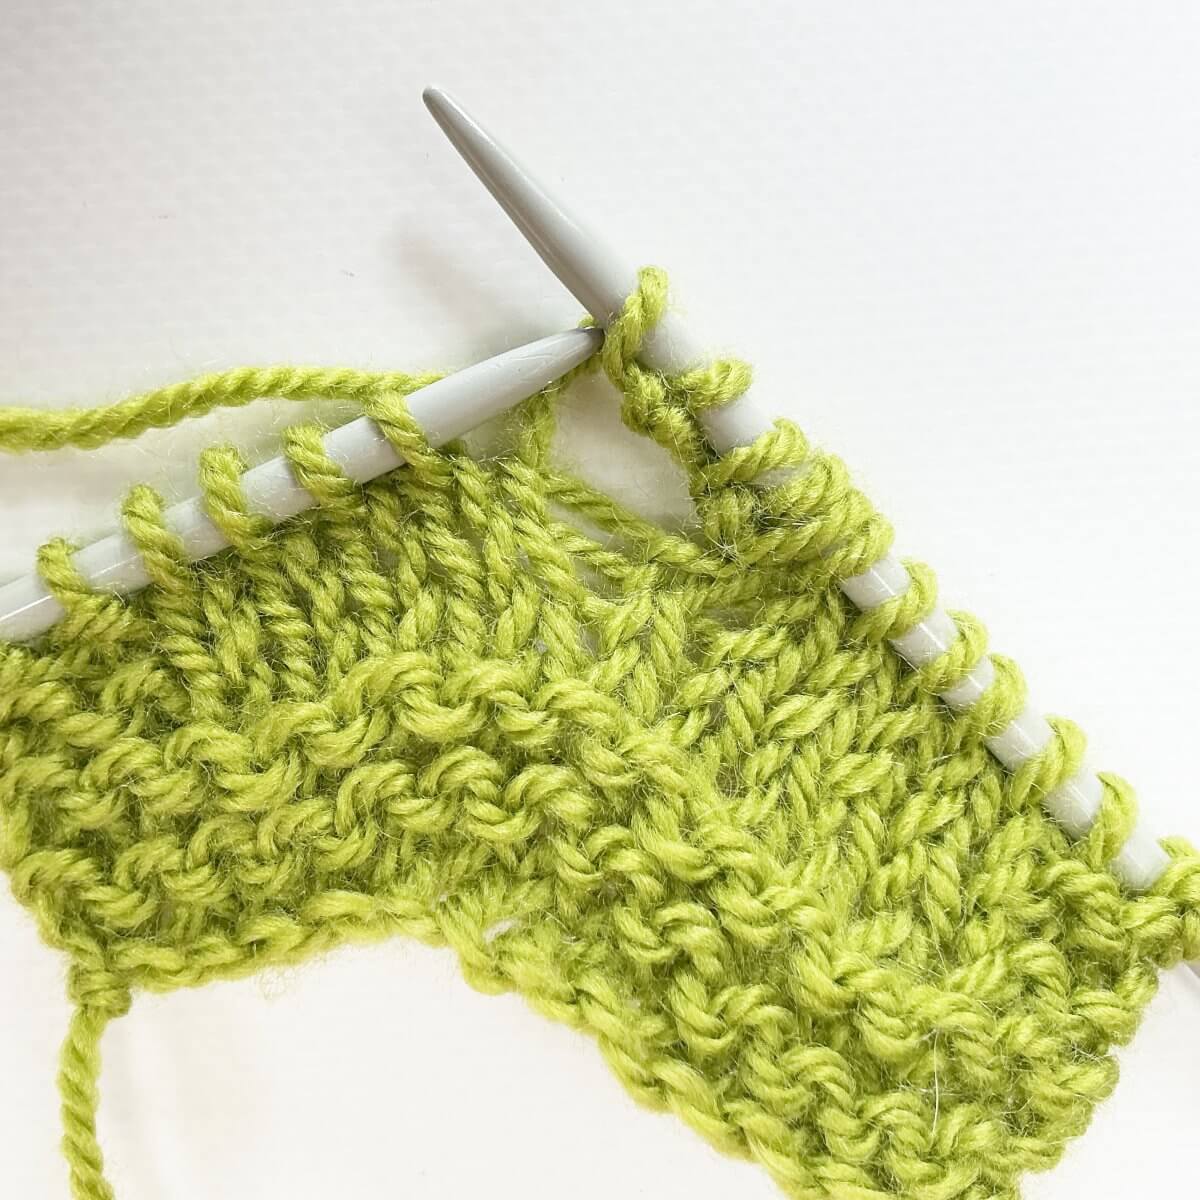
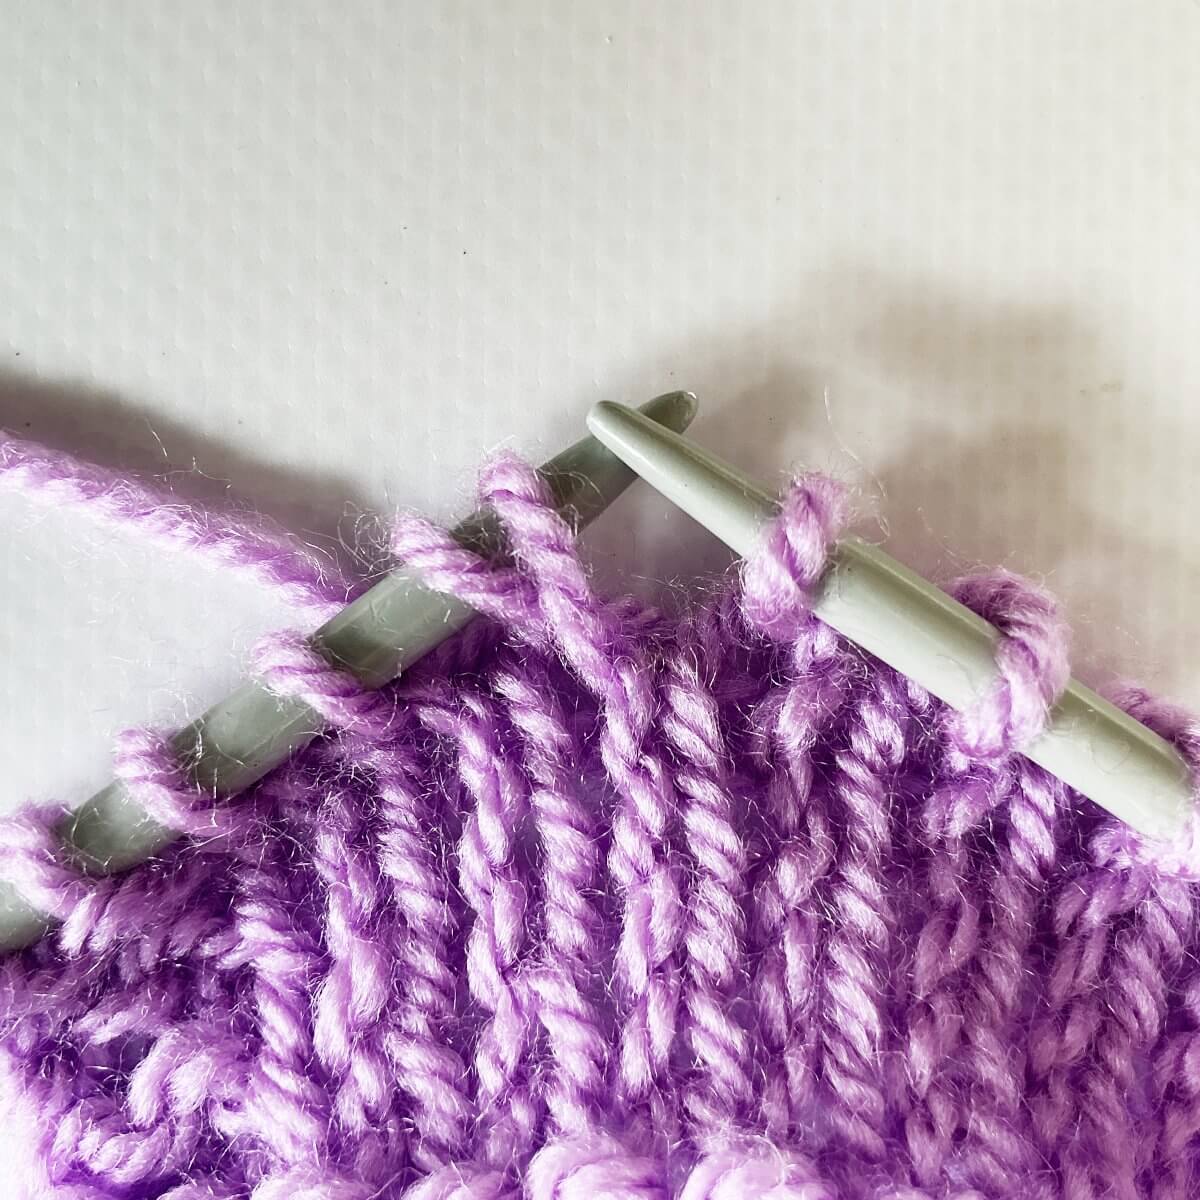
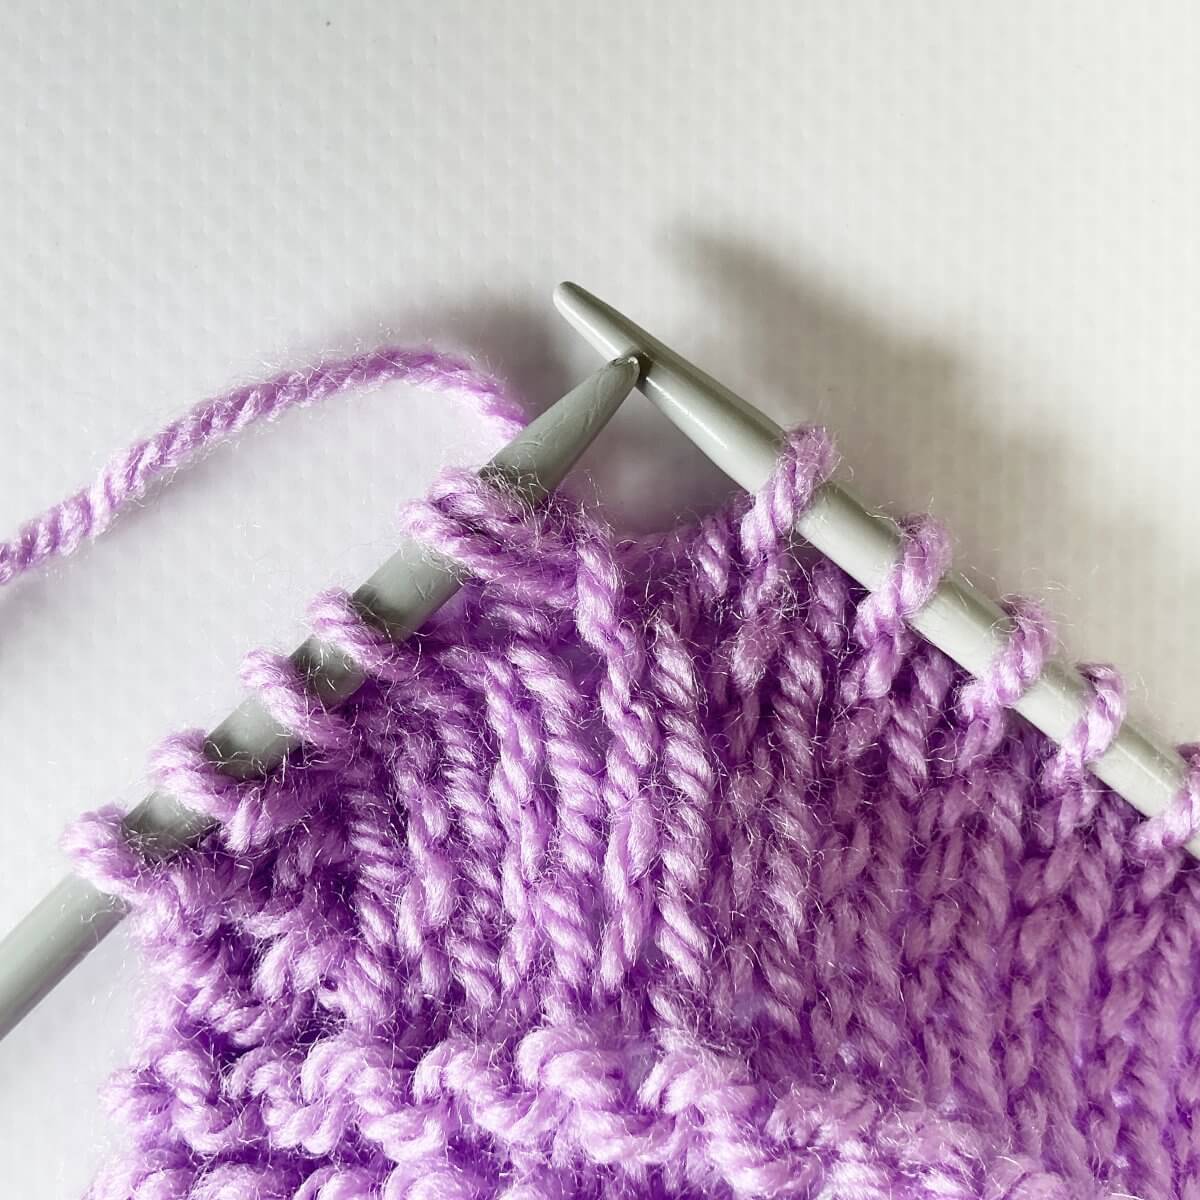
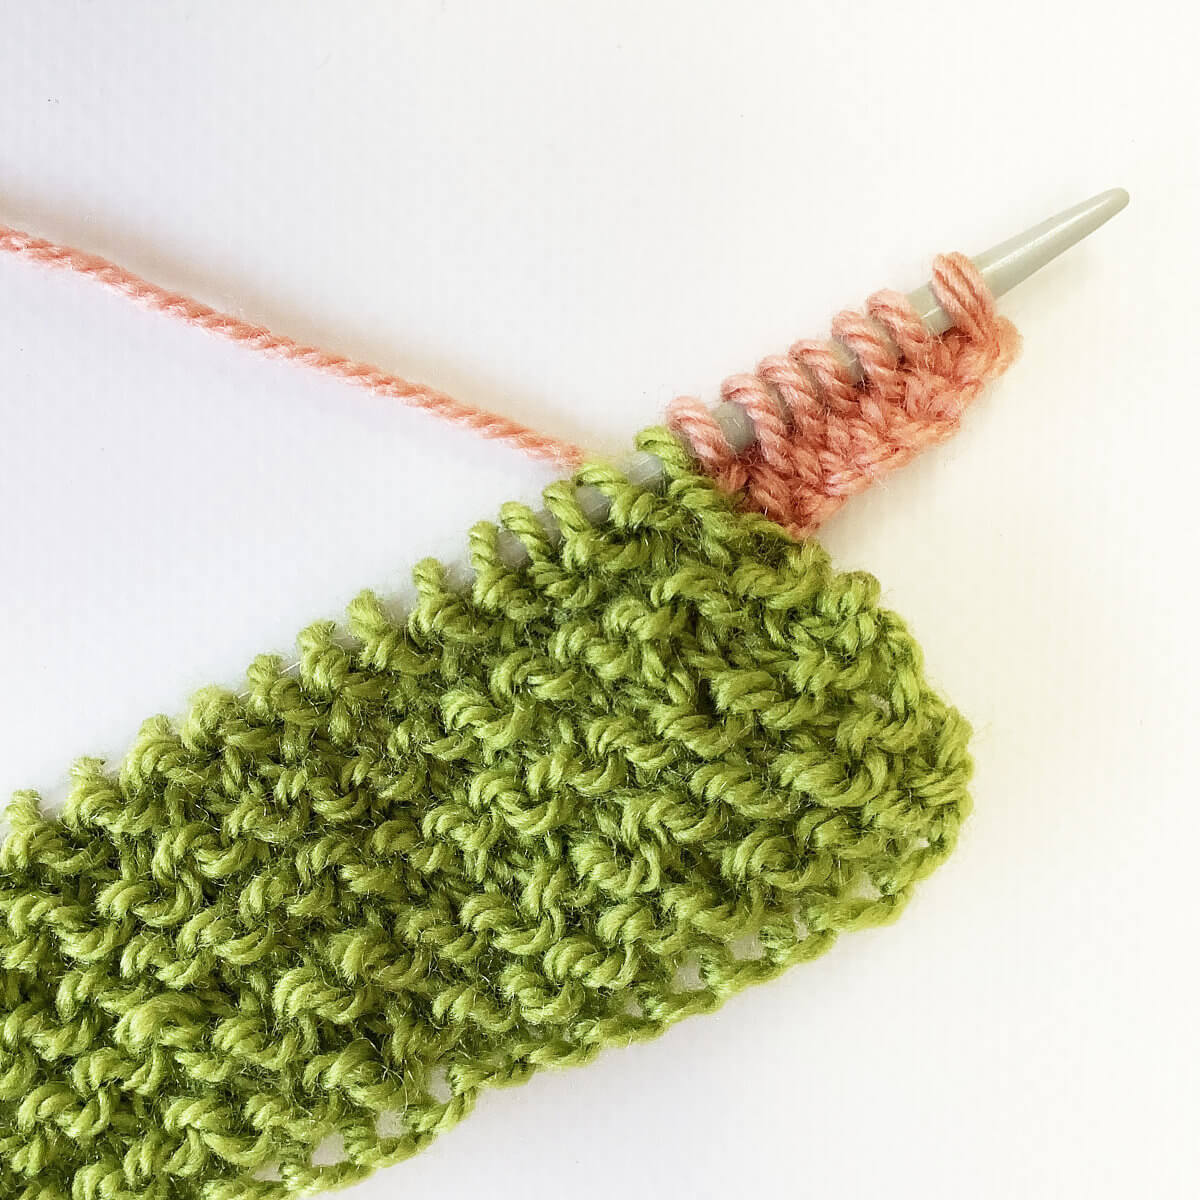
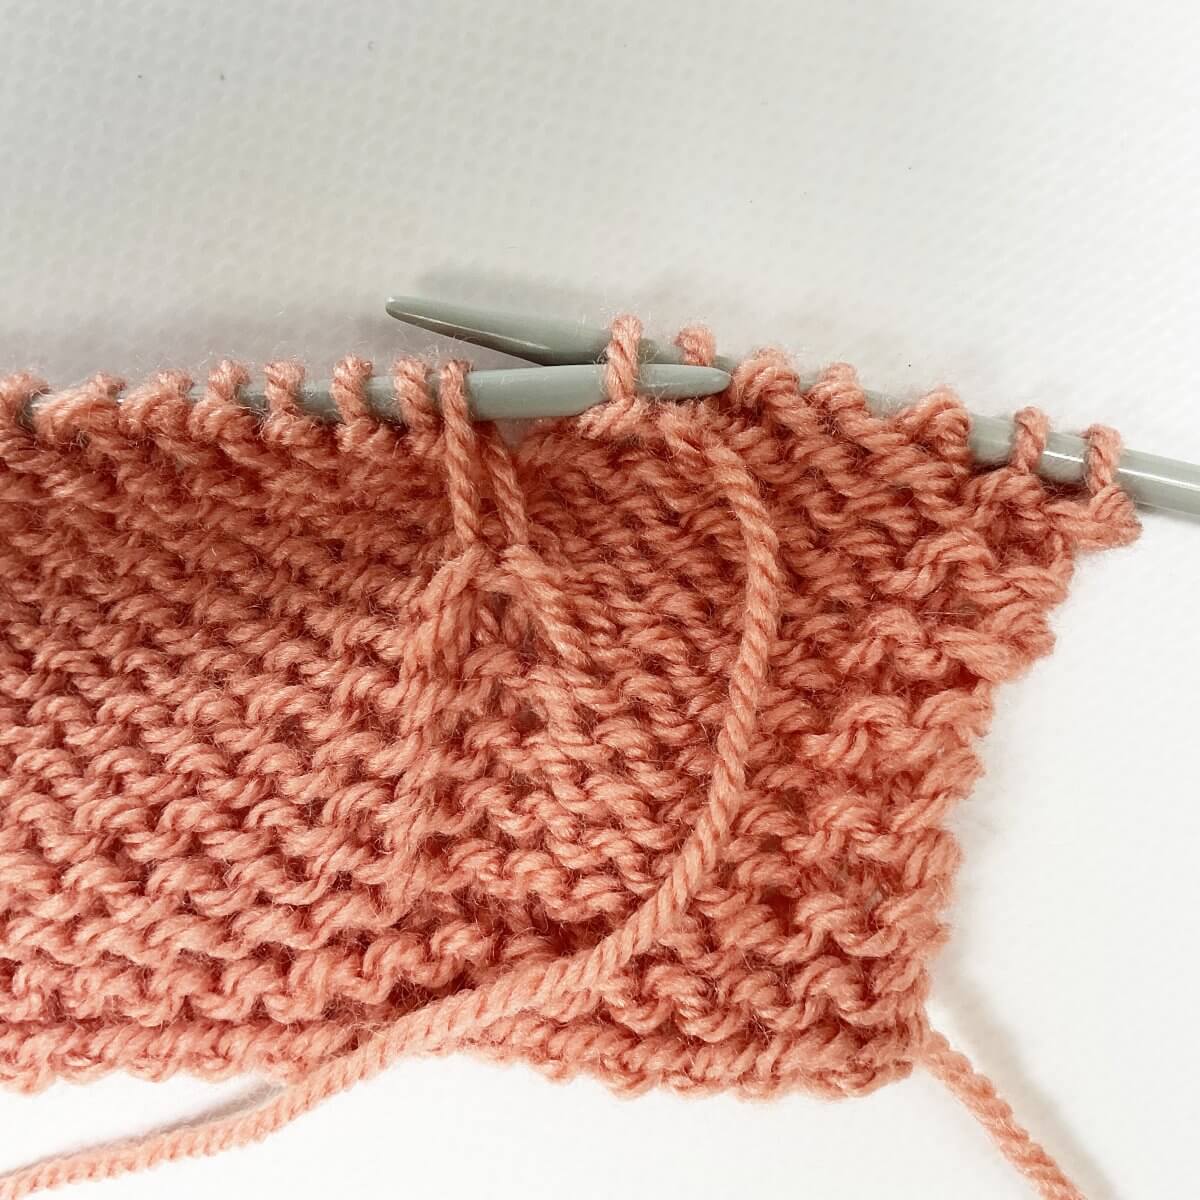
- Lift the loop of the purl bump up, and place it onto the left-hand needle. In this case, it stretches out quite a bit. Next, slip the first stitch from the right-hand needle back to the left-hand needle.
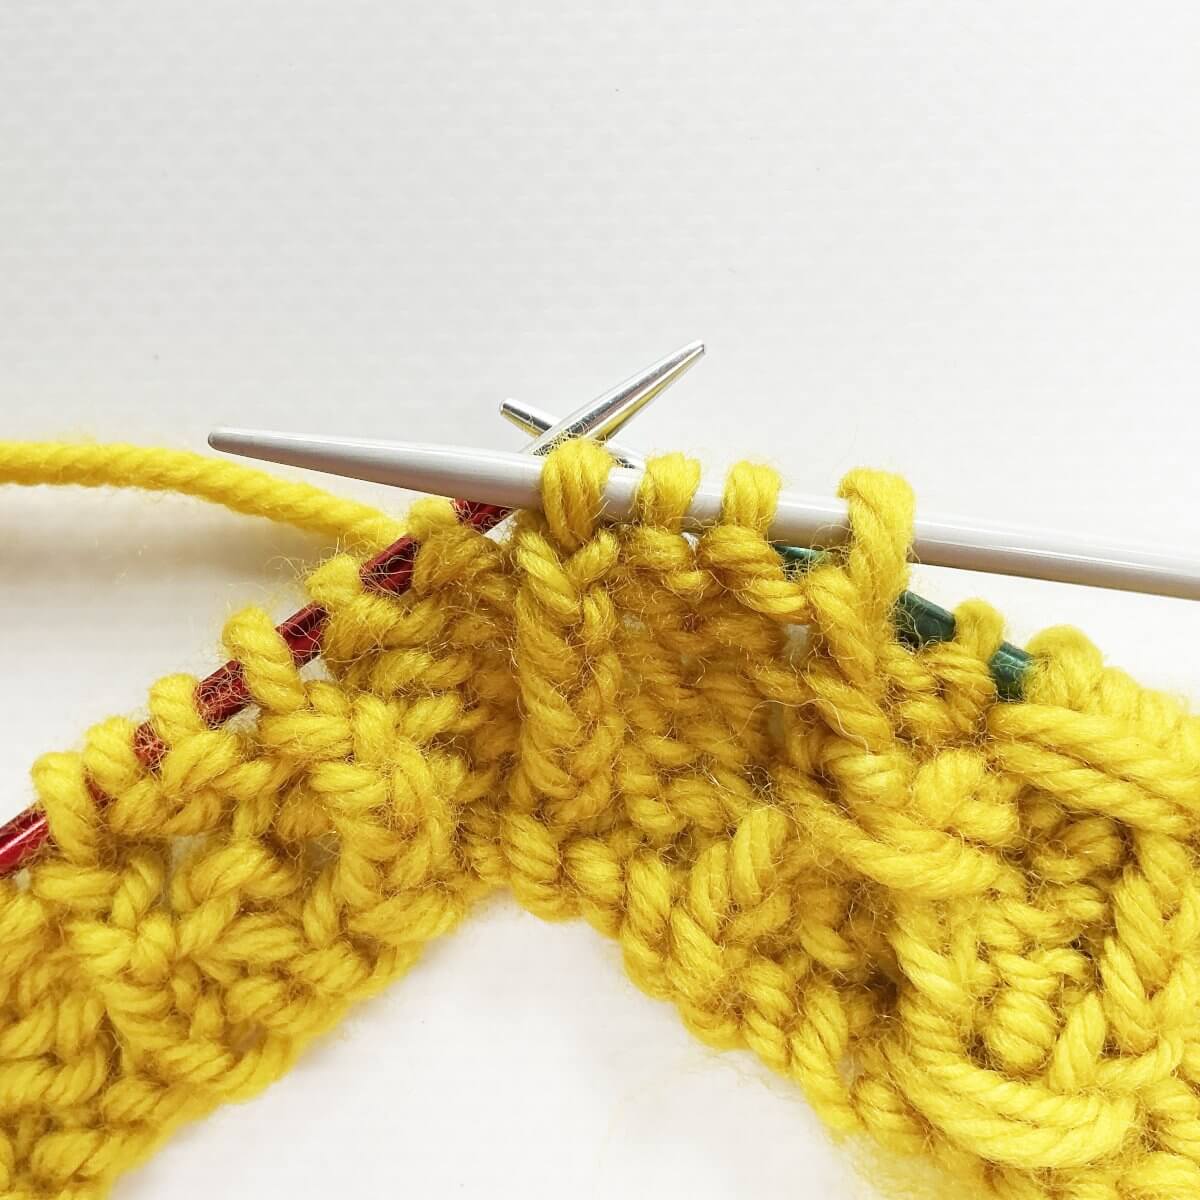
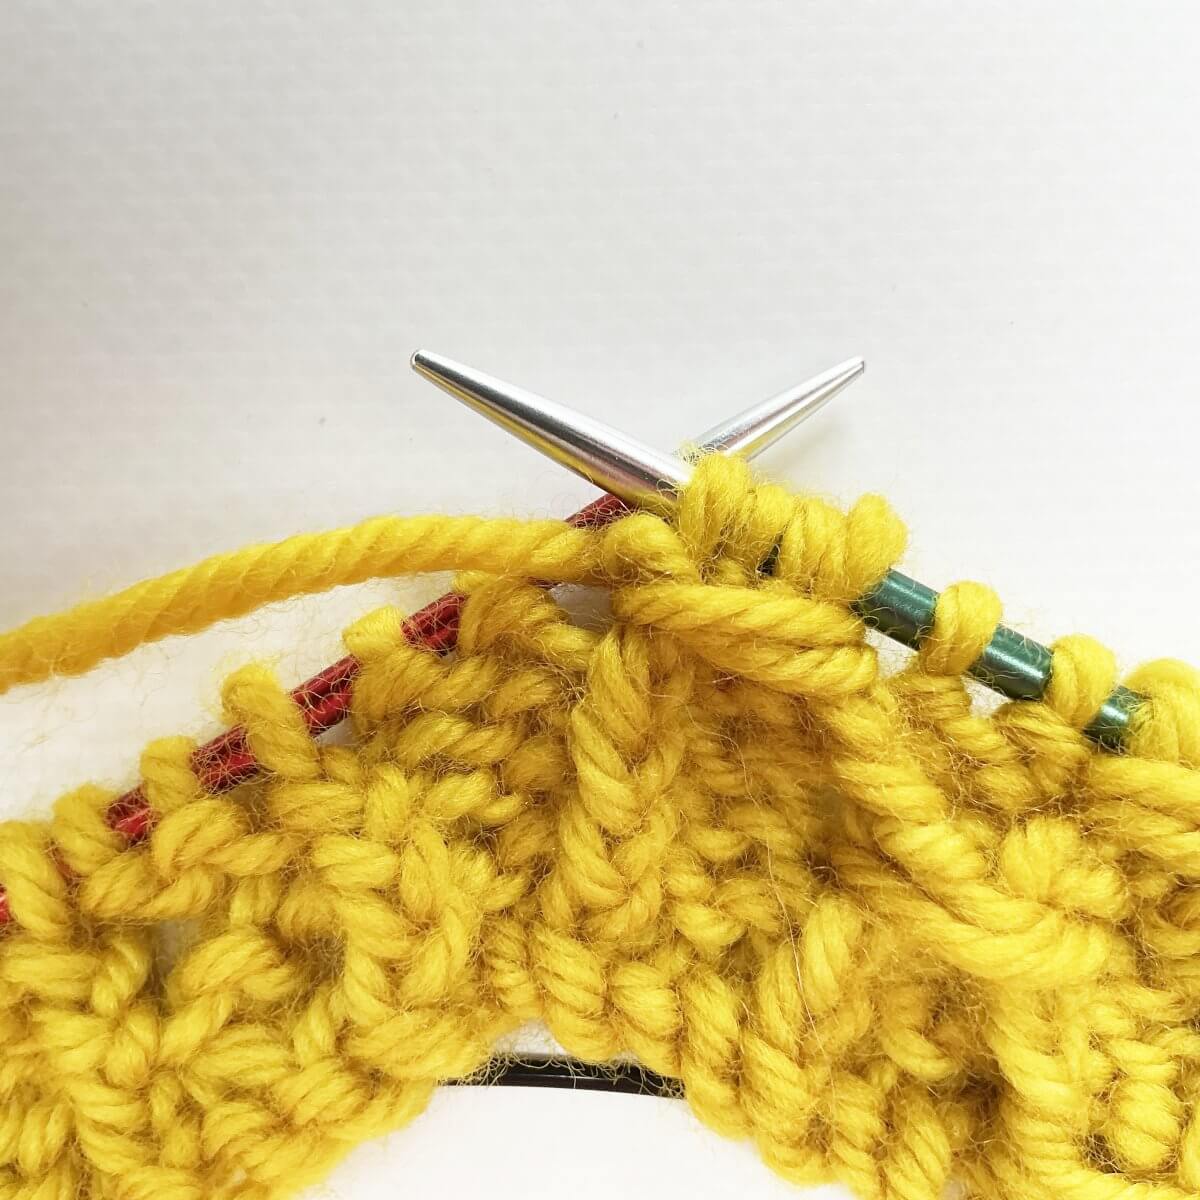
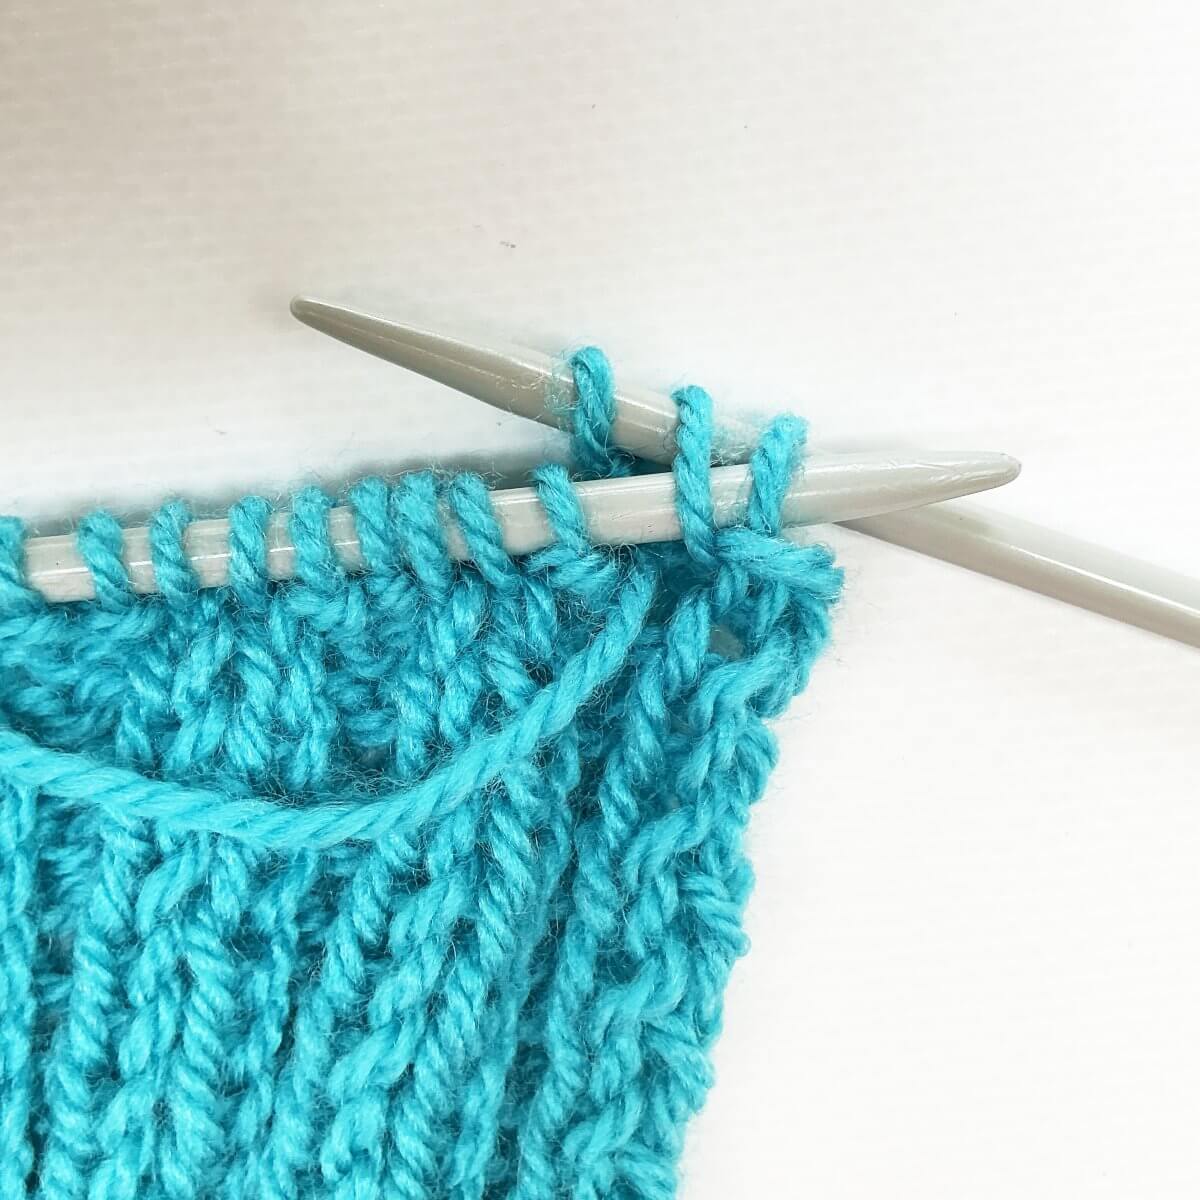
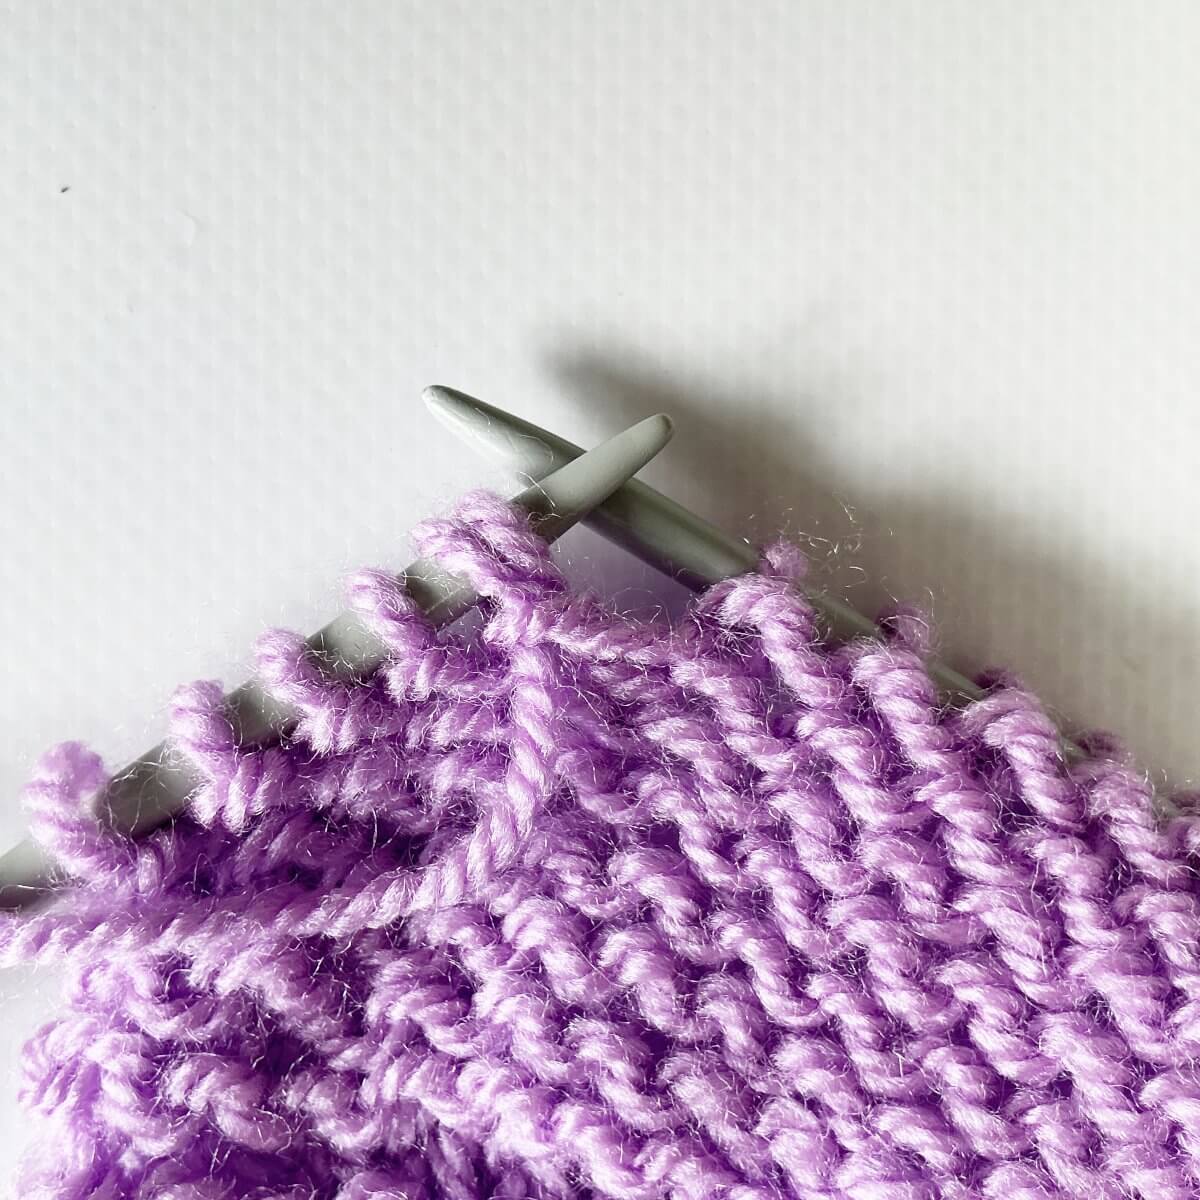
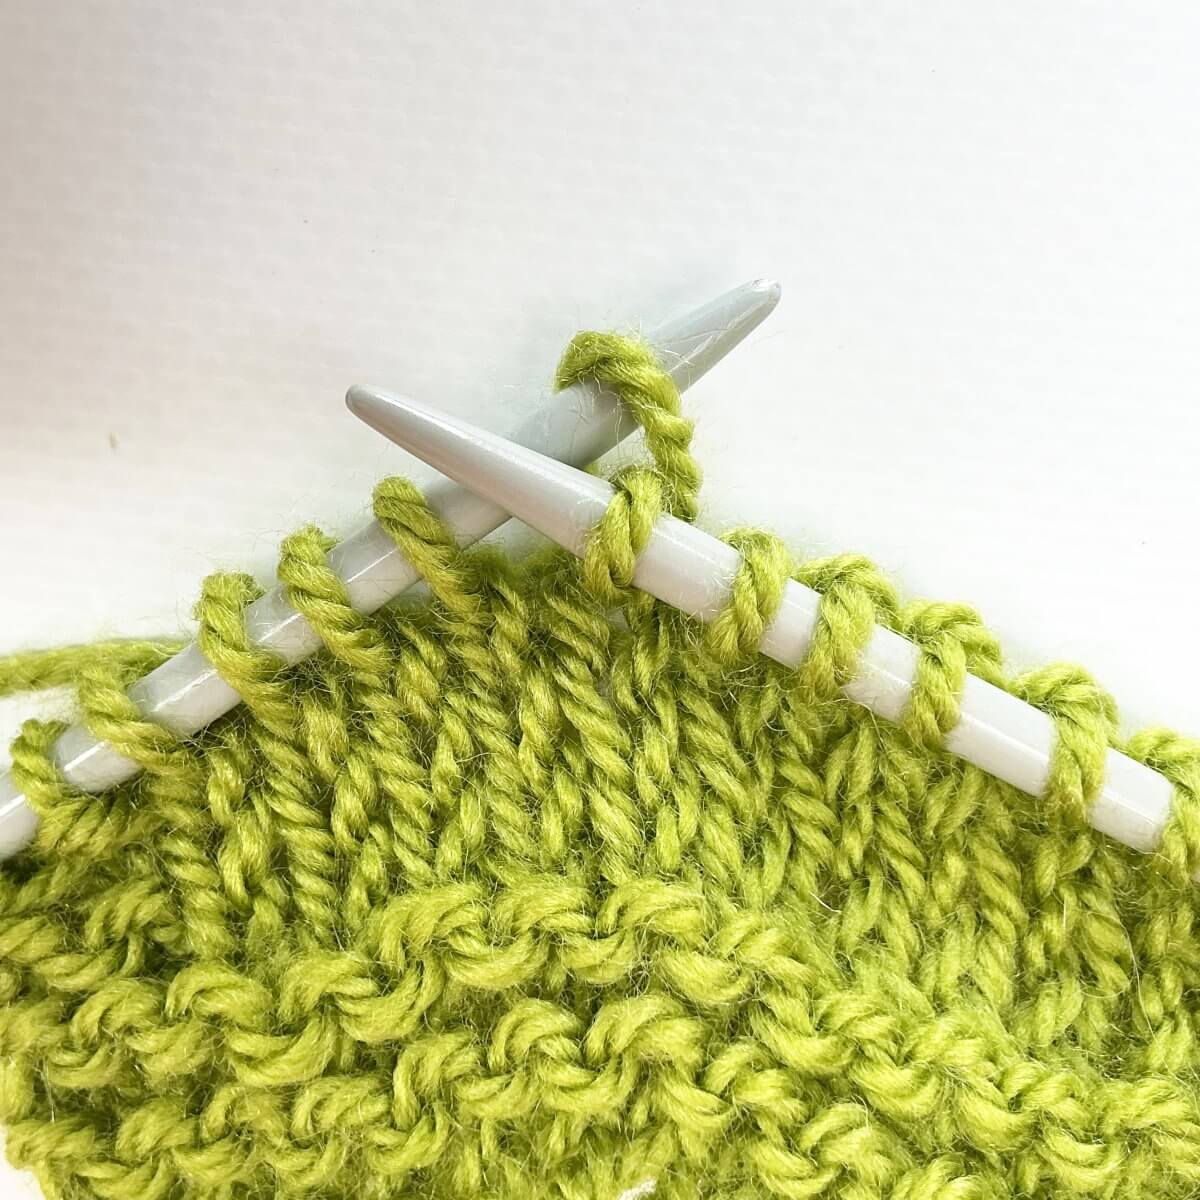
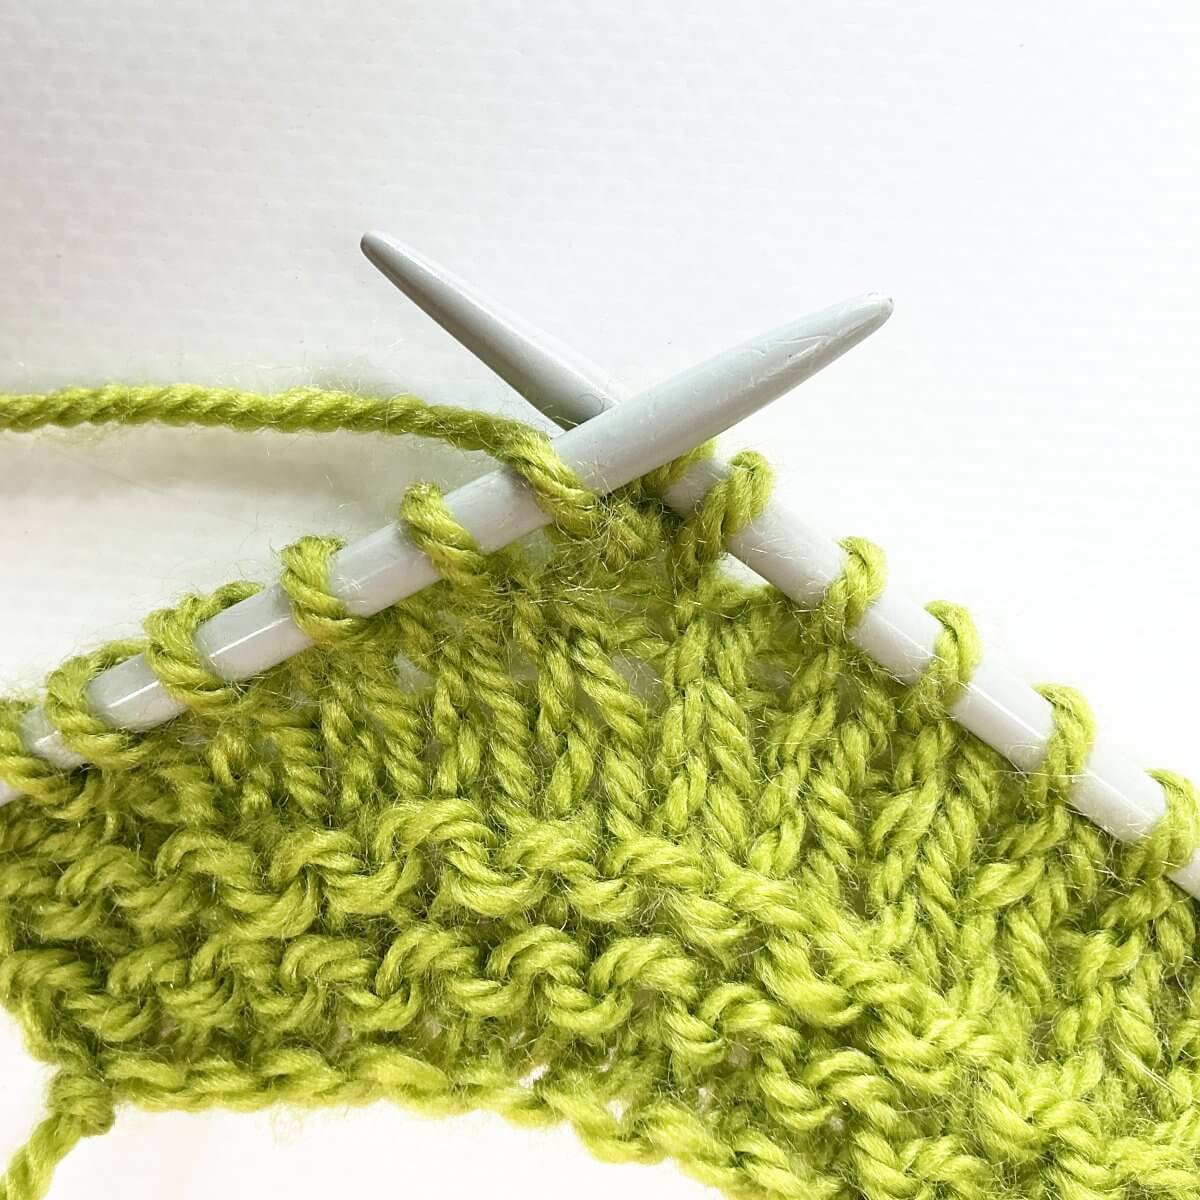
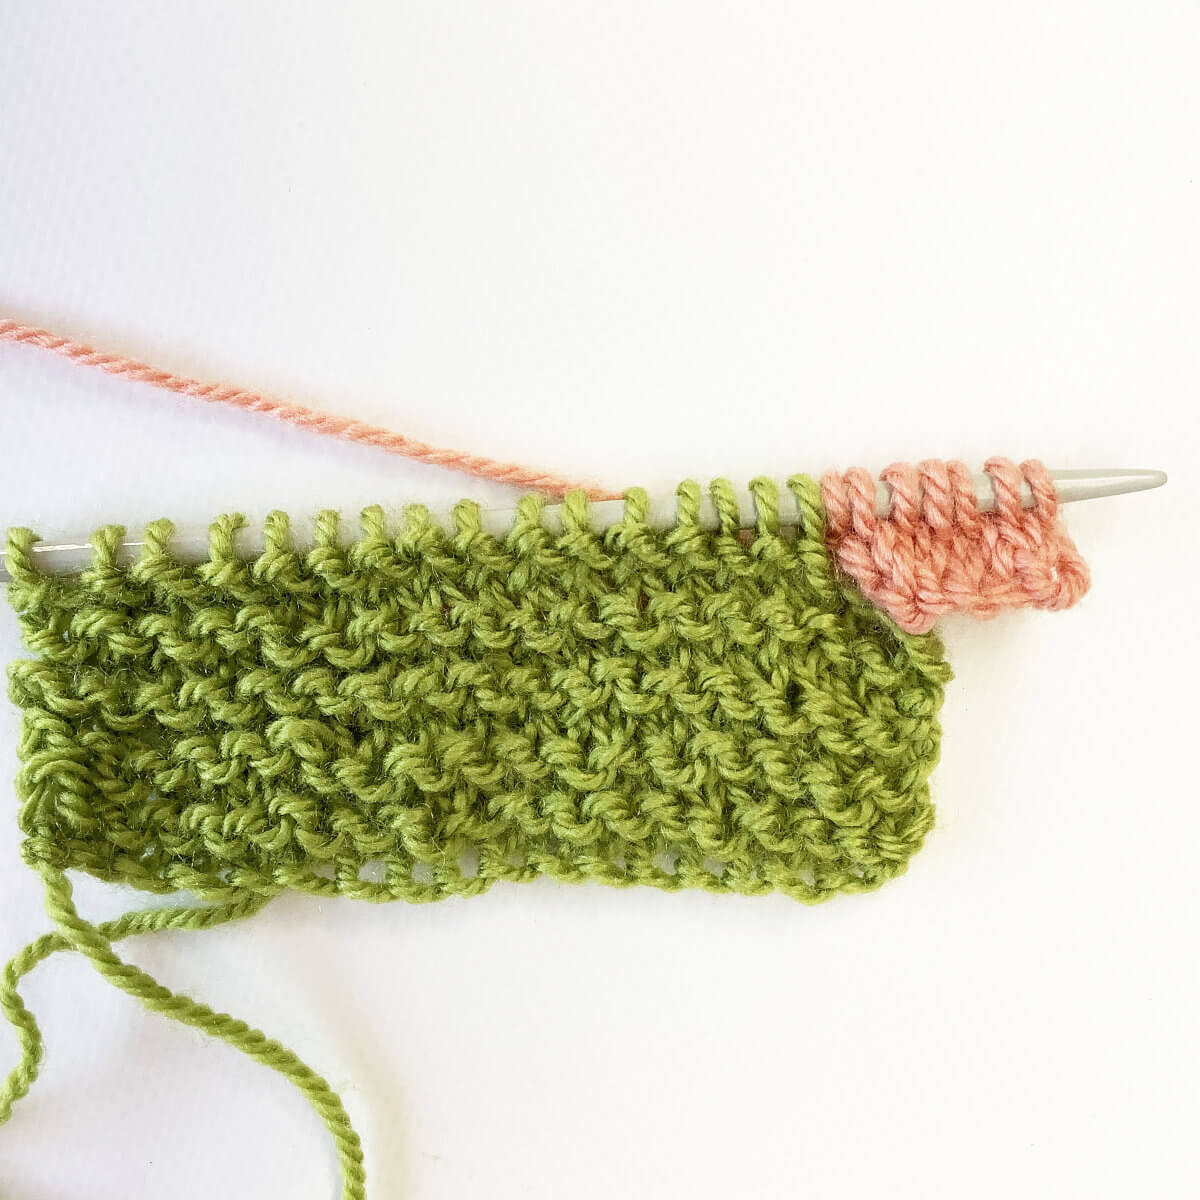
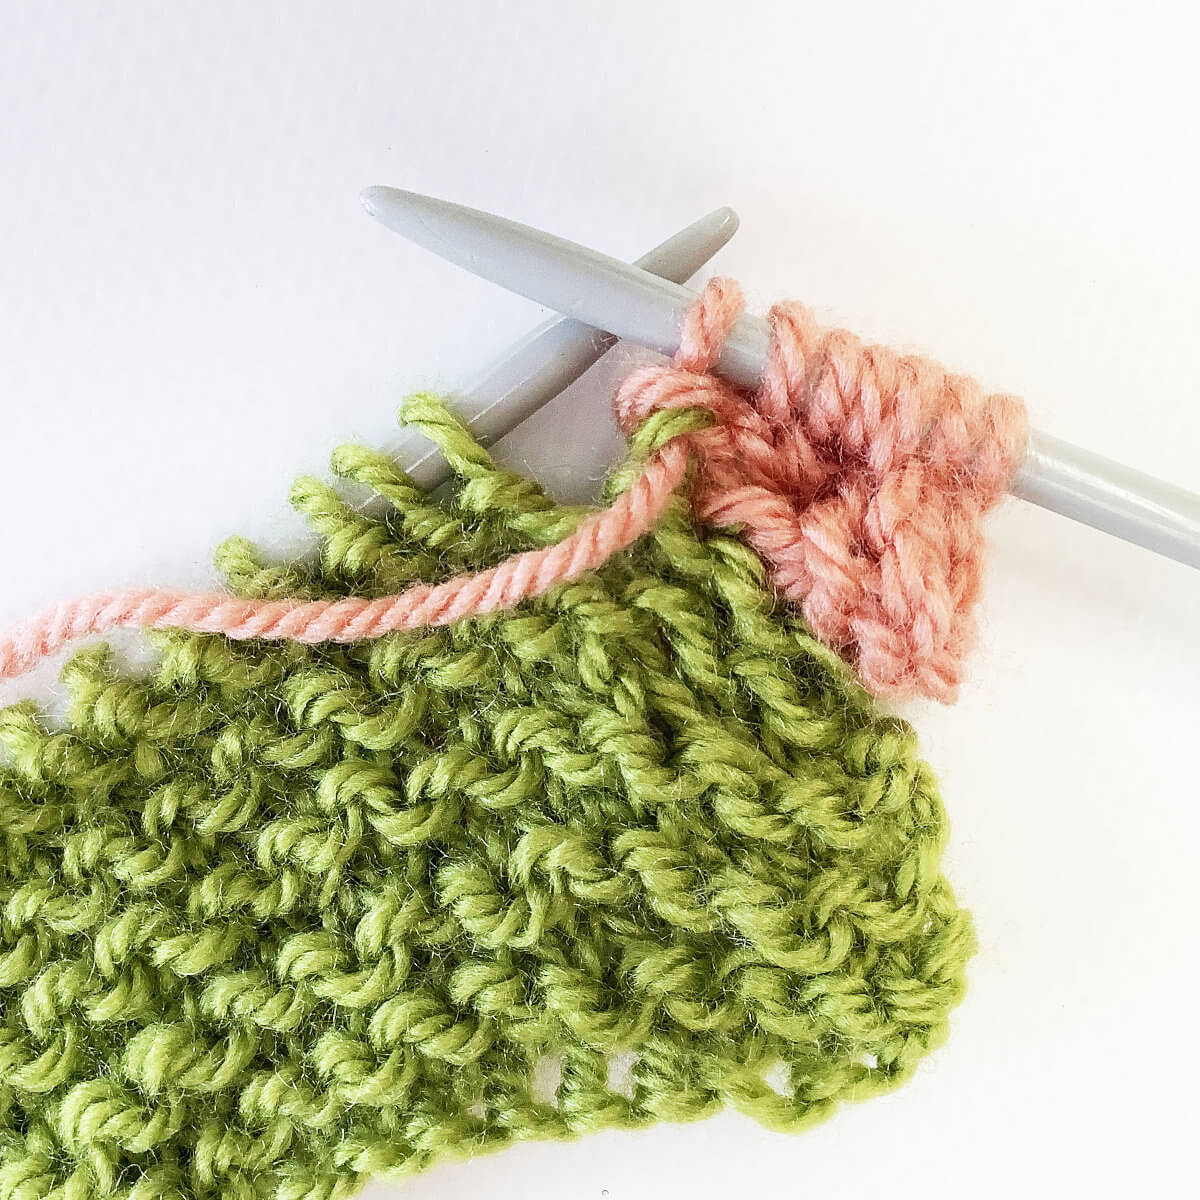
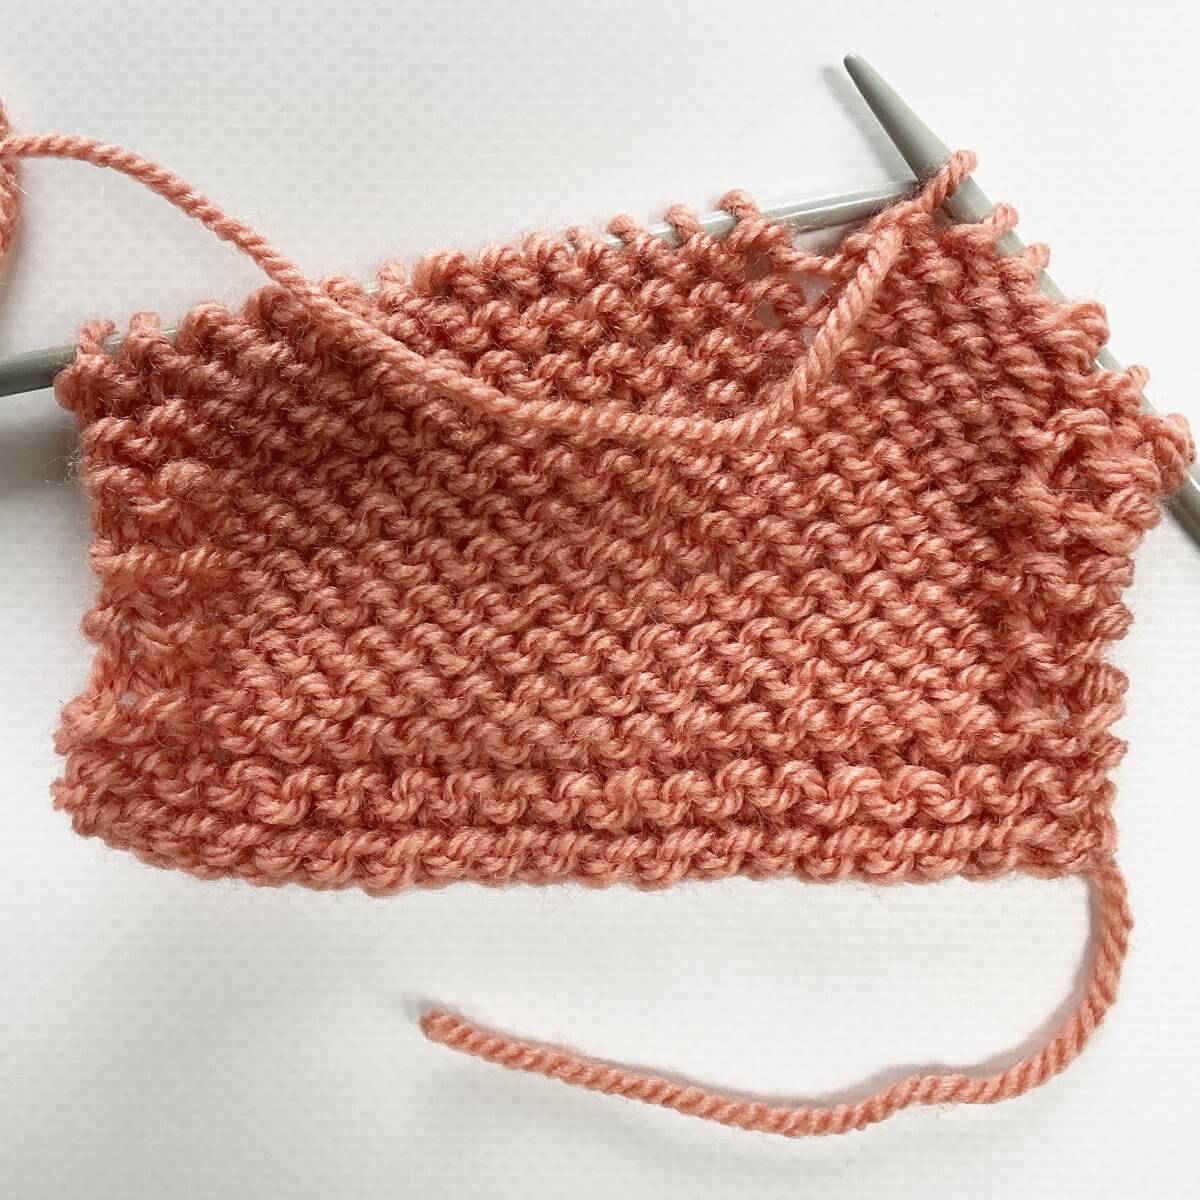
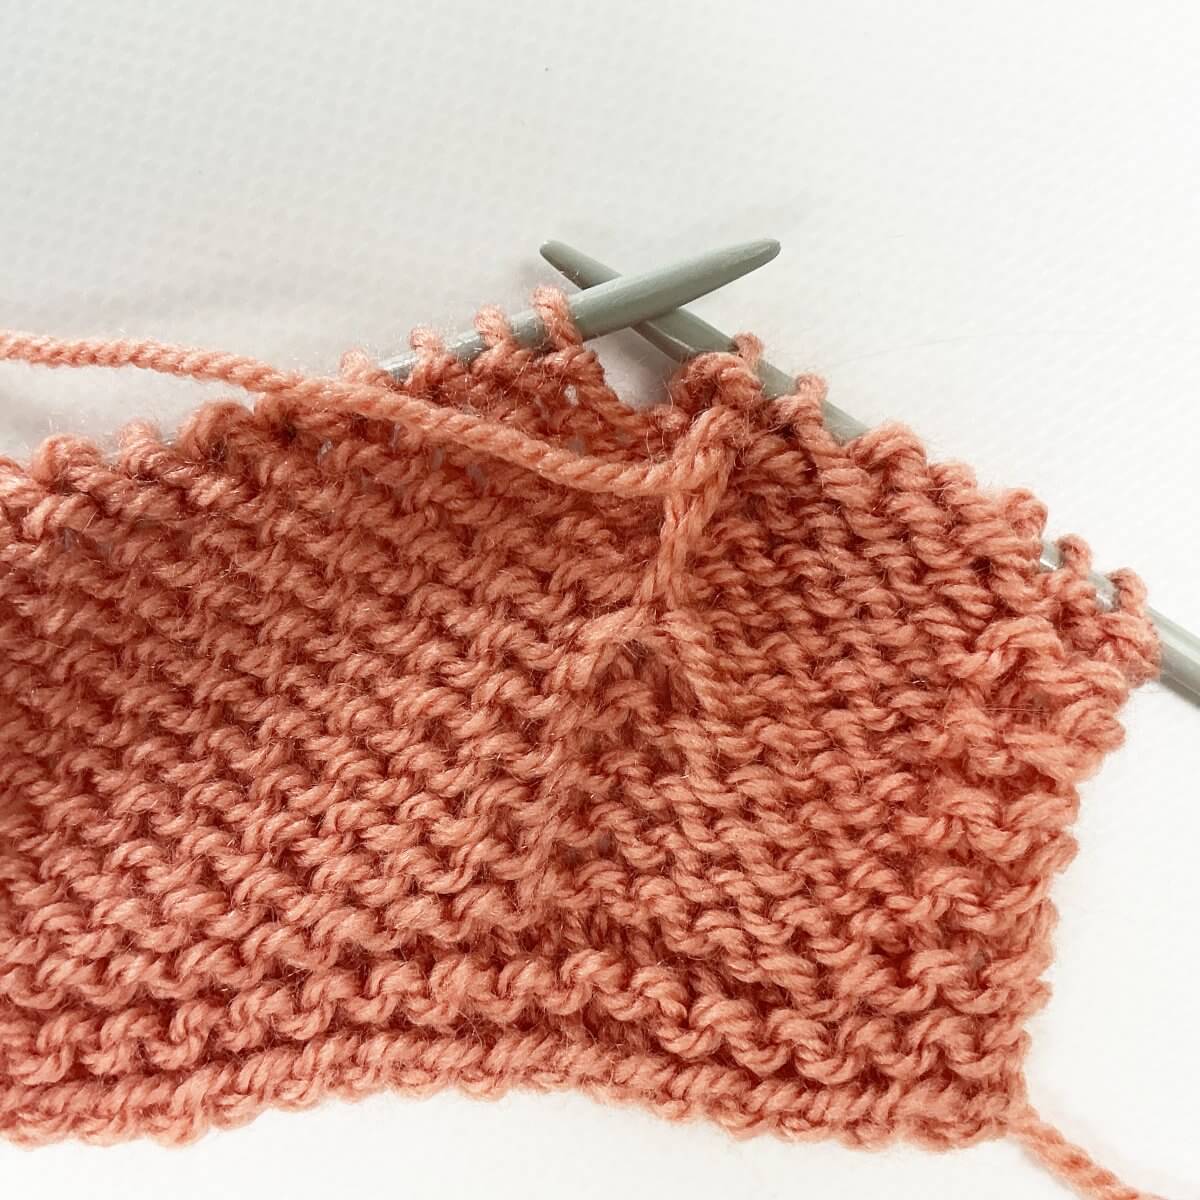
- To finish this tuck stitch, work a p2tog on the slipped stitch, together with the lifted loop.
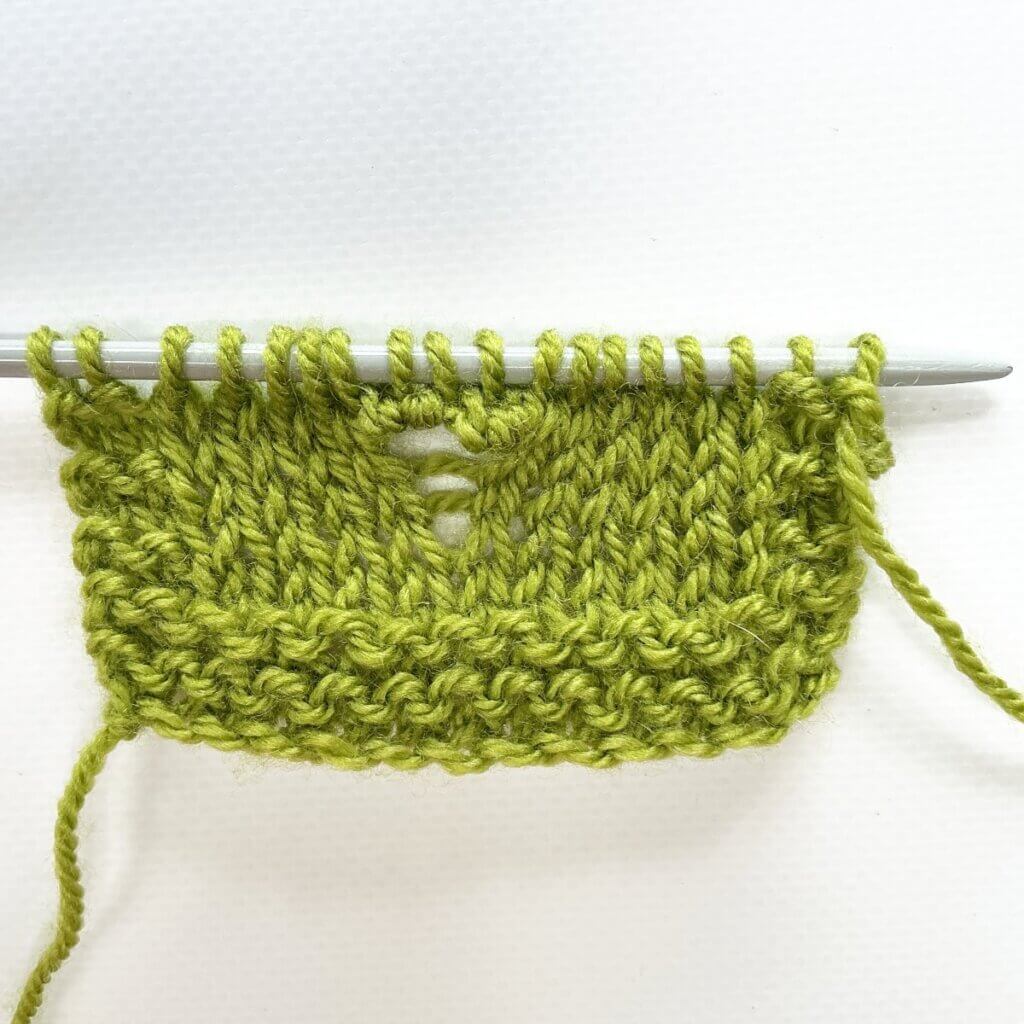
As you can see, the fabric draws in a bit.
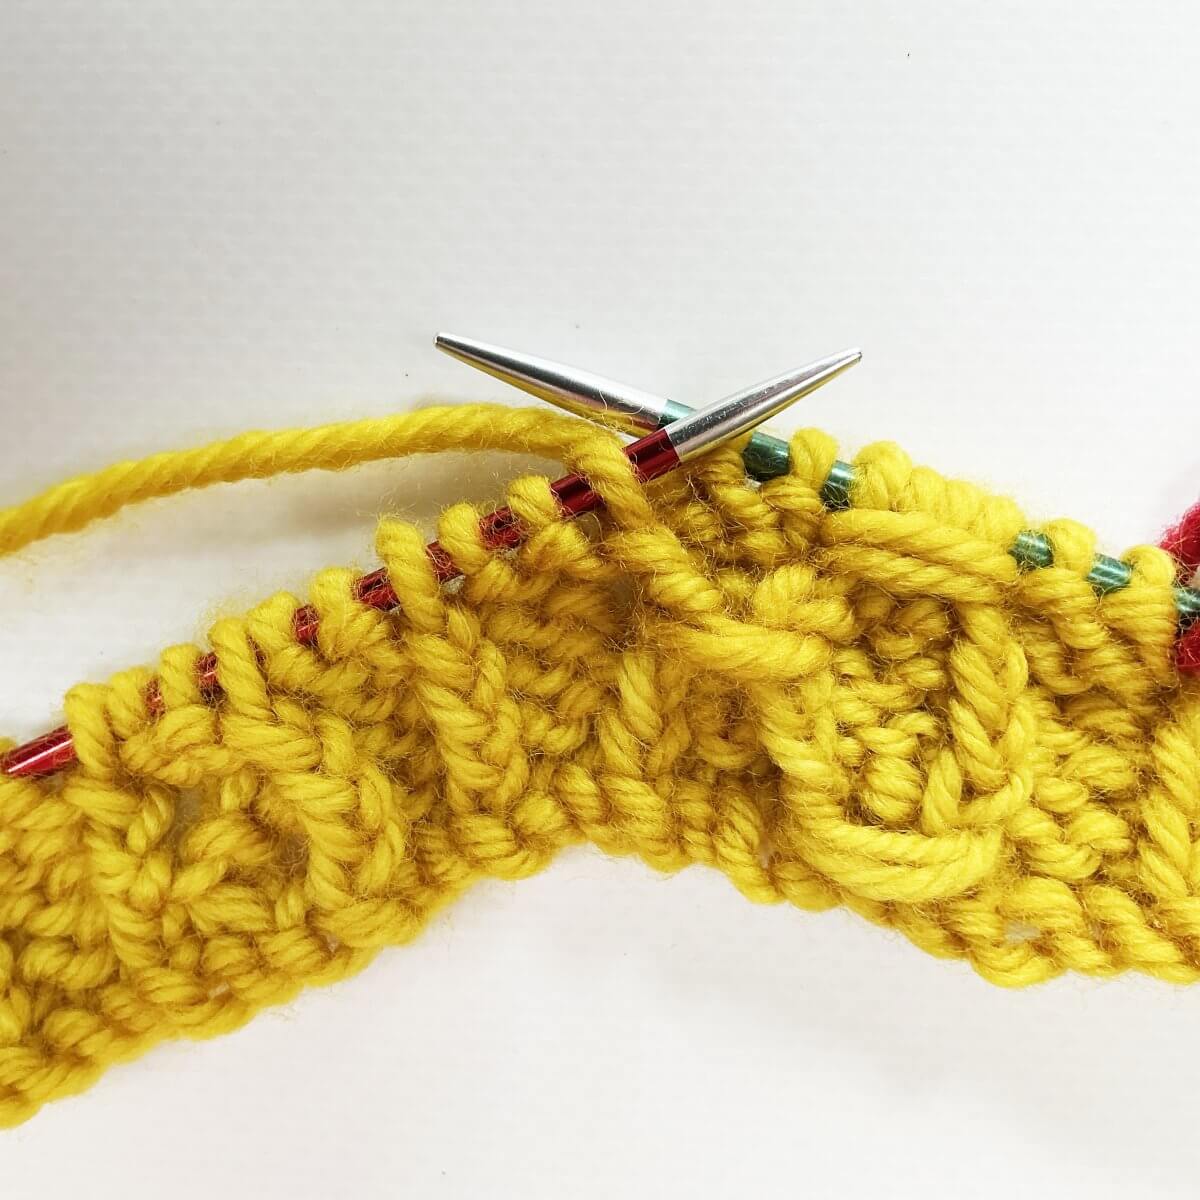
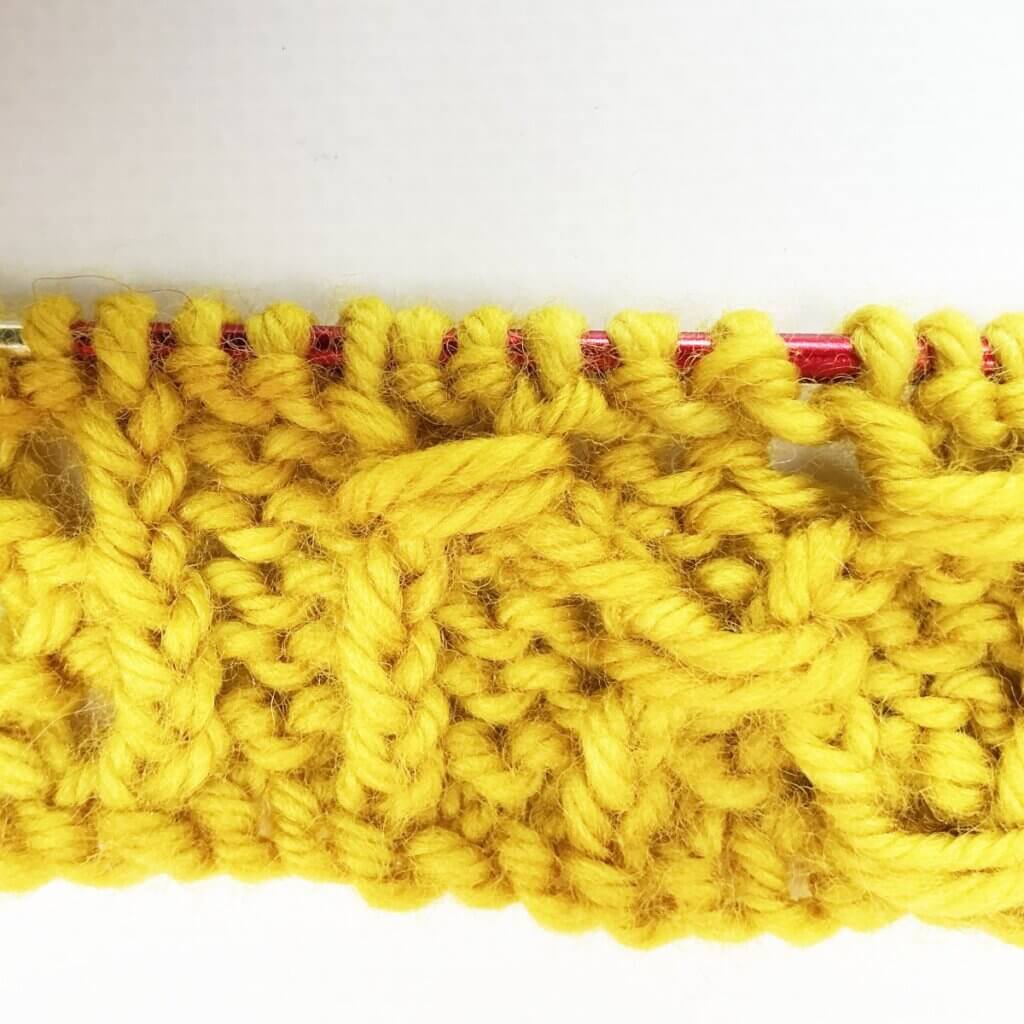
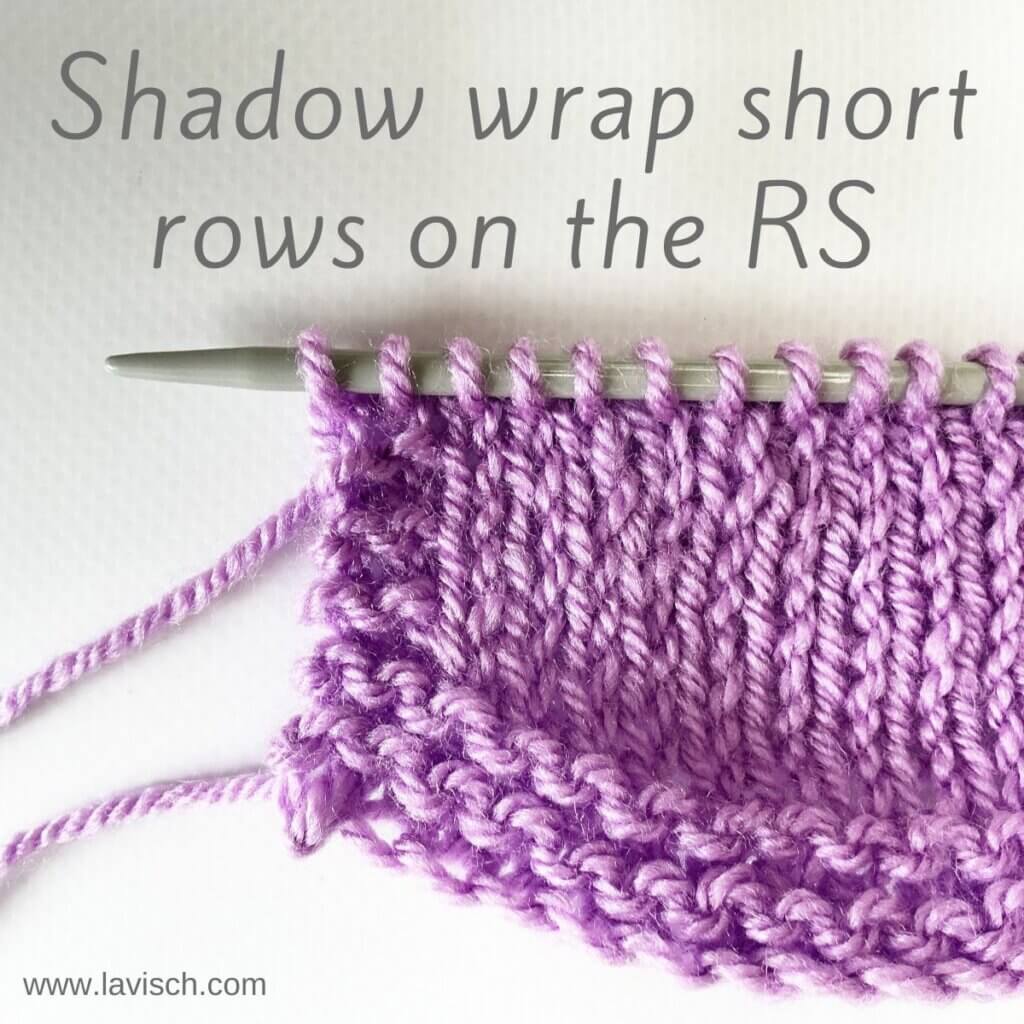
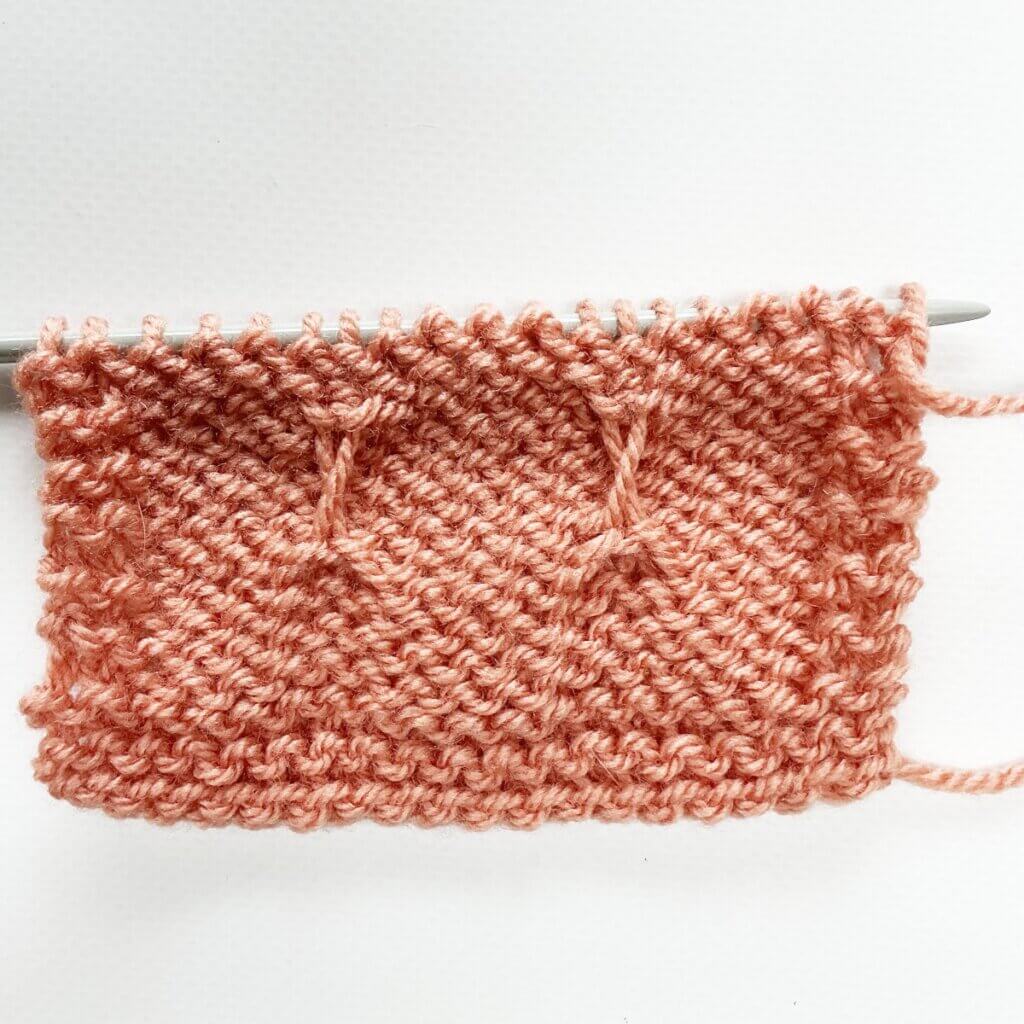
The result
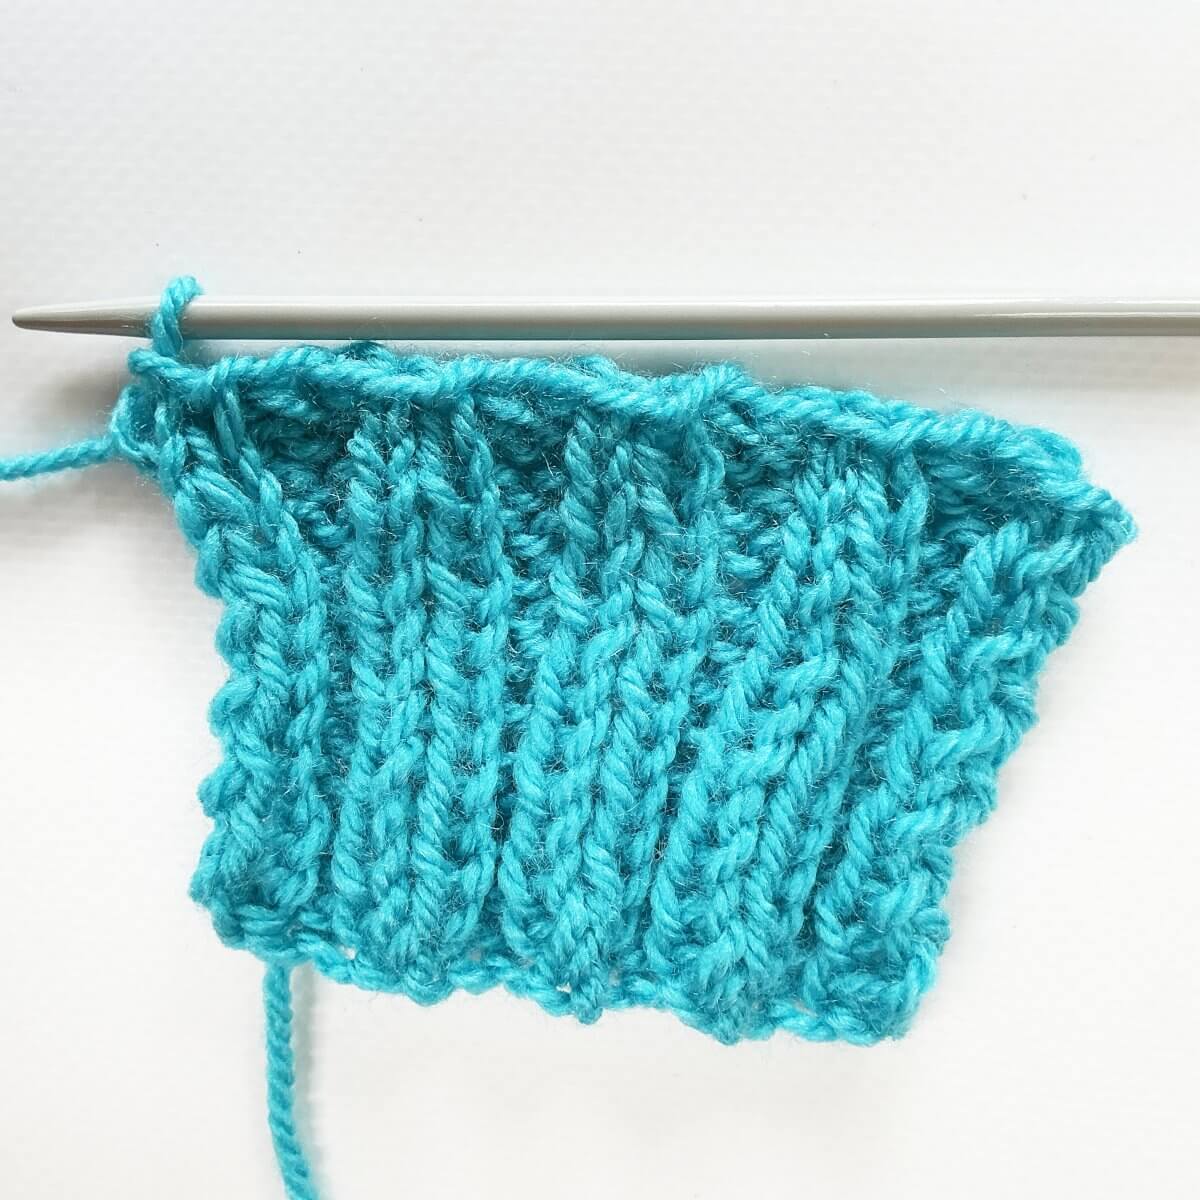
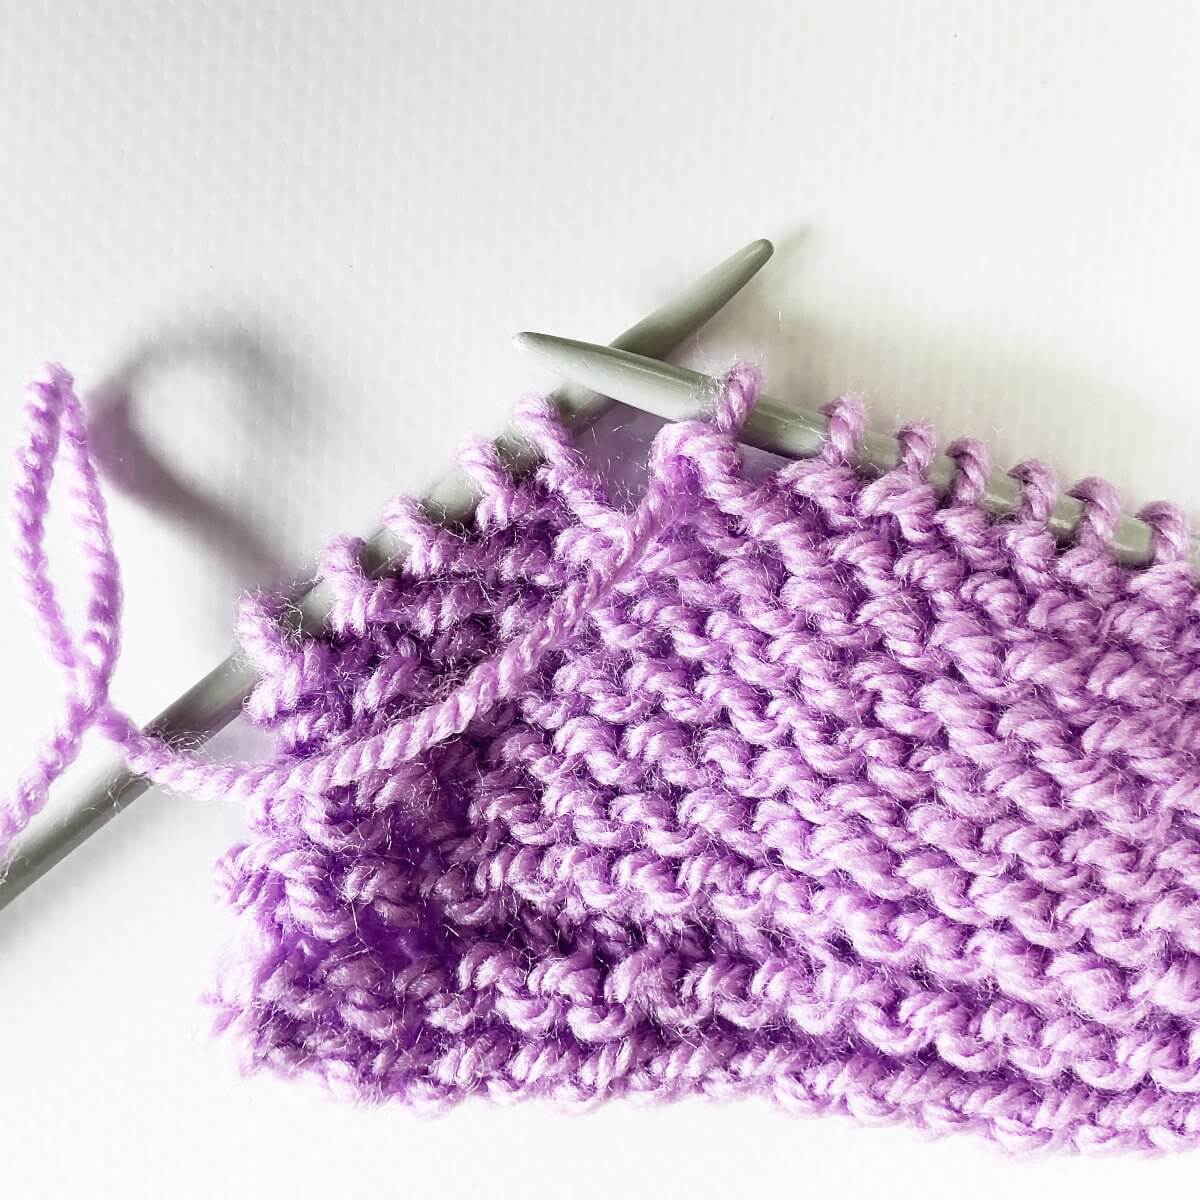
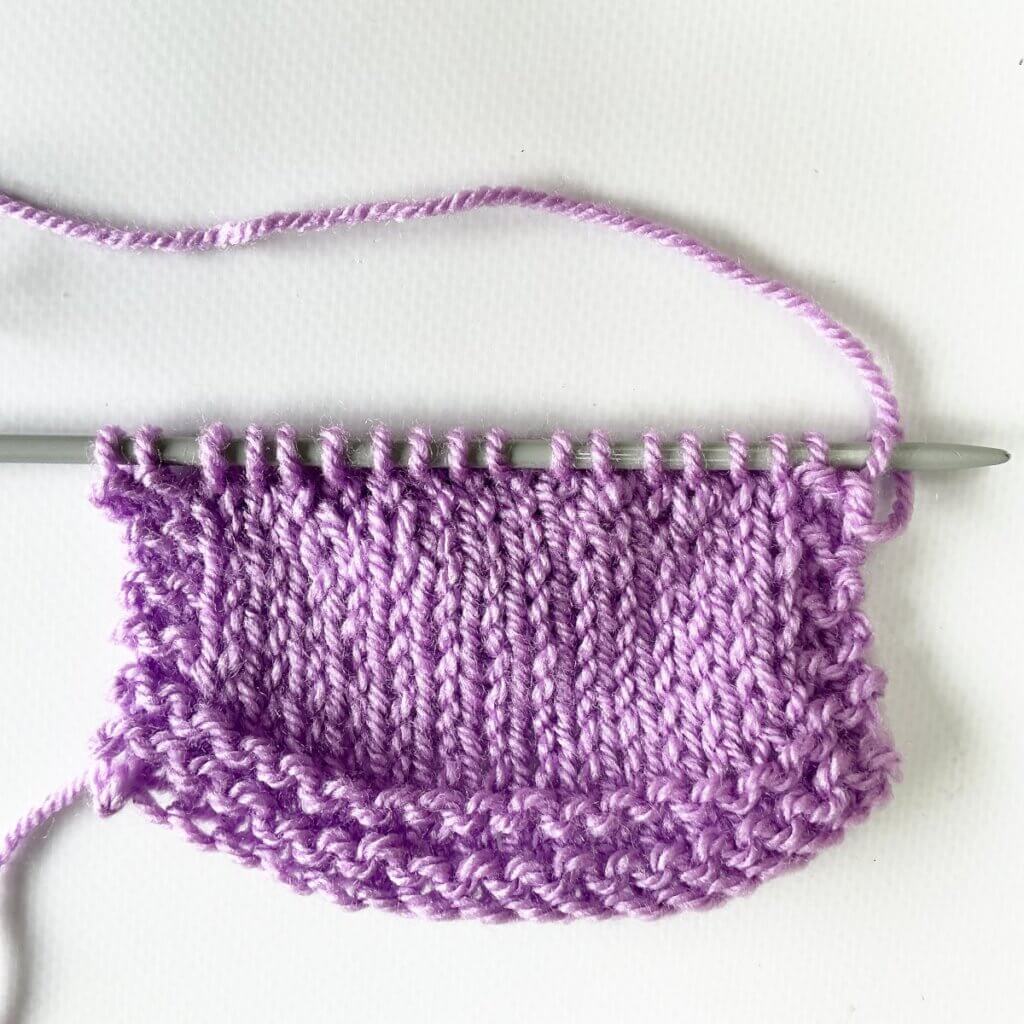
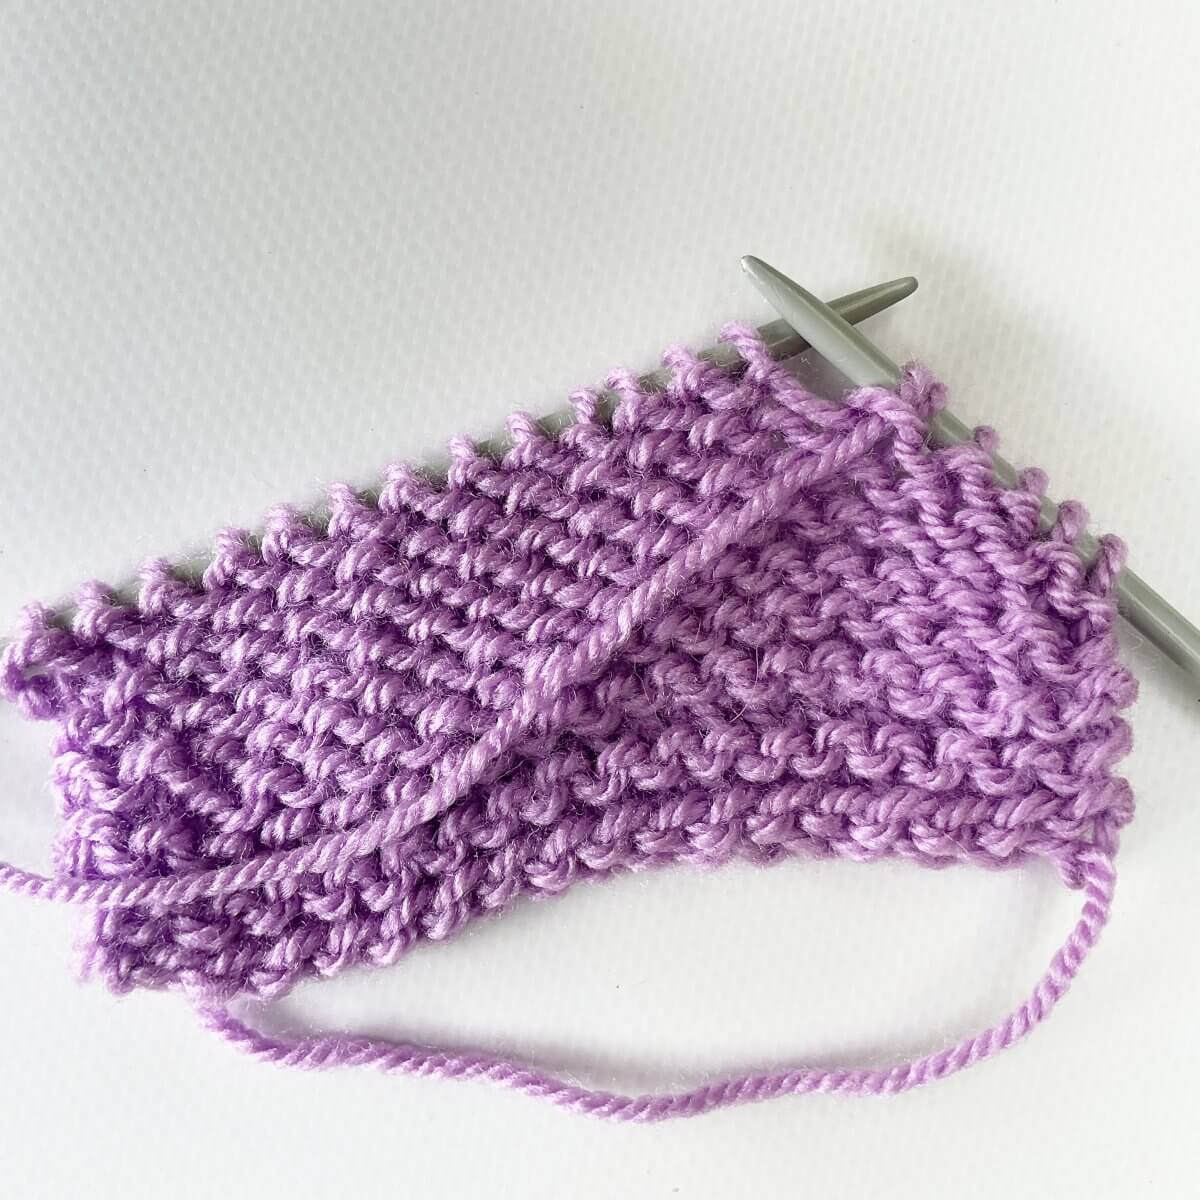
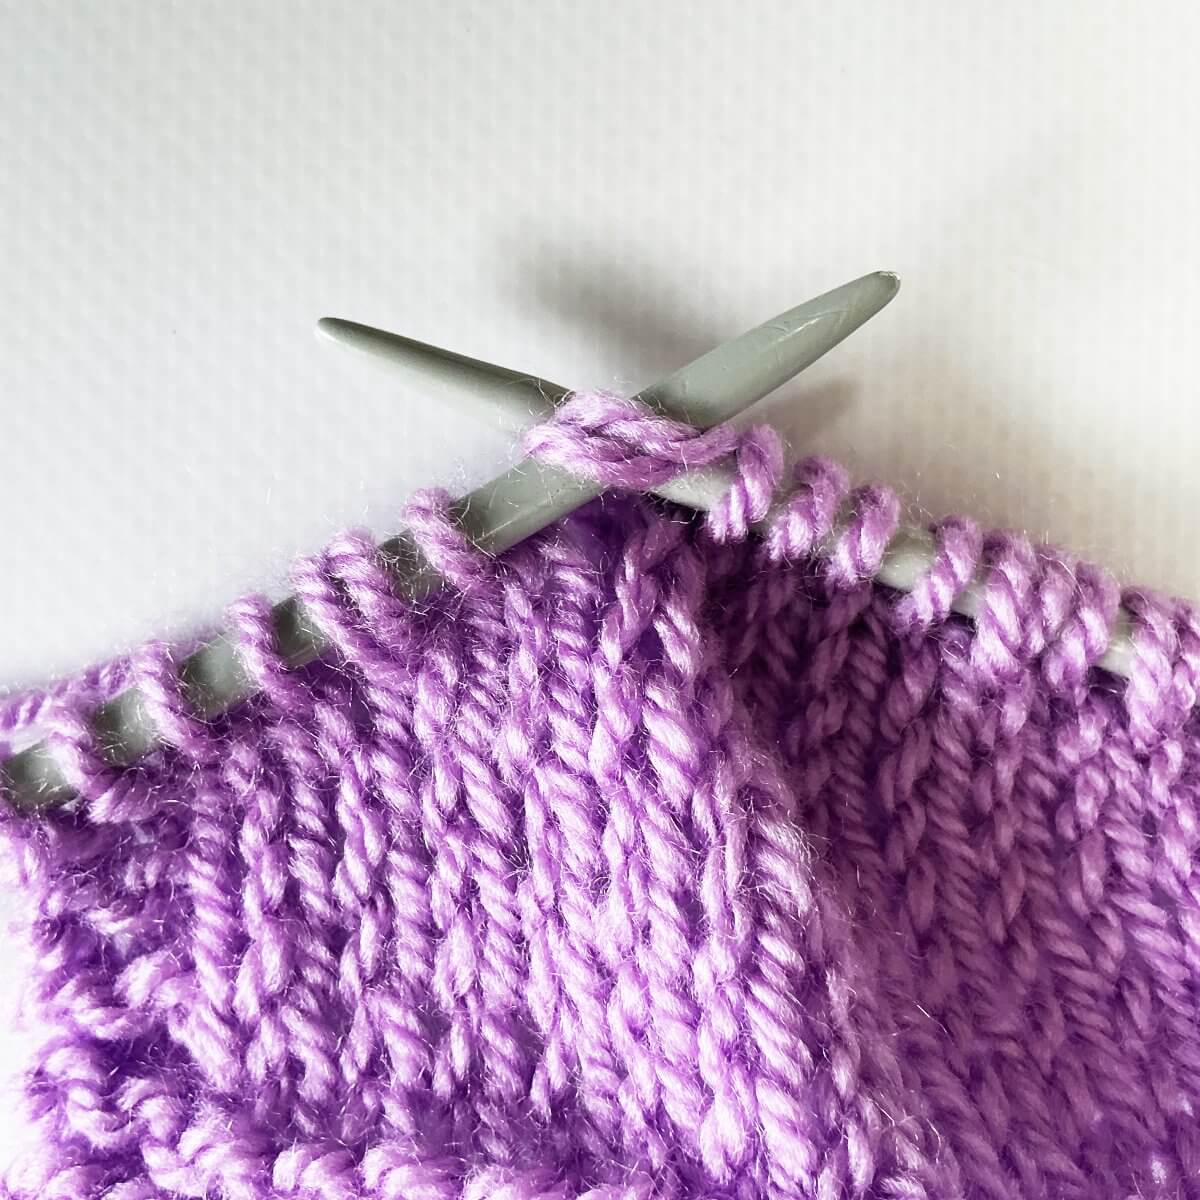
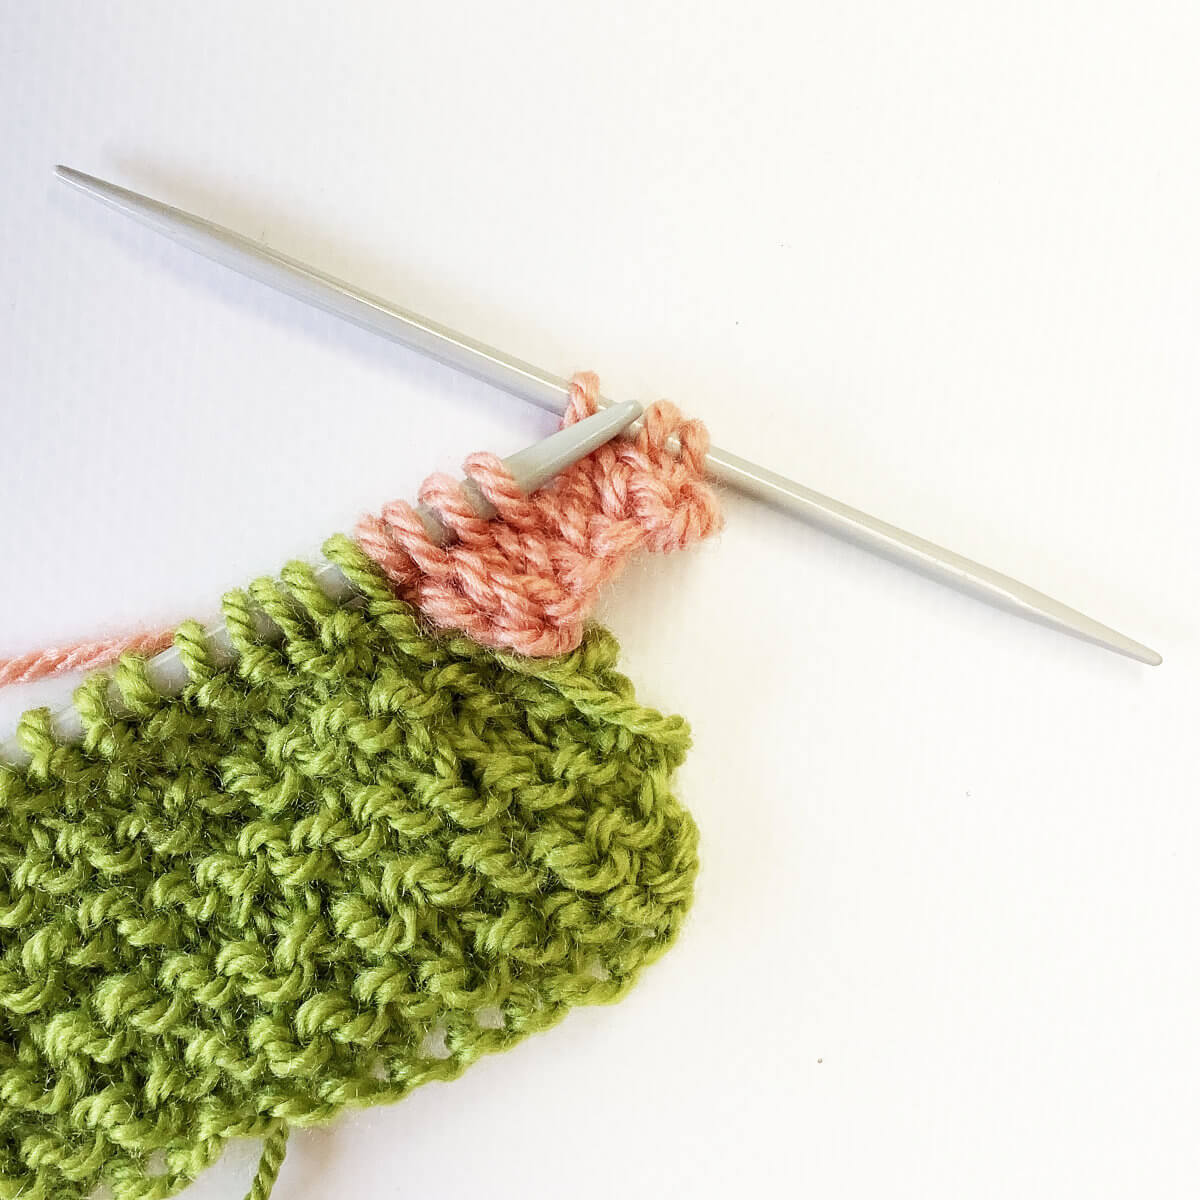
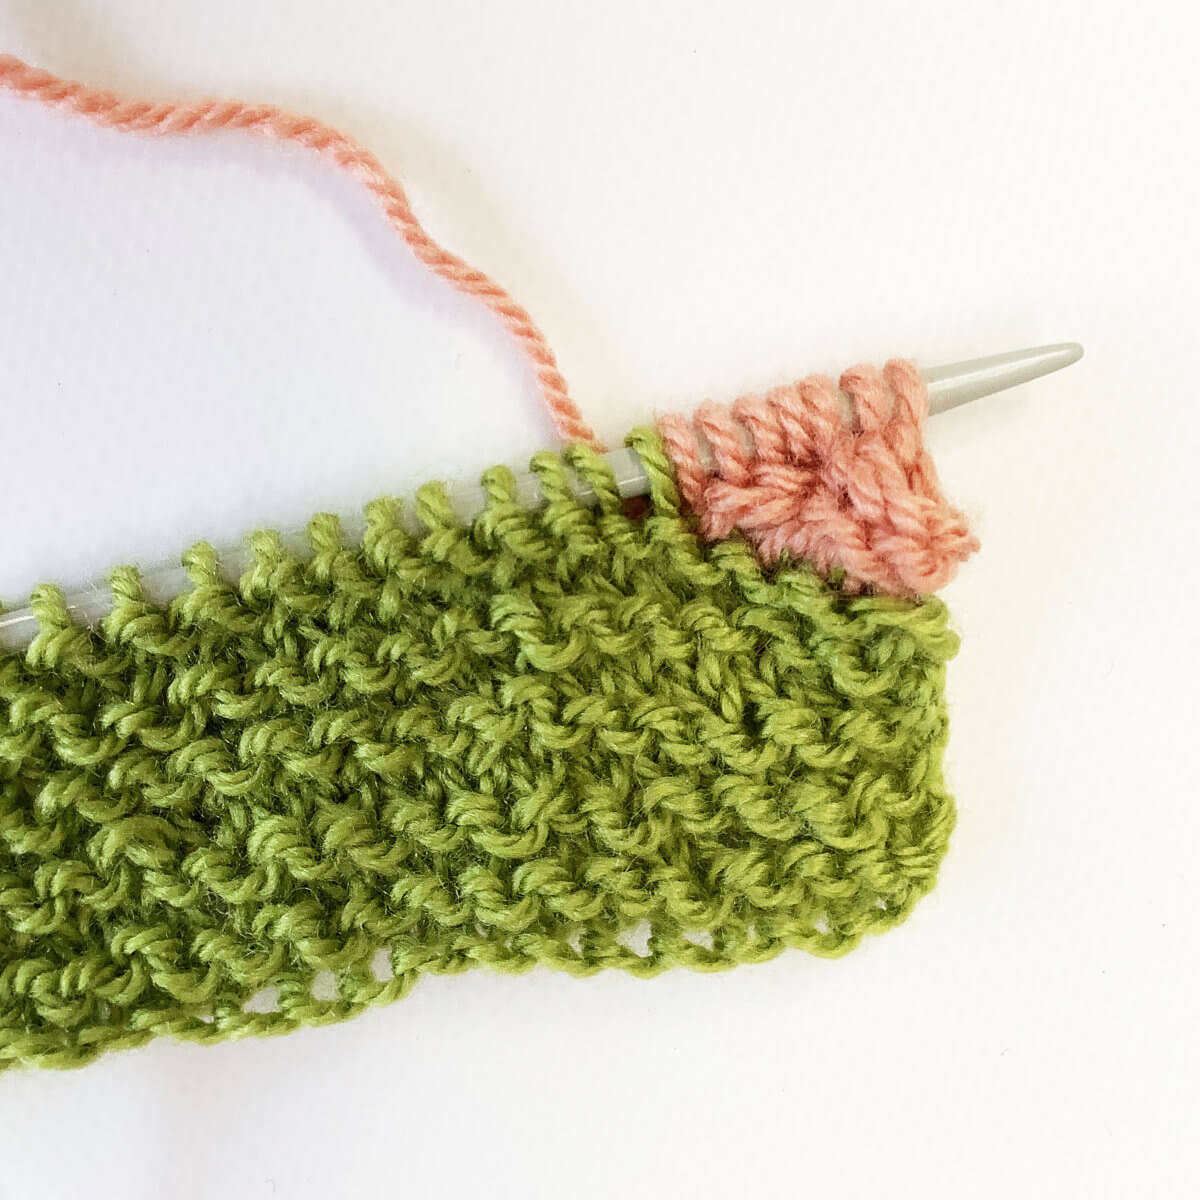
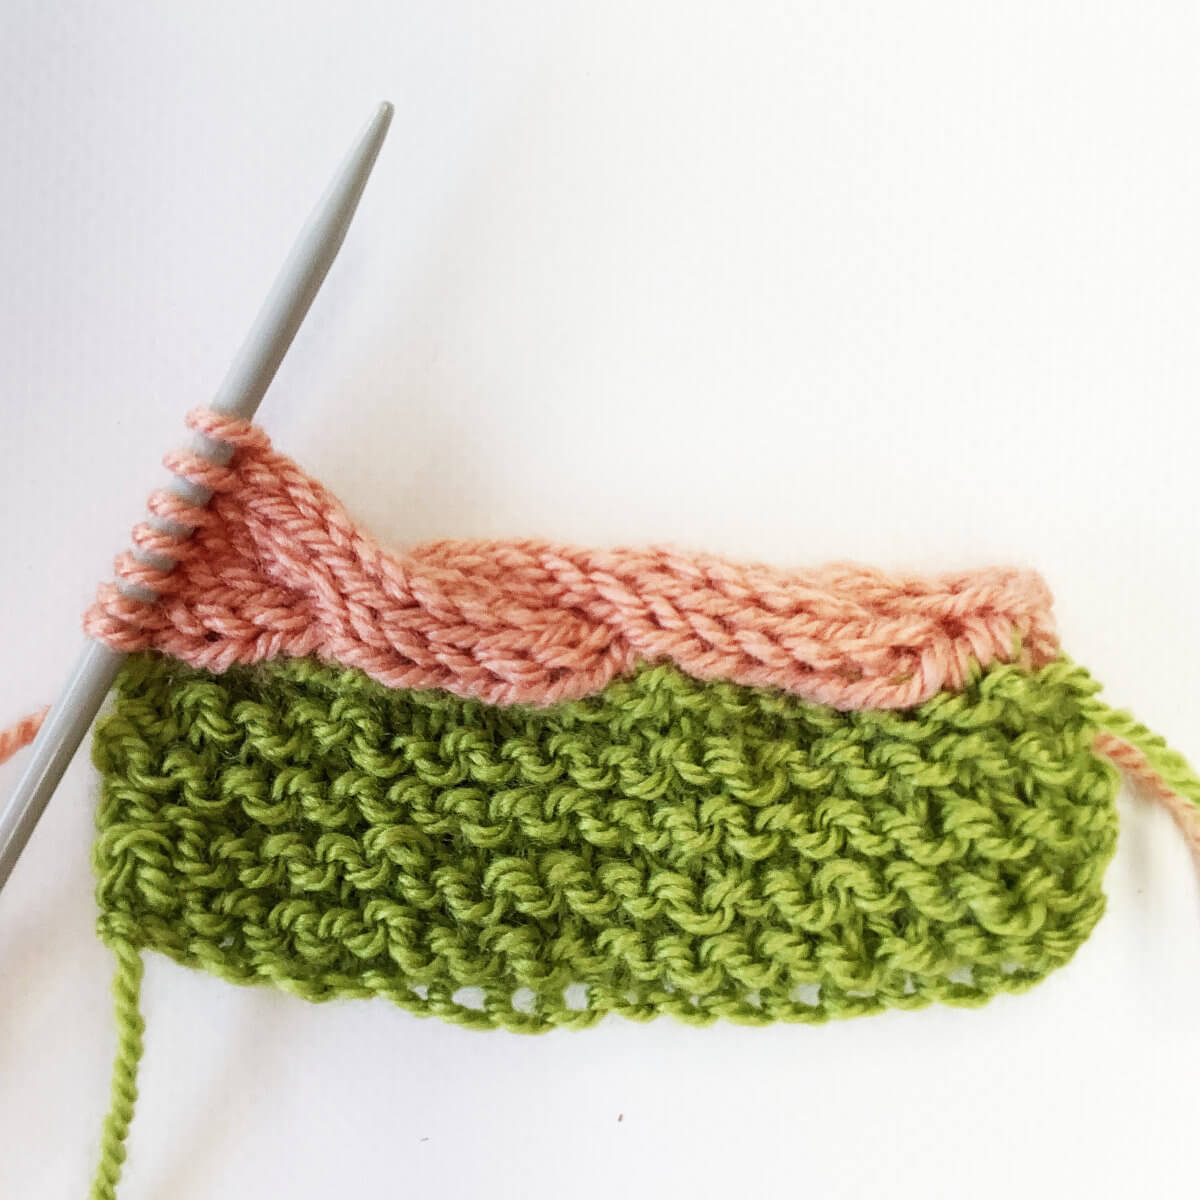
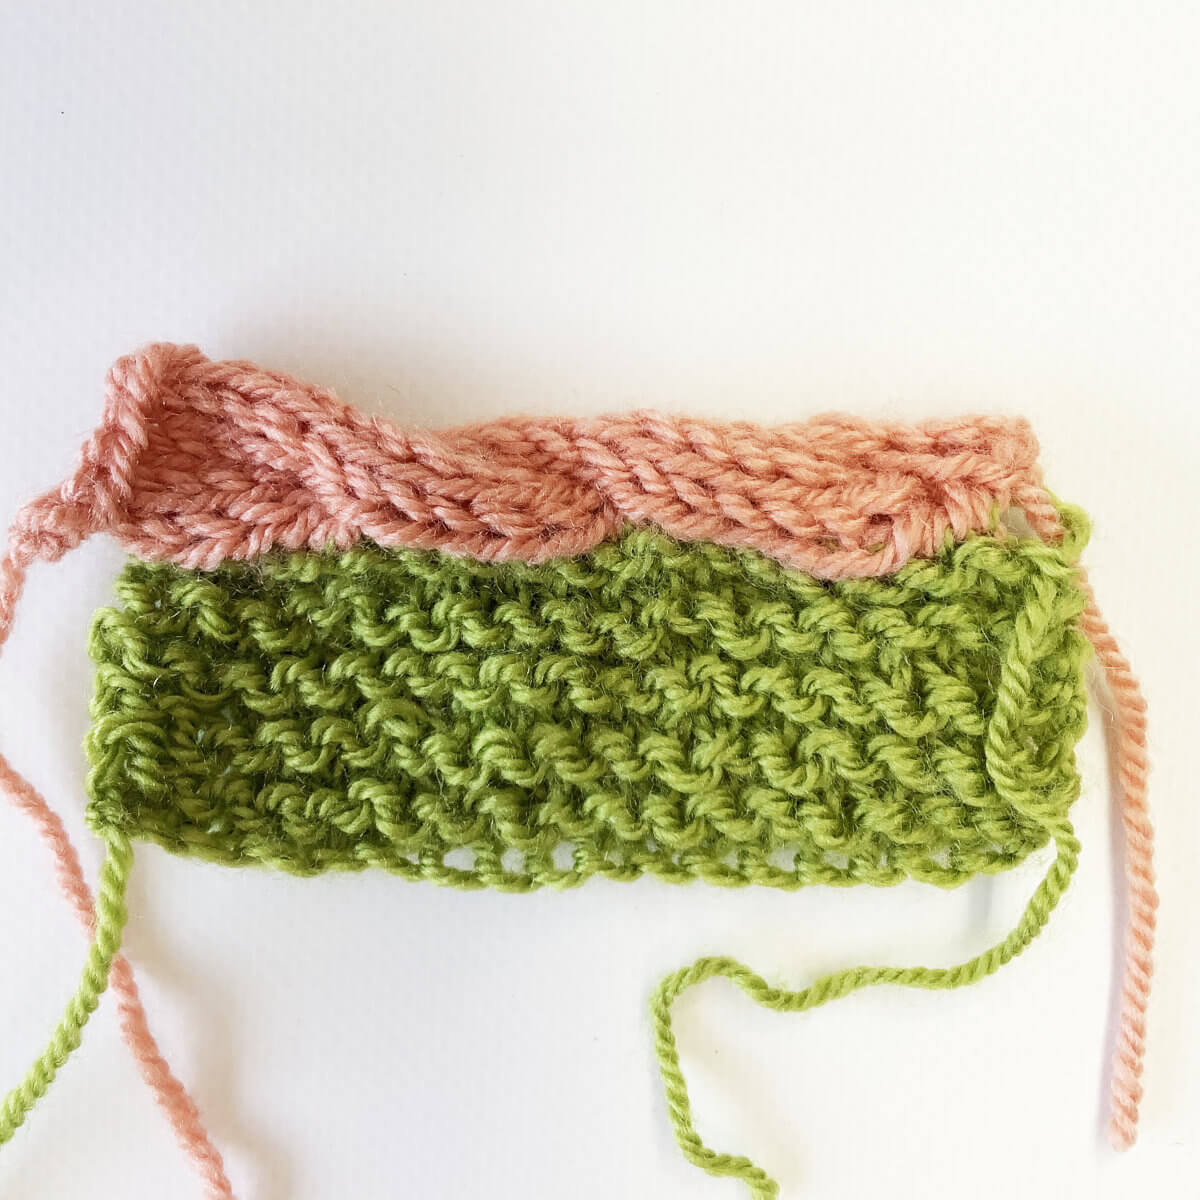
Below, you can see the result after working another right side row, first from the wrong side, then from the right side. Due to the picked up loop stretching out that much, the effect isn’t as pronounced as I hoped. That said, this could be tweaked by knitting a tighter fabric and thus causing less stretching, or by picking up the loop more rows below.


Thanks to my Patreon supporters for bringing you this freebie! Creating quality patterns and tutorials is a lot of work and resource-intensive. However, I find it important to give you free content like this tutorial. Thanks to the generous support of my Patreon supporters, I can make it happen. Thank you, patrons! Click here to join, or click here to read more about La Visch Designs on Patreon.
stitch pattern – tuck stitch with lifted purl bump Read More »