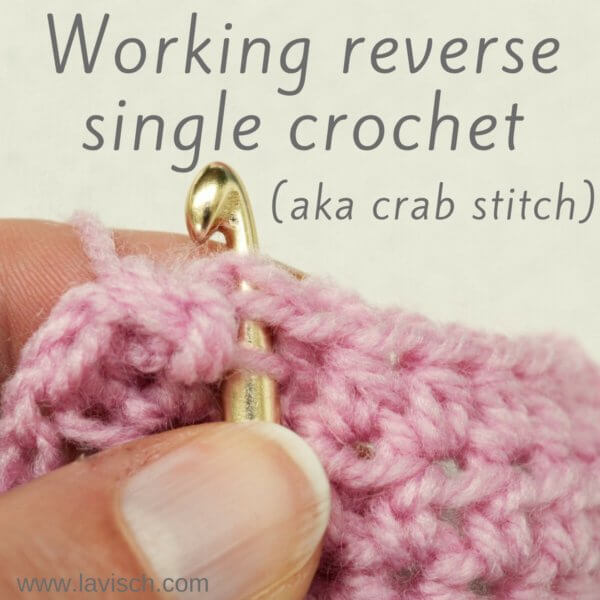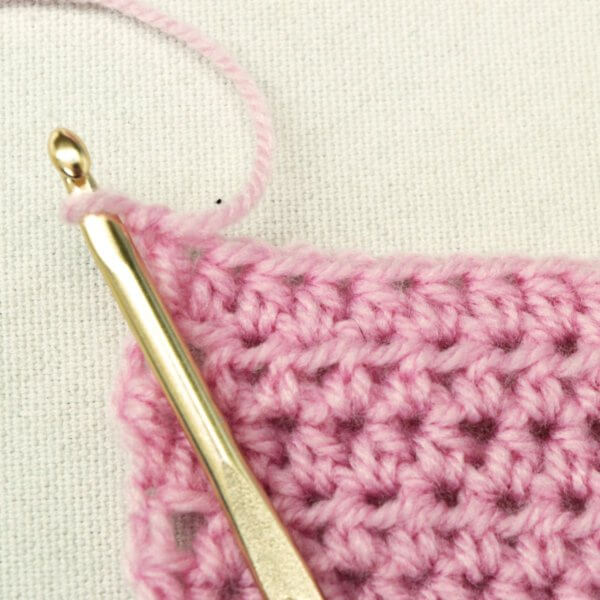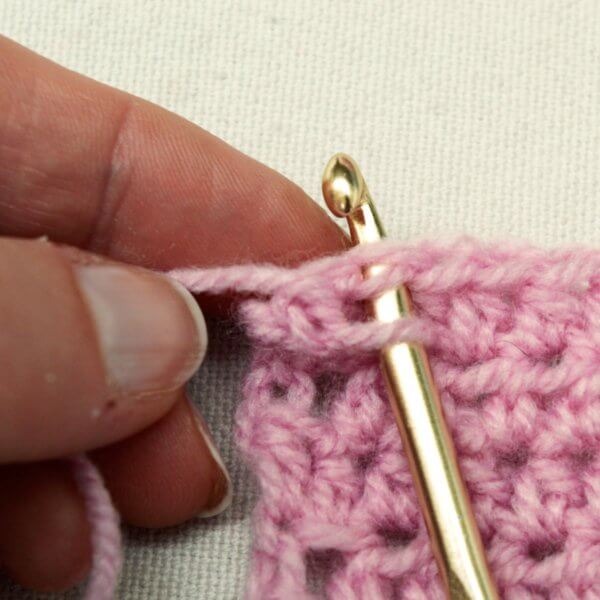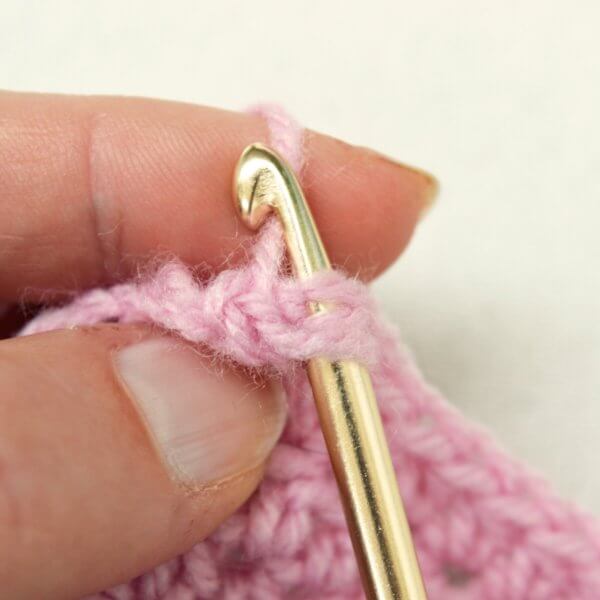
tutorial

tutorial: foundation half double crochet (fhdc)

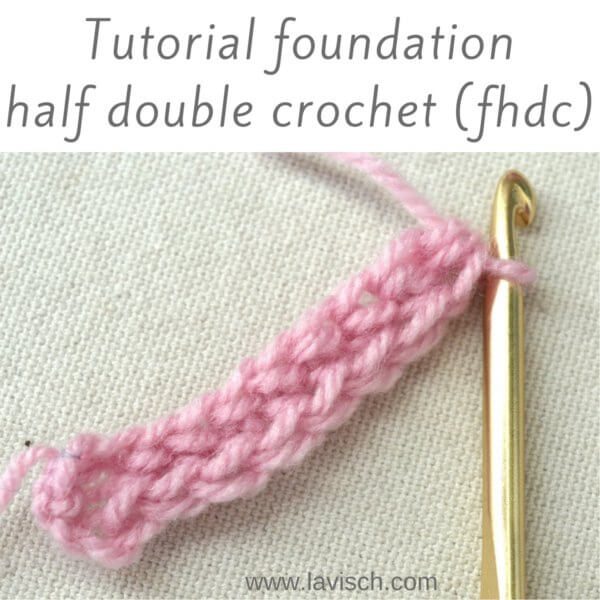
Foundation half double crochet (fhdc) - a tutorial by La Visch Designs

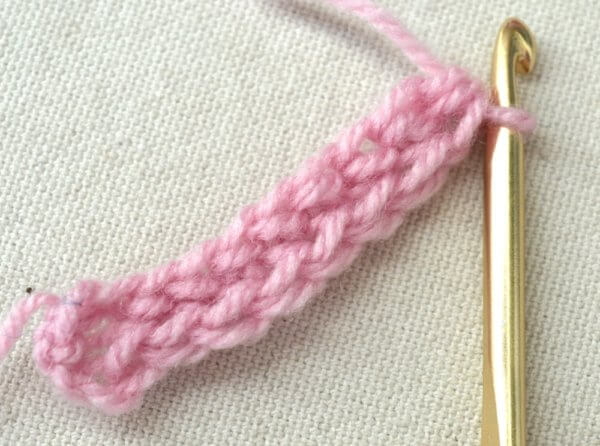
In another post, I have already shown you how to make a foundation row based on single crochet stitches. I really like this method of a chainless start of my crochet projects for all the reasons already explained in the other post. In this post I will show you how to make a half double crochet foundation row or fhdc for short.

This is a type of foundation row I use a lot myself, because I really like the fabric hdc stitches produce: not too dense, as is often the case with sc stitches. And not too holey either as a dc based fabric usually is. Exactly right as far as I’m concerned!

In a pattern, you may find the following instruction for fhdc:

Foundation half double crochet: make a slip knot and place onto hook, ch 3, yo and insert hook into both lps of the third st from hook, yo and draw through st, ch 1, yo and draw through all 3 lps on hook, *yo, insert hook in ch part of previous st, yo and draw through st, ch 1, yo and draw through all 3 lps on hook; rep from *.

Foundation half double crochet step by step

Below you can find the various steps and accompanying pictures. Please note that American crochet terminology is used in this tutorial.

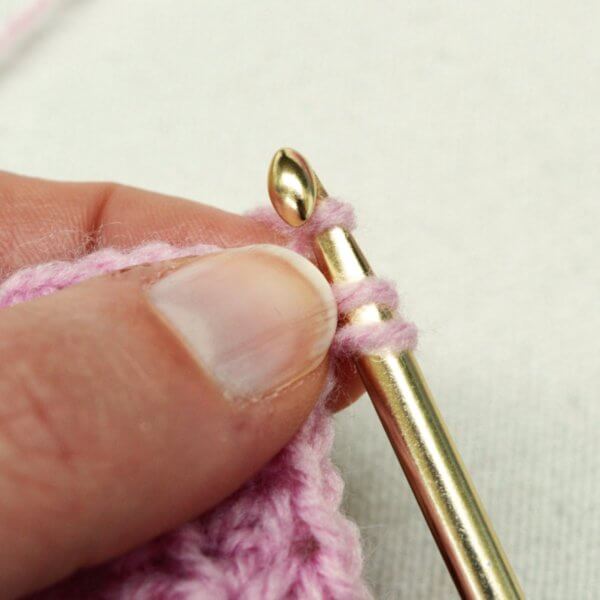
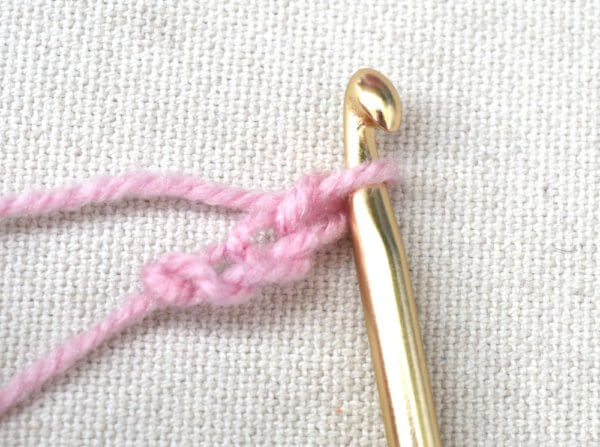
1. Make a slip knot and chain 3.

Foundation half double crochet (fhdc) - a tutorial by La Visch Designs

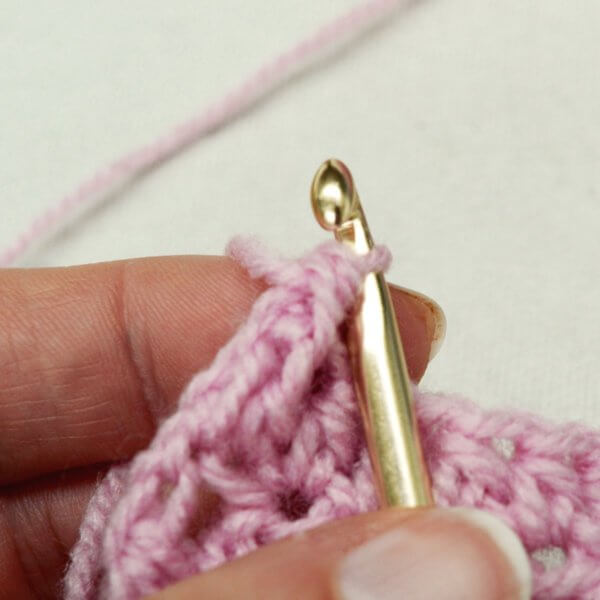
2. Insert the hook from right to left under the top strands of the third chain from the hook.

Foundation half double crochet (fhdc) - a tutorial by La Visch Designs

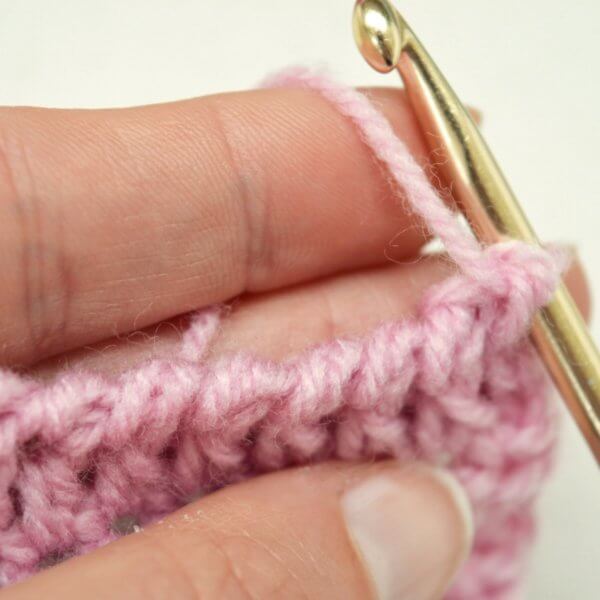
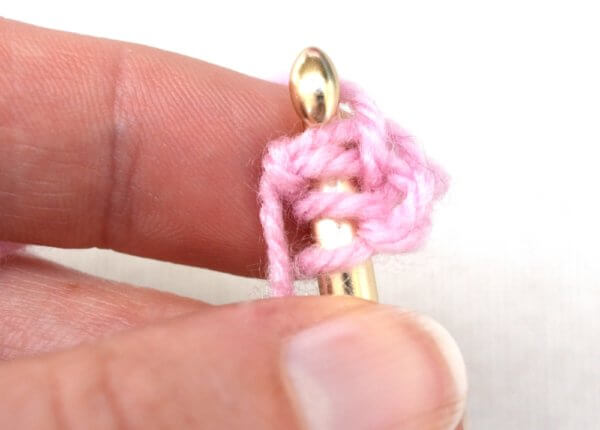
3. Yarn over and draw through those top strands indicated above.

Foundation half double crochet (fhdc) - a tutorial by La Visch Designs

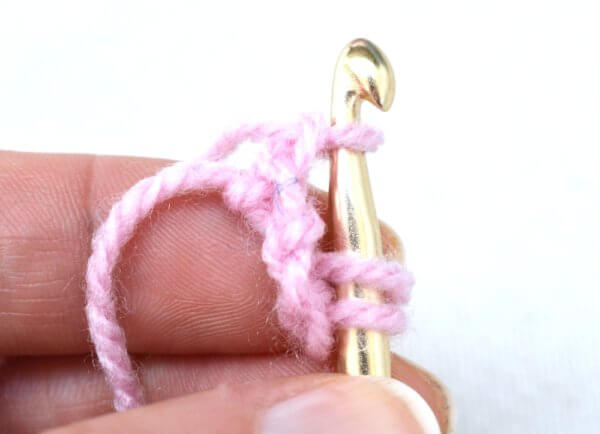
4. Chain one stitch, make sure to make this one not too tight, because here you create the “chain” part of your foundation row.

Foundation half double crochet (fhdc) - a tutorial by La Visch Designs

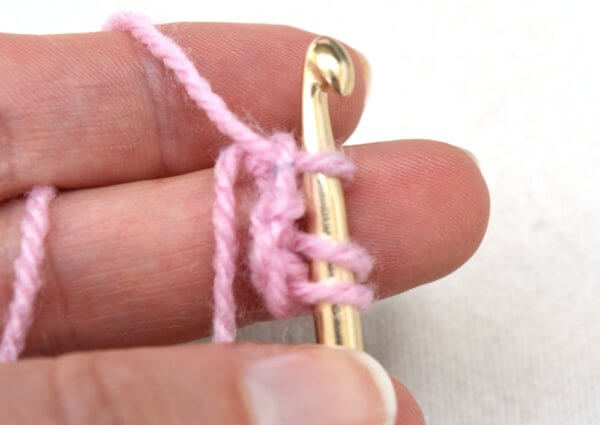
5. Yarn over and draw through all three loops on your hook. This completes the first stitch in your foundation half double crochet.

Foundation half double crochet (fhdc) - a tutorial by La Visch Designs

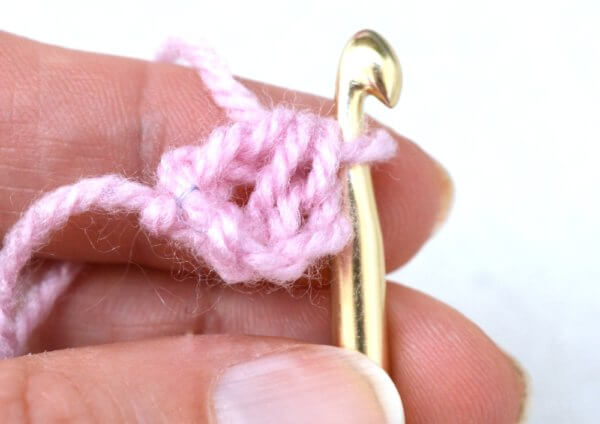
6. Insert the hook in the chain part of the previous stitch, this can be a tad hard to make out.

Foundation half double crochet (fhdc) - a tutorial by La Visch Designs

7. Yarn over and draw through both strands indicated above.

Foundation half double crochet (fhdc) - a tutorial by La Visch Designs

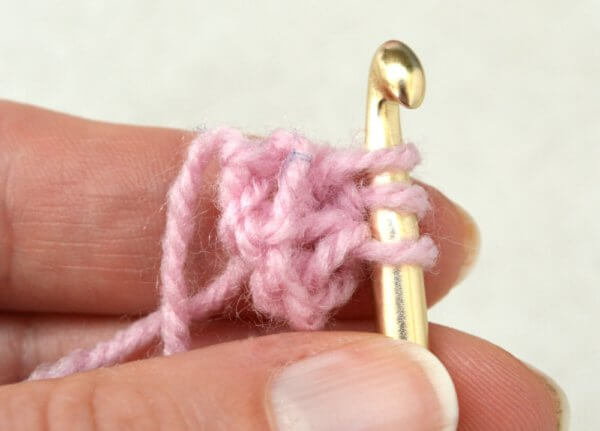
8. Chain one stitch, make sure again to make this one not too tight.

Foundation half double crochet (fhdc) - a tutorial by La Visch Designs

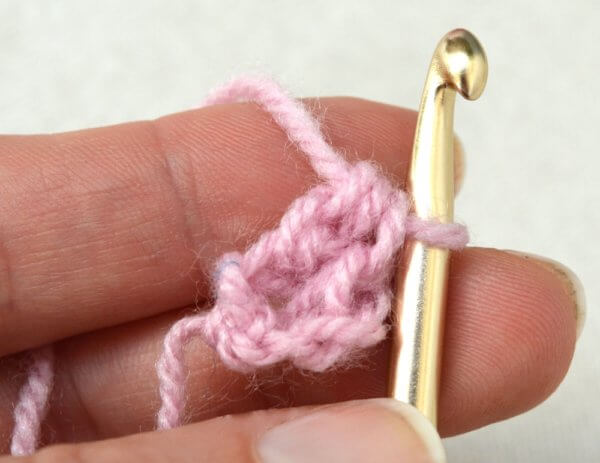
9. Yarn over and draw through all three loops on the hook.

Foundation half double crochet (fhdc) - a tutorial by La Visch Designs

Repeat steps 6-9 as often as needed!

Foundation half double crochet (fhdc) - a tutorial by La Visch Designs

tutorial: foundation half double crochet (fhdc) Read More »
tutorial: dyeing wool

Dyeing wool

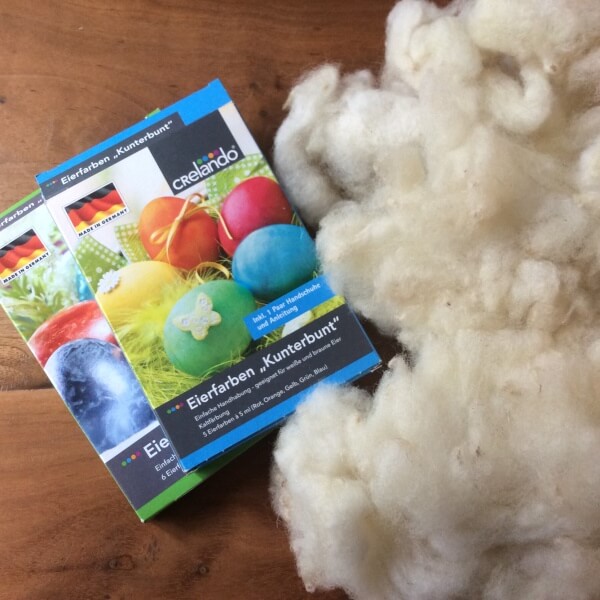
Being a spinner, I not only have lots of lovely top and roving in my fiber stash, but also quite a few whole fleeces. A whole sheep worth of wool can get a bit boring color-wise. So, now with Easter all done, it is time to put that leftover Easter egg dye to good use and start dyeing wool!

Easter egg dye and other food coloring are perfectly suited to dye protein-based fibers and yarns. Wool, alpaca, and silk are lovely to dye yourself. These dyes, however, can’t be used to permanently dye acrylics and plant-based fibers like cotton.

Supplies needed

  • Wool or yarn: I’m using some lovely Lleyn wool, that I already scoured last year. If dyeing or over-dyeing yarn, make sure to skein the yarn if you have it in a ball put-up. Remember to tie the skein with some pieces of cotton or acrylic to make sure your wool won’t tangle beyond rescue.
  • Easter egg dye or other food colorings
  • Vinegar to change pH value and improve the dye take up by the wool
  • Non-aluminum pot and spoon

Let’s get started!

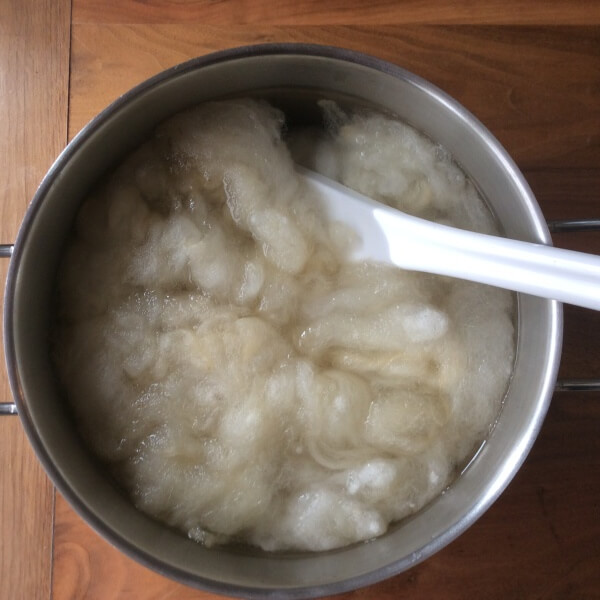
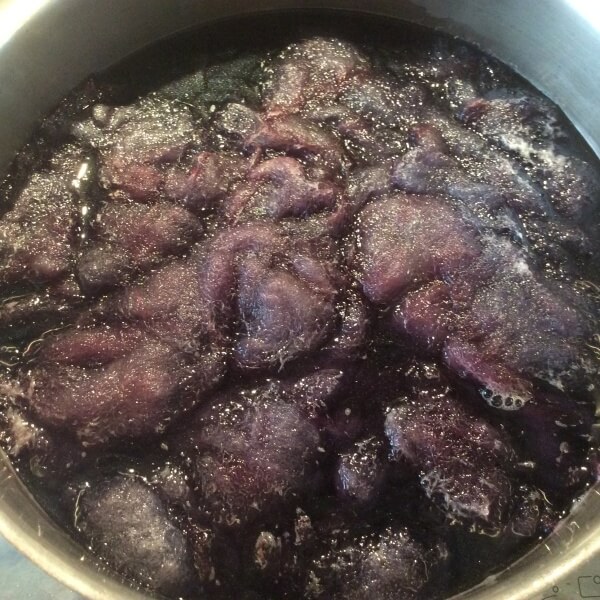
1. Fill the pot with hot water from the tap, add some glugs of vinegar (I know, very scientific this way) and put in the wool to pre-soak. Leave it like that for 10 to 15 minutes.

Dyeing wool - a tutorial by La Visch Designs

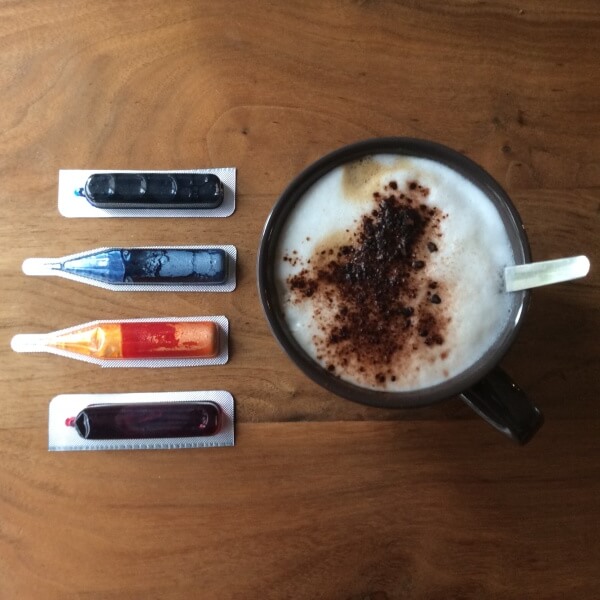
2. While waiting I made myself a cappuccino and pondered what colors to use. I decided to use red and blue to hopefully end up with purple.

Dyeing wool

3. Added the dye to the pot and put it on the stove until the water had reached a slow simmer. Then I put the fire out and let it be. Do not let it come to a rolling boil and don’t stir a lot or vigorously, we don’t want to felt our wool!

Dyeing wool

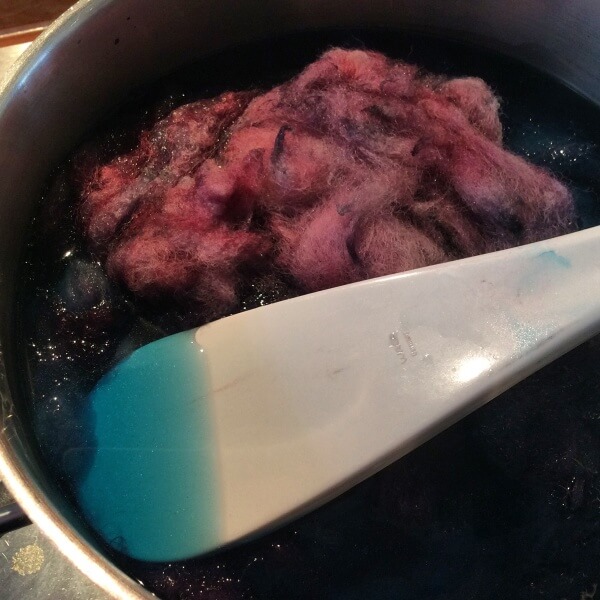
4. Checking the progress, you can see that the red dye has disappeared completely from the water. There is however still a lot of blue in the water and not in the wool.

Dyeing wool

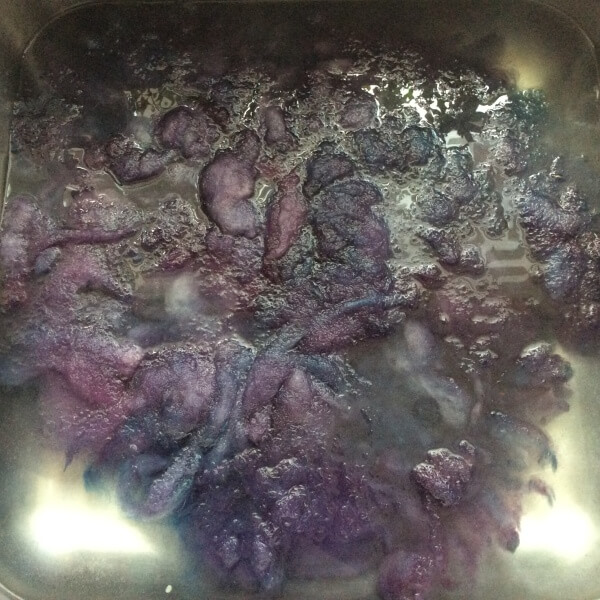
5. A couple of hours later I’m satisfied with how much dye has been taken up by the wool. Other colors may need less time. Now it is time for a rinse. I have filled the sink with hot water and gently swooshed the wool around int it, to rinse out any leftover dye. Only use cold water, if your wool is also completely cooled down. Rapid cool-down can also cause felting. Therefore I always use hot water for rinsing, just to be sure I don’t accidentally felt my wool.

Dyeing wool

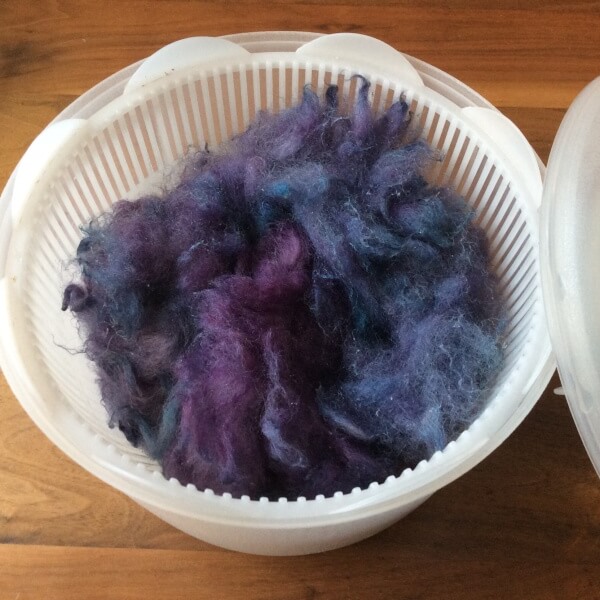
6. Then it is time to remove all the excess water from the wool. After a gentle squeeze, I use my dedicated salad spinner for this. You can, of course, also use a stand-alone spin dryer. When using the one in your washing machine, make sure it does not automatically involve rinsing as well, because that may again cause felting.

Dyeing wool

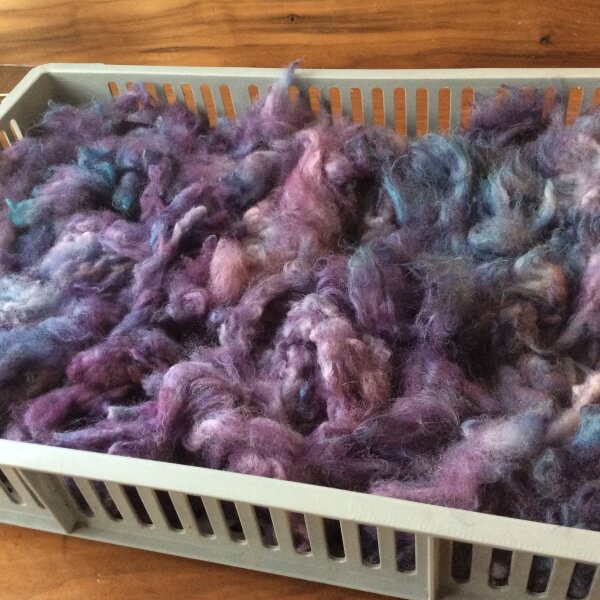
And there you have it: a nice crate full of purple wool! Dyeing wool is pretty fun, isn’t it? When completely dry I had even more fun carding the wool into batts for spinning, read all about it here.

Dyeing wool

tutorial: dyeing wool Read More »
garter tab cast on tutorial

Knitting a garter tab cast-on - a tutorial by La Visch Designs

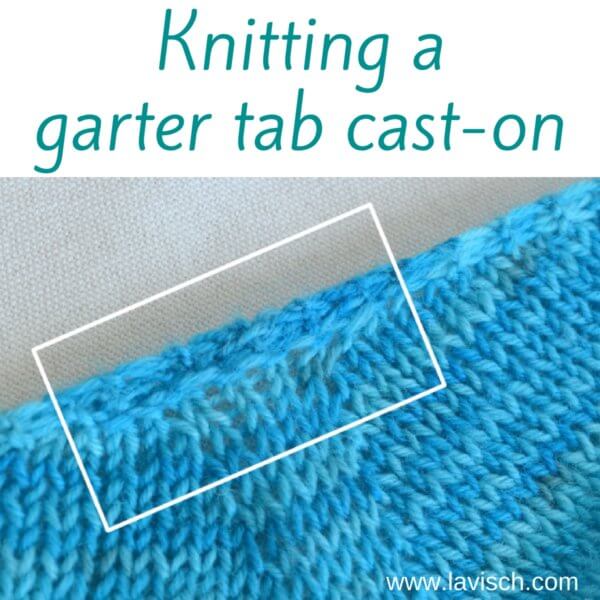
Many top-down shawl patterns start with a garter tab cast on. Why? Because it creates a lovely seamless start of any shawl. See for example the start of my Zomer Zilt shawl, pictured above, you almost can’t see where the cast on is! Yes, it can be a bit fiddly to work, especially when working with very skinny yarn. However, don’t let that deter you from knitting patterns that use this cast on: with the below step-by-step instructions and tips you are sure to master this technique.

In this example I used the garter tab instructions as used in Zomer Zilt:

Cast on 2 sts and knit 12 rows. Turn work 90 degrees, then pick up and knit 6 sts from the garter stitch ridges along the long edge. Pick up and knit 2 sts along the cast on edge. (10 sts).

The garter tab cast on step by step

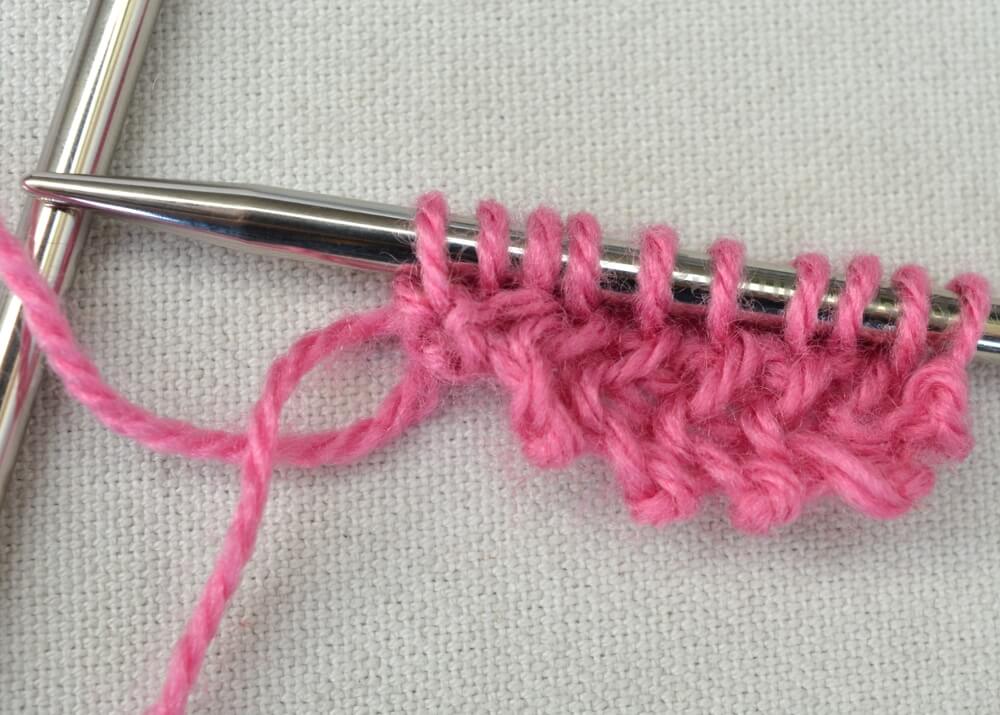
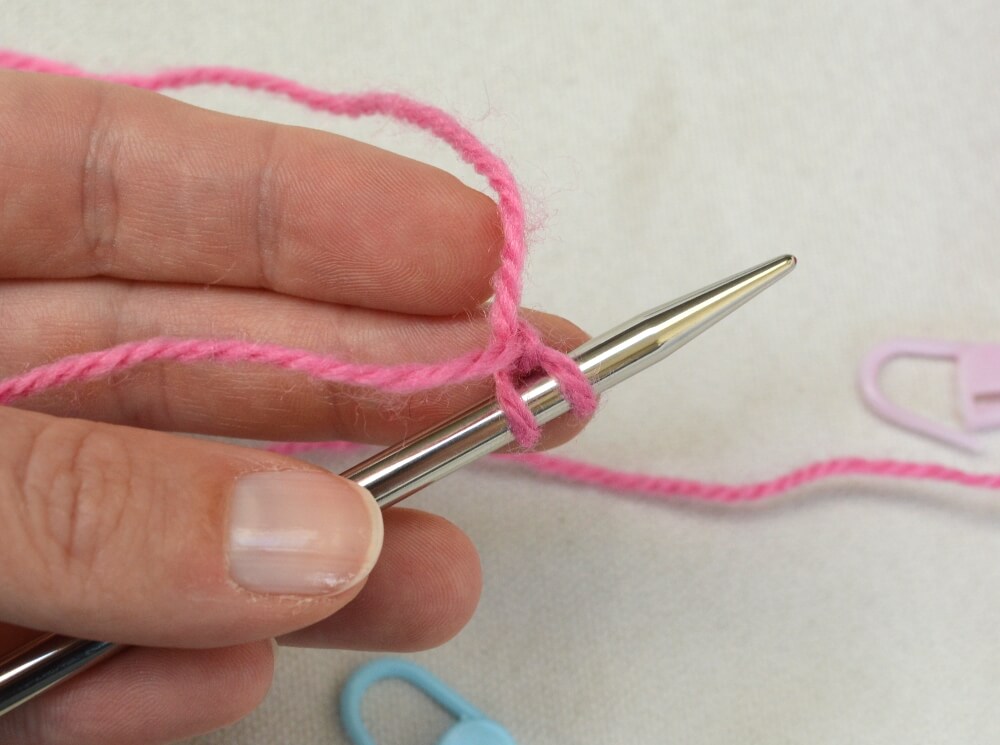
1. Cast on two stitches using your preferred cast-on method. In this example, I’m using the knitted on cast-on.

Garter tab cast on tutorial by La Visch Designs

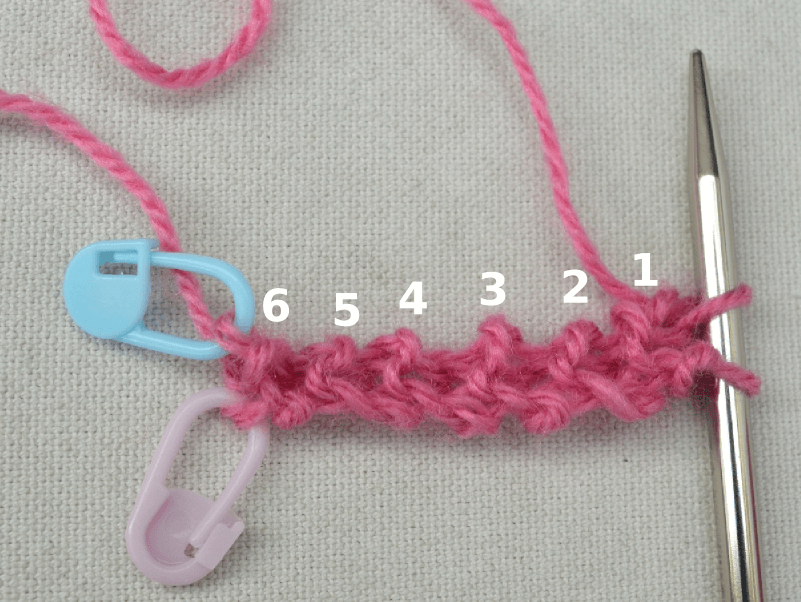
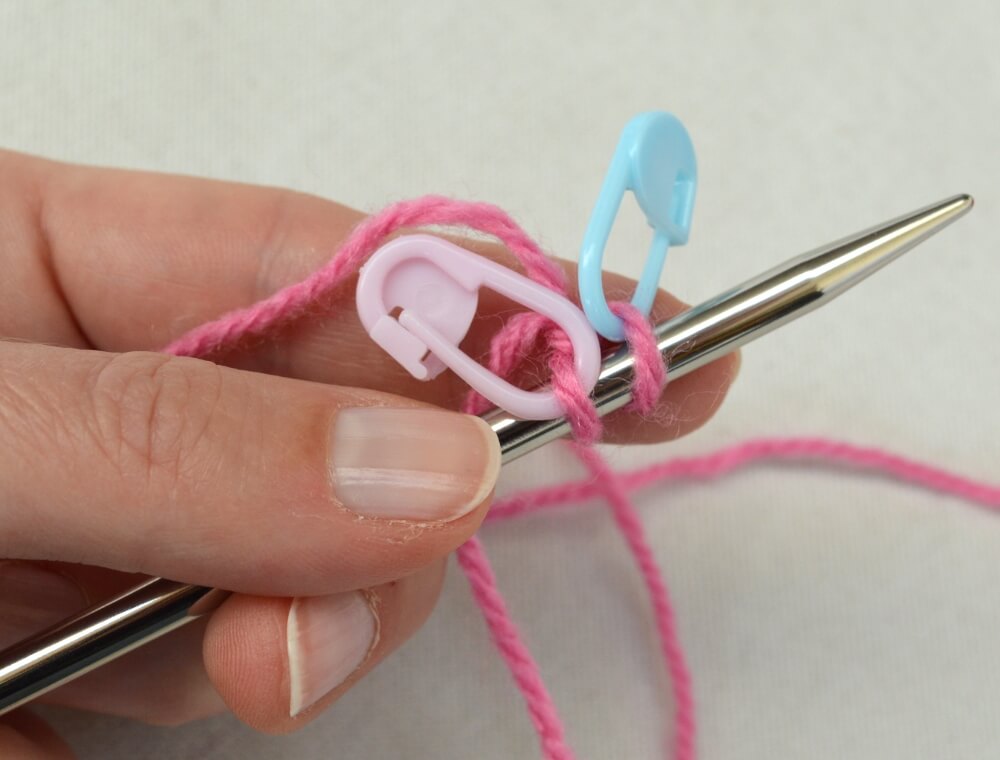
2. Place markers in each of every CO stitch, this will make it easier to pick them up later on.

Garter tab cast on tutorial by La Visch Designs

3. Work twelve rows in garter stitch (knit every row). This will give you 6 ridges to work into in the following steps. Then turn your work – still on the right-hand needle – 90 degrees clockwise.

Garter tab cast on tutorial by La Visch Designs

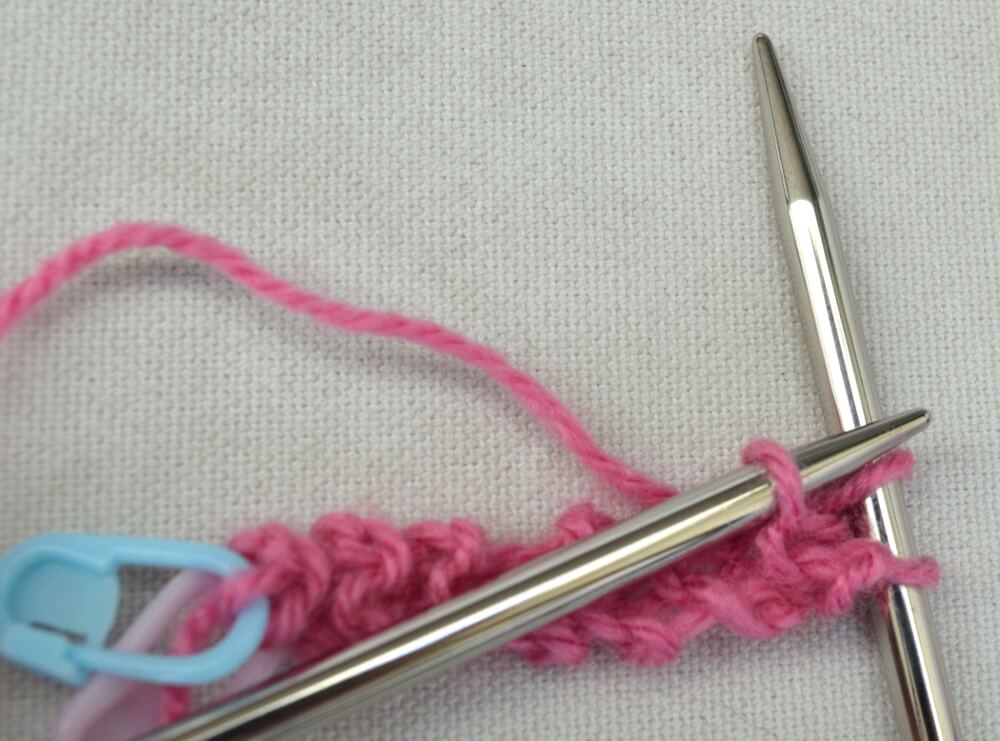
4. Using your left-hand needle pick up and knit one stitch in each of the garter ridges along the edge, for a total of 6 stitches. In the picture the purl bumps are picked up, but you could also pick up and knit from the legs of the knit stitches instead. You now have 8 stitches on your right hand needle.

Garter tab cast on tutorial by La Visch Designs

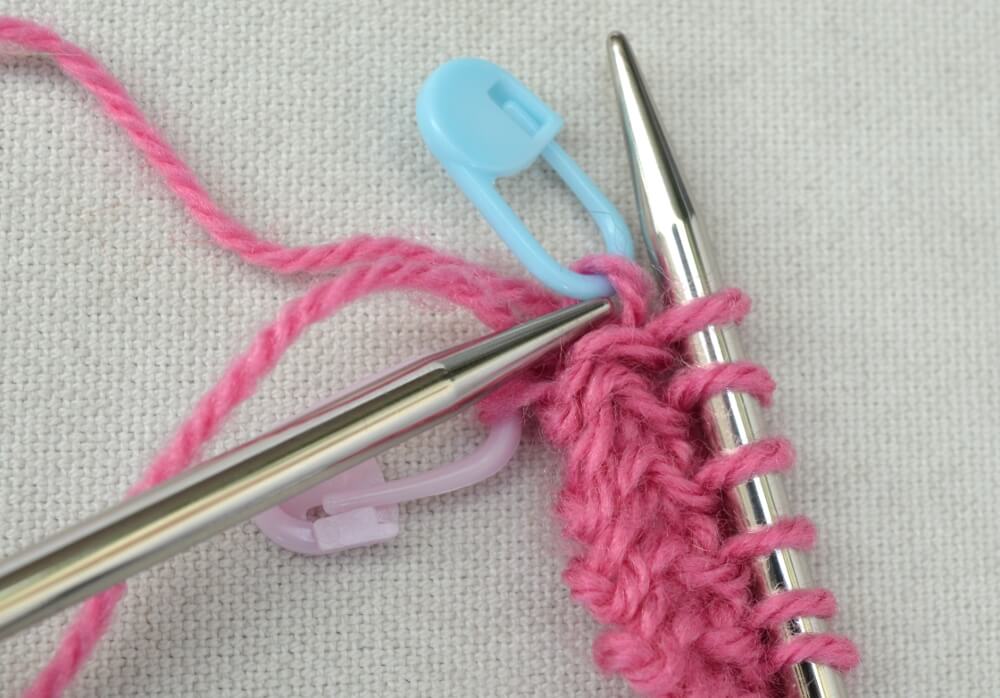
5. Turn your work 90 degrees clockwise again and pick up and knit the two marked stitches along the cast-on edge. These stitches can be a tad hard to see, but because we marked them in step 2 this really isn’t an issue.

Garter tab cast on tutorial by La Visch Designs

There you have it: a garter tab cast on! There are now 10 stitches: 2 stitches on either end which will become the garter edge stitches, and 6 stitches in the middle which will become the body of your shawl. You are now ready to start the rest of your pattern!

Garter tab cast on tutorial by La Visch Designs
Patreon logo

Thanks to my Patreon supporters for bringing you this freebie! Creating quality patterns and tutorials is a lot of work and resource-intensive. However, I find it important to give you free content like this tutorial. Thanks to the generous support of my Patreon supporters, I can make it happen. Thank you, patrons! Click here to join, or click here to read more about La Visch Designs on Patreon.

garter tab cast on tutorial Read More »
duplicate stitch tutorial

How to work duplicate stitch

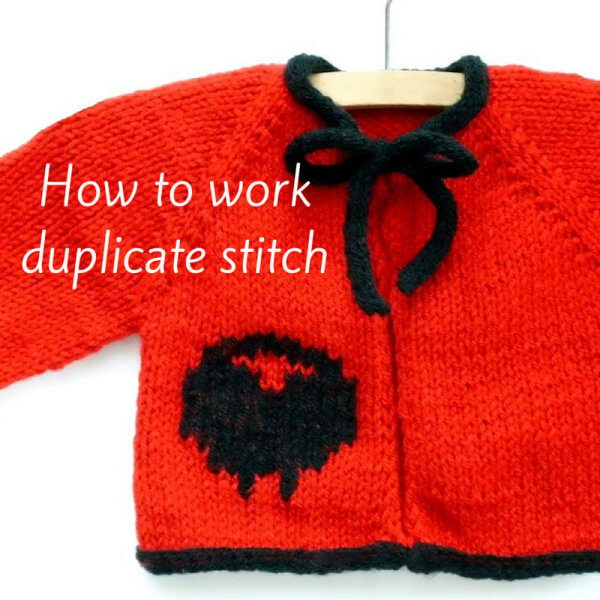
Duplicate stitch is a very versatile way of adding a colored decoration to an otherwise plain piece of knitting. For example, as I did with the Sweet as Pi cardigan pictured above. This is done by embroidering a contrast color over the V’s of the knit side of stockinette stitch knitted fabric. In a way, duplicating the stitches that are already there. You can apply a design freehand, or use a charted design. When using a chart, every box represents a stitch.

Working duplicate stitch step by step

To start, thread the yarn through your darning needle and determine where to start the duplicate stitching for optimal placement of the design.

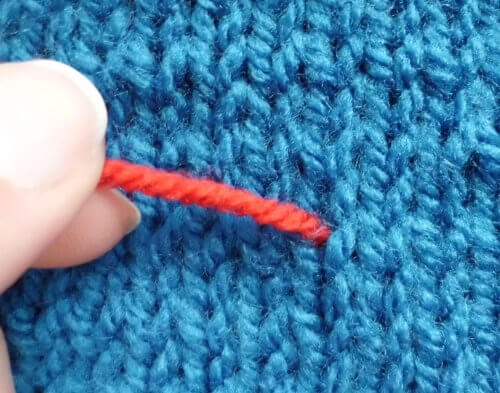
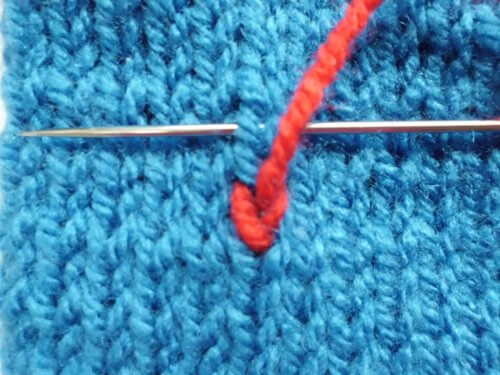
1. Pull the needle through the bottom of the first stitch, from the back of the fabric to the front. Make sure you leave a yarn tail long enough to weave in the ends later on.

duplicate stitch_1

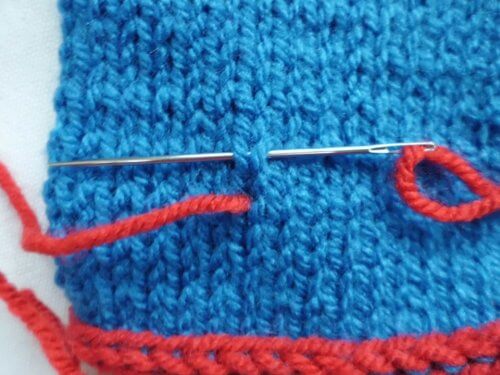
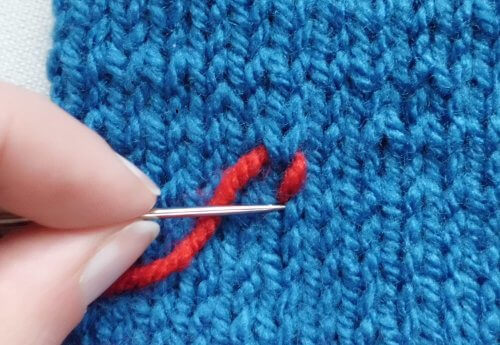
2. Insert the needle from the right to left through both loops of the stitch above.

duplicate stitch_2


3. Insert the needle down through the bottom of the stitch again, this time from the front of the fabric to the back. This step completes your first duplicate stitch.

duplicate stitch_3

4. Repeat steps 1 – 3 as required. Try to keep the tension the same as in the knitted stitches underneath, otherwise, the fabric may pull.

duplicate stitch_4

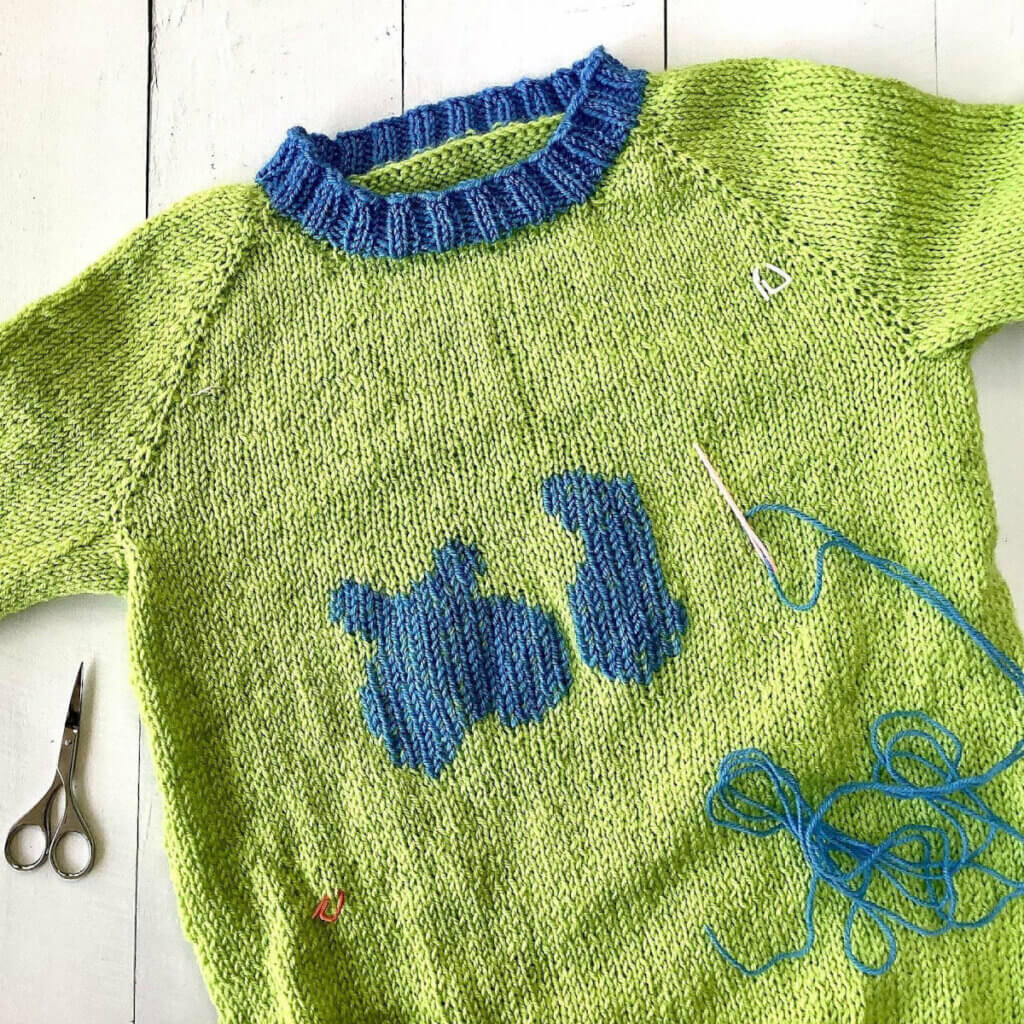
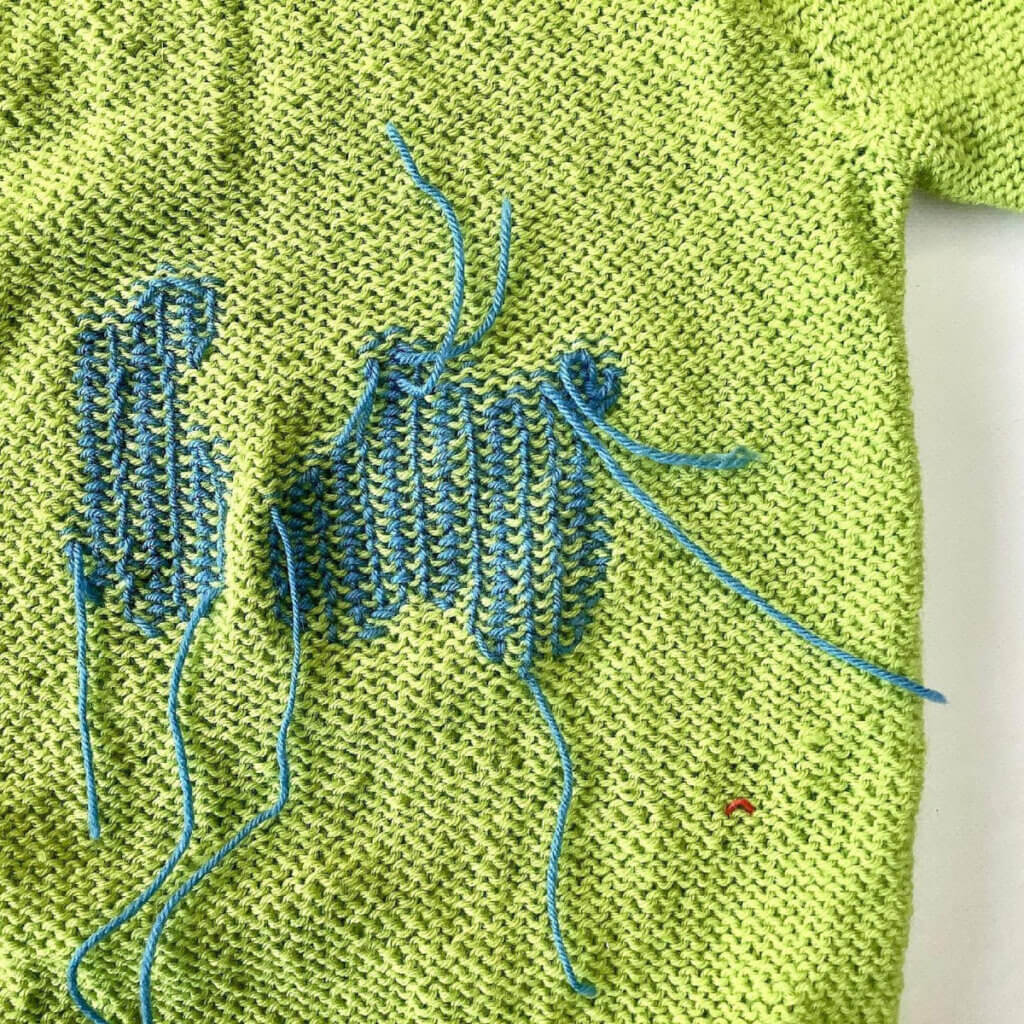
Below, you can see a sweater I made for my youngest. He wanted a Marshmello picture on the front of it, and using duplicate stitch was for me a better option than intarsia. I’ve embroidered the picture in vertical lines, going from left to right. In the right picture, you can see how it looks on the wrong side of the work. Cool, right?

And that’s how you work duplicate stitch! Did you know it’s also a great way of covering little mistakes in knitting when found after binding off? A good trick to have in your knitter’s toolkit!

Patreon logo

Thanks to my Patreon supporters for bringing you this freebie! Creating quality patterns and tutorials is a lot of work and resource-intensive. However, I find it important to give you free content like this tutorial. Thanks to the generous support of my Patreon supporters, I can make it happen. Thank you, patrons! Click here to join, or click here to read more about La Visch Designs on Patreon.

duplicate stitch tutorial Read More »