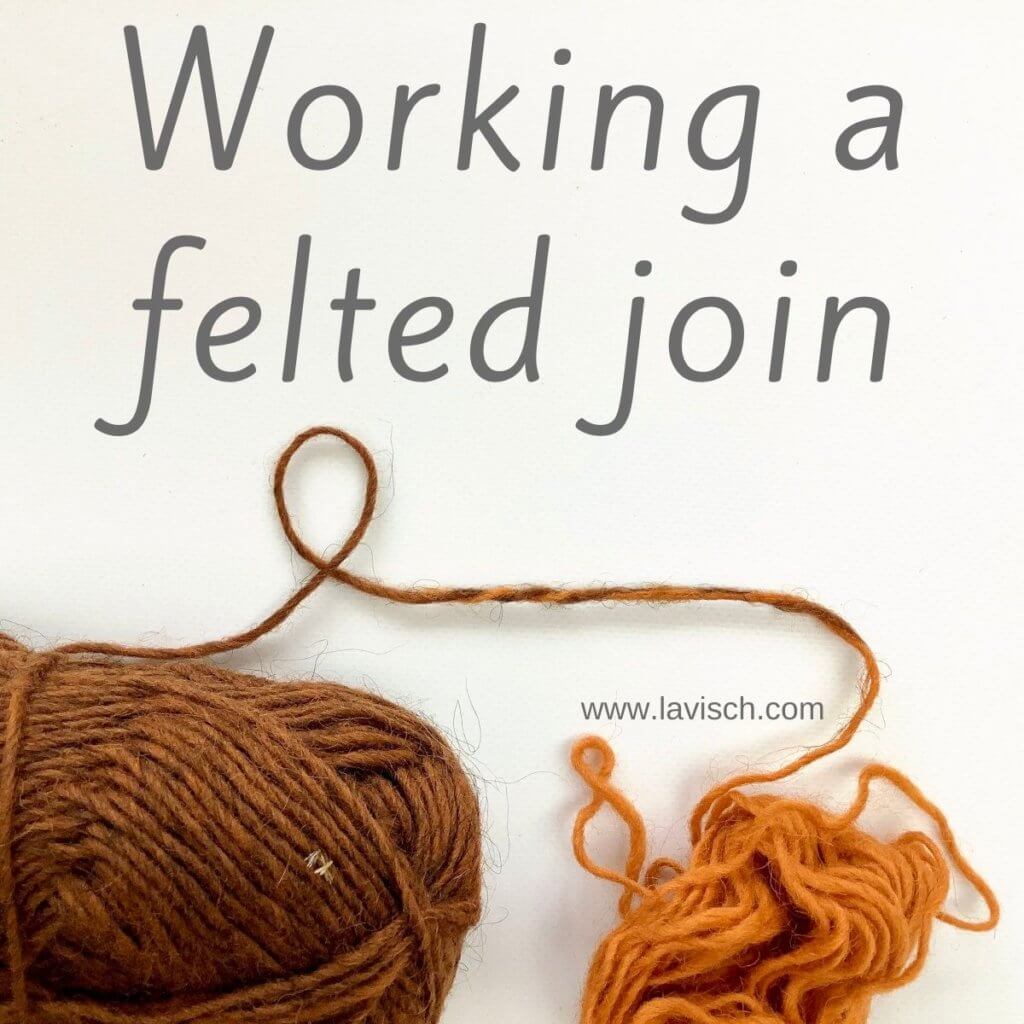
tutorial – working a felted join
There are many ways to join one piece of yarn to another. Think, for example, of the braided join or the Russian join. However, if you have a feltable yarn, in other words: an animal fiber capable of felting (non-superwash!), the felted join gives a truly invisible connection. This also means that this way of joining a new yarn can be used at any place in your project, mid-row really won’t make a difference in how the finished piece looks.
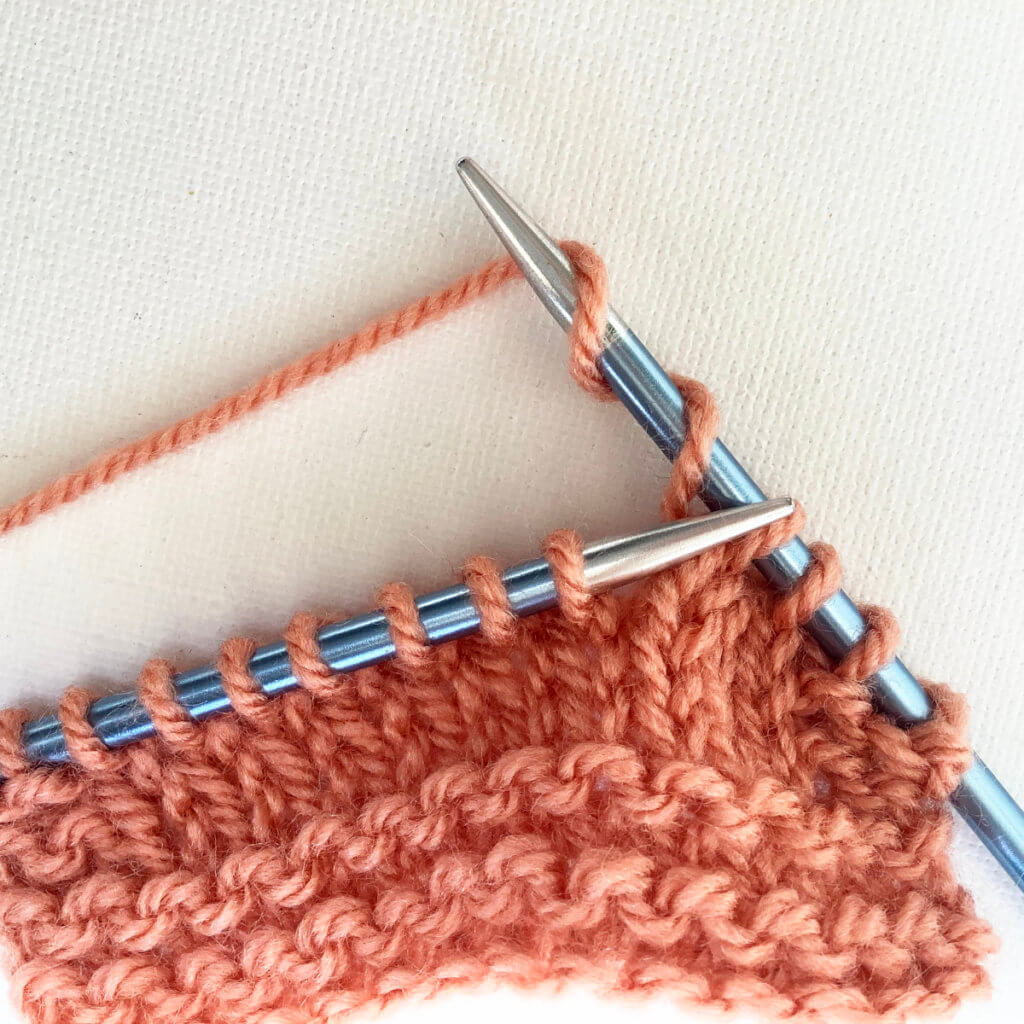
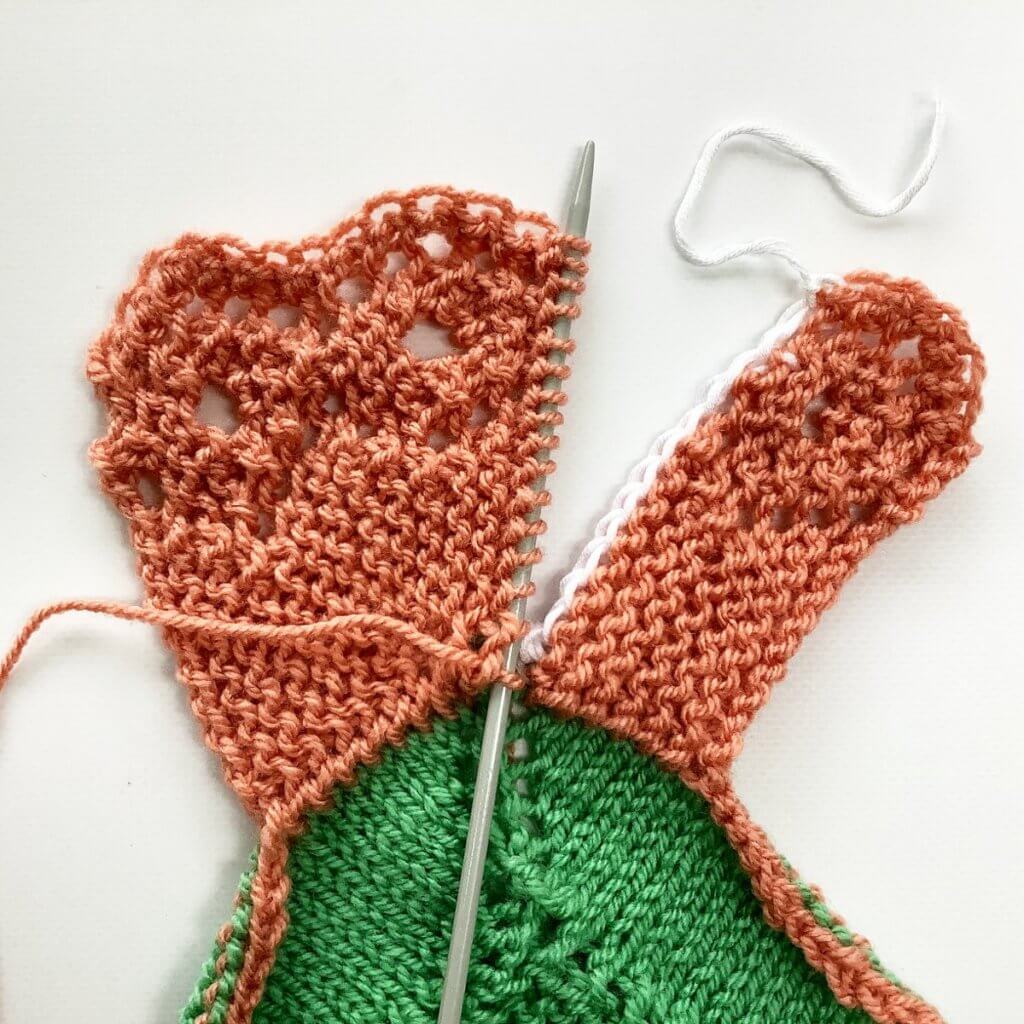
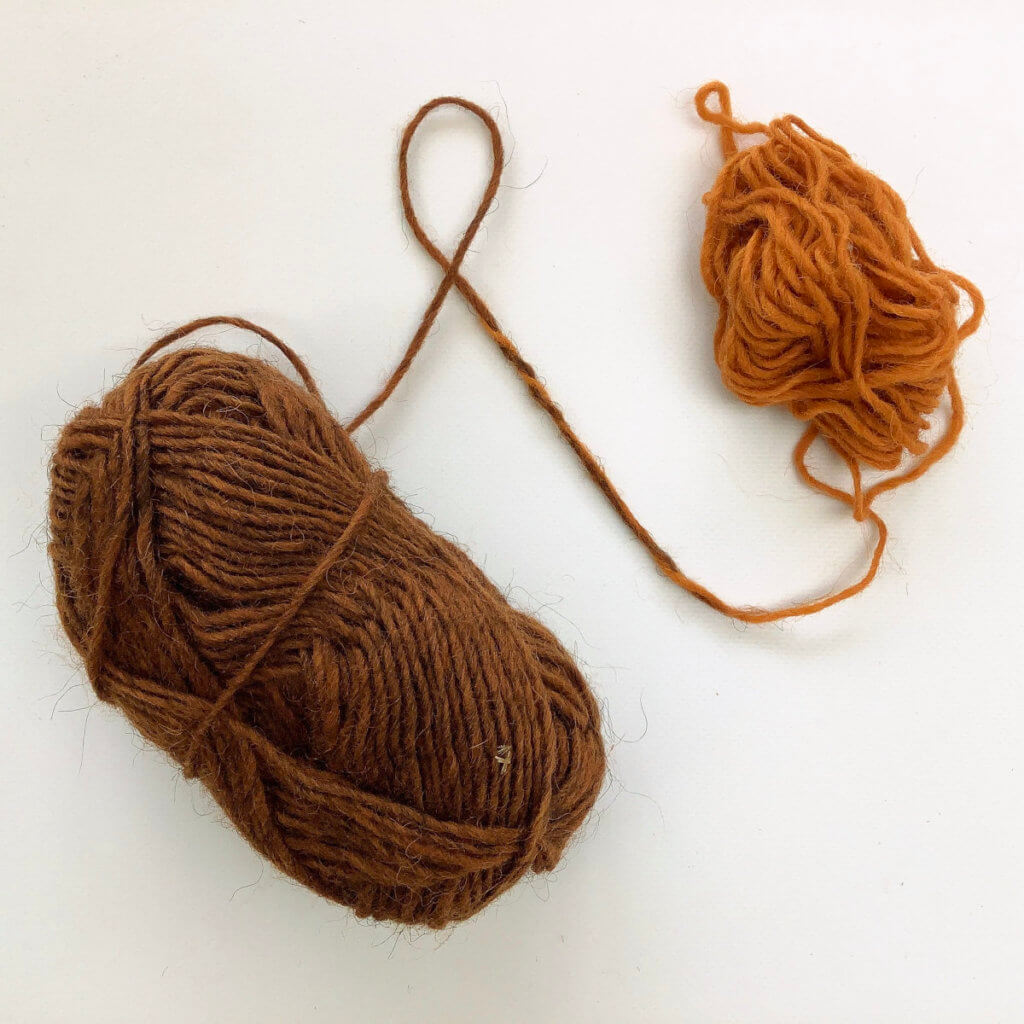
This type of join literally felts the fibers together, thus making the join indistinguishable from the non-join parts of the yarn. I mean, if I hadn’t used 2 different colors of yarn in the picture above, it really wouldn’t have been visible where one ball ends and the other starts.
Felting occurs when friction is applied to the wet fibers. Of course, there are more things that influence and can induce felting, but for this join, this is the one that matters. One can go to the sink and get some water there to wet the ends of the yarn to connect, but often people go for an easier source of moisture. This is where the alternate name of this join comes from: the “Spit Splice”.
Working a felted join step by step
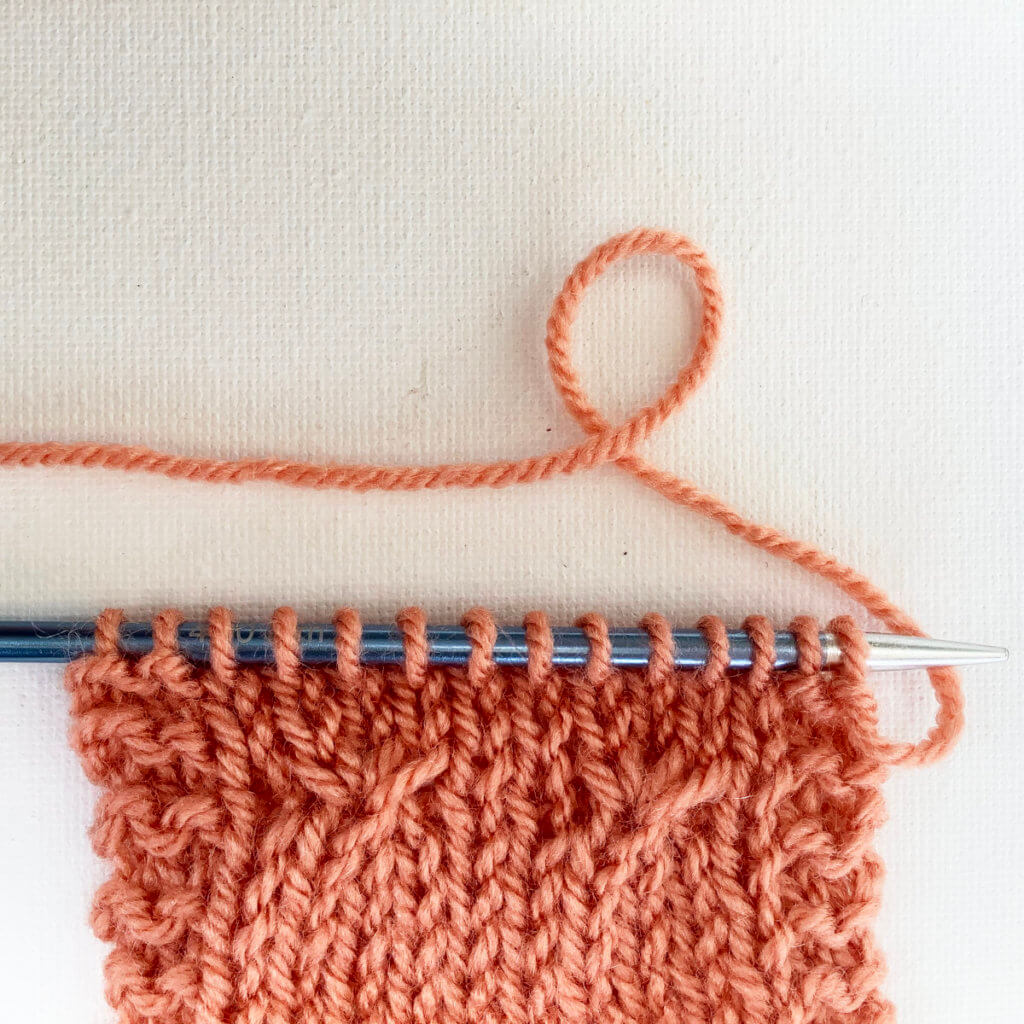
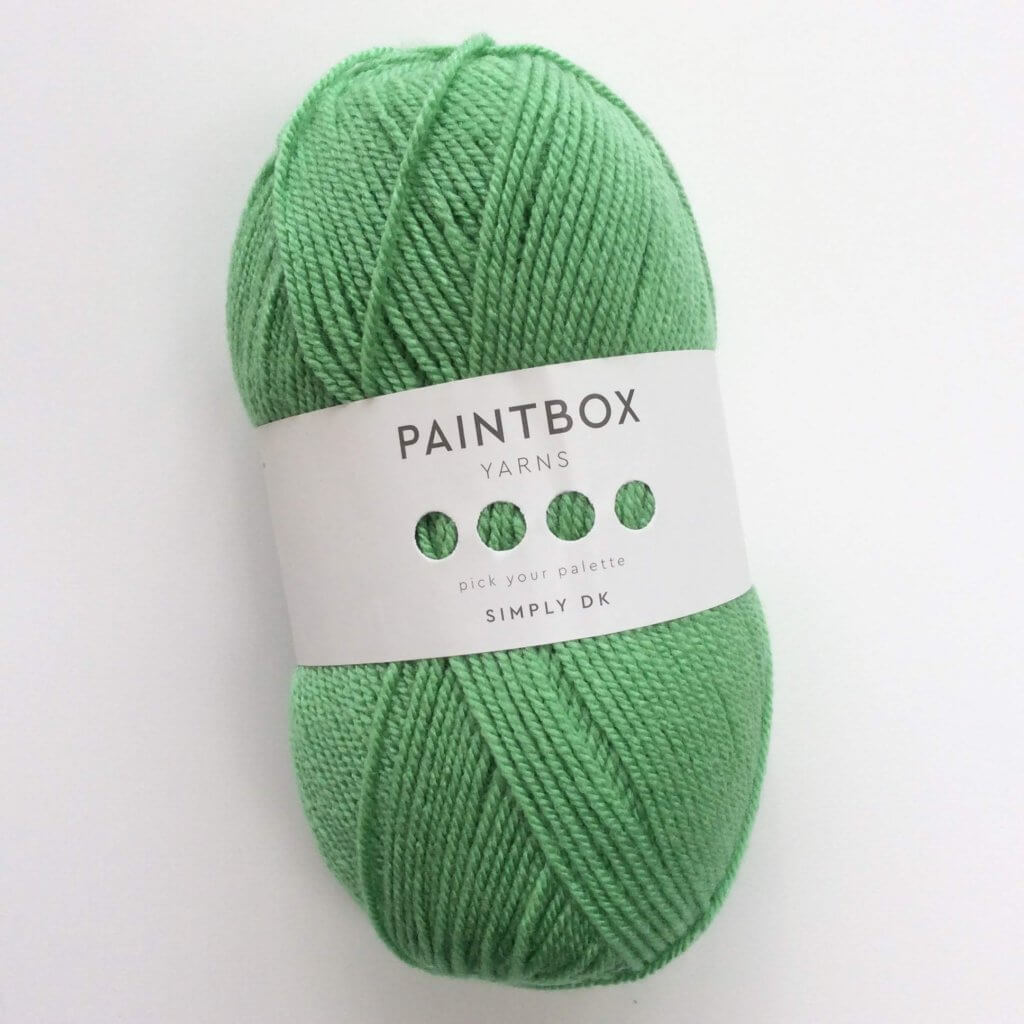
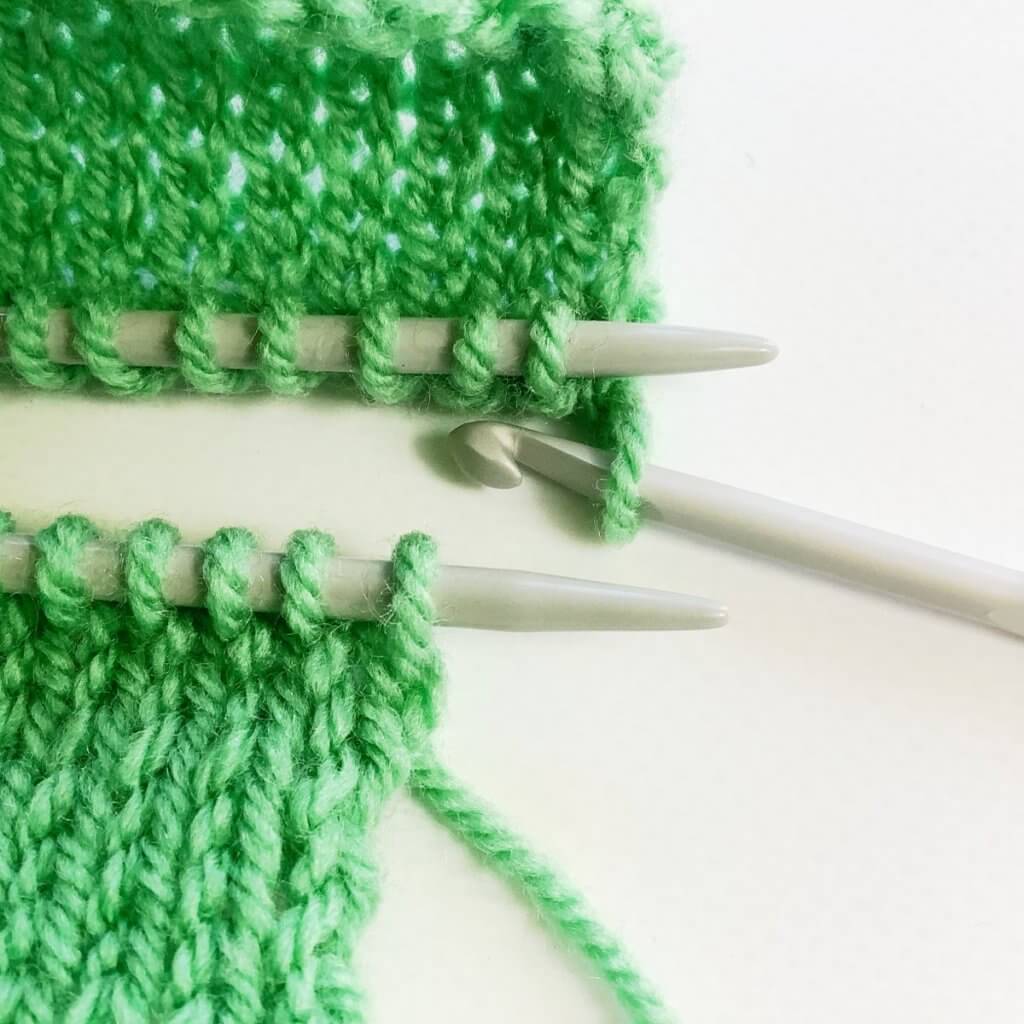
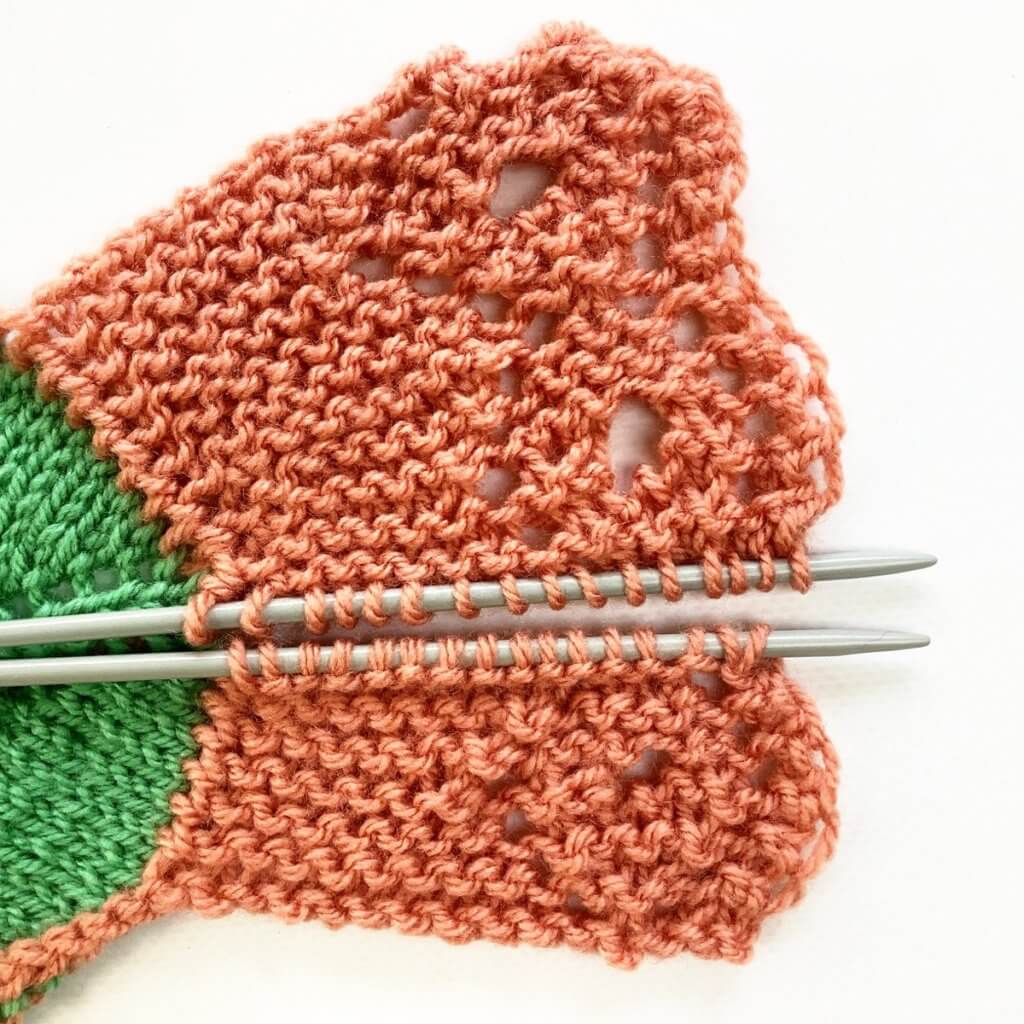
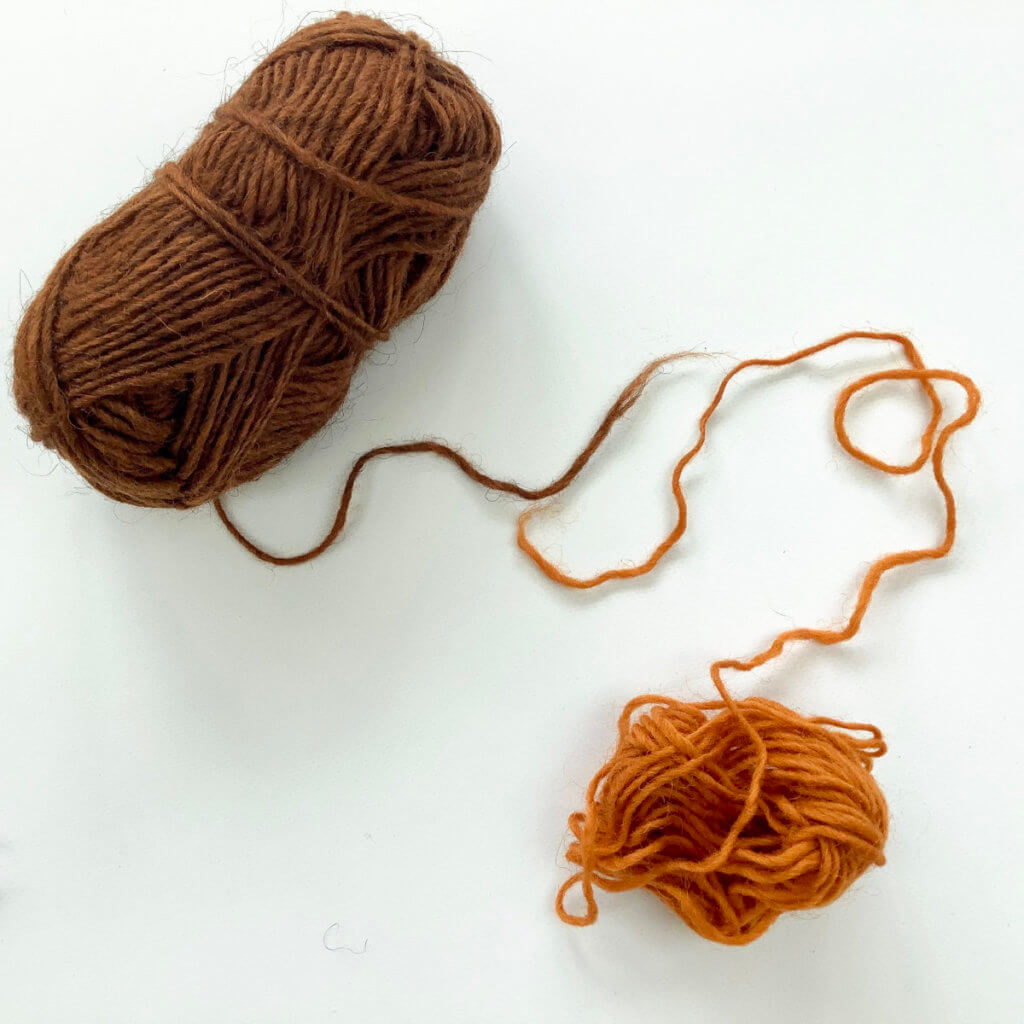
1. First take your 2 pieces of feltable yarn. Often this will be the yarn tail coming from your knitting or crochet project and the yarn from the new ball to attach. The yarn I’n using here is Ístex Léttlopi, a nice aran weight yarn, made form 100% Icelandic wool.
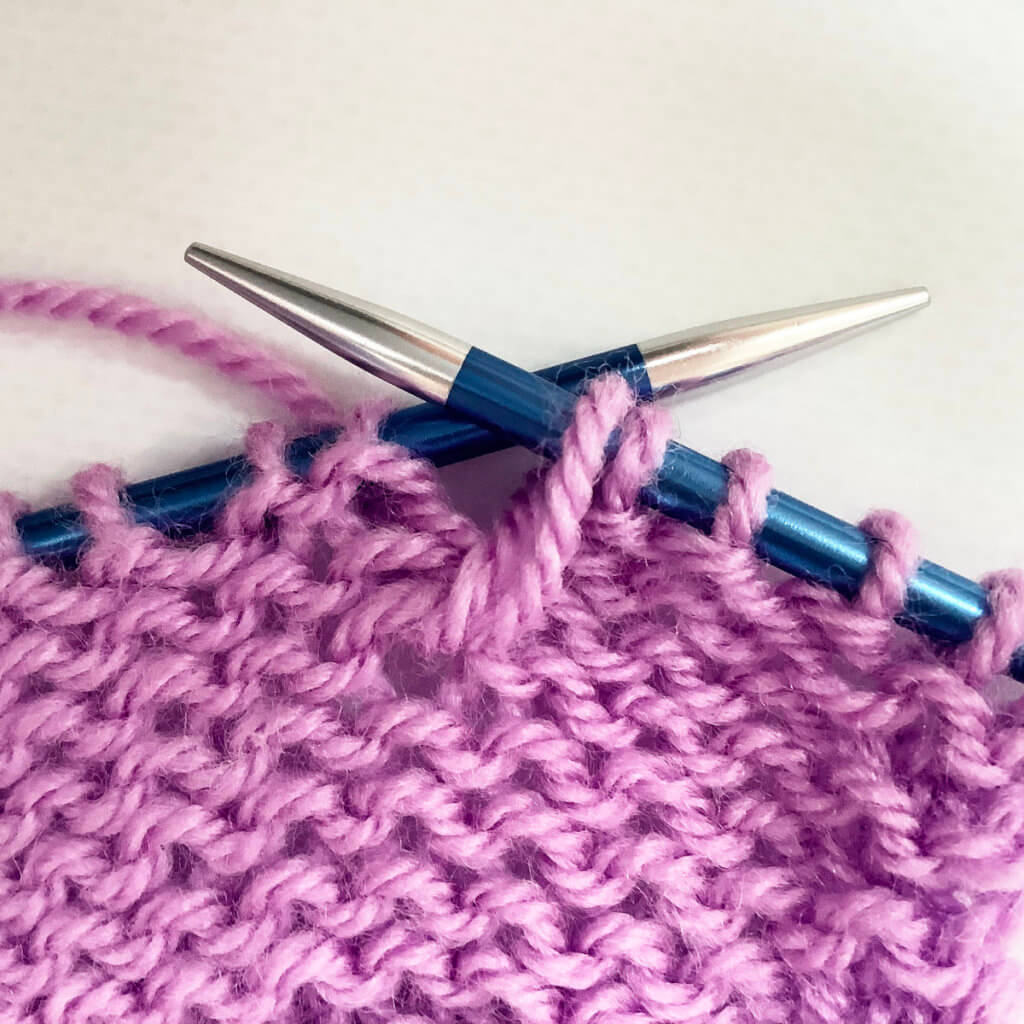
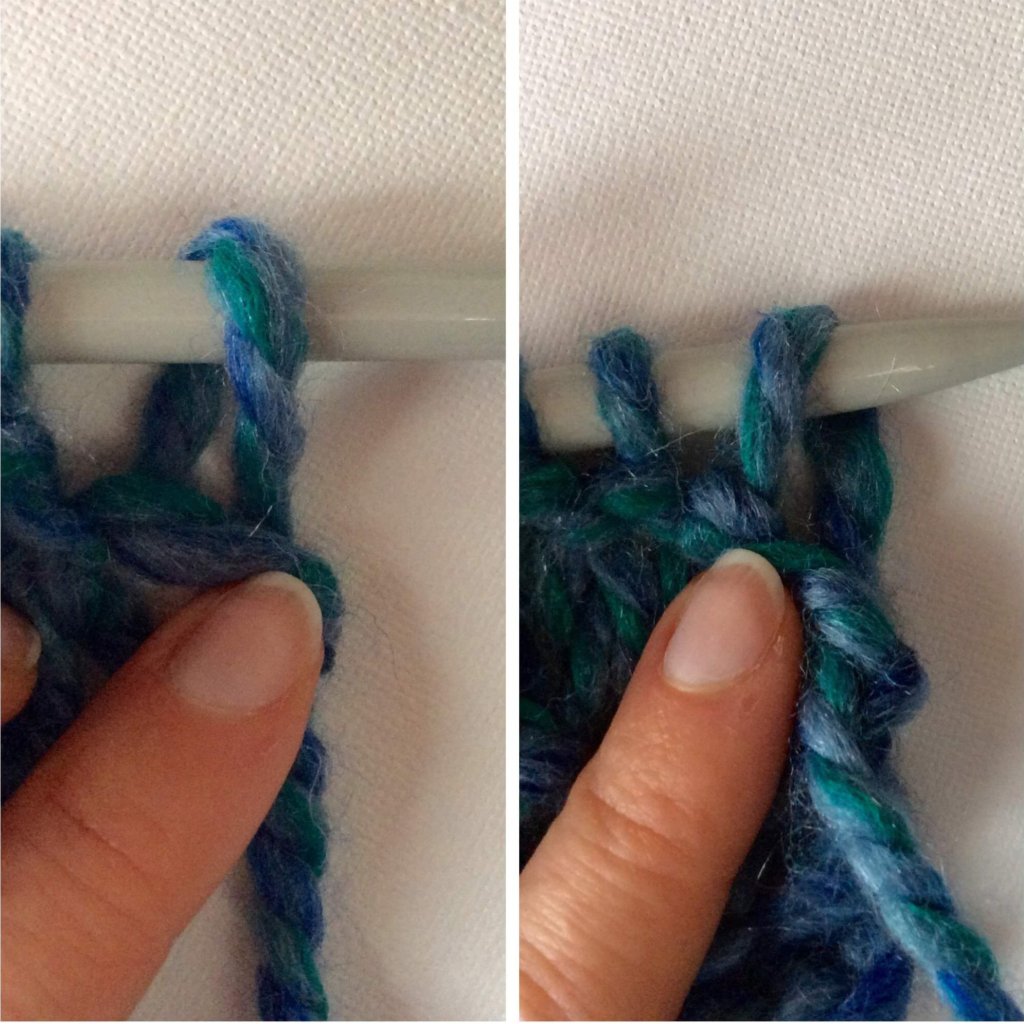
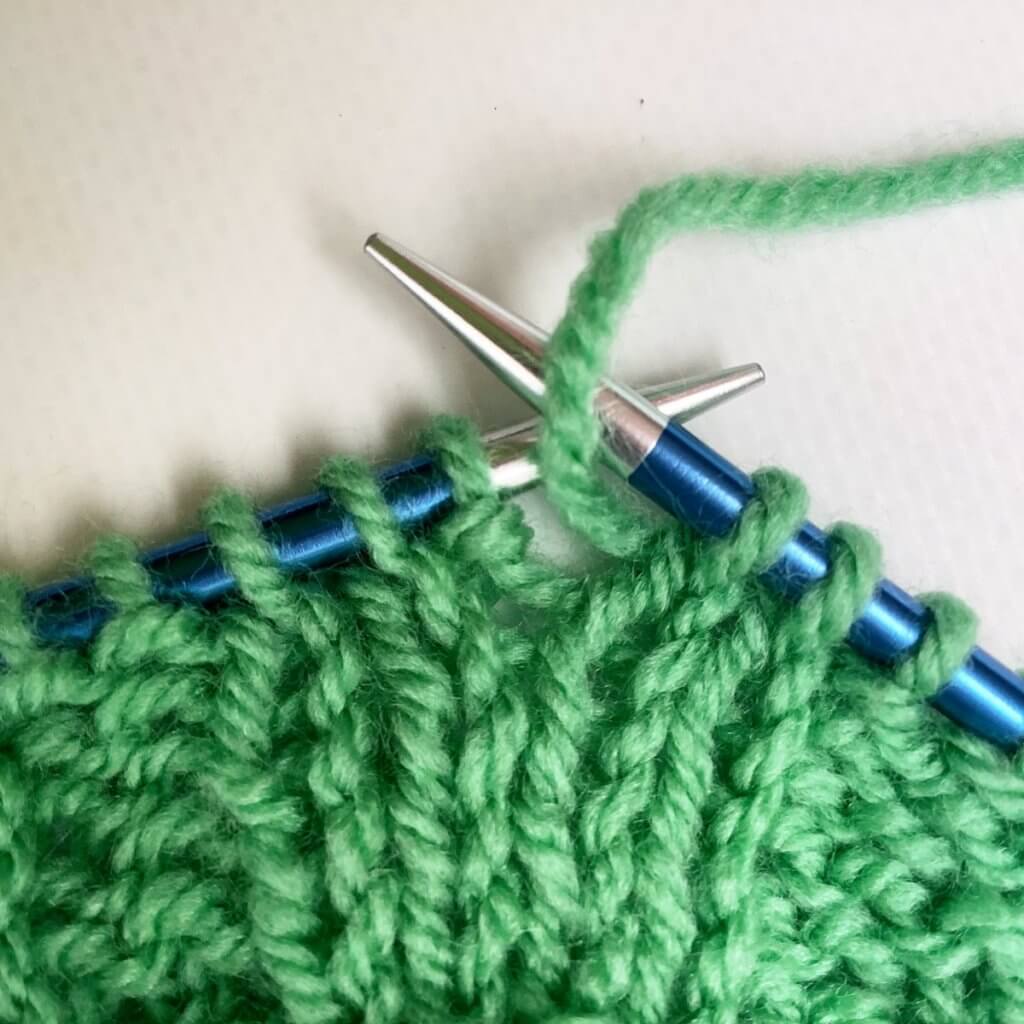
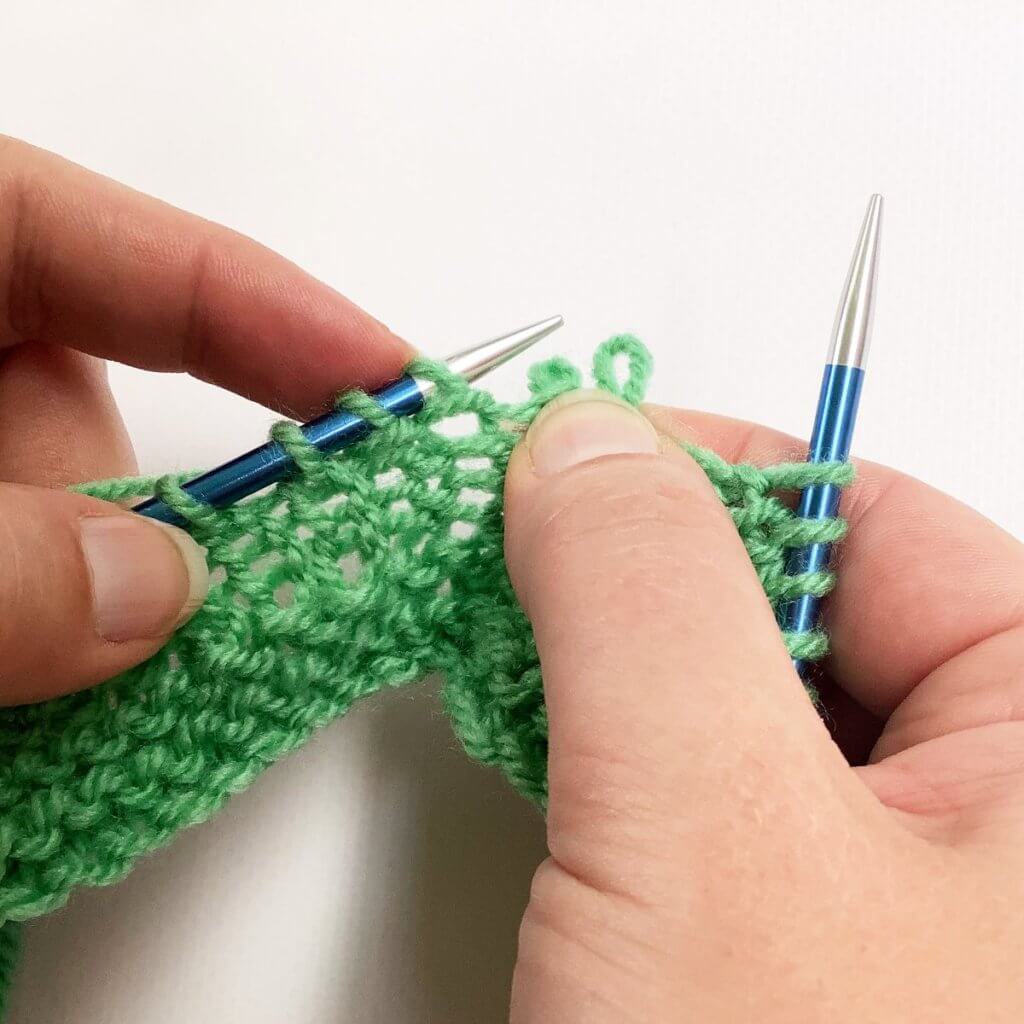
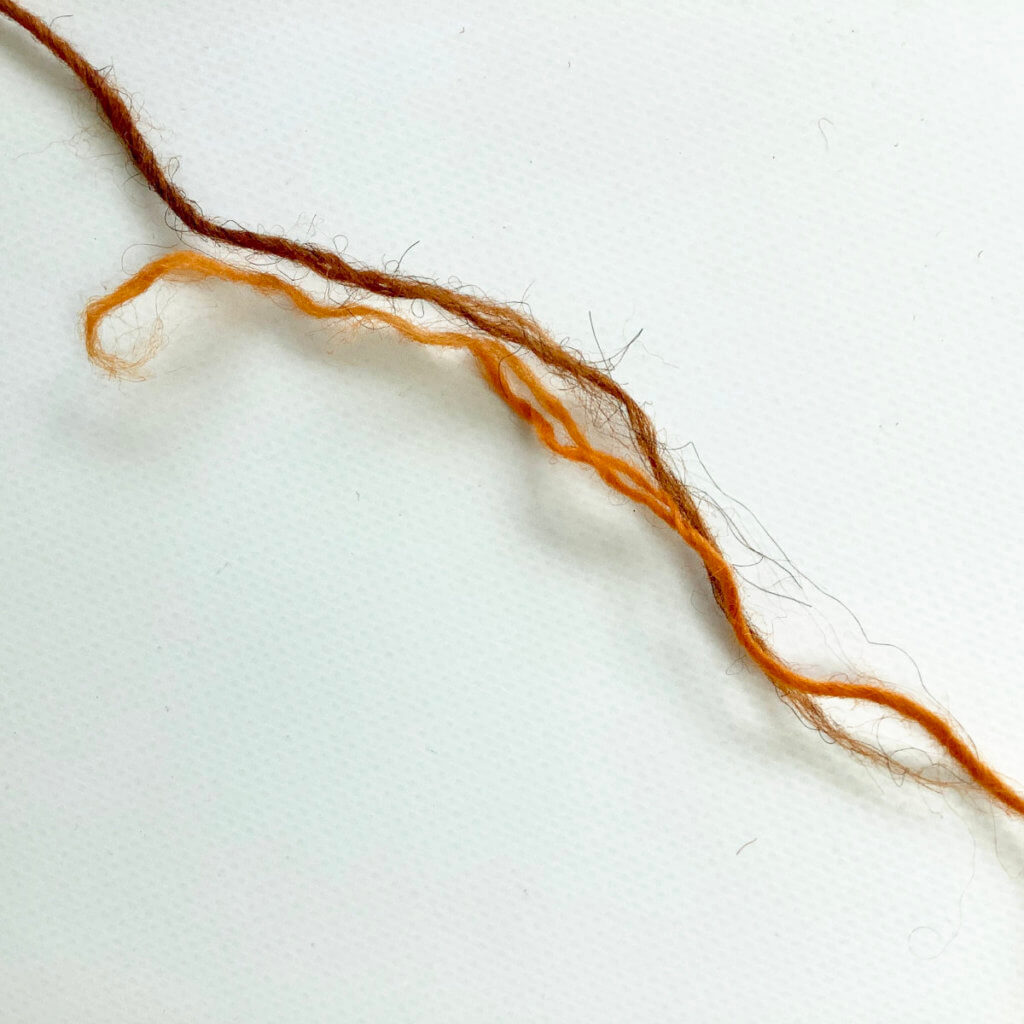
2. Next, tease the ends of both pieces of yarn apart a bit. This can be in the various plies as pictured here. Or, in case of a single ply yarn, just fan out the fibers over a length of approx. 5-7.5 cm / 2-3 inches.
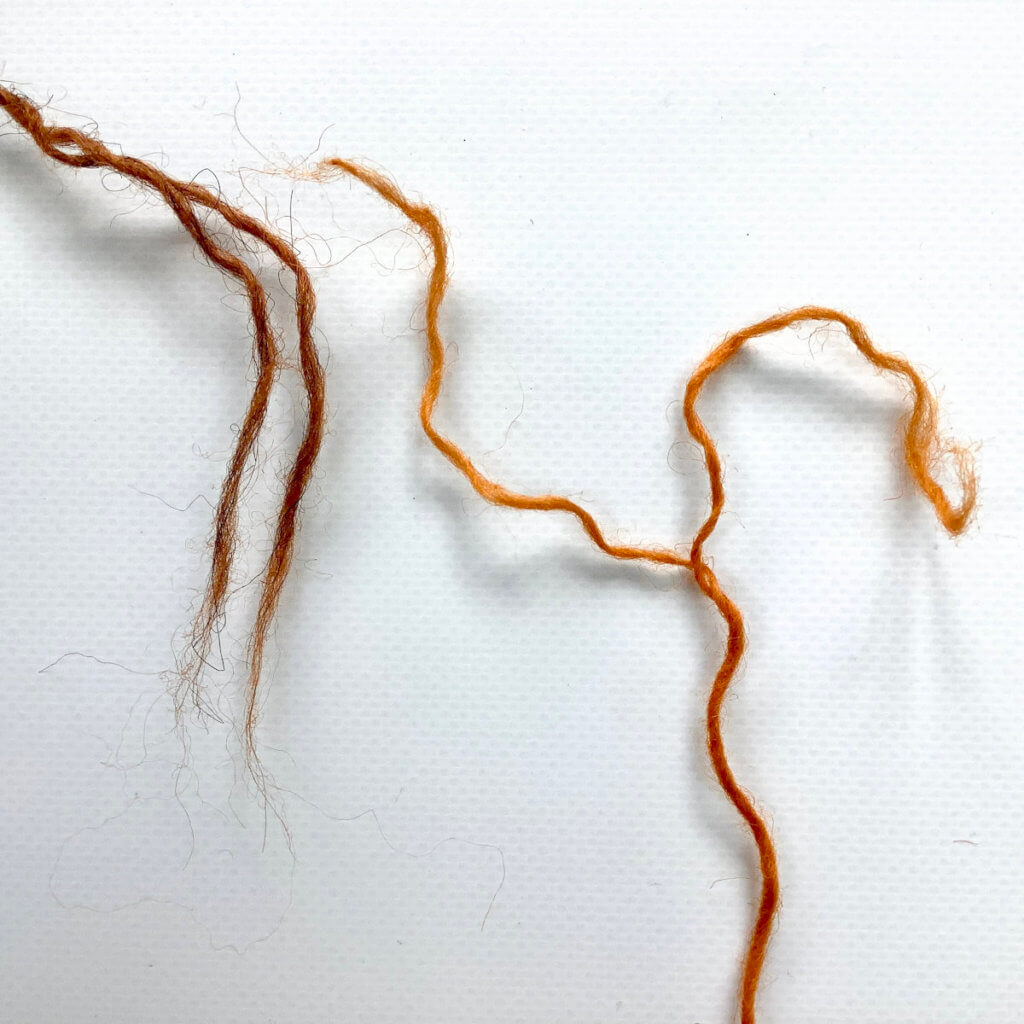
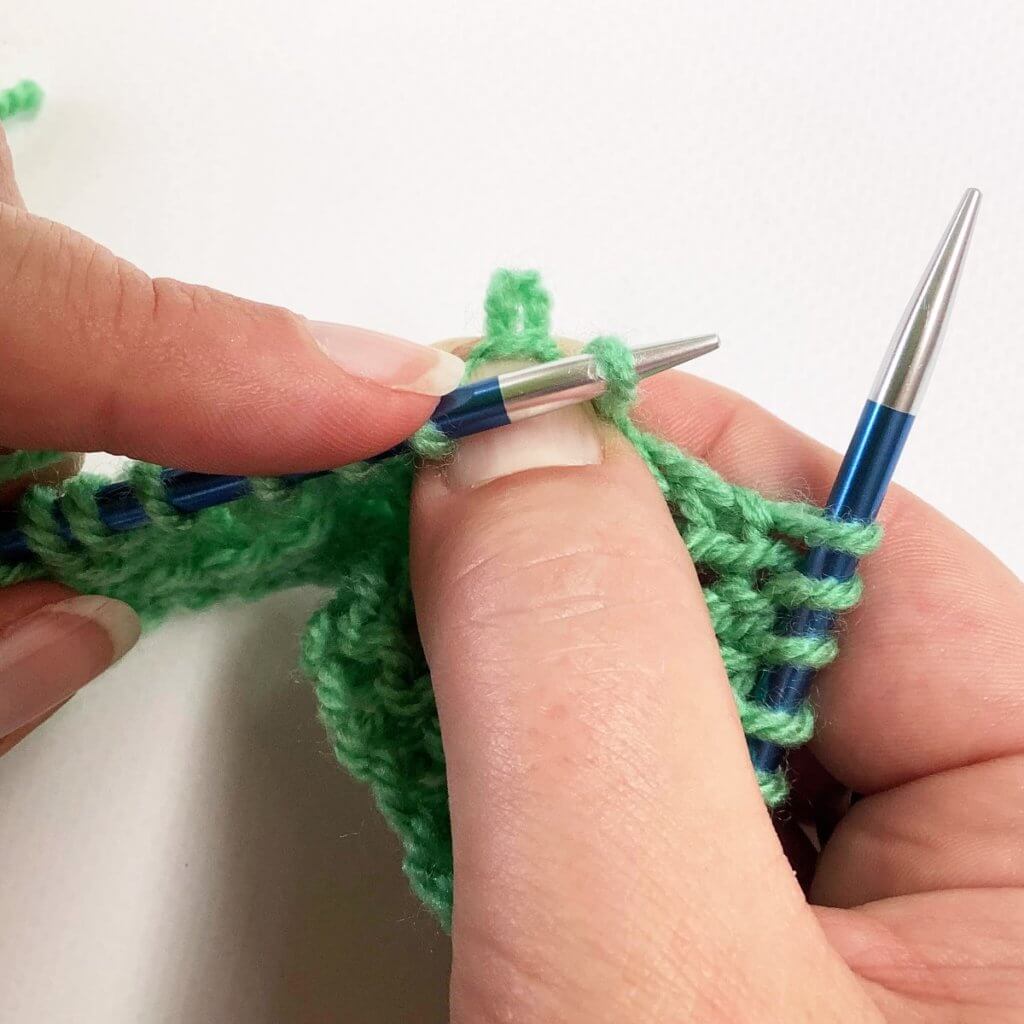
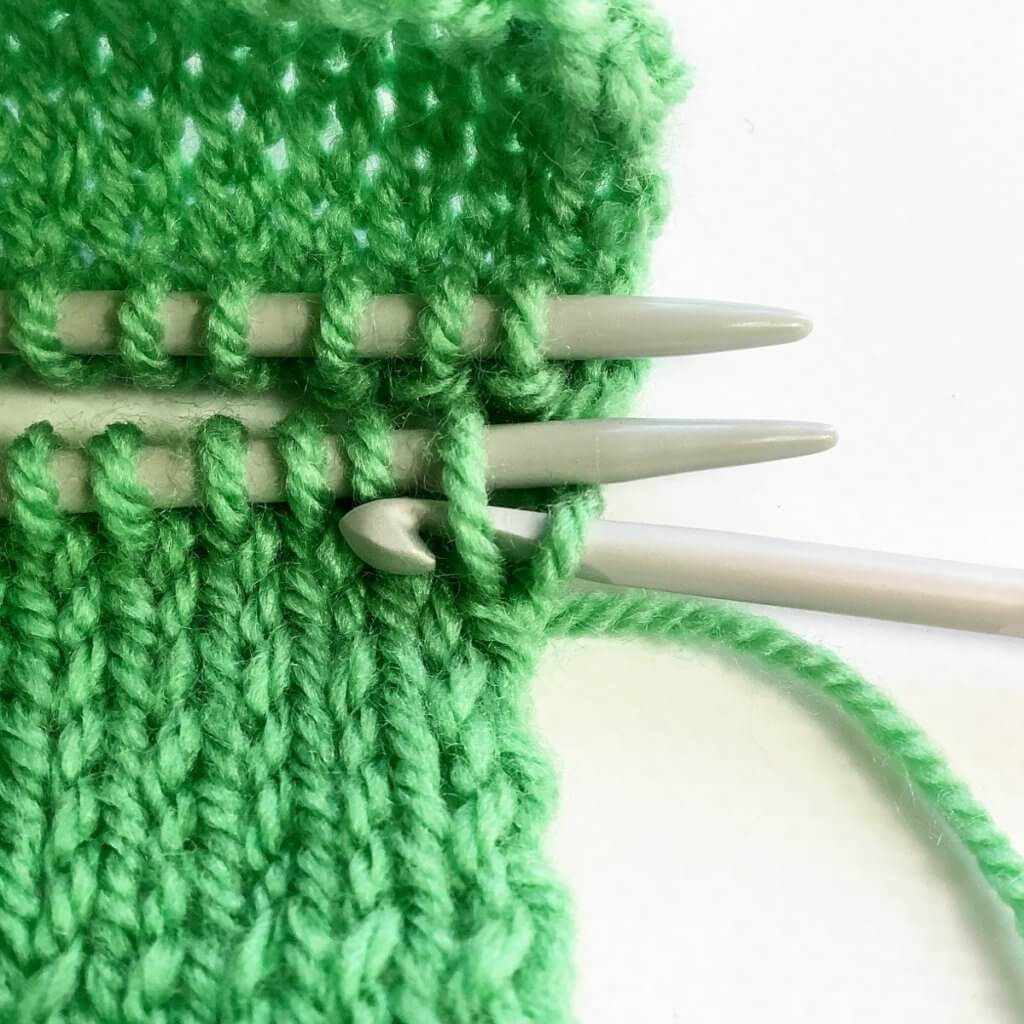
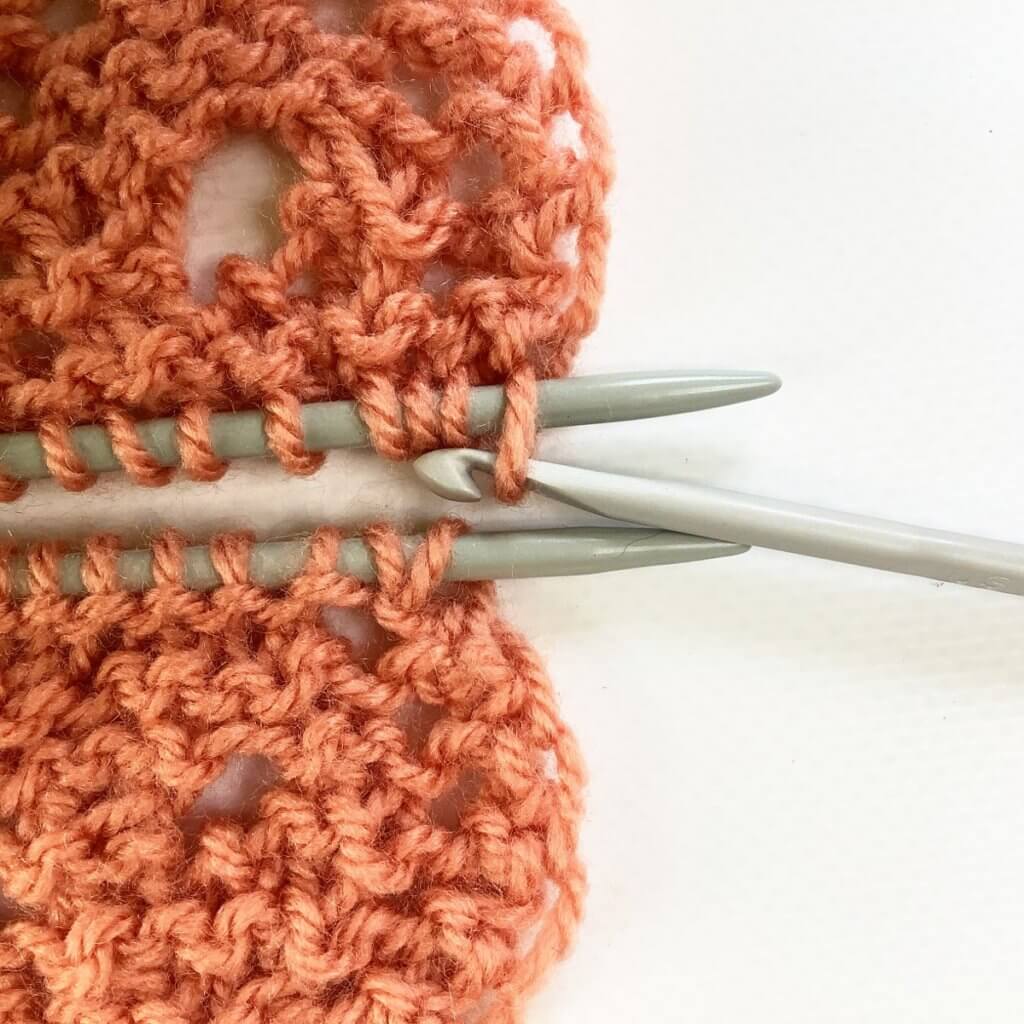
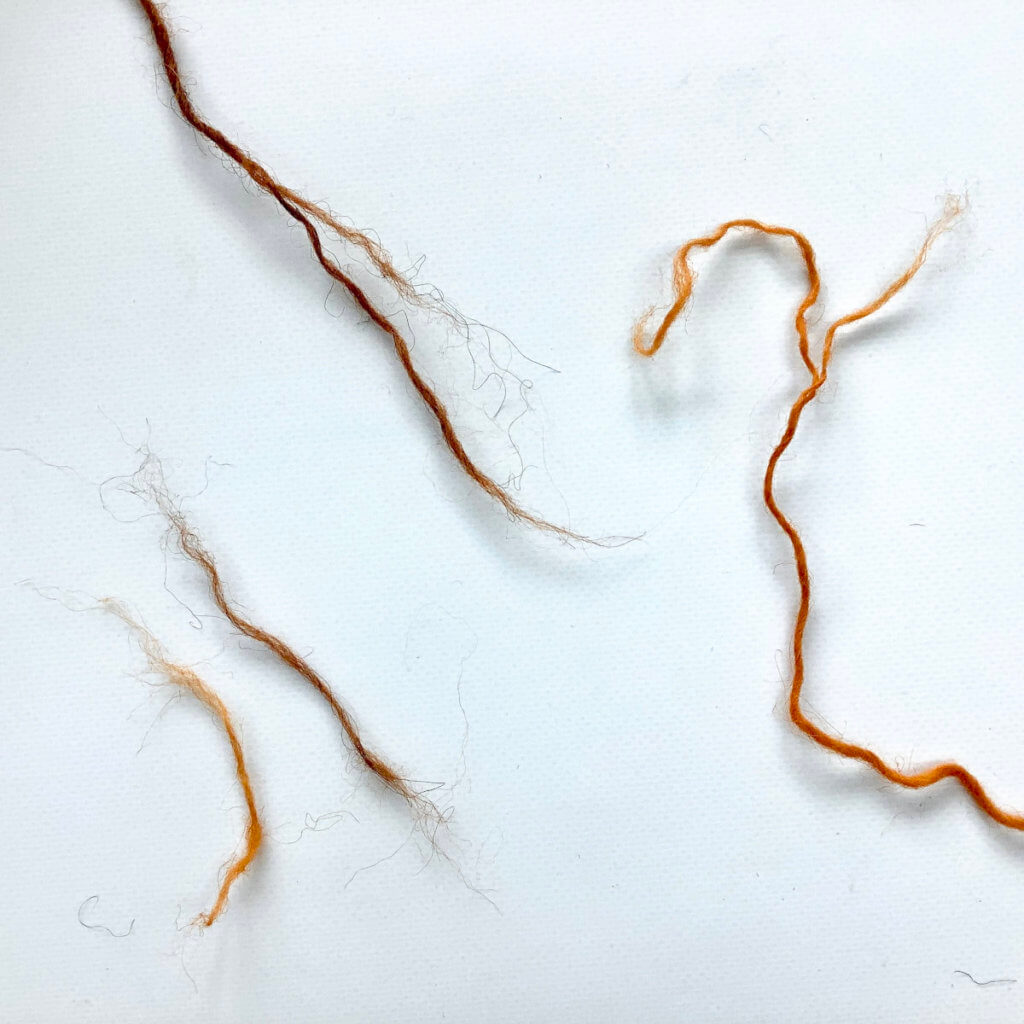
3. After this, I removed one of the plies at each end of the yarn, again over a length of approx. 5-7.5 cm / 2-3 inches. This way the join will be less bulky and blend in better with the rest of the yarn.
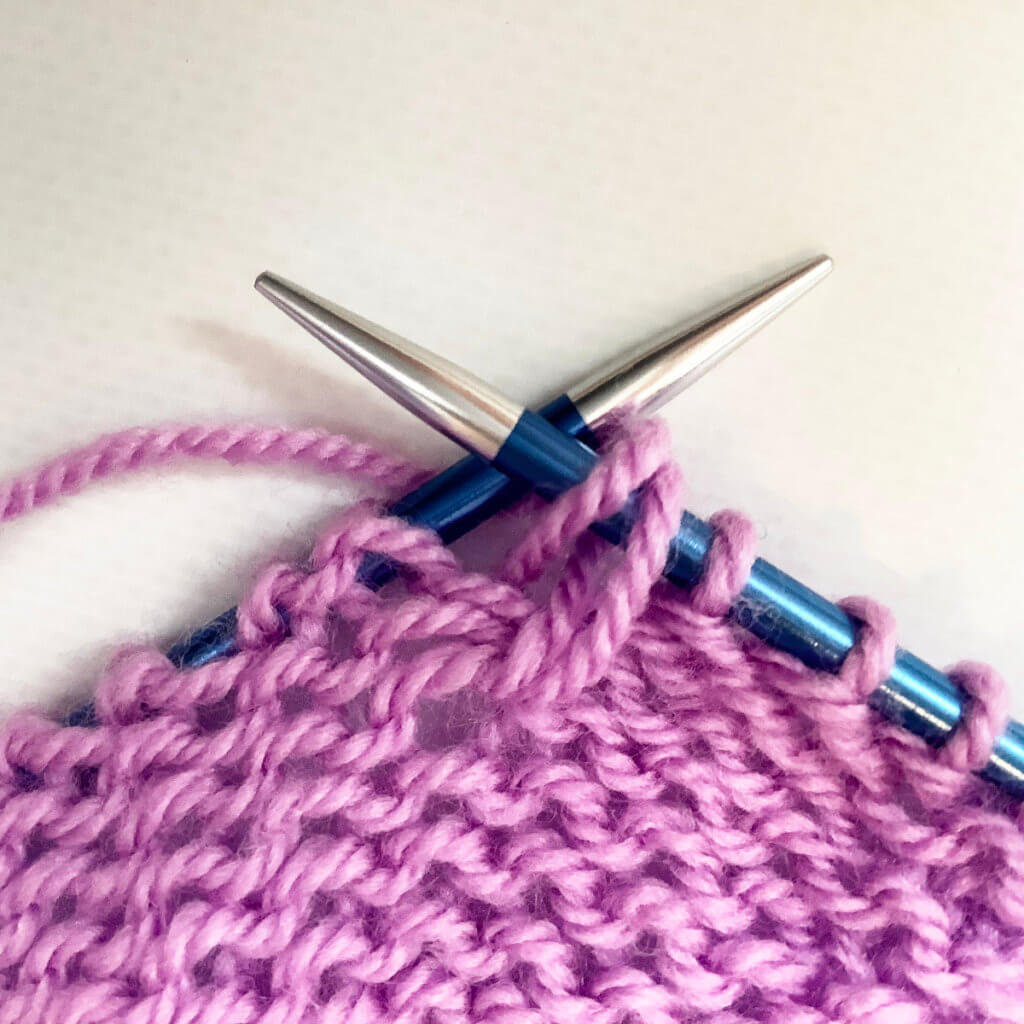
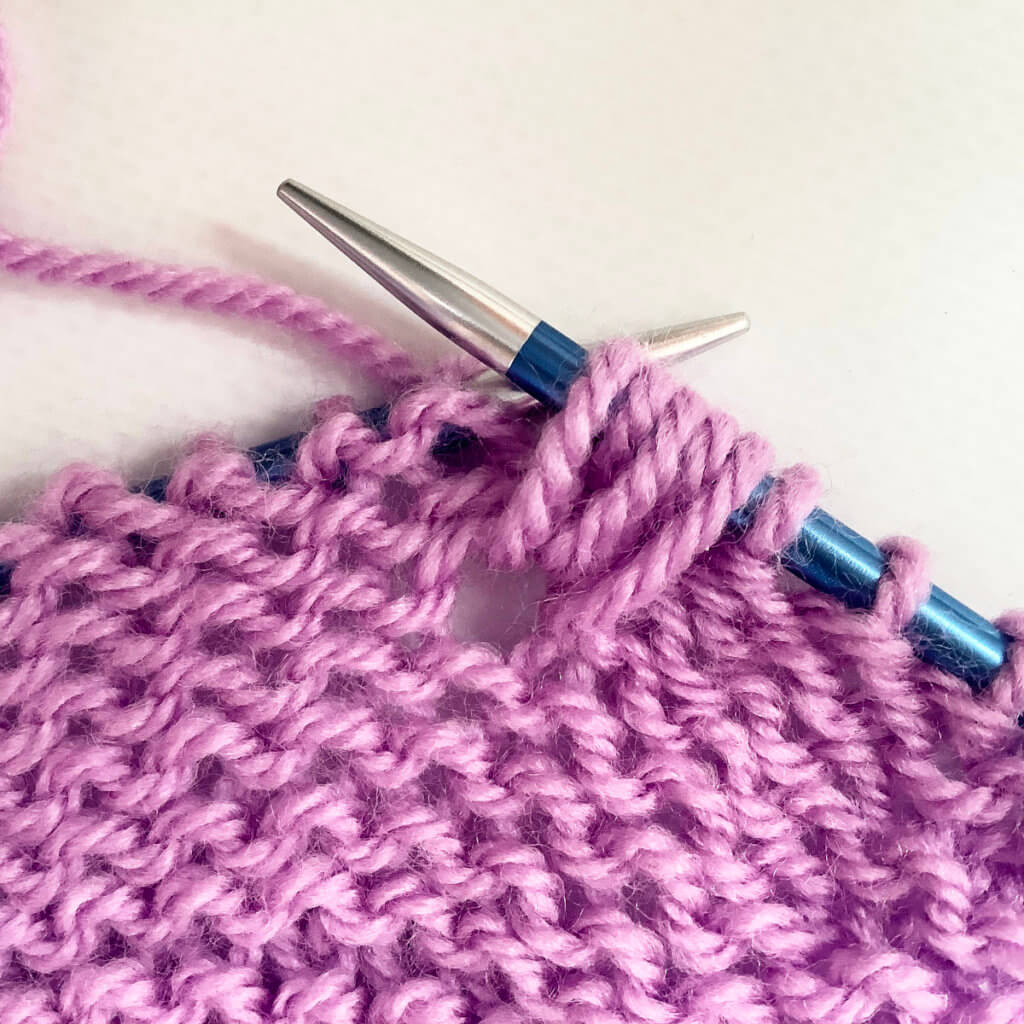
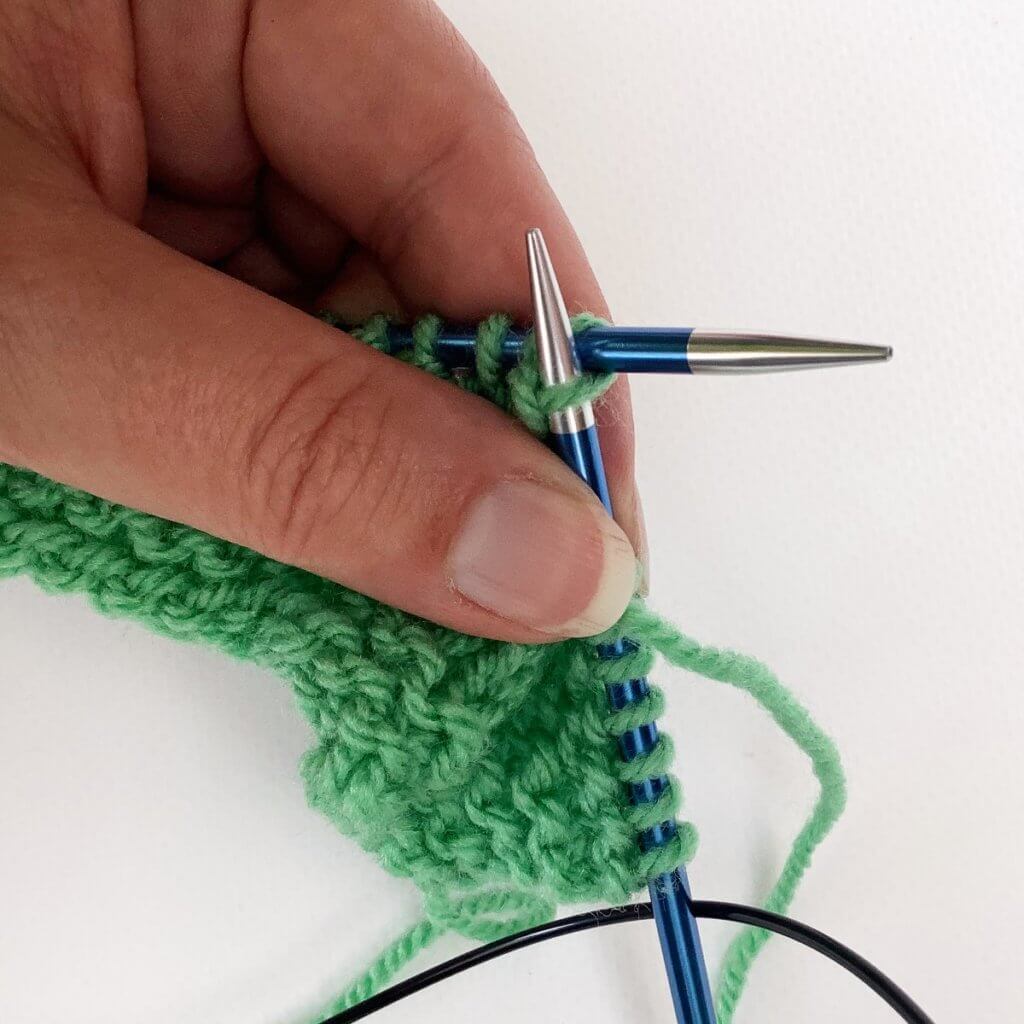
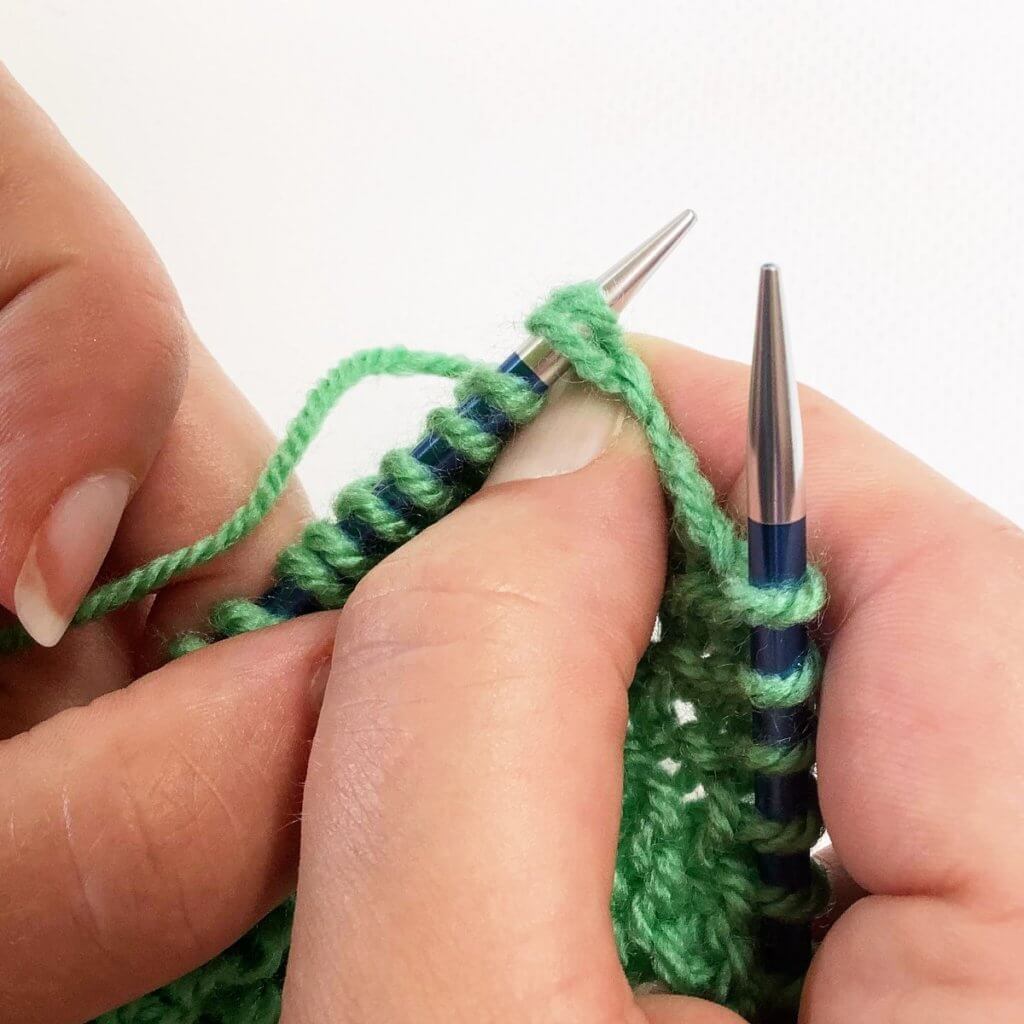
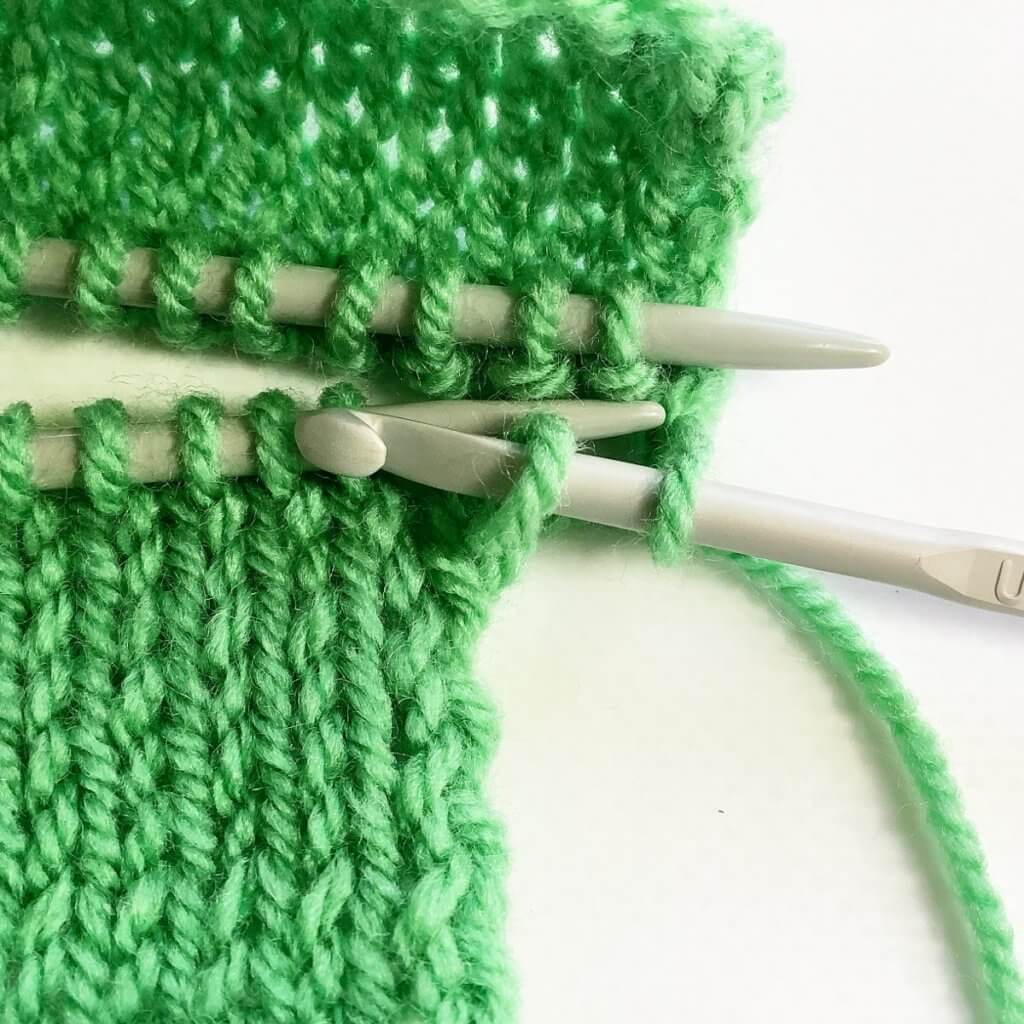
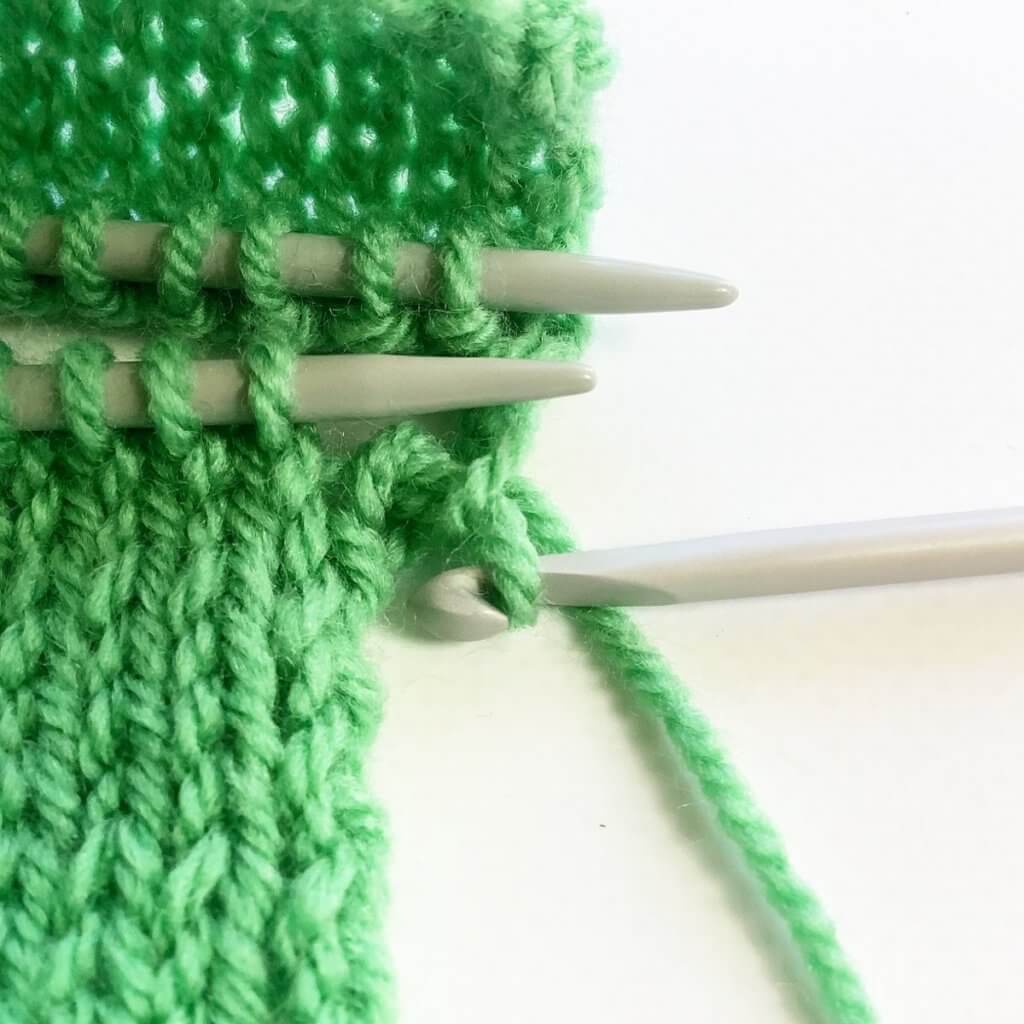
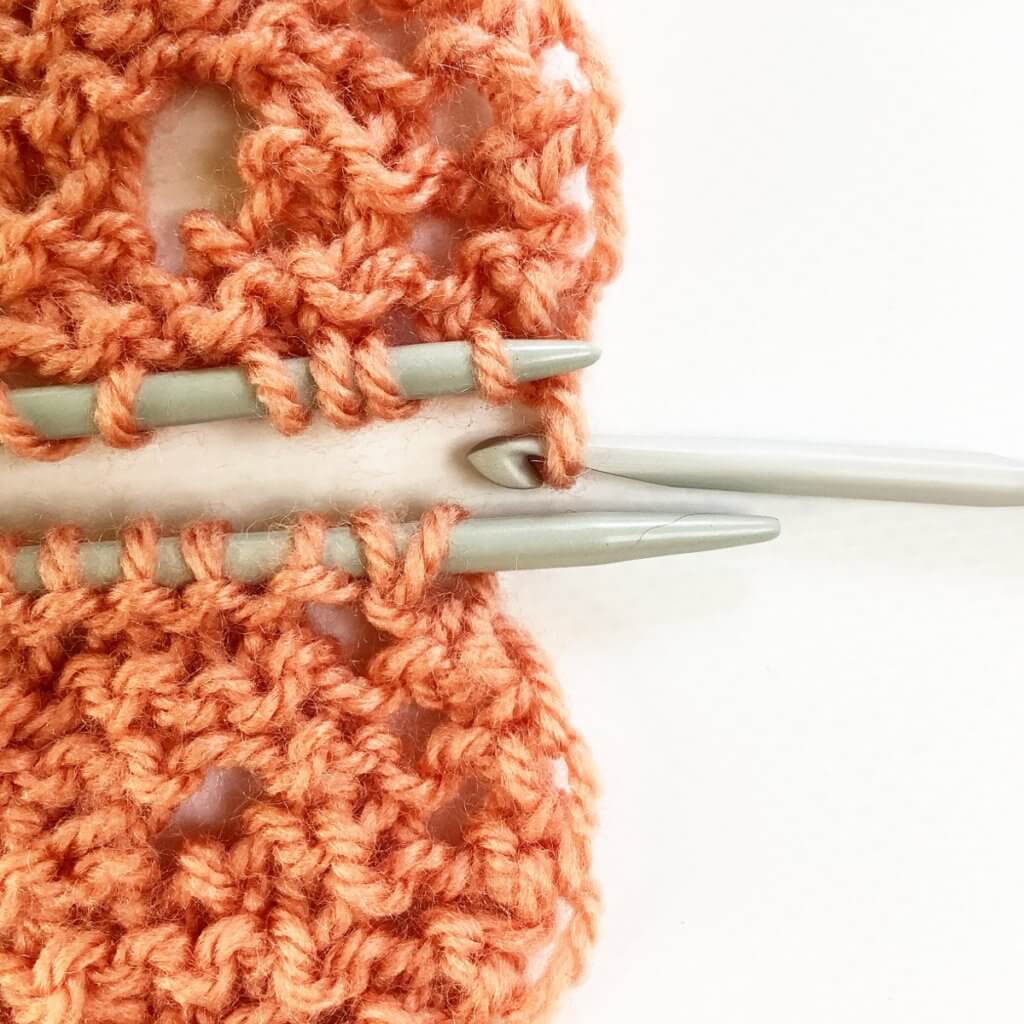
4. Next, I place the 2 yarn ends next to each other in such a way that they overlap for about 5-7.5 cm / 2-3 inches. Now it’s time to wet the yarn where it overlaps in any way you please.
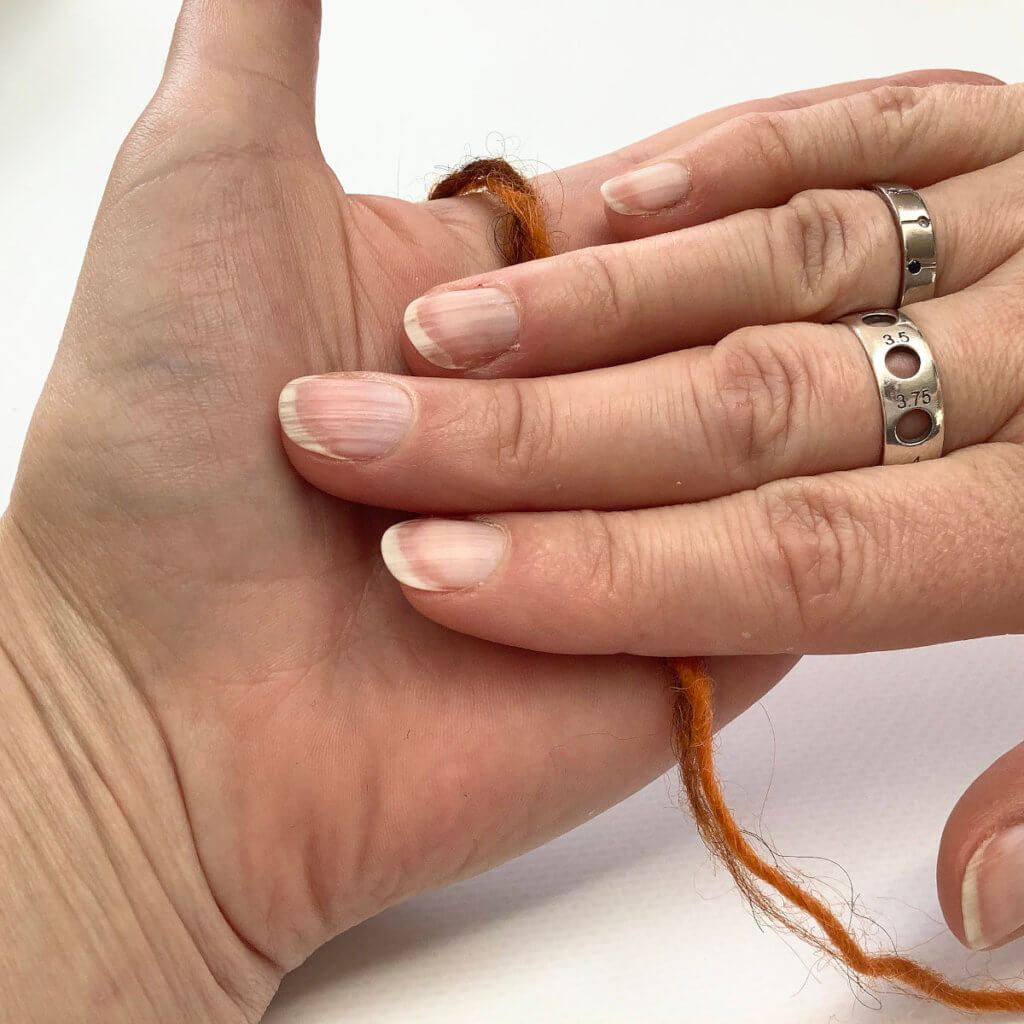
5. Now comes the fun bit: rub the overlapping pieces of wet yarn vigorously between your hands for a bit. On a side note, see that ring on my middle finger? It’s a gauge ring (the metric version) by Malojos. The best knitting accessory gift I’ve gotten myself to date!
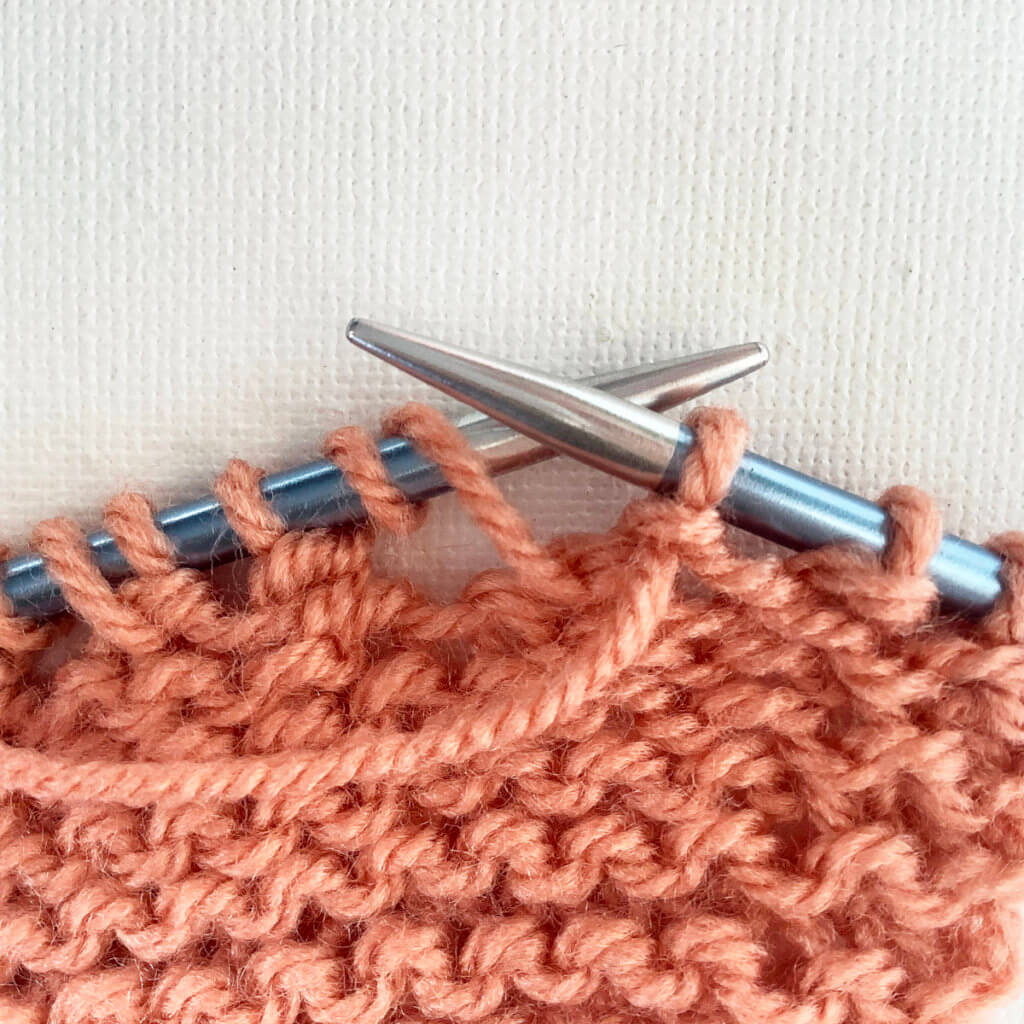
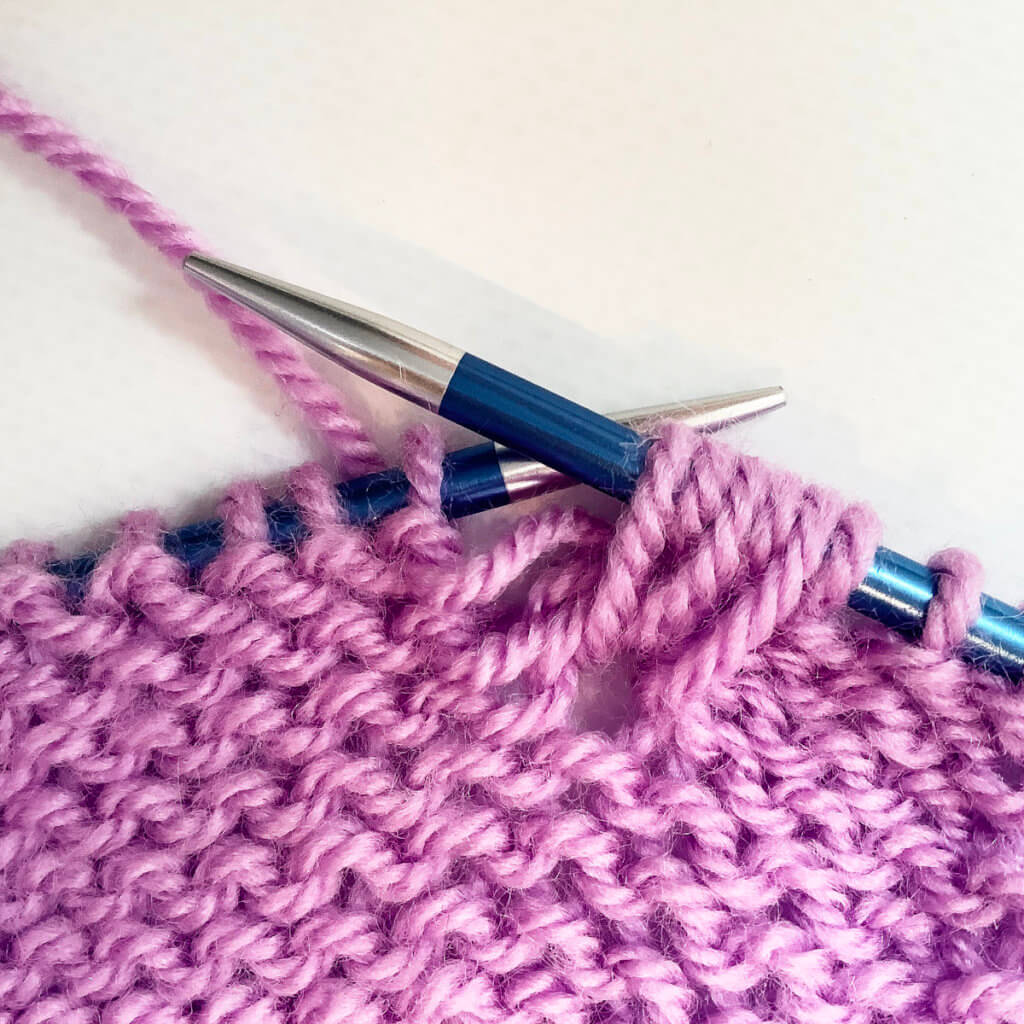
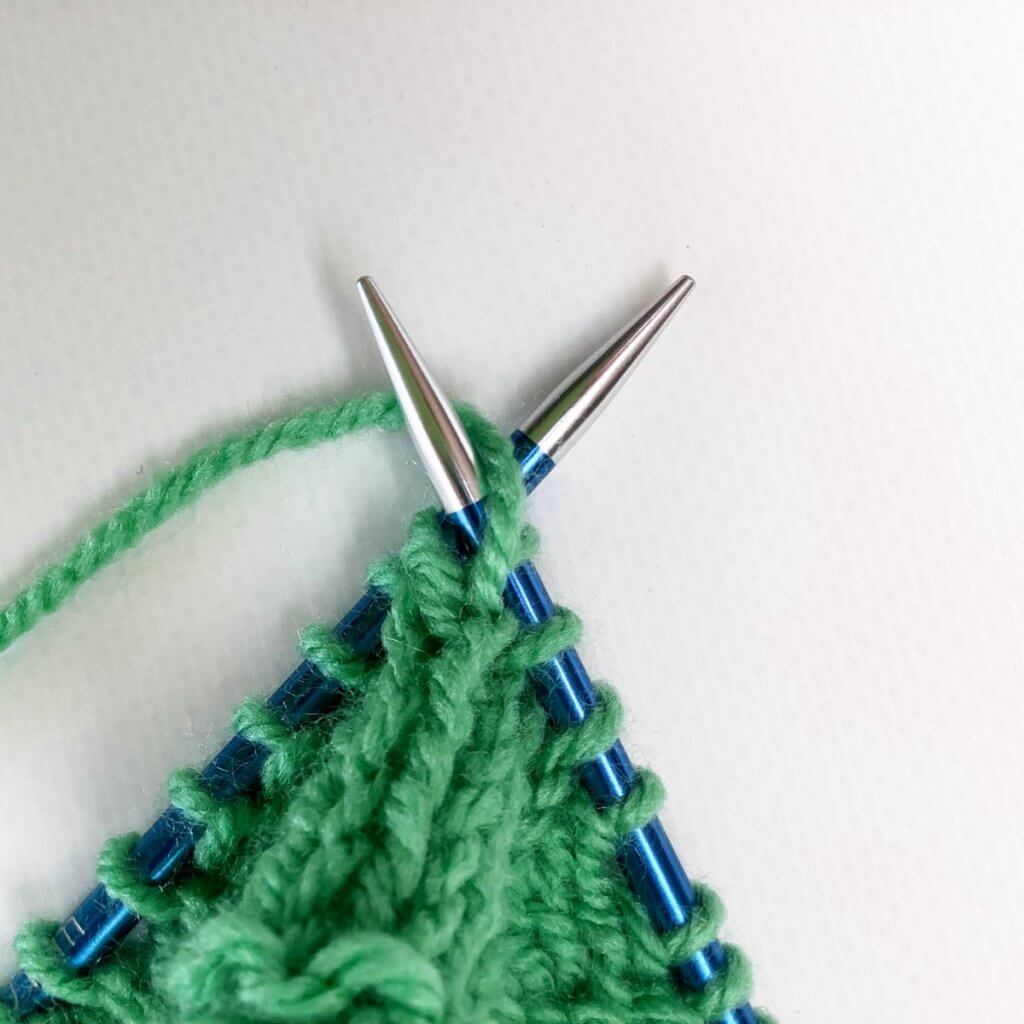
6. And there you have it: a felted join!

Thanks to my Patreon supporters for bringing you this freebie! Creating quality patterns and tutorials is a lot of work and resource-intensive. However, I find it important to give you free content like this tutorial. Thanks to the generous support of my Patreon supporters, I can make it happen. Thank you, patrons! Click here to join, or click here to read more about La Visch Designs on Patreon.
tutorial – working a felted join Read More »