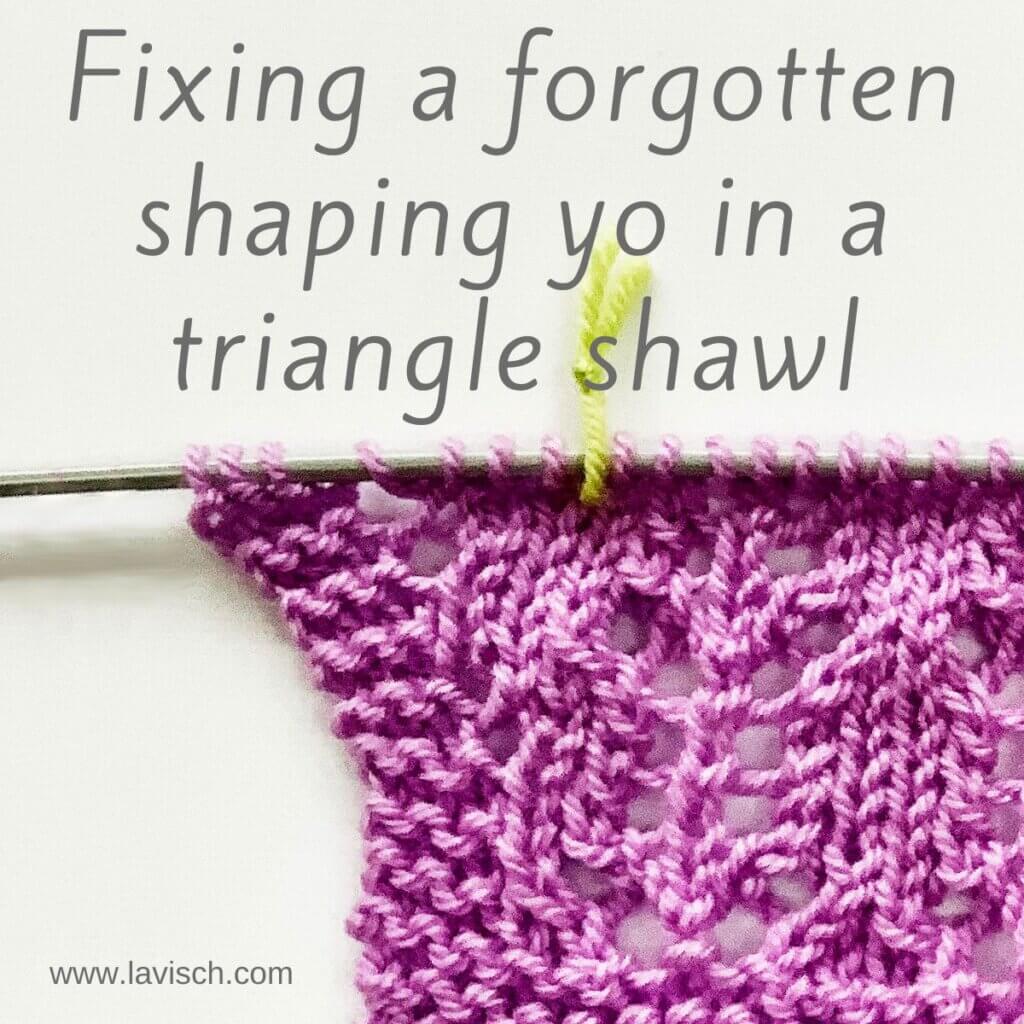
tutorial – fixing a forgotten shaping yo in a triangle shawl
In an earlier tutorial, I already showed you how to fix a forgotten yo. However, fixing a forgotten yarn over becomes a tad more complex if it’s a shaping increase. Take, for example, a typical top-down triangle shawl, with increases on both outer edges, and on both sides of the central spine stitch. But, no fear, when such a shaping increase has been forgotten, it’s still very much possible to fix it without ripping out all your work back to the -place where the error occurred.
So, in this post I’ll show you to fix a forgotten yarn over, used as a shaping increase. Specifically for the situation that the lack of the increase hasn’t been noticed until several more rows have been worked.
Materials used


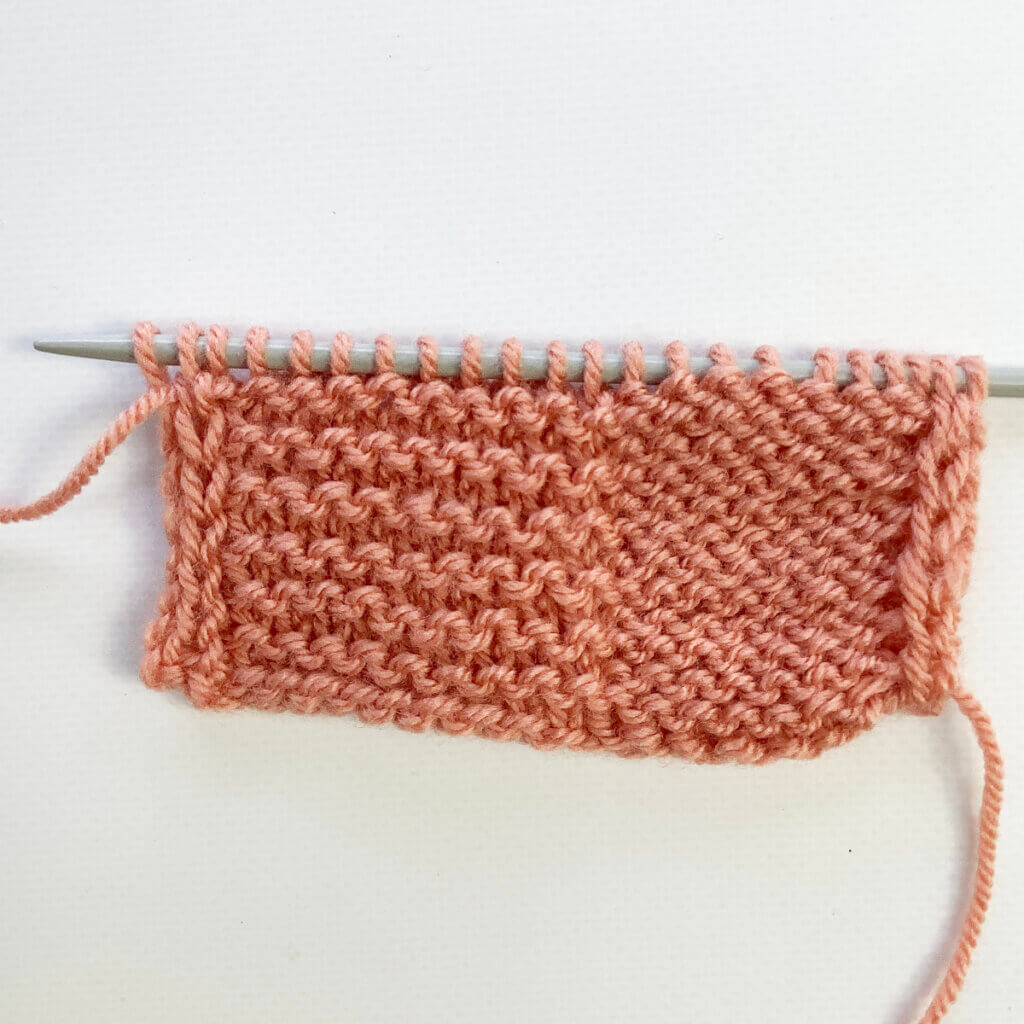
Yarn: Paintbox Yarns Simply DK, a good value, good quality 100% acrylic yarn, here in the color 142 Tea Rose.
A crochet hook in the same size or slightly smaller than your knitting needles. For example, this Pony Aluminum Crochet Hook in size 4 mm.
Fixing a forgotten shaping yo step by step
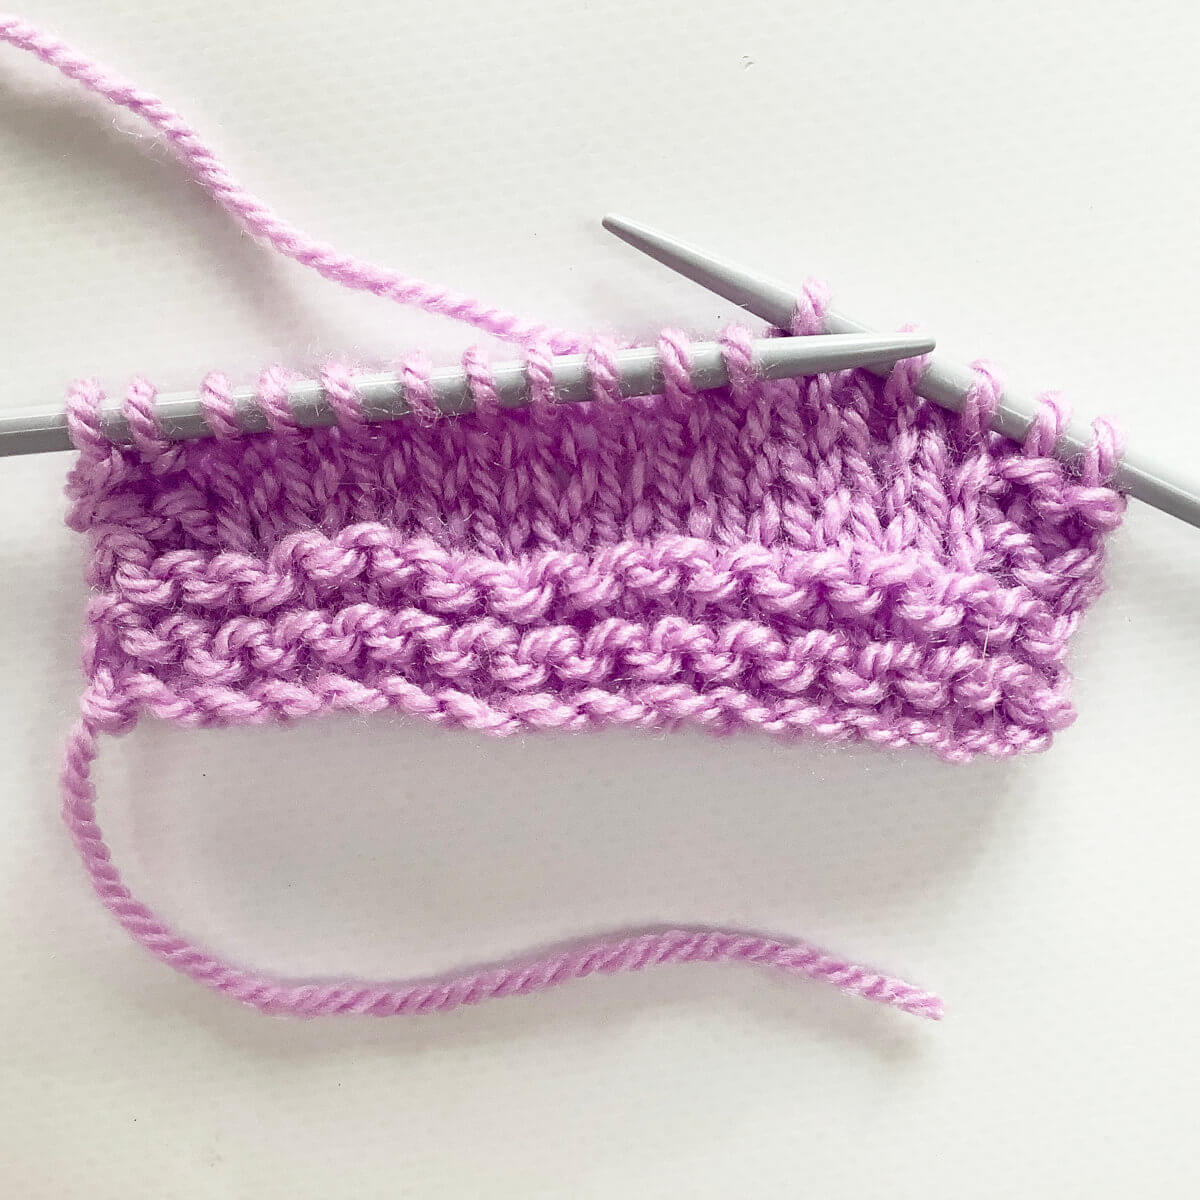
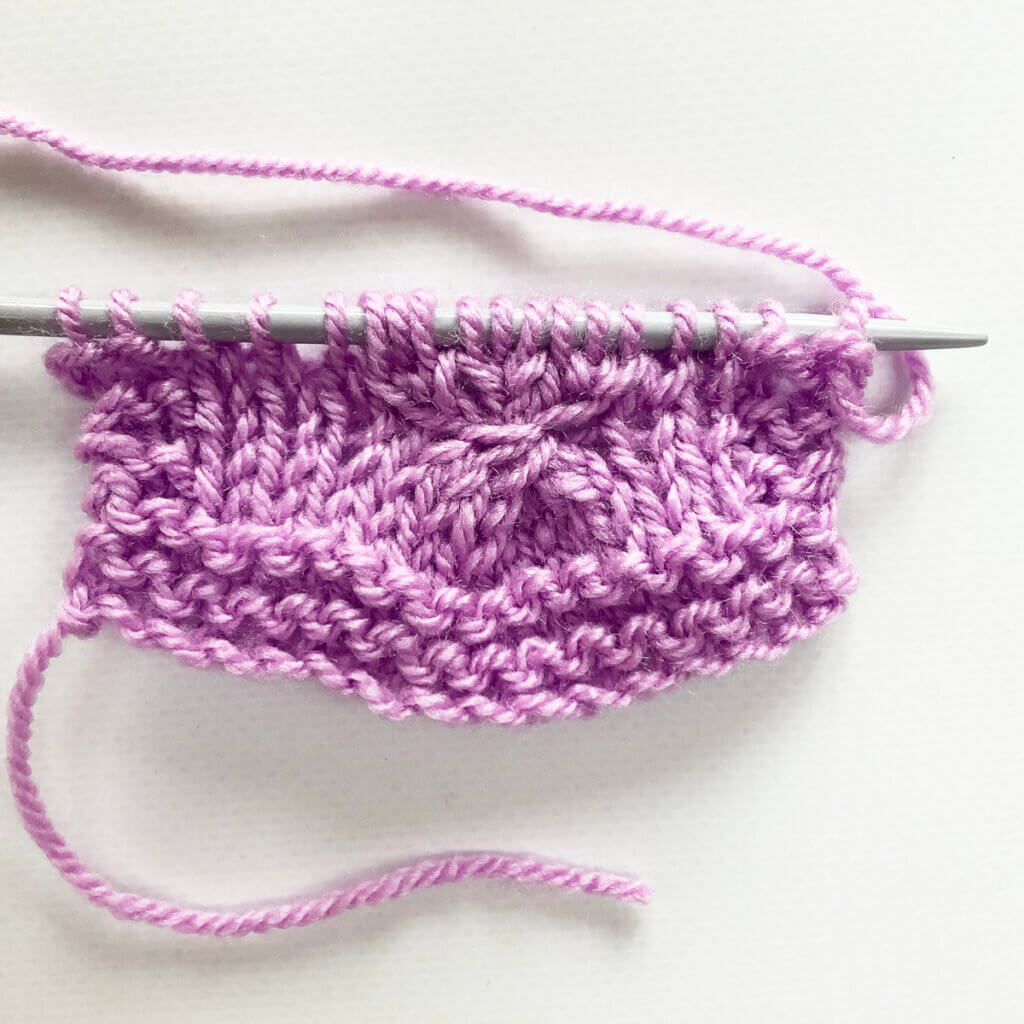
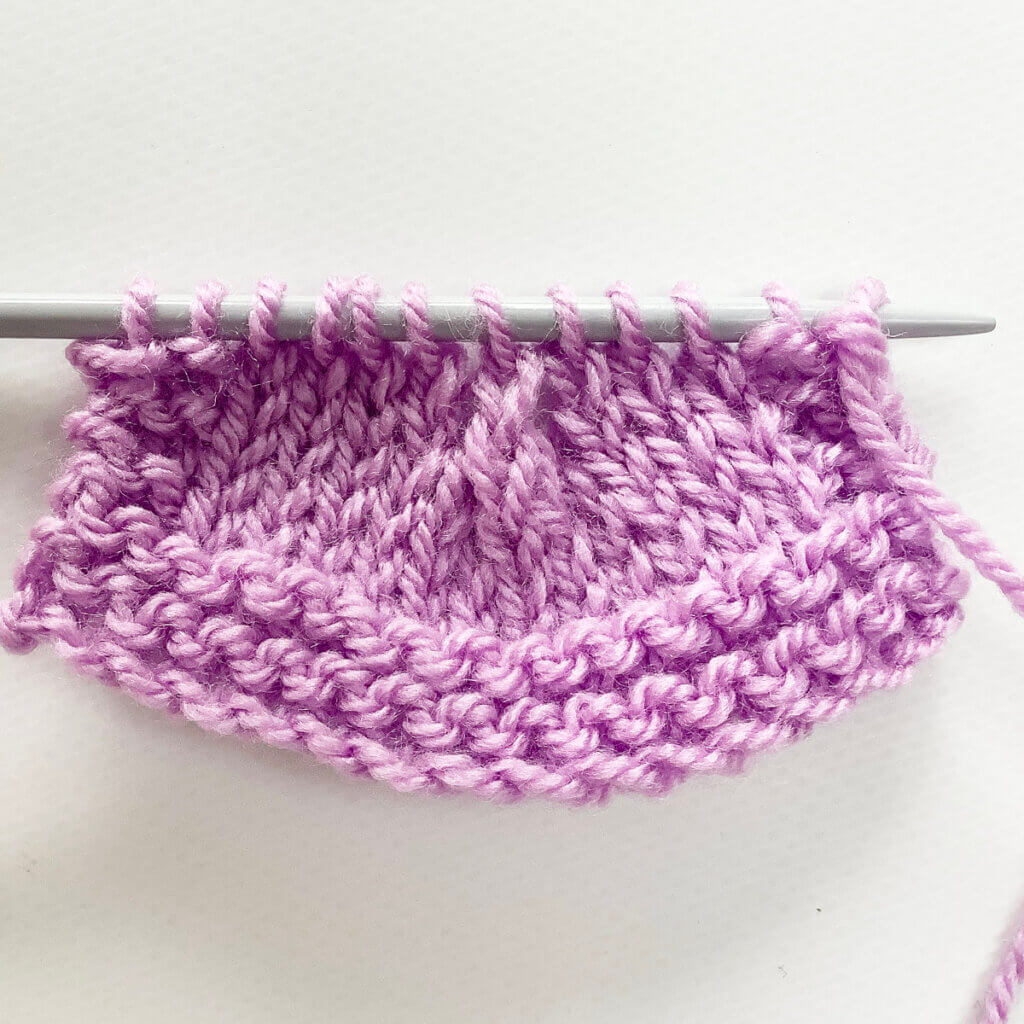
Let’s get started! In this tutorial, I’m using the swatch I also used in previous tutorials on fixing things in knitting.
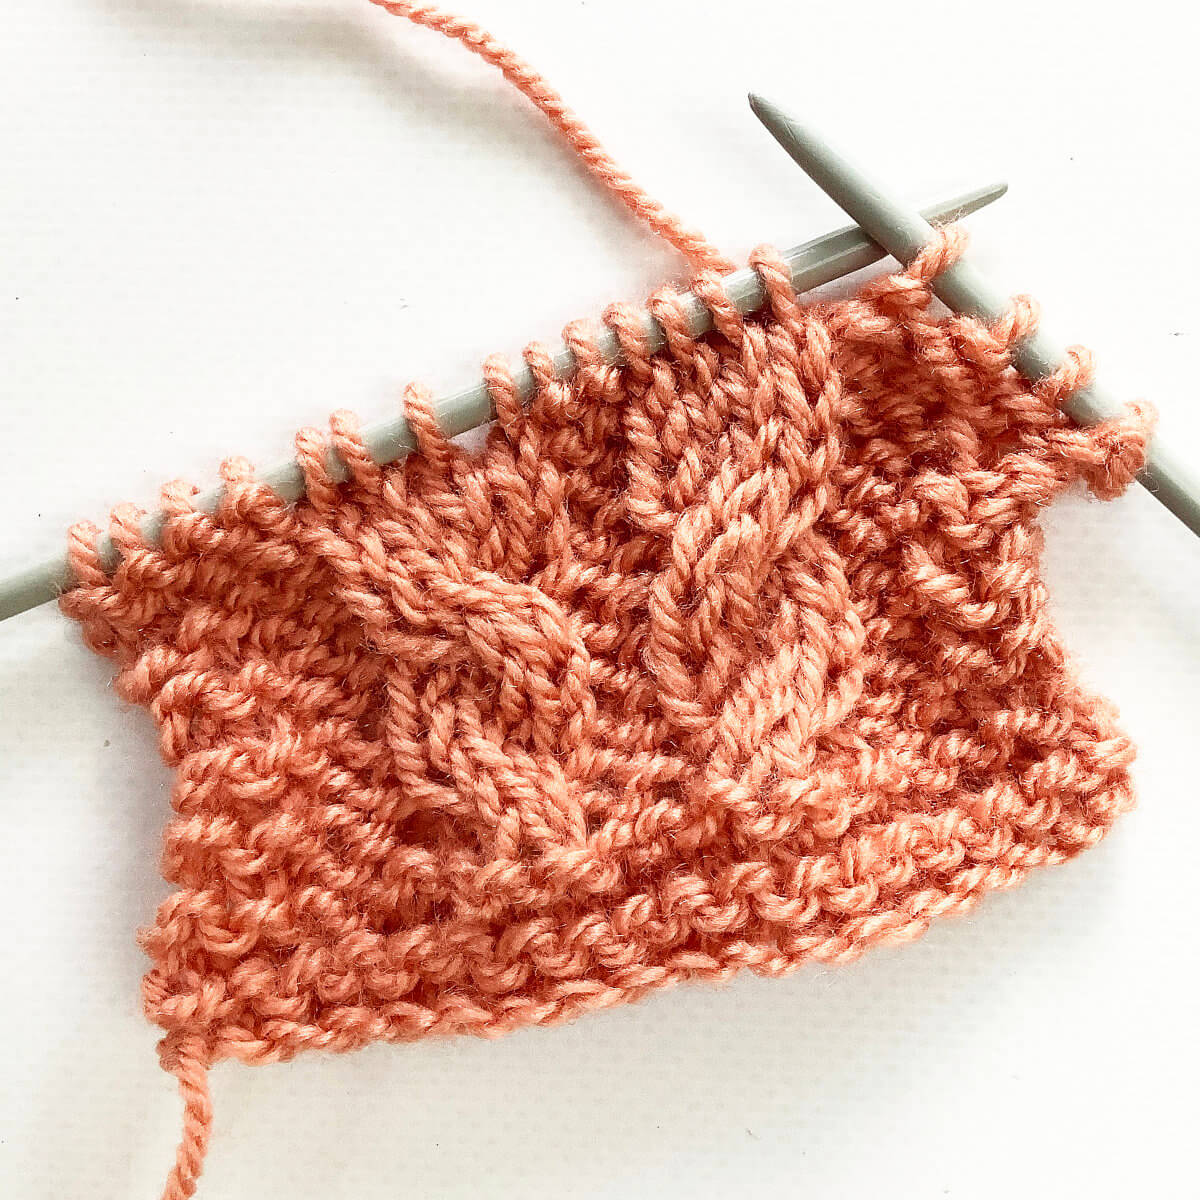
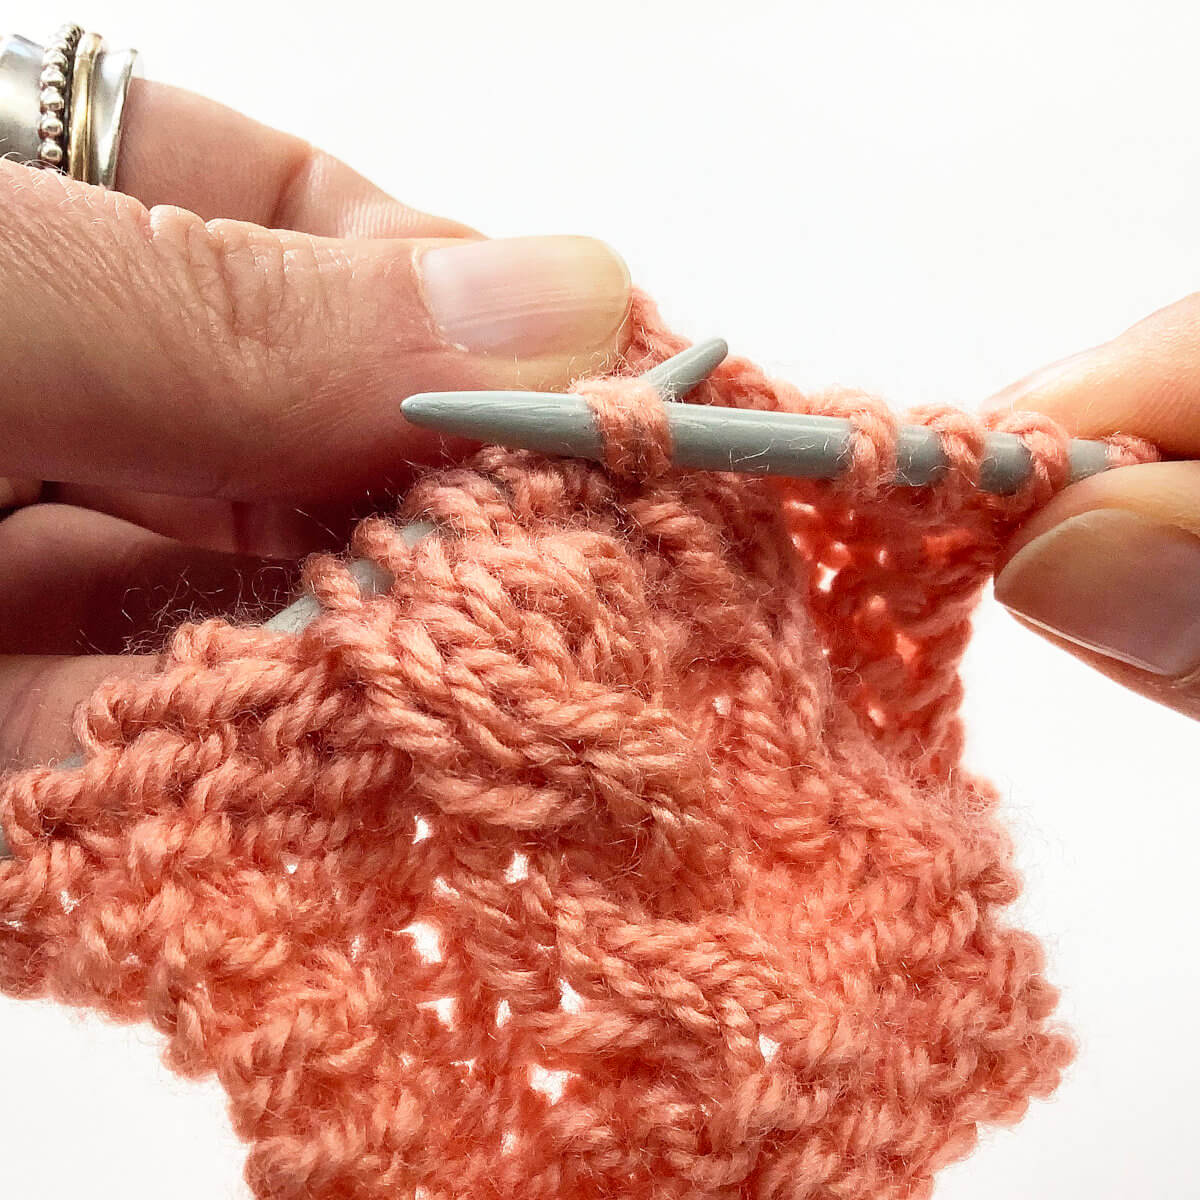
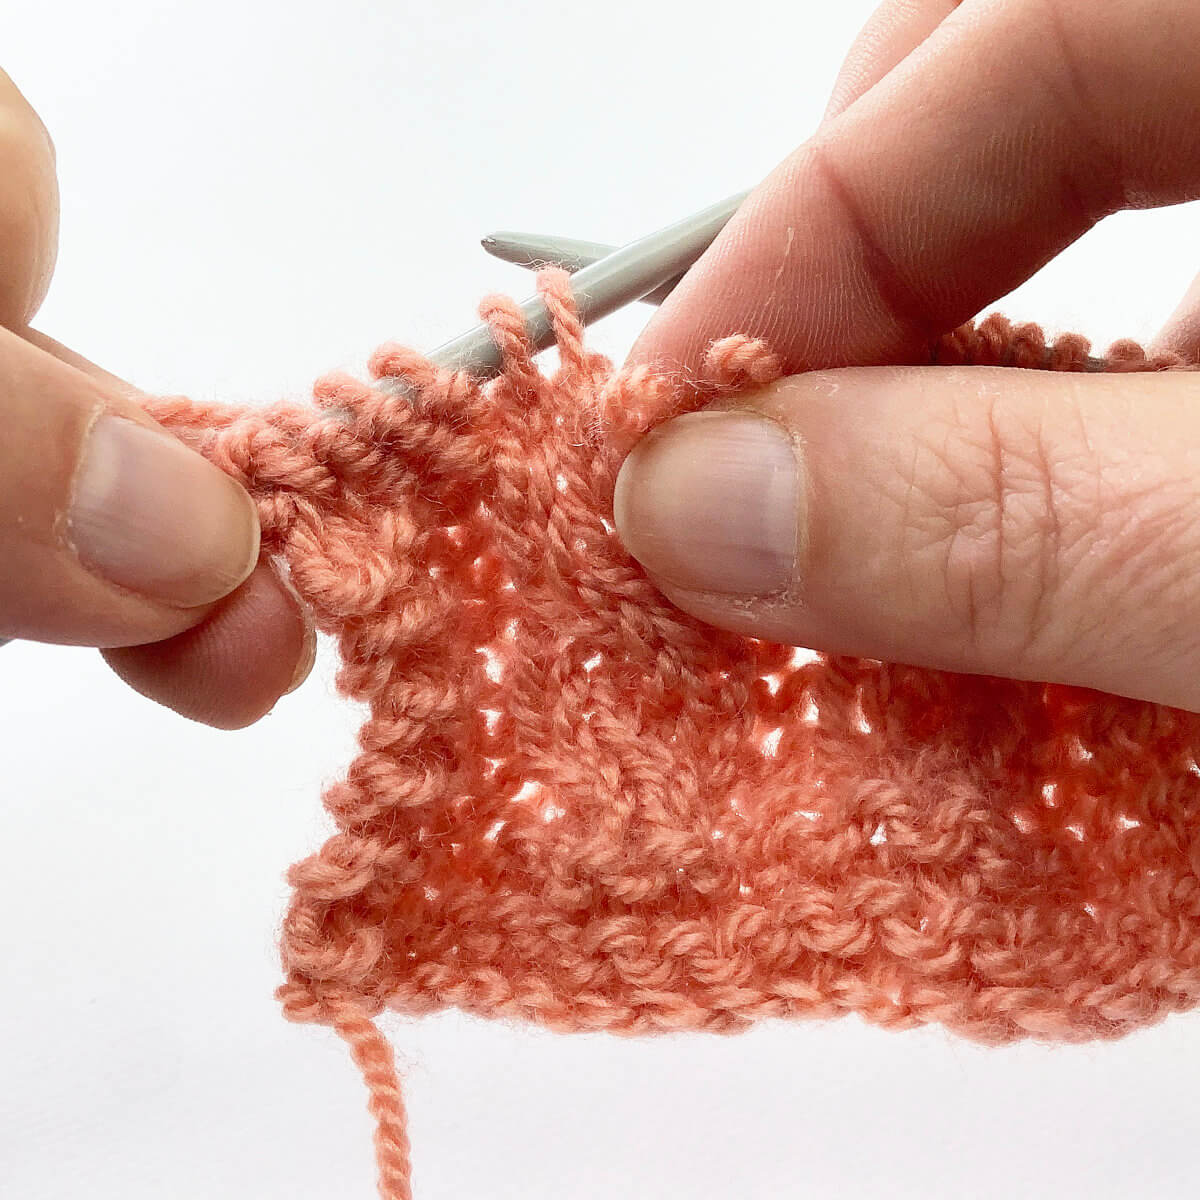
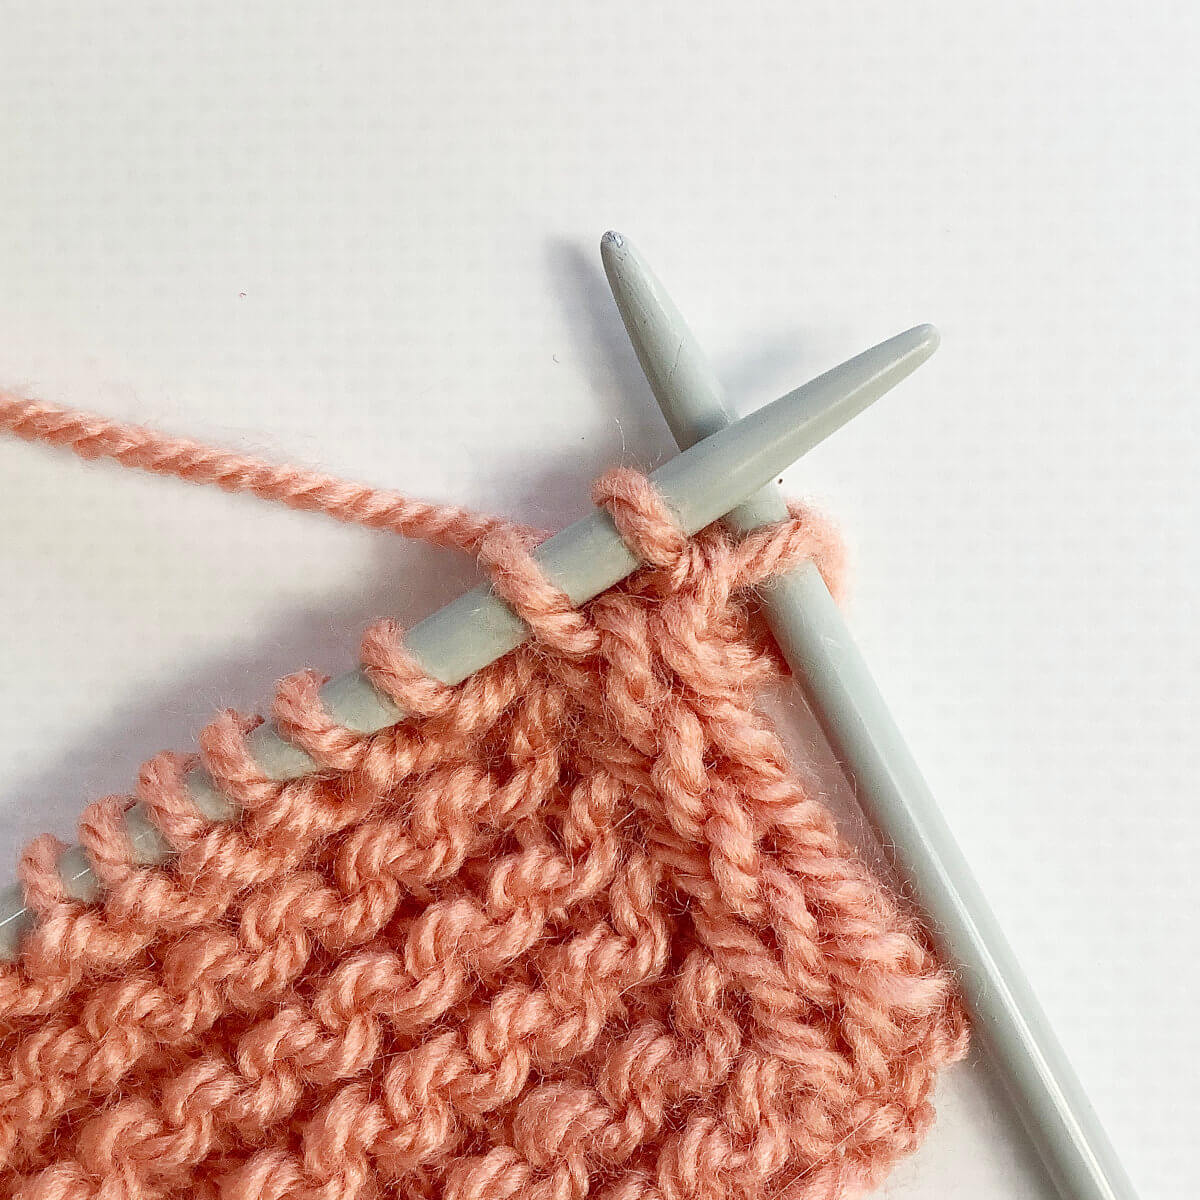
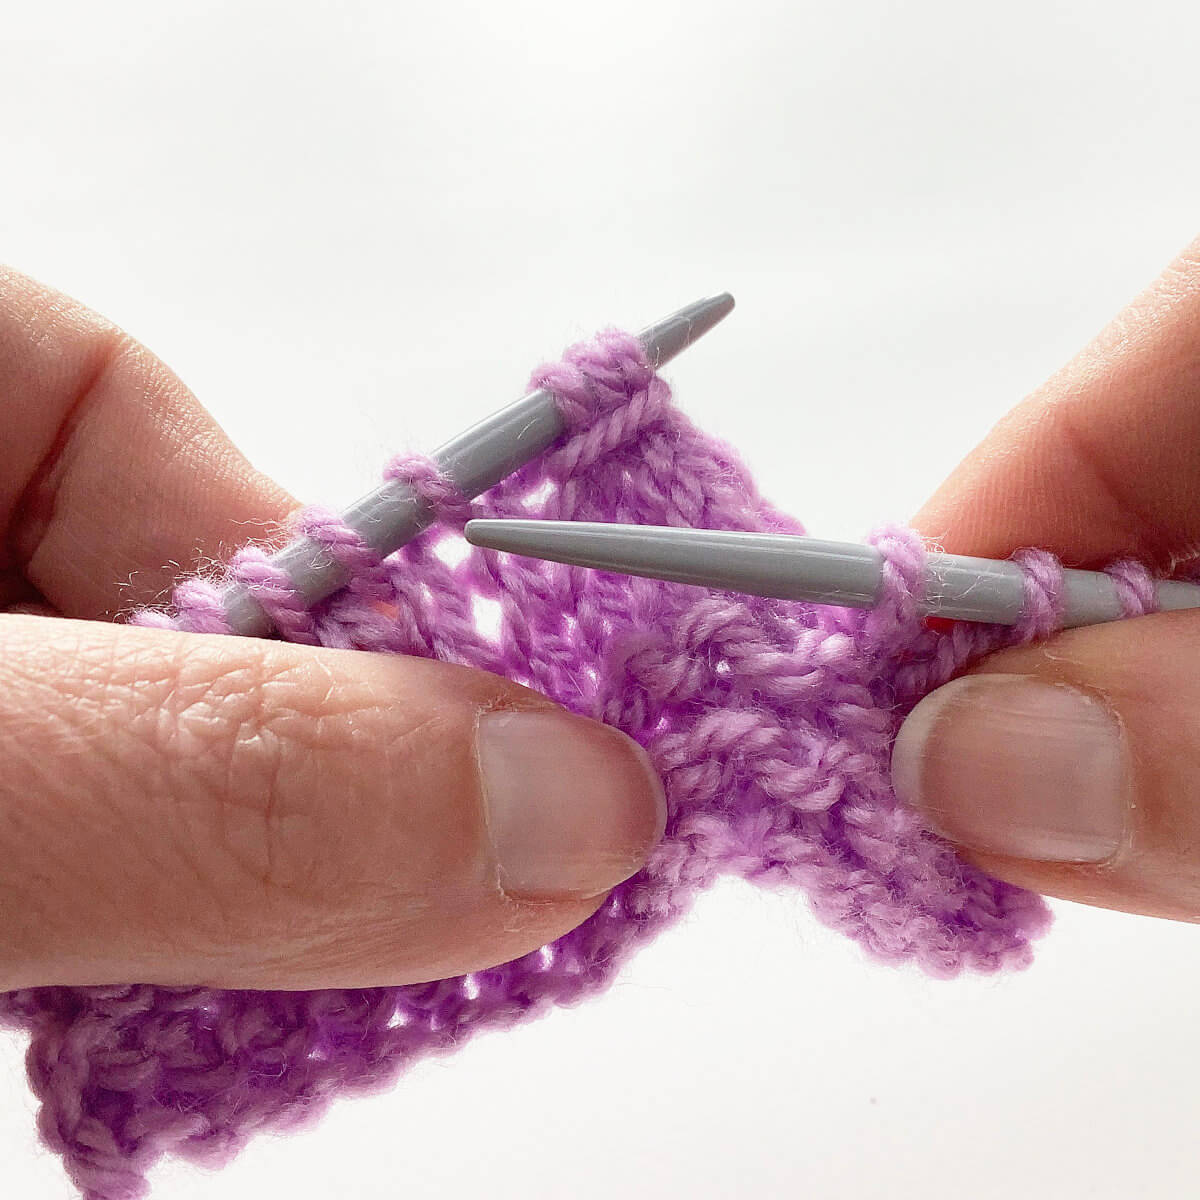
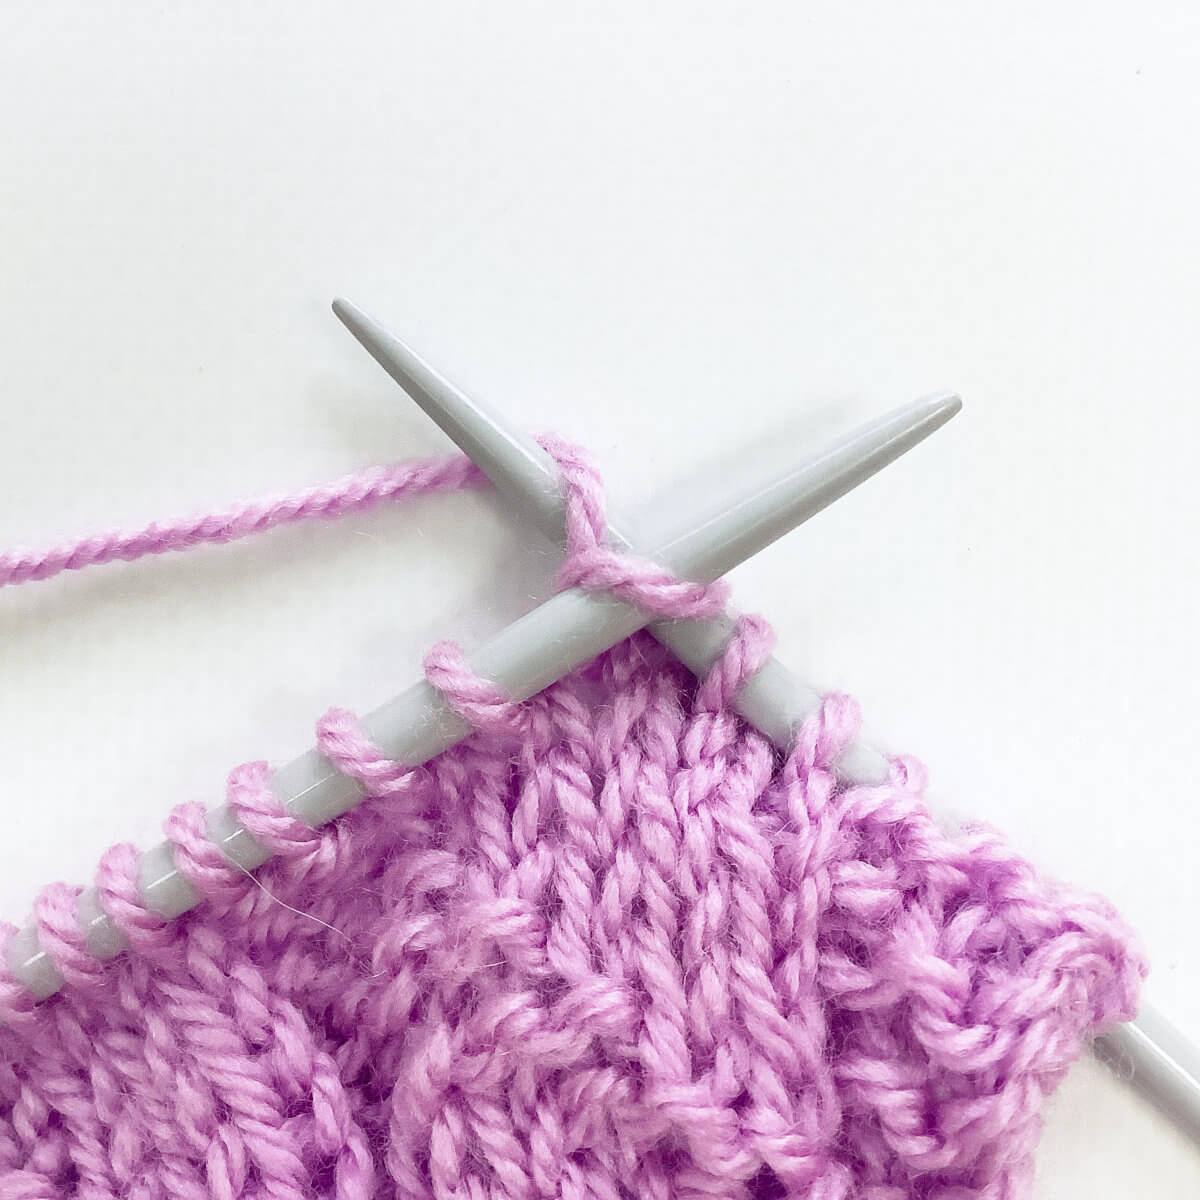
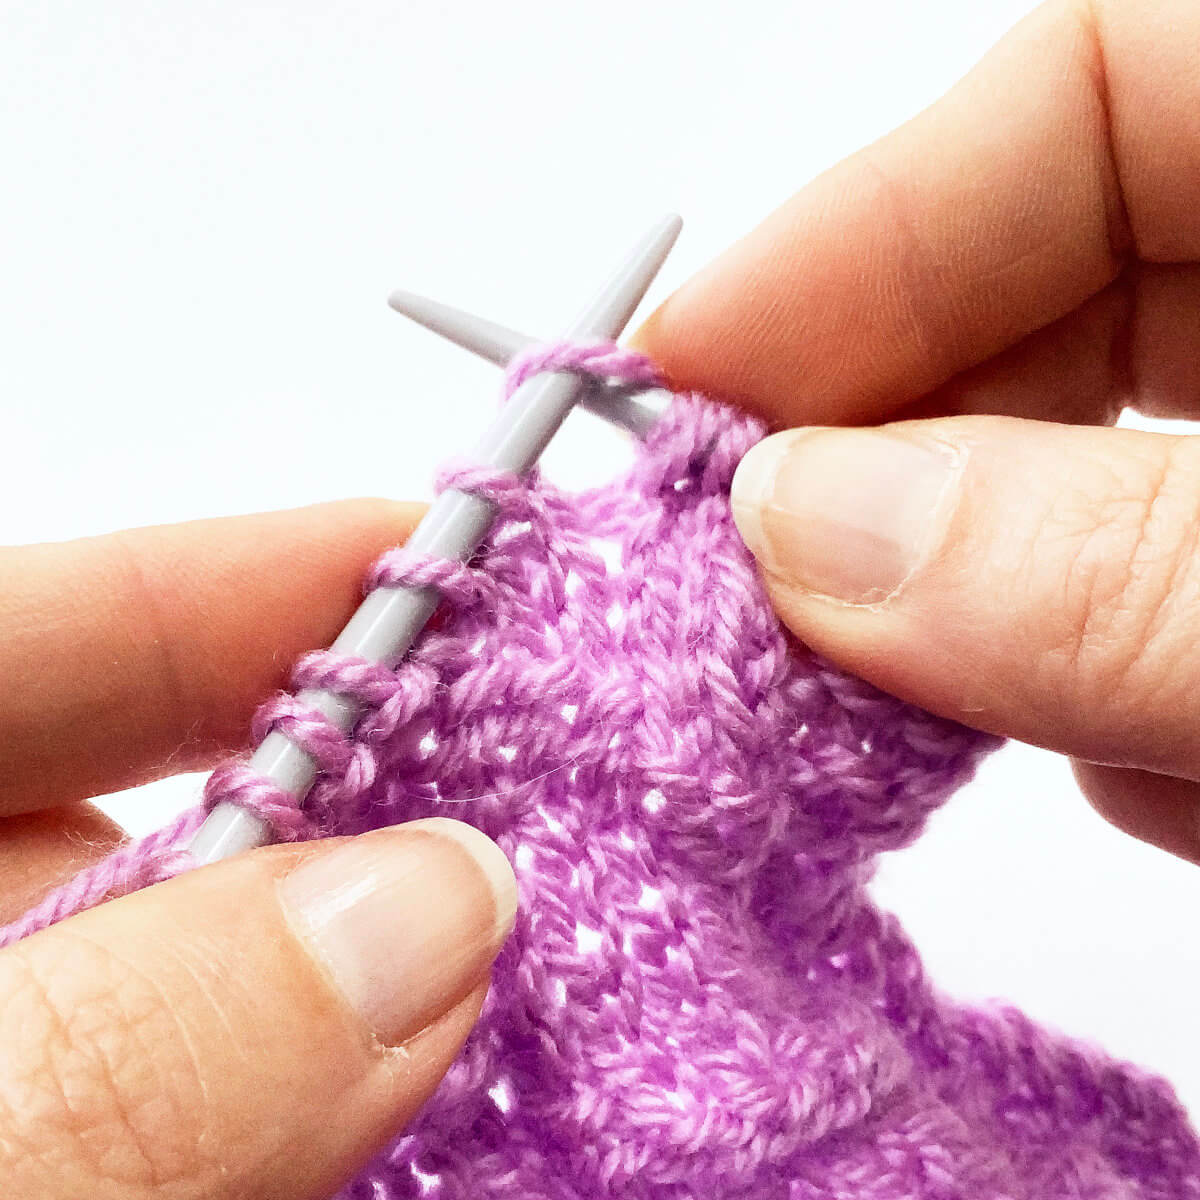
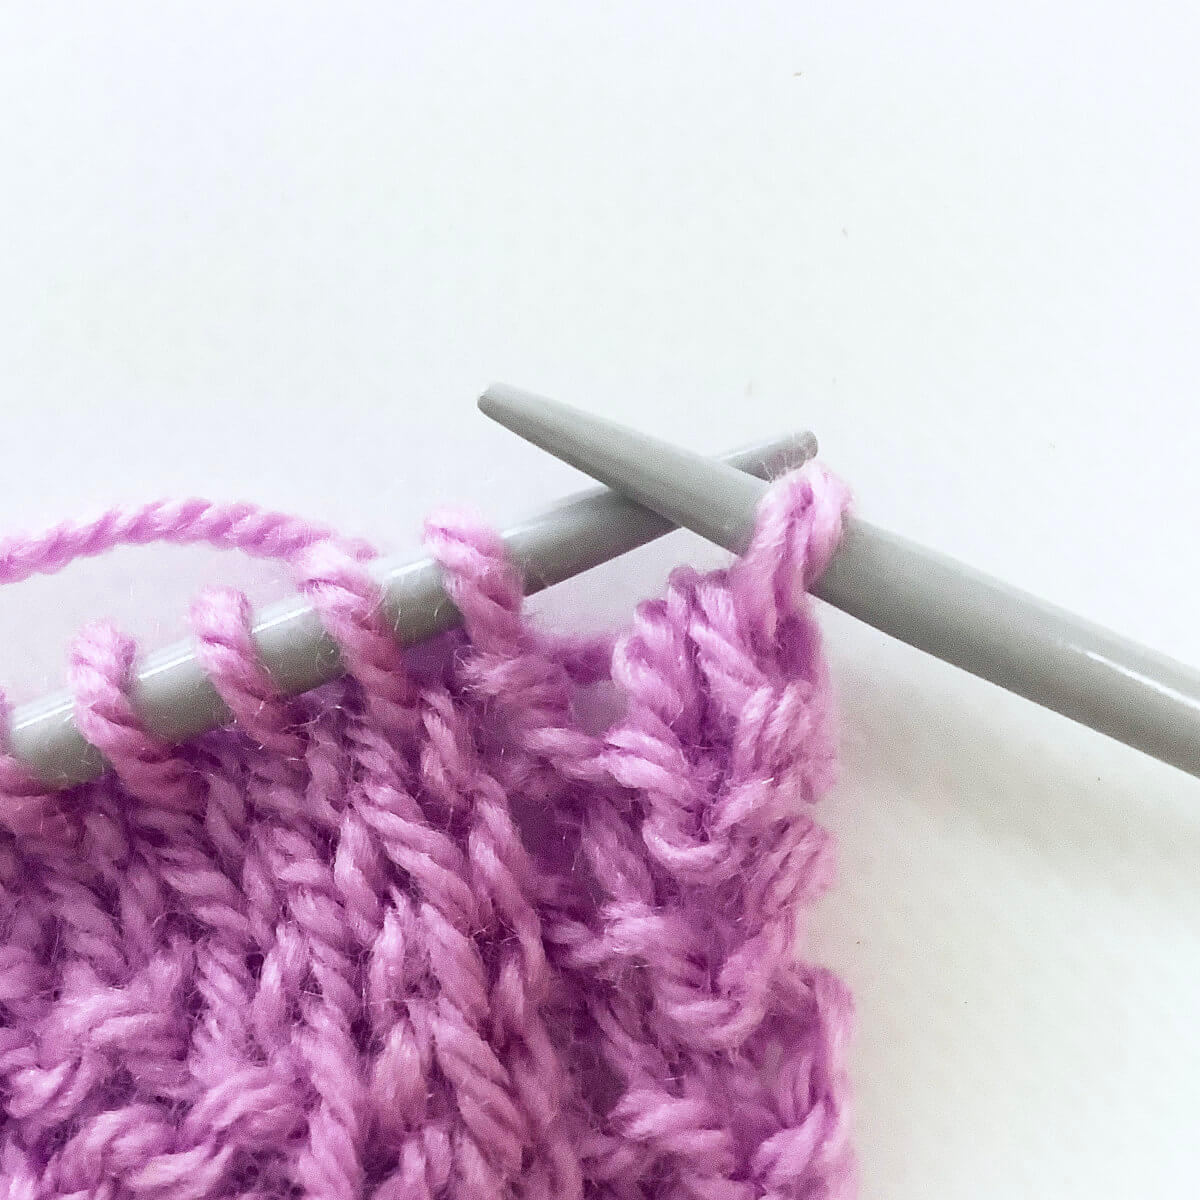
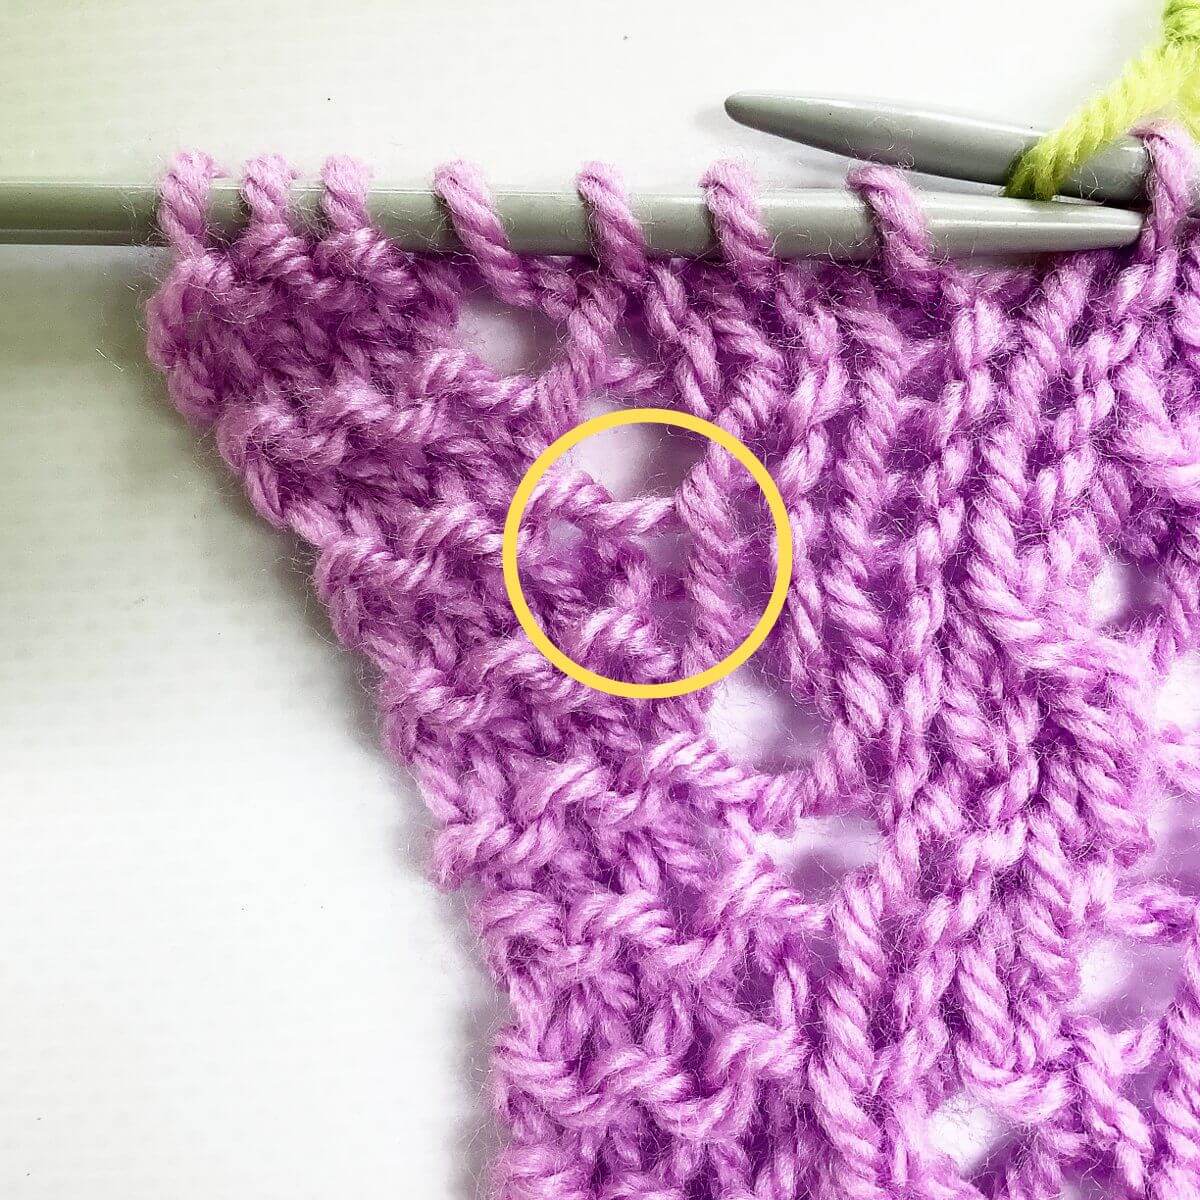
- First, we have to identify the exact spot where the increase is missing.
Do you see it?
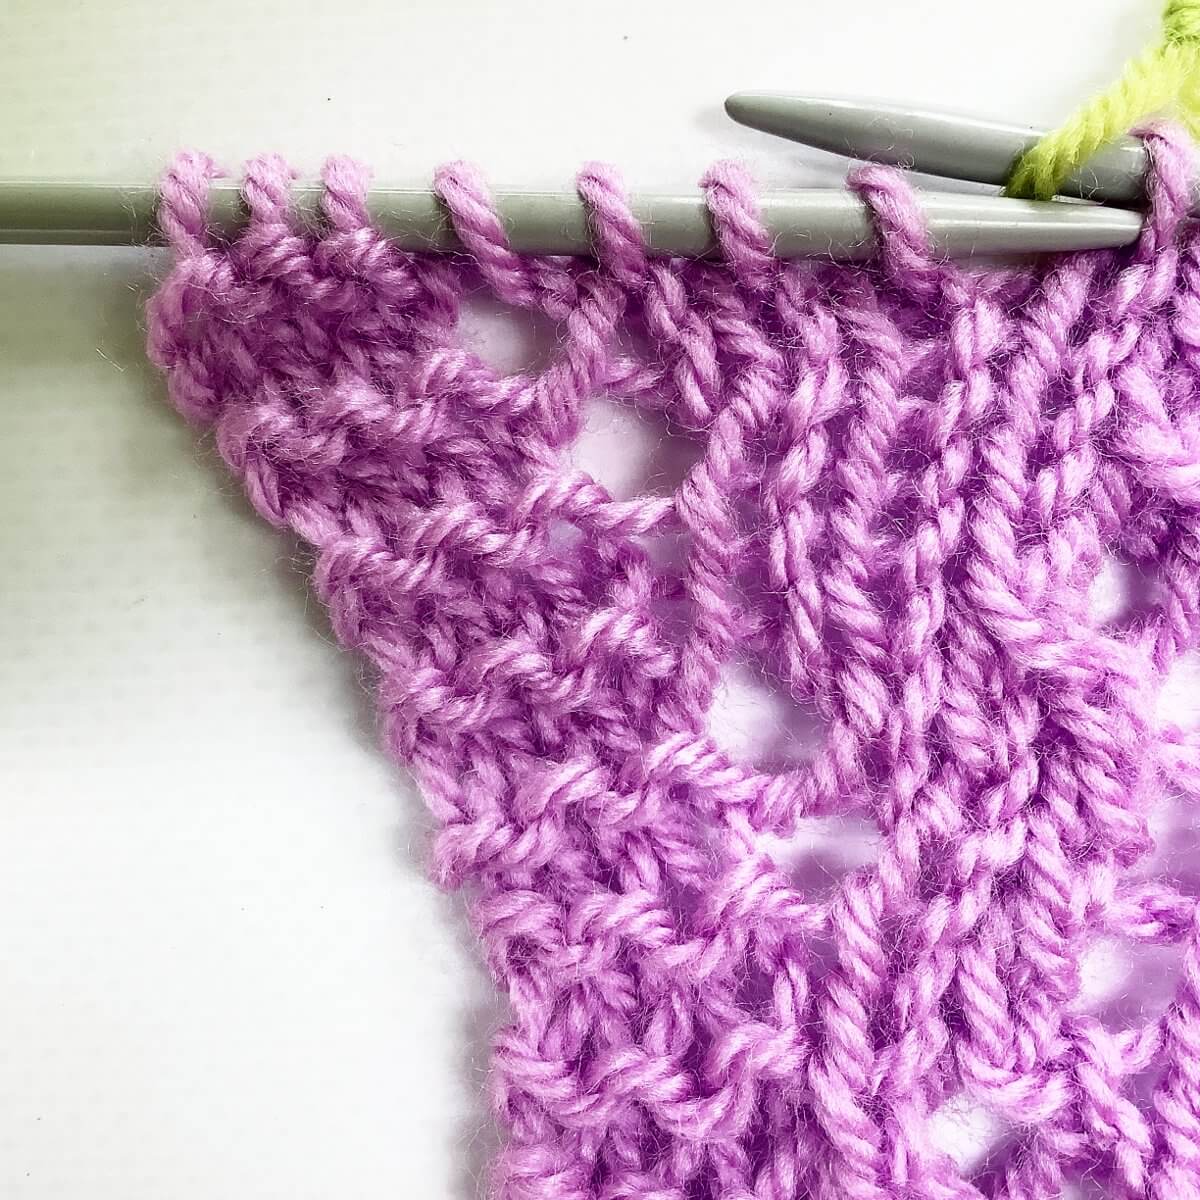
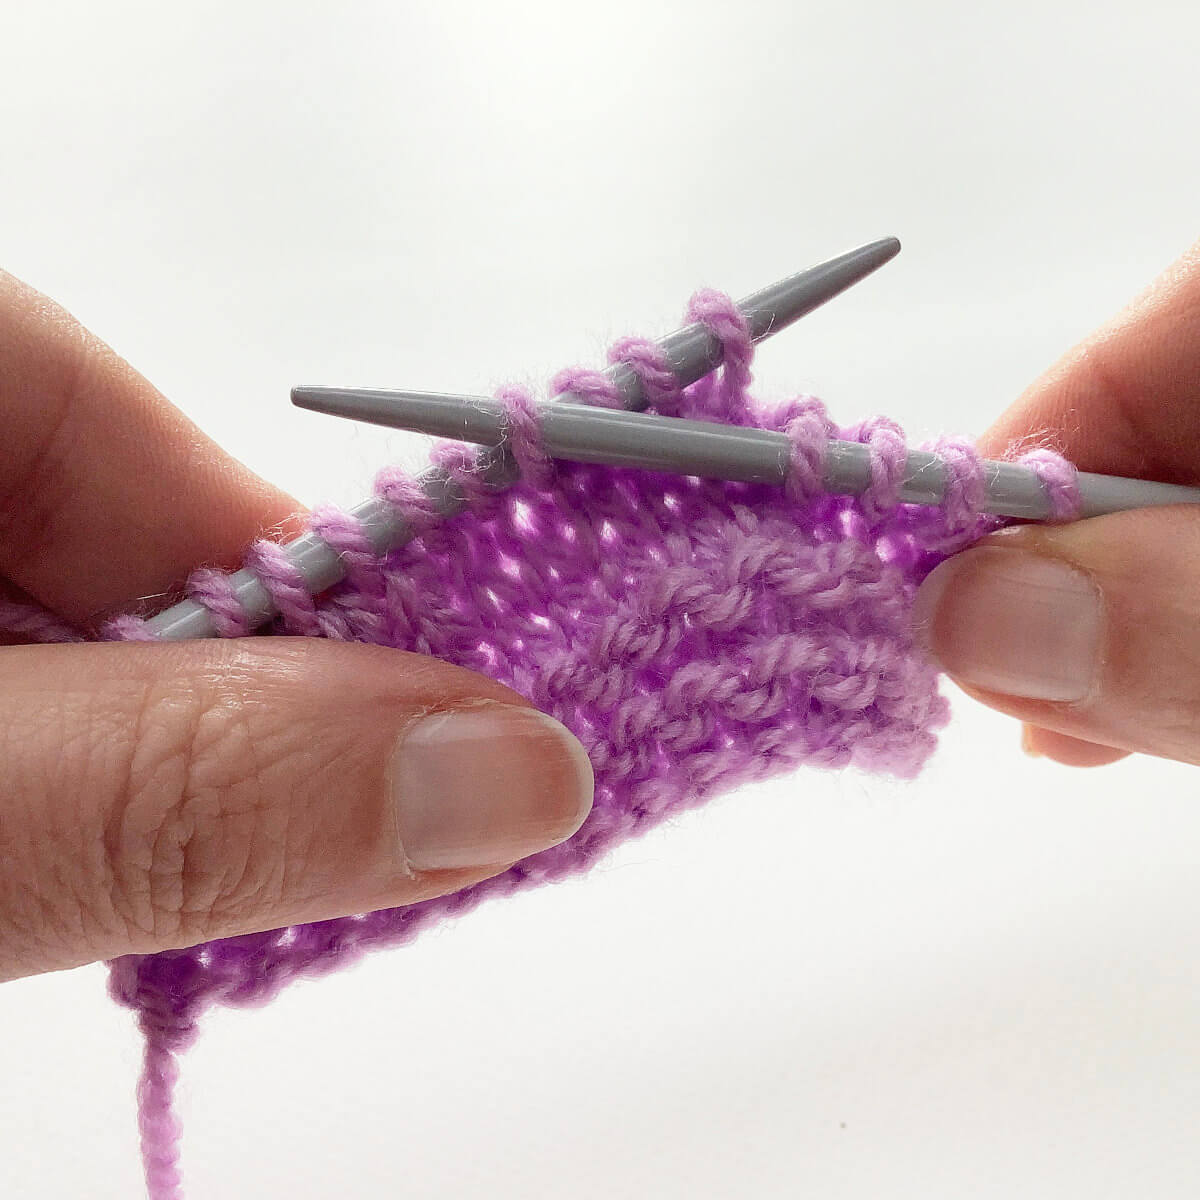
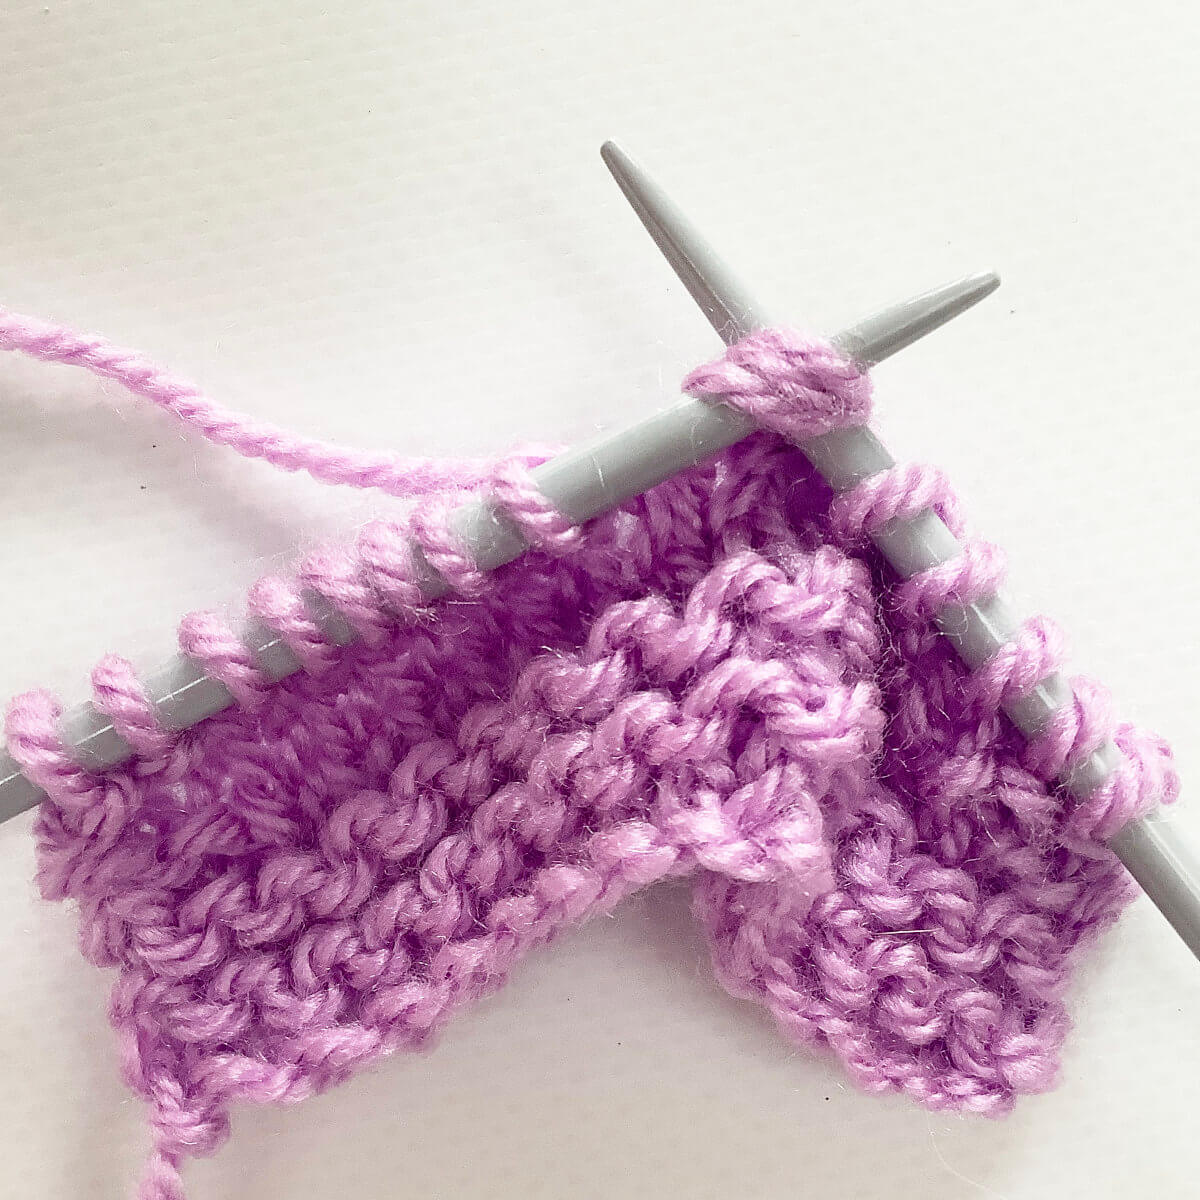
- The yo is missing in between the two columns of stitches above the yo’s that are there.
The two horizontal threads, in the center of the yellow circle, is where we need to work our magic. You can count both the garter stitch ridges in the border, and the shaping yo’s that have been worked, to know how many rows have been worked since making the mistake. In this case, that’s 4 rows.
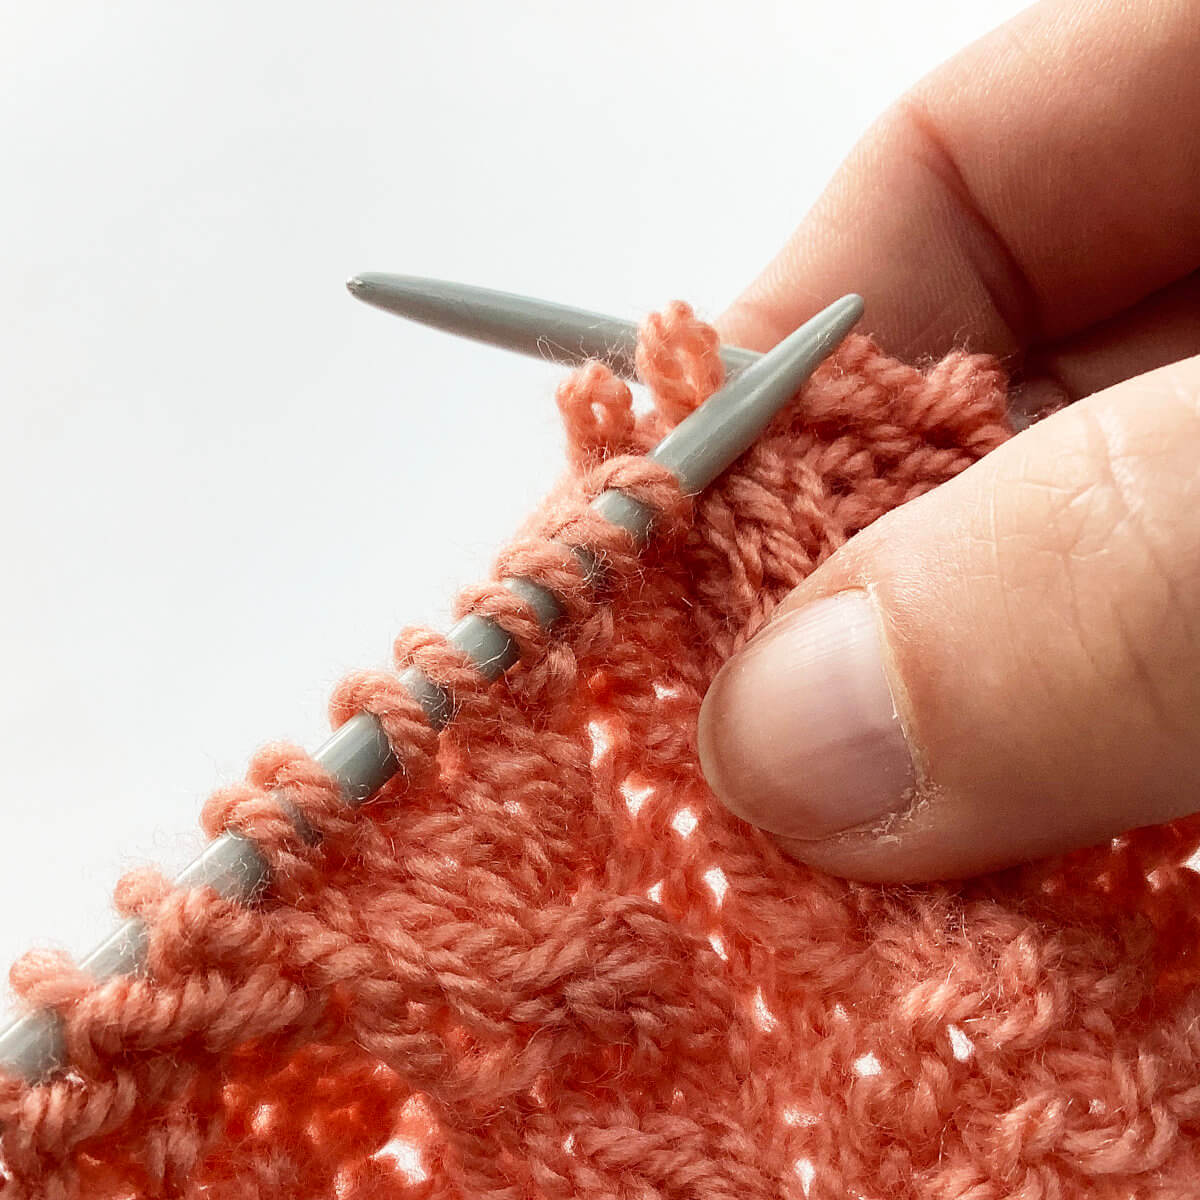
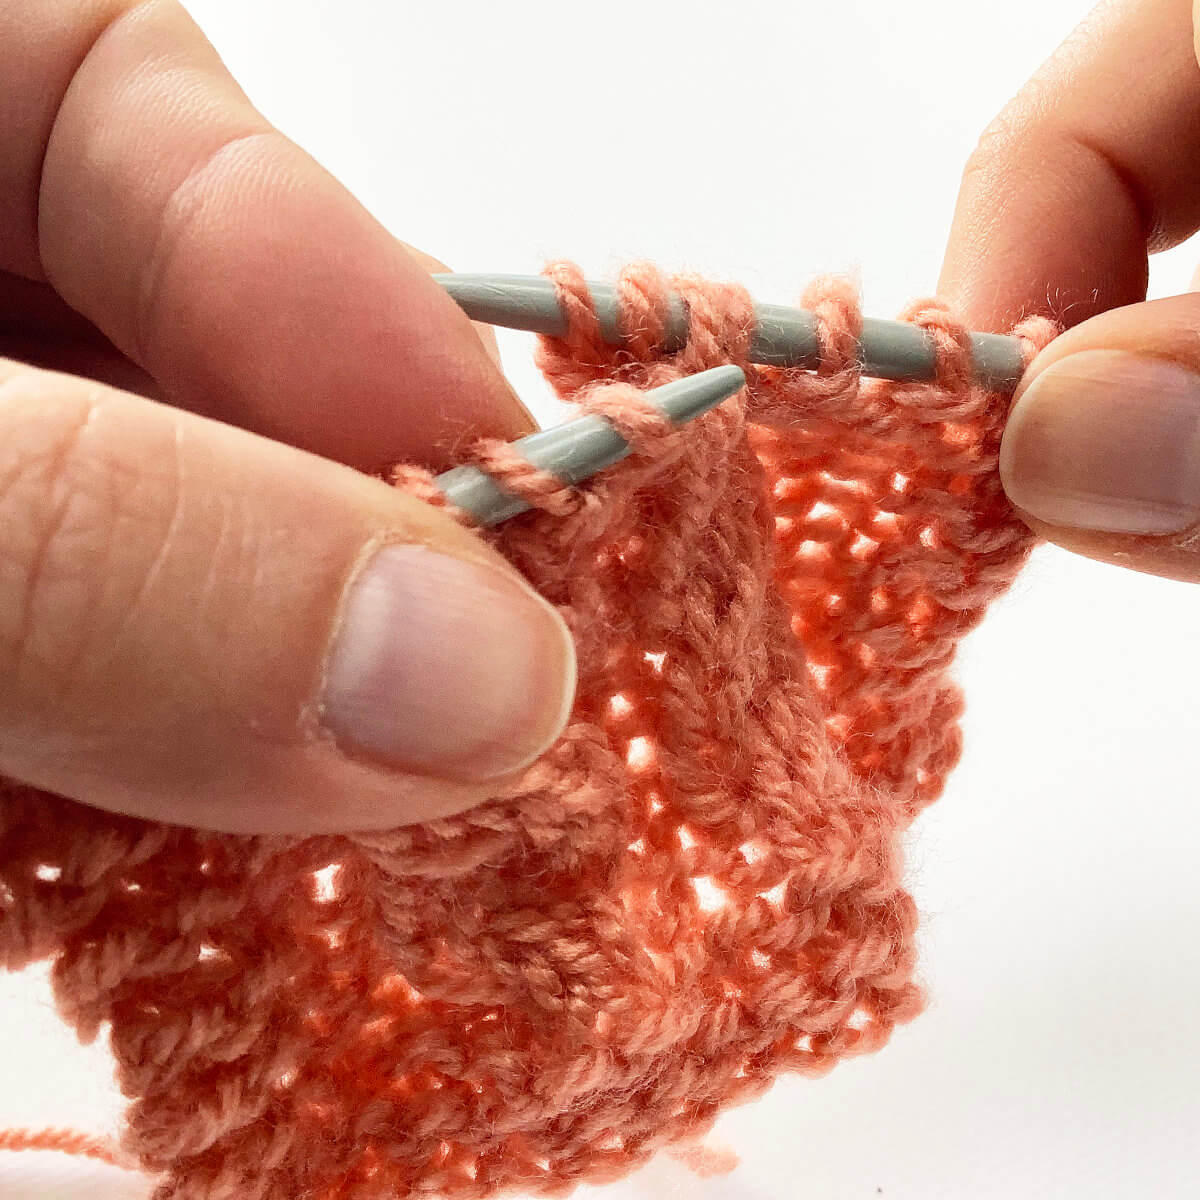
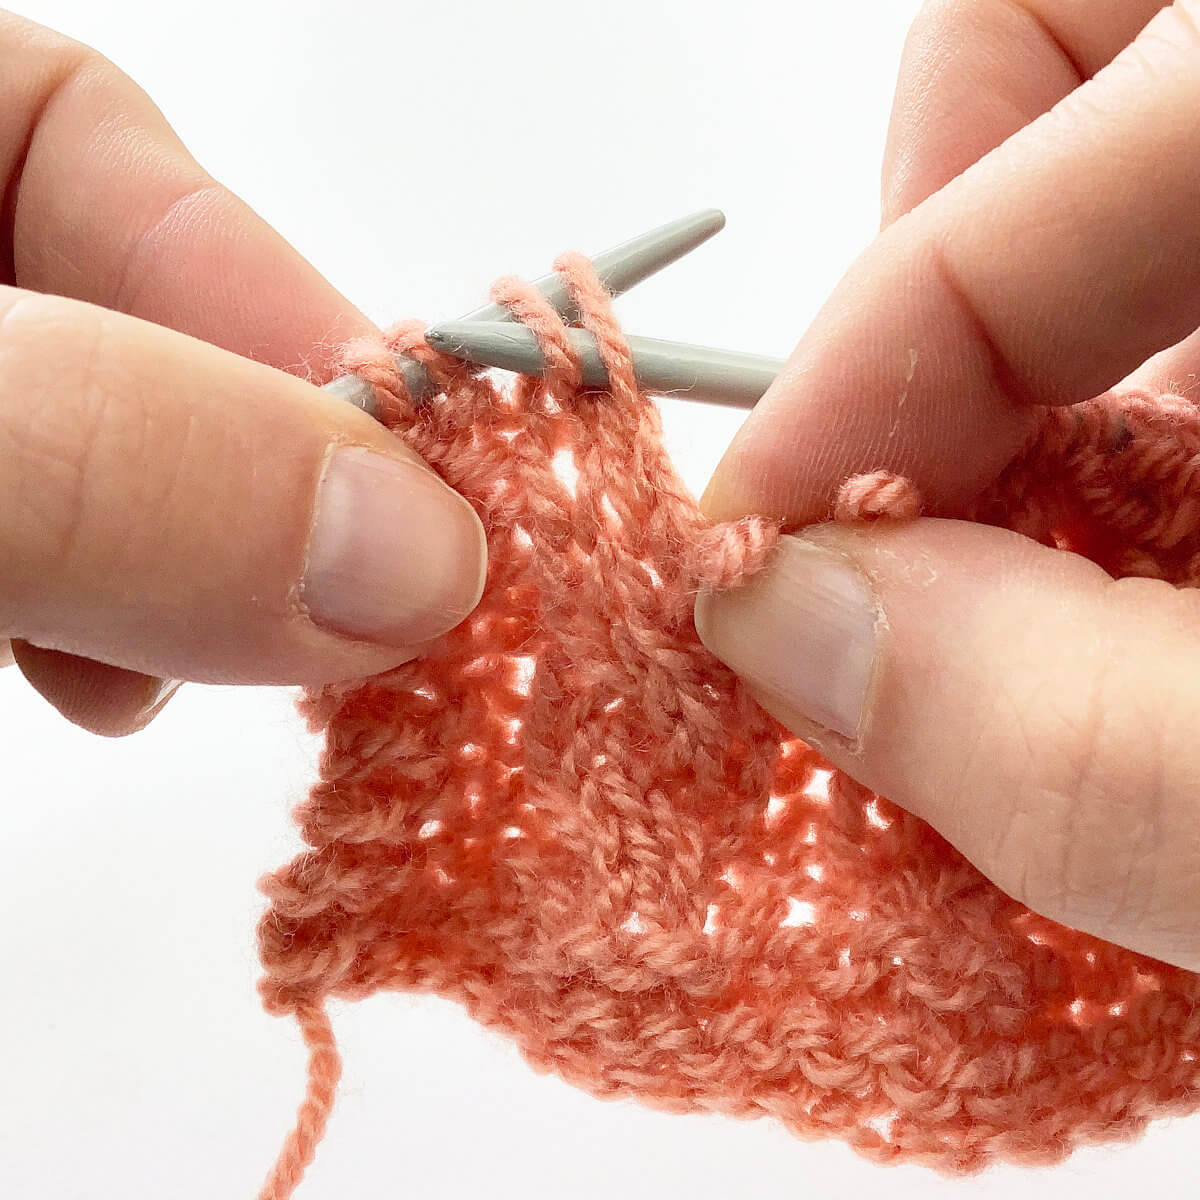
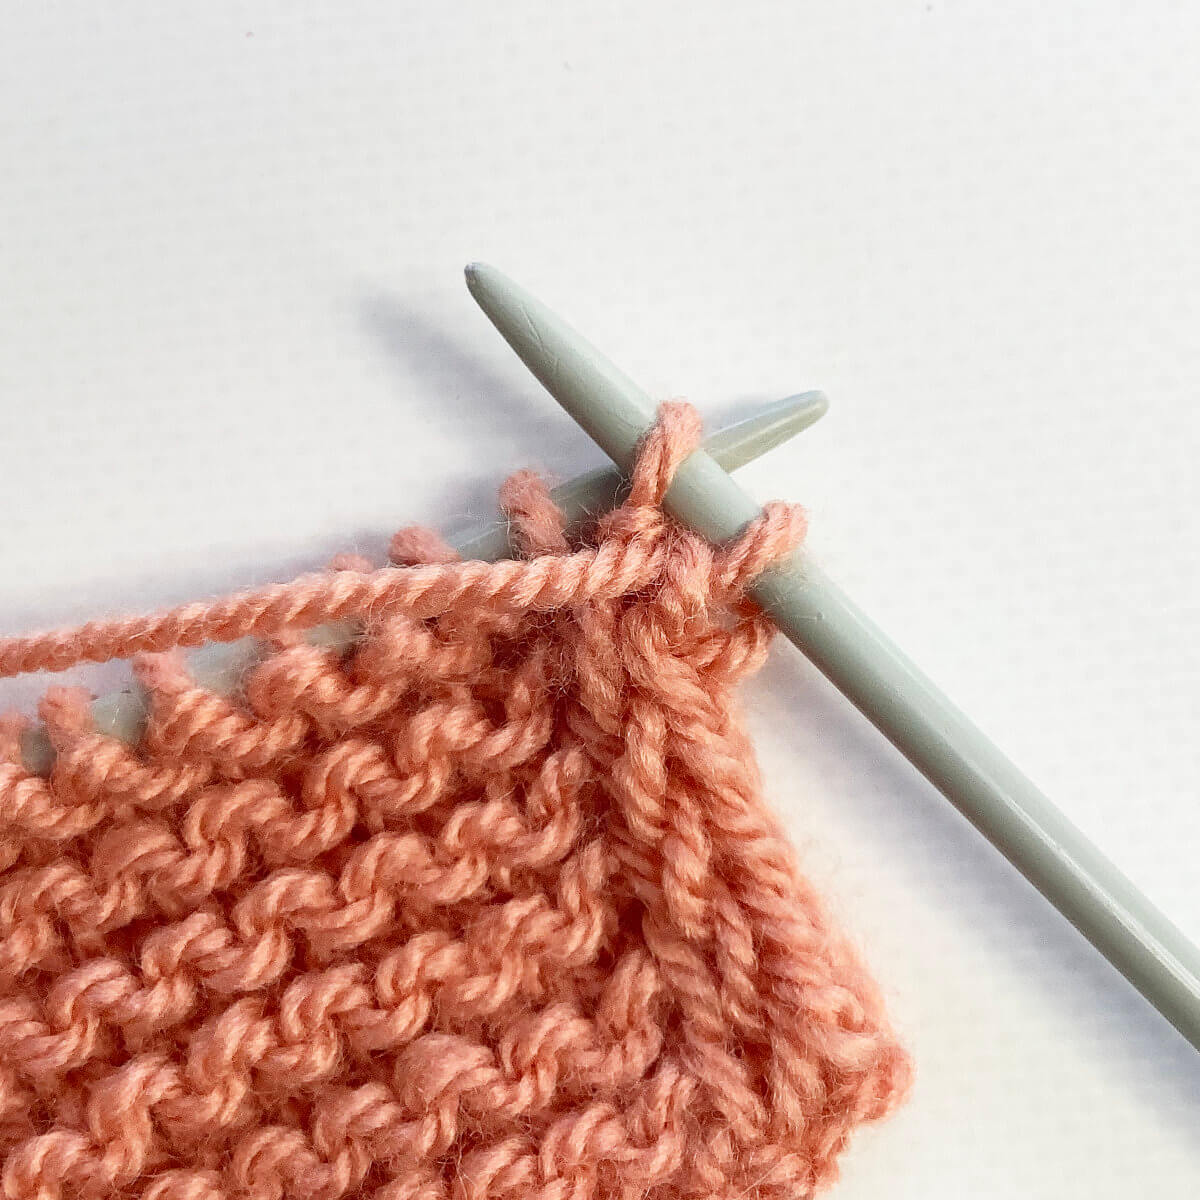
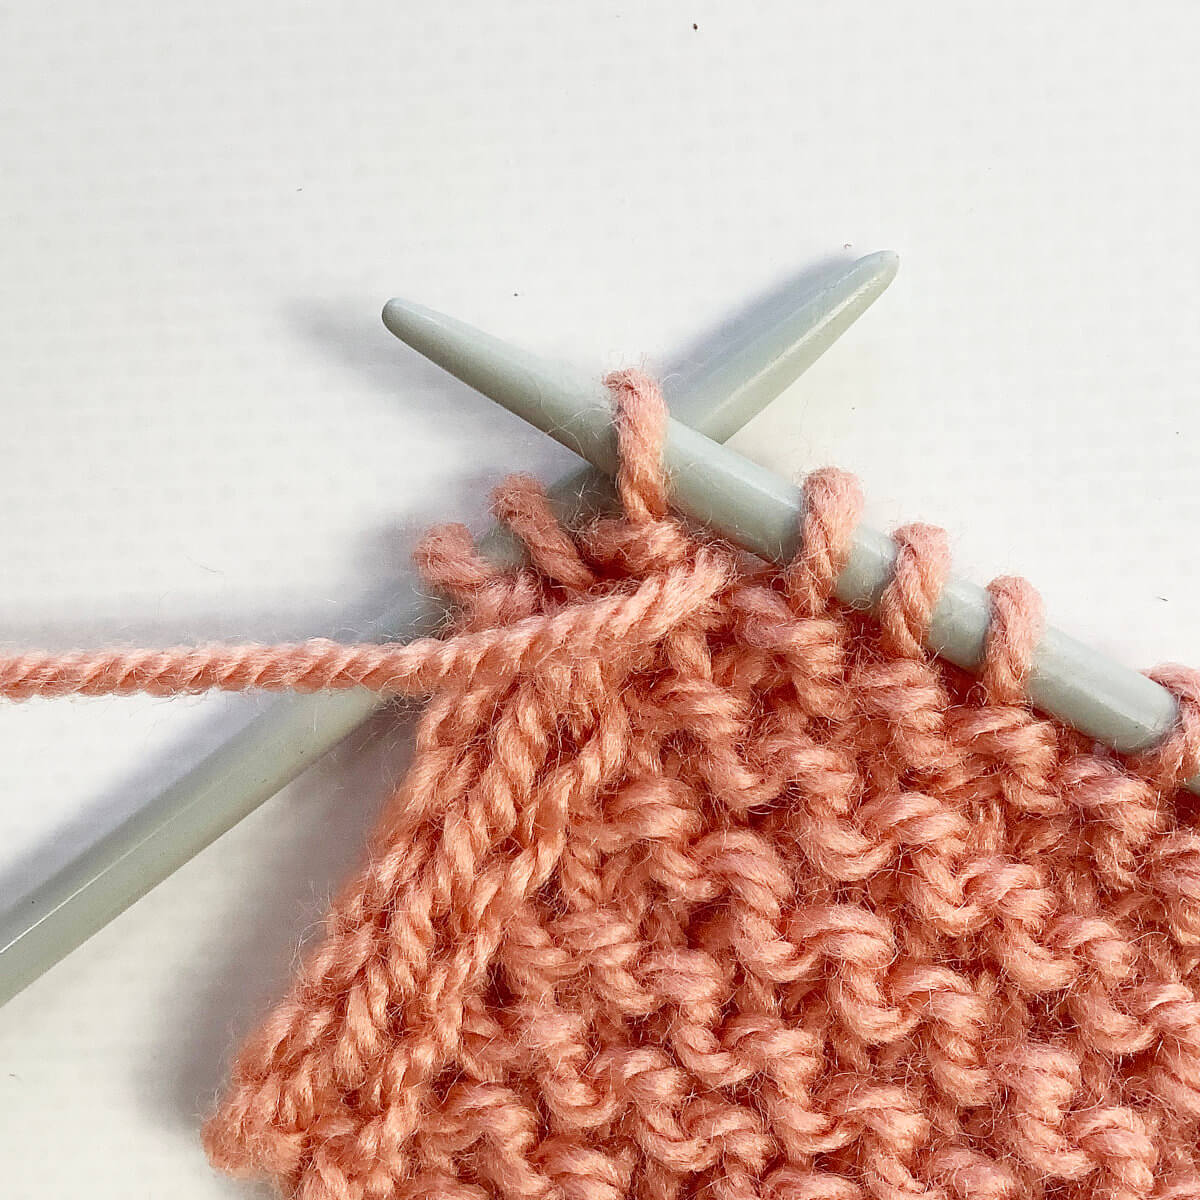
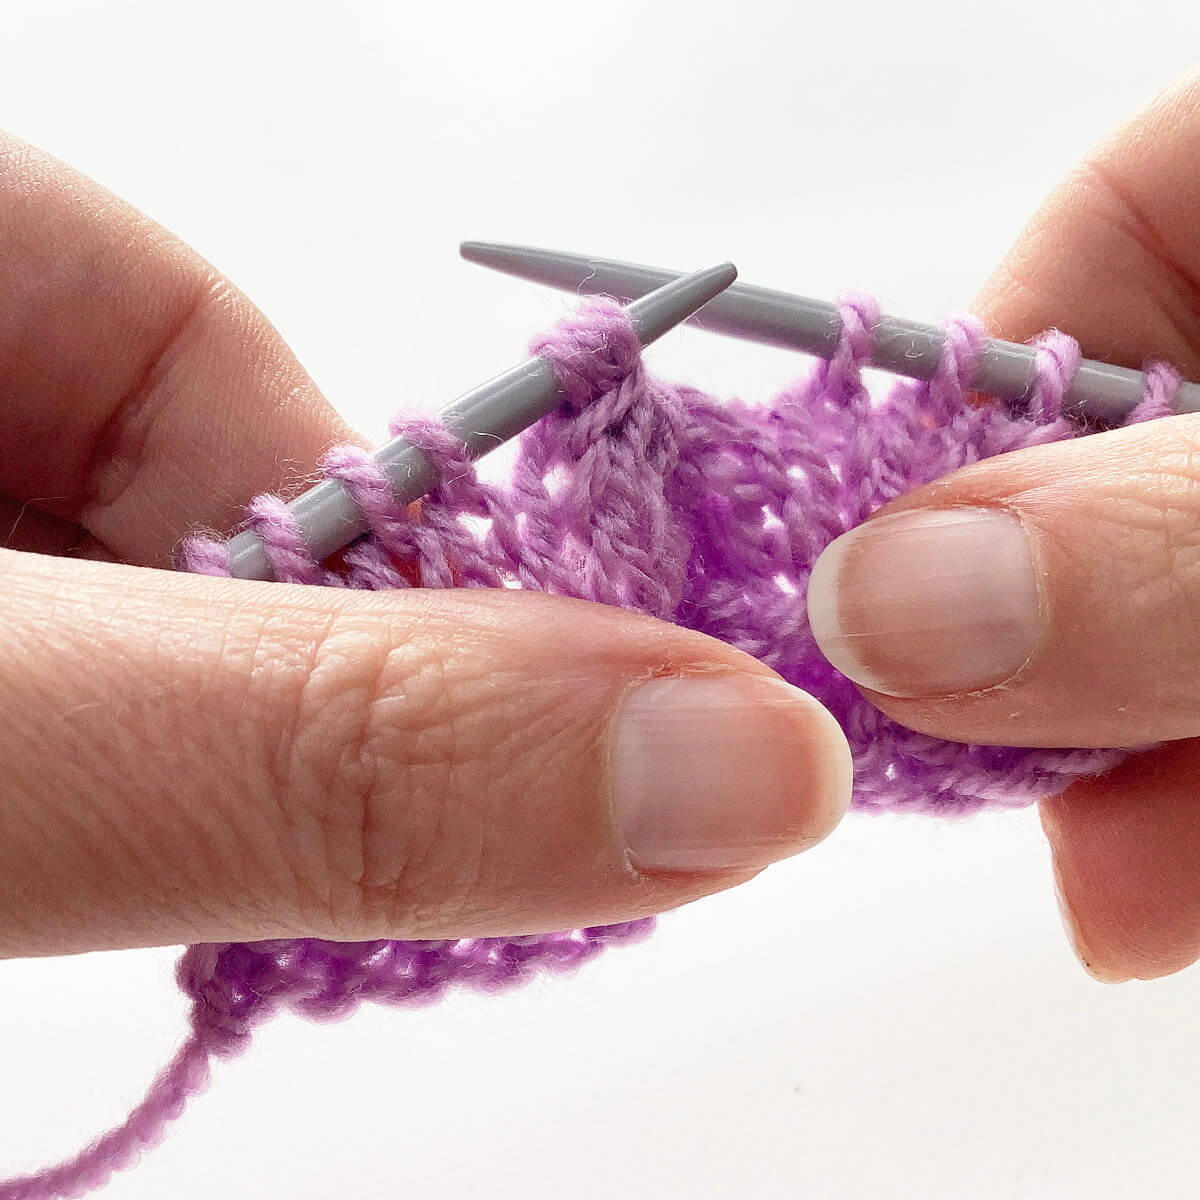
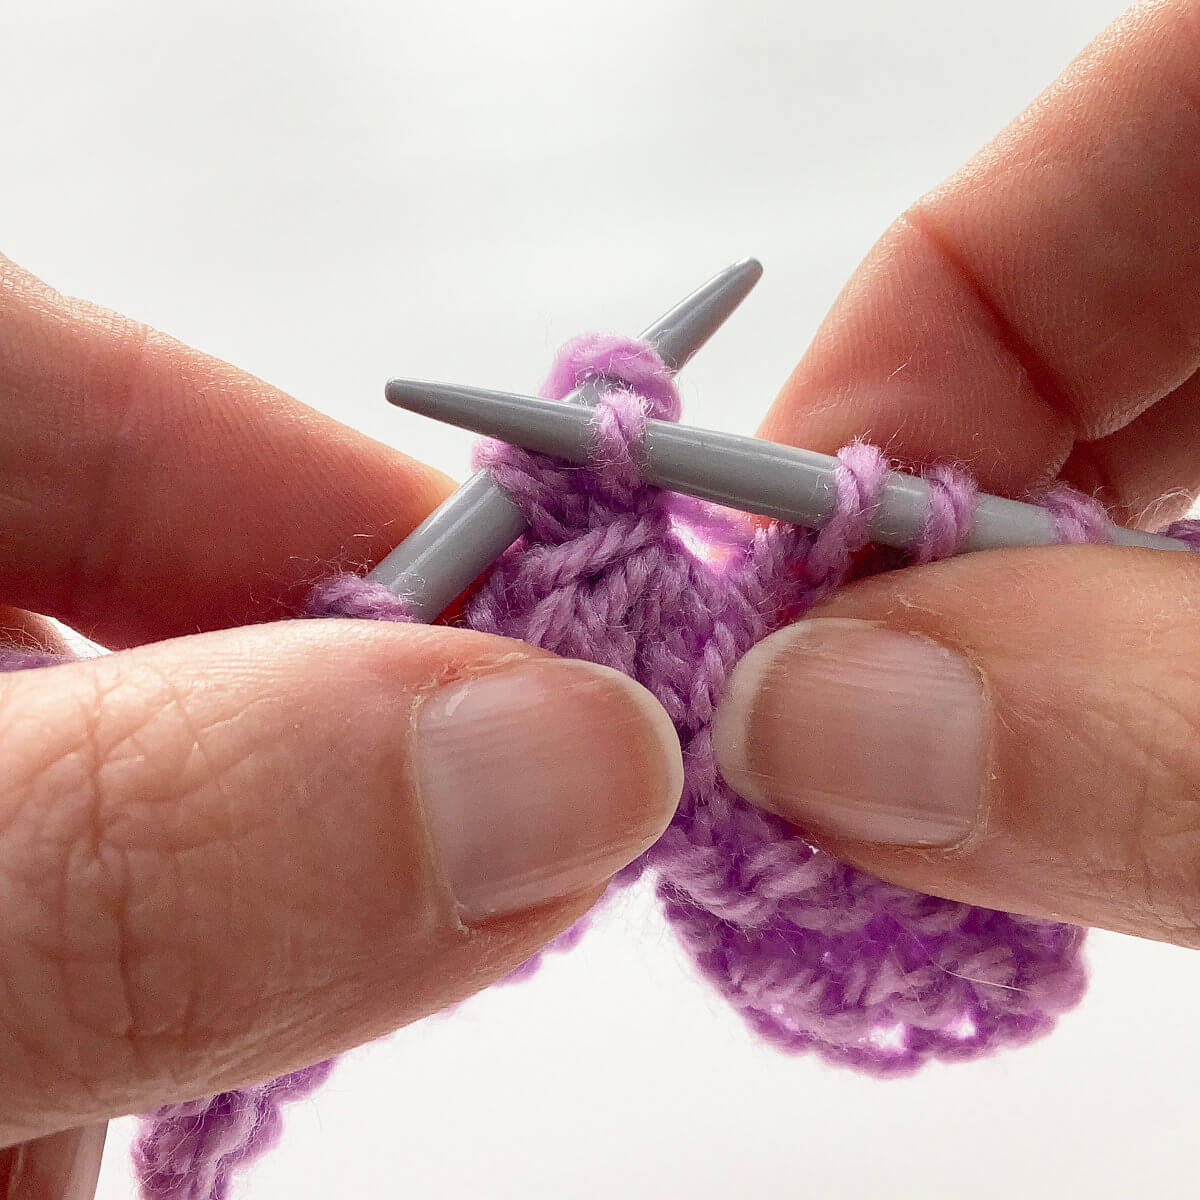
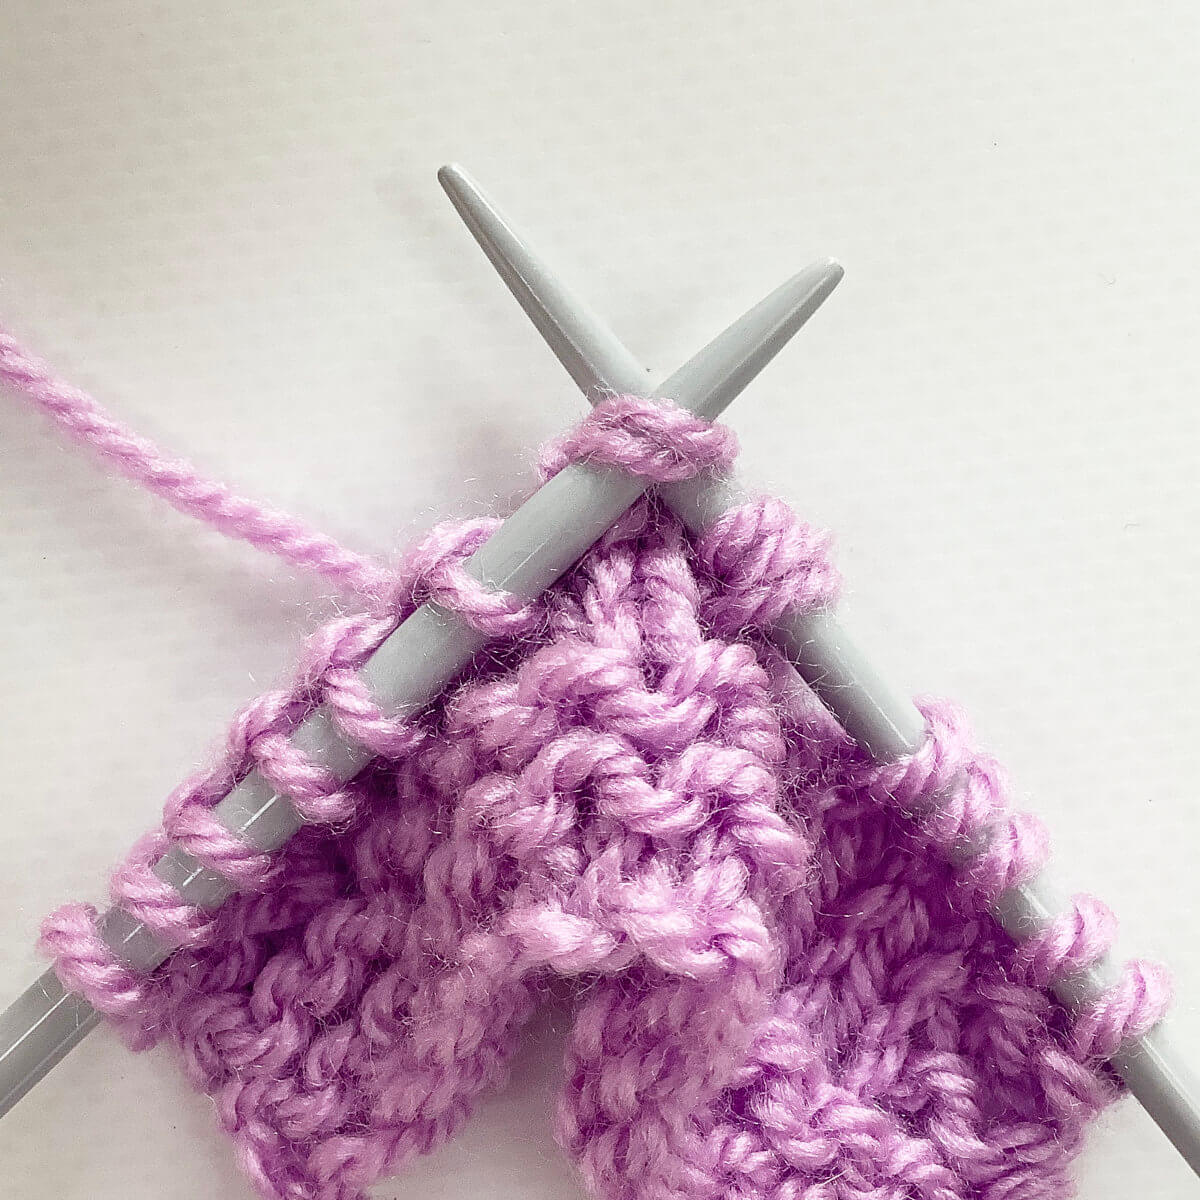
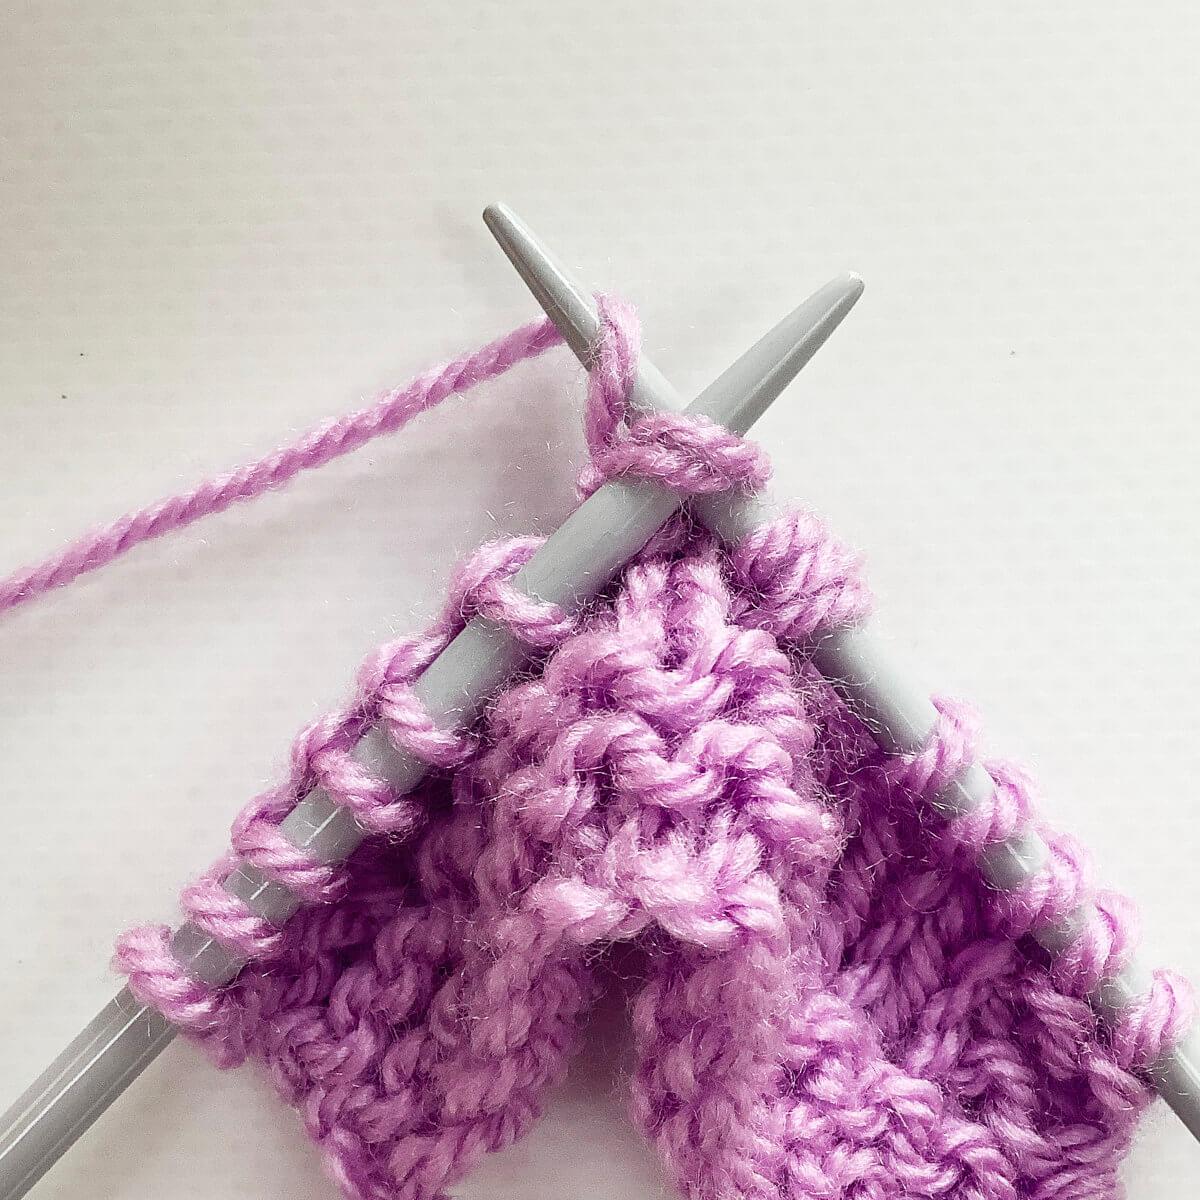
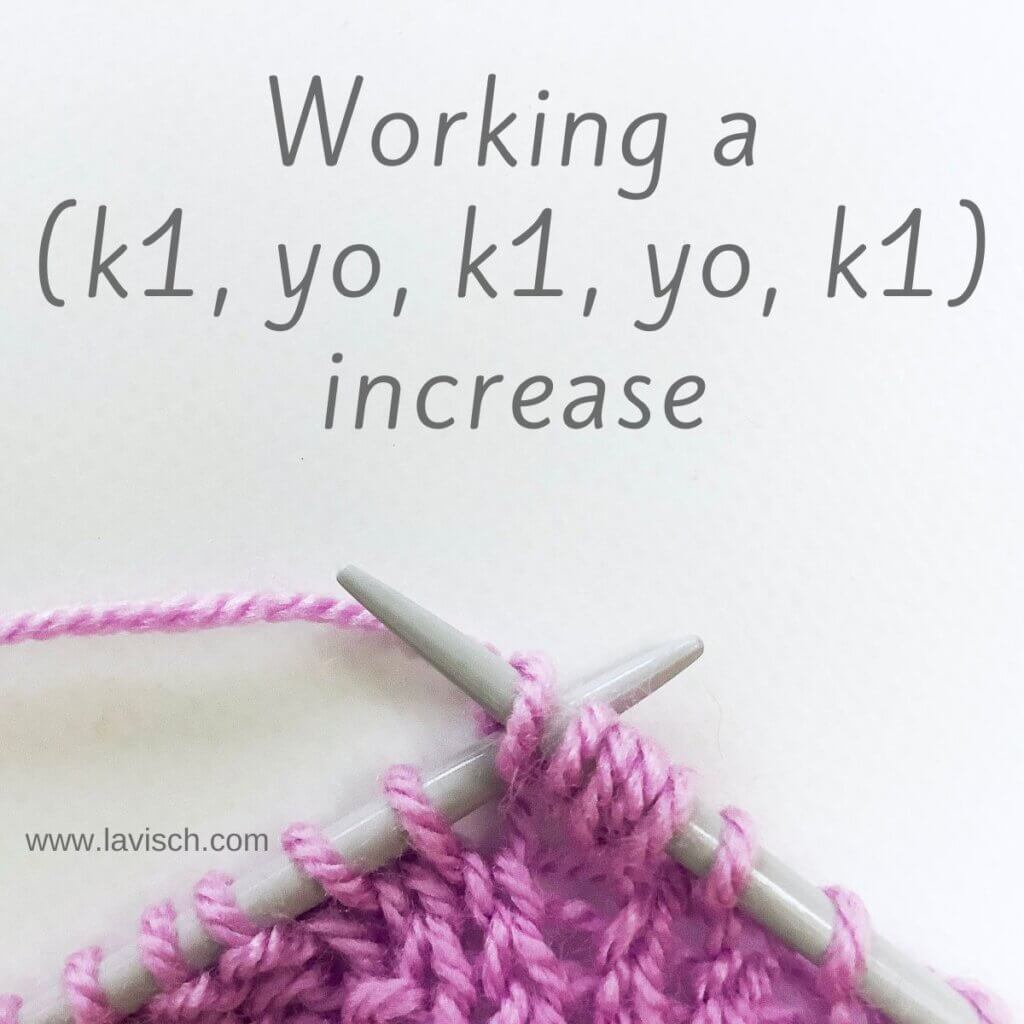
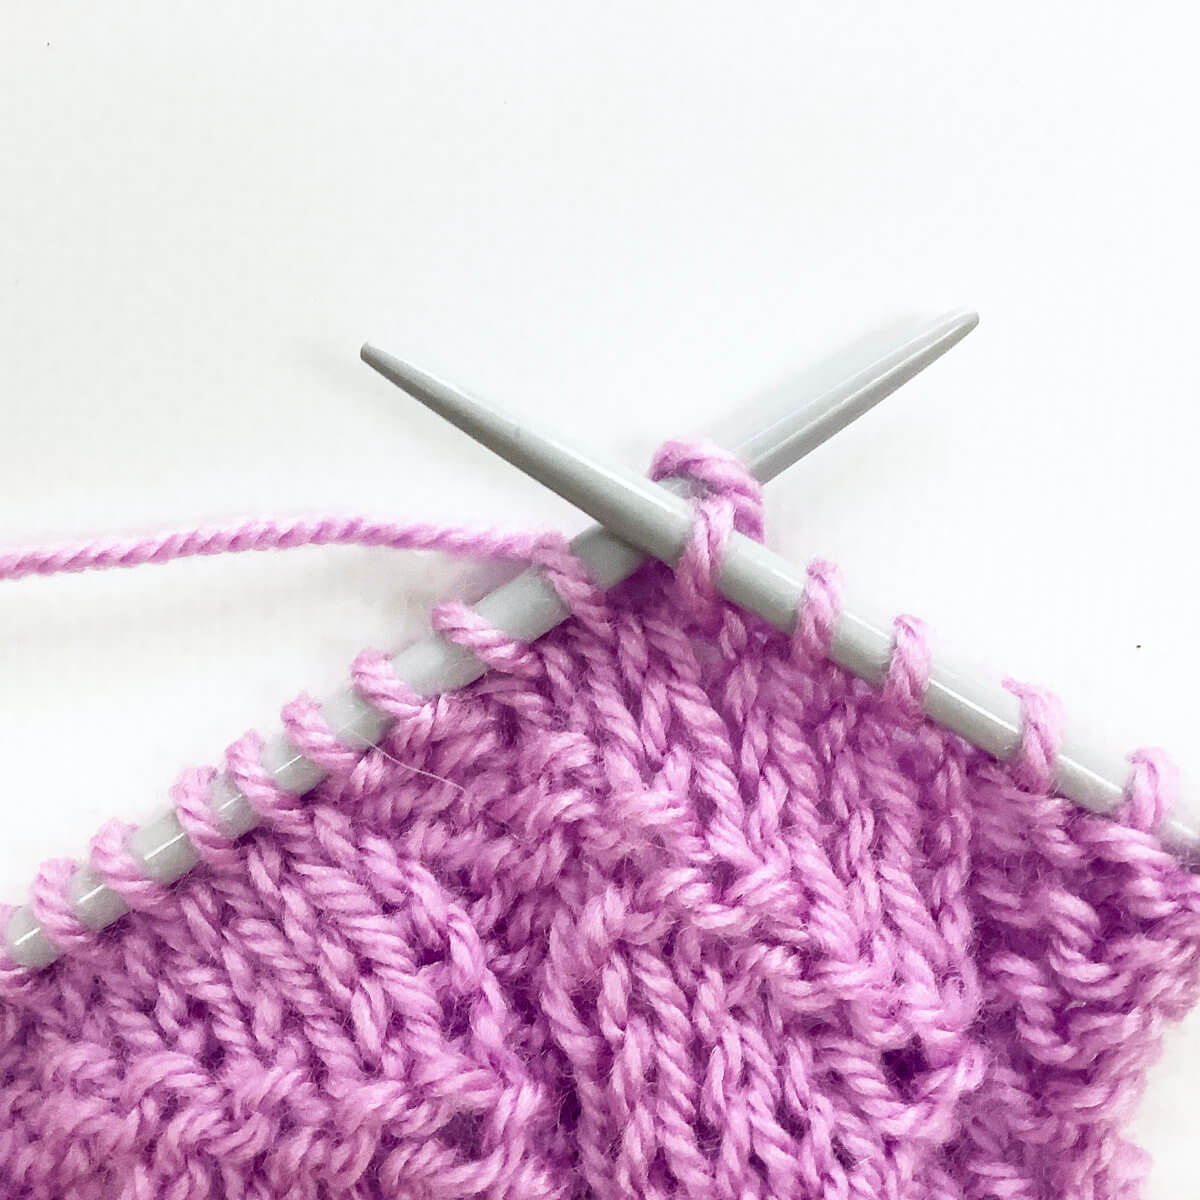
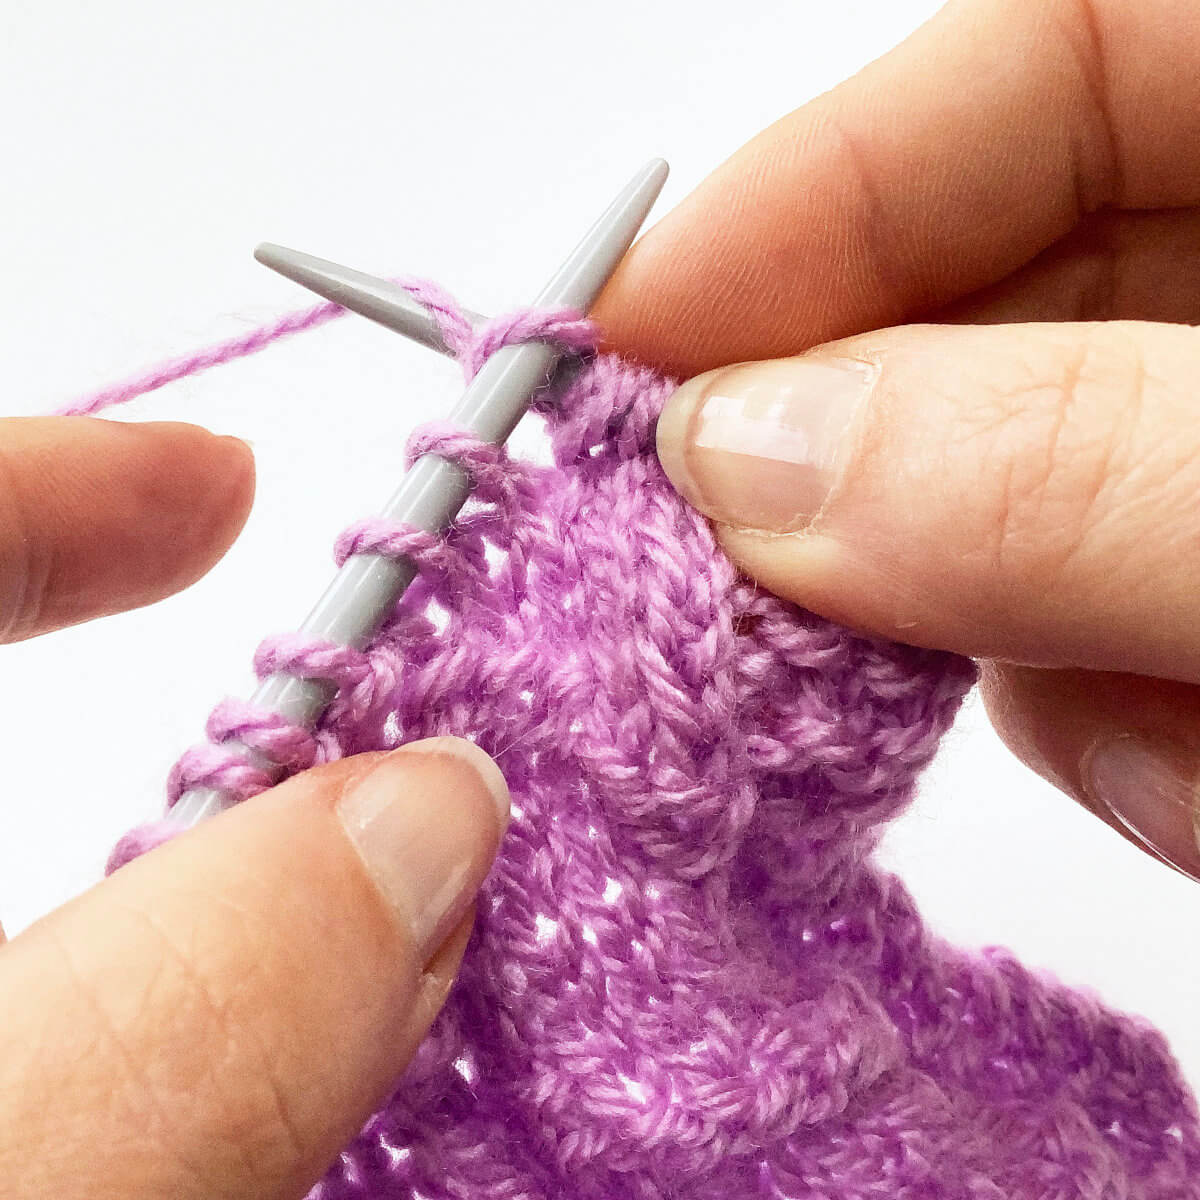
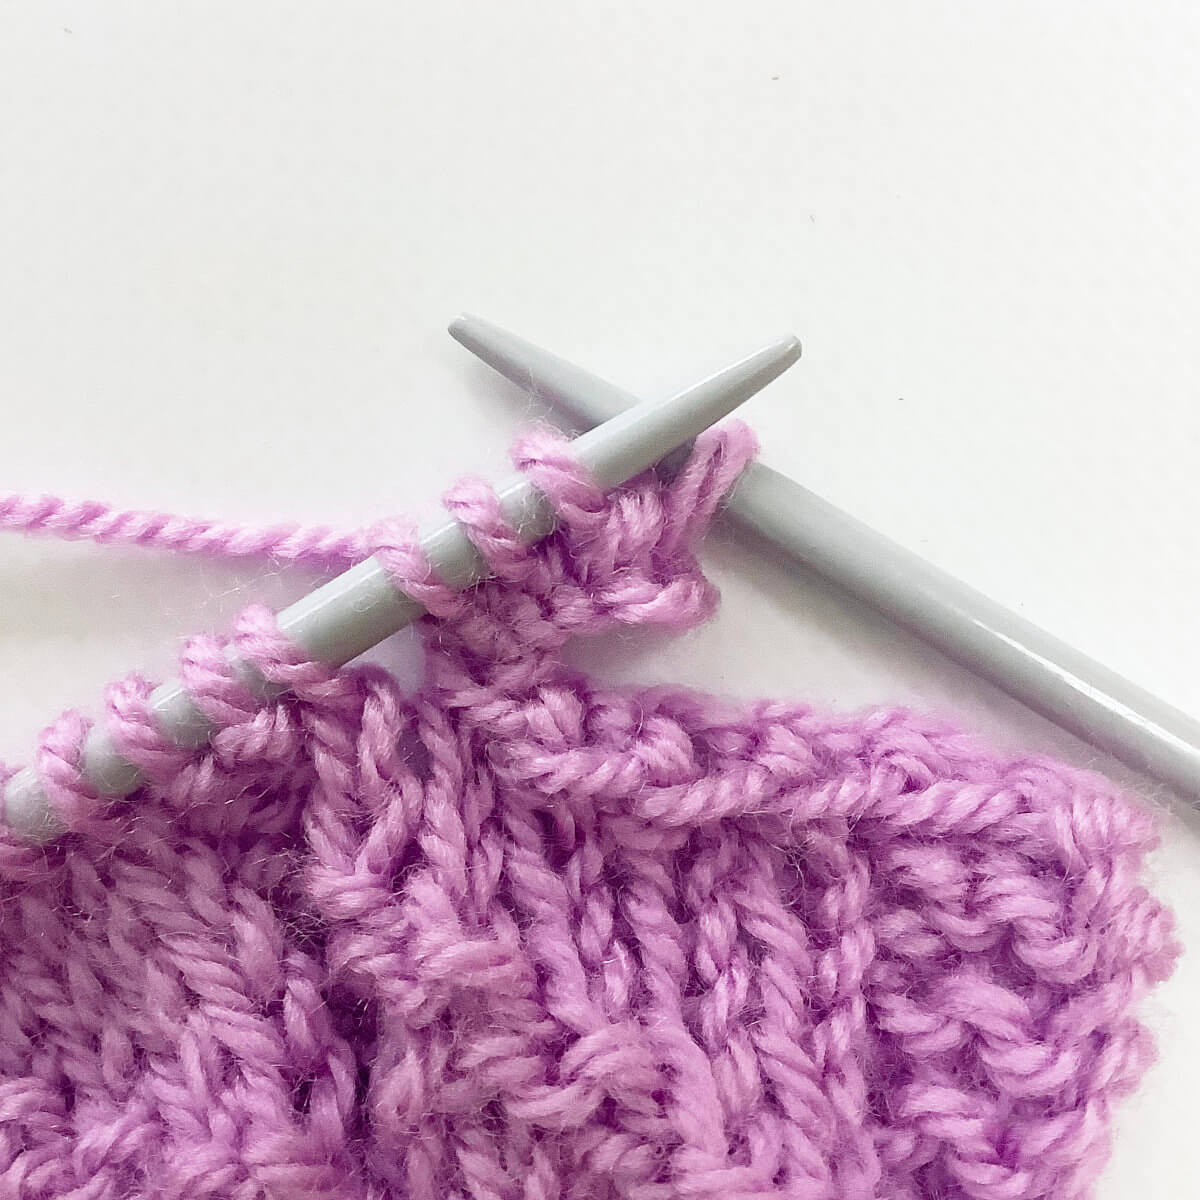
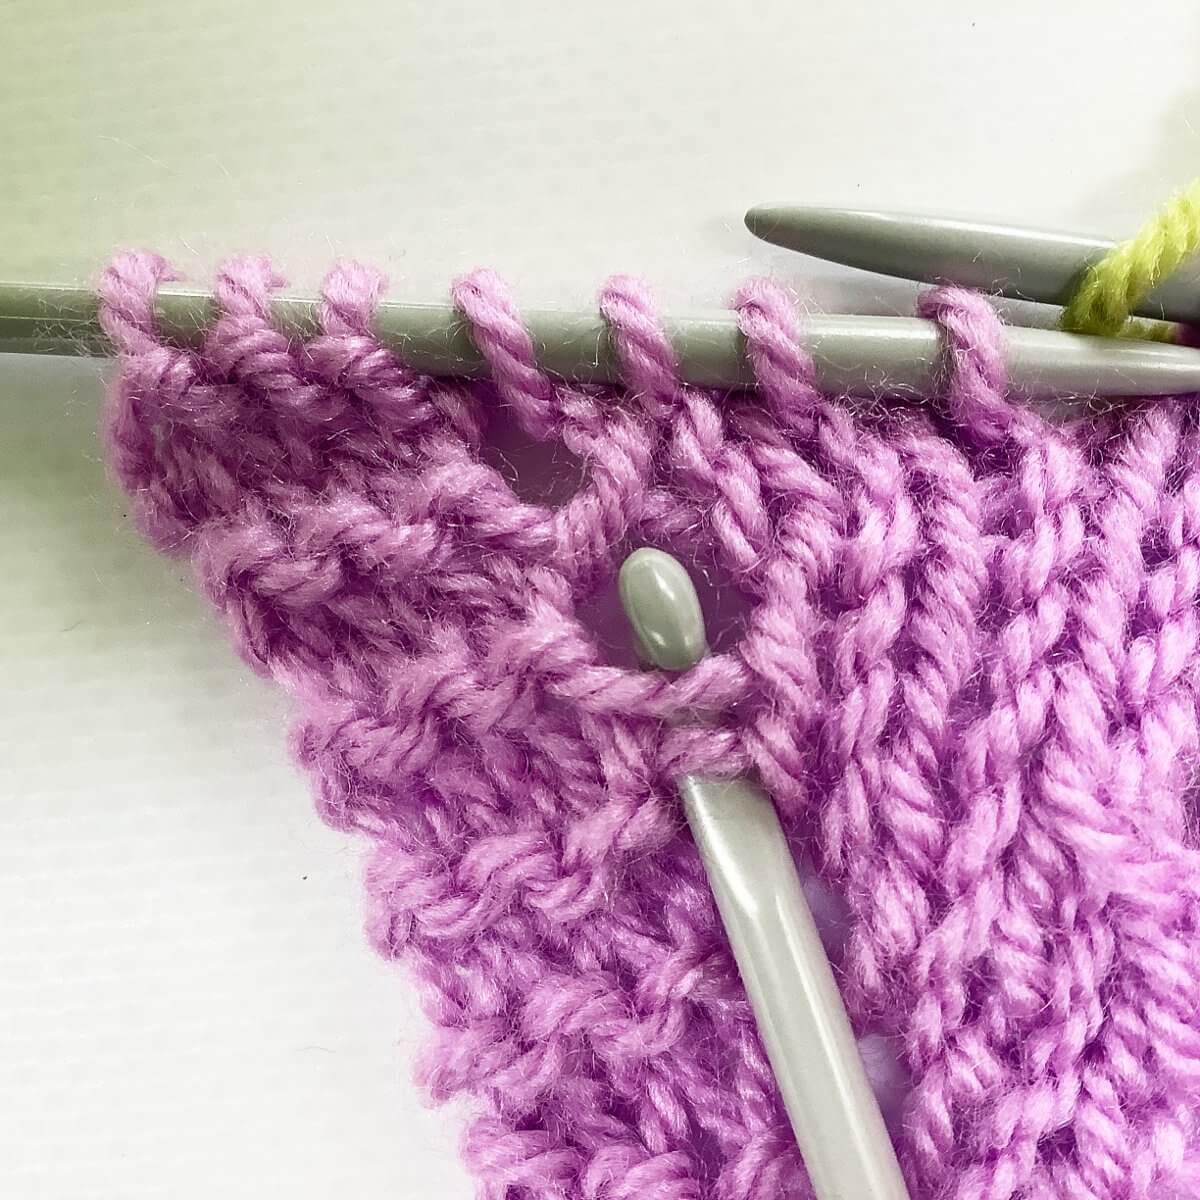
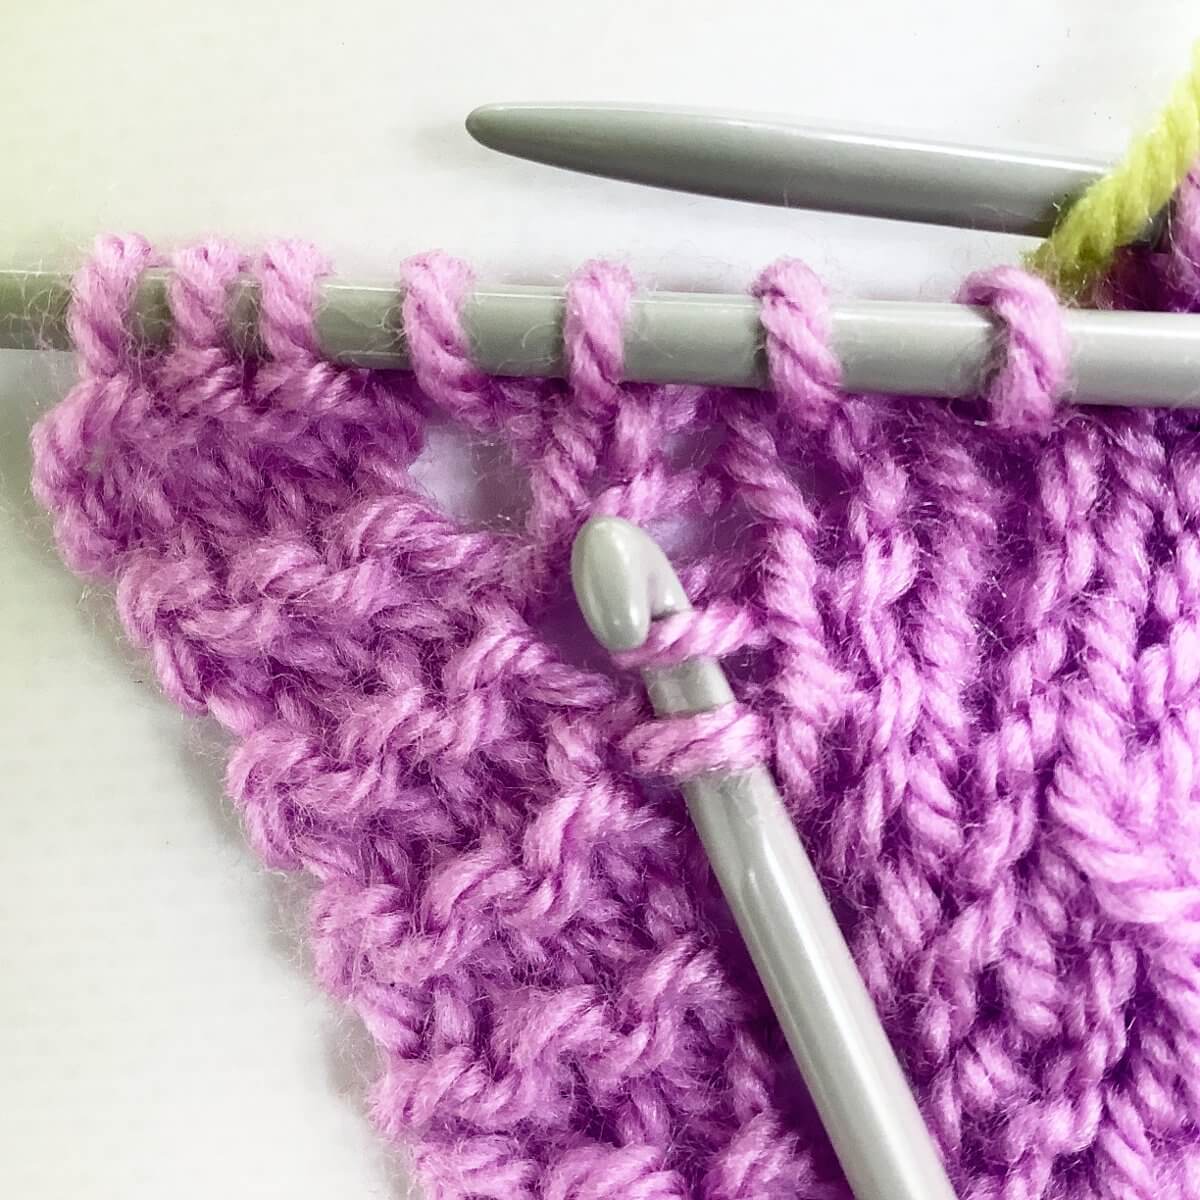
- Let’s start fixing! Insert the crochet hook as shown from bottom to top underneath the two horizontal threads…
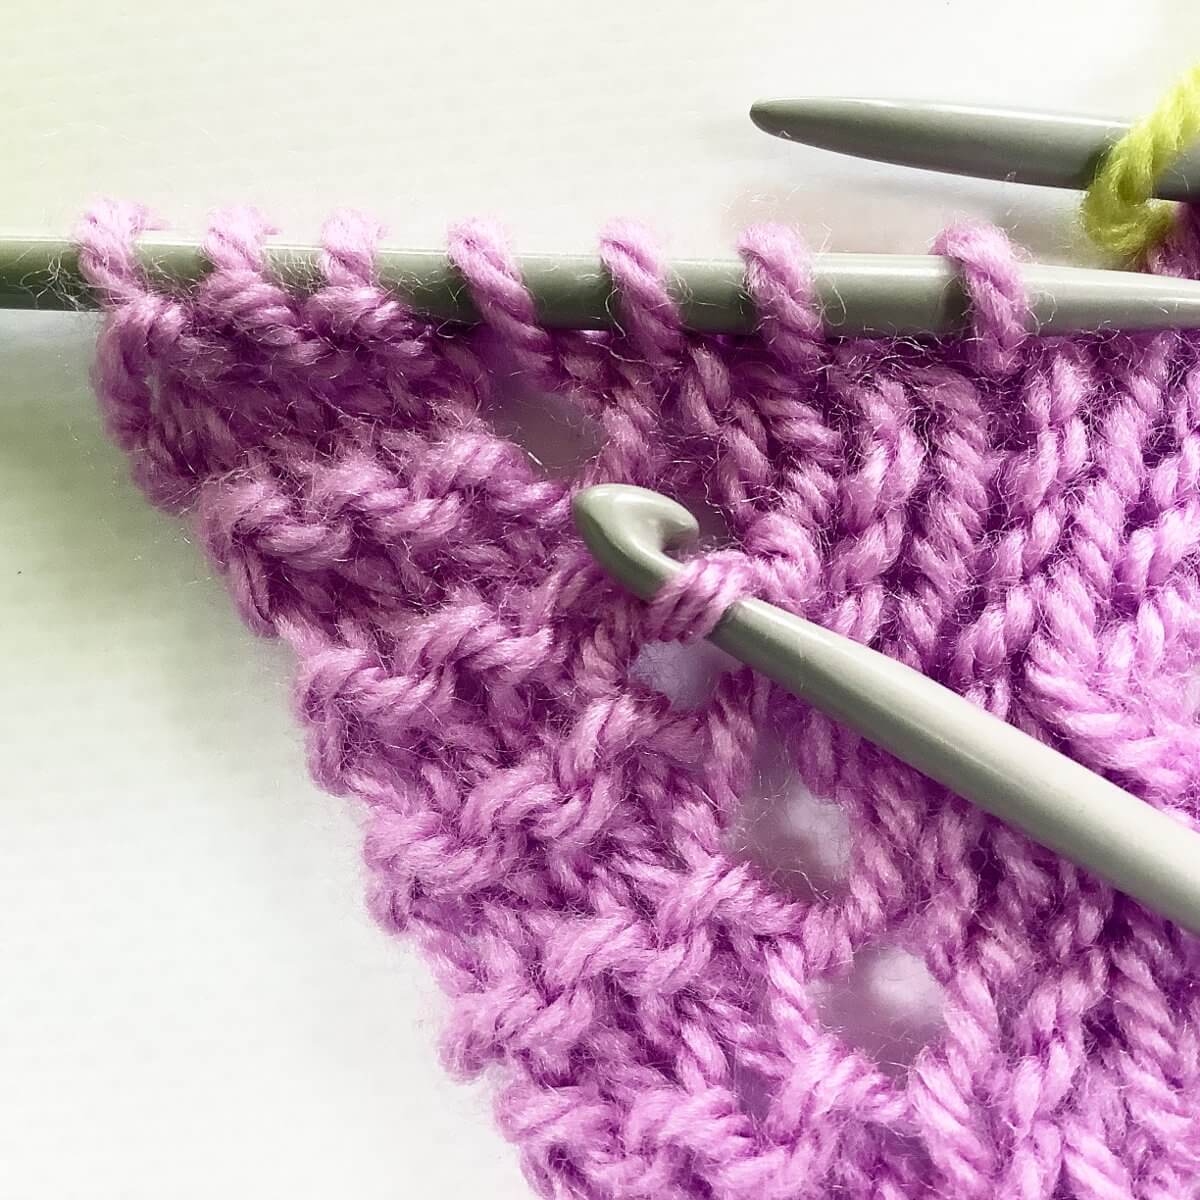
- …. and pull the top thread through the one below to make the yarn over.
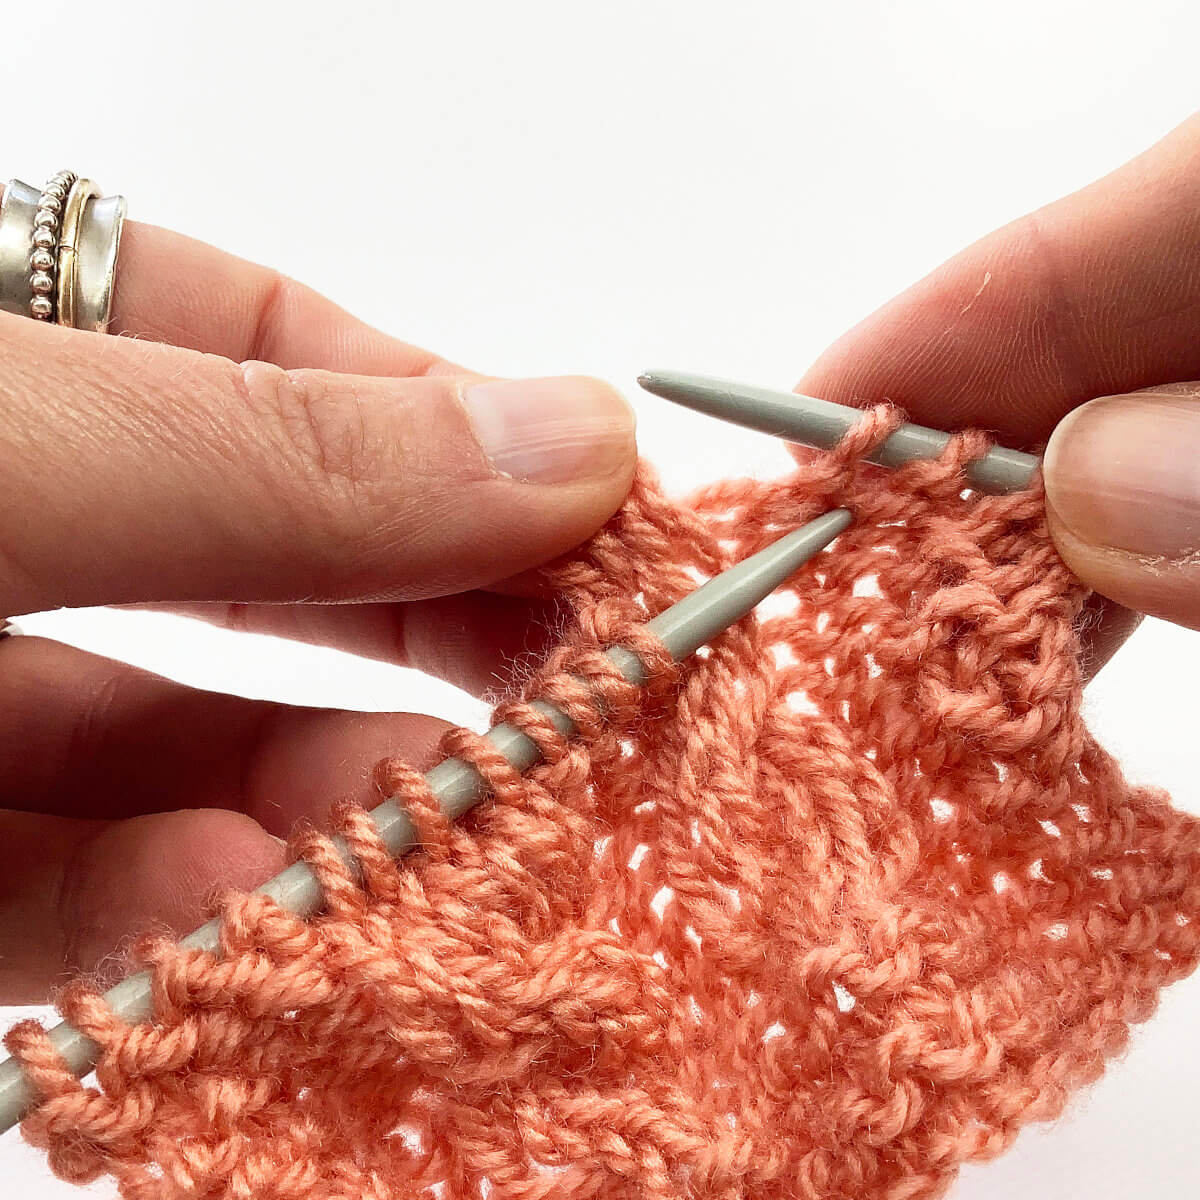
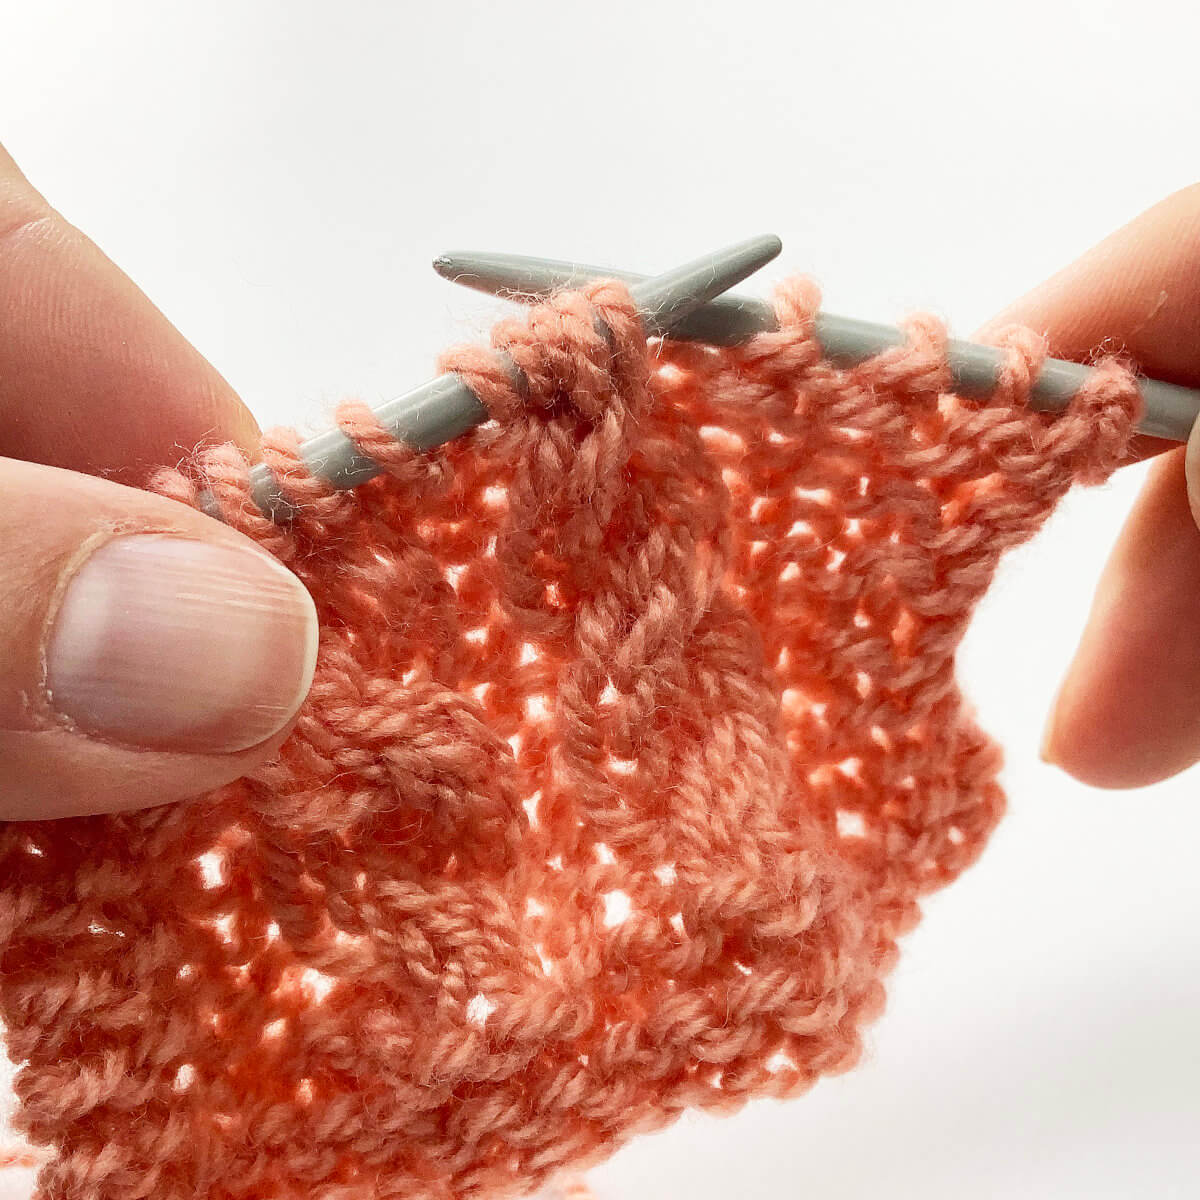
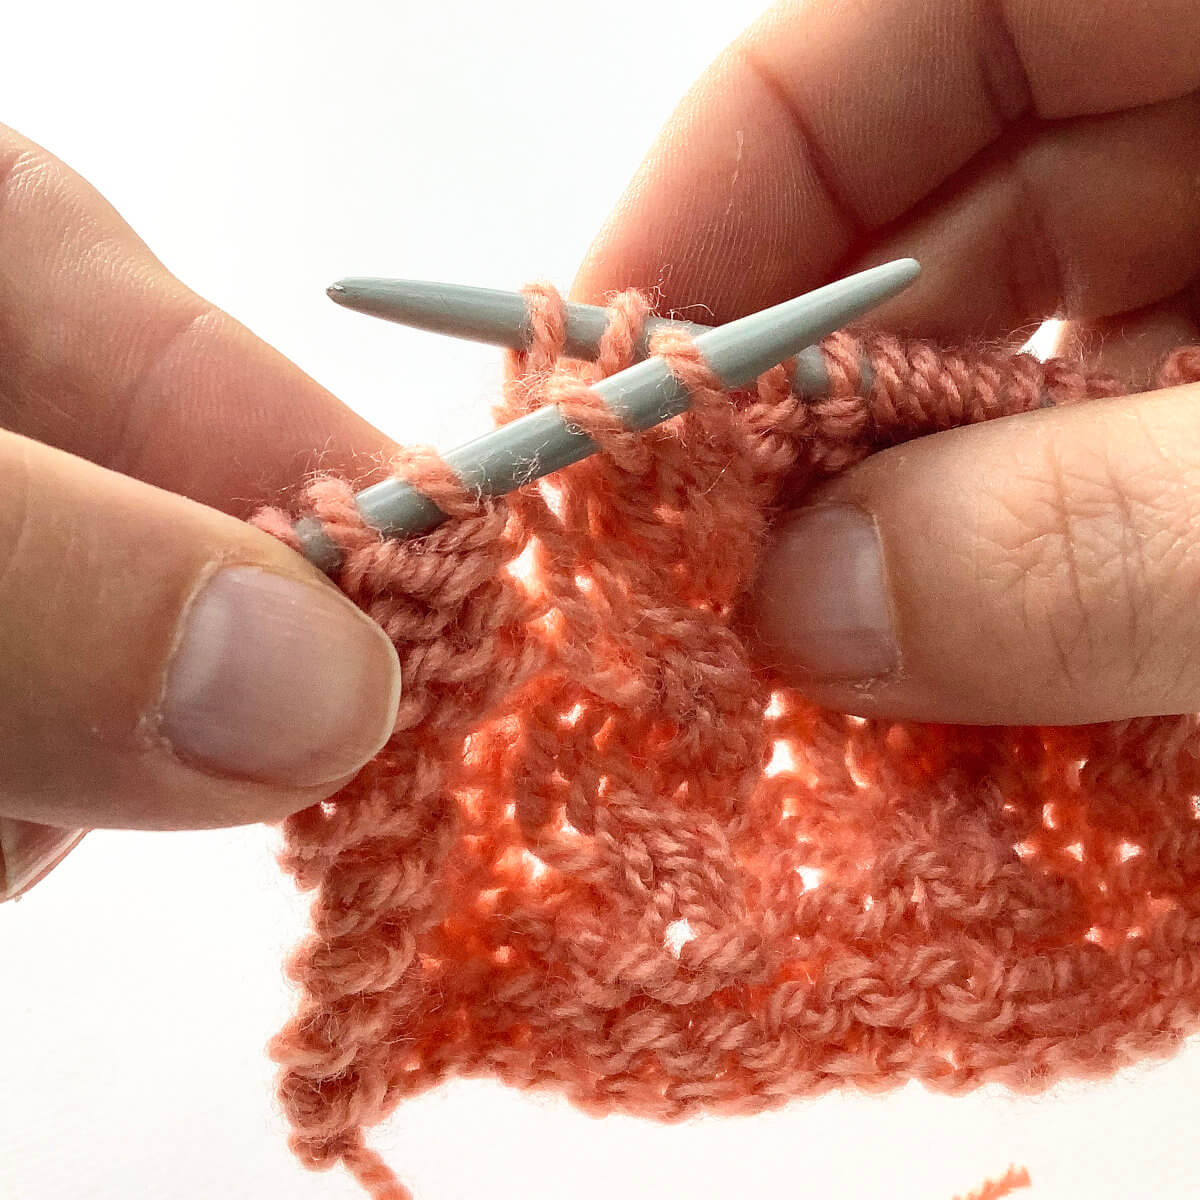
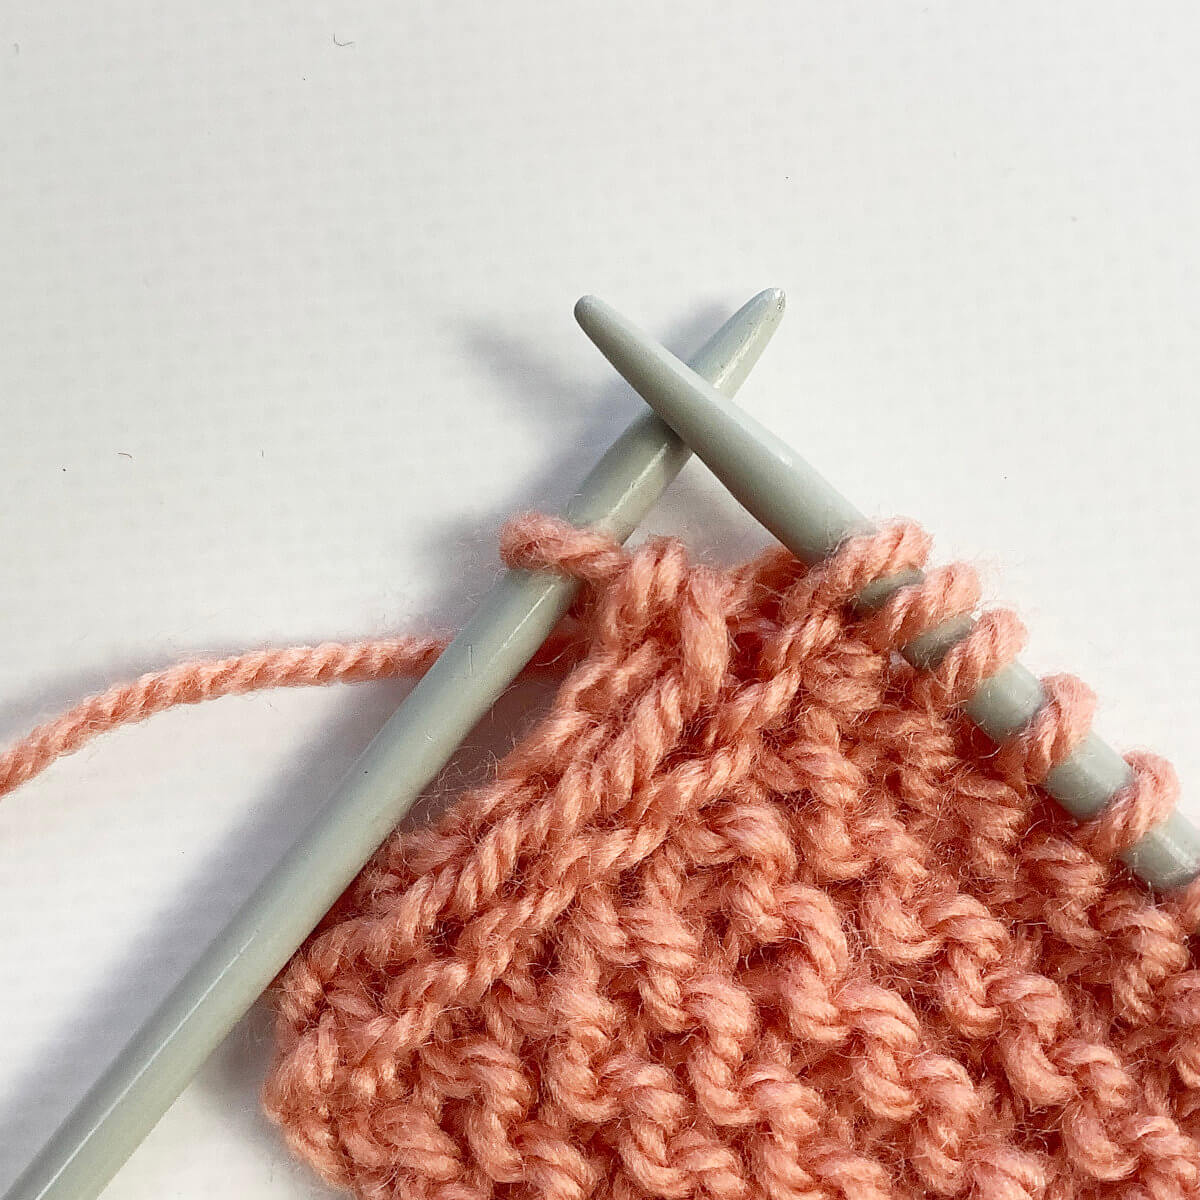
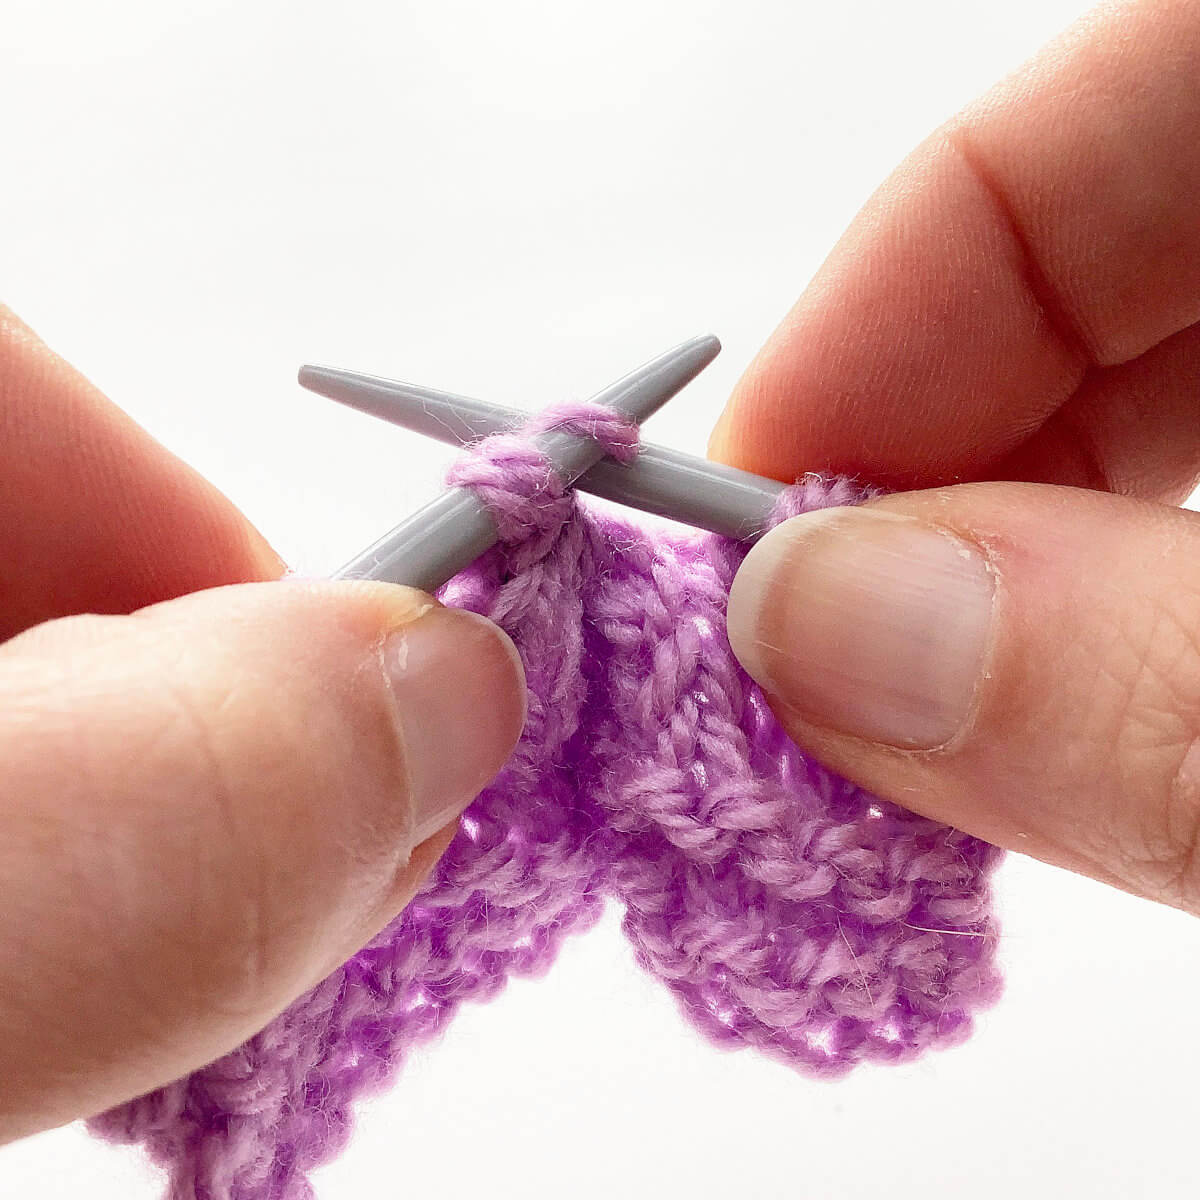
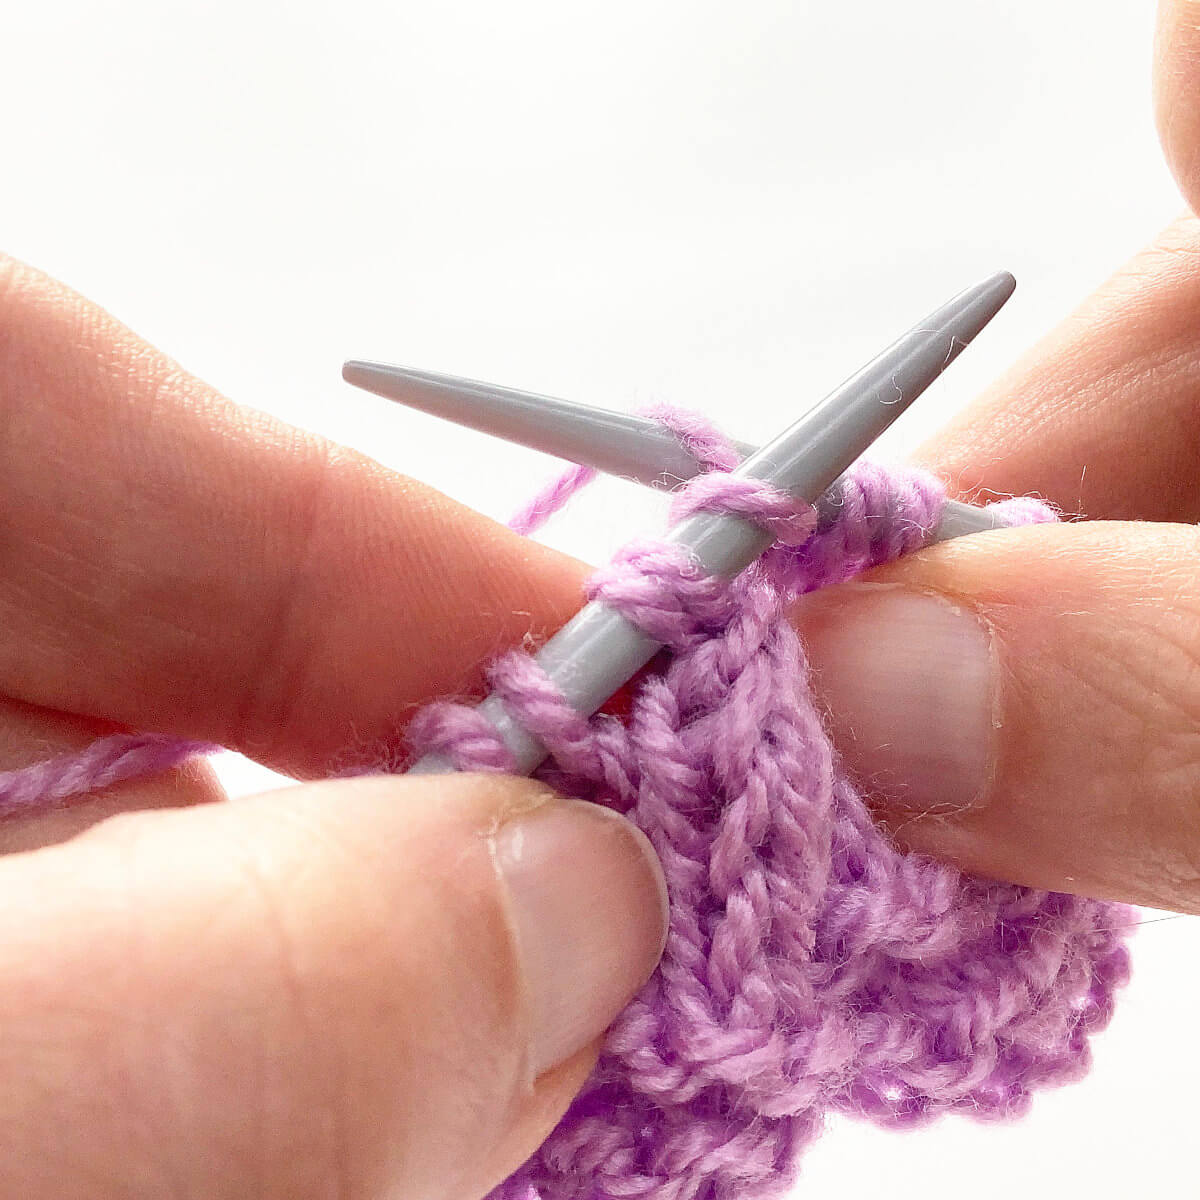
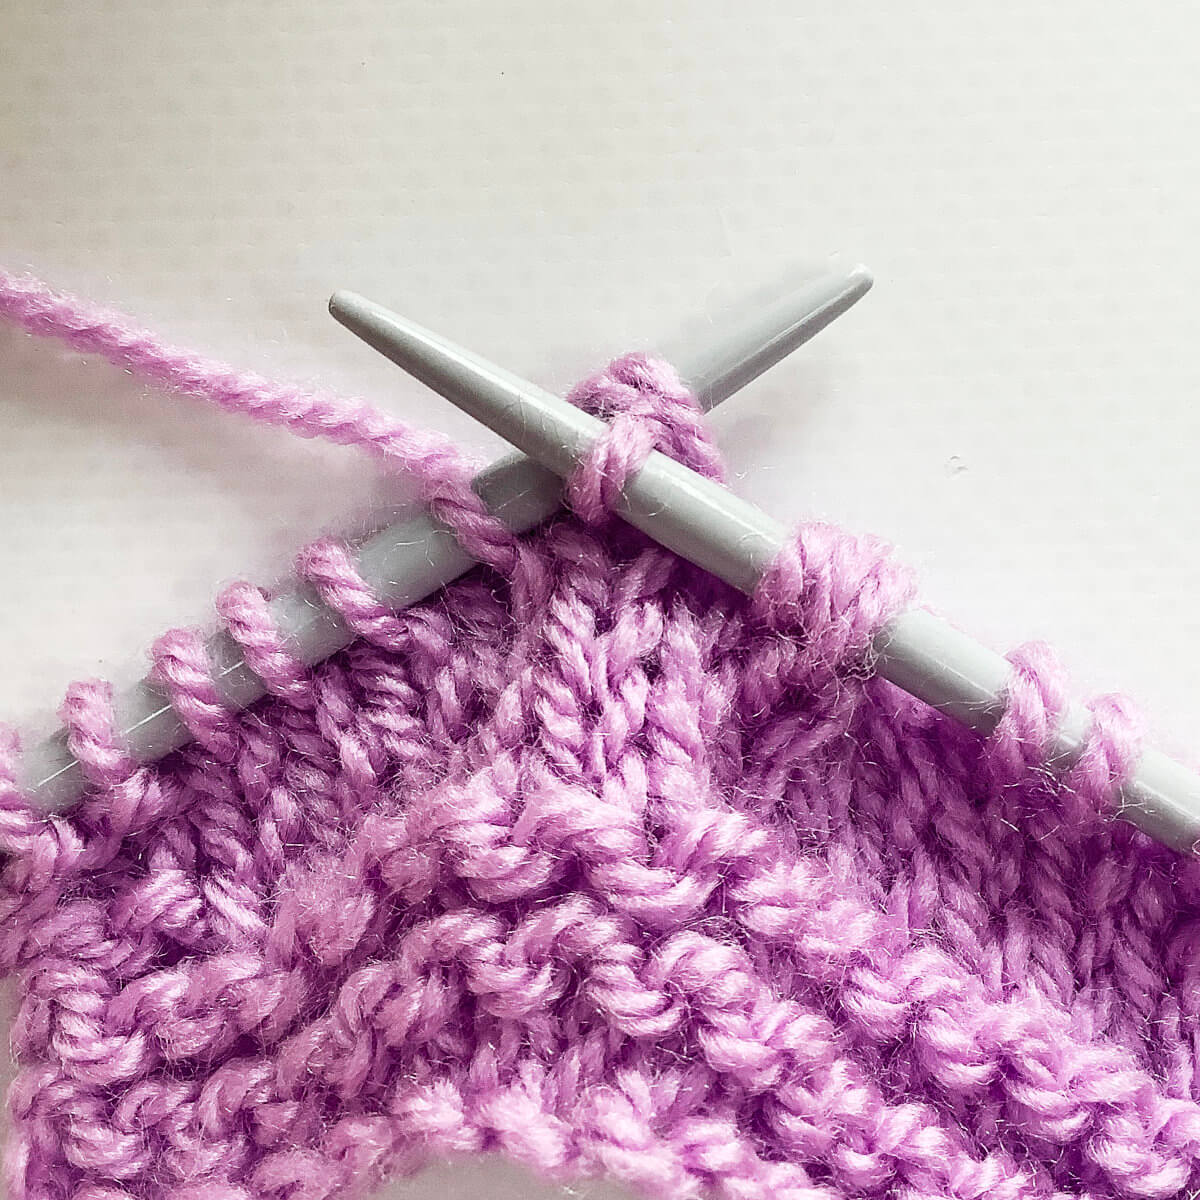
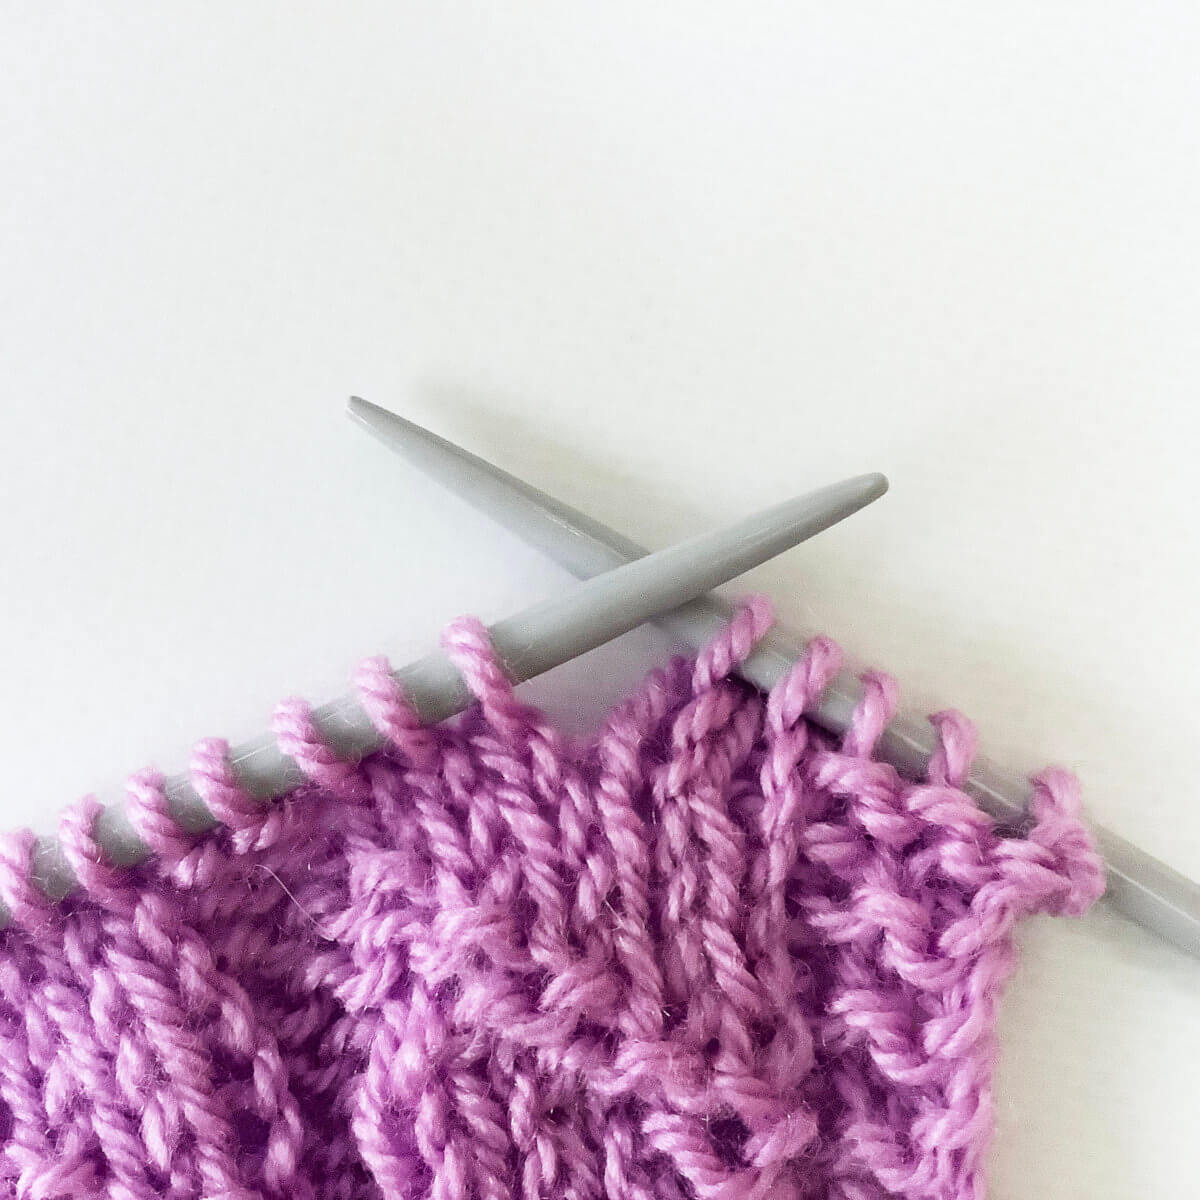
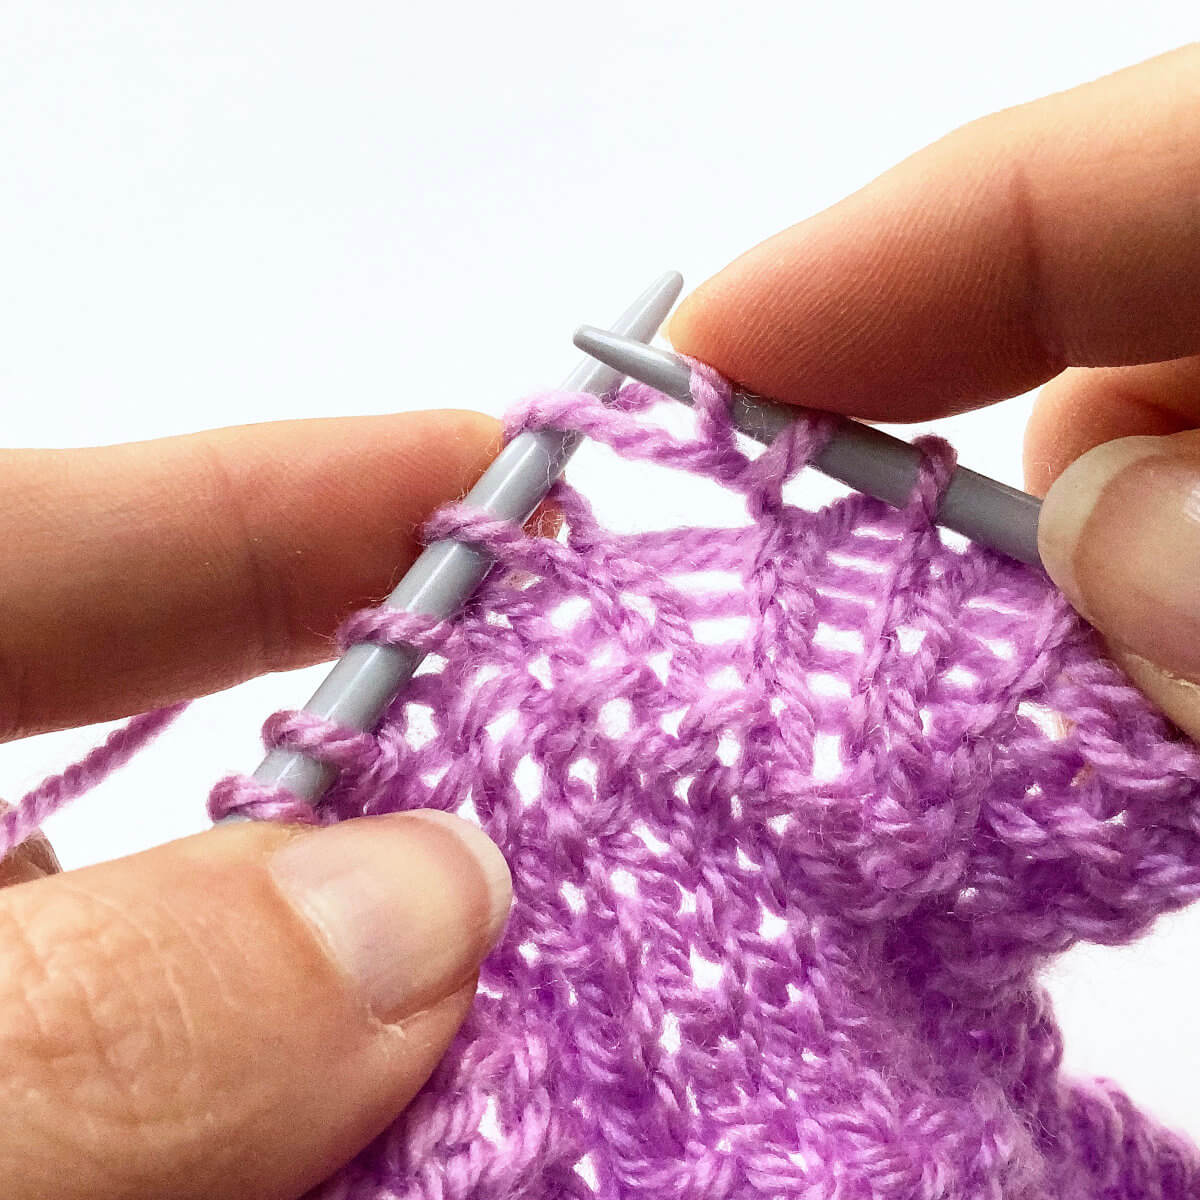
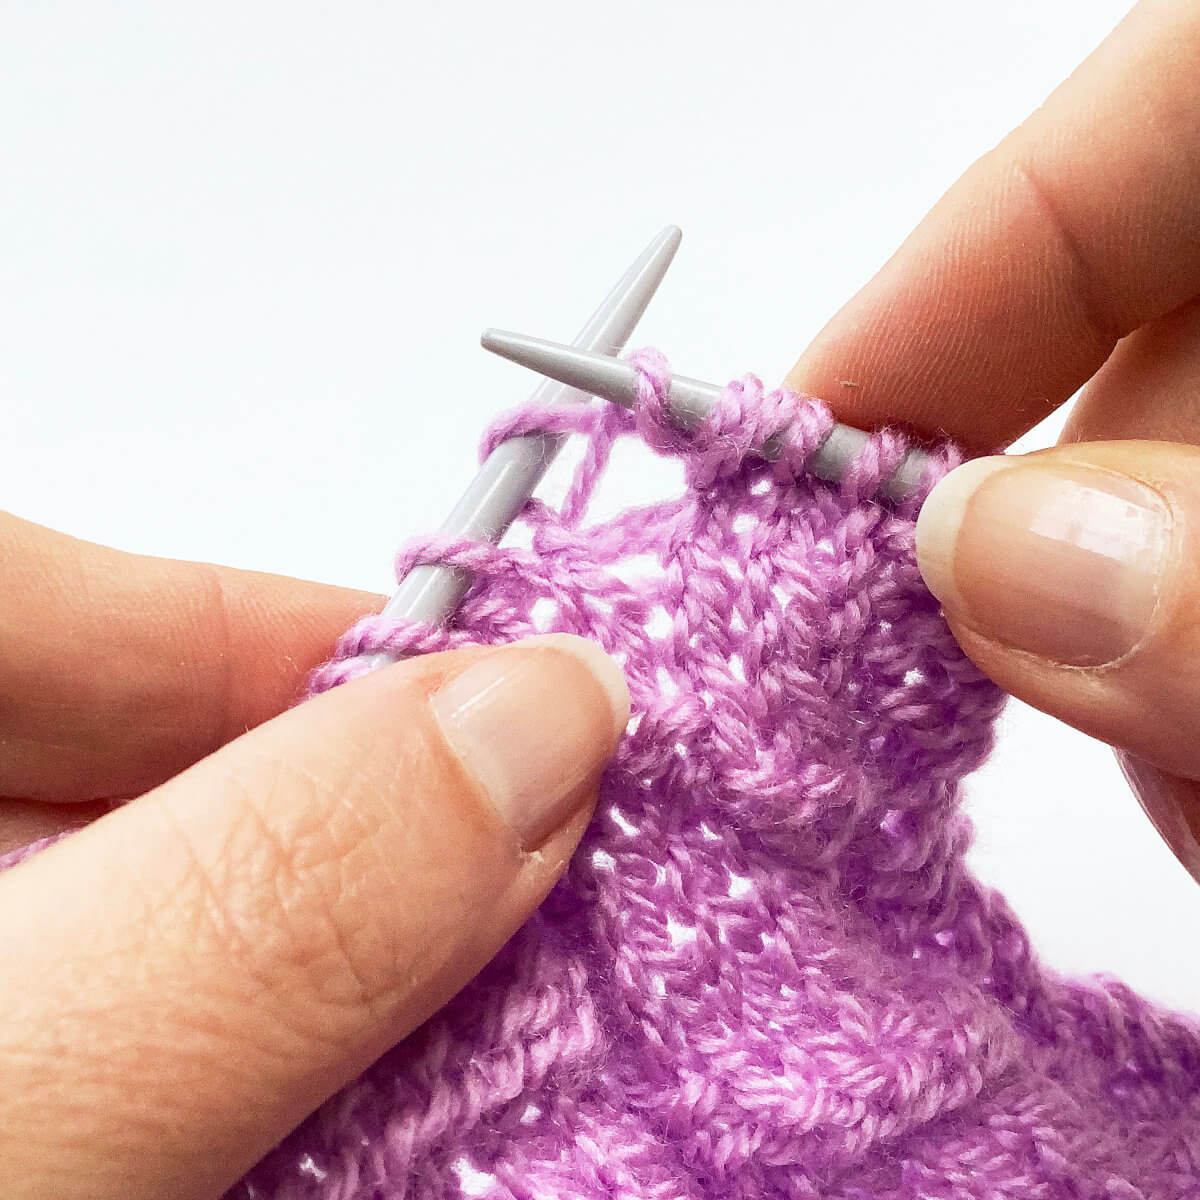
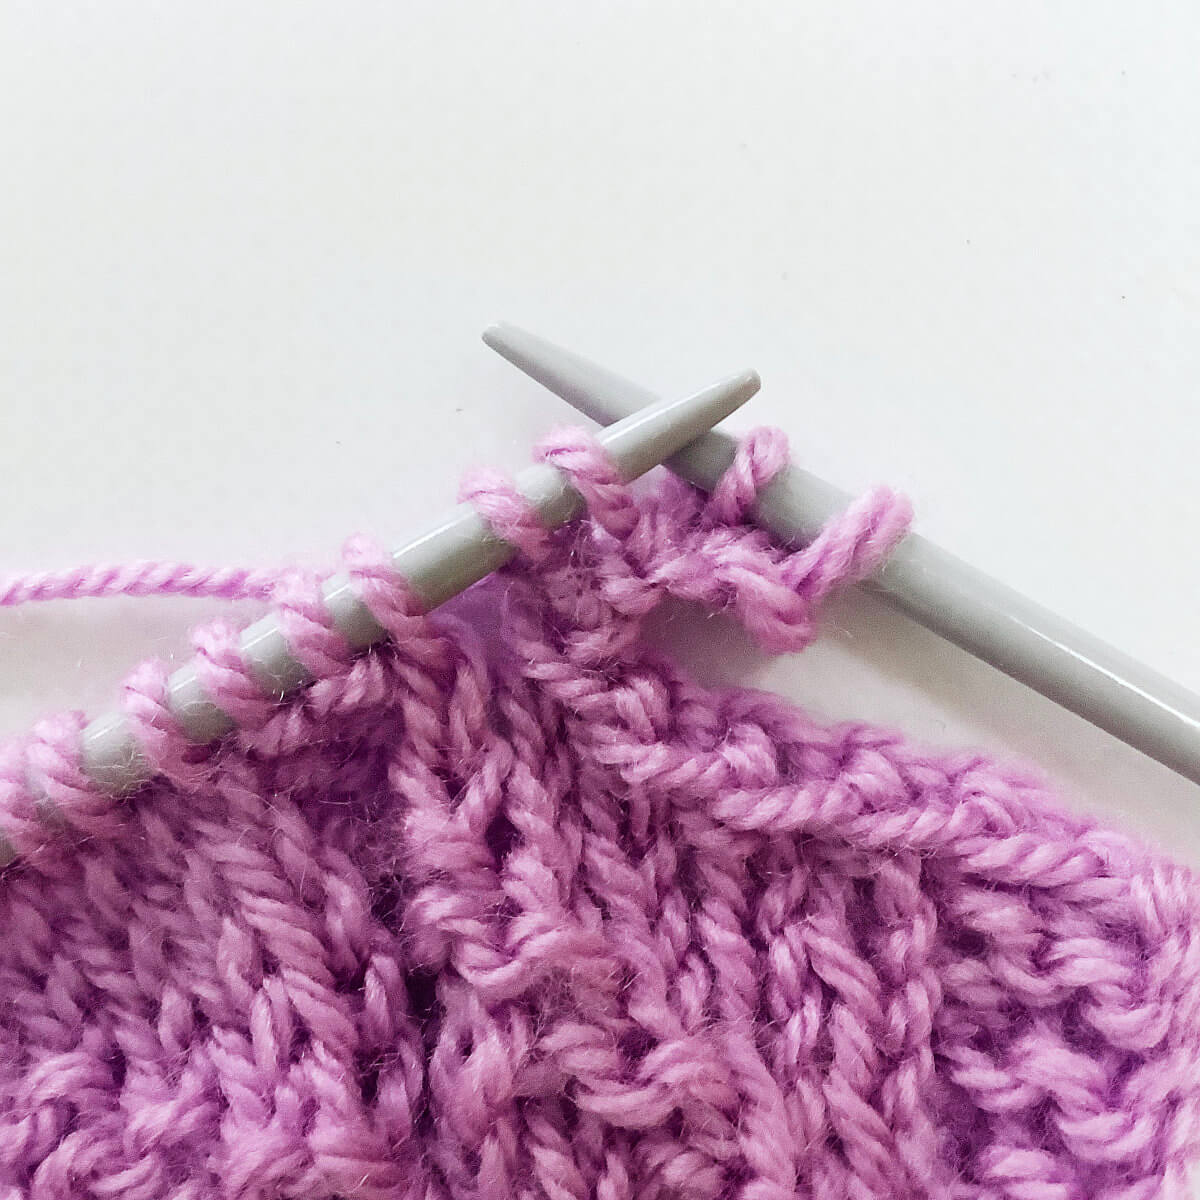
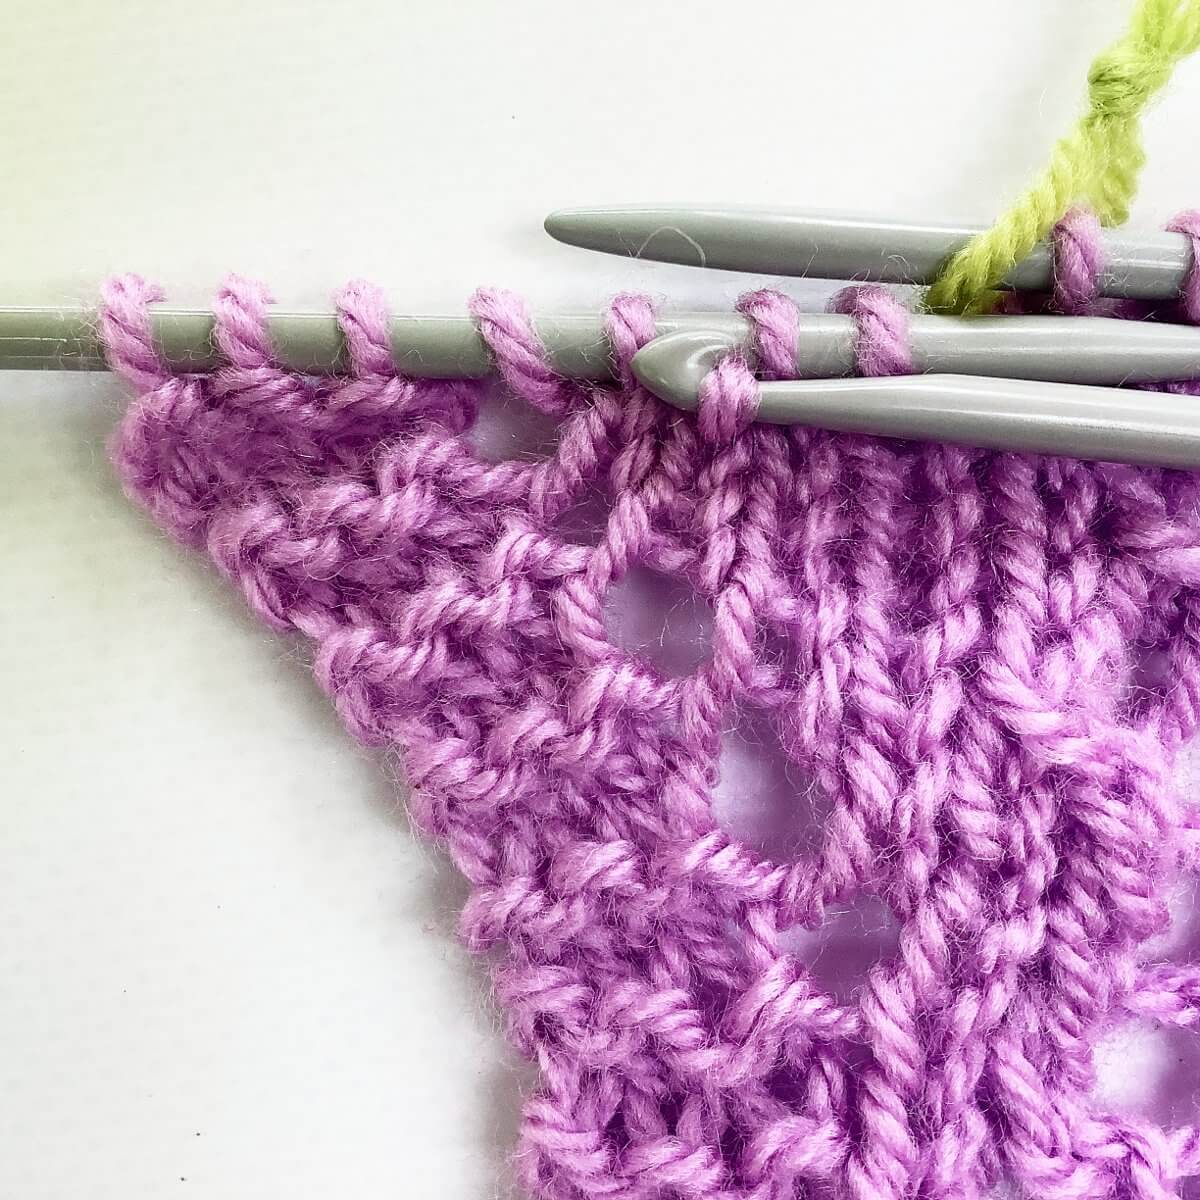
- Now we can ladder the work back up! To see which threads should be used to ladder up the rest of the stitch column, you can pull the two columns of stitches slightly apart above.
There are 4 horizontal threads, just like we deduced earlier.
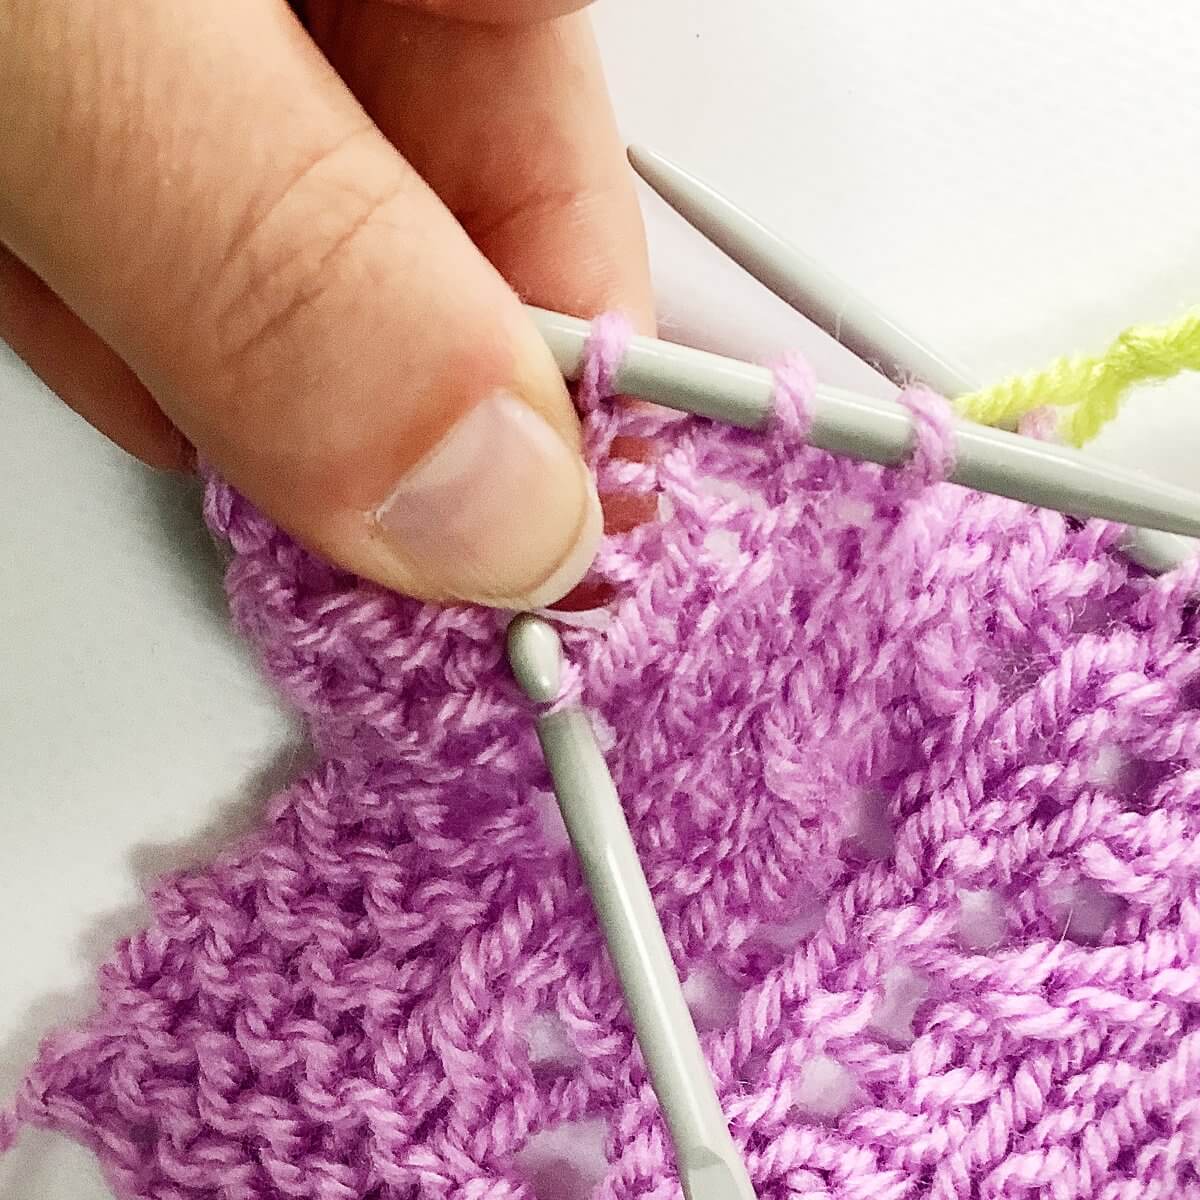
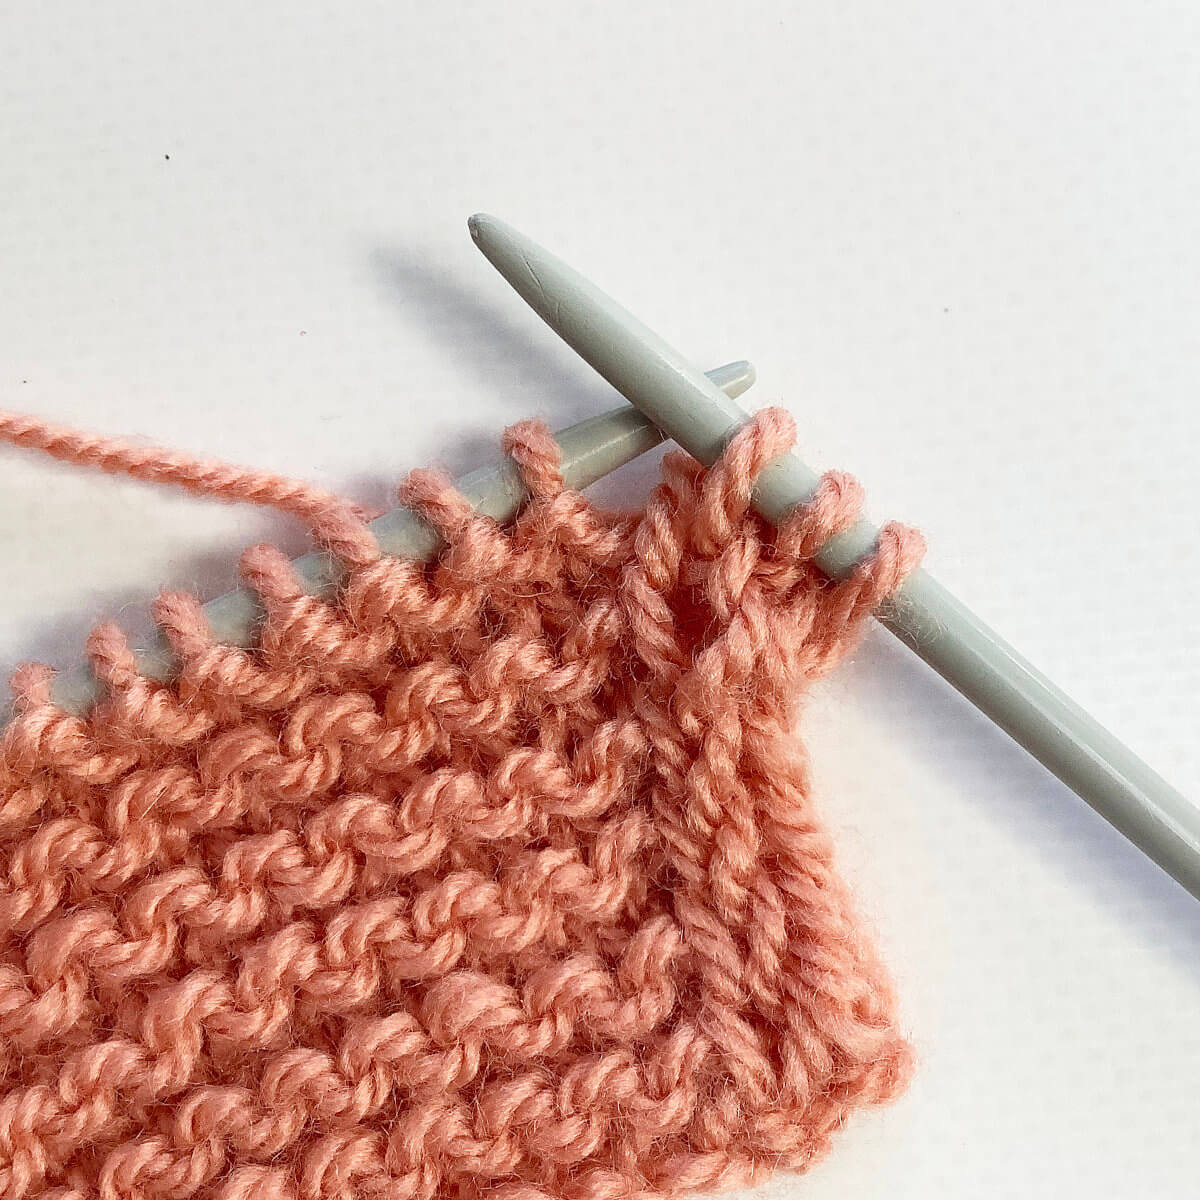
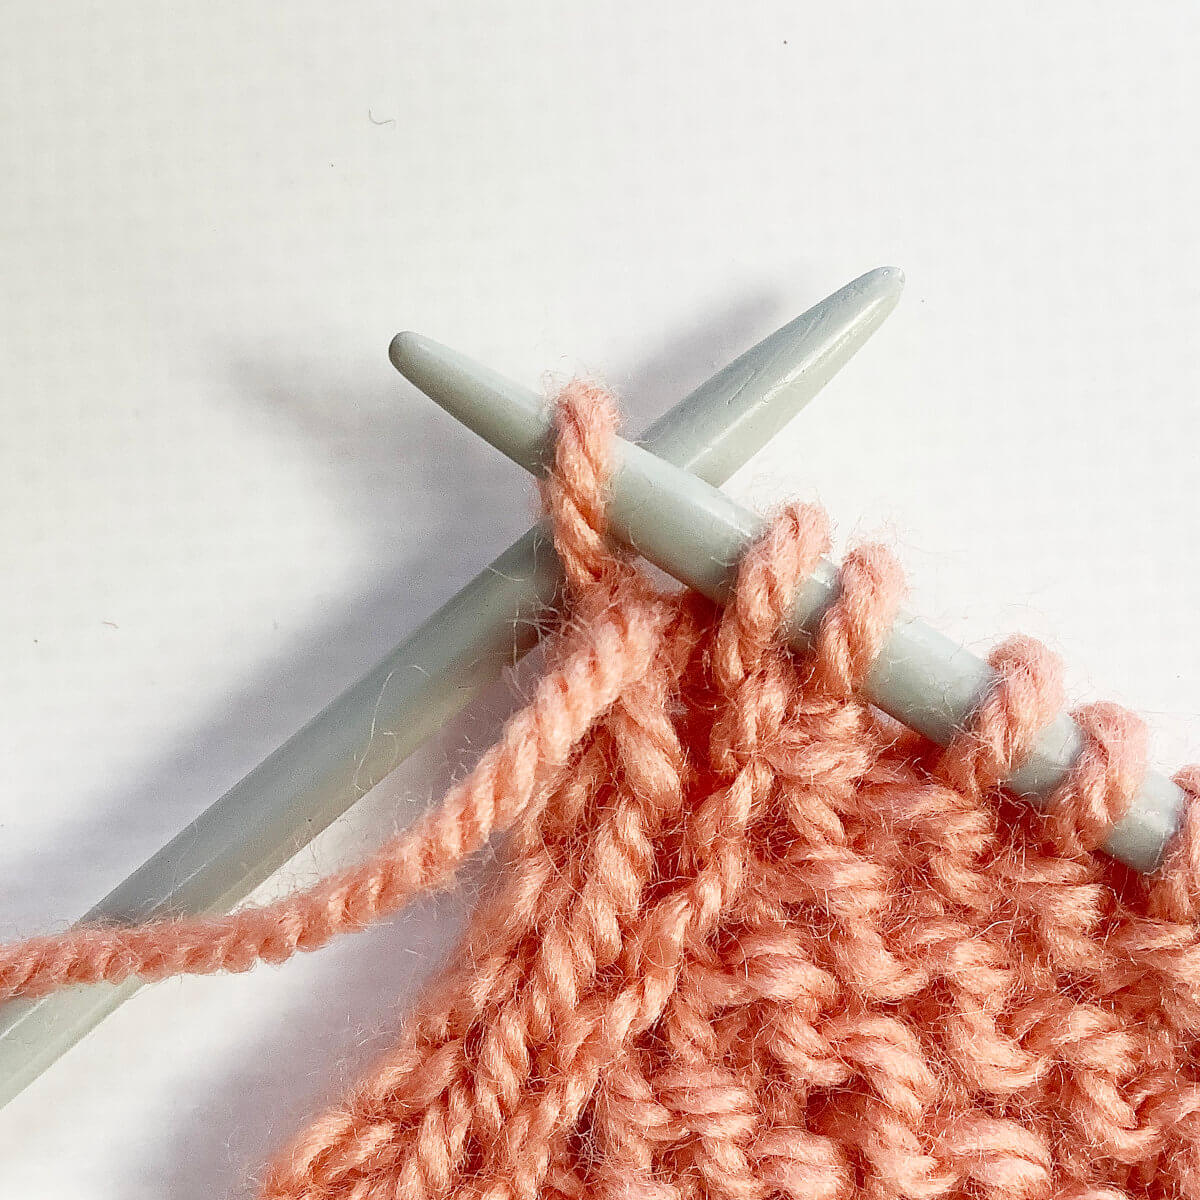
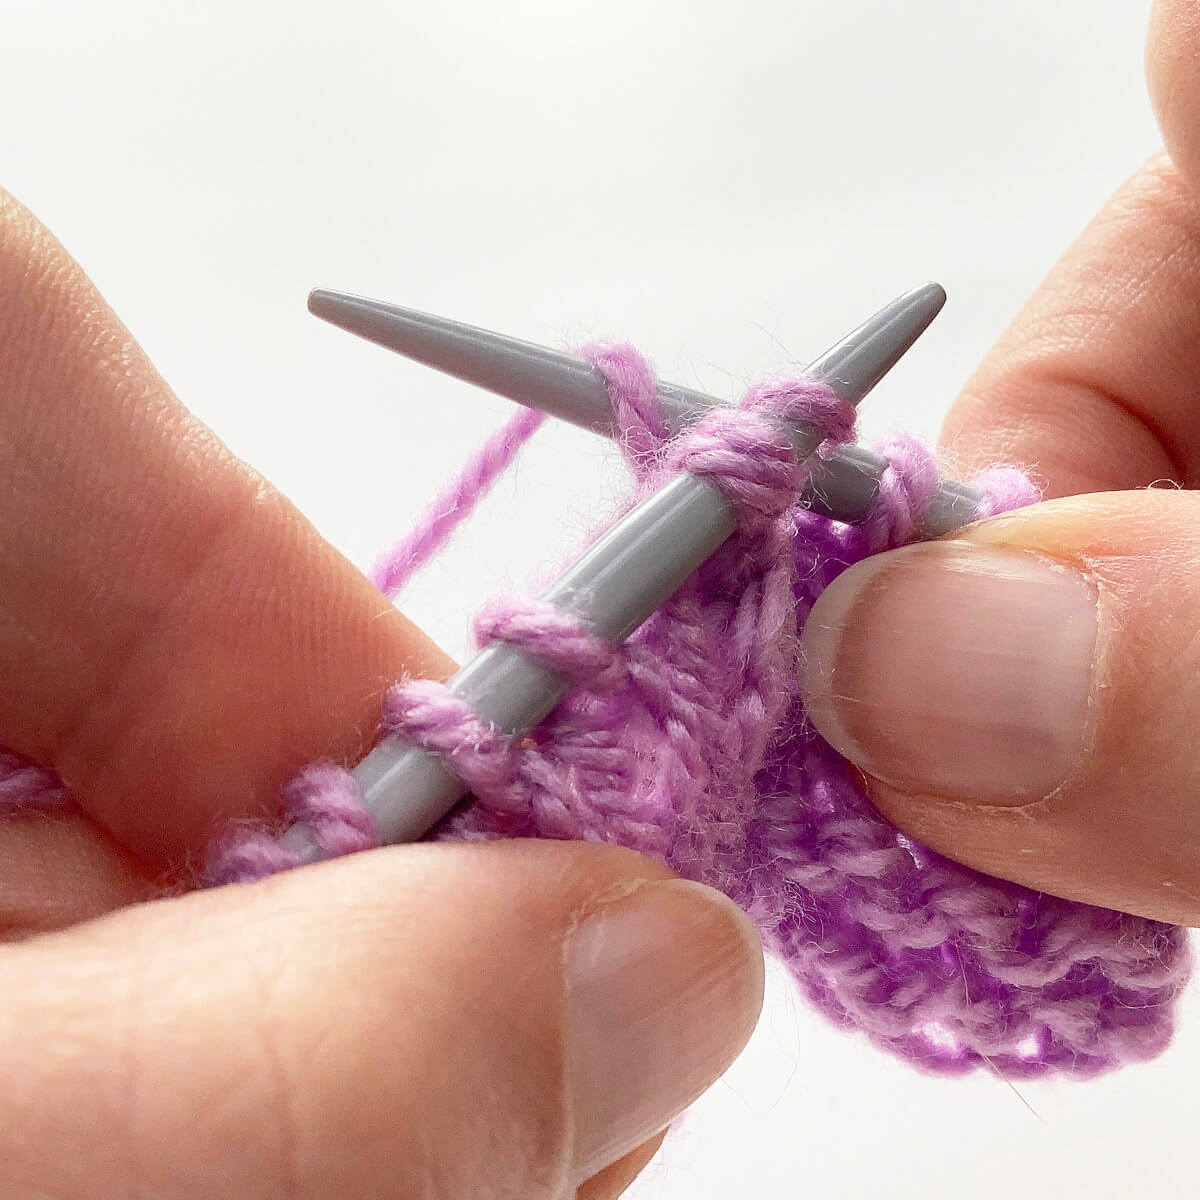
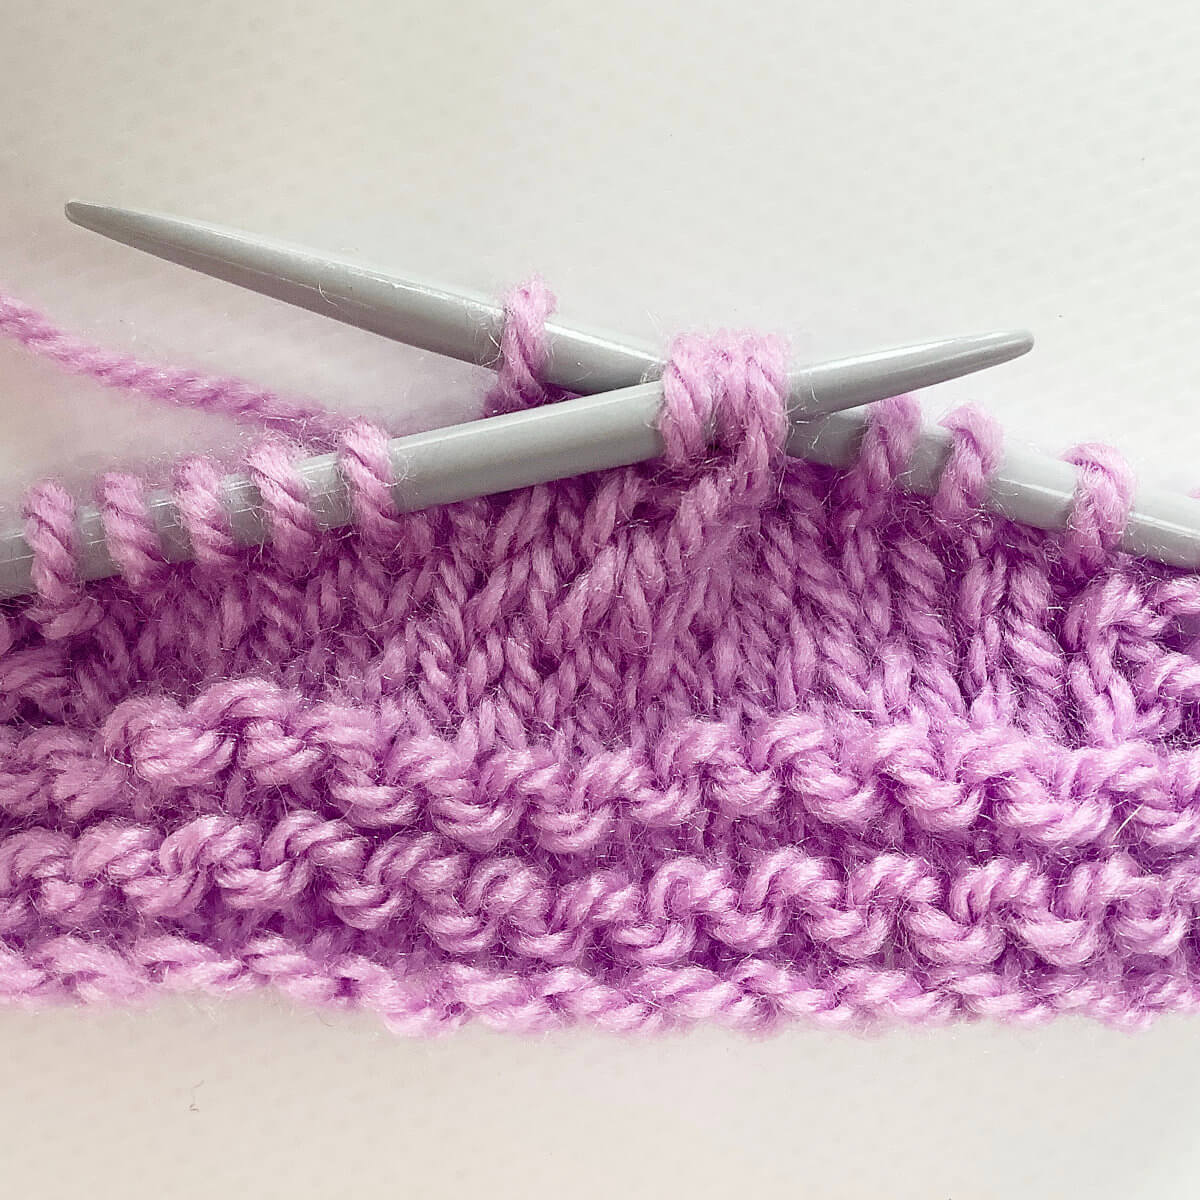
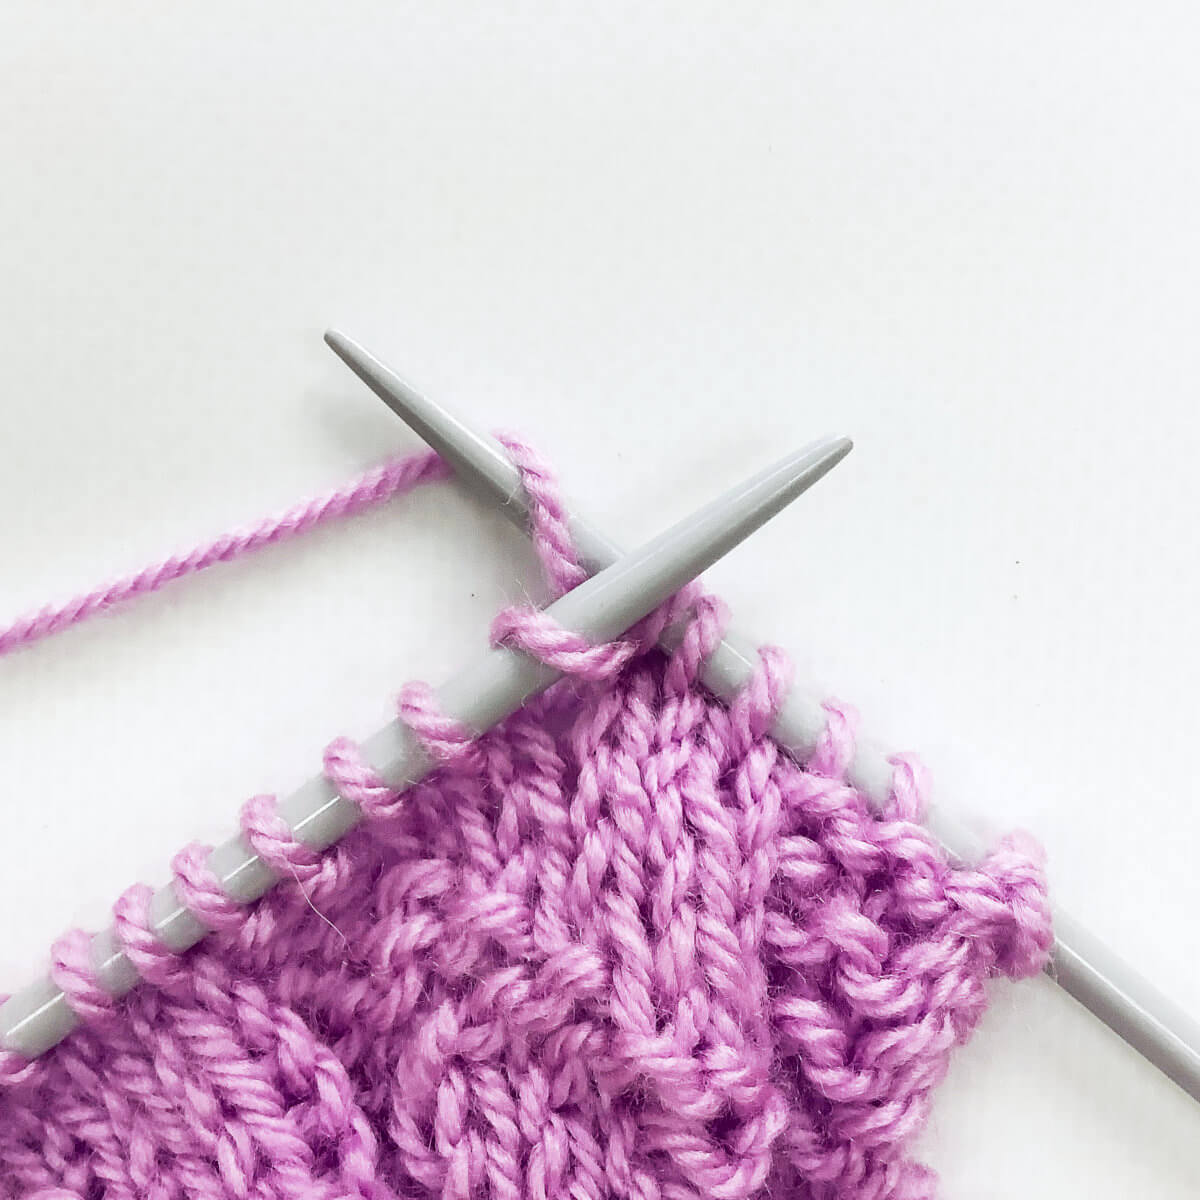
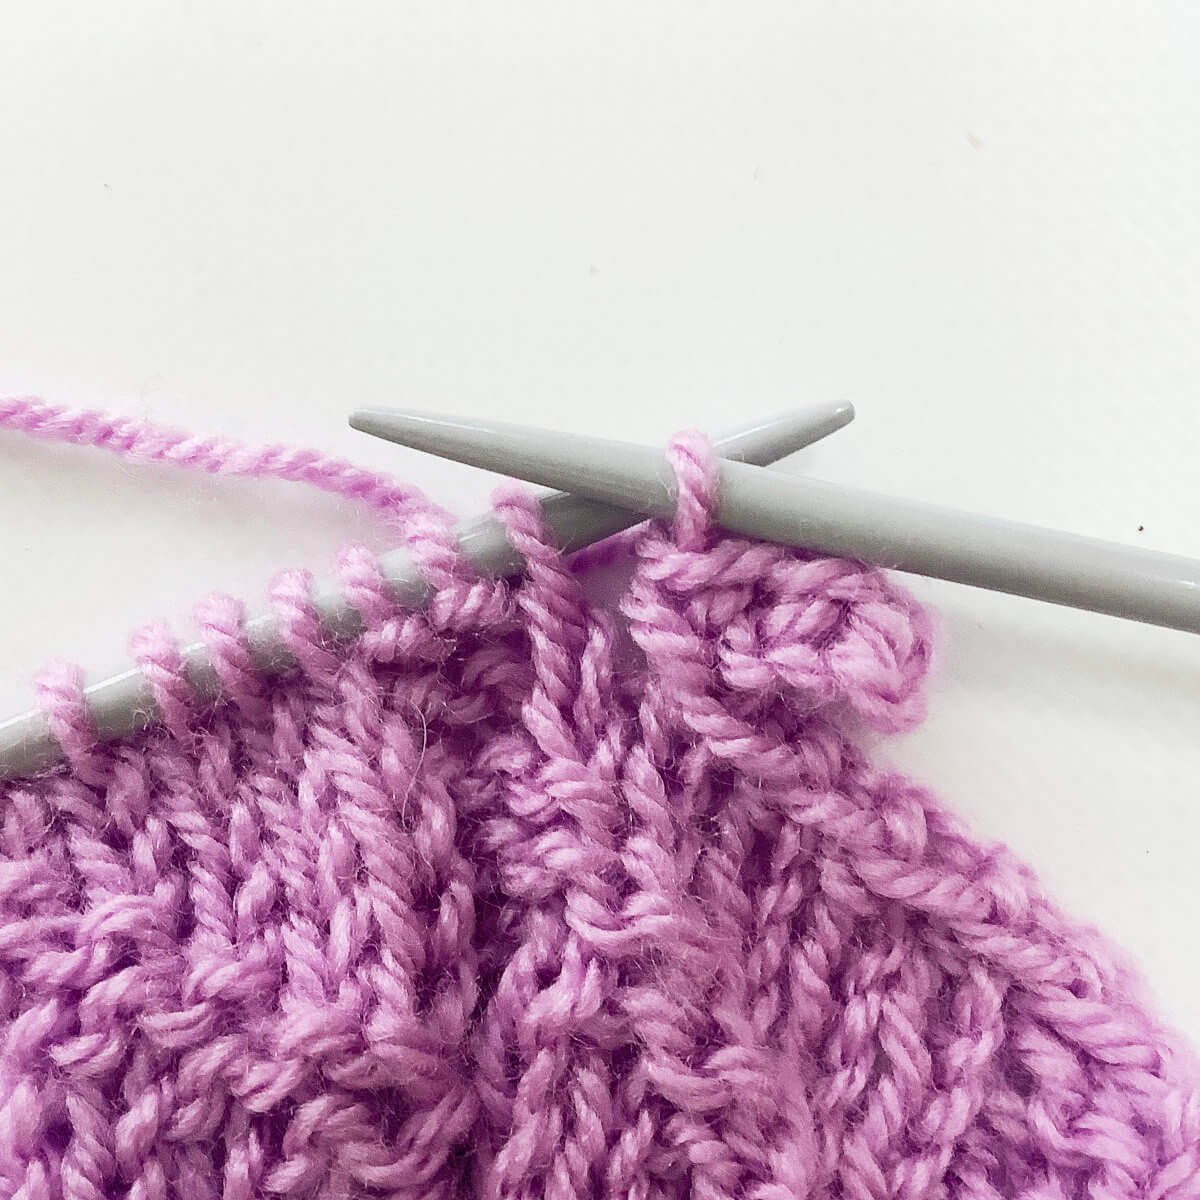
- To ladder the work back up, insert the crochet hook underneath the lowest horizontal thread directly above the new yo (the 4th horizontal thread down), and pull the thread through the loop already on the hook to make a new knit stitch.
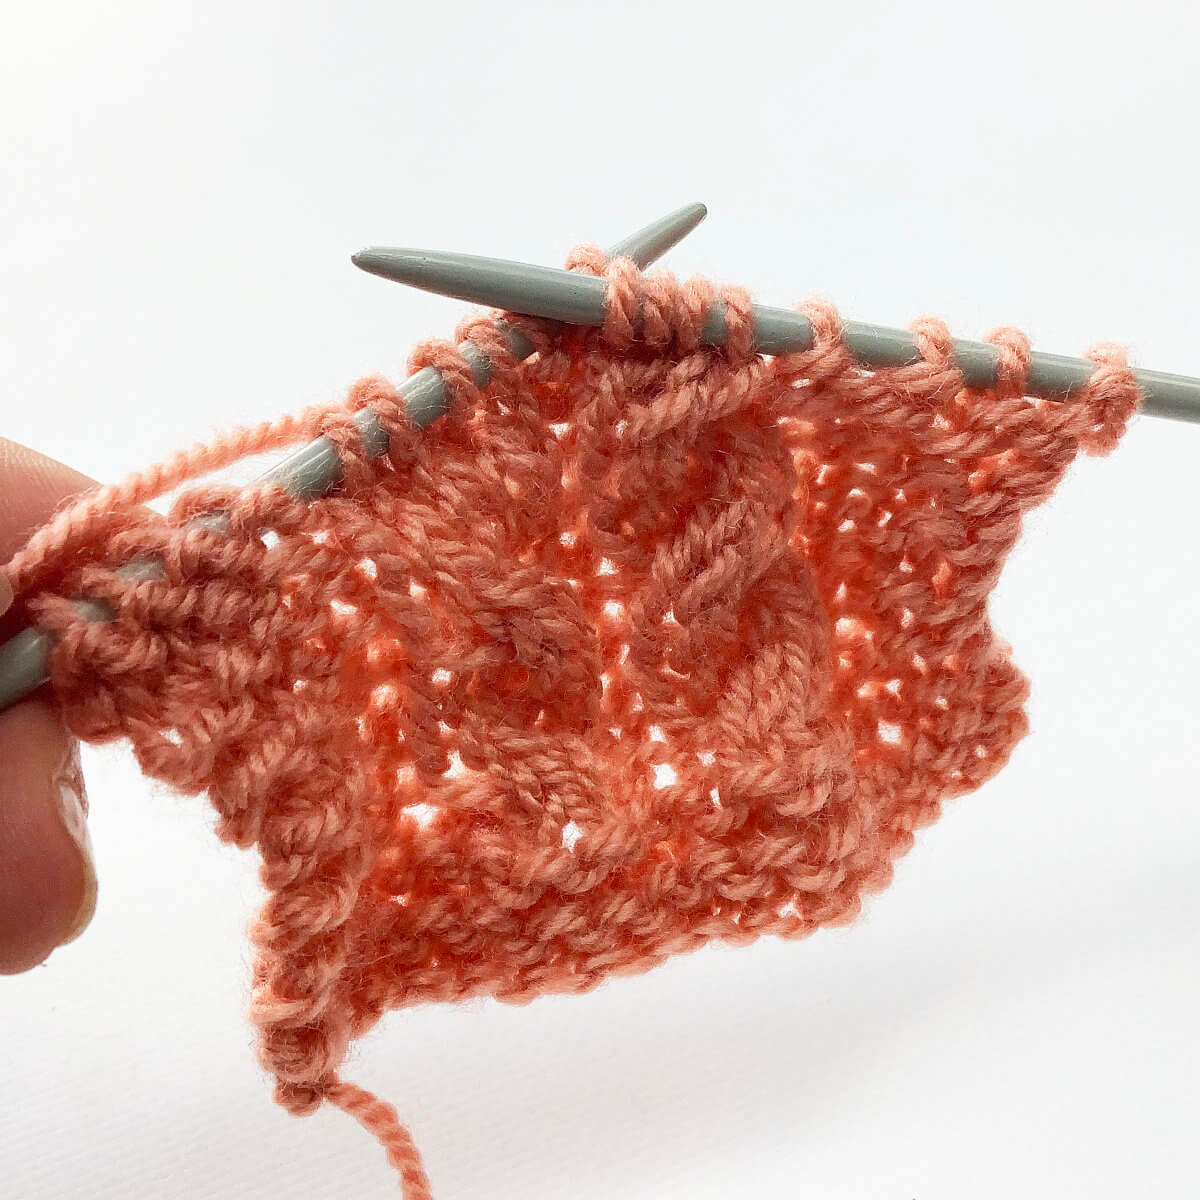
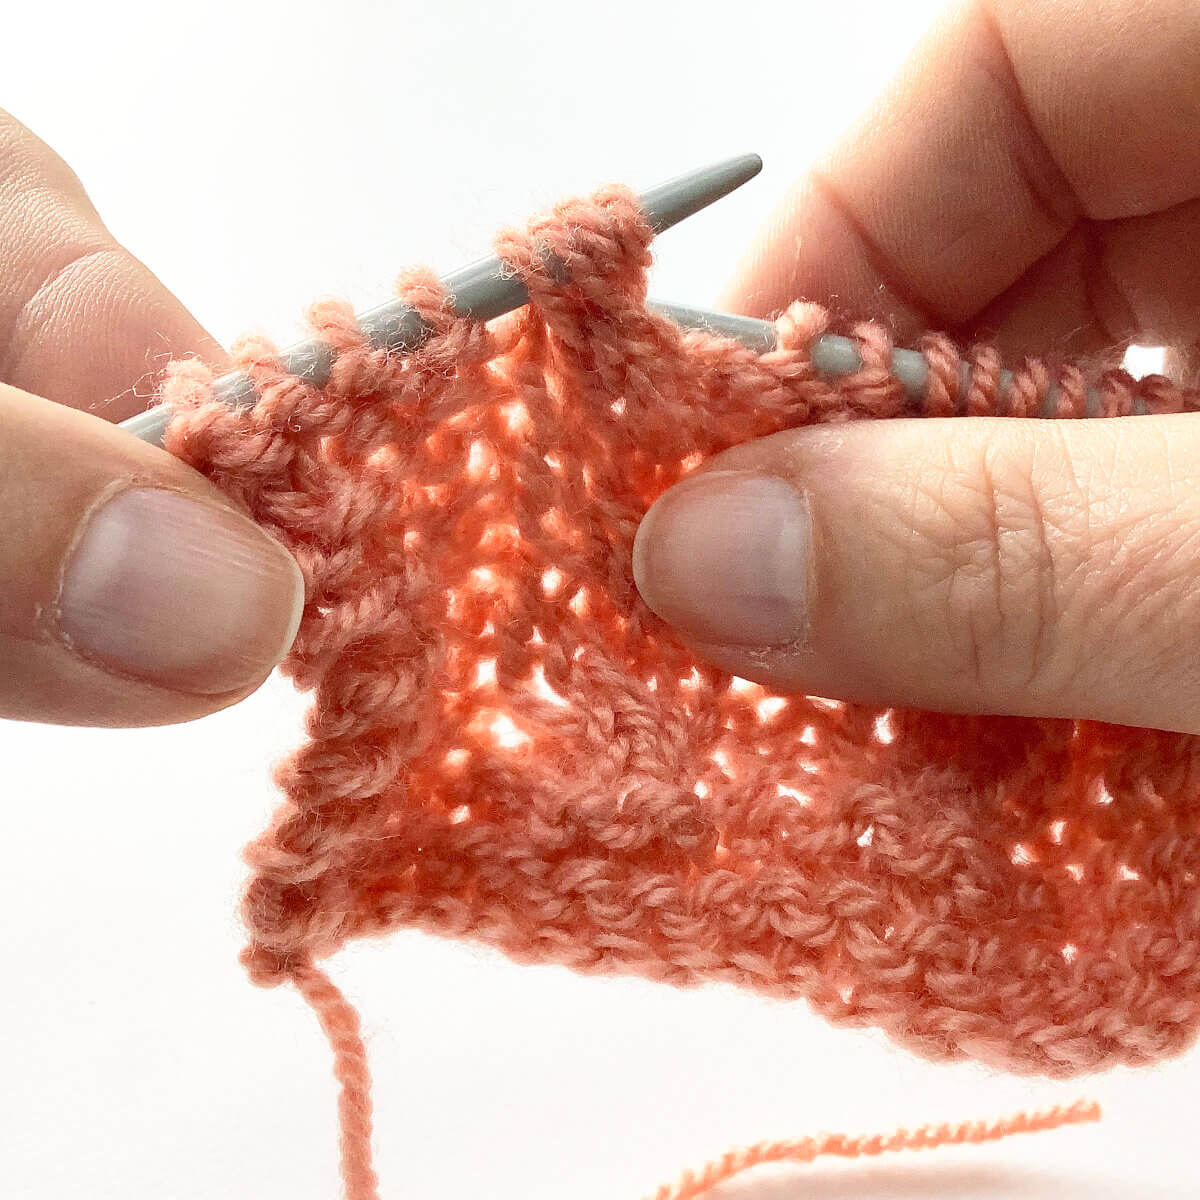
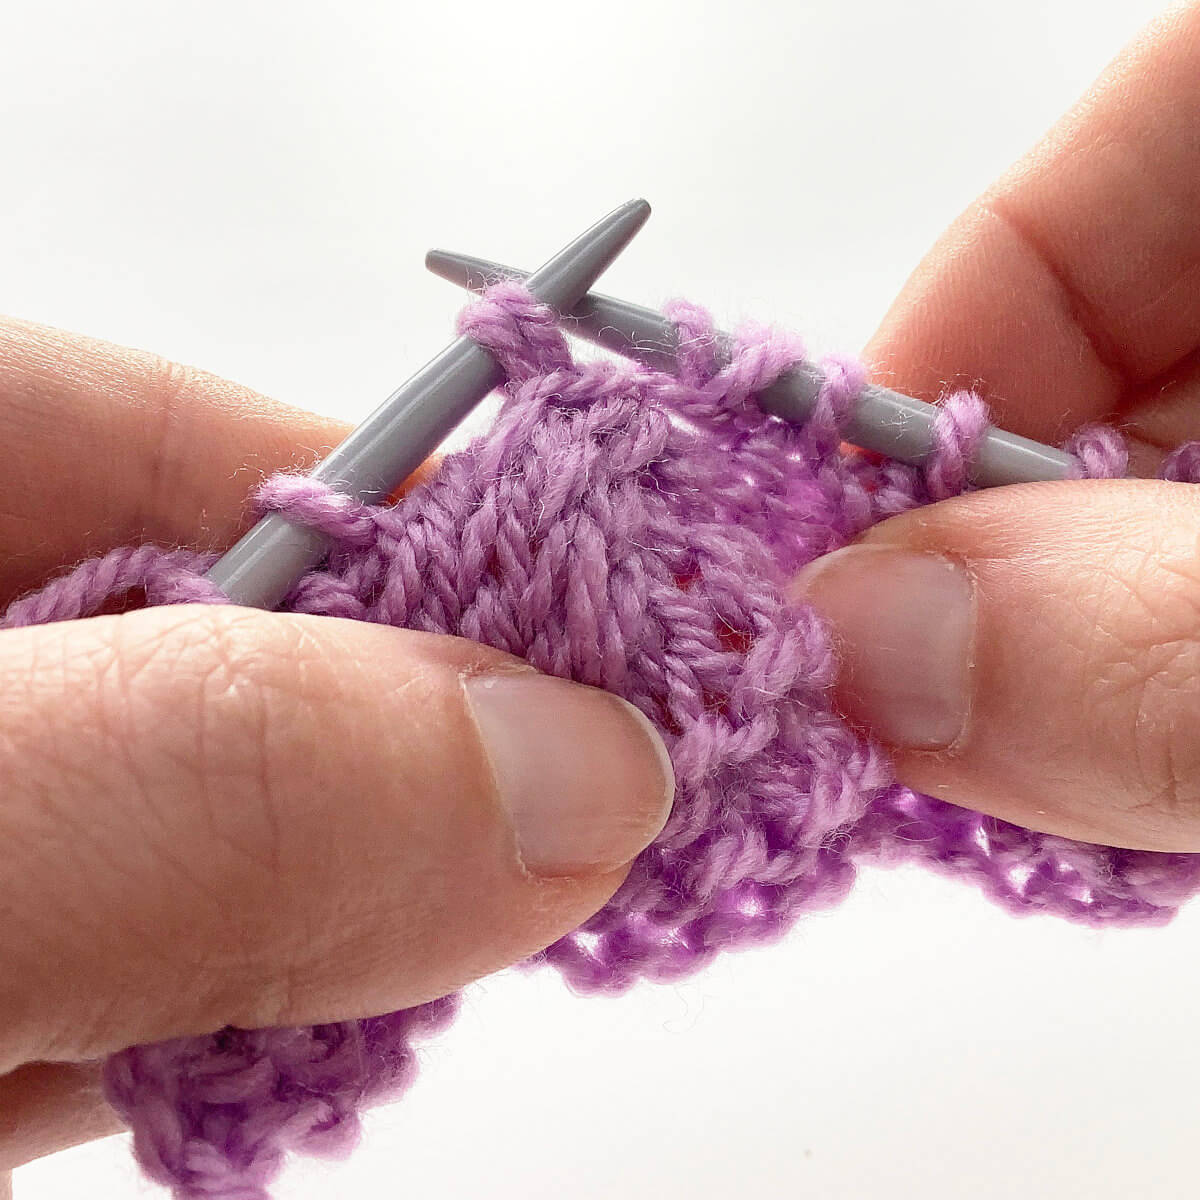
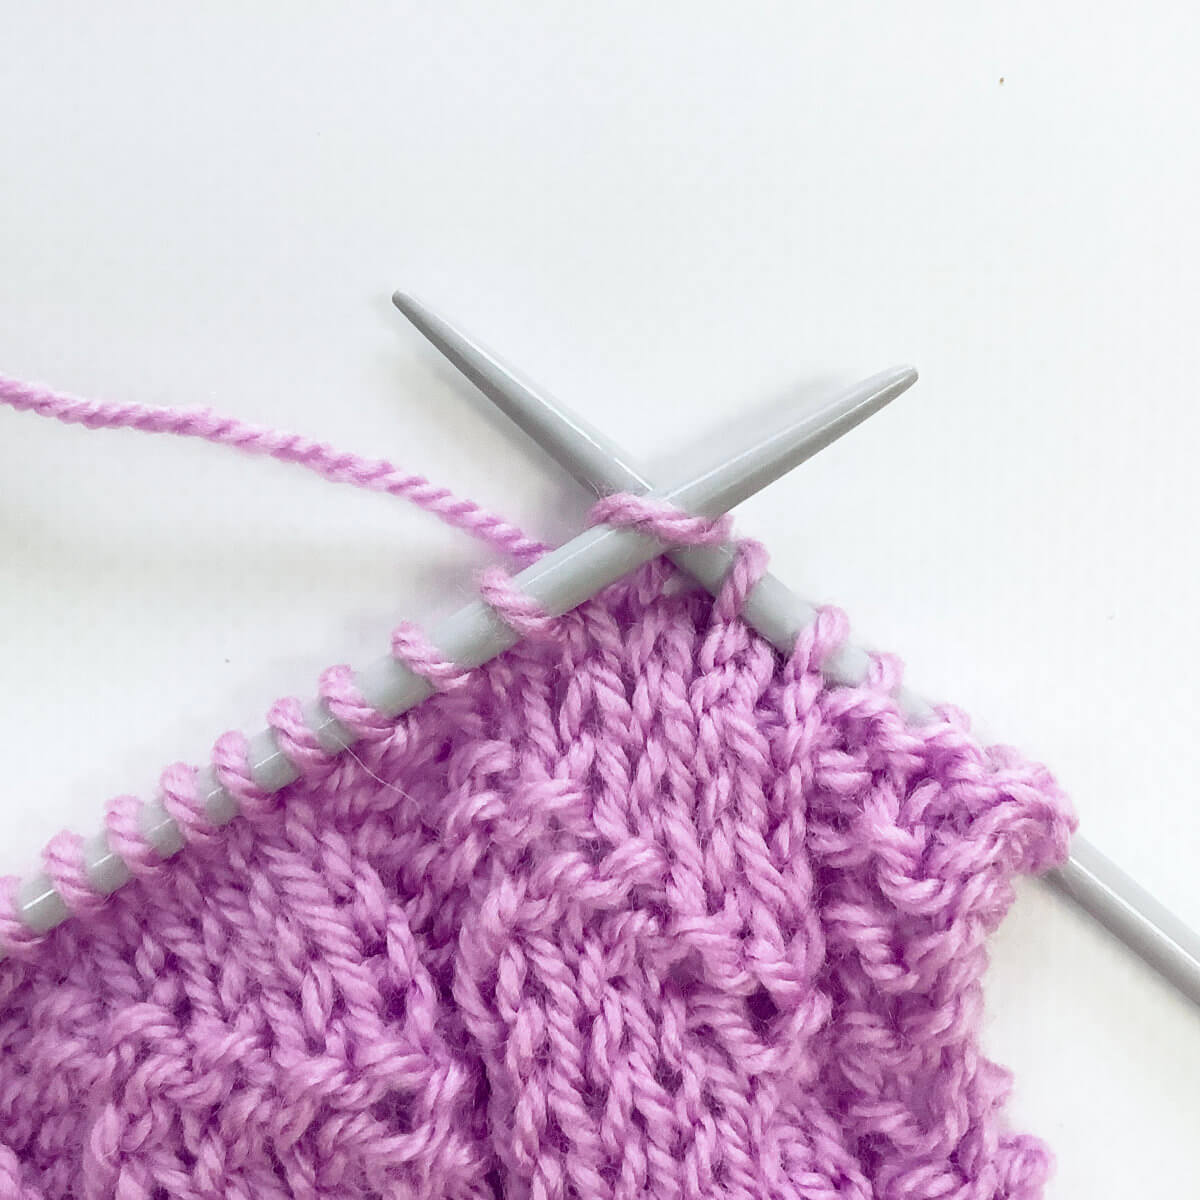
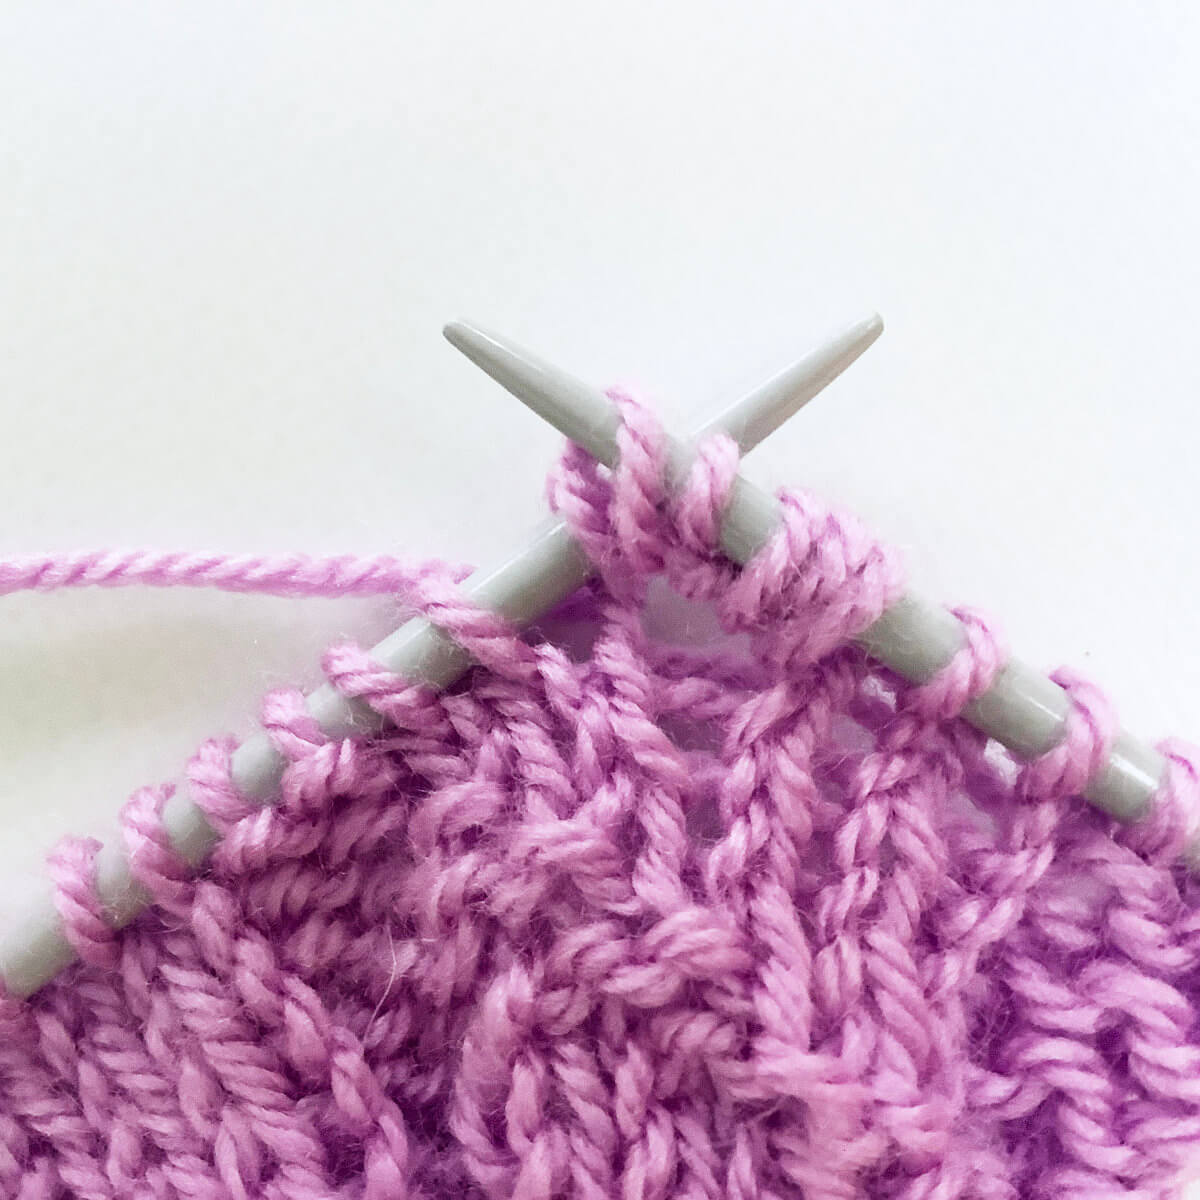
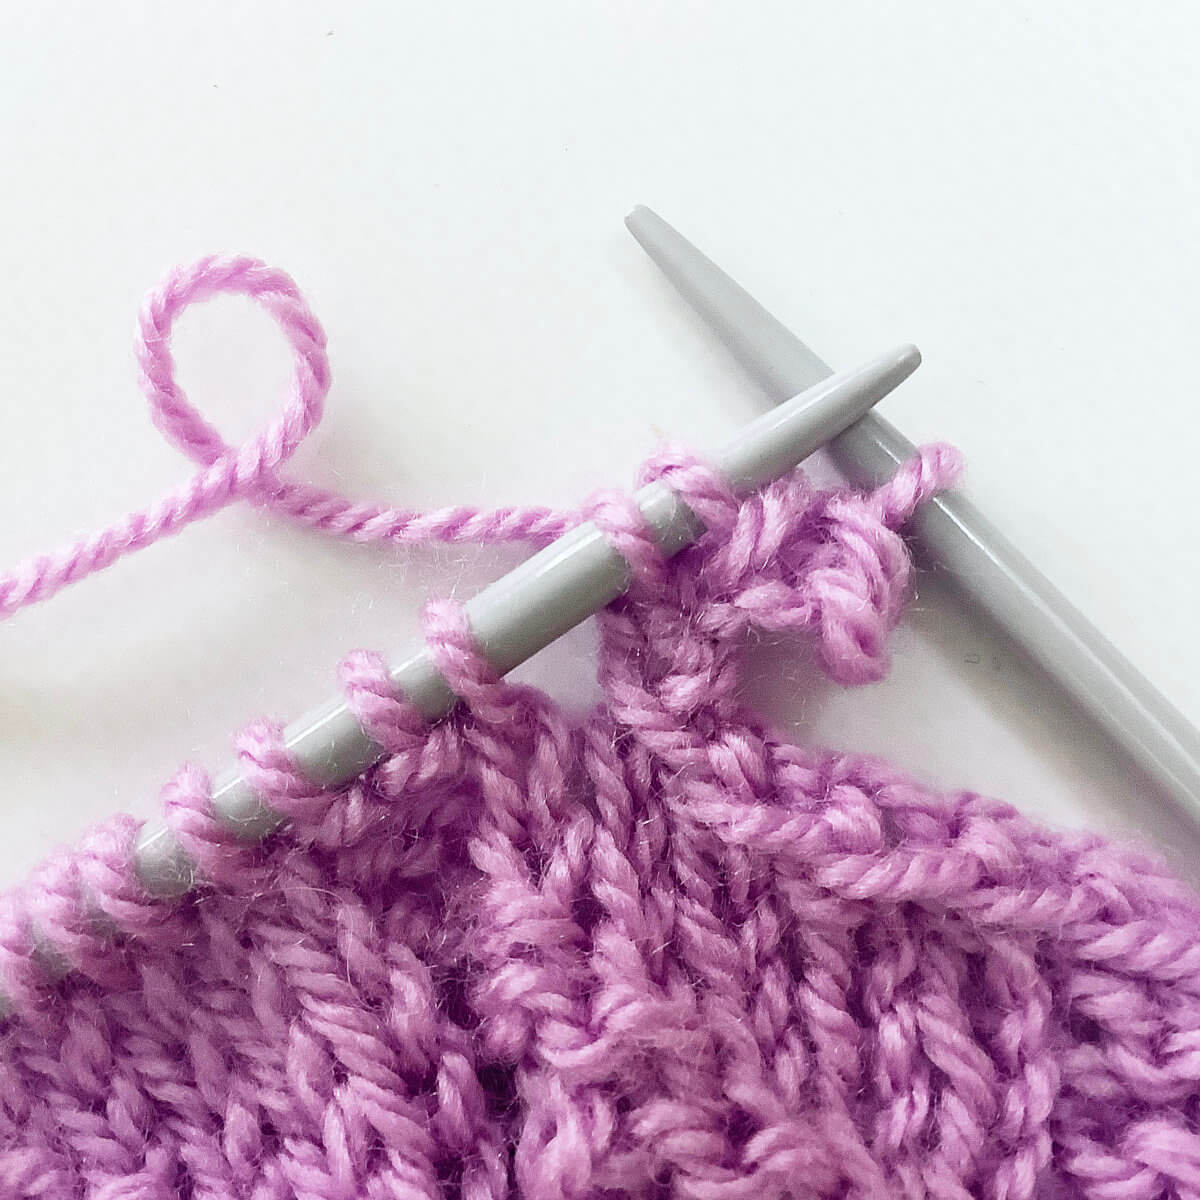
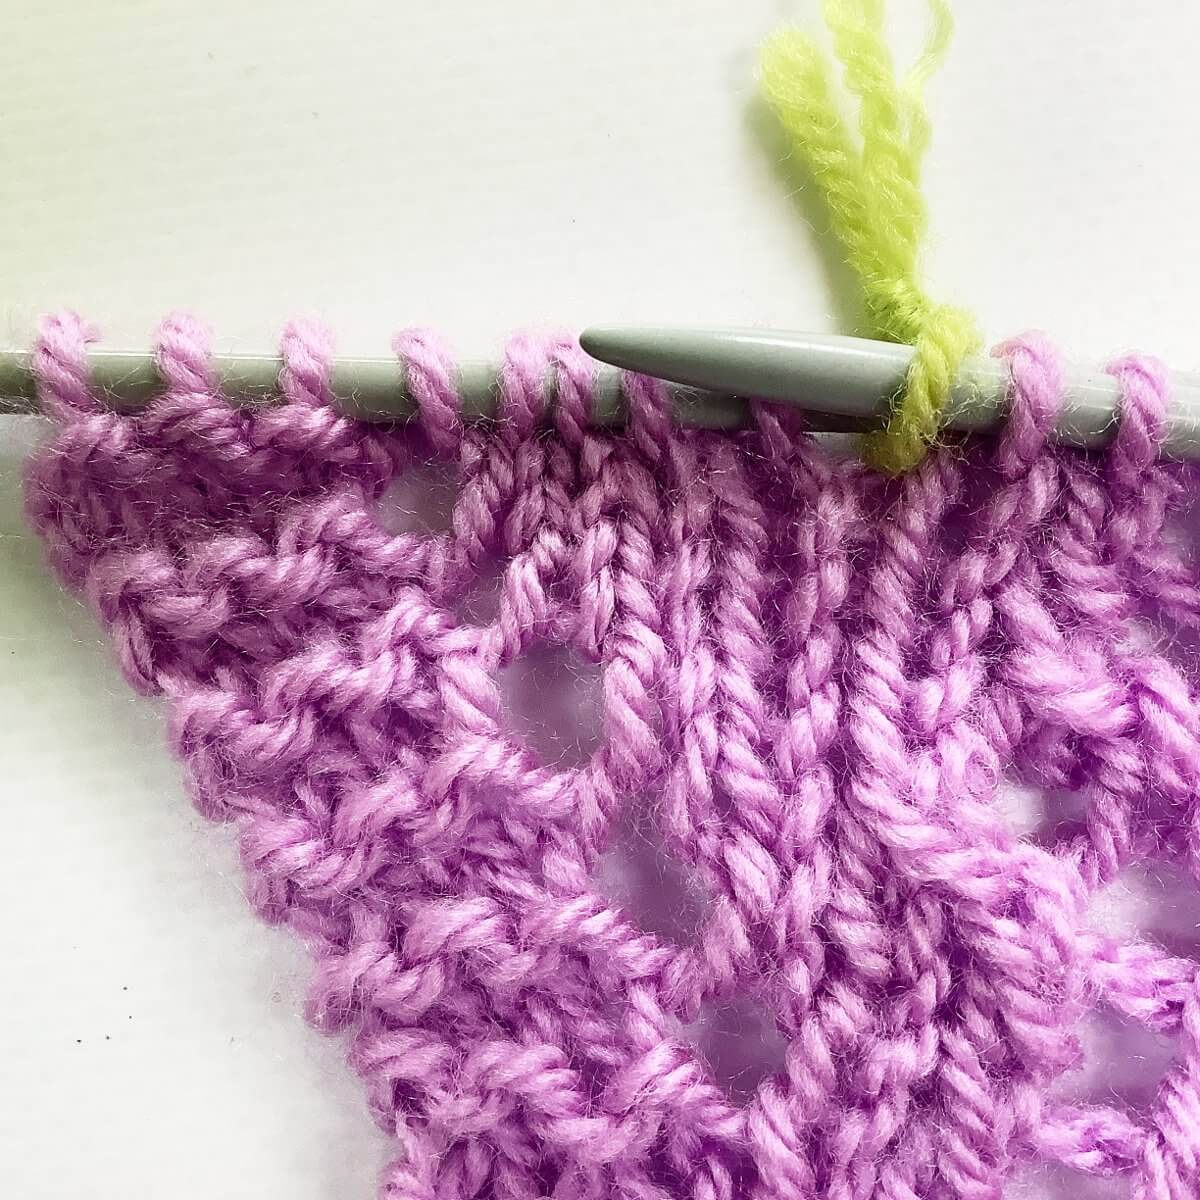
- Repeat this (for stockinette) as often as needed until you’ve run out of threads to pull through to make the new column of stitches above the yarn over.
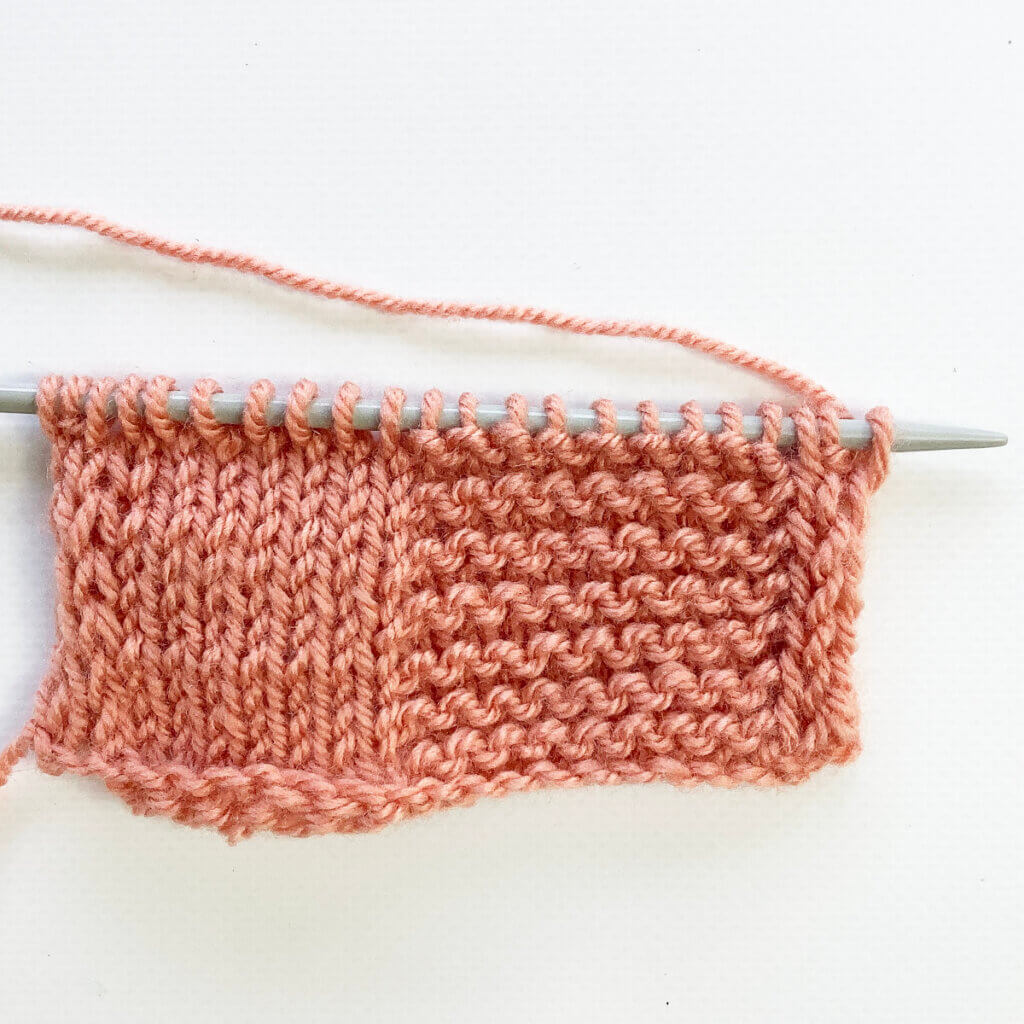
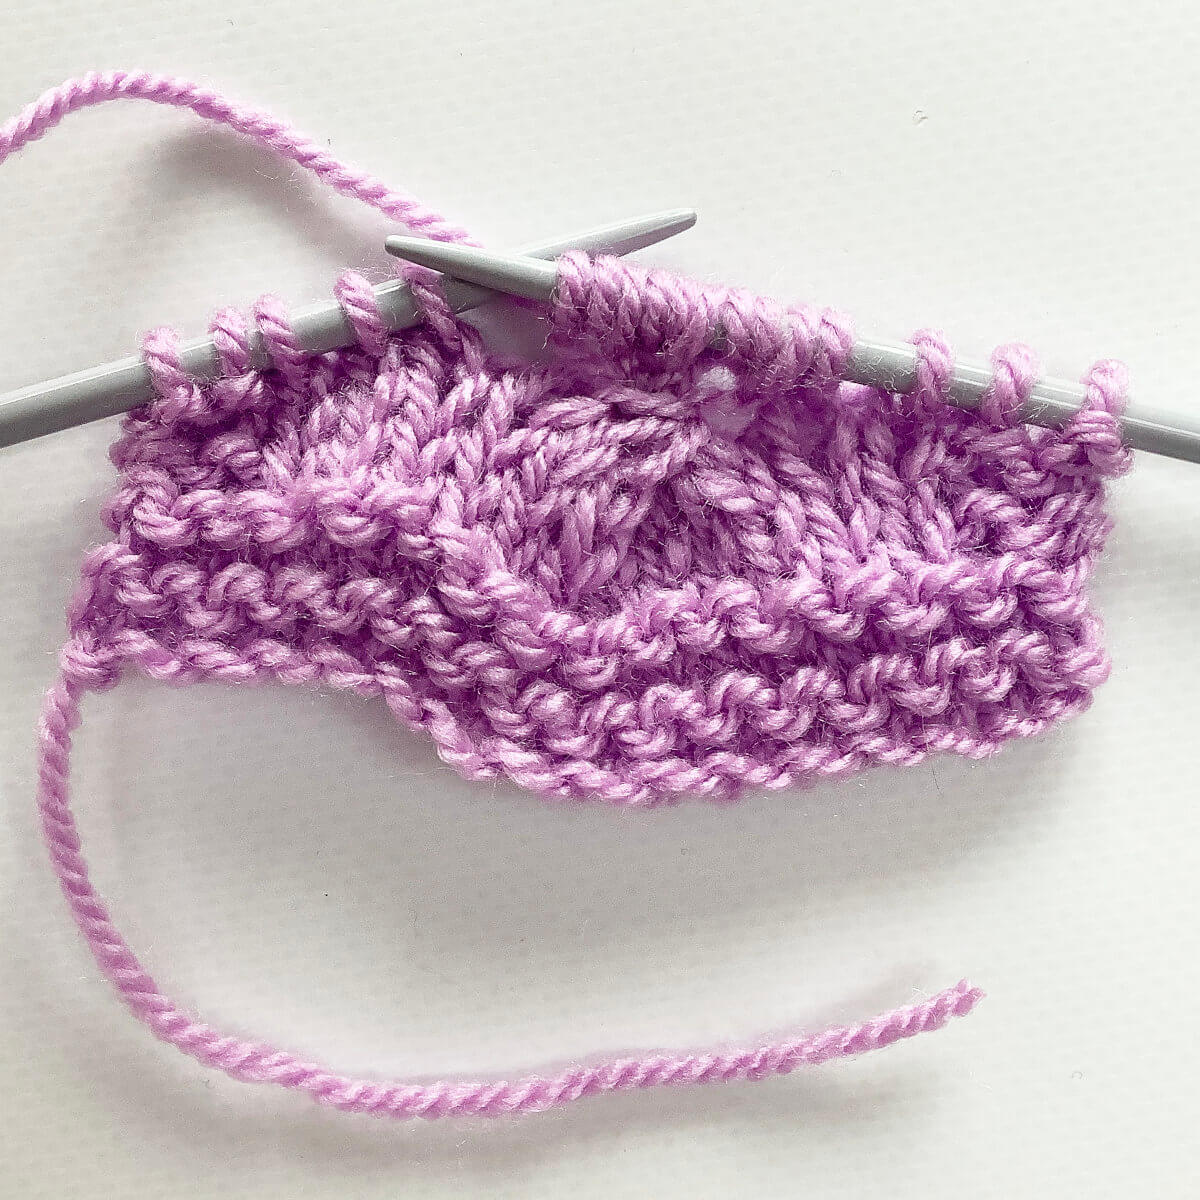
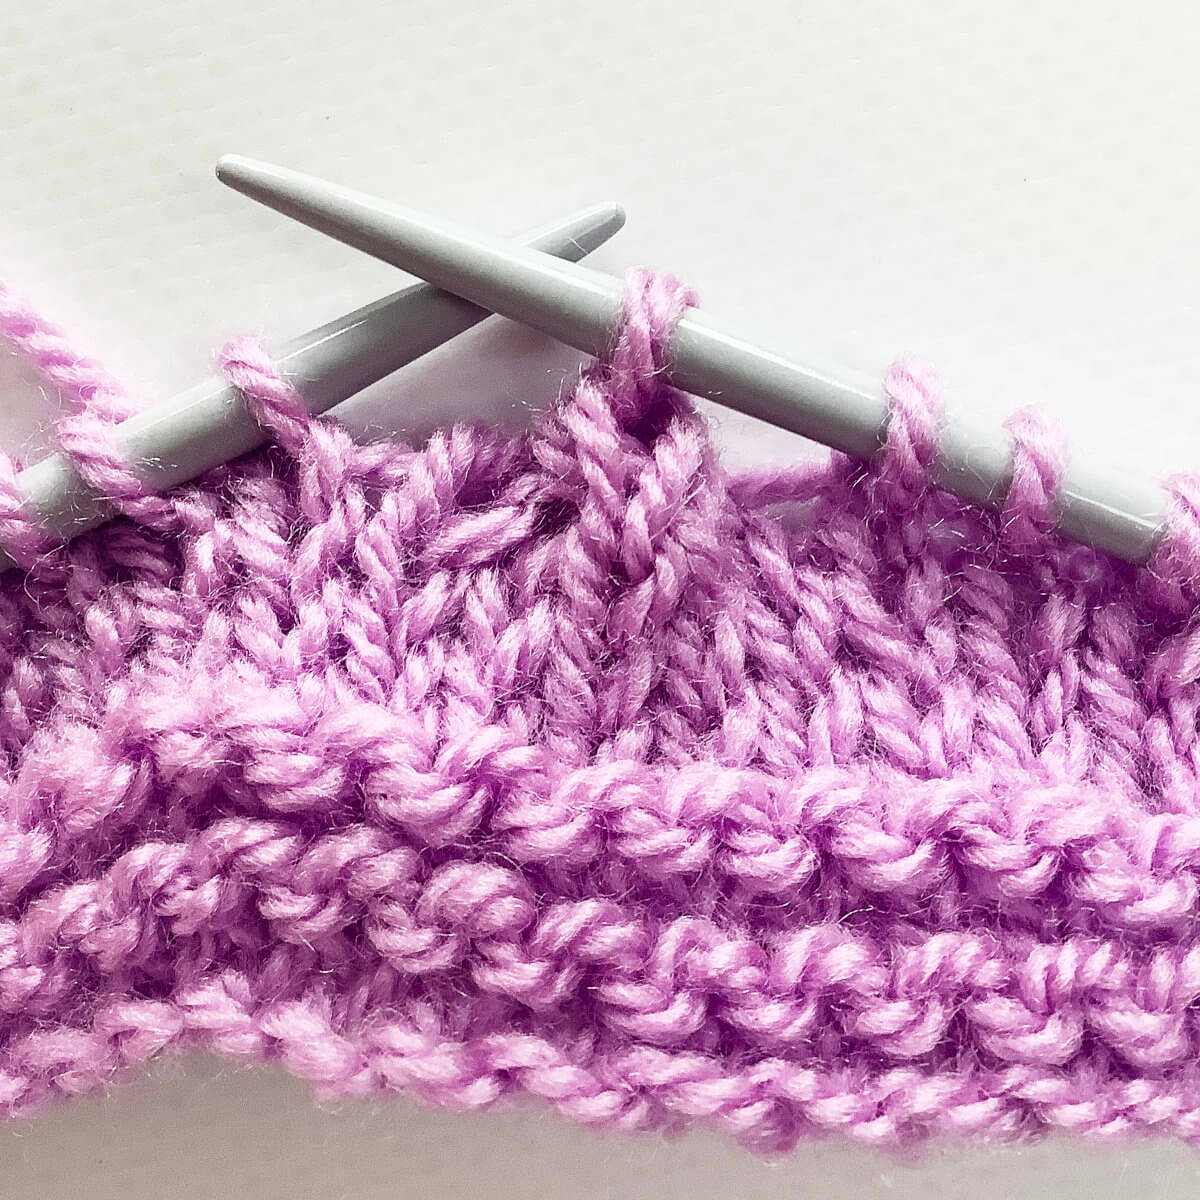
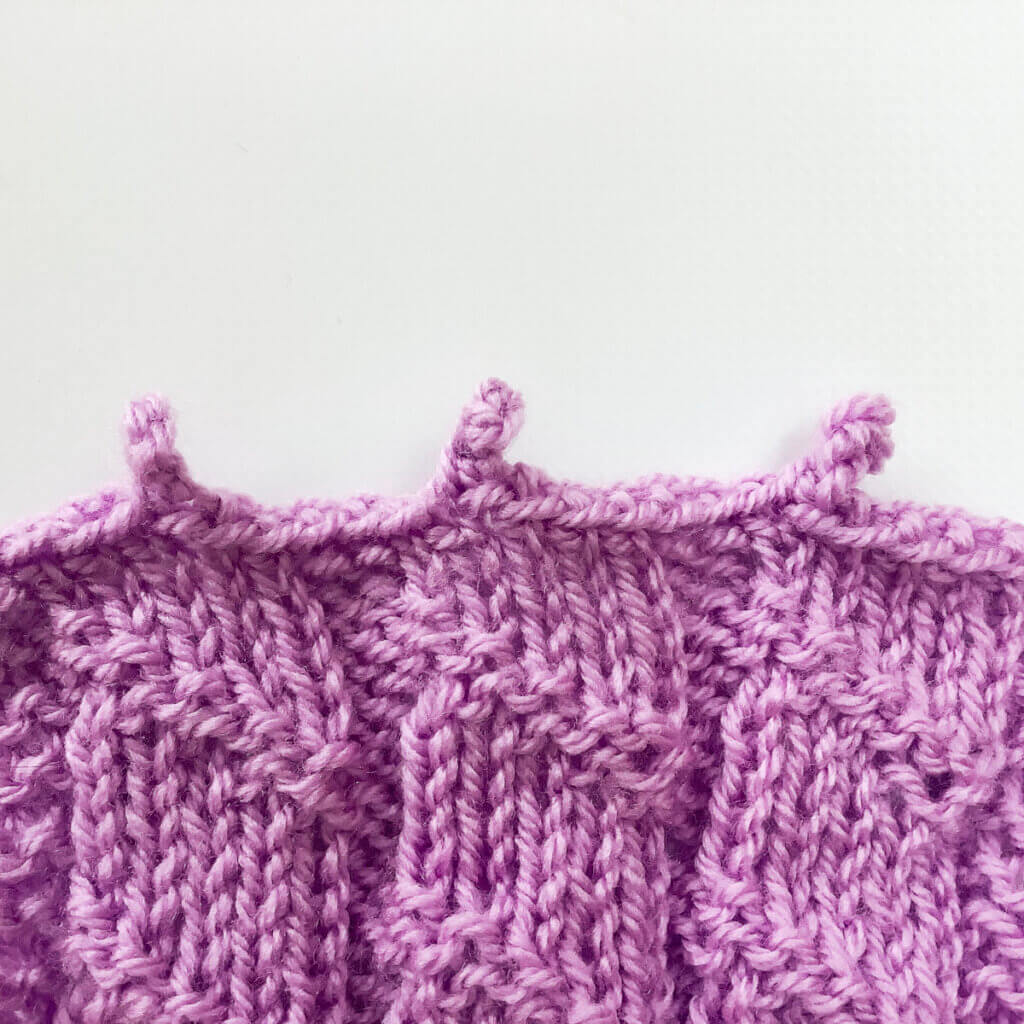
- The end result!
The new yarn over and stitches above it, will be a bit tight when compared with the surrounding stitches. But, this will usually even out with some blocking.
And that is how to fix a forgotten shaping yo! You are now ready to continue with your project.

Thanks to my Patreon supporters for bringing you this freebie! Creating quality patterns and tutorials is a lot of work and resource-intensive. However, I find it important to give you free content like this tutorial. Thanks to the generous support of my Patreon supporters, I can make it happen. Thank you, patrons! Click here to join, or click here to read more about La Visch Designs on Patreon.
tutorial – fixing a forgotten shaping yo in a triangle shawl Read More »