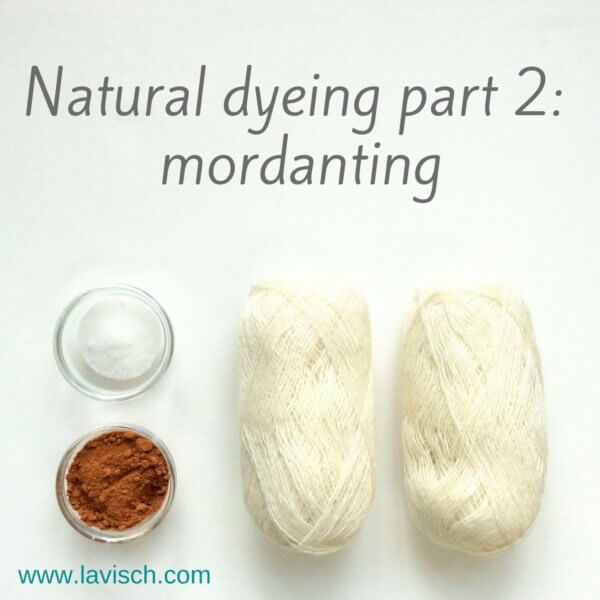
Dyeing wool with food coloring like Easter egg dyes is of course a lot of fun and very easy to do. Lately, however, the possibilities of natural dyes intrigue me. Think of onion skins, indigo, madder, annatto and logwood.
In order to get good results with natural dyes, more steps are required, than with food coloring. In this series of posts I will guide you through the various steps and take you along with a natural dye experiment. Before I proceed I must tell you that I am by no means an expert in this area. I’m only sharing what I have learned in my own experiments!
The steps to go through are as follows:
- Washing the wool
- Mordanting
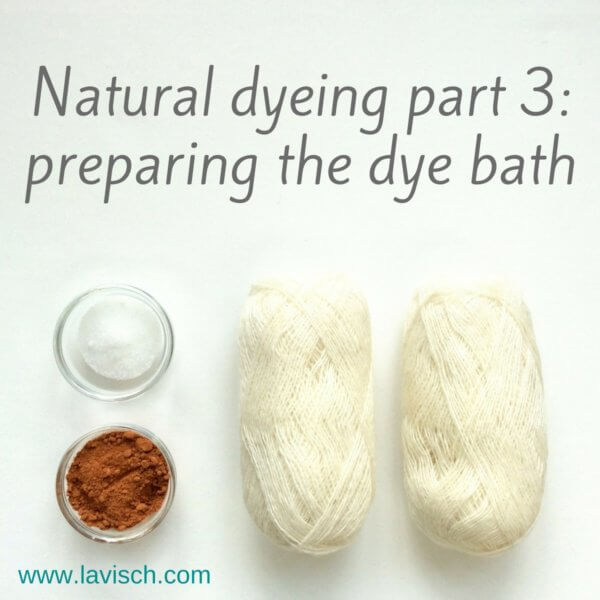
- Preparing the dye bath
- Dyeing your wool
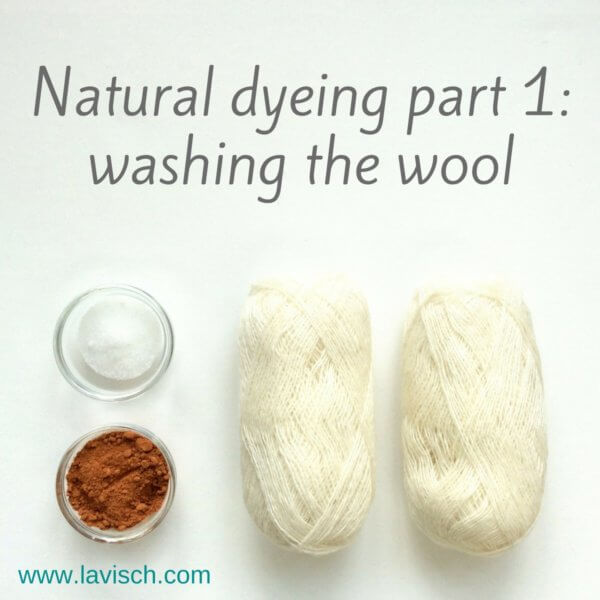
Today we are going to discuss the preparations with respect to washing the wool. Of course, it is also useful to know what materials are needed!
Materials
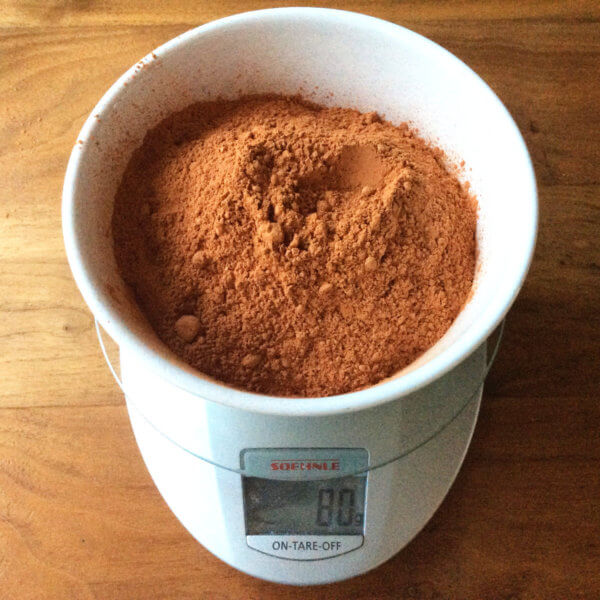
Collecting the required materials is obviously an important step. However, this step I haven’t included in the above overview, because what will be required depends very much on the choices made with respect to your natural dyes of choice.
Things you will however (almost) always need are:
- Protein (animal-based) fibers, such as wool or silk or cellulose (plant-based) fibers, such as cotton, linen, or hemp. Man-made fibers like acrylics can’t be dyed this way!
- Pieces of waste yarn to tie up your yarn into skeins.
- Detergent (without enzymes).
- The natural dyes or dye material.
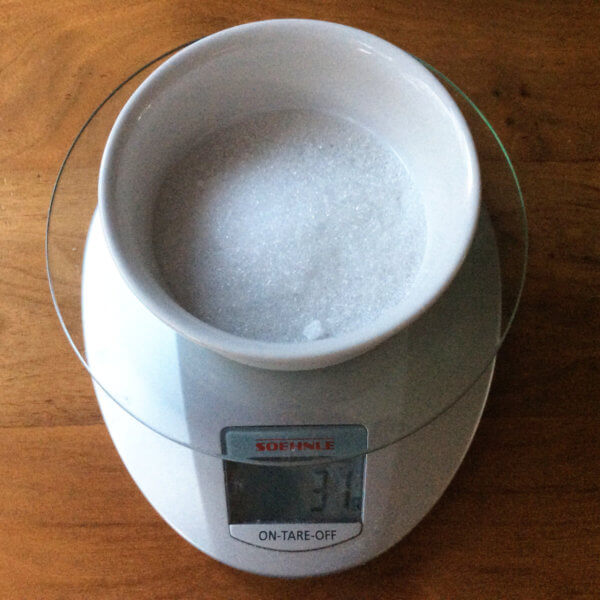
- A mordant like alum. This is used to help the dye adhere to the fiber and helps in achieving bright colours.
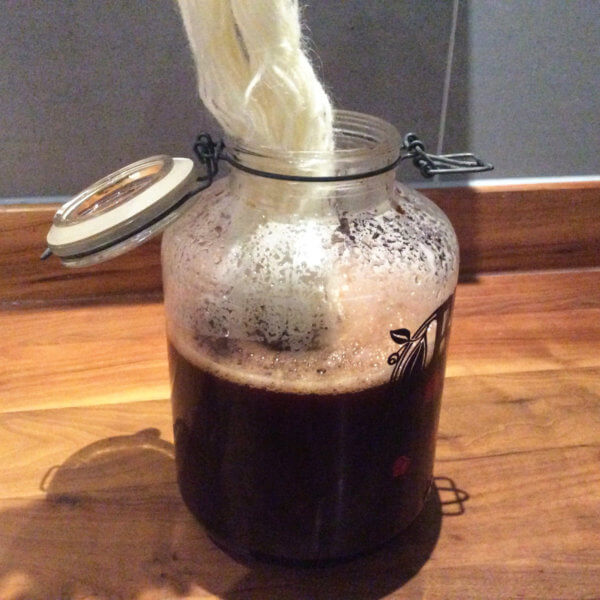
- For warm dyeing: A stainless steel or enamelled pan which will not be used for cooking anymore.
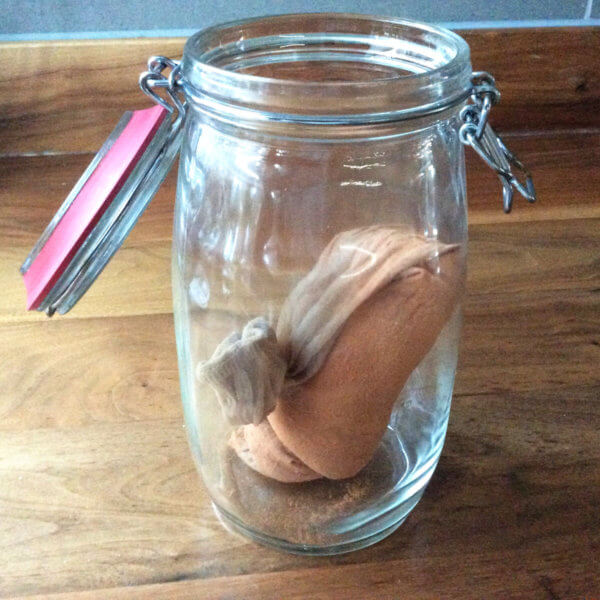
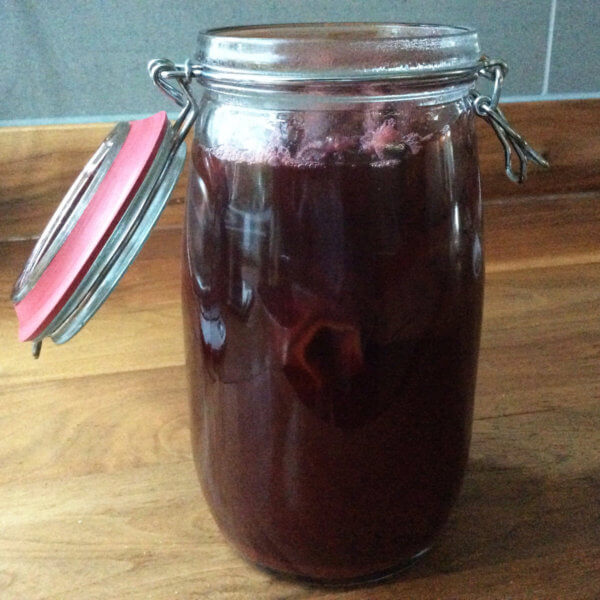
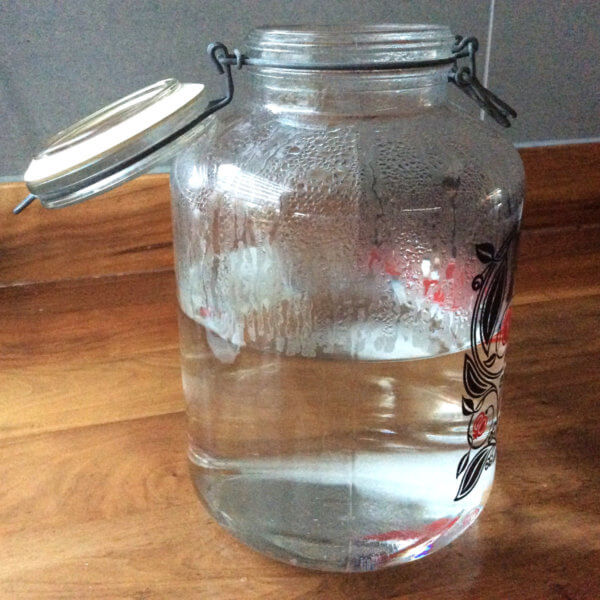
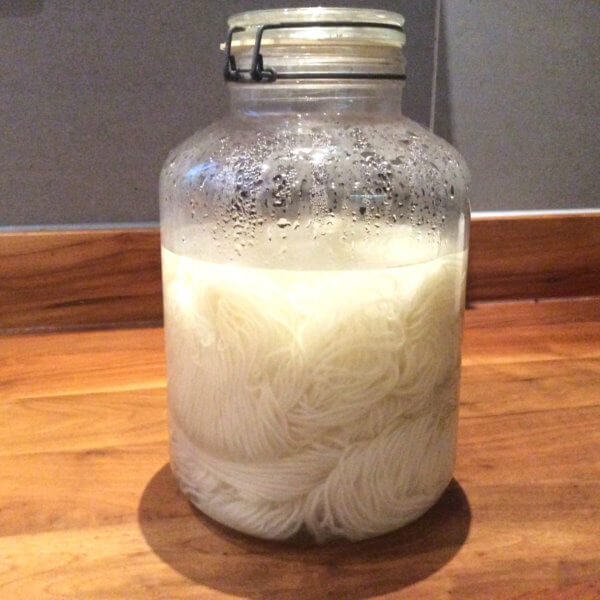
- For cold dyeing: Glass jars in the number or volume big enough for the amount of wool that you want to dye.
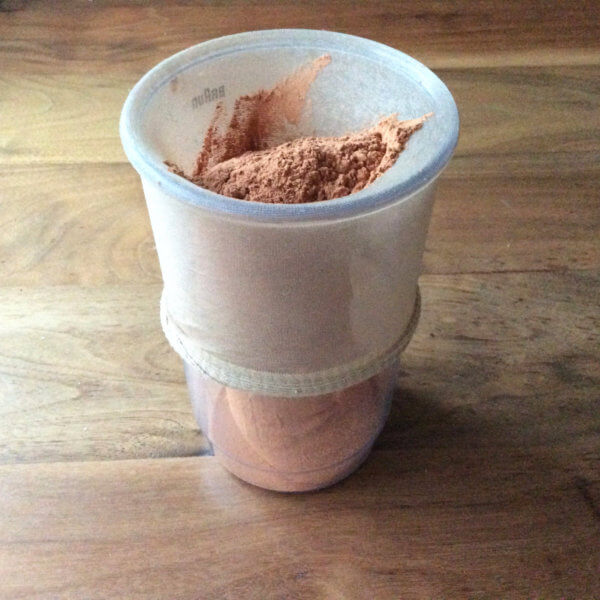
- Old nylons or other material to make a “tea bag” for your dye material.
- Rubber gloves, stainless steel spoons.
a. Washing the wool
If you buy wool yarn, you may be inclined to dye without washing it. There is however a chance that there is a reasonable amount of lanolin, spin oil or other debris still present on the yarn. This makes it difficult for the dye to penetrate well into the fiber. This in turn results in your wool having less vivid colors and being a less colorfast.
For best results, wash first is the motto.
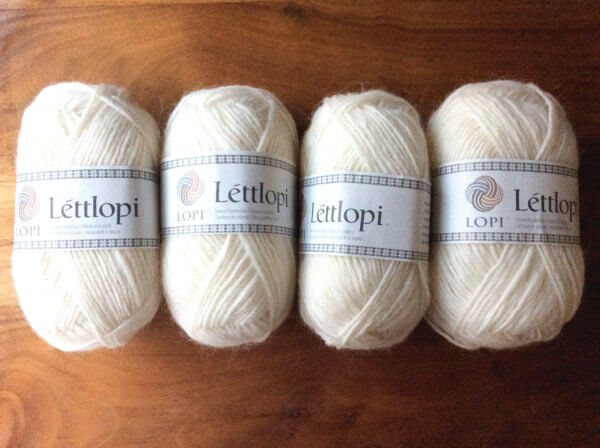
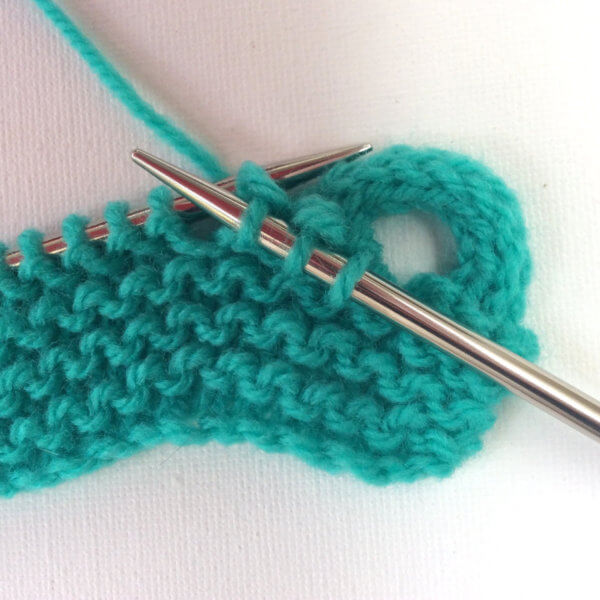
1. In this experiment I used Lettlopi, it is sold in the lovely put-up shown. However, when washing like this, the yarn will tangle beyond hope. Therefore it is wise to rewind first into skeins. I use my niddy noddy, but the yarn can of course also, for example, be wound around the back of a chair.
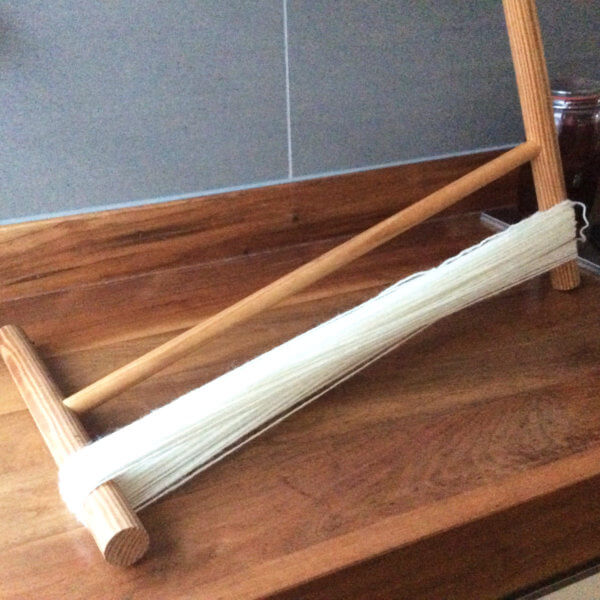
And yes, I know that my niddy noddy isn’t used “correctly” in this picture. I prefer using it this way because I like the length of the skein it gives. Fortunately, there is no such thing as wool-police!
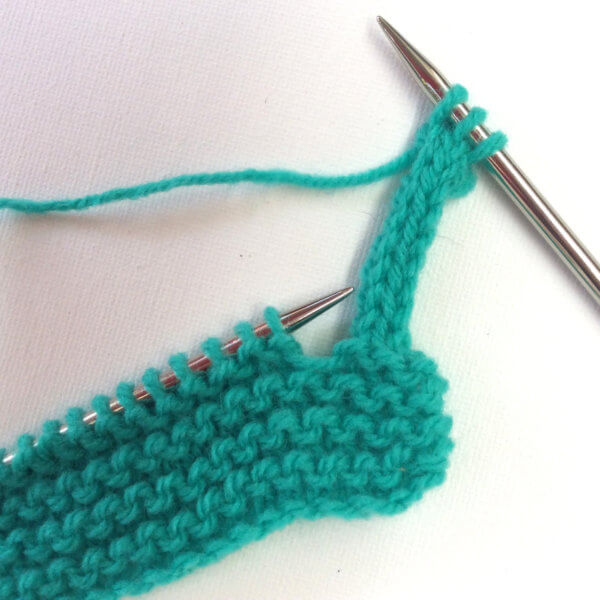
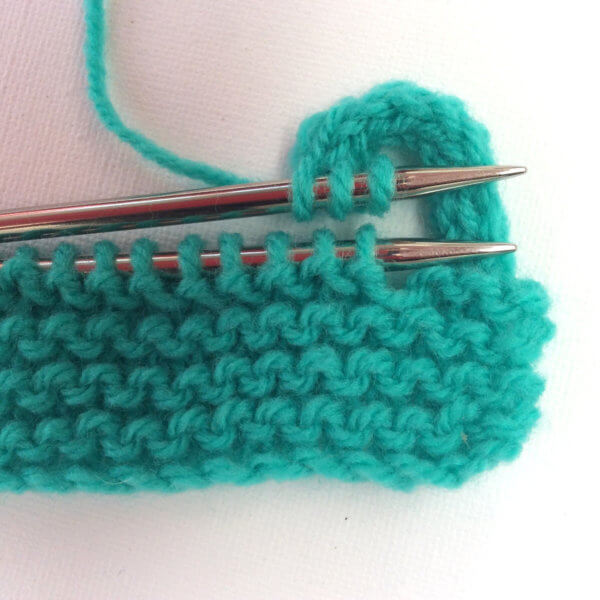
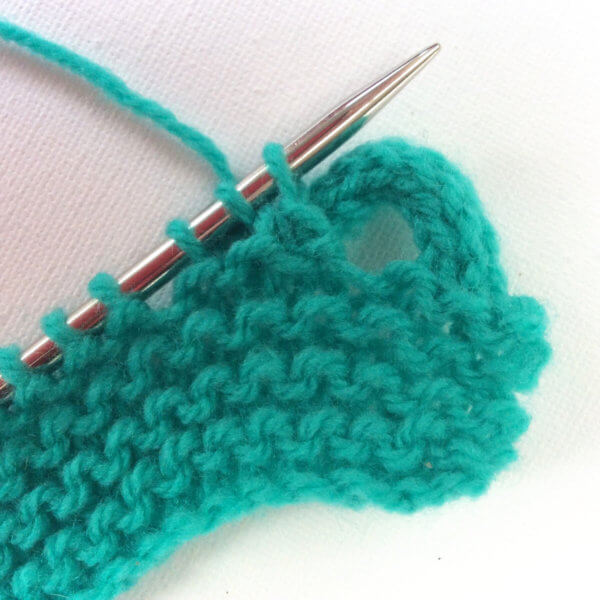
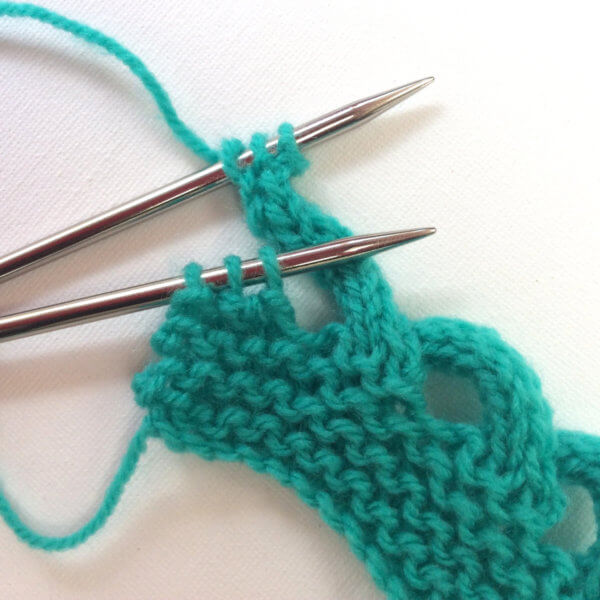
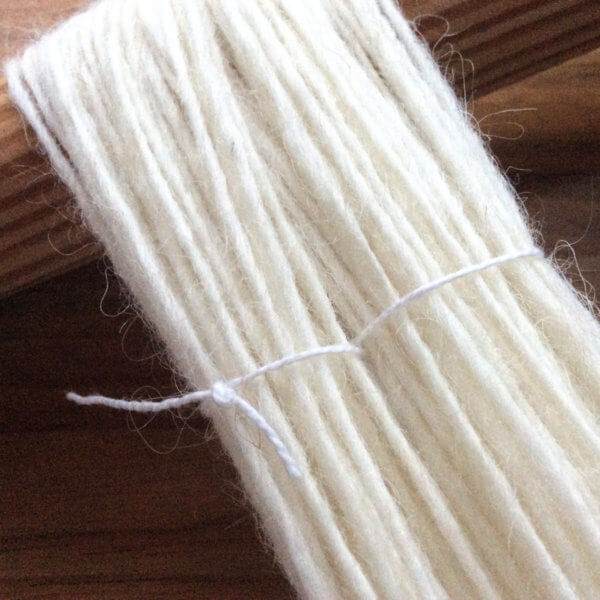
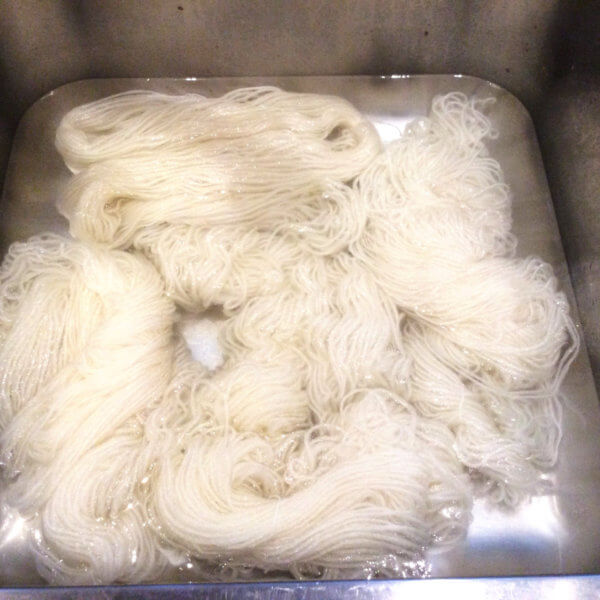
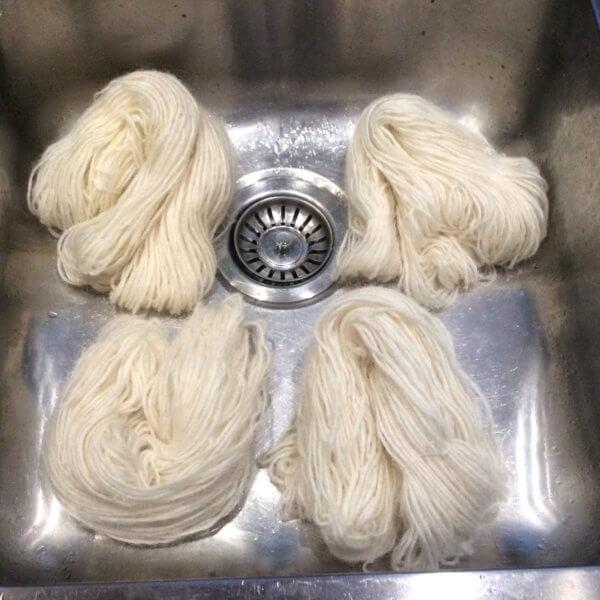
2. To ensure that the skeined yarn does not tangle, tie it together with some waste yarn in several places. Do not tie it too tight, this may prevent the dye from fully penetrating the wool in those spots. I do this as follows four places:
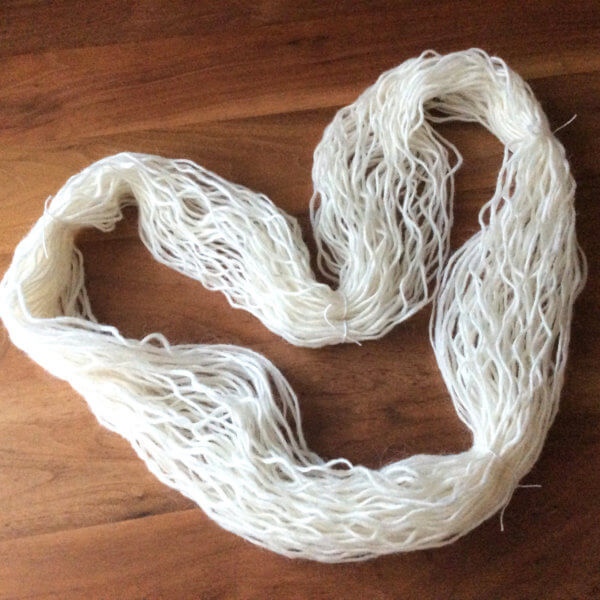
The entire skein then looks like this:
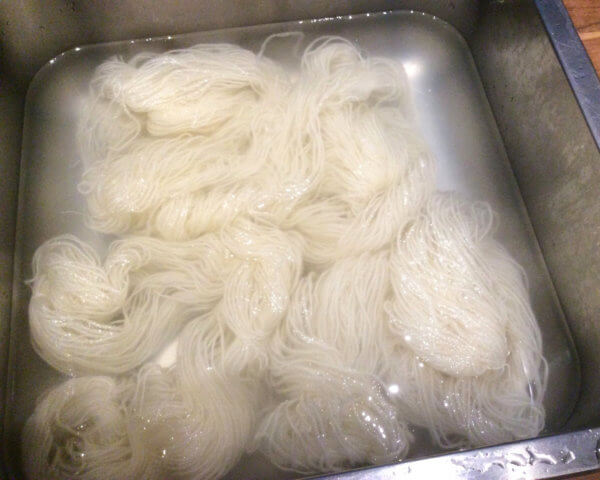
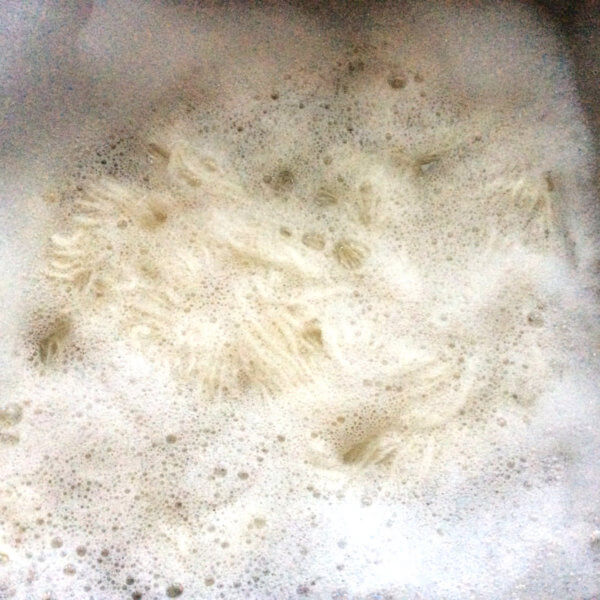
3. Now we go on to the washing! Use water of at least 60 C or 140 F for best results. I use water as hot as it comes out of the tap. If this is not very hot in your case, add a splash of boiling water from the kettle or stove. Add a dash of detergent and then the wool. Use detergent without enzymes, since these would damage the wool. Strongly agitating the wet could felt it, but gentle stirring should not be a problem.
Allow the wool to stand for about 15 to 20 minutes, but don’t let it cool down completely. Any lanolin dissolved in the water could then precipitate again on the wool.
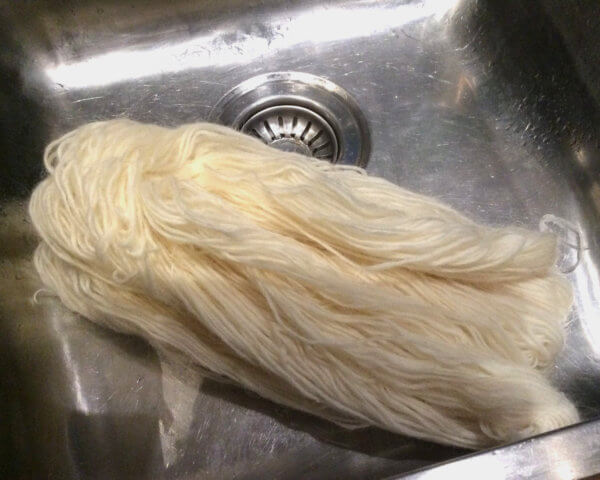
4. Now it’s time to rinse the wool with warm water. Do not rinse with cold water, a big difference in temperature from hot to cold can felt your wool!
After rinsing it is time to proceed to the next step: mordanting the wool. More on this in my next post!

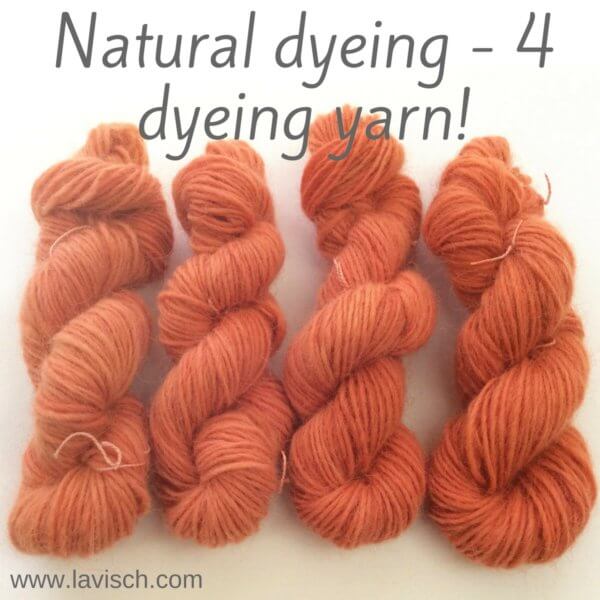

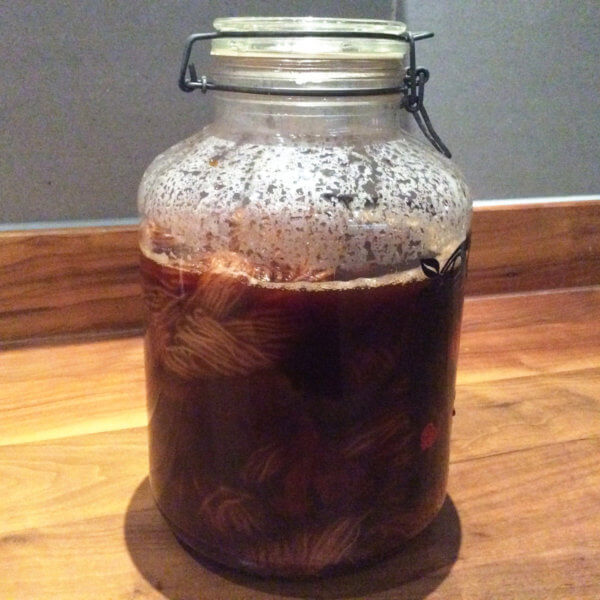
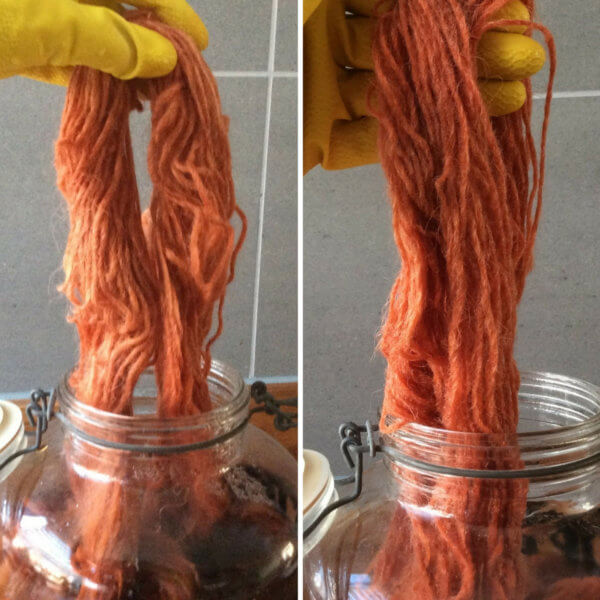
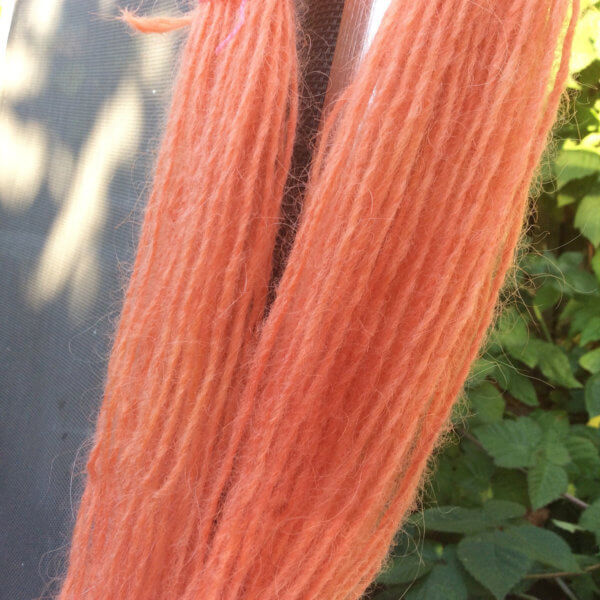
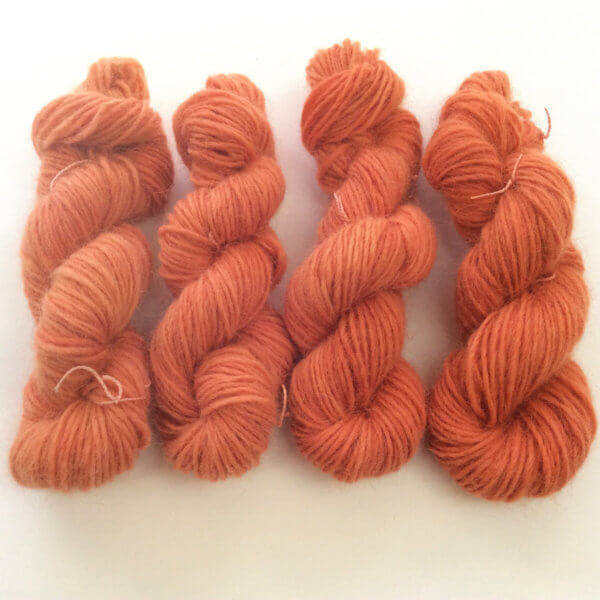
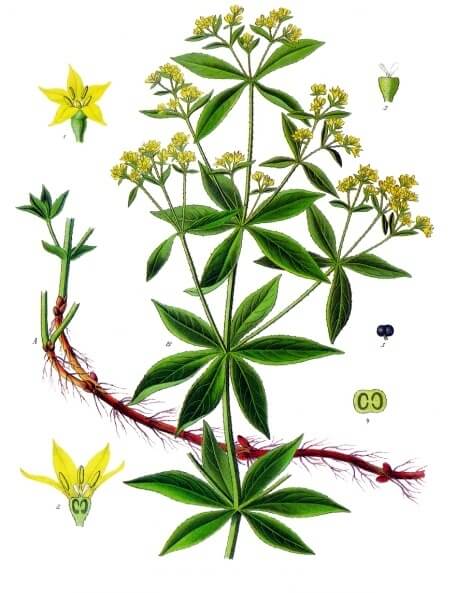 Madder (Rubia tinctorum) has been used as a dye for many thousands of years. The reason? It is one of the most light-resistant red dyes of natural origin. It was and is used for the coloring of textiles and leather. In the fifteenth century, the Netherlands was the main producer of the madder. Particularly in Zeeland there were many fields of madder plants in the 19th century. At least until synthetic dyes became available.