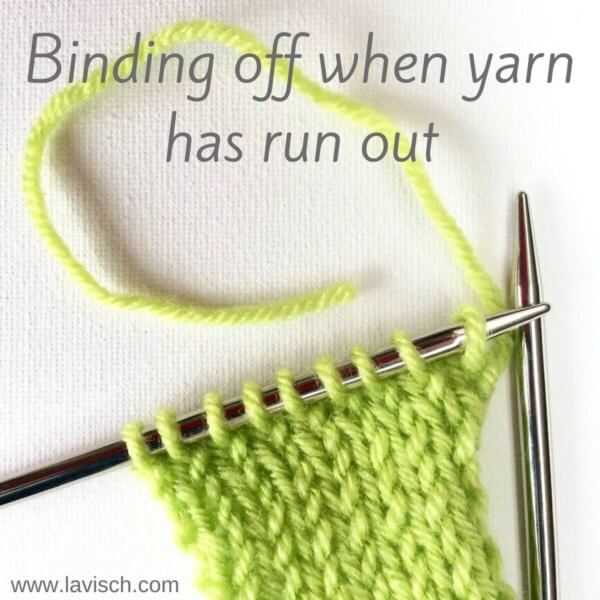
tutorial: crochet provisional cast on

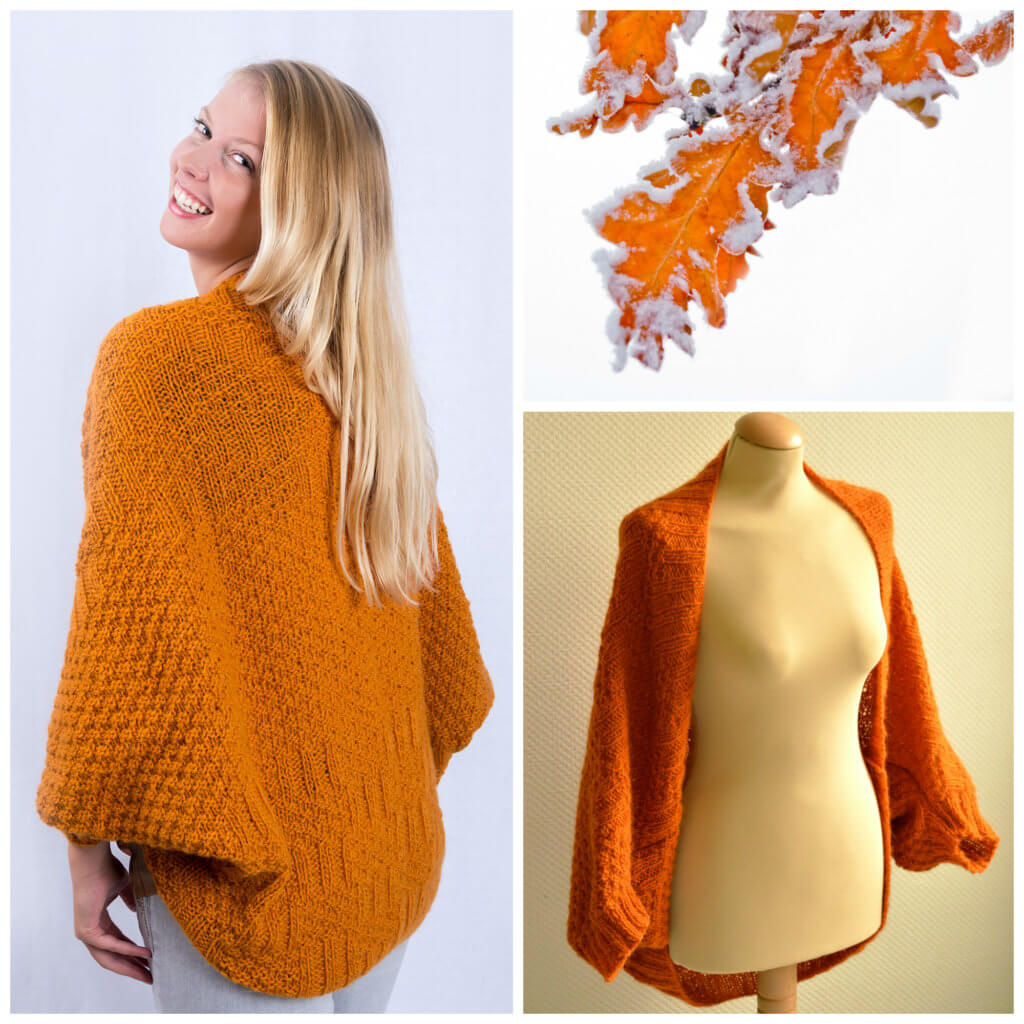
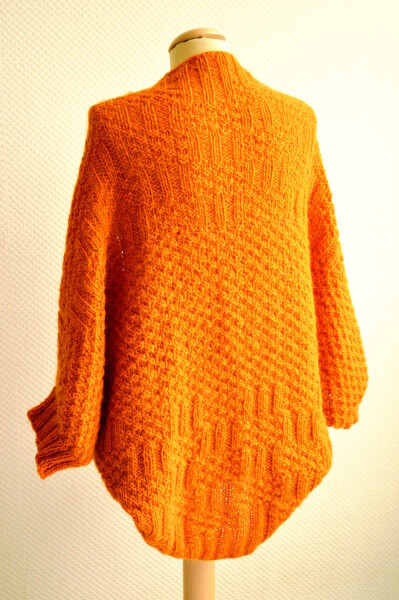
A provisional cast on is a way to make it possible to “release” the initially cast on stitches and knit with them in the other direction of the piece. This can be very useful, for example when knitting a completely symmetrical stole. Most cast ons have a different look than the bind off, but when completely avoiding a visible cast on, both ends will have exactly the same bind off look.
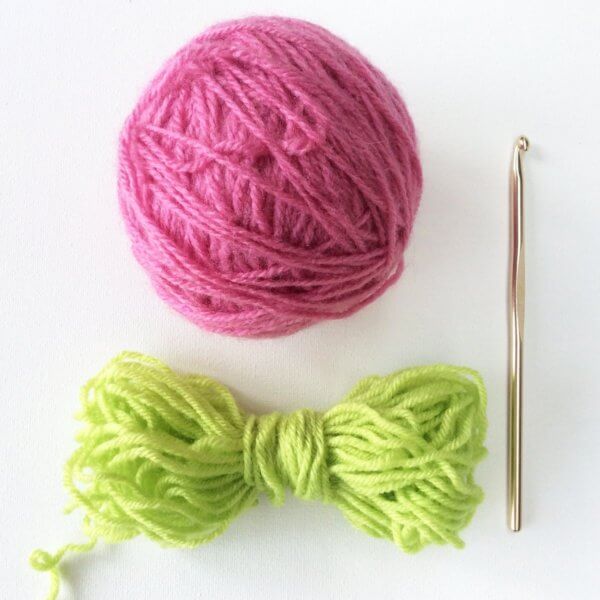
I really like the crochet provisional cast on, because it is also very simple and can be undone quickly. Besides the yarn for your project, you will also need a length of (smooth) waste yarn in a contrasting color and a crochet hook.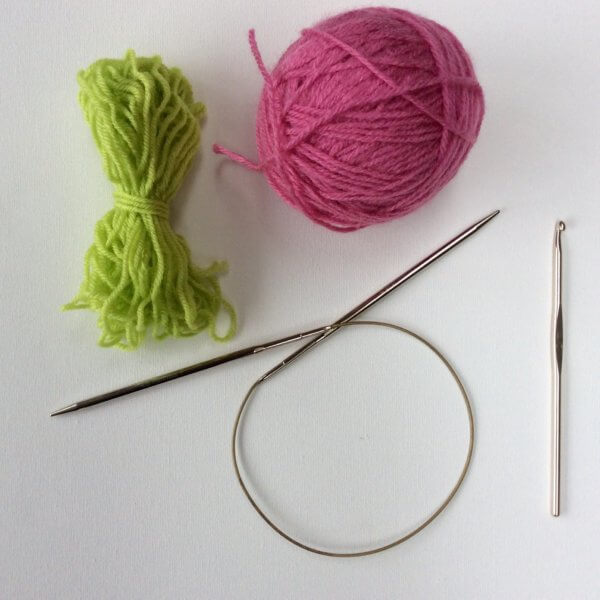
Crochet provisional cast-on step by step
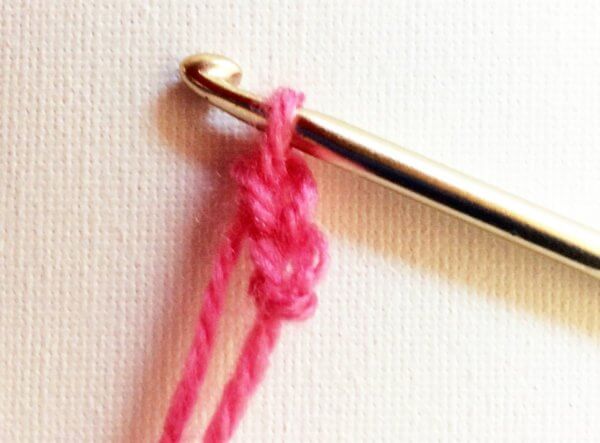
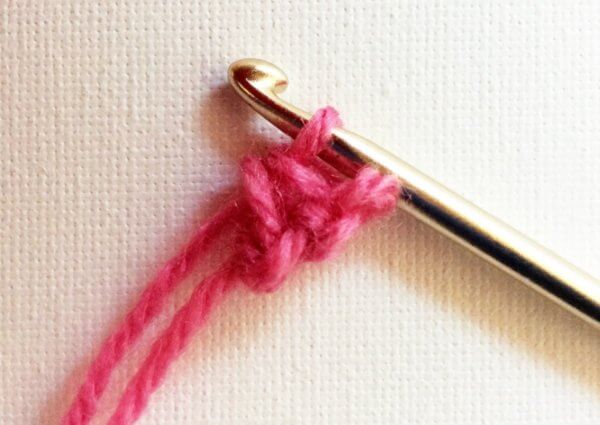
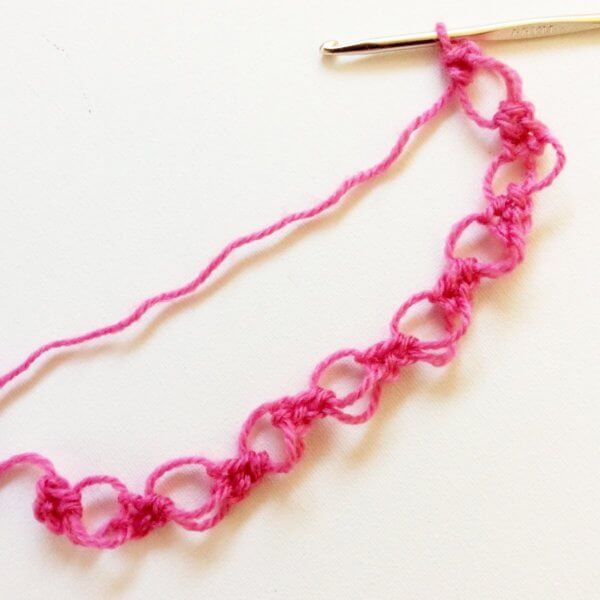
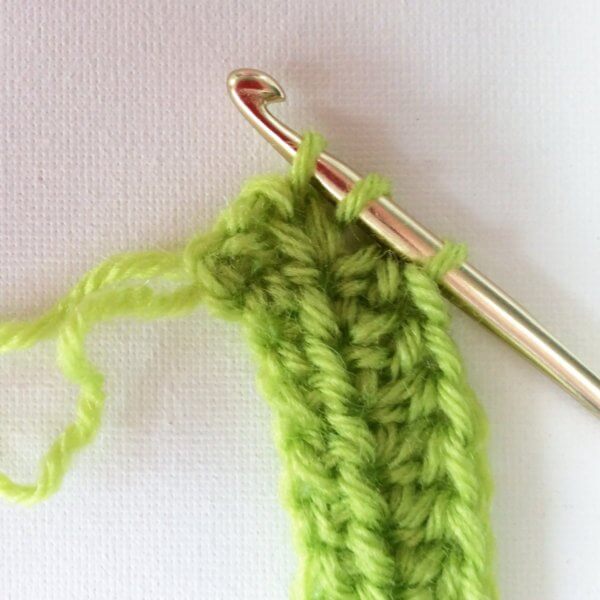
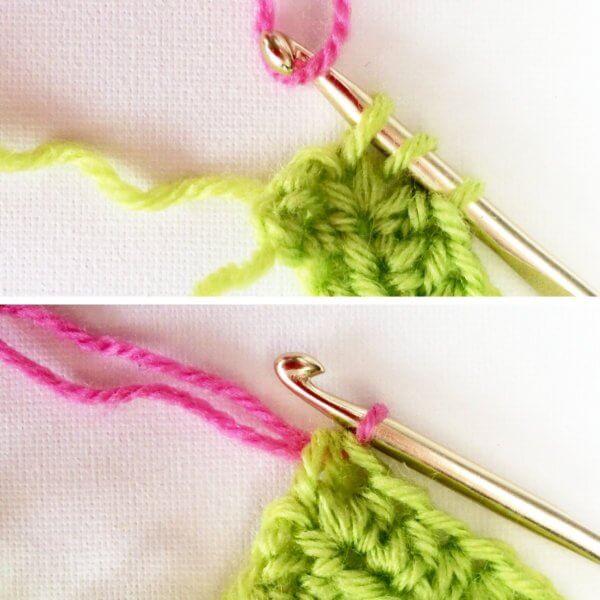
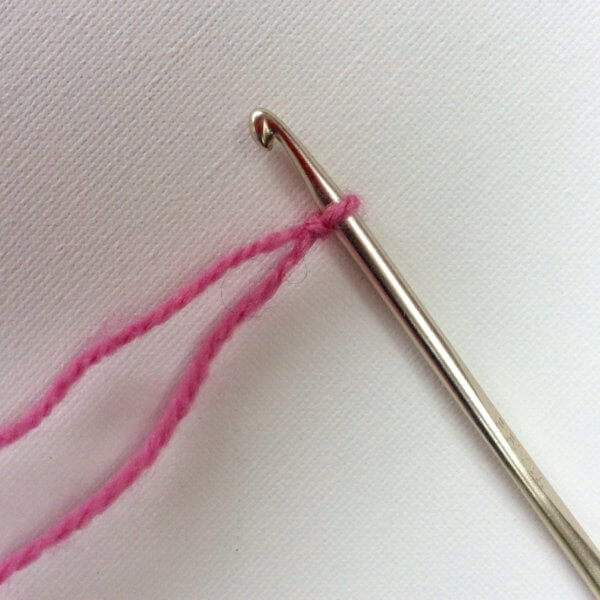
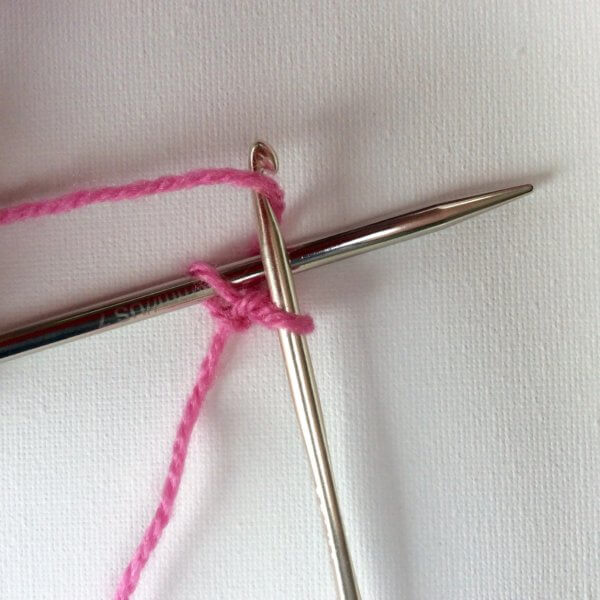
1. Make slipknot with the waste yarn (pink in the example) and place it around the hook.
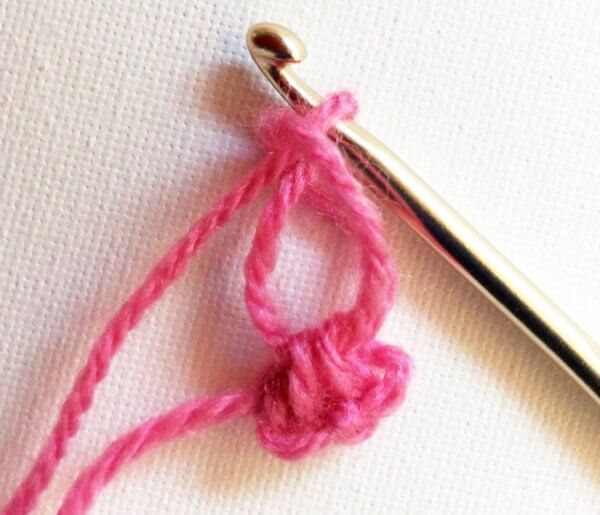
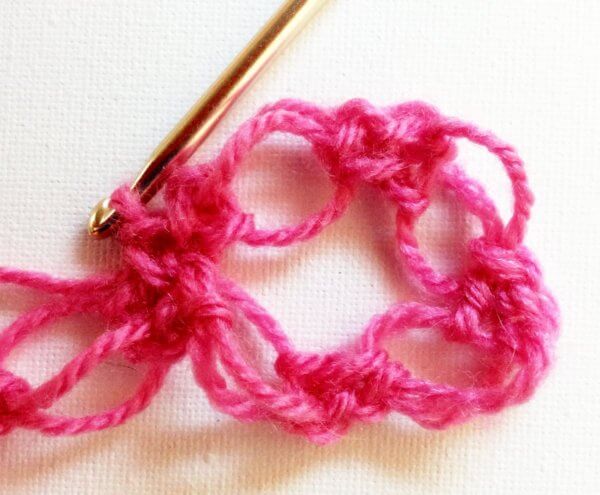
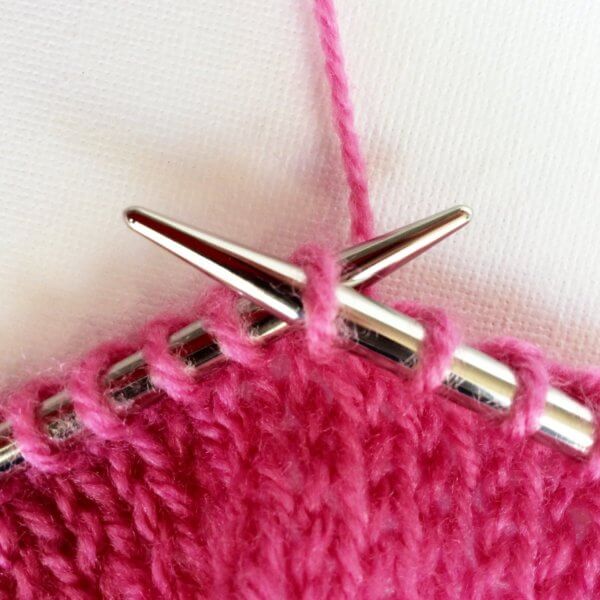
2. Get your knitting needle and put it on the piece of yarn as pictured and pull up a loop through the loop on the hook. This is actually pretty similar to crochet a slip stitch around the knitting needle.
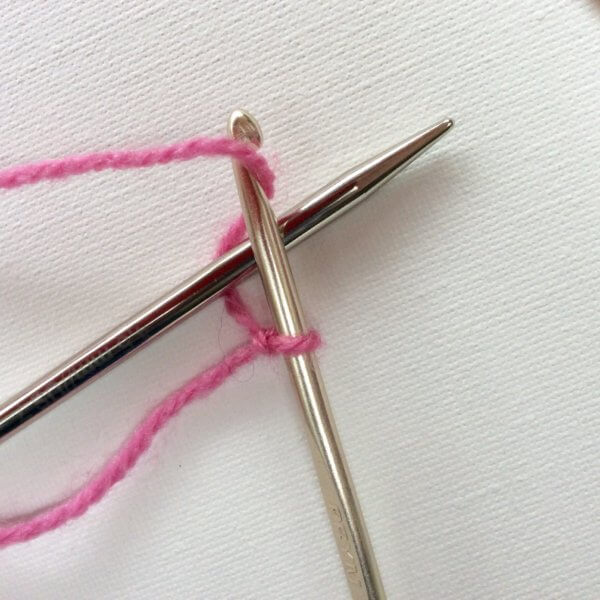
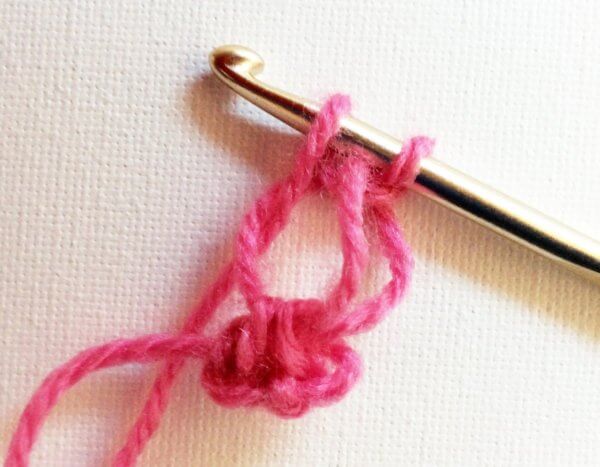
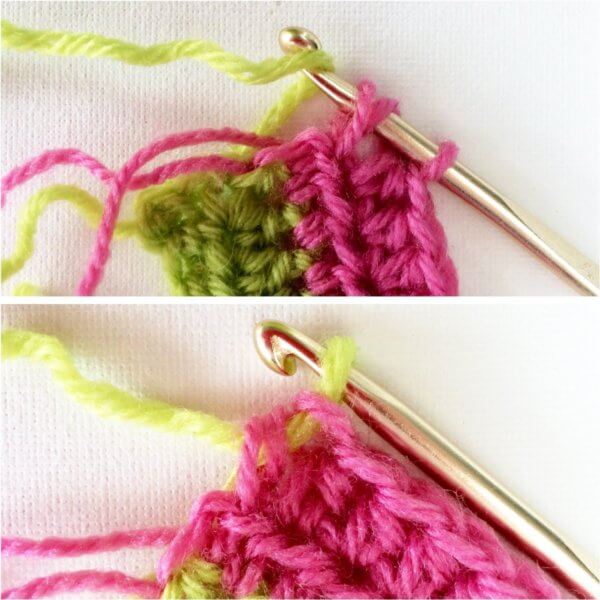
3. Wrap the yarn around the knitting needle again and make another slip stitch around the needle.
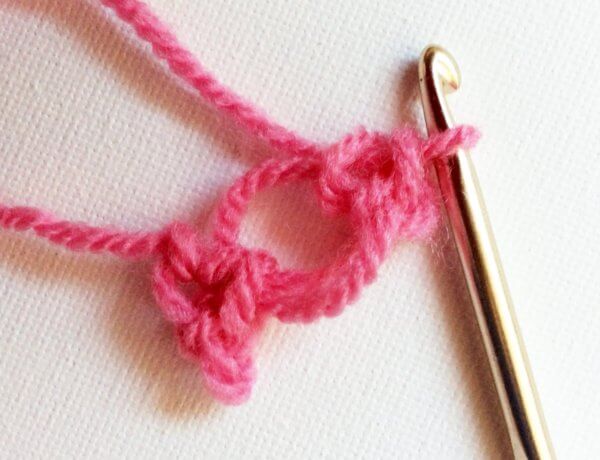
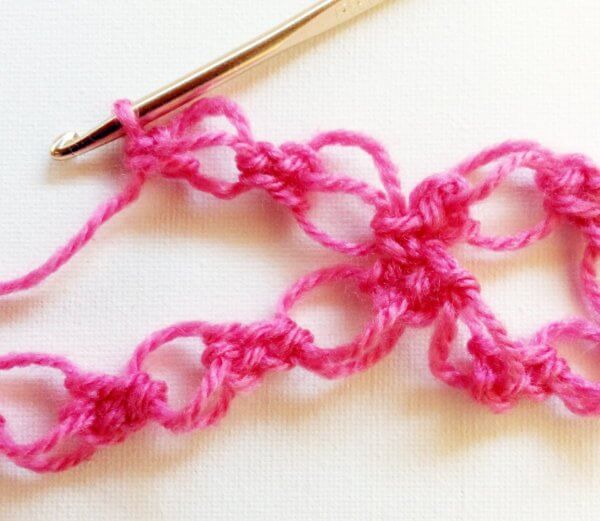
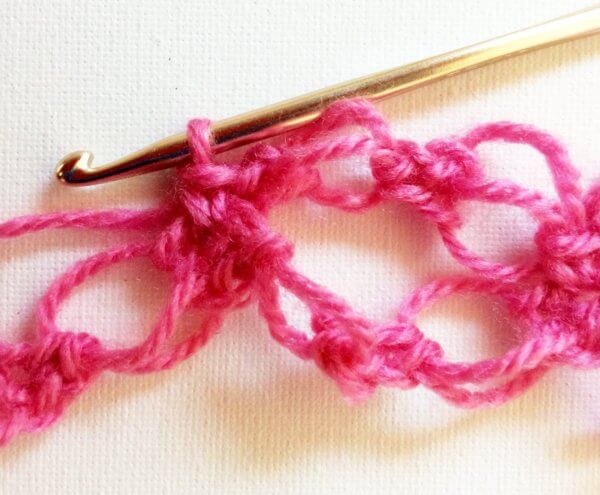
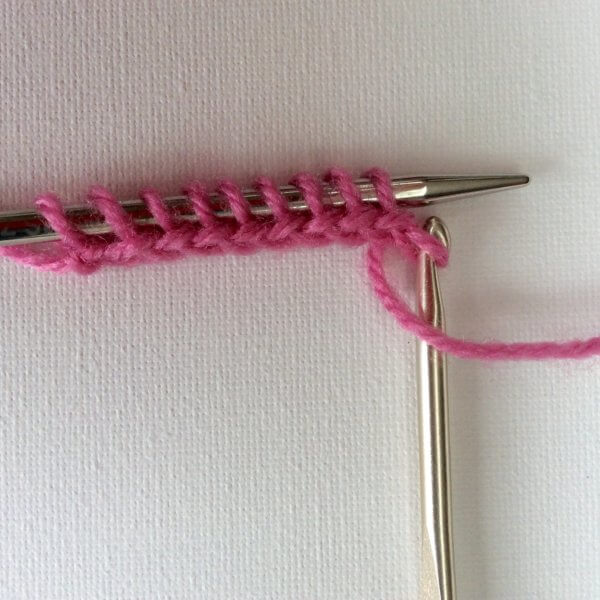
4. Repeat this until you have made the desired number of stitches (loops) on the knitting needle.
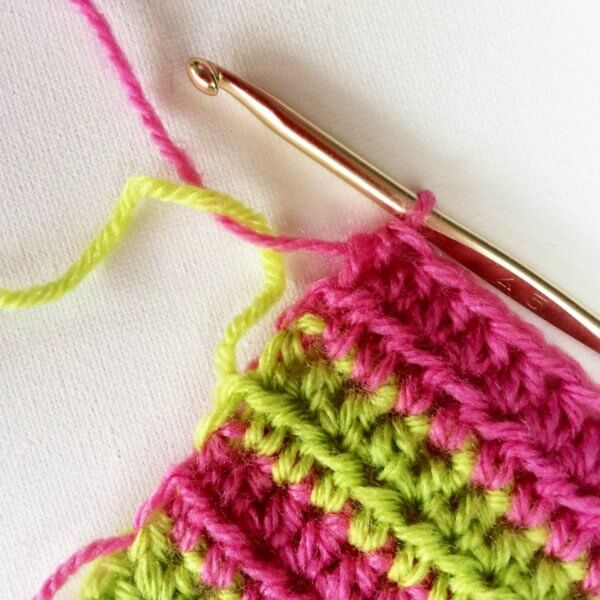
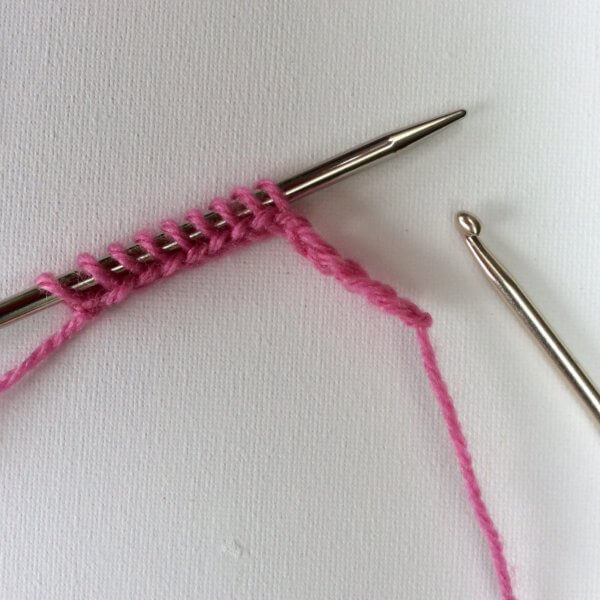
5. Next, crochet a small chain of about five stitches, break the yarn and pull the yarn tail through the last stitch.
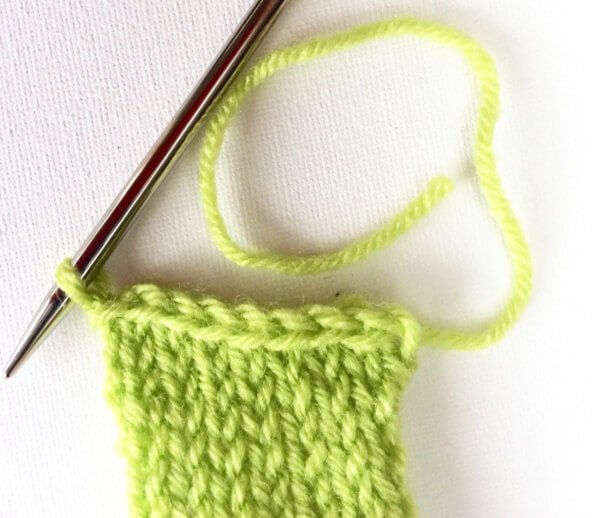
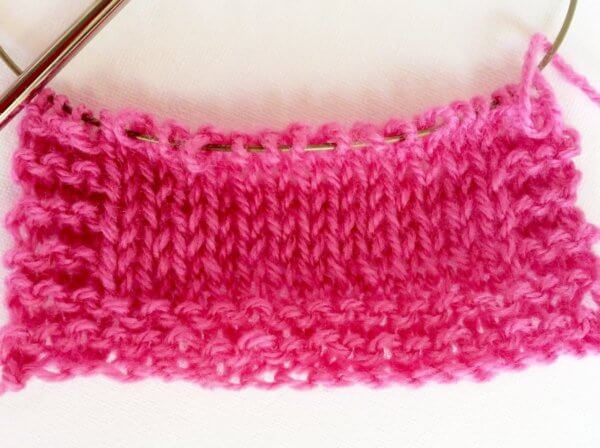
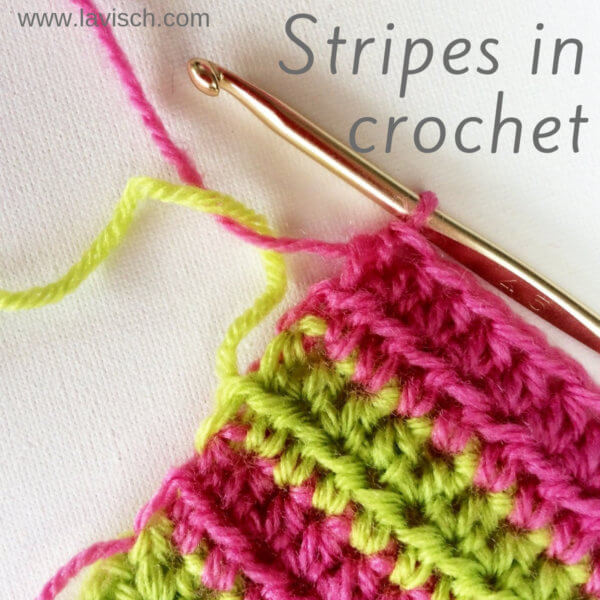
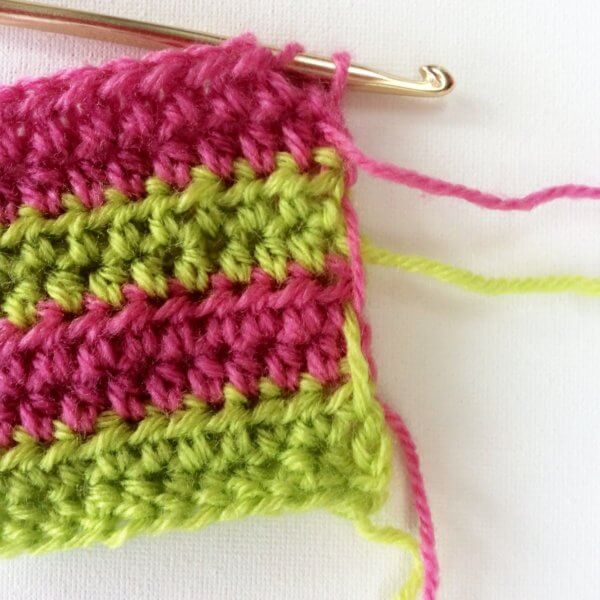
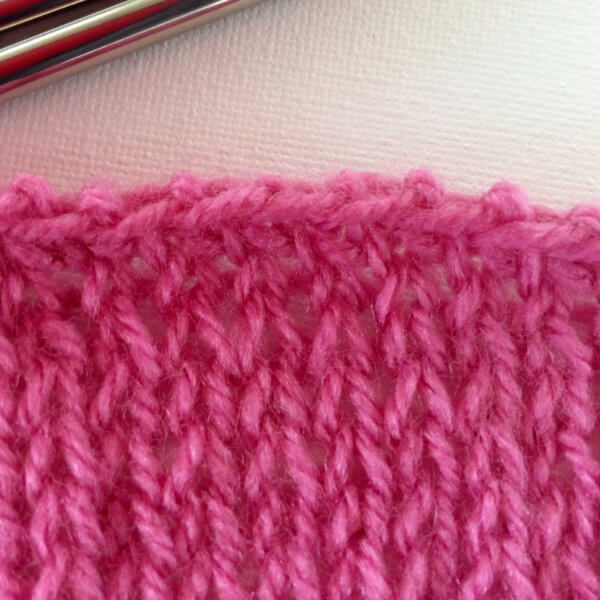
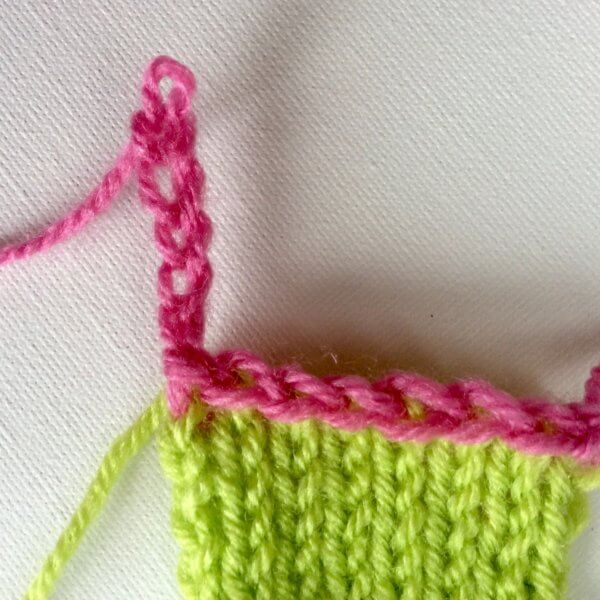
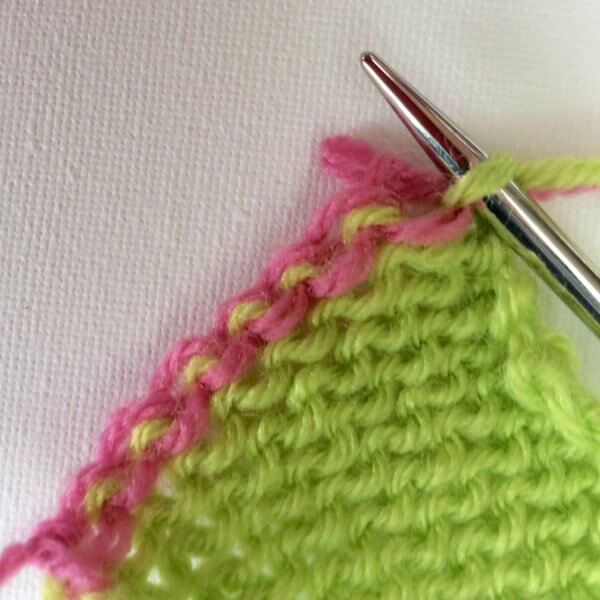
Now you can start your knitting project with the good yarn, using the temporary stitches on the needle. In the example after the temporary set-up I started with a small swatch of green.
Undoing the crochet provisional cast-on
The whole idea of a provisional cast on is of course that this is a temporary cast on. In the next couple of steps I will show you how to undo the cast on and free up the stitches for further knitting.
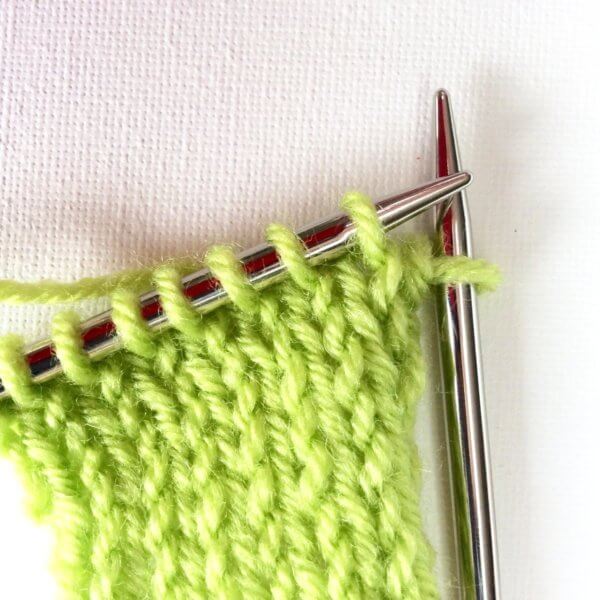
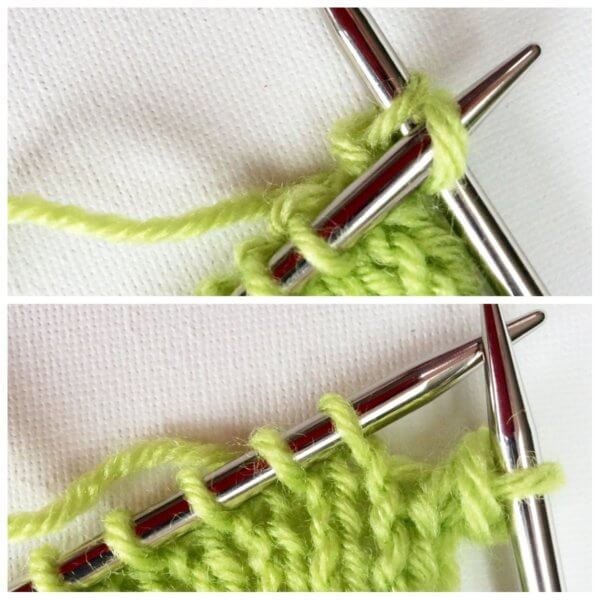
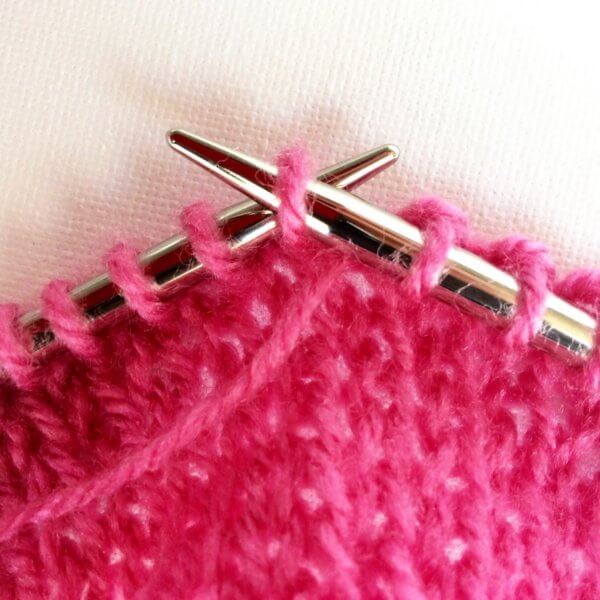
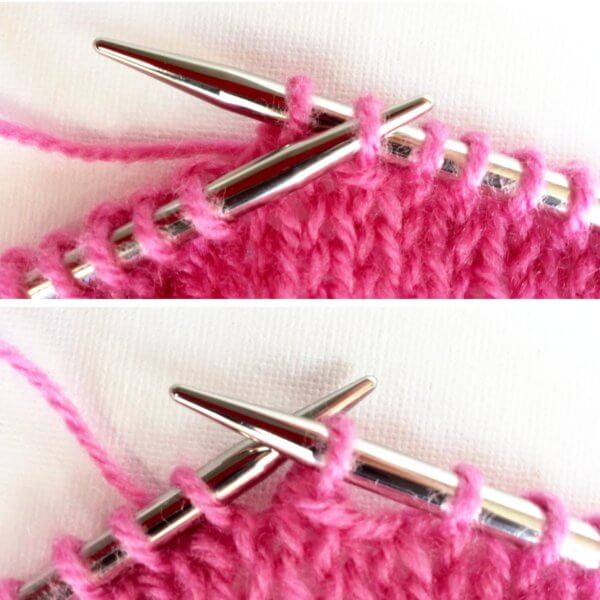
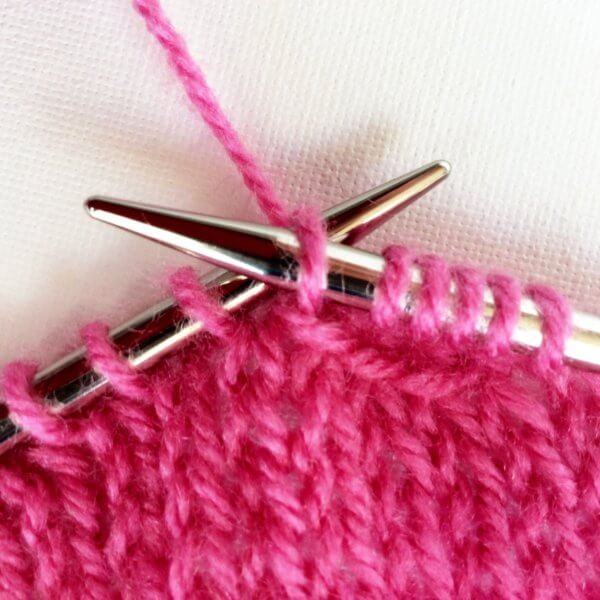
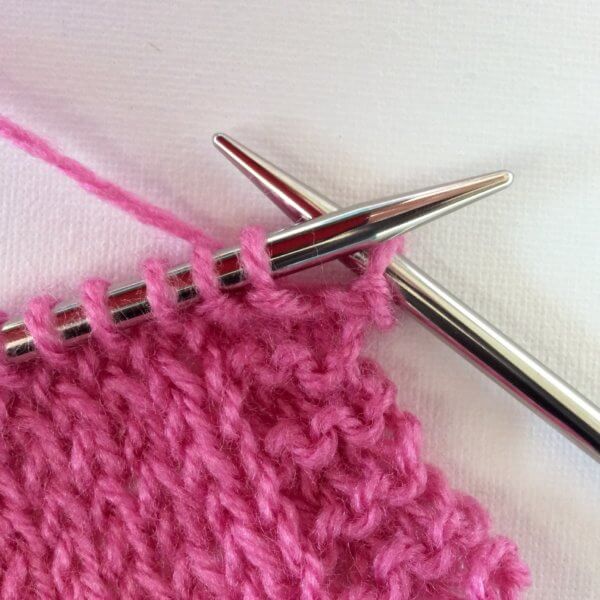
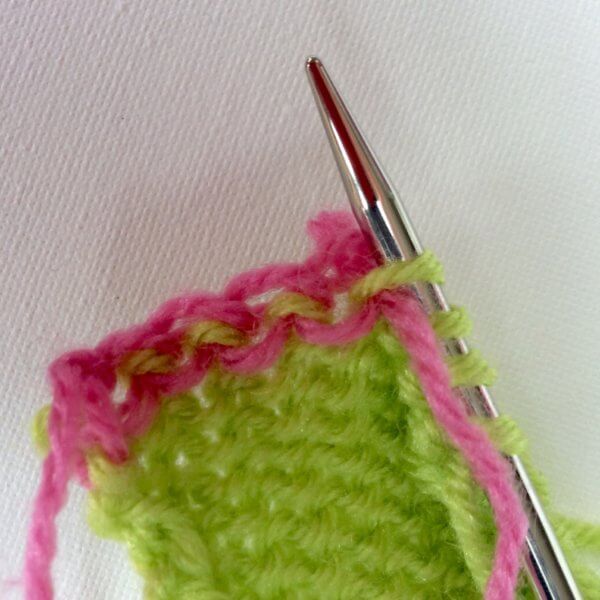
6. The side where you have created the crocheted chain, is the beginning. Loosen the yarn tail again and gently pull out the stitches of the chain.
7. Once a stitch of the project itself is released, catch it with your knitting needle. Note: In this example, I catch the stitches from the wrong side of the work from bottom to top. This releases the stitches in such a manner that their orientation on the needle will be twisted. If you catch the stitches from top to bottom instead, the orientation of the stitches will be as usual.
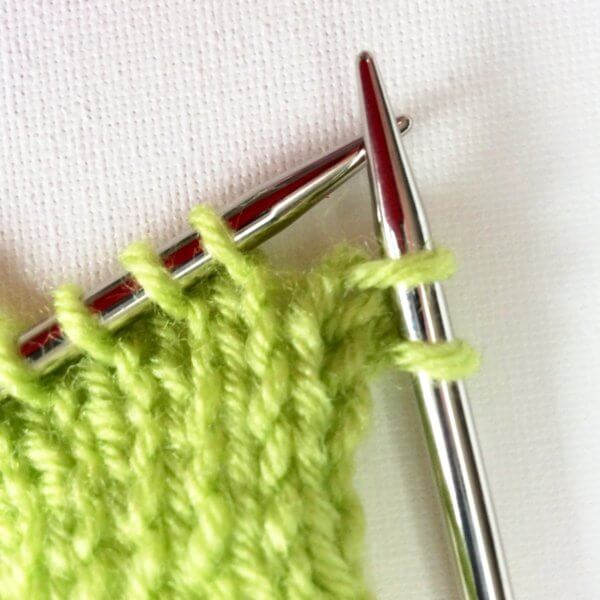
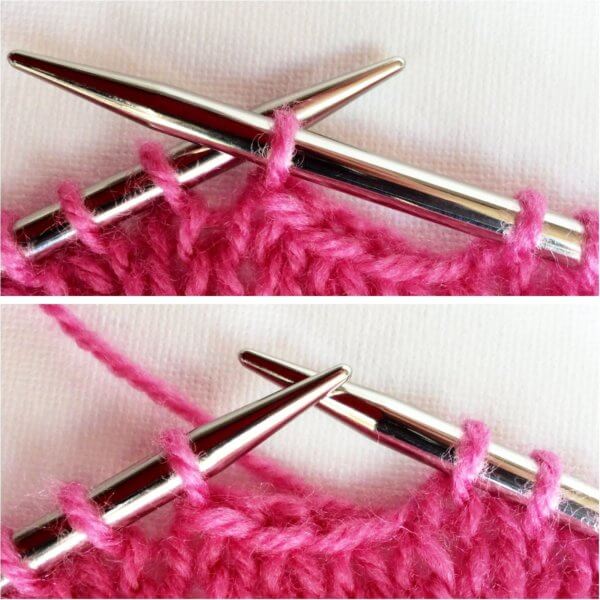
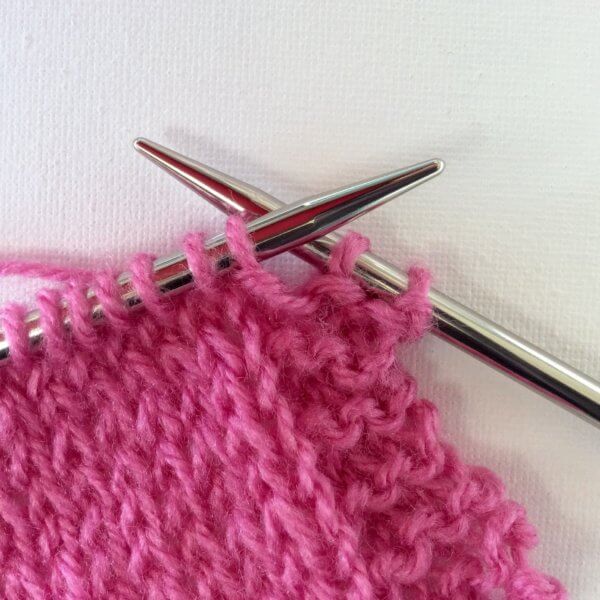
8. Pull for each stitch the waste yarn a bit more out of the work.
9. The last stitch might look like a weird half kind of stitch. Count your stitches to be sure that you have the correct number.
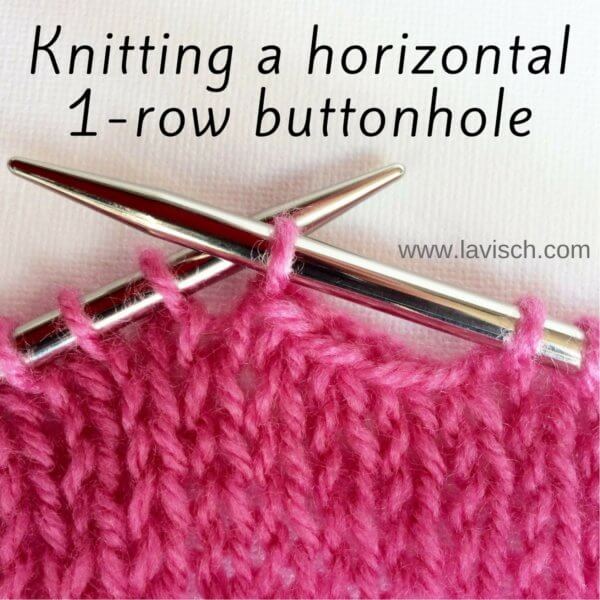
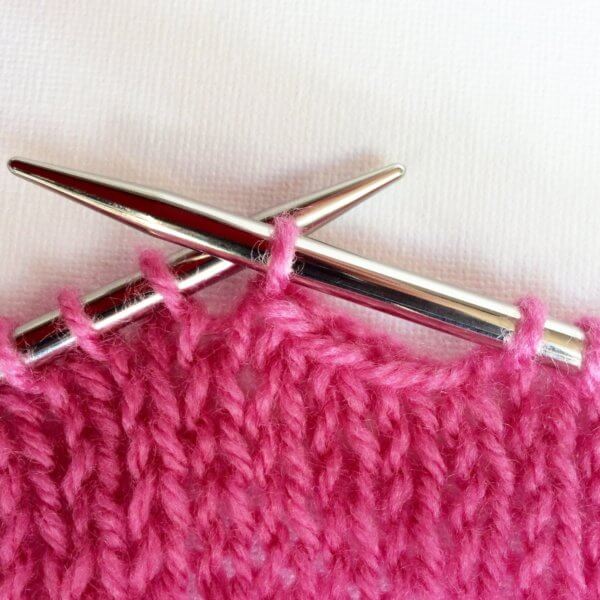
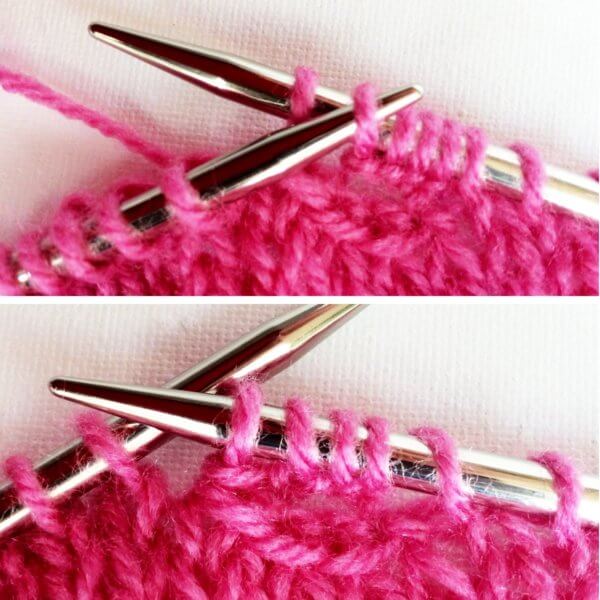
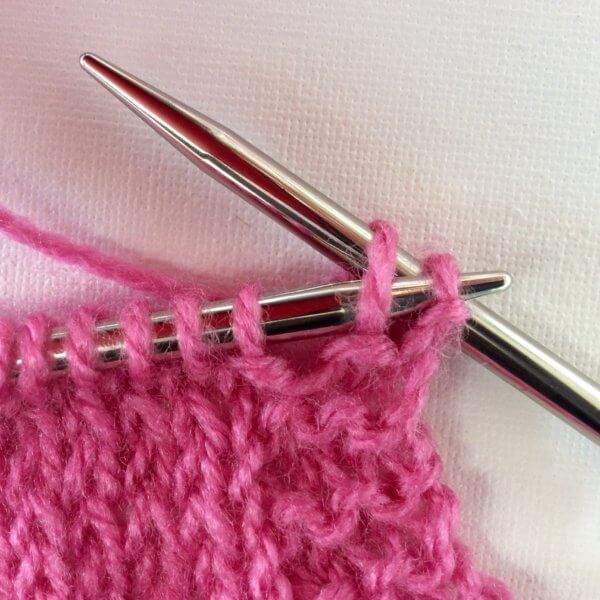
Now you can continue knitting on this side of the piece! Take care to see whether the stitches are positioned normal or twisted:
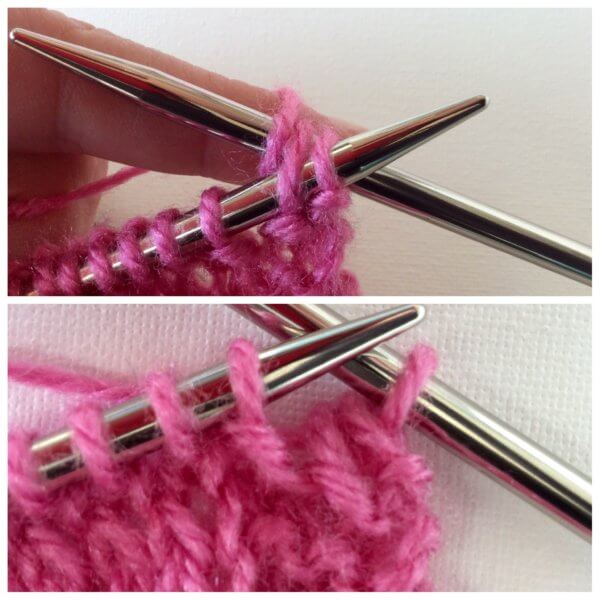
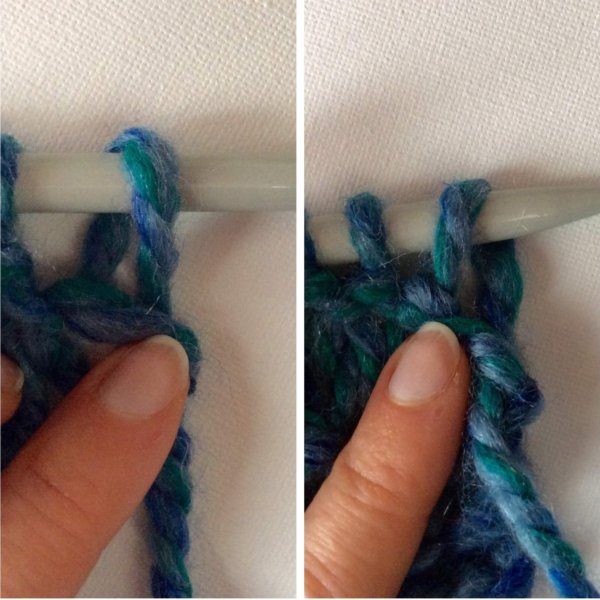 Left in this picture is the regular orientation, on the right, there is a twisted stitch on the needle. This is no problem though: Just knit (or purl) the twisted stitch through the back loop to untwist the stitch mount.
tutorial: crochet provisional cast on Read More »