tutorial: Russian bind-off on the purl side
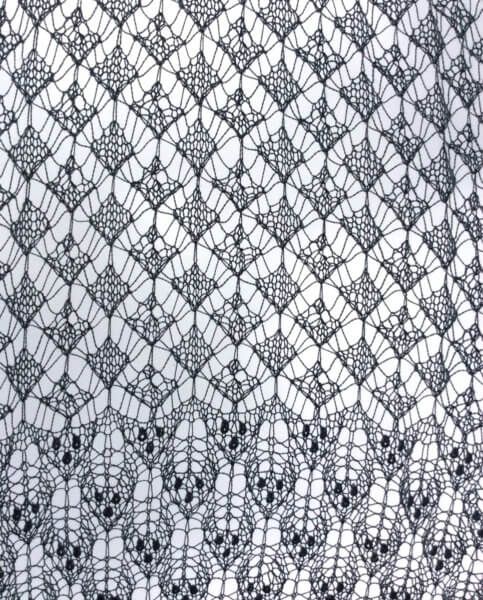
In a previous post I have shown you my favorite method of binding off: The Russian bind-off method. This is a very elegant way to bind-off your knitting project to get a very elastic edge on your piece. This is often important to me, because I knit a lot of lace shawls. Knitted lace usually shows its beauty best when it has been gently washed and blocked out. This is only possible if the edge has plenty of stretch.
But what if you need to cast off from the wrong side of the work? Think of a situation that you don’t have enough yarn to knit another row before binding off. In such a case, it is nice to know that you can also bind-off the Russian way on the wrong or purl side of your work!
In short instructions for a Russian bind-off on the purl side may look like this:
Russian bind-off on the WS: *P2tog, slip stitch from right-hand back to the left-hand needle; repeat from * to end.
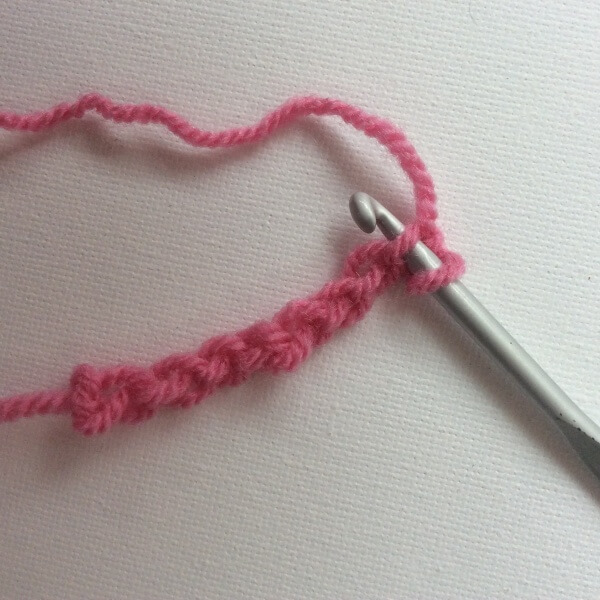
The Russian bind-off on the purl side step-by-step
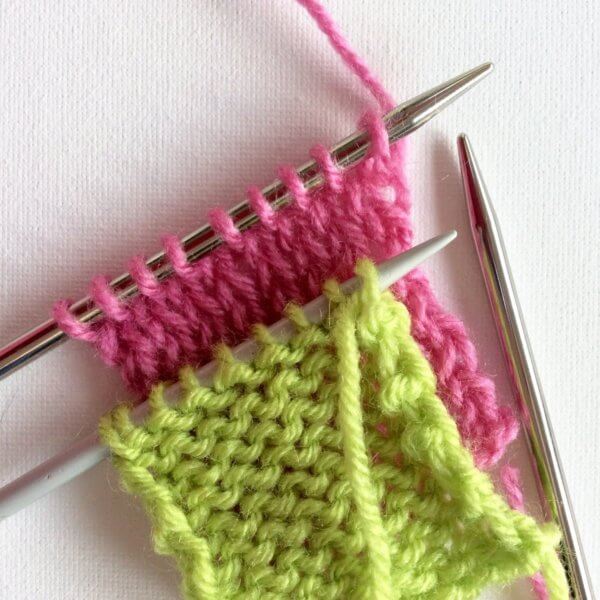
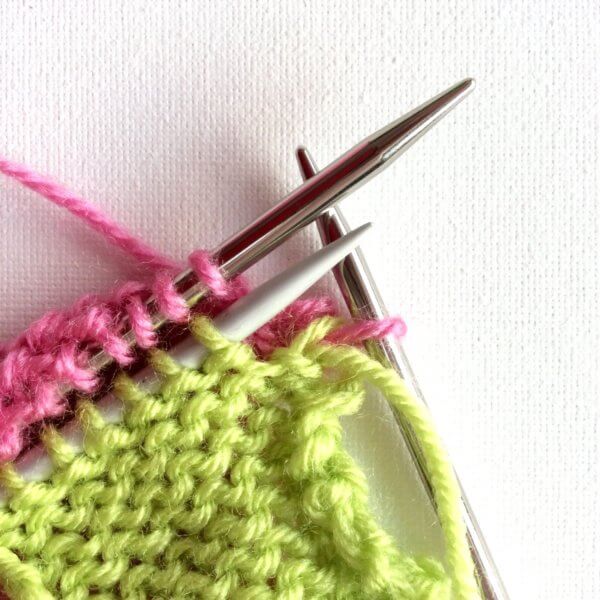
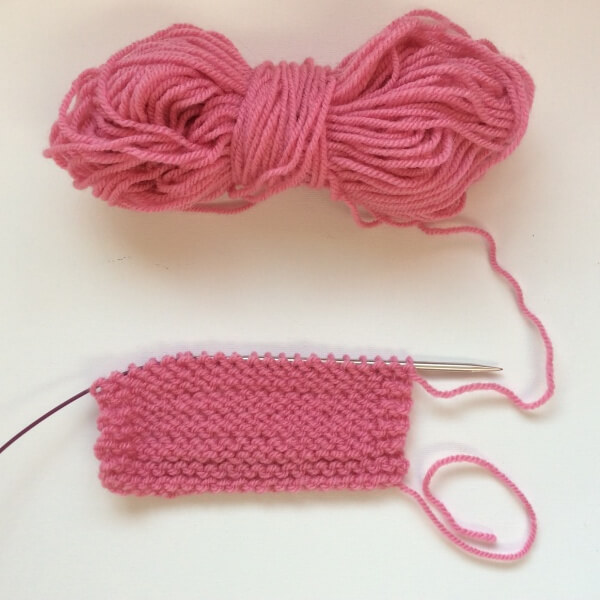
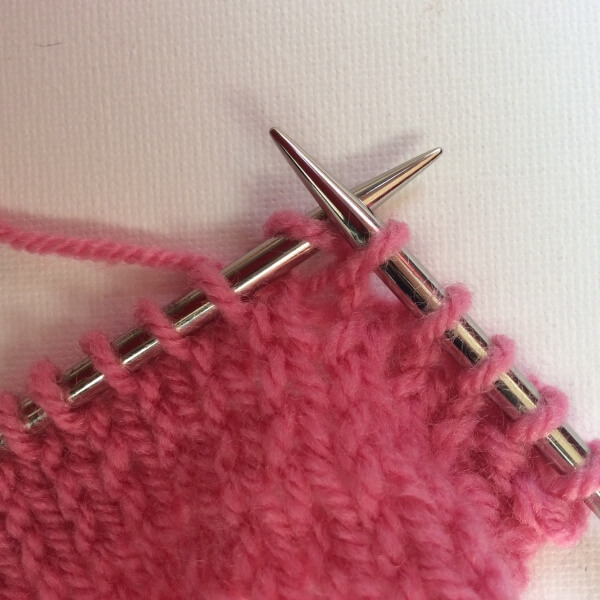
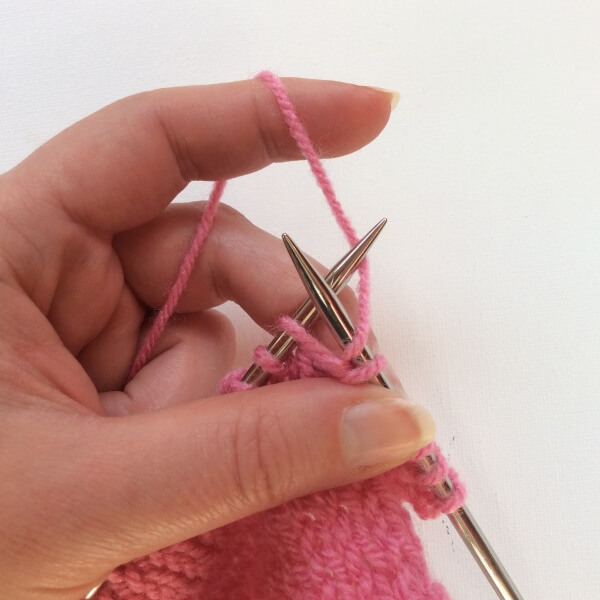
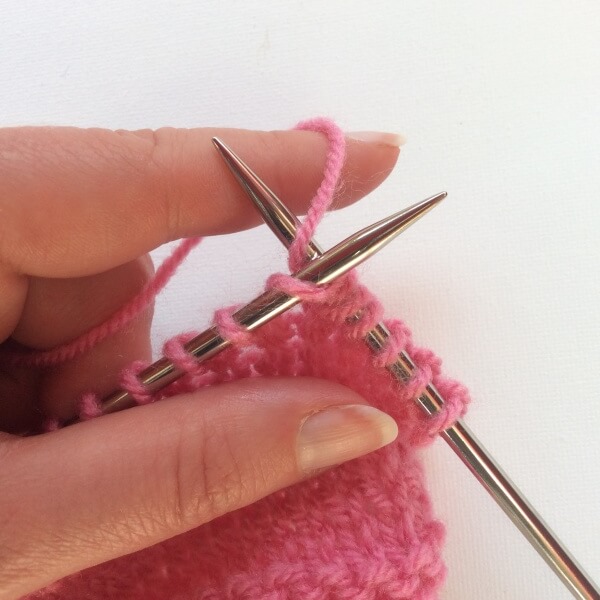
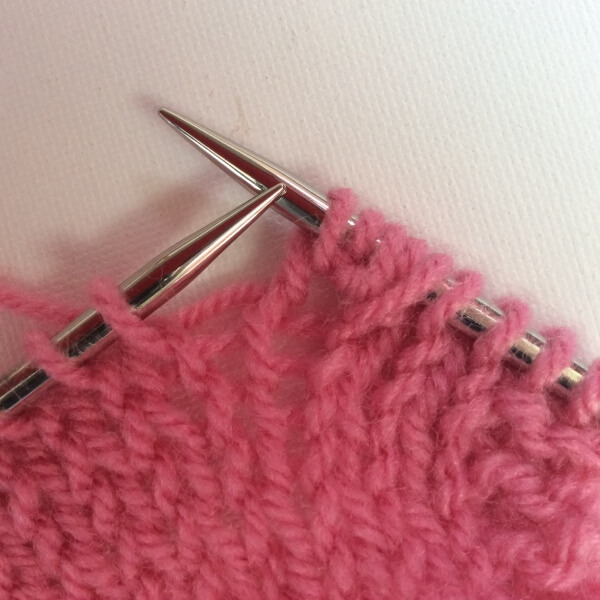
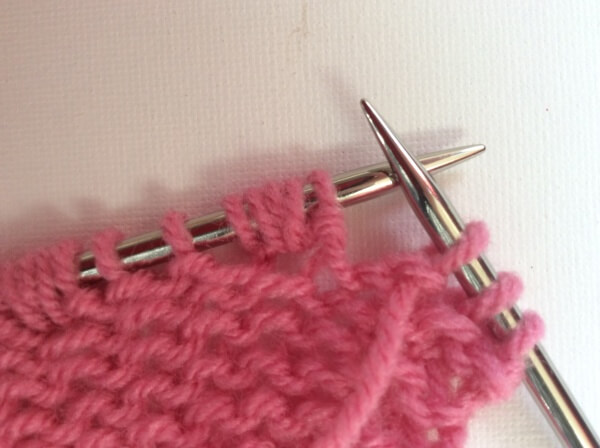
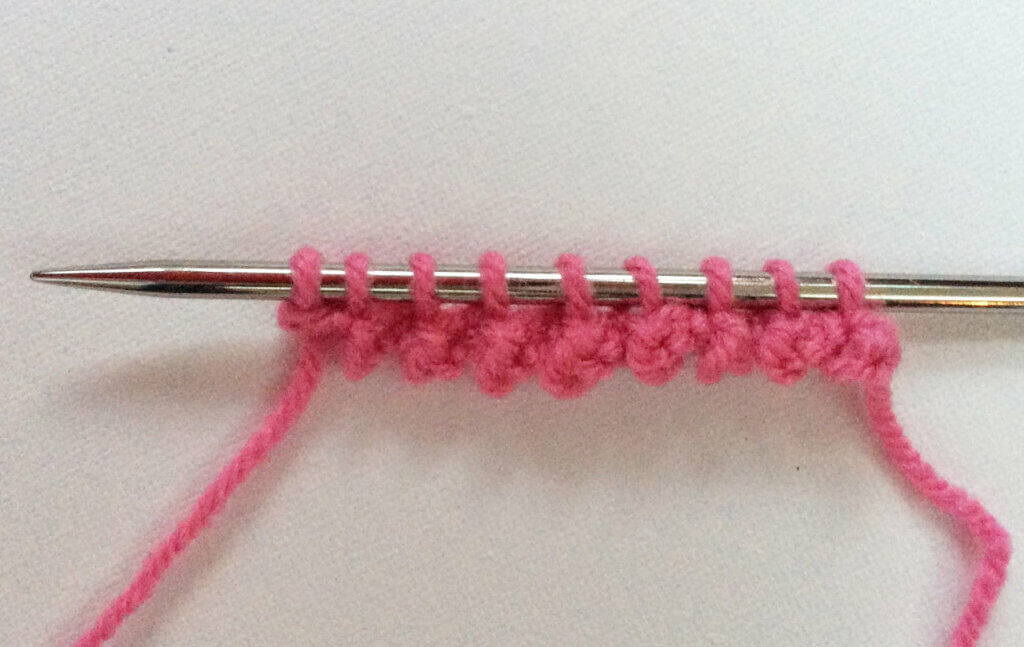
For this tutorial I have prepared a little swatch to bind off:
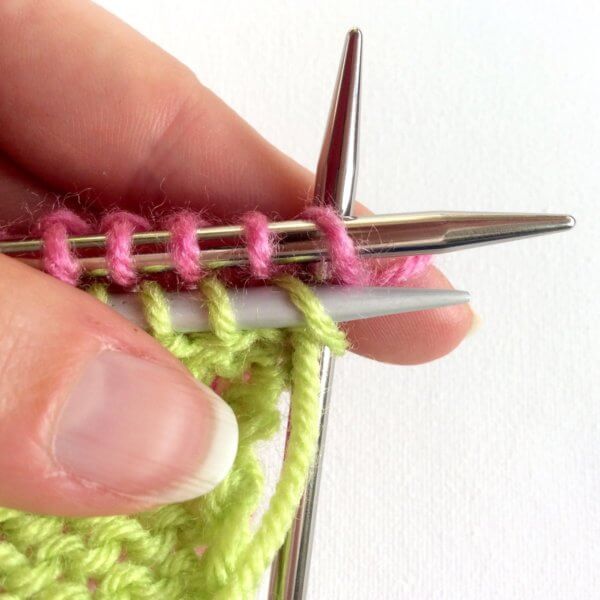
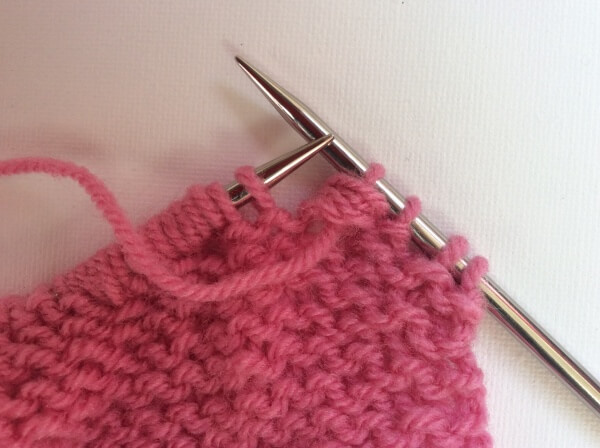
1. Purl the first 2 stitches together.
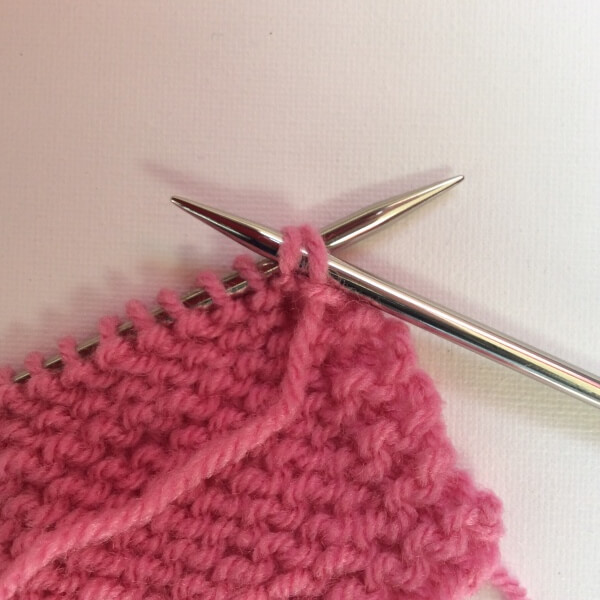
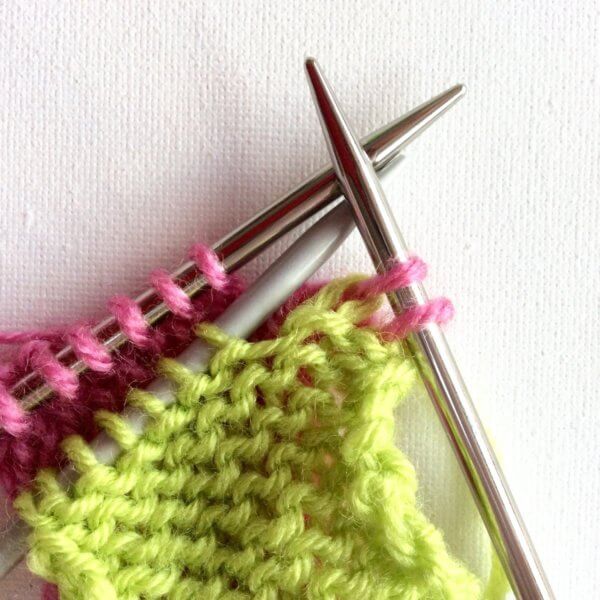
2. Slip the new stitch on right hand needle back to the left hand needle.
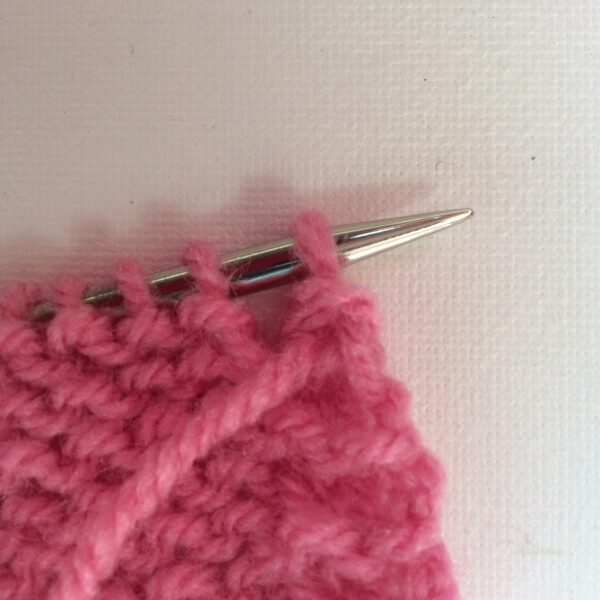
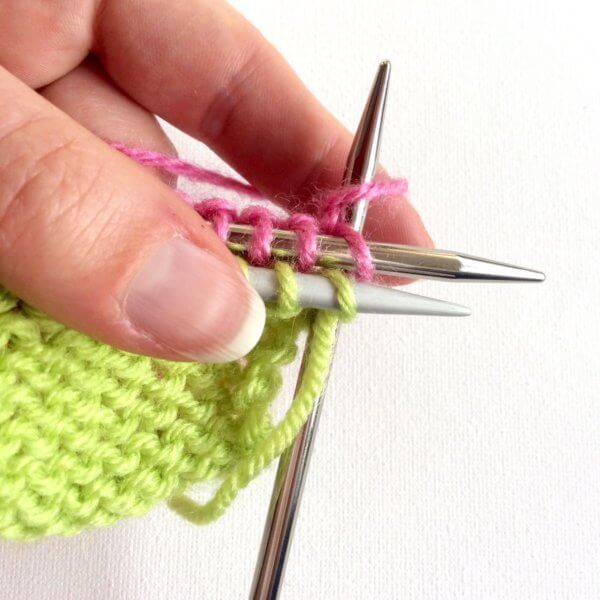
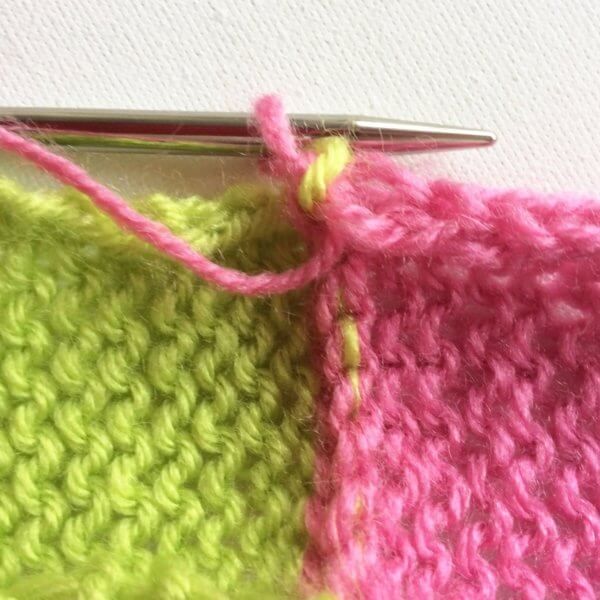
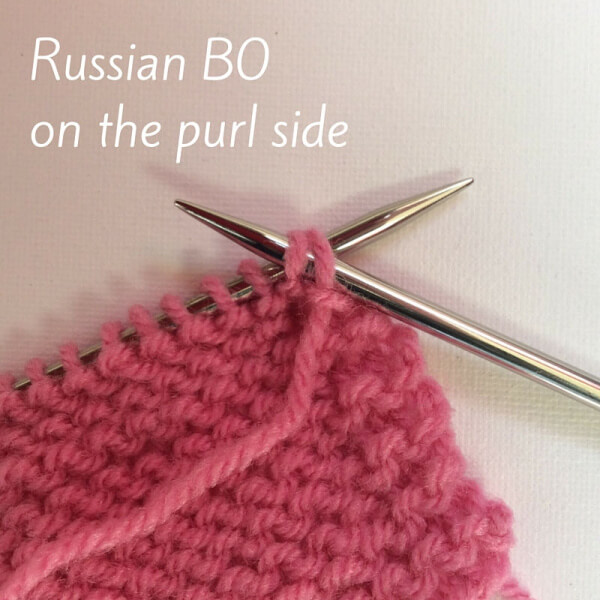
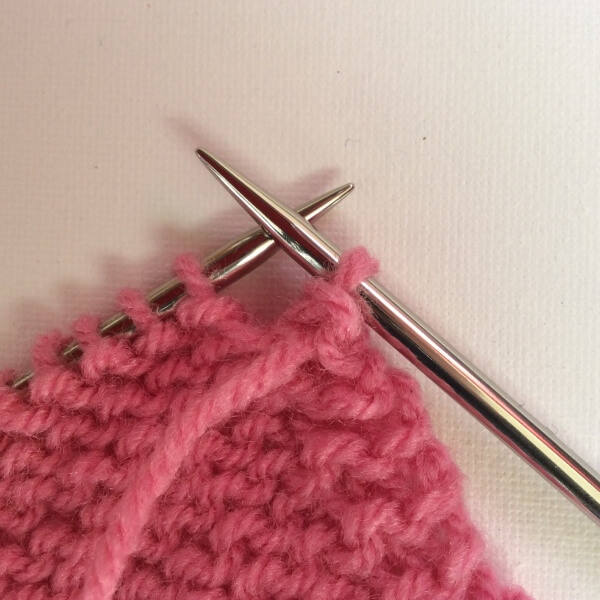
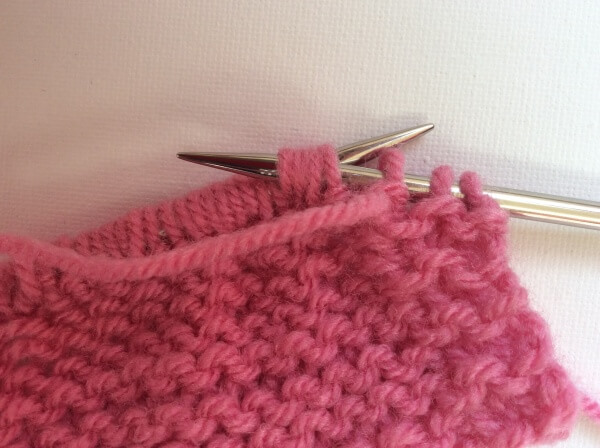
3. Repeat steps 1 and 2 until all stitches have been worked. On the wrong side of the work this will look as follows:
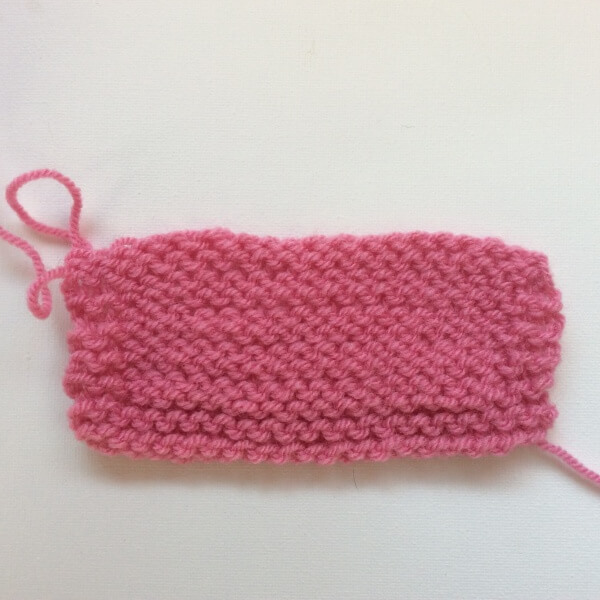
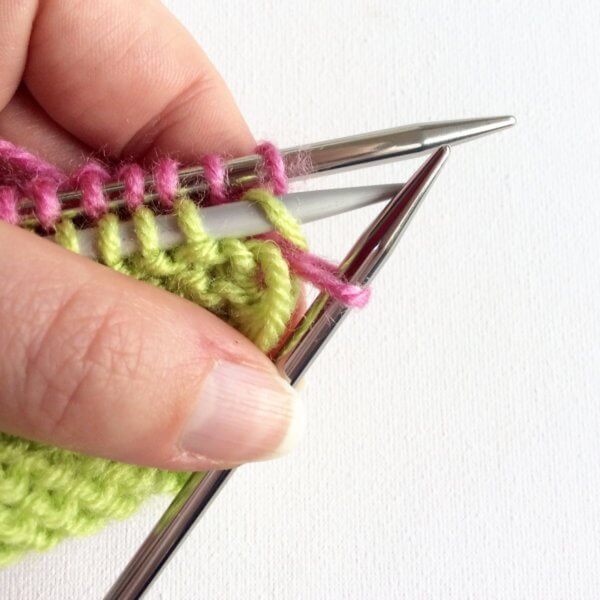
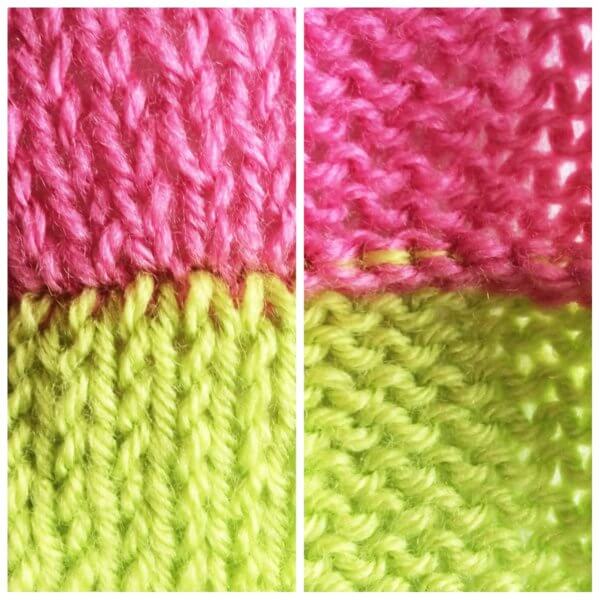
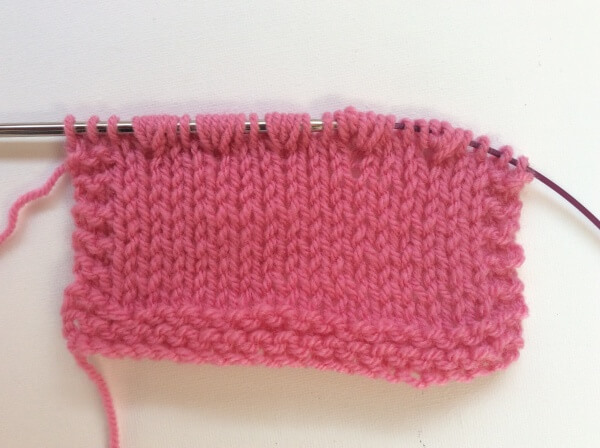
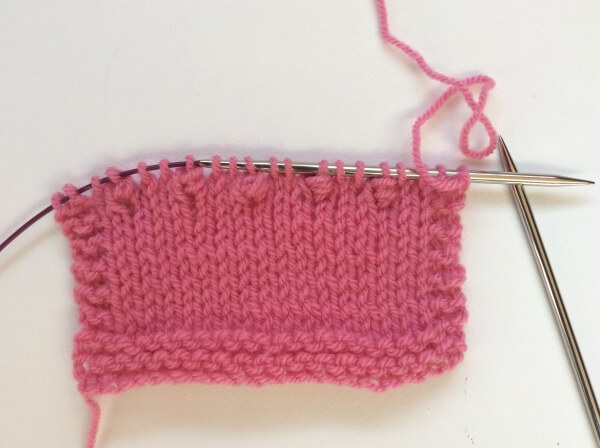
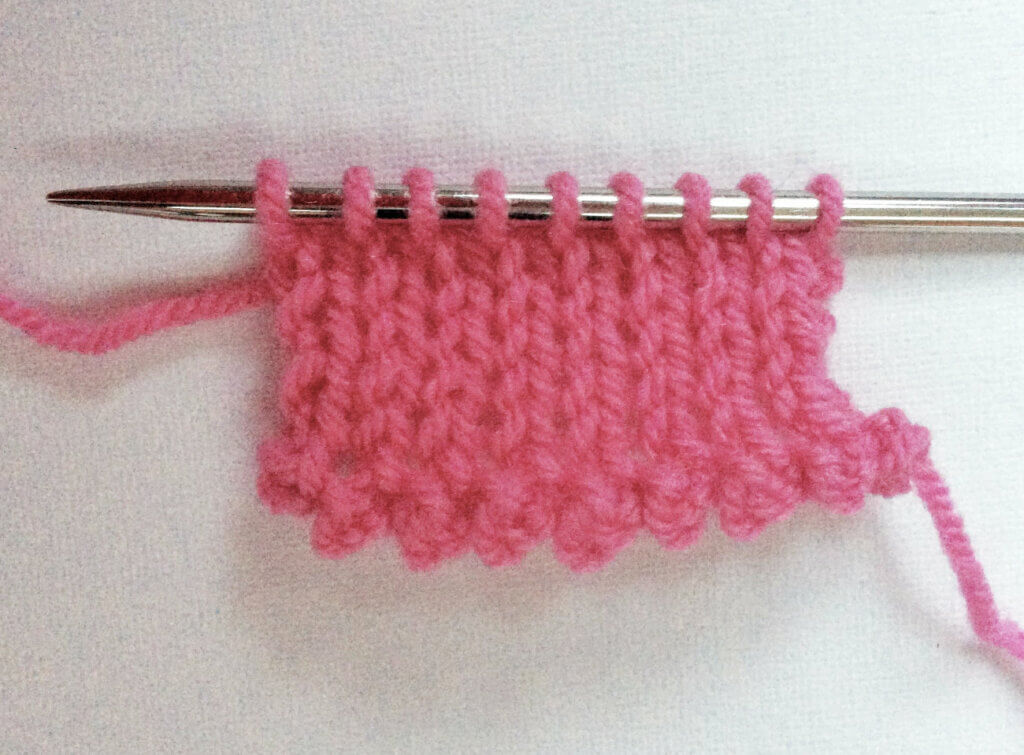
And on the right side of the work the Russian bind-off on the purl side will look like this:
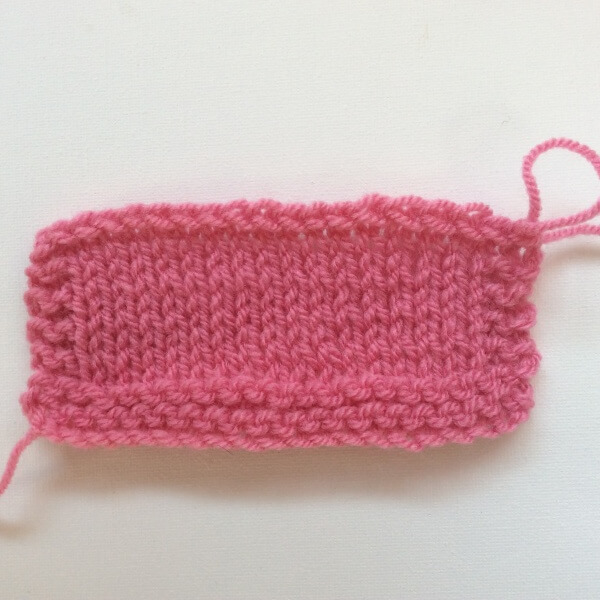
Looking good, right?!
tutorial: Russian bind-off on the purl side Read More »


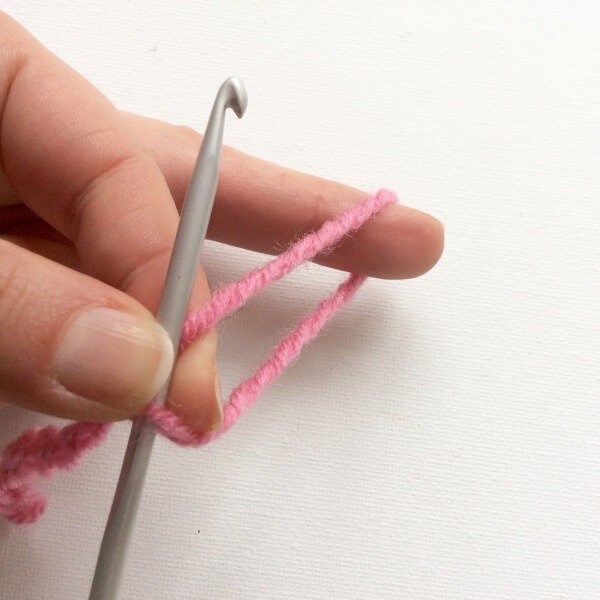


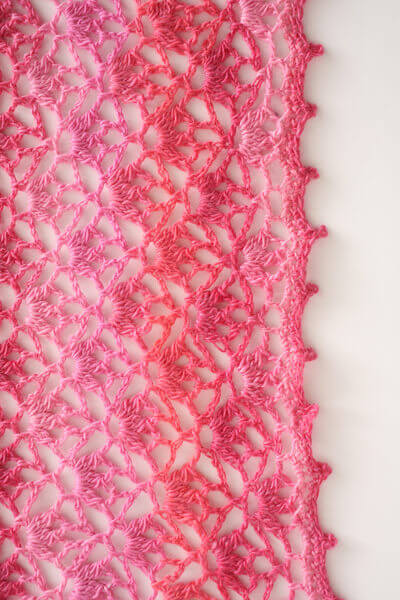


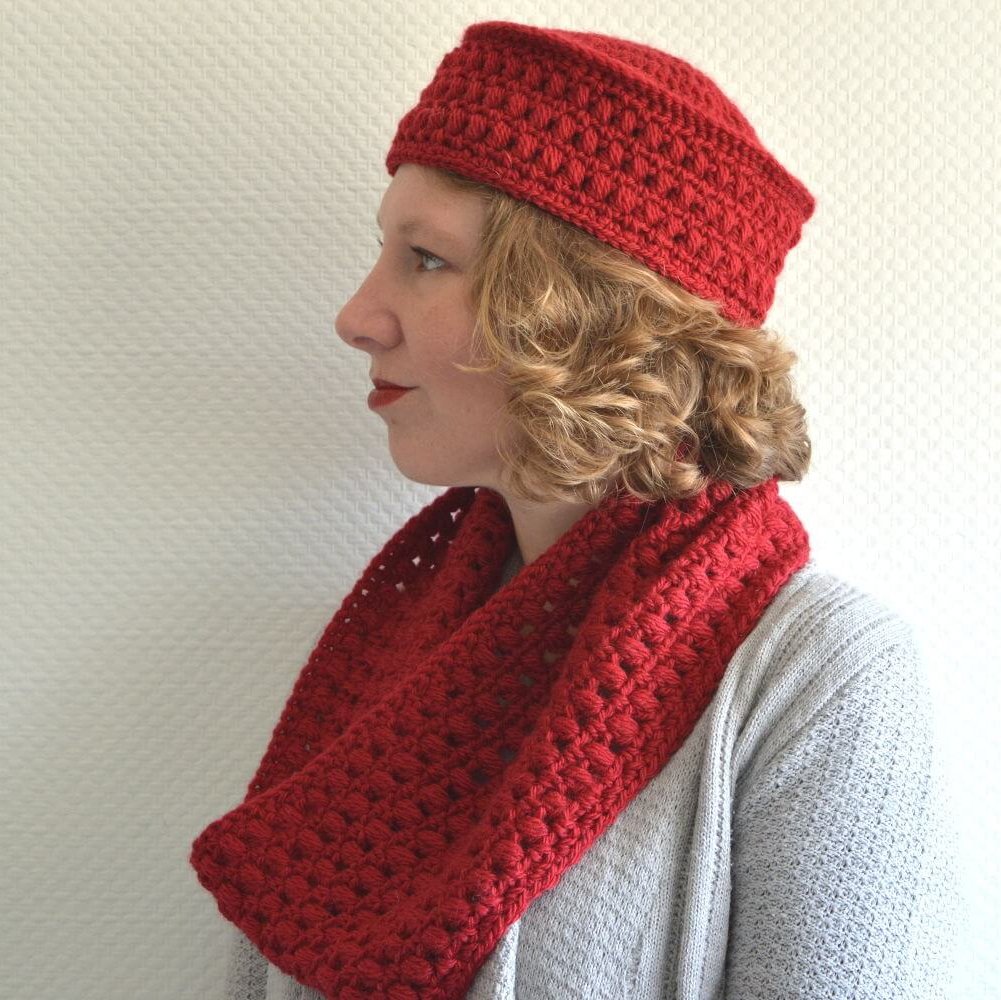
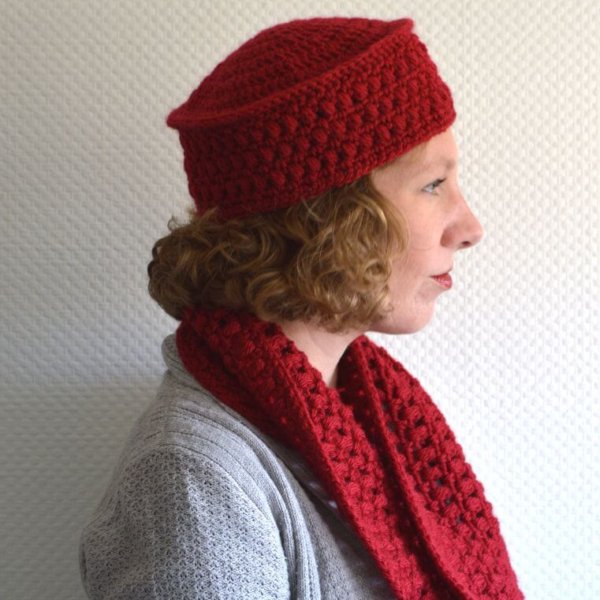

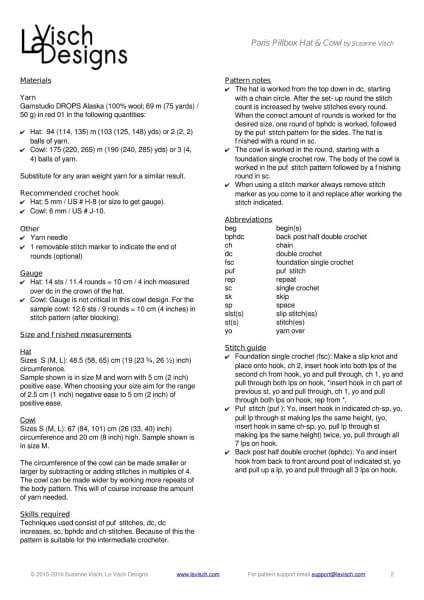
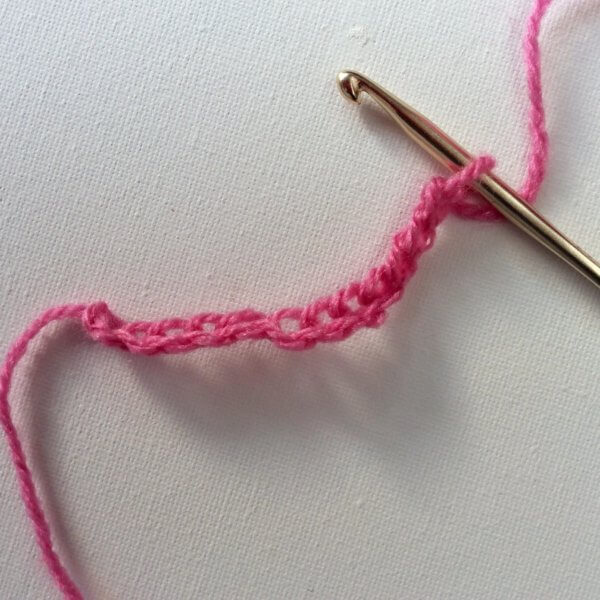
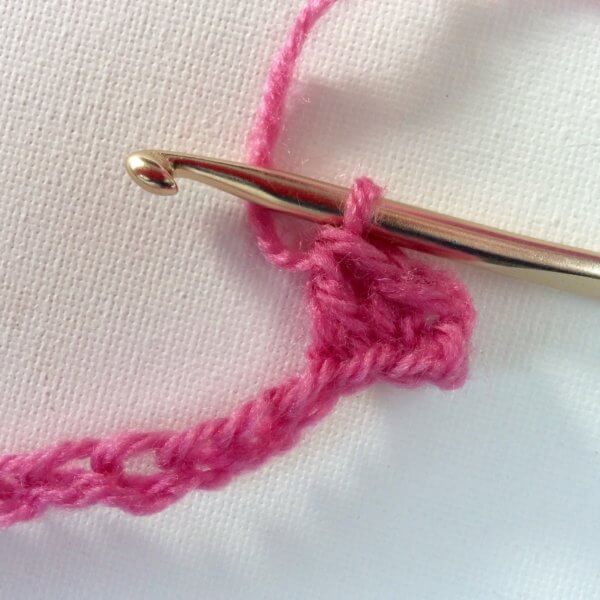
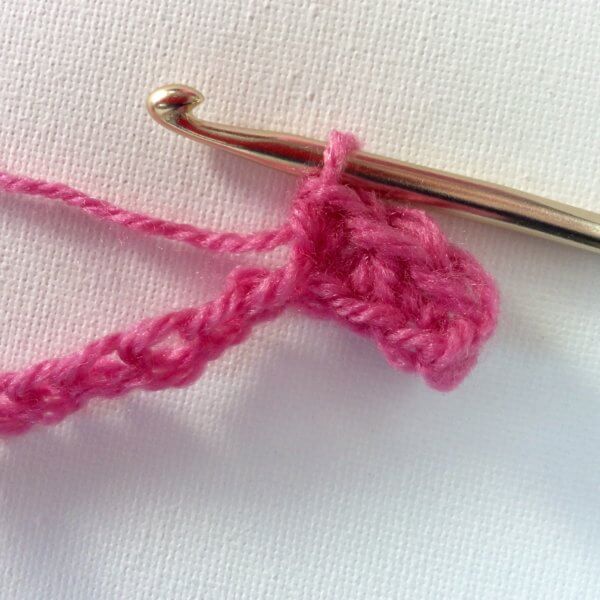
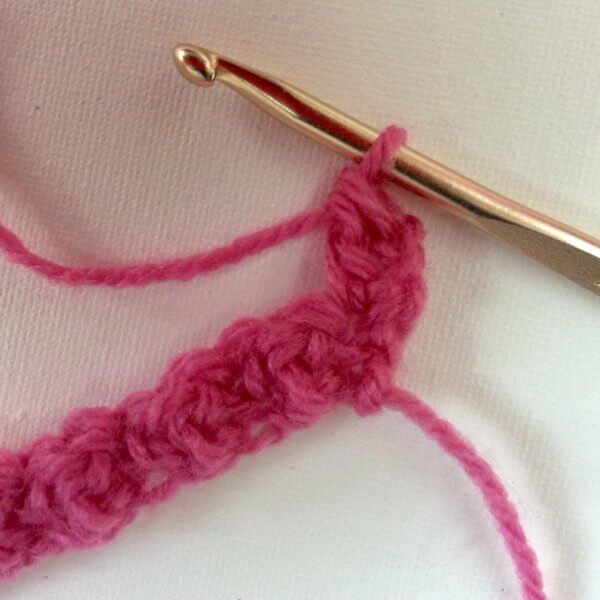
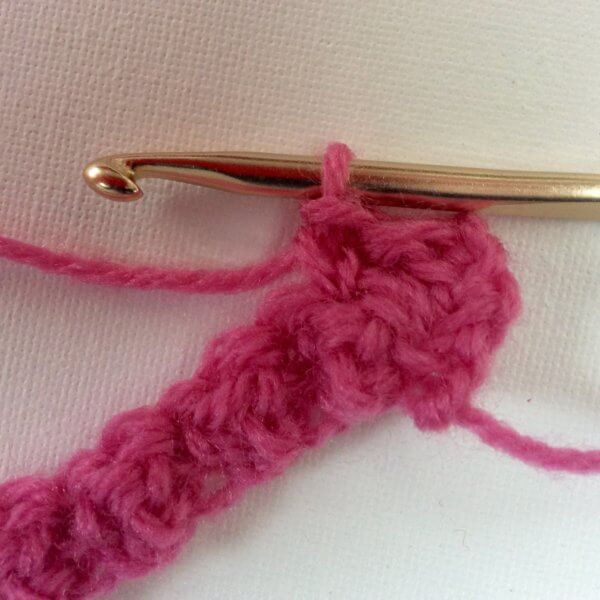
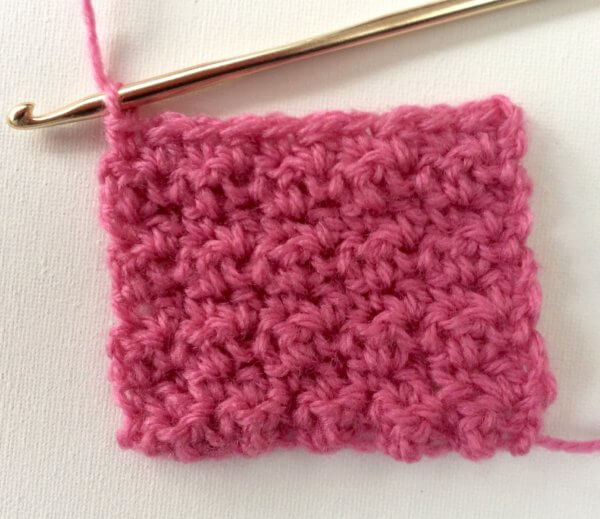
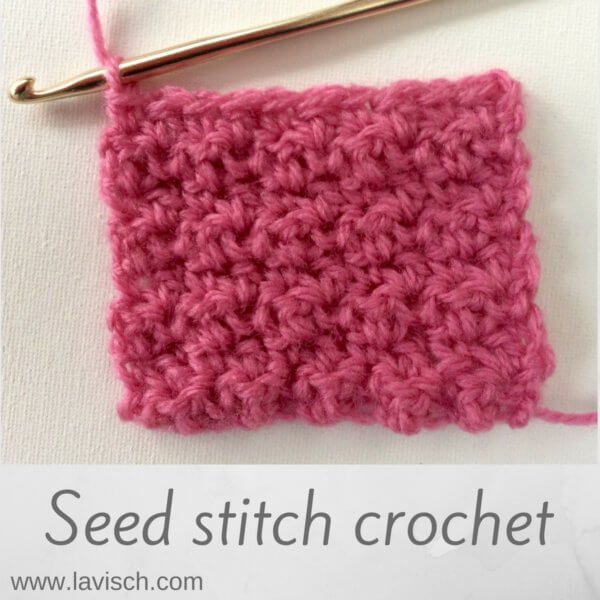 In this post I will show you how to crochet the “seed stitch”. In this stitch single crochet stitches are alternated with double crochet stitches (US crochet terminology!). This gives a really lovely and dense fabric, very suitable for projects like scarves, blankets and bags. Let me show you step by step how it is done.