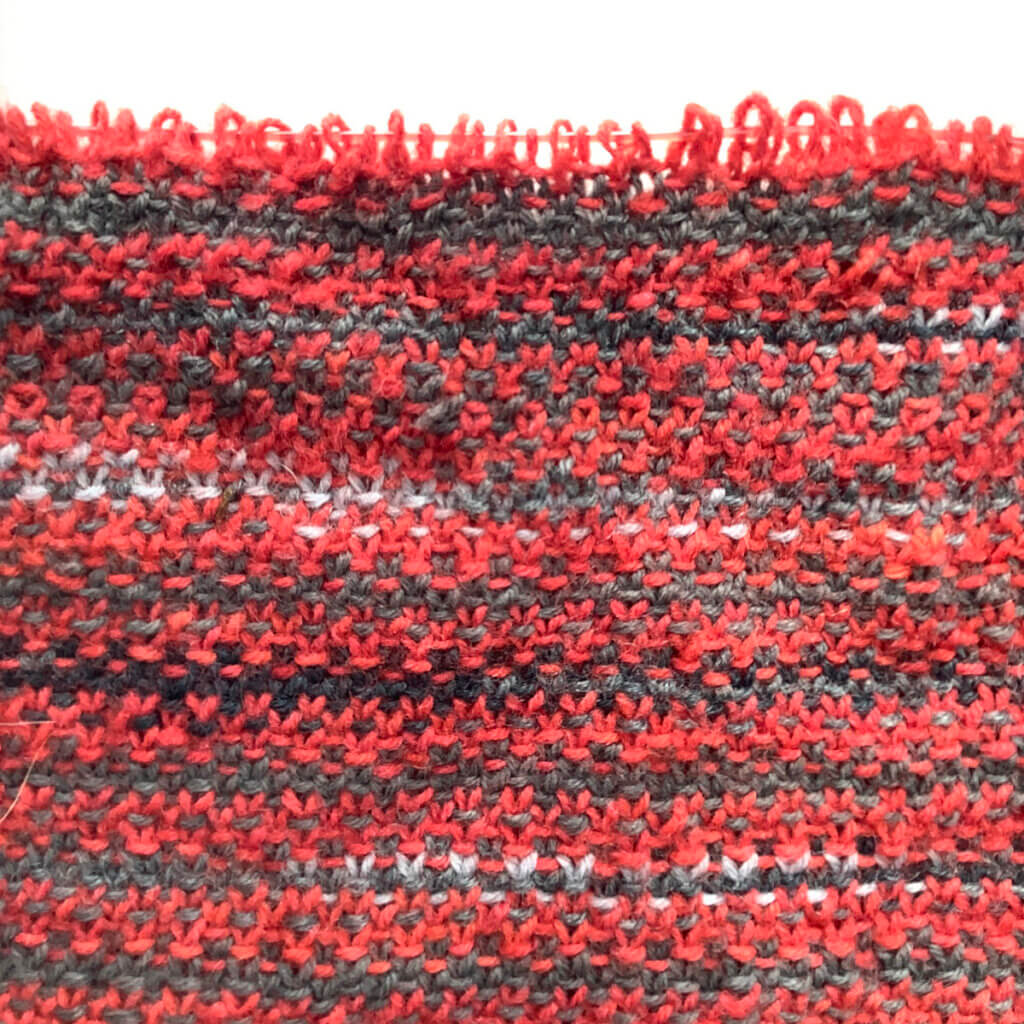
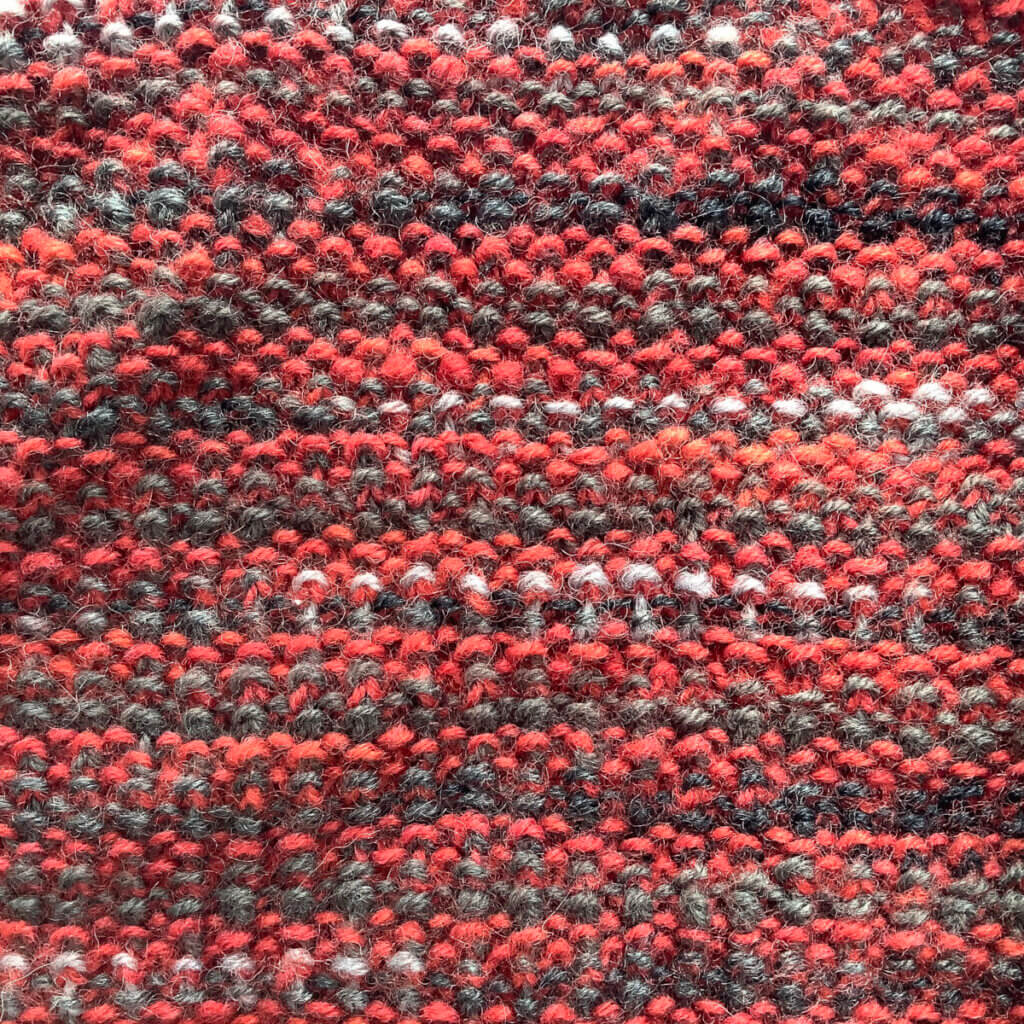
stitch pattern – stockinette ridge stitch
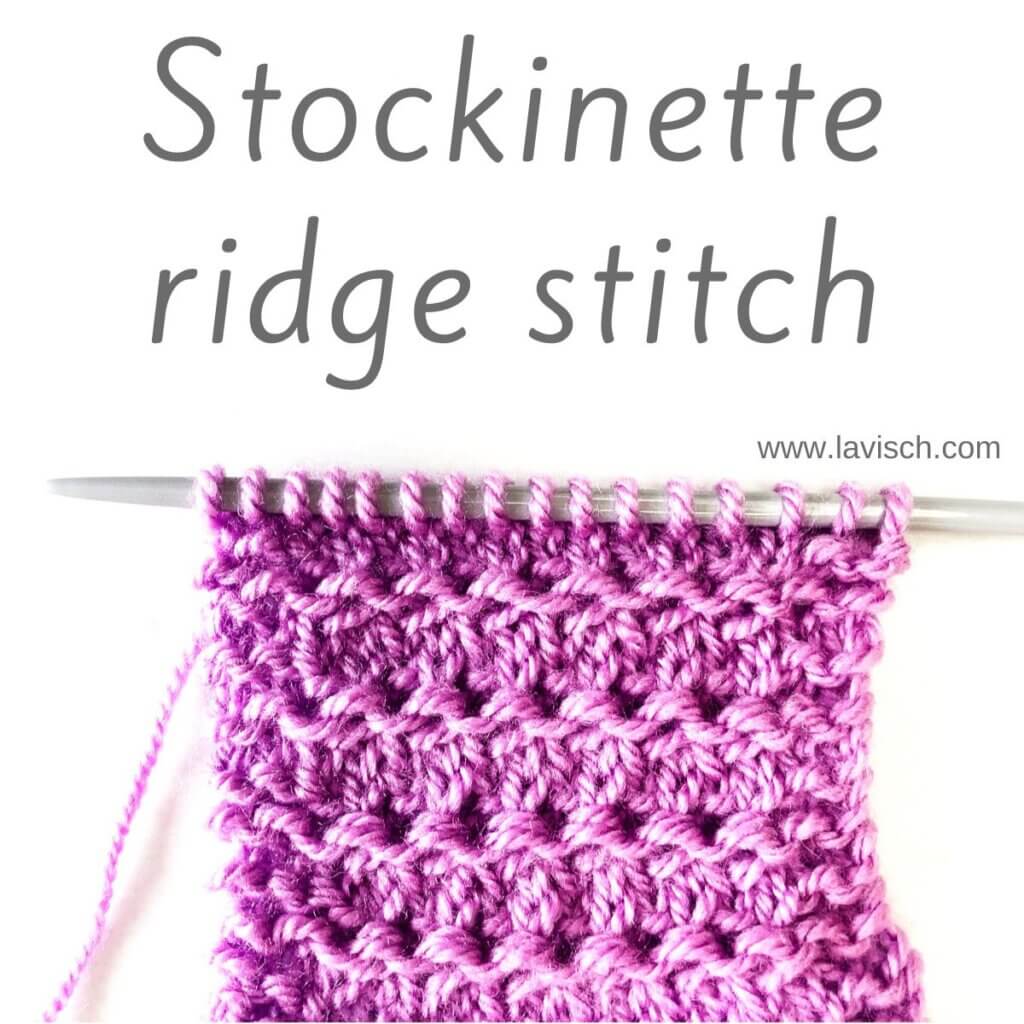
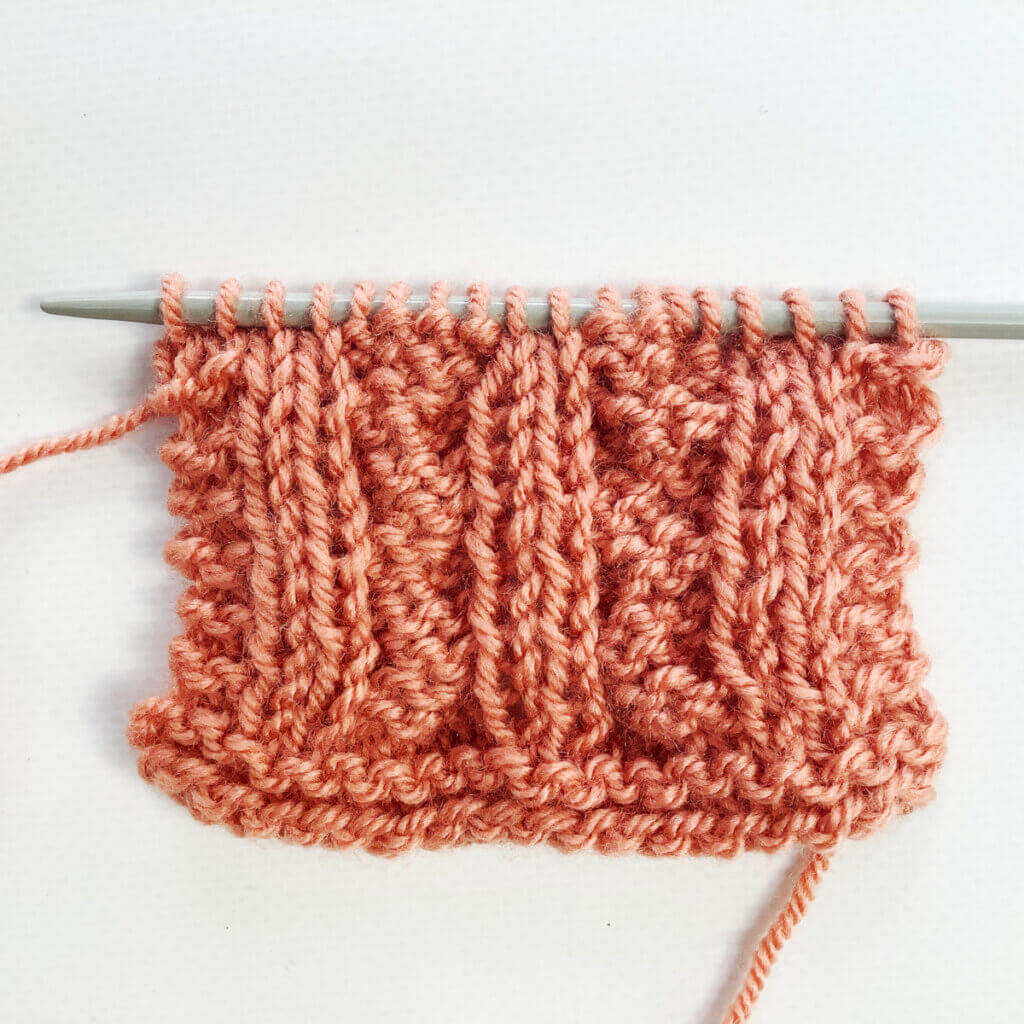
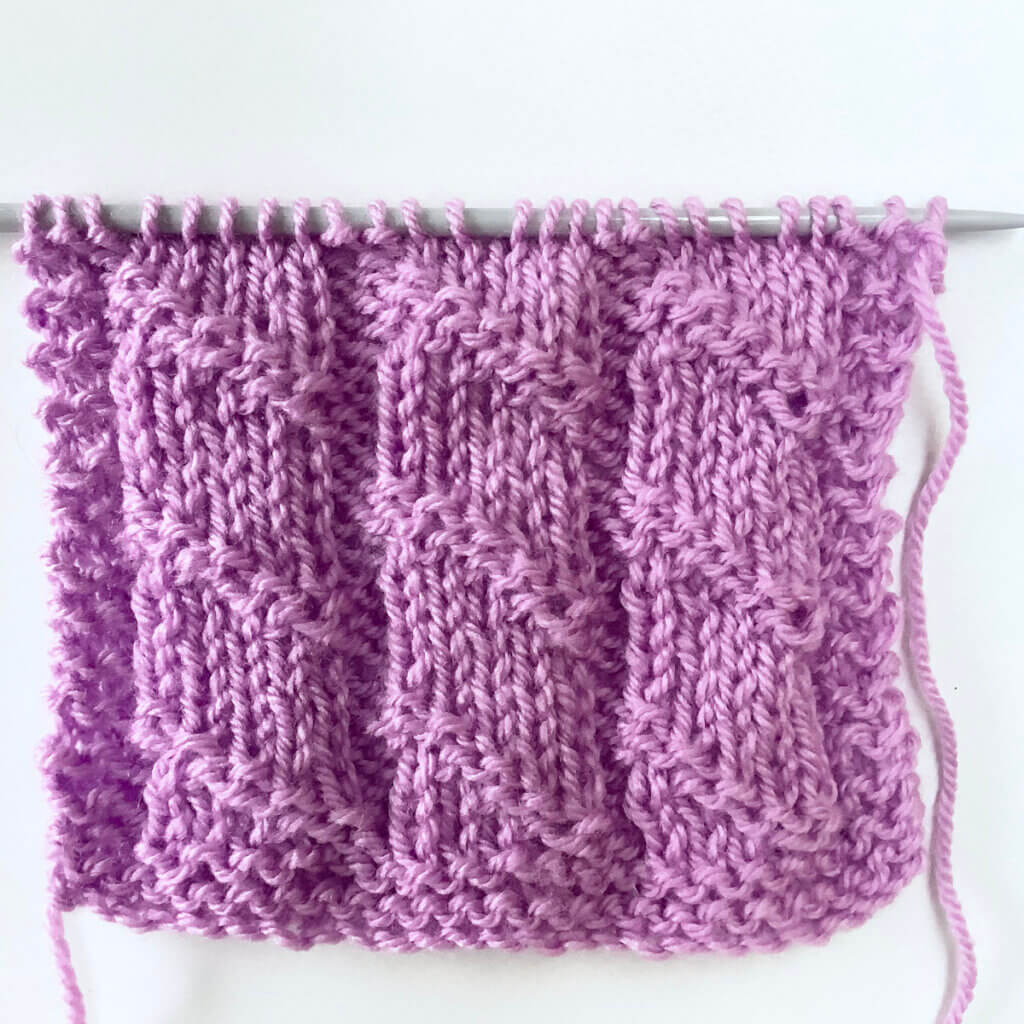
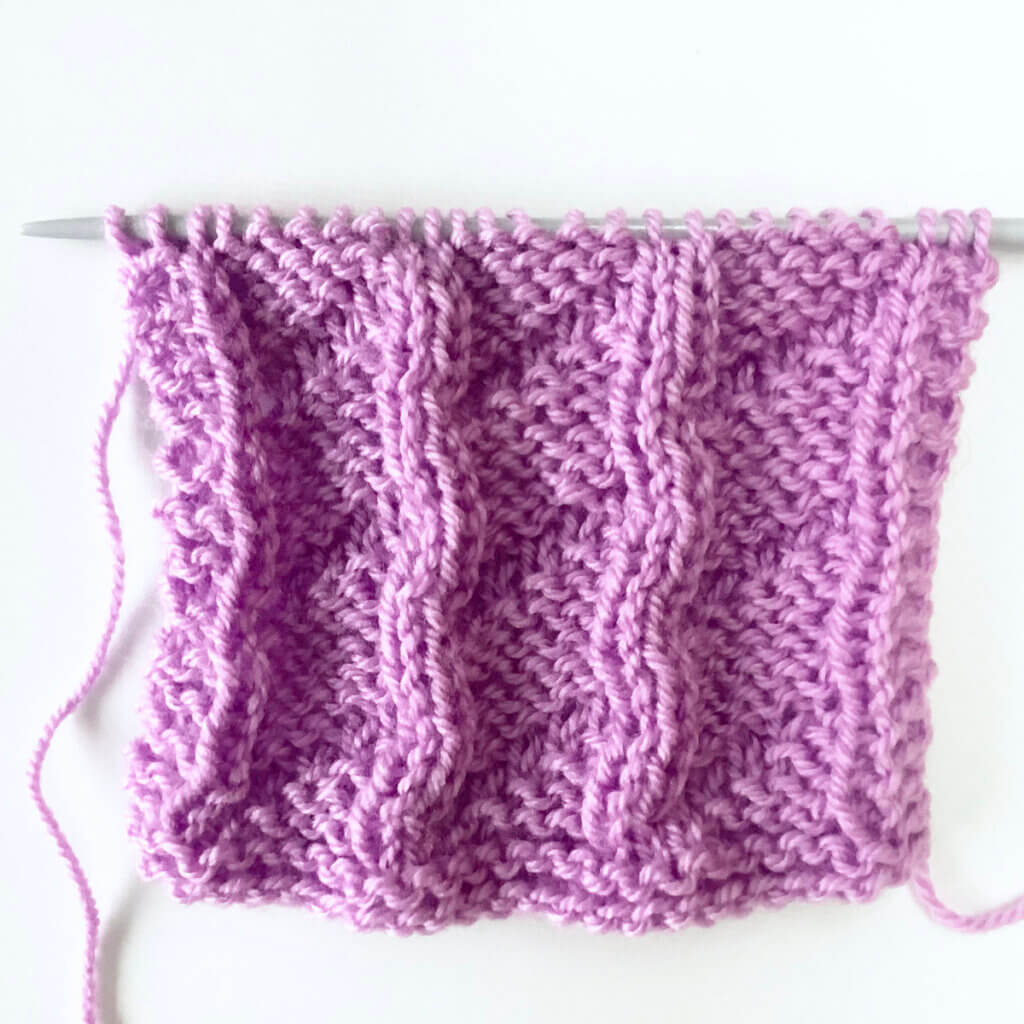
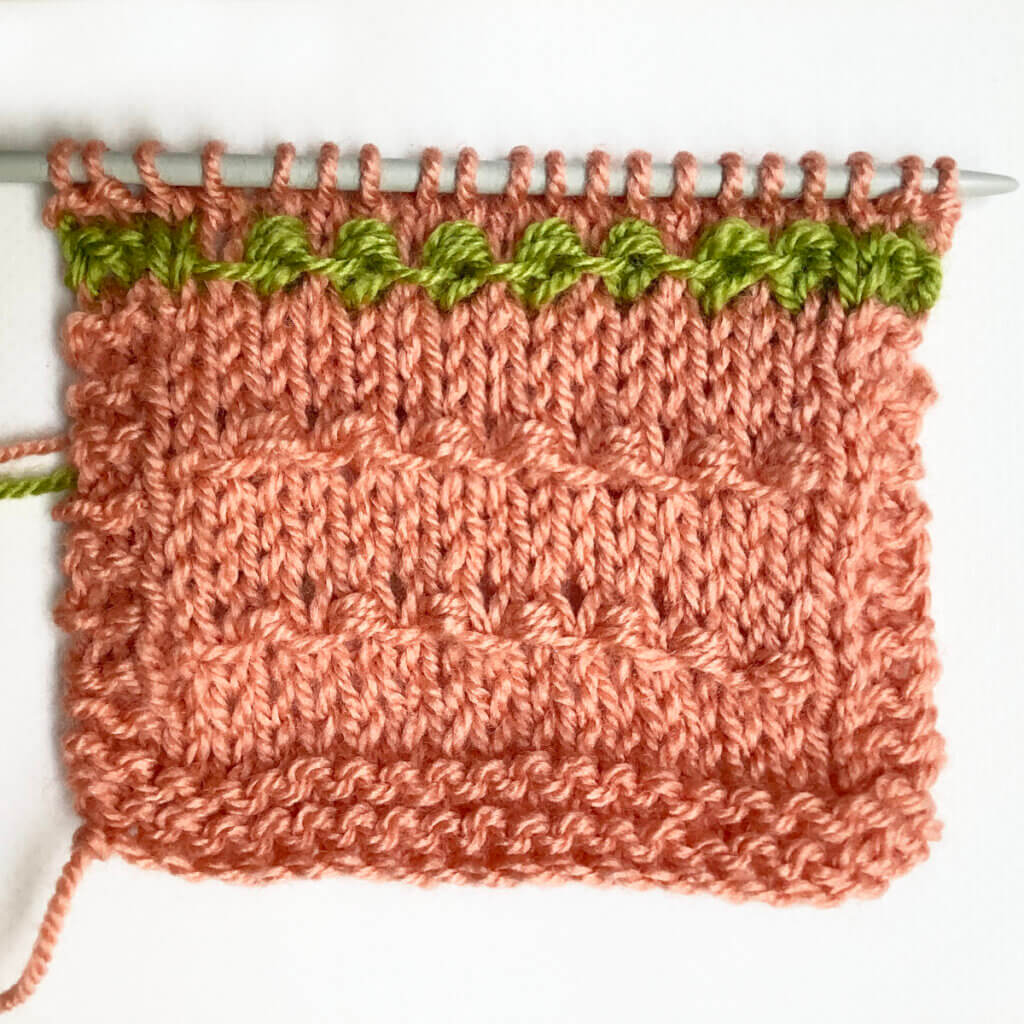
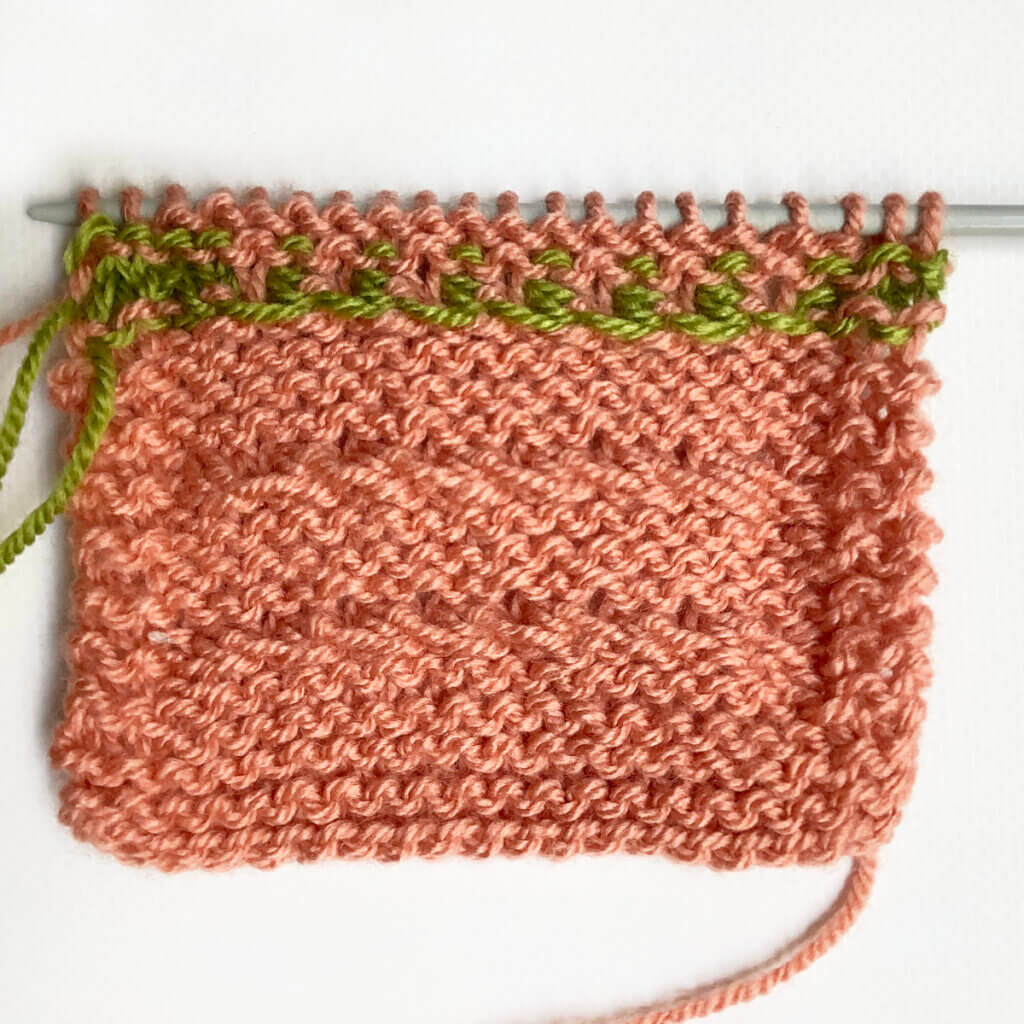
The stockinette ridge stitch is a stitch pattern, that uses increases and decreases to make a wonderful textured fabric. Due to the decreases in one of the 4 rows of the pattern repeat, this stitch pattern is less stretchy than regular stockinette. Just something to be beware of! This stitch pattern is worked in a multiple of 2 stitches. Please note that in the above picture, I’ve added 2 edge stitches in garter stitch on both sides of the swatch.
Materials used


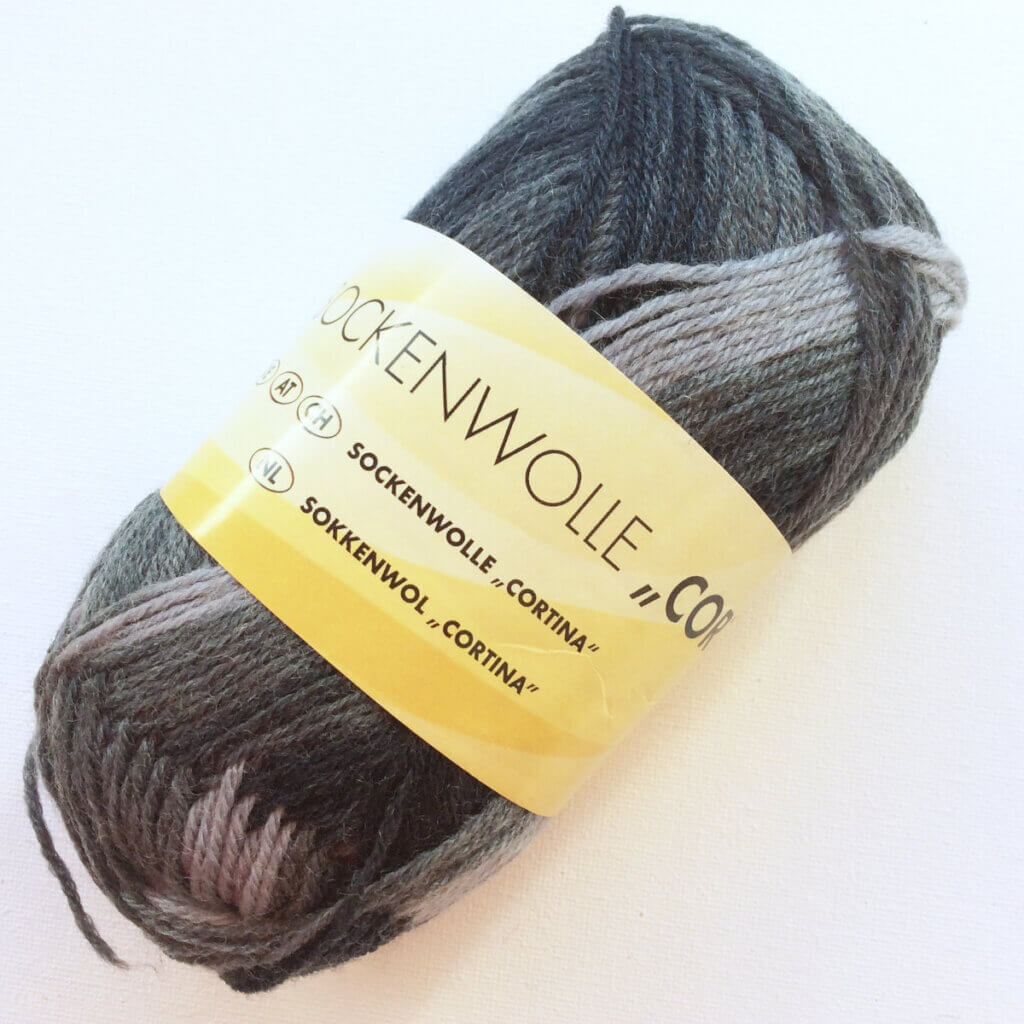
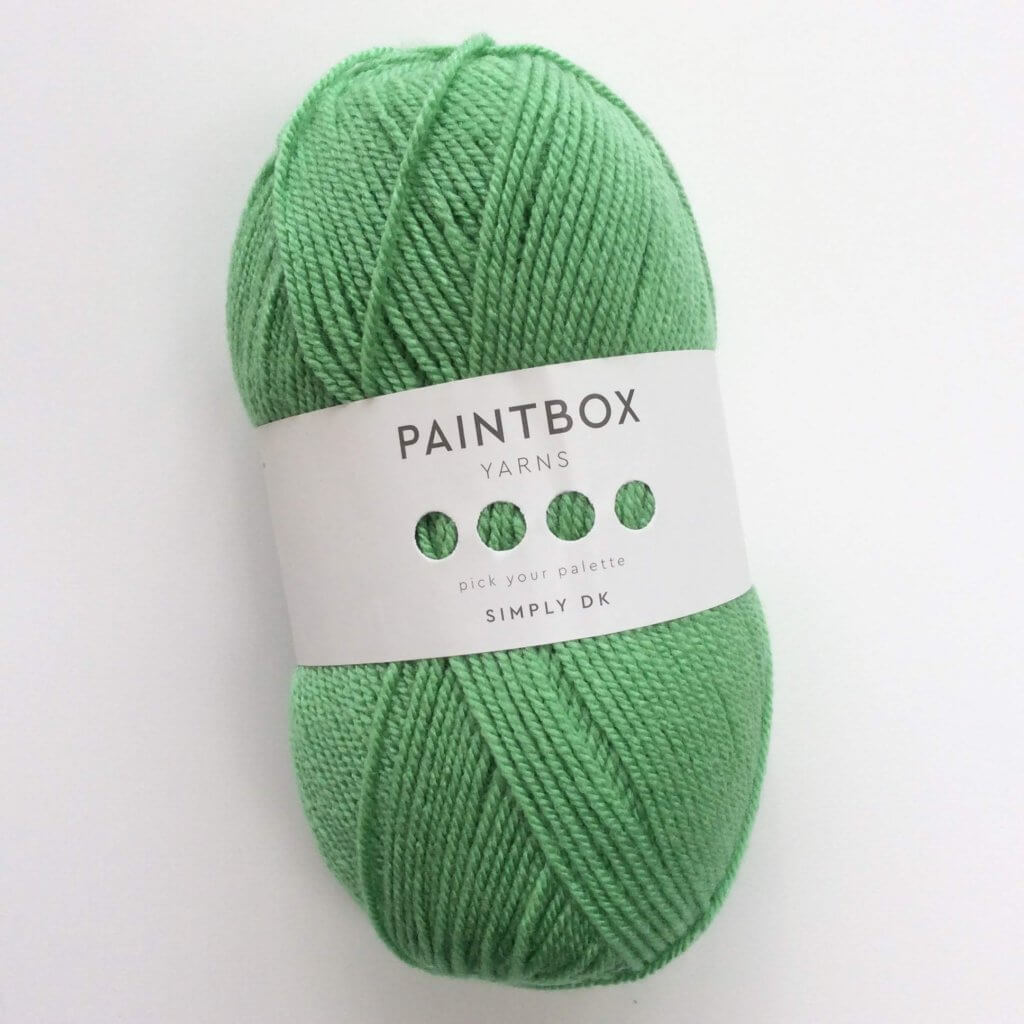
Yarn: Paintbox Yarns Simply DK, a good value, good quality 100% acrylic yarn, here in the color Tea Rose
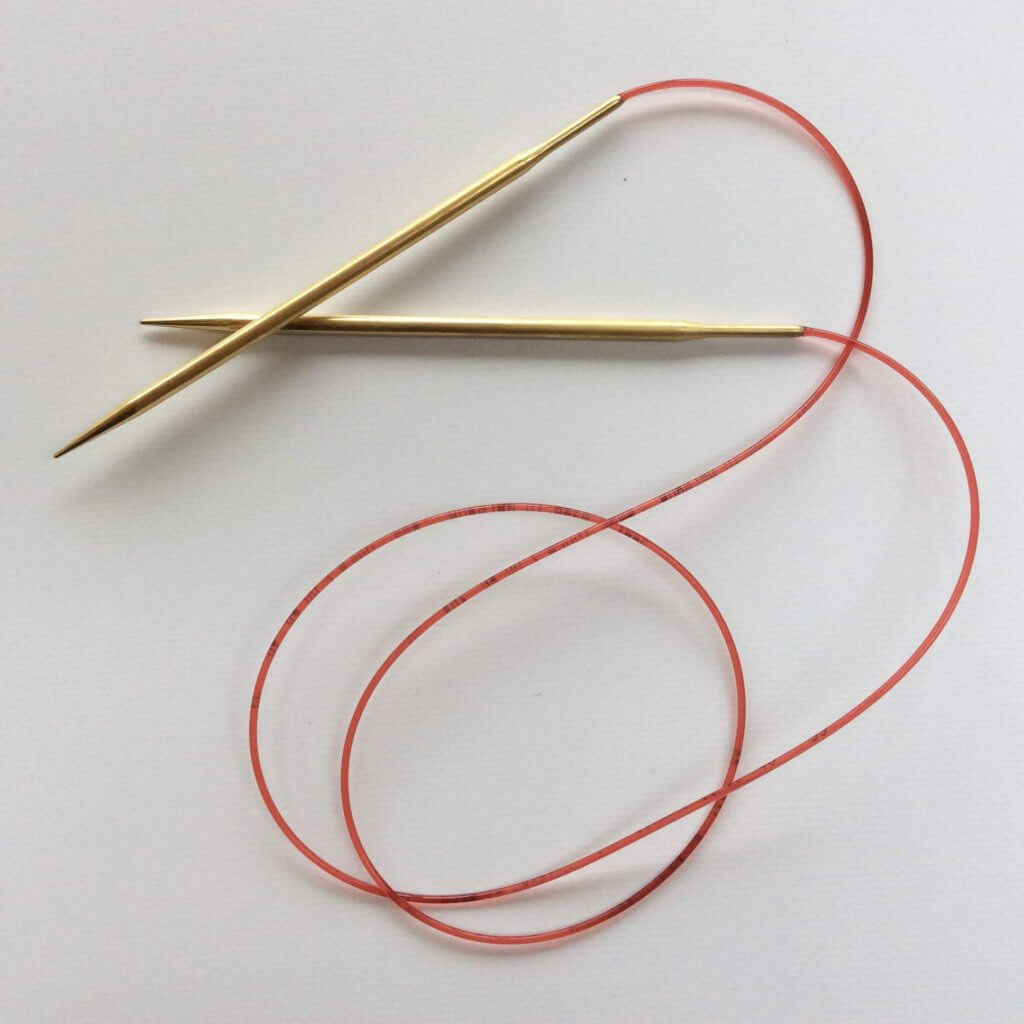
Knitting needles: This is a pair of straights that I picked up at the second-hand store when I started knitting, brand unknown.
Stitches used
- k – knit
- k2tog – knit two stitches together
- kfb – knit in the front and then in the back of the stitch
- p – purl
- rep – repeat
Stockinette ridge stitch instructions
Row 1 (right side): Knit.
Row 2 (wrong side): *K2tog; rep from * to end.
Row 3: *Kfb; rep from * end.
Row 4: Purl.
Repeat rows 1-4 for pattern.
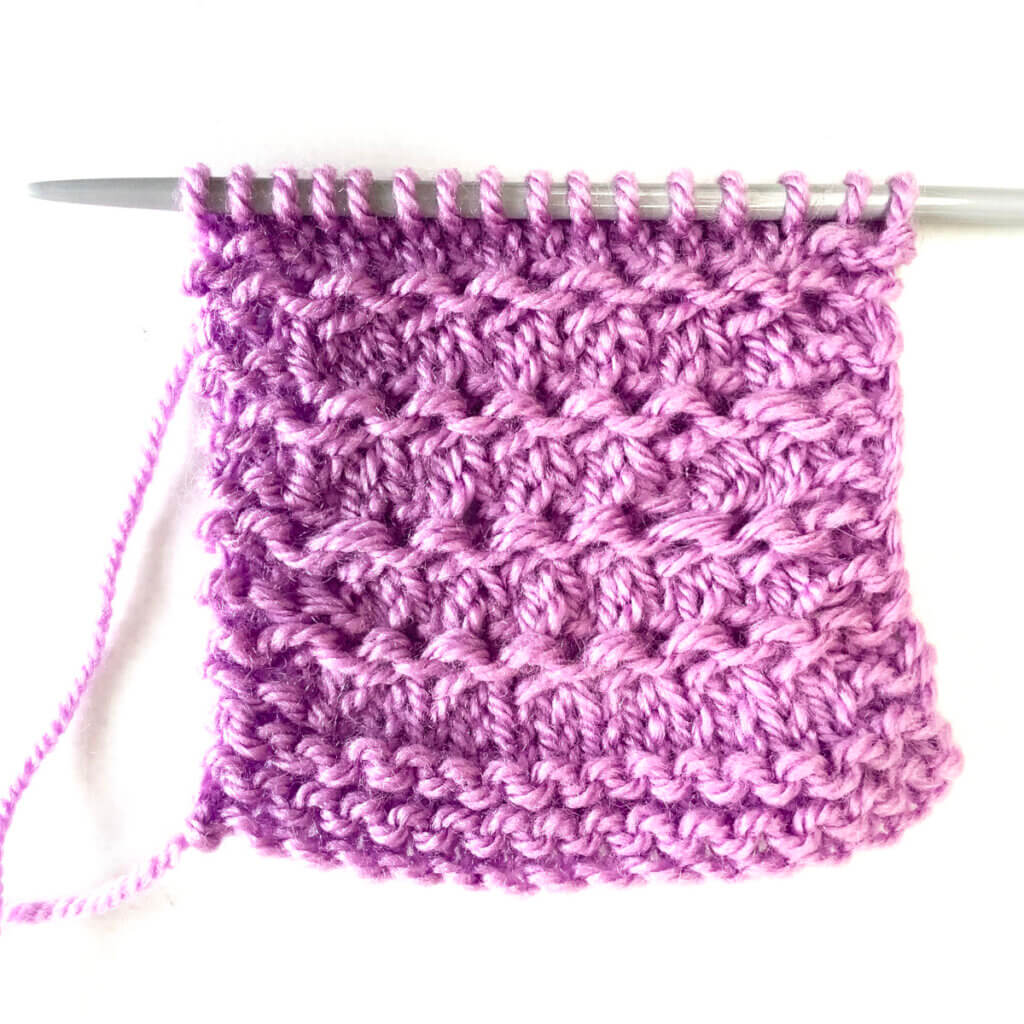
The stockinette ridge stitch as shown from the front:
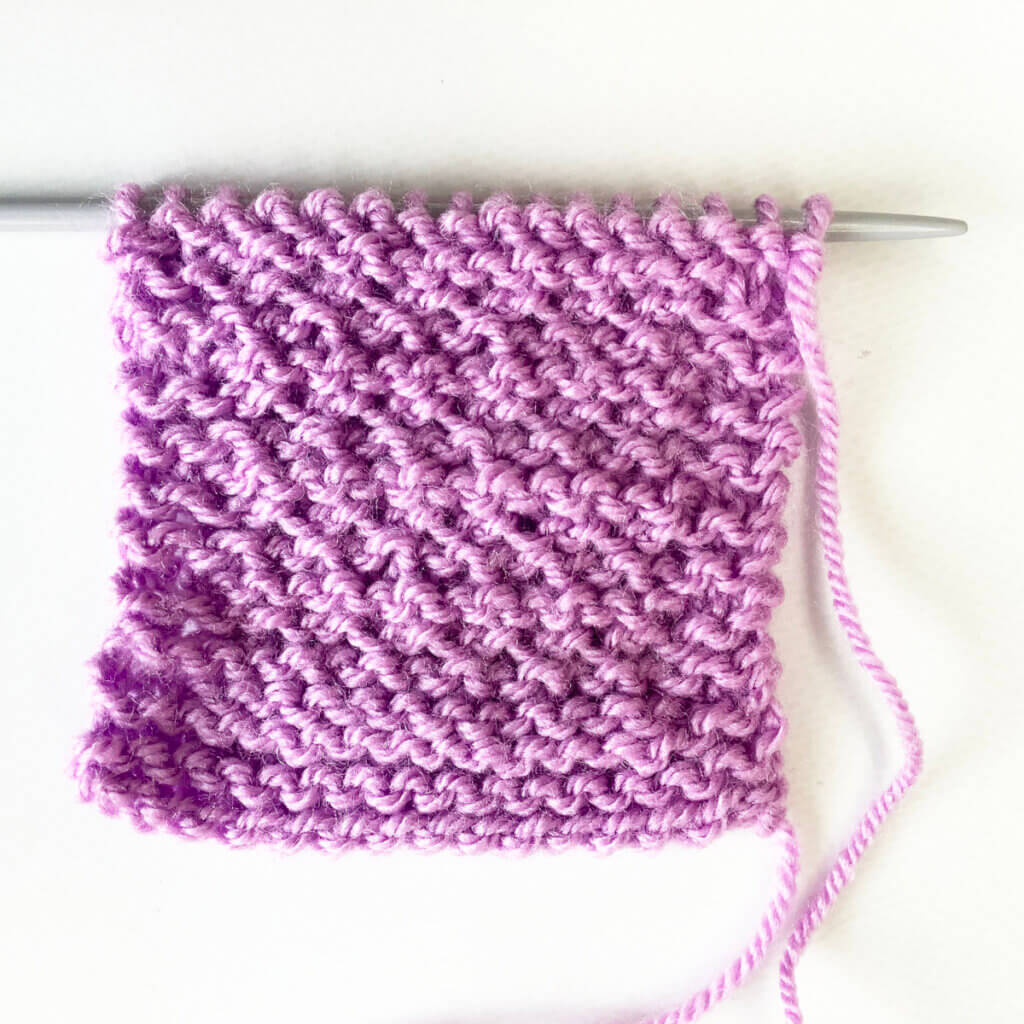
The stockinette ridge stitch as shown from the back:

Thanks to my Patreon supporters for bringing you this freebie! Creating quality patterns and tutorials is a lot of work and resource-intensive. However, I find it important to give you free content like this tutorial. Thanks to the generous support of my Patreon supporters, I can make it happen. Thank you, patrons! Click here to join, or click here to read more about La Visch Designs on Patreon.
stitch pattern – stockinette ridge stitch Read More »