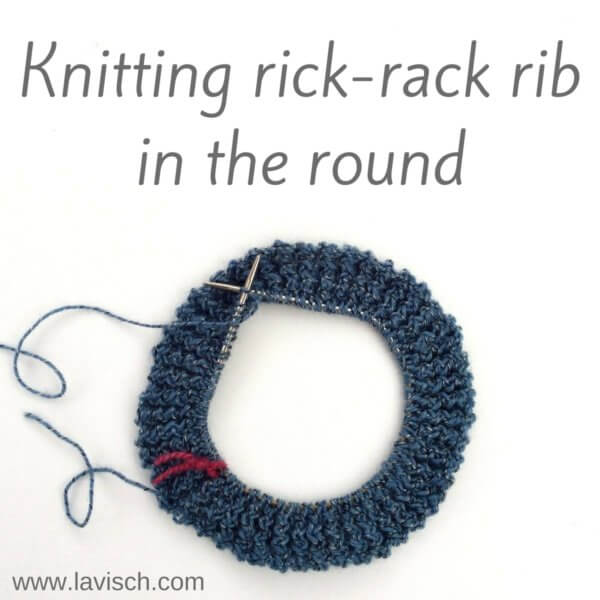
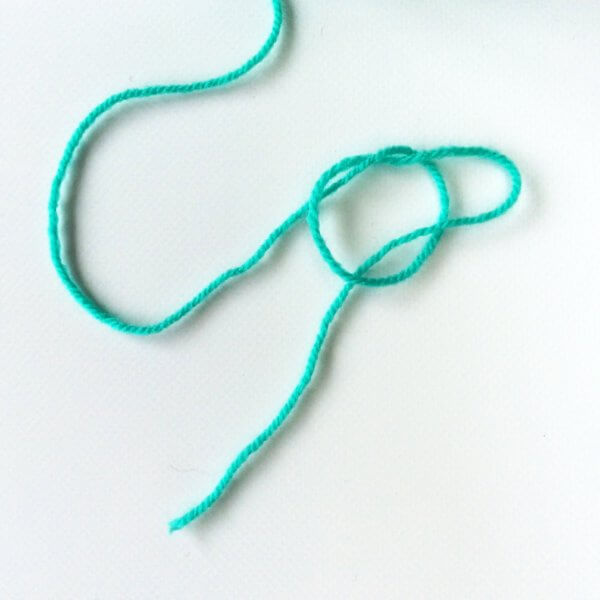
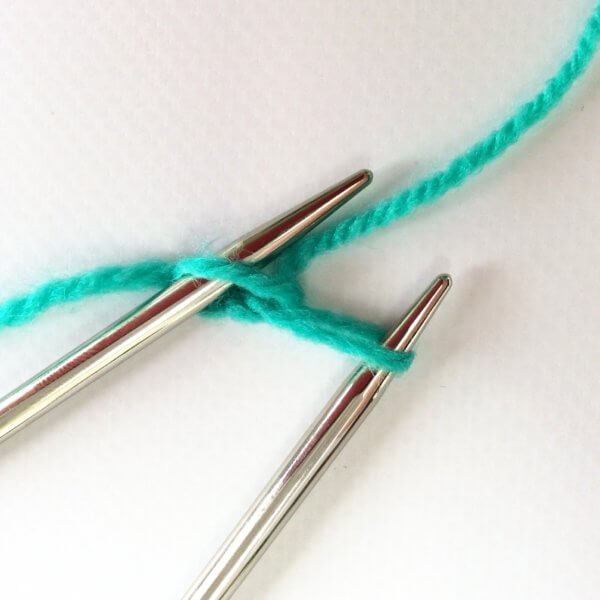
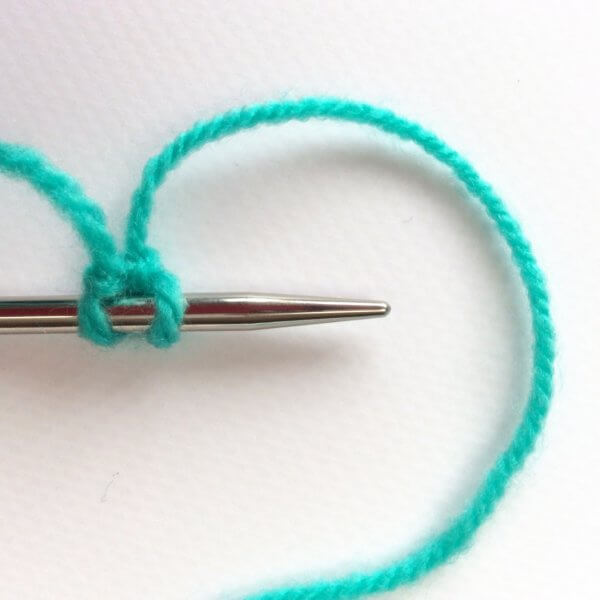
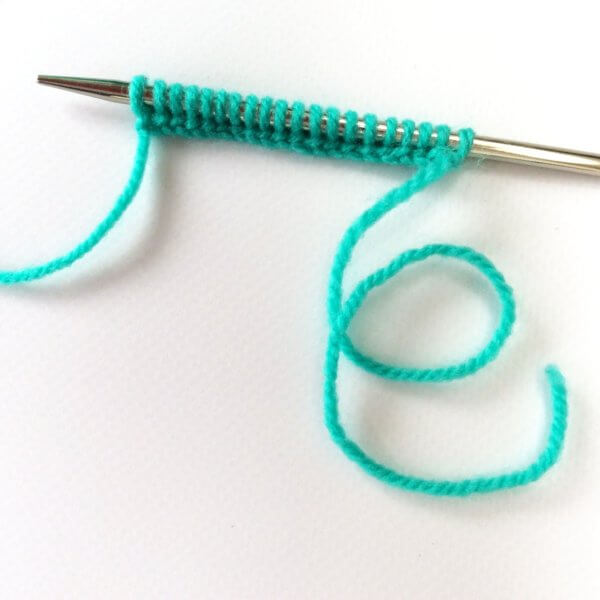
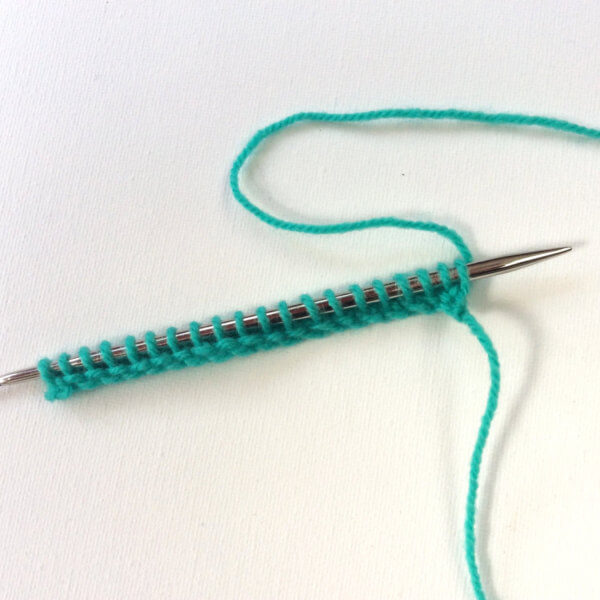
blocking an asymmetrical shawl
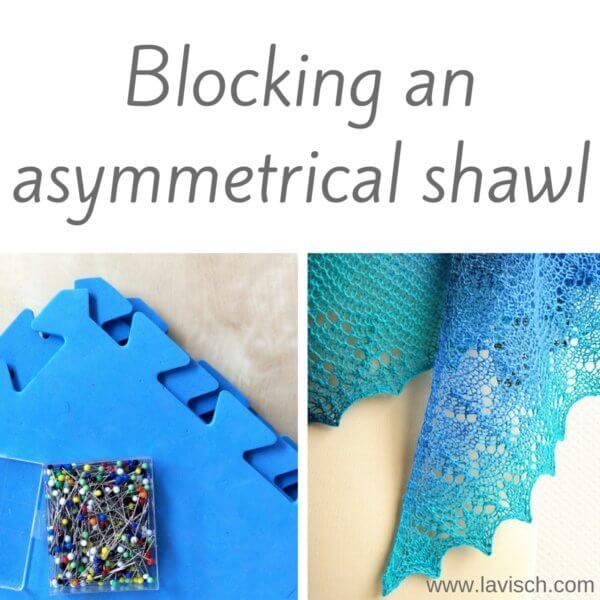
Don’t you just love those asymmetrical shawls that are knit on the bias? I know I do! They are just the perfect shape to wear as a scarf, but without the bulk on the tails that regular rectangular scarves usually have. I’ve been getting questions about how to block such a shawl though, so I thought to make a photo tutorial about it.
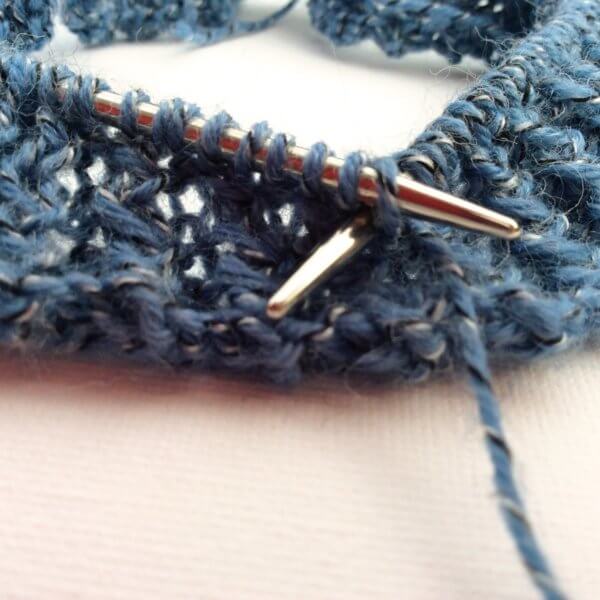
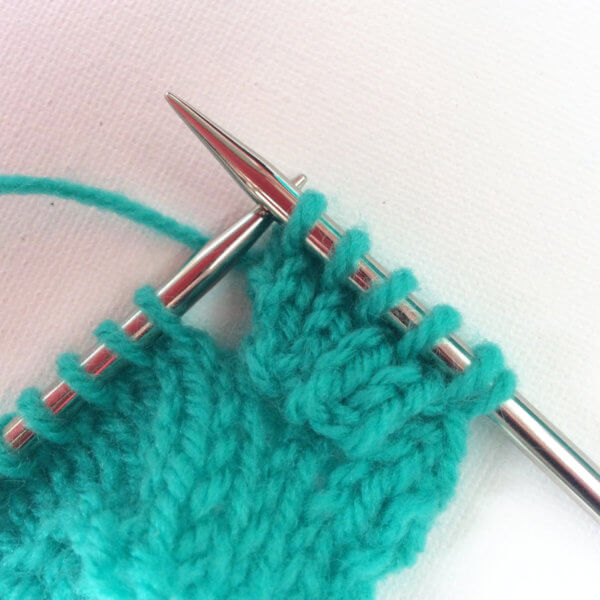
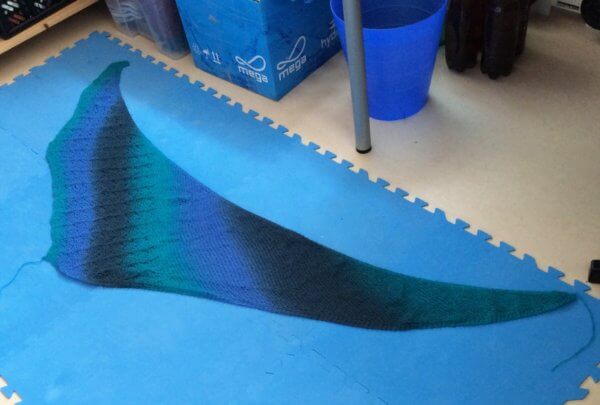
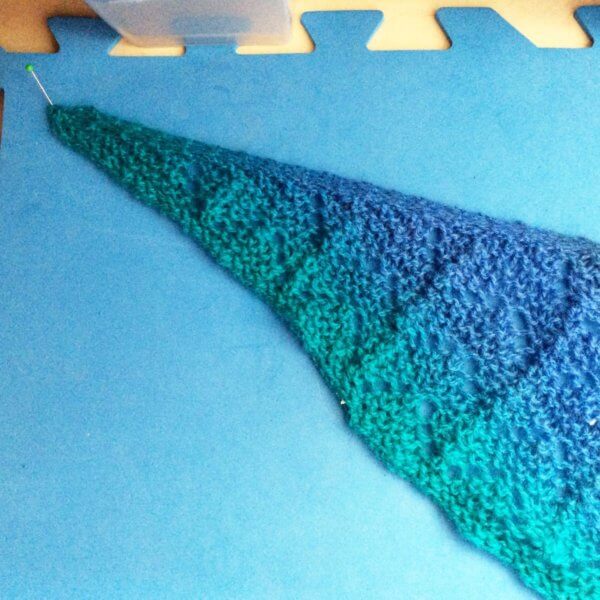
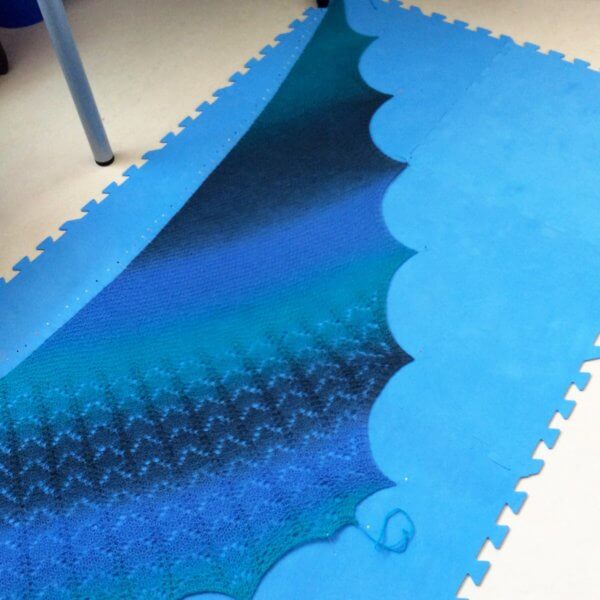
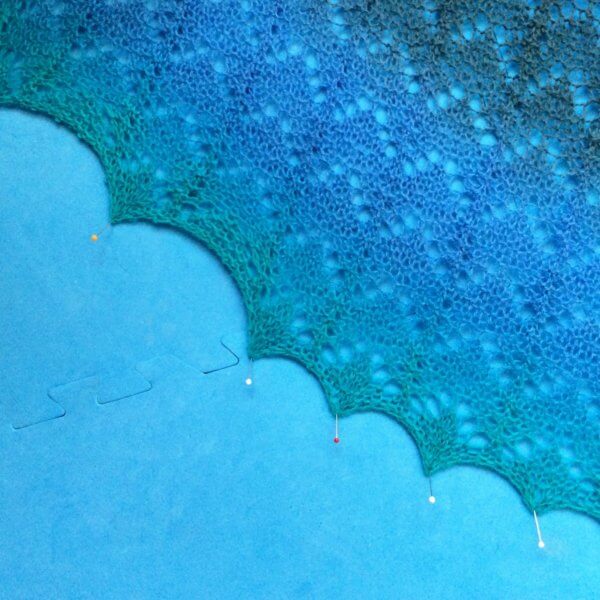
In this tutorial, I will be showing you how I blocked my Scuba shawl. Scuba has a lovely scalloped edge, that is realized purely by pulling the bottom edge into points during blocking.
What is blocking?
Before we go into details, it’s good to get clear what I mean exactly with “blocking”. Blocking is nothing more than shaping your knit or crochet pieces when moist or wet. Think of finished items or components to sew together afterwards. By blocking them, you can not only even out stitches, but also bring the item to the intended dimensions. The latter of course within reason!
For a sweater or sweater components blocking usually is nothing more than washing the item(s) and patting them gently into shape. Lace shawls, on the other hand, benefit from a rather vigorous blocking by pinning it stretched out as much as possible. After the piece has dried, it will hold its shape until the next washing.
Please note, that not all fibers are suited for the magic of blocking. Only natural fibers like wool, alpaca, cotton etc. as well as some viscose fibers can be blocked.
On synthetics, like acrylic, the process of wet-blocking as described in this post has virtually no effect at all. Acrylics can be blocked (“killed”) by applying heat through steam blocking or ironing, but that’s an entirely different process.
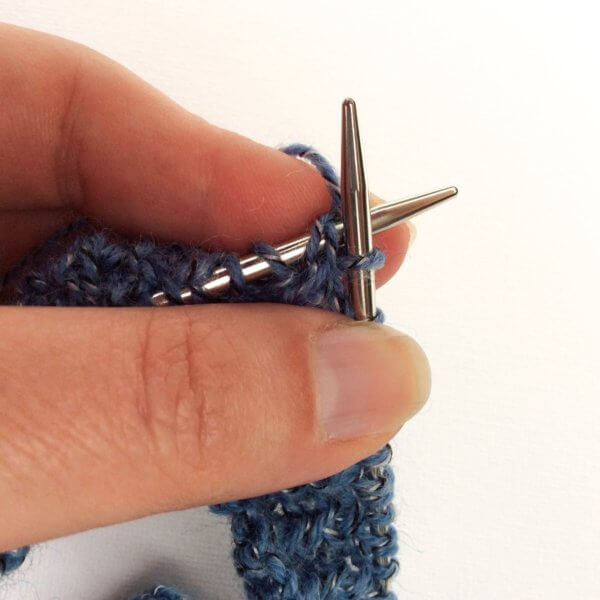
Materials needed
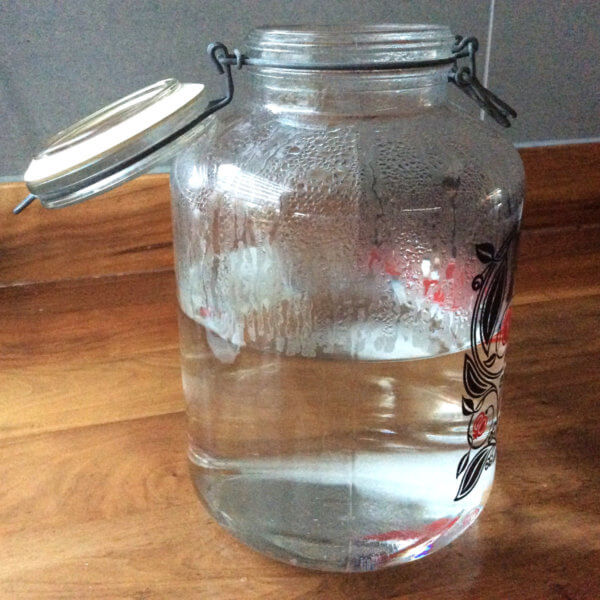
Since the subject of this post is the blocking off a shawl, I go for a vigorous blocking using pins. I used the following materials:
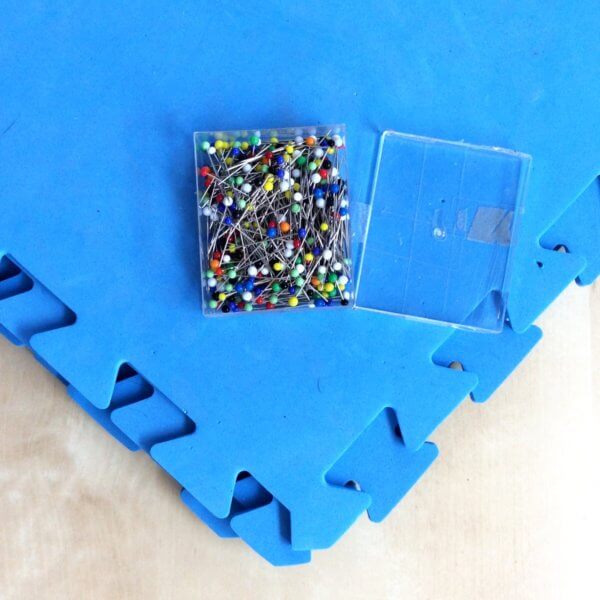
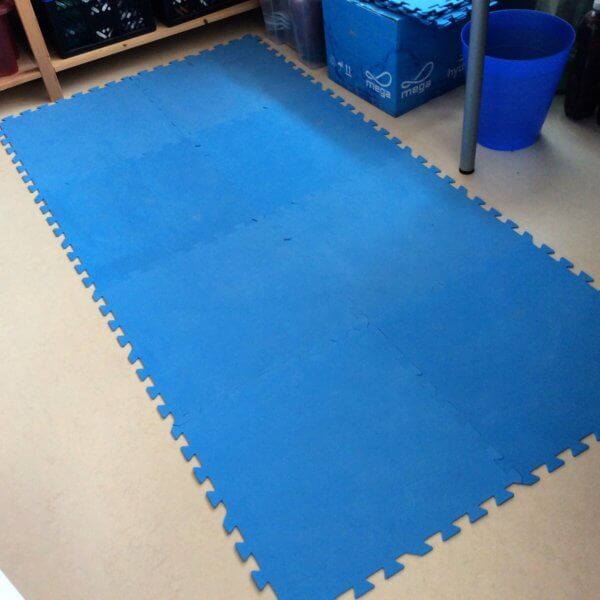
- Blocking mats, these are usually foam mats that hold pins well. Think for example of insulation mats, mats for yoga or play tiles for children.
- Pins, I use regular pins, but other folks sometimes prefer stainless steel T pins.
- Wool wash.
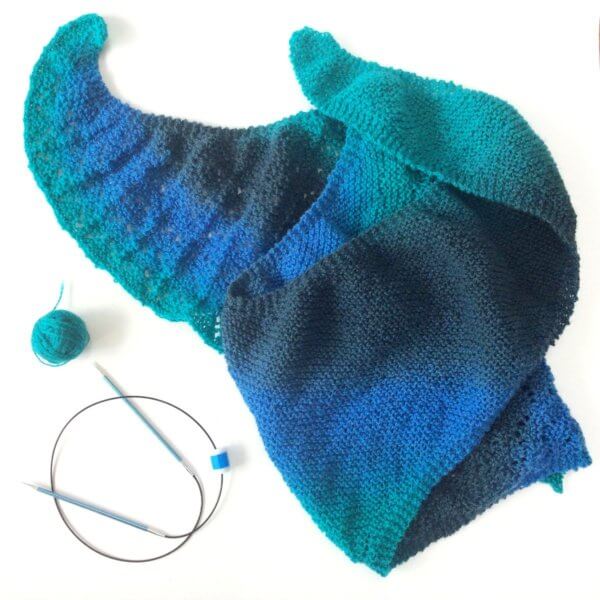
- A towel large enough to comfortably hold your project.
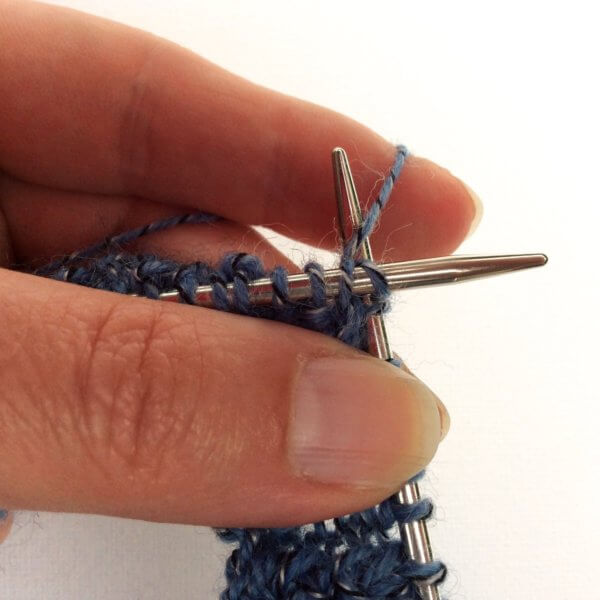
How to block an asymmetrical shawl step by step
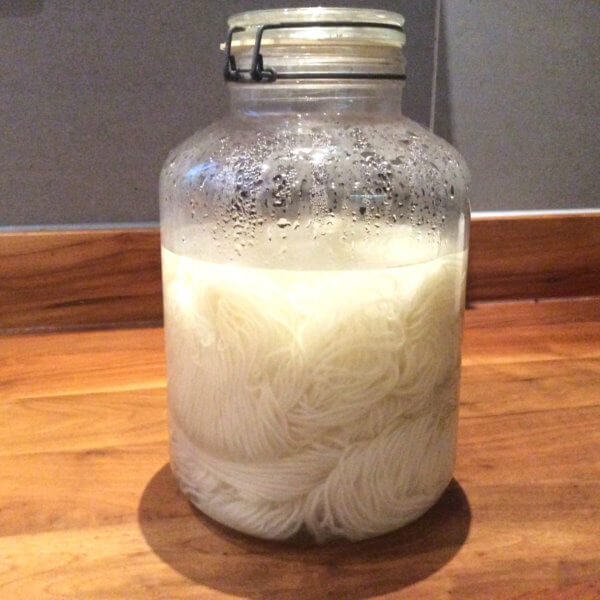
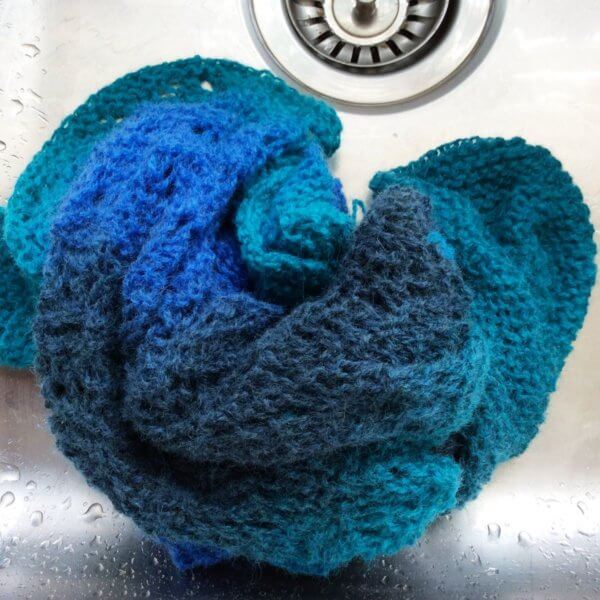
1. First I filled the sink with some lukewarm water and added a dash of wool wash. I let the shawl rest for about 10-15 minutes to make sure the wool is completely saturated with water.
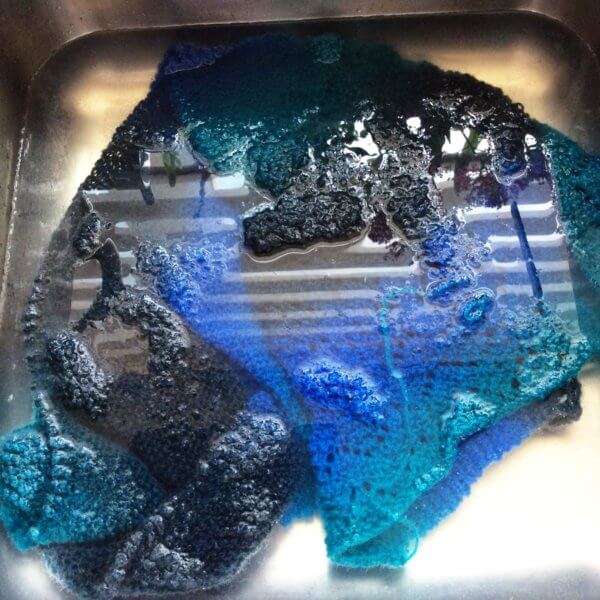
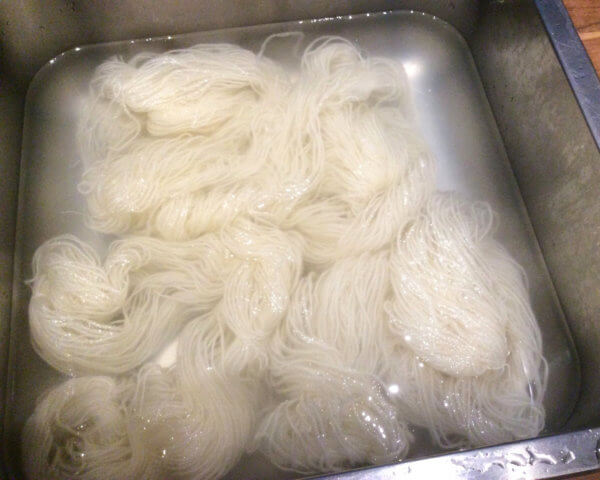
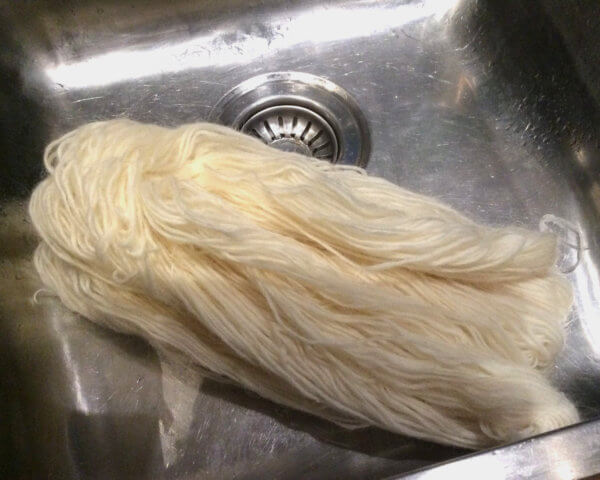
2. Next, rinse the wool well. Don’t use cold water for this, as “shocking” warm wool like that may cause it to felt. If your yarn bleeds dye a bit, you can add a splash of vinegar to the rinse water to help fix it. After rinsing, gently squeeze excess water out of your project. Don’t wring it! This may damage the fibers, causing breakage.
3. Spread out your towel and place the shawl on top of it.
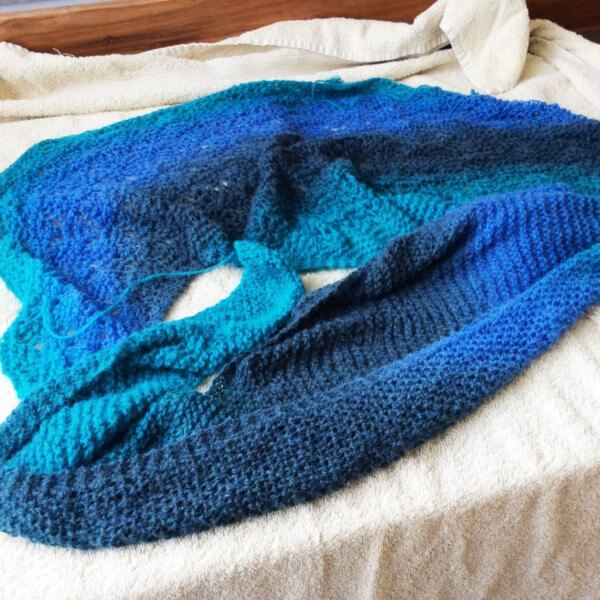
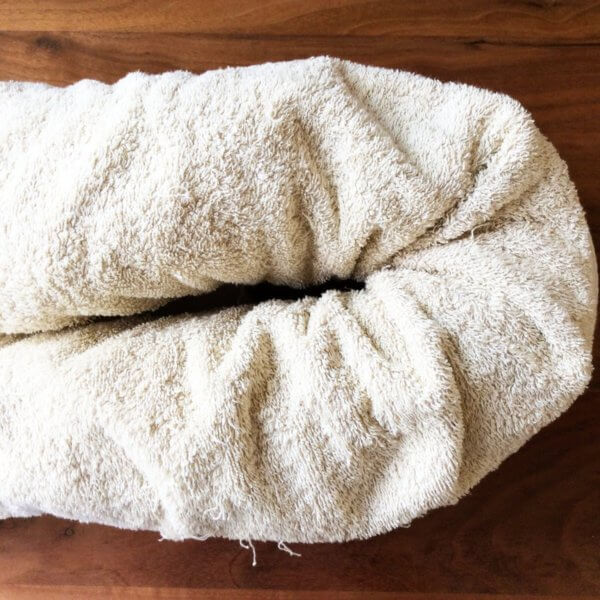
4. Fold the second half of the towel over your shawl and roll it up like a sausage. Squeeze the roll well to transfer most of the wetness from the shawl to the towel. With bigger projects, I find it helps to actually stand a bit on it.
5. Spread out your blocking mats to the size needed for your project. I prefer to do that in my workroom because it can be closed off against “helping” cats.
6. Spread out your shawl on the blocking mats in roughly the shape you want to block it in.
7. Start by pinning the 2 outer corners. You can stretch the upper edge of the shawl out for this, but don’t stretch it to the max., we still need some slack in the fabric to accommodate stretching it out in other directions.
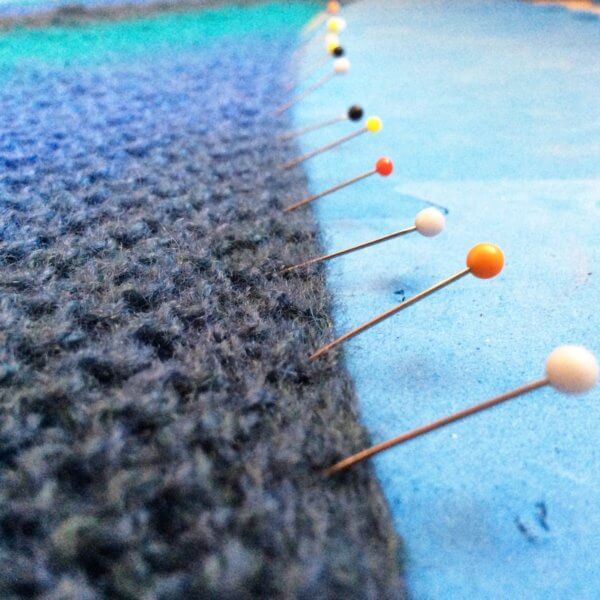
8. Next, pin the entire upper edge of the shawl in a smooth curve, using approx. 1 pin every 2.5 cm (1 inch). You can, of course, pin the upper edge in a straight line, but I find a slightly curved edge sits better on the neck and shoulders.
9. Now we pull down the bottom point and pin it to the mats. Again, don’t stretch it to the max. yet!
10. Now pull every other point on the left side down and pin it in a curve. At this point, you can still keep some slack in the fabric of the shawl.
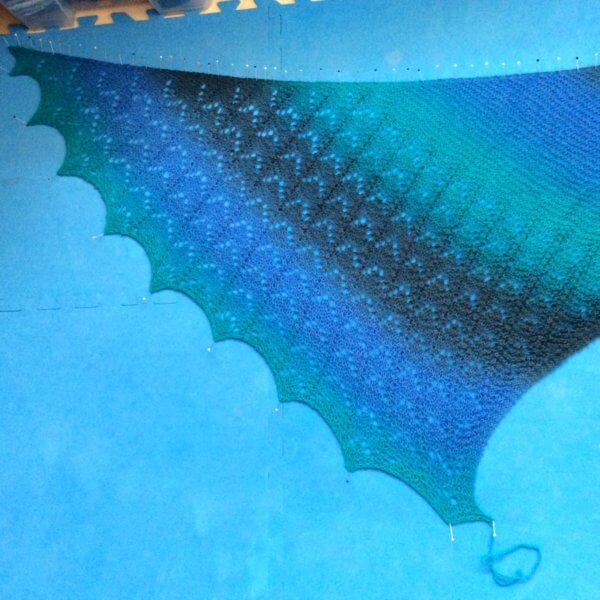
11. Next, we move to the right side of the shawl and pull and pin it down somewhere in the middle.
12. After this, we pin down other points of the edge of the shawl on the right side.
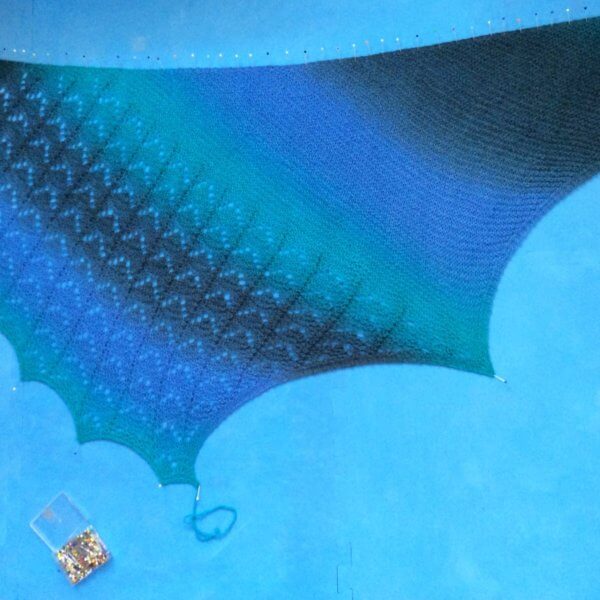
13. Back to the left bottom edge! Now I’m pinning the points I skipped previously, adjusting the pins already there where needed, to achieve a smooth curve.
14. Following this, I continue pinning the right edge again, making sure to keep the same distance between pins as on the left side. I placed the weight on the blocking mat to keep it from buckling under the tension I’m putting the shawl under.
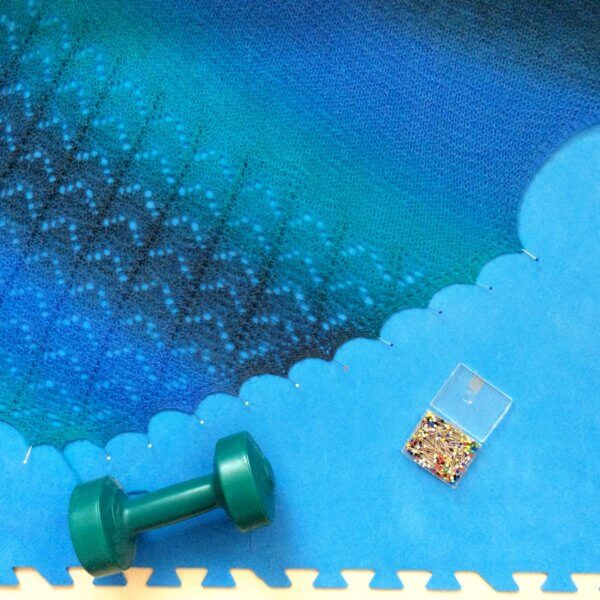
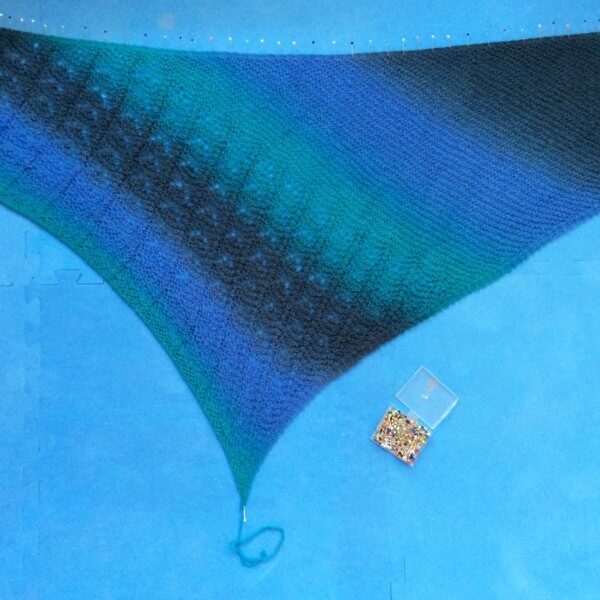
15. Finally, I go over the entire bottom edge again, making sure to pull it out to the max and keeping the edge in a smooth curve. I needed more weights to keep the mats in place!
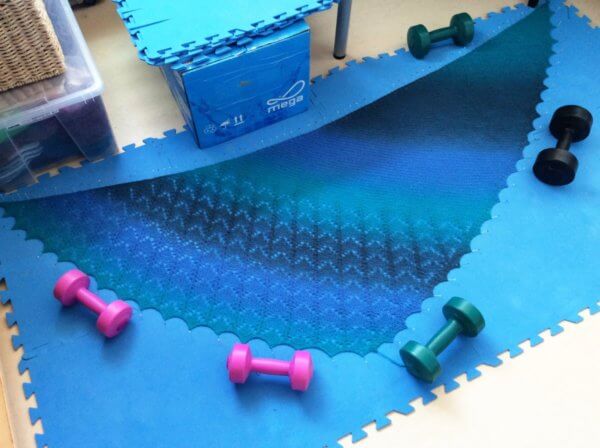
And there you have it: a beautifully blocked Scuba shawl!
blocking an asymmetrical shawl Read More »