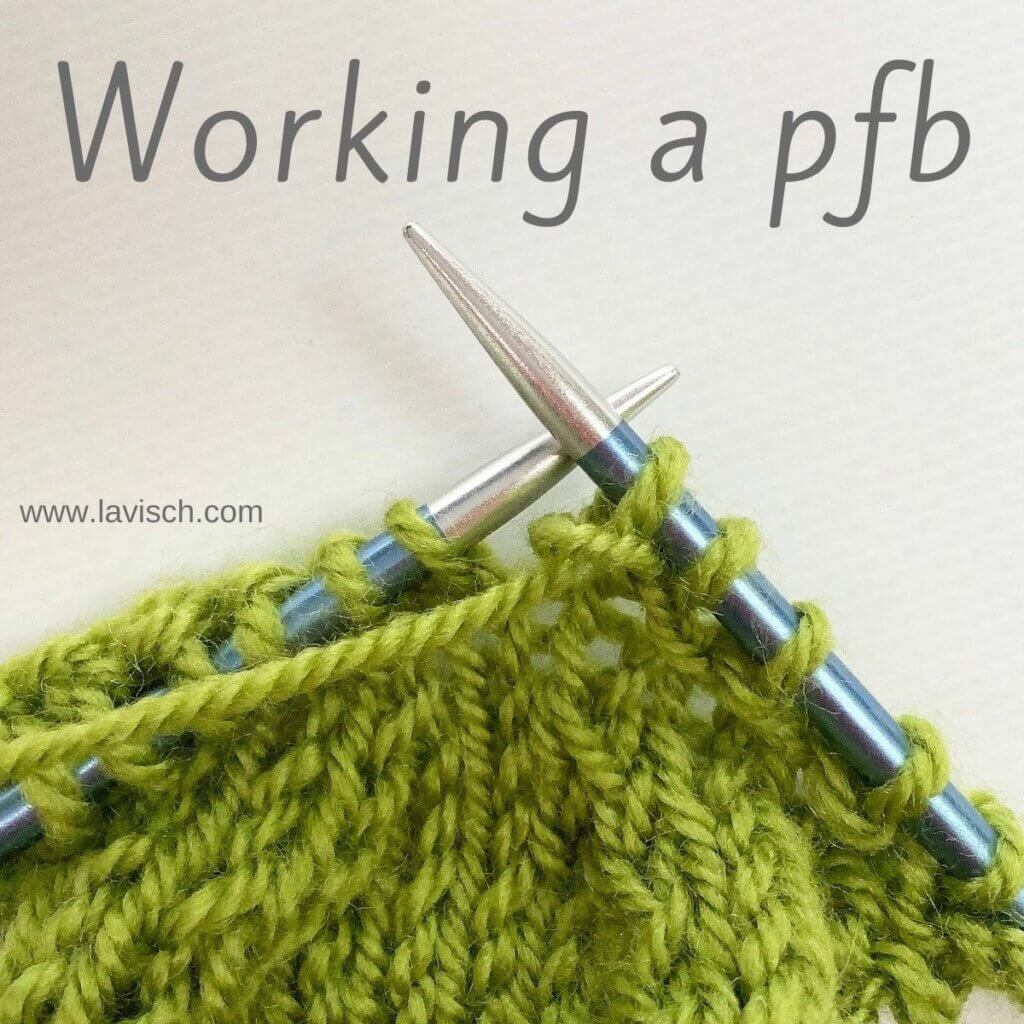
tutorial – the standard knitted bind-off
This particular bind-off is the one most knitters learn first, and with good reason: it’s a very versatile bind-off that can be used in both knit and purl variations. This makes it my go-to bind-off when a pattern instructs me to bind-off “in pattern”. That said, in this tutorial, I will focus only on the knit variation, to work this in purl, just replace all knits by purls!
But I’m getting ahead of myself. The standard knitted bind-off creates a lovely edge, that is perfect for seaming, picking up stitches or doing “pick up and knit” for further finishing. Think for example of knitting a button band for a cardigan. That said, while this bind-off has some elasticity, it can be hard to get the tension exactly right. It’s not advised to use for edges that need a lot of stretch, like the ribbing of toe-up socks. If you know you’re a tight knitter, it may be a good idea to go up a needle size when doing this bind-off. Likewise, if you’re a very loose knitter, you may want to drop down a size.
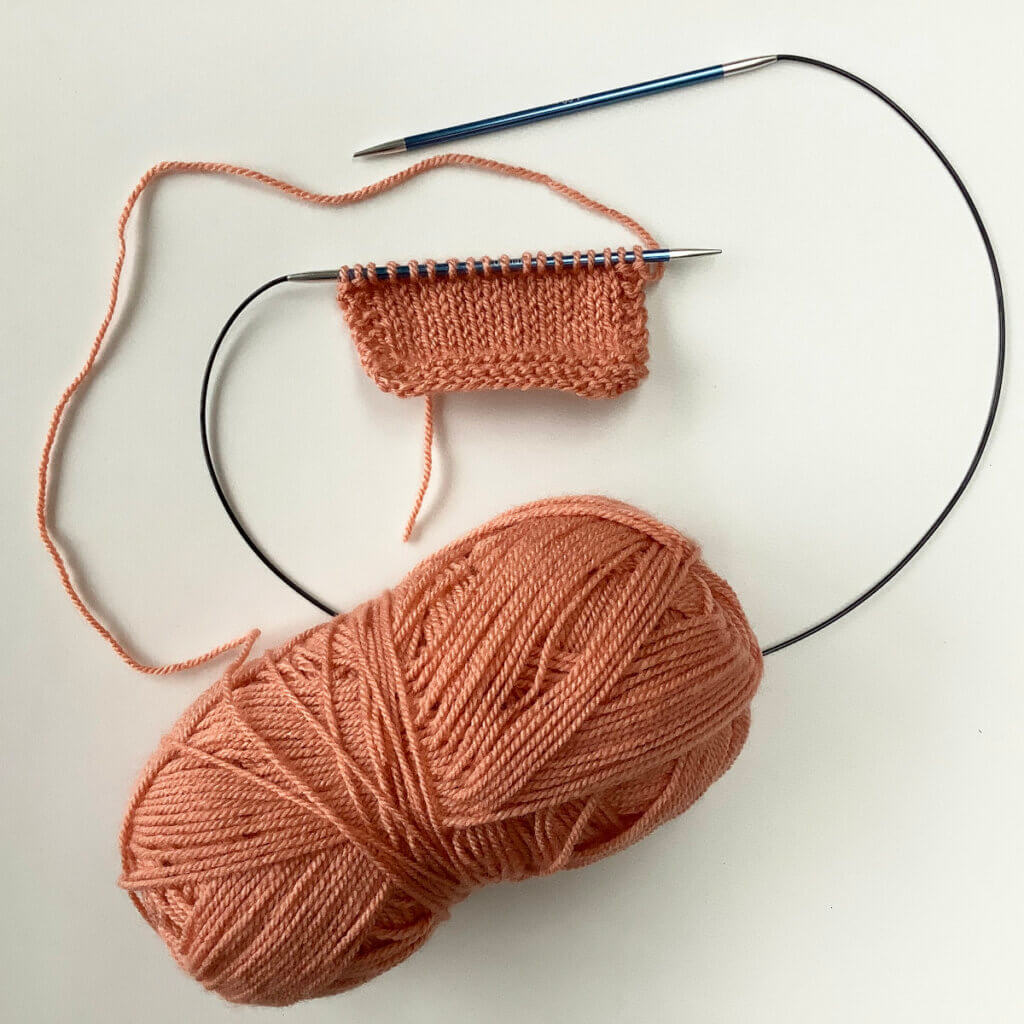
Materials used
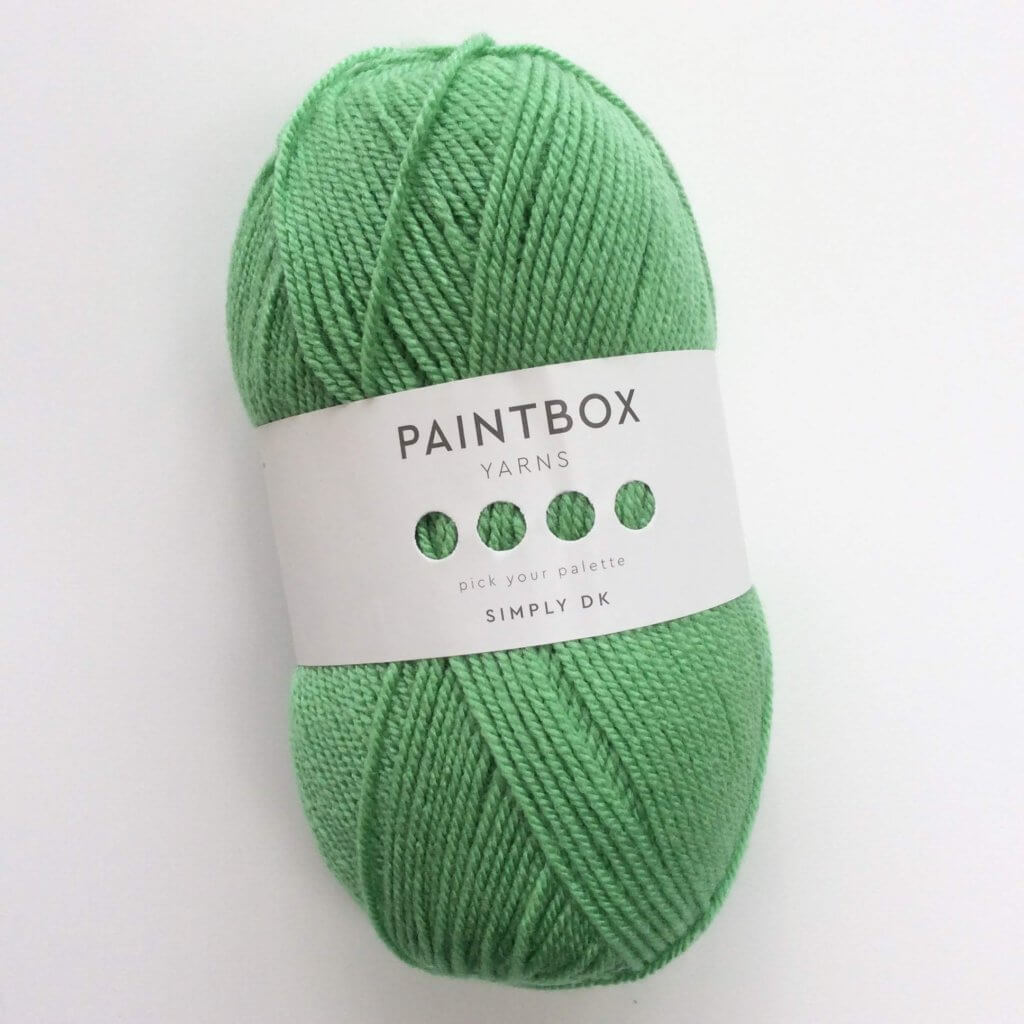

Yarn: Paintbox Yarns Simply DK, a good value, good quality 100% acrylic yarn, here in the color 125 Spearmint Green.
Knitting needles: This is a pair of straights that I picked up at the second-hand store when I started knitting, brand unknown.
The standard knitted bind-off step by step
In patterns, you may see the following instruction for this bind-off:
K1, *k1, insert tip of the left-hand needle into first stitch on the right-hand needle, pass this stitch over the second stitch; repeat from * to end.
Below, I’ll show you step by step how this looks like in knitting!
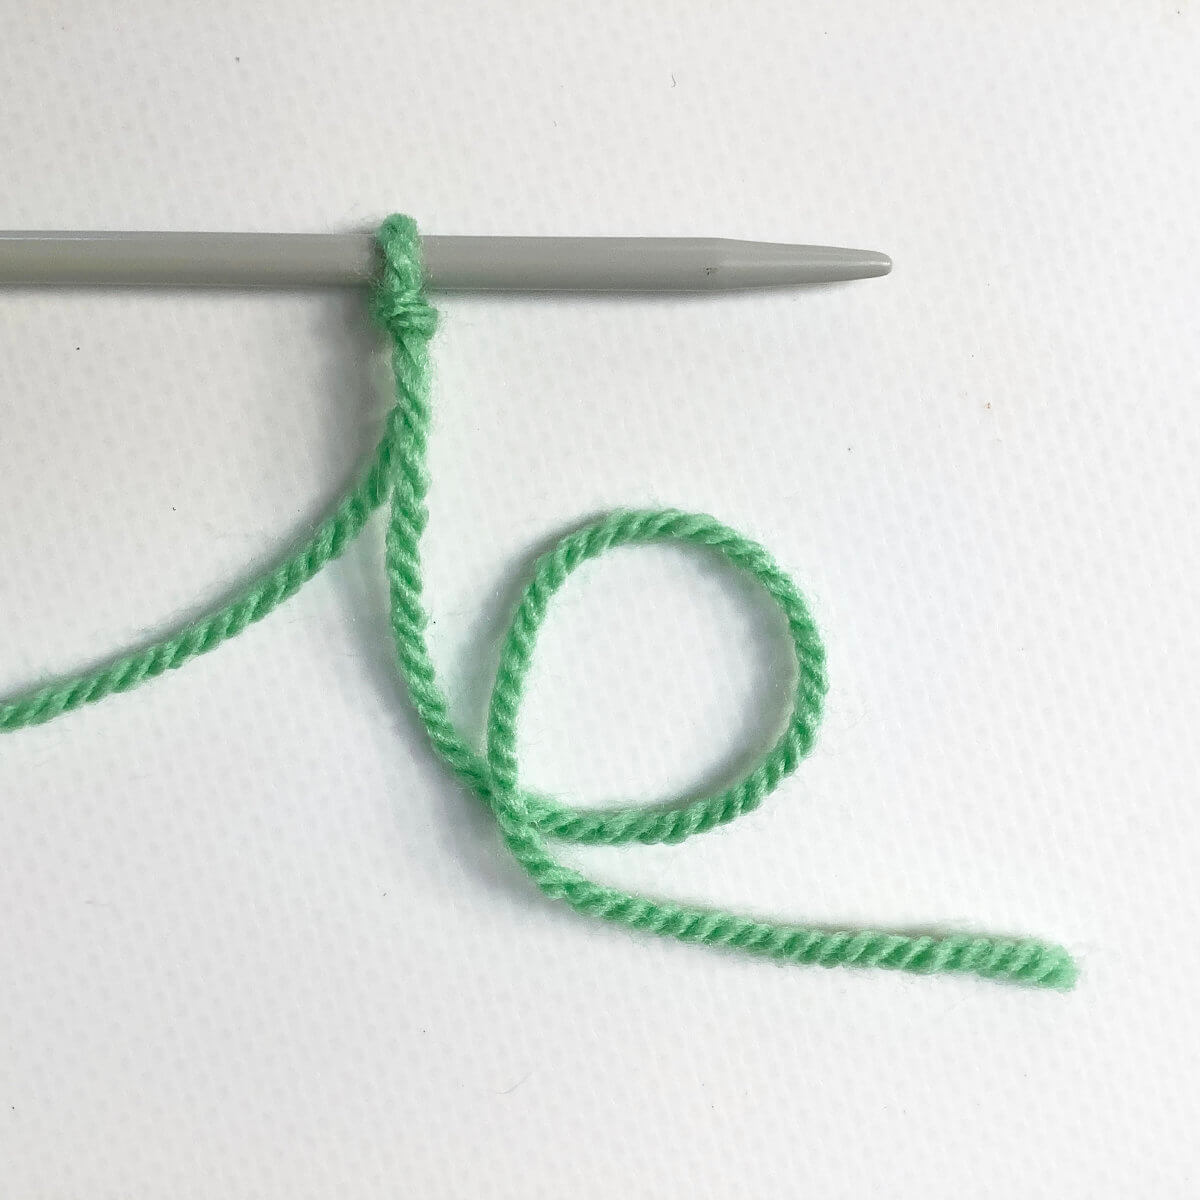
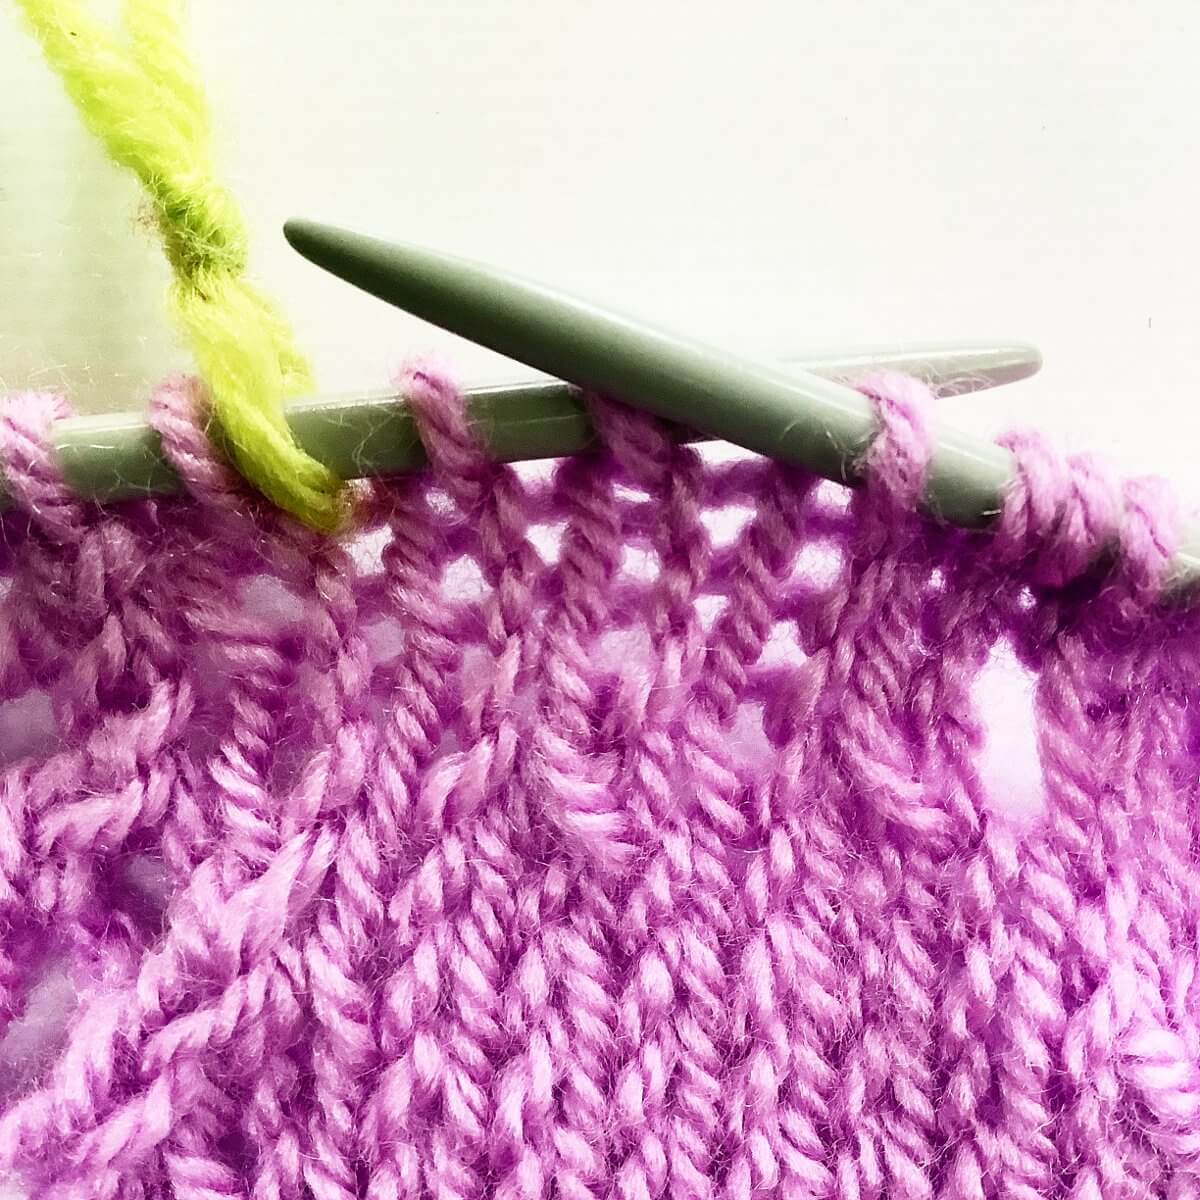
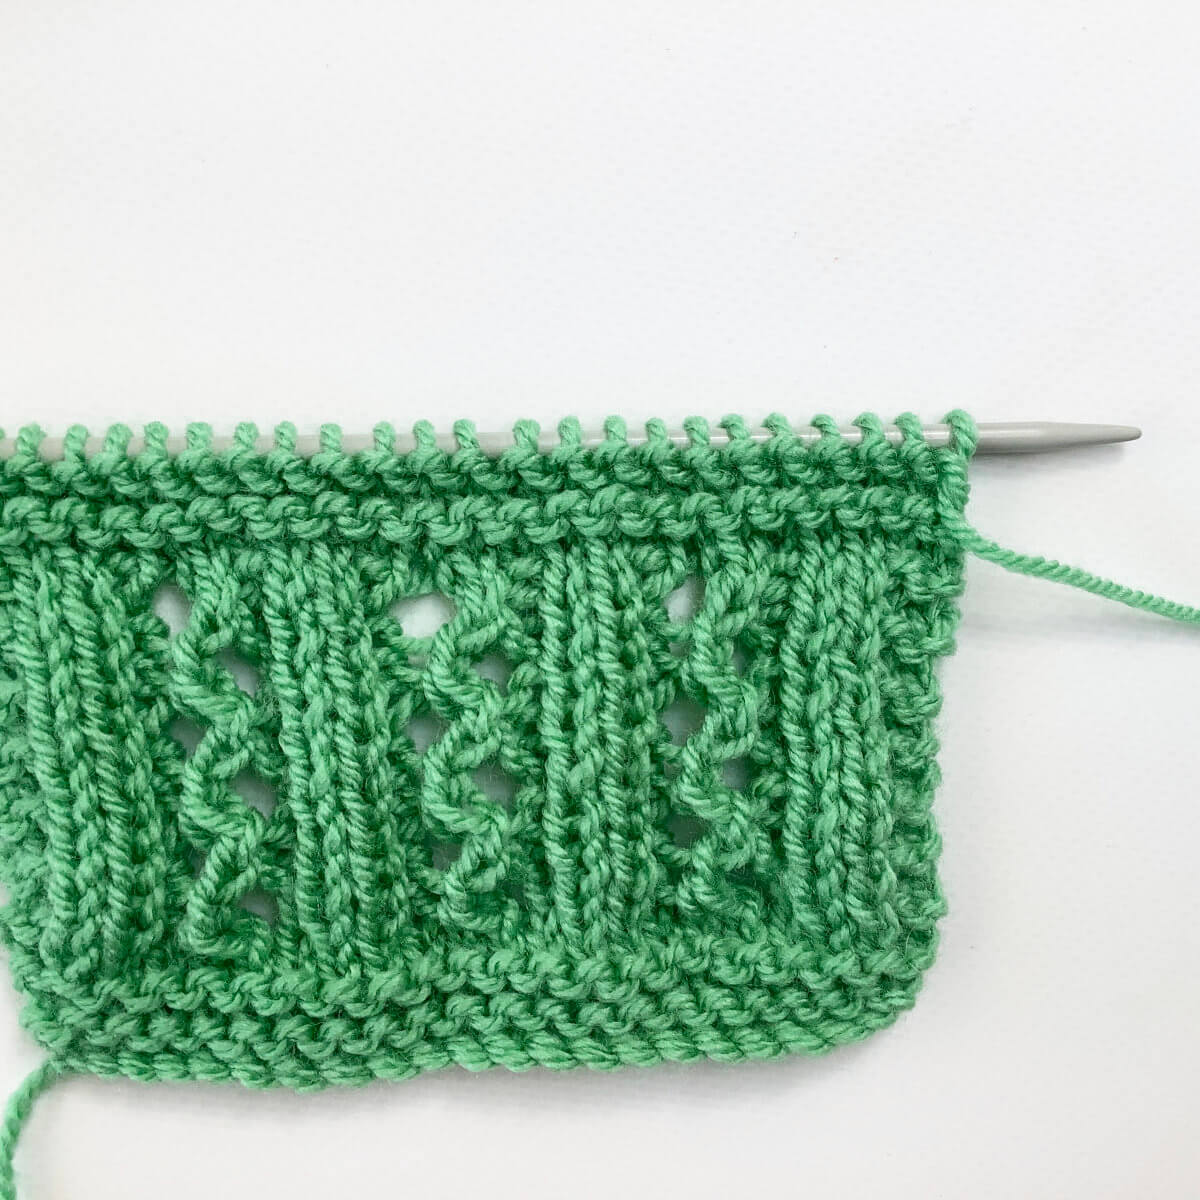
- To start, take the piece of knitting you want to bind-off.
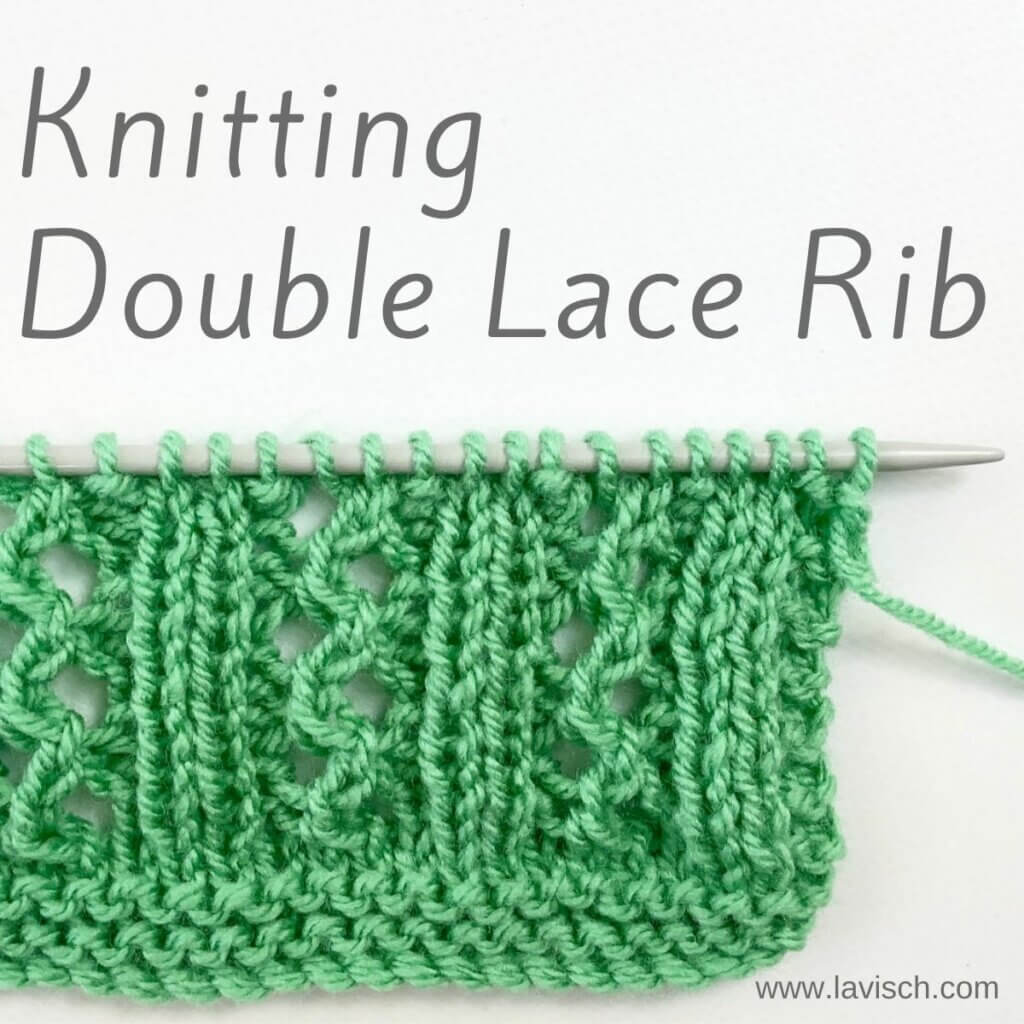
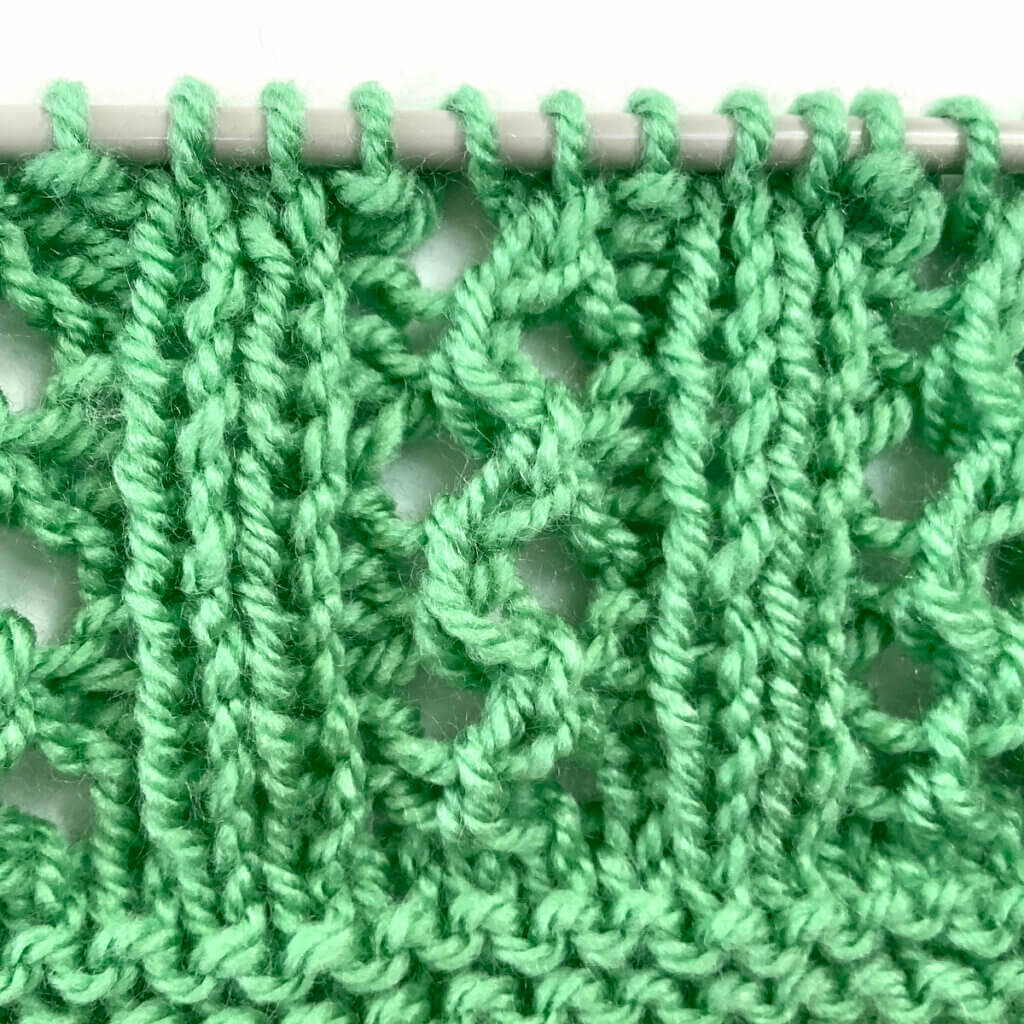
In this case, I’m using the swatch I made for the Double Lace Rib stitch pattern.
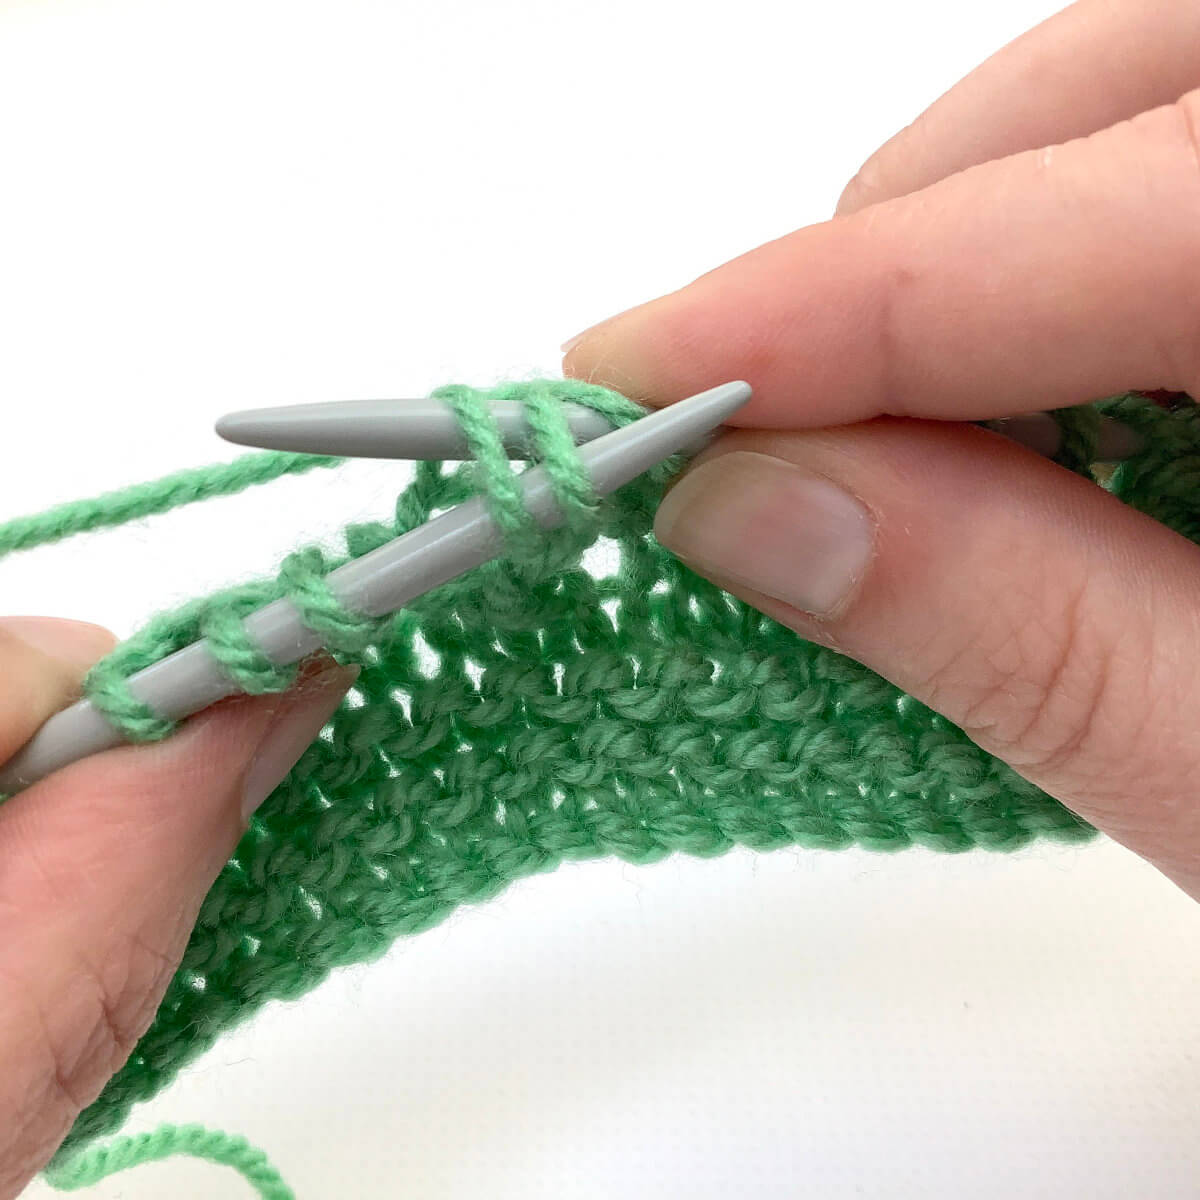
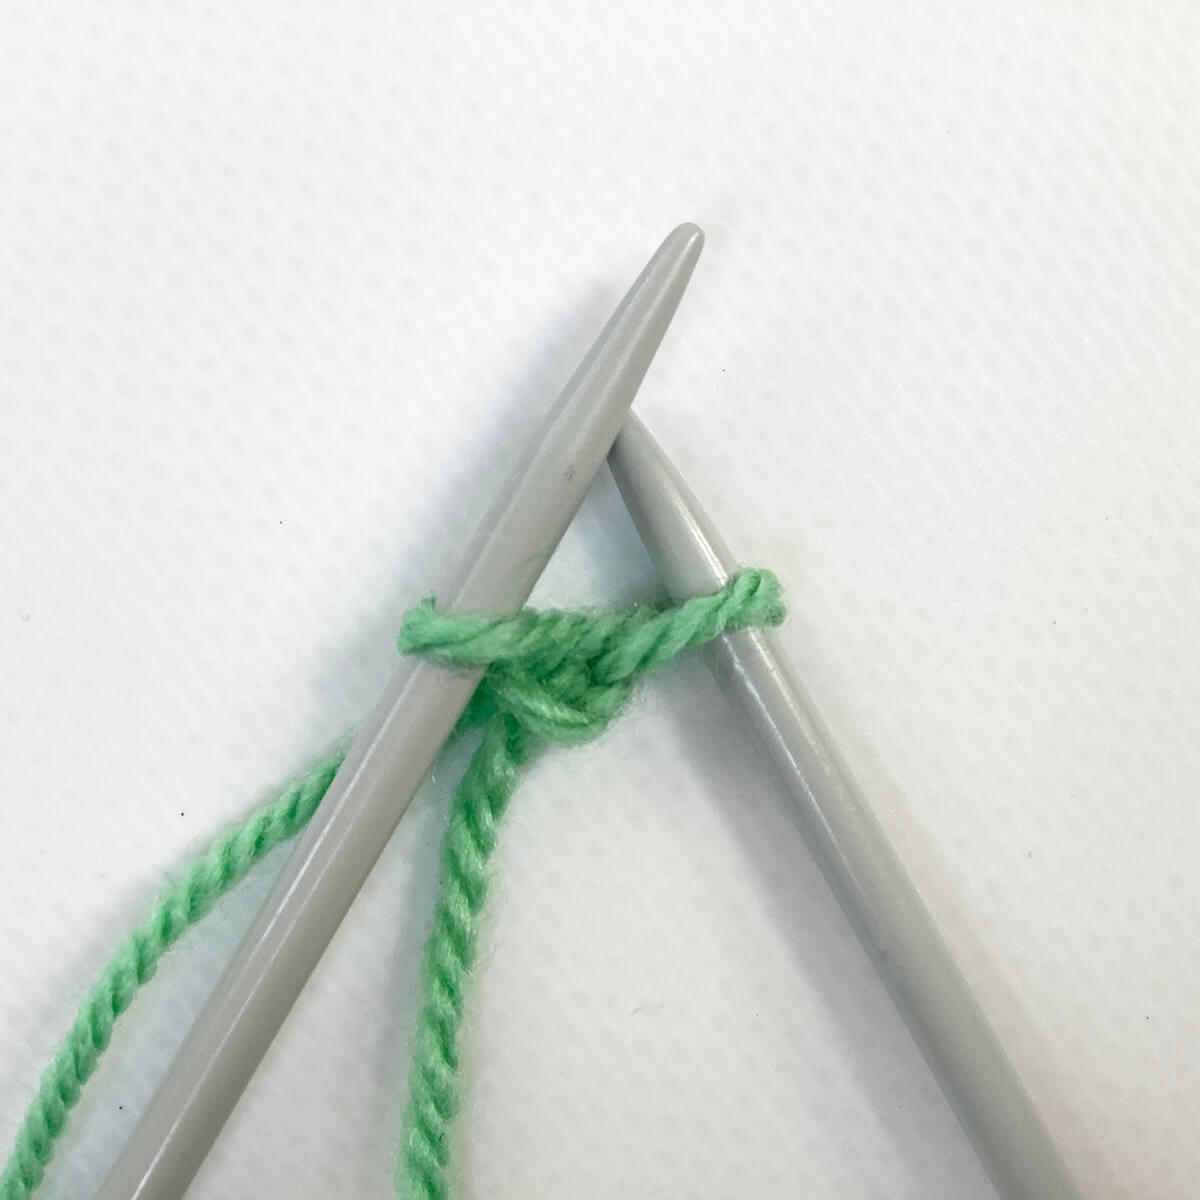
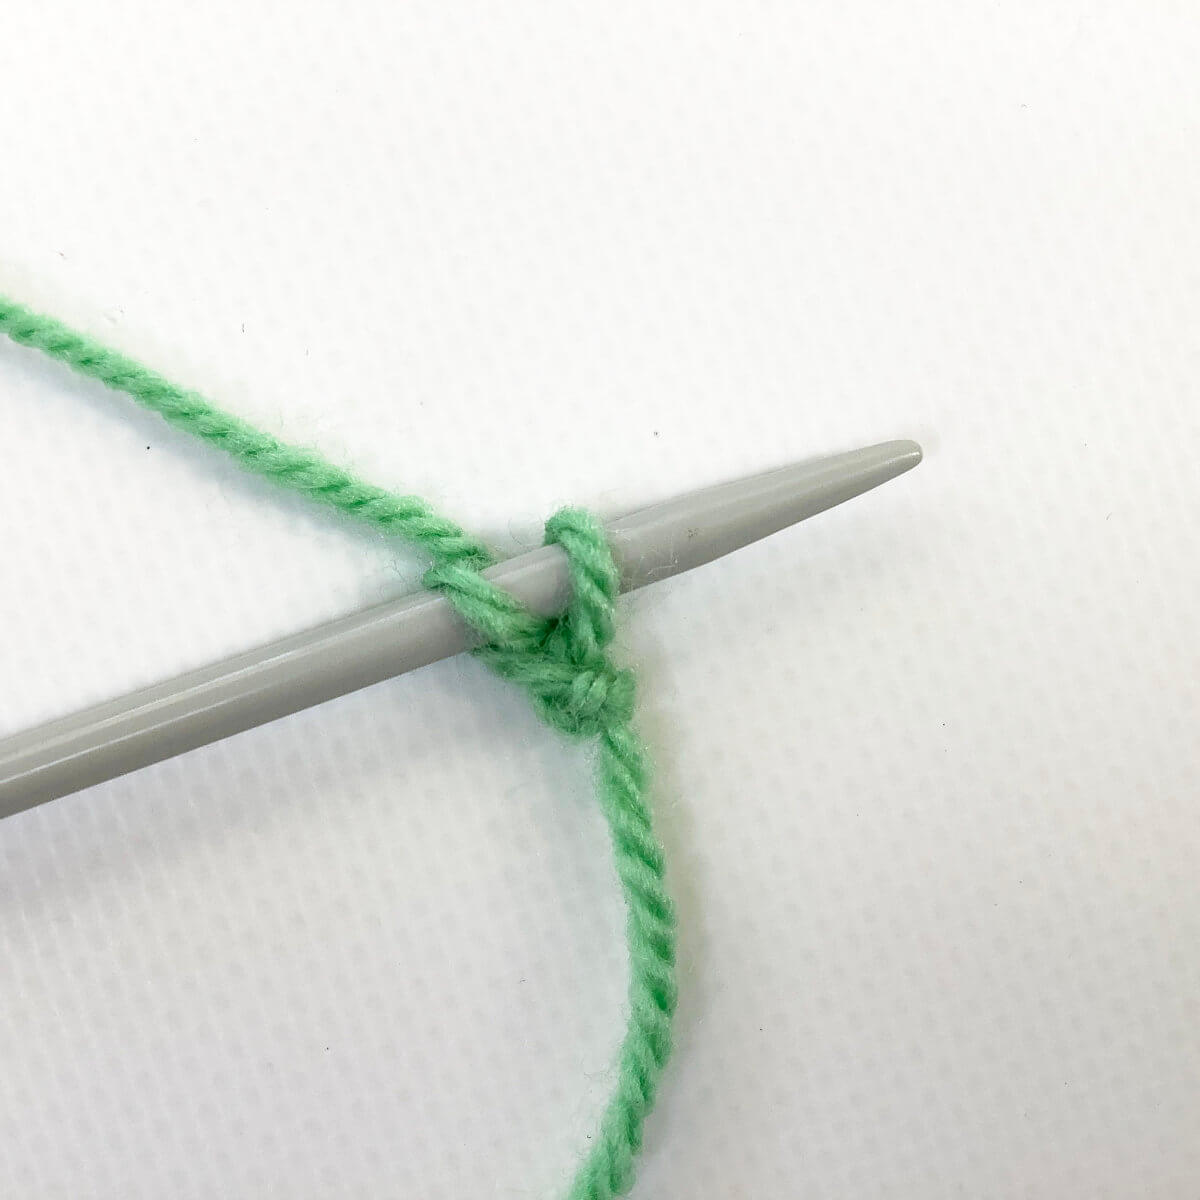
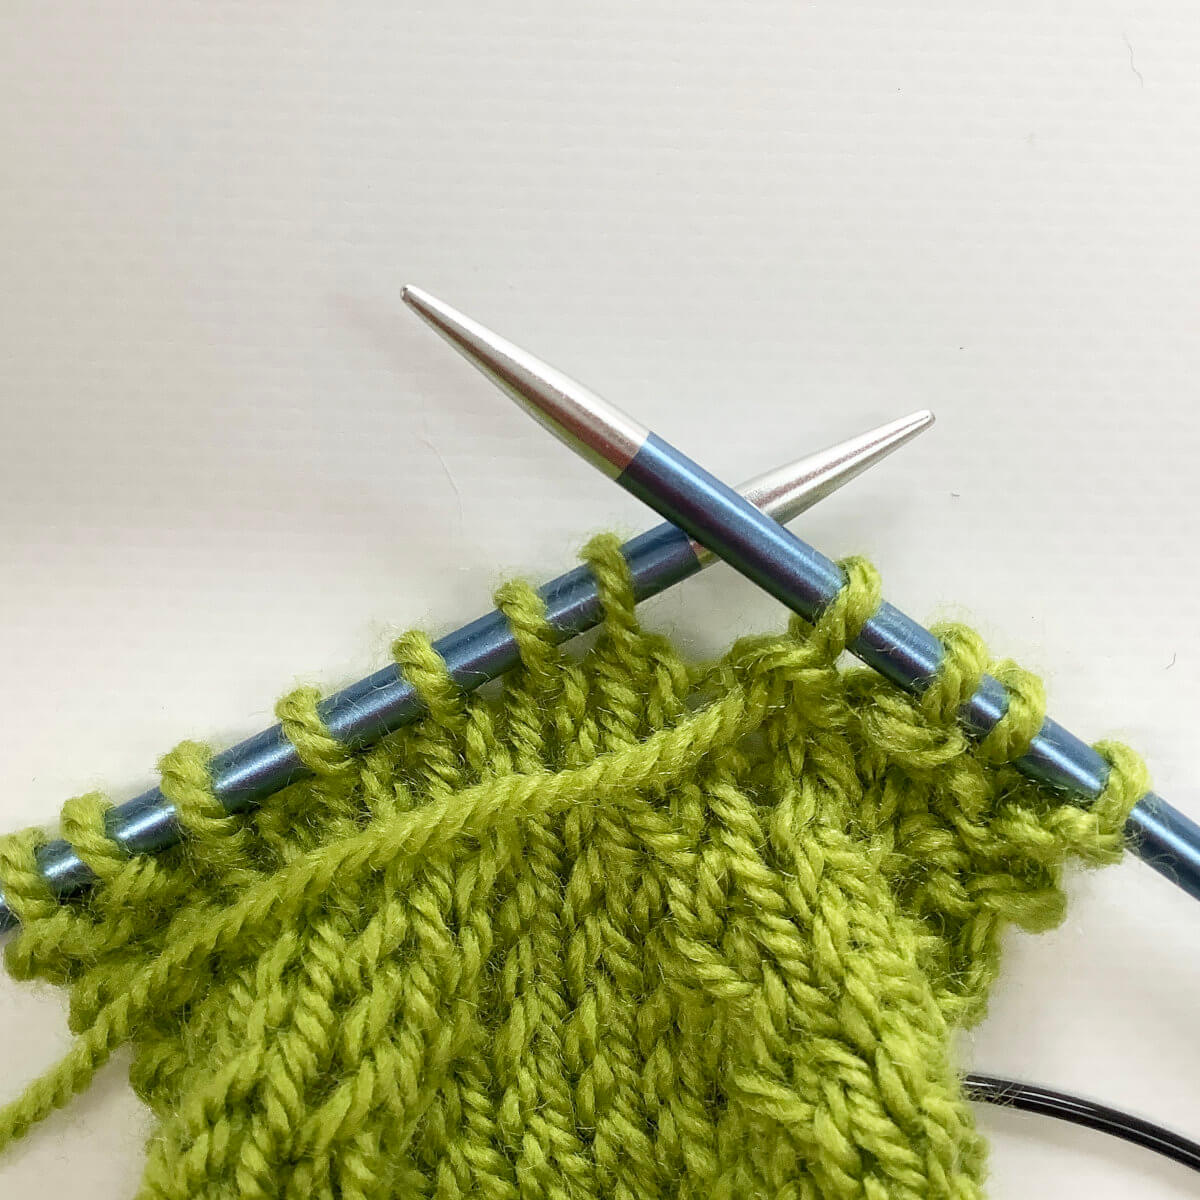
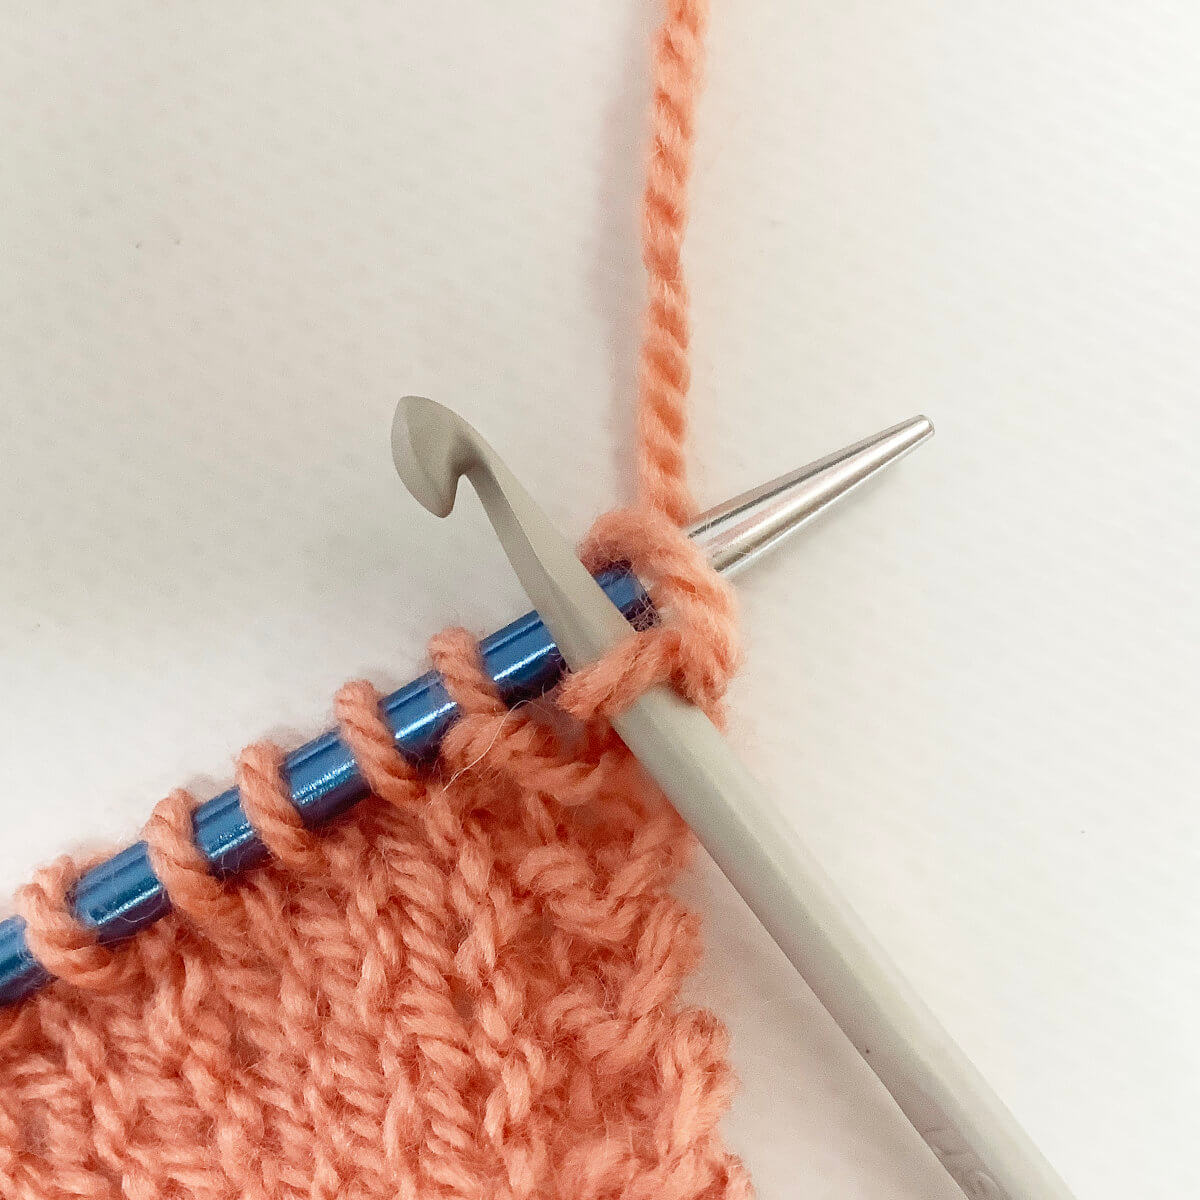
- Knit the first stitch on the left-hand needle.
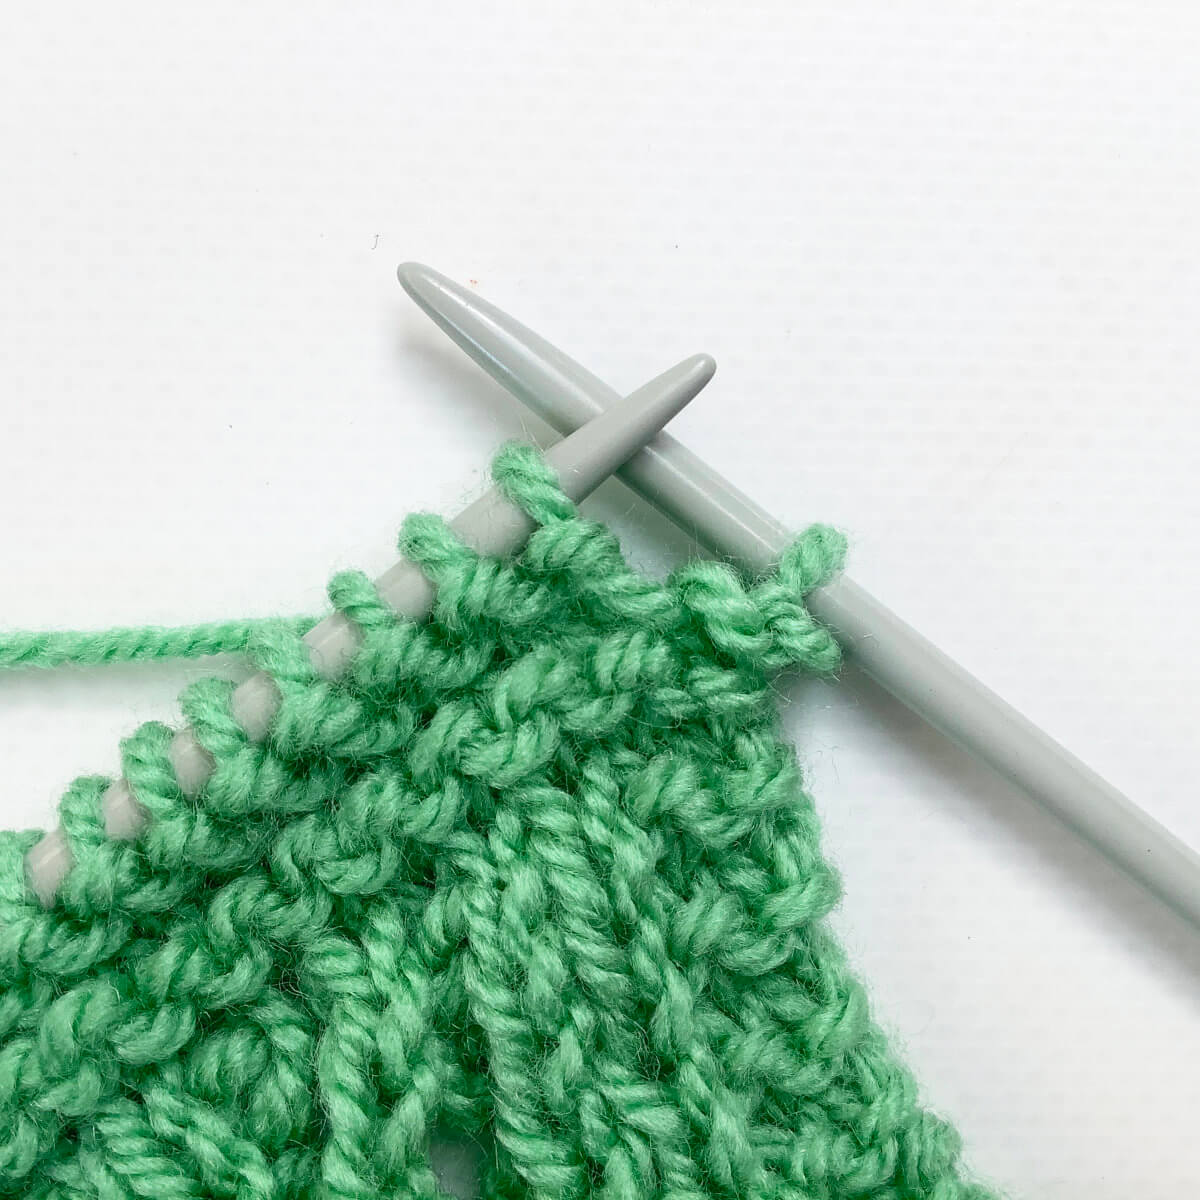
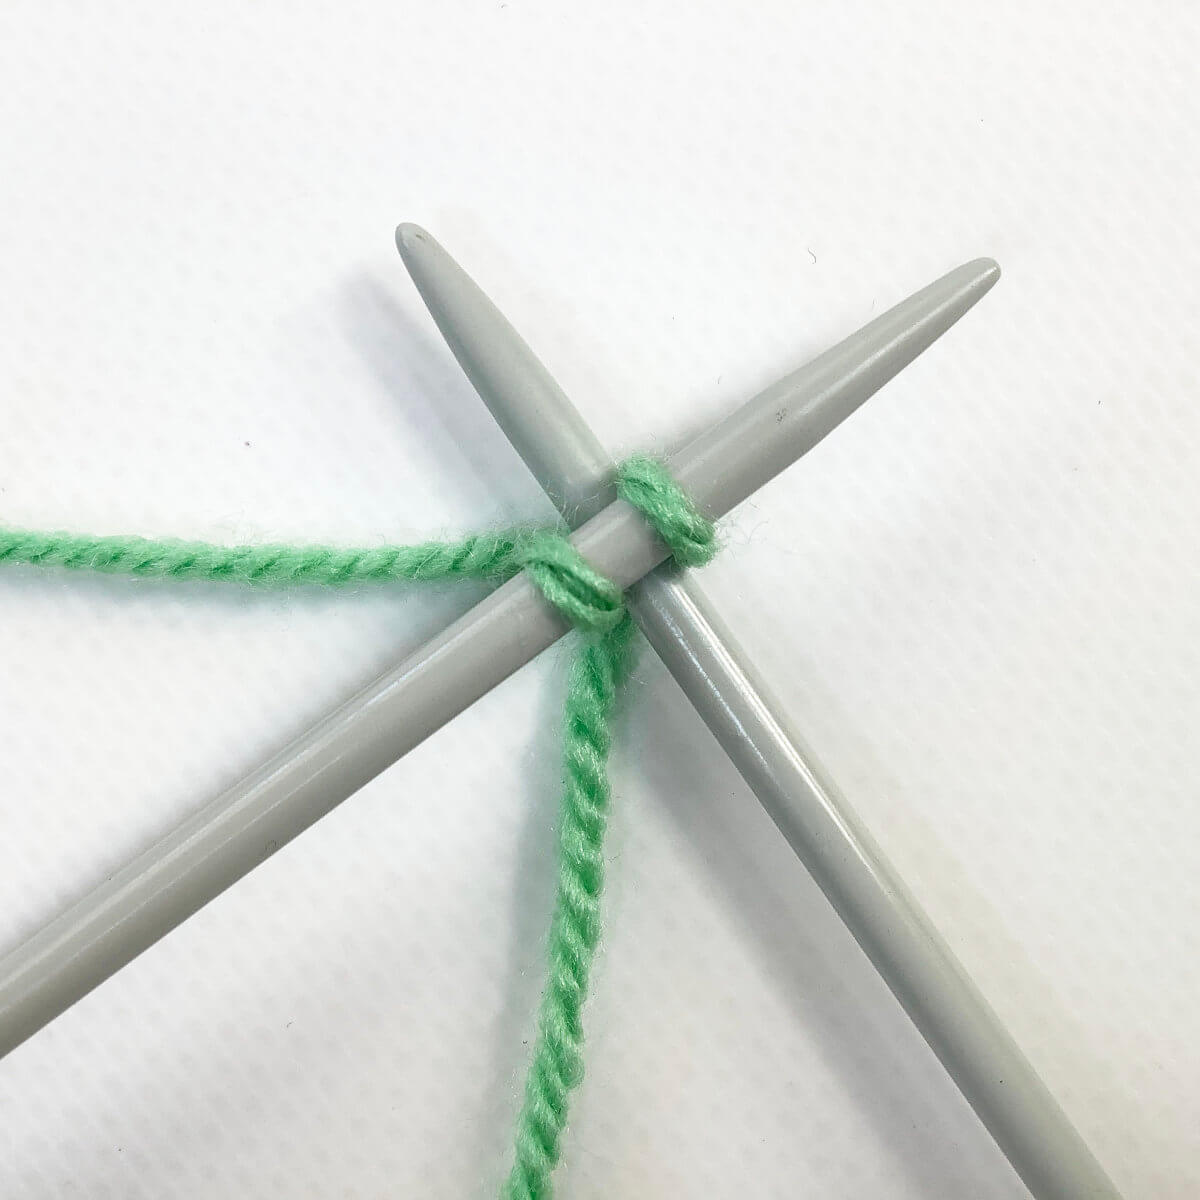
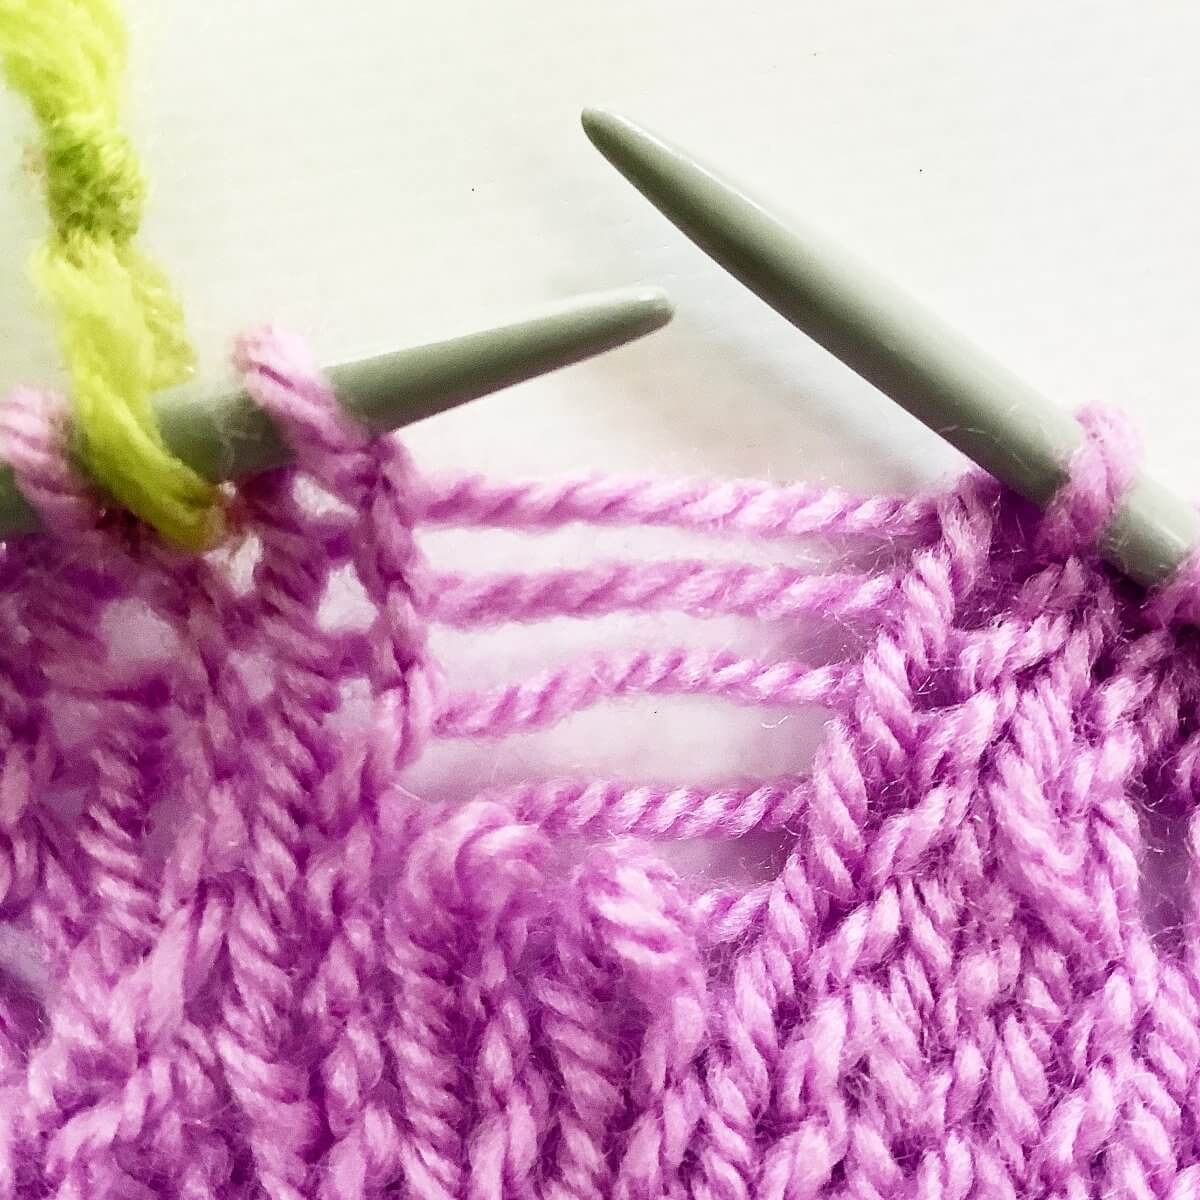
- Next, knit the new stitch nearest to the tip of the left-hand needle.
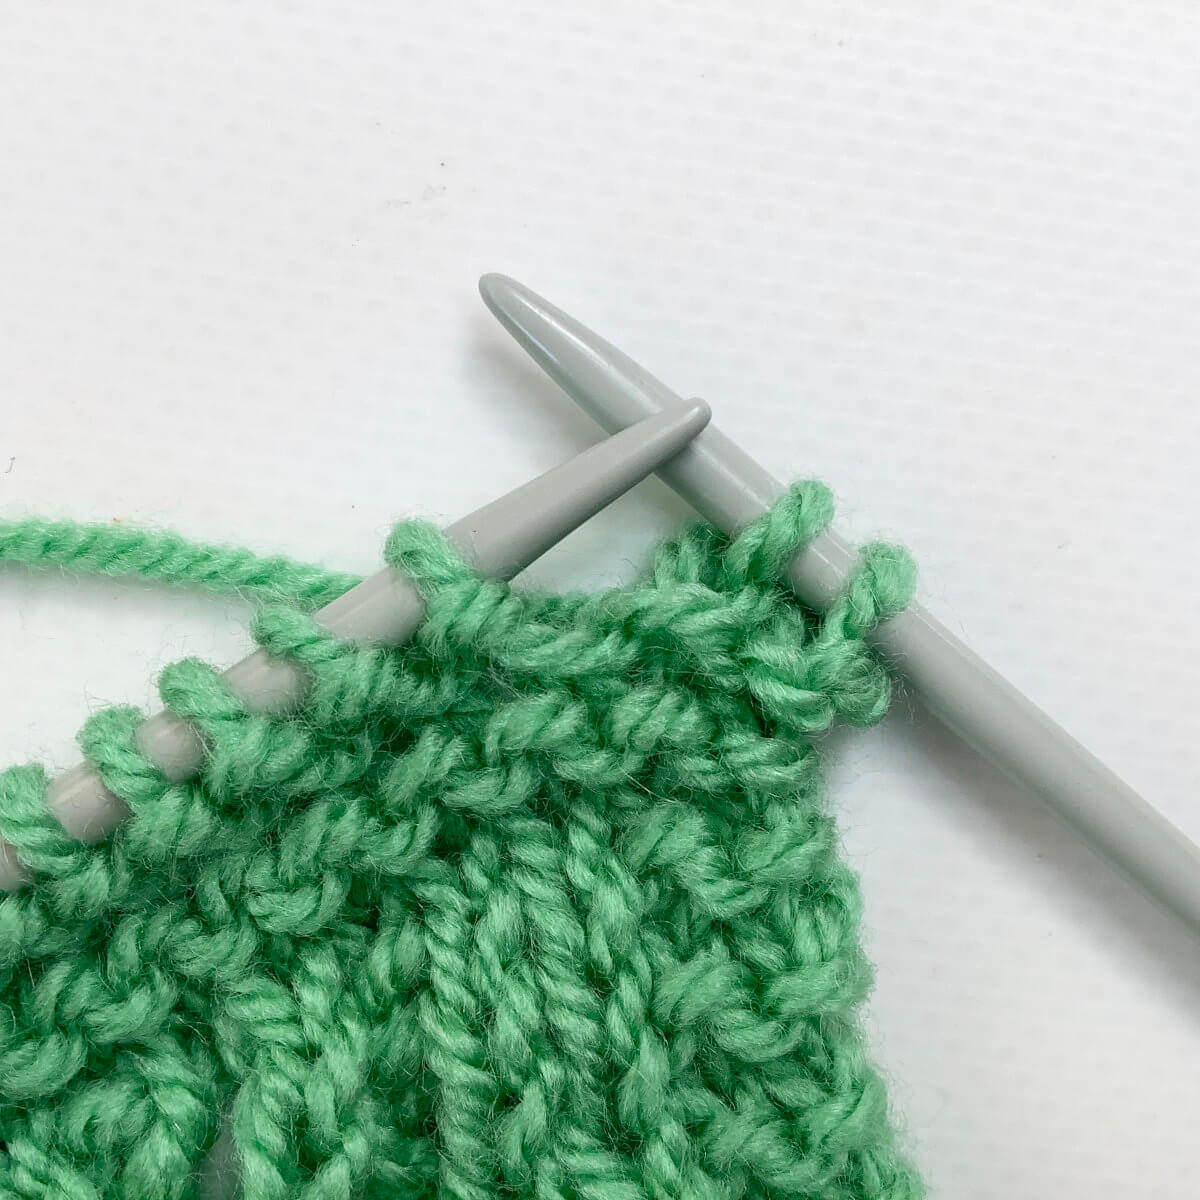
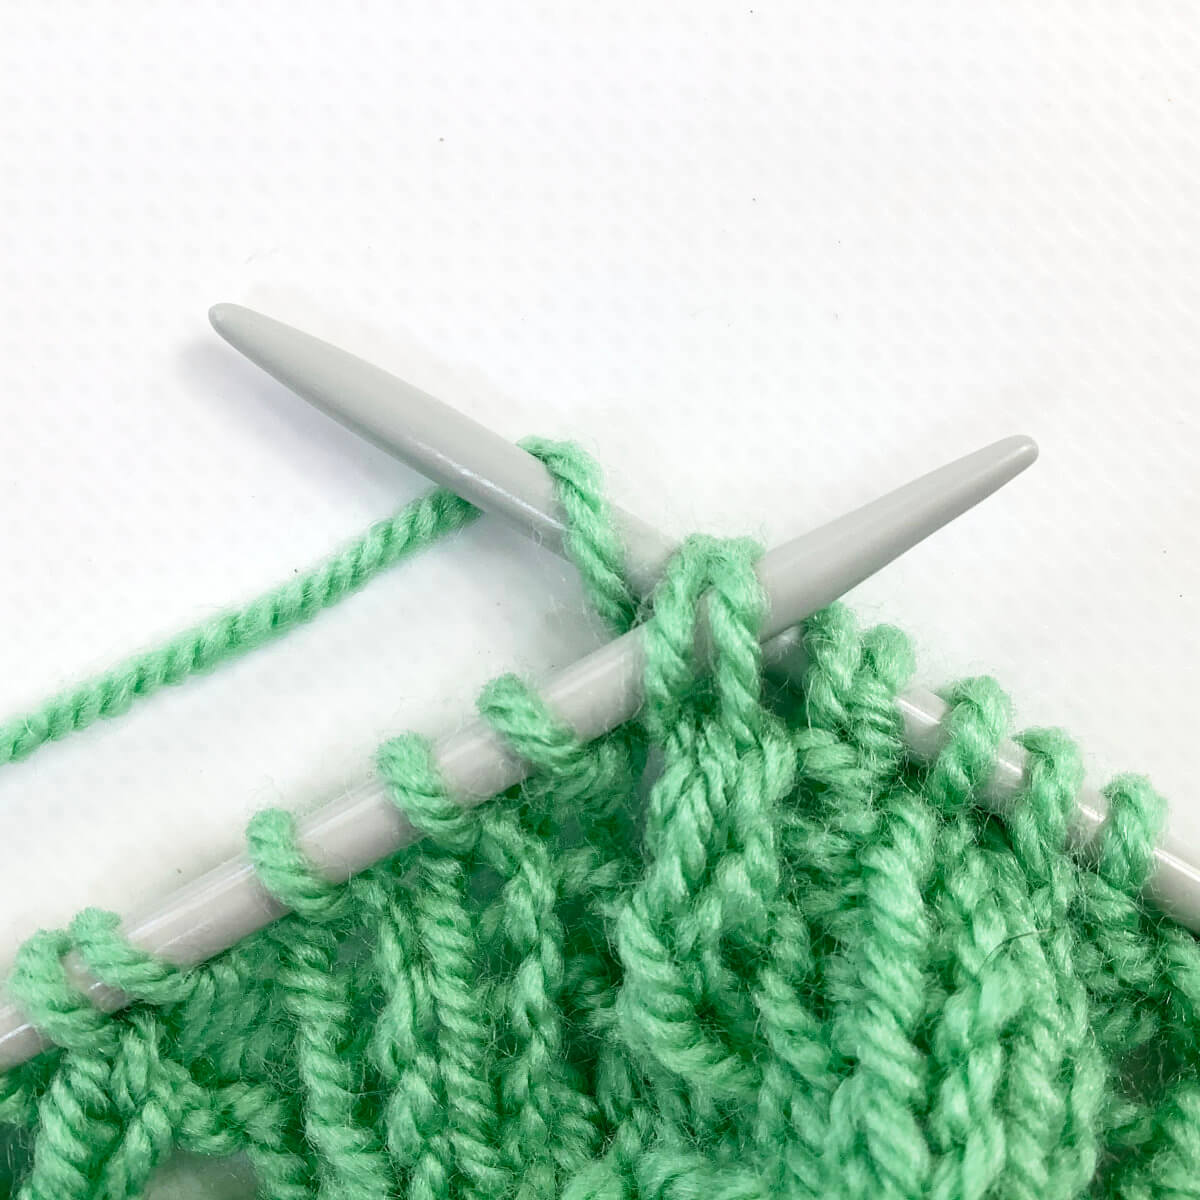
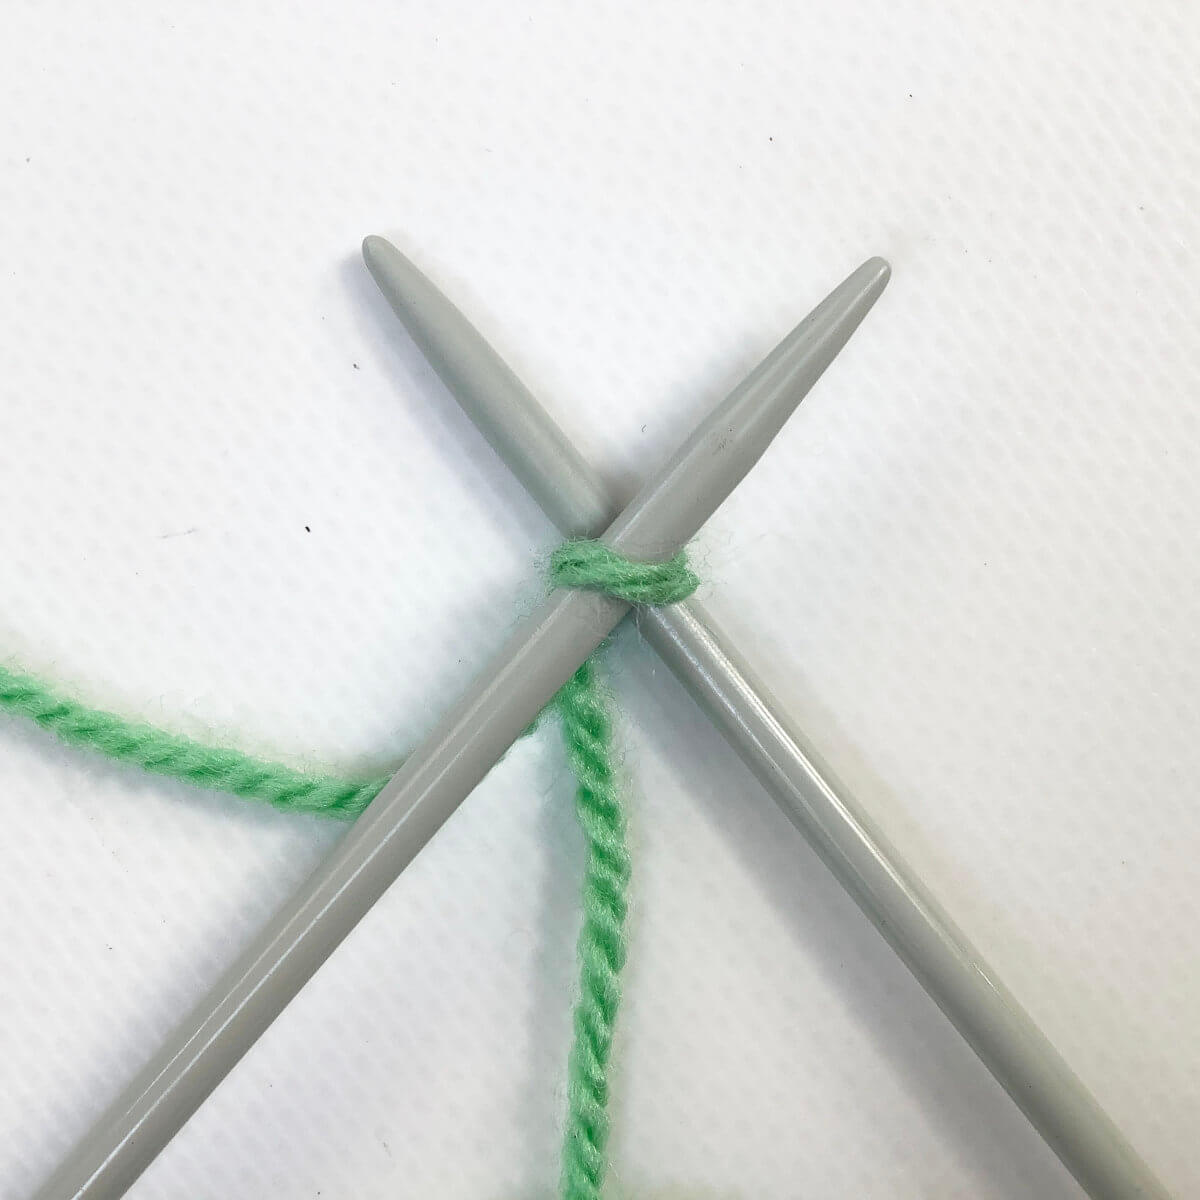
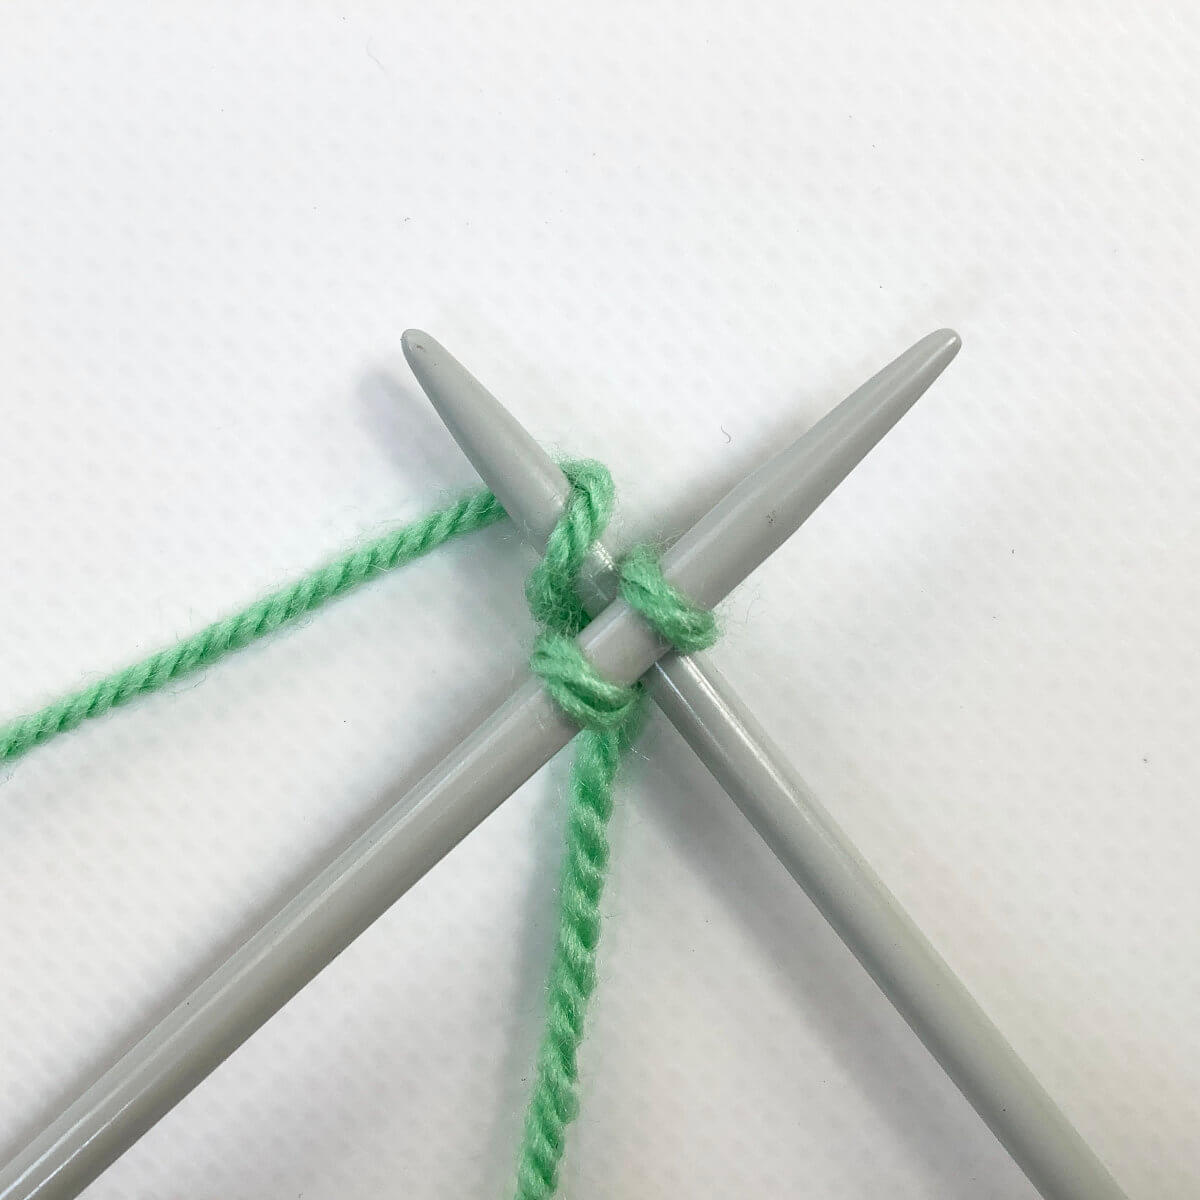
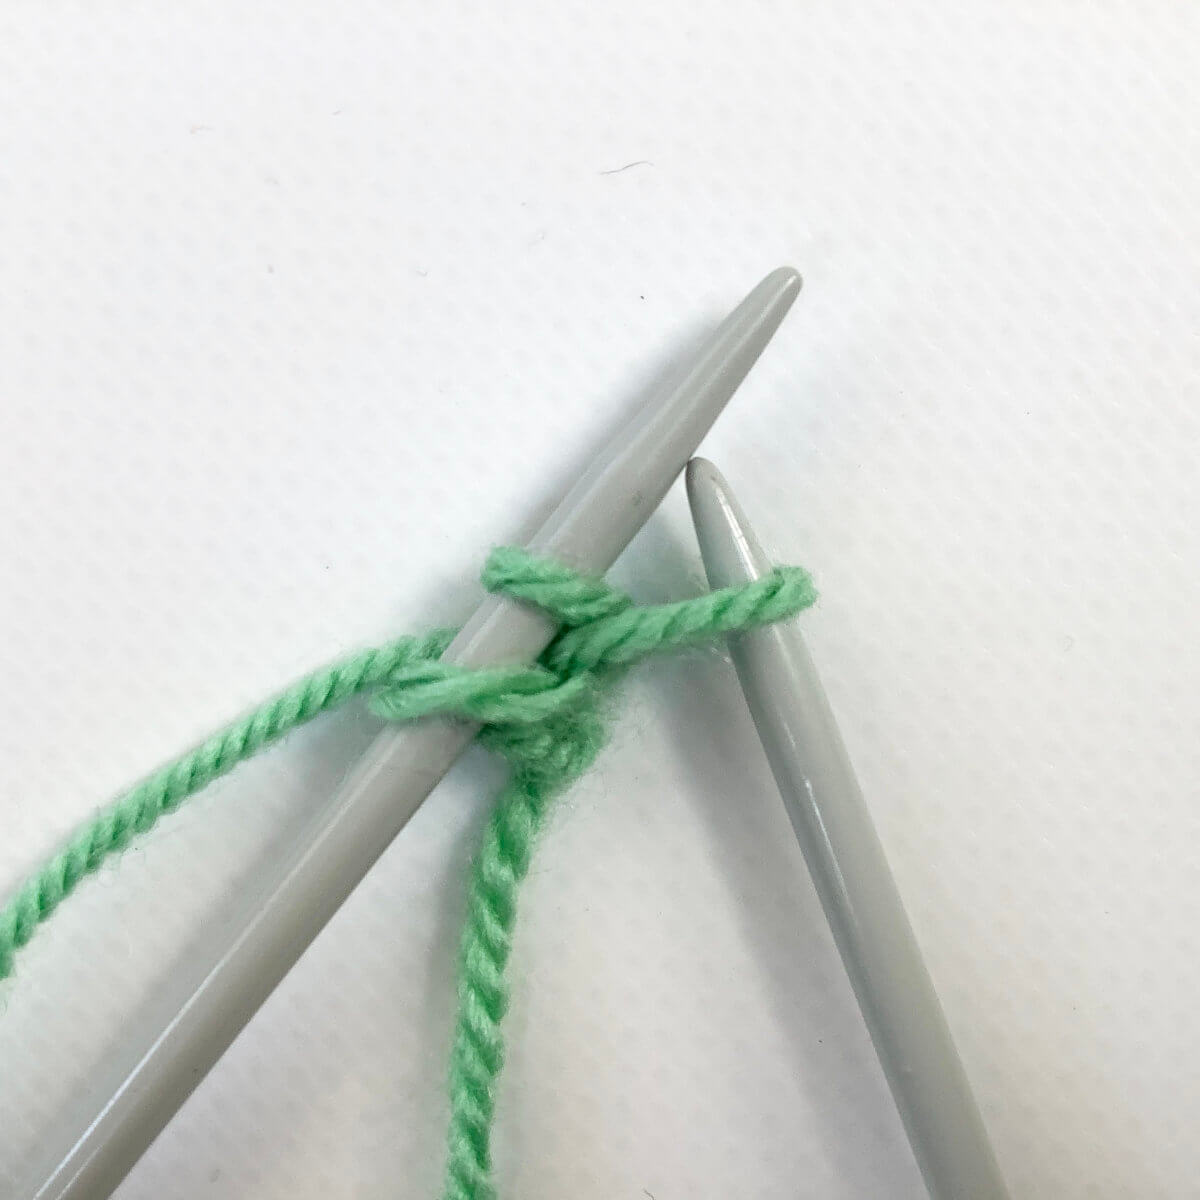
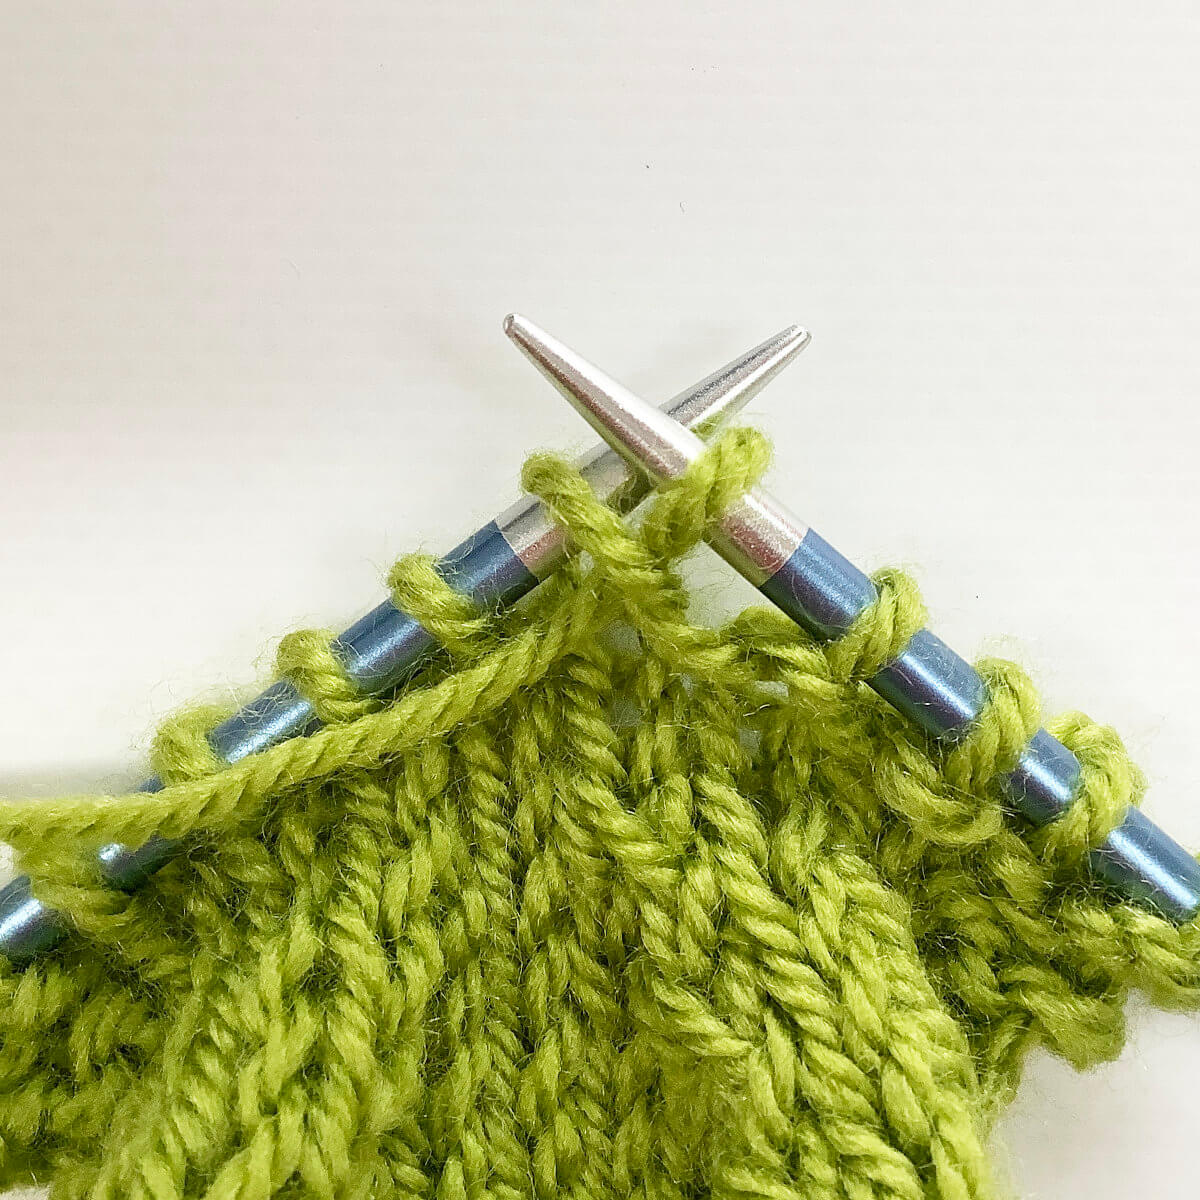
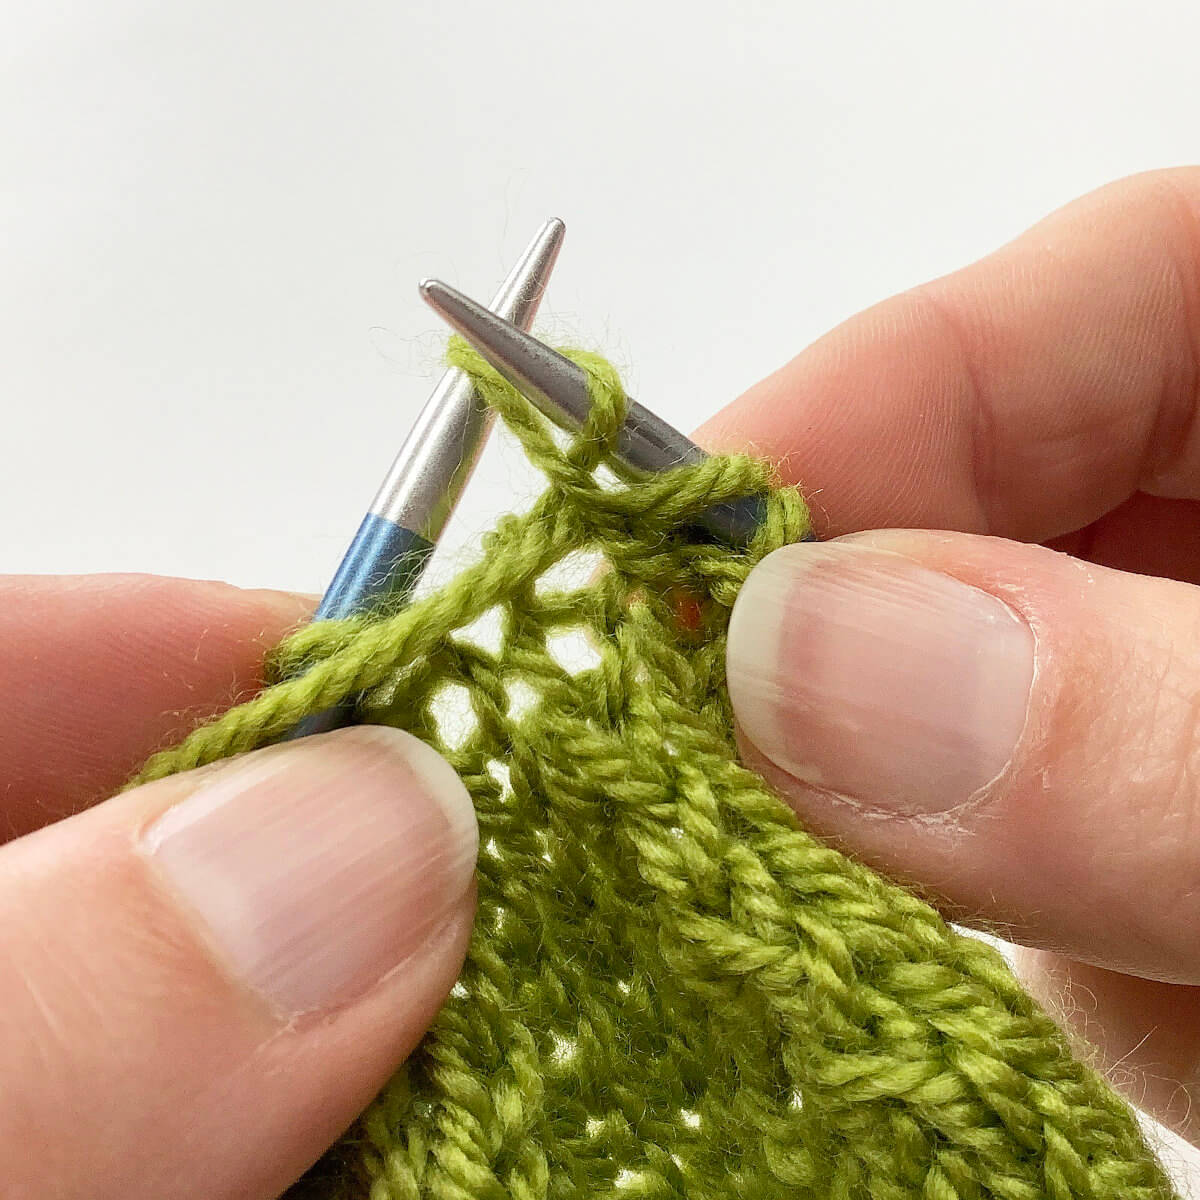
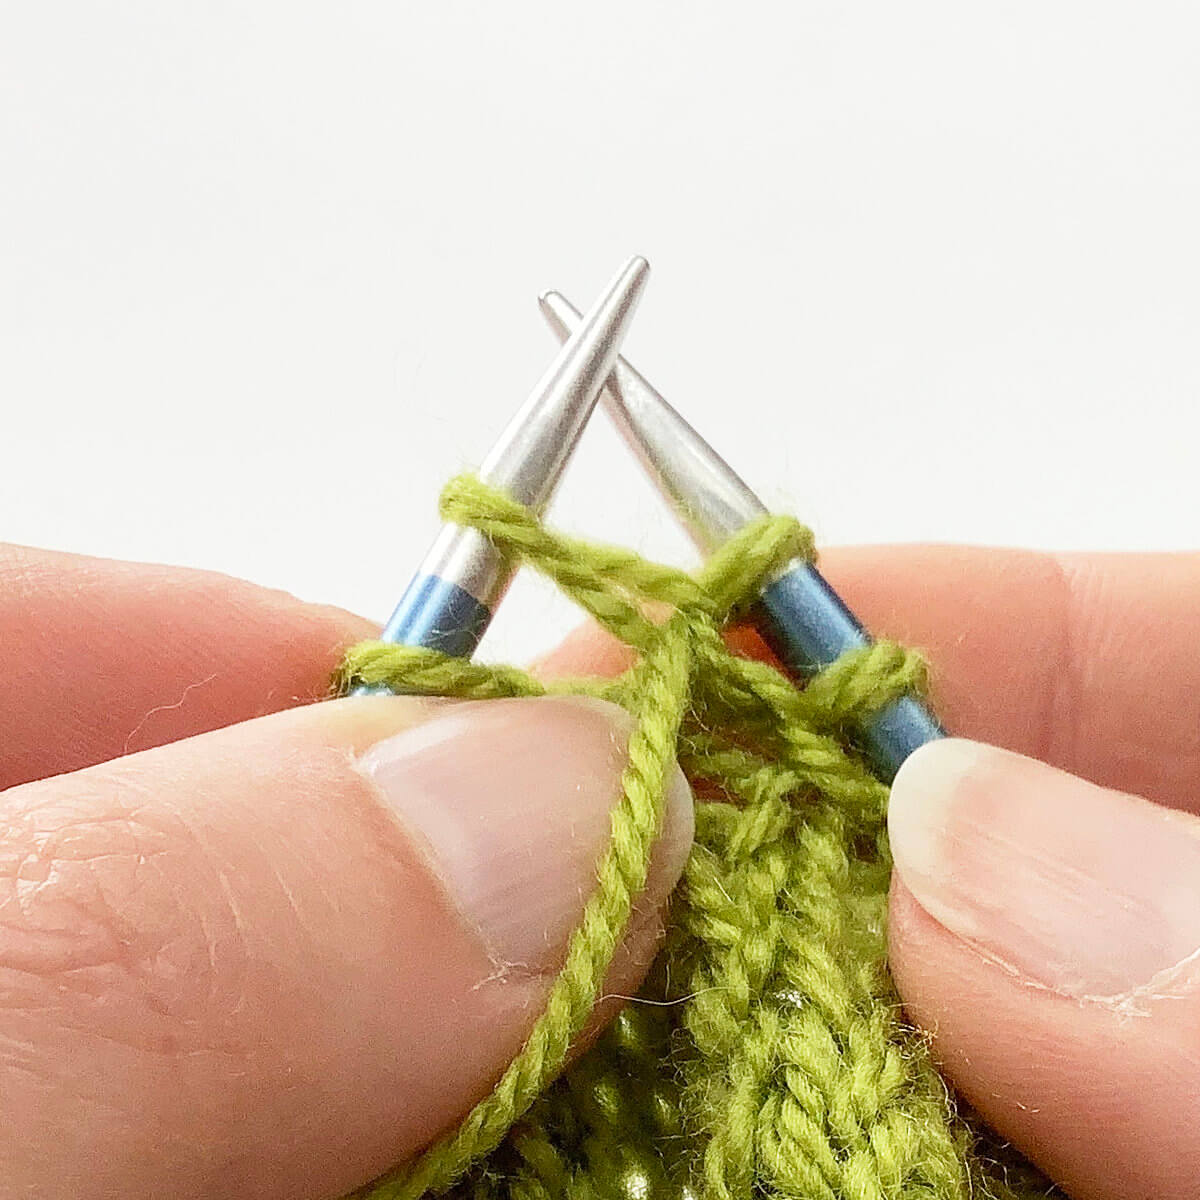
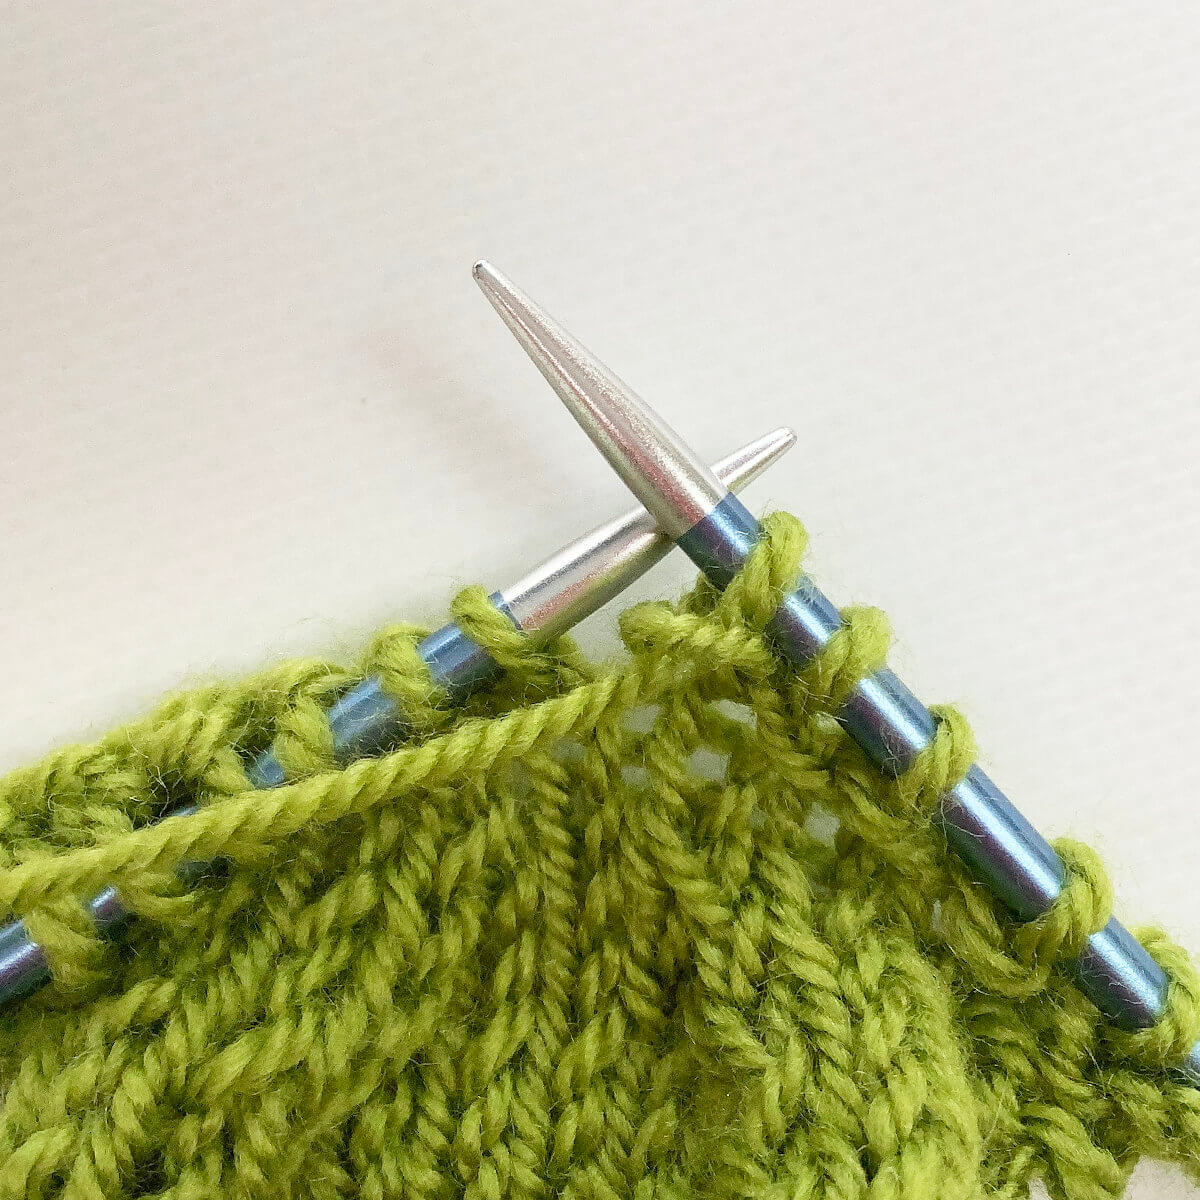
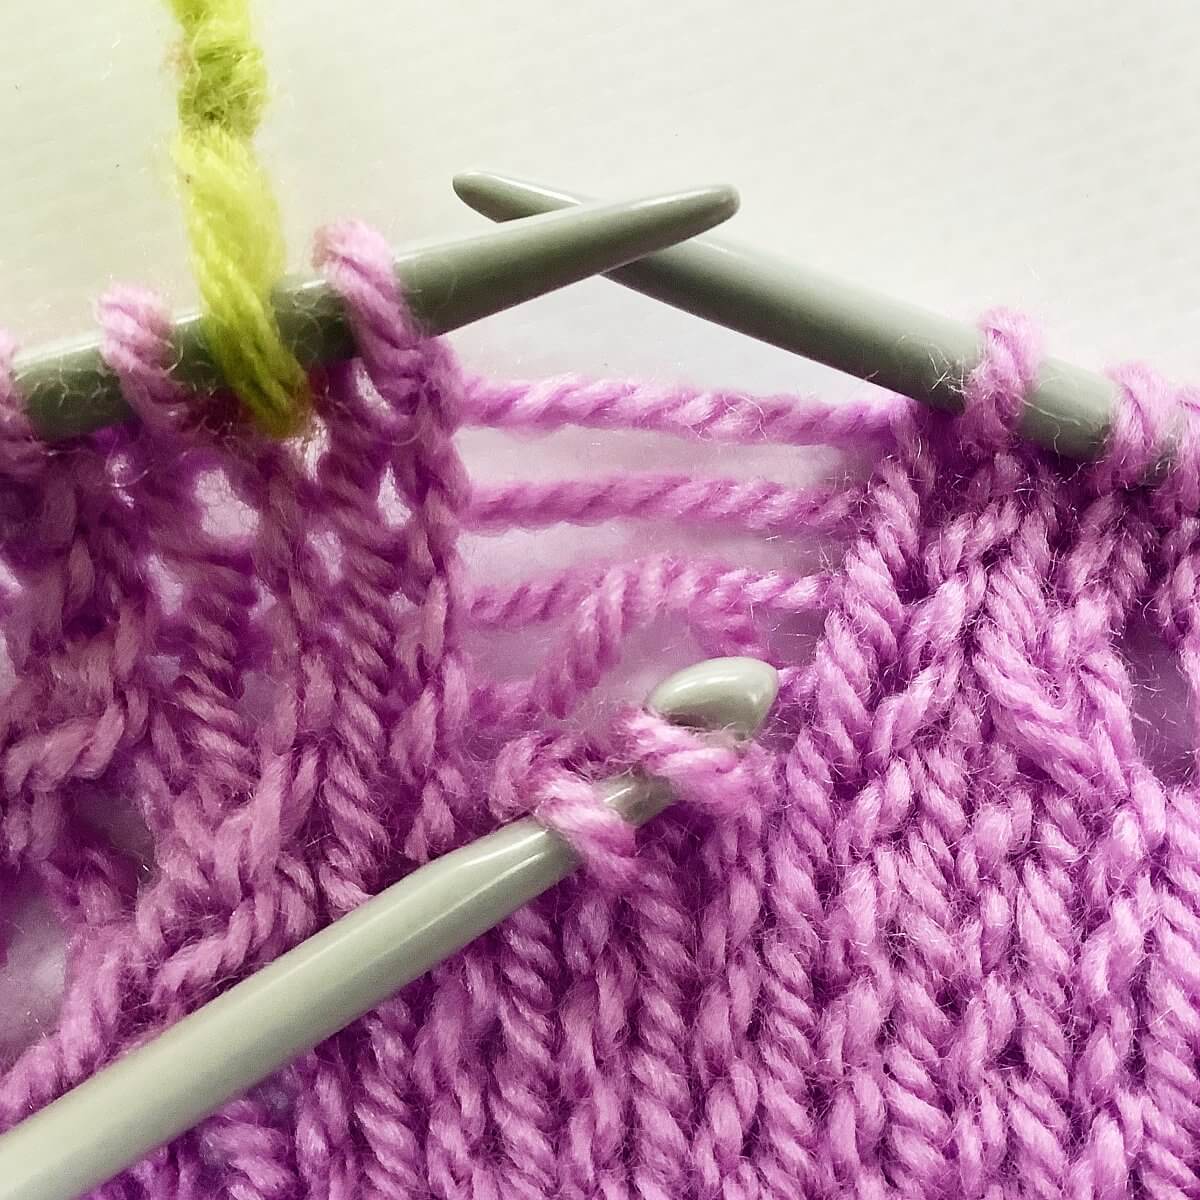
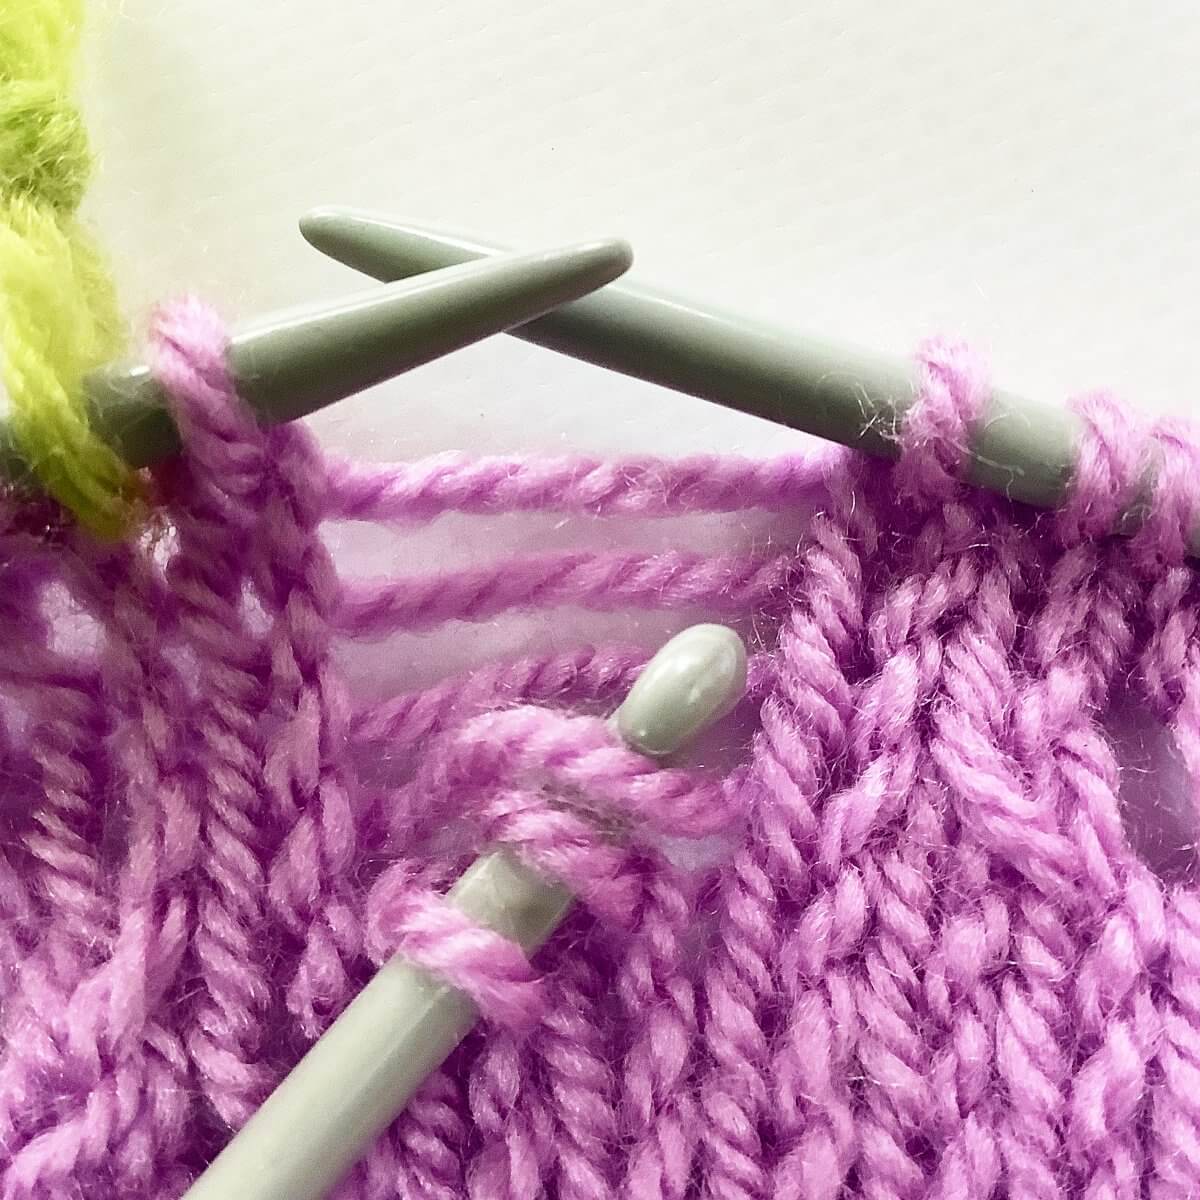
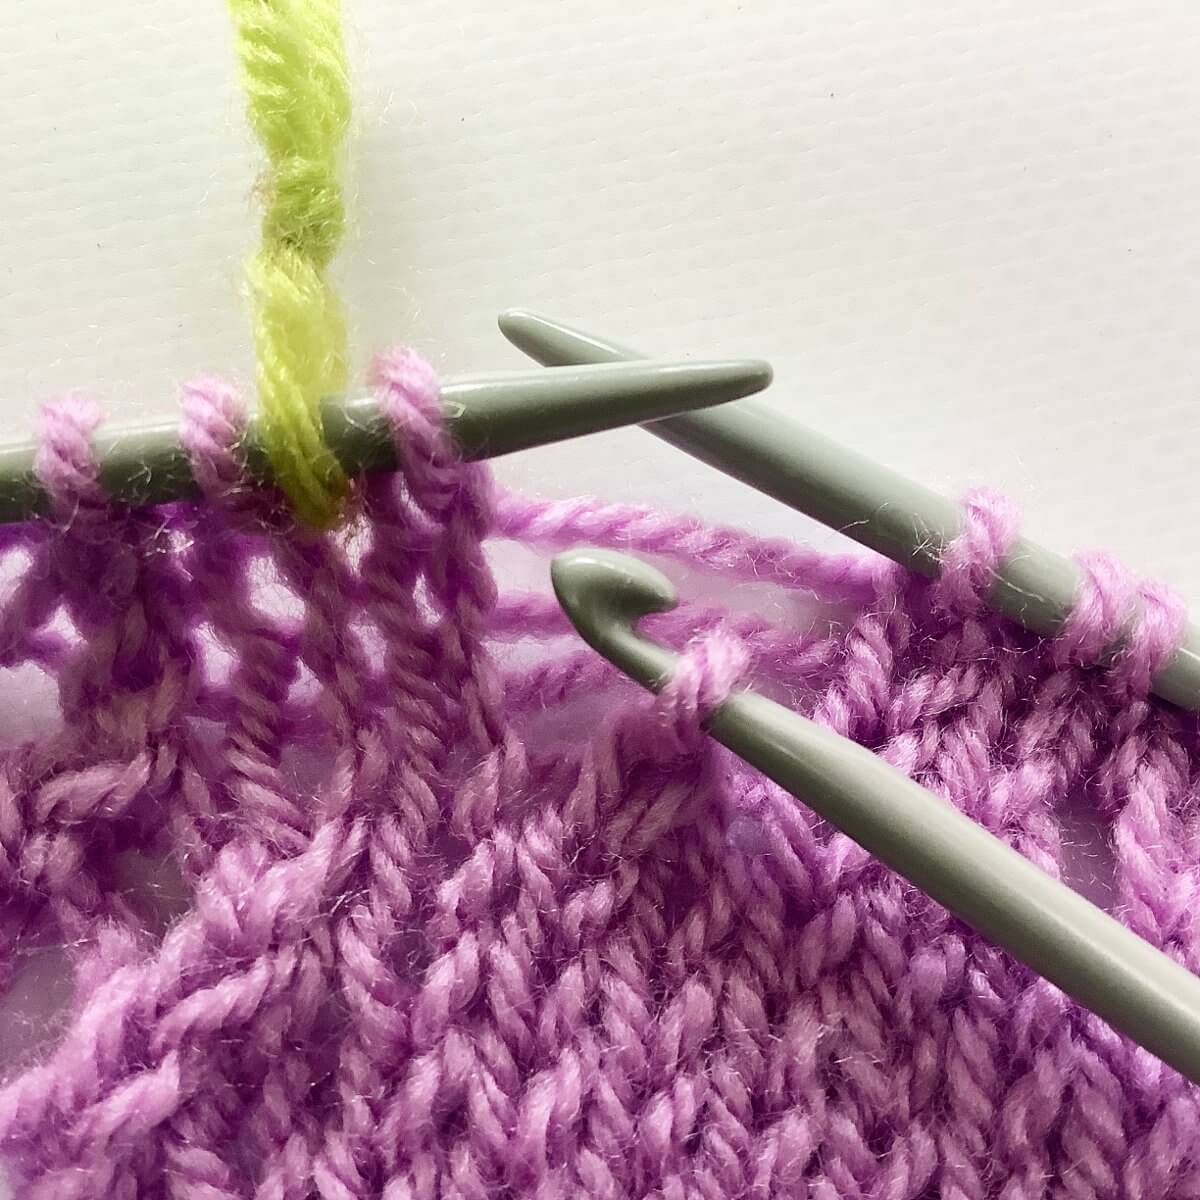
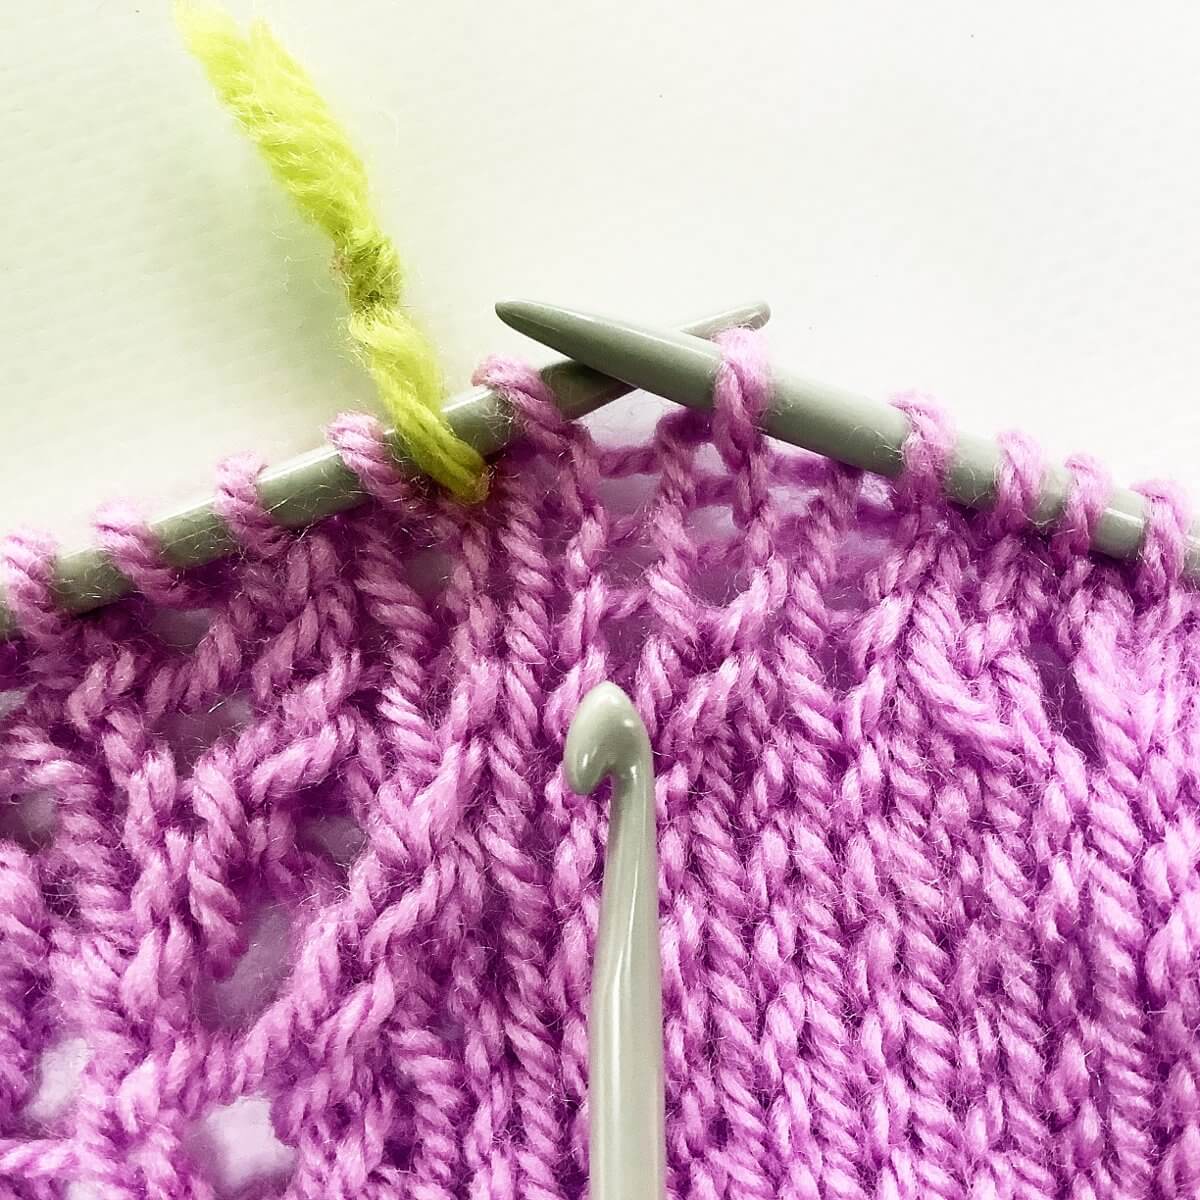
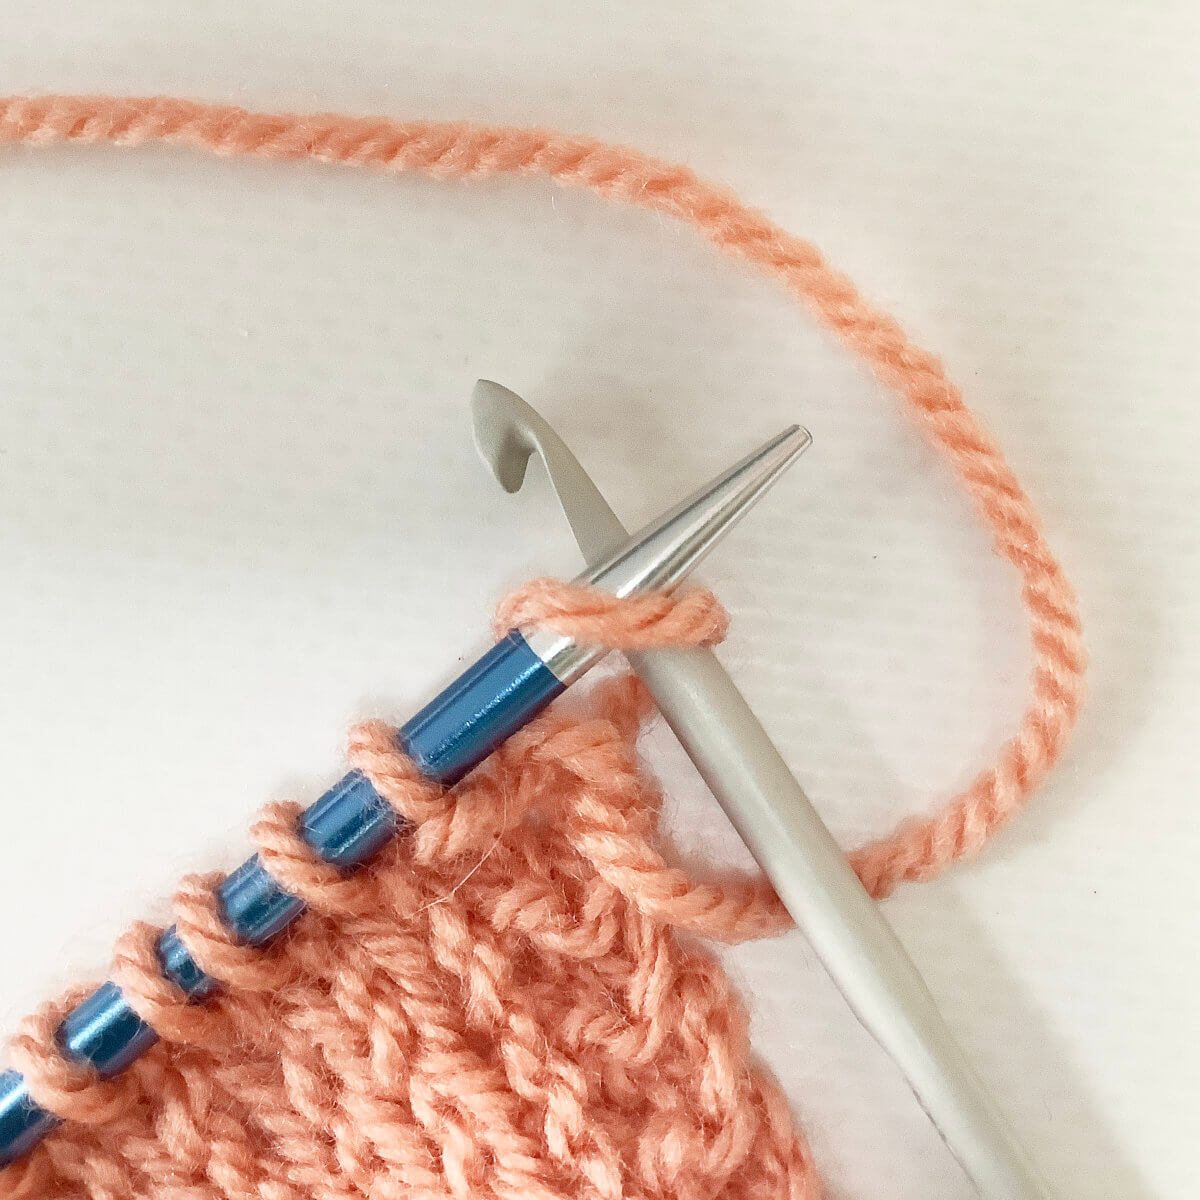
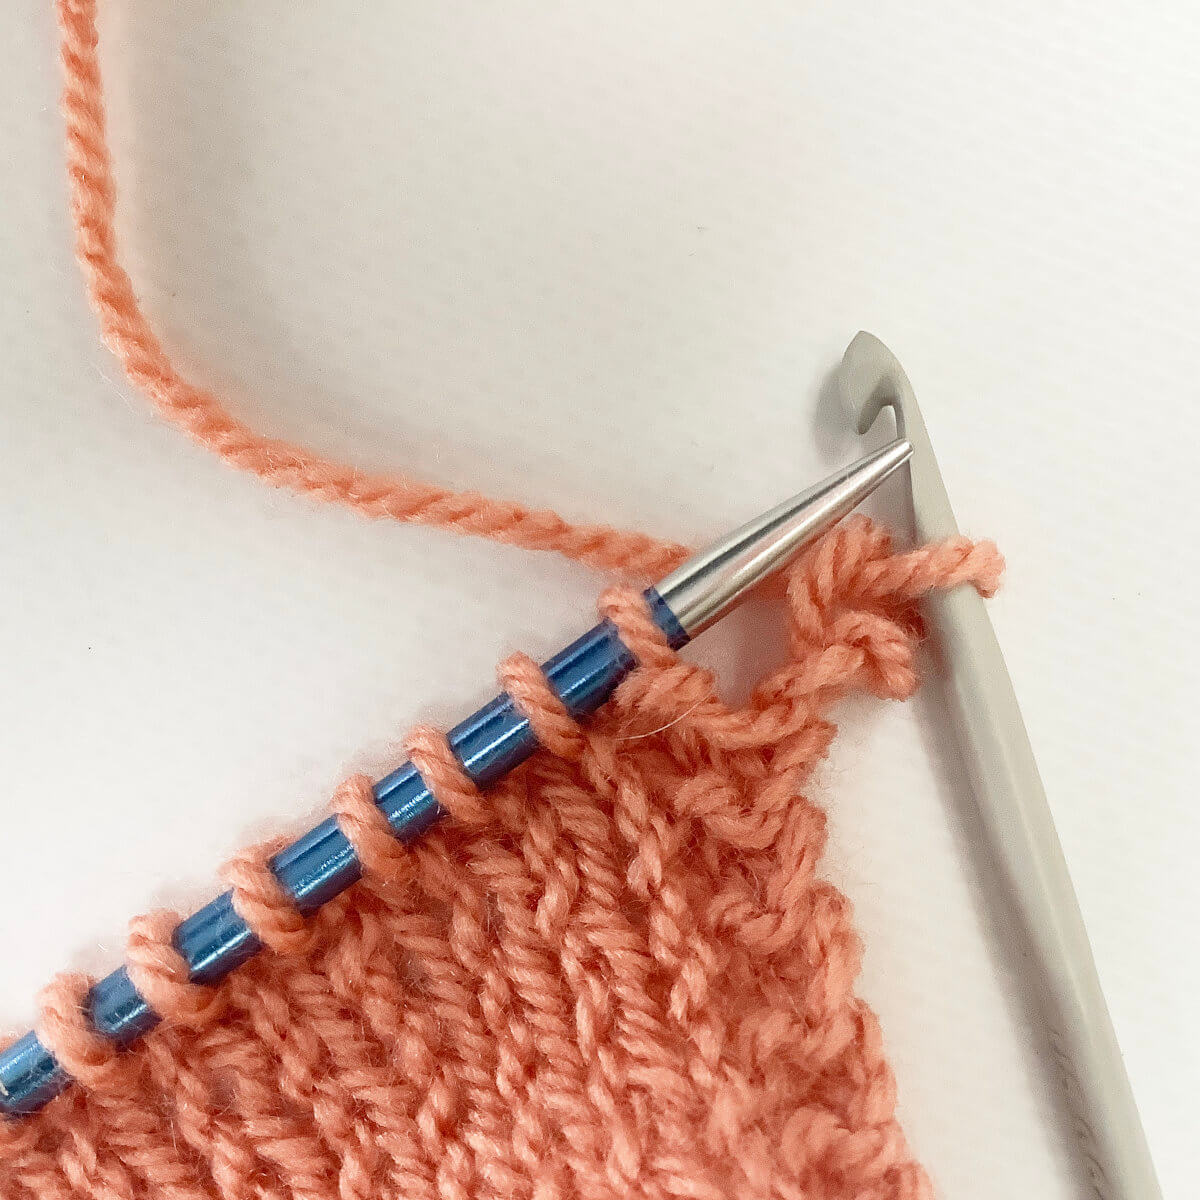
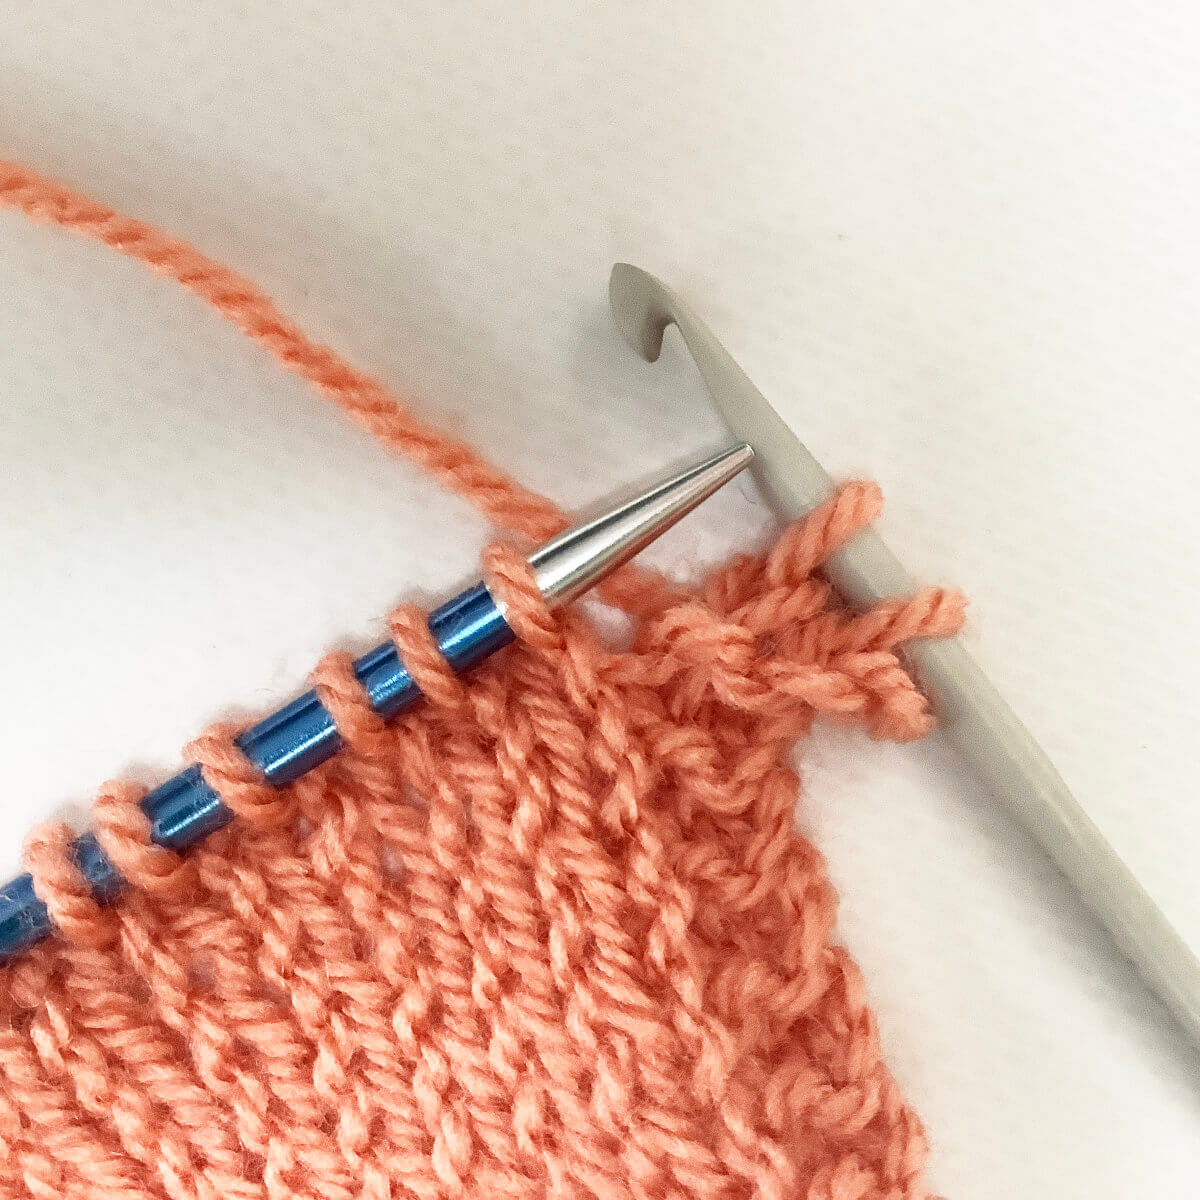
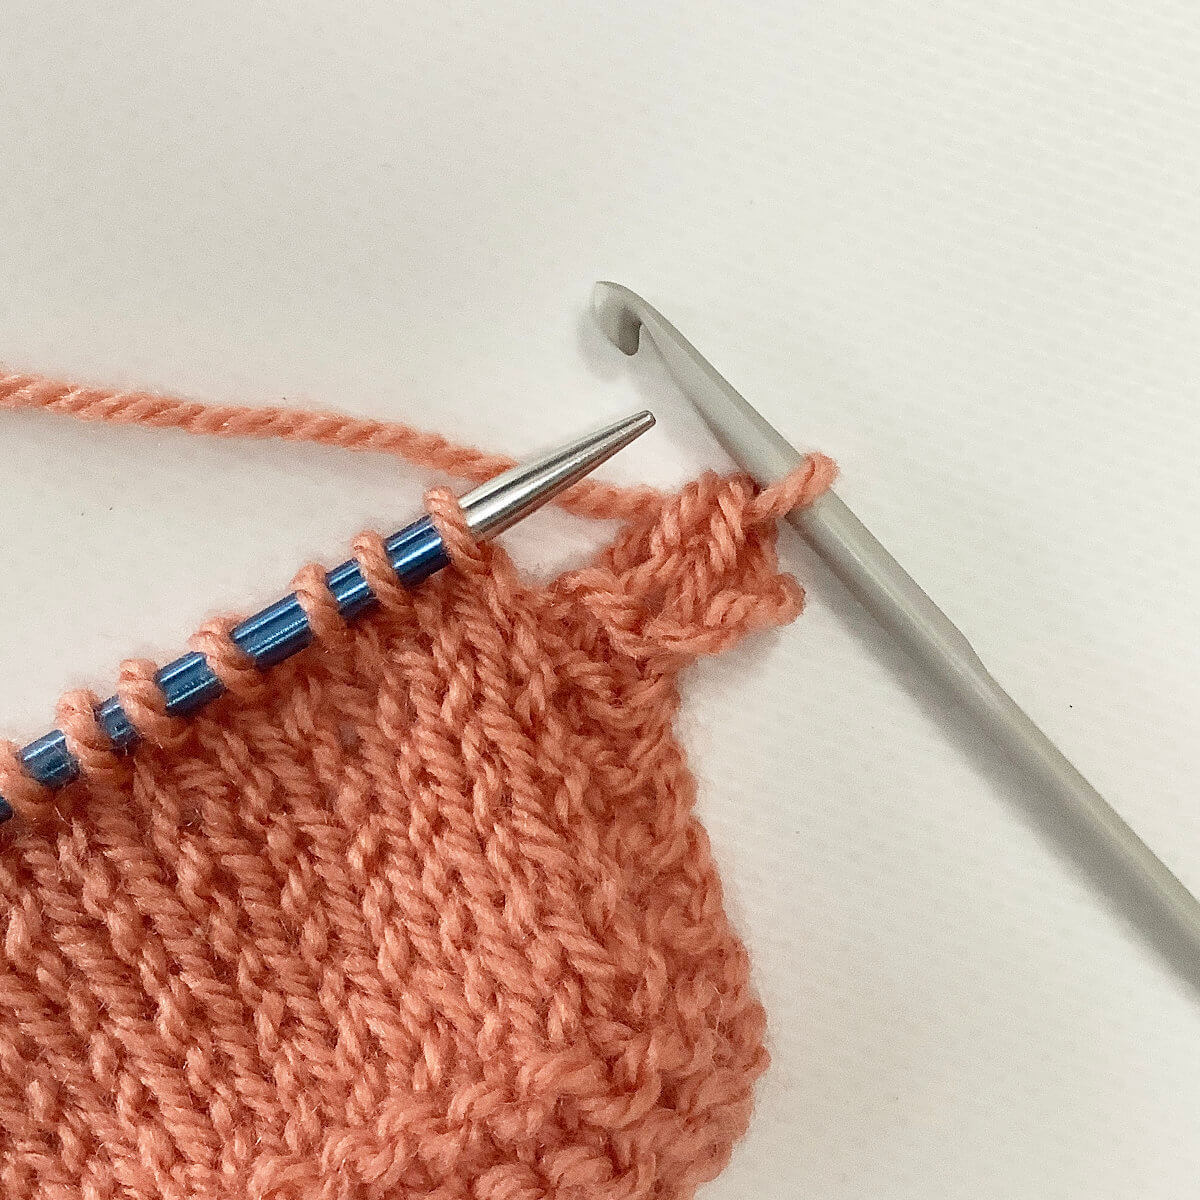
- Insert the tip of the left-hand needle into the second stitch on the right-hand needle….
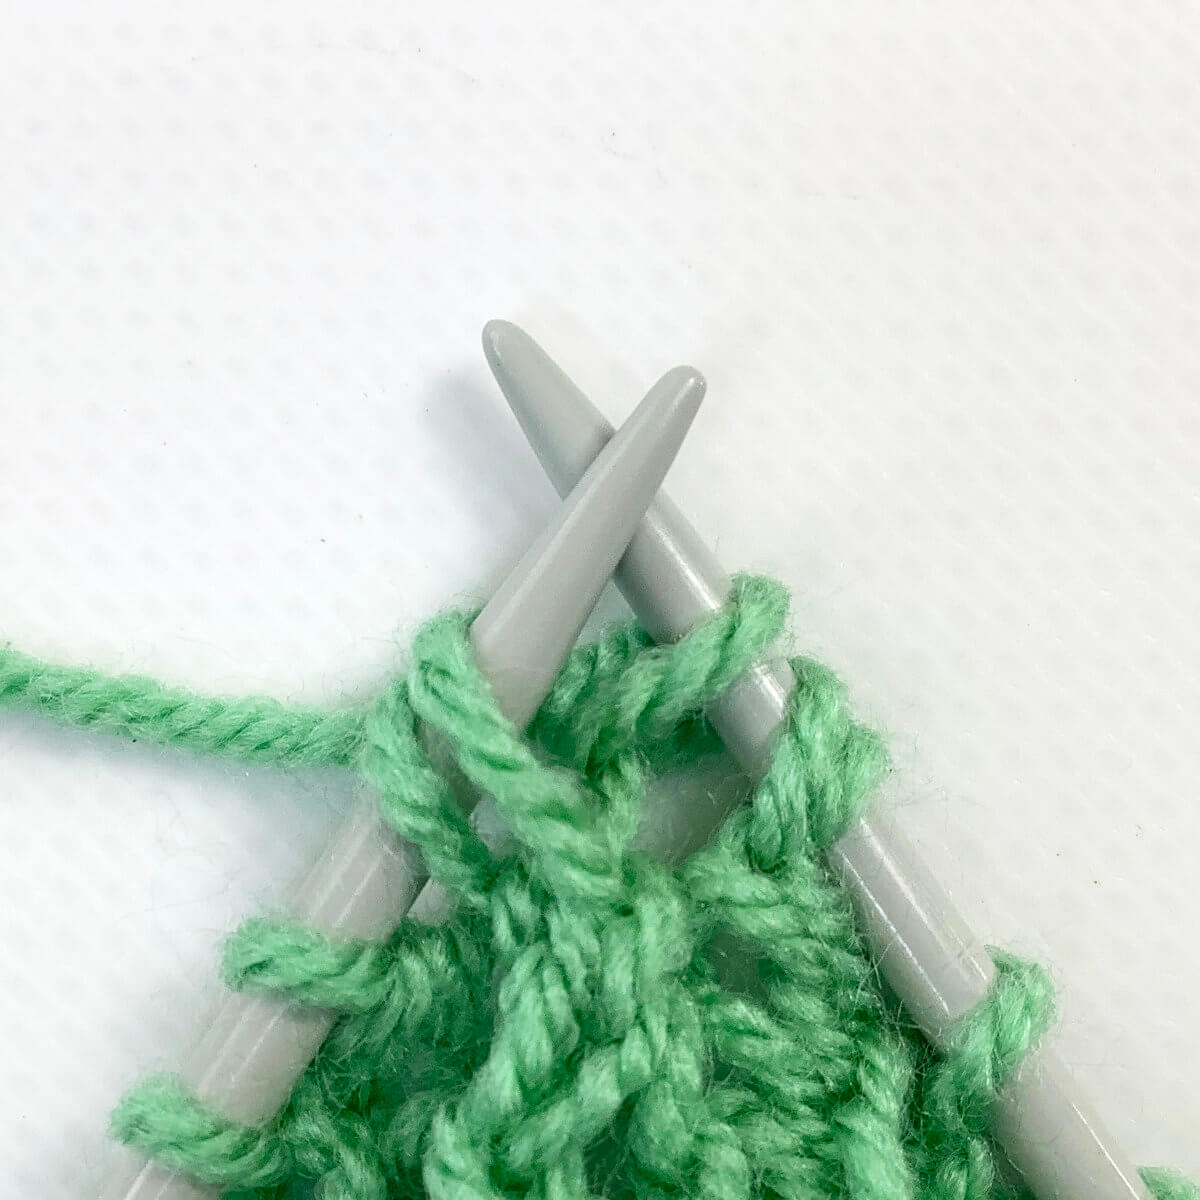
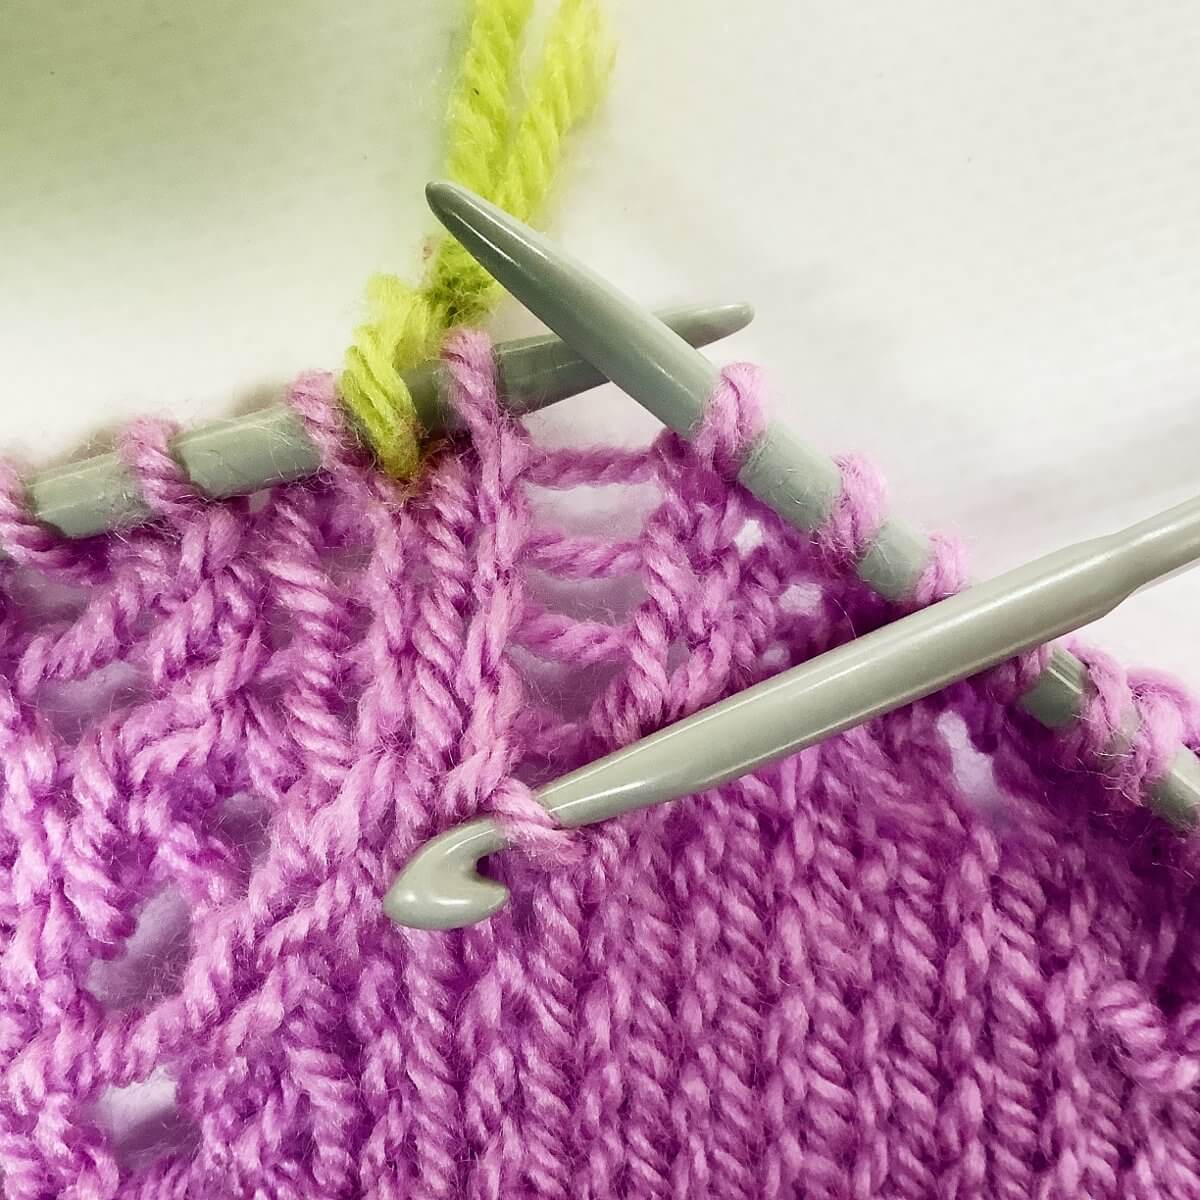
- …., and pass this second stitch over the first one.
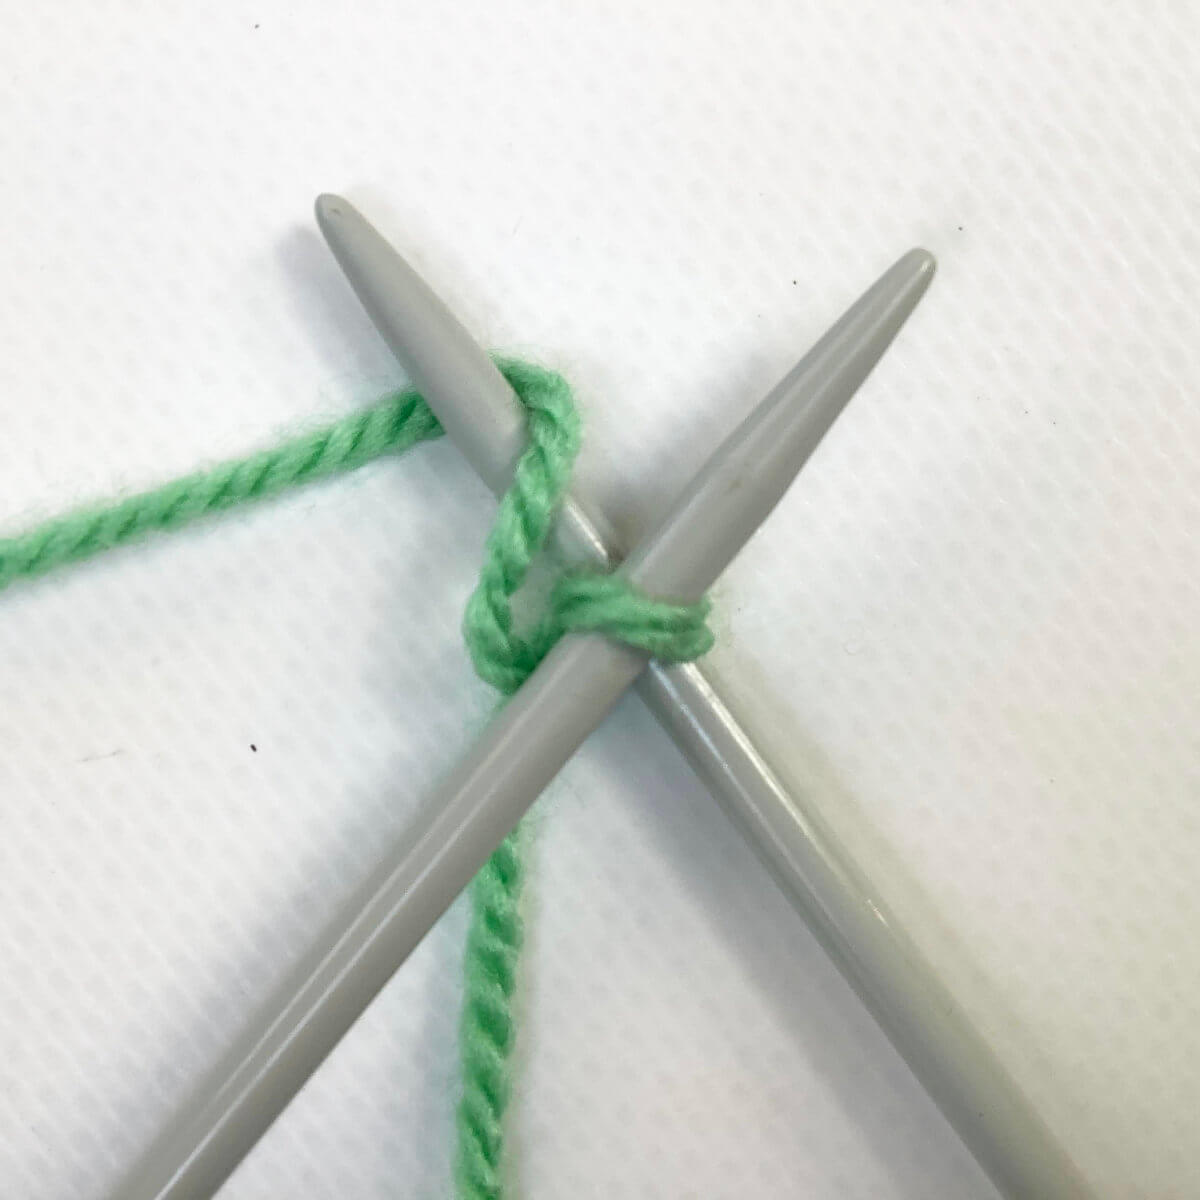
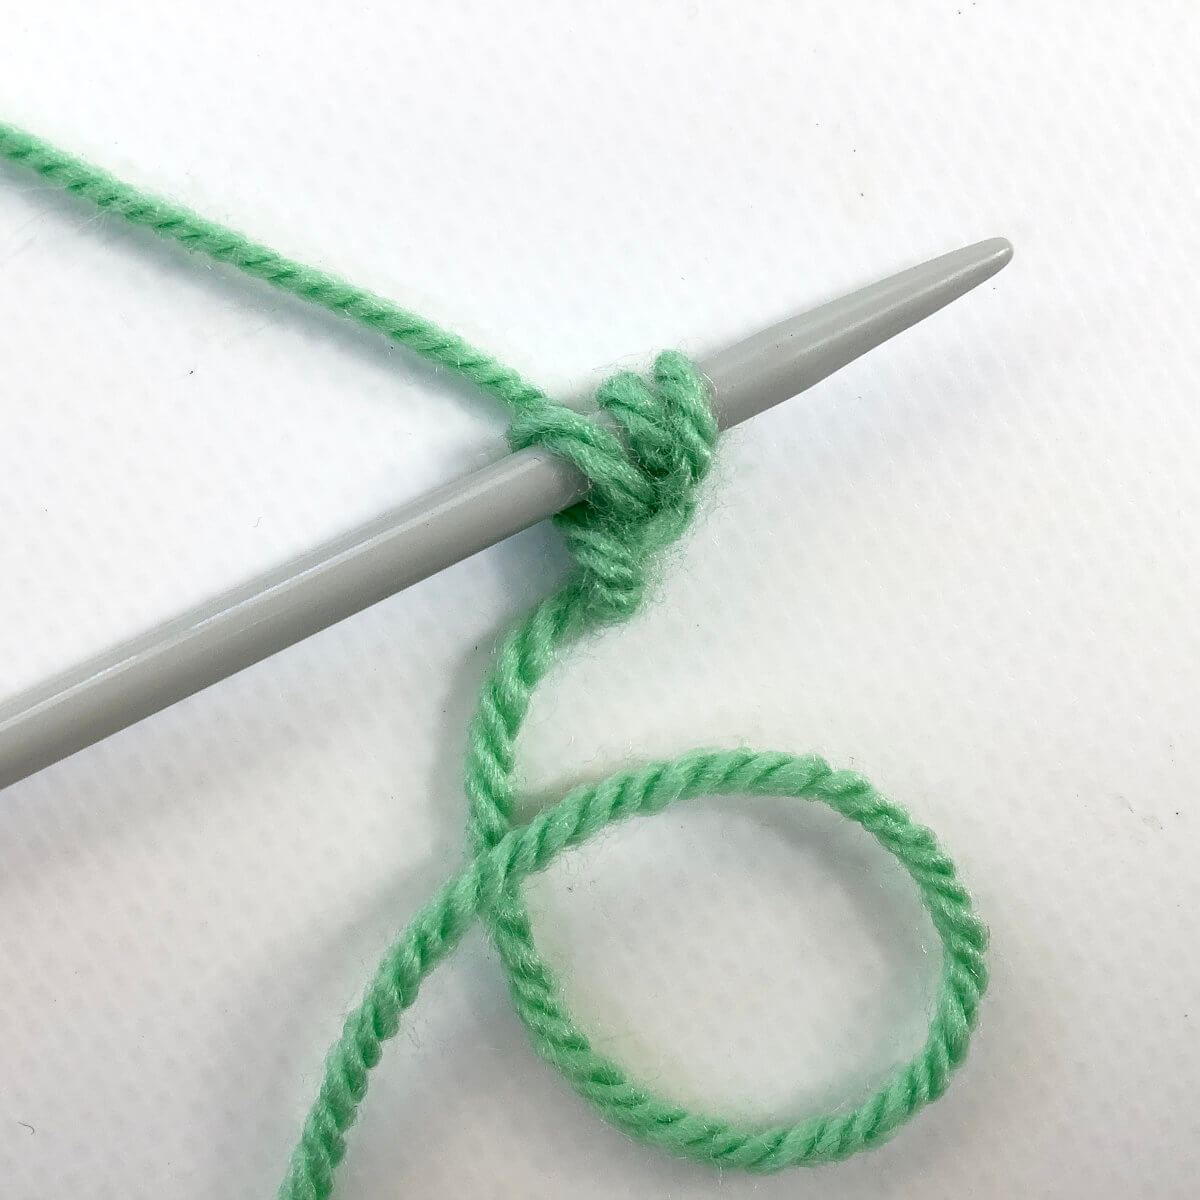
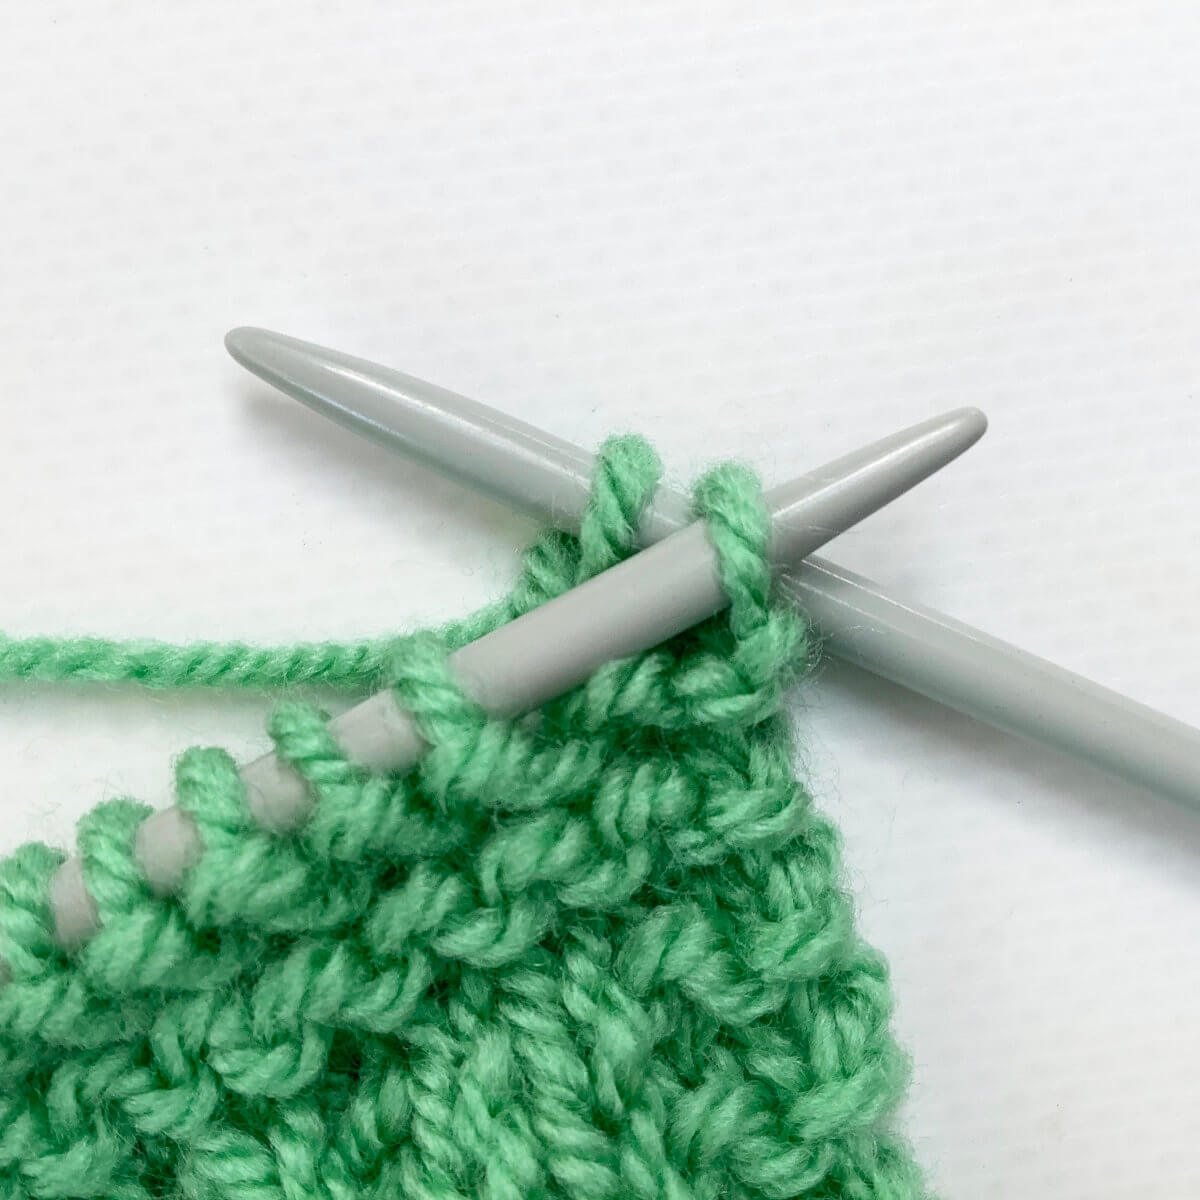
You have now bound-off a stitch!

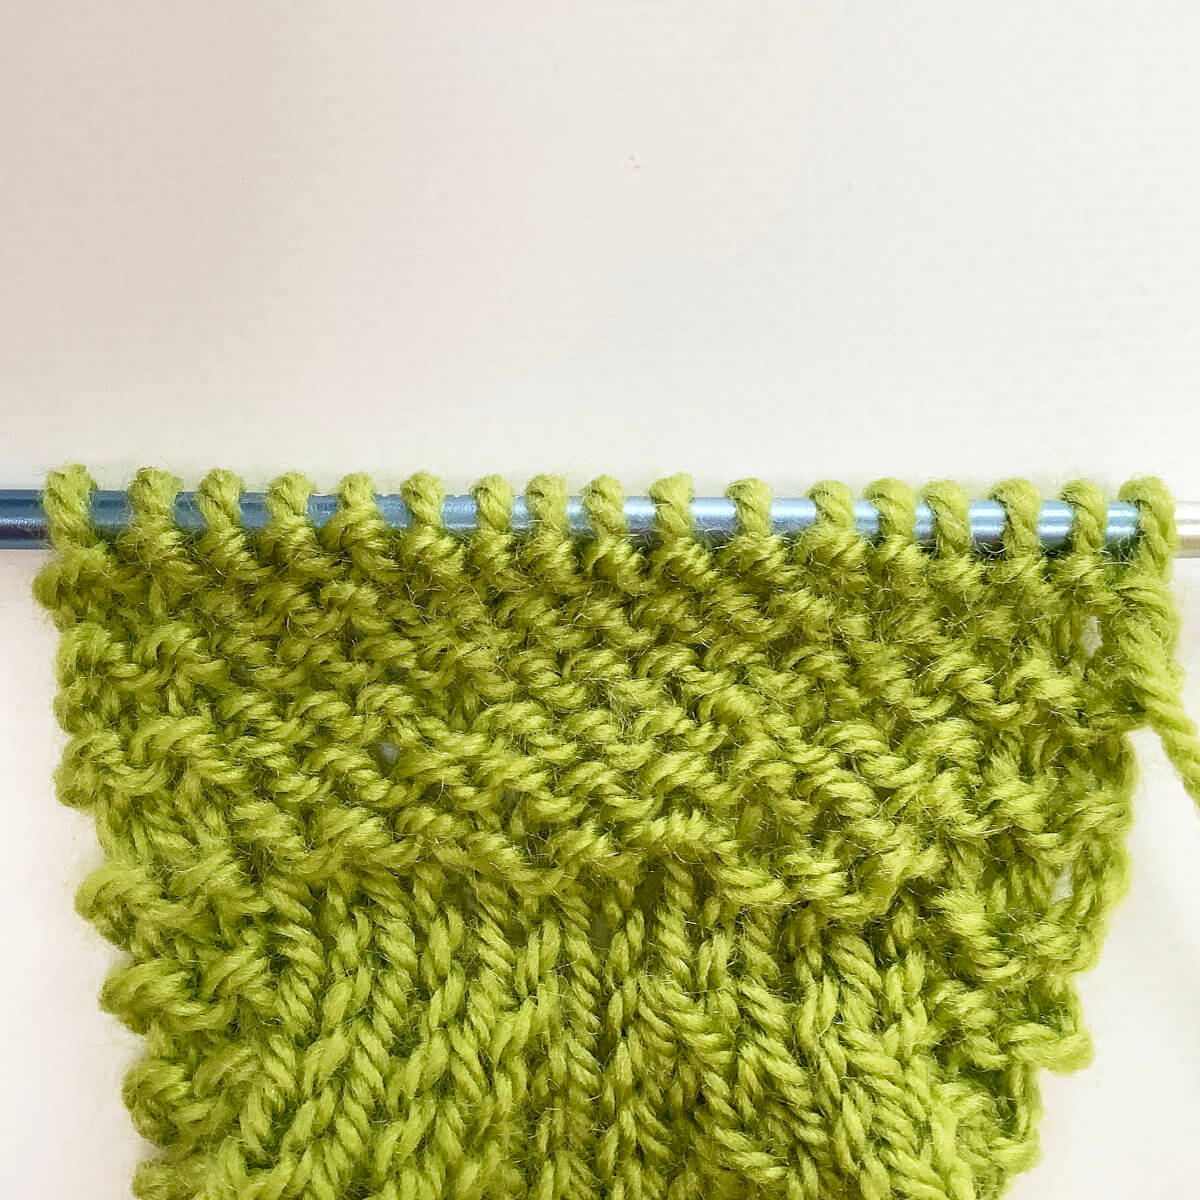
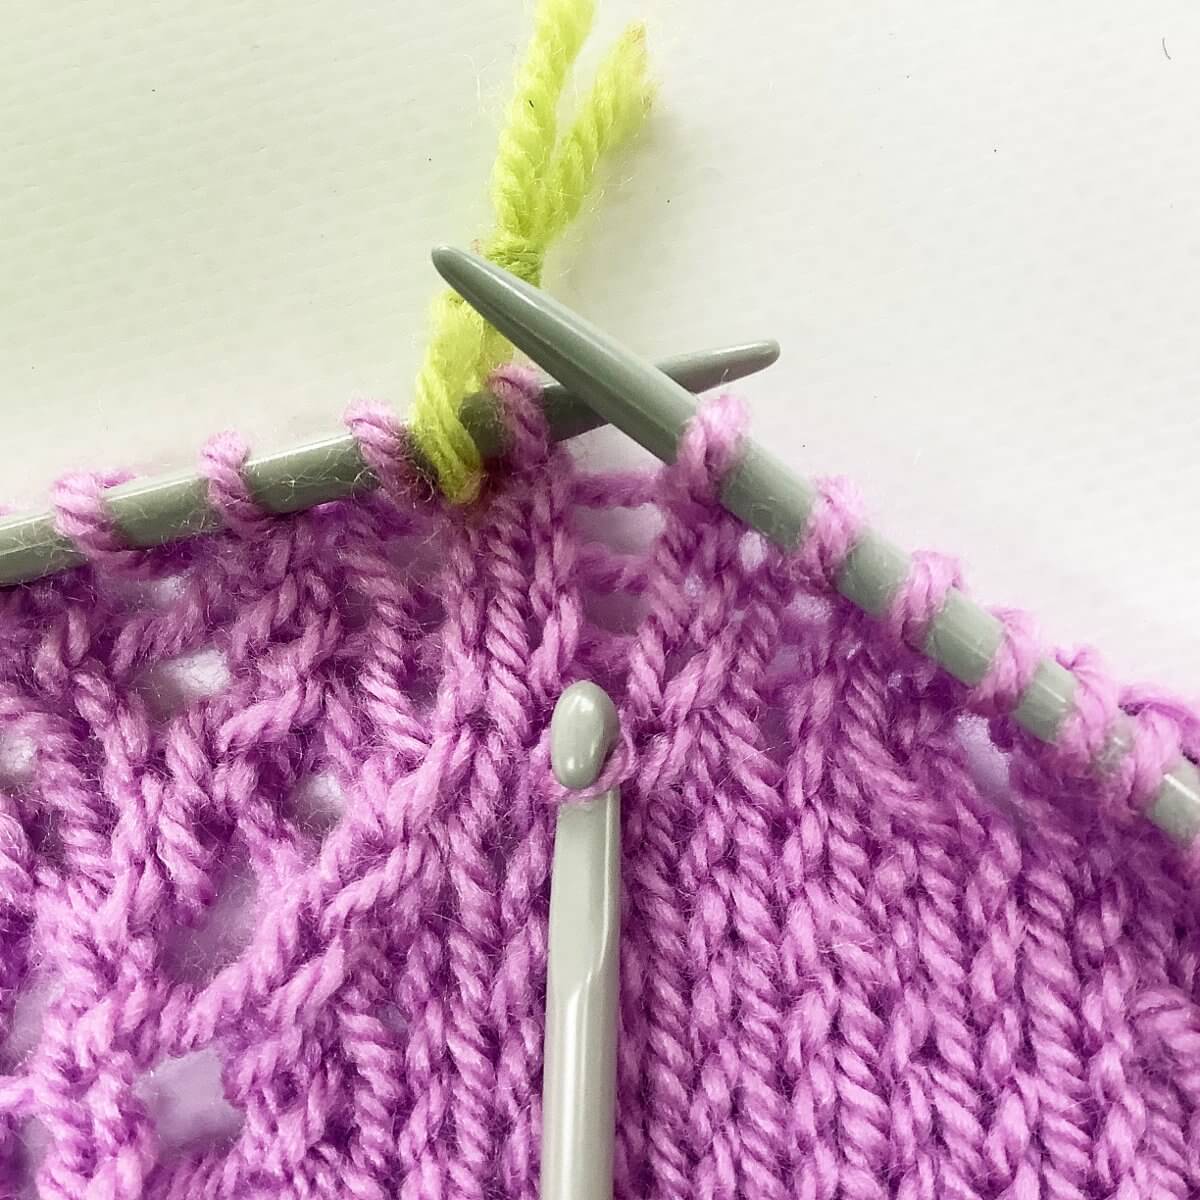
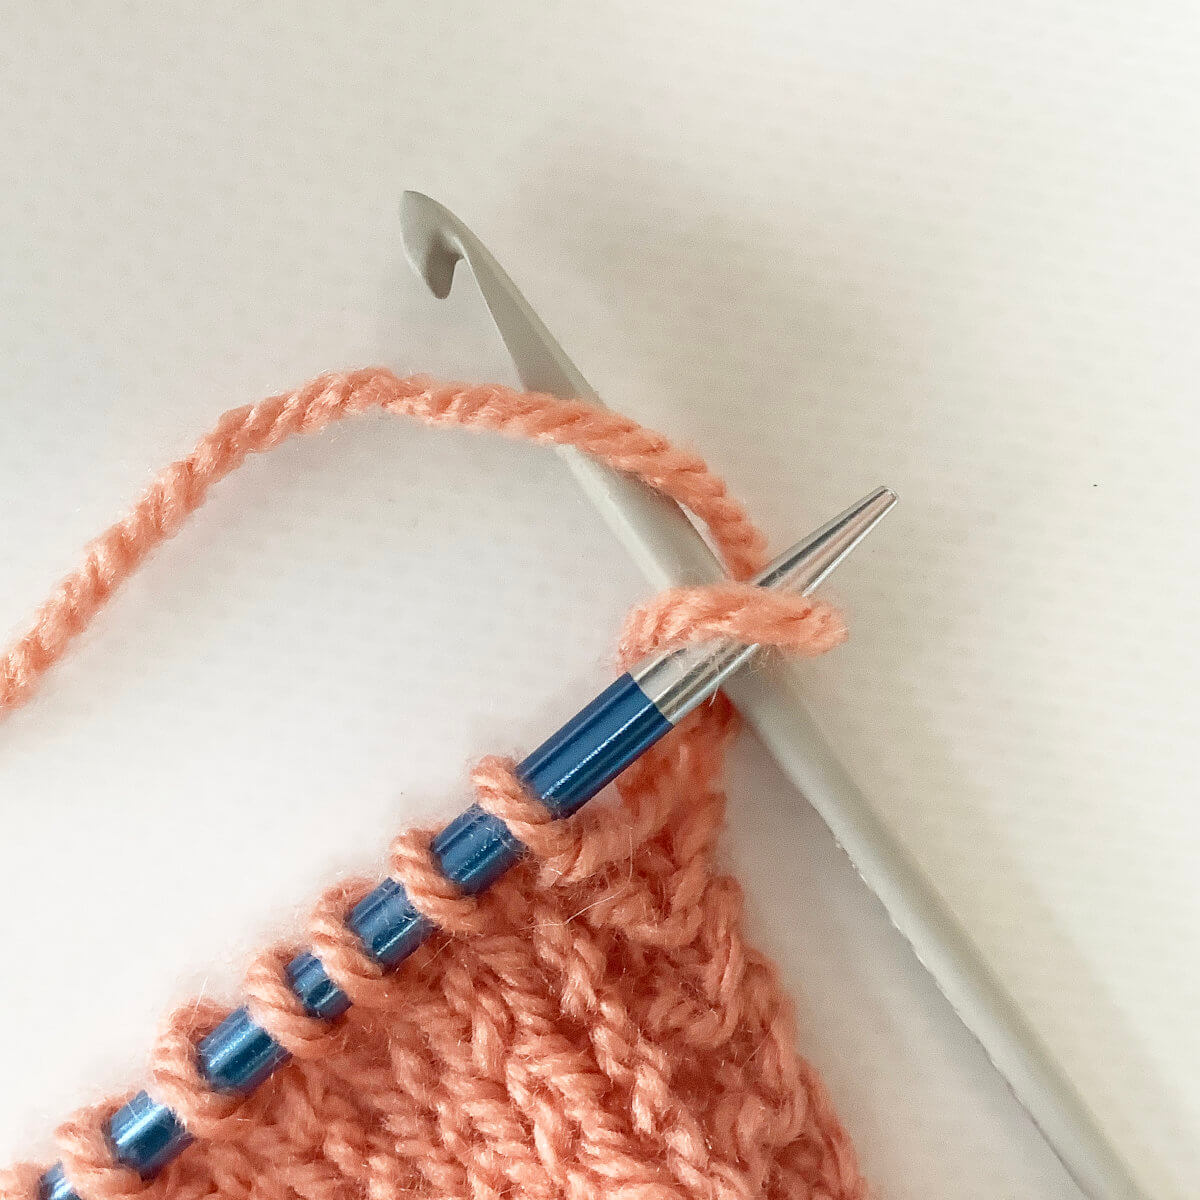
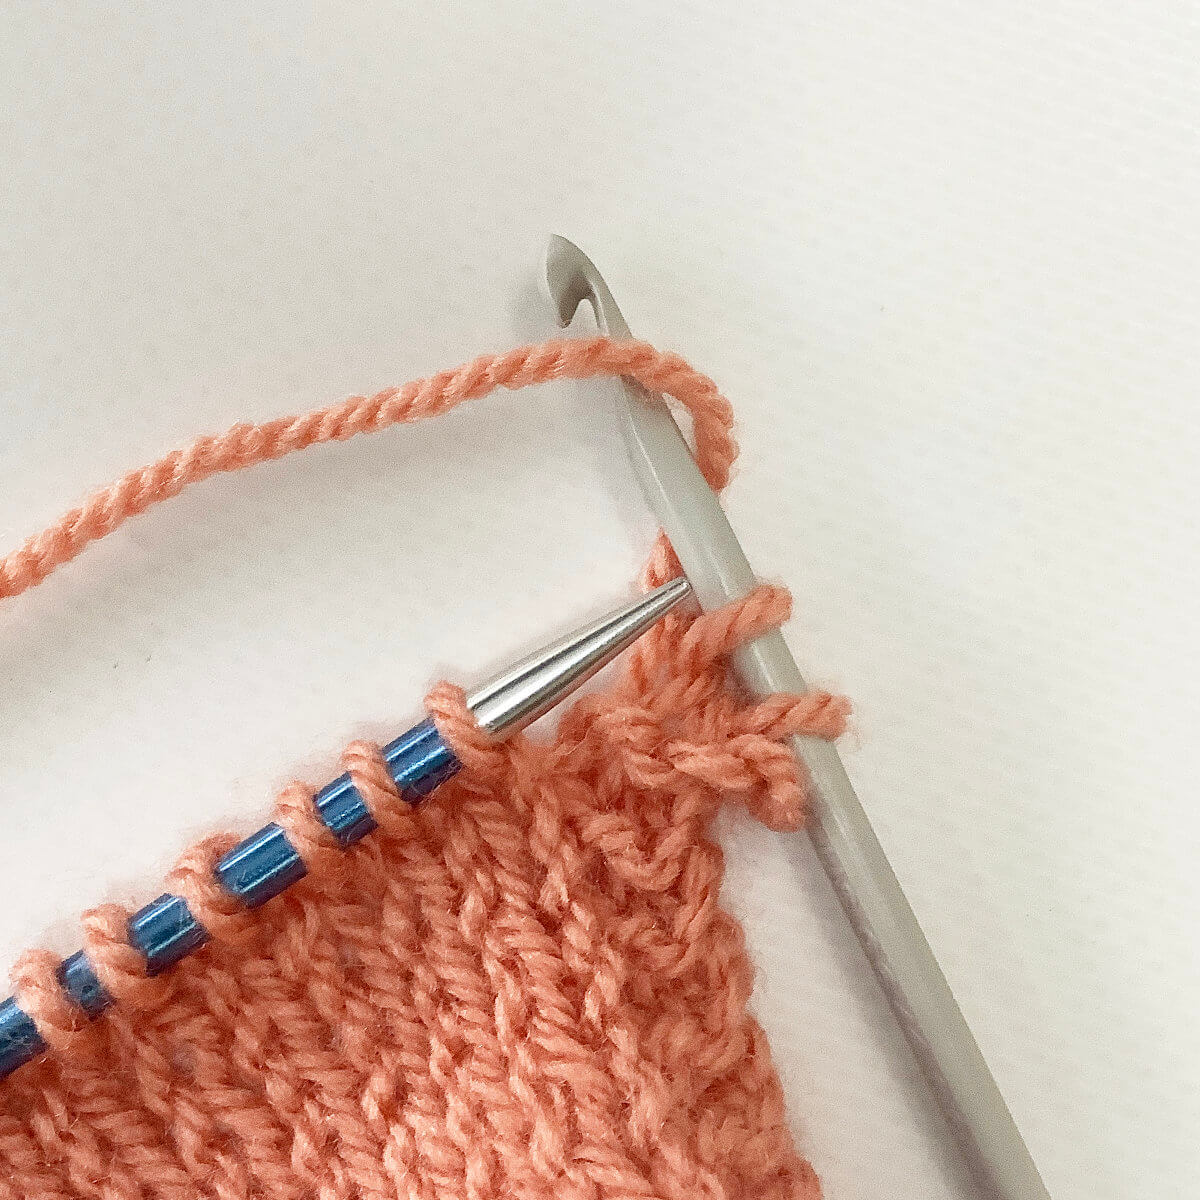
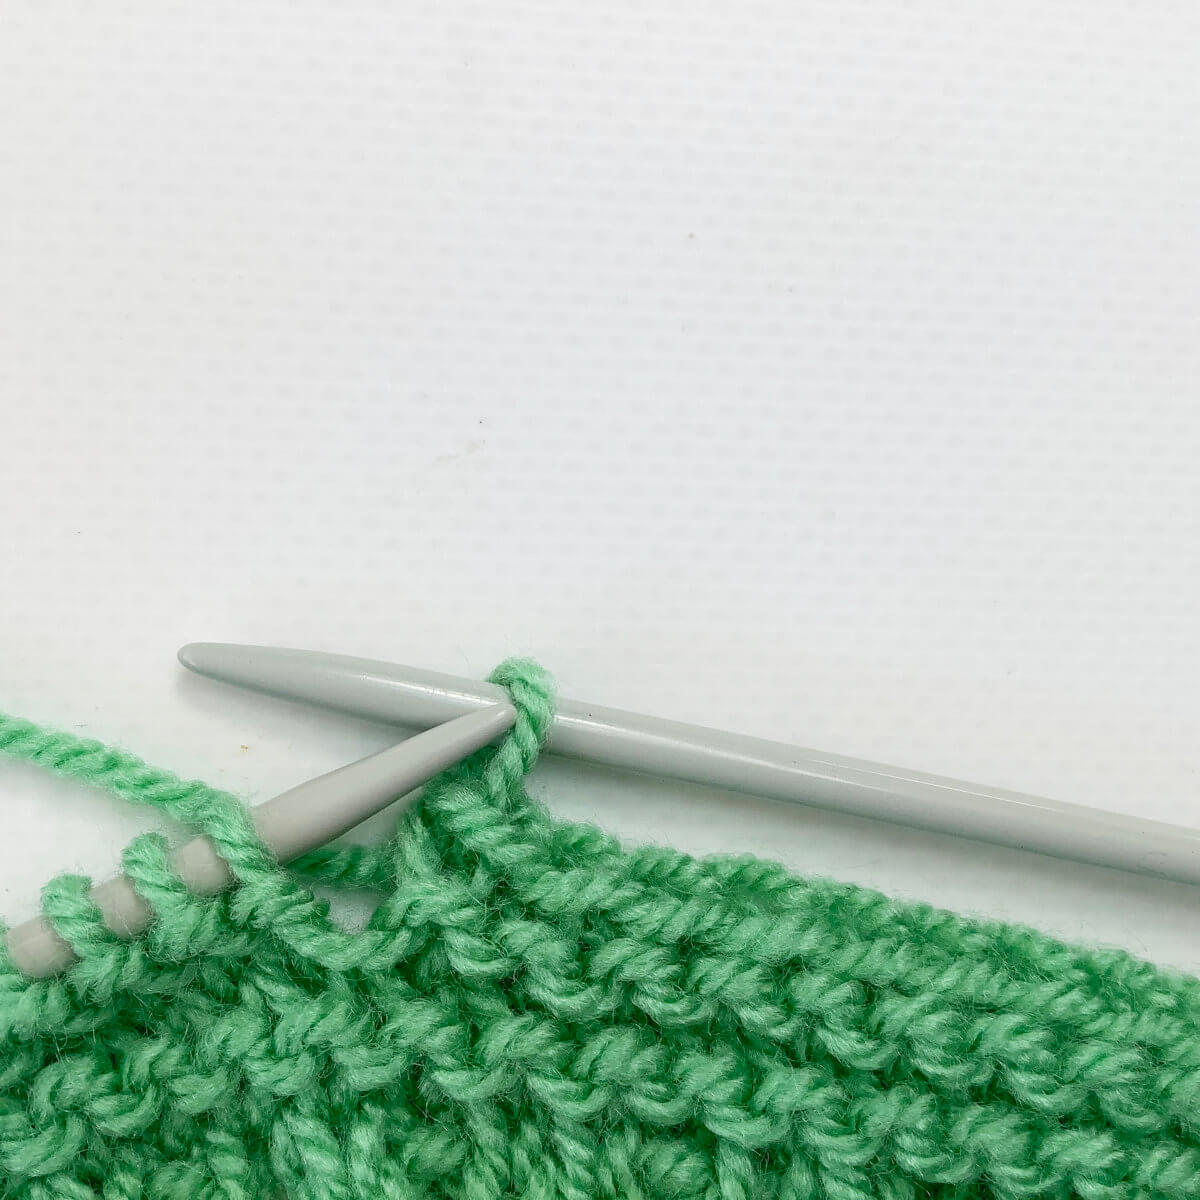
- Repeat steps 3-5 until all stitches have been bound-off.
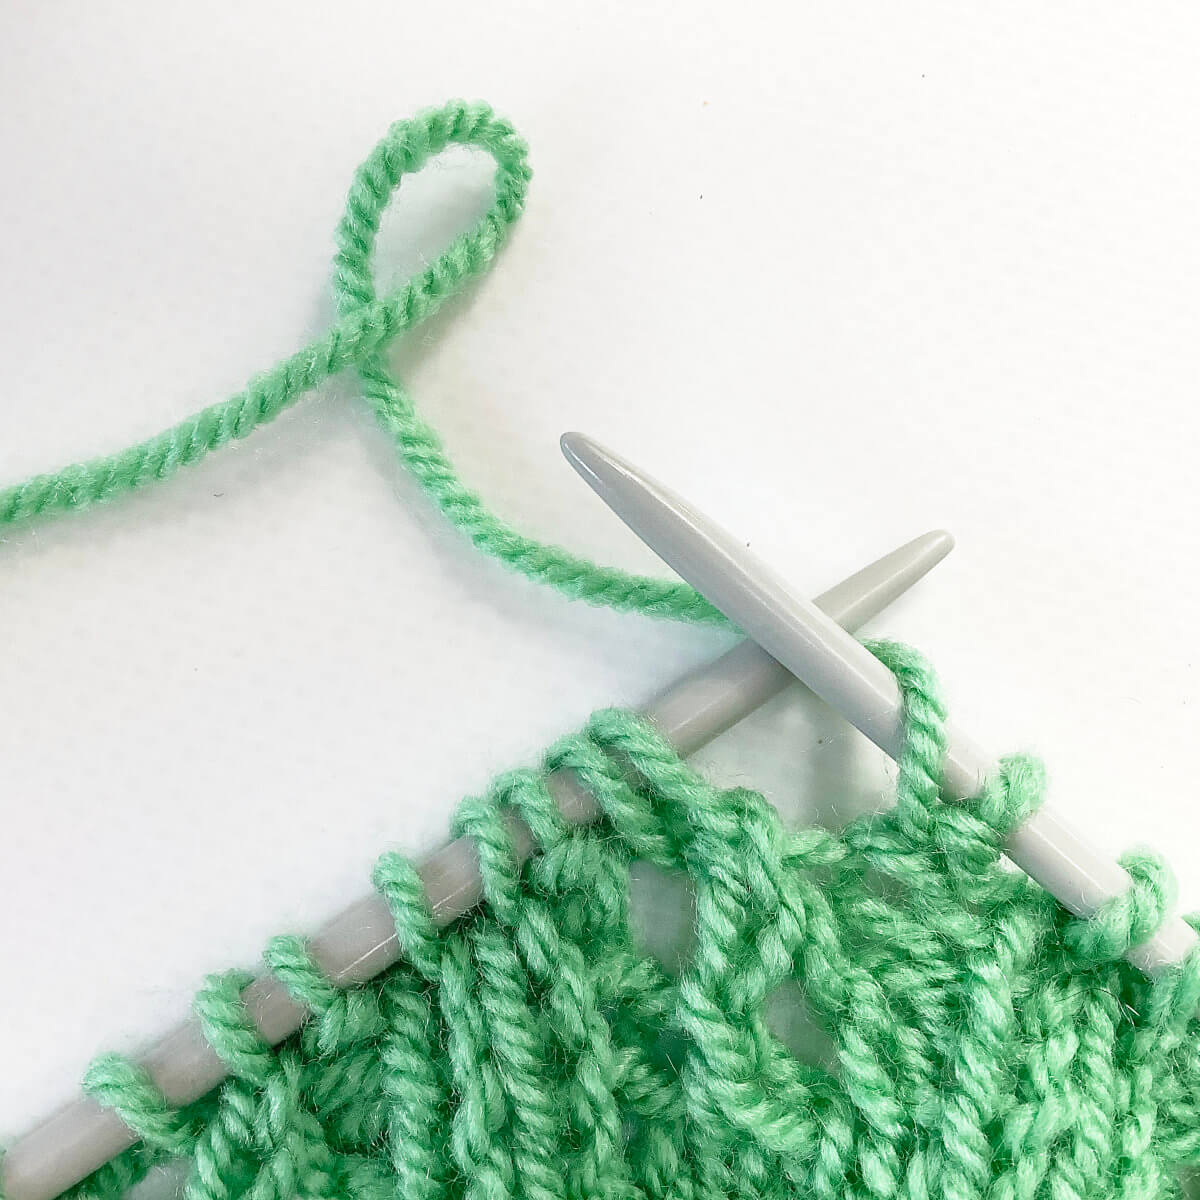
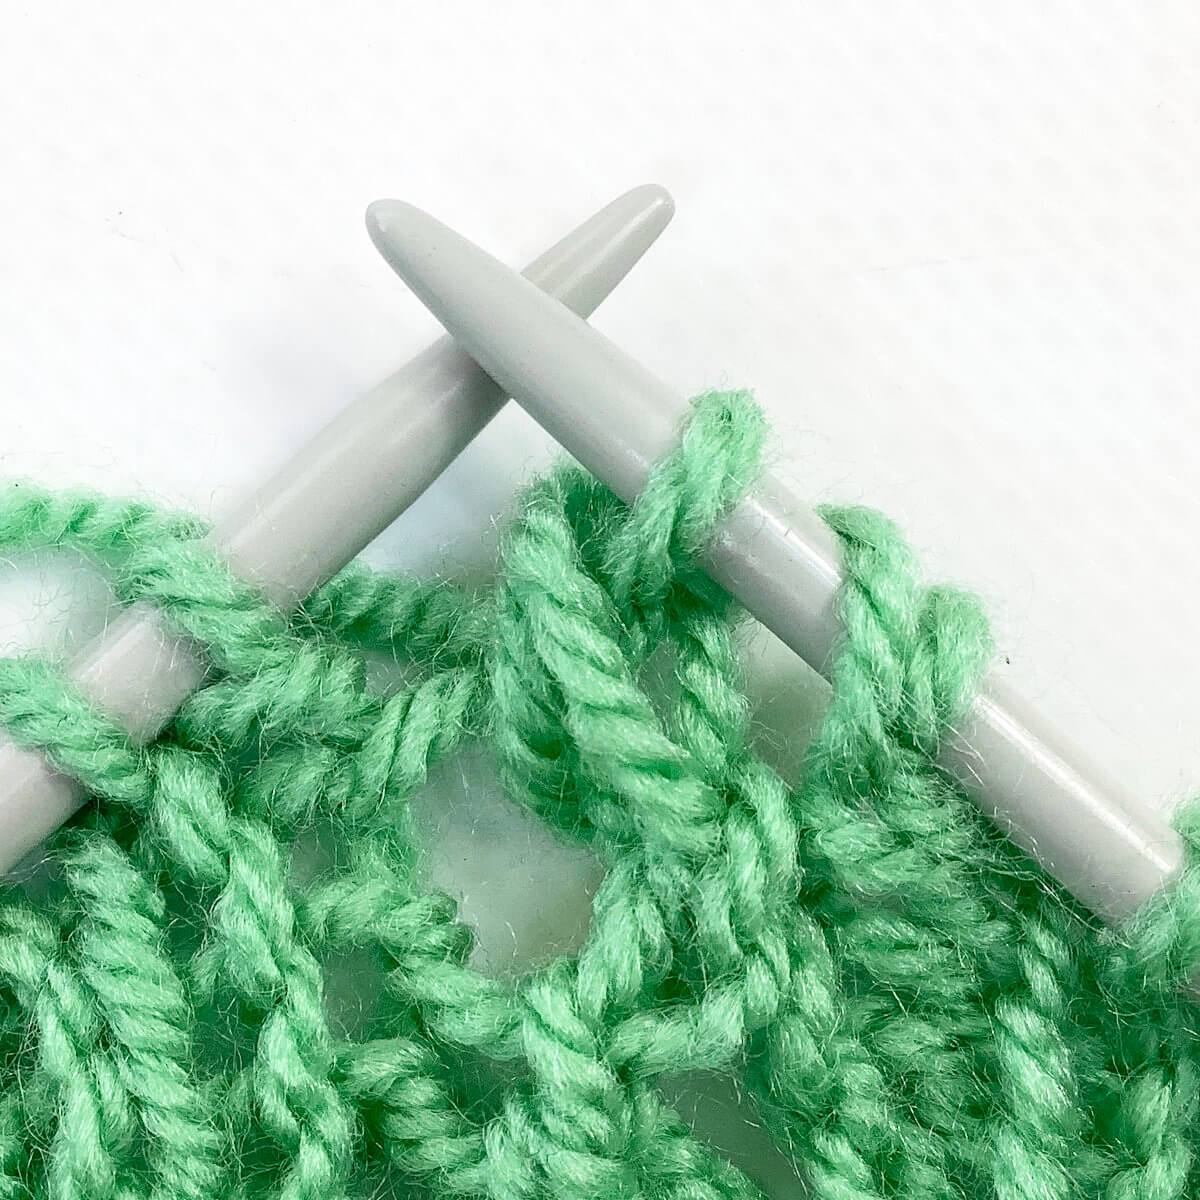
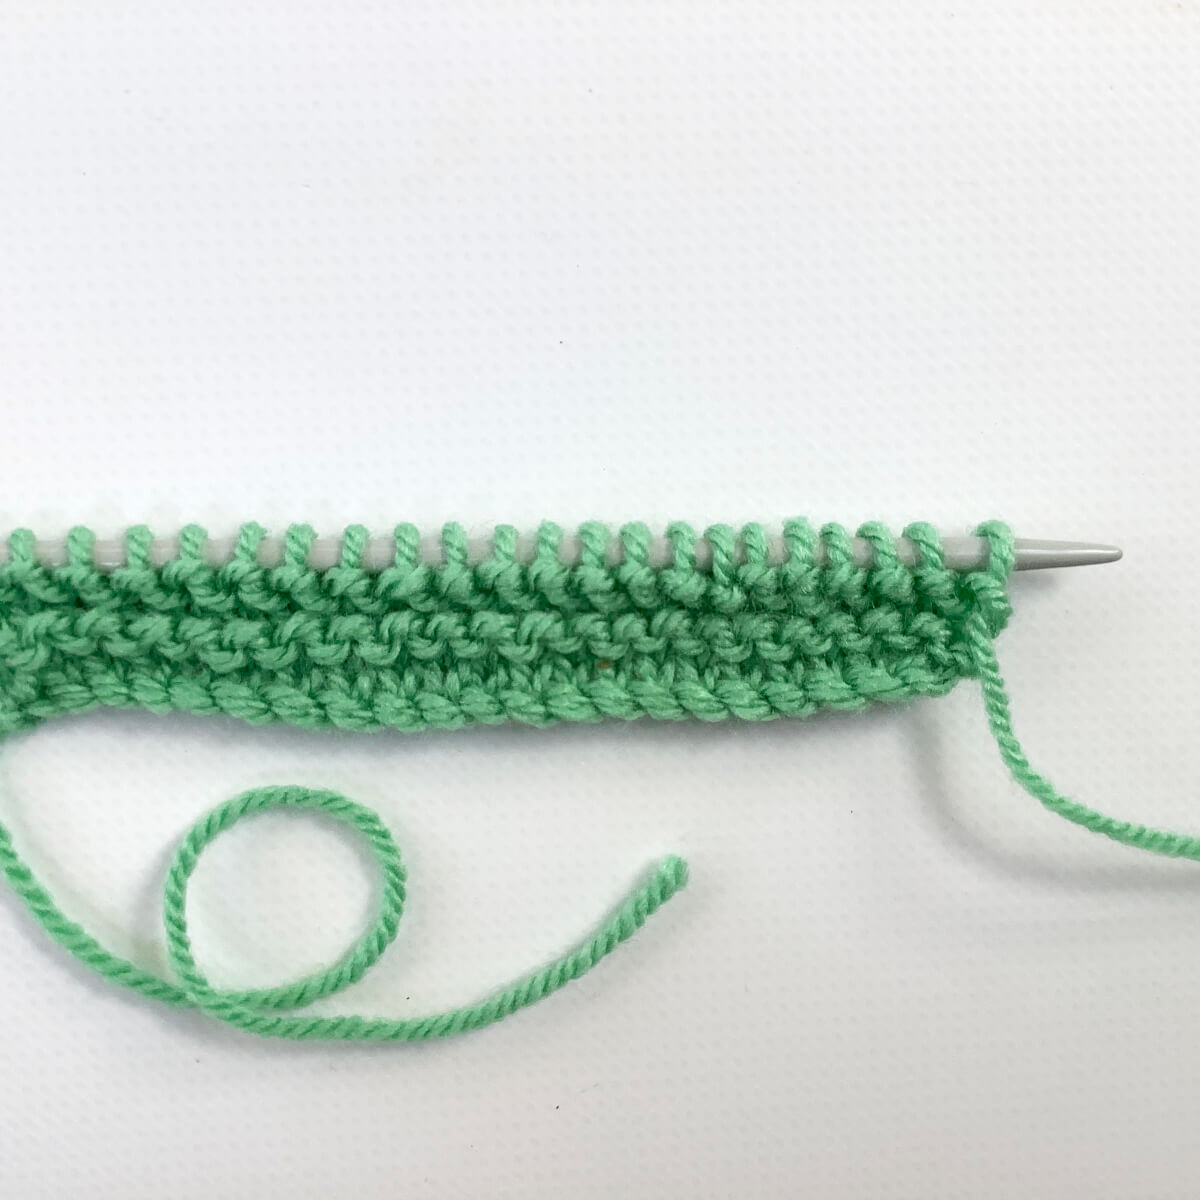
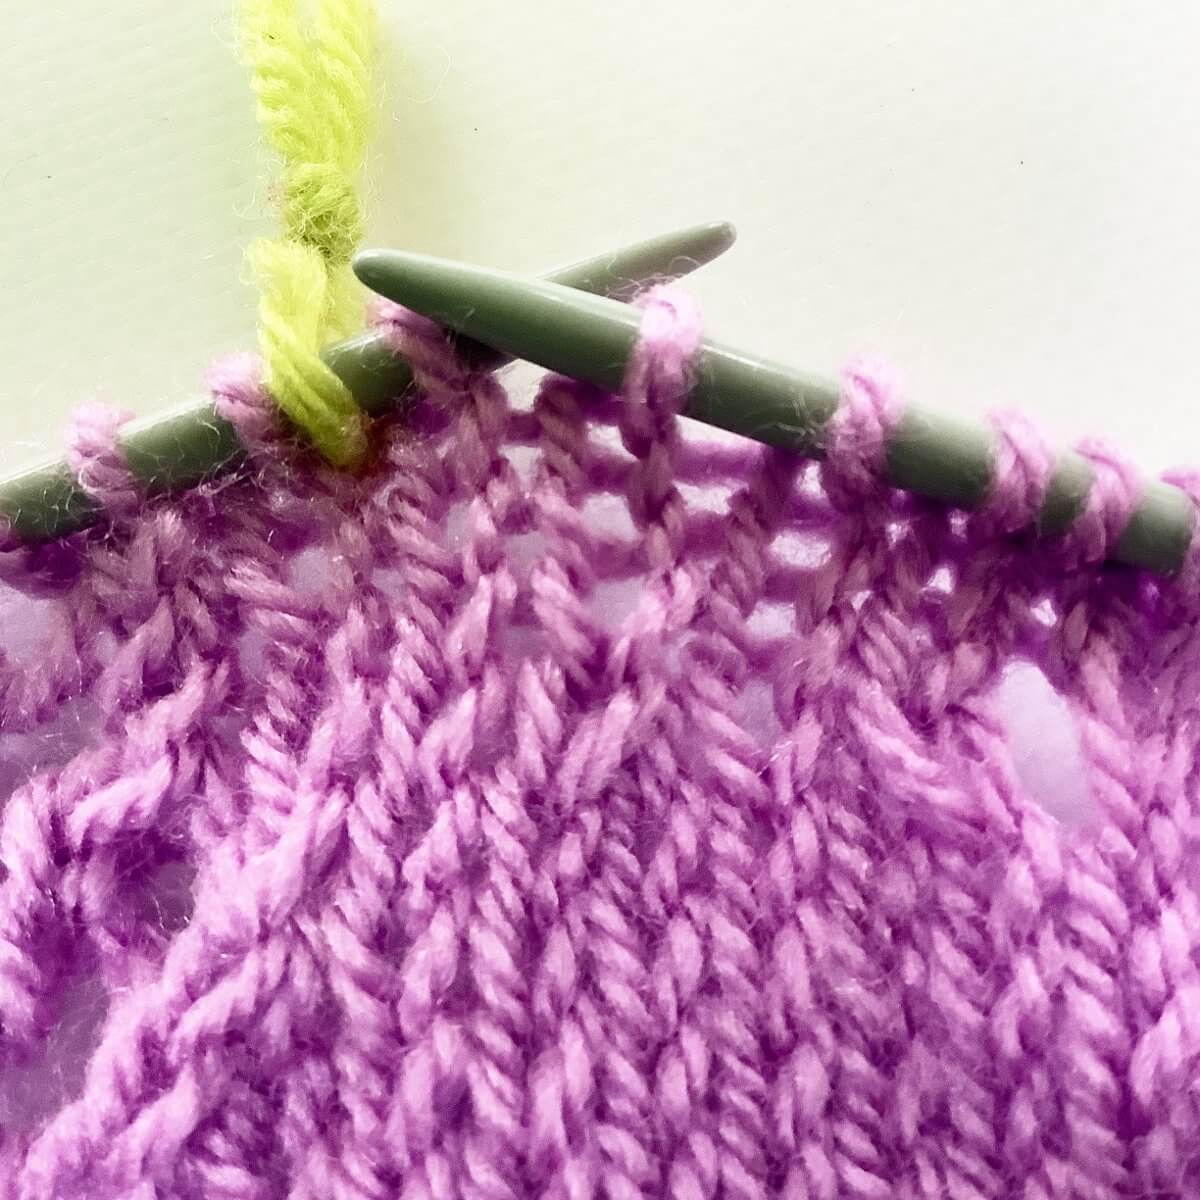
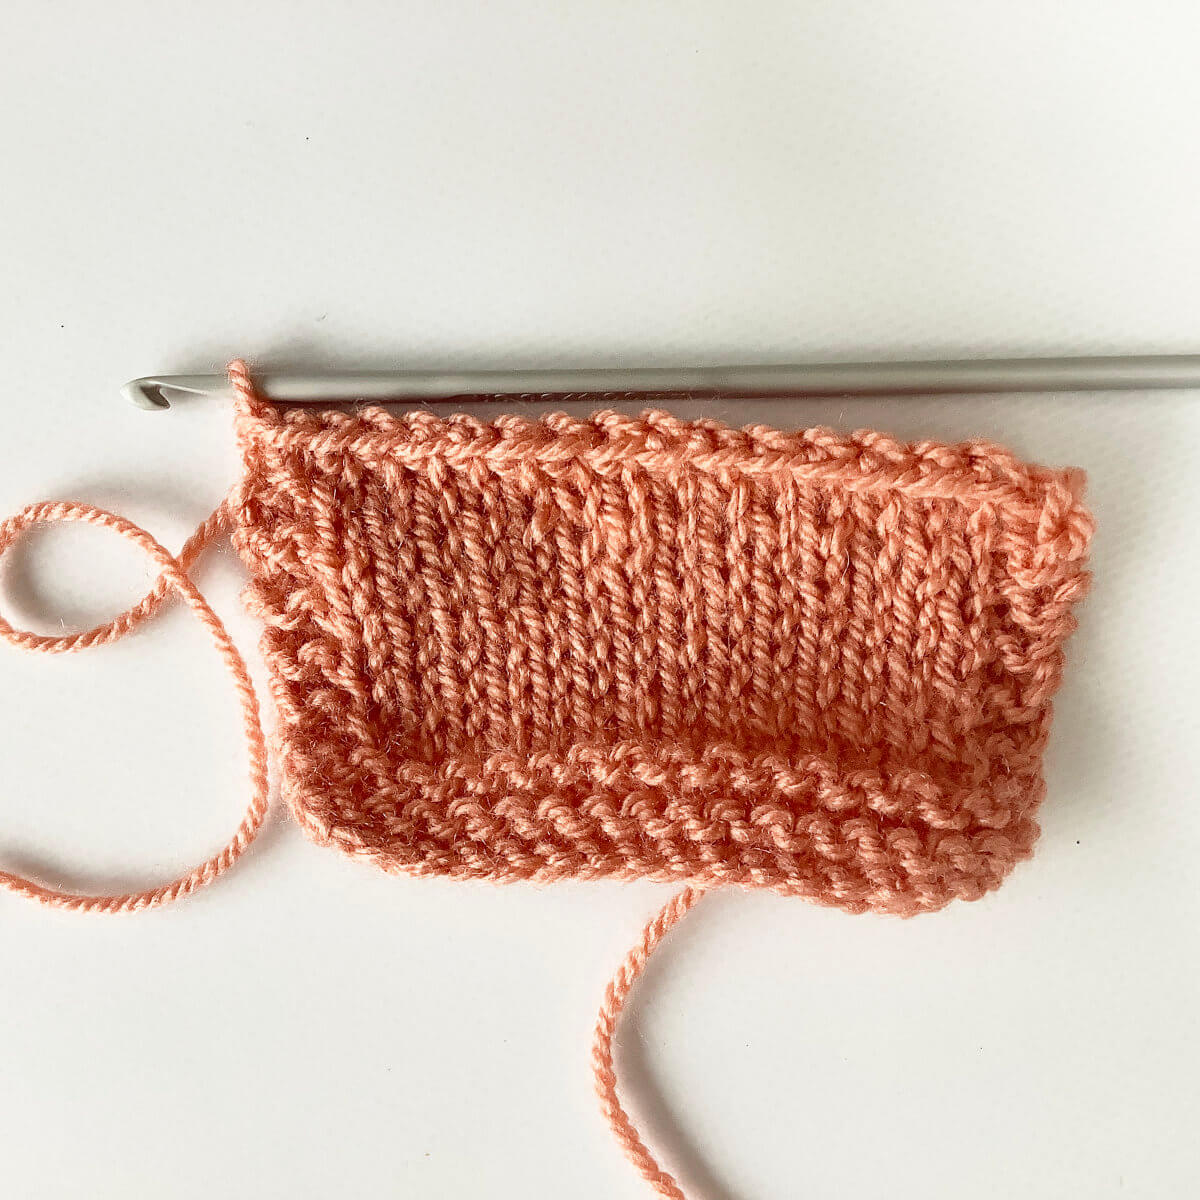
Midway, it will look something like this:
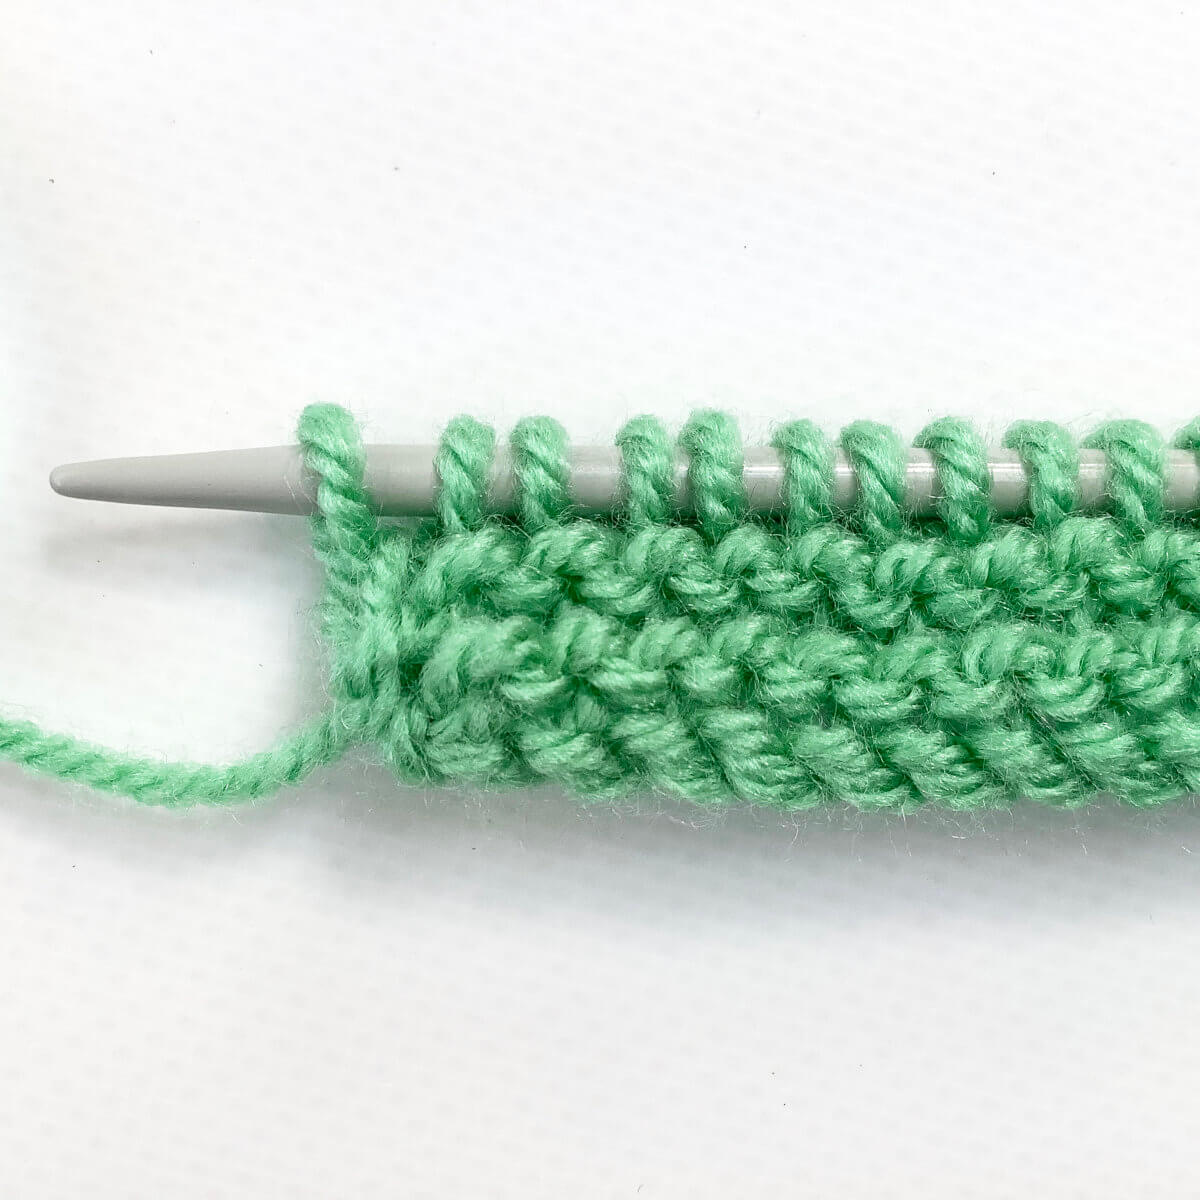
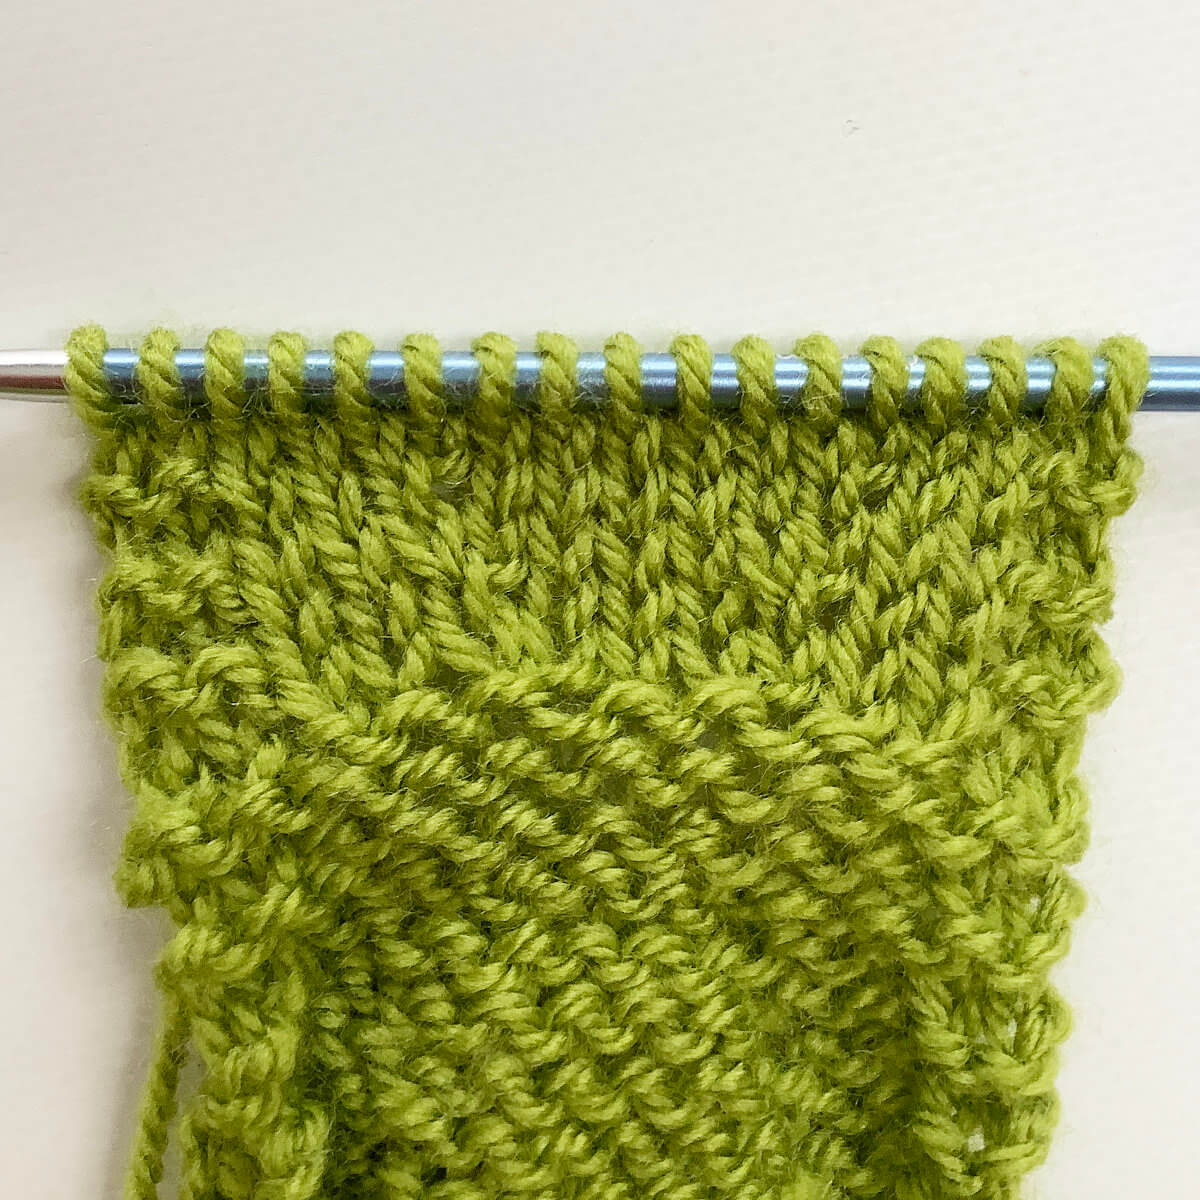
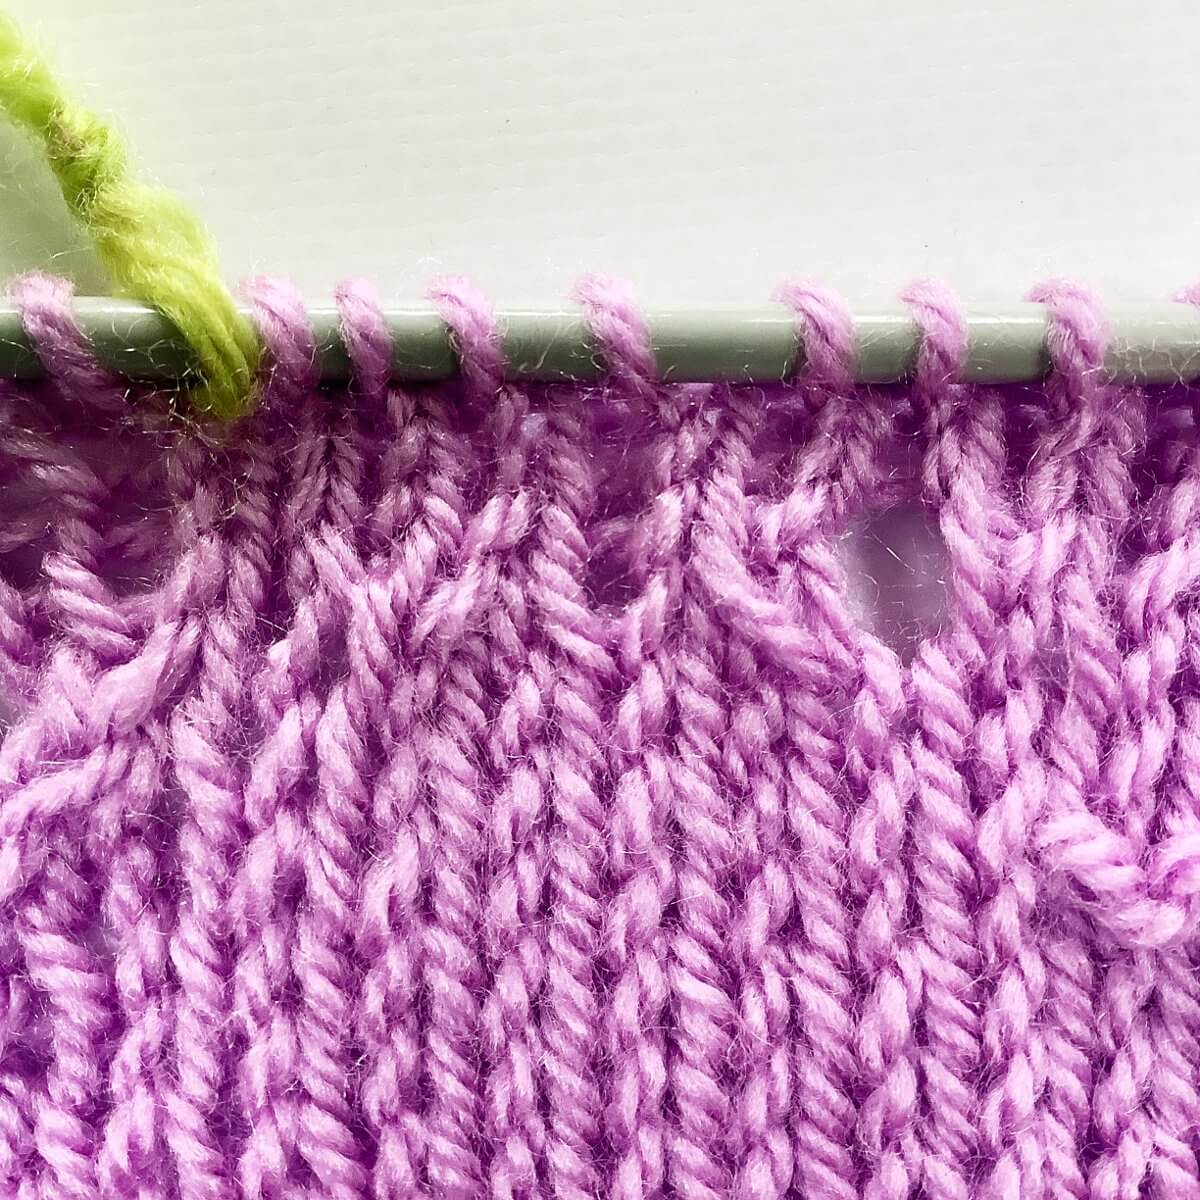
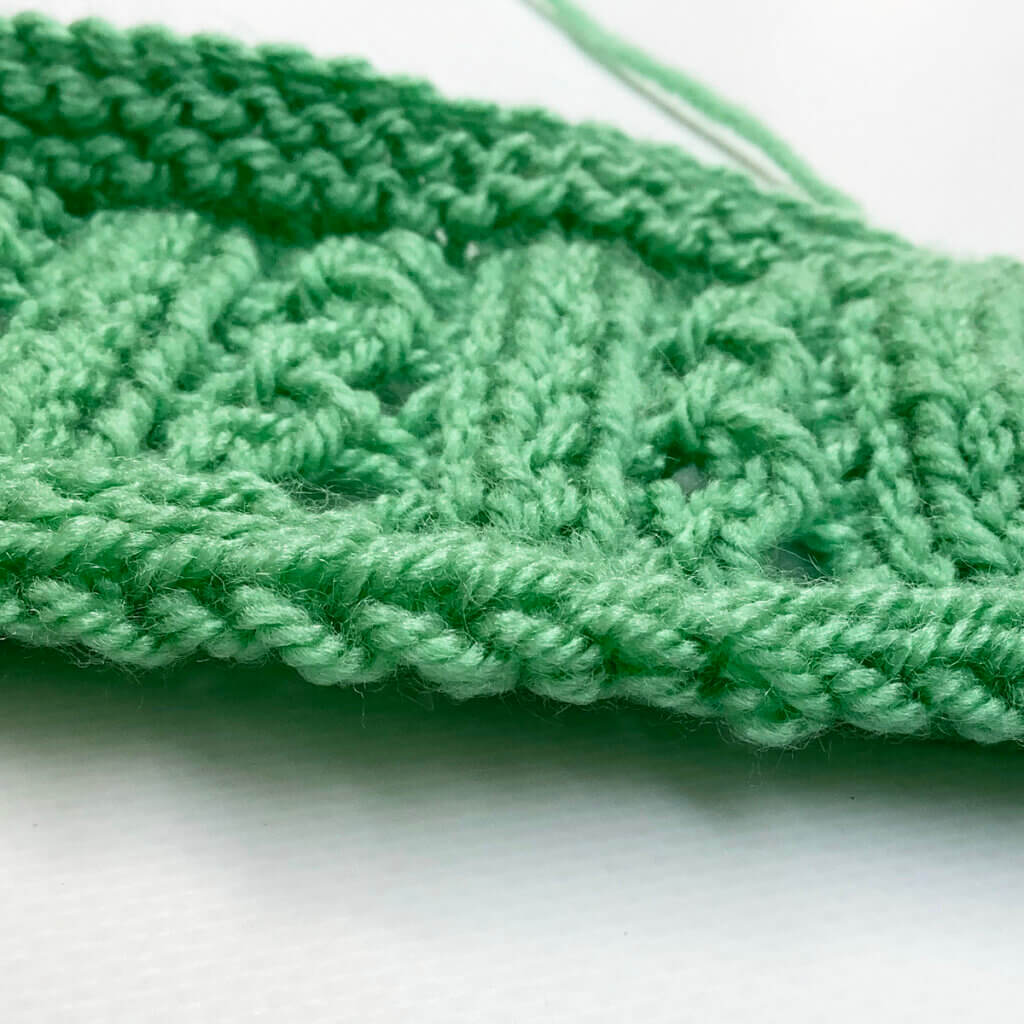
And here also a picture of the resulting edge. Pretty, isn’t it?!

Thanks to my Patreon supporters for bringing you this freebie! Creating quality patterns and tutorials is a lot of work and resource-intensive. However, I find it important to give you free content like this tutorial. Thanks to the generous support of my Patreon supporters, I can make it happen. Thank you, patrons! Click here to join, or click here to read more about La Visch Designs on Patreon.
tutorial – the standard knitted bind-off Read More »