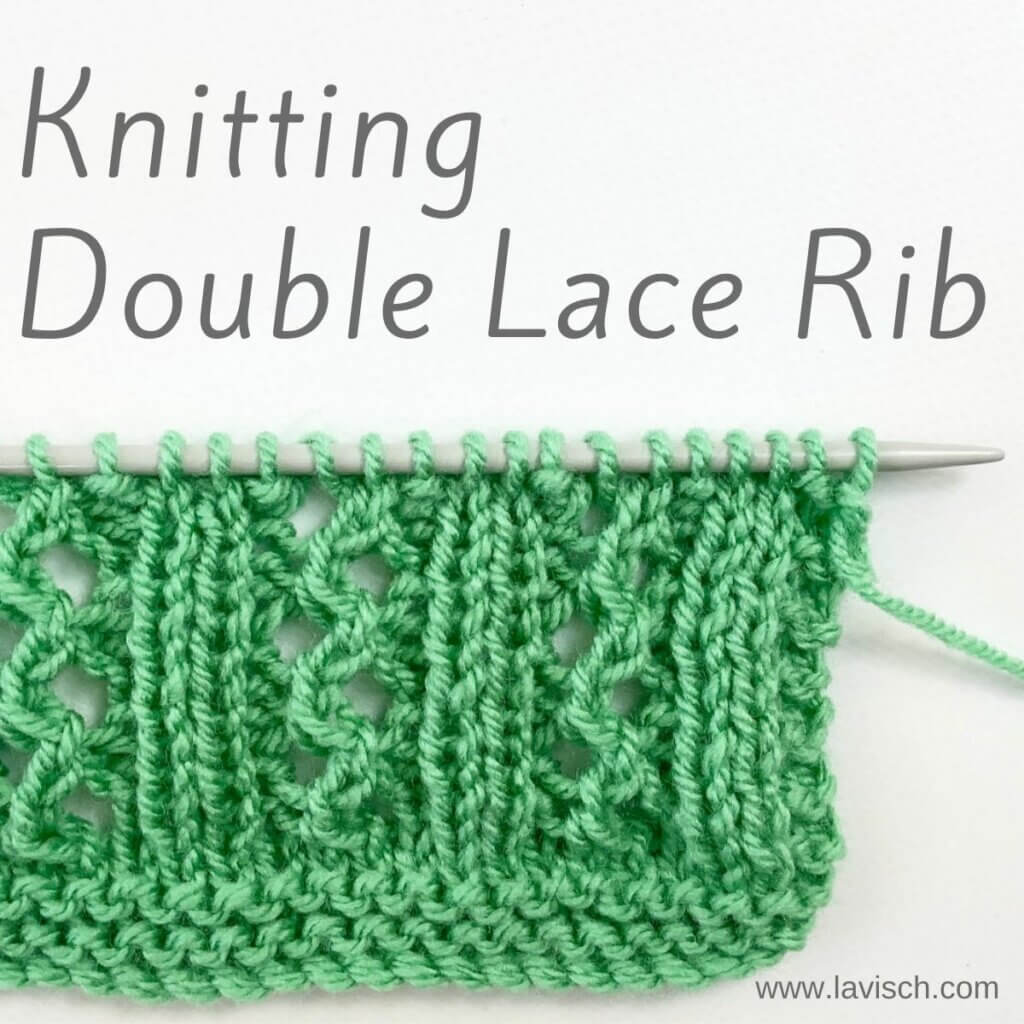
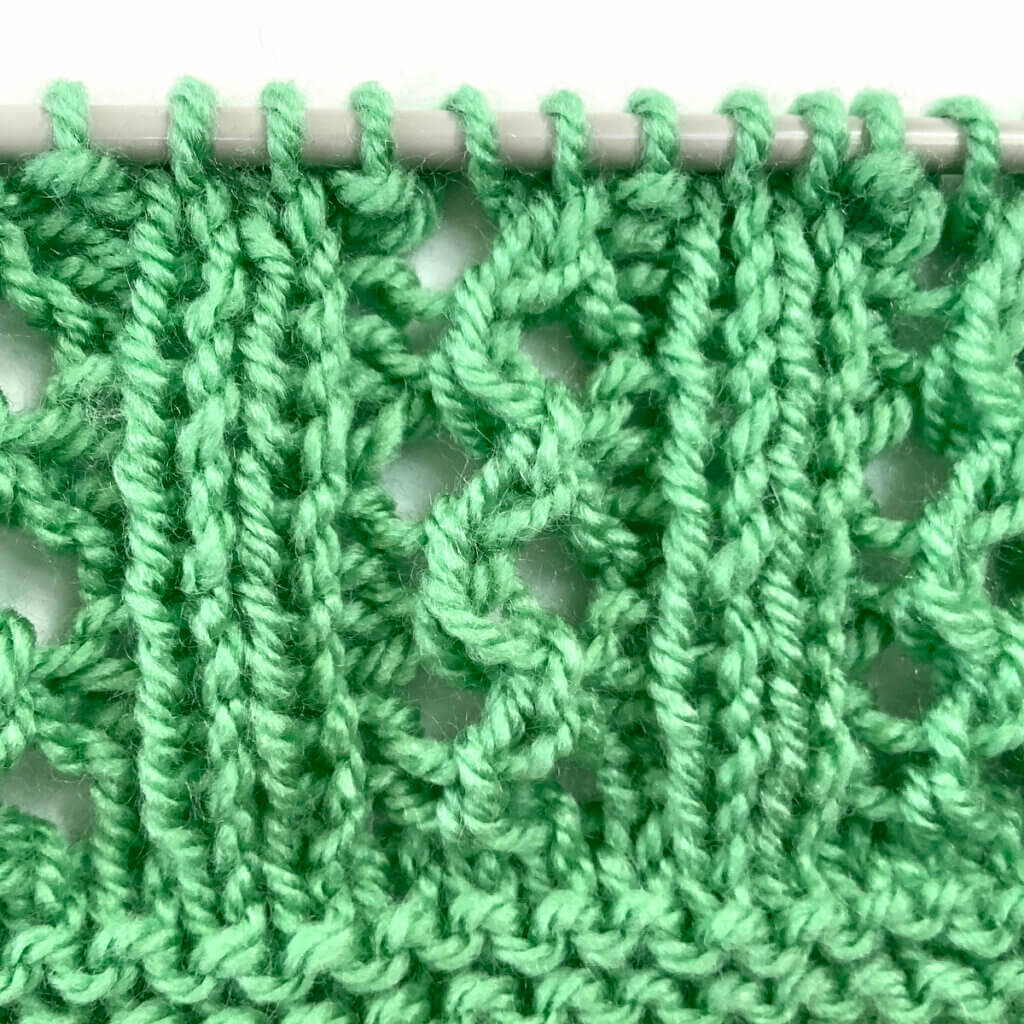
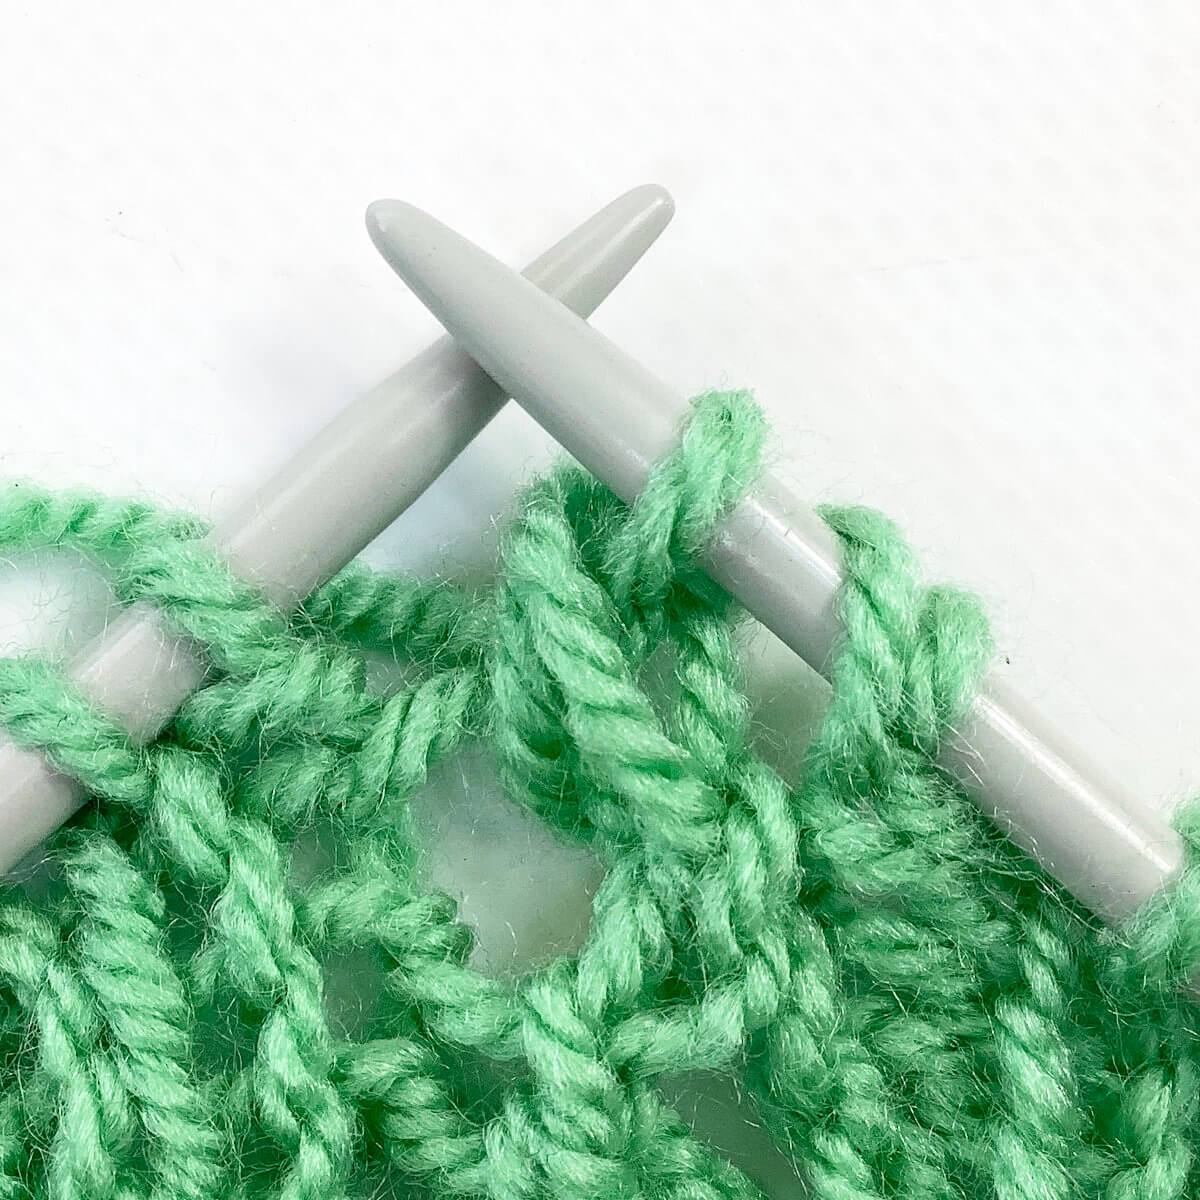
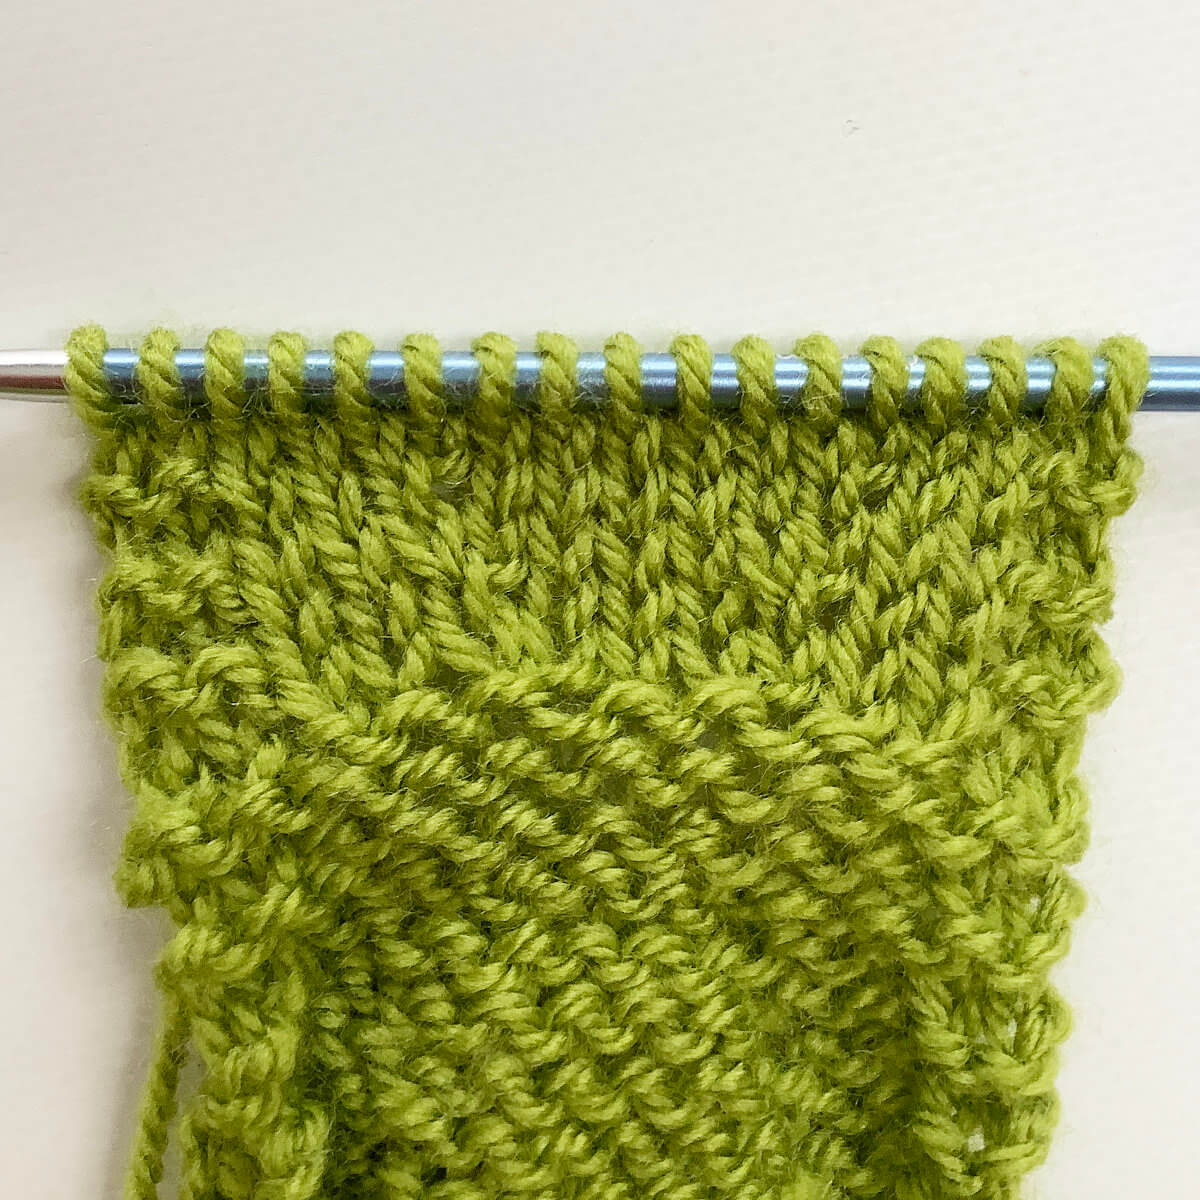
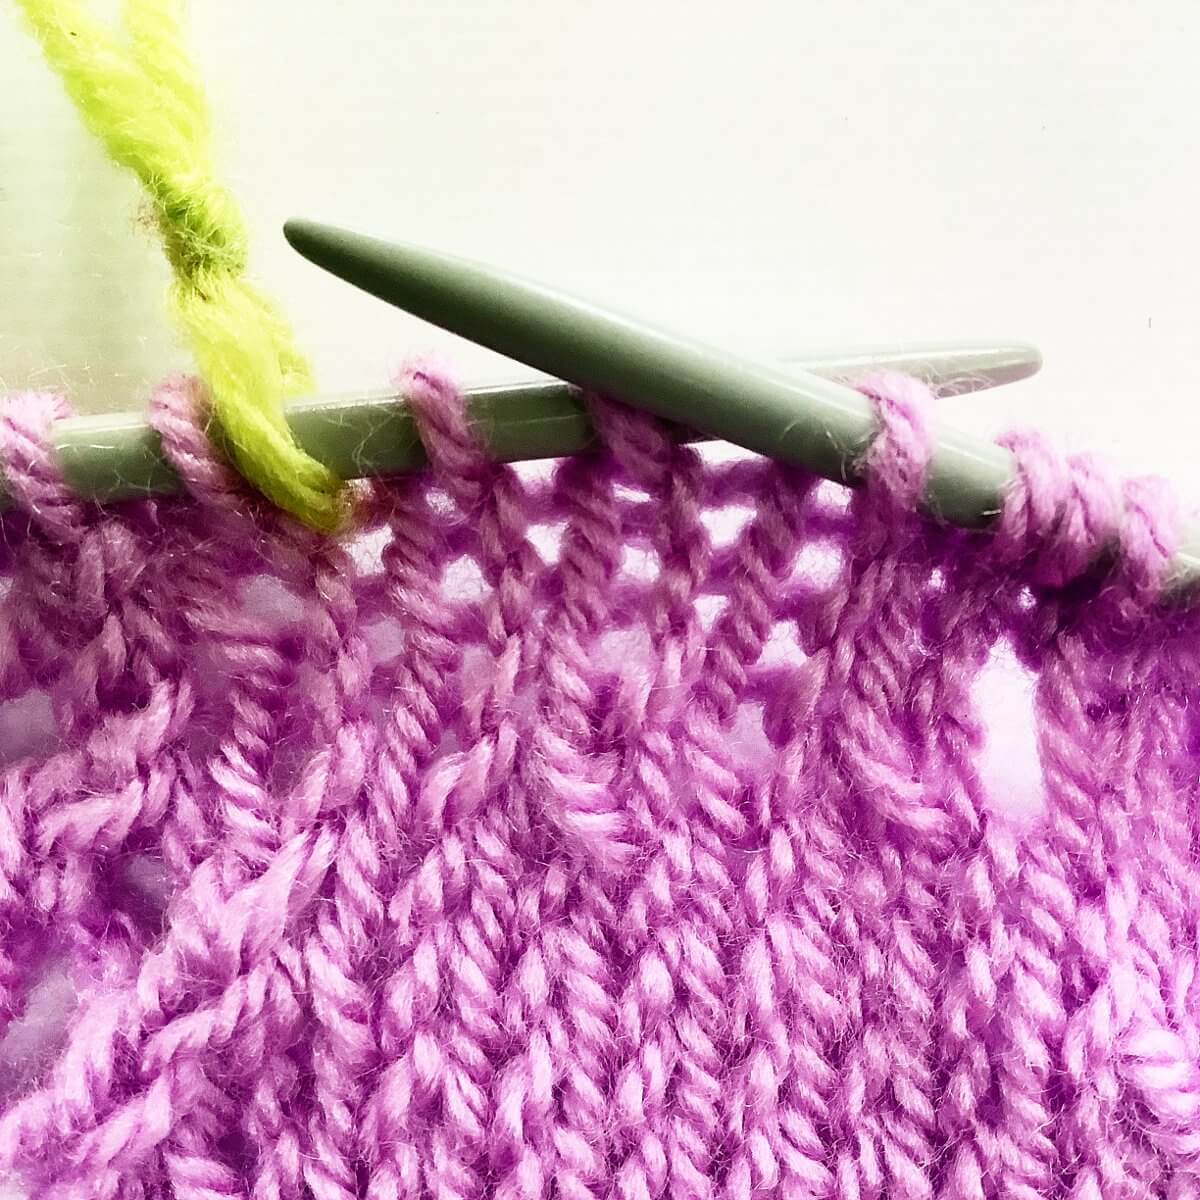
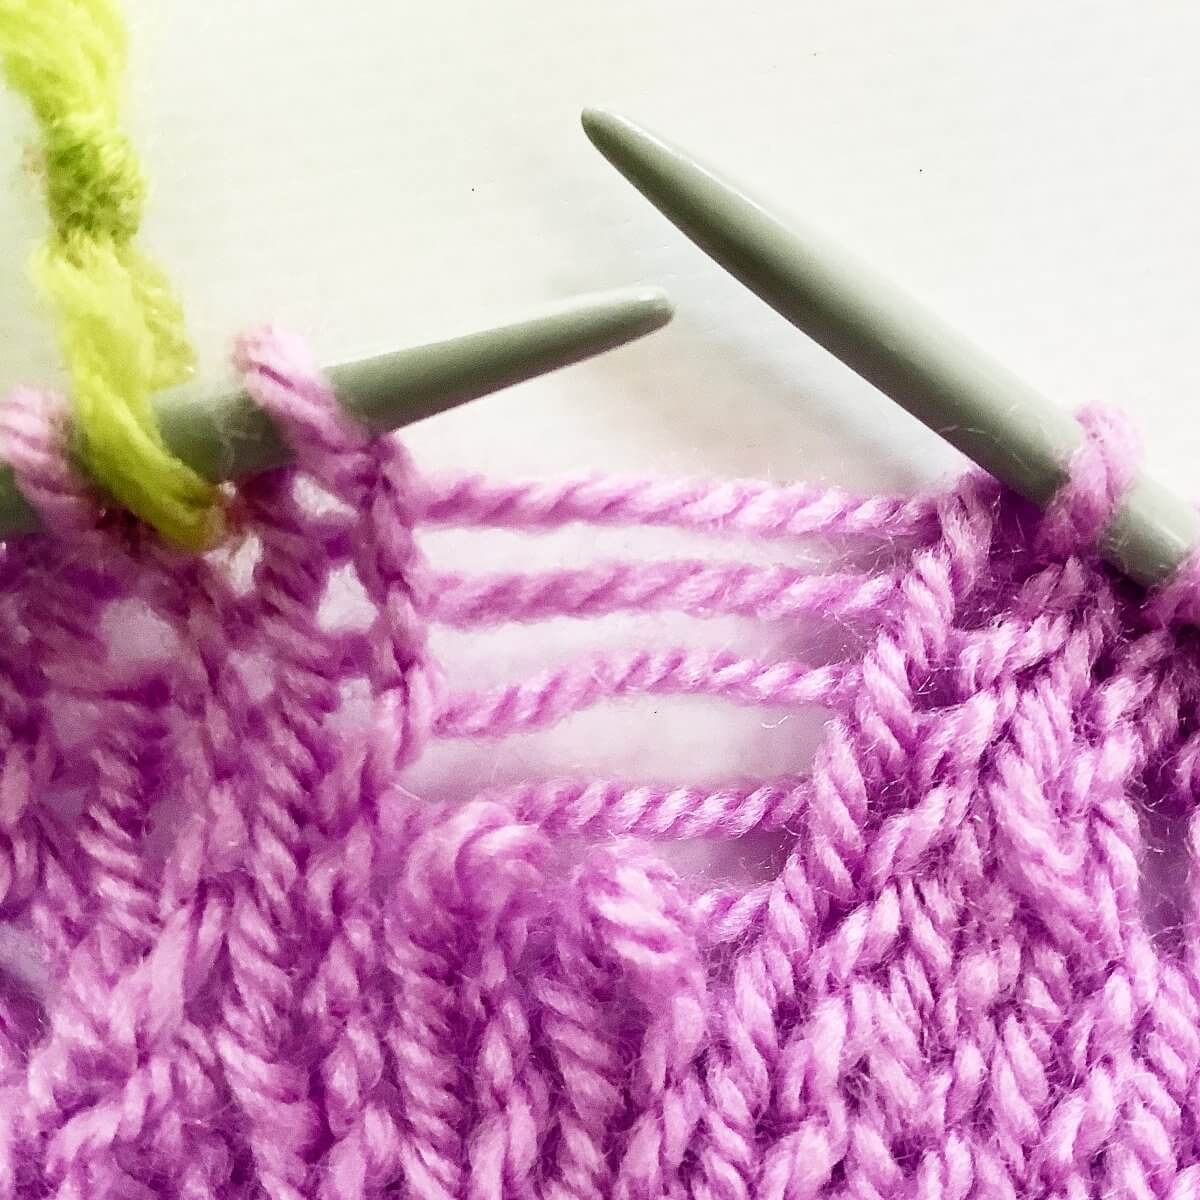
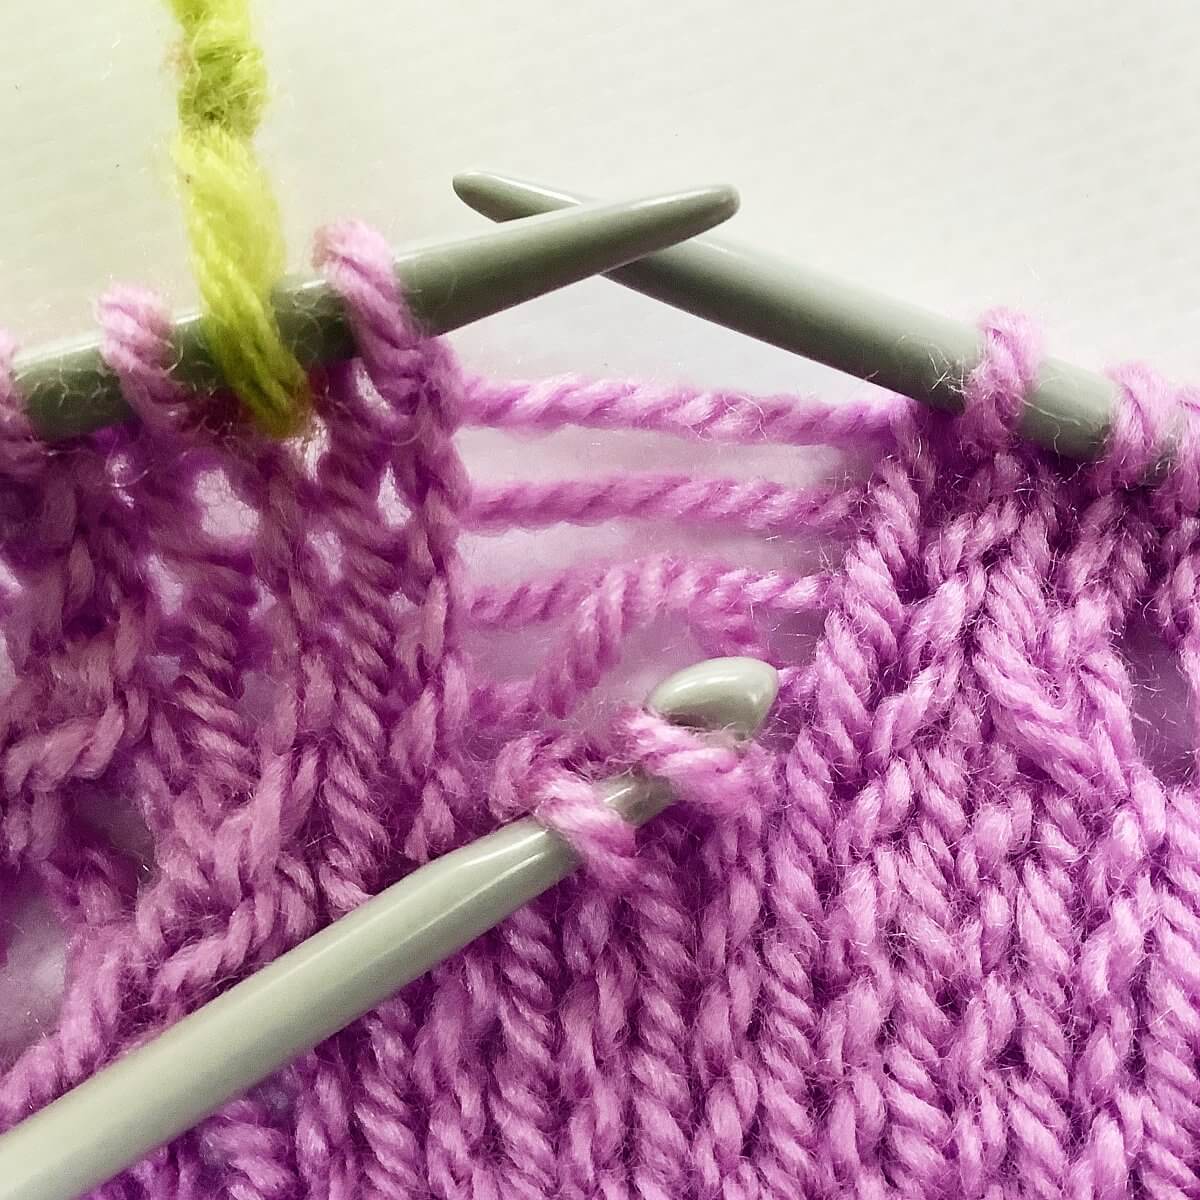
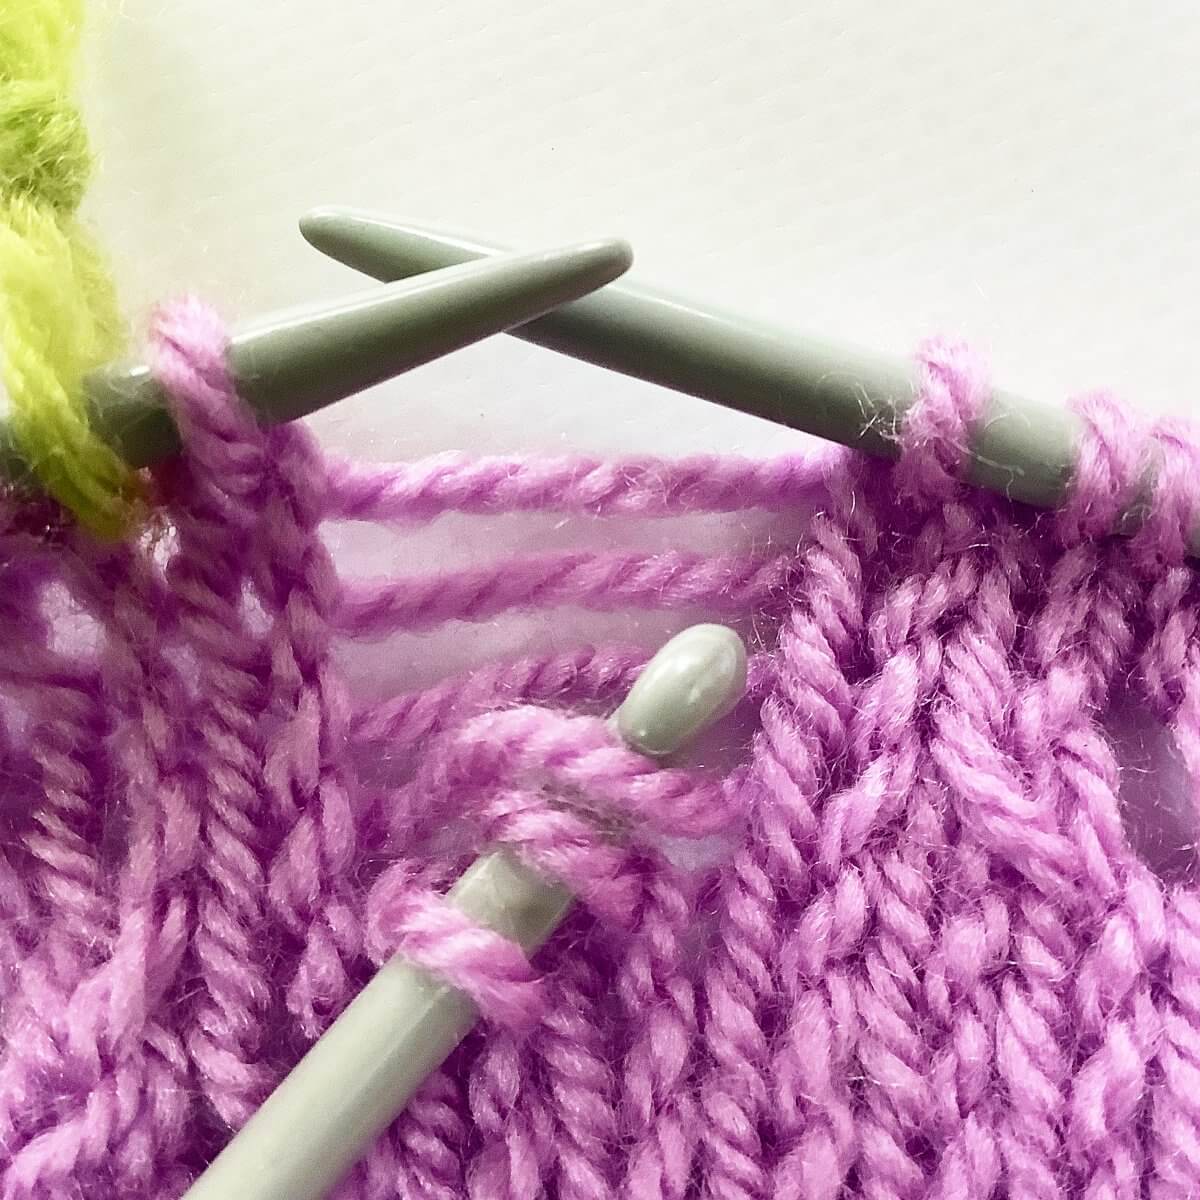
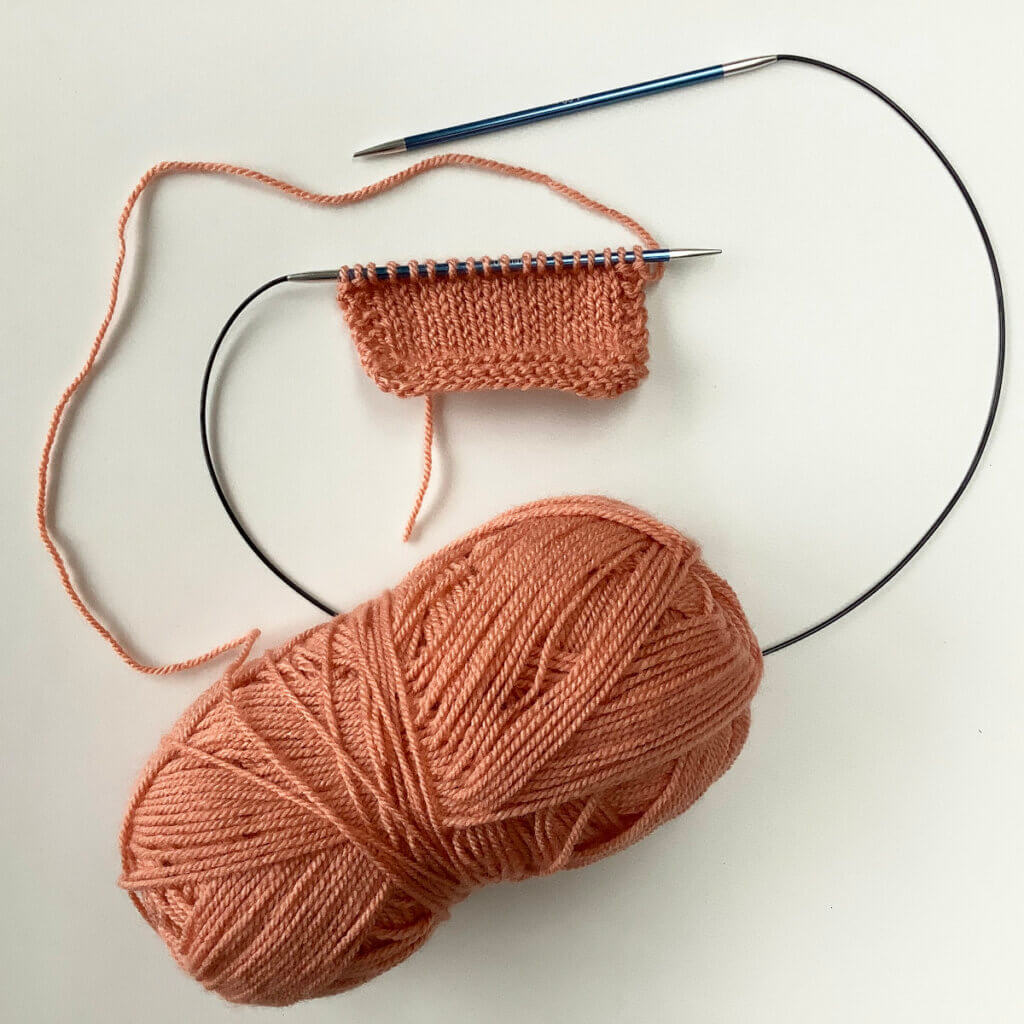
This post is about working the double lace rib stitch pattern. It works well both as an insert or as all-over patterning. This stitch pattern is worked on both right side and wrong side rows, and is a multiple of 6 + 2 stitches.
Materials used
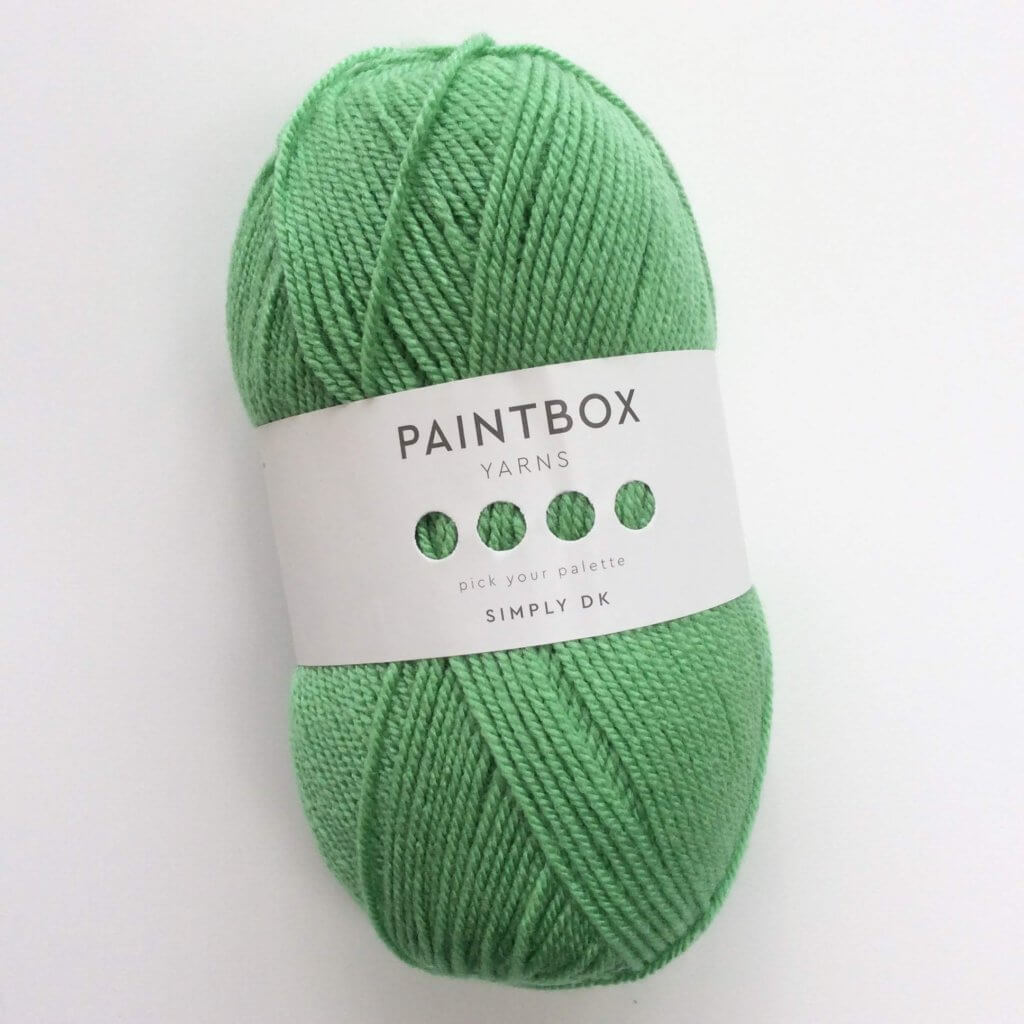
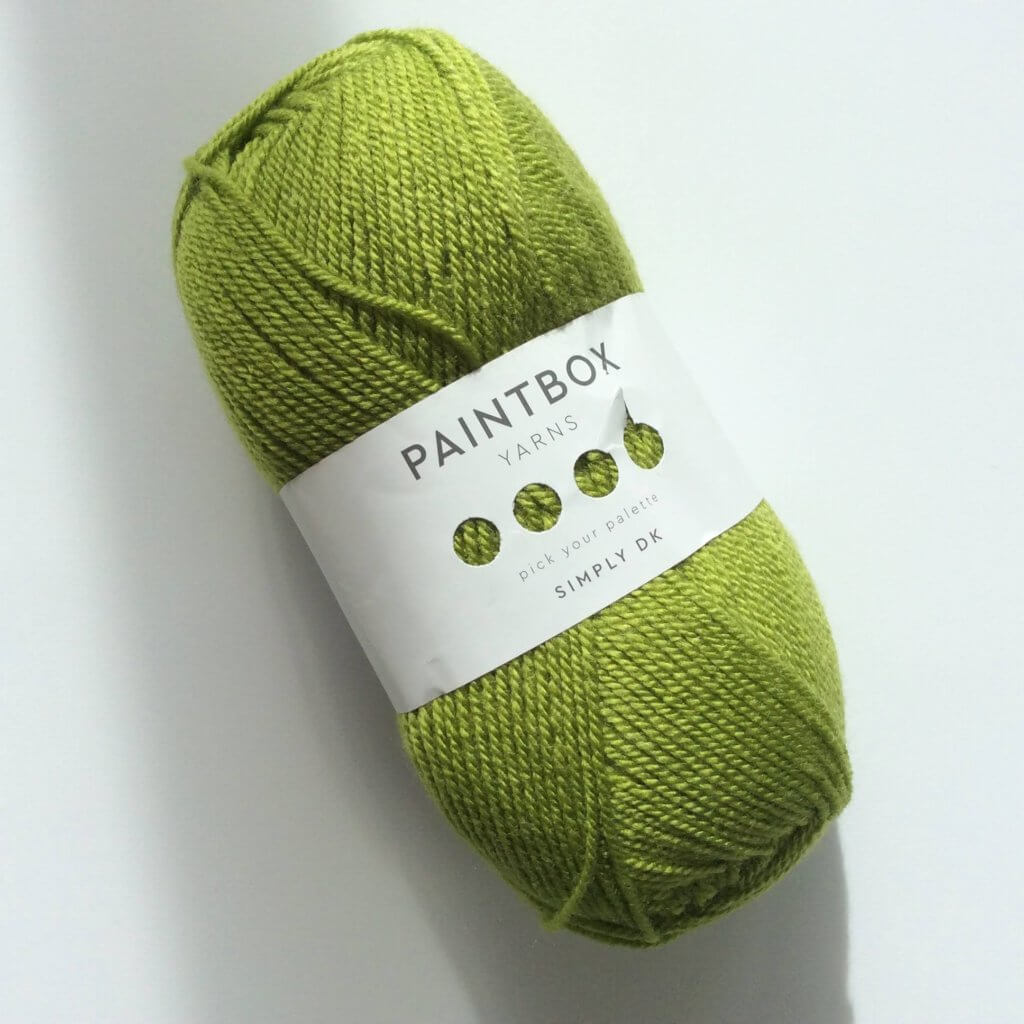
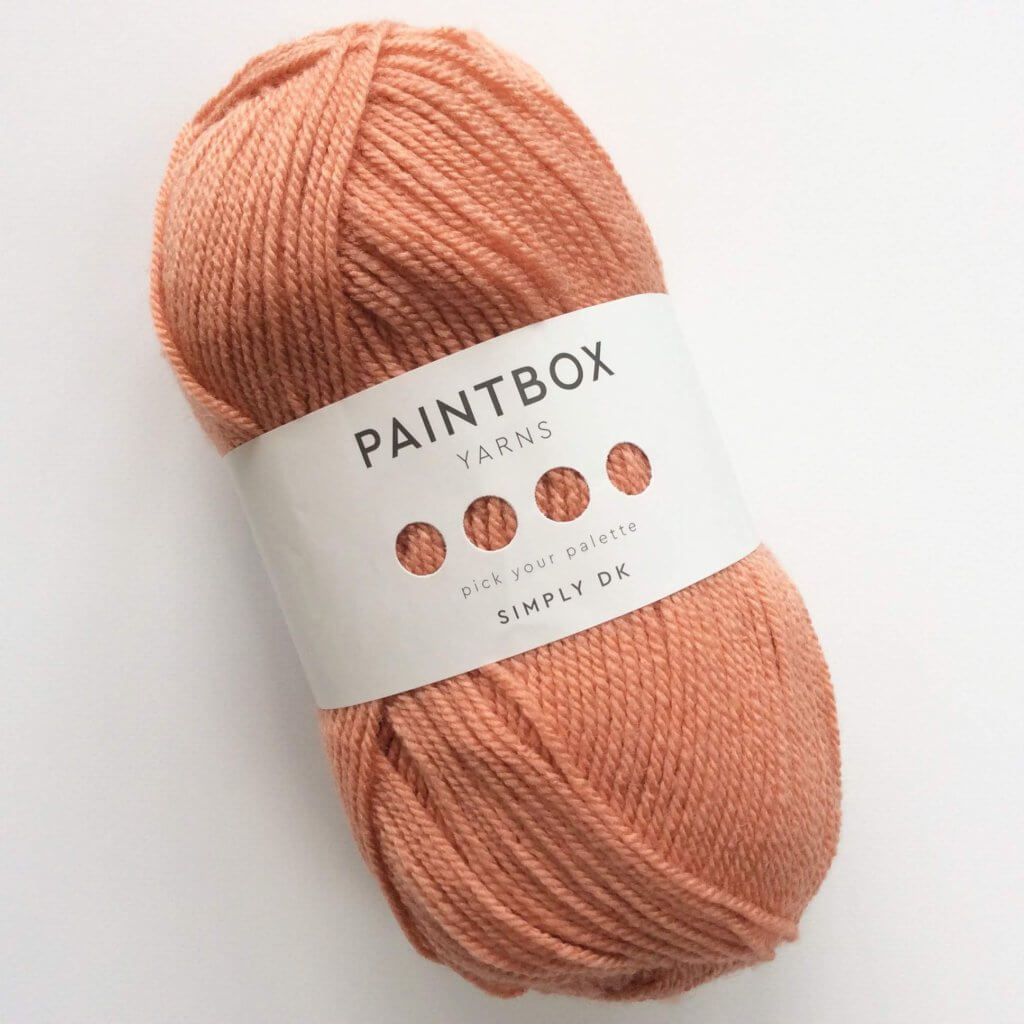
Yarn: Paintbox Yarns Simply DK, a good value, good quality 100% acrylic yarn, here in the color 125 Spearmint Green.
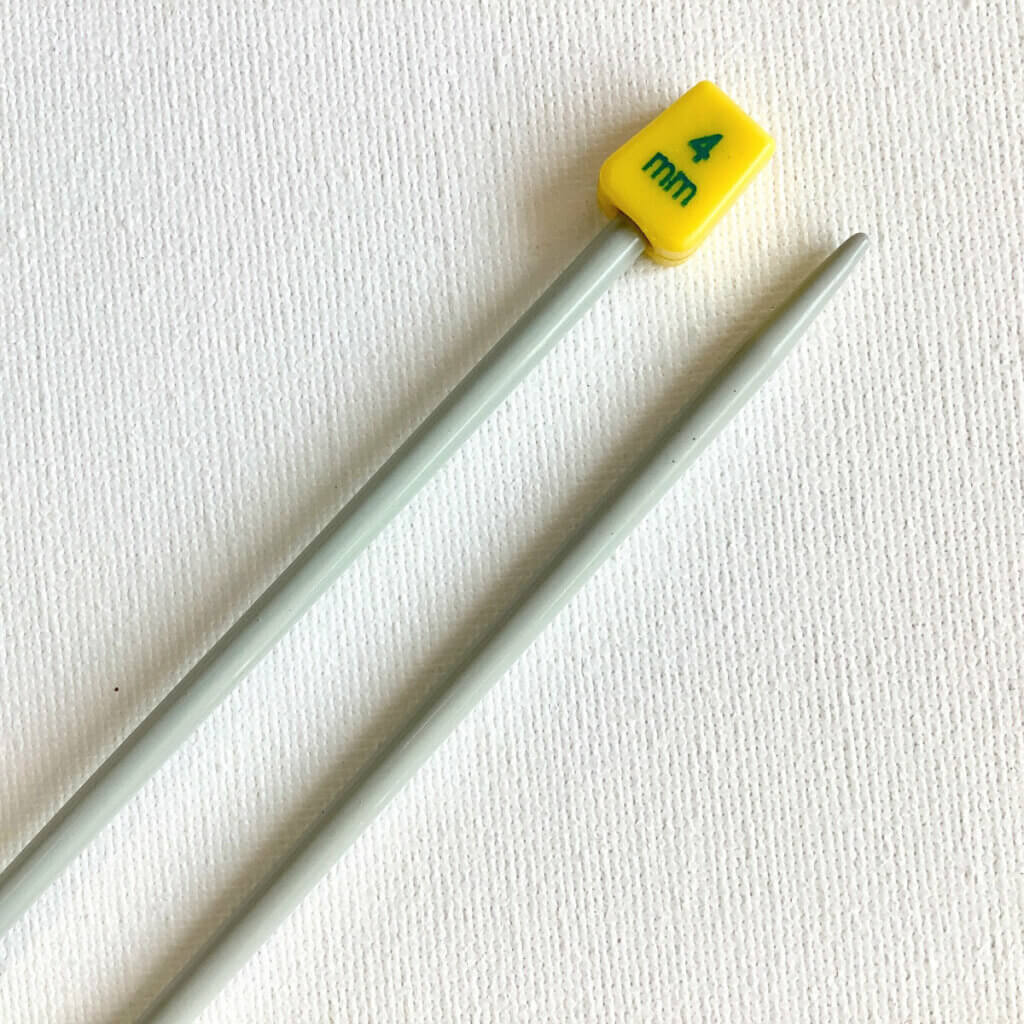
Knitting needles: This is a pair of straights that I picked up at the second-hand store when I started knitting, brand unknown.
Row 1 (right side): K2, *p1, yo, k2tog tbl, p1, k2; rep from * to end.
Row 2: (wrong side): P2, *k1, p2; rep from * to end.
Row 3: K2, *p1, k2tog, yo, p1, k2; rep from * to end.
Row 4: P2, *k1, p2; rep from * to end.
Repeat rows 1-4 for pattern.
Thanks to my Patreon supporters for bringing you this freebie! Creating quality patterns and tutorials is a lot of work and resource-intensive. However, I find it important to give you free content like this tutorial. Thanks to the generous support of my Patreon supporters, I can make it happen. Thank you, patrons! Click here to join, or click here to read more about La Visch Designs on Patreon.
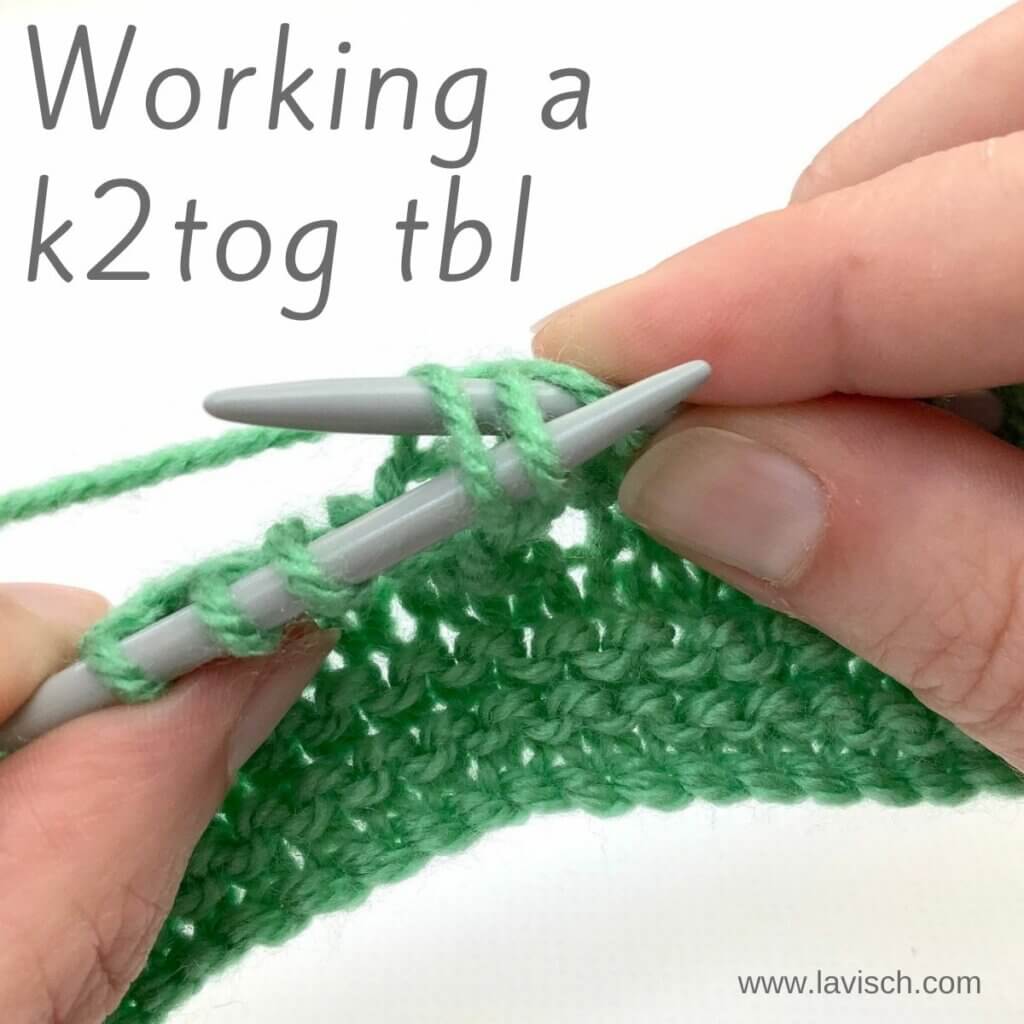
In this tutorial, I’ll show you how to work the k2tog tbl decrease. The abbreviation stands for “knit 2 stitches together through the back loop”. Basically, it’s the twisted version of the k2tog decrease. However, while the k2tog is a right-leaning decrease, k2tog tbl is a left-leaning decrease. It’s similar in appearance to the skp and ssk decreases.
Knitting the k2tog tbl decrease step by step
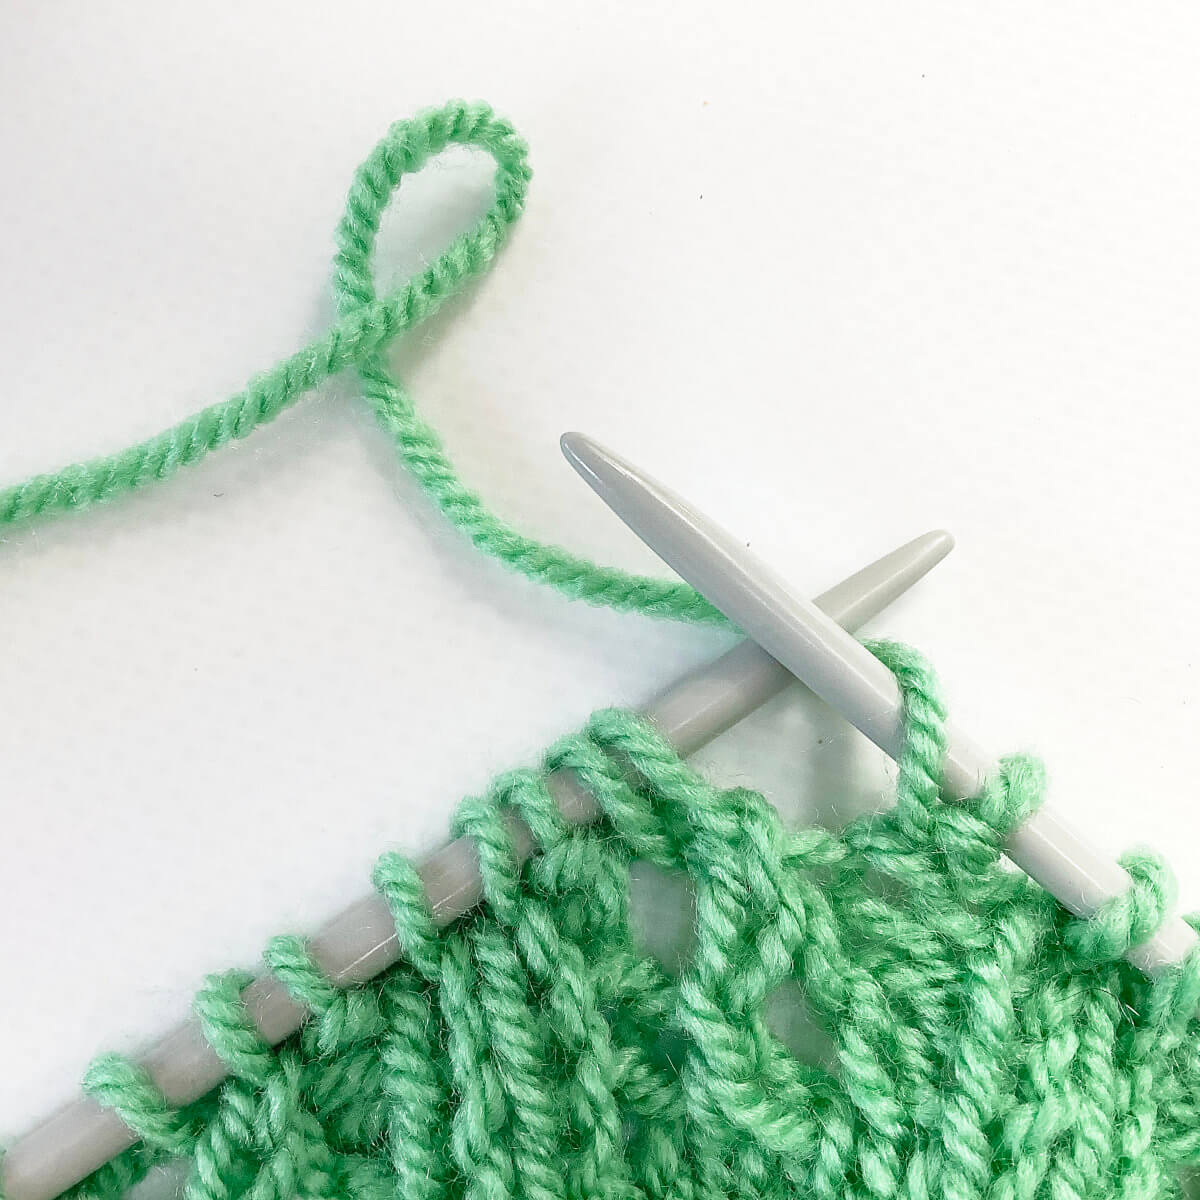
First, take your project and work to the spot indicated in your pattern, where the decrease is supposed to be made.
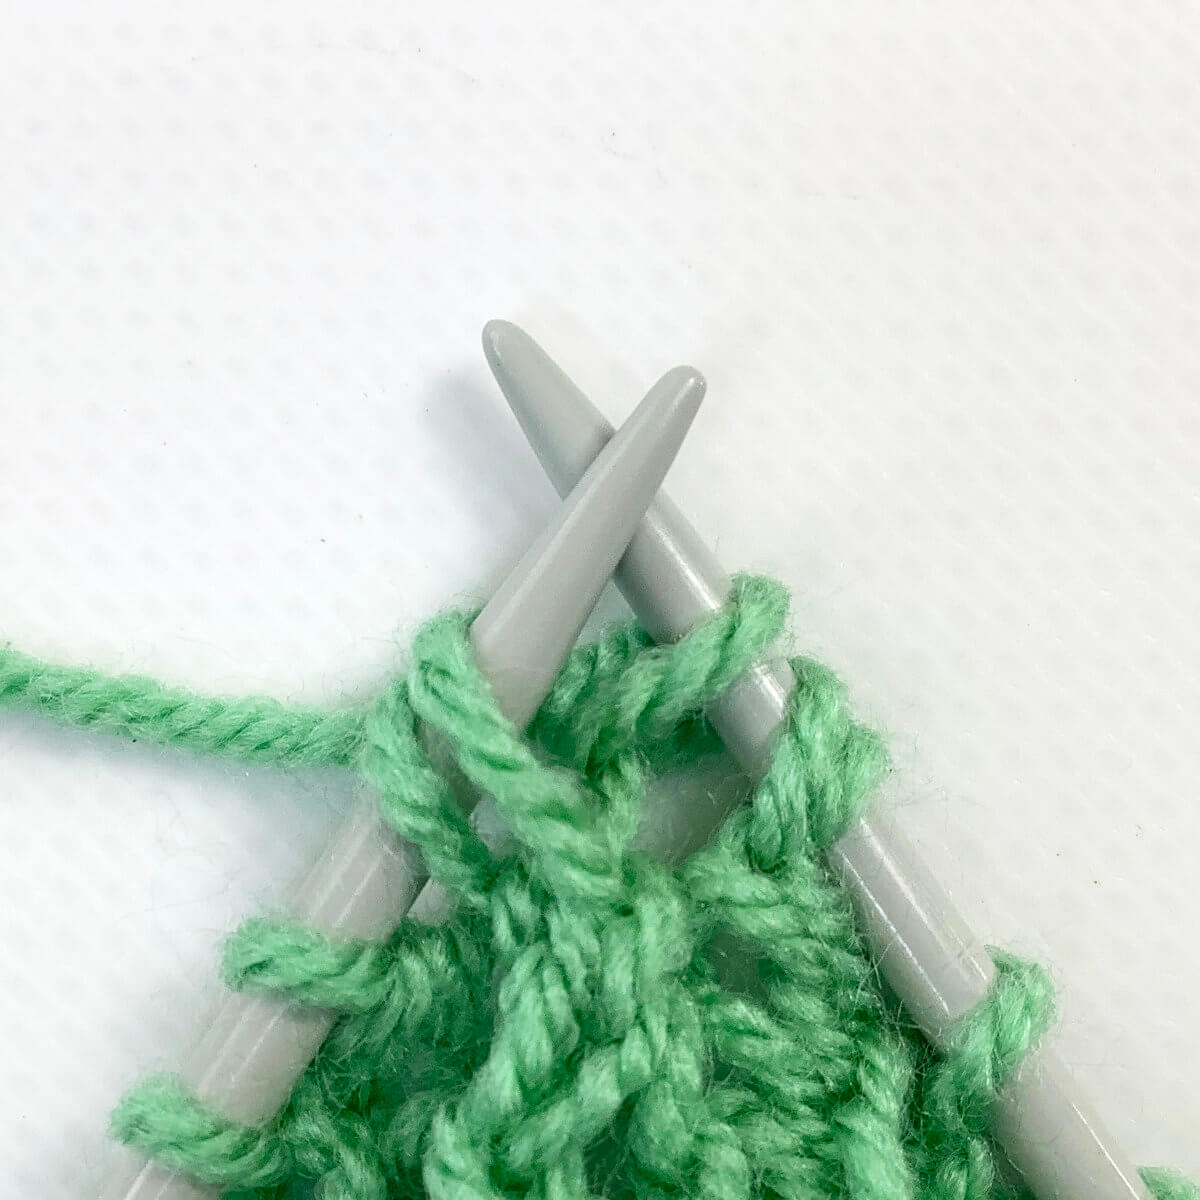
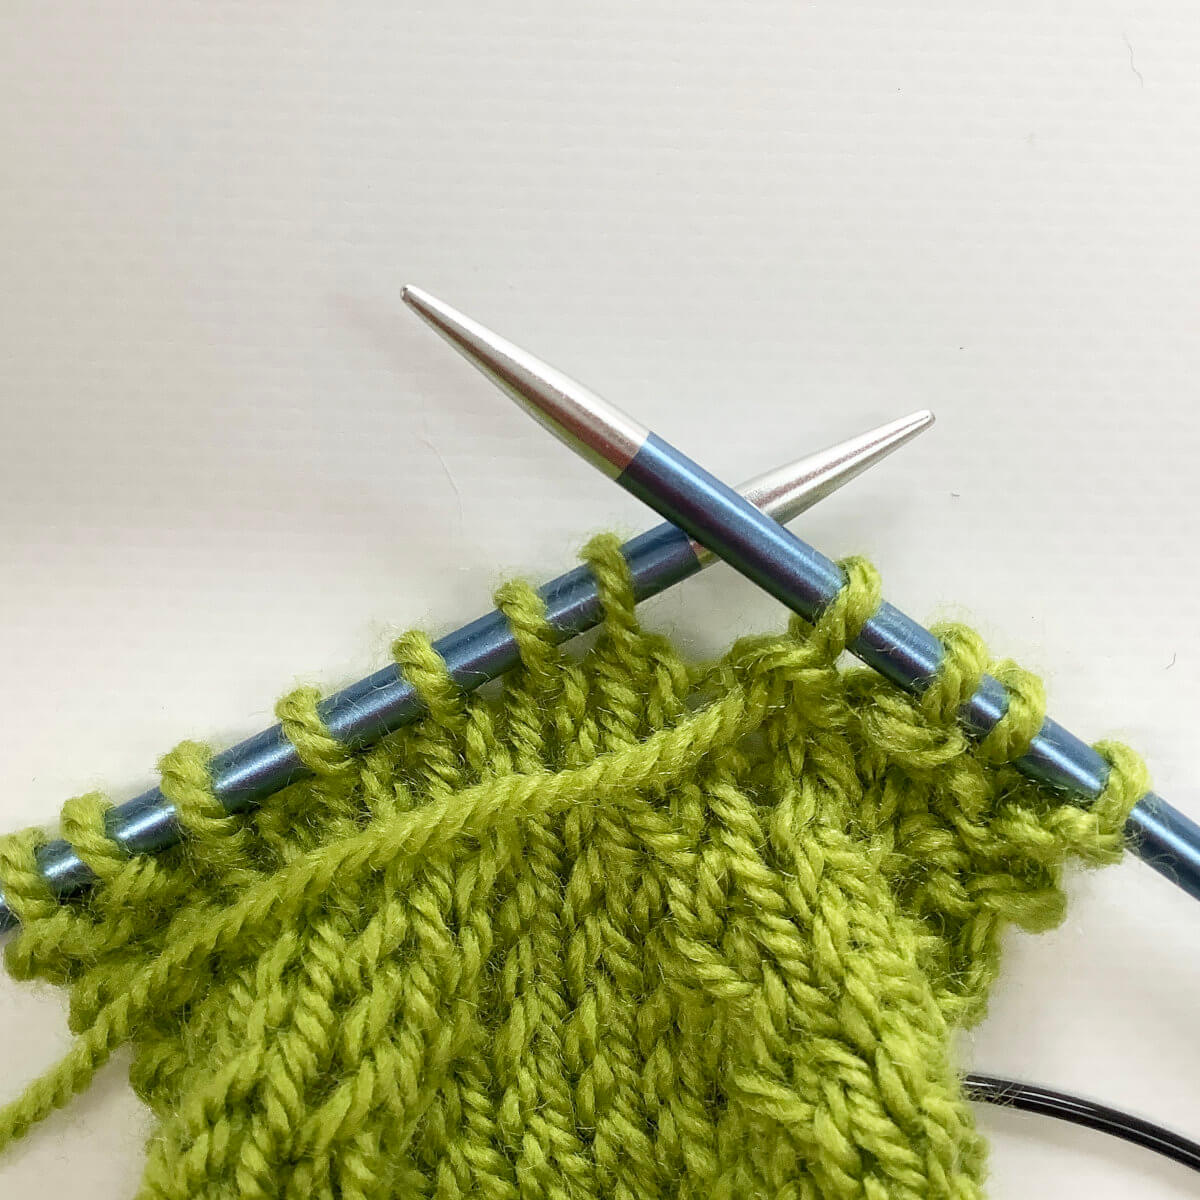
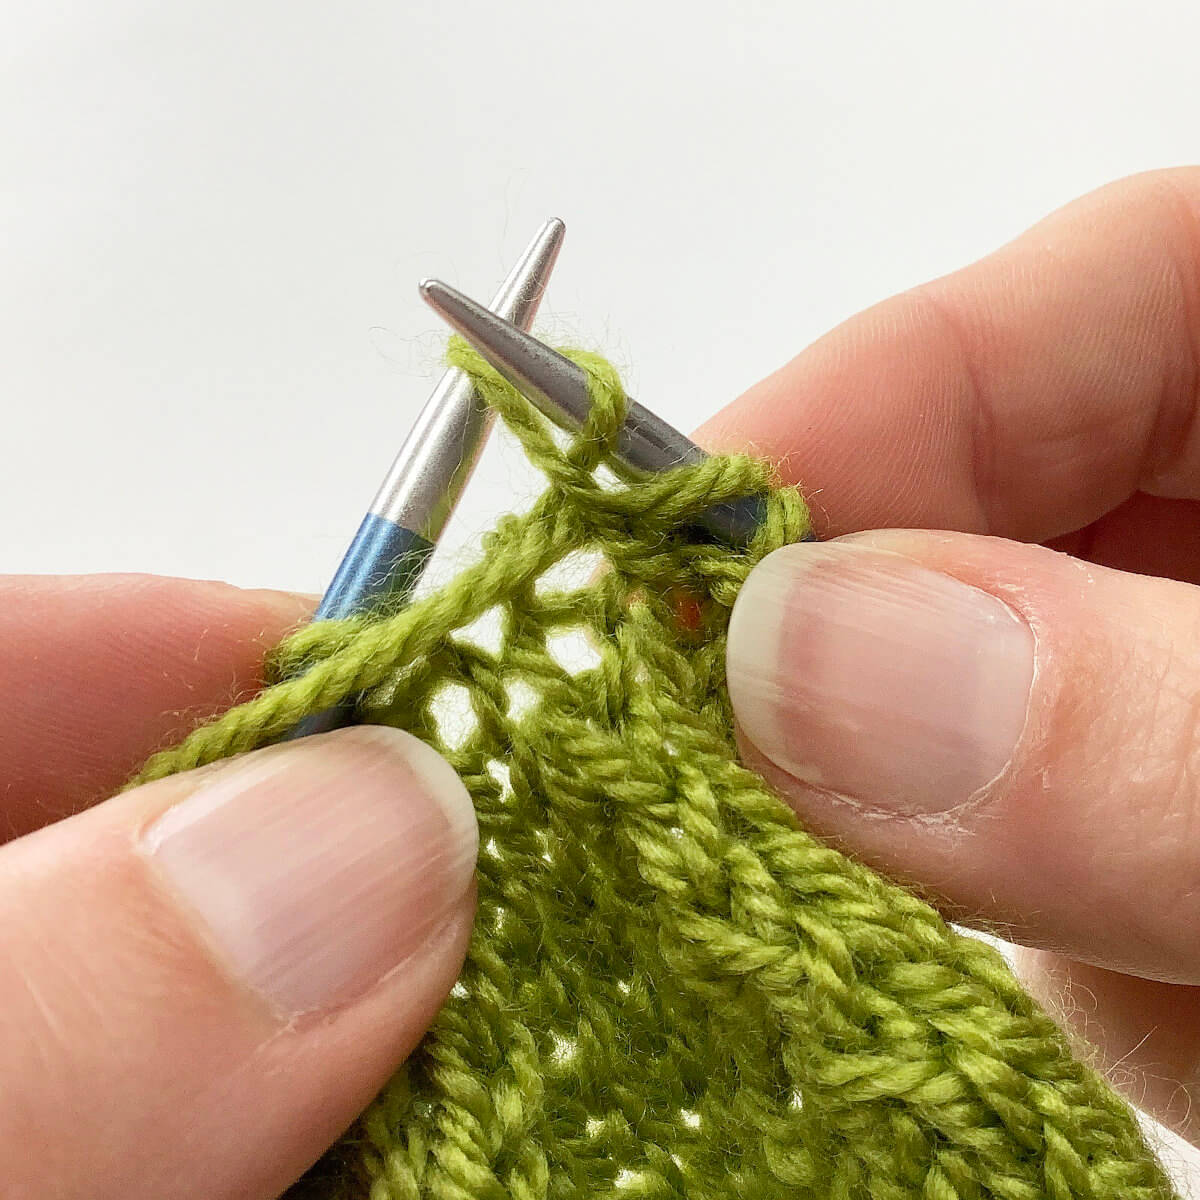
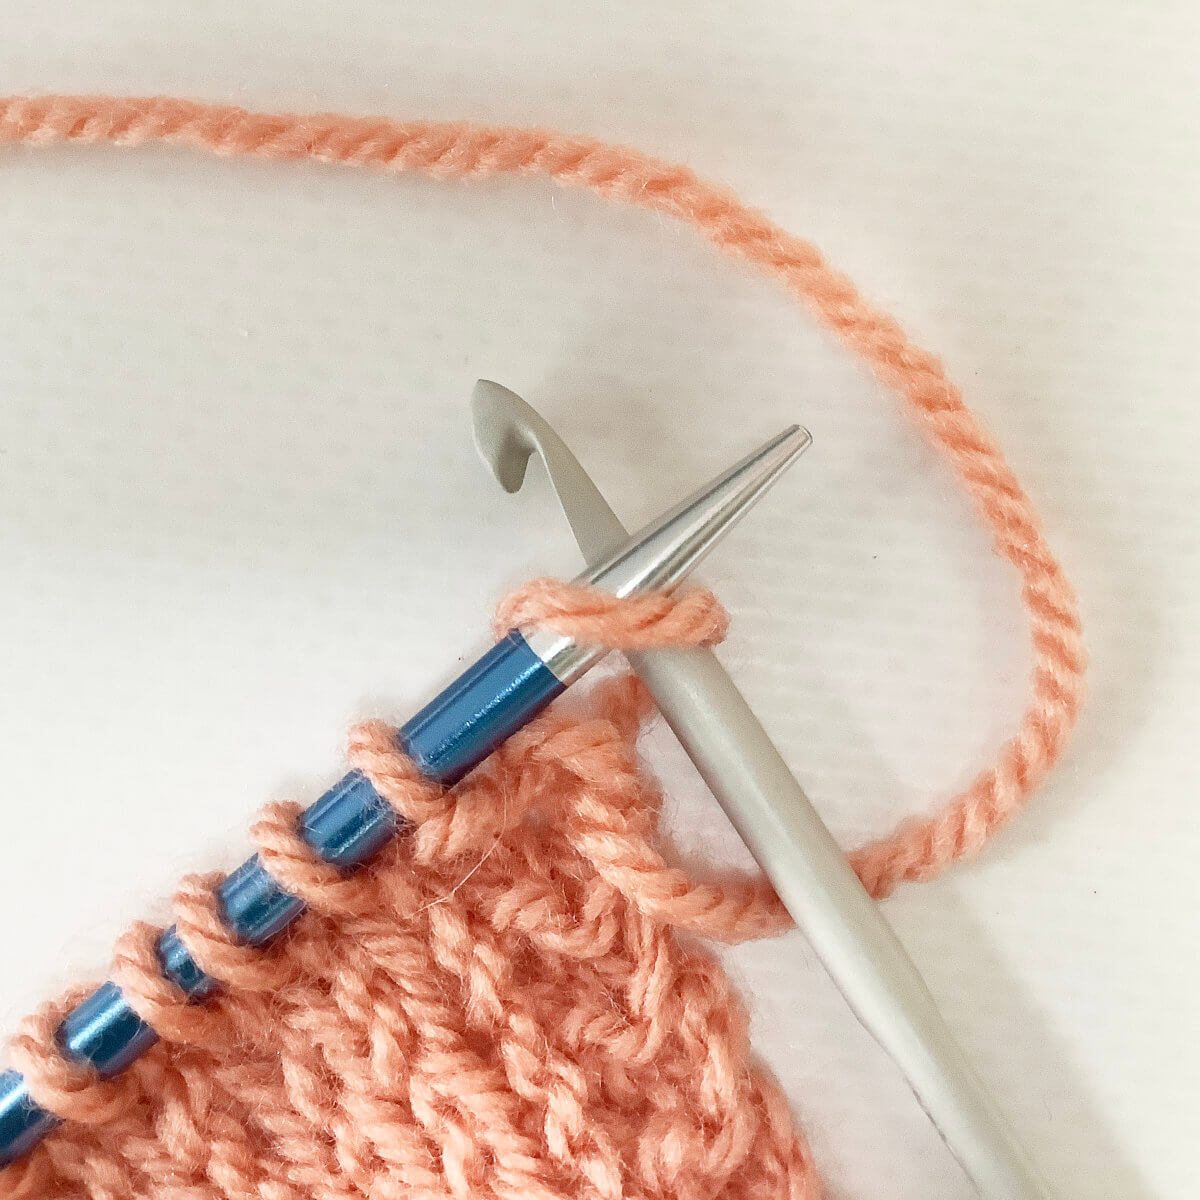
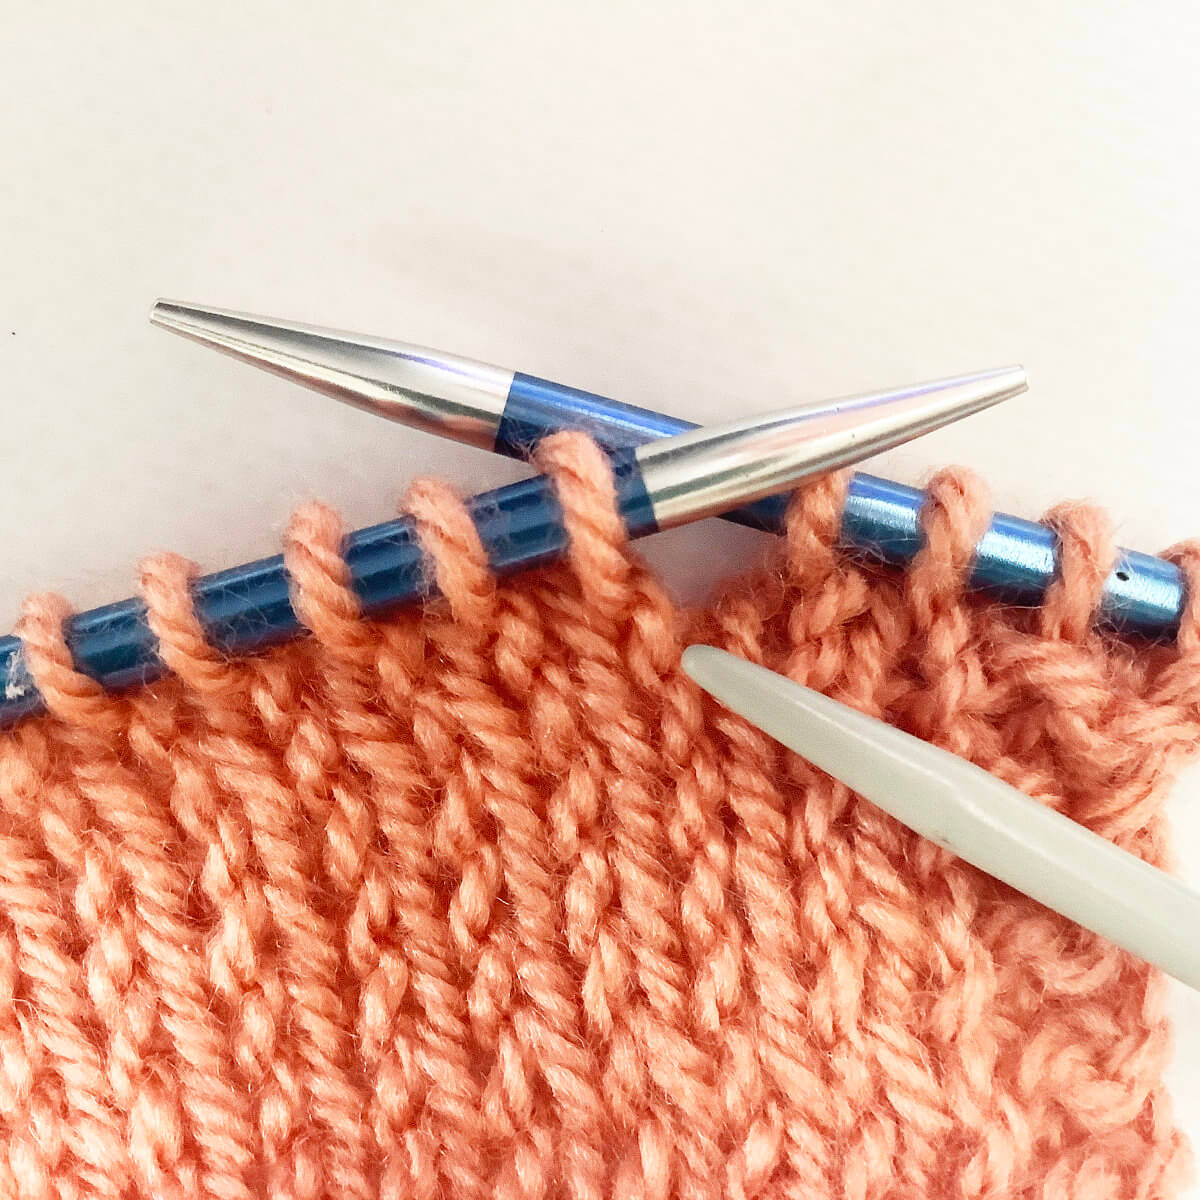
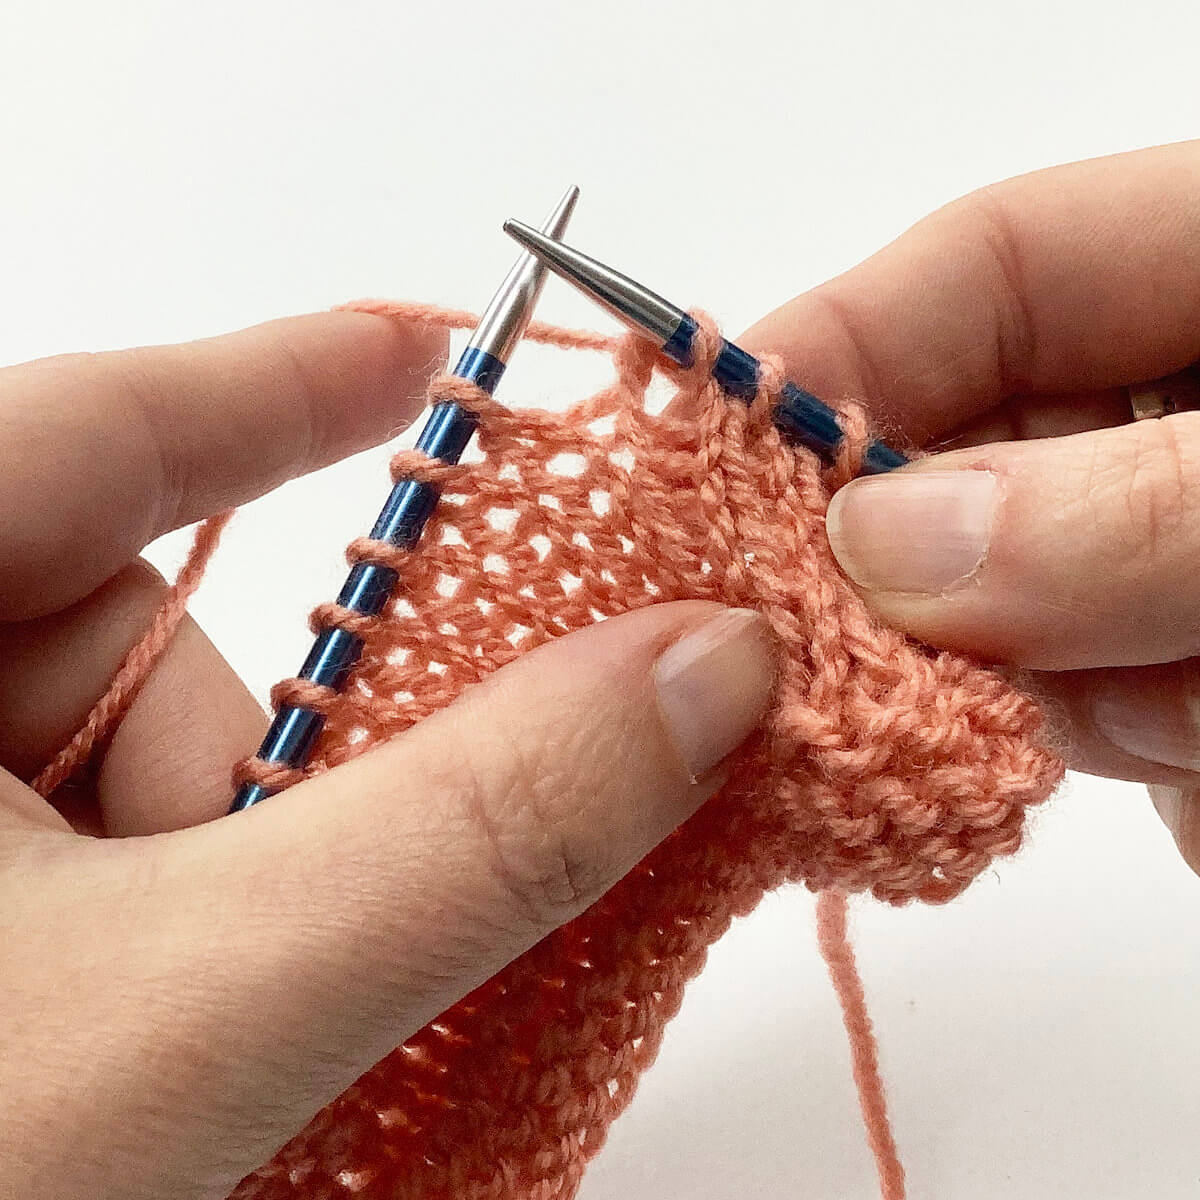
In this case, I’m working a stitch pattern in which I have to work a k2tog tbl directly after a YO, over the 2 stitches near the tip of the left-hand needle.
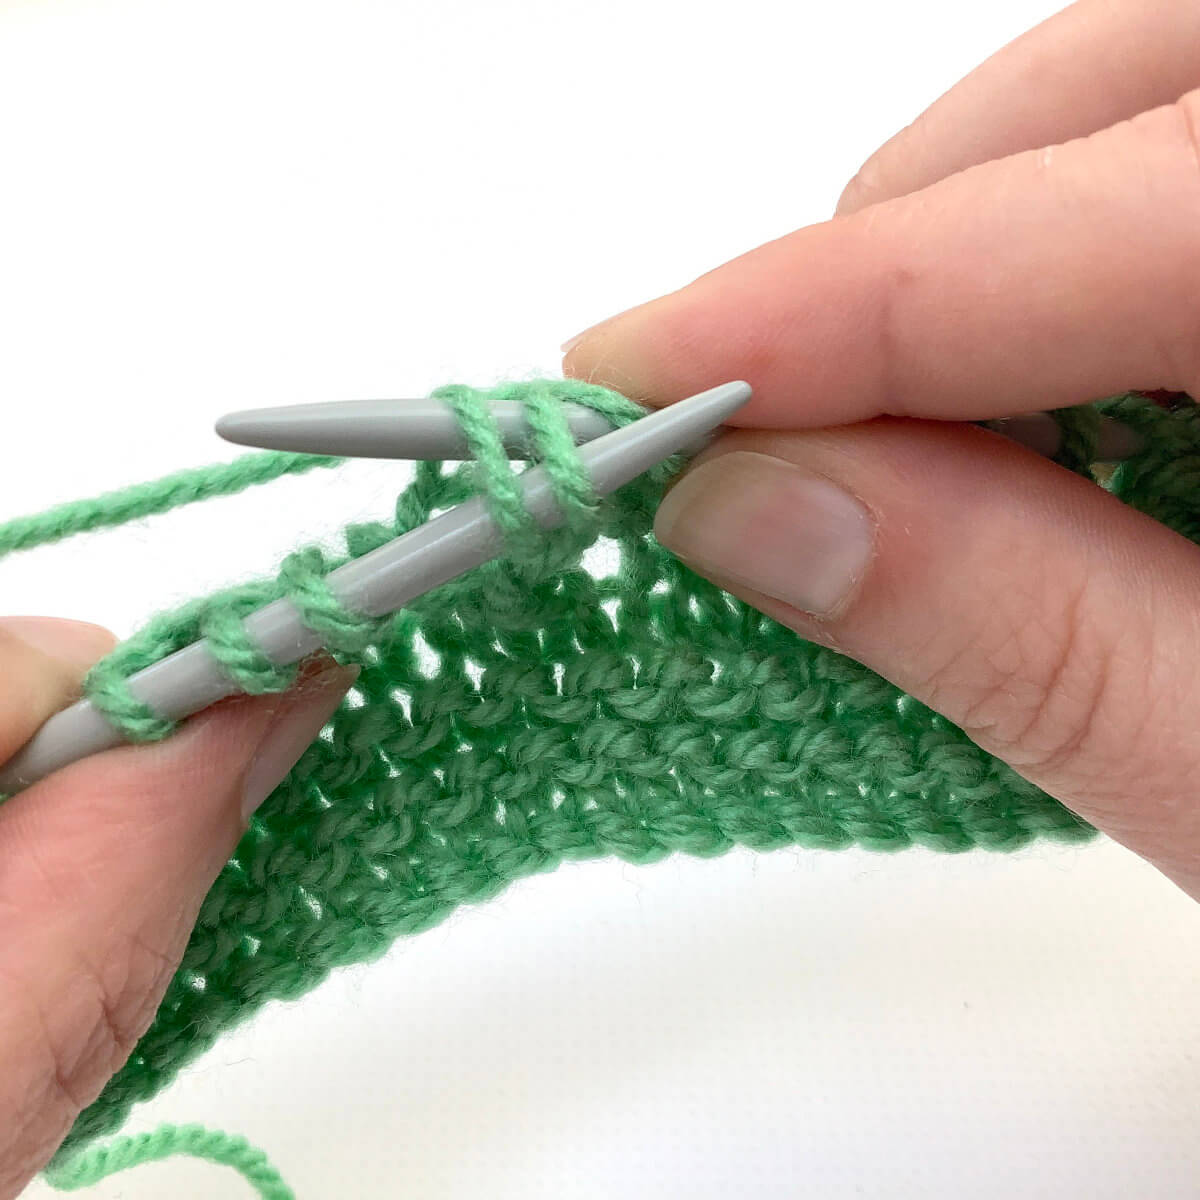
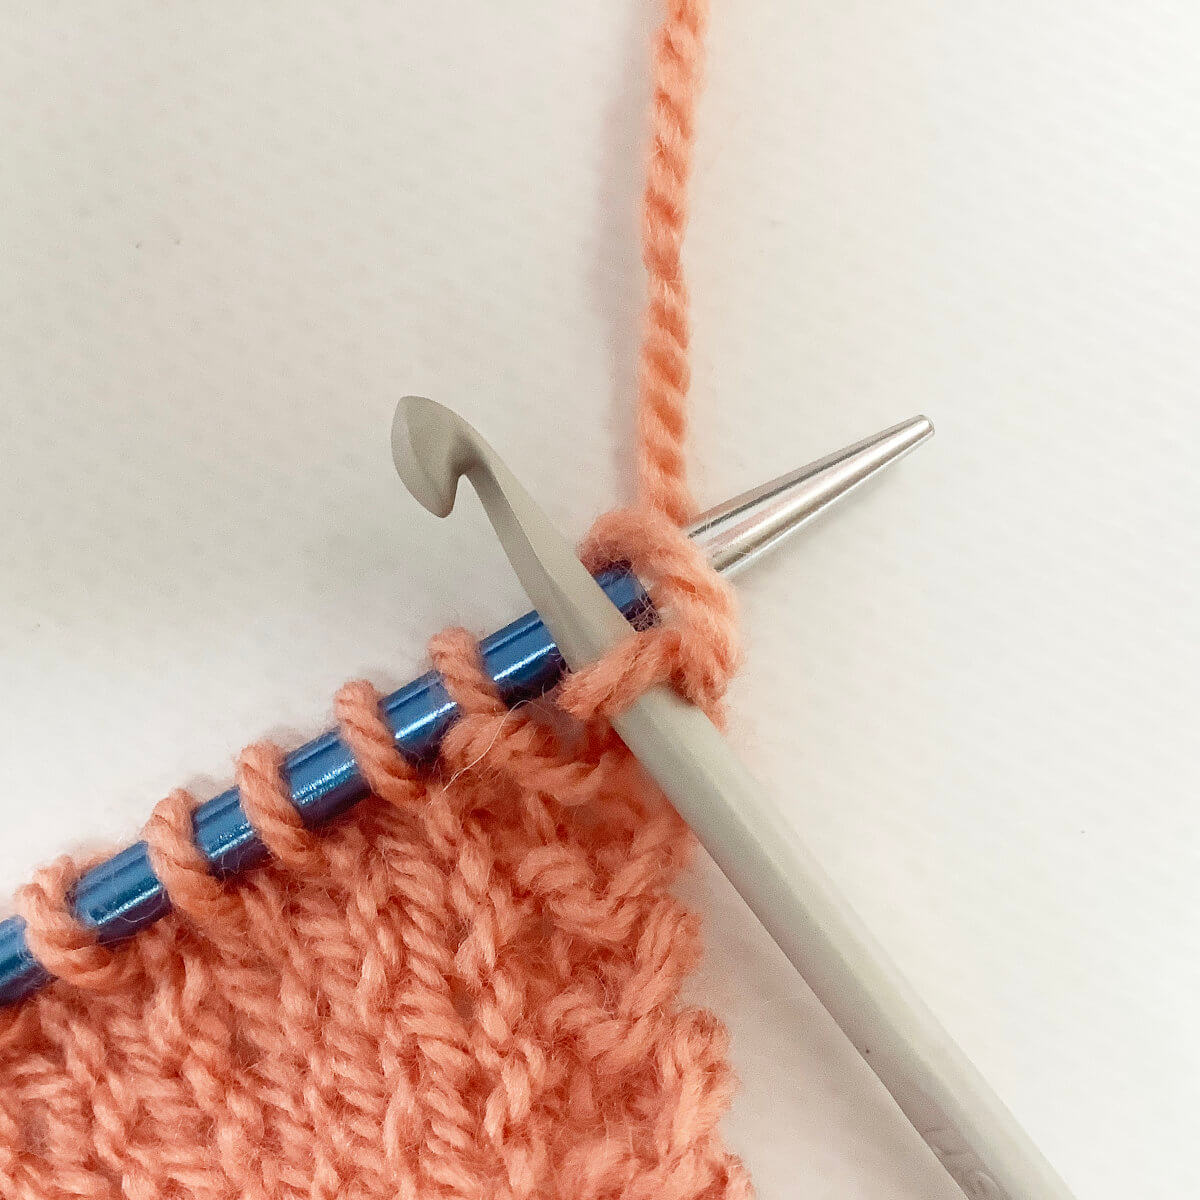
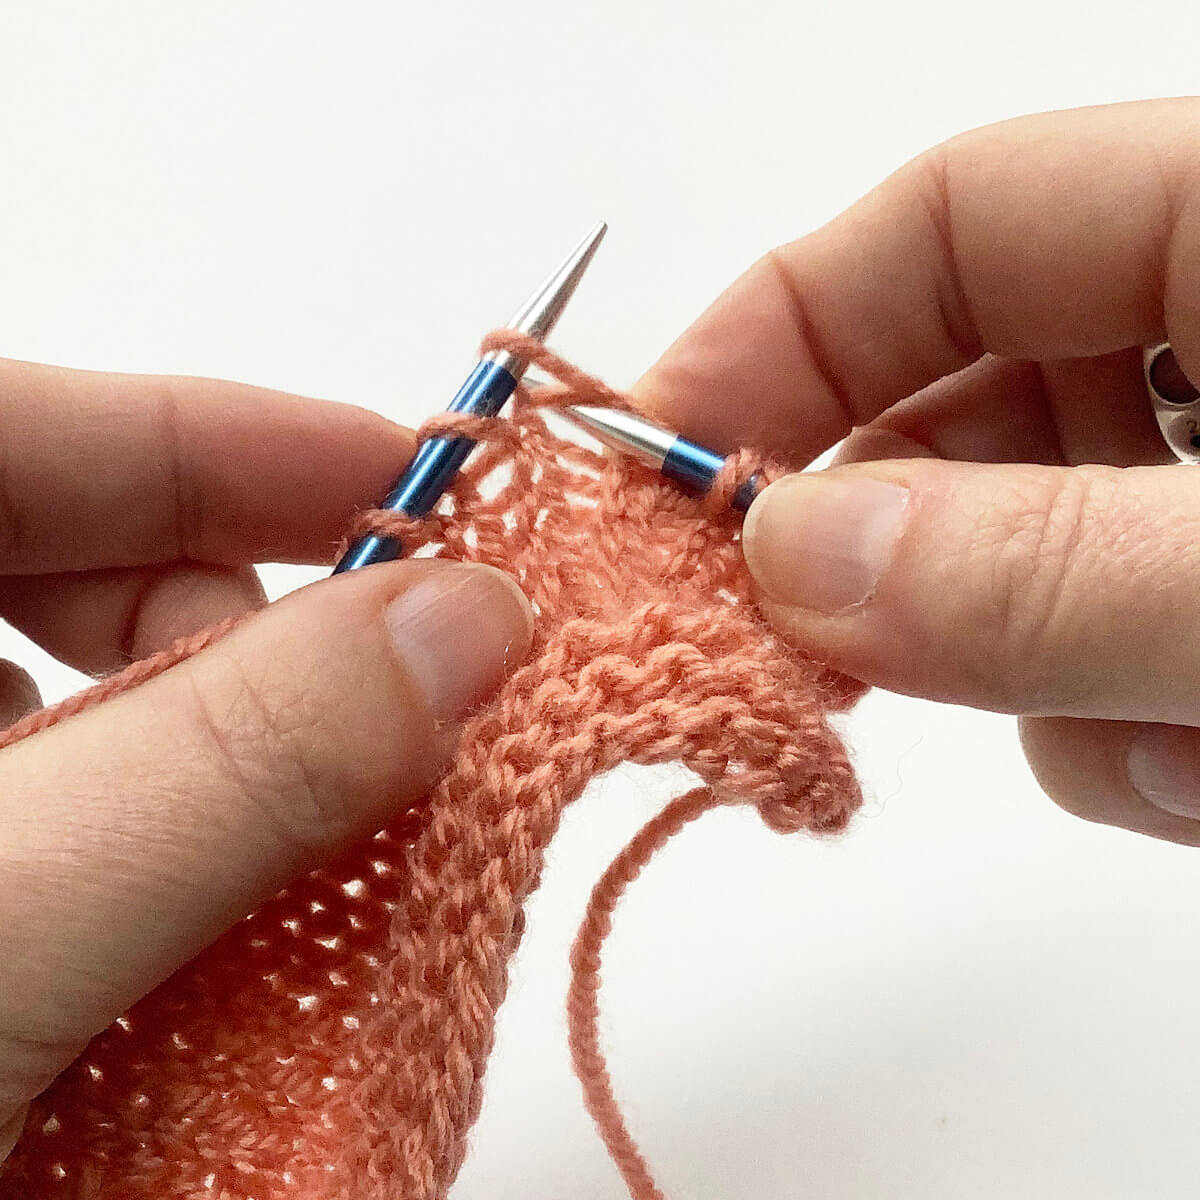
Next, insert the tip of the right-hand needle into the first 2 stitches at the same time as if to knit through the back loop of these stitches.
This can be a tad hard to get right, I find it helps to pull the fabric down a bit.
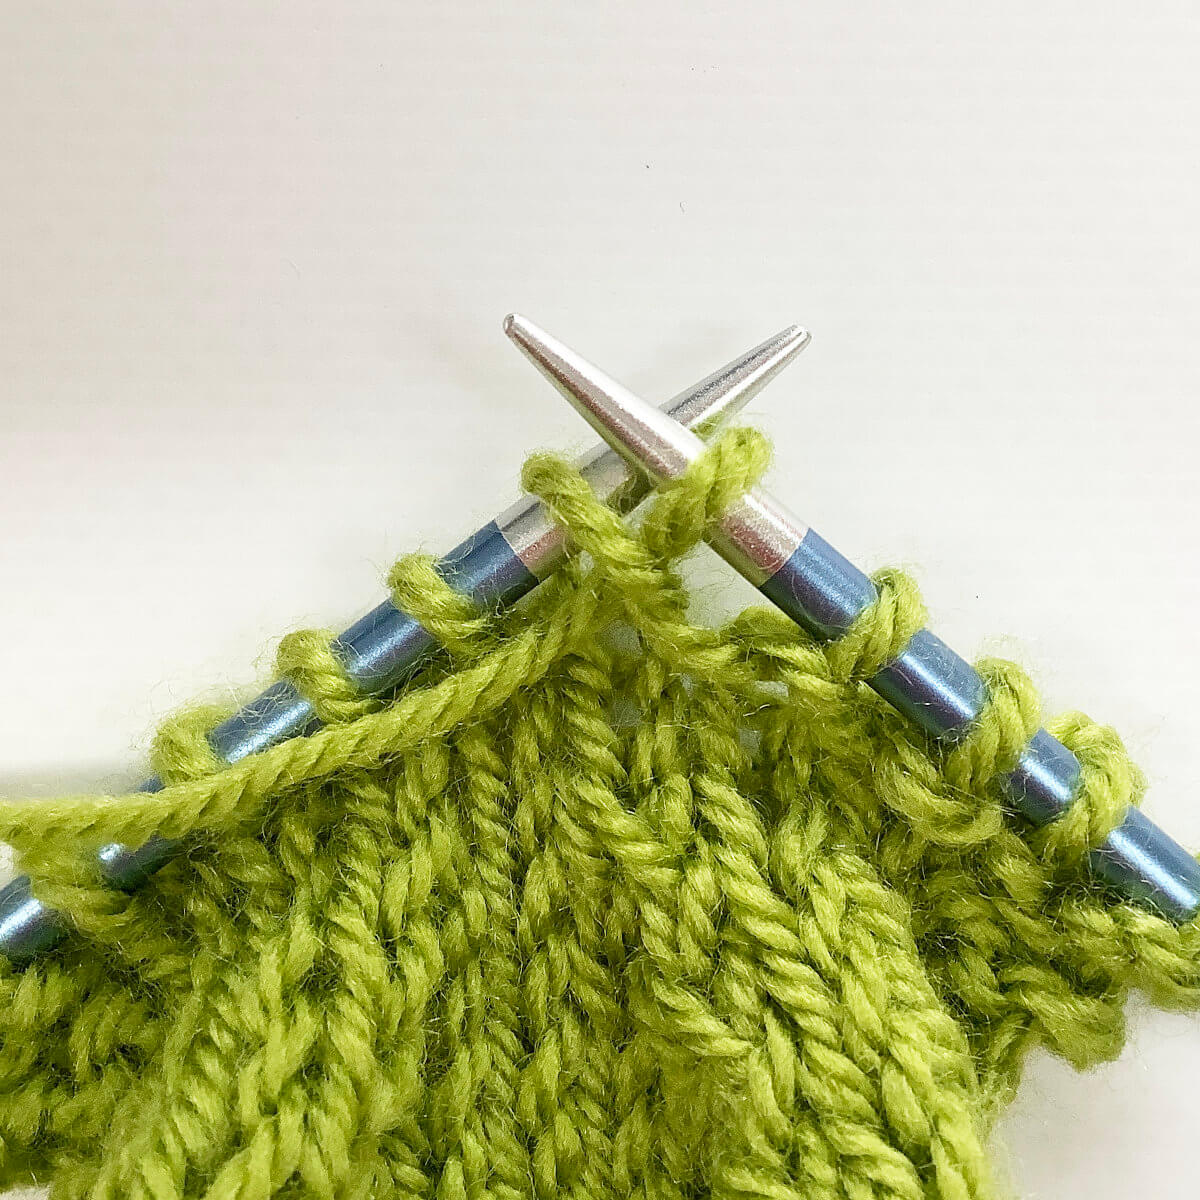
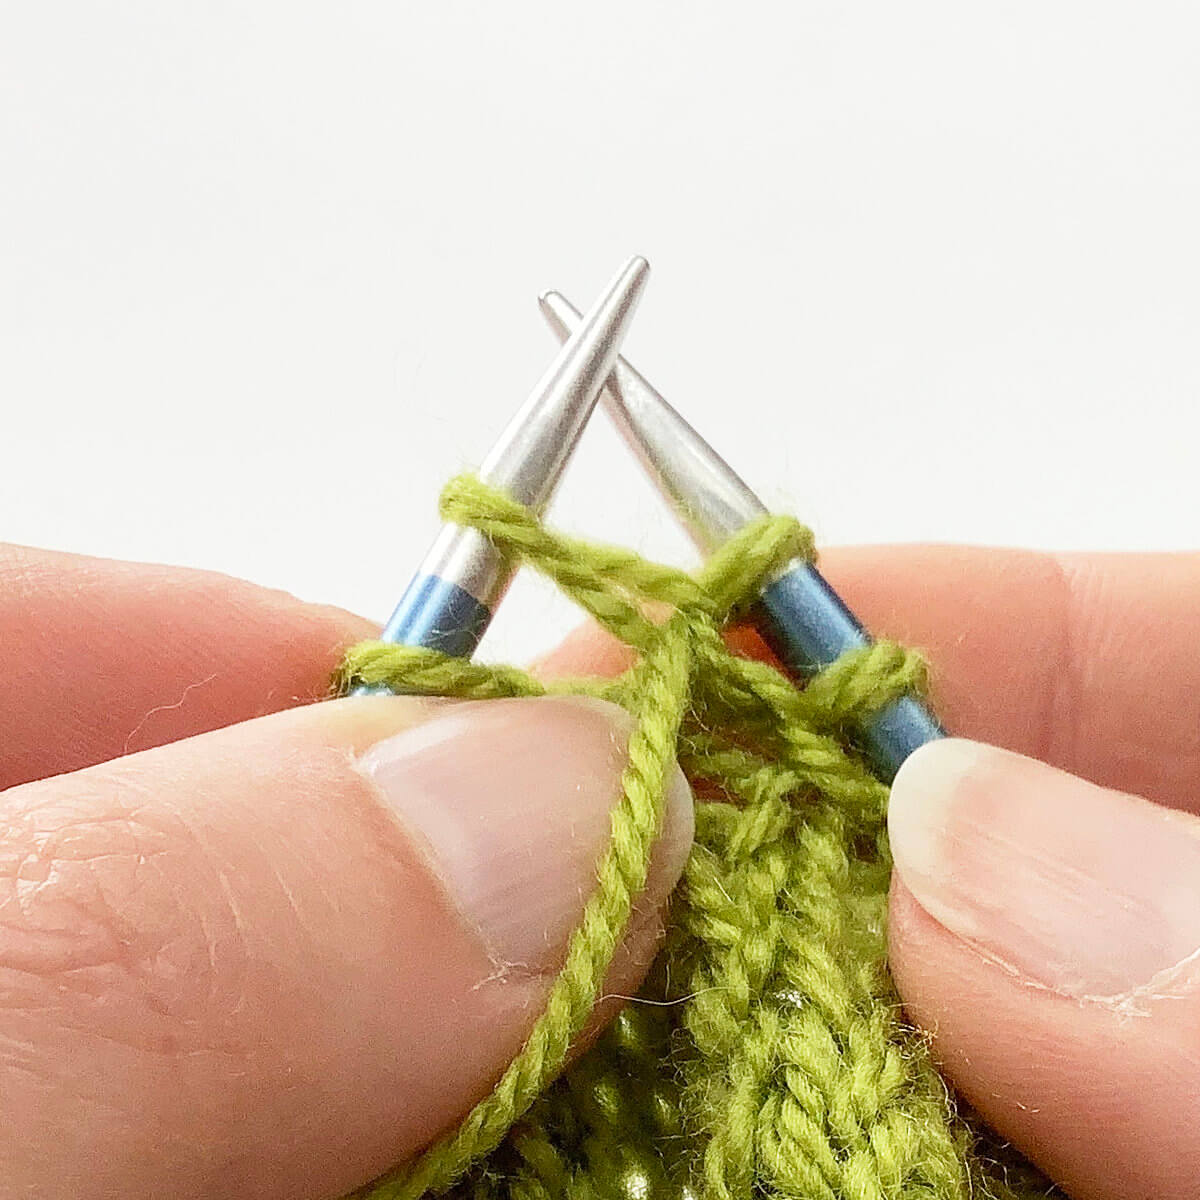
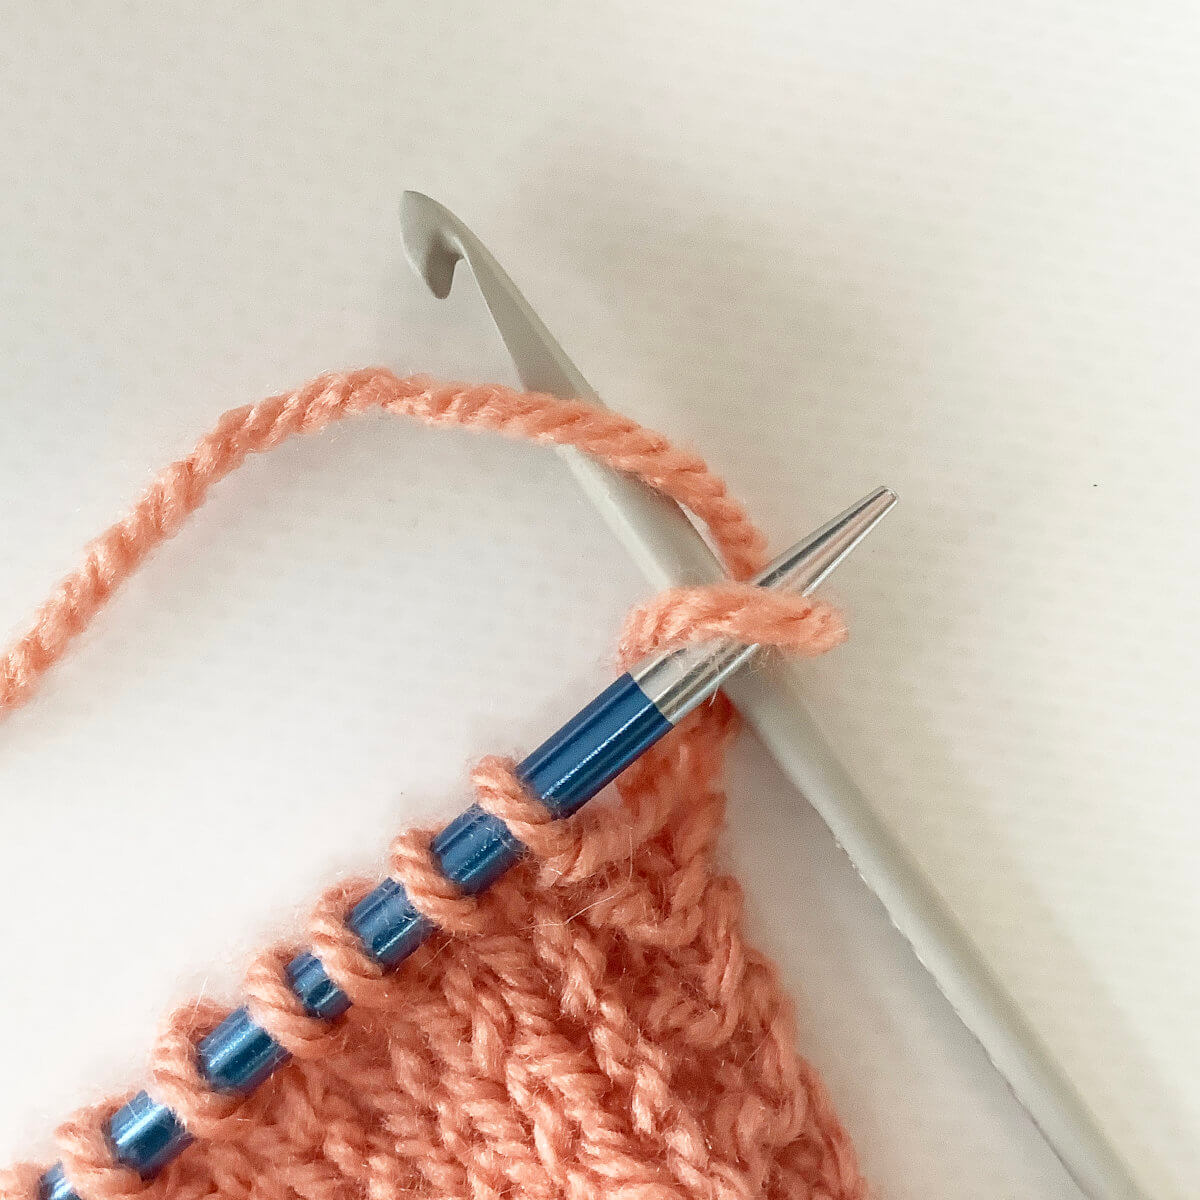
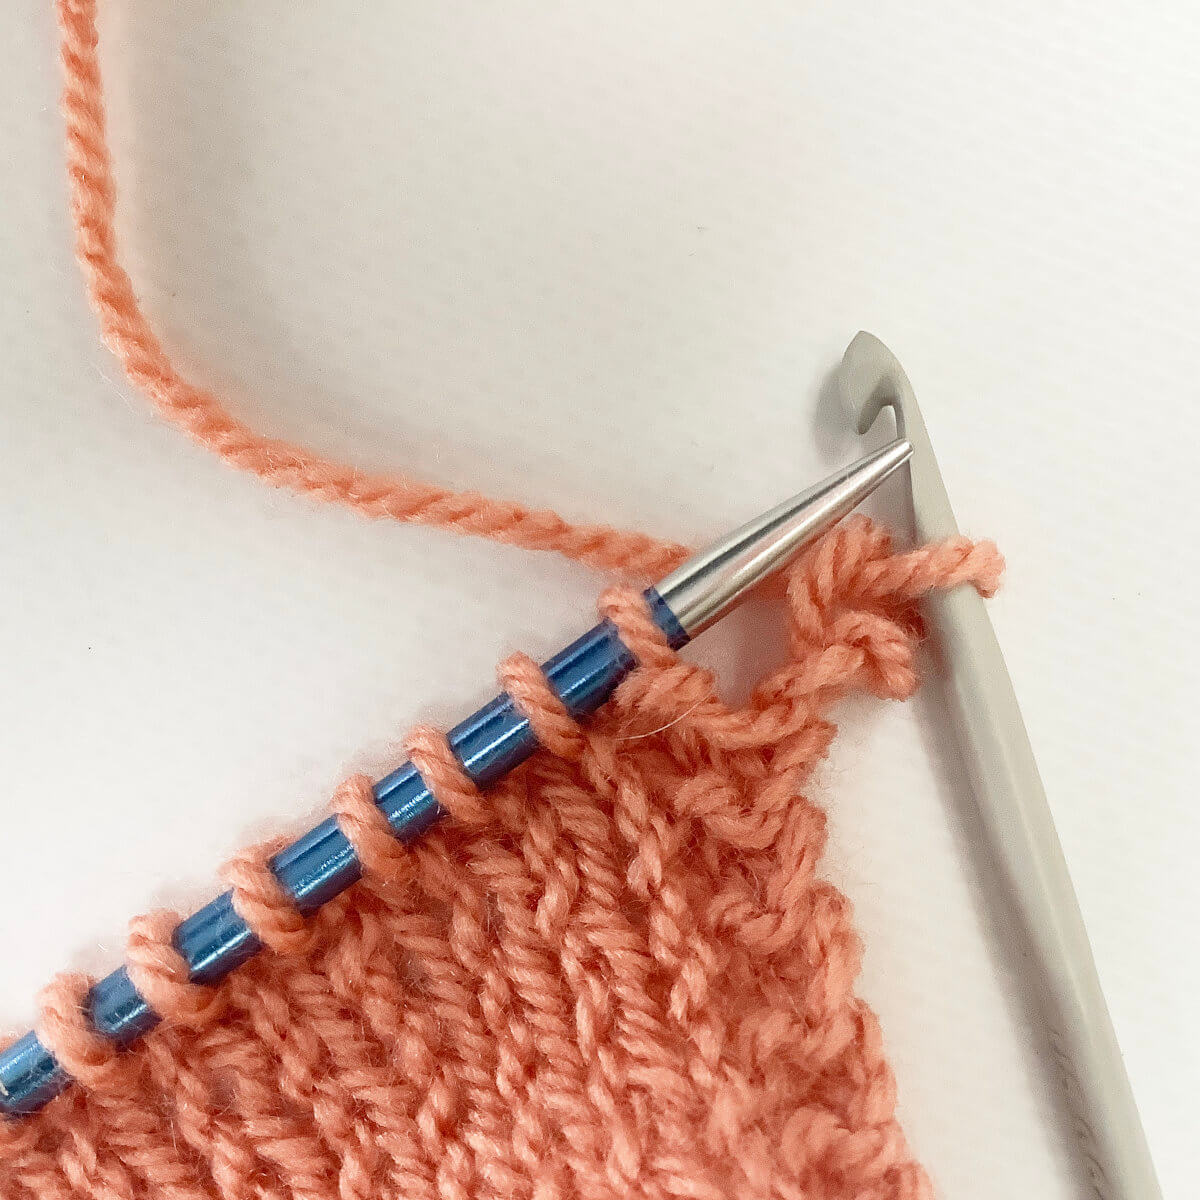
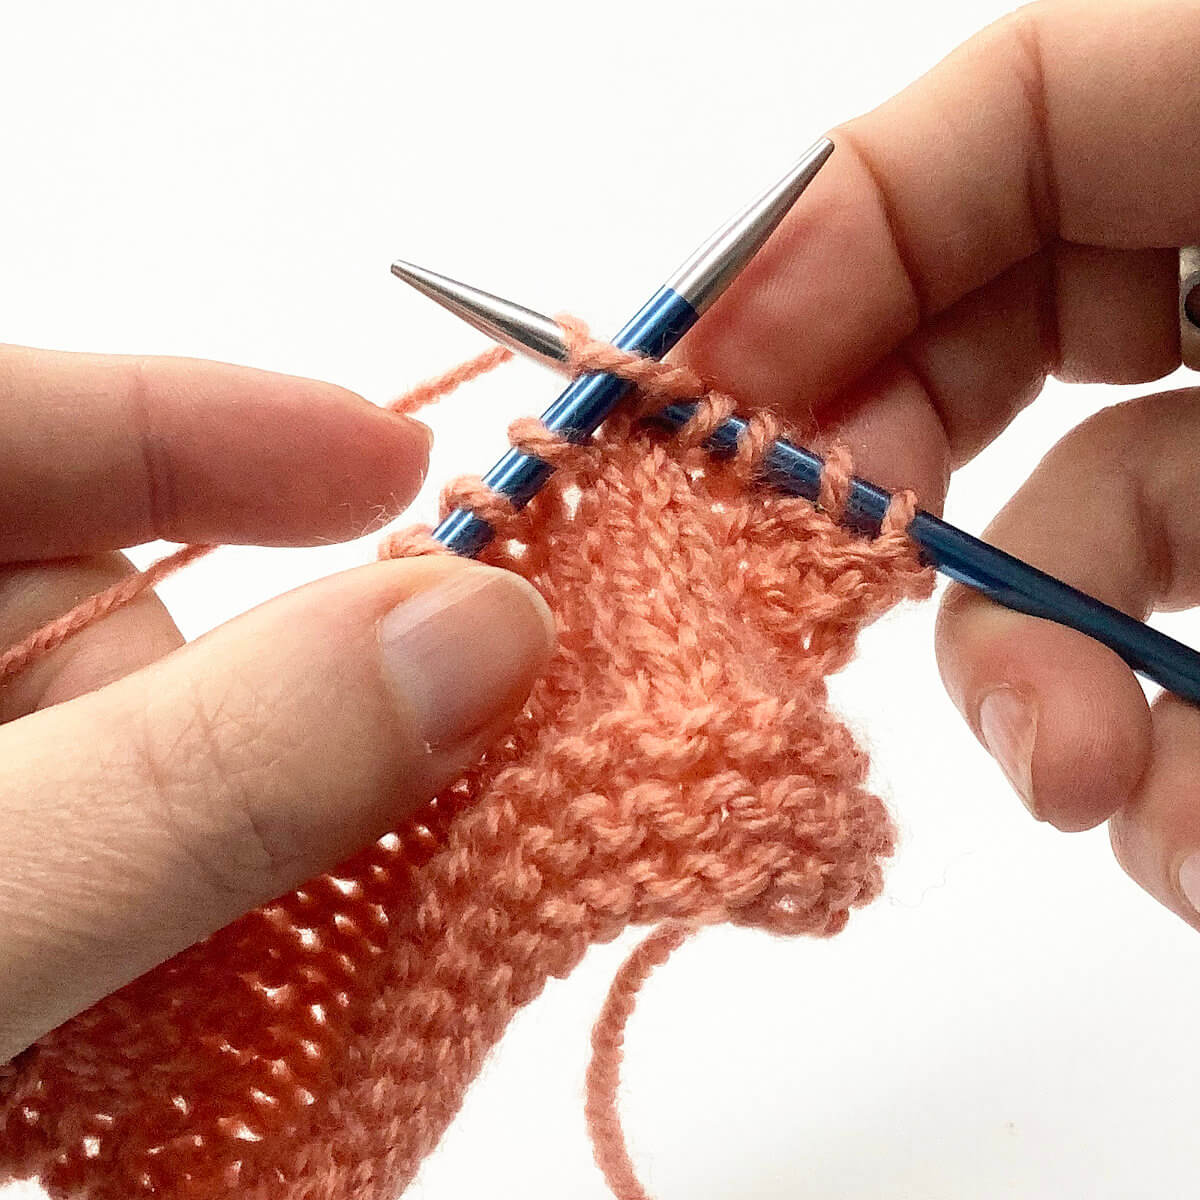
Wrap the yarn around the needle…
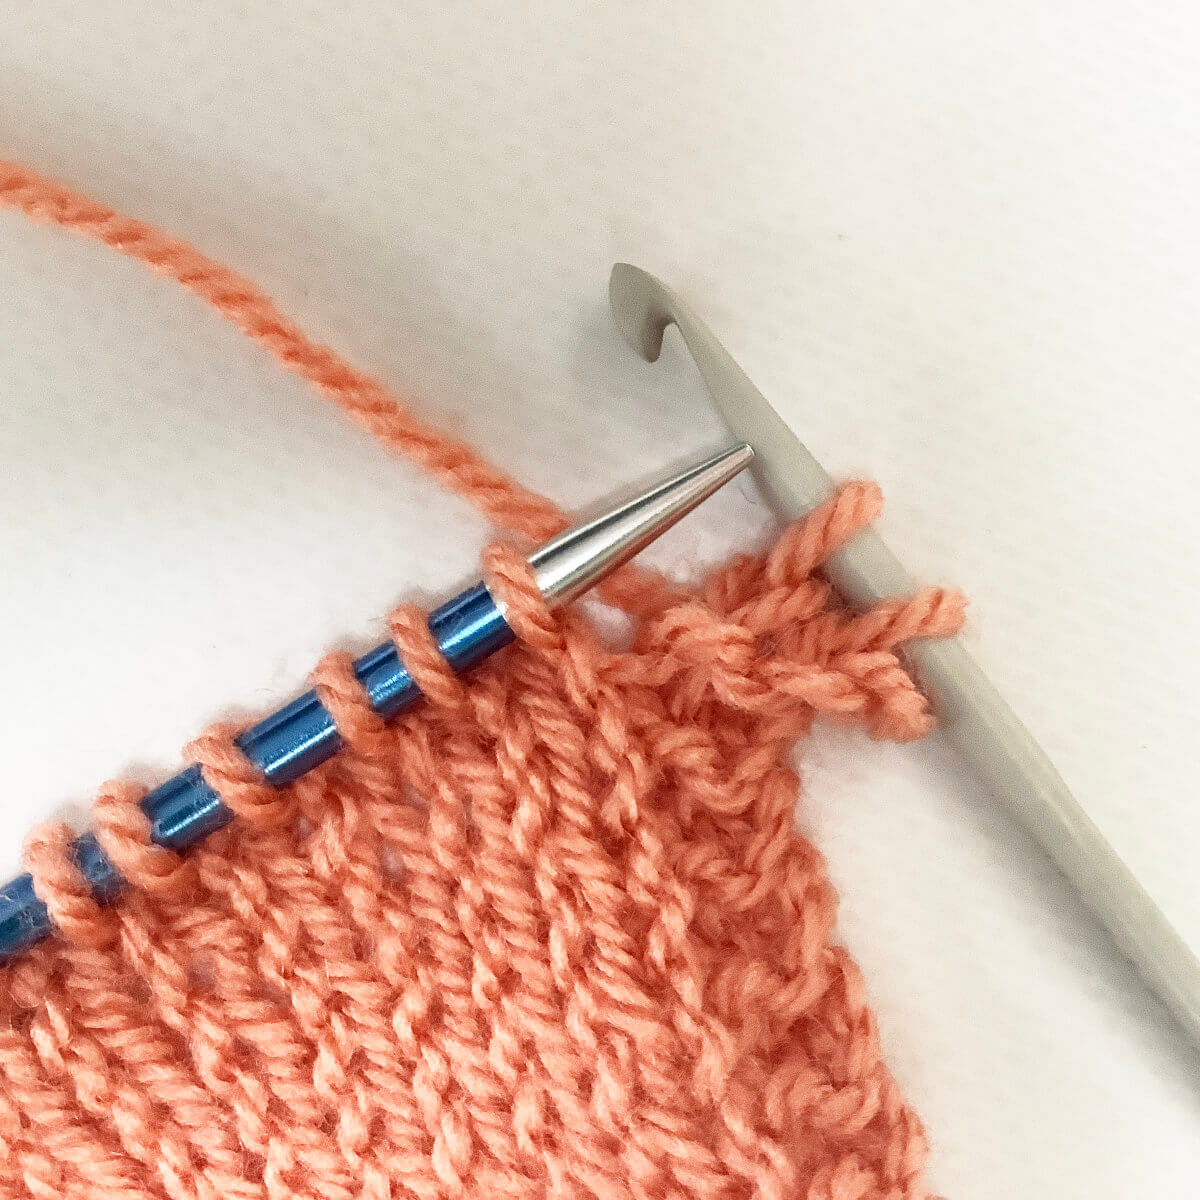
…, and pull it through the stitches you inserted the right-hand needle in.
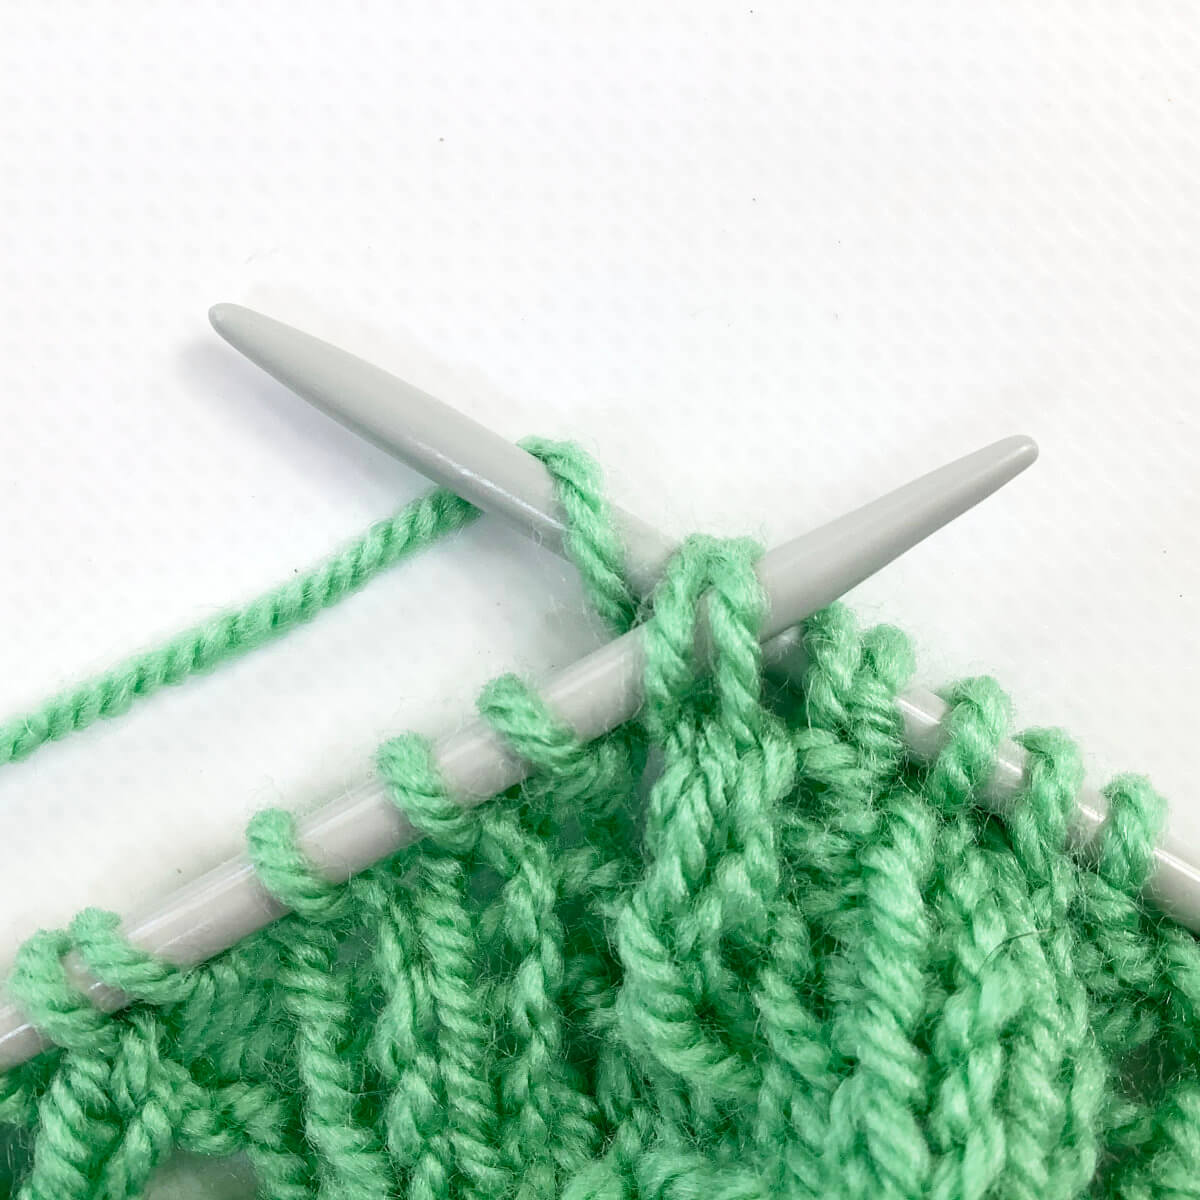
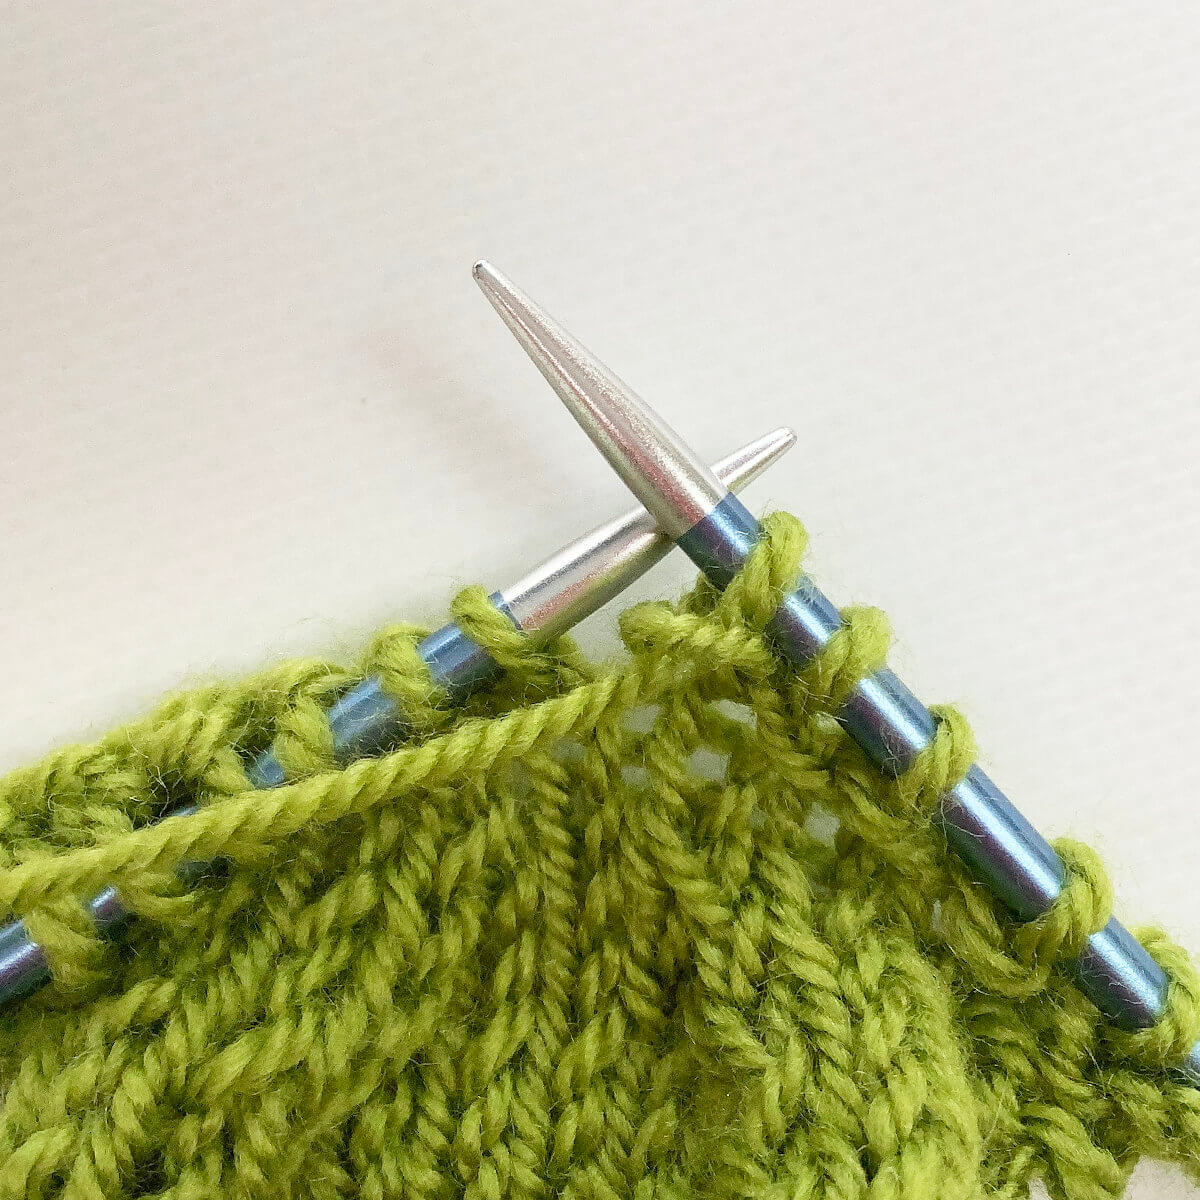
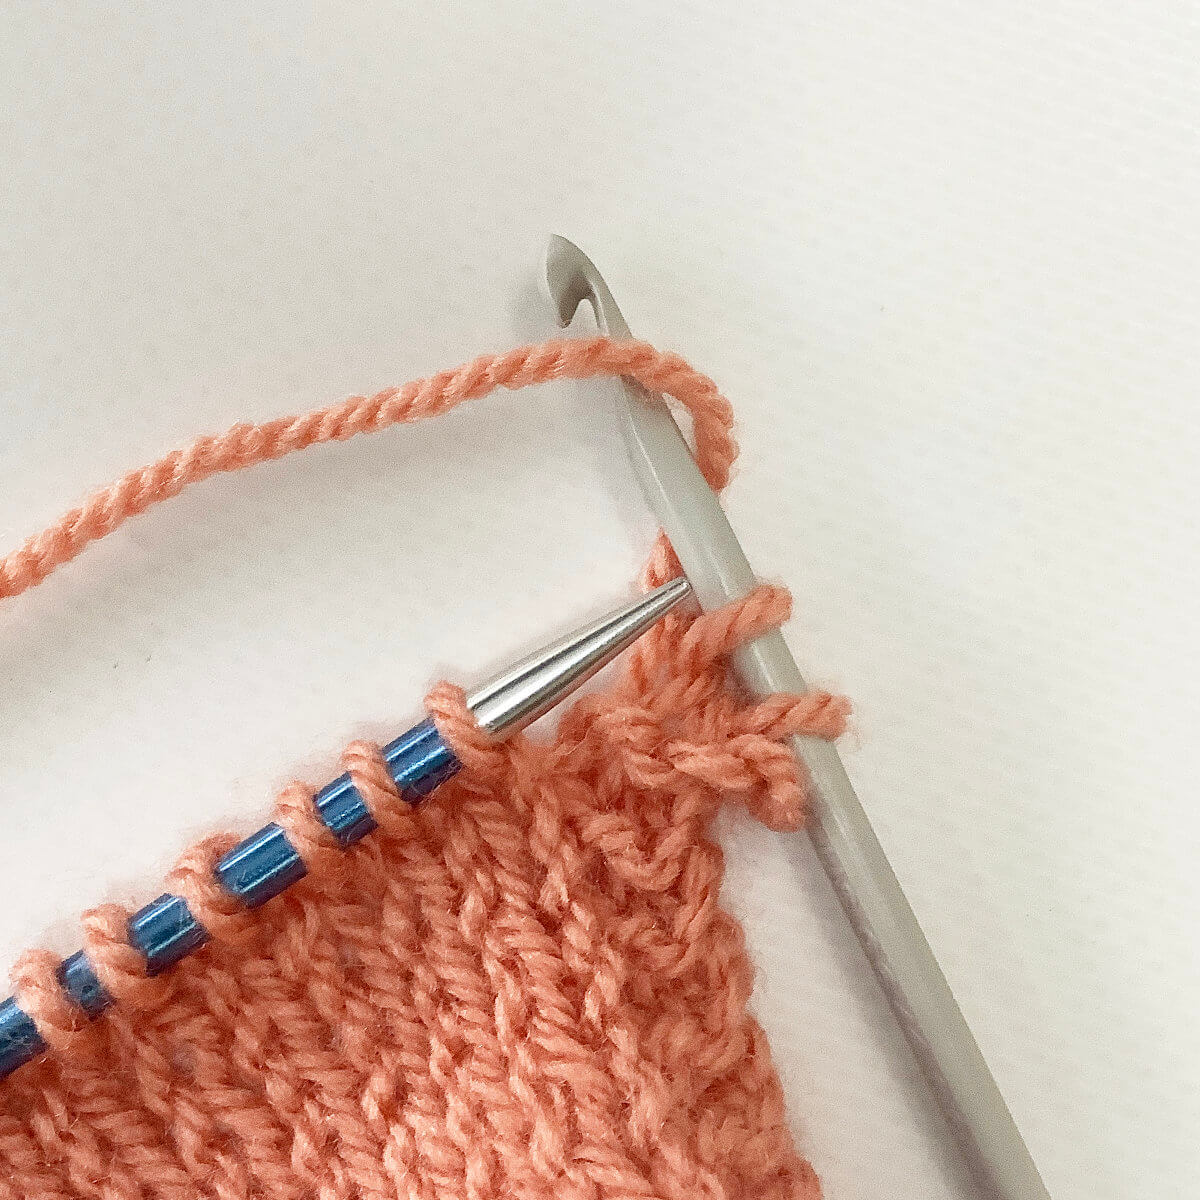
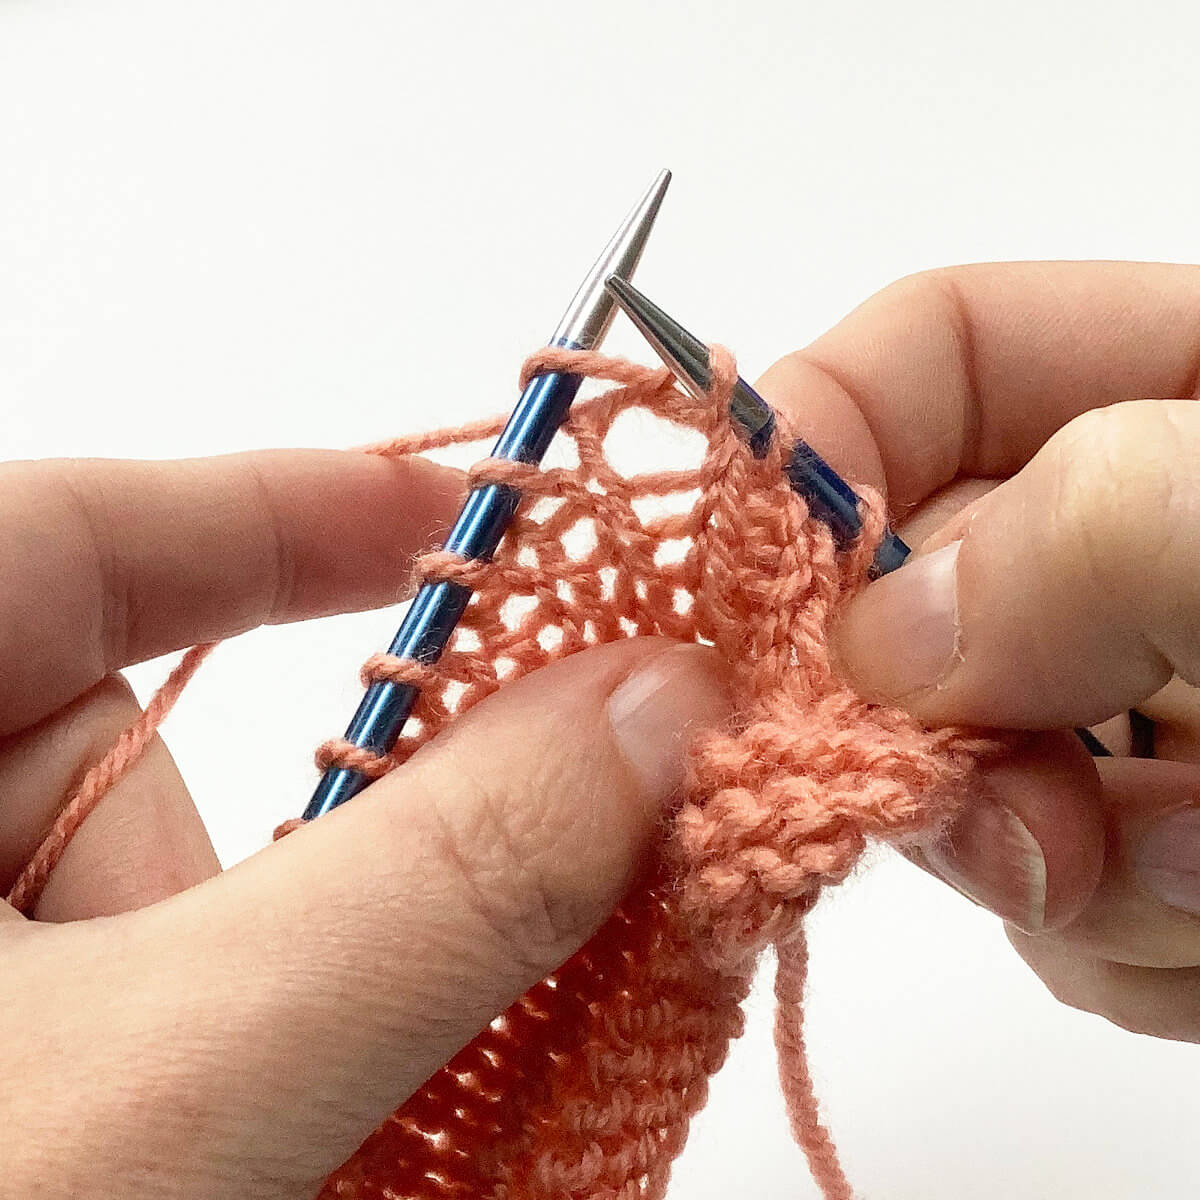
To finish the decrease, slip the original stitches of the left-hand needle.
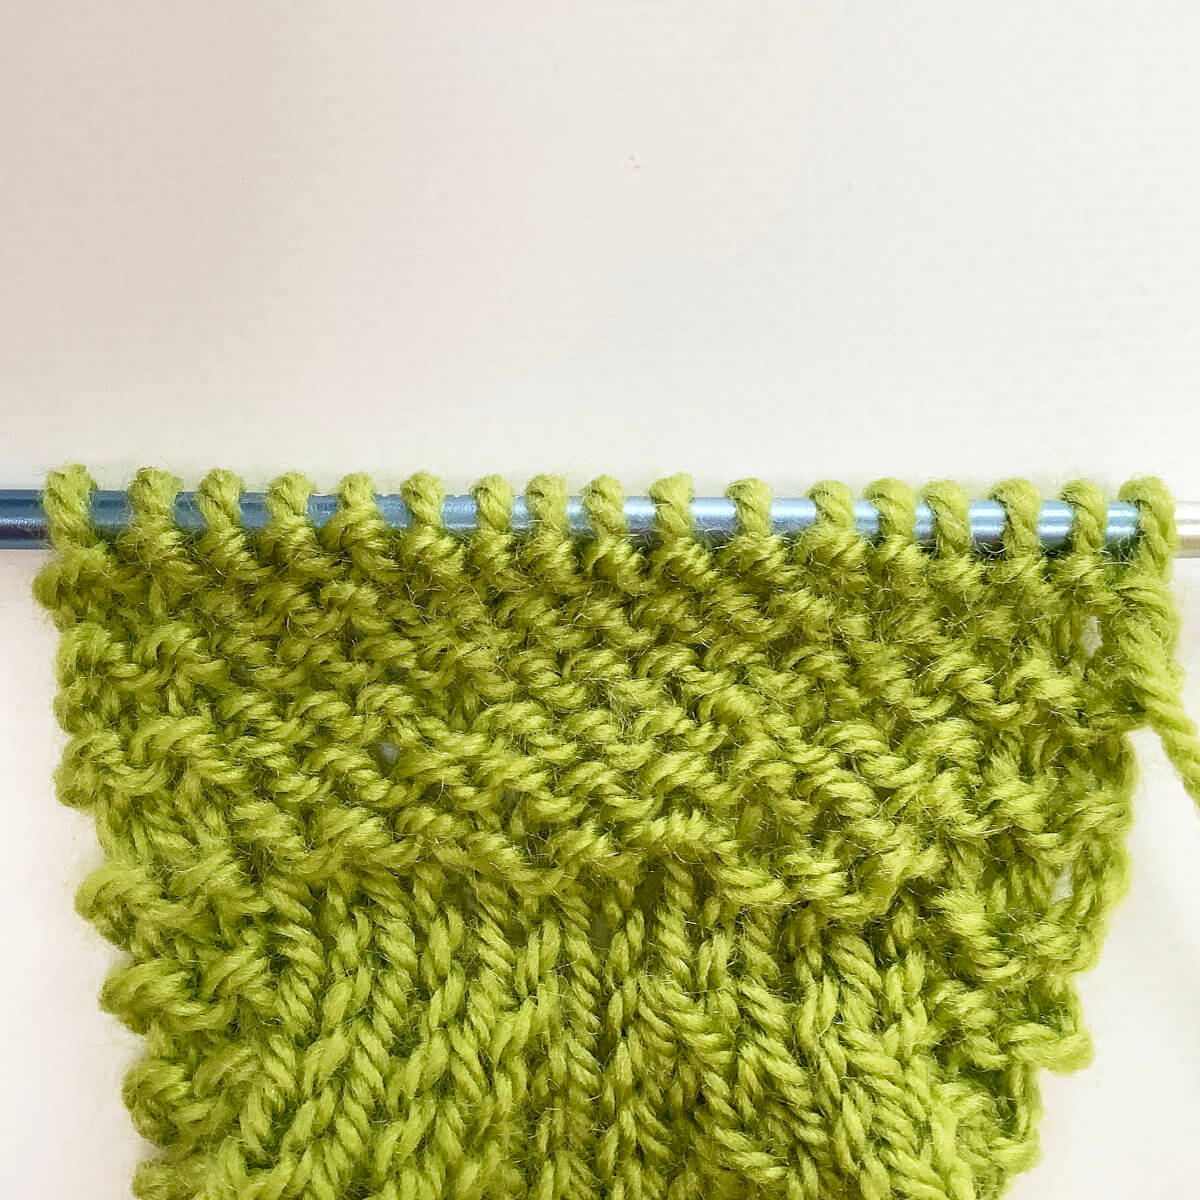
And this is how to work the k2tog tbl decrease!
Thanks to my Patreon supporters for bringing you this freebie! Creating quality patterns and tutorials is a lot of work and resource-intensive. However, I find it important to give you free content like this tutorial. Thanks to the generous support of my Patreon supporters, I can make it happen. Thank you, patrons! Click here to join, or click here to read more about La Visch Designs on Patreon.
The cable cast-on is a cast-on very similar to the knitted on cast-on. It is worked similarly and creates a clean, and sturdy edge. It is, however, more firm and less stretchy; a very good choice for edges that benefit from that stability and don’t need any stretch. Take for example edges from which stitches are picked up and knit. For this reason, I personally wouldn’t use it for a knitting project that would be blocked heavily. For most other applications, though, it makes a very nice decorative edge. Think for example of edges of non-lace blankets.
This particular method is also great for the beginner knitter because it is basically the knit stitch that is used to cast on. In this post, I’ll show you how to do it!
Materials used
Yarn: Paintbox Yarns Simply DK, a good value, good quality 100% acrylic yarn, here in the color 125 Spearmint Green.
Knitting needles: This is a pair of straights that I picked up at the second-hand store when I started knitting, brand unknown.
The cable cast-on step by step
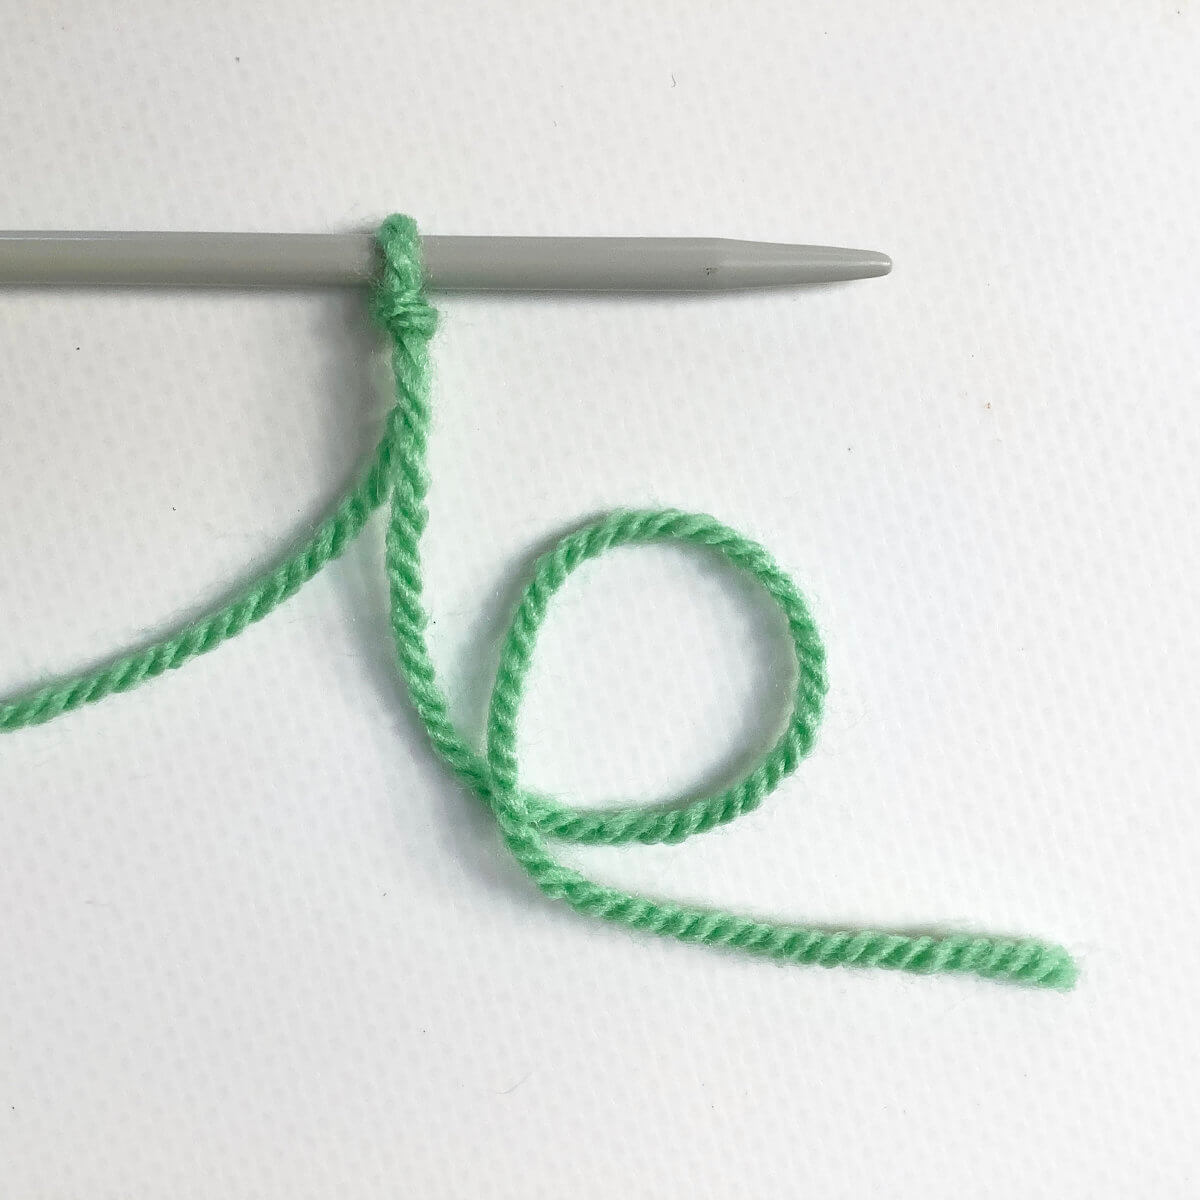
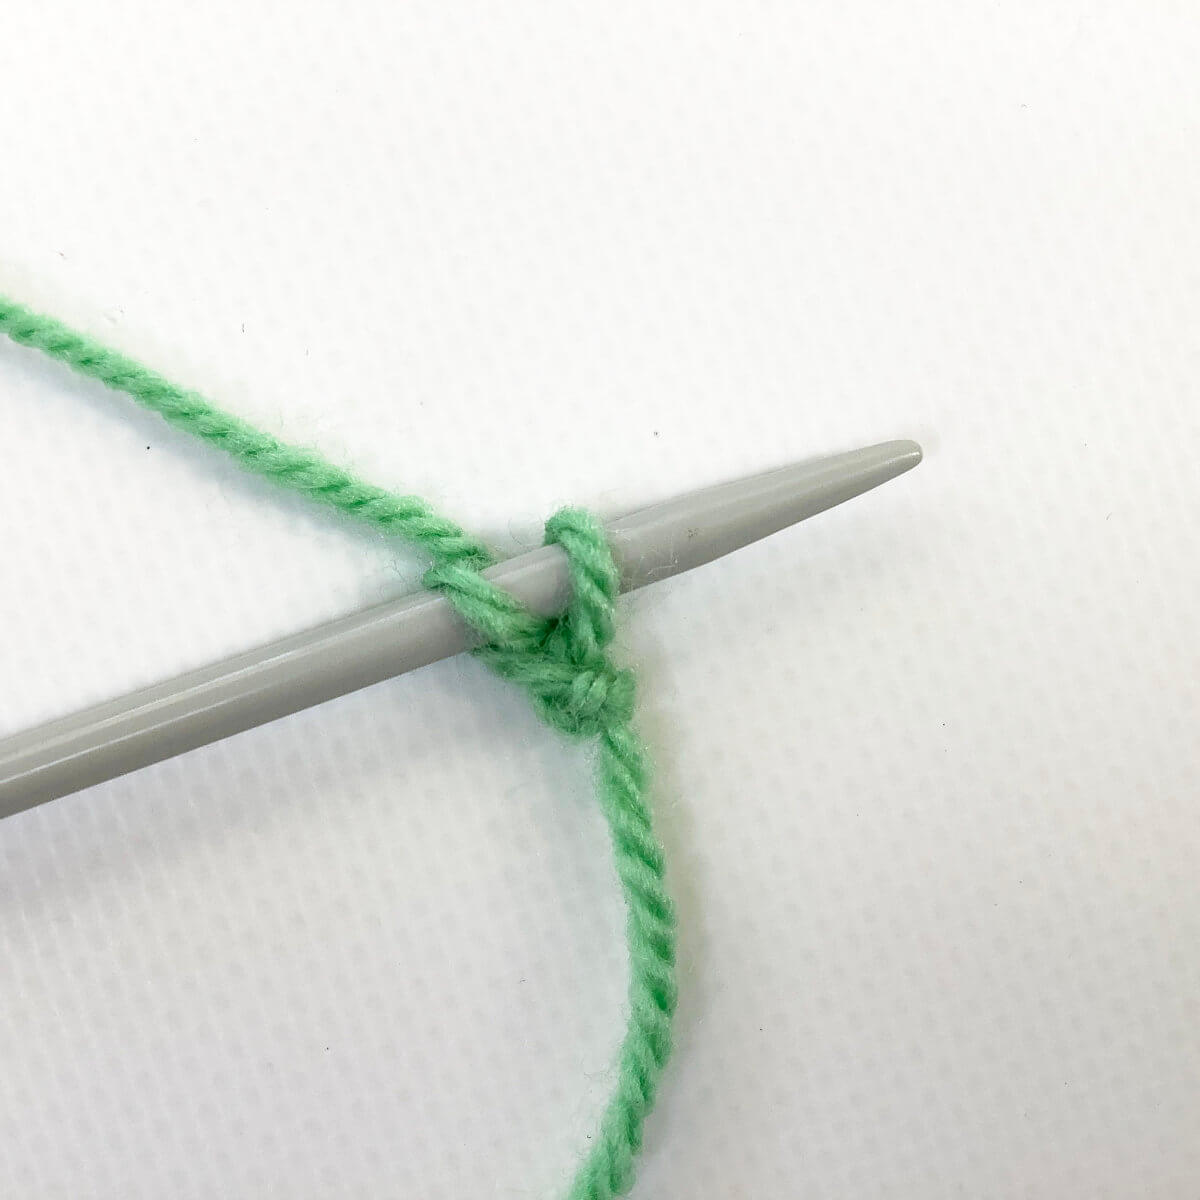
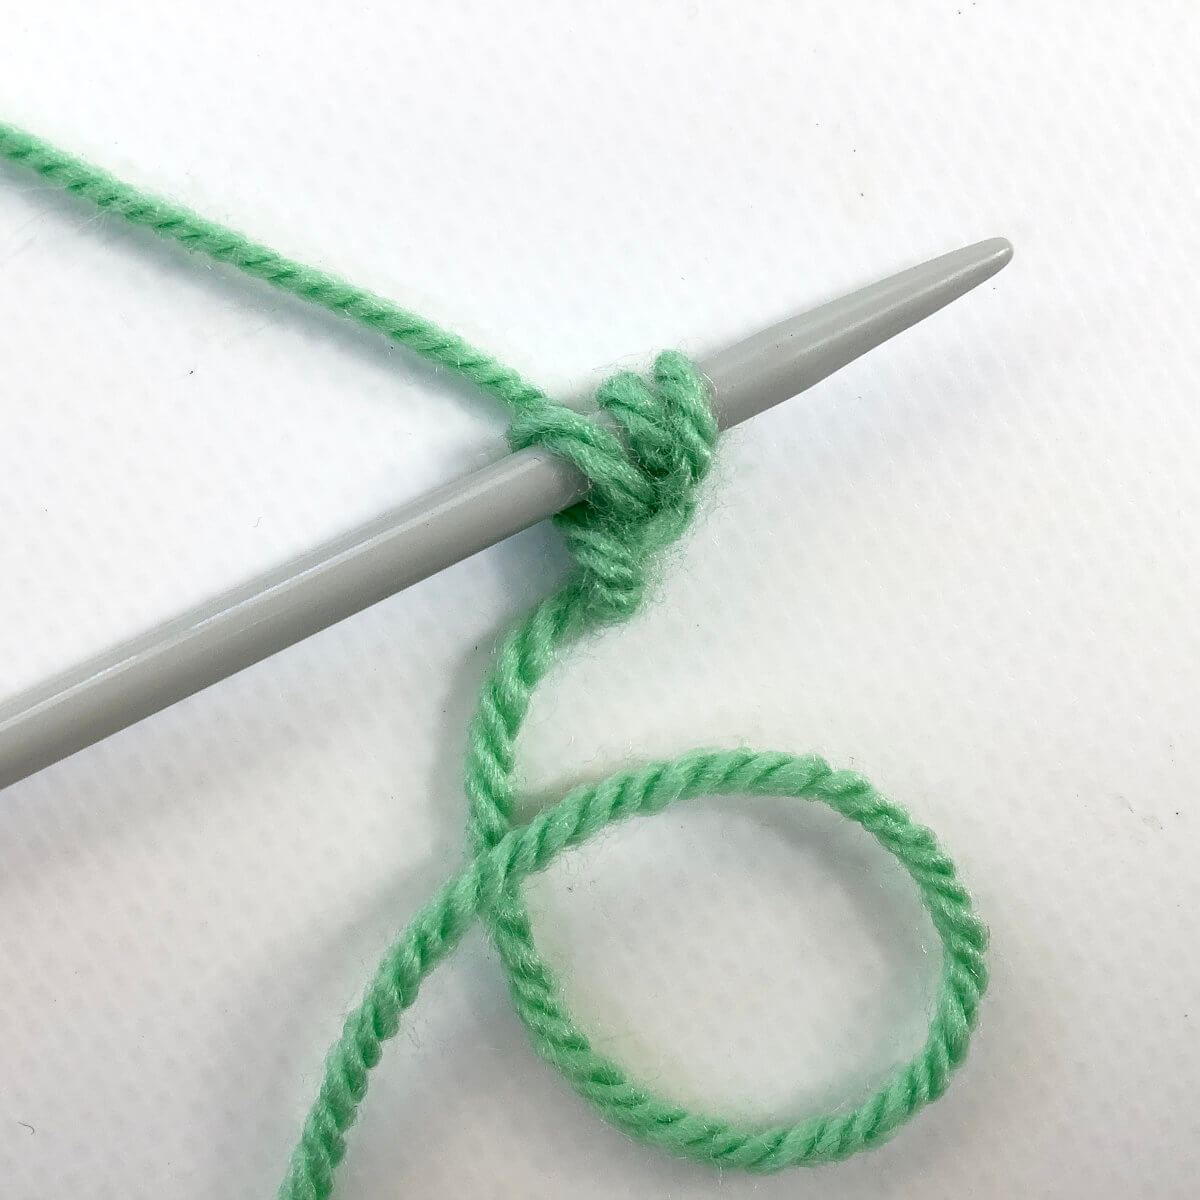
Make a slip knot and place it on your needle.
This forms the first stitch, make sure to leave enough on the tail of the yarn to weave in later. It is also possible not to use a slip knot and just loop the yarn around the needle for your first stitch, thus avoiding the knot in the corner of your work. For the sake of this tutorial, however, I’m going with the slip knot version.
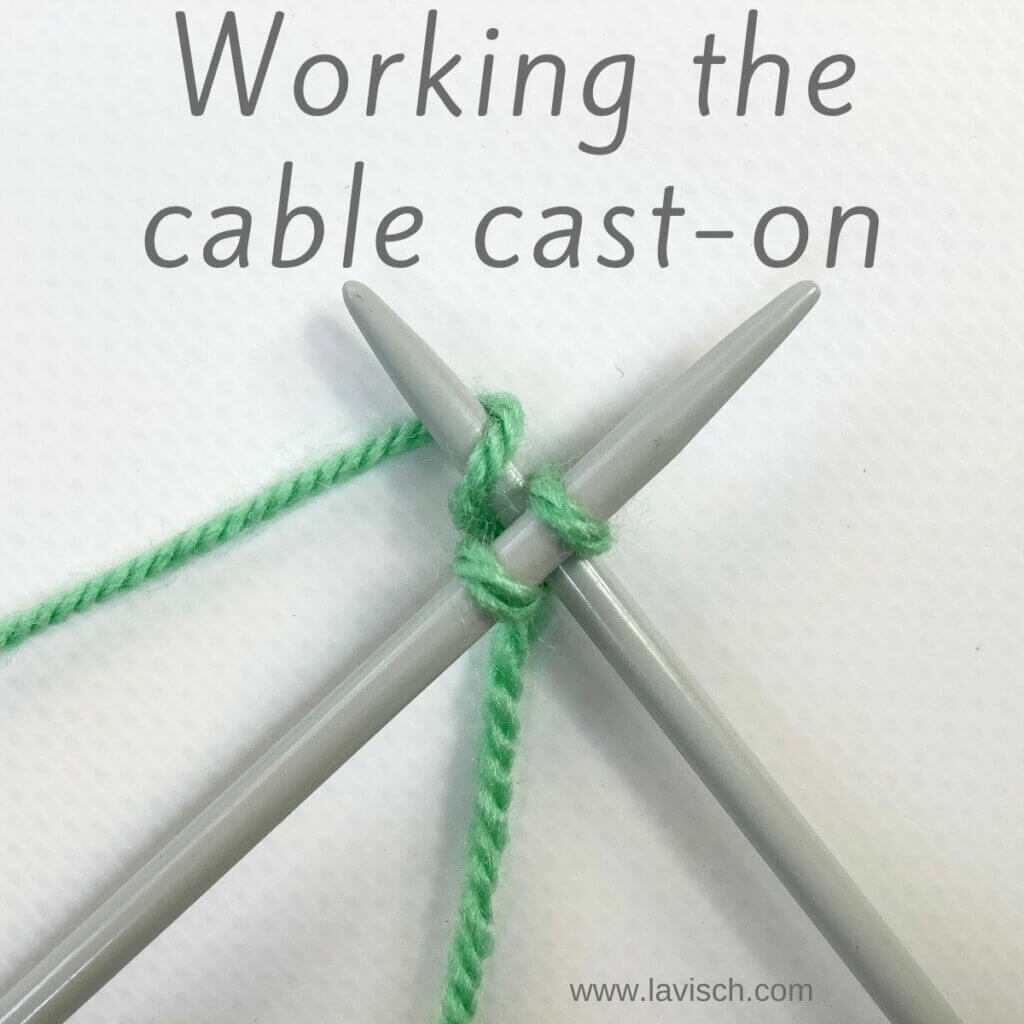
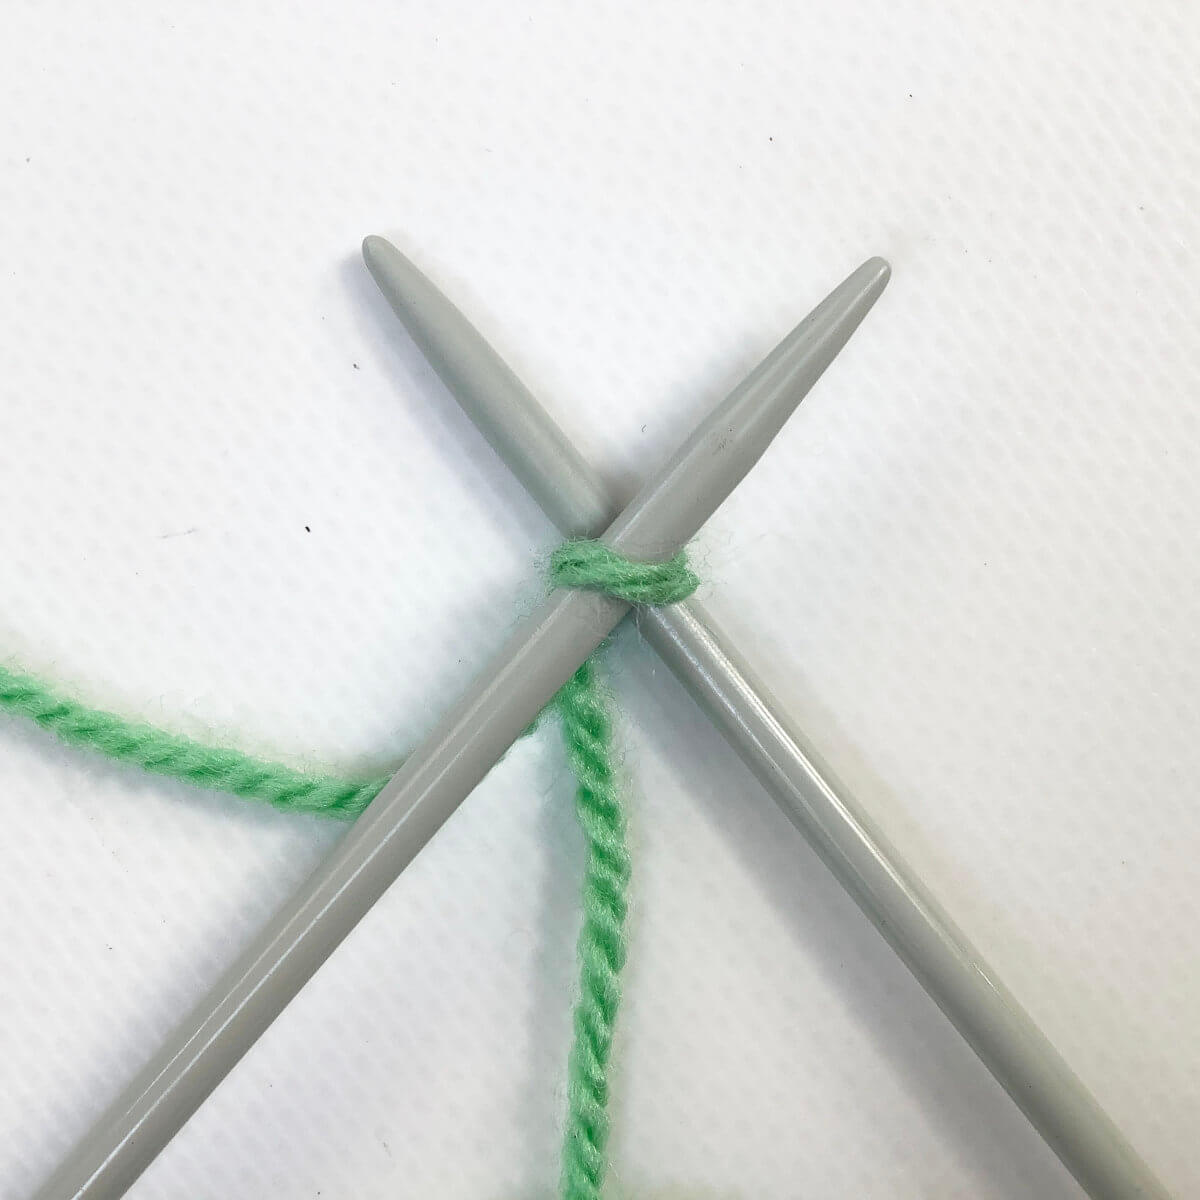
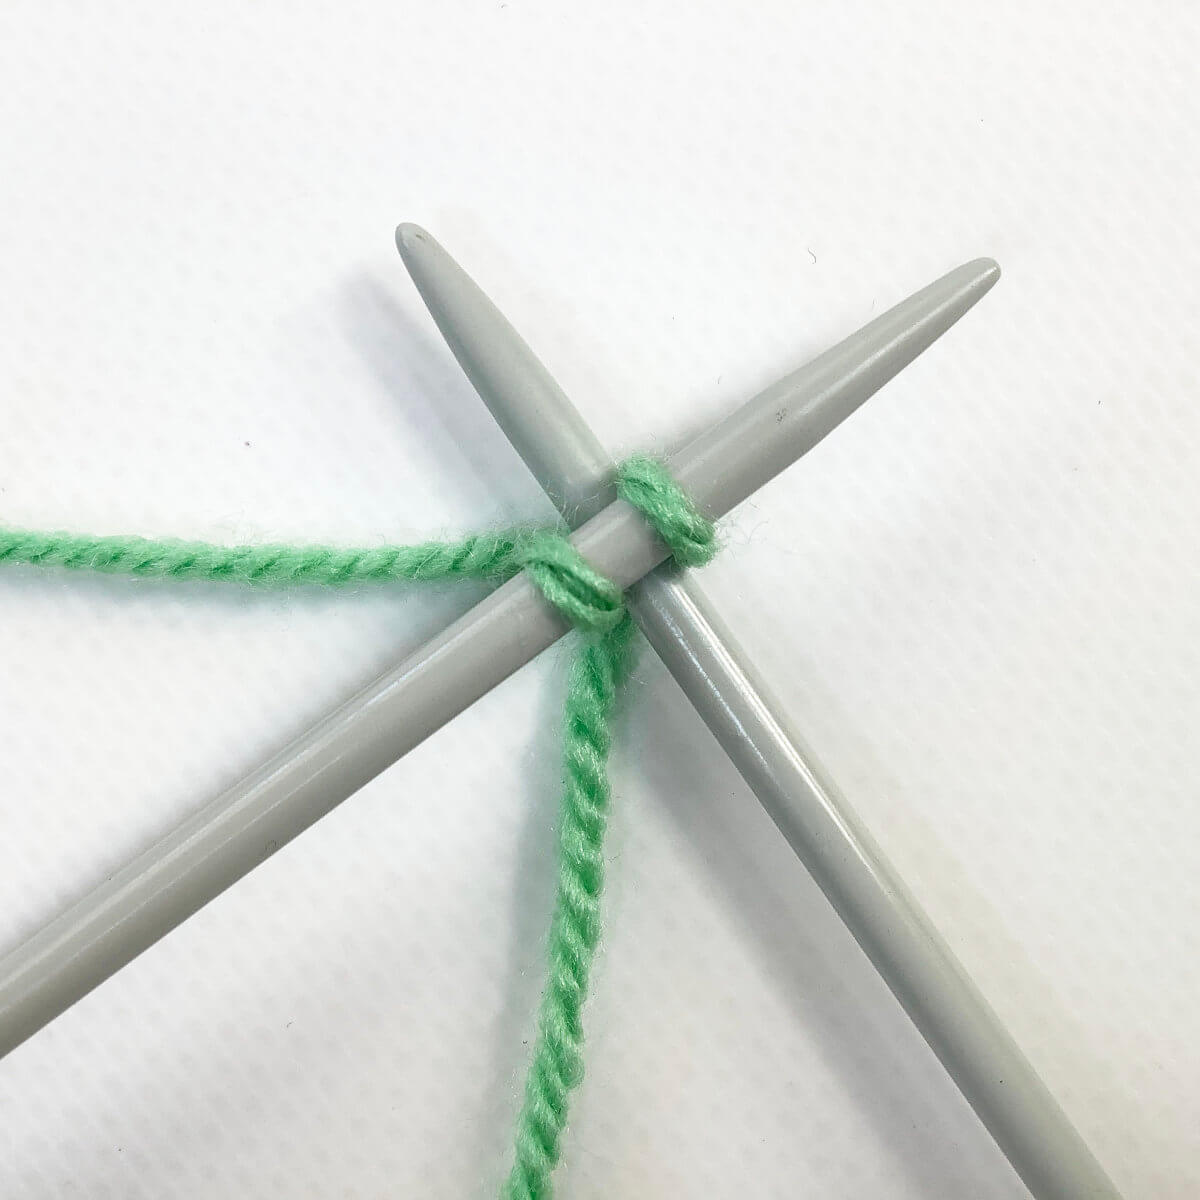
Take your second needle and insert the tip into the stitch with the needle under your main needle.
Insert at an angle, so your needles cross as pictured.
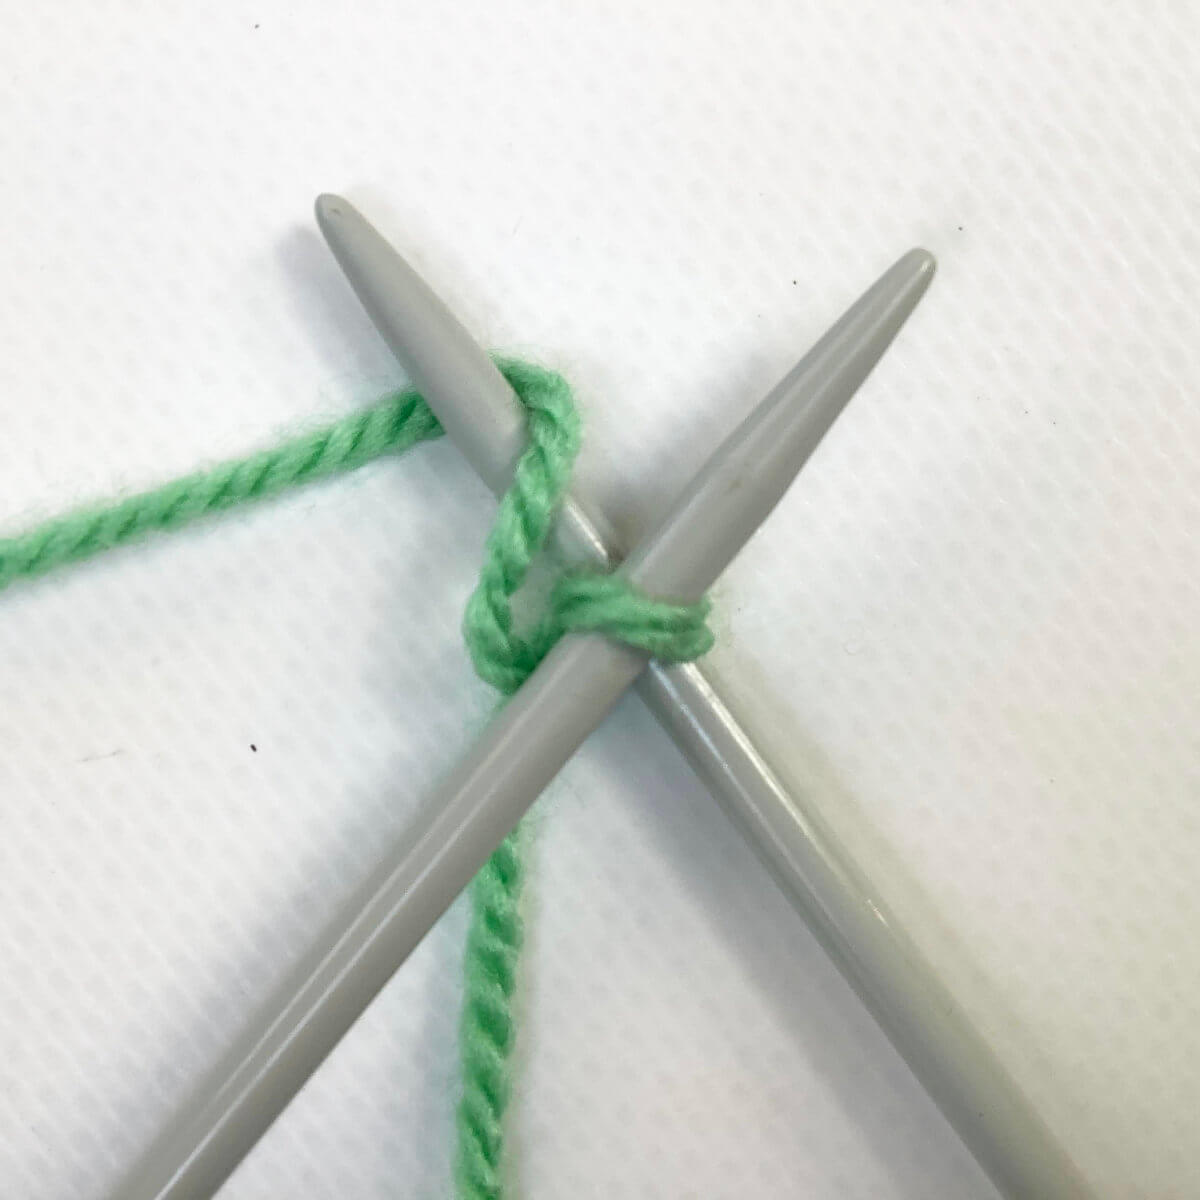
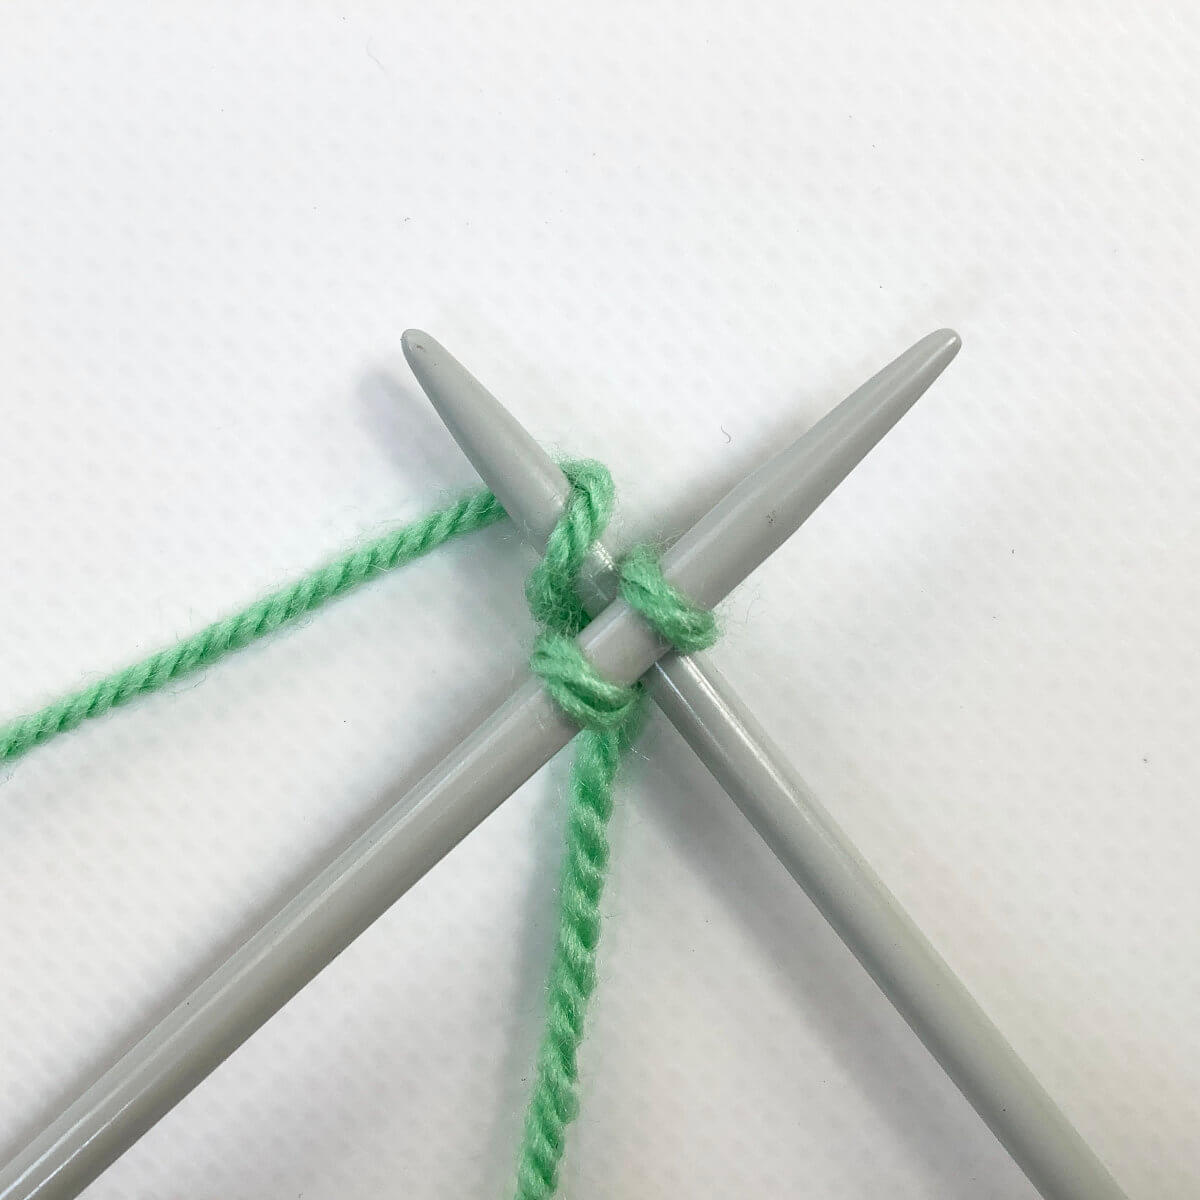
Hold the crossed needles together, take the yarn connected to your ball and wrap it around the bottom needle: go around, and then over.
Depending on your knitting style, this can be done with either your left or your right hand. The end result is however always the yarn wrapped around the needle as pictured.
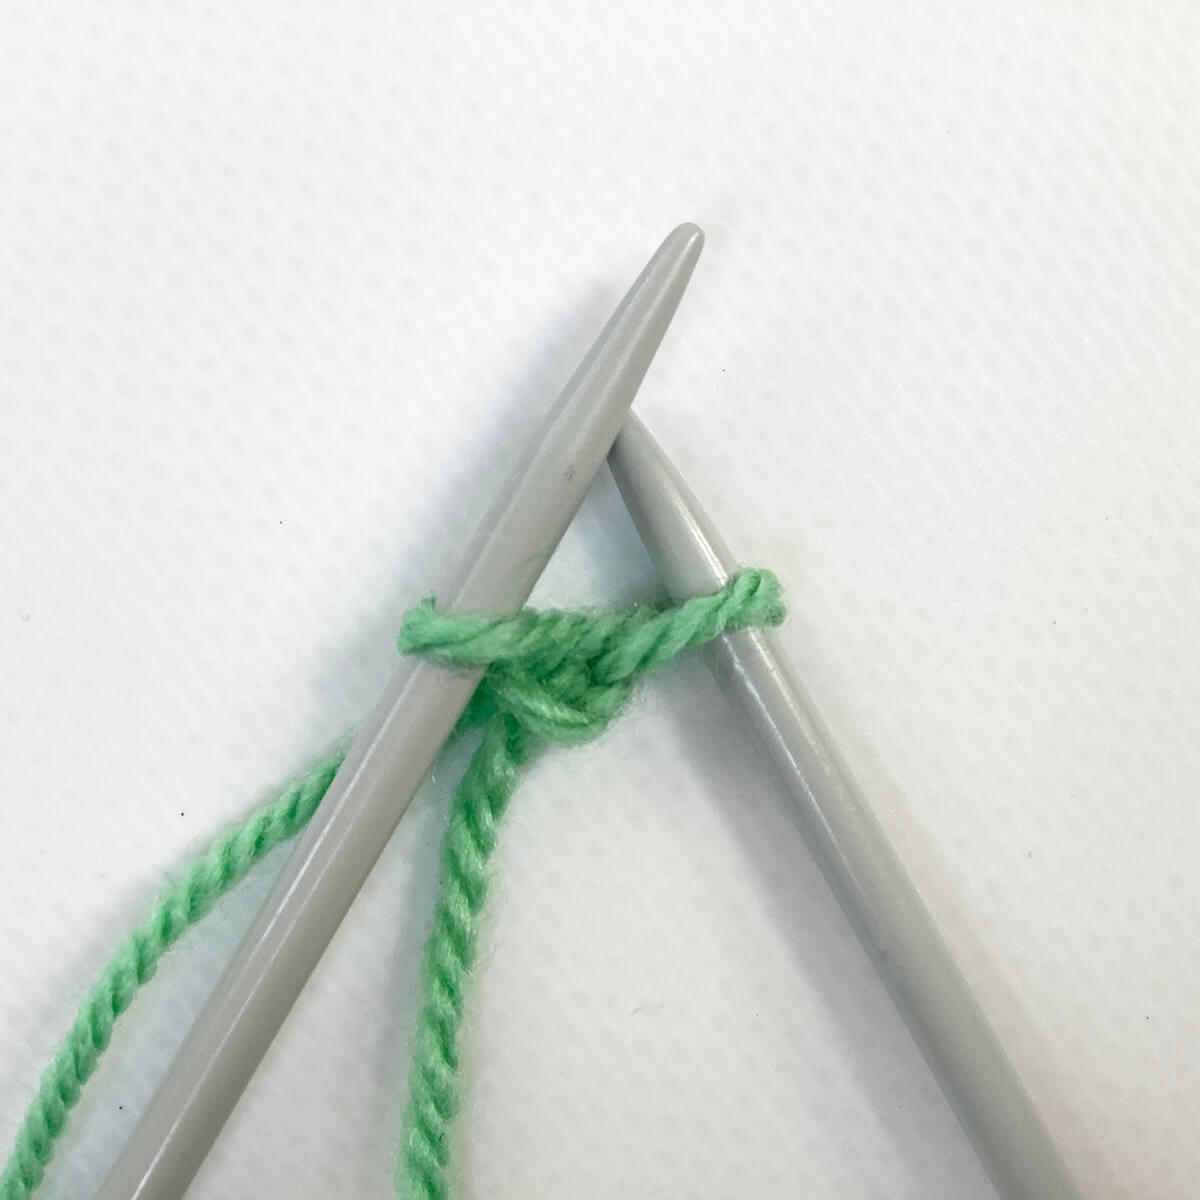
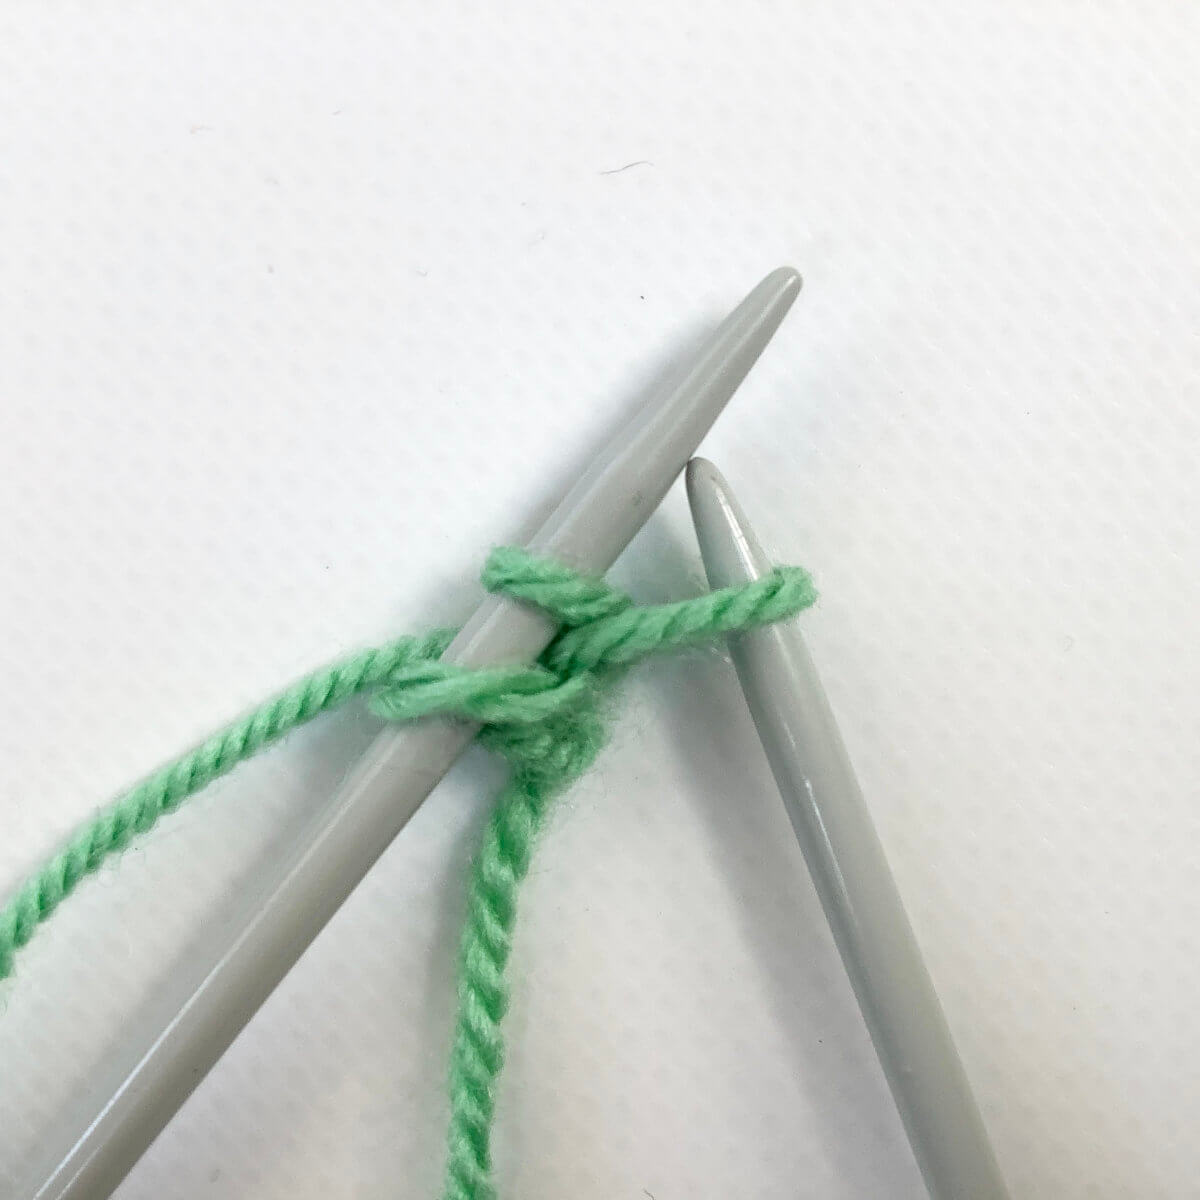
Take the bottom needle and bring it back through the stitch, pulling the yarn with it in a loop.
Now transfer the new loop from the bottom needle to the other needle and tighten the yarn.
You have now cast on a stitch!
Take your second needle and insert the tip in between the 2 stitches closest to the tip of the main needle.
In this step, we’re deviating from the knitted-on cast-on.
Wrap the yarn around the needle….
… and pull it through the stitch.
To finish adding the new stitch, place it on the main needle.
Repeat steps 6-9 until you have reached the desired amount of stitches on your needle.
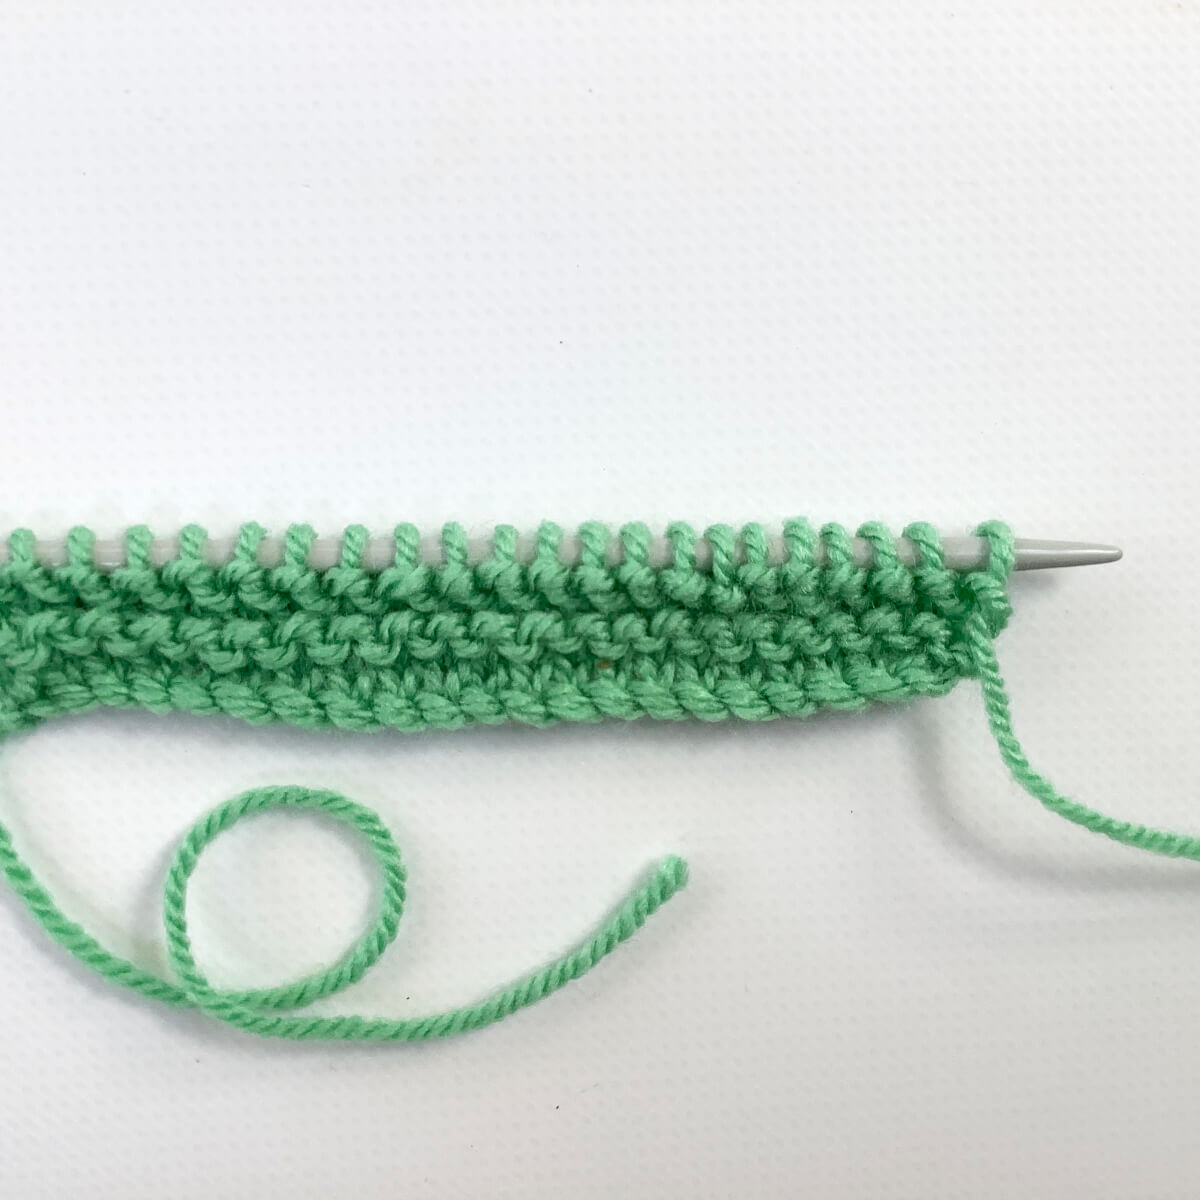
This is how it looks from the RS of the work, after a couple rows have been worked in garter stitch.
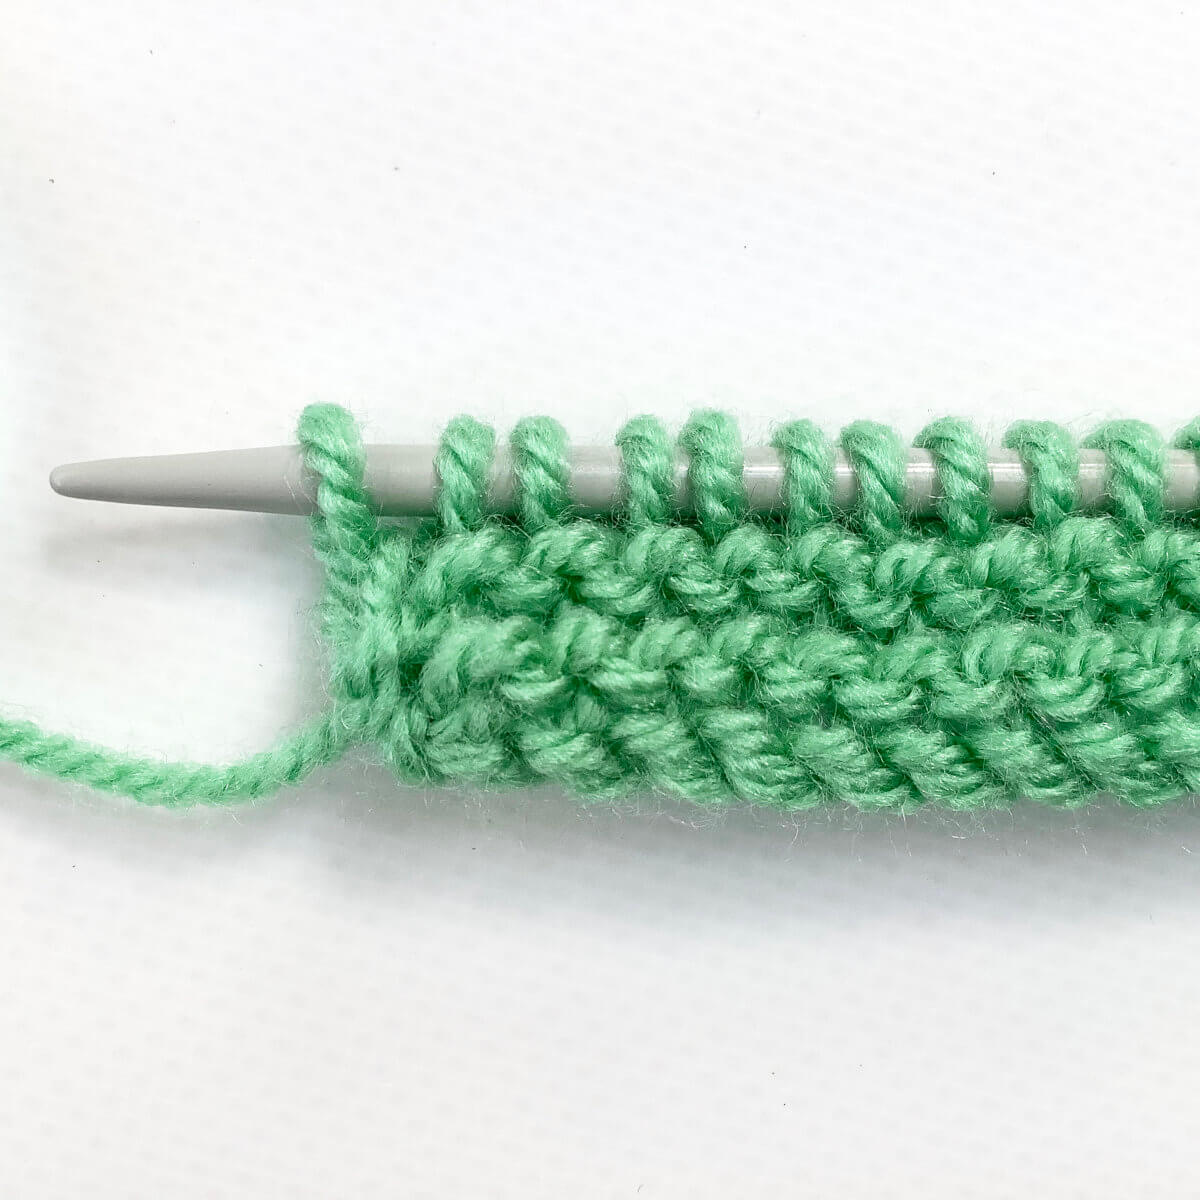
And the result from the WS:
Thanks to my Patreon supporters for bringing you this freebie! Creating quality patterns and tutorials is a lot of work and resource-intensive. However, I find it important to give you free content like this tutorial. Thanks to the generous support of my Patreon supporters, I can make it happen. Thank you, patrons! Click here to join, or click here to read more about La Visch Designs on Patreon.
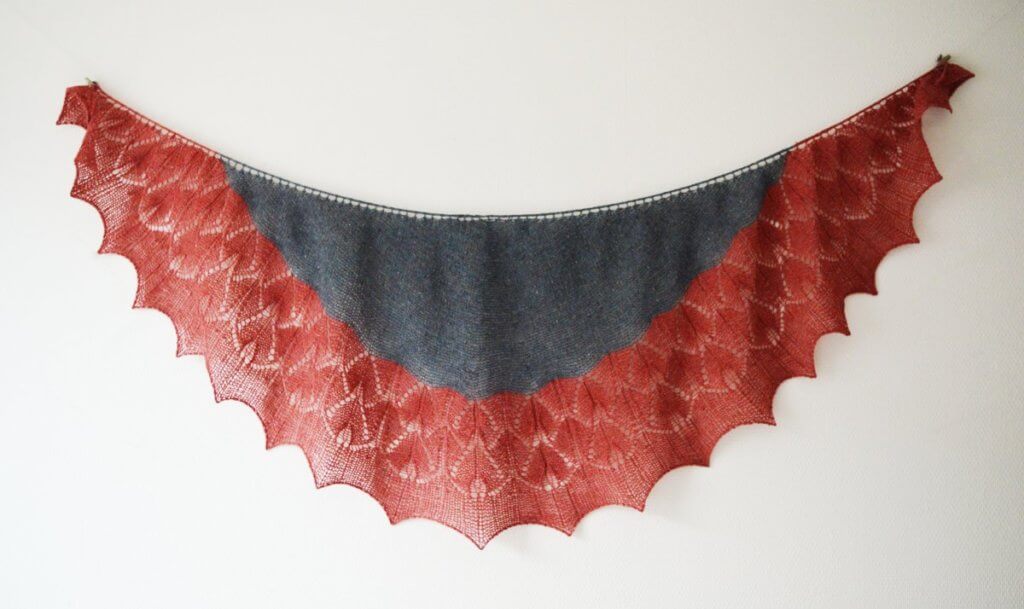
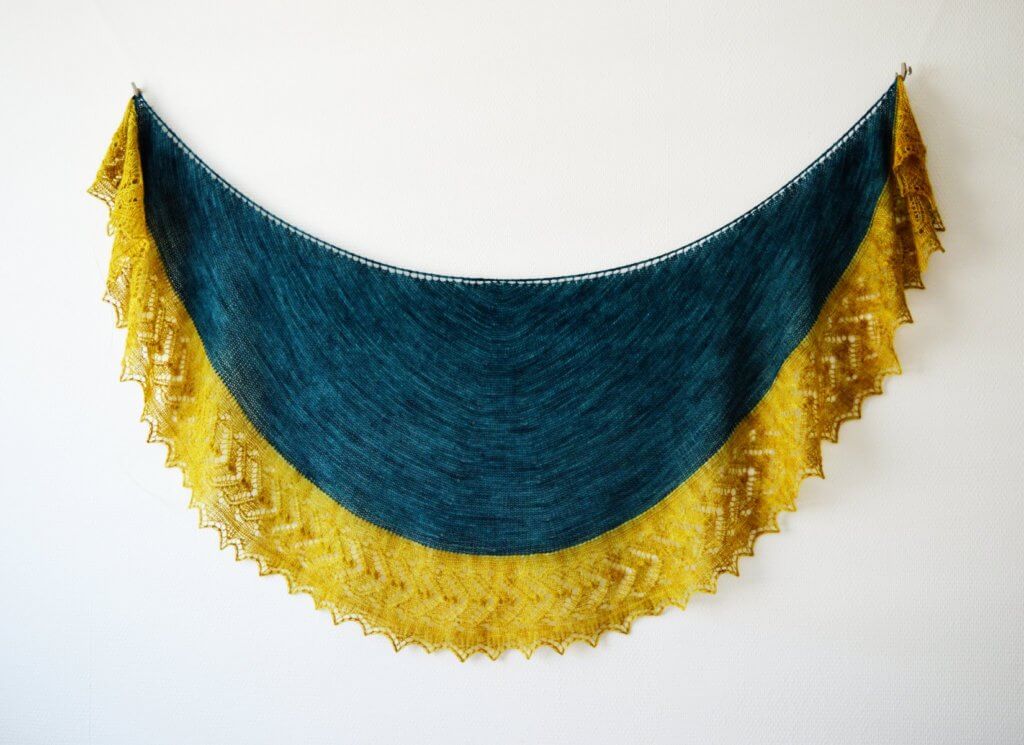
Crescent or sickle-shaped scarves/shawls are very popular and rightly so: because of their special shape, they stay better draped over the shoulders than traditional triangular scarves. I have designed and made several, take for example Art-Deco and Sunglow Forest as shown below.
Art DecoSunglow Forest
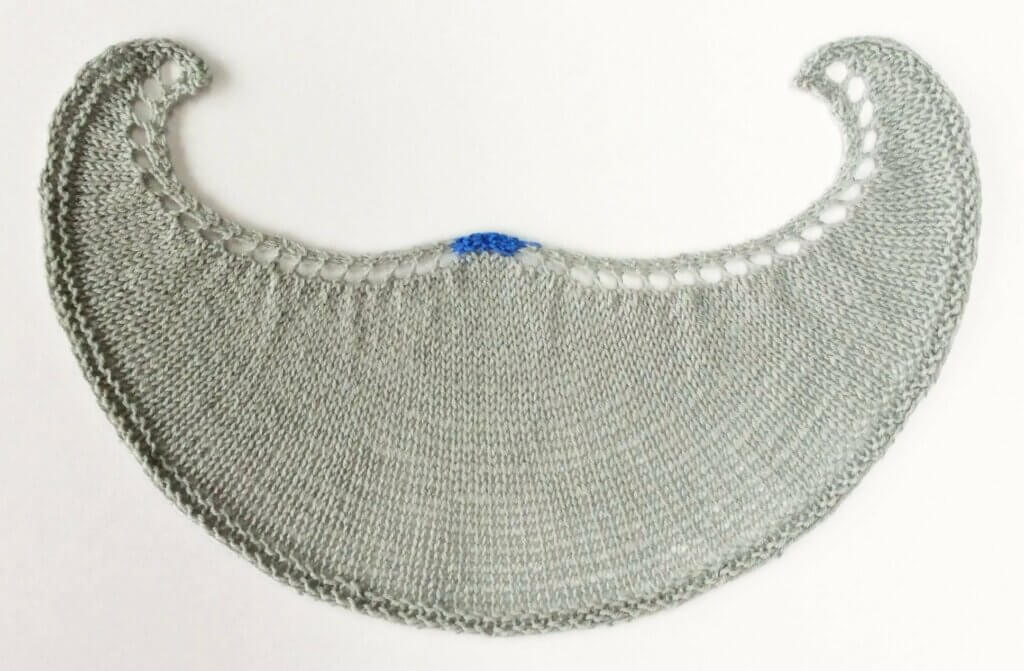
The one thing that these shawls haven’t, is a well-know issue with this shawl shape: The Dreaded Hump.
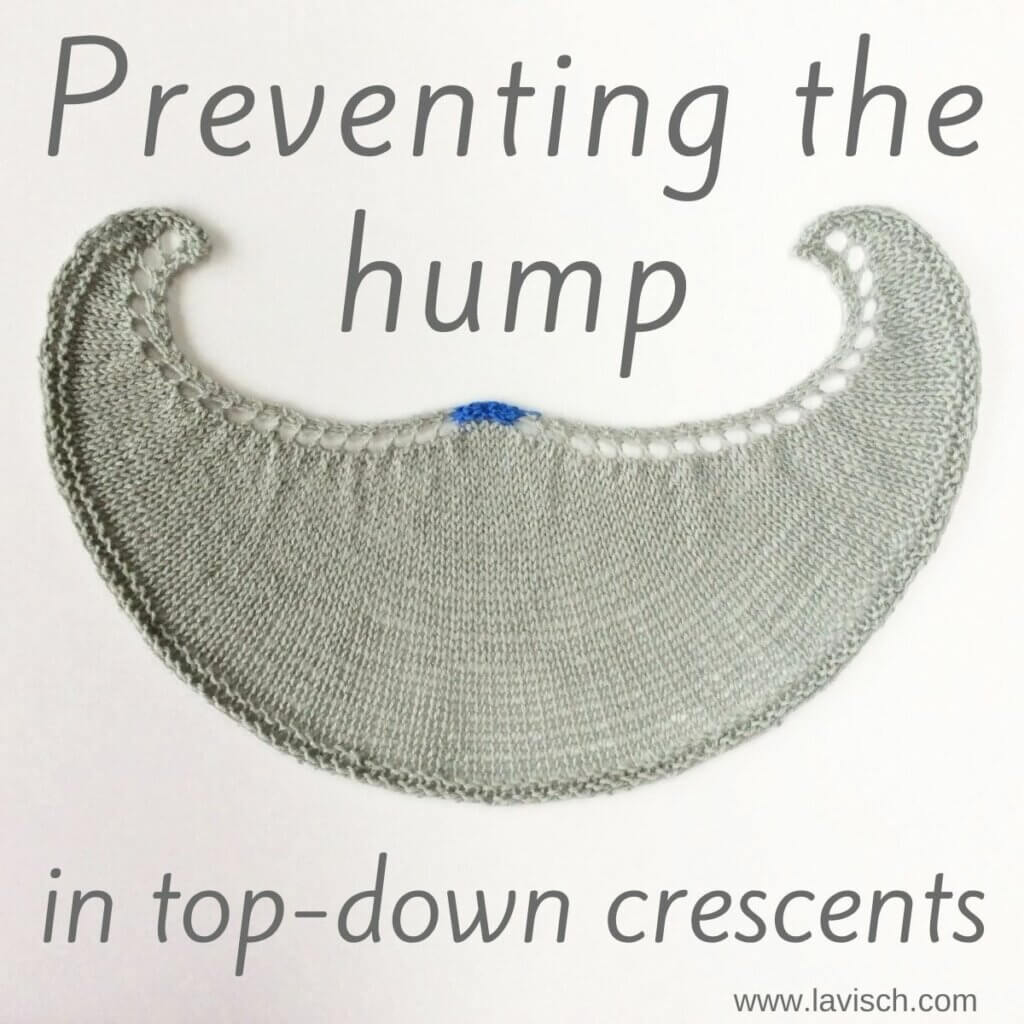
In this tutorial I’ll show you how to construct a crescent-shaped shawl, without this “hump”.
Top-down crescent shawl construction
Before we go into details, it’s good to get clear what particular construction method I’m using. There are various ways to construct a crescent-shaped shawl. Some are worked from the bottom-up, some from the top-down, some with short rows and some without.
Here, in this tutorial I focus on the top-down construction in which increases are worked on both right side and wrong side rows. The stitch count is increased by 4 stitches at the edges on right-side rows and by 2 on wrong-side rows.
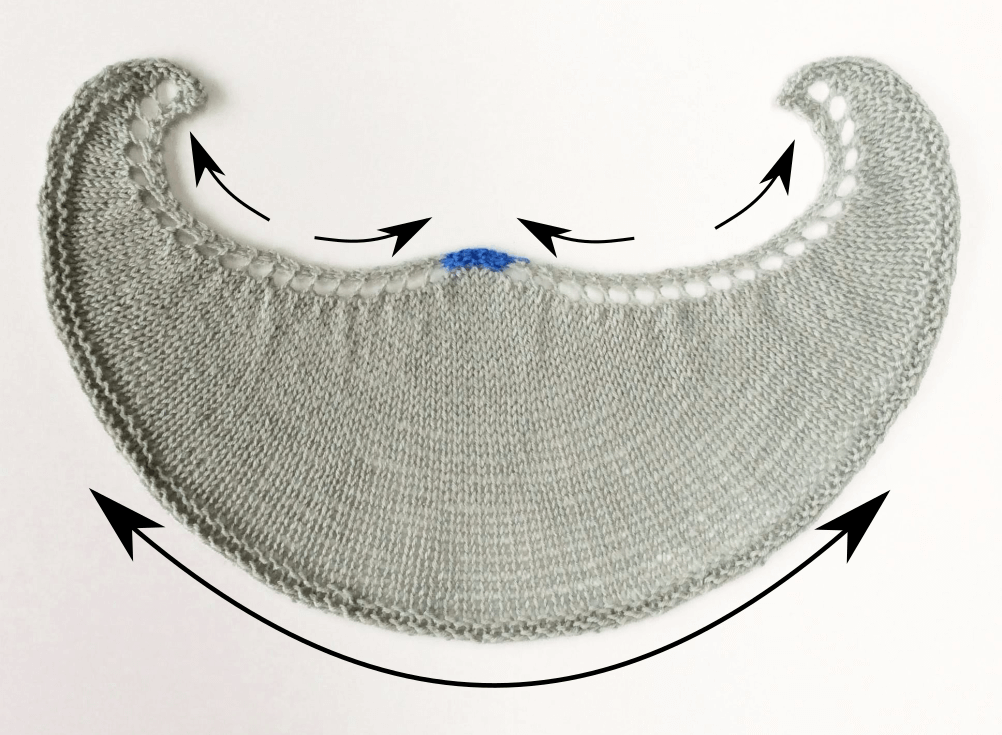
In order to know how to prevent the hump, we first must know why it appears in the first place. Take a look at the picture below:
The fast increase ratio, located at the edges only, creates tension in the piece and pushes the fabric into a “hump” at the center edge. In other words: The increases at the outer edges, force the edges outwards. However, the bottom edge of the work only has so much give, ultimately pushing the center upwards creating a hump.
The solution to prevent the hump
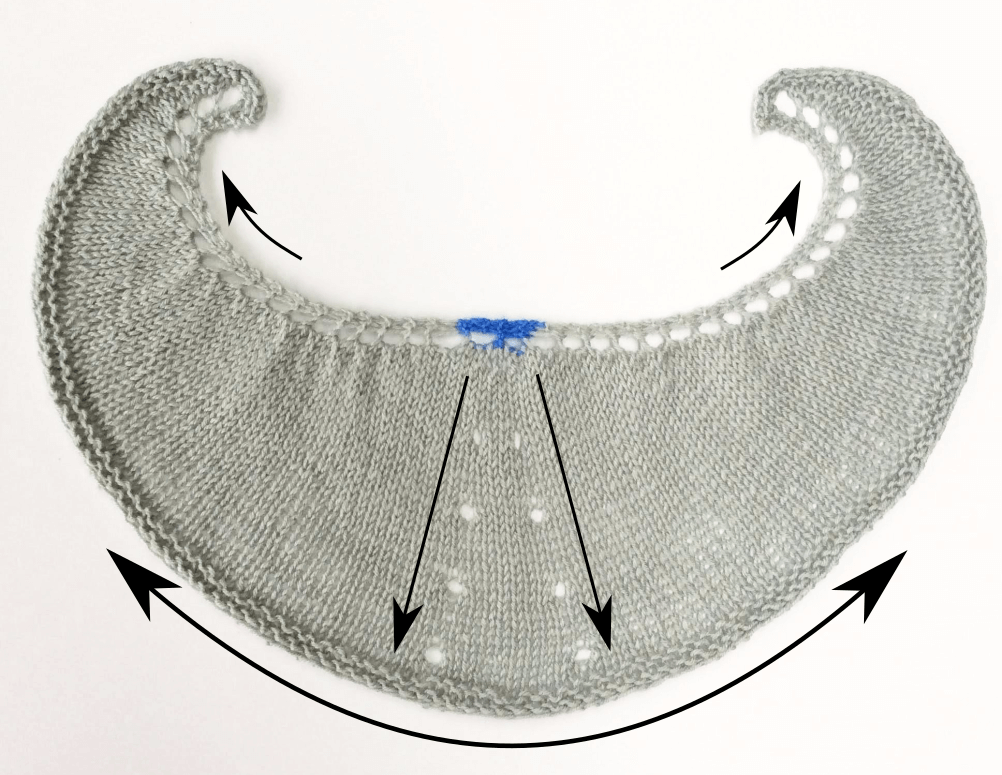
The solution: creating more slack in the bottom edge of the shawl, to prevent the tension from pushing the work upwards! Like this:
The secret: Strategically placing increases in the center of the shawl to create a pie-shaped wedge.
This gives enough extra fabric at the bottom edge of the work to prevent the hump from occurring! The type of increase is completely up to your own preference. In this example, a yarn over is used to make it very visible, in the Art Deco shawl the more discreet m1L and m1R increases are used. In a (reverse) stockinette fabric, extra increases once every 8 rows would do the trick.
Garter stitch has quite a different row gauge than stockinette does. The precise ratio of garter stitch to stockinette, however, depends greatly on the yarn used, and personal gauge. Perhaps the phase of the moon as well. Some sources say that the ratio of garter stitch to stockinette is 1:2. Others say it’s 3:5, 4:6 or even closer to a 5:7 ratio. Taking the latter as an example, this means that (for example) for every 26 rows per 10 cm/4 inches in stockinette there are 36 rows per 10 cm/4 inches in garter stitch when worked with the same yarn and needles. To know your exact ratio and thus the exact repeat for working a pie shaping row in garter stitch, swatching would be needed.
Based on the various possible ratios of garter stitch to stockinette, extra increases every 12 to 16 rows would do the trick in a garter stitch based fabric.
Thanks to my Patreon supporters for bringing you this freebie! Creating quality patterns and tutorials is a lot of work and resource-intensive. However, I find it important to give you free content like this tutorial. Thanks to the generous support of my Patreon supporters, I can make it happen. Thank you, patrons! Click here to join, or click here to read more about La Visch Designs on Patreon.
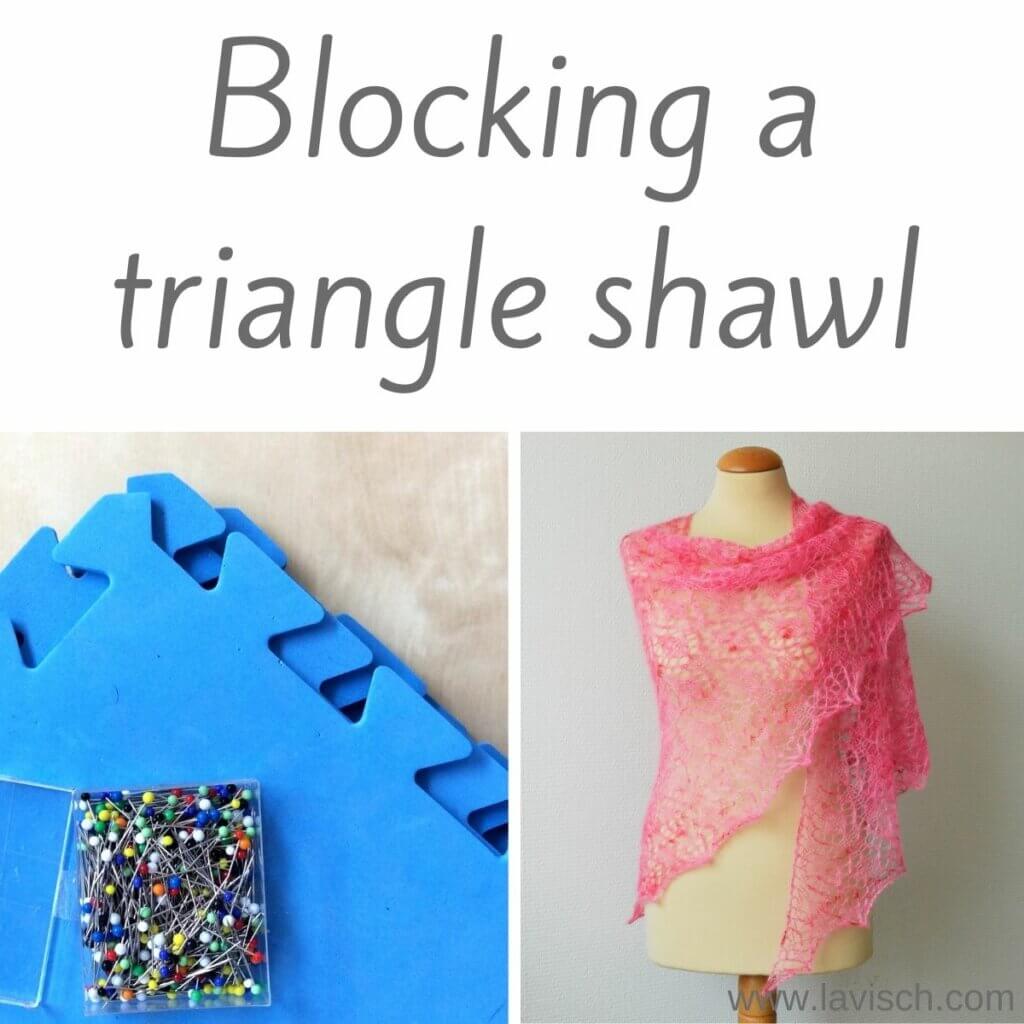
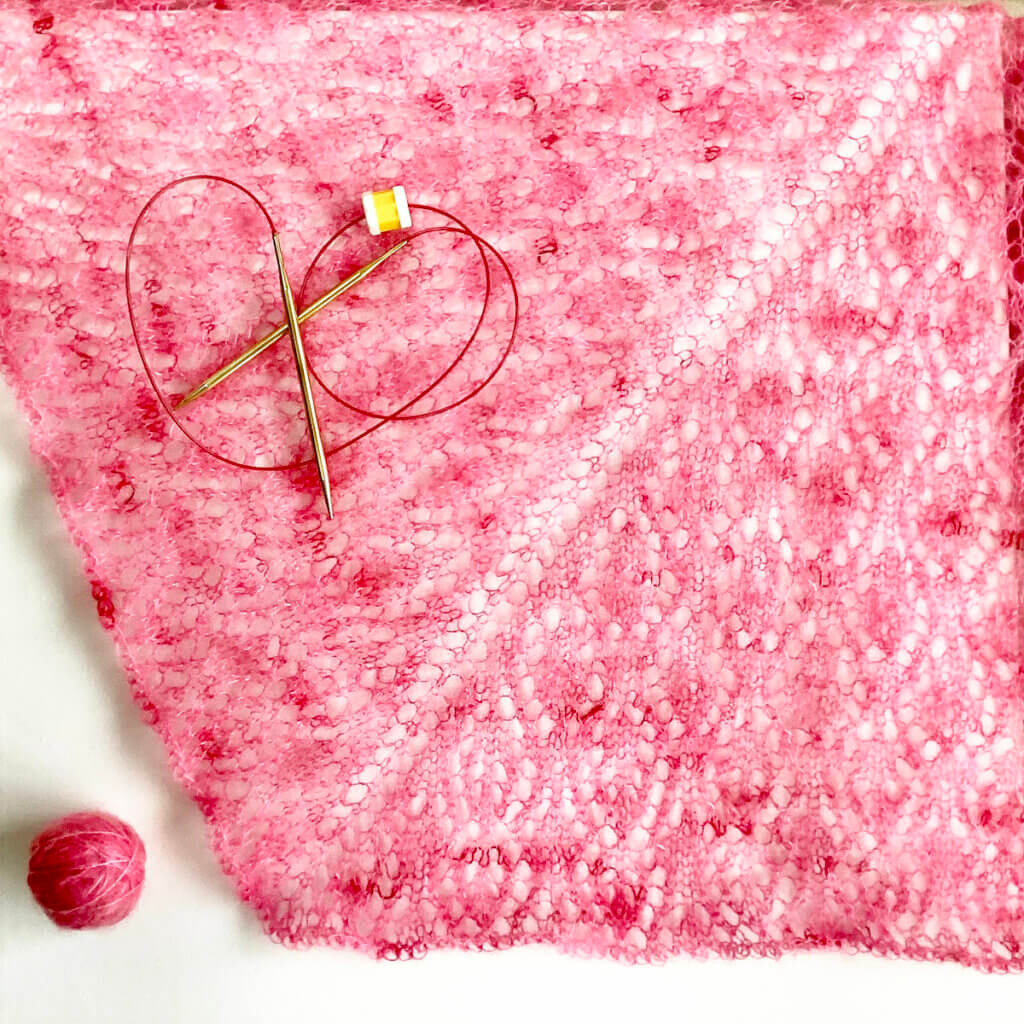
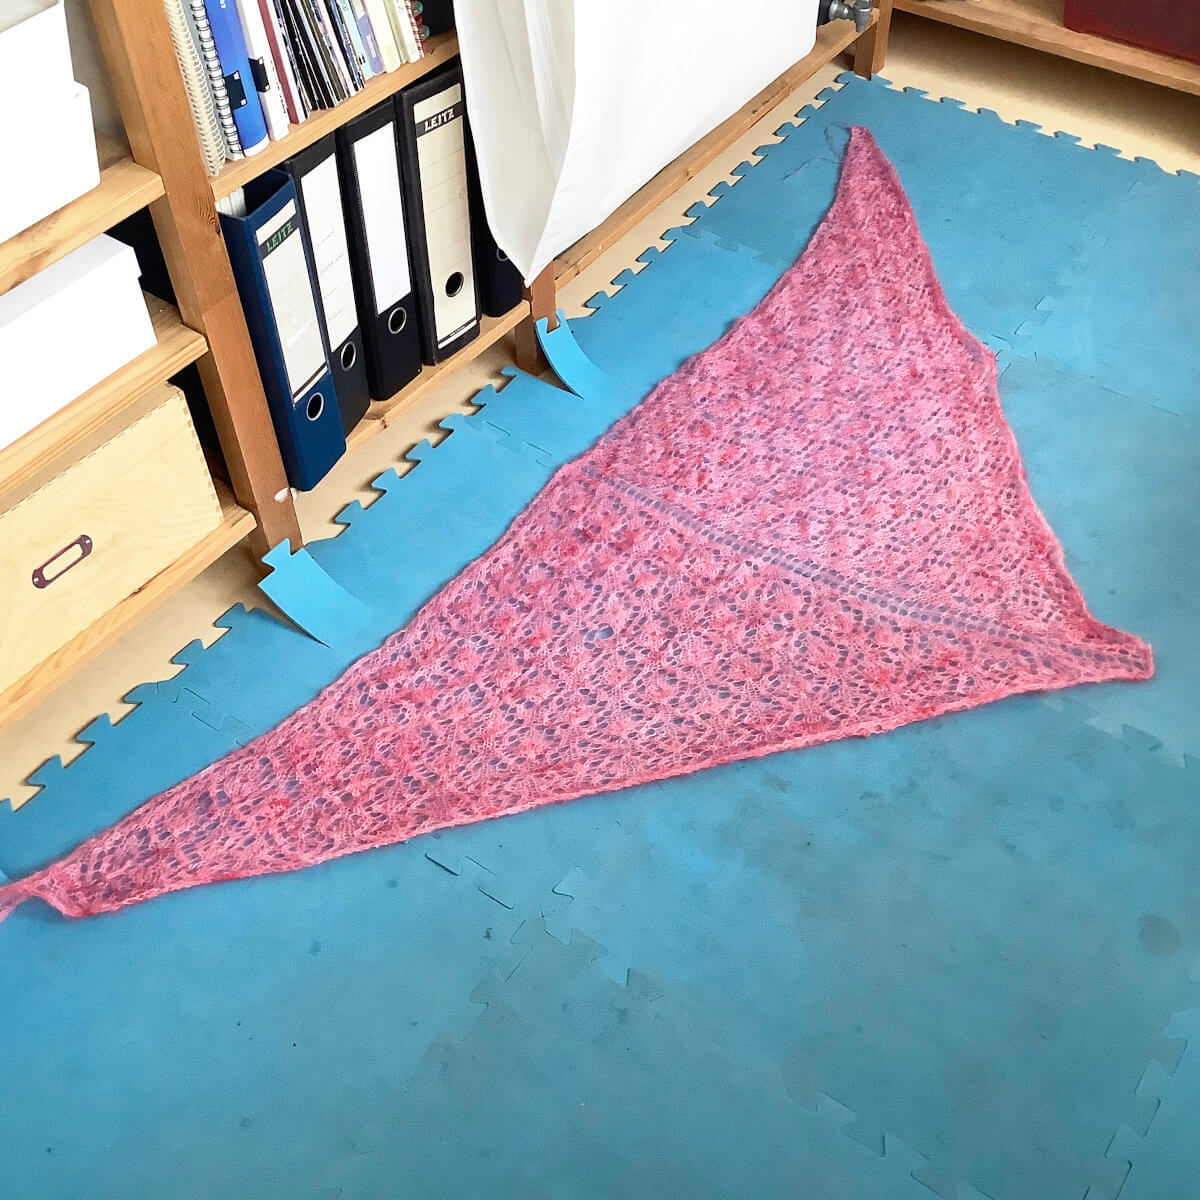
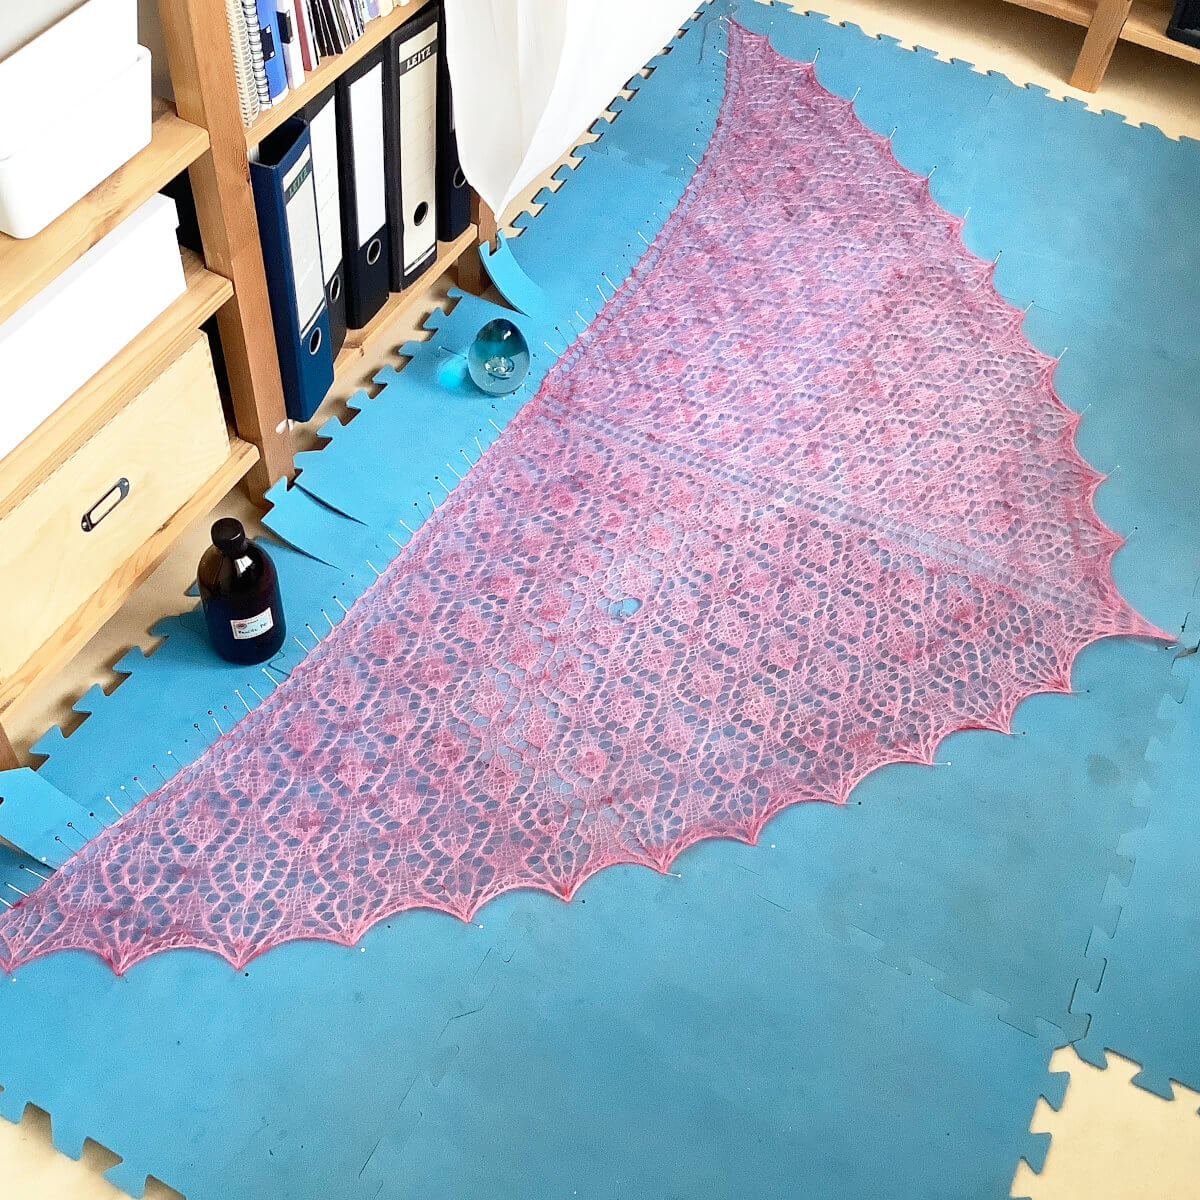
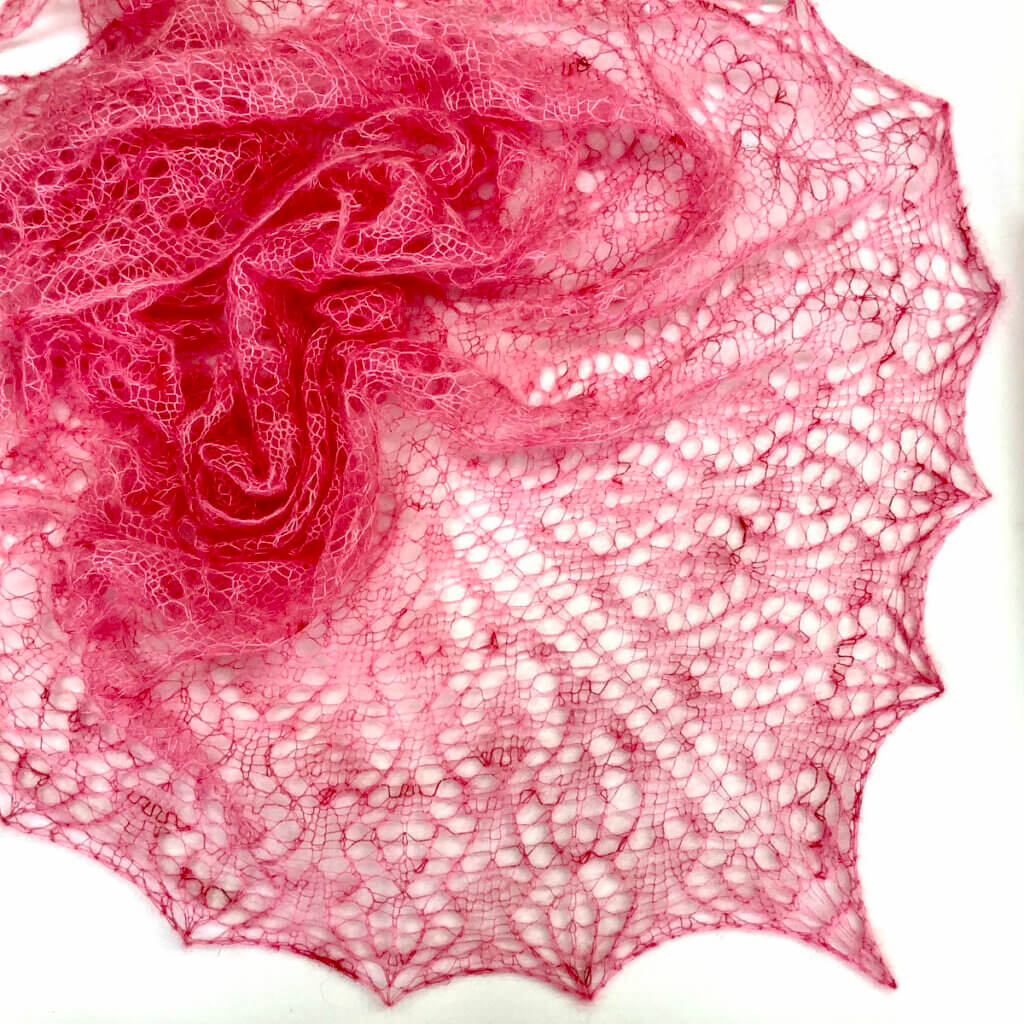
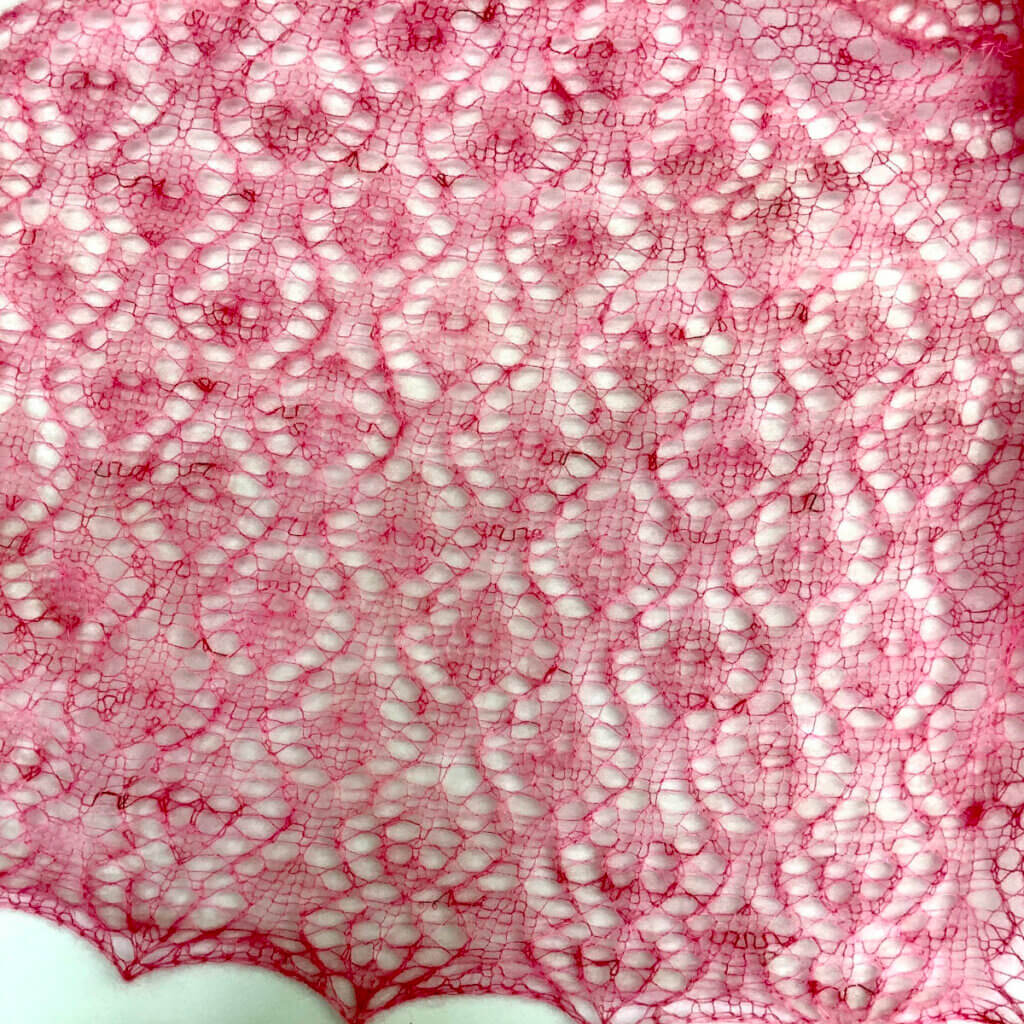
The top-down triangle must be the shawl shape I knit most often. So, it would be good to share with you how I go about blocking this type of triangle shawl. In this tutorial, I will be showing you how I blocked my Strawberry Finch. This one has all-over lace patterning, pulled into points at the bottom edge into points during blocking. In the below picture you can this shawl before blocking.
What is blocking?
Before we go into details, it’s good to get clear what I mean exactly with “blocking”. Blocking is nothing more than shaping your knit or crochet pieces when moist or wet. Think of finished items or components to sew together afterwards. By blocking them, you can not only even out stitches, but also bring the item to the intended dimensions. The latter of course within reason!
For a sweater or sweater components blocking usually is nothing more than washing the item(s) and patting them gently into shape. Lace shawls, on the other hand, benefit from a rather vigorous blocking by pinning it stretched out as much as possible. After the piece has dried, it will hold its shape until the next washing.
Please note, that not all fibers are suited for the magic of blocking. Only natural fibers like wool, alpaca, cotton etc. as well as some viscose fibers can be blocked in the sense that the dimensions can be adjusted. On synthetics, like acrylic, the process of wet-blocking as described in this post has virtually no effect at all, besides evening out the stitches. Acrylics can be blocked (“killed”) by applying heat through steam blocking or ironing, but that’s an entirely different process.
Materials needed
Since the subject of this post is the blocking of a lace triangle shawl, I go for a vigorous blocking using pins. I use the following materials:
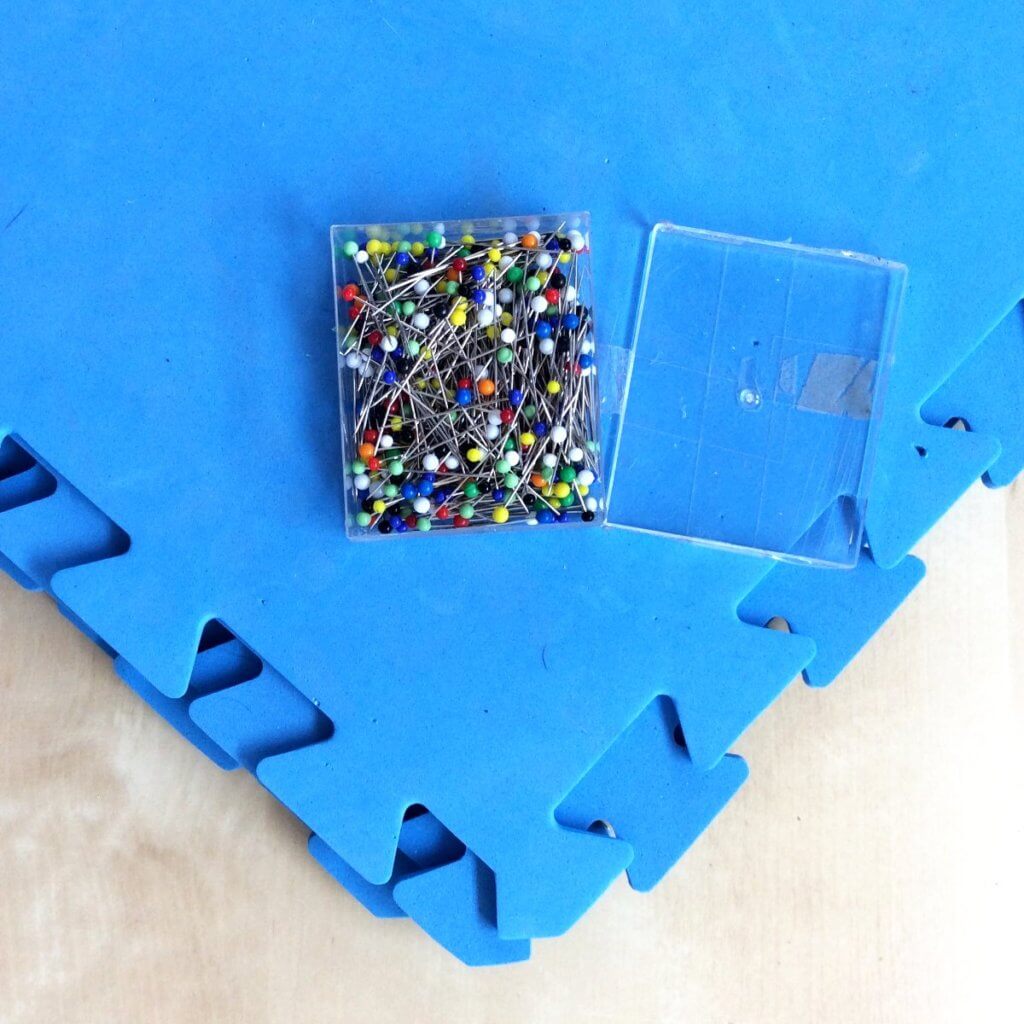
Blocking mats, these are usually foam mats that hold pins well. Think for example of insulation mats, mats for yoga or play tiles for children.
Pins, I use regular pins, but other folks sometimes prefer stainless steel T pins.
Wool wash.
A towel large enough to comfortably hold your project.
Preparations
Before we can start with the actual blocking, we have to do some preparations. These mainly consist of giving your shawl a wash, since the FO must be a tad moist for the best blocking results. For completenes’s sake below how I go about it. If you’d like pictures of these steps, please visit the tutorial on blocking an asymmetrical shawl.
First I fill the sink with some lukewarm to warm water and add a dash of wool wash. Put the shawl into the water and let it rest for about 10-15 minutes to make sure the fabric is completely saturated with water.
Next, rinse the shawl. Don’t use cold water for this, as “shocking” warm wool may cause it to felt. If your yarn bleeds dye a bit, you can add a splash of vinegar to the rinse water to help fix it. After rinsing, gently squeeze excess water out of your project. Don’t wring it! This may damage the fibers, causing breakage.
Spread out your towel and place the shawl on top of half of it. Fold the second half of the towel over your shawl and roll it up like a sausage. Squeeze the roll well to transfer most of the wetness from the shawl to the towel. With bigger projects, I find it helps to actually stand a bit on it.
Also, prepare your blocking mats by laying them down in the shape and size needed for your project. I prefer to do that in my workroom because it can be closed off against “helping” cats.
Blocking a triangle shawl step by step
Time to get started with the actual blocking!
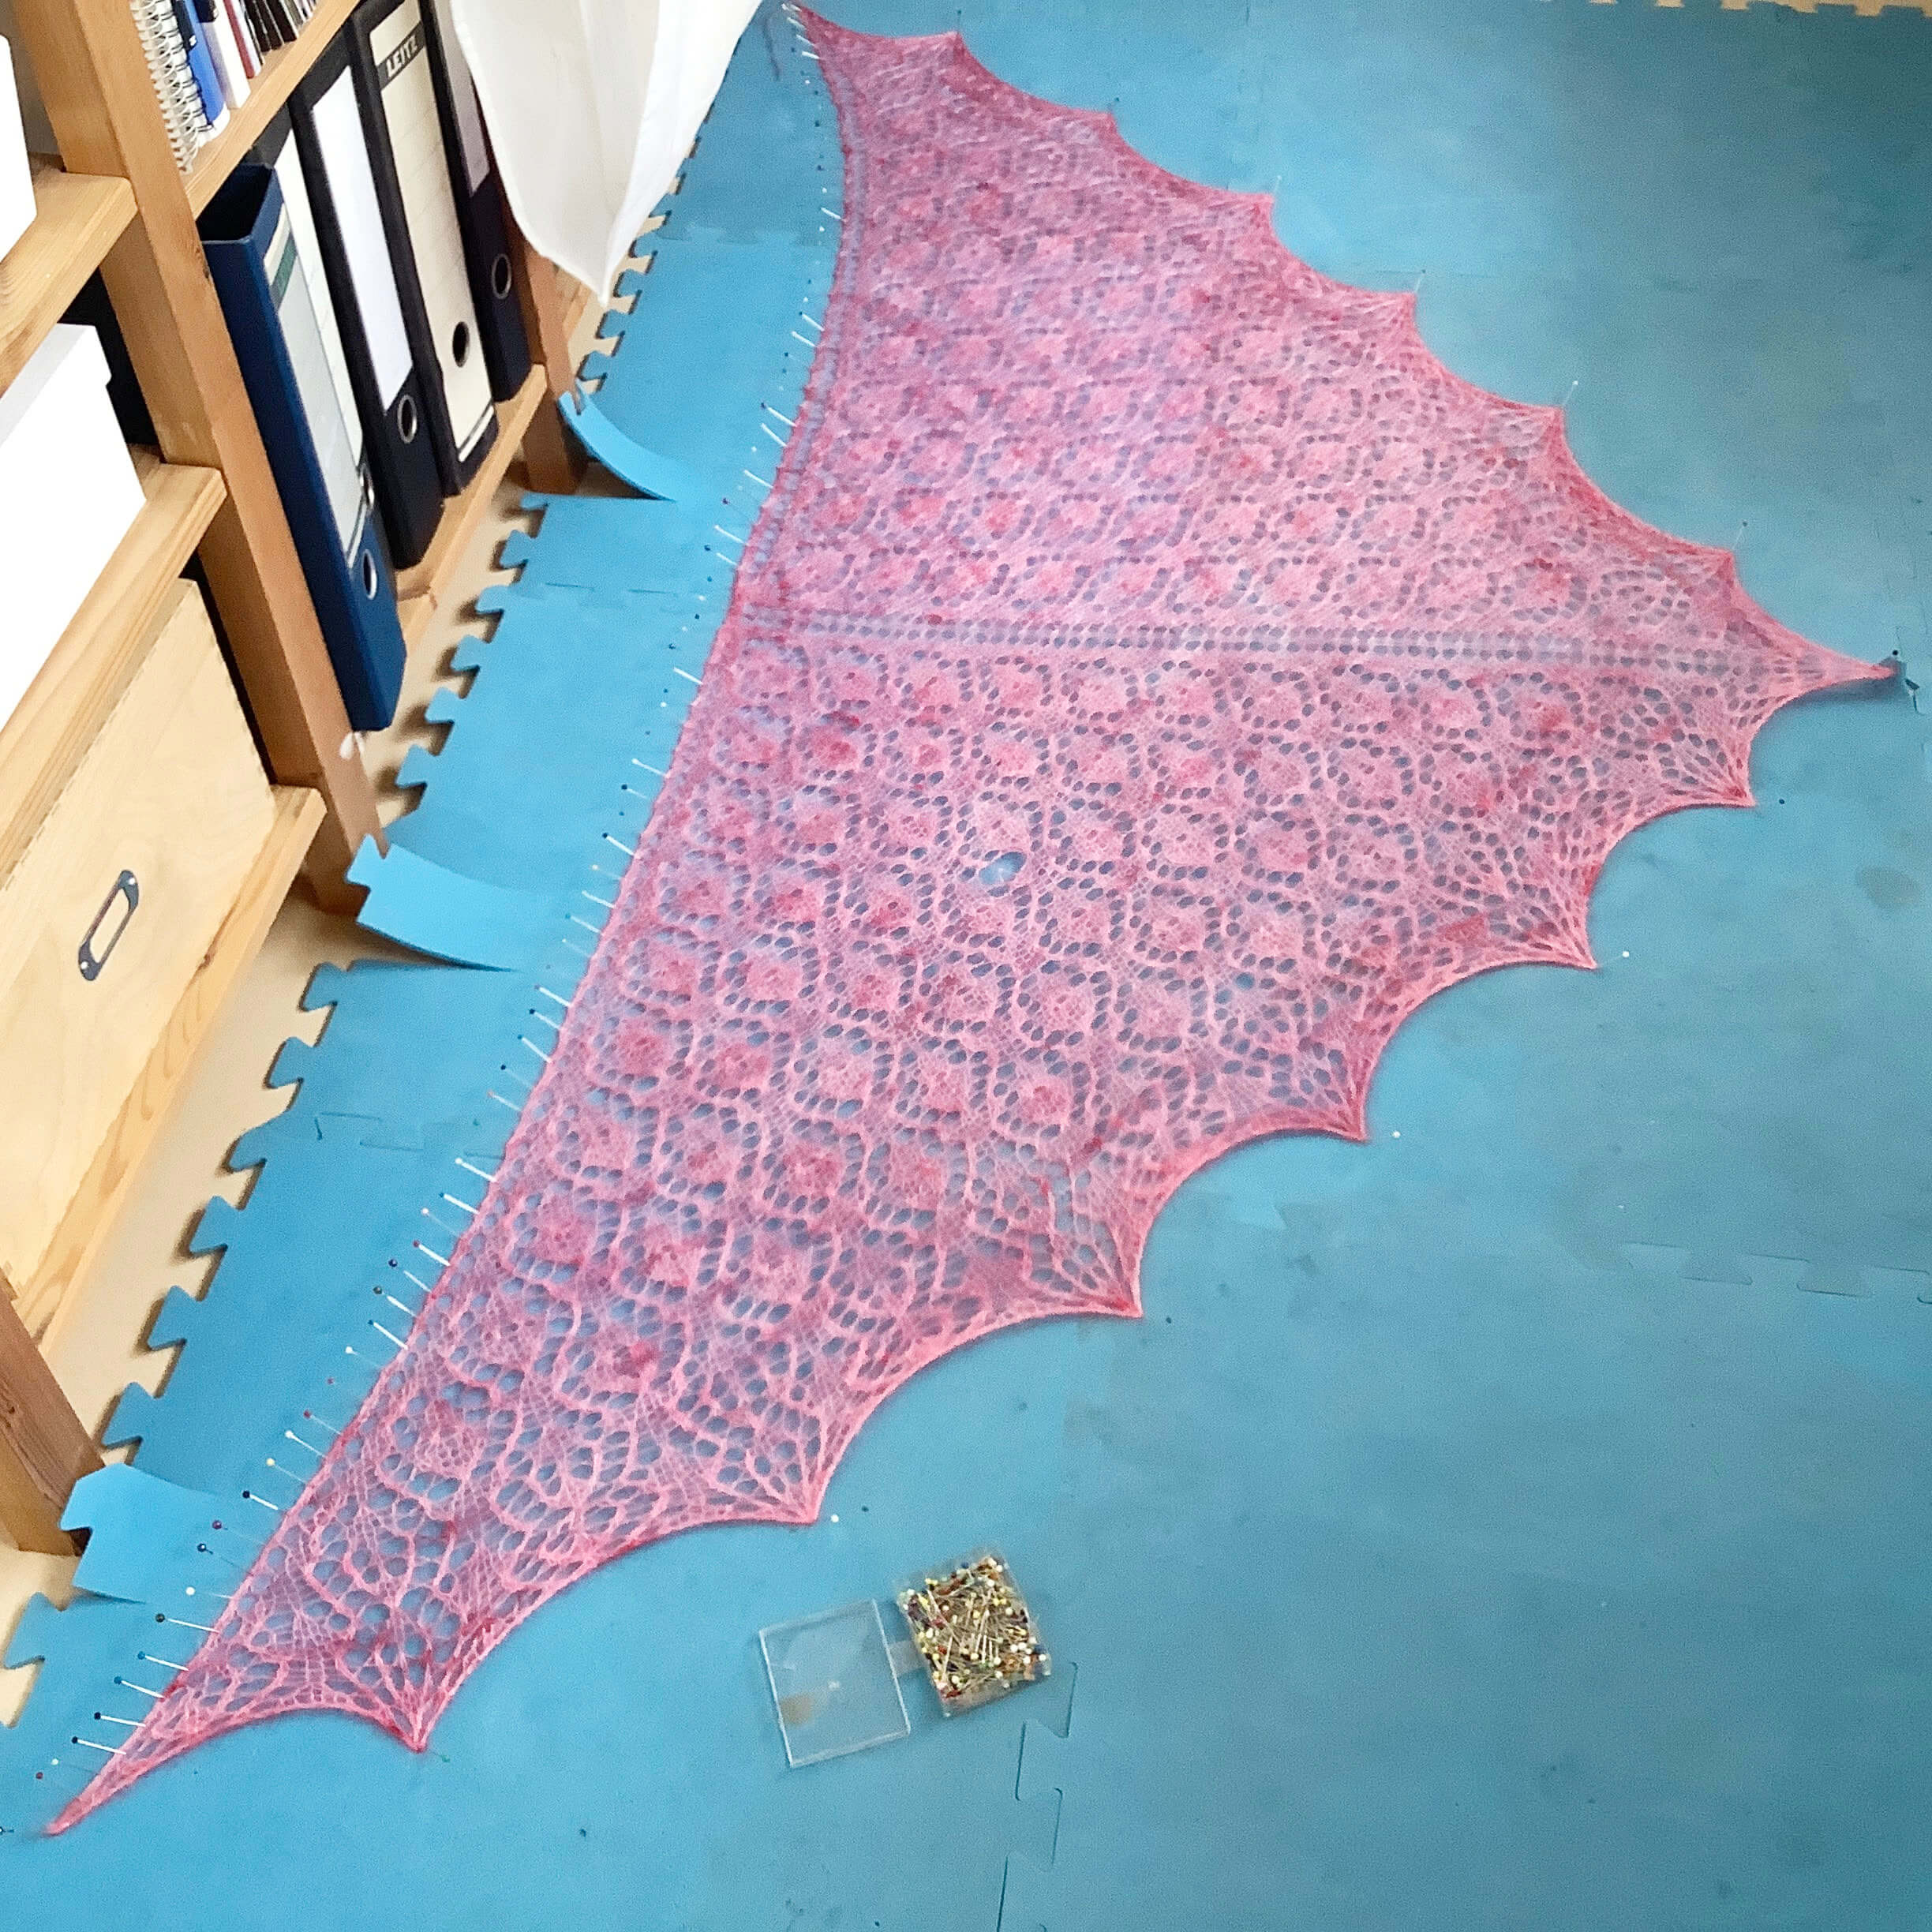
Spread out your project on the blocking mats.
Take care to do so in roughly the shape you want to block it in.
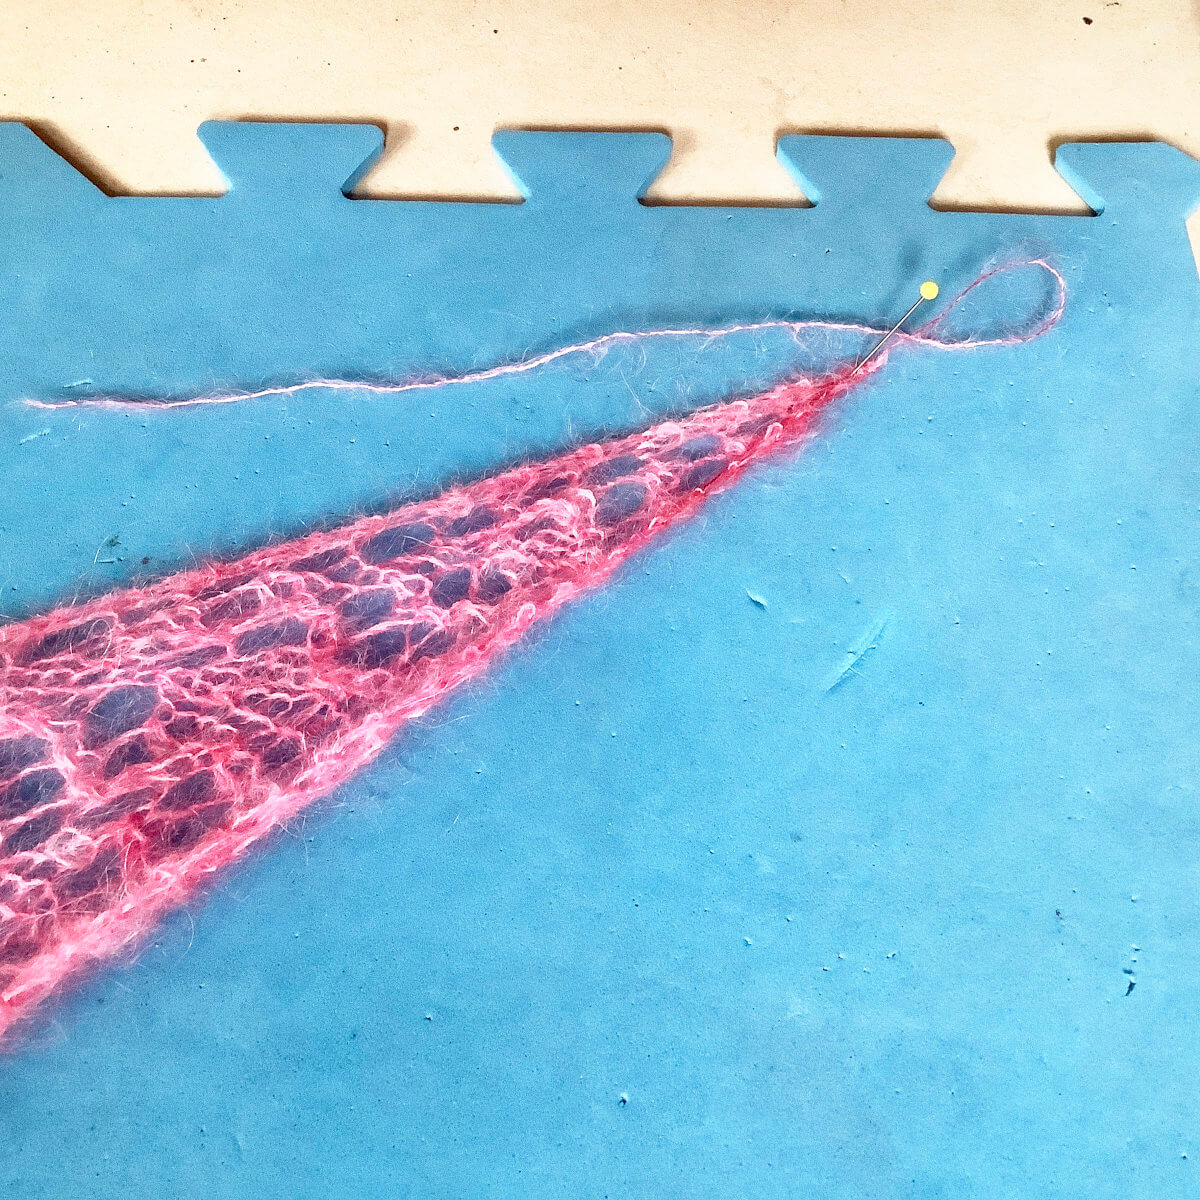
Start by pinning the 2 outer corners.
You can stretch the upper edge of the shawl out for this, but don’t stretch it to the max., we still need some slack in the fabric to accommodate stretching it out in other directions.
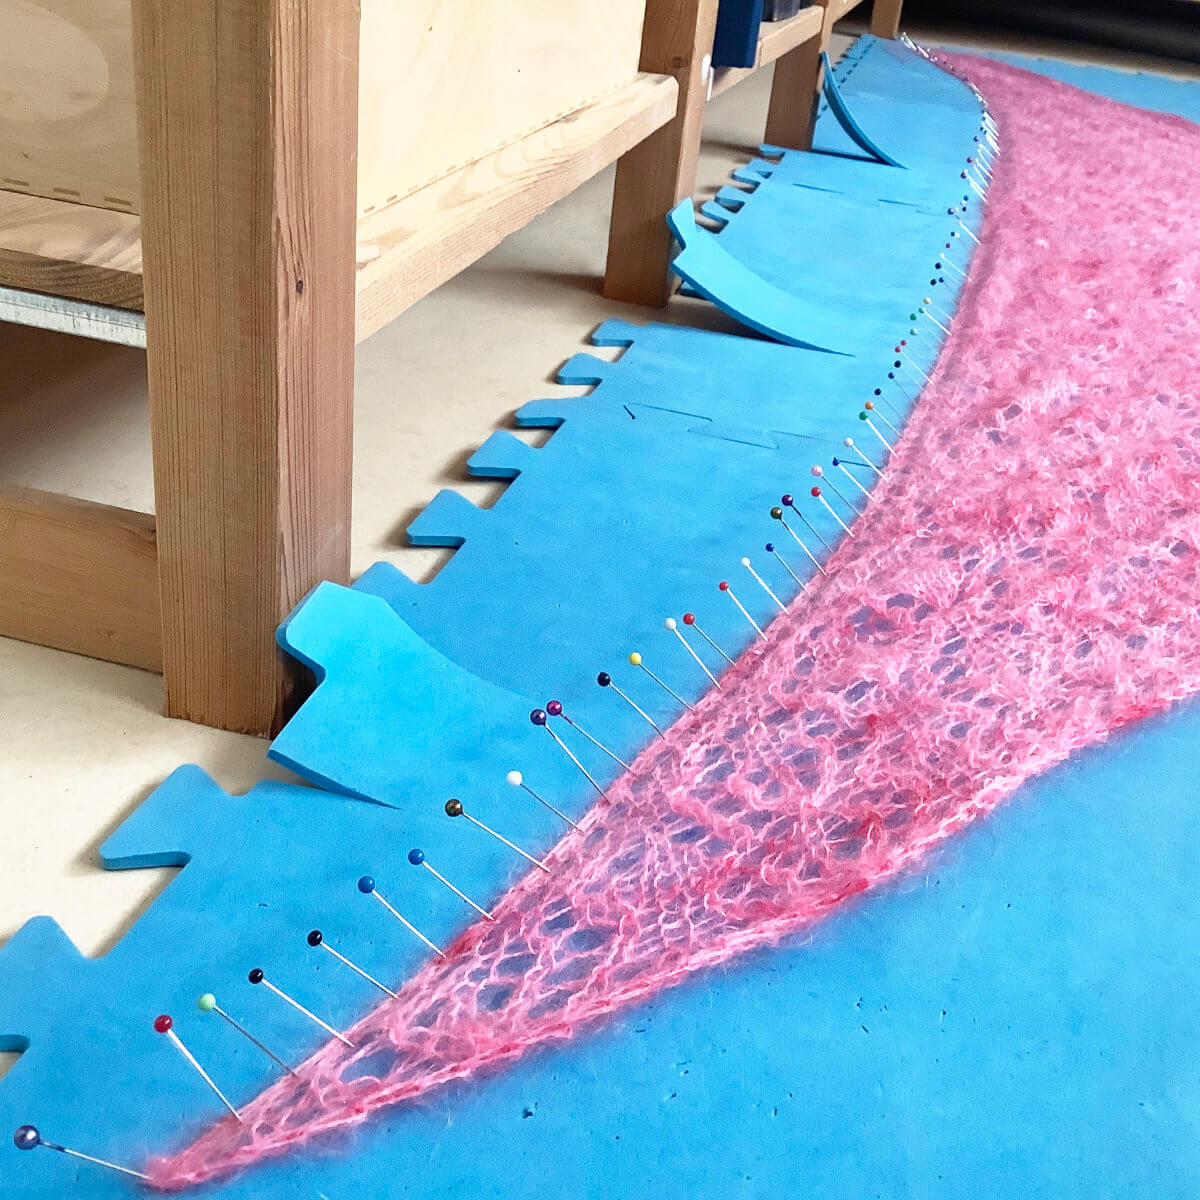
Next, pin the entire upper edge of the shawl in a smooth curve, using approx. 1 pin every 1.25 – 2.5 cm (0.5 – 1 inch).
You can, of course, pin the upper edge in a straight line, but I find a slightly curved edge sits better on the neck and shoulders.
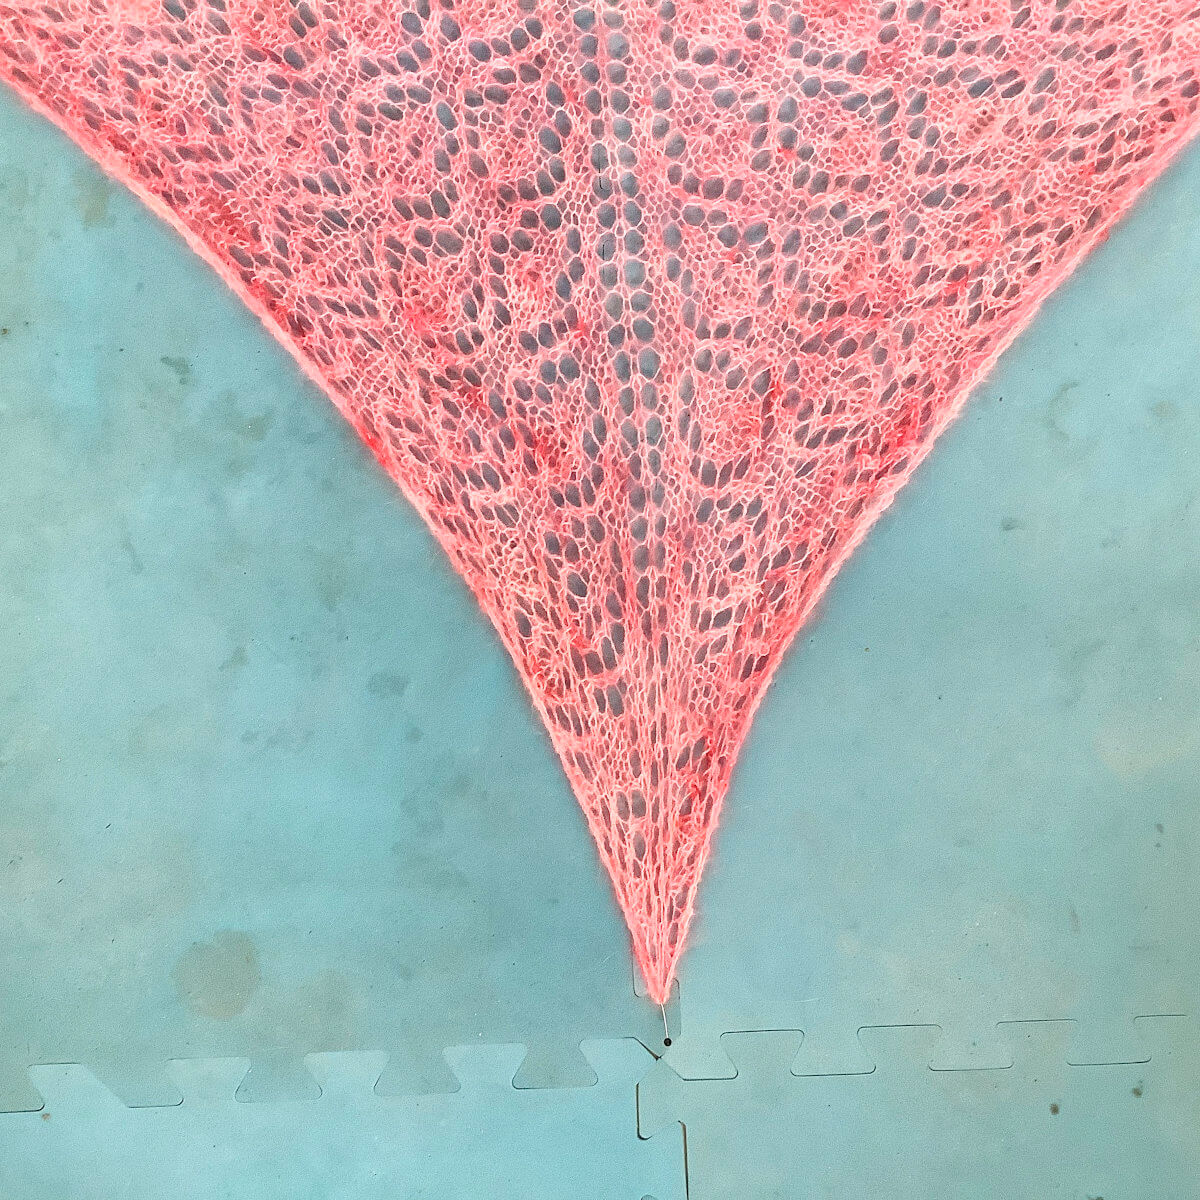
Now pull down the bottom point and pin it to the mats.
Again, don’t stretch it to the max yet!
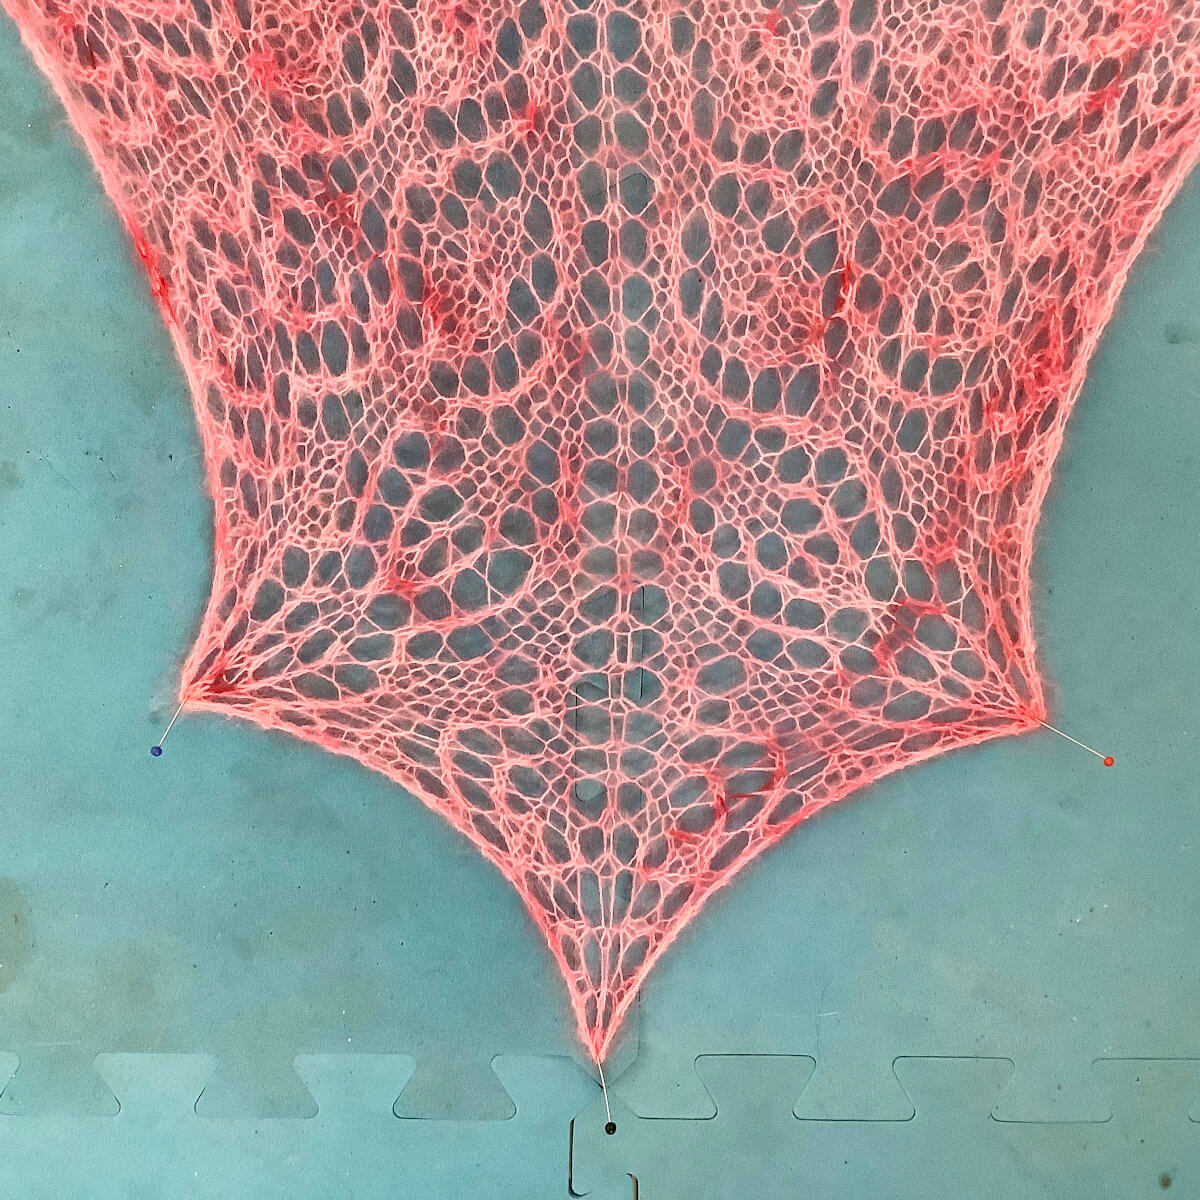
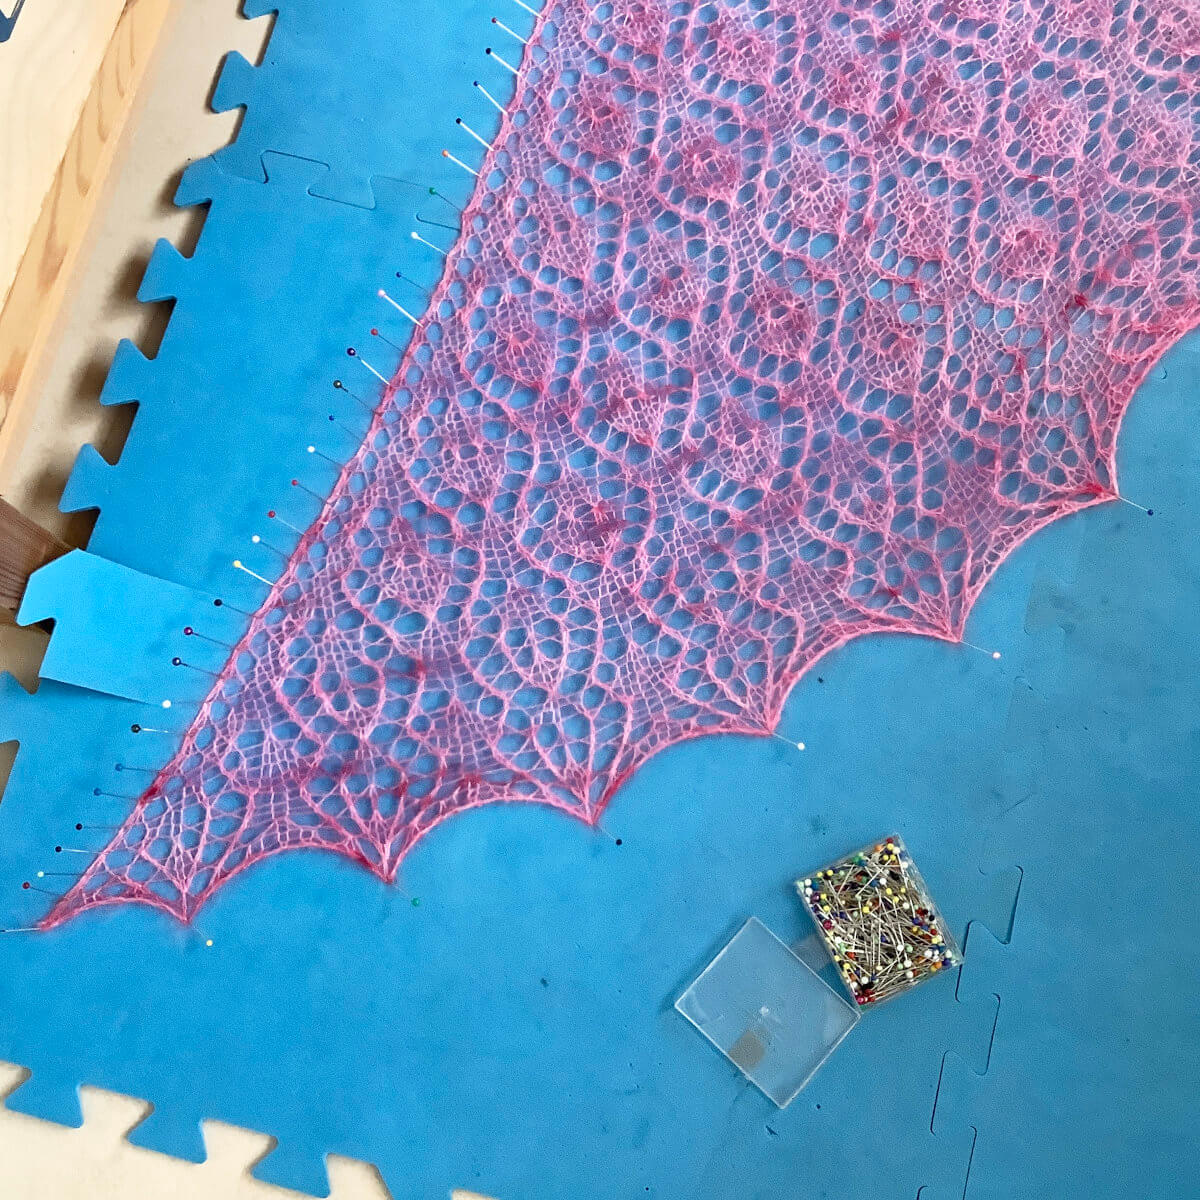
Now pull a point on both the left and the right side down and pin them to the mats.
At this point, you can still keep some slack in the fabric of the shawl. Also, note that I pinned through the point of a leaf, but that I skipped one on either side.
Move up 2 leaves and again pin them down symmetrically.
At this point you can ignore any tension differences, we will get to that later on.
Continue as in step 5 and 6 until the whole bottom edge is pinned to the mats.
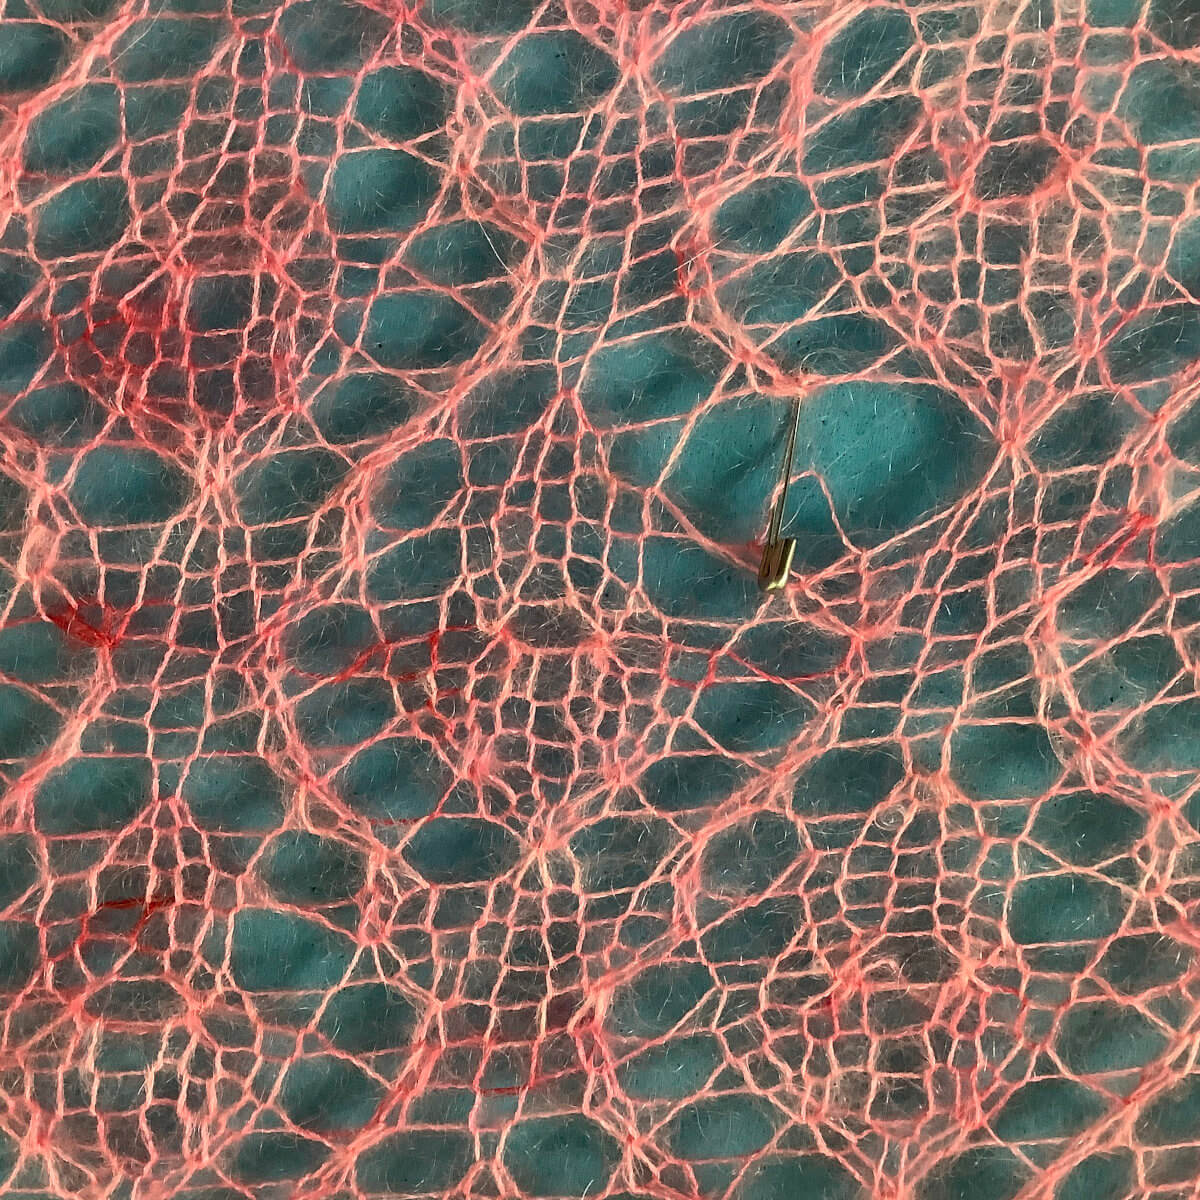
At this point I saw it, do you see it too?
A hole in my shawl!
I must have caught the halo of the yarn there, instead of the thread itself. The tension of the blocking made it go poof. It happens…. Don’t stress, just catch the stitches with a safety pin. The shawl can be fixed after it’s dry.
Back to pinning the bottom edge.
Now I’m pinning the points I skipped previously, adjusting the pins already there where needed, to achieve a smooth curve.
The final step in blocking.
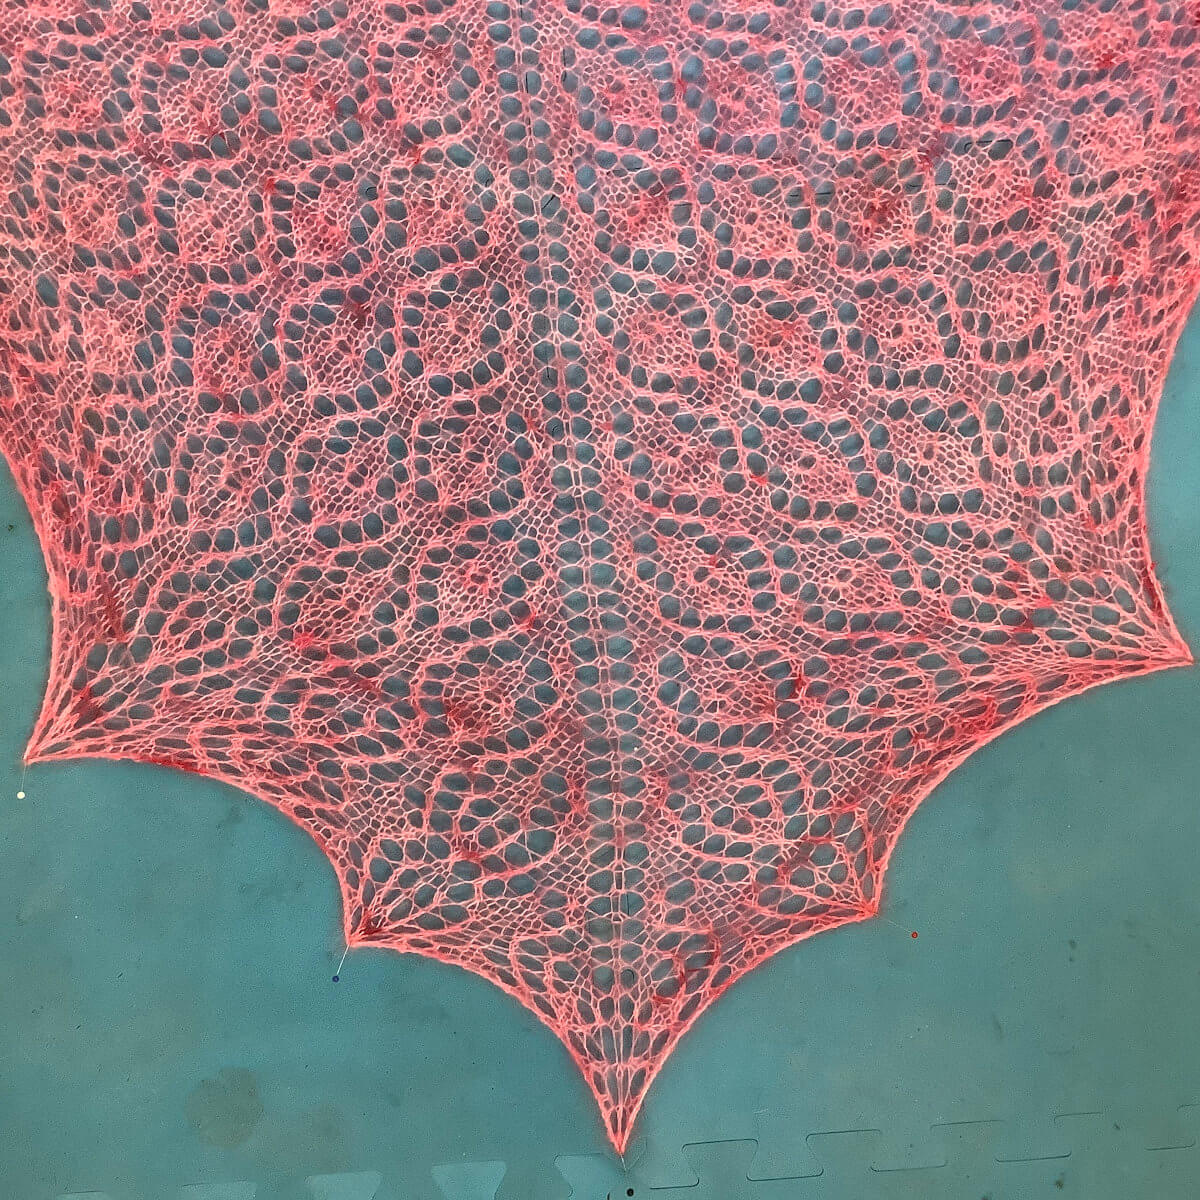
Finally, I go over the entire bottom edge again, making sure to pull it out to the max and keeping the edge in a smooth curve. I needed some weights to keep the mats in place, and keep them from buckling under the tension I’m putting the shawl under.
And the result is a beautifully blocked Strawberry Finch shawl! This how to go about blocking a triangle shawl.
And that hole?
I took a bit of extra yarn and did some duplicate stitch over a couple of stitches on the side of the hole. Then I caught the stitches in a manner very similar to how it should have been. The yarn ends I hid in those wavy decrease lines. Close up, you can see they’re a tad heavier than the other ones. But it’s quite invisible if you don’t know it’s there. Yay!
Thanks to my Patreon supporters for bringing you this freebie! Creating quality patterns and tutorials is a lot of work and resource-intensive. However, I find it important to give you free content like this tutorial. Thanks to the generous support of my Patreon supporters, I can make it happen. Thank you, patrons! Click here to join, or click here to read more about La Visch Designs on Patreon.
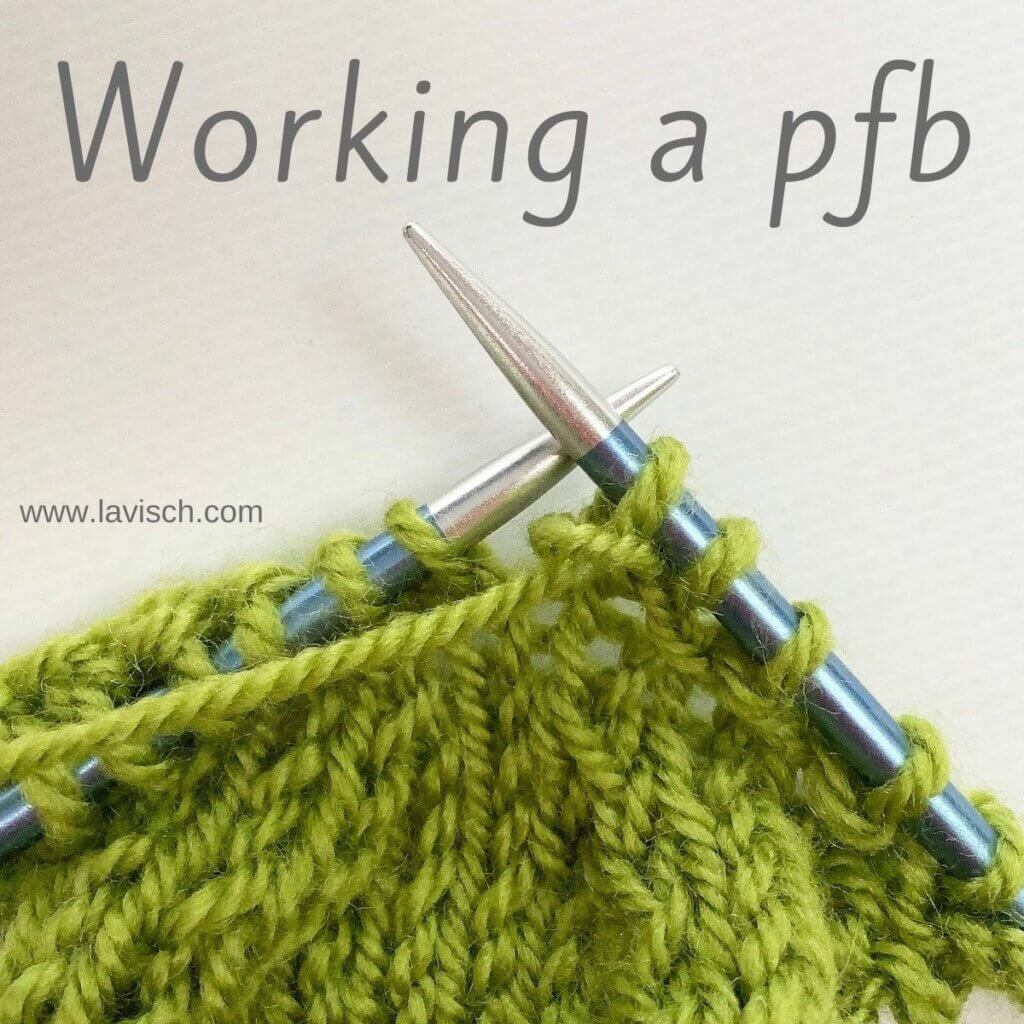
There are lots of ways to increase the number of stitches on your needle. Purling in the front and back of the same stitch, also known as the pfb increase, is the purl side version of the kfb increase. In other words: you work the pfb on the purl side of the fabric, which is often the wrong side) to get an extra stitch that looks like the kfb increase on the knit- or right side of stockinette fabric. This increase can be a bit tricky to work at first, but once you know how to do it, you will breeze right through them.
The pfb increase is also known as a “bar increase” because it forms a little horizontal bar in your work. Due to this little bar, this increase is virtually invisible in garter stitch. When used in stockinette, as shown in this tutorial, it forms a series of decorative bars along the increase line when viewed from the knit side of the fabric. This how-to will give you step-by-step instructions on how to work the “purl front and back” increase.
Materials used
Yarn: * Paintbox Yarns Simply DK, a good value, good quality 100% acrylic yarn, here in the color 128 Lime Green.
In this tutorial I’ll continue the swatch that I used in previous tutorials on increases and decreases.
First, work your way across the row until you’ve reached the point where you want to make the increase.
In this case, I want the increase 2 sts in from the garter stitch border on the right. A pfb first makes a purl stitch, followed by the extra “bar” stitch on the left of it. Because of this, I start working the pfb over the third stitch.
To start, insert the right-hand needle purl wise into the front loop of the stitch.
To finish this part of the stitch, wrap your yarn around the needle, and pull it through the stitch. Don’t drop it of the needle yet!
Now we insert the right-hand needle purl wise into the back loop of the stitch.
To do so, insert the needle from the left to the right through the back loop. This is the tricky part, I find it helps to pull the fabric down a bit as shown in the picture, because it makes it easier to see where to insert the needle.
Next, wrap the yarn around the needle and pull it through the stitch.
To complete the pfb stitch, drop the loop from the original stitch off the left-hand needle.
This is how it looks now.
Do you see the purl stitch with an extra “bar stitch” to the left of it?
This is how it looks after some more rows with increases, when viewed from the purl side of the fabric.
In this swatch, I’ve also made increases on the left side of the fabric. Very invisible here!
And here is the view from the knit side of the fabric.
When viewed from this side, it really looks like a kfb, right?!
And that’s all there is to it!
Thanks to my Patreon supporters for bringing you this freebie! Creating quality patterns and tutorials is a lot of work and resource-intensive. However, I find it important to give you free content like this tutorial. Thanks to the generous support of my Patreon supporters, I can make it happen. Thank you, patrons! Click here to join, or click here to read more about La Visch Designs on Patreon.
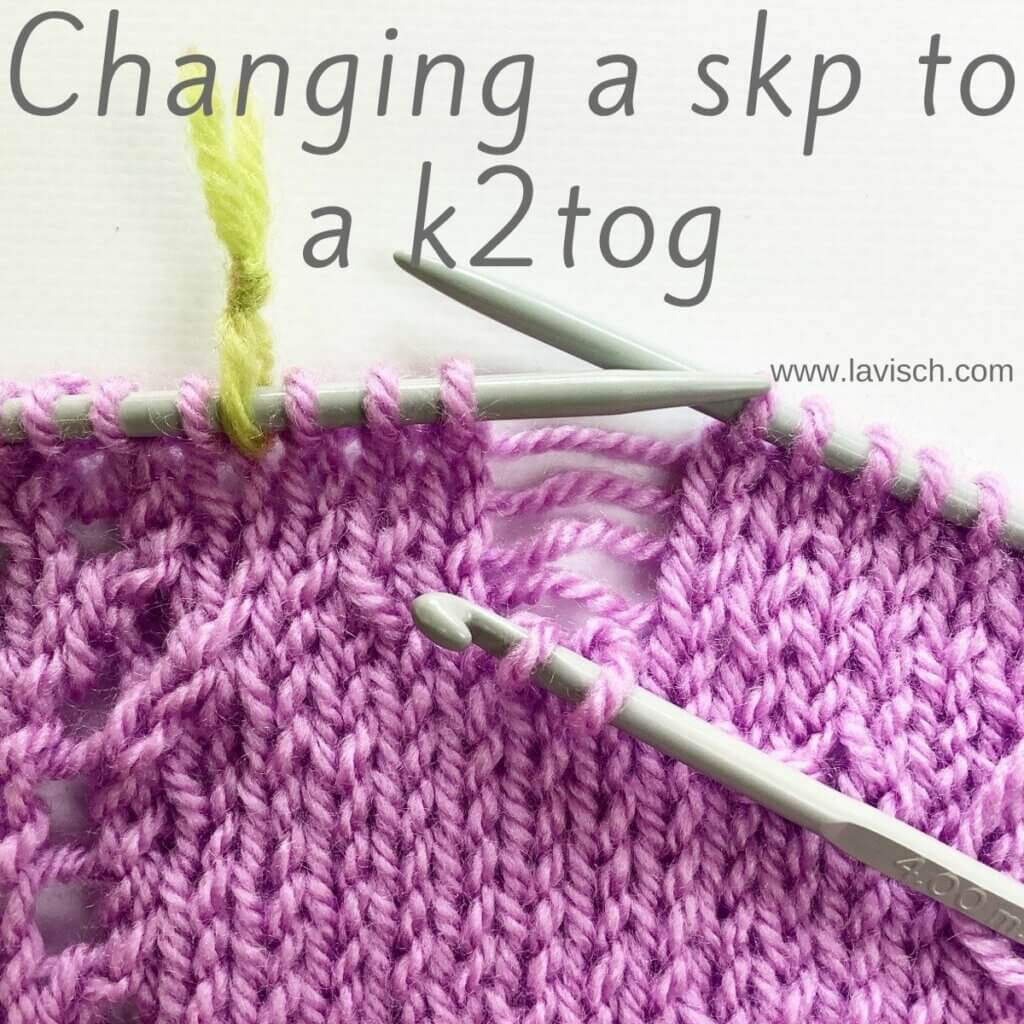
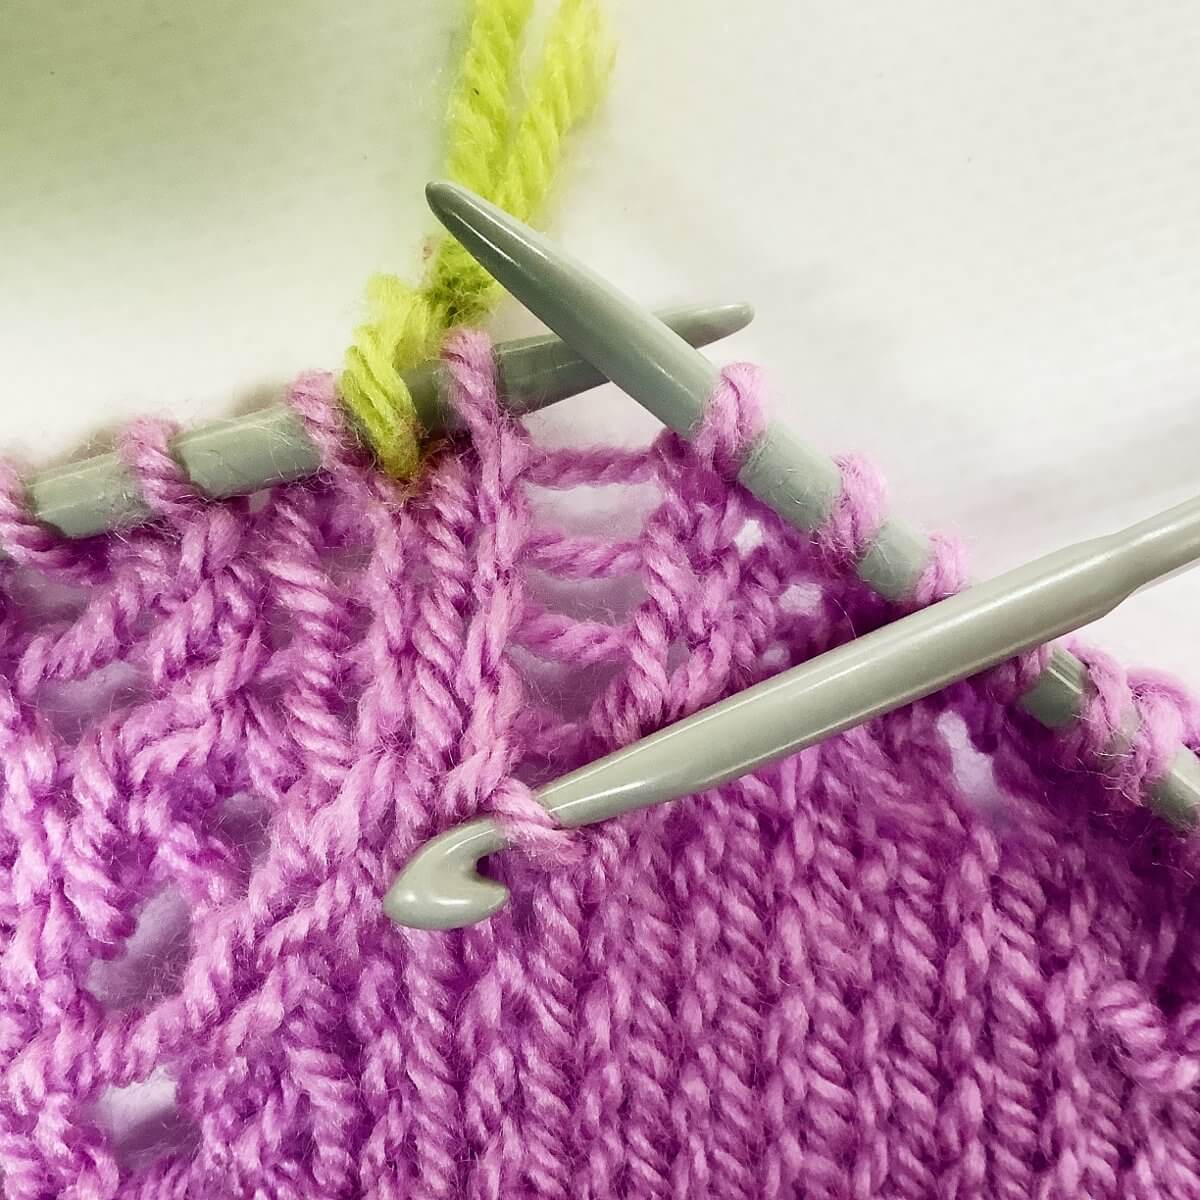
This tutorial is part of the series on fixing mistakes in knitting. When knitting lace or shaping in garments it can easily happen that a left-leaning decrease is worked where a right-leaning one was needed. Or vice versa, of course. And because I really don’t like ripping out my work, I’m showing how to drop down several rows in your knitting and how to go about changing skp to k2tog.
Materials used
Yarn: * Paintbox Yarns Simply DK, a good value, good quality 100% acrylic yarn, here in the color 142 Tea Rose.
First, slip the stitches purl-wise from the left-hand needle to the right-hand needle, until you reach the stitch directly above the wrongly worked decrease. Do you see it, 4 stitches below the needle?
Now drop down the stitch.
Ladder it all the way down until the decrease is undone, and you have 2 stitches instead of 1.
Catch these 2 stitches with the crochet hook.
Make sure to insert the hook from left to right through the stitches.
Next, it’s time to start working the k2tog decrease.
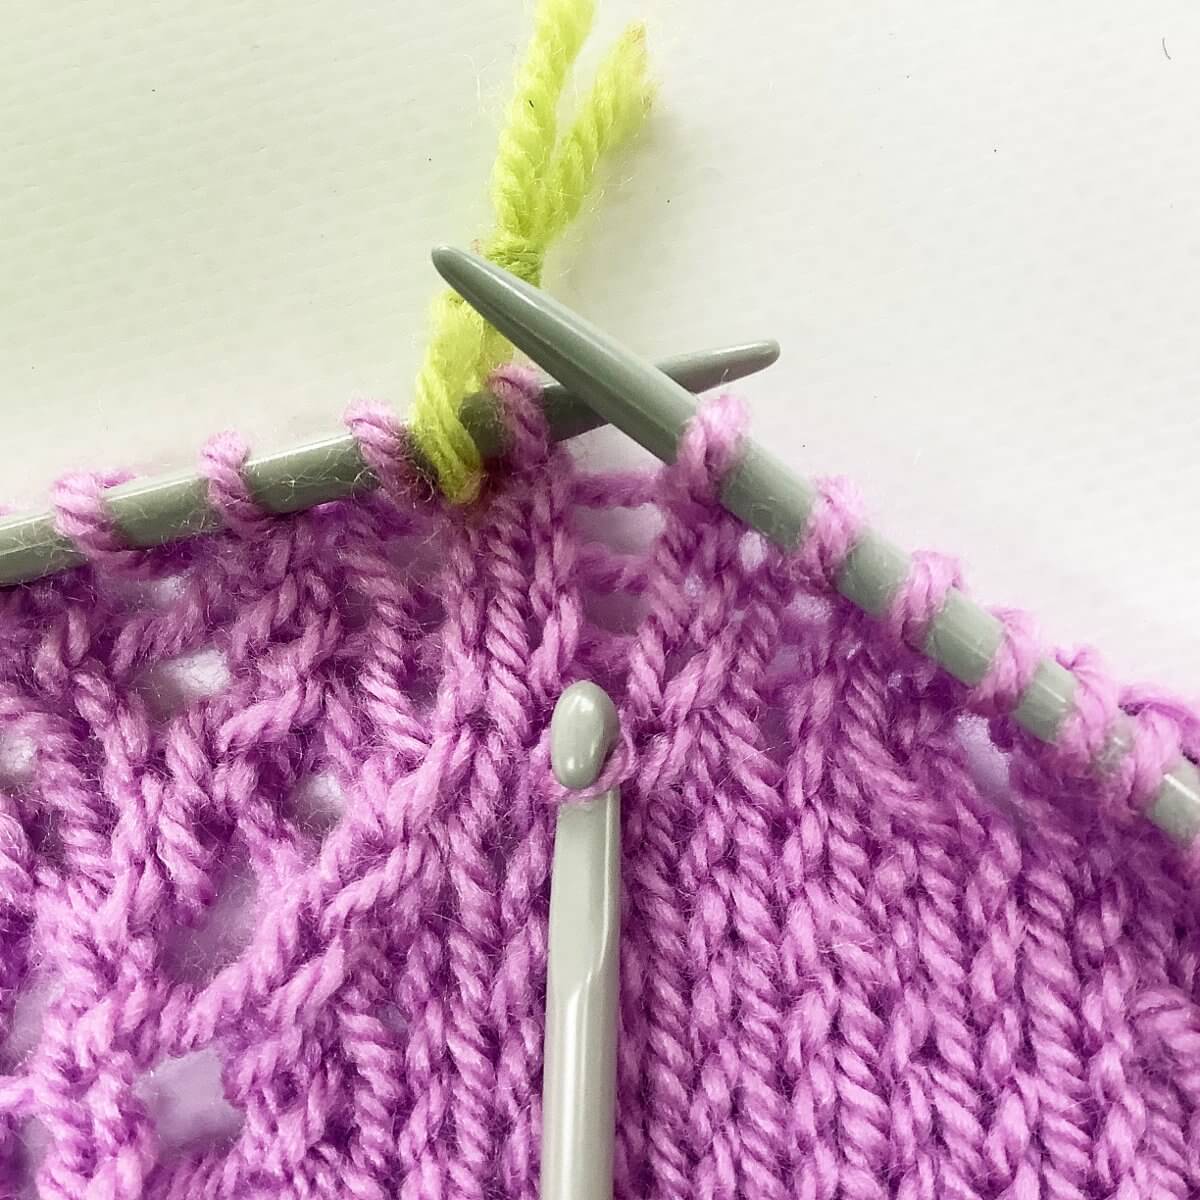
To do so, insert the crochet hook below the first horizontal thread running directly above the 2 stitches on the hook.
Next, pull the horizontal thread through the both stitches on the hook. This completes the k2tog decrease. In the picture below you can see that the decrease now leans to the right instead of to the left as it was originally.
Finishing up.
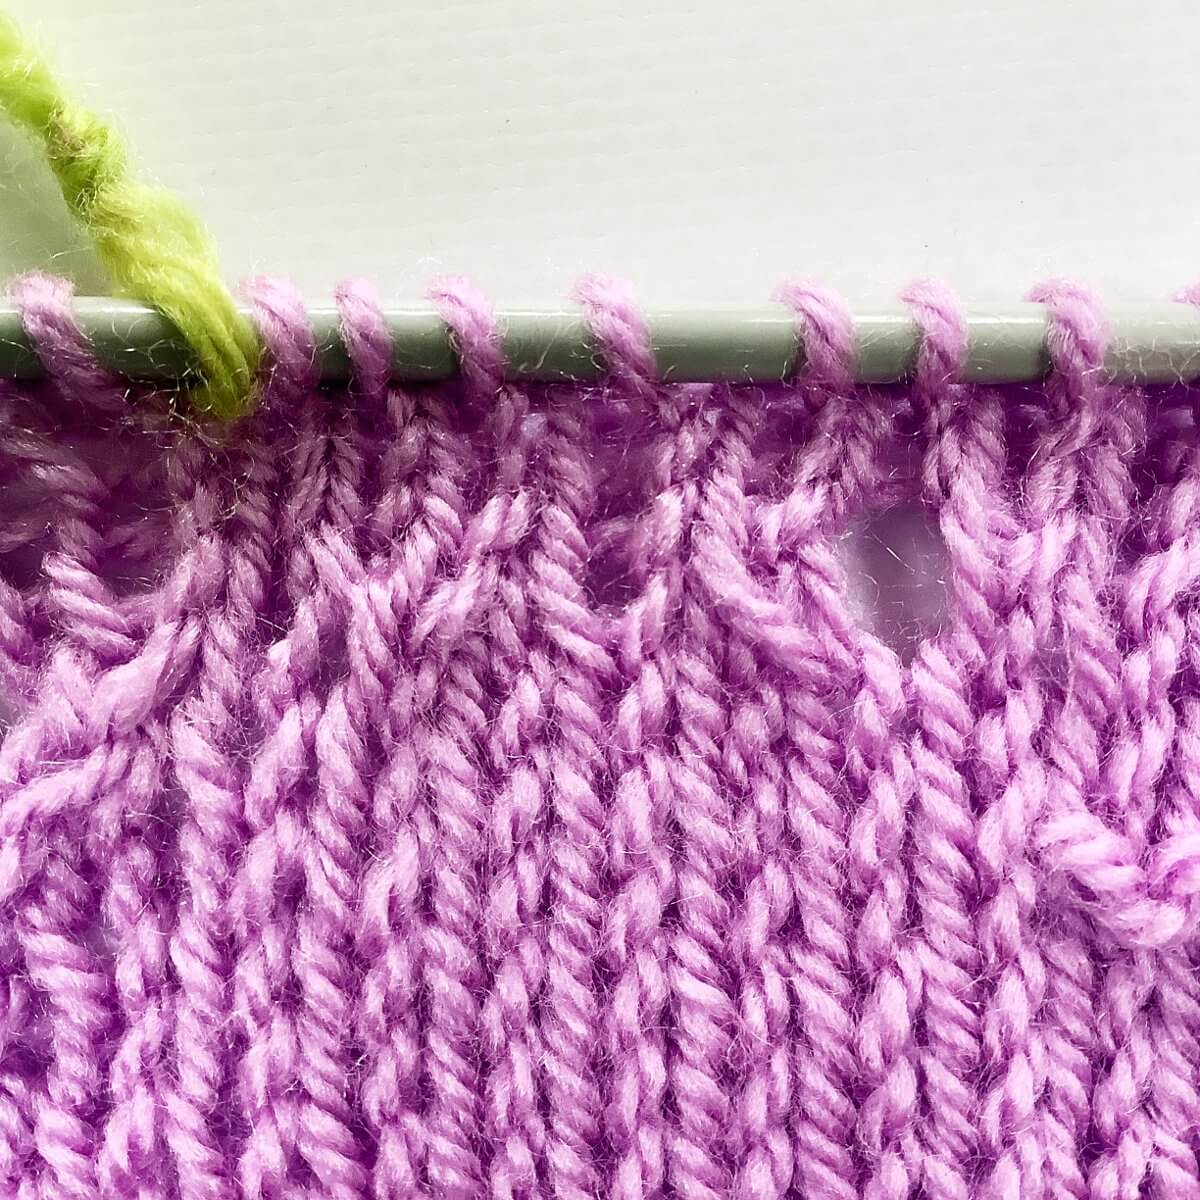
Next, ladder your way up again by inserting the crochet hook underneath the horizontal thread directly above the hook, and pulling the thread through the loop already on the hook to make a new knit stitch. For stockinette, repeat this until all horizontal threads have been worked. After this you can place the stitch back unto the knitting needle.
And that is how you go about changing a skp to a k2tog, several rows down in your knitting! I prefer knitting skp instead of ssk for my left leaning decreases, but the same principles apply to that too:
Just drop down the stitch directly above the decrease
Catch the stitches
Work the correct decrease using the first horizontal thread above the stitches as your working yarn
Ladder your way back up again.
That’s all there is to it!
Thanks to my Patreon supporters for bringing you this freebie! Creating quality patterns and tutorials is a lot of work and resource-intensive. However, I find it important to give you free content like this tutorial. Thanks to the generous support of my Patreon supporters, I can make it happen. Thank you, patrons! Click here to join, or click here to read more about La Visch Designs on Patreon.
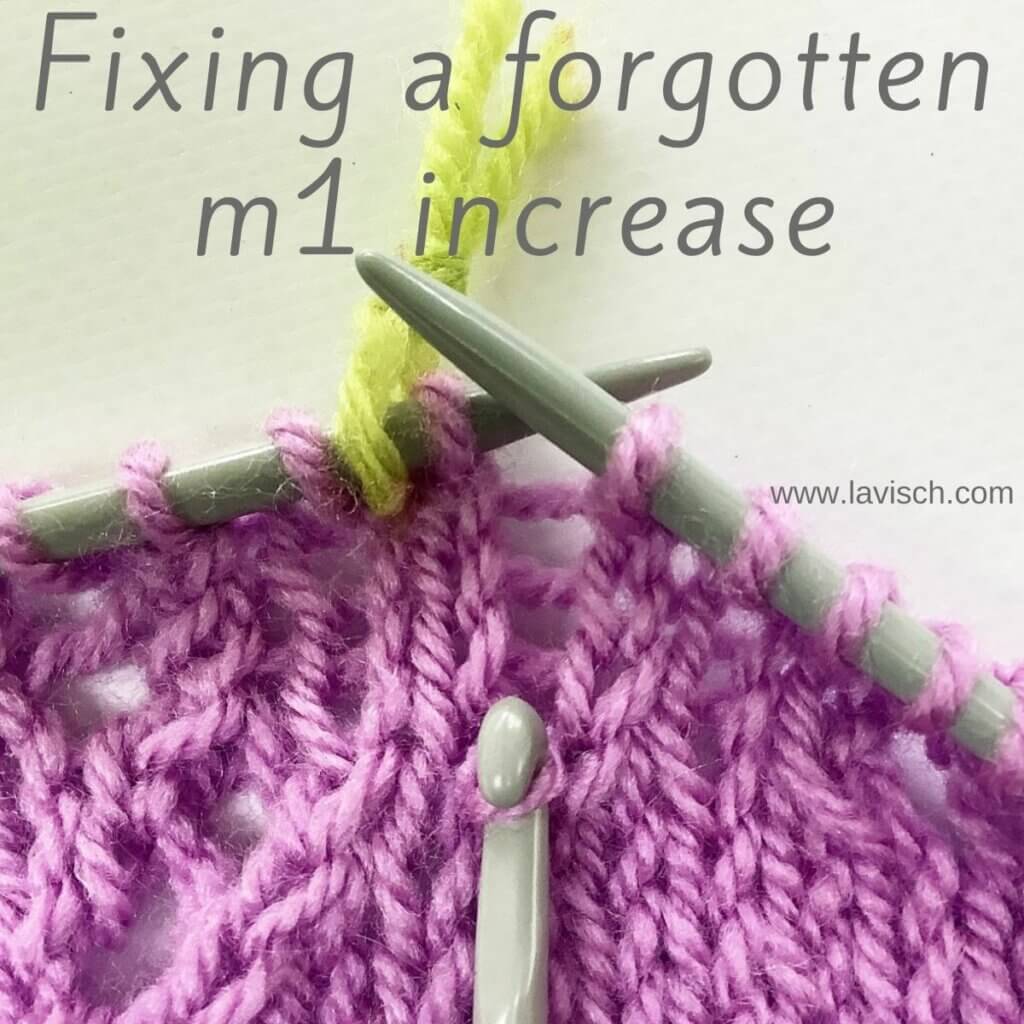
In an earlier tutorial I already showed you how to fix a forgotten yo. But, of course, that’s not the only type of increase that can be forgotten. What about fixing a forgotten m1? Personally, I have a very big aversion against ripping out my work, just because I forgot one teeny tiny stitch a couple of rows back. I mean, it certainly is an option, but I consider it to be more of a last resort type of option.
So, in this post I’ll show you to fix a forgotten m1 increase, specifically for the situation that the lack of the increase hasn’t been noticed until several more rows or rounds have been worked. I’ll address it for both the m1l and m1r variations of the increase.
Materials used
Yarn: Paintbox Yarns Simply DK, a good value, good quality 100% acrylic yarn, here in the color 142 Tea Rose.
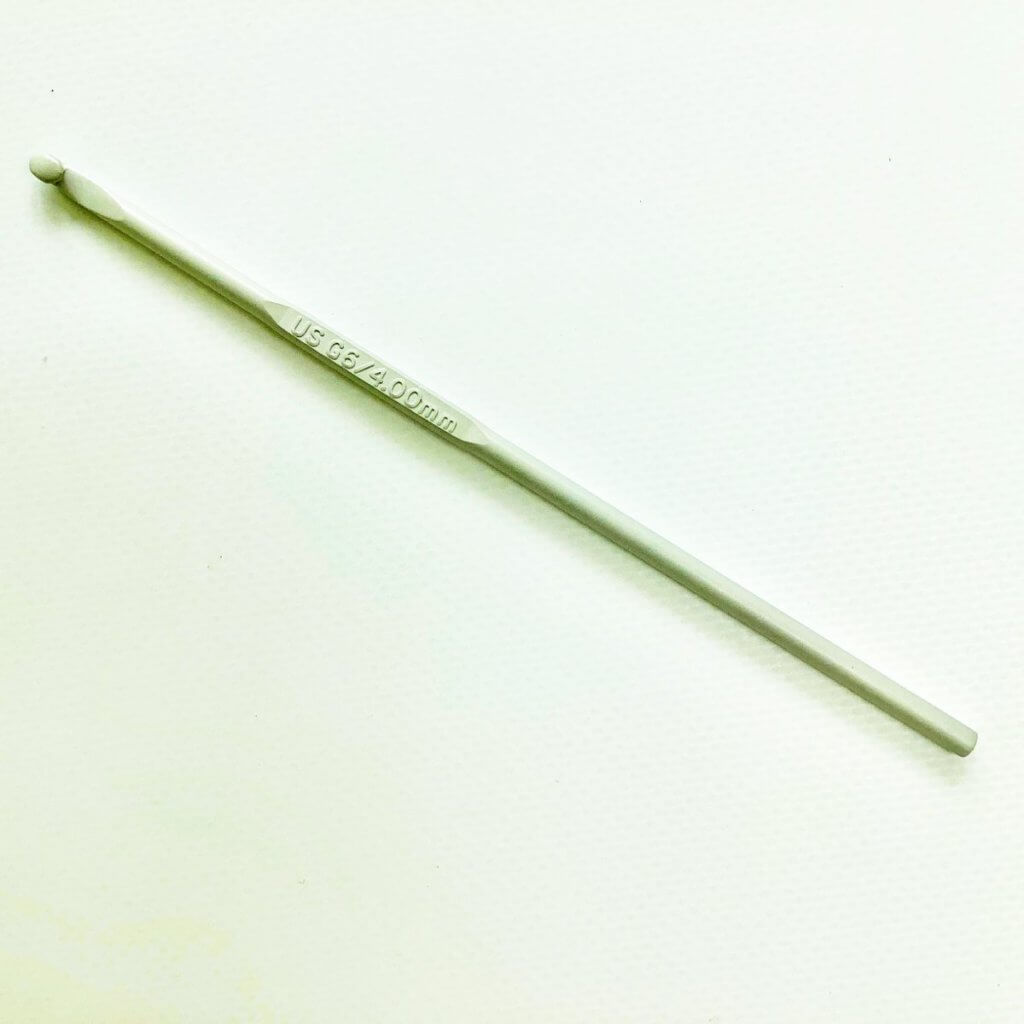
A crochet hook in the same size or slightly smaller than your knitting needles. For example this Pony Aluminum Crochet Hook in size 4 mm.
Fixing a forgotten m1 step by step
Let’s get started! In this tutorial I’m using the swatch I also used in previous tutorials on fixing things in knitting.
First, go to the spot in your knitting where the m1 increase should have been.
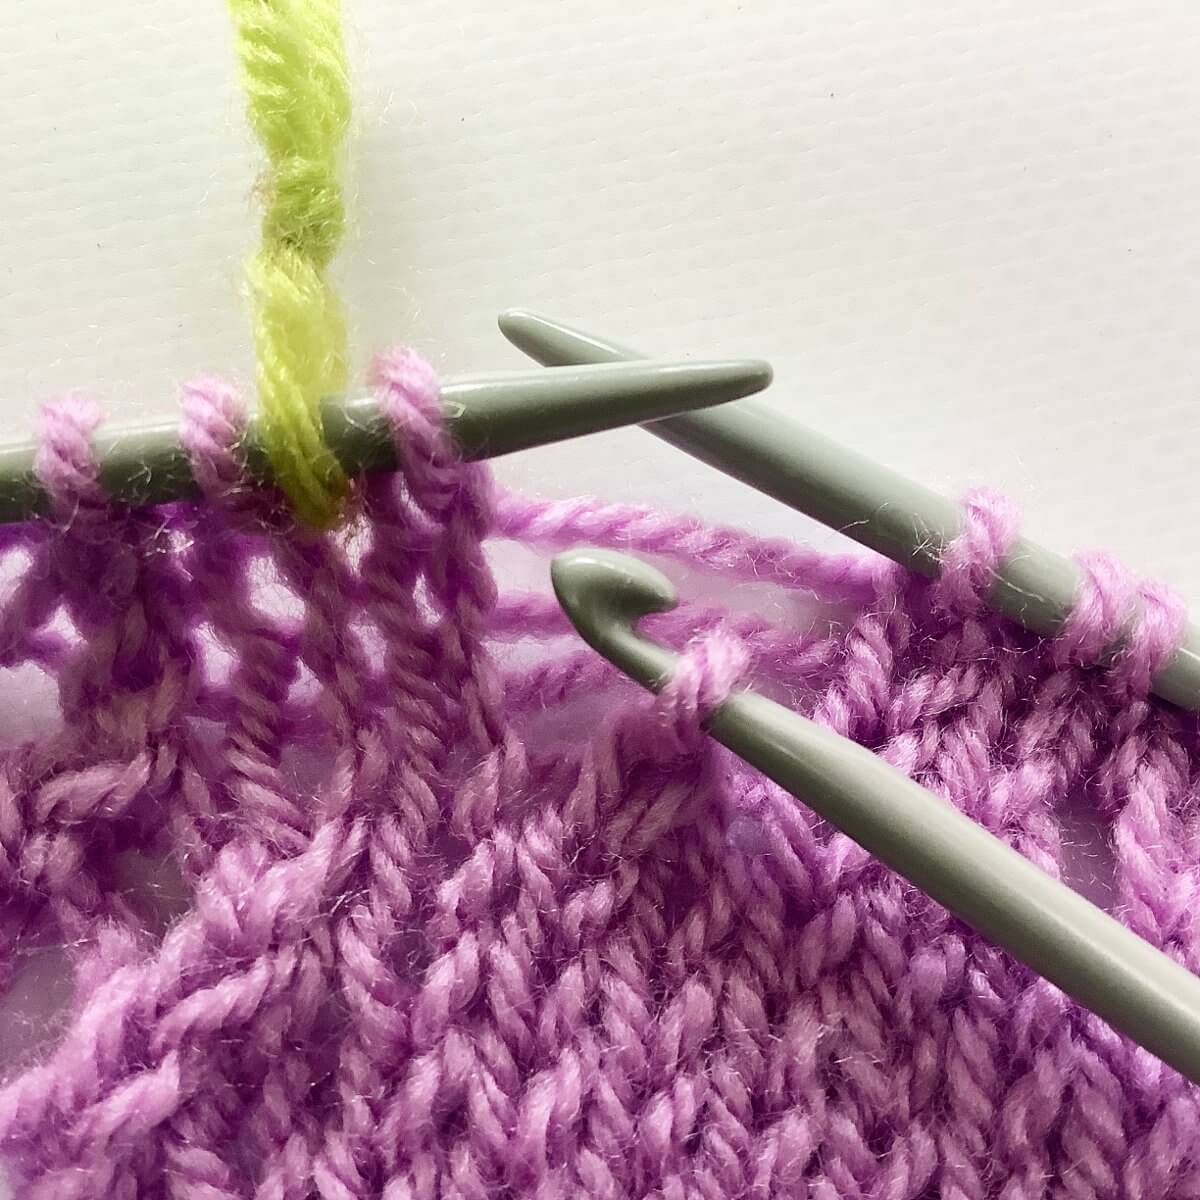
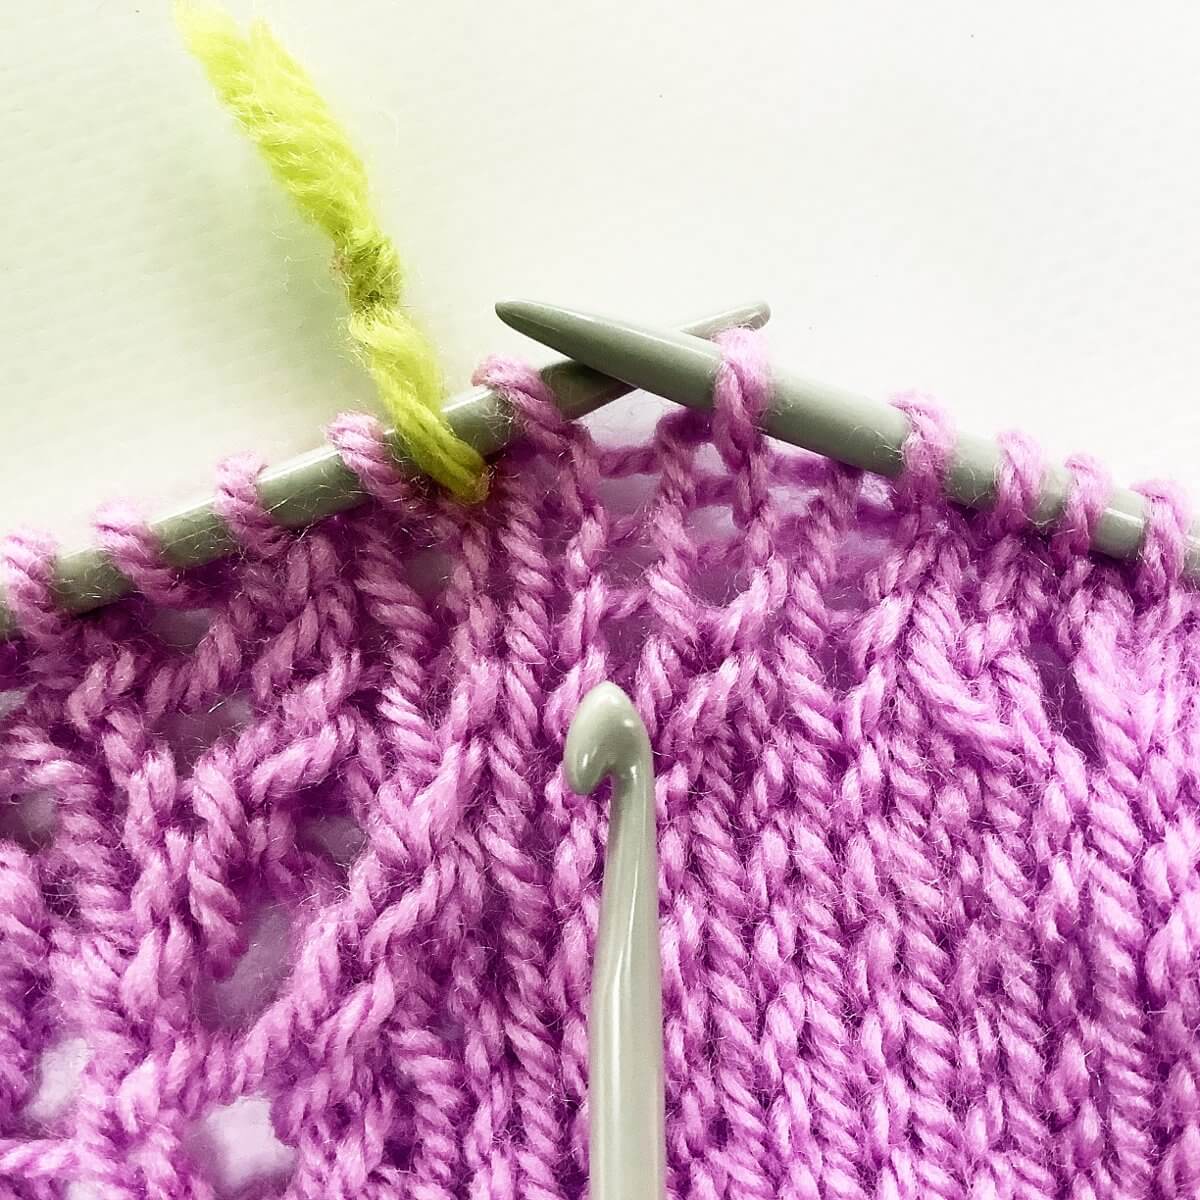
Let’s assume we’ve forgotten to work the increase at the spot indicated by the crochet hook. If you look carefully, you can see horizontal threads between the 2 columns of stitches.
Let’s assume we’ve forgotten the m1 increase 4 rows down.
Now insert the crochet hook from top to bottom underneath the 5th horizontal thread.
Next, twist the crochet hook 180 degrees to twist the loop on the hook.
The direction depends on the type of m1 increase you want to make. Twist it 180 degrees clockwise for a left leaning increase (m1l), or 180 degrees counterclockwise for a right leaning (m1r) increase. In the picture below the loop has been twisted, see how it sits more snugly on the crochet hook?
Now we can ladder the work back up!
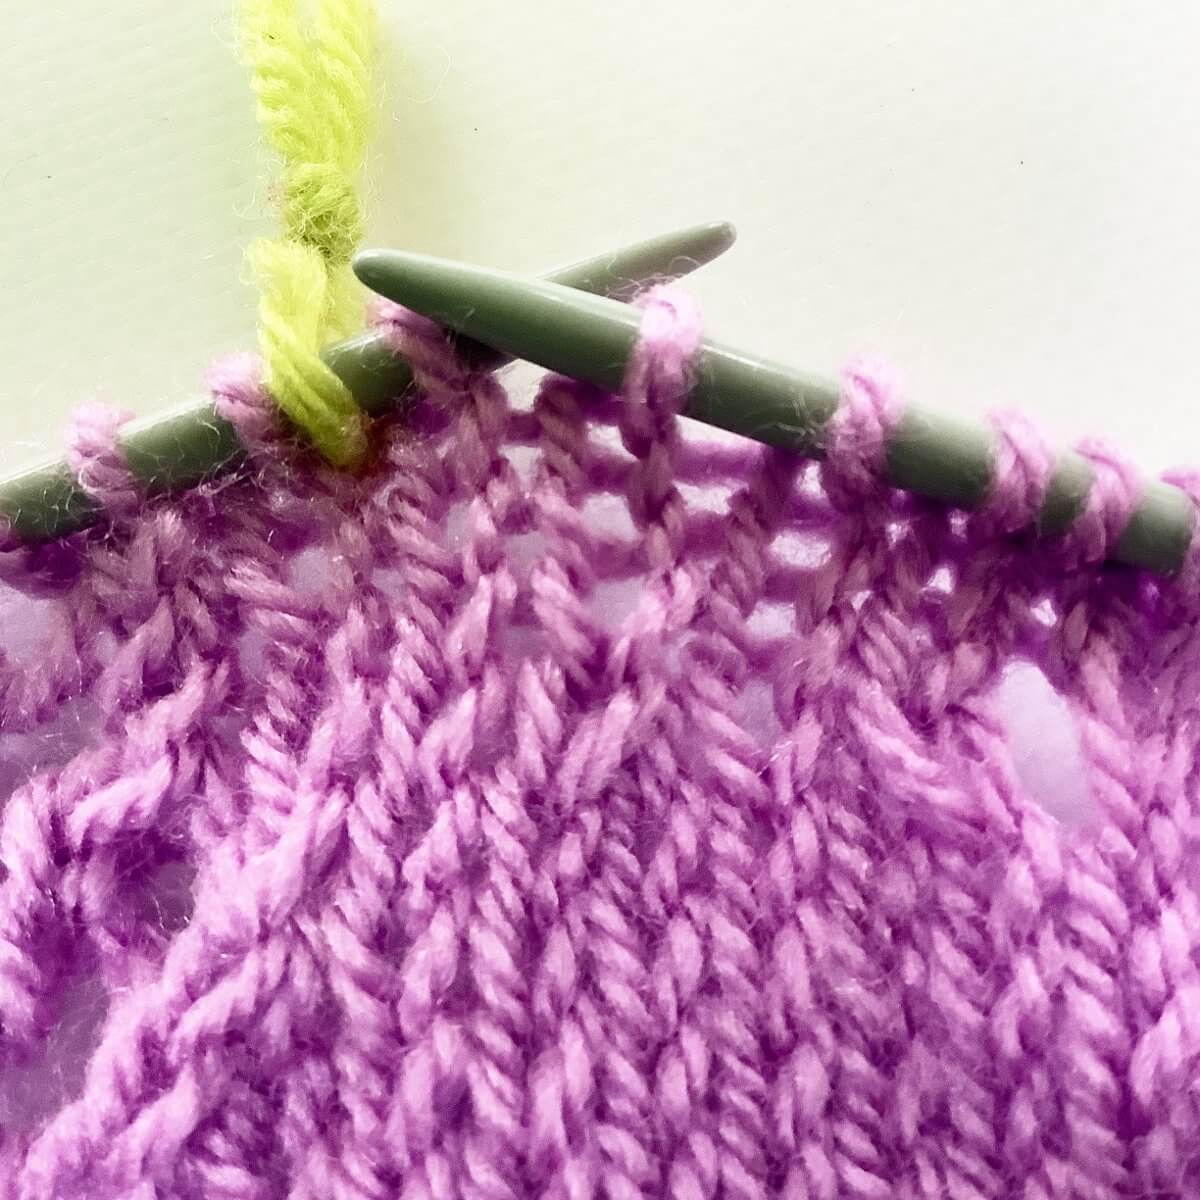
To do so, insert the crochet hook underneath the horizontal thread directly above the new m1 (the 4th horizontal thread down), and pull the thread through the loop already on the hook to make a new knit stitch. Repeat this (for stockinette) as often as needed until you’ve run out of threads to pull through and place the stitch on the left-hand needle. Below you can see the result.
Now you’re ready to continue your knitting!
Thanks to my Patreon supporters for bringing you this freebie! Creating quality patterns and tutorials is a lot of work and resource-intensive. However, I find it important to give you free content like this tutorial. Thanks to the generous support of my Patreon supporters, I can make it happen. Thank you, patrons! Click here to join, or click here to read more about La Visch Designs on Patreon.
In this tutorial I’ll show you how to work a double crochet bind-off. As you know, there are many ways to bind off knitted fabric, which one to choose depends greatly on various factors. Take the amount of stretch in the bind-off itself, for example. The Russian bind-off is wonderful for lace shawls that are blocked to the max, but is less suitable for projects that need more structure at the bind-off edge. For that an i-cord bind-off may be more suitable. Another thing to take into account is the way it looks, does it match the cast-on used?
The double crochet bind-off is reasonably flexible and, due to its taller height when compared with other bind-offs, a pretty good match with the German twisted cast-on. Let’s take a look at how it’s worked!
Materials used
Yarn: * Paintbox Yarns Simply DK, a good value, good quality 100% acrylic yarn. Pictured here in the color 155 Vintage Pink.
First, insert your crochet hook into the first stitch on the needle knit wise.
Next, wrap the yarn around the hook….
…and pull it through the stitch on the needle.
Next, remove the stitch and let it drop from the needle.
Repeat steps 1-4 once.
Now you have 2 loops on your crochet hook.
Now wrap your yarn around the crochet hook…
This is the start of the “double crochet” part of this bind-off.
…and pull the wrapped yarn through both loops that are on the hook.
Repeat steps 5 to 7 until all stitches are bound off.
This is how it looks:
Thanks to my Patreon supporters for bringing you this freebie! Creating quality patterns and tutorials is a lot of work and resource-intensive. However, I find it important to give you free content like this tutorial. Thanks to the generous support of my Patreon supporters, I can make it happen. Thank you, patrons! Click here to join, or click here to read more about La Visch Designs on Patreon.
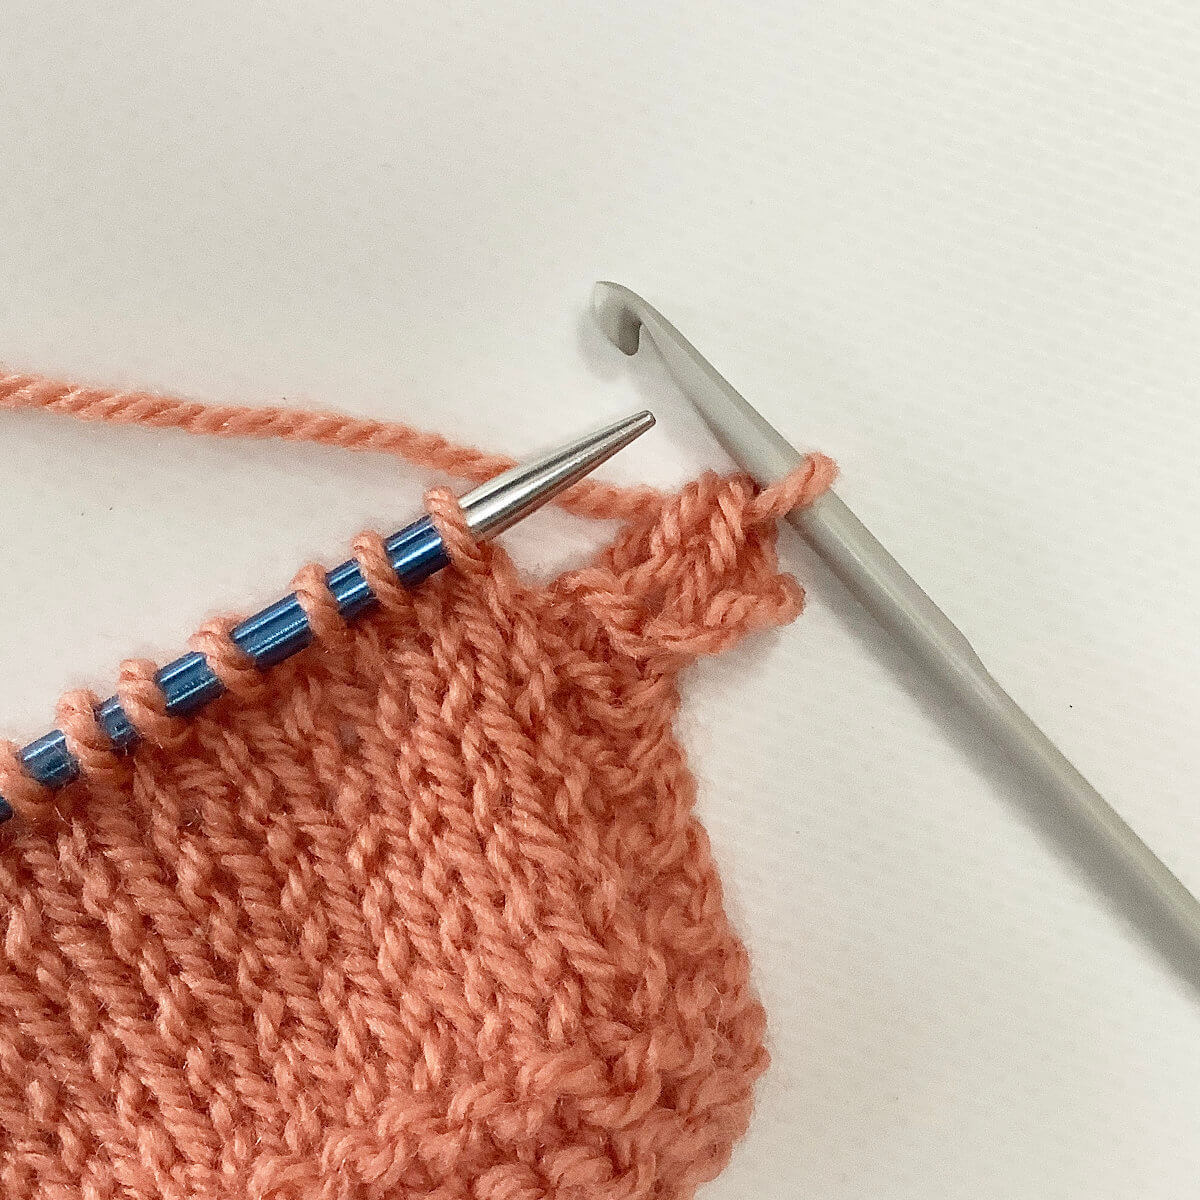
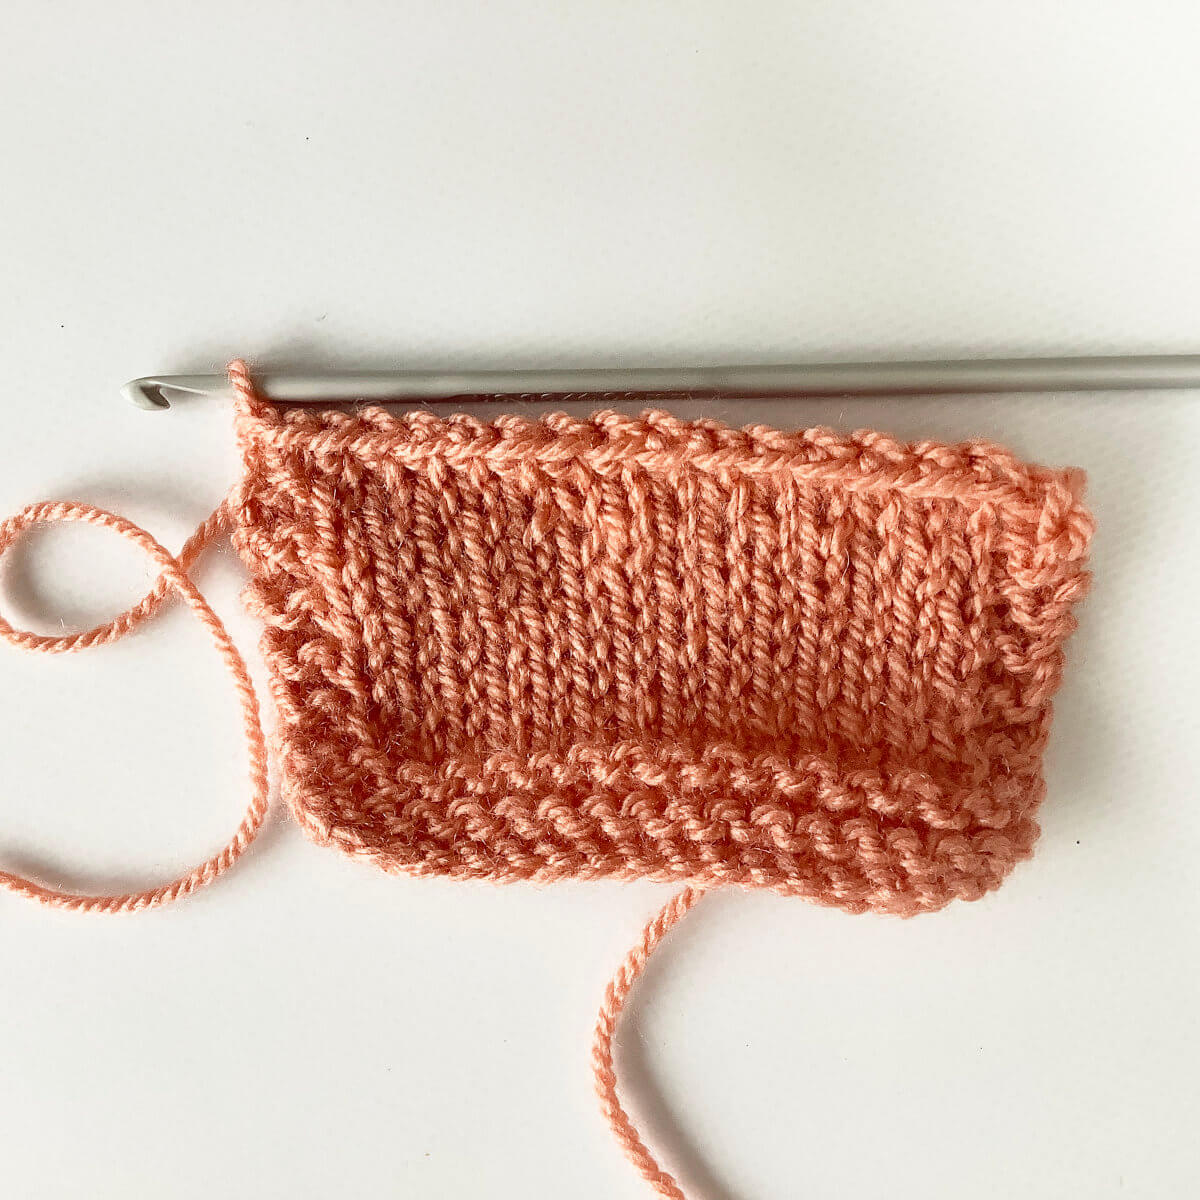
There are cases in which skipping the row on your needle for particular stitches is desired, and one is to knit or purl in the row below that one. In other words: you knit/purl into the stitch below where you normally would, exactly as the name suggests. Think, for example, of Fisherman’s Rib. In a previous tutorial I already showed you how to work the purl 1 below stitch, so now it’s the turn of the knit 1 below! The main challenge in working this stitch is recognizing the stitch to insert your needle in. So that’s what I’ll be showing you in this tutorial on how to work the knit 1 below or k1b stitch.
Materials used
Yarn: * Paintbox Yarns Simply DK, a good value, good quality 100% acrylic yarn, here in the colors 155 Vintage Pink and 125 Spearmint Green.
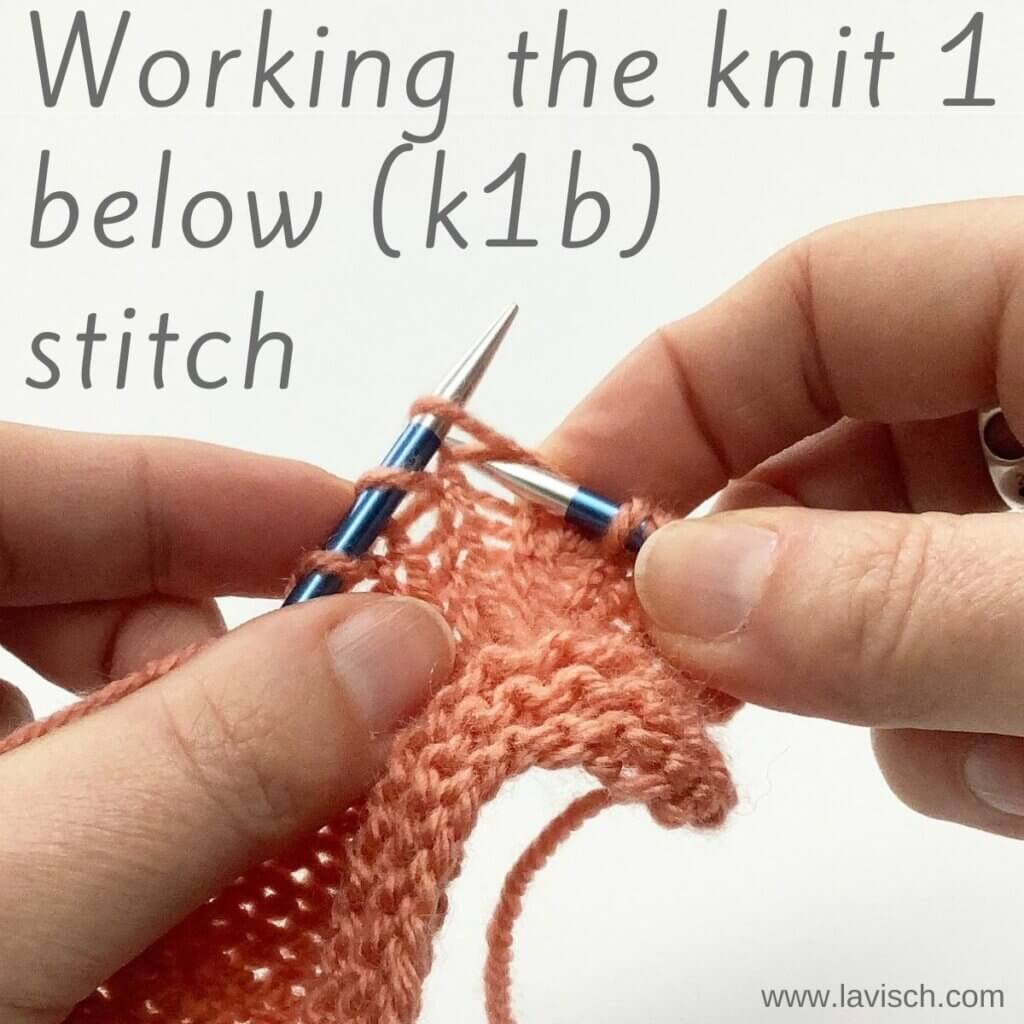
In patterns, you may encounter the following description of this stitch: Knit 1 below (k1b): Knit into the stitch 1 row below the one on the needle by inserting the needle from front to back. Knit this stitch, then pull the worked stitch and the stitch above off the needle together. But how to actually do this? Read on!
First, work your way across the row until you’ve reached the point where you want to make the stitch
In this case I’m making the k1b4 stitches in from the right edge.
Identify the correct loop to insert your needle in.
Normally, you’d insert the right-hand needle in the loop that’s on the left-hand needle. If we go down a row, you see the stitch we want (pointed out by the extra needle), hugging the loop that’s on the needle.
Now, insert the right-hand needle knit wise in the stitch we’ve identified.
You can see it more easily if you pull down the fabric a bit with your fingers.
Now wrap your working yarn around the needle…
…. and pull it through the stitch.
See that you’re actually pulling it through 2 stitches at once? That is, the one on the needle and the one directly below it.
Finish the stitch by slipping the top stitch off the left-hand needle without actually working it.
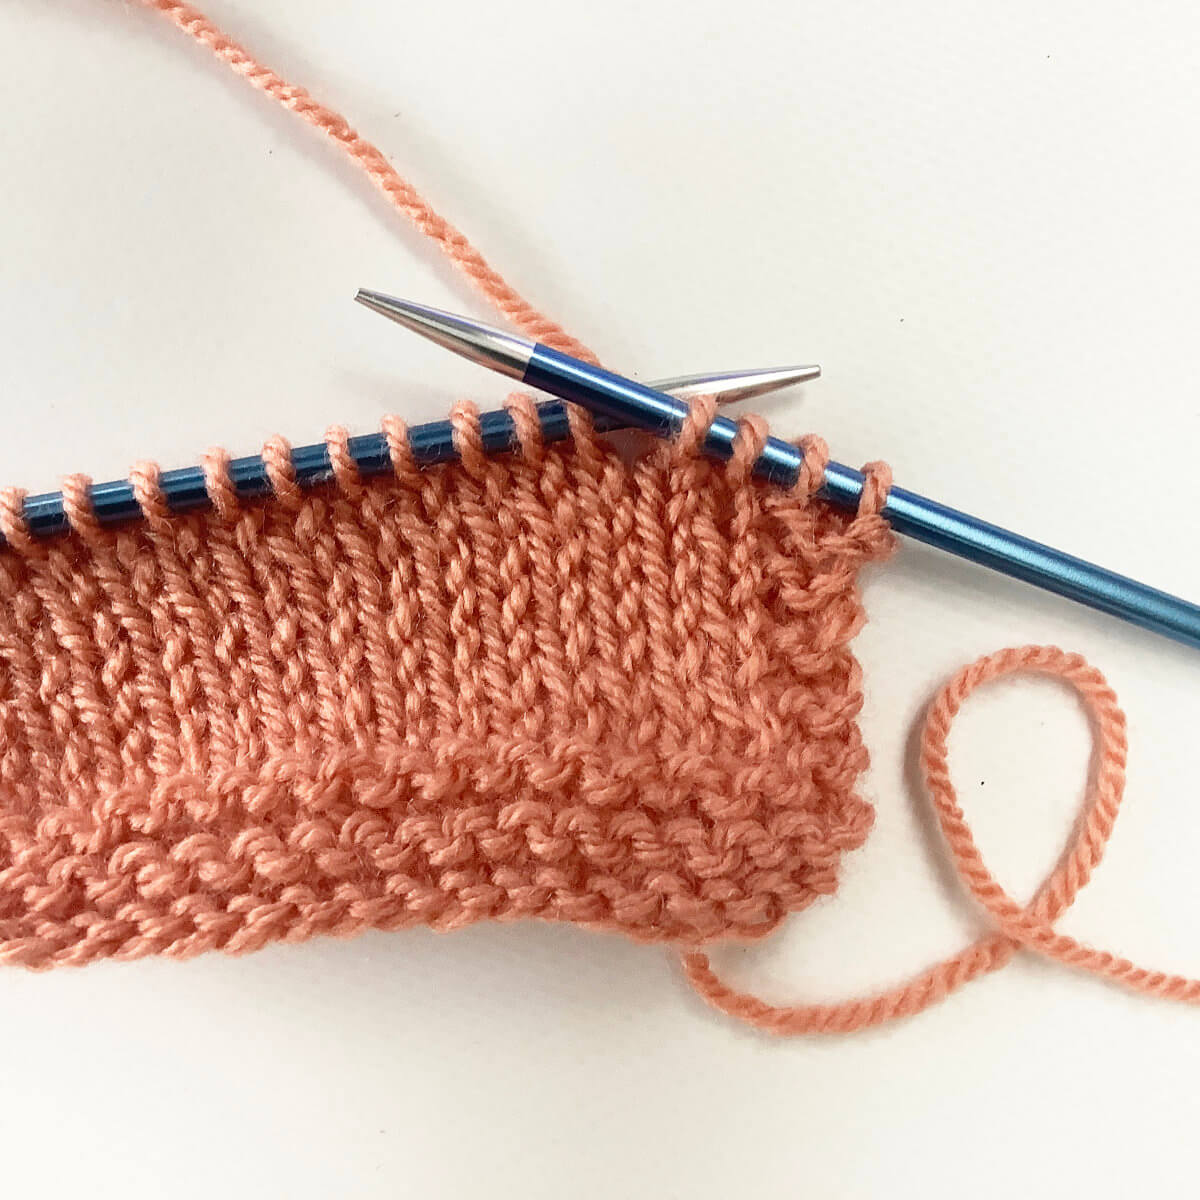
Because the fabric is secured by knitting into the stitch below it, the stitch won’t run down unraveling.
And that’s all there is to it!
Thanks to my Patreon supporters for bringing you this freebie! Creating quality patterns and tutorials is a lot of work and resource-intensive. However, I find it important to give you free content like this tutorial. Thanks to the generous support of my Patreon supporters, I can make it happen. Thank you, patrons! Click here to join, or click here to read more about La Visch Designs on Patreon.