tutorial – bust shaping: vertical bust darts
Lately I’ve been branching out from accessories like shawls to garments. In tees and sweaters for myself, I usually don’t work any shaping in the body. The stretch of knitted fabric is often enough to accommodate my bust. However, for people with a C+ bust, some shaping could be beneficial for optimal fit. As a larger-busted person, you may have experienced that the fabric is very much stretched across the bust. Or perhaps, that with a size selected based on the bust measurement, the garment fits great in the chest area, but is just too big in all other places. None of these options are good if you want something that fits all of you.
In this two-part series on bust shaping, I’ll go into the nitty-gritty details on both vertical and horizontal (short row) bust shaping to help you achieve the perfect fit in your knitted garments for your body. In this part, I’ll focus on vertical bust darts.
What are darts?
In short, darts are a way to add in (or remove) fabric in a specific area, to accommodate the curves of the body underneath. In this tutorial, I focus on bust darts. However, darts could also be used to create more room for a tummy or buttocks, while highlighting the waist.
If we’re talking specifically about vertical darts, we mean the kind of darts that are worked vertically. In other words: adding in or removing stitches to add to or subtract width from the fabric. These can be done working top-down or bottom-up, the approach is exactly the same. That said, my personal preference is to work garments top-down. So, that’s what I’ll use for illustrating the concept in this tutorial.
But first, we have to measure!
Measuring
A good rule of thumb is to pick your garment size, based on the upper bust measurement. This way, the garment will be based on your actual torso size, giving a better fit in the shoulders etc. Before we do any measuring, though, make sure you wear a well-fitting bra, because this will influence the resulting measurements.
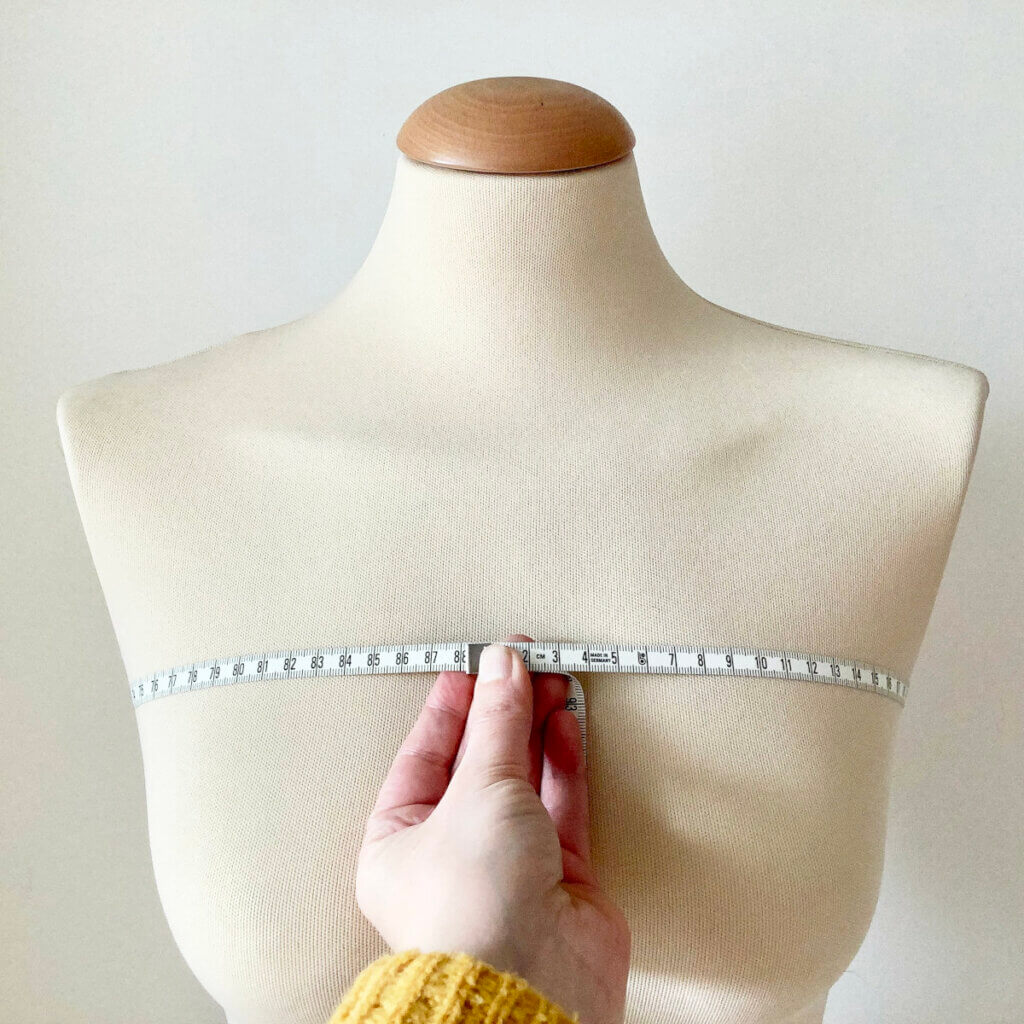
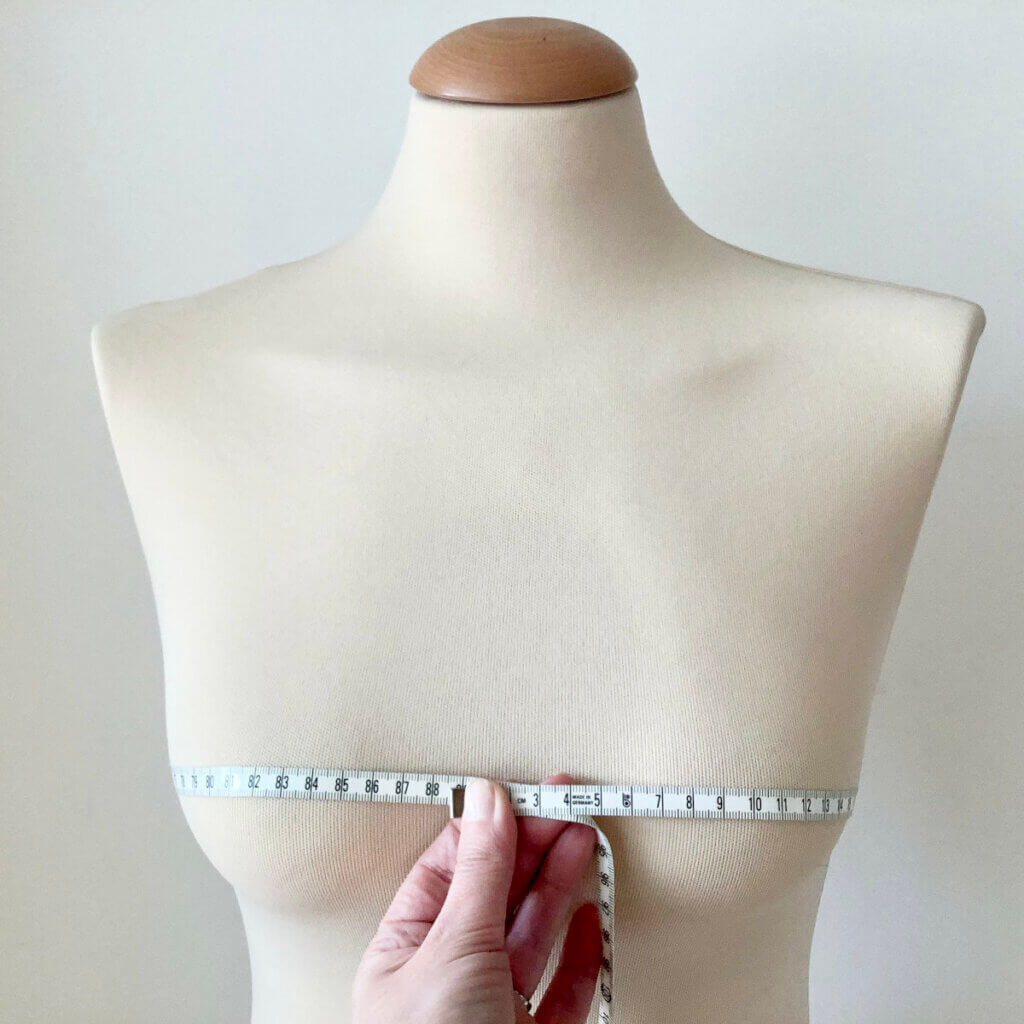
To find your upper bust measurement: Wrap the tape measure around your chest at the narrowest part above the bust. This is usually just below your arms. Take care to keep the tape measure over your back level with the floor. The picture below shows this on my mannequin.
Now, to know how much fabric to add to create sufficient room for the bust, we also need to know the full bust measurement. To find this measurement, wrap the tape measure around the fullest part of your bust, again keeping it level with the floor. This might be tricky to do on your own, so ask for help with this if possible. I’ve made a picture of this on my mannequin again:
Now, on my mannequin there is not much difference between the upper bust and the full bust measurement, only about half a centimeter. But, for people with a C+ bust, the difference can be 2.5-7.5 cm (1-3 inches), or more.
Now we know both the upper bust and full bust measurements, and thus how much to increase the width with. However, we don’t know yet where to reduce the width to after that (following a top-down construction). For this, we need a final measurement taken at the small part of your torso, directly below the bust. Please note, that if your bust sits quite a bit below the under bust, while wearing a well-fitting bra, it would be better to take the waist measurement, or the measurement of a spot between the under bust and waist.
With these 3 measurements, we can almost start doing our calculations. First, though, we have to take a moment to think about ease.
Measurements and ease
Knitted garments always are designed with a certain amount of ease. For a close-fitting, curve-hugging one, there may be negative ease. This means that the fabric has a somewhat smaller measurement than the body or body part it’s meant to fit around. Negative ease is often used for items like hats and socks, because it makes for a better fit when fitting tightly. Positive ease, on the other hand, means the opposite: the fabric has a larger measurement than the body or body part it’s meant for. On my garments, I like approx. 5 cm (2 inches) of positive ease, to make the fabric skim over my curves. When using even more positive ease, like for example about 20 cm (8 inches), the fit will be something like those popular boxy sweaters.
When doing your bust dart calculations, you want to make sure to stay in line with the over-all amount of ease in the garment. A full-bust width, that ends up with negative ease, will look odd if the rest of the sweater has a lot of positive ease. Similarly, a close-fitting body of the sweater will look strange if the upper to full-bust part is so loose that’s a tad baggy.
Vertical bust dart placement
As with all knitting, there are 2 dimensions to consider for optimal placement: the vertical and the horizontal one. The latter is the easiest to determine, because it for a large part depends on preference. The rule of thumb for the horizontal placement of the bust dart, is that it should fall somewhere between the side seam and the full bust points (“nipples”). Usually about 1/4 to 1/3 of the way in on the front, measured from the side seam, gives a good result. When you need multiple darts on each side, make sure to place them somewhere between the side seam and the full bust points.
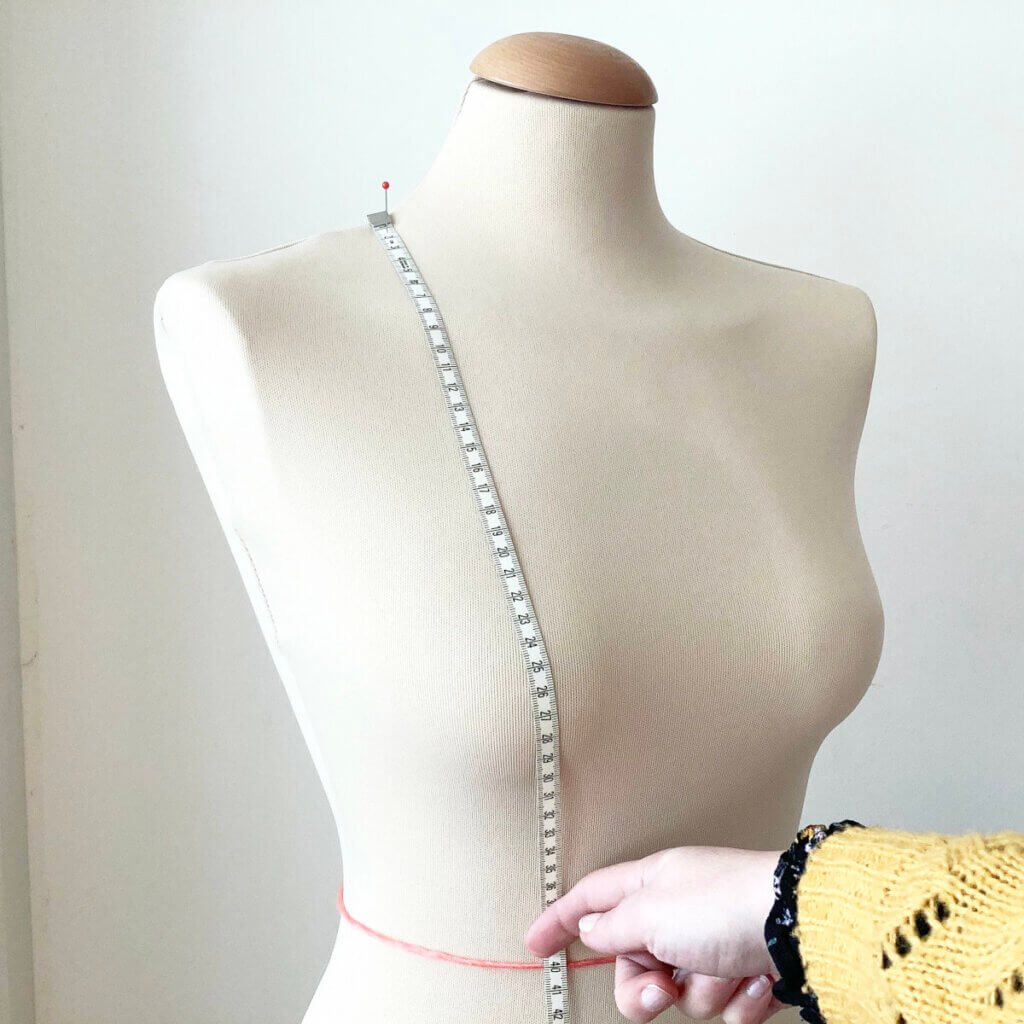
For the vertical dimension – when to start the dart – we really have to take a good look at your personal measurements as well as your gauge. You want to have the correct number of stitches for your full bust measurement + ease, just before you arrive at the bust apex. But everyone’s full bust hits at a different vertical point, as is the case for the sweater’s sleeve separation. So I really can’t give you pointers in the sense of starting x cm or inches below sleeve separation. What does give a good indication, is to measure from the shoulder seam to the upper bust, and onwards to your full bust. These measurements form a good guideline for when you need to have reached the full bust width, as well as the vertical distance between upper bust and full bust.
Vertical bust dart worksheet
To plan out the bust darts, we will need to do a few calculations, based on the measurements we’ve taken and the gauge of our knitting. First for increasing the stitches to the full bust measurement, and then to decrease again to the chosen below-bust measurement (under bust, waist or some measurement of choice in between, depending on your personal build).
Increasing to the full bust measurement
A: Upper bust measurement: _____ This will guide your choice of the size of garment to make, according to pattern measurements, i.e. size 95 cm or 38 inches. Don’t forget to take the recommended ease into account!
B: Your actual bust measurement at fullest point: ____ (i.e. 100 cm or 40 inches)
C: Difference between A and B: ____ (i.e. 5 cm or 2 inches)
D: C times the number of stitches per 2.5 cm or per inch in your gauge: _____. This is the total number of stitches to add in width. Round up to the nearest even number if needed.
E: Divide D by 2 to get the number of stitches to add to each side of the garment: ____
F: The vertical distance from shoulder seam to full bust: ____ (i.e. 27.5 cm or 11 inches)
G: The vertical distance from shoulder seam to upper bust: ____ (i.e. 22.5 cm or 9 inches)
H: Difference between F and G: ____ (i.e. 5 cm or 2 inches)
I: H times the number of rounds per 2.5 cm or per inch in your gauge: _____
An example:
Say A is 90 cm, so I choose to make the 95 cm pattern size. The actual bust measurement at fullest point is 97.5 cm, taking some positive ease into account, my B is 100 cm. This means the difference (C) is 100 – 95 = 5 cm. With a gauge of 20 sts / 10 cm (4 inches) or 5 sts per 2.5 cm (1 inch) I arrive at 10 sts to add in width. This means I will add 5 sts to each side.
If the vertical distance from shoulder seam to full bust (F) is 30 cm (12 inches), and the G measurement is 22.5 cm (9 inches), then the difference is 7.5 cm or 3 inches. With a vertical gauge of 24 rounds / 10 cm (4 inches) or 6 rounds per 2.5 cm (1 inch) this means I have approx. 18 rounds to work the dart increases in (I). Depending on how many extra stitches you need, you can choose to do them every other round or every round. If there are more increases to work than there are rounds to put them in, you can also work a second set of darts on each side.
With working increases every other round, I need 10 rounds, and I want to be at full width a tad before the bust apex. So, say 2 rounds before that. In other words: I want to start my dart 12 rounds before the apex. This equals 5 cm (2 inches). When subtracting this from F, you get the measurement from the shoulder seams where the dart should be started. In this case, that’s 25 cm or 10 inches from the shoulder seam line.
When I reach the point I should start my darts, I place stitch markers to indicate where I want to place the dart line. After that, the increase round instruction will be something like this: K to dart marker, m1, SM, k across bust to next dart M, SM, m1, k to end of round.
When you’ve reached the desired width, it’s time to work even for about 2.5-7,5 cm (1-3 inches) before reducing the number of stitches again. The larger the bust, the longer you’d want to work even before reducing the number of stitches. If you also want to use horizontal (short row) bust darts to add length to the front of the garment and avoid having it ride up, this is the spot to add them! Otherwise, continue with the next section.
Decreasing to the below bust measurement
J: Under bust measurement : _____
K: Difference between J and B: ____ (i.e. 5 cm or 2 inches)
L: K times the number of stitches per 2.5 cm or per inch in your gauge: _____. This is the total number of stitches to reduce in width. Round up to the nearest even number if needed.
M: Divide L by 2 to get the number of stitches to add to each side of the garment: ____
My under bust measurement is the same as my upper bust measurement. Taking ease into account, my J is 5 cm (2 inches). With a gauge of 20 sts / 10 cm (4 inches) or 5 sts per 2.5 cm (1 inch) I arrive at 10 sts to reduce in width. This means 5 sts are to be decreased on each side, with 2 decreases in each round. The decrease round instruction will be something like this: K to 2 sts before dart marker, k2tog, SM, k across bust to next dart M, SM, skp, k to end of round.
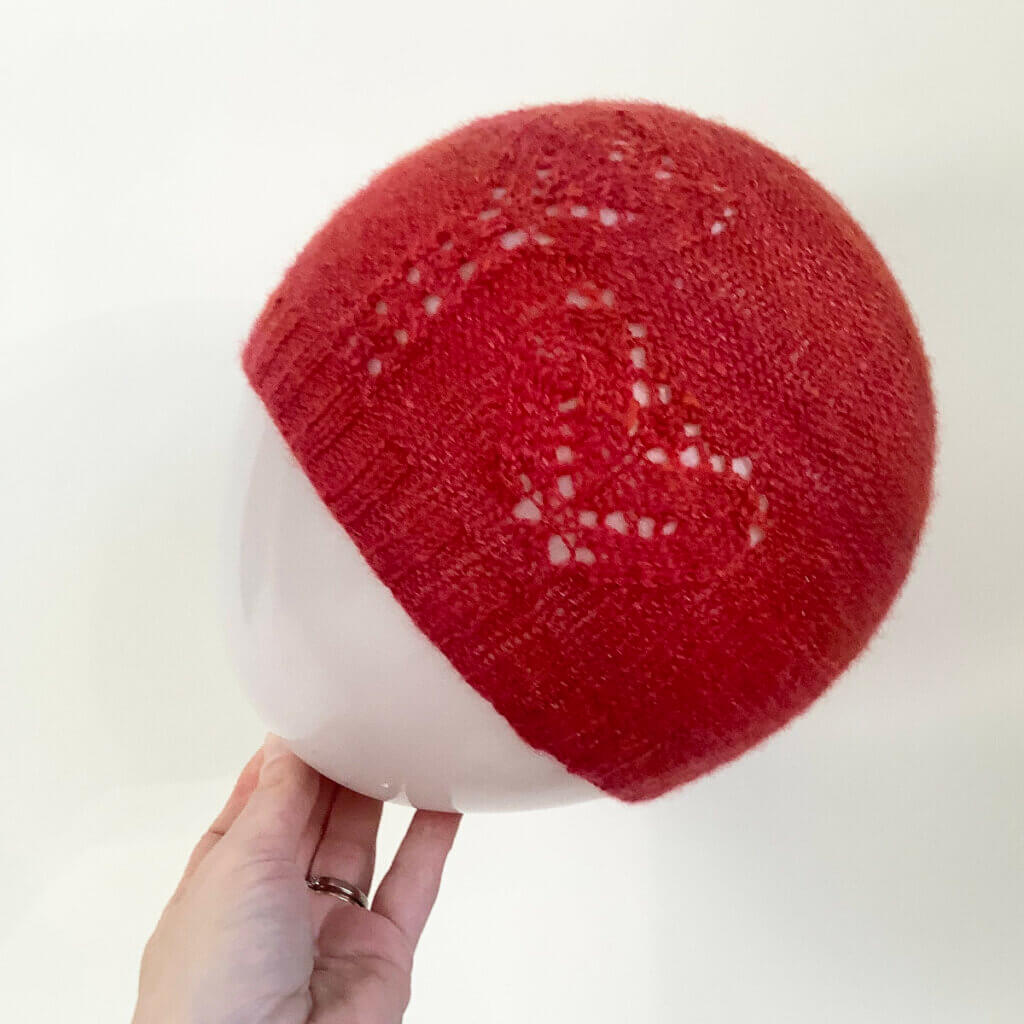
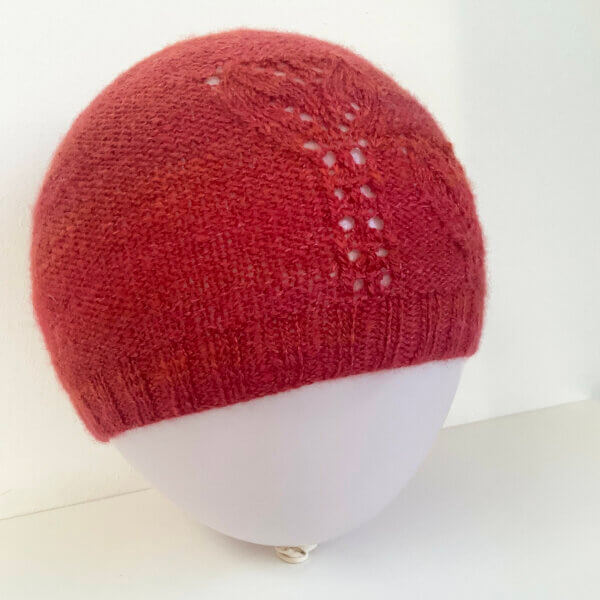
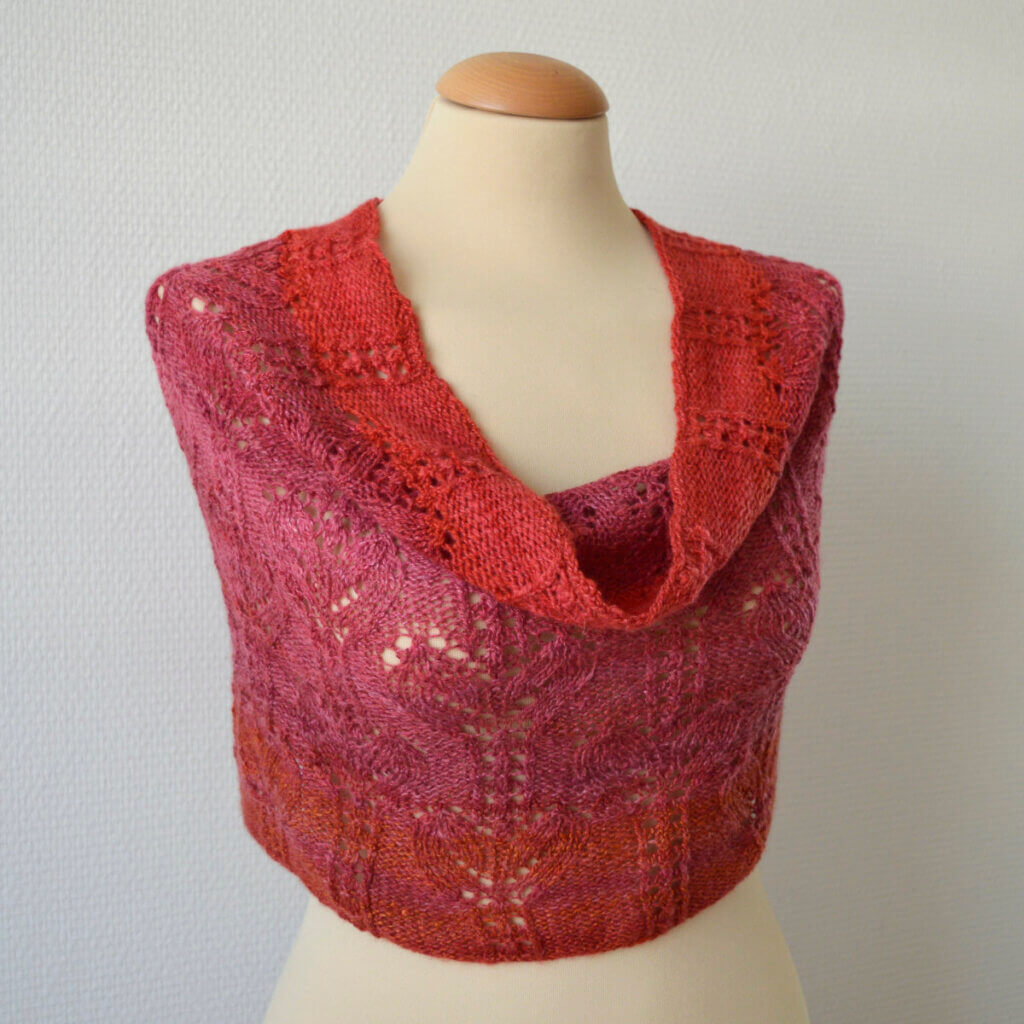
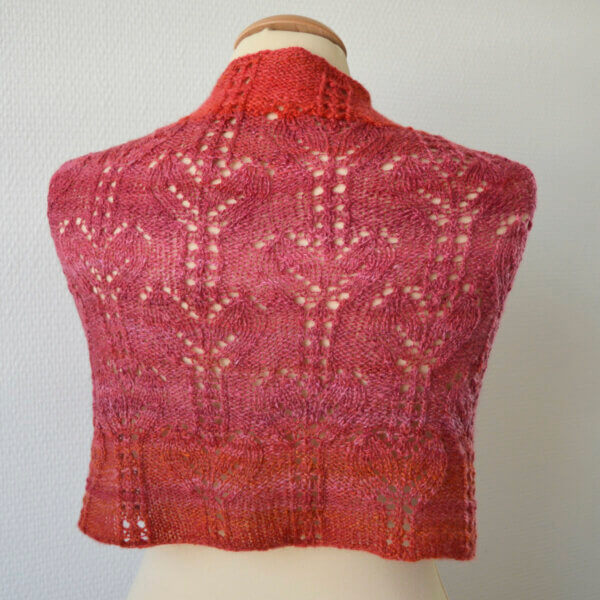
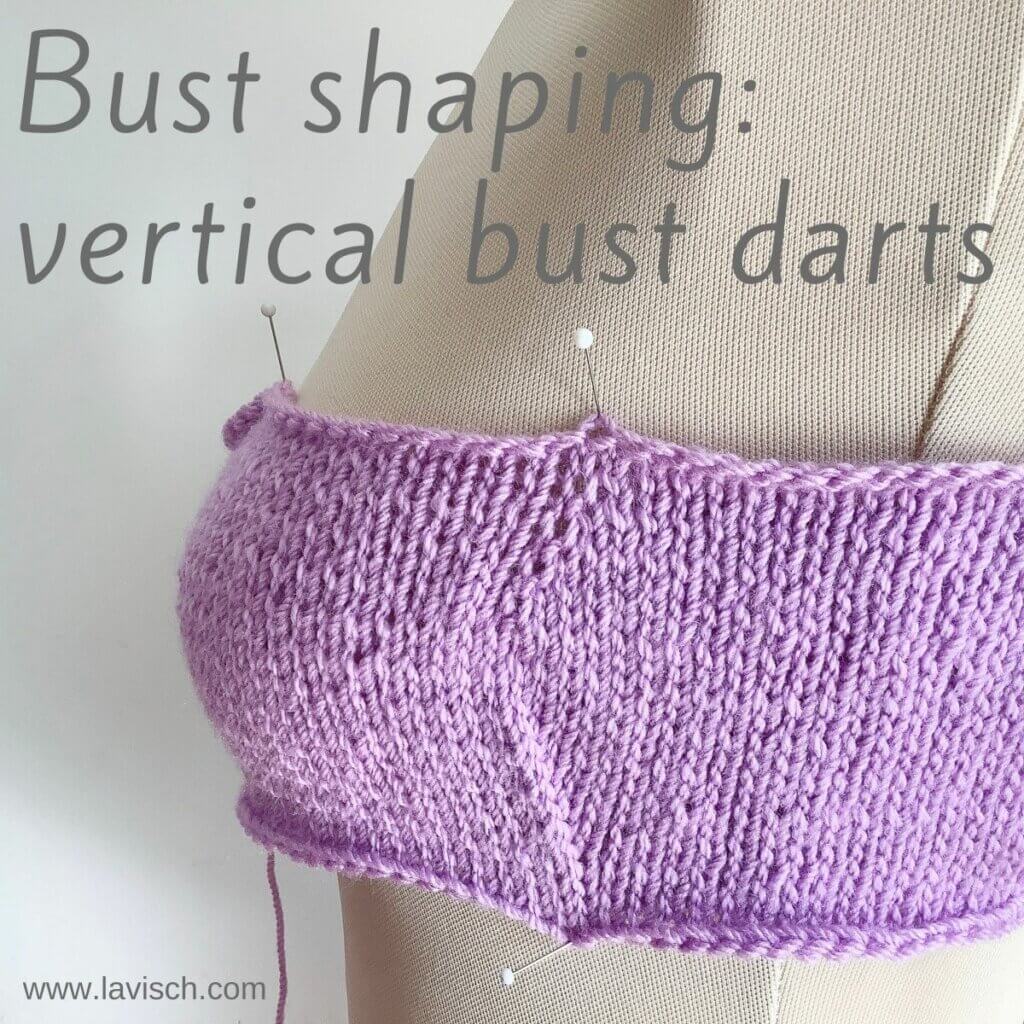
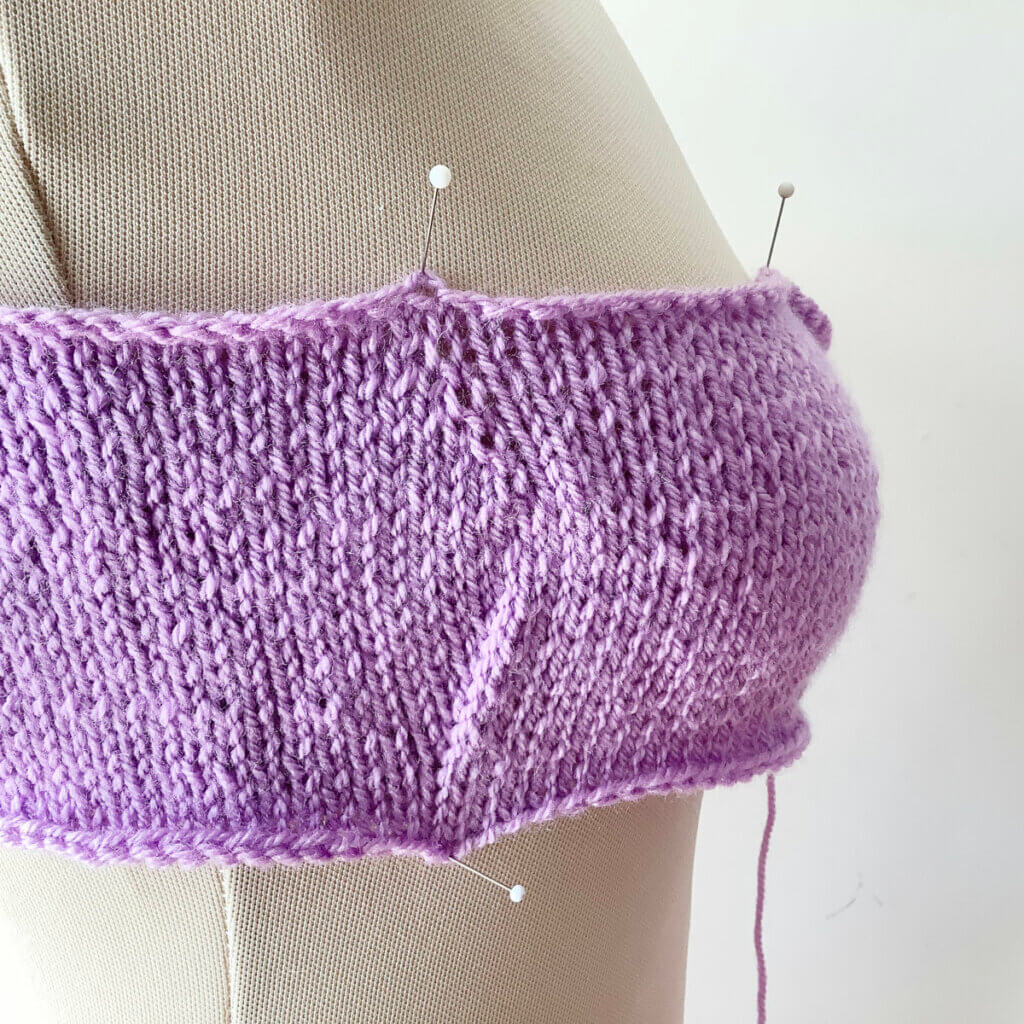
In the below image, you can see an example of a vertical bust dart worked as described above. Of course, it’s not the only way one can customize a garment to their curves. I do trust this method will be useful for you. You can also add length to a garment using horizontal (short-row) bust darts to prevent the front of the garment from riding up. Read about it in the second part of the series!

Thanks to my Patreon supporters for bringing you this freebie! Creating quality patterns and tutorials is a lot of work and resource-intensive. However, I find it important to give you free content like this tutorial. Thanks to the generous support of my Patreon supporters, I can make it happen. Thank you, patrons! Click here to join, or click here to read more about La Visch Designs on Patreon.
tutorial – bust shaping: vertical bust darts Read More »