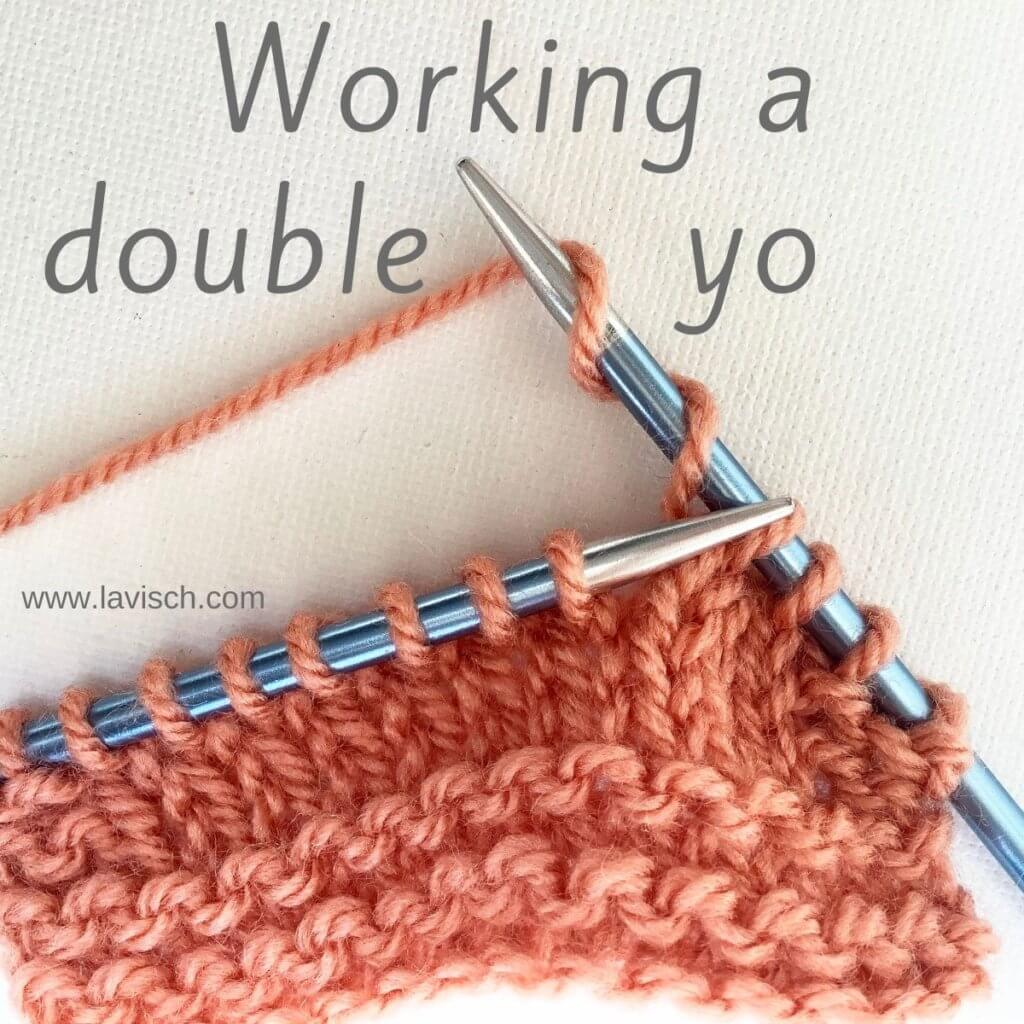
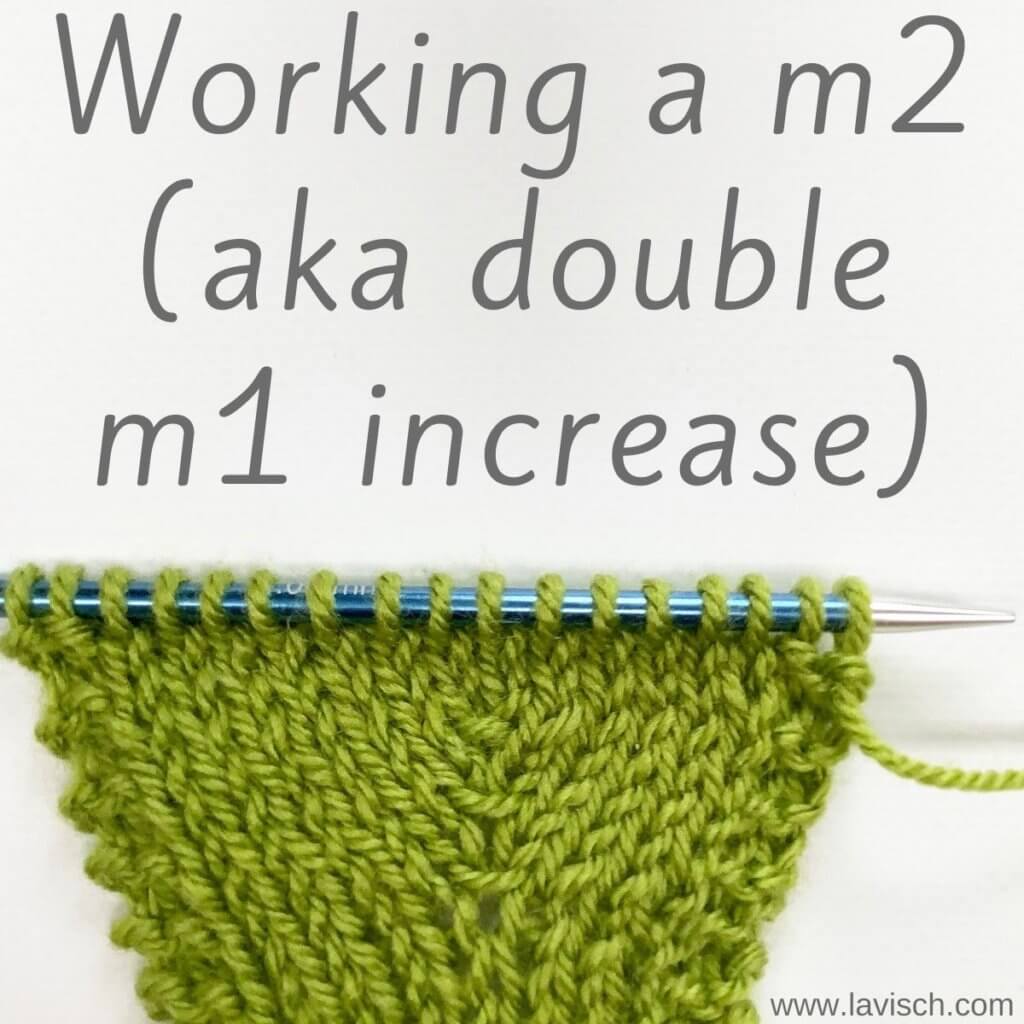
Working a m2 aka double m1 increase
There are various ways of working a double increase. Take for example a double yarn over. In this tutorial I will focus on the make 2 increase or m2 for short. It can also be referred to as a “double make 1” (m1) increase. It basically consists of working 2 m1 increases directly after one other in the same strand of yarn between 2 stitches in the row directly below the one you’re currently working.
The m1 increase is a directional one. This means that there is a left leaning version (m1l) and a right leaning version (m1r). The m2 version that consists of first working a m1r, followed by a m1l, makes a very decorative horizontal strand in the fabric. This is the version I’ll show you below. Different looks can be achieved by first working a m1l, followed by a m1r, working m1r twice, or a m1l twice. Experiment and choose the one that gives the look you like for a particular project!
Please do note, that since this increase uses the strand of yarn already there between stitches, it tends to tighten up the knitting. For this reason I advise to work one or more plain rows between increase rows, especially when stacking them.
Materials used


Yarn: * Paintbox Yarns Simply DK, a good value, good quality 100% acrylic yarn, here in the color 128 Lime Green.
Needles: * KnitPro Zing Fixed Circular Needles. In this tutorial, I used the 4 mm (US 6) size with a cable length of 80 cm (32 inches).
Working a m2 increase step by step
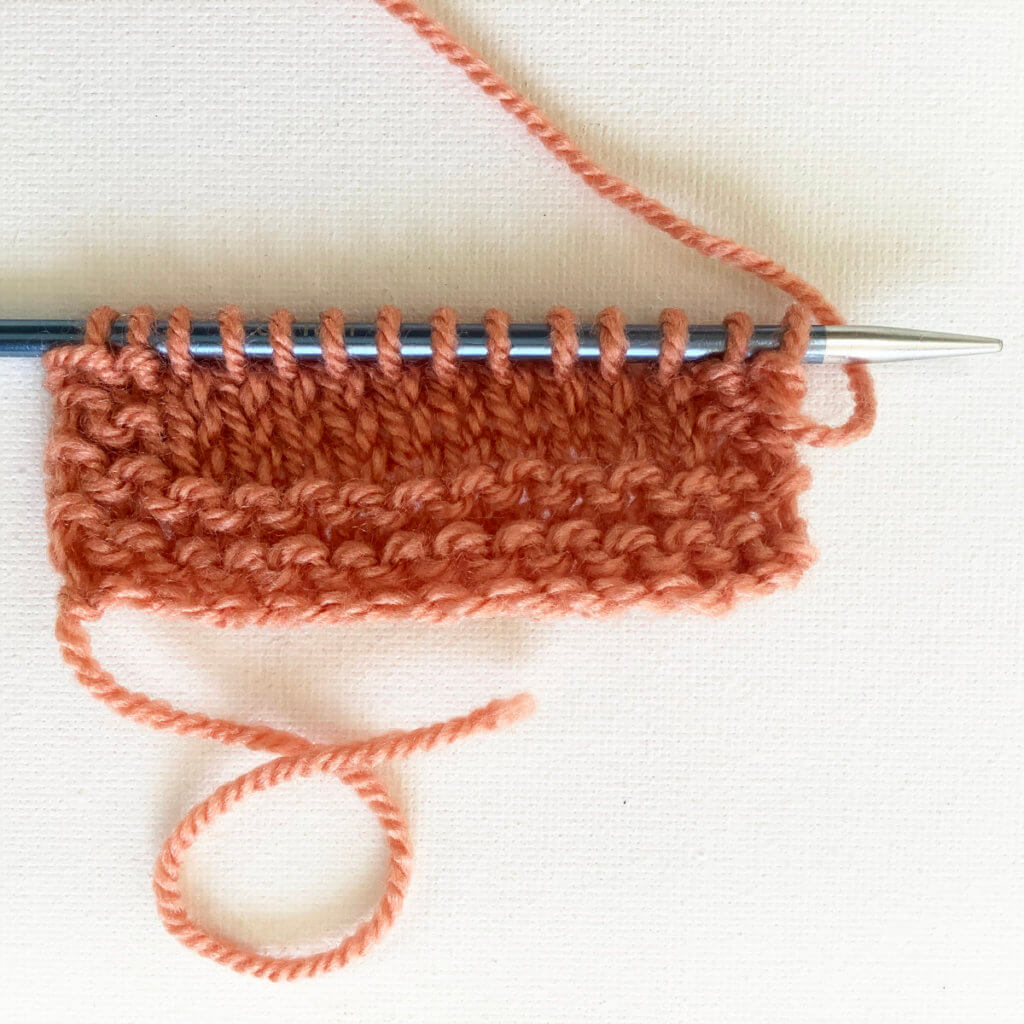
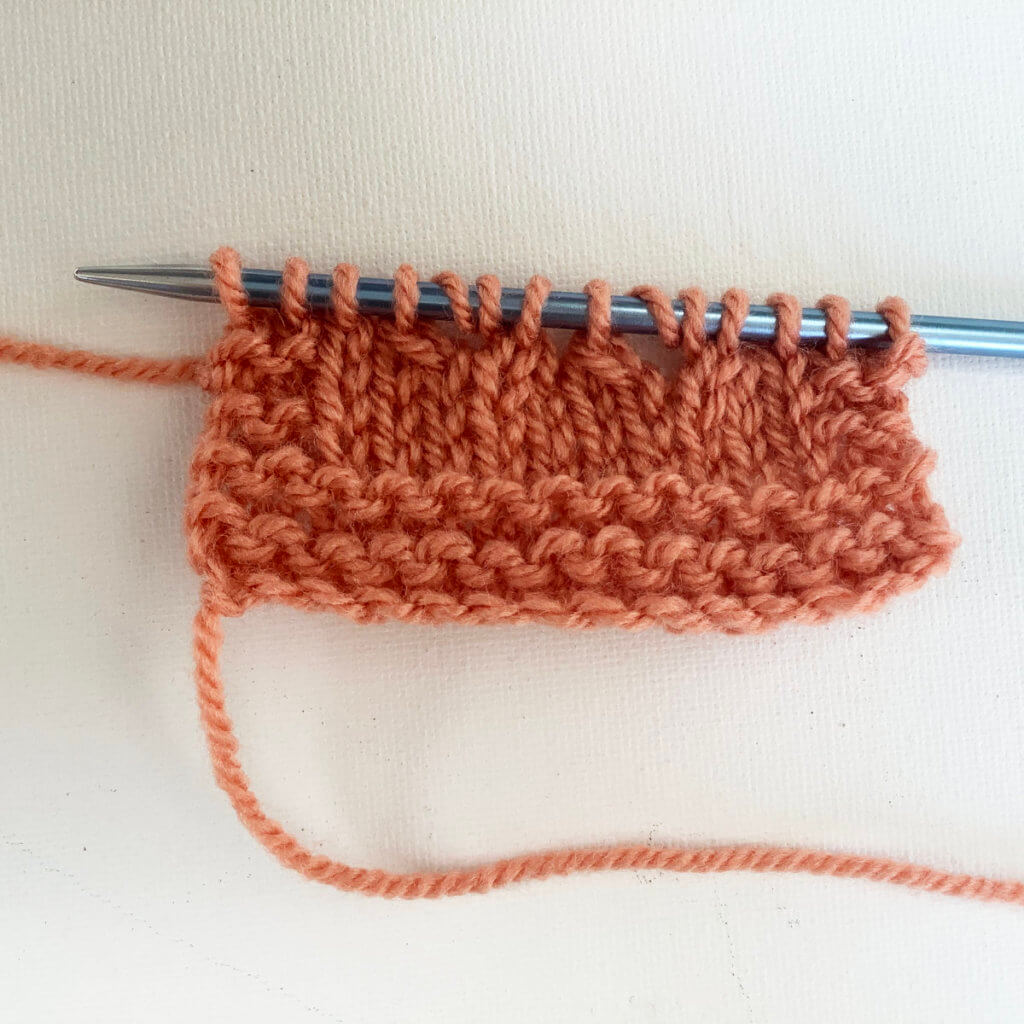
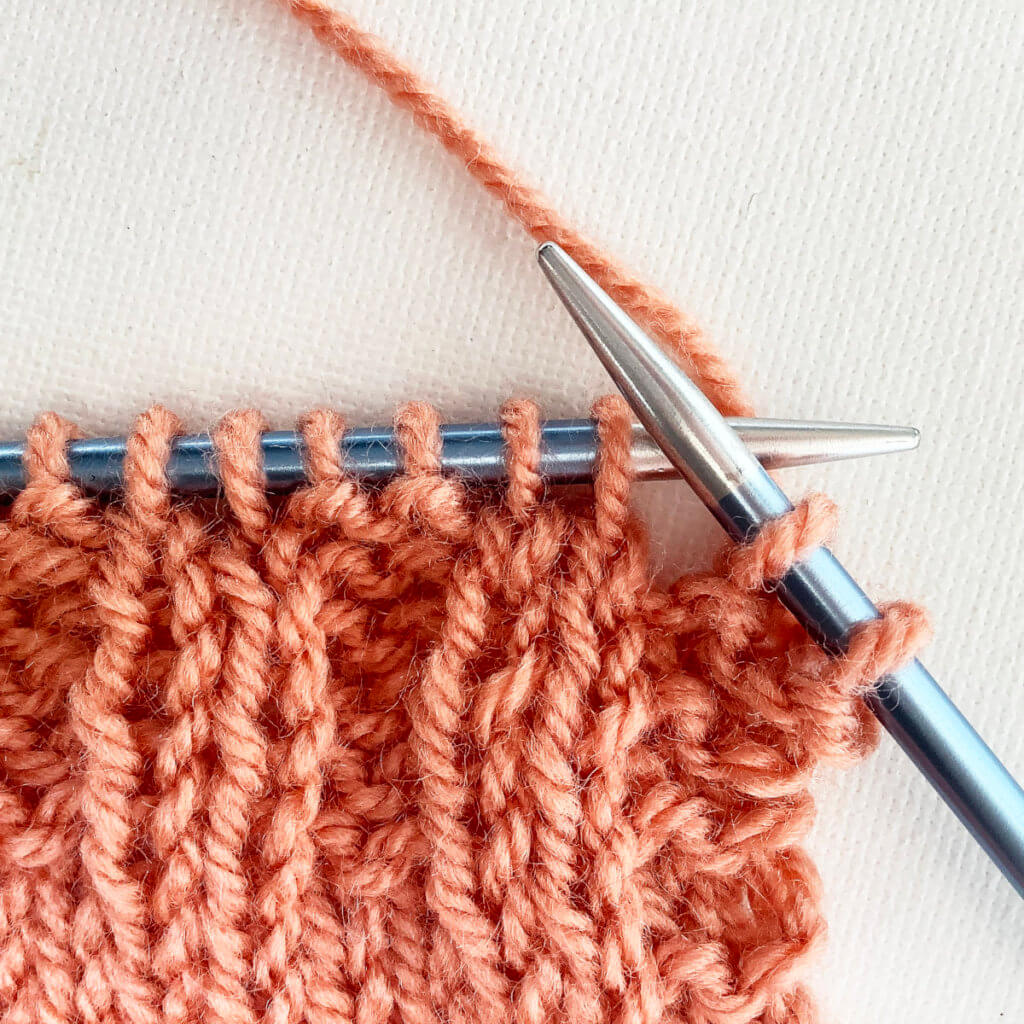
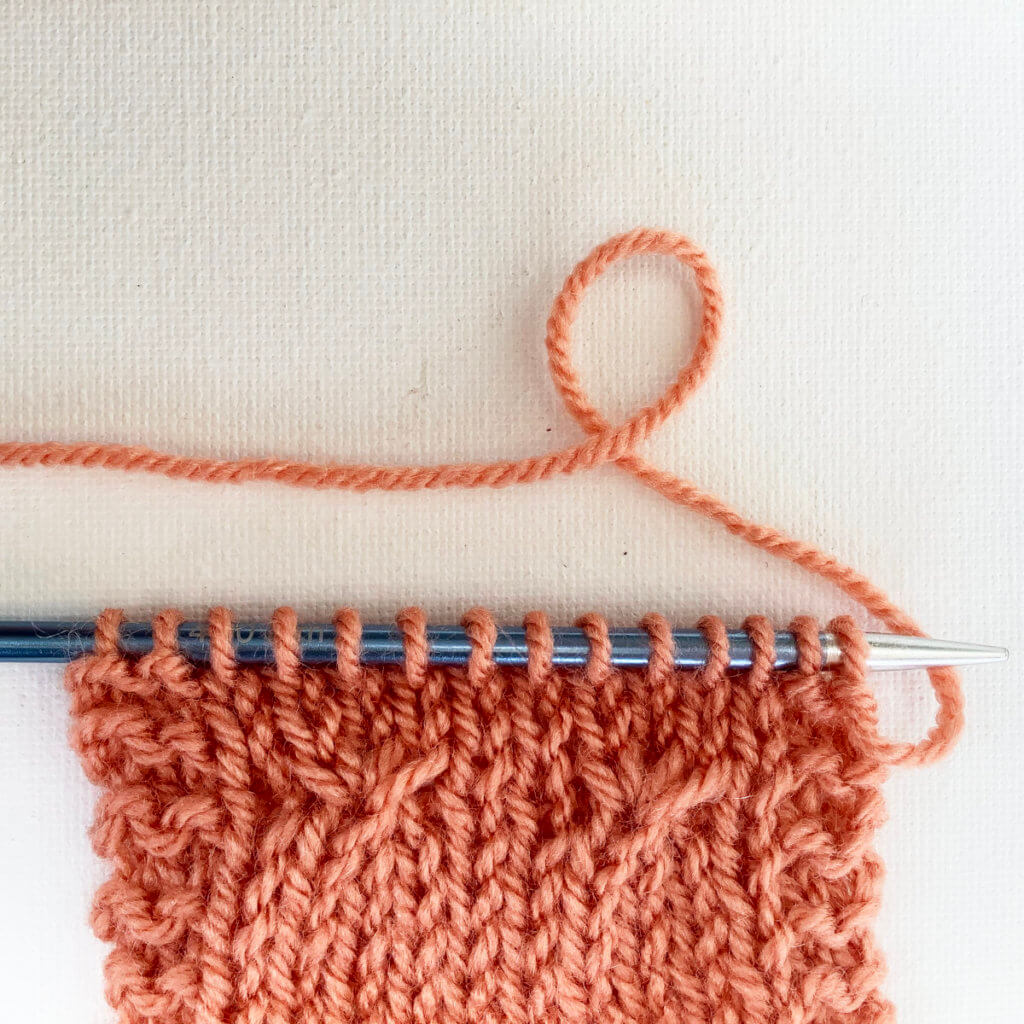
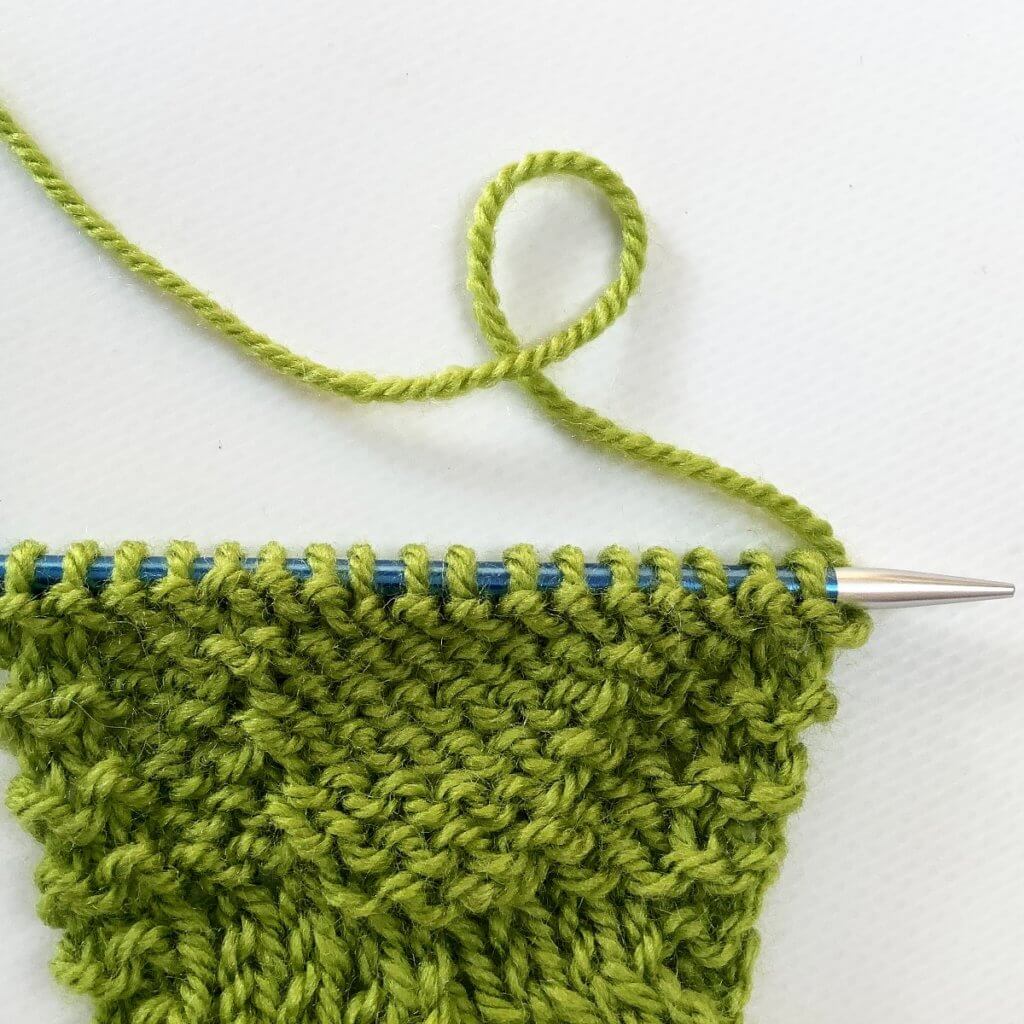
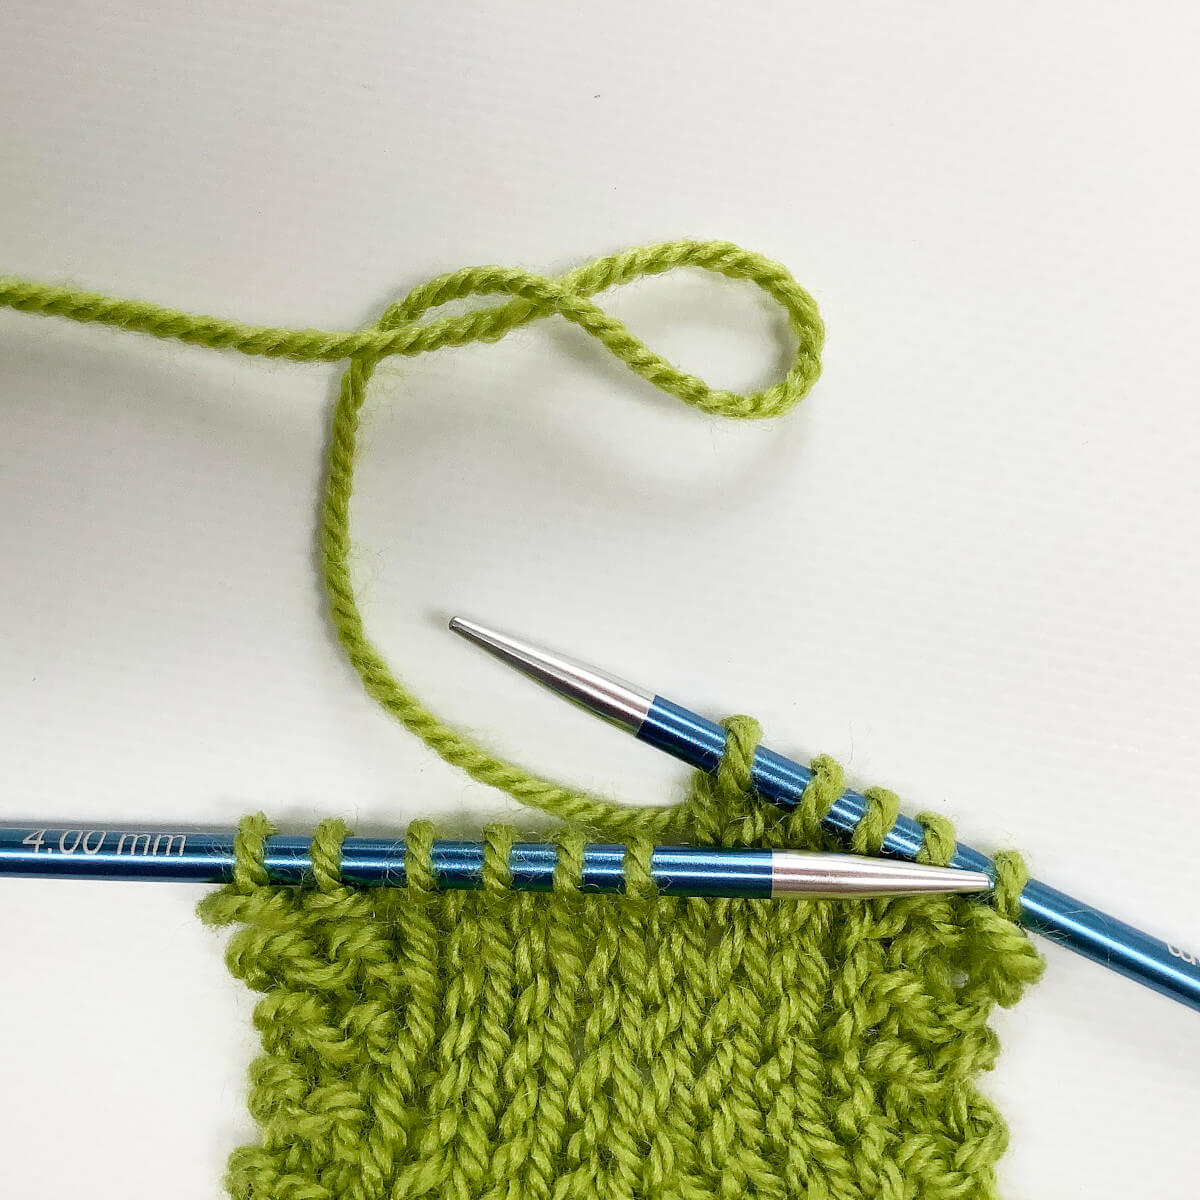
- First take your knitting. Here I’ve continued with the little swatch I used with a previous tutorial.
- Knit to the spot where you want to make the increase.
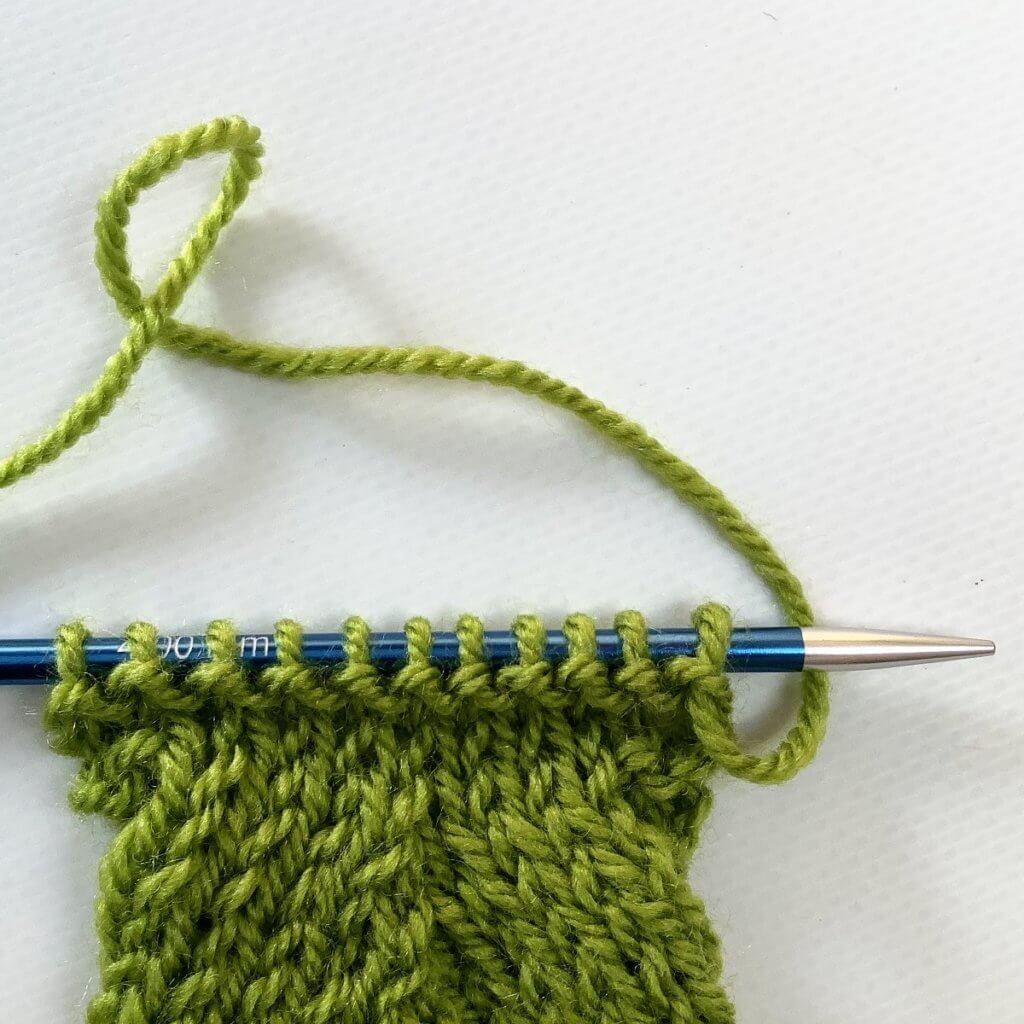
First, work your way across the row until you’ve reached the point where you want to make the increase. In this case, I will be making the M2 increase 5 stitches in from the left edge. I’d make the increase in the middle of my swatch for a truly centered result, but alas, my swatch has an odd number of stitches.
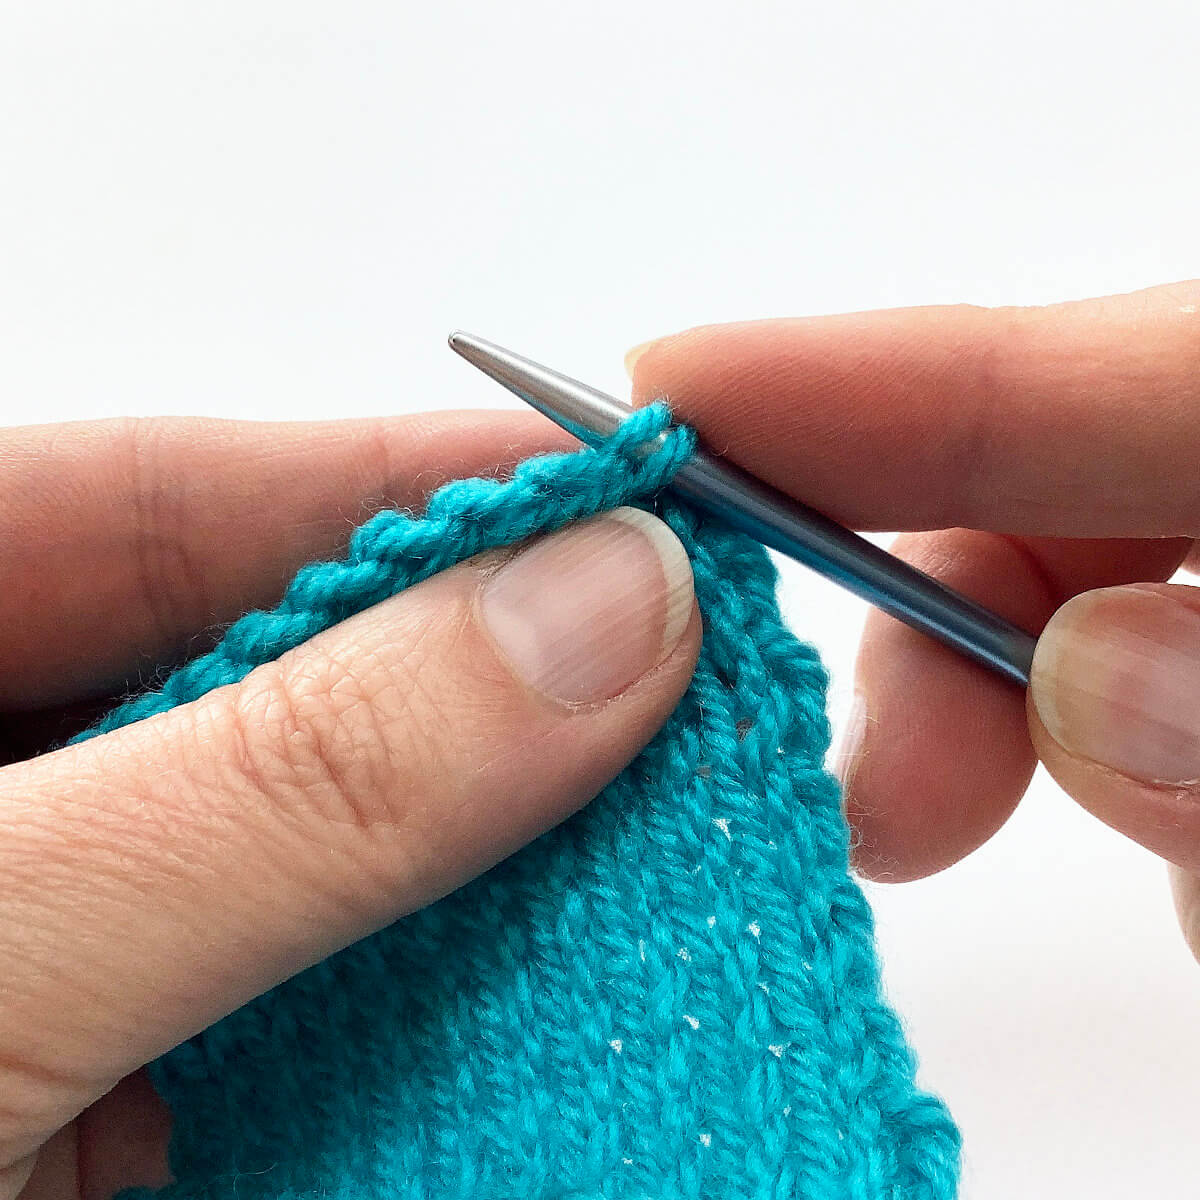
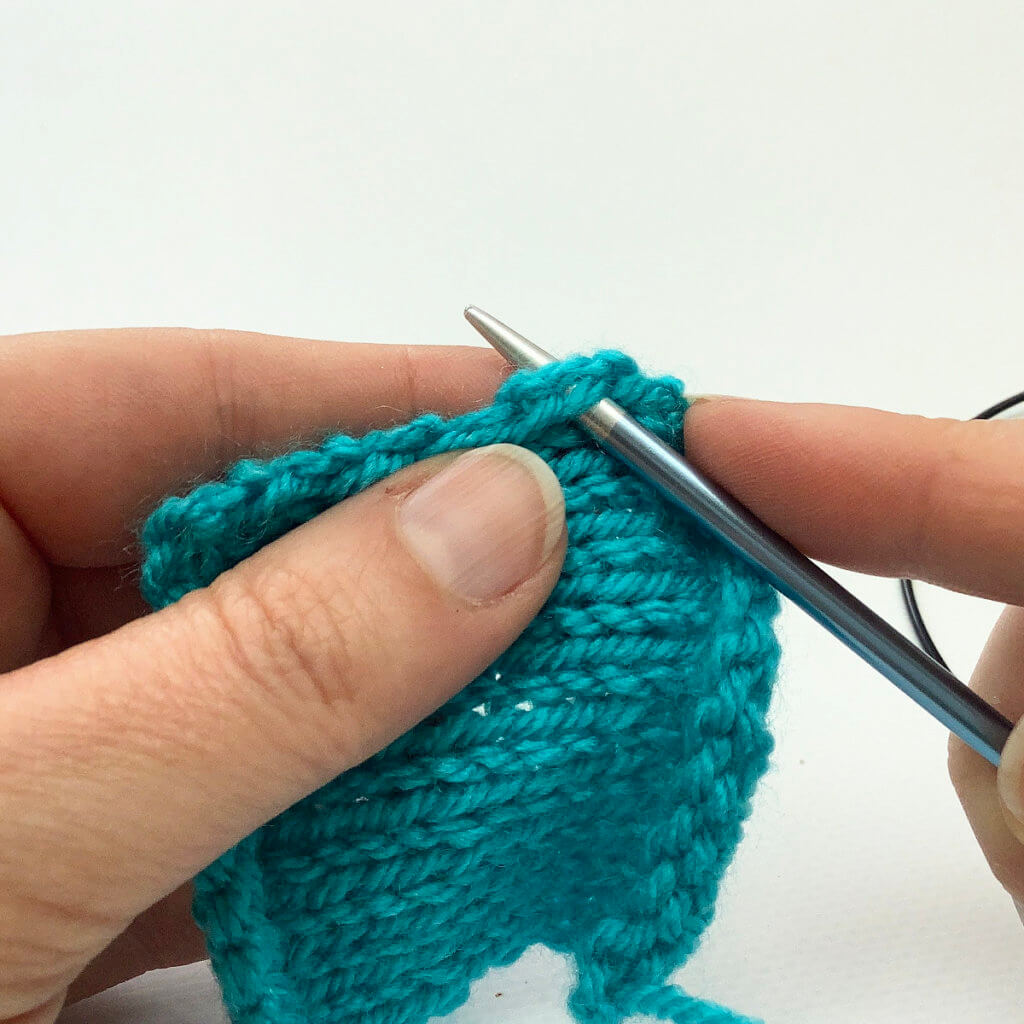
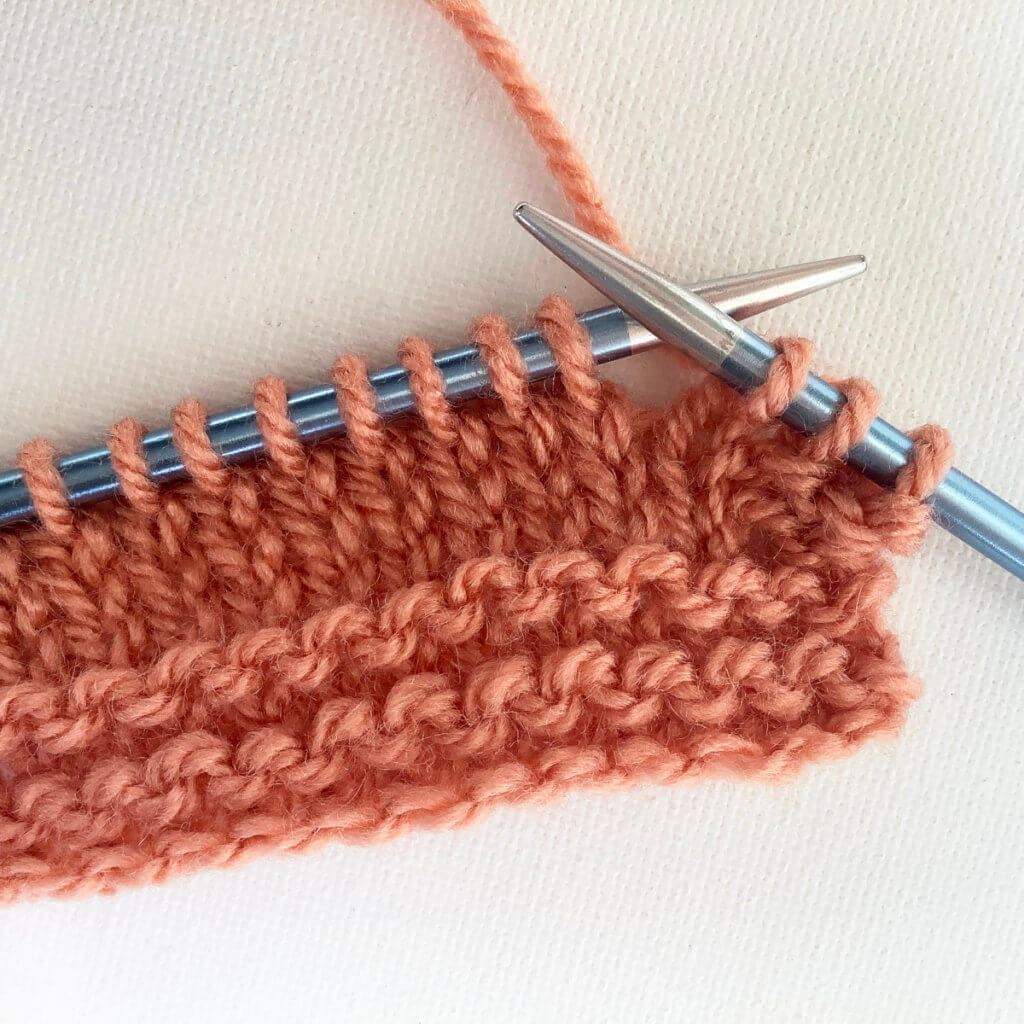
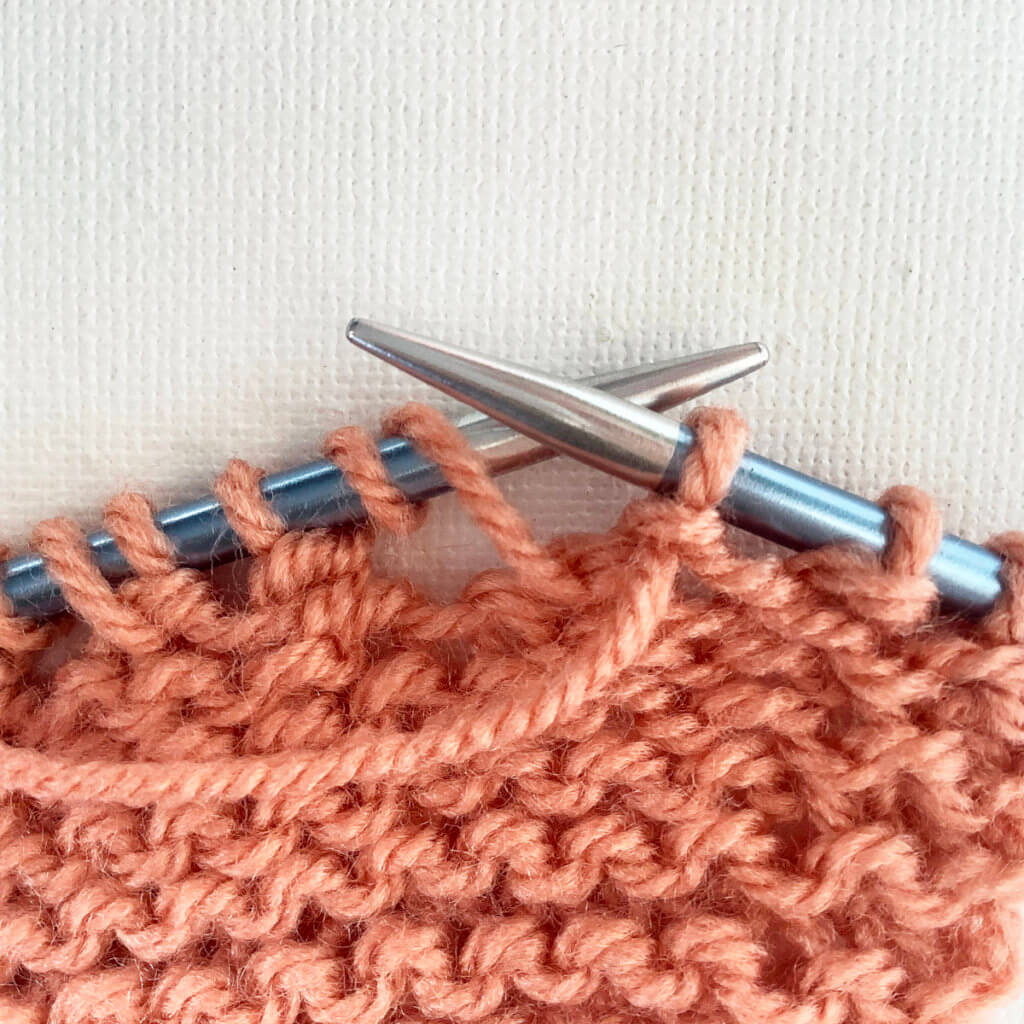
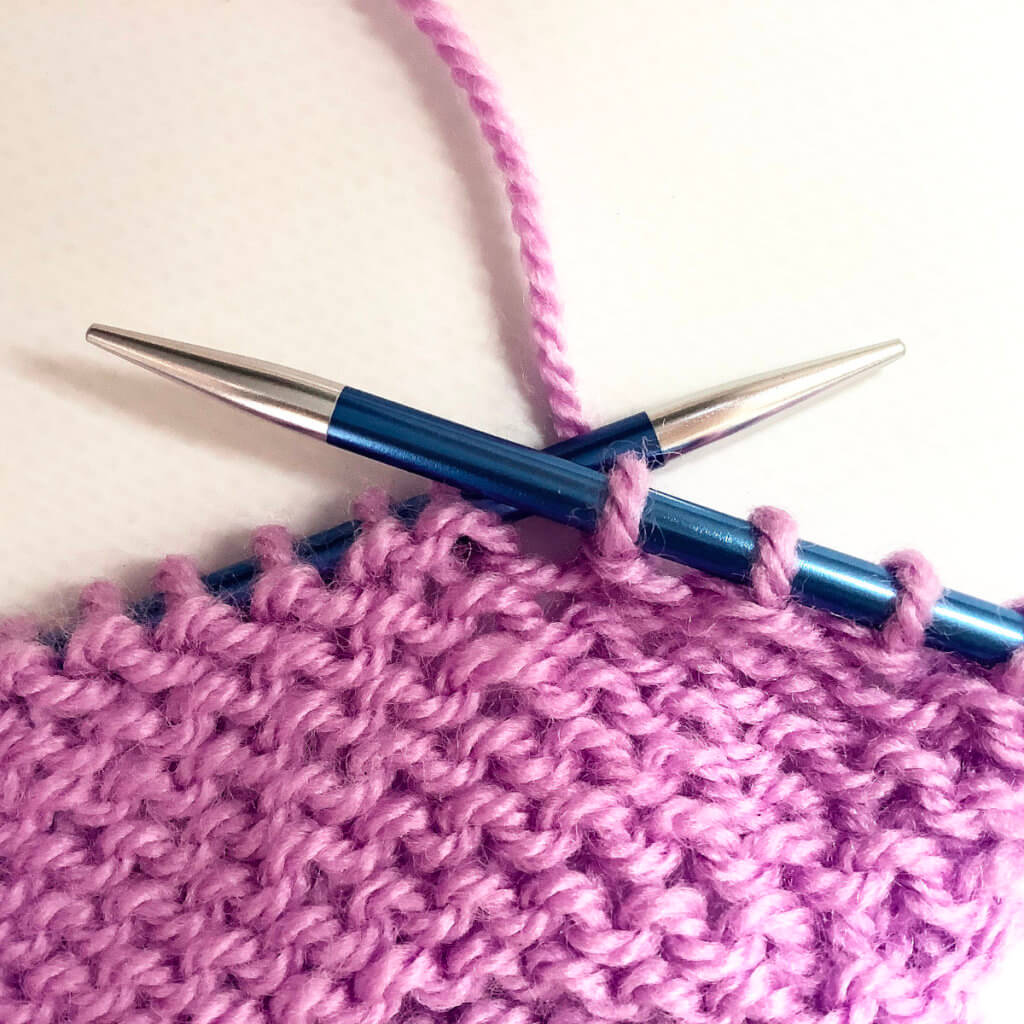
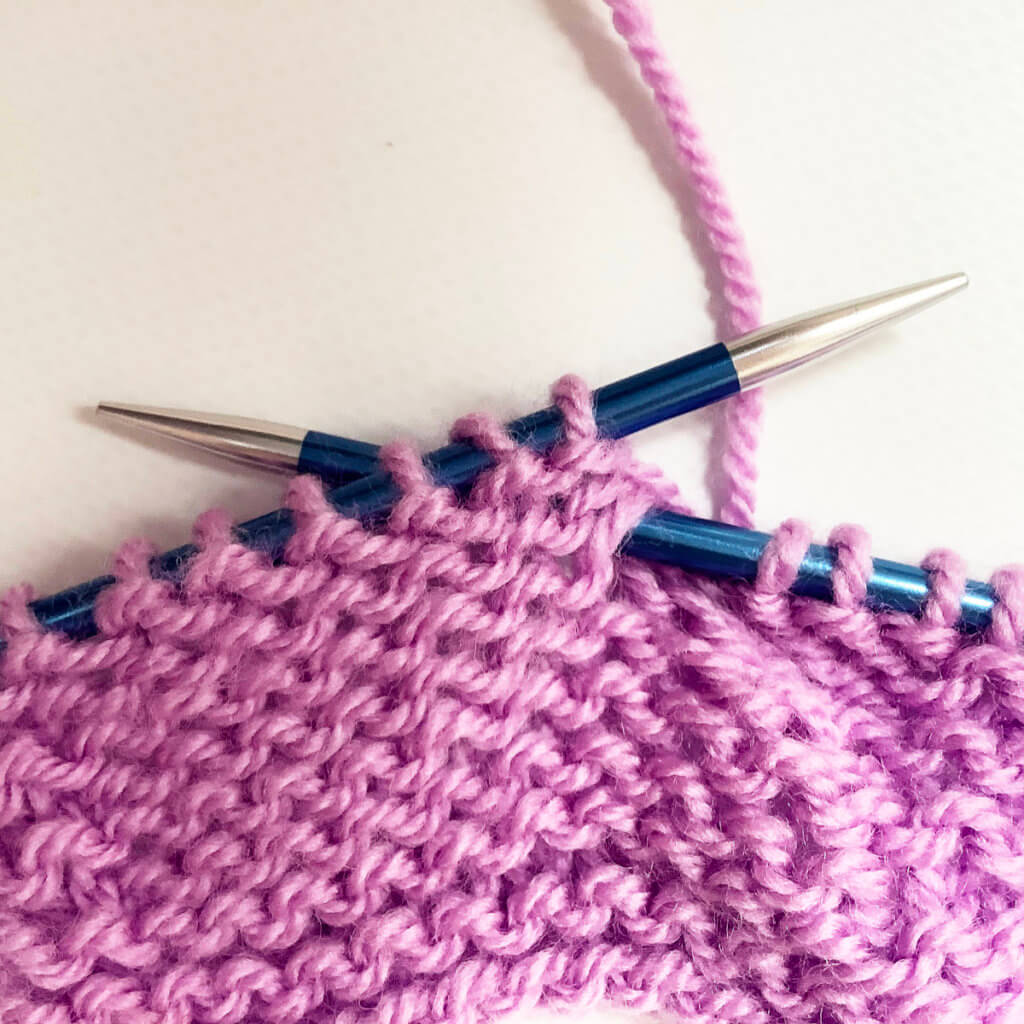
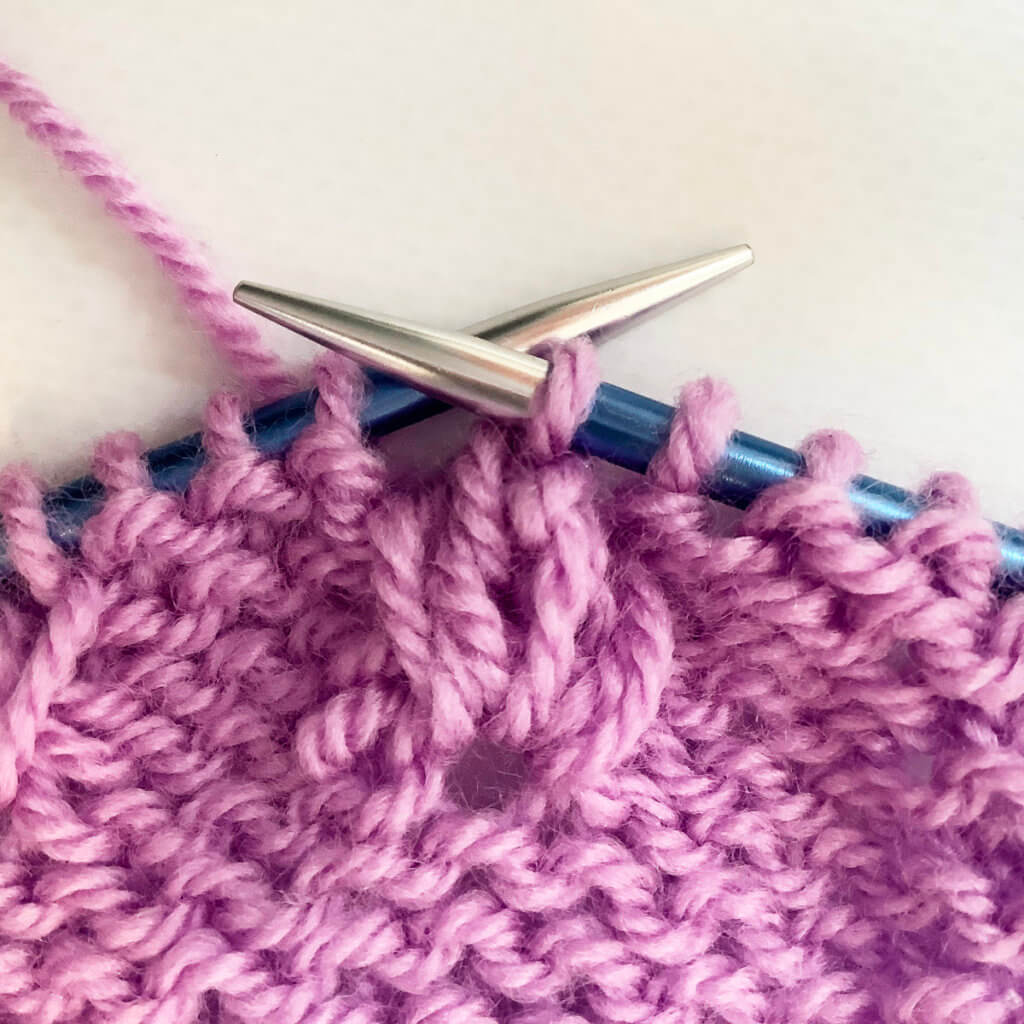
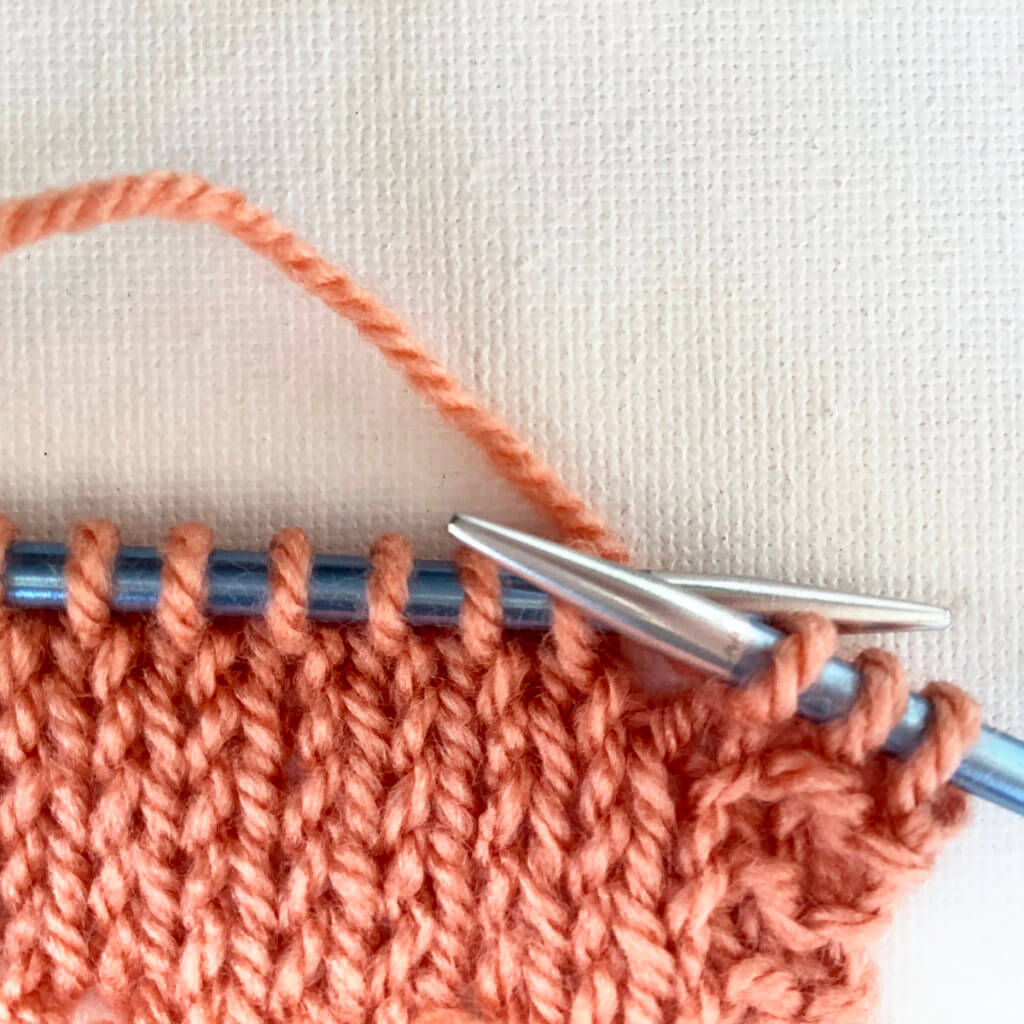
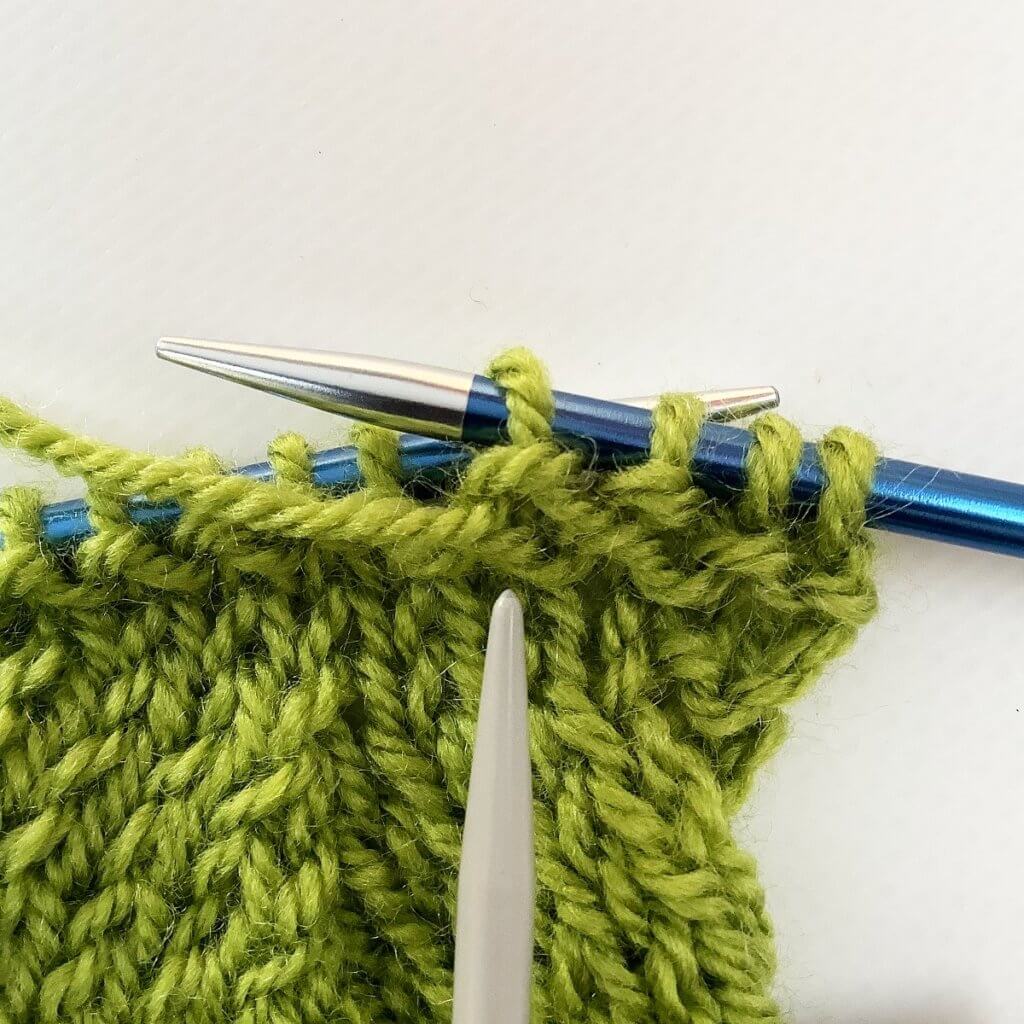
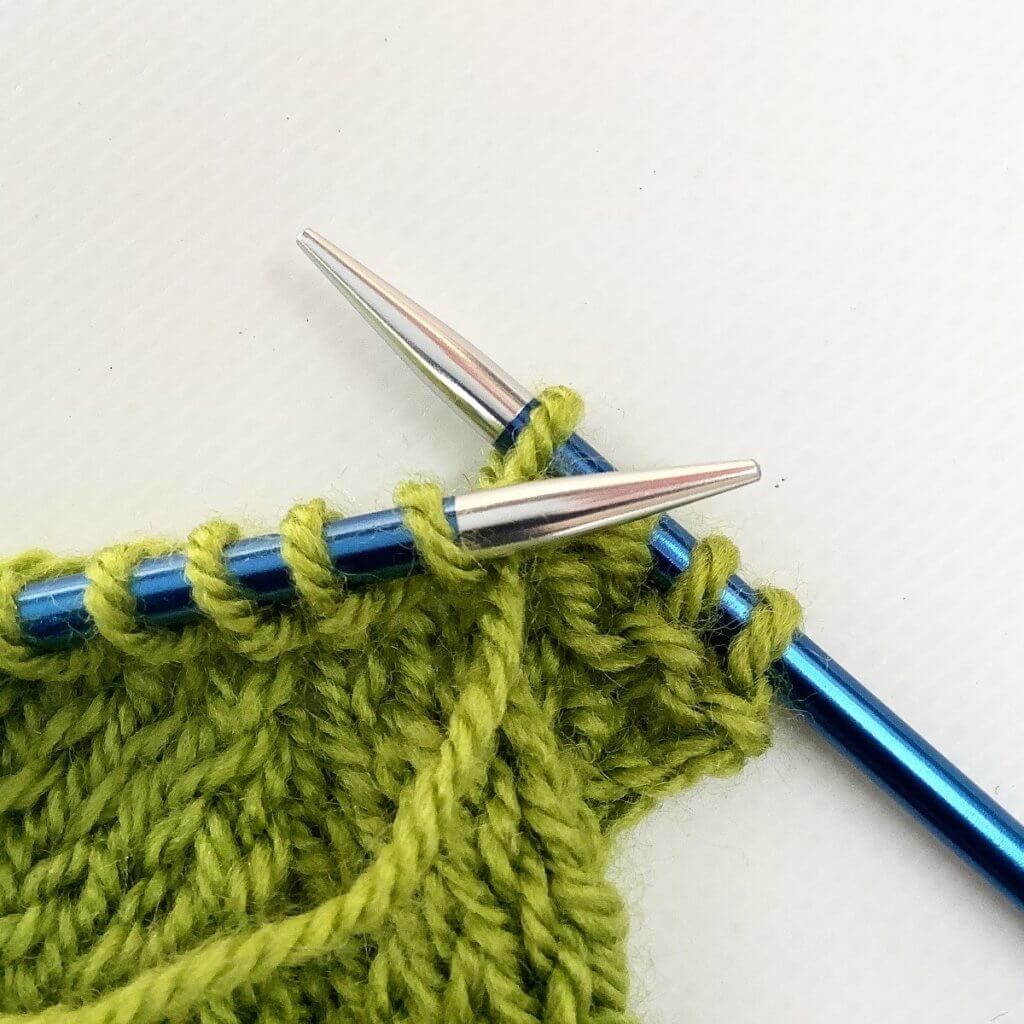
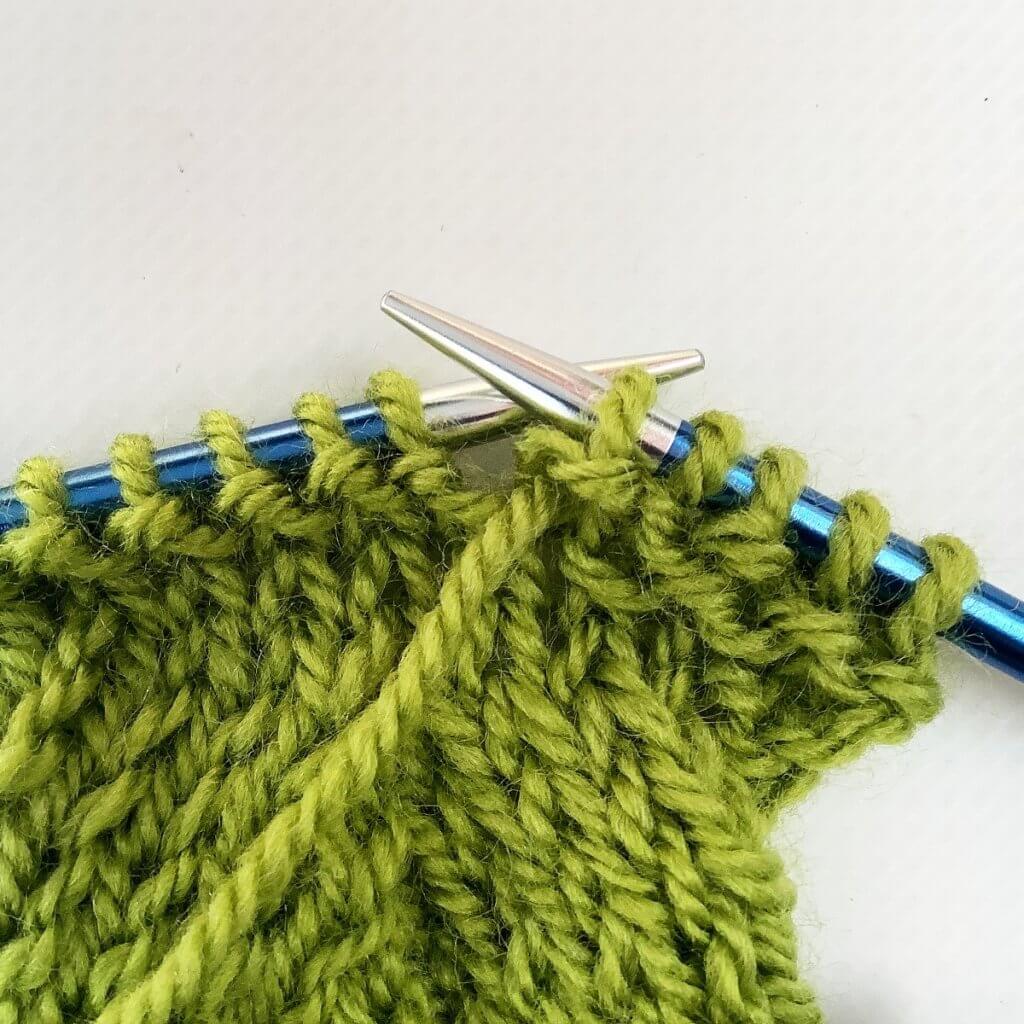
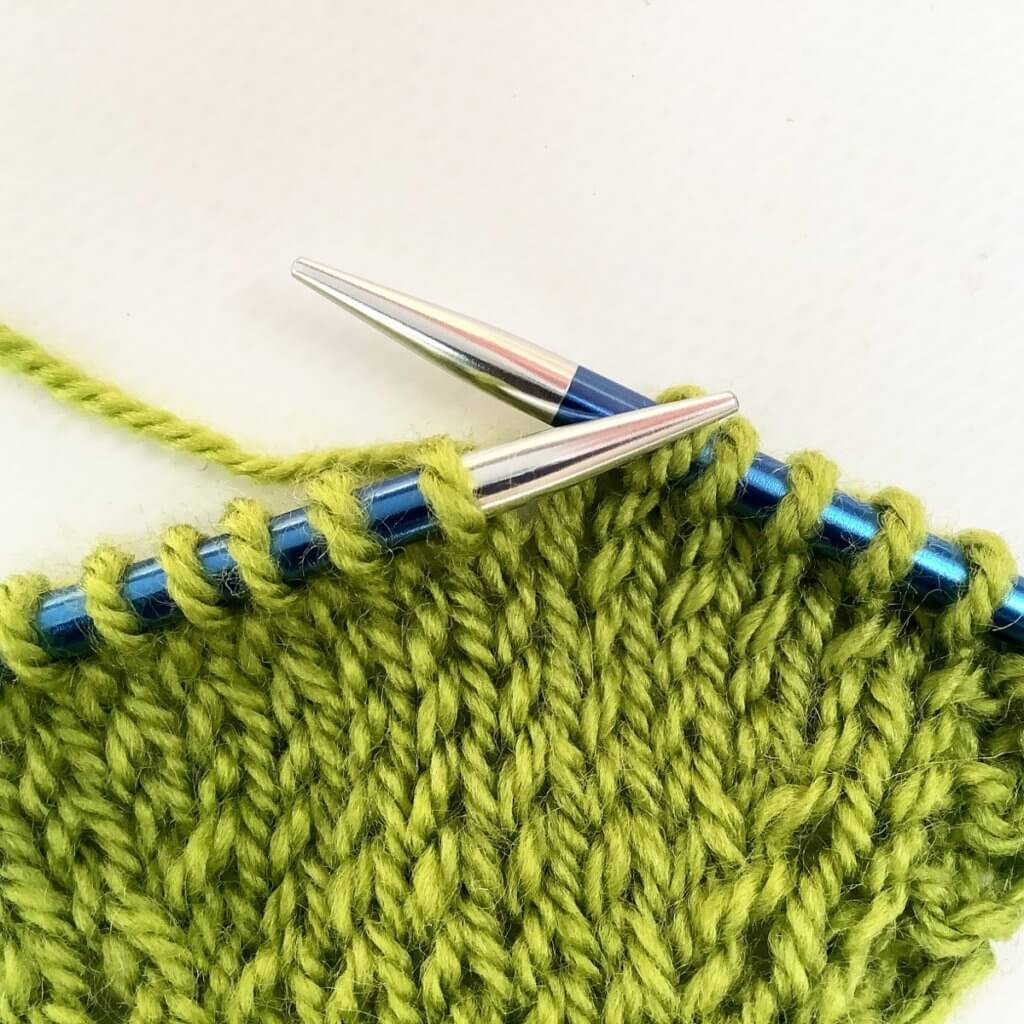
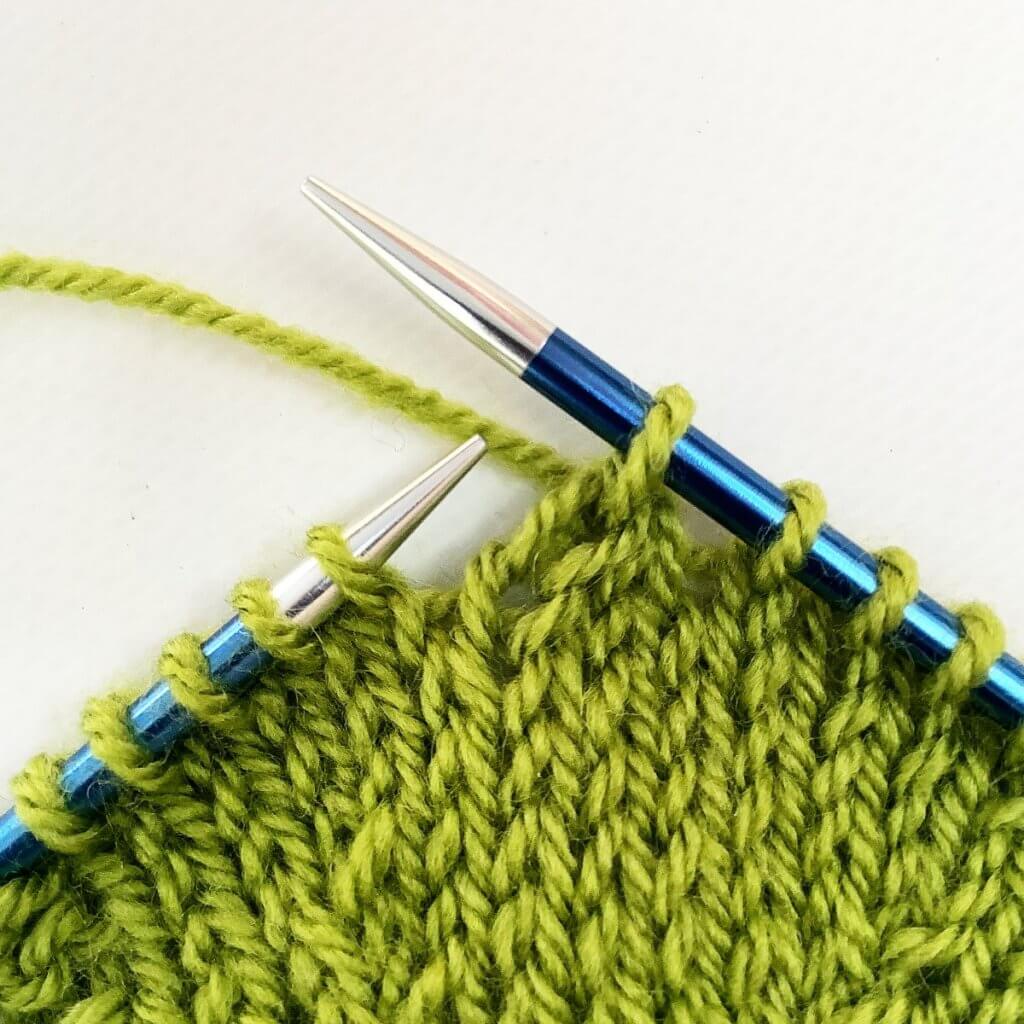
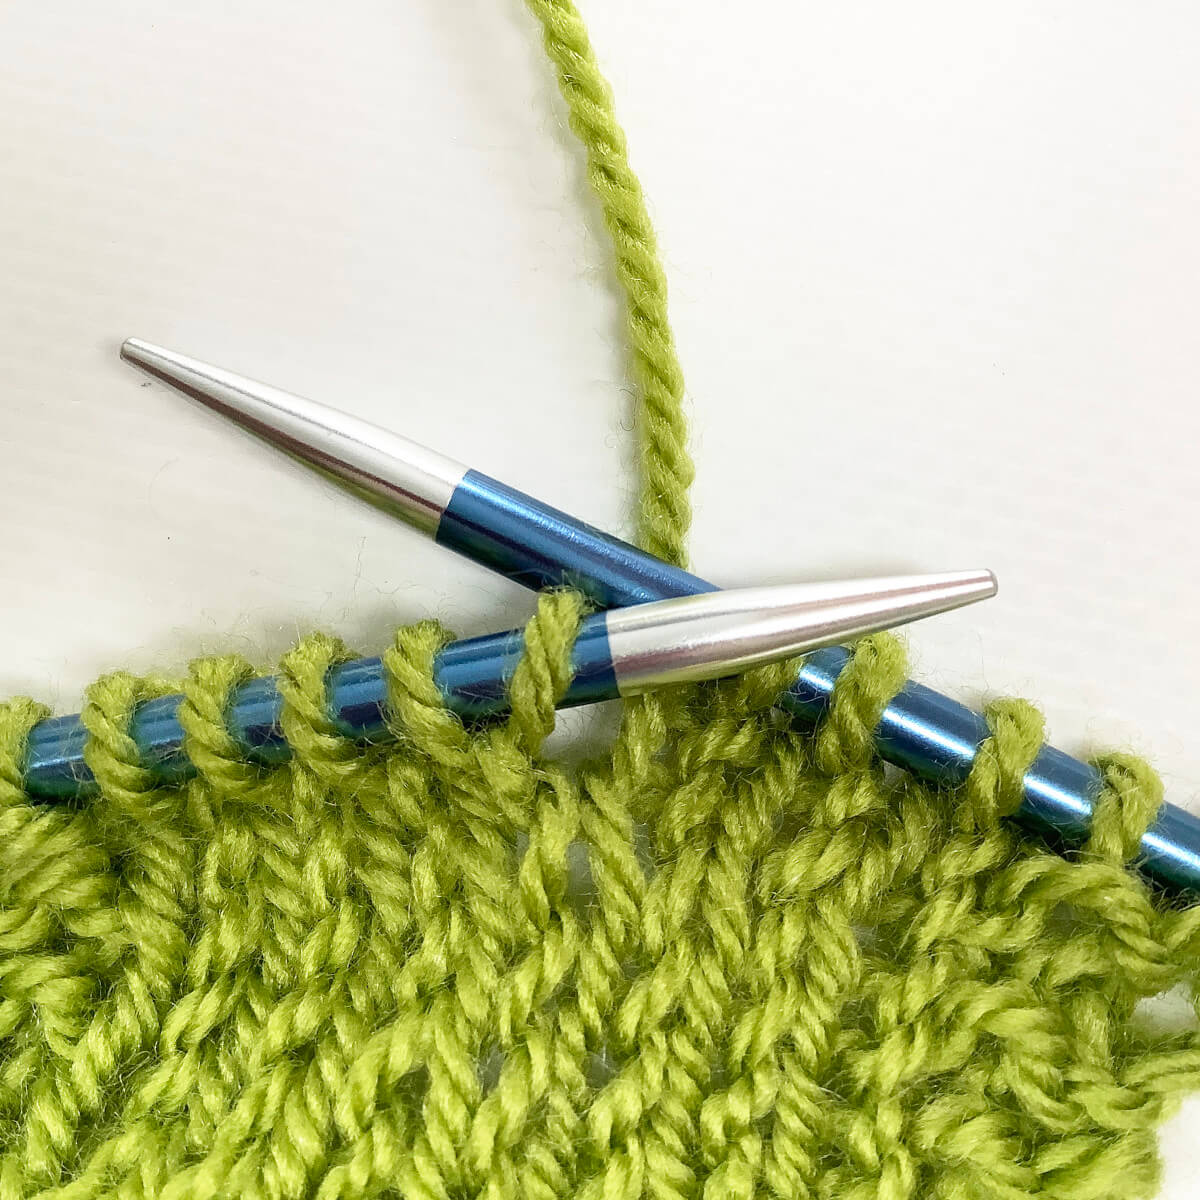
- First we start the m1r increase
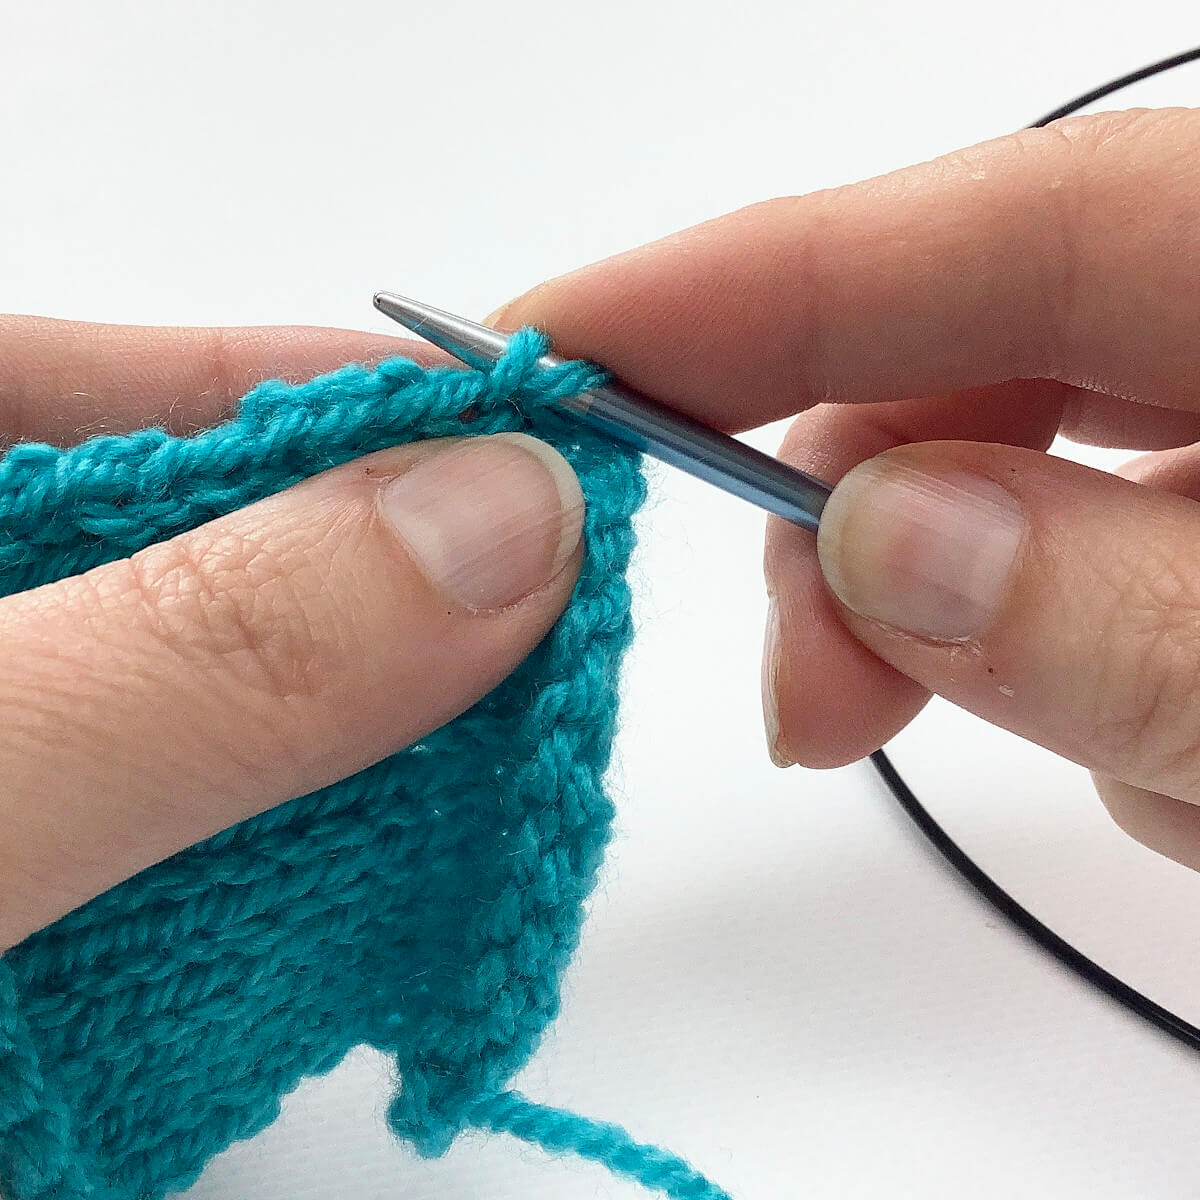
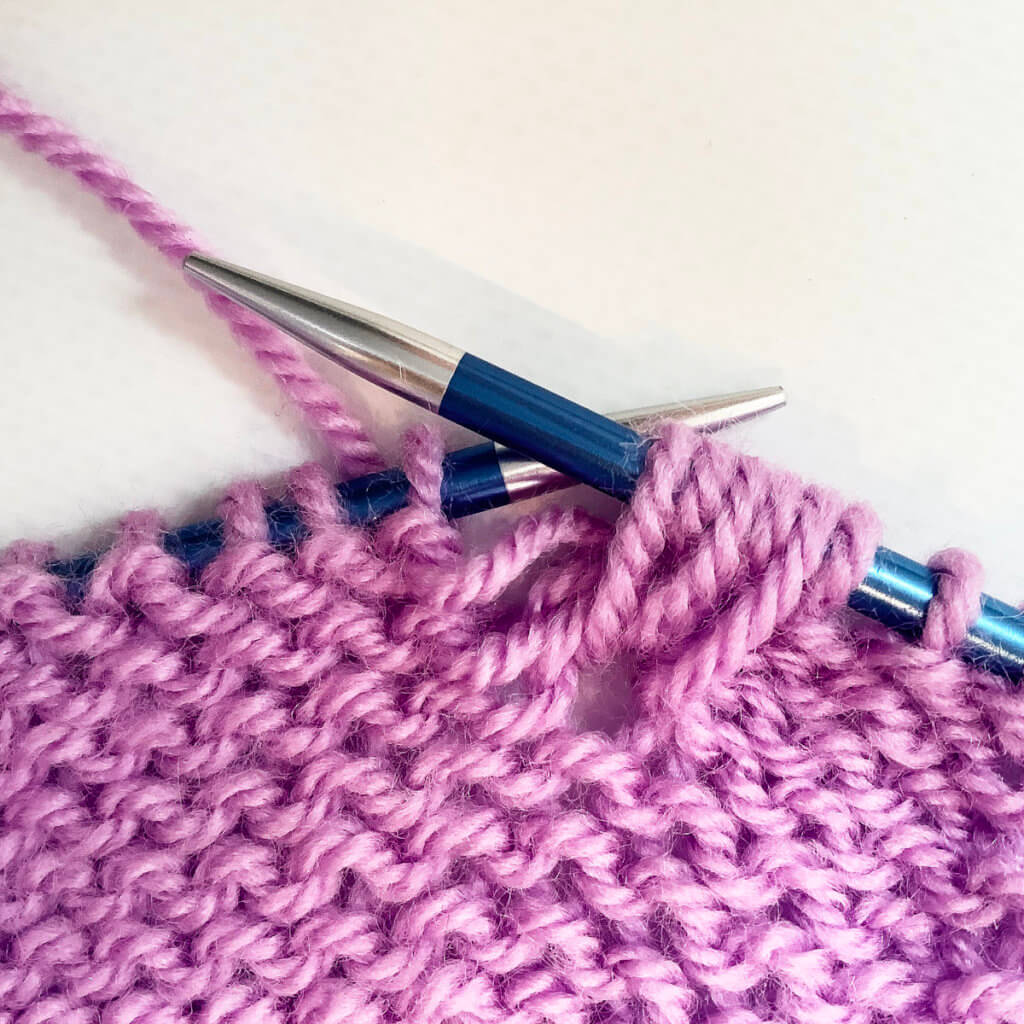
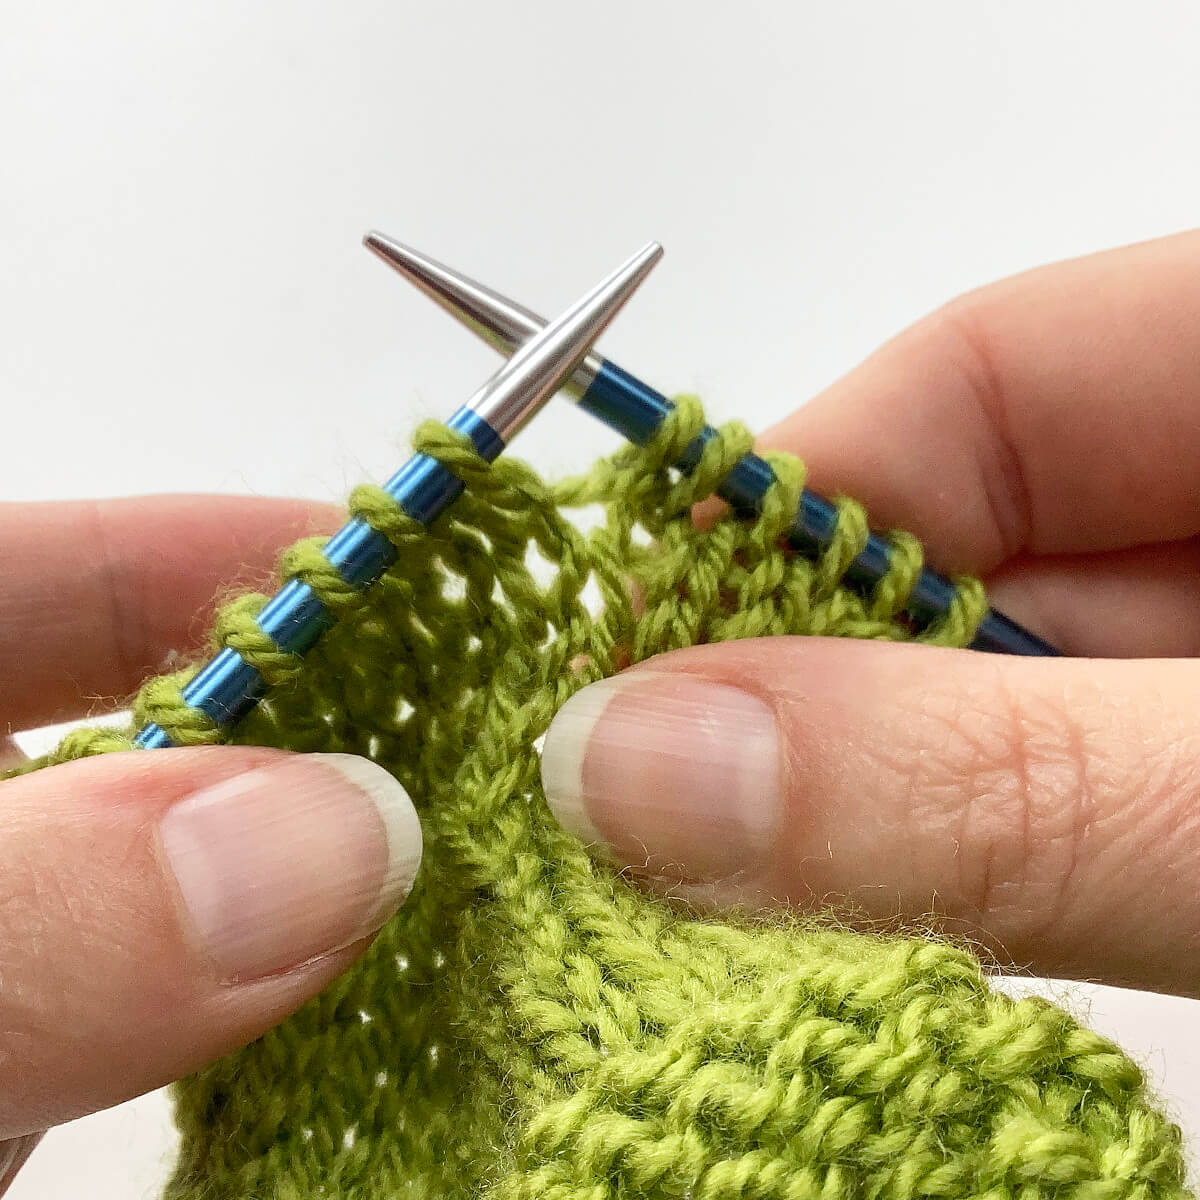
To do so, lift the thread between the stitch just knit and the next one from the back with your left needle.
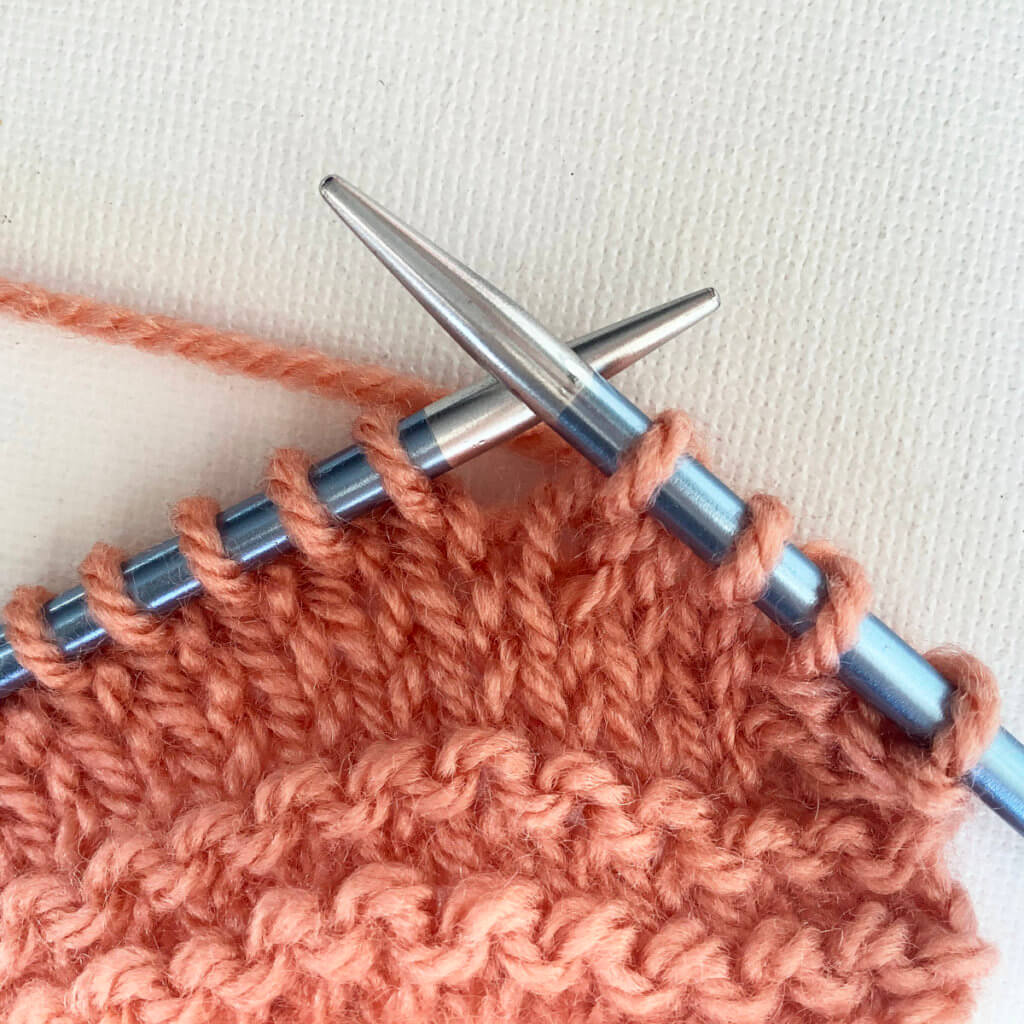
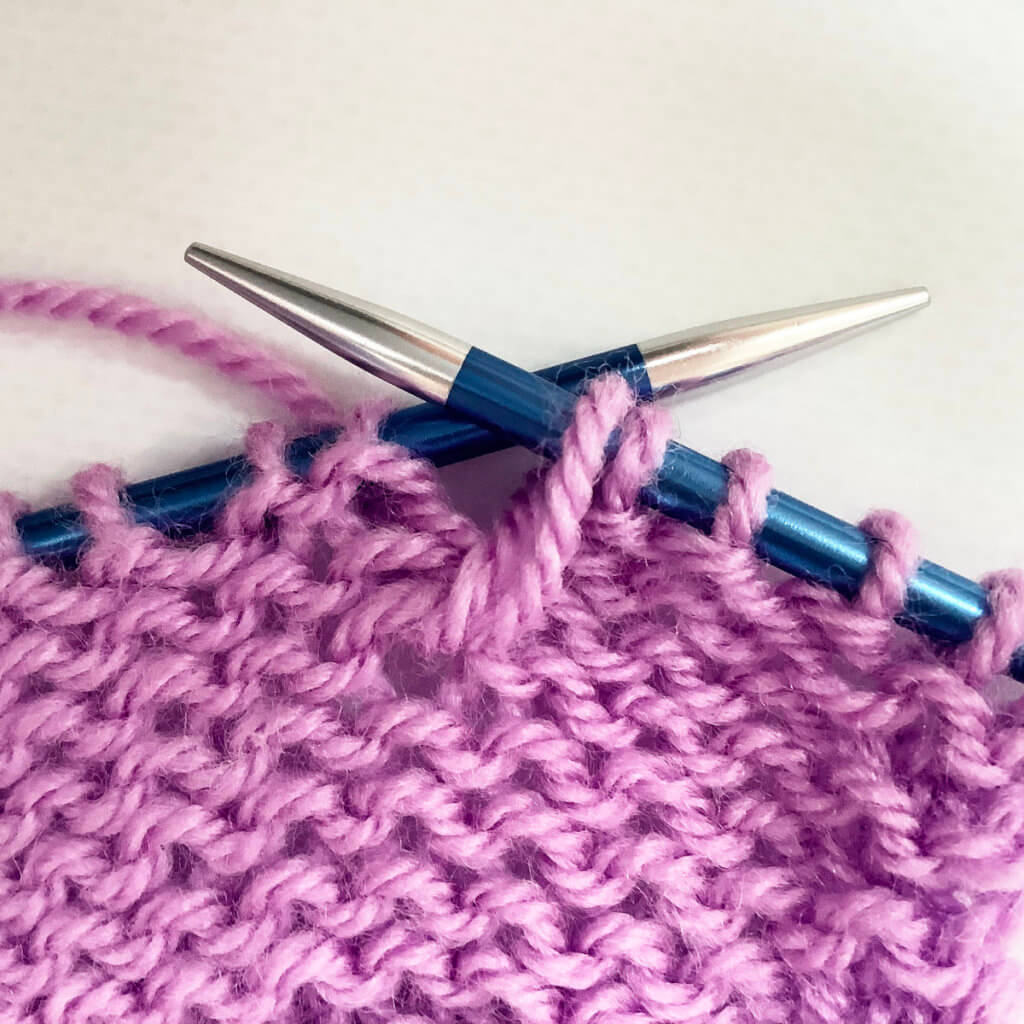
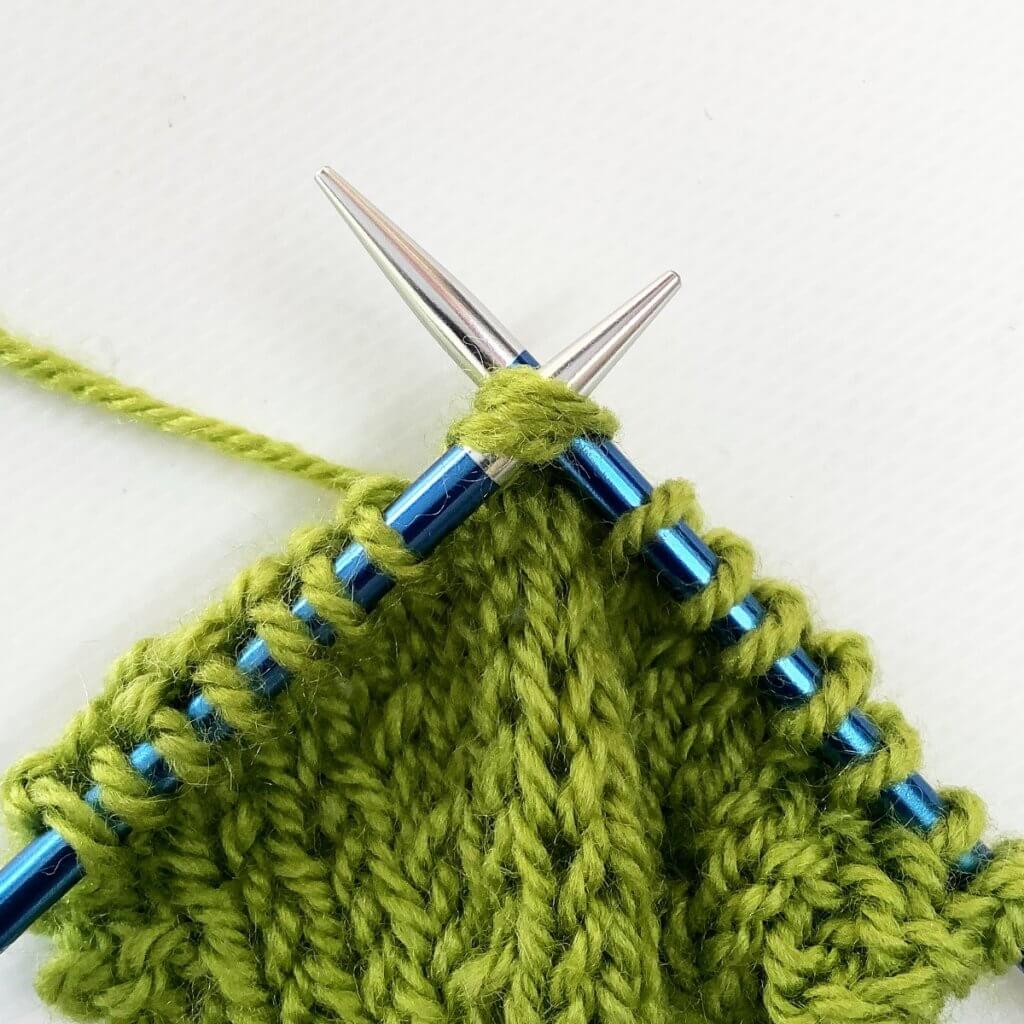
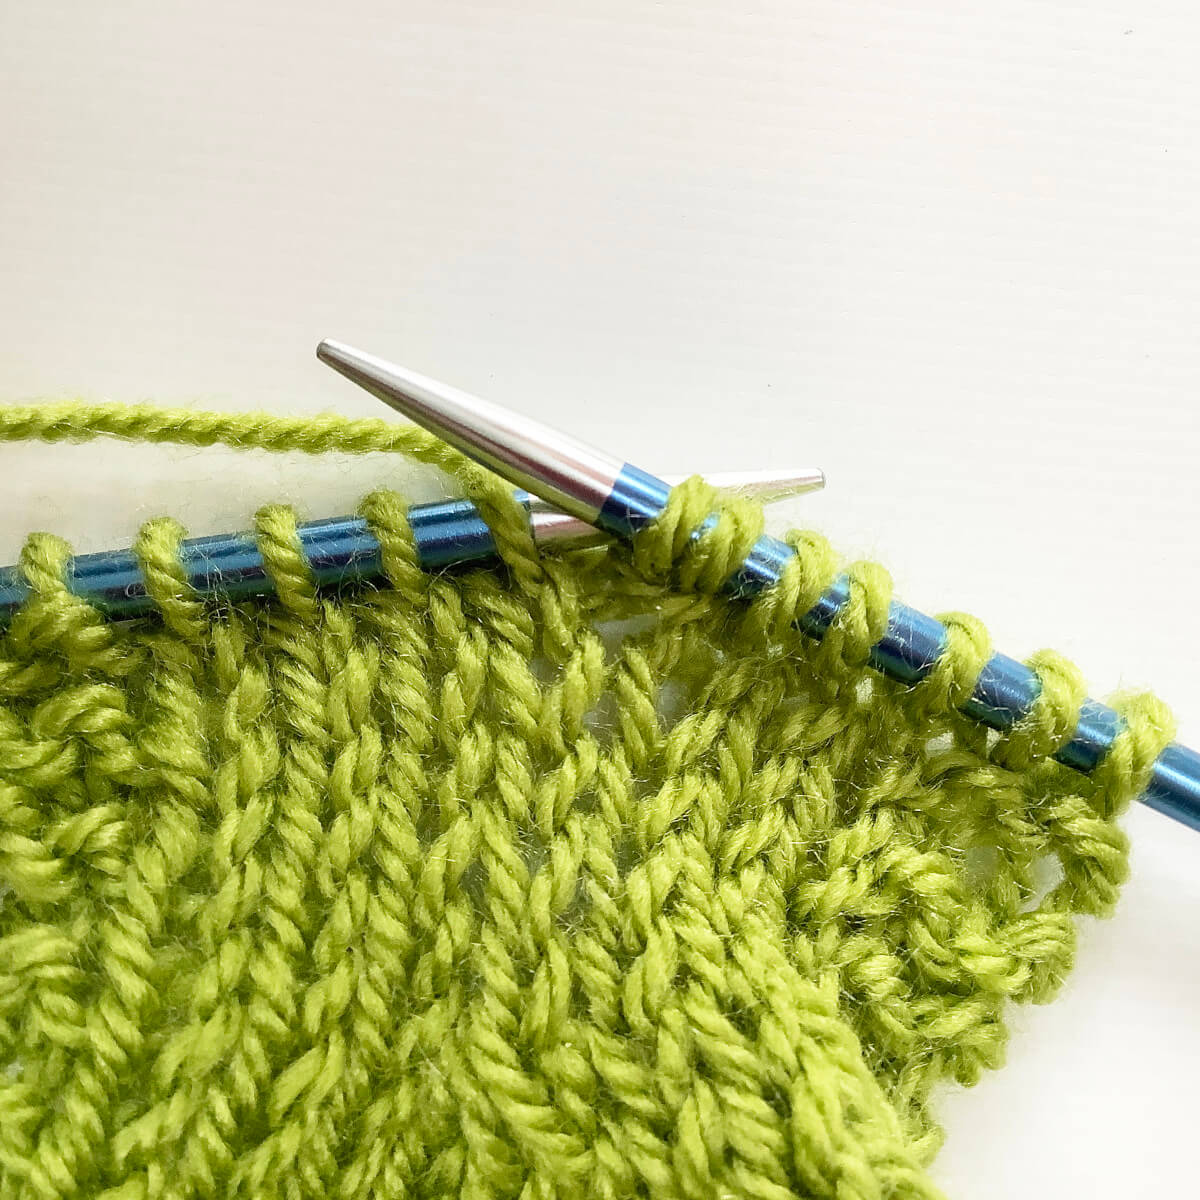
- Insert the right-hand knitting needle into the front of the loop.
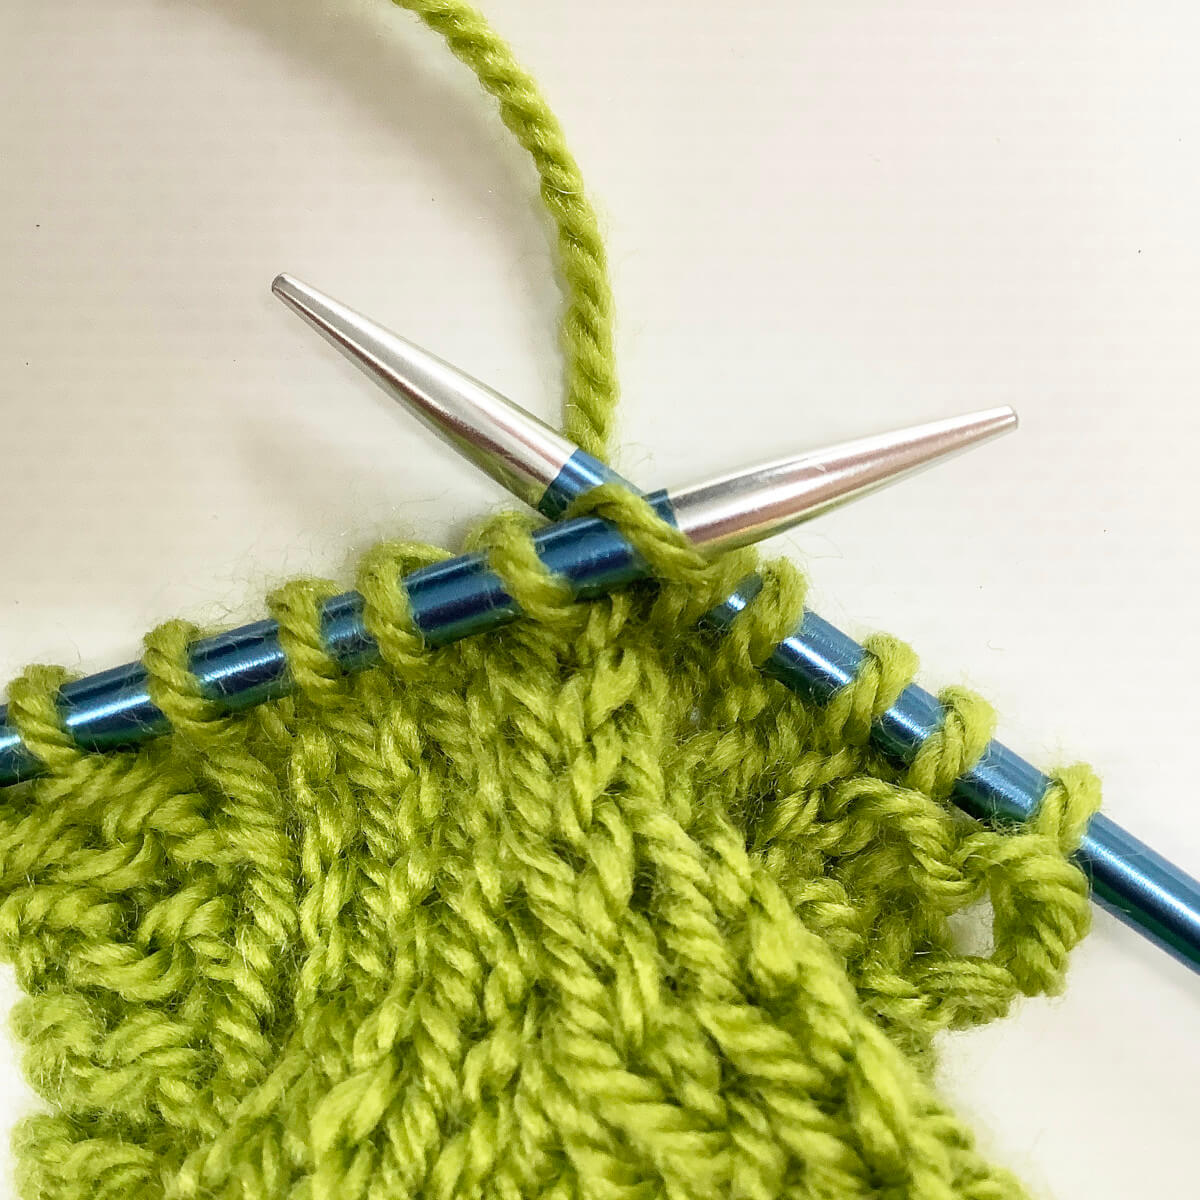
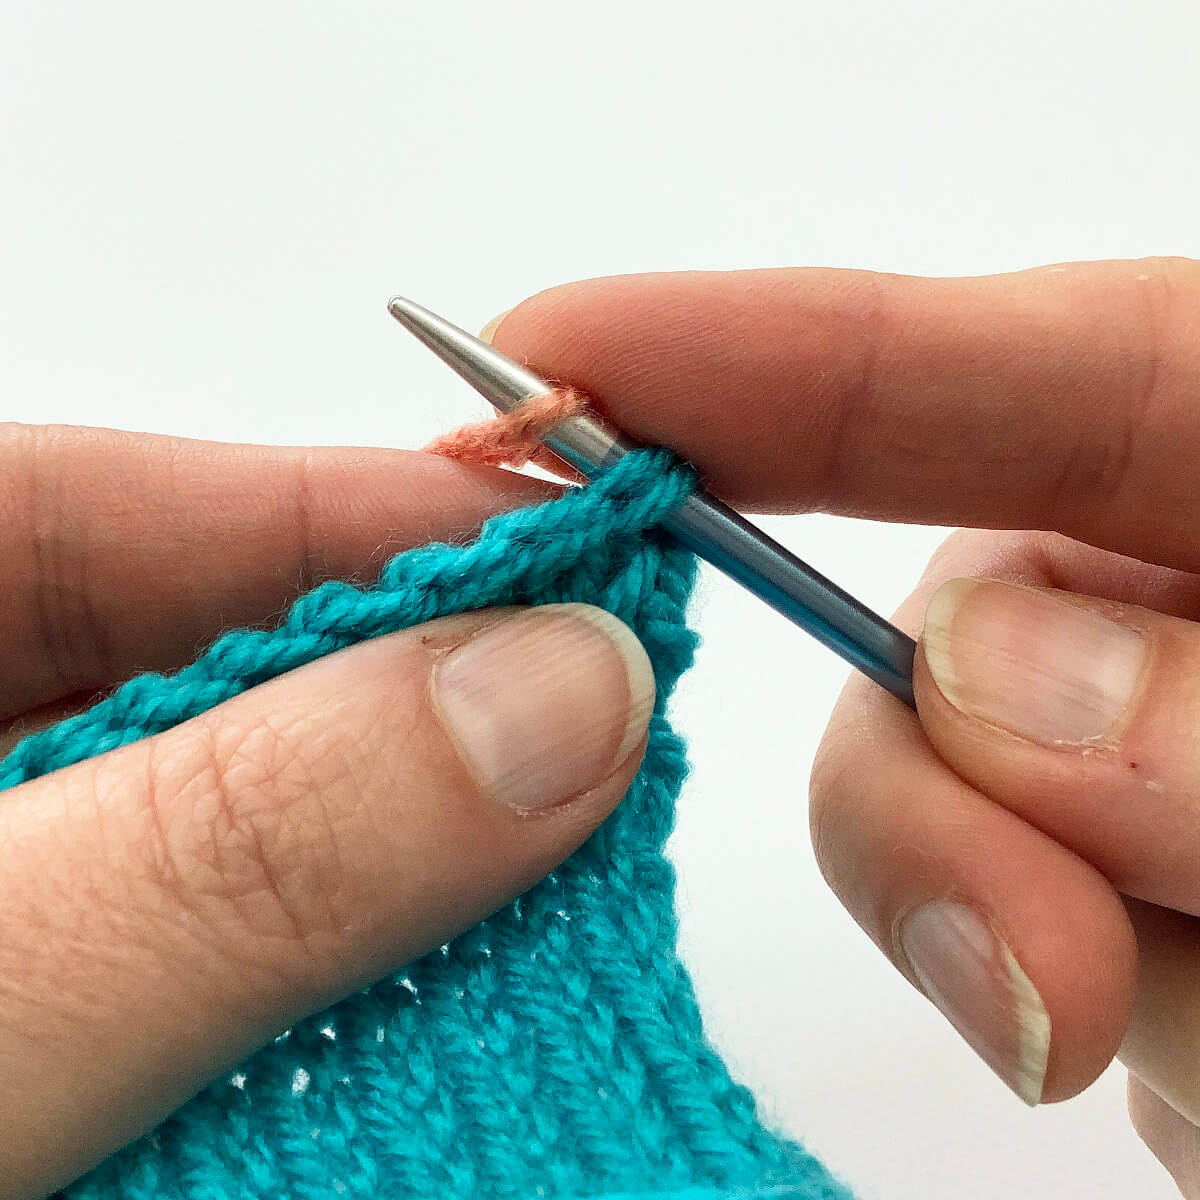
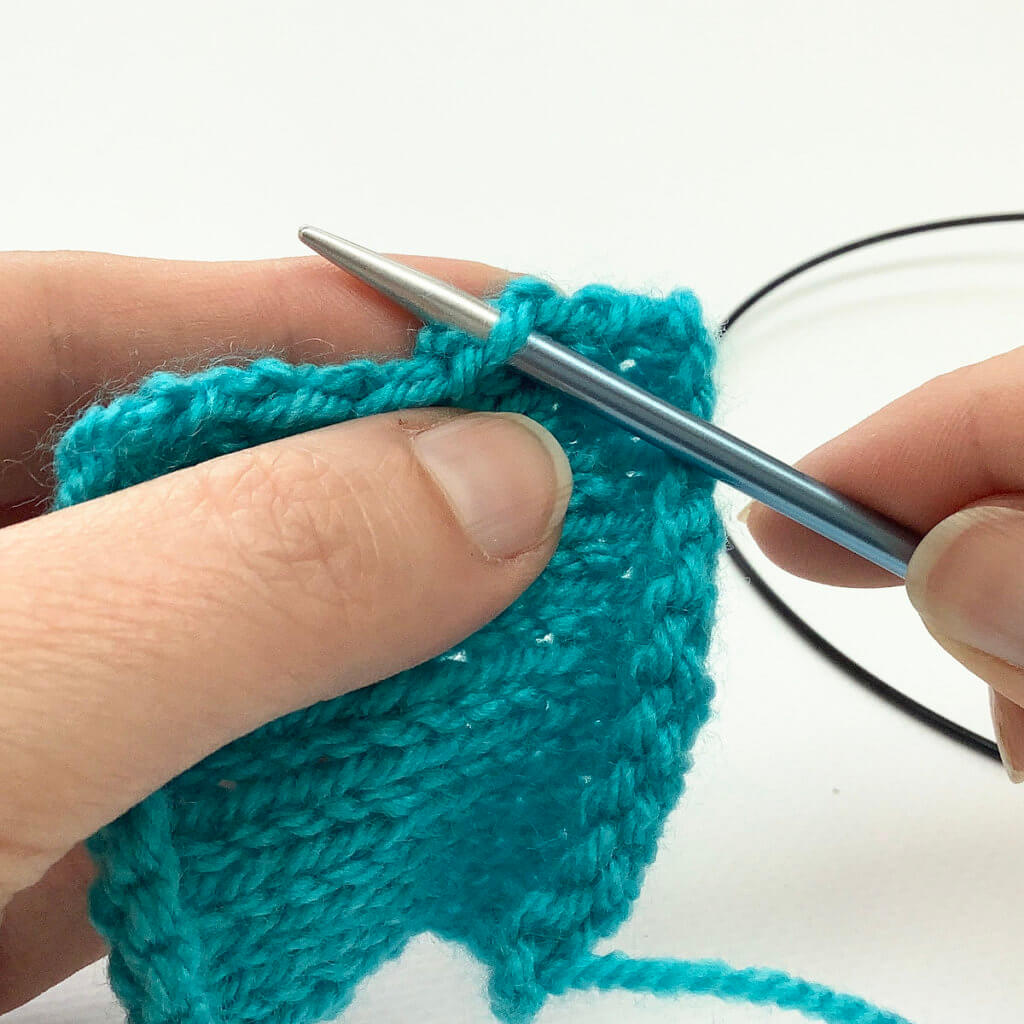
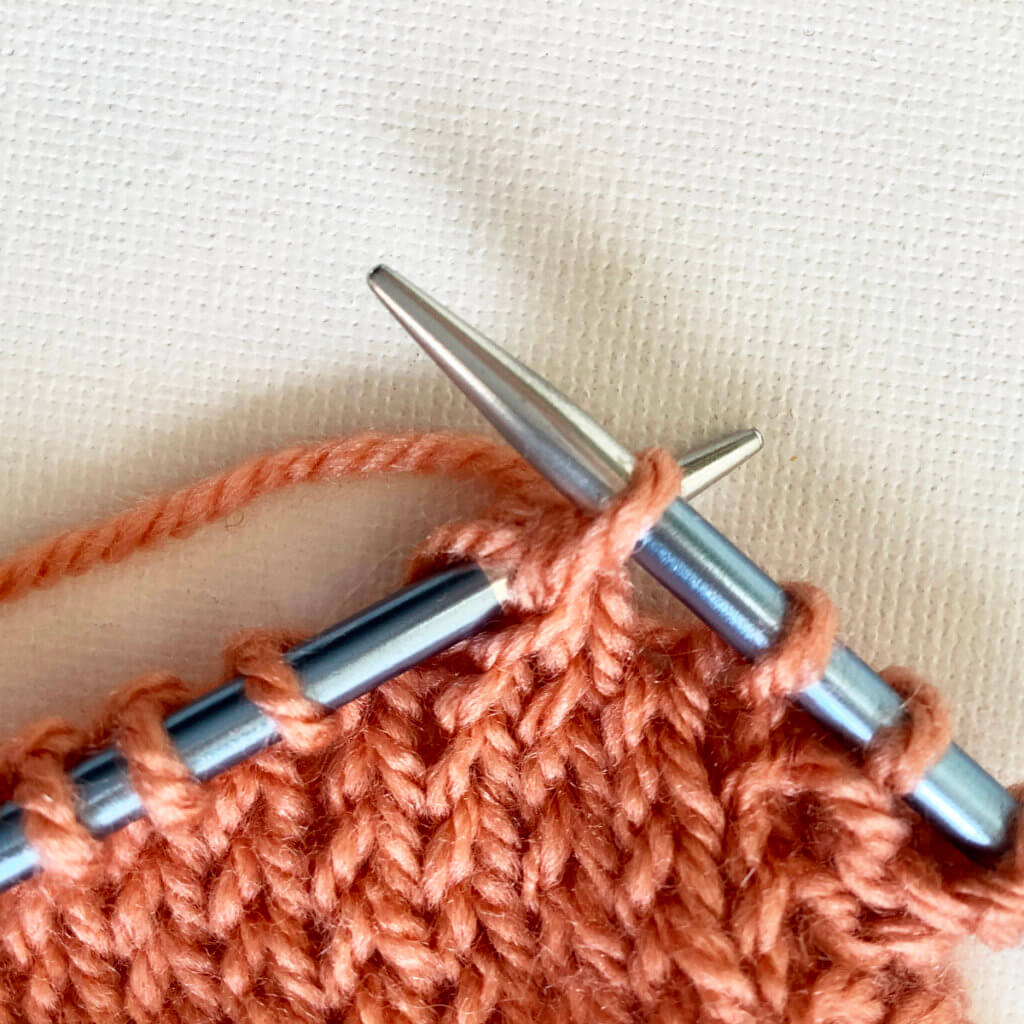
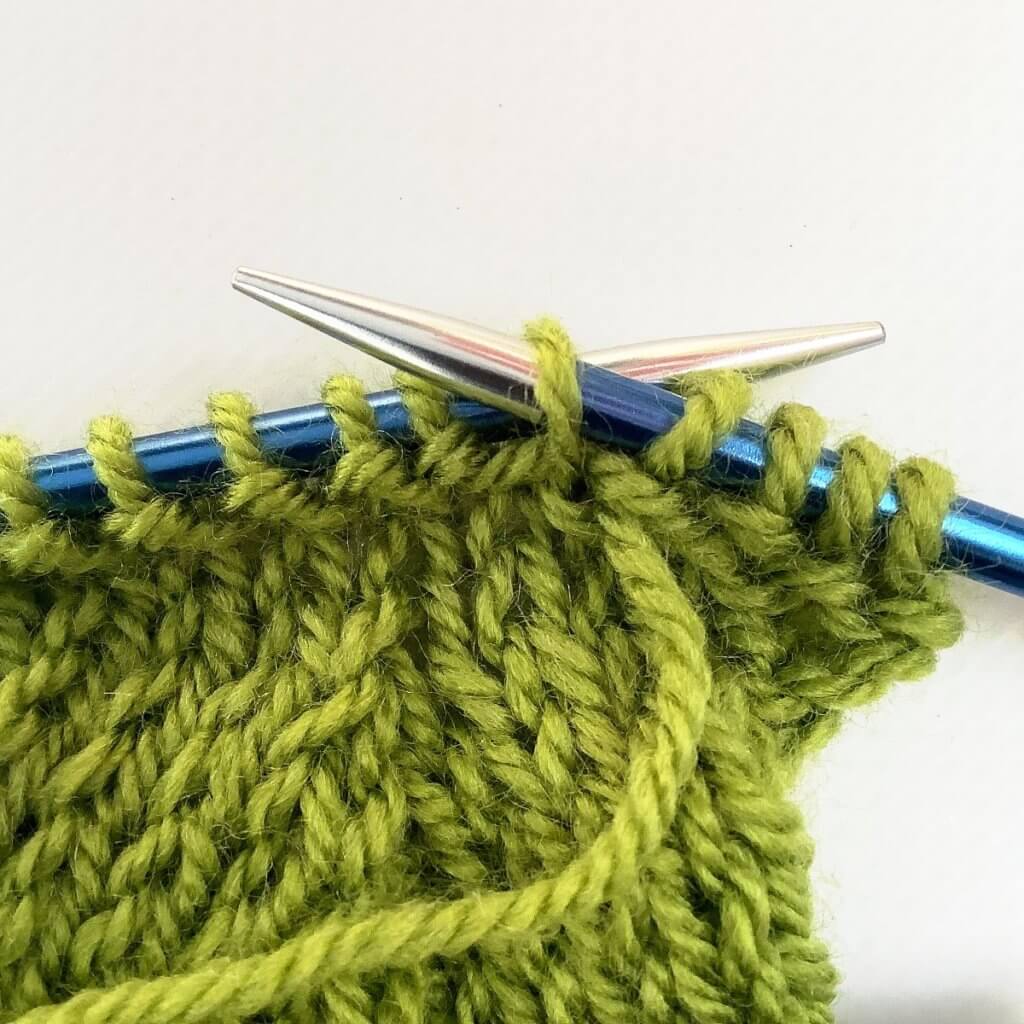
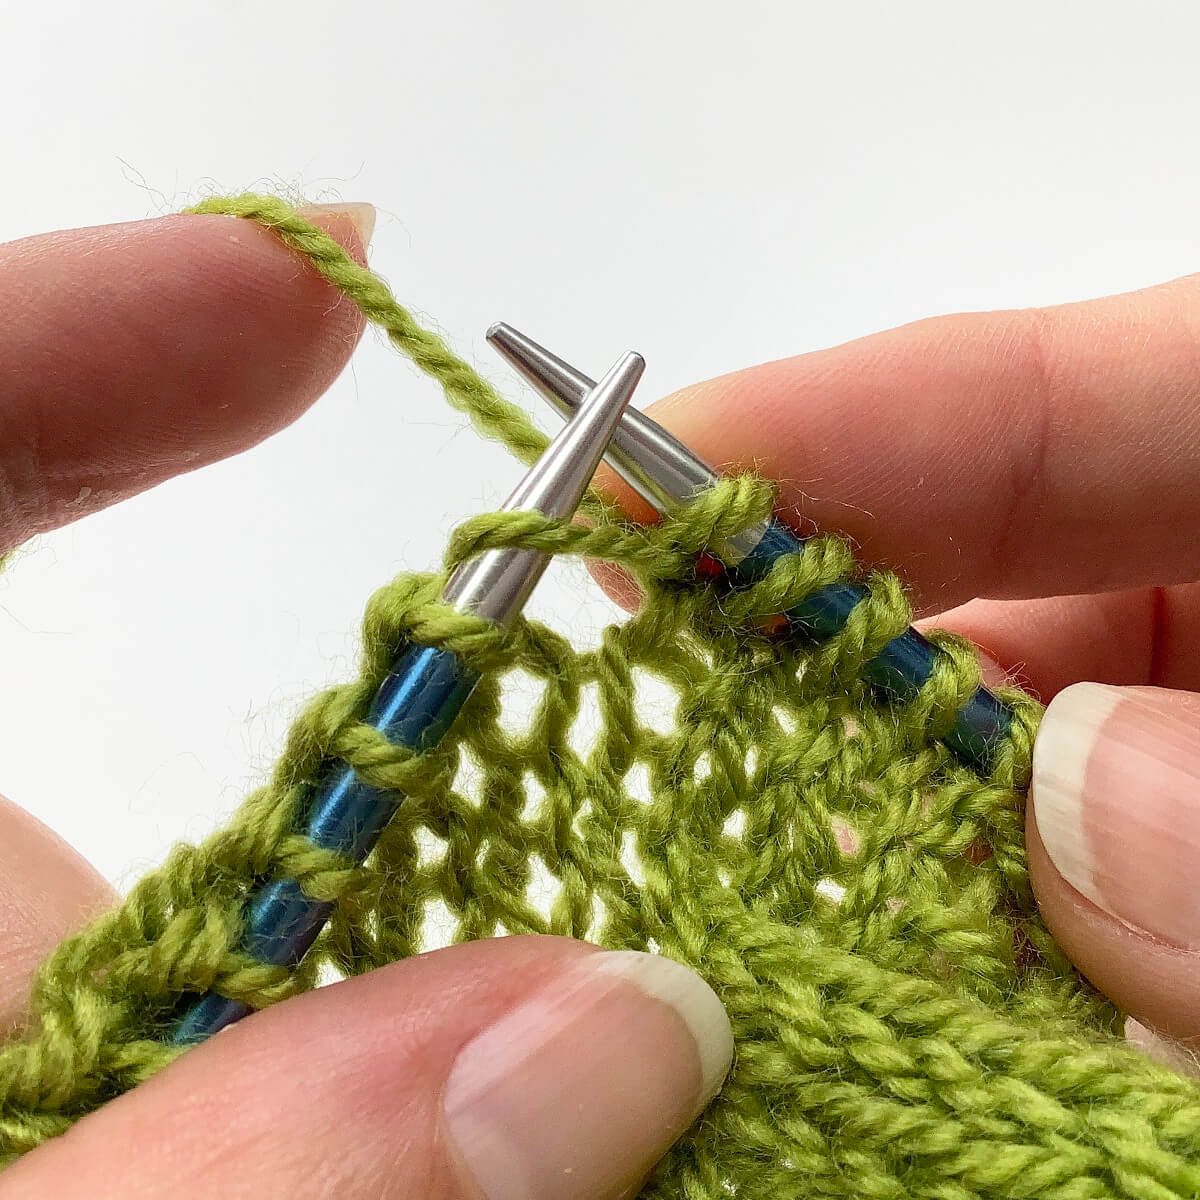
- Wrap the yarn around the needle…
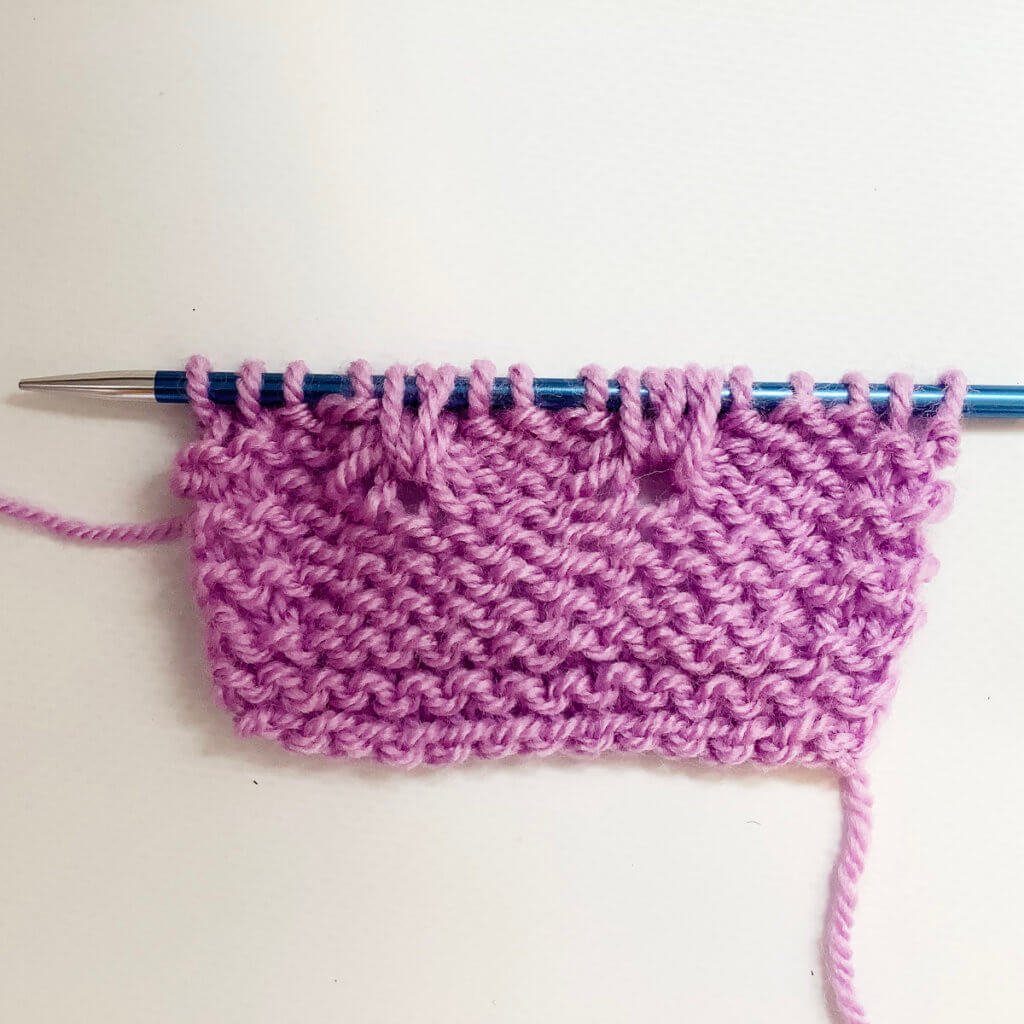
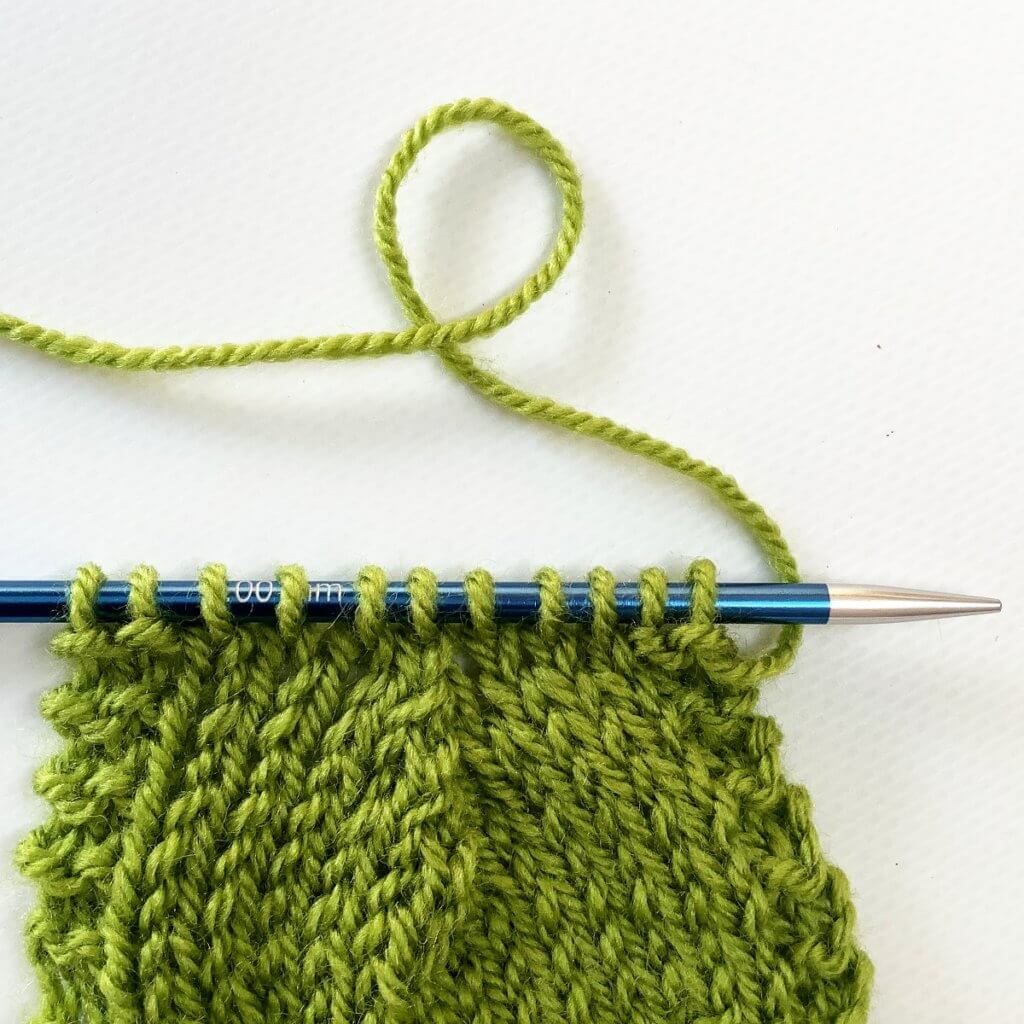
- … and pull in through, slide the stitch of the left-hand needle to complete the m1r part of this double increase.
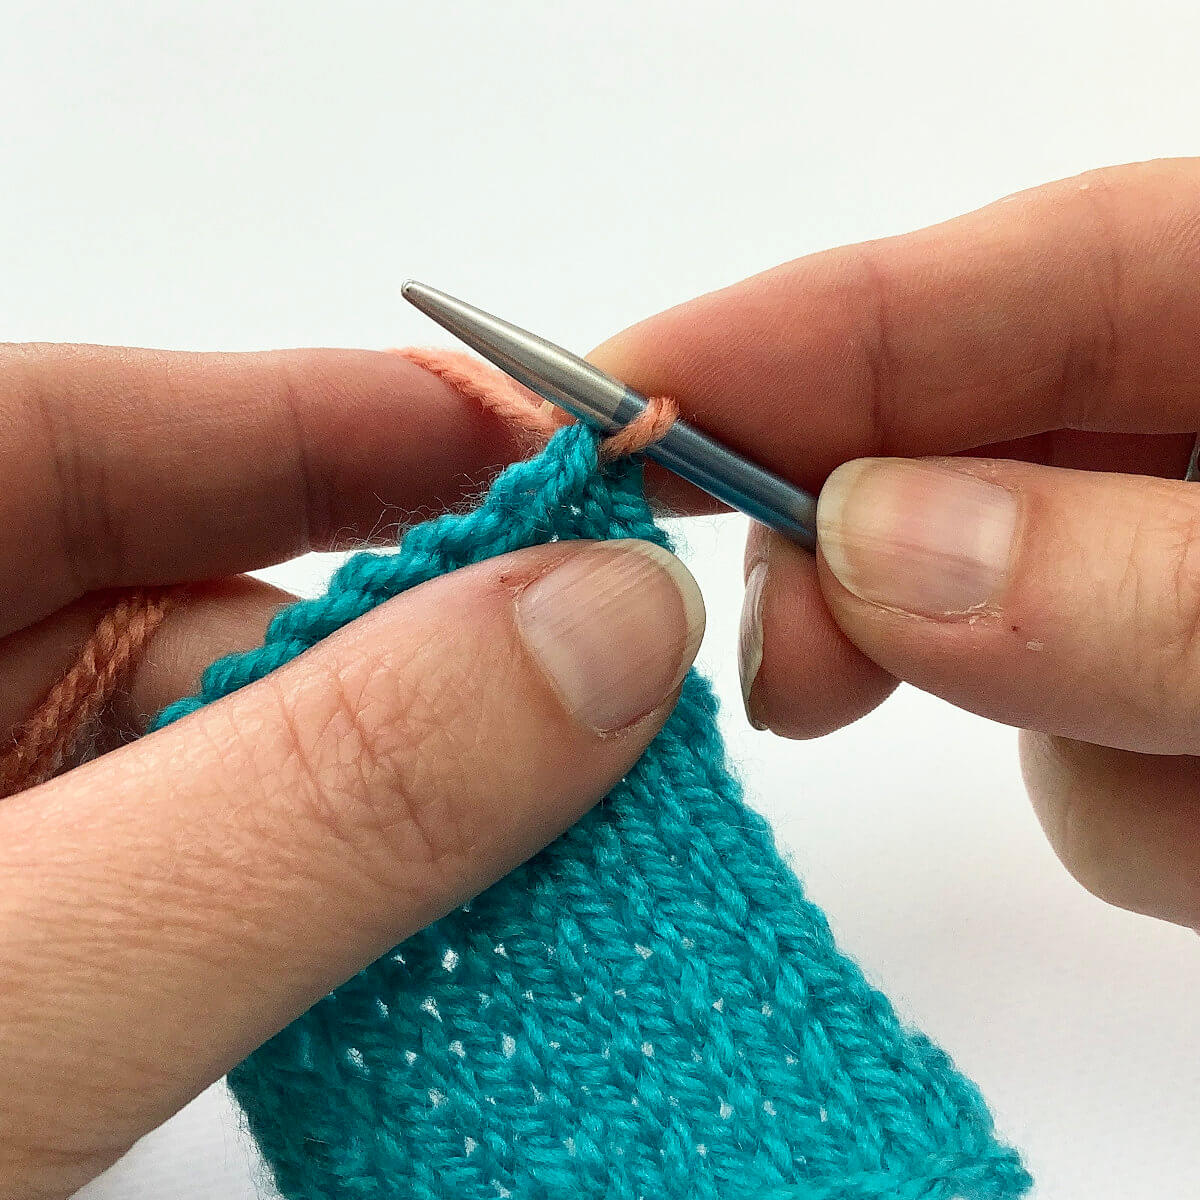
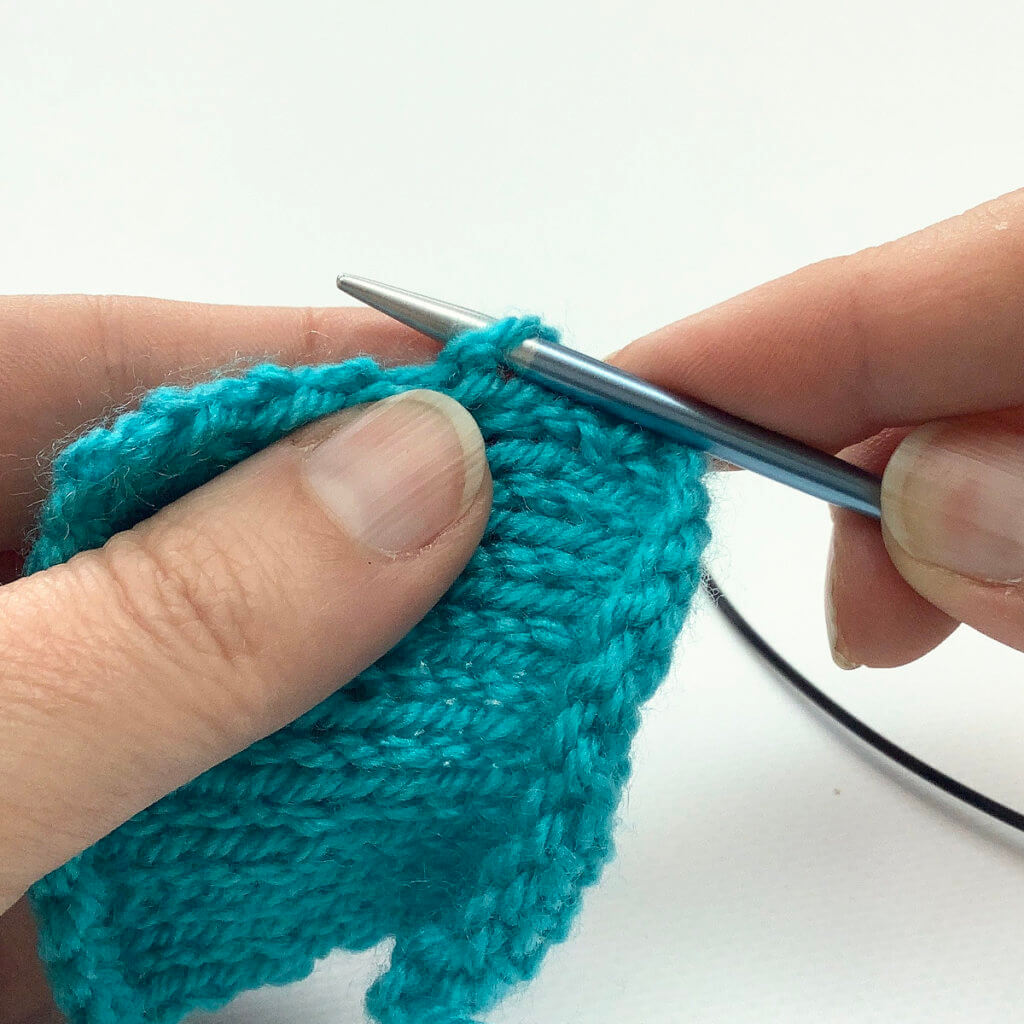
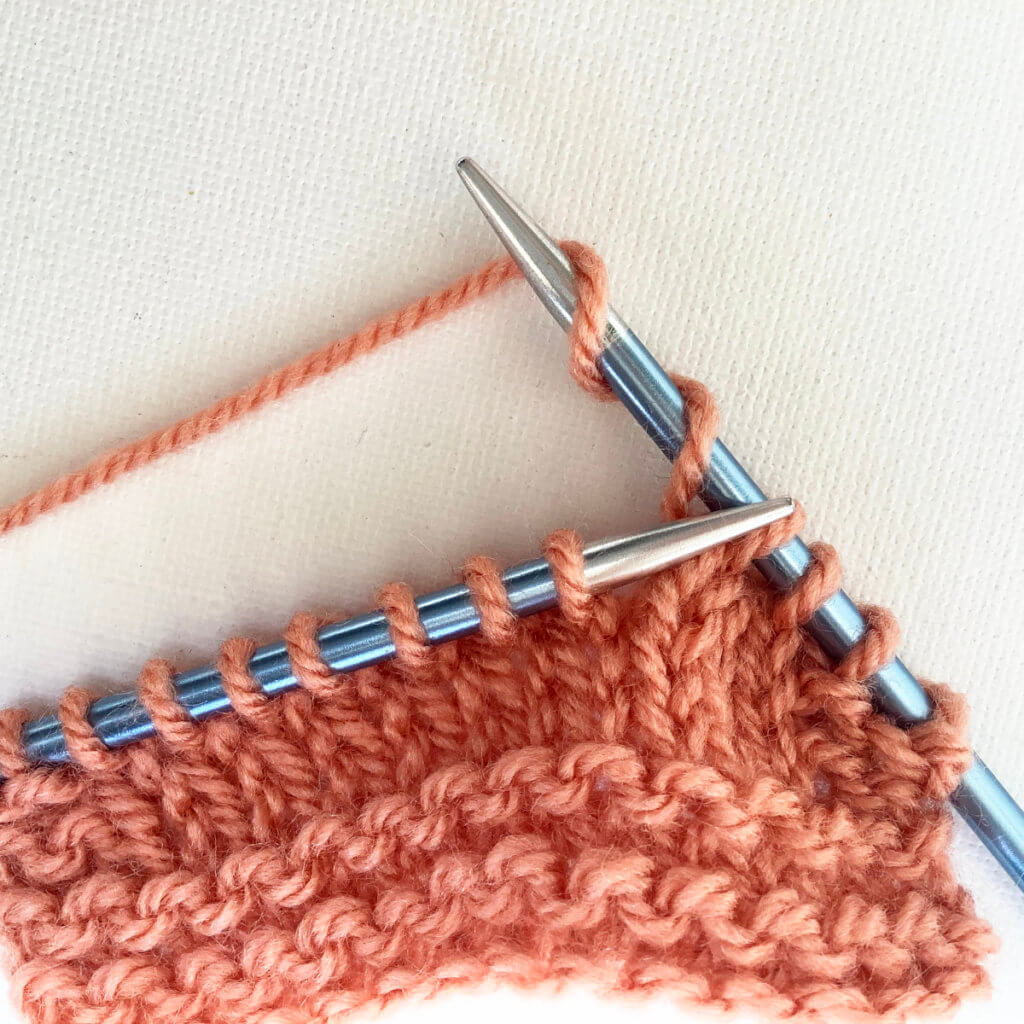
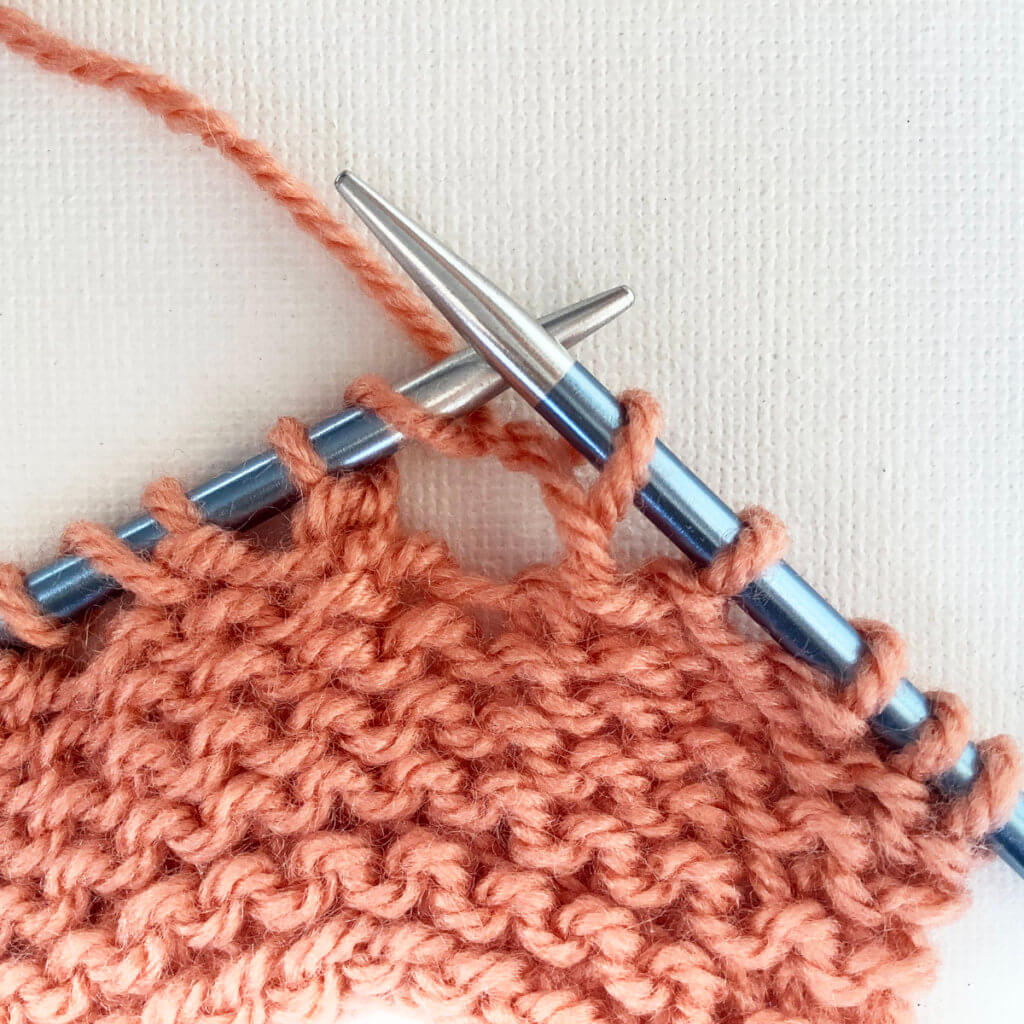
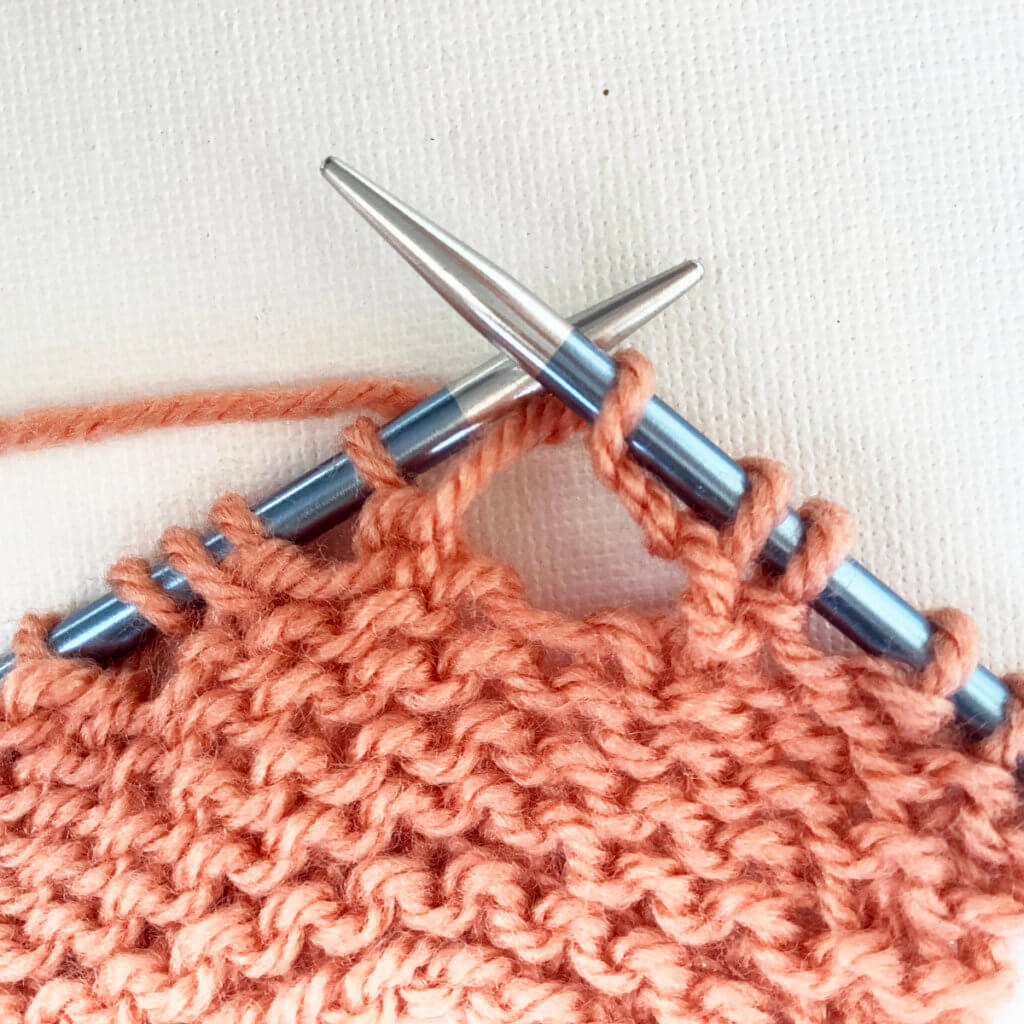
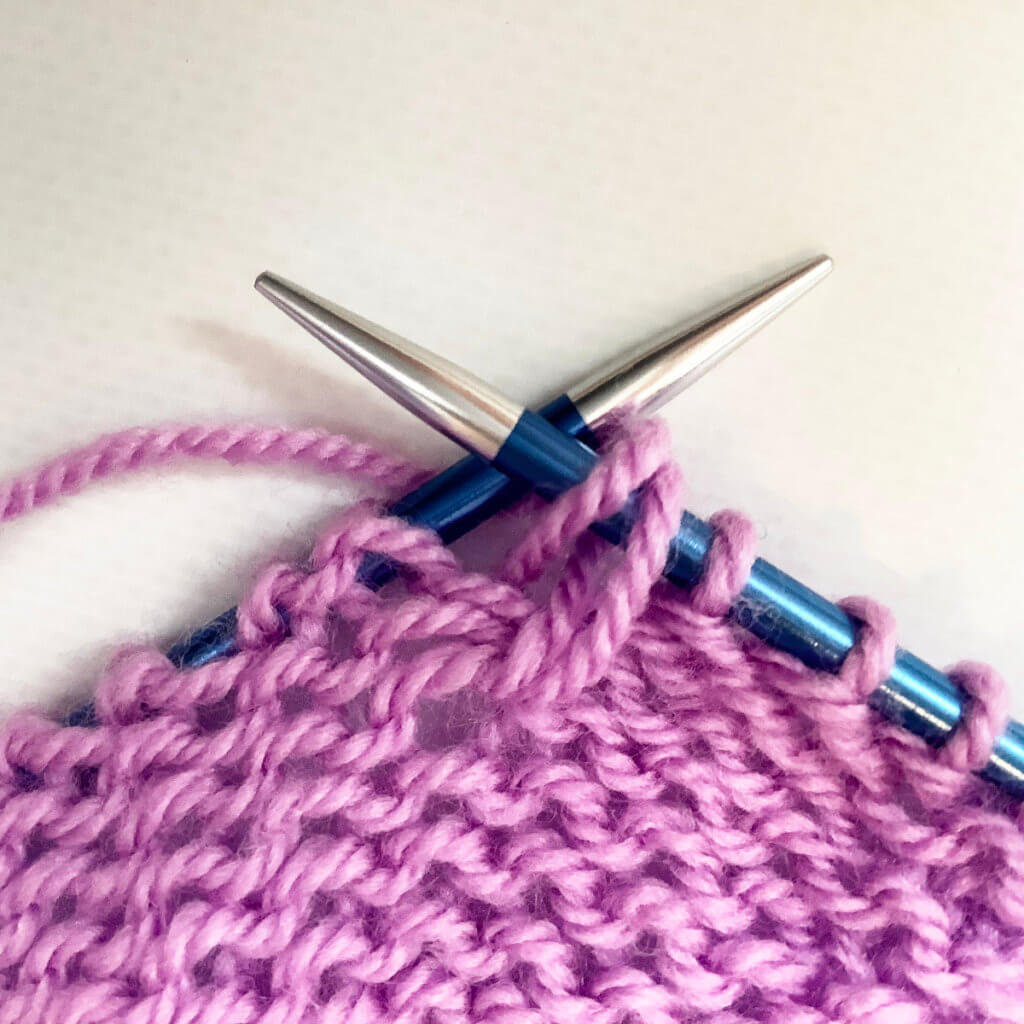
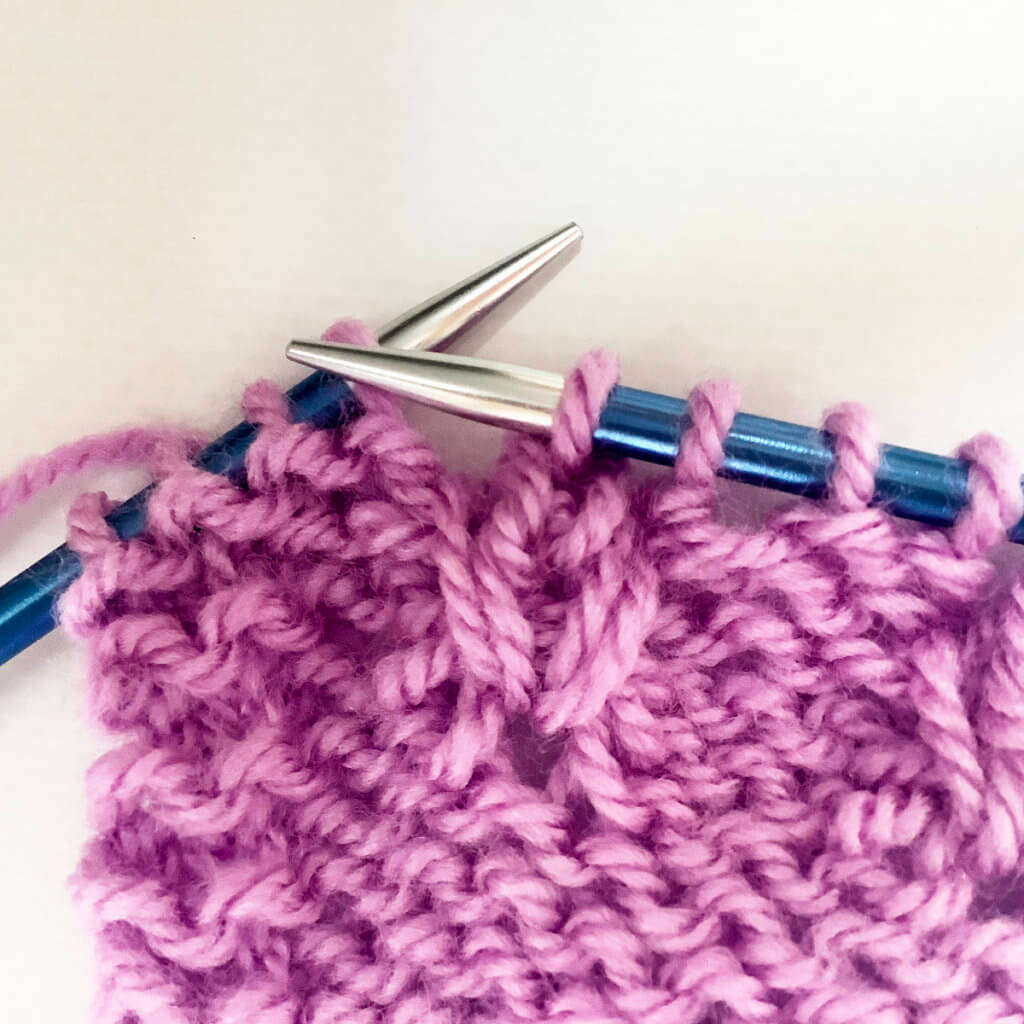
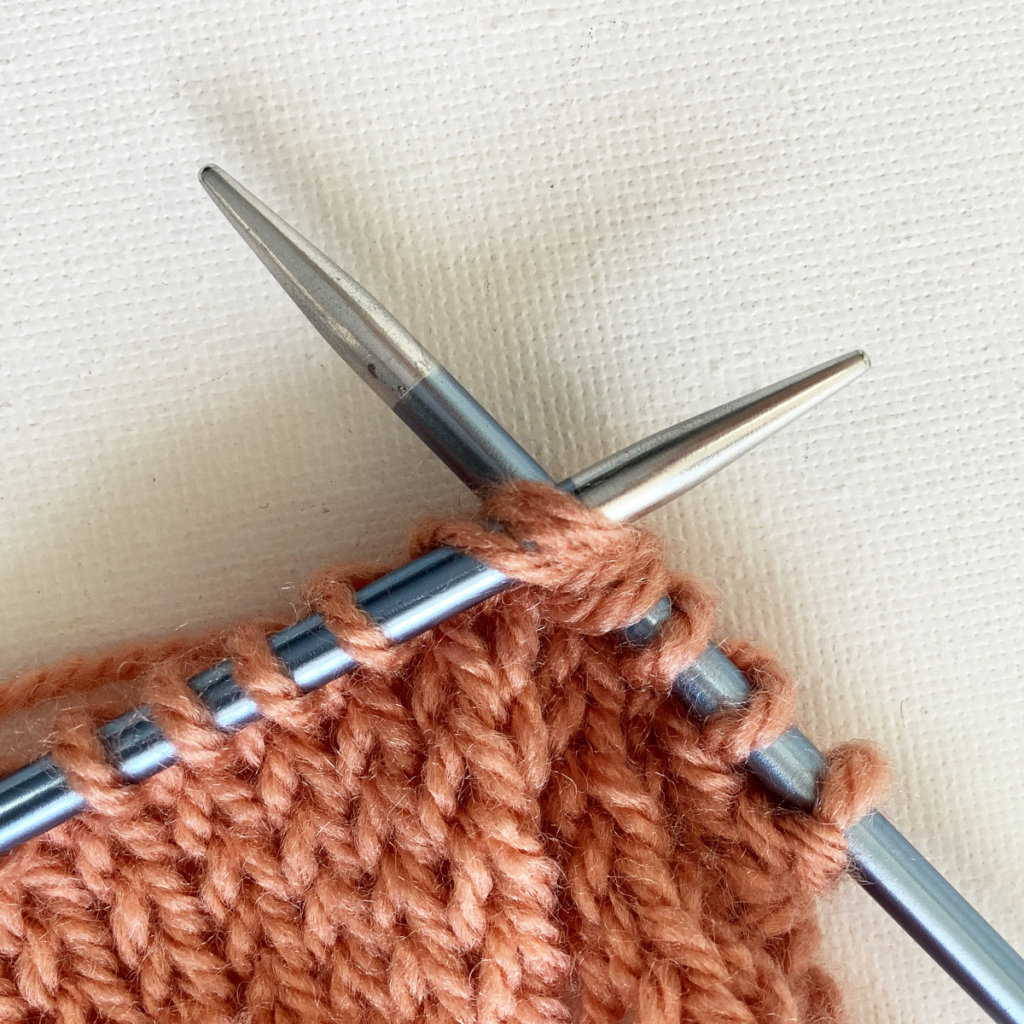
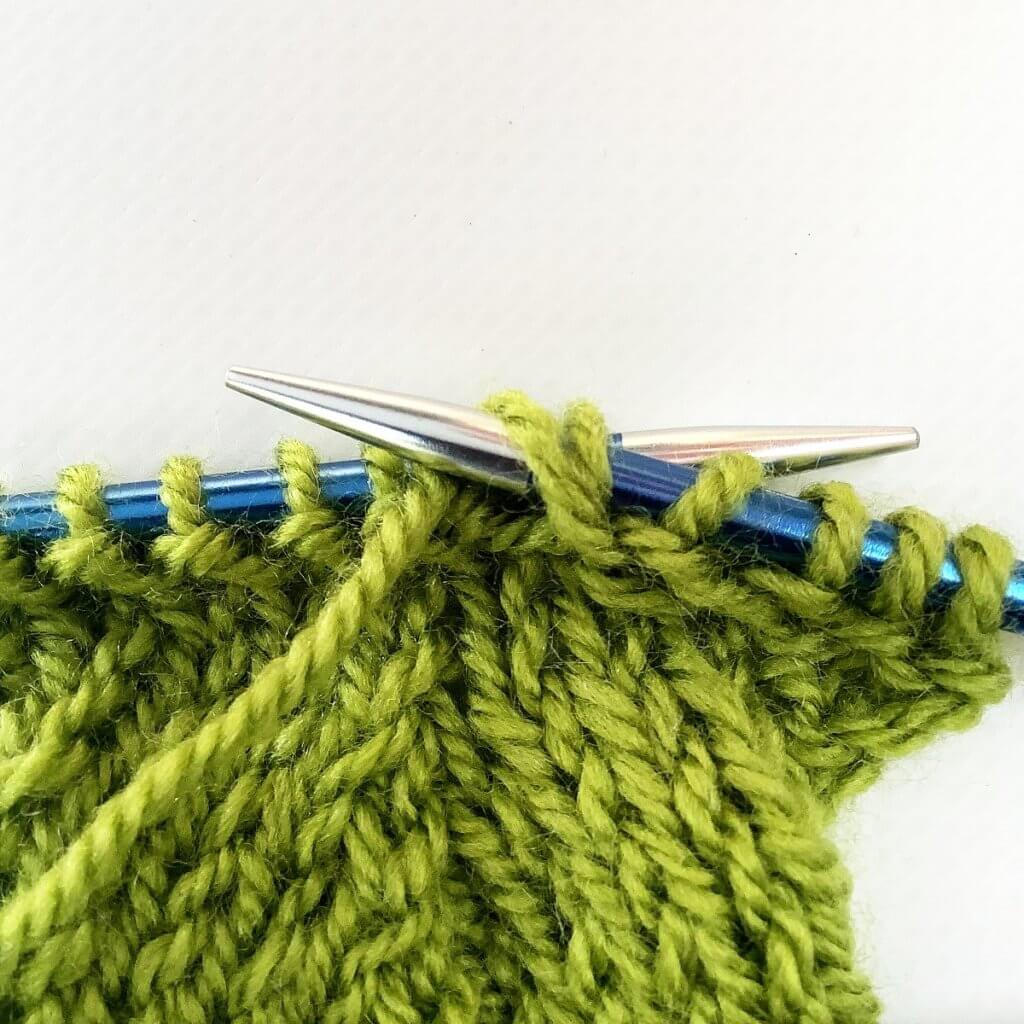
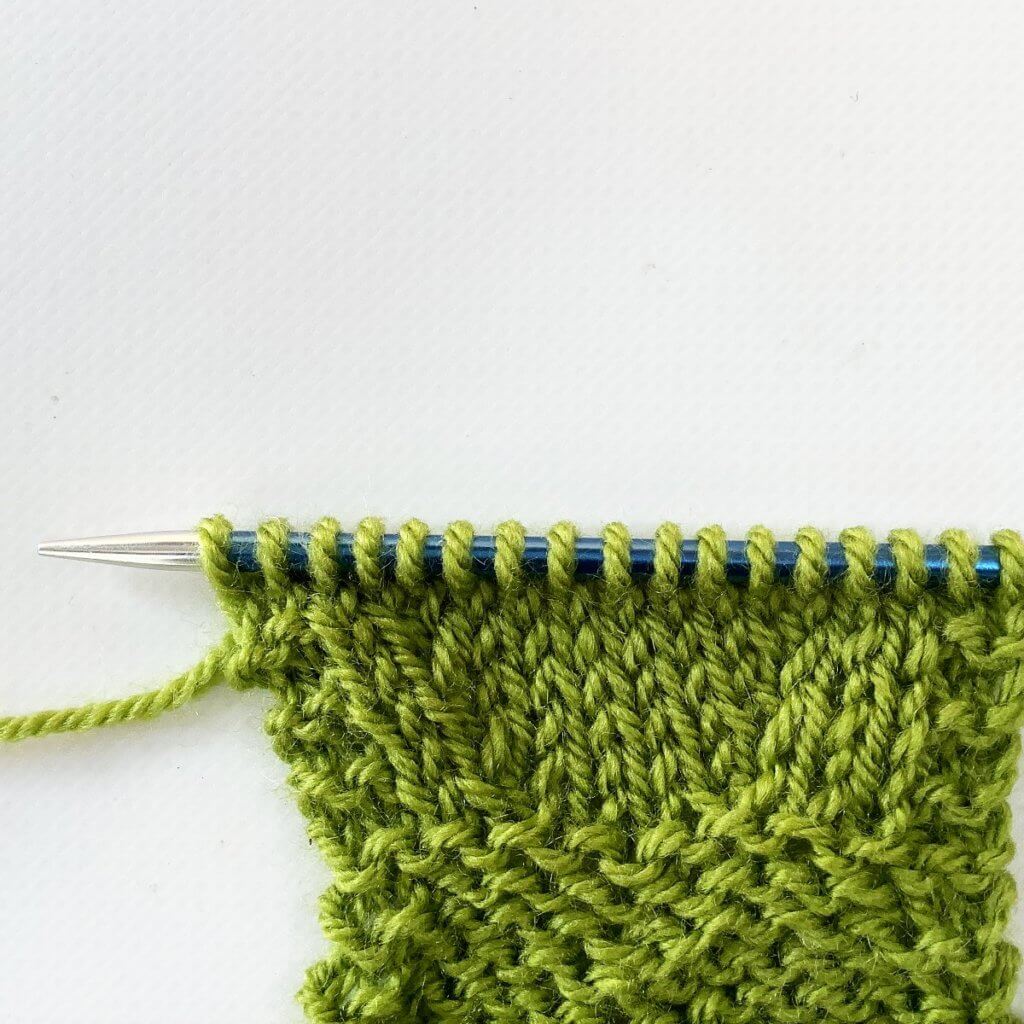
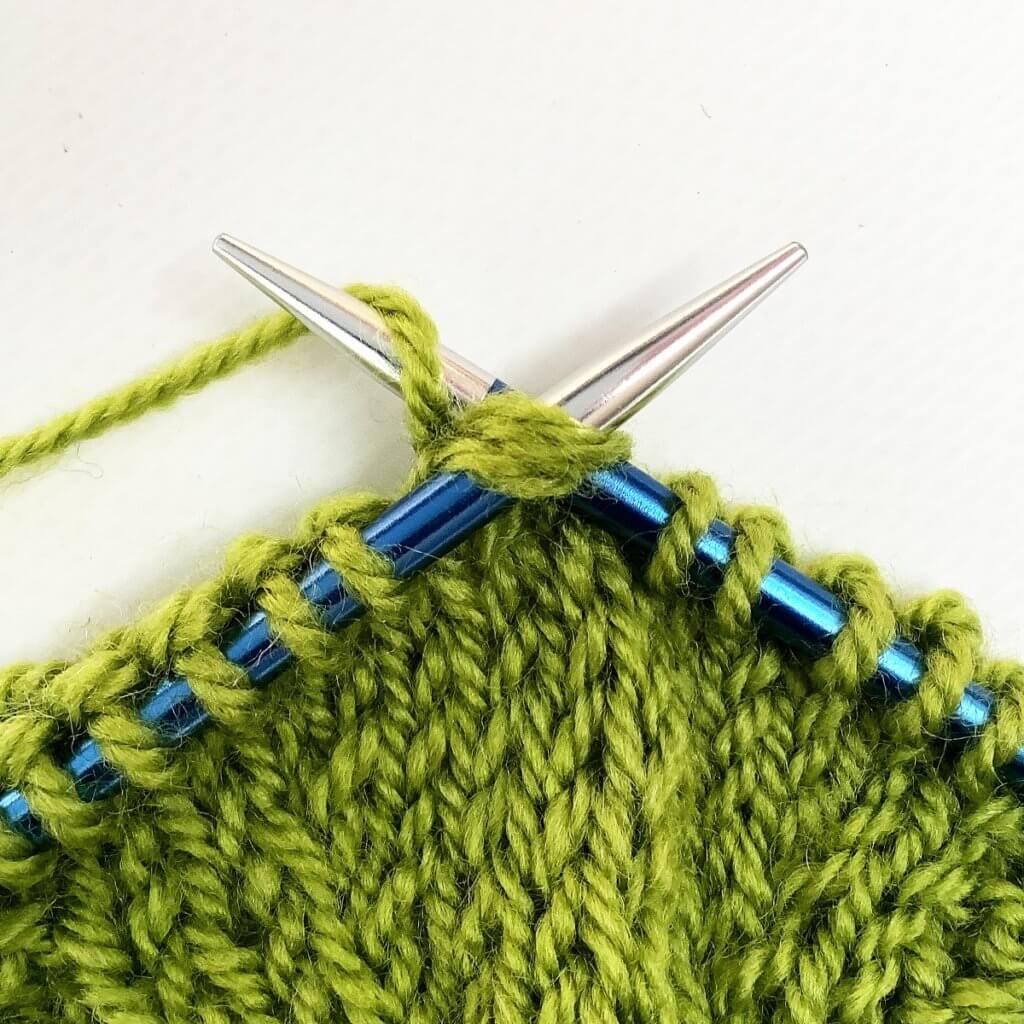
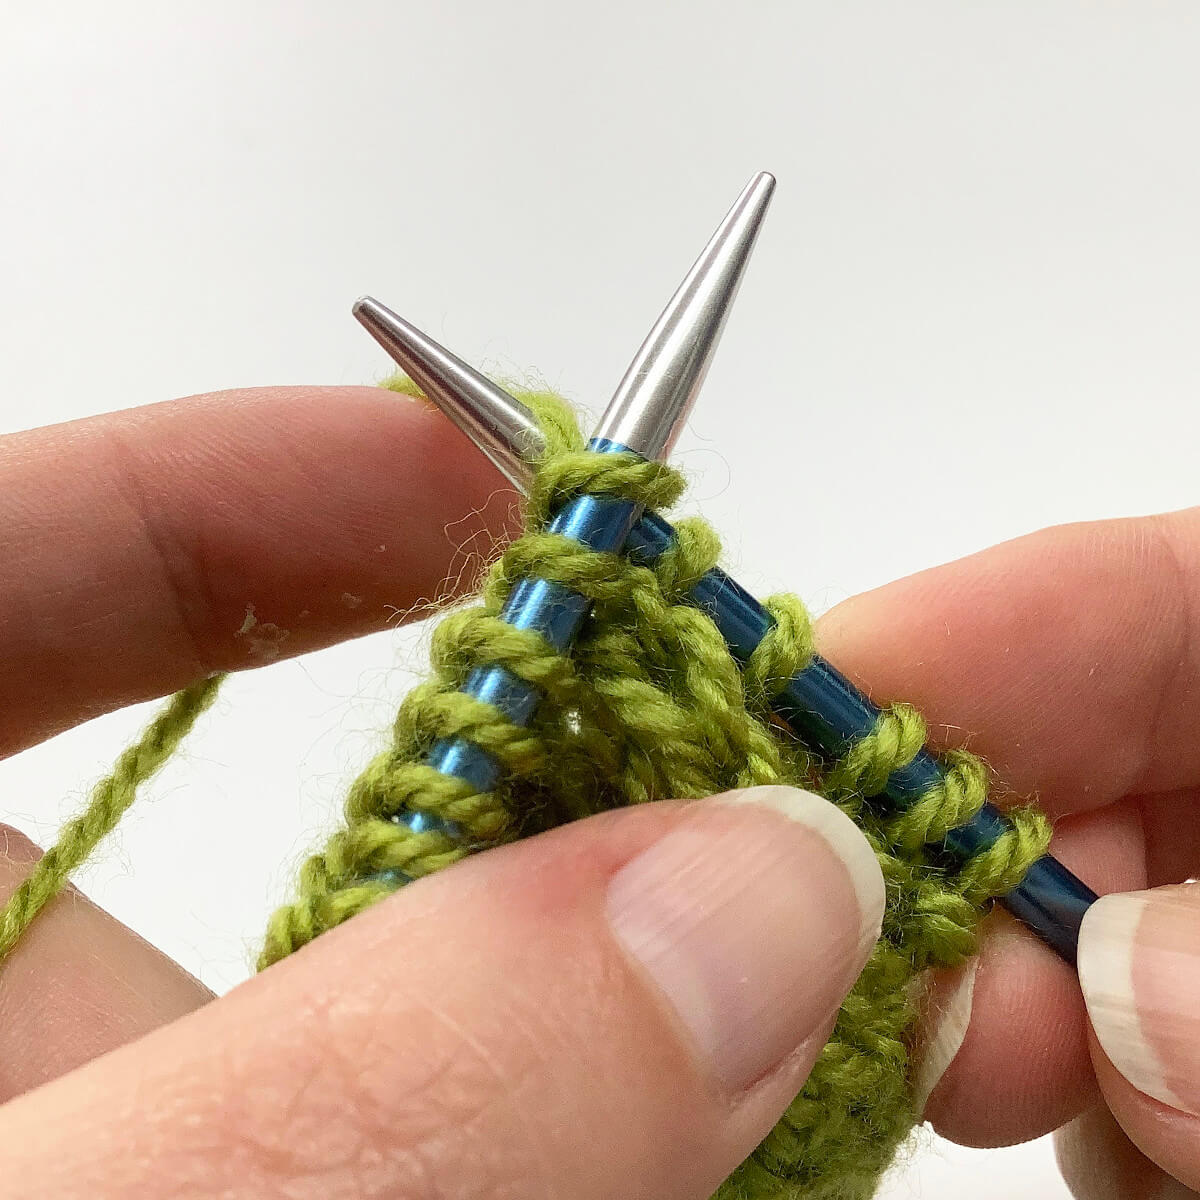
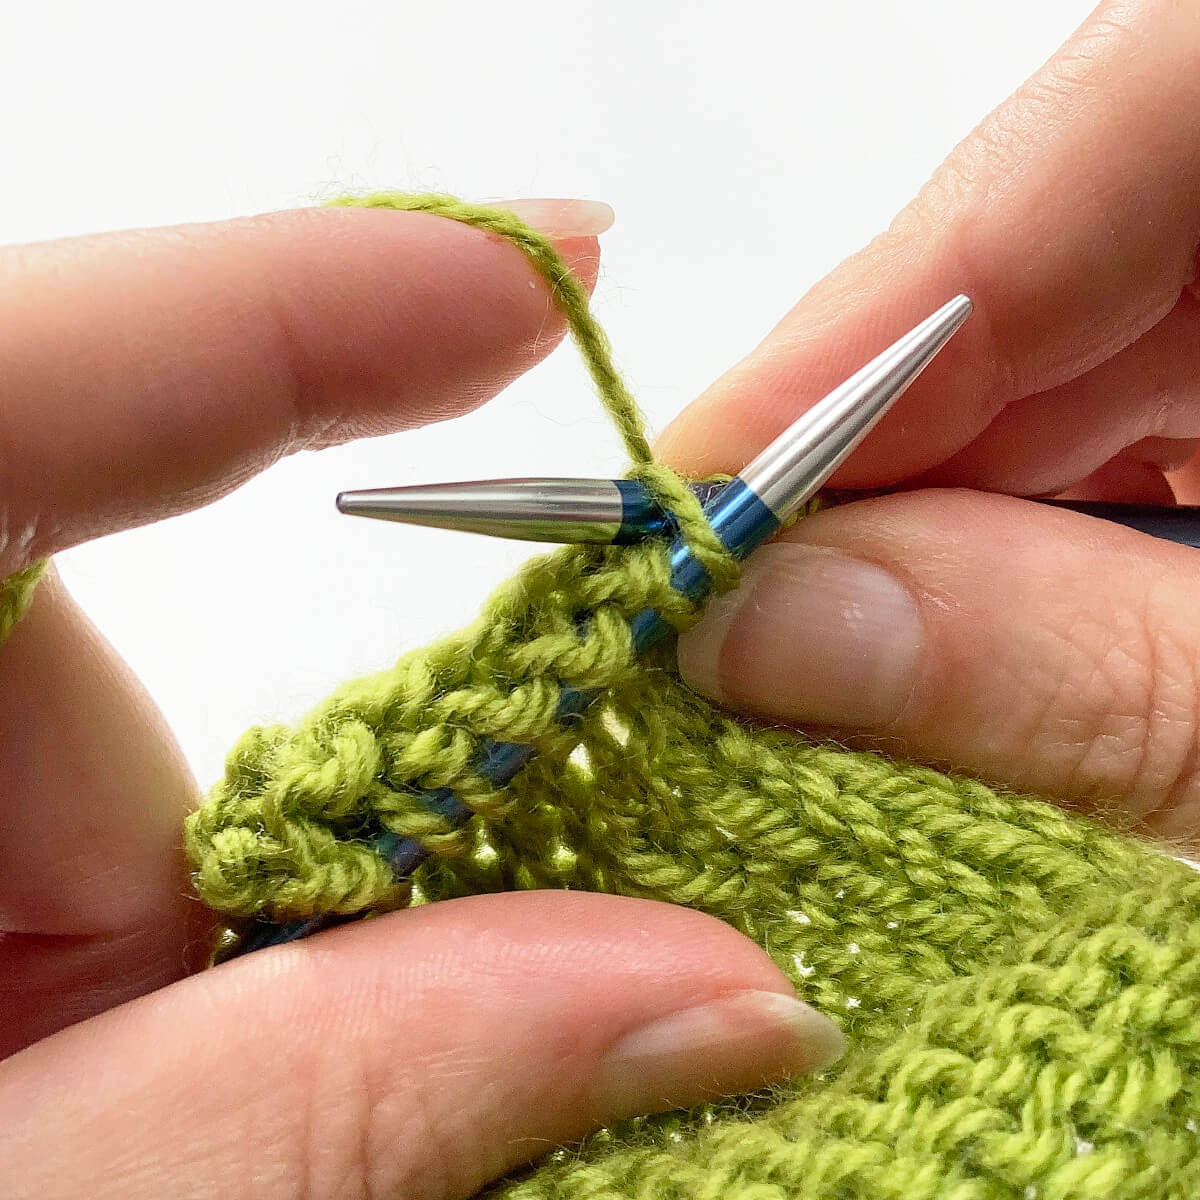
- Next, we’re going to tackle the m1l part of the increase.
To do so, lift the thread between the stitch just knit and the next one from the front with your left-hand needle.
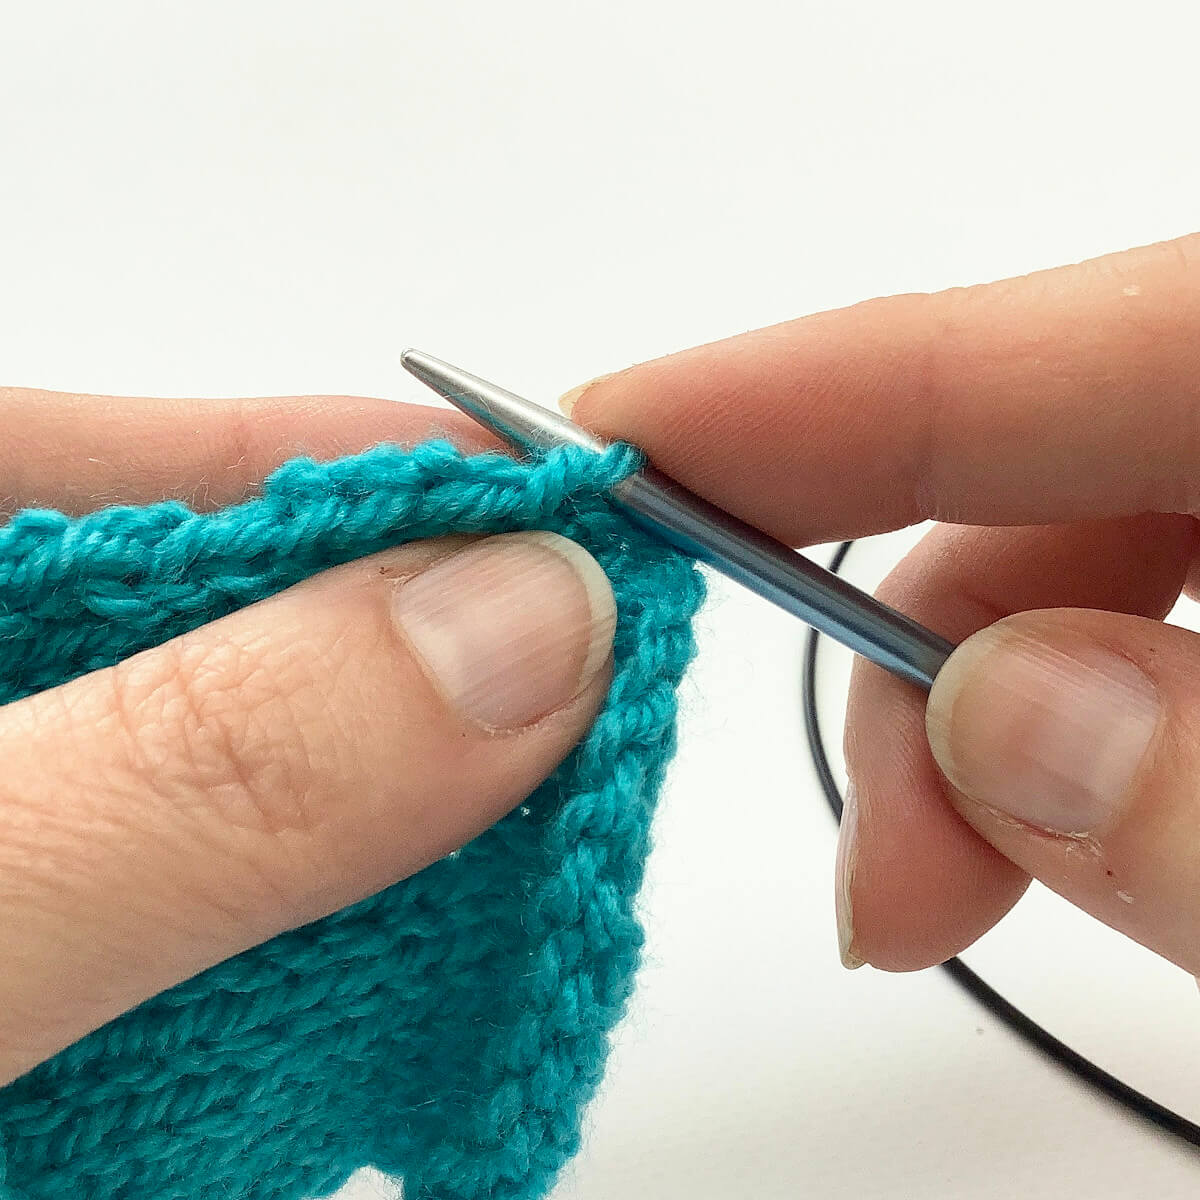
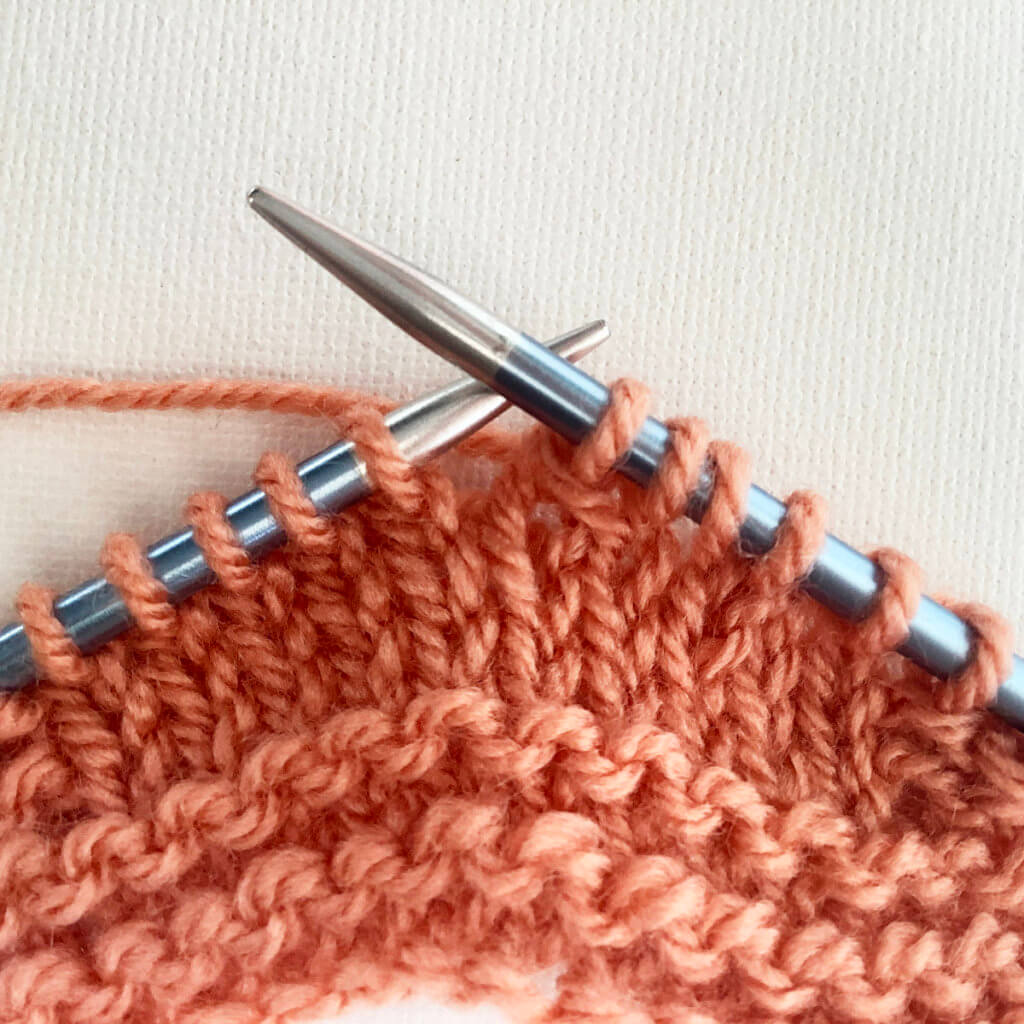
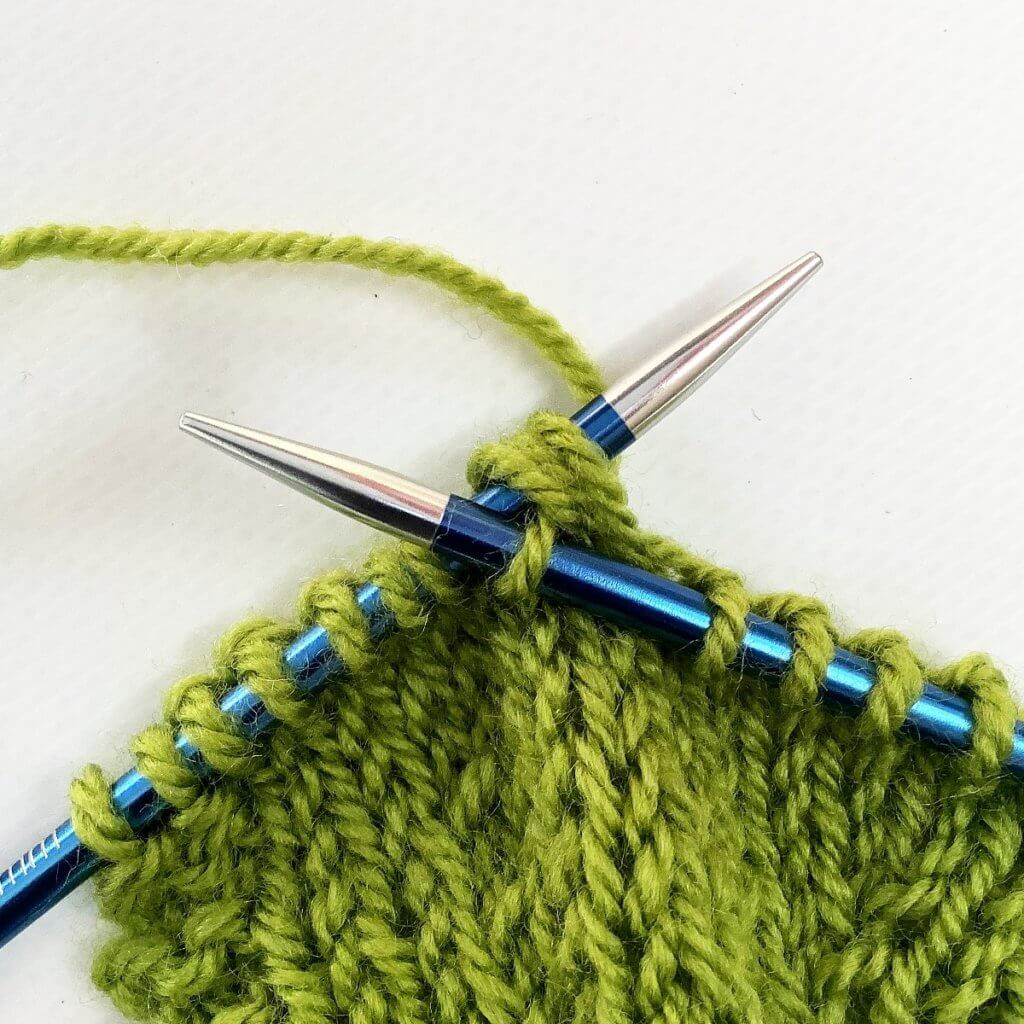
- Insert the right-hand knitting needle into the back of the loop.
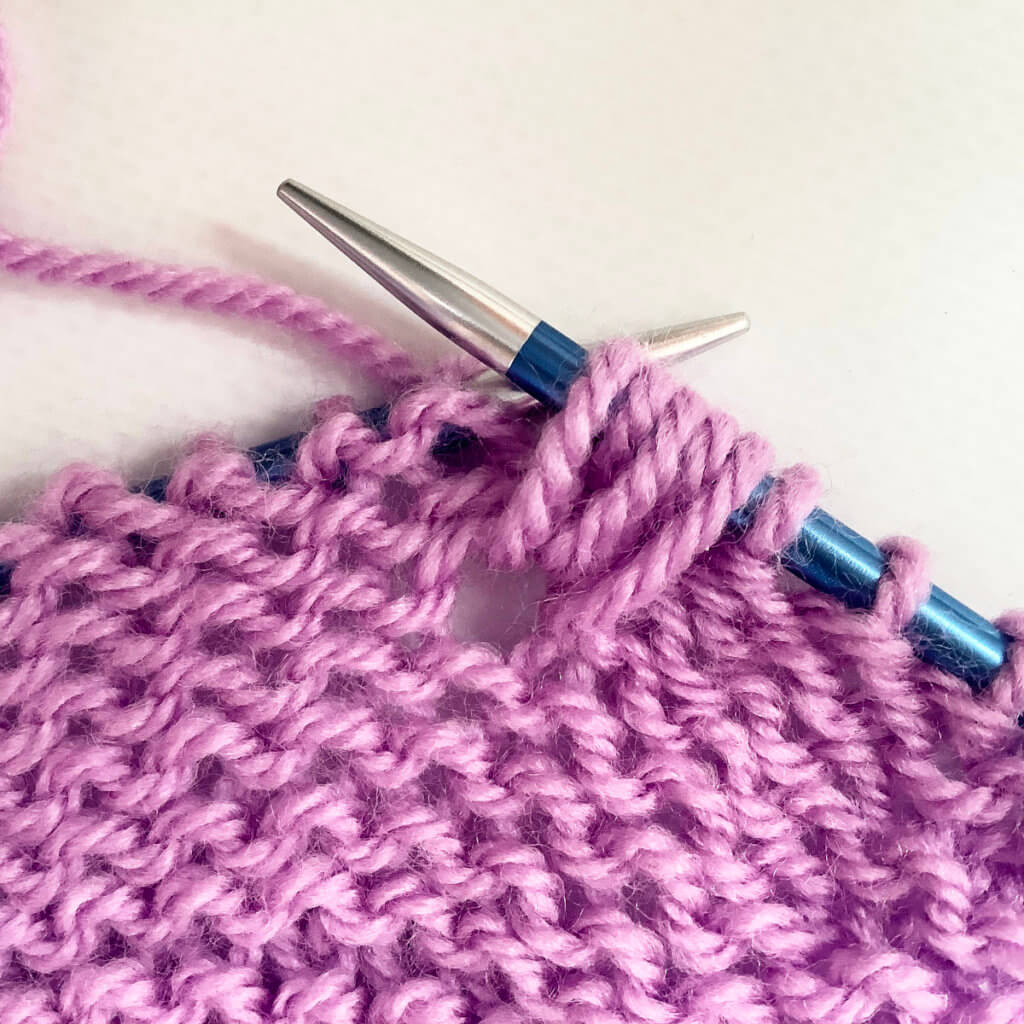
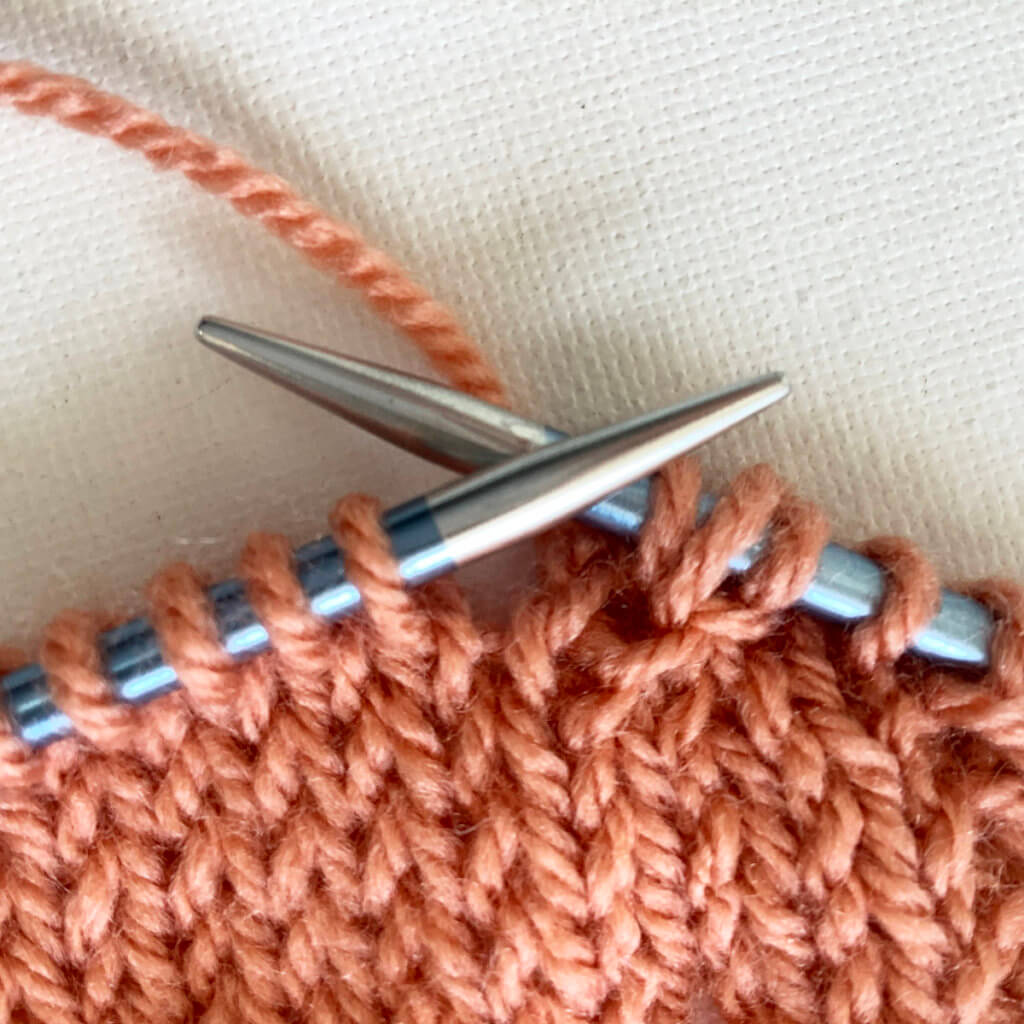
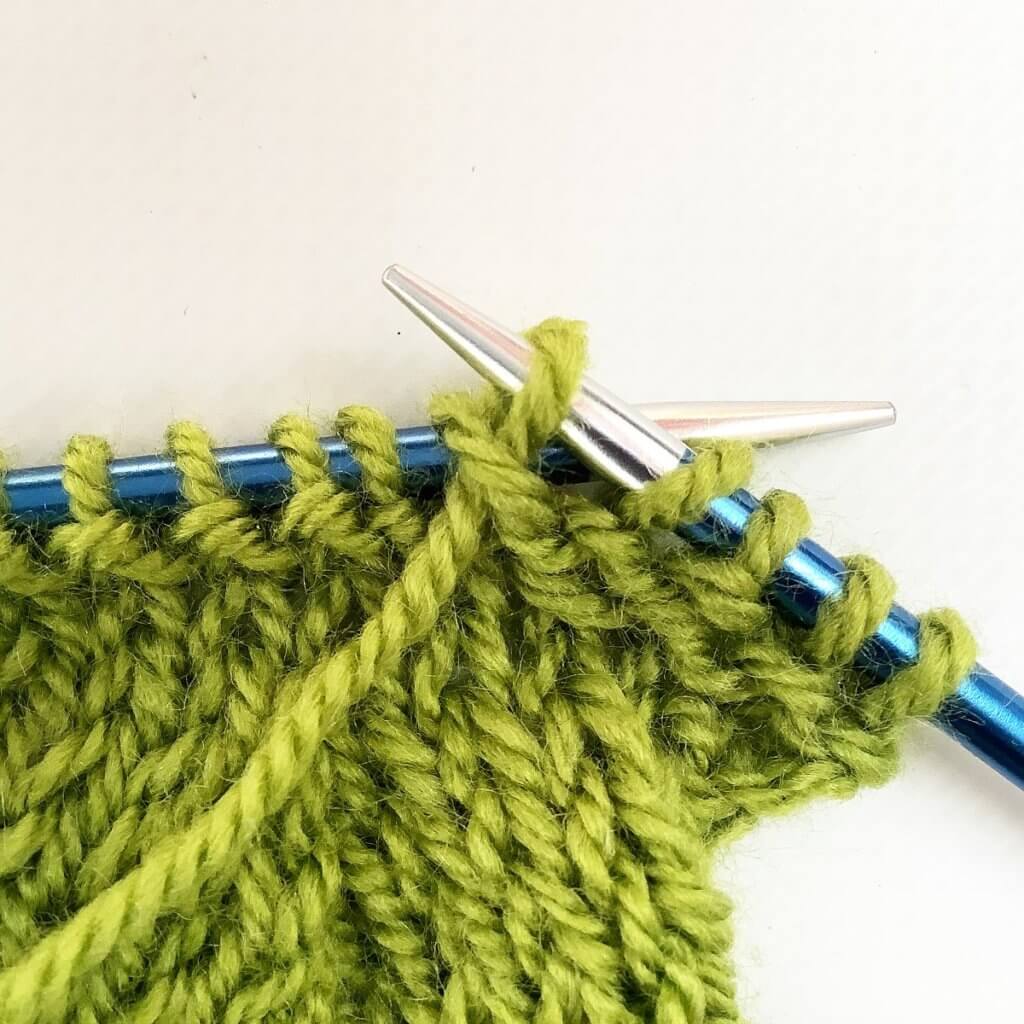
- Wrap the yarn around the needle…
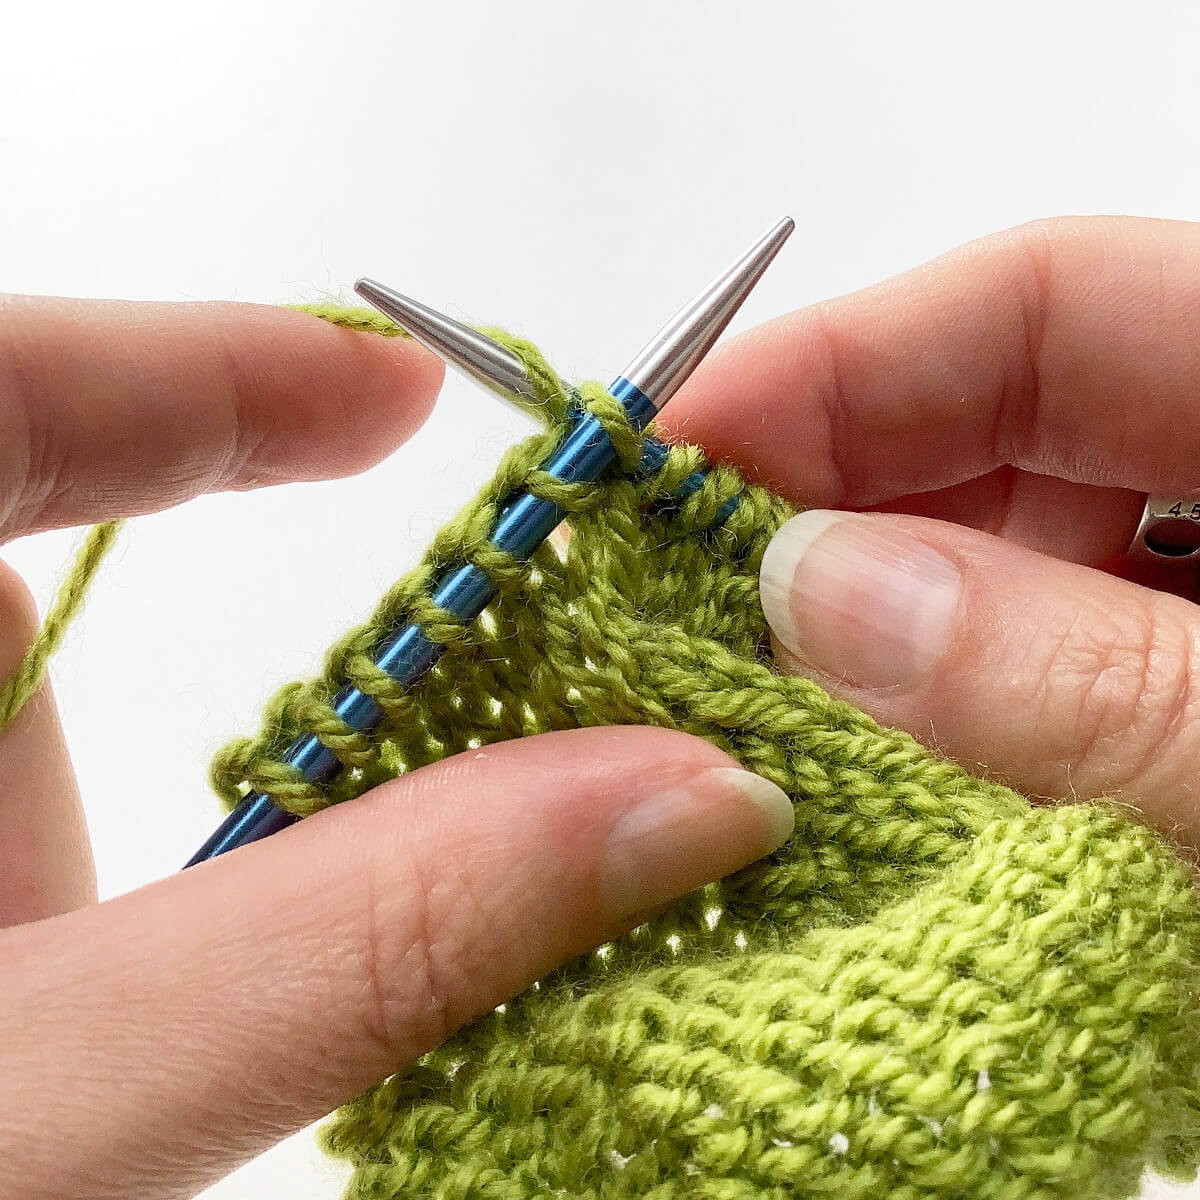
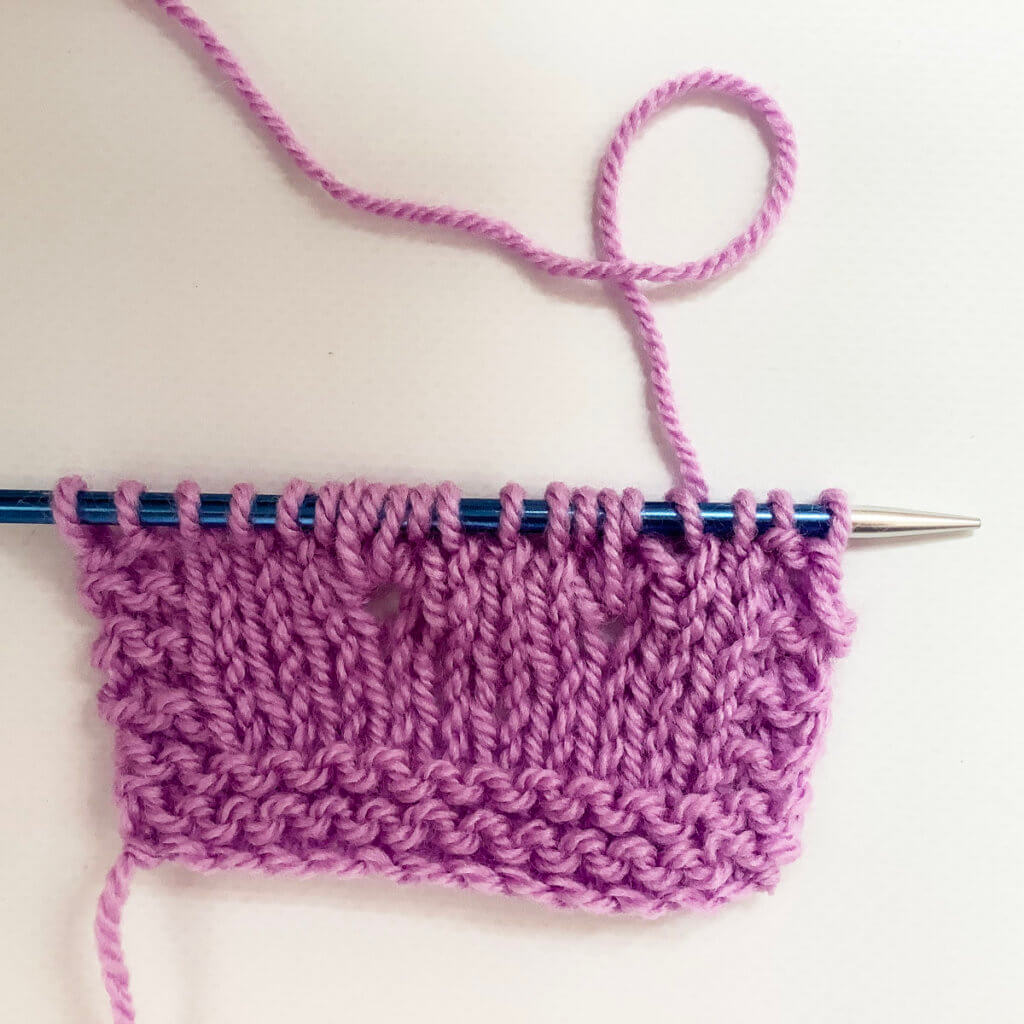
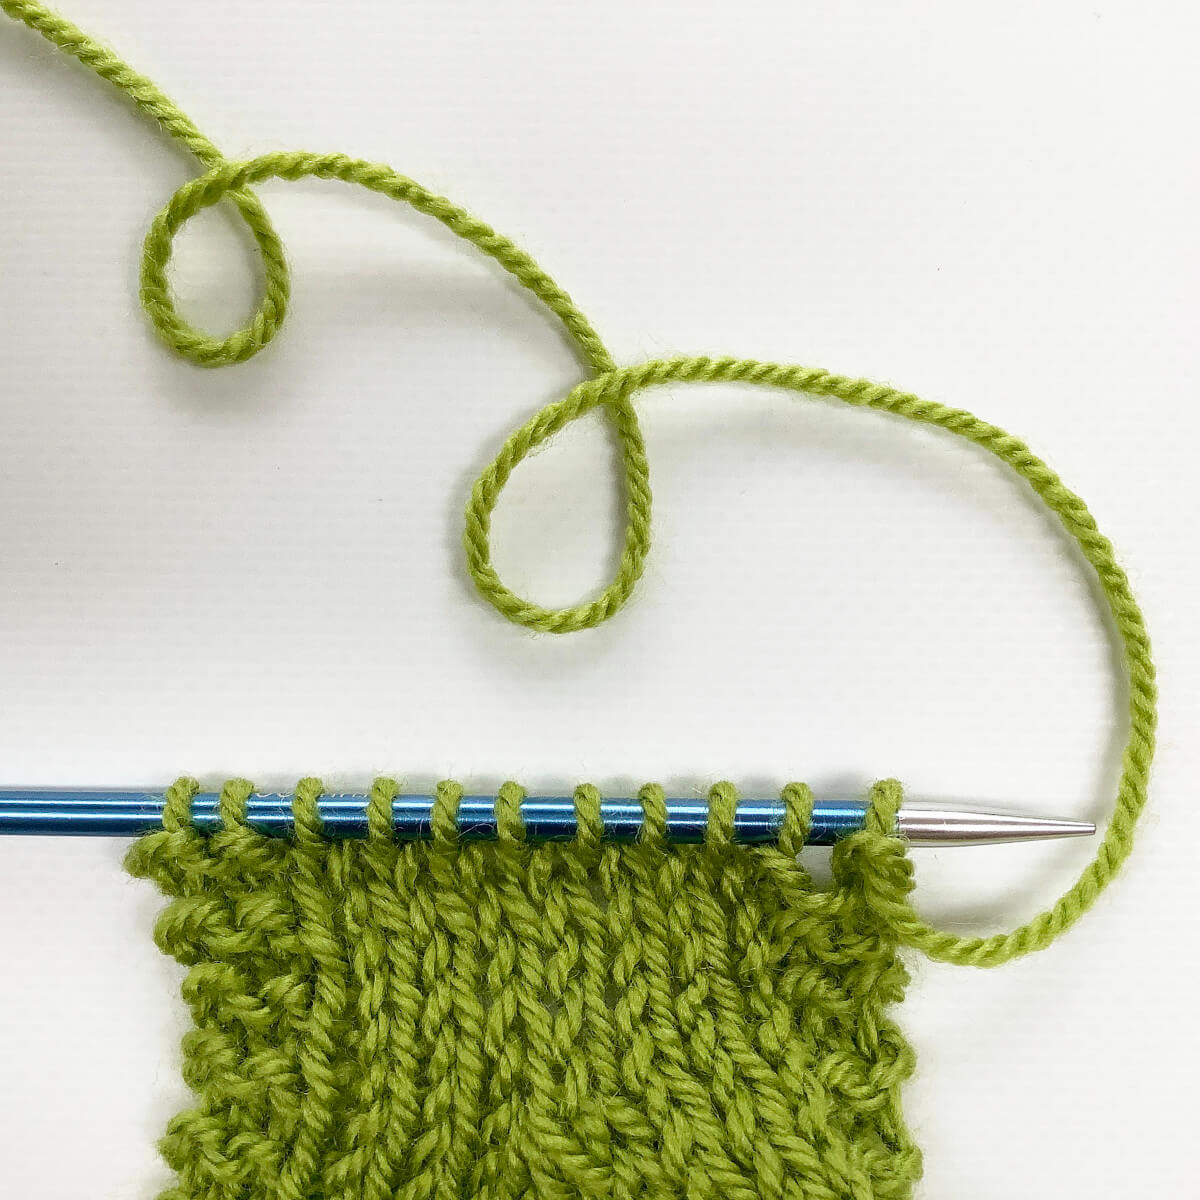
- … and pull in through, slide the stitch of the left-hand needle to complete the m1l part of this double increase.
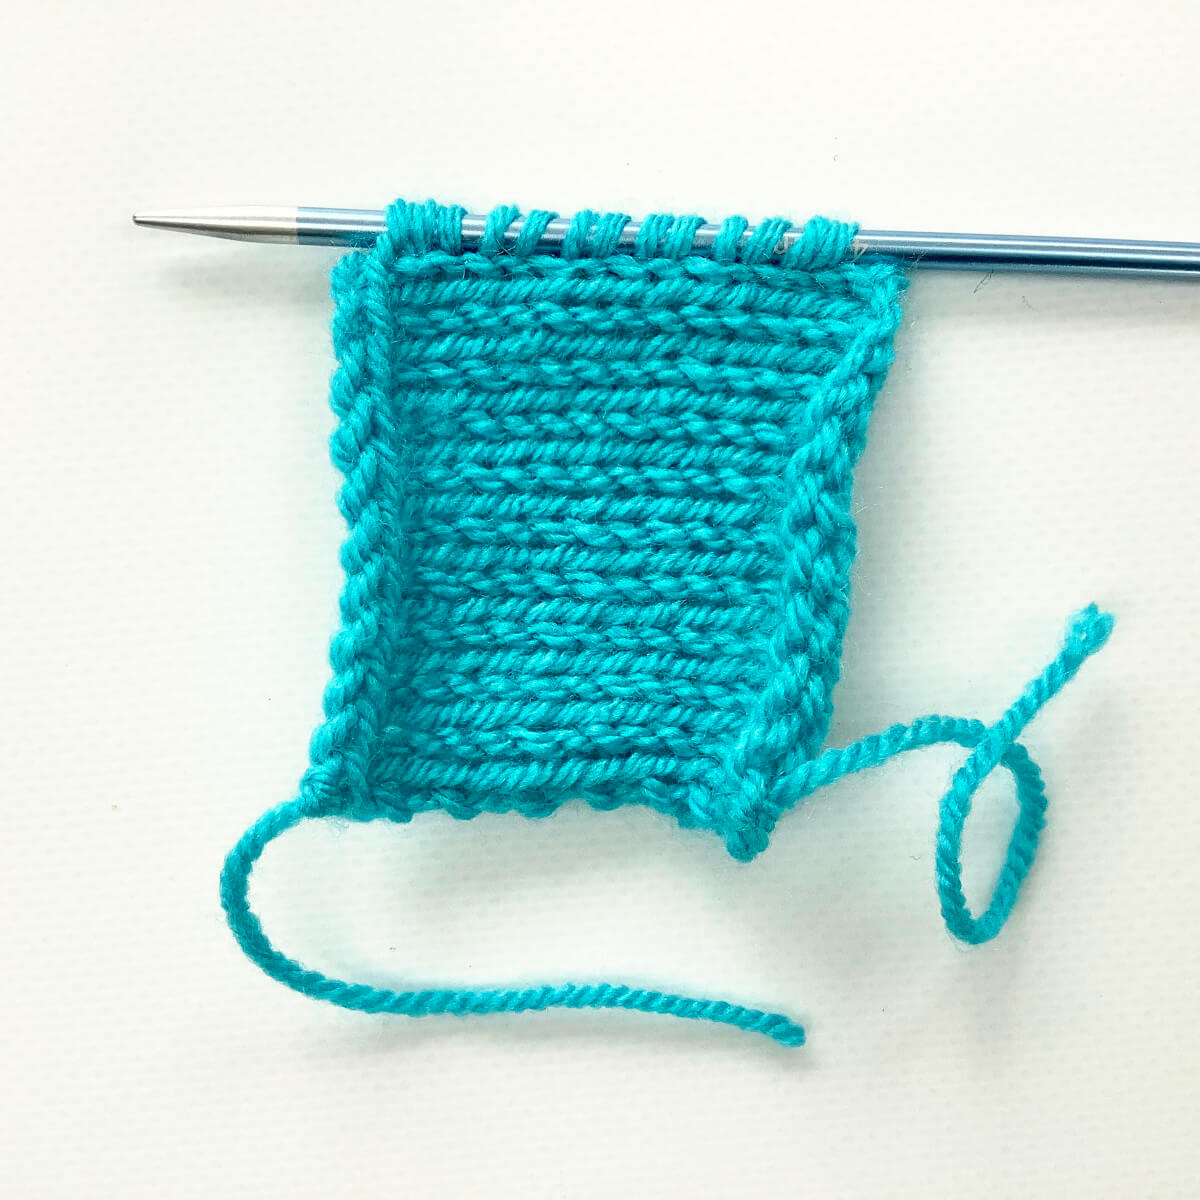
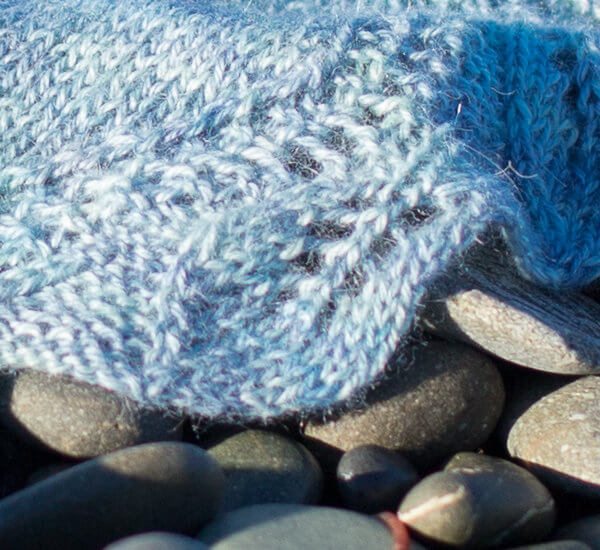
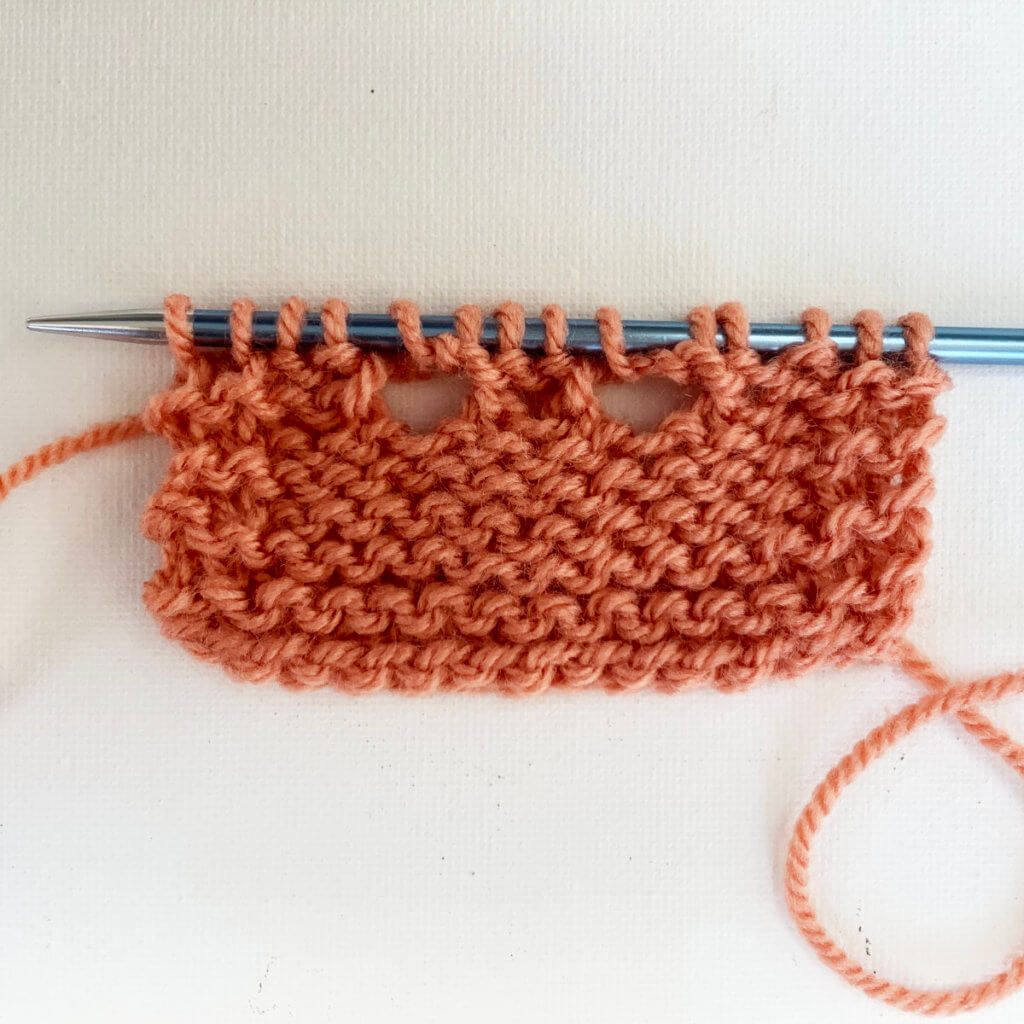
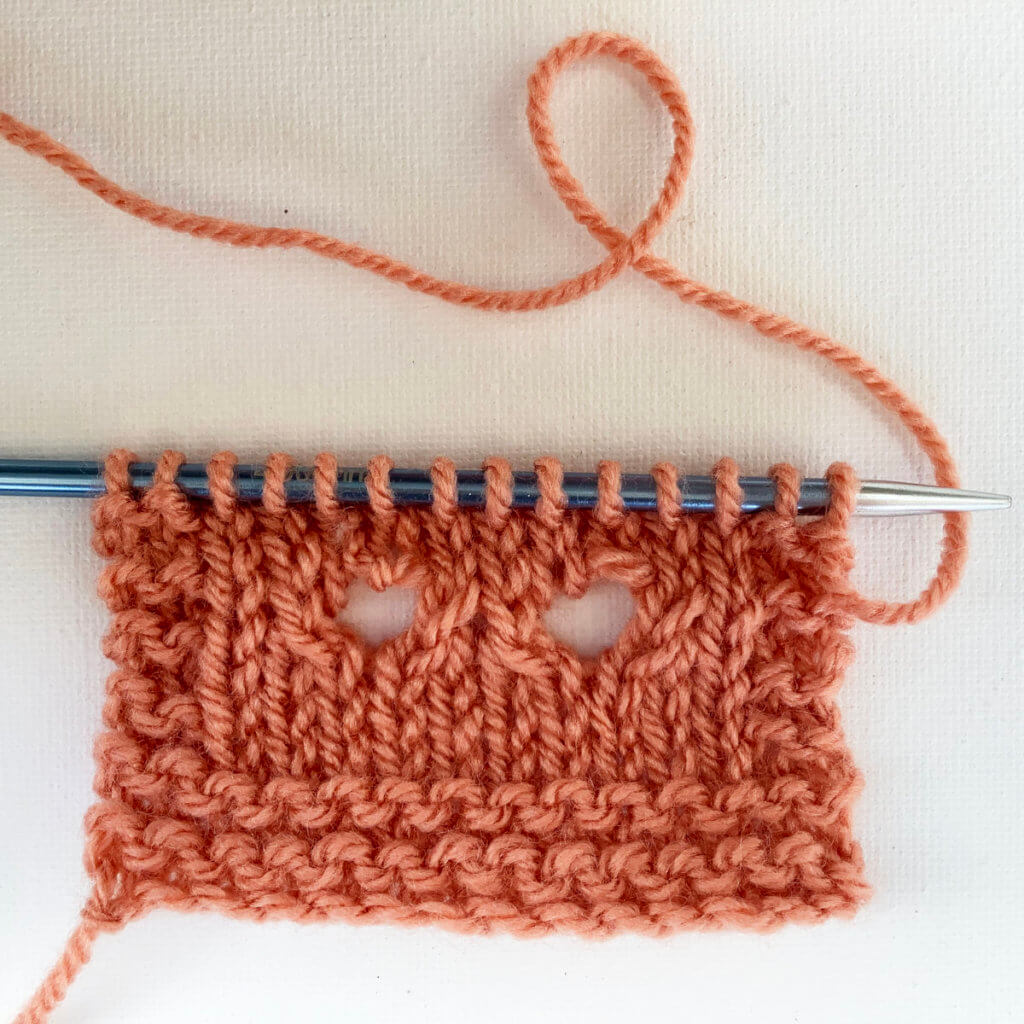
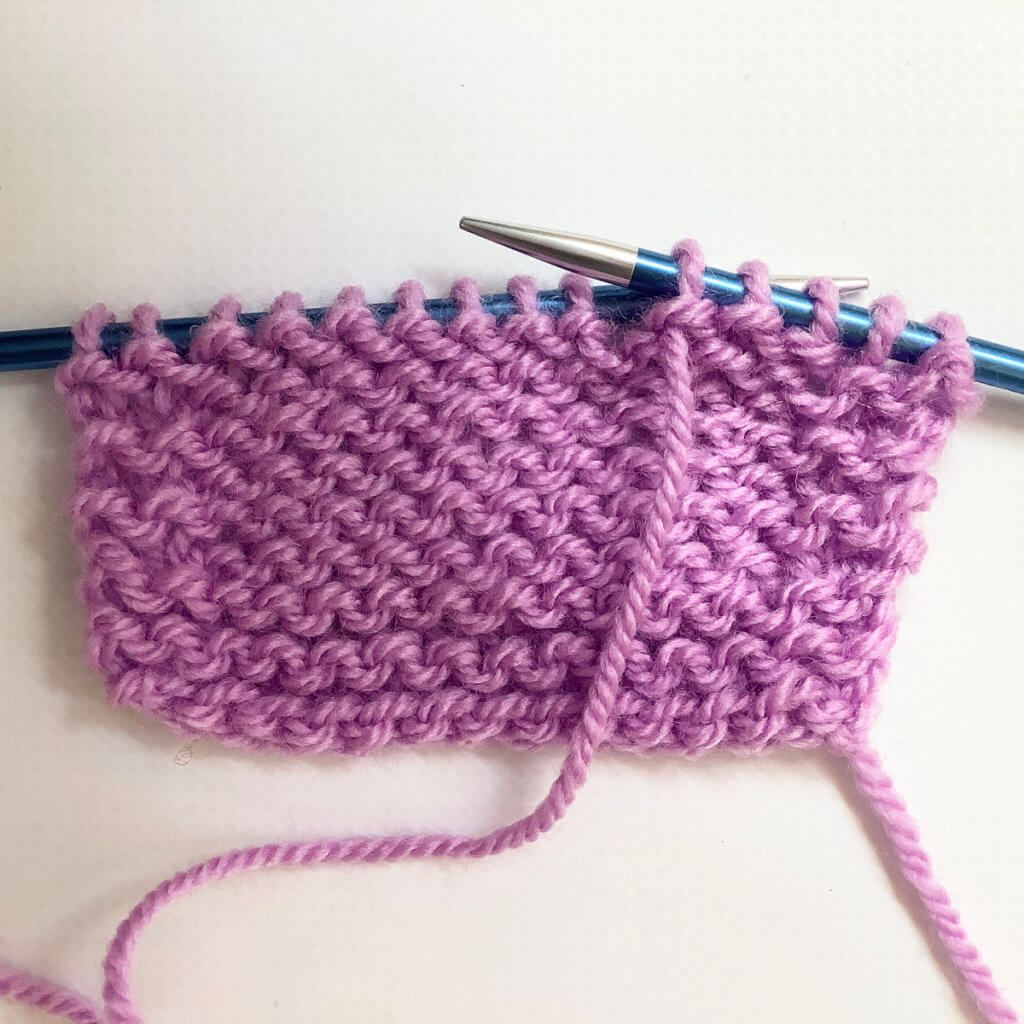
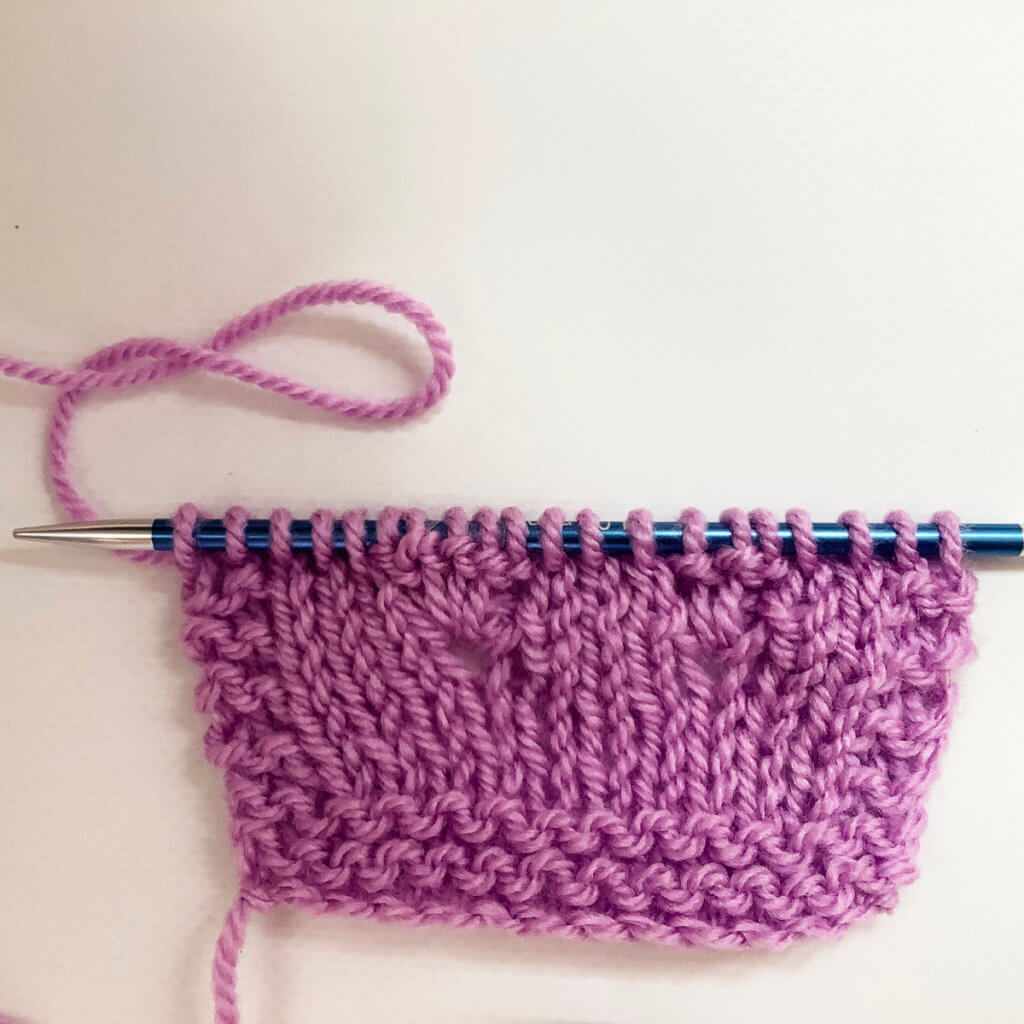
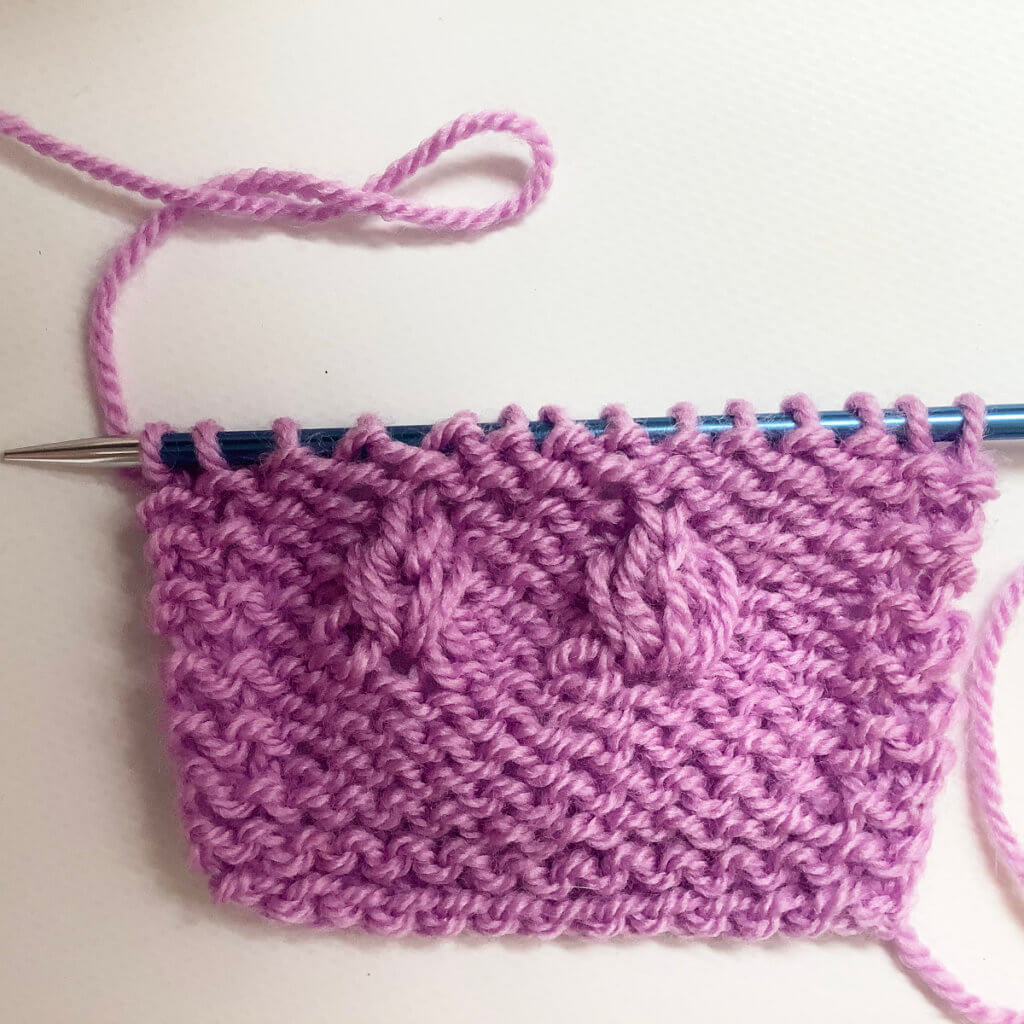
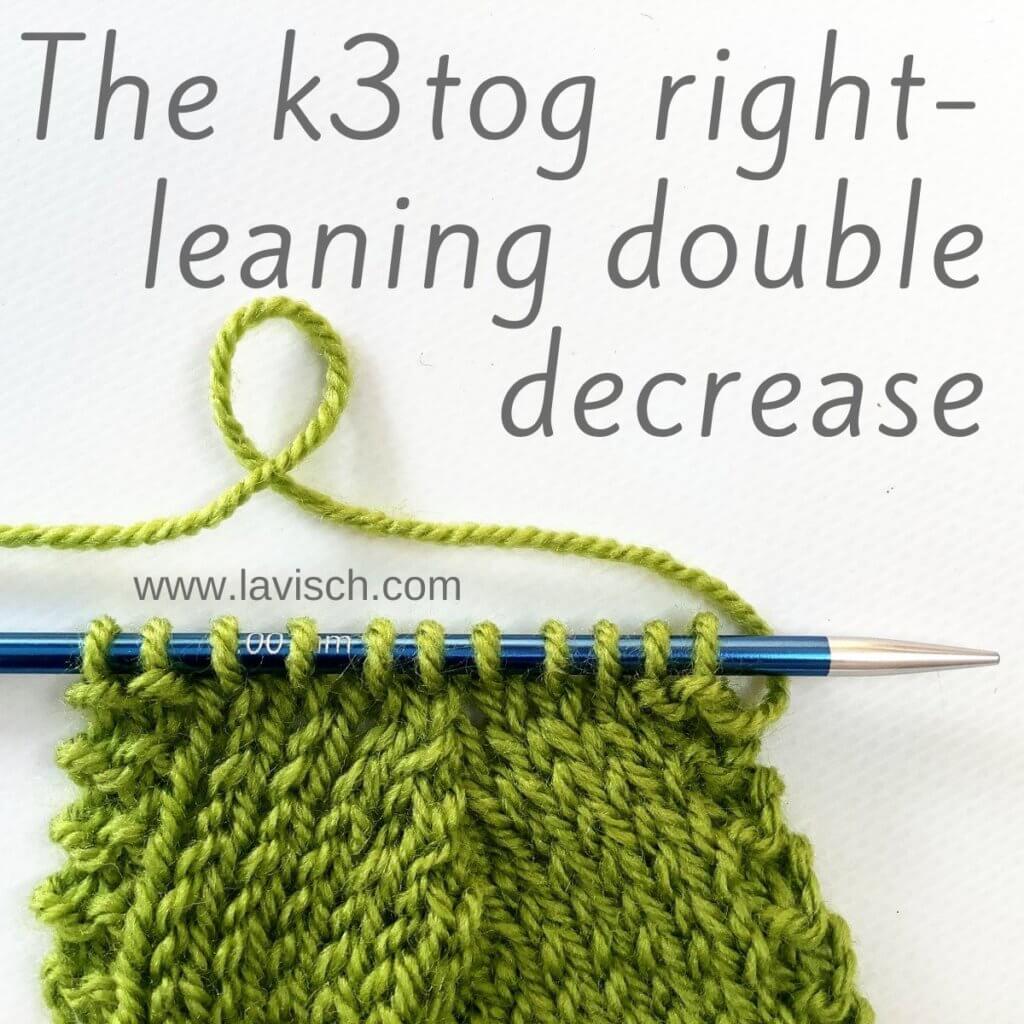
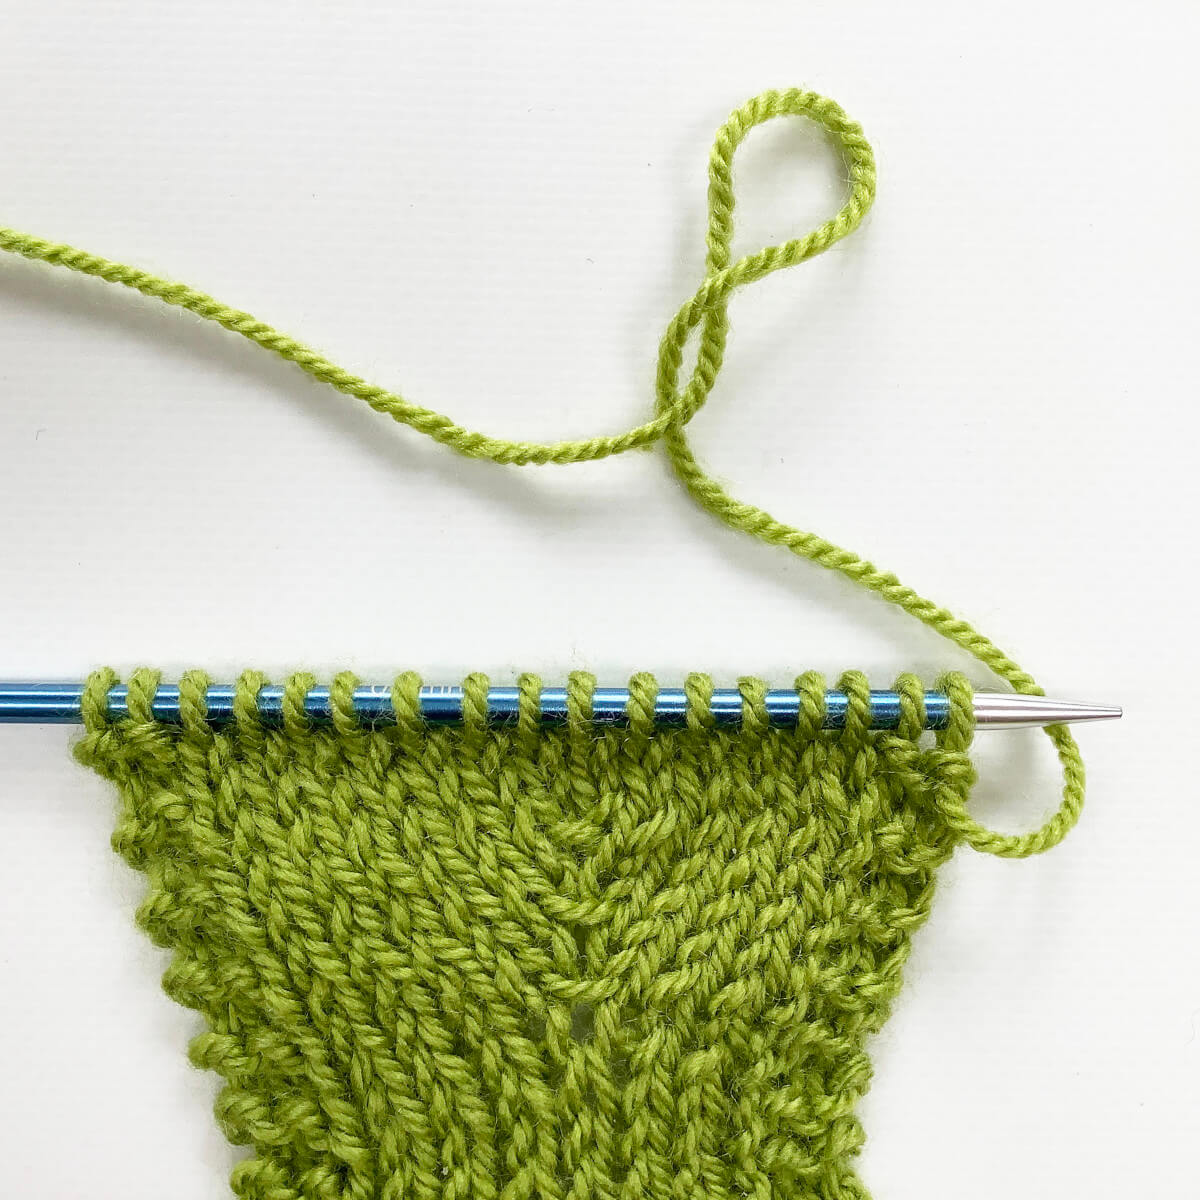
- This is how it looks after this increase has been worked in 3 RS rows.
Pretty, isn’t it? And that’s all there is to it!

Thanks to my Patreon supporters for bringing you this freebie! Creating quality patterns and tutorials is a lot of work and resource-intensive. However, I find it important to give you free content like this tutorial. Thanks to the generous support of my Patreon supporters, I can make it happen. Thank you, patrons! Click here to join, or click here to read more about La Visch Designs on Patreon.
Working a m2 aka double m1 increase Read More »