tutorial – working a picot bind-off
There are quite a few different ways to work a picot bind-off. That’s not even counting the variations coming from different distances between picots, and the sizing of the picots. In this tutorial, I’ll show you a variation of the picot bind-off that consists of binding of stitches the traditional way, combined with strategically cast-on stitches. Also, it can, of course, be used to bind-off a project. But the picot bind-off can also be worked on picked-up stitches or on the stitches from a provisional cast-on. The sky is the limit!
Materials used


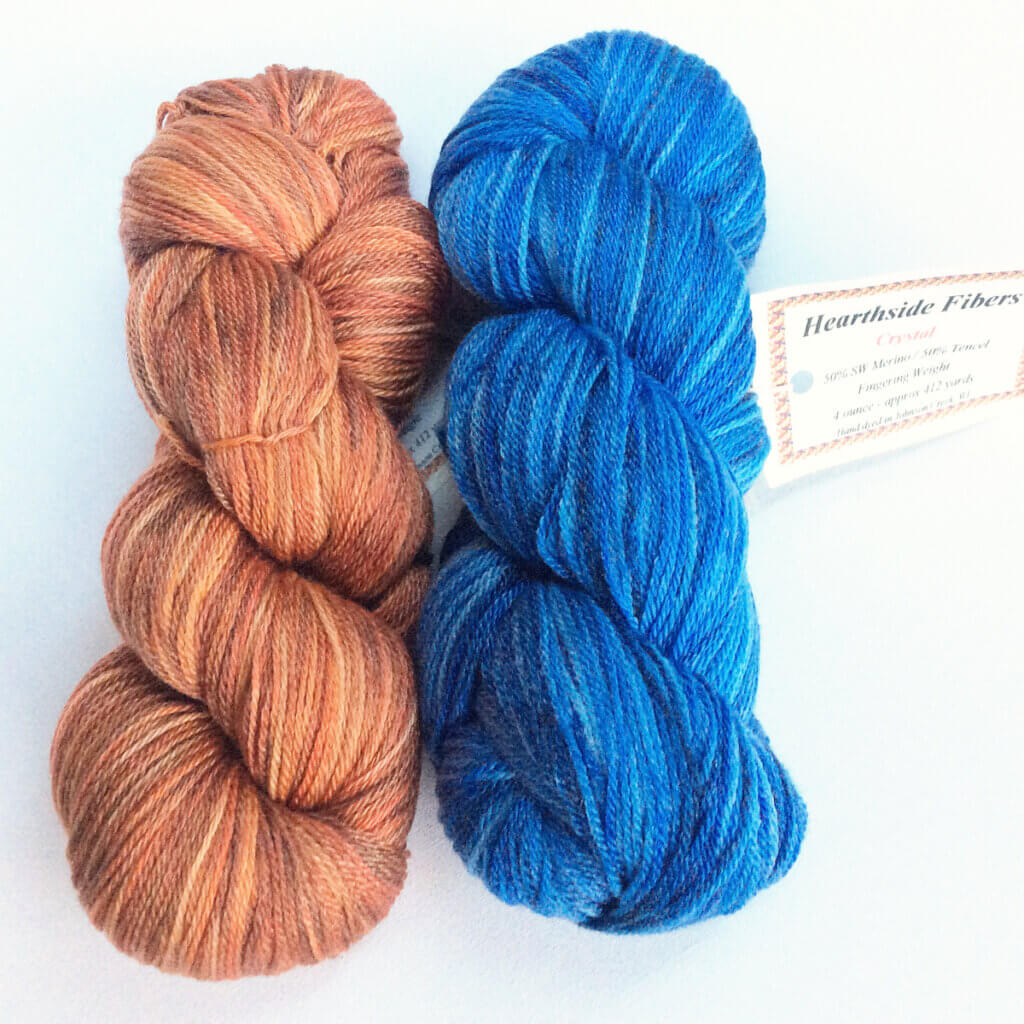
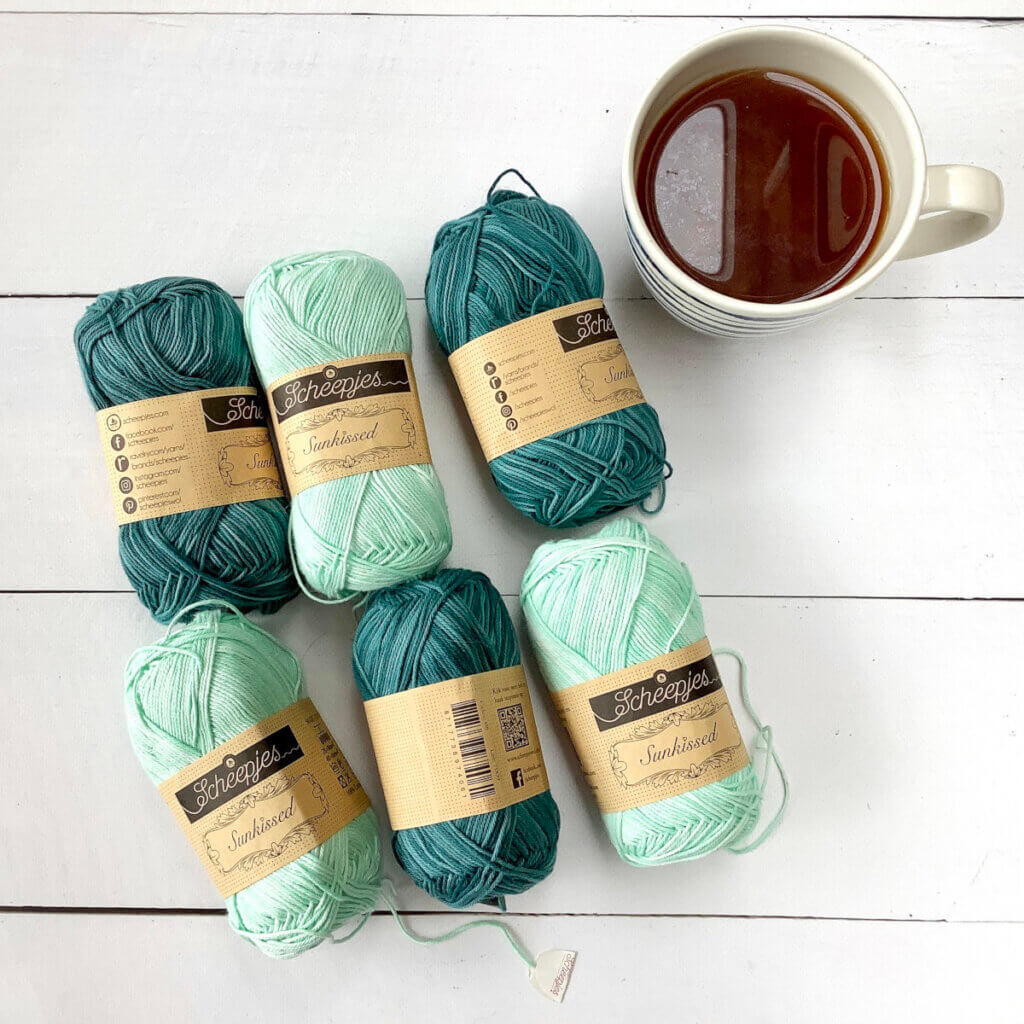
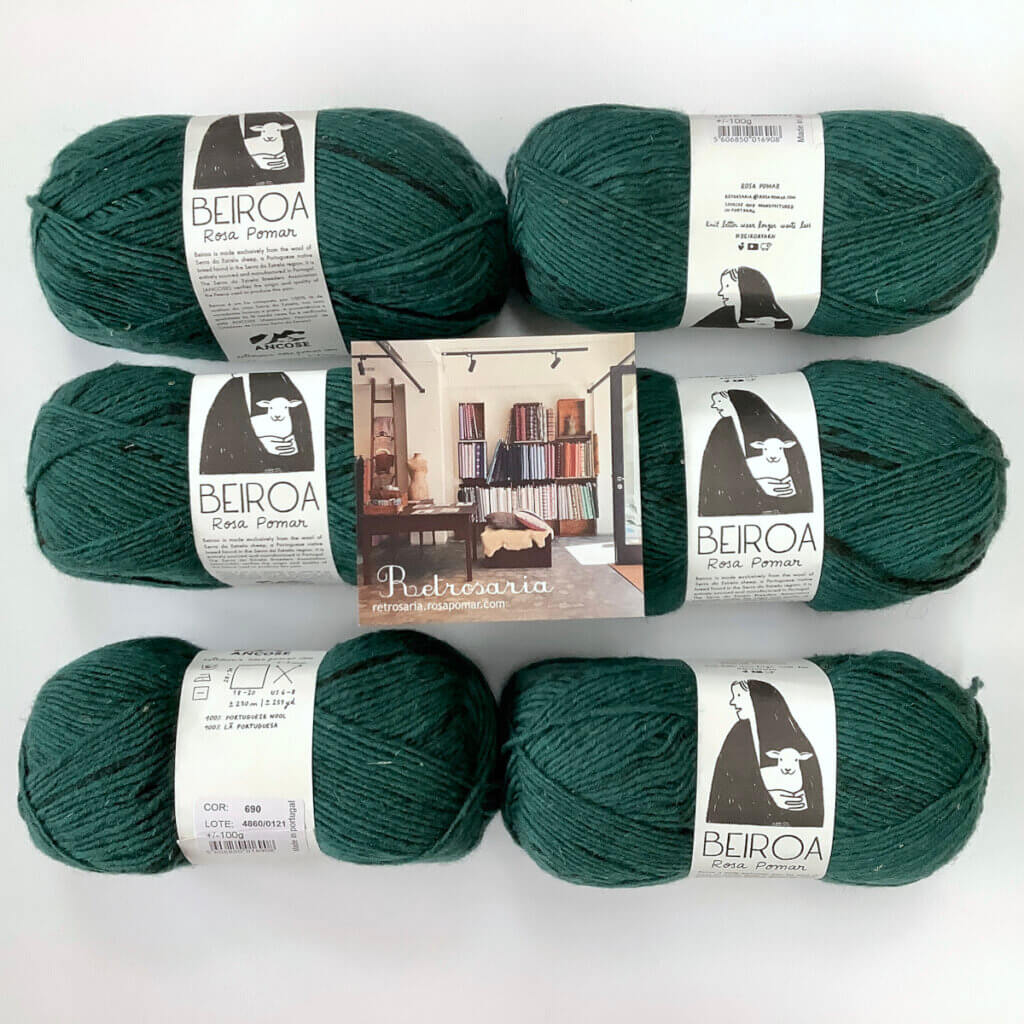
Yarn: Paintbox Yarns Simply DK, a good value, good quality 100% acrylic yarn, here in the color 133 Marine Blue.
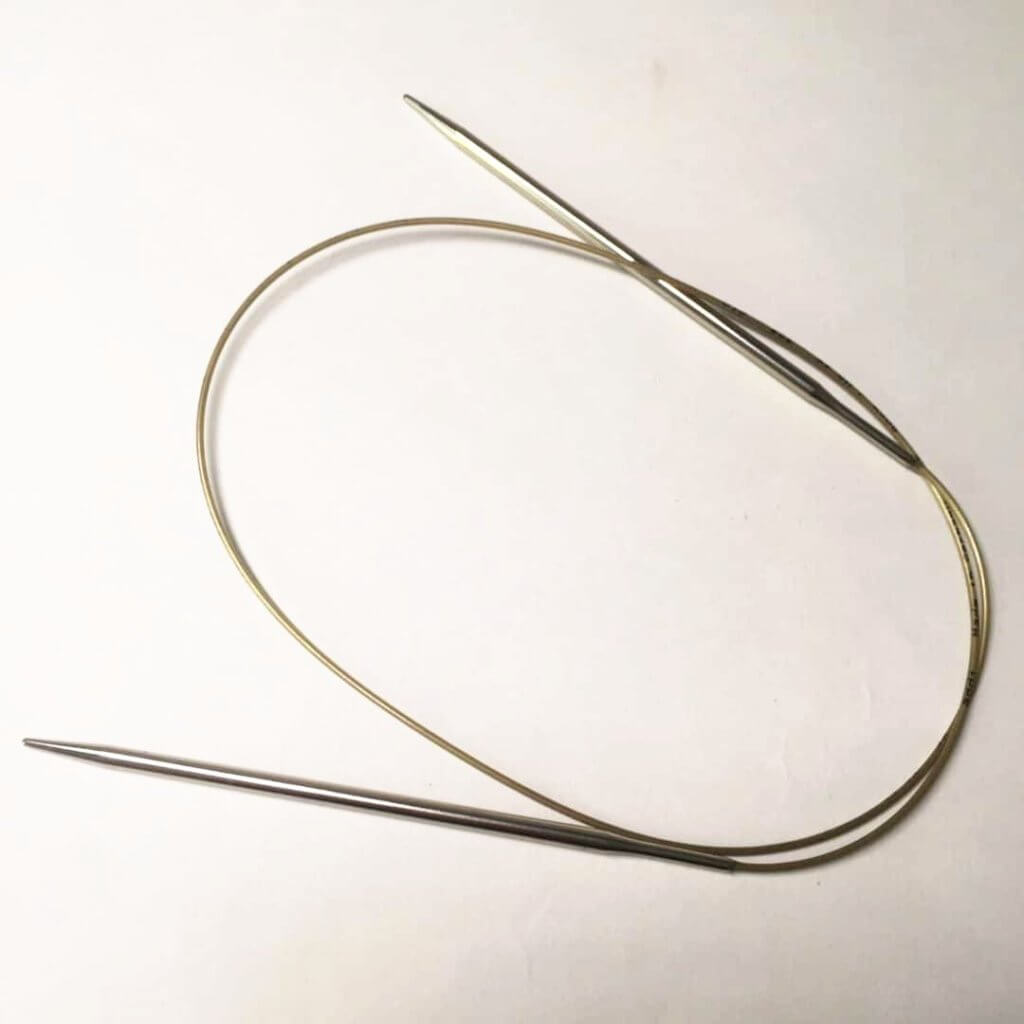
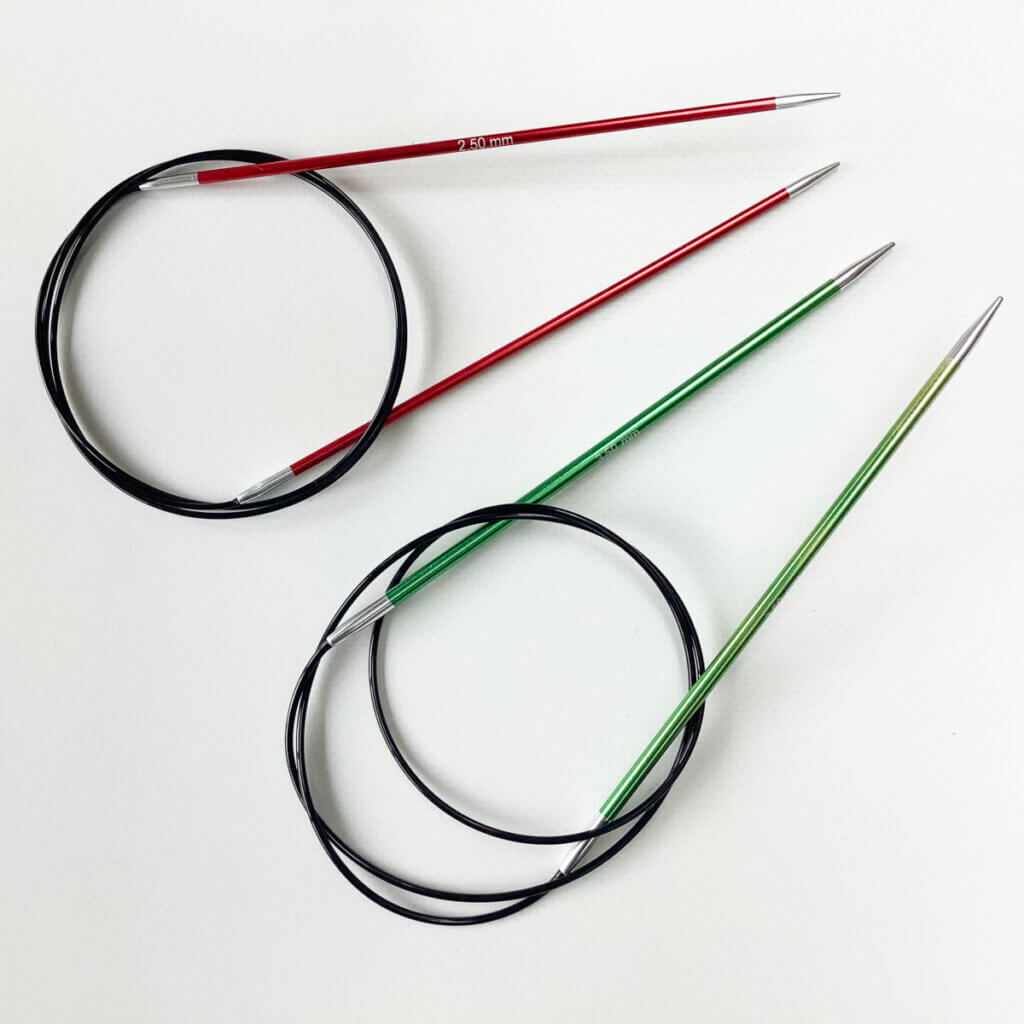
Needles: This is a pair of straights that I picked up at the second-hand store when I started knitting, brand unknown.
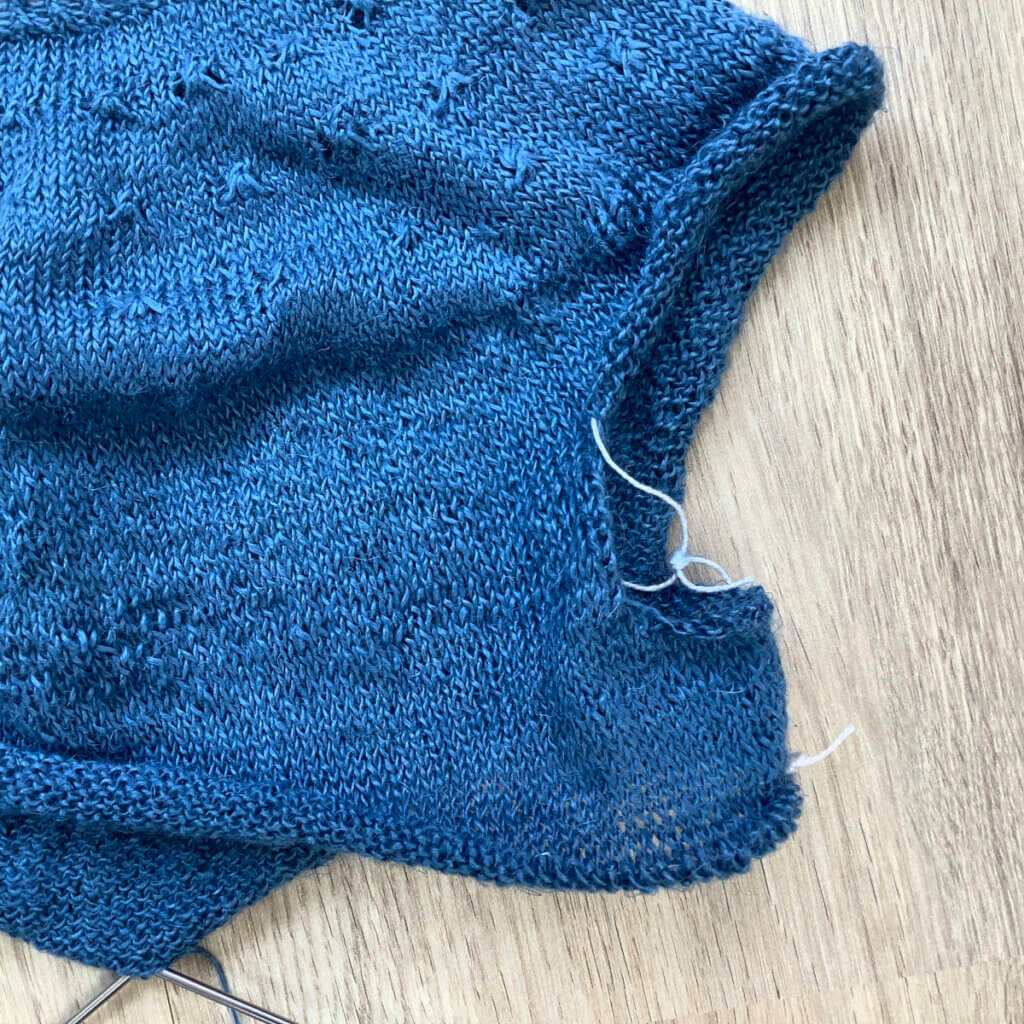
Working the picot bind-off step by step
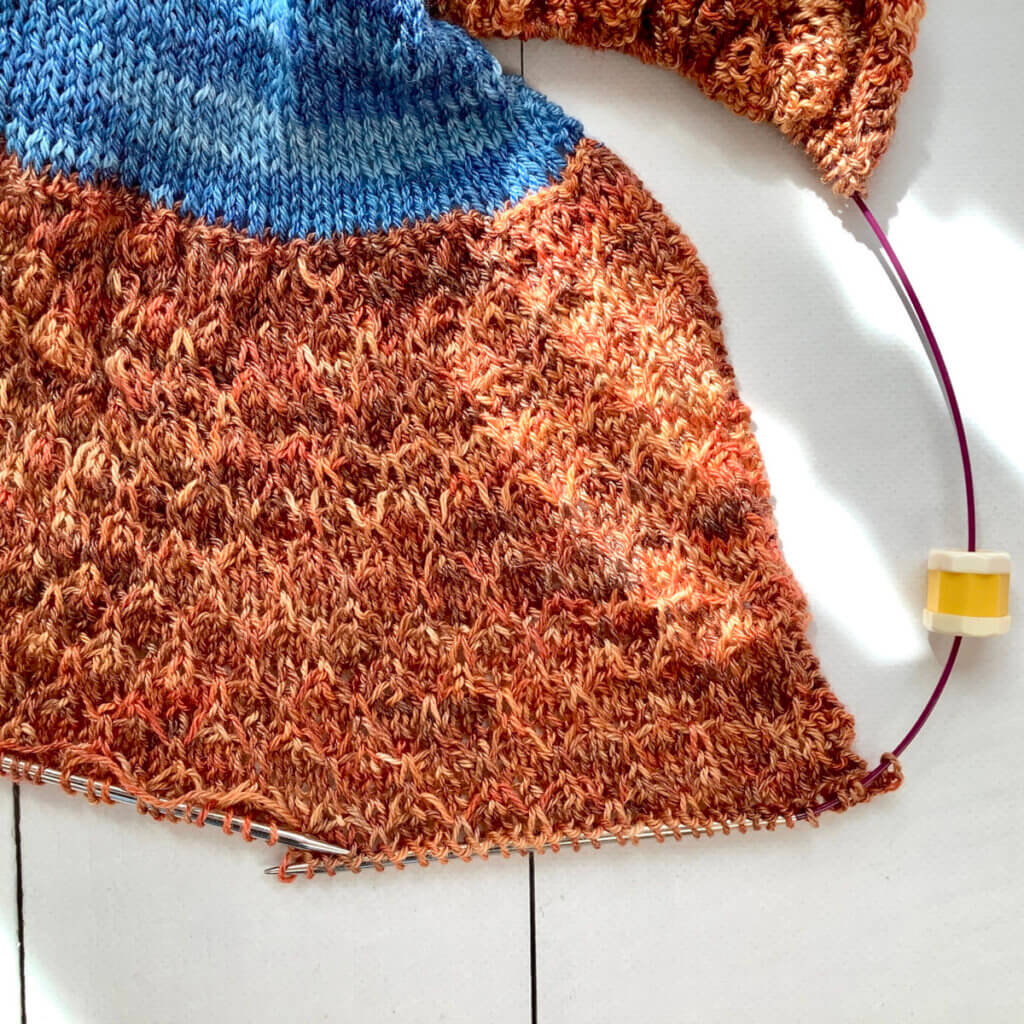
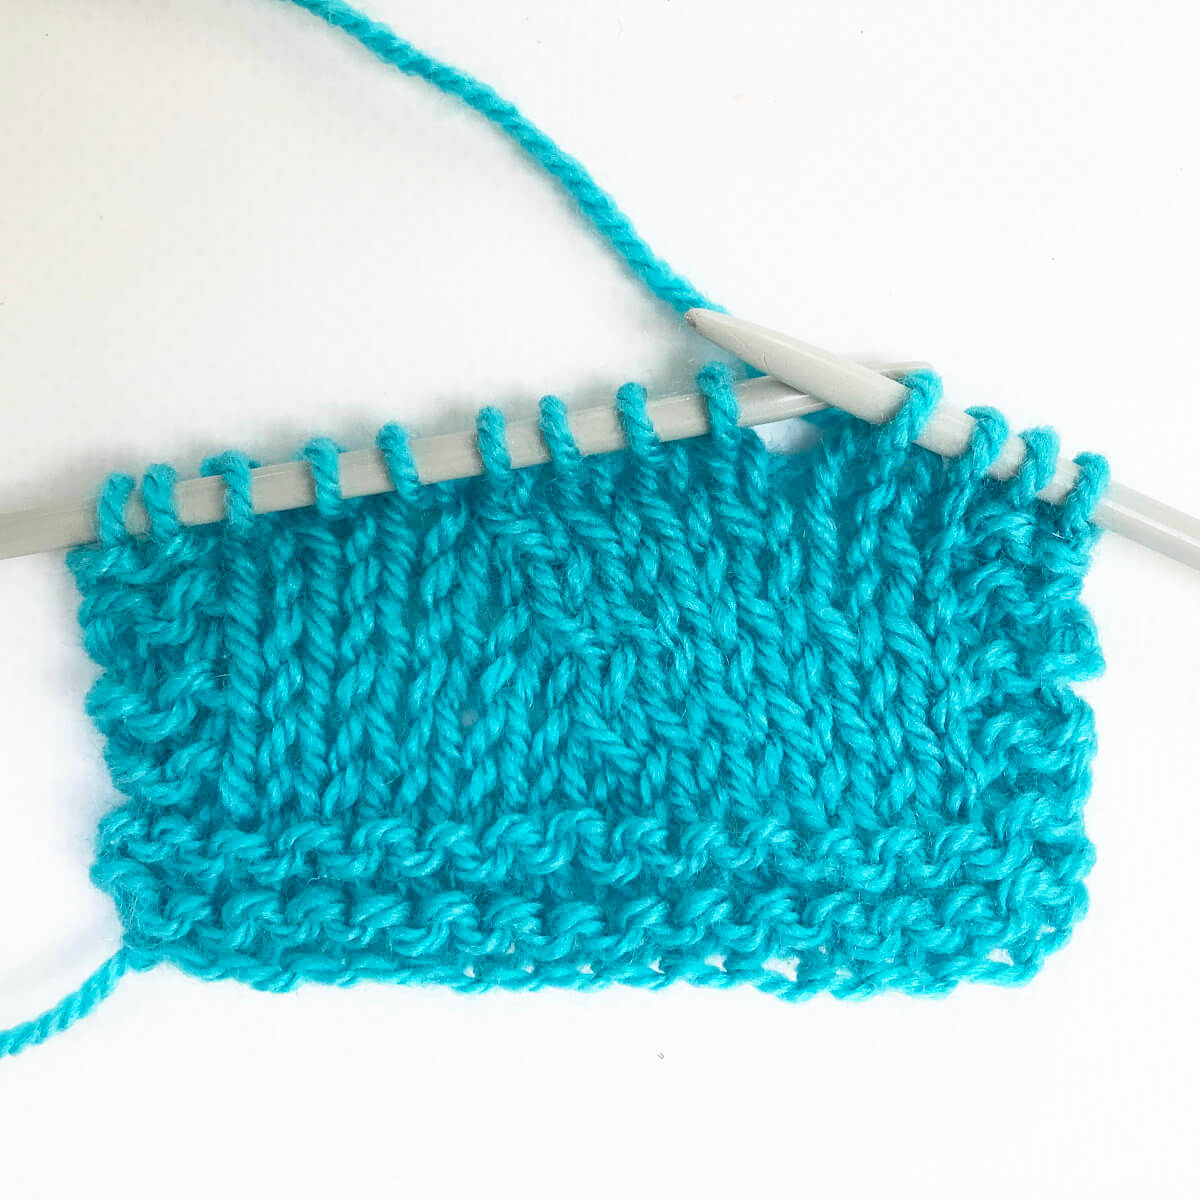
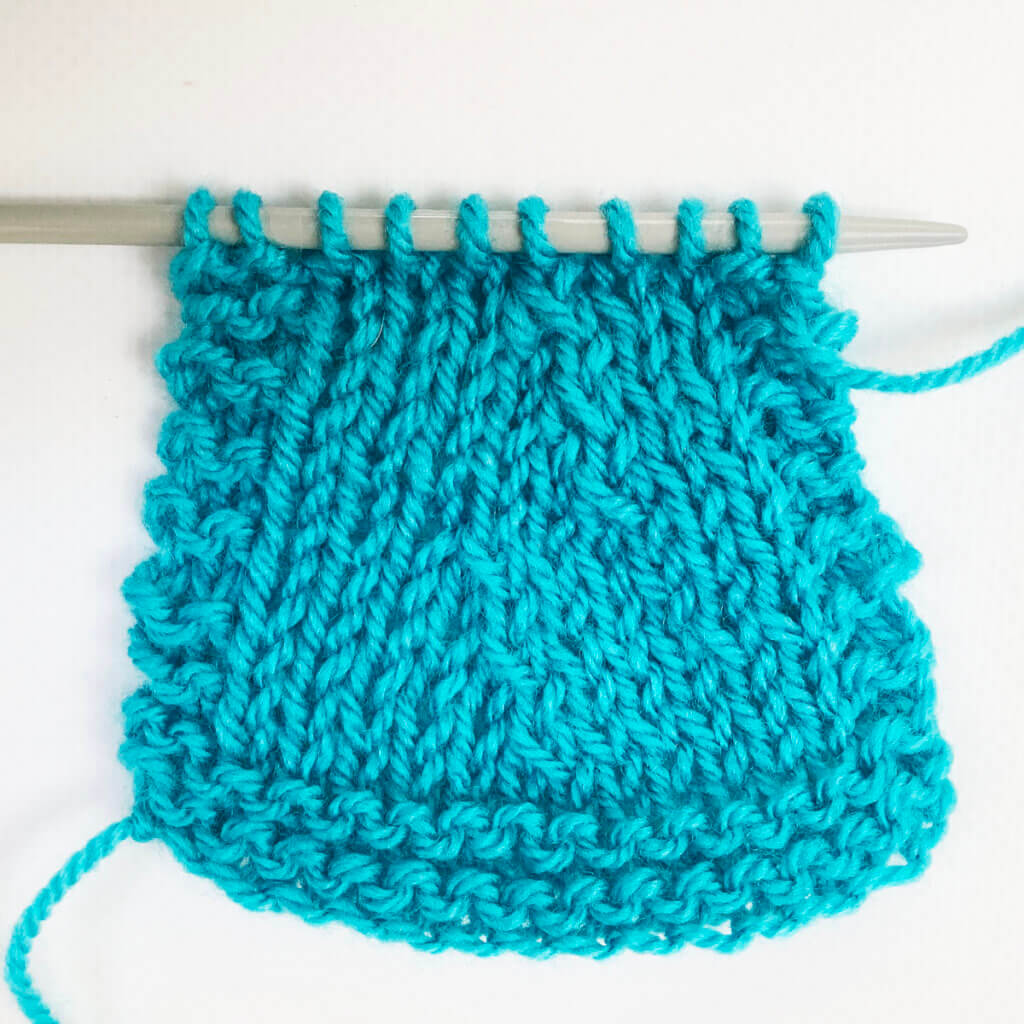
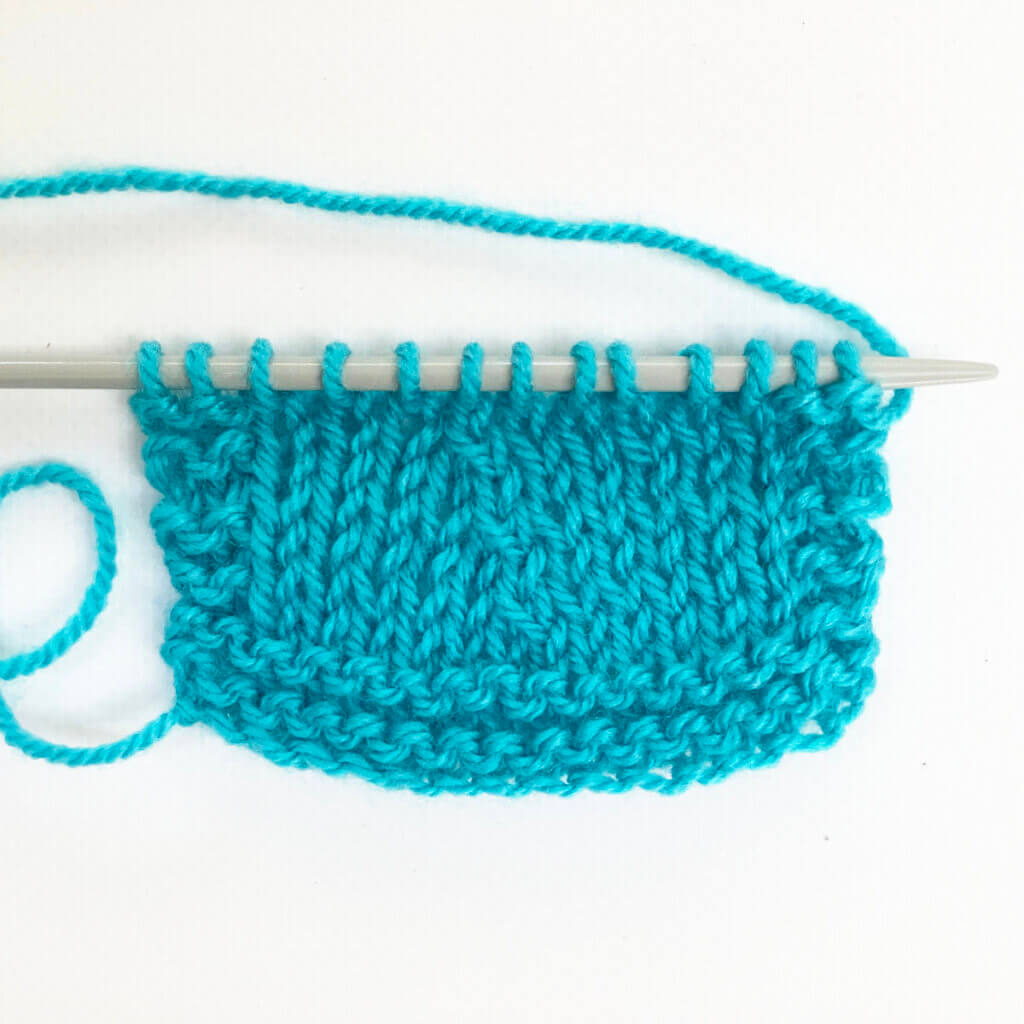
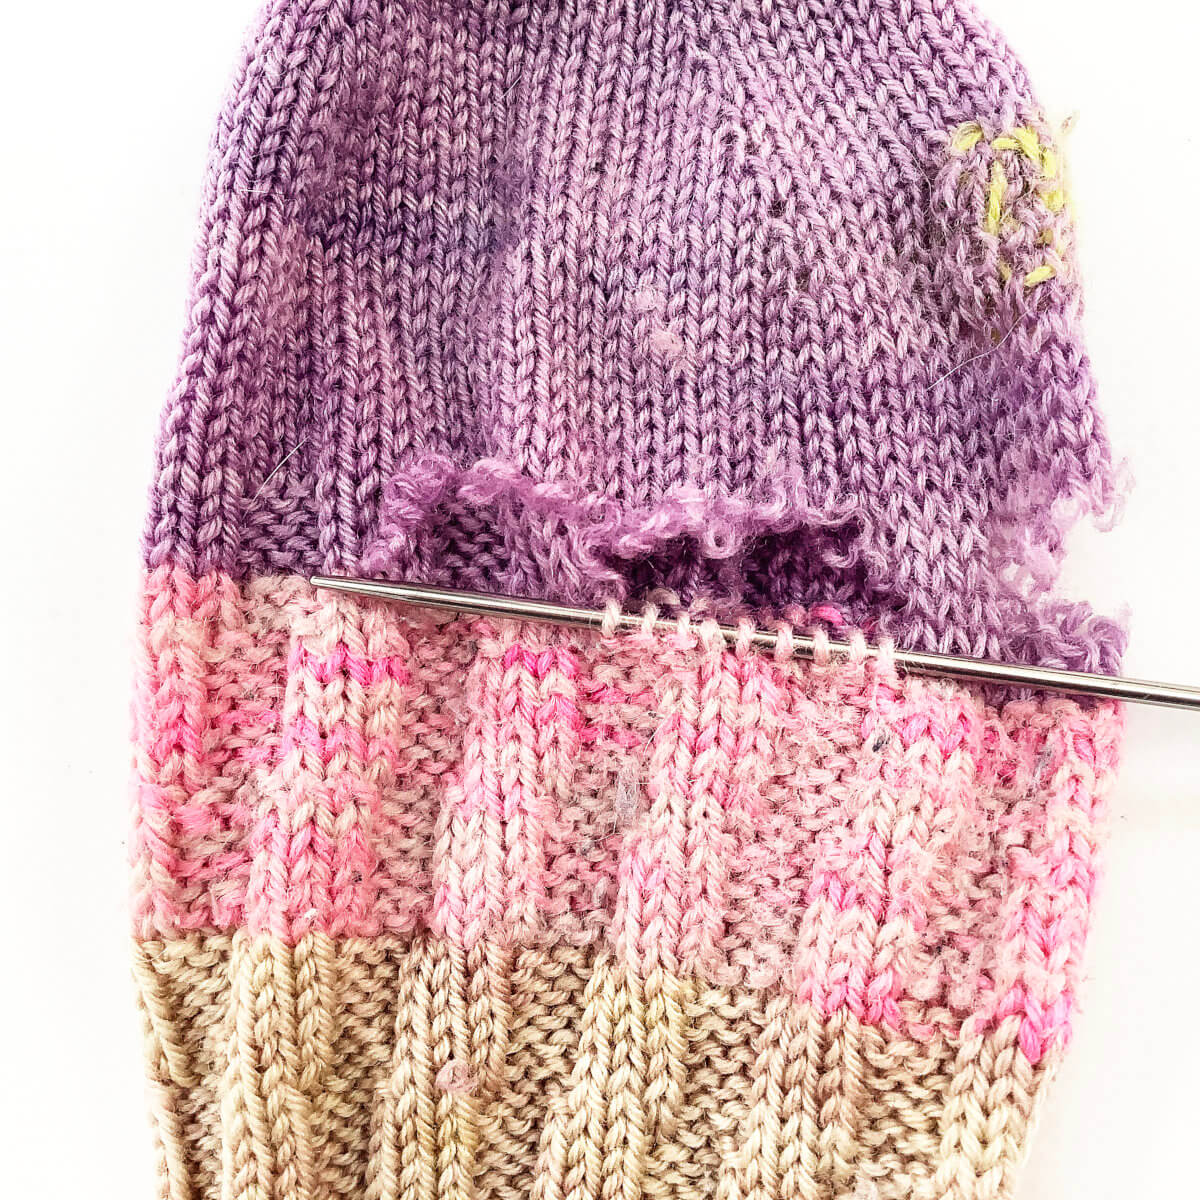
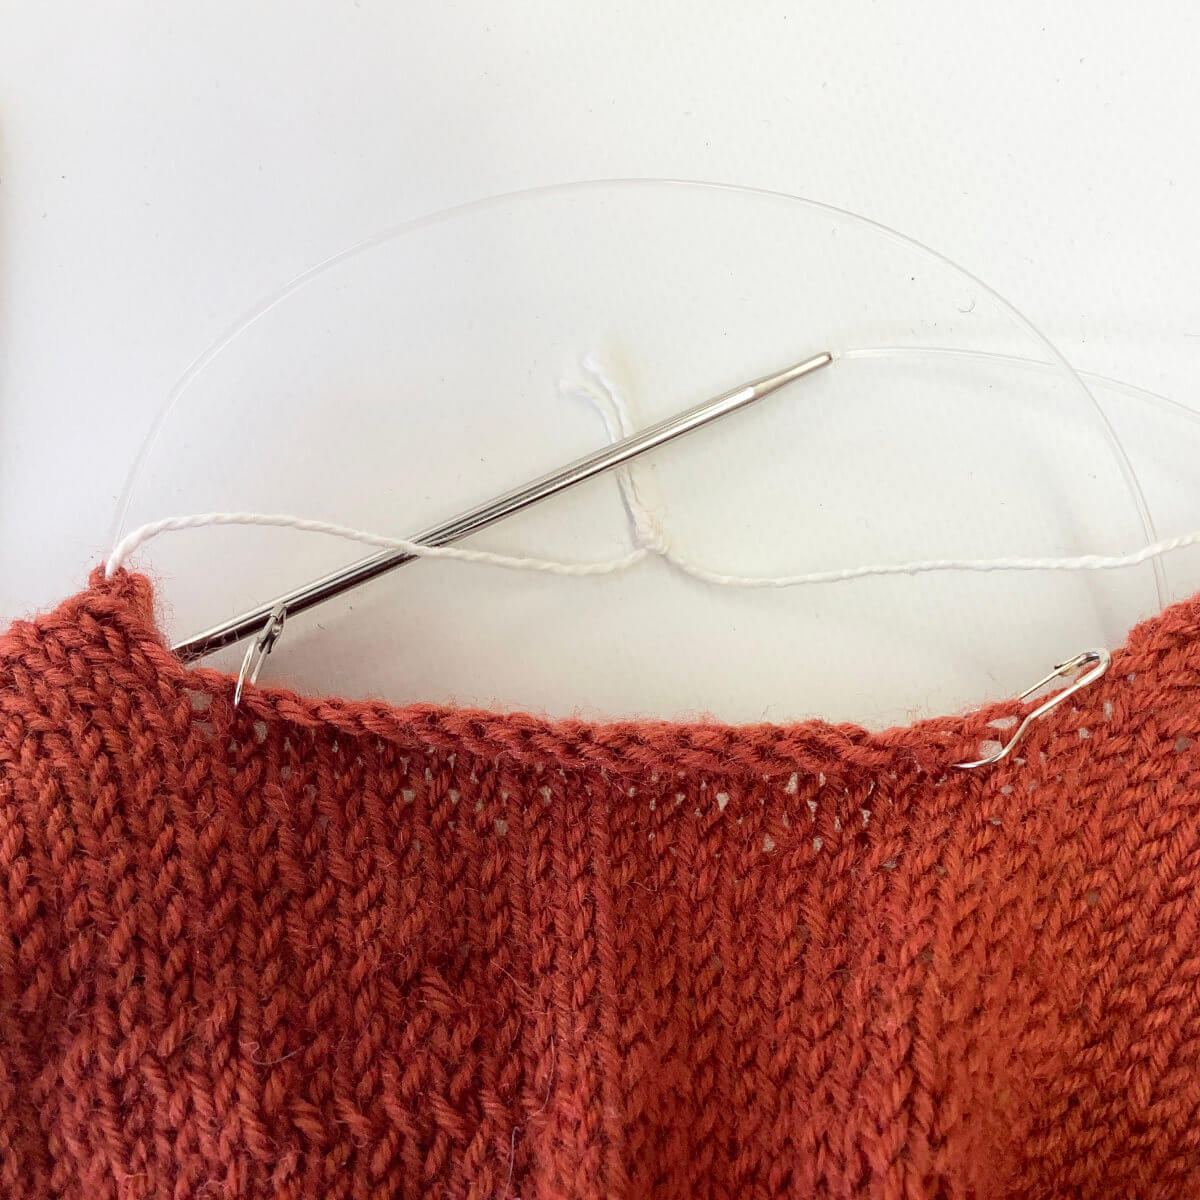
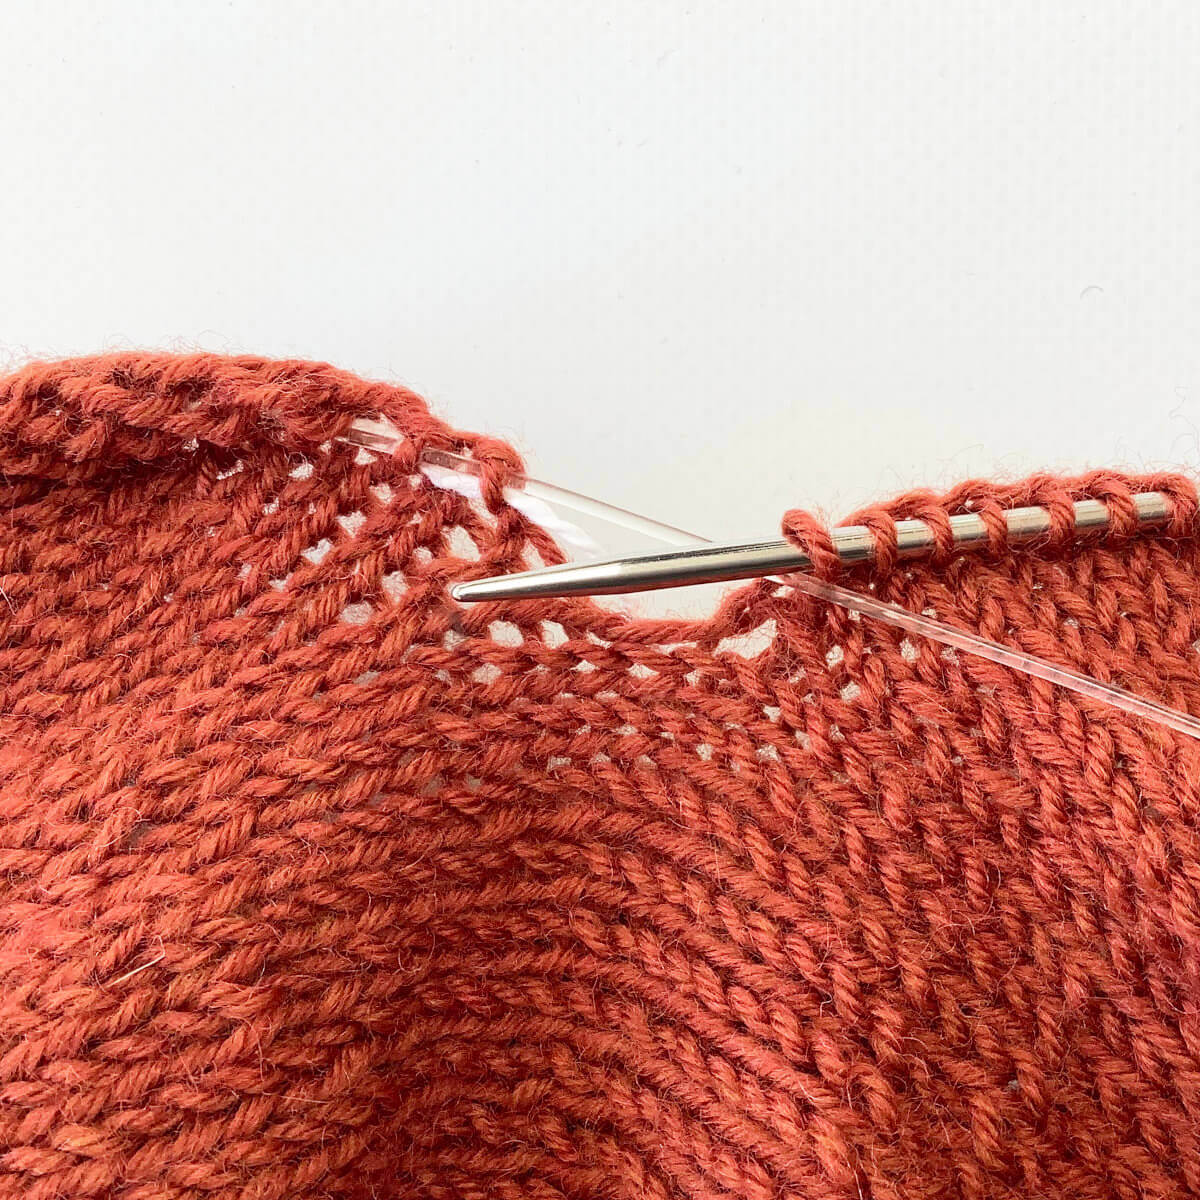
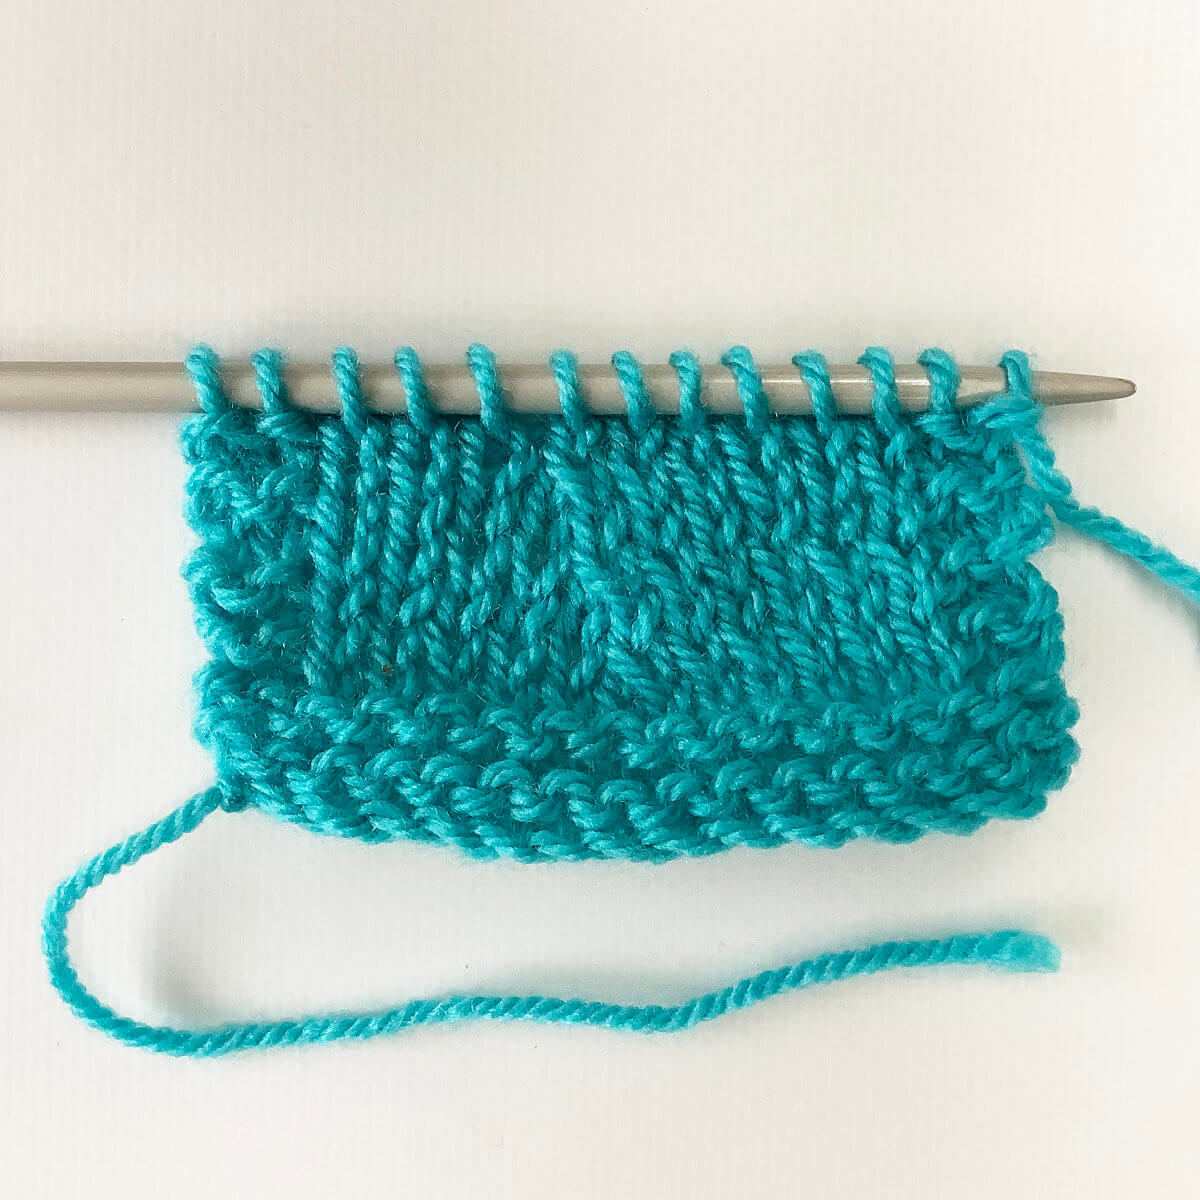
- Take your project when you’re ready to start your bind-off. You can start as soon as the last row of your work has been knit, and after your work has been turned when working flat back and forth.
In this example, I’m using a swatch from a previous tutorial.
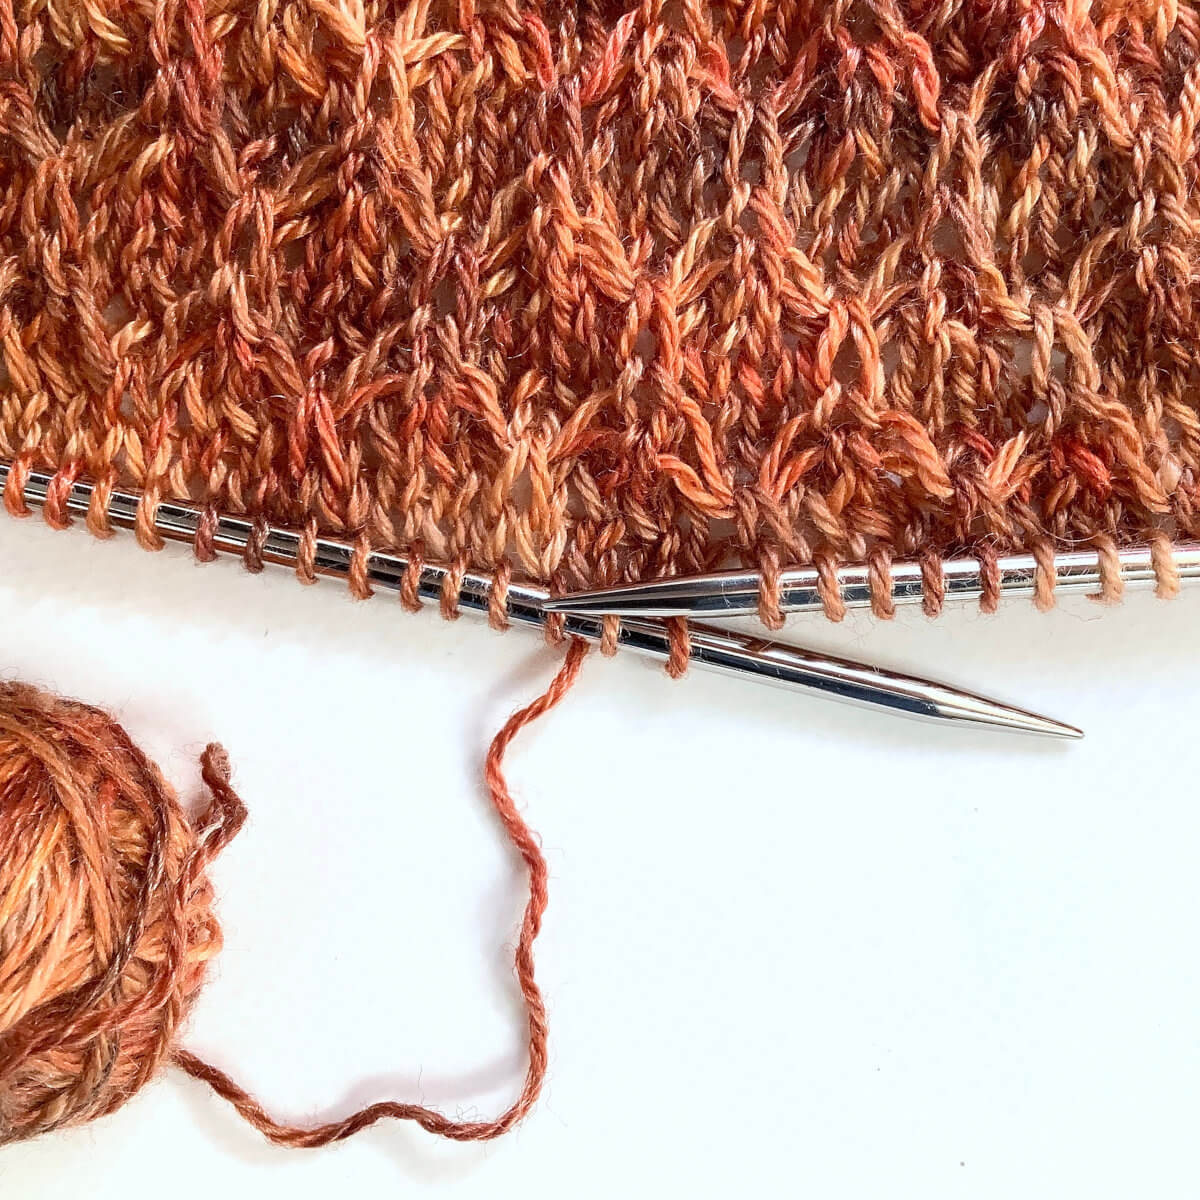
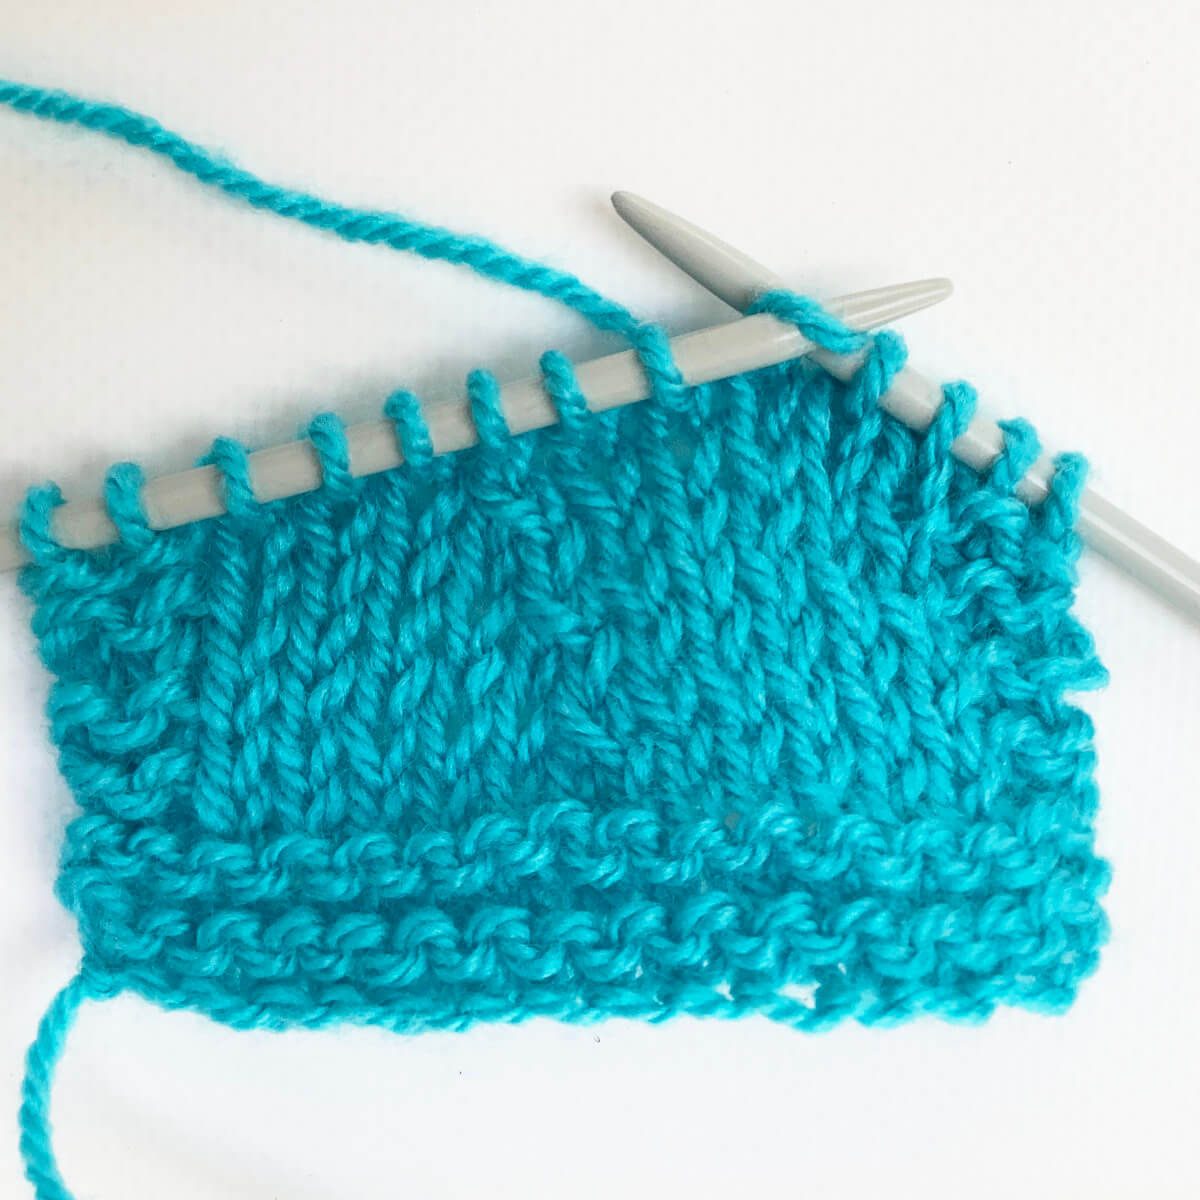
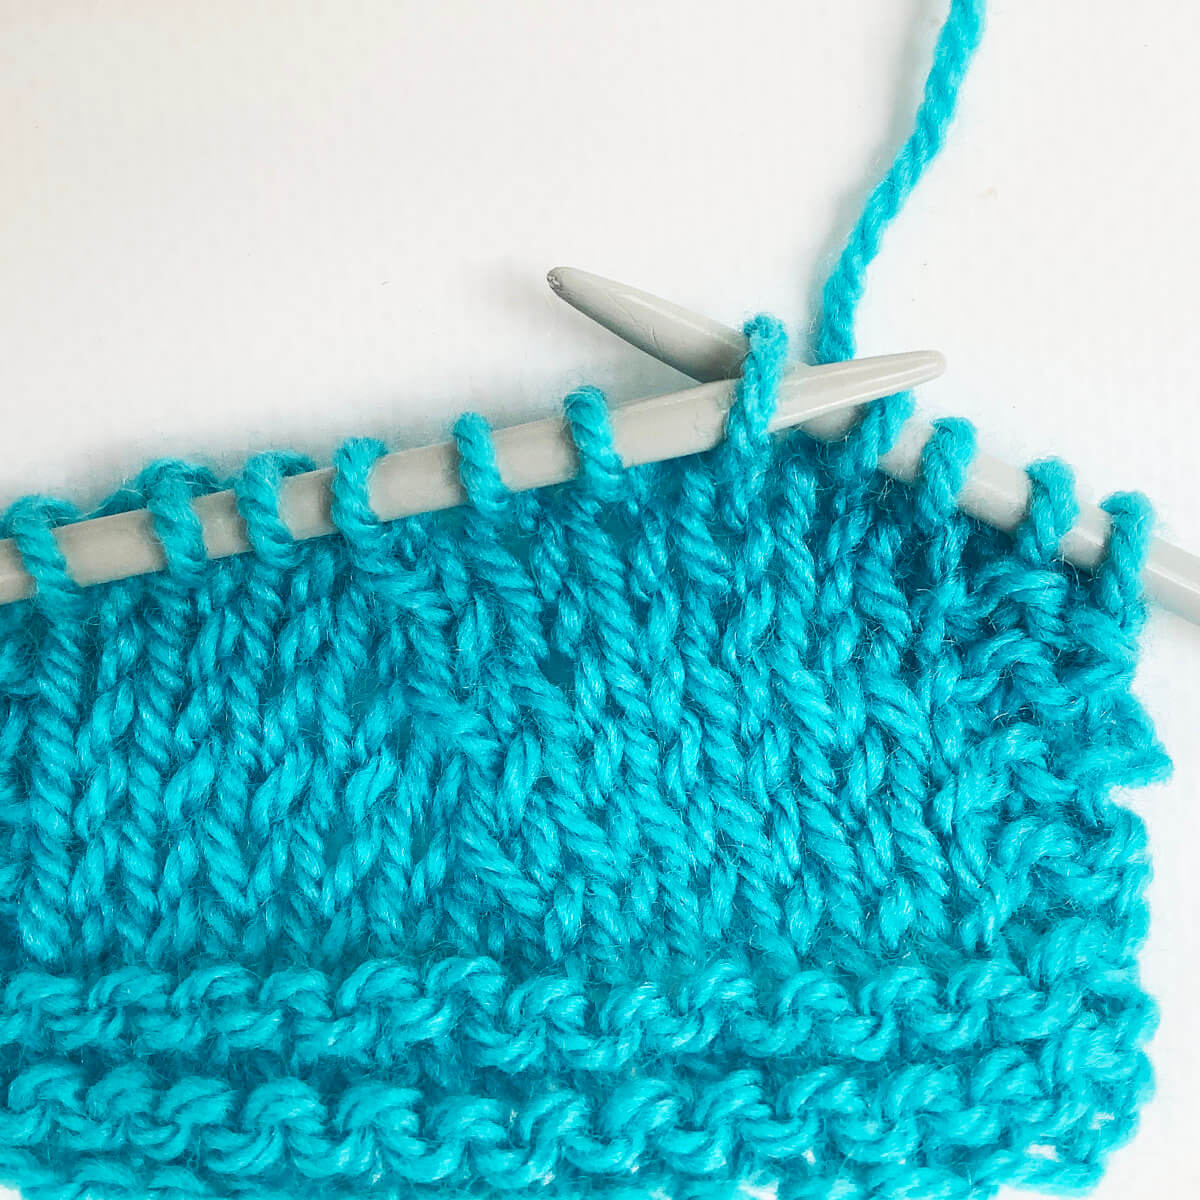
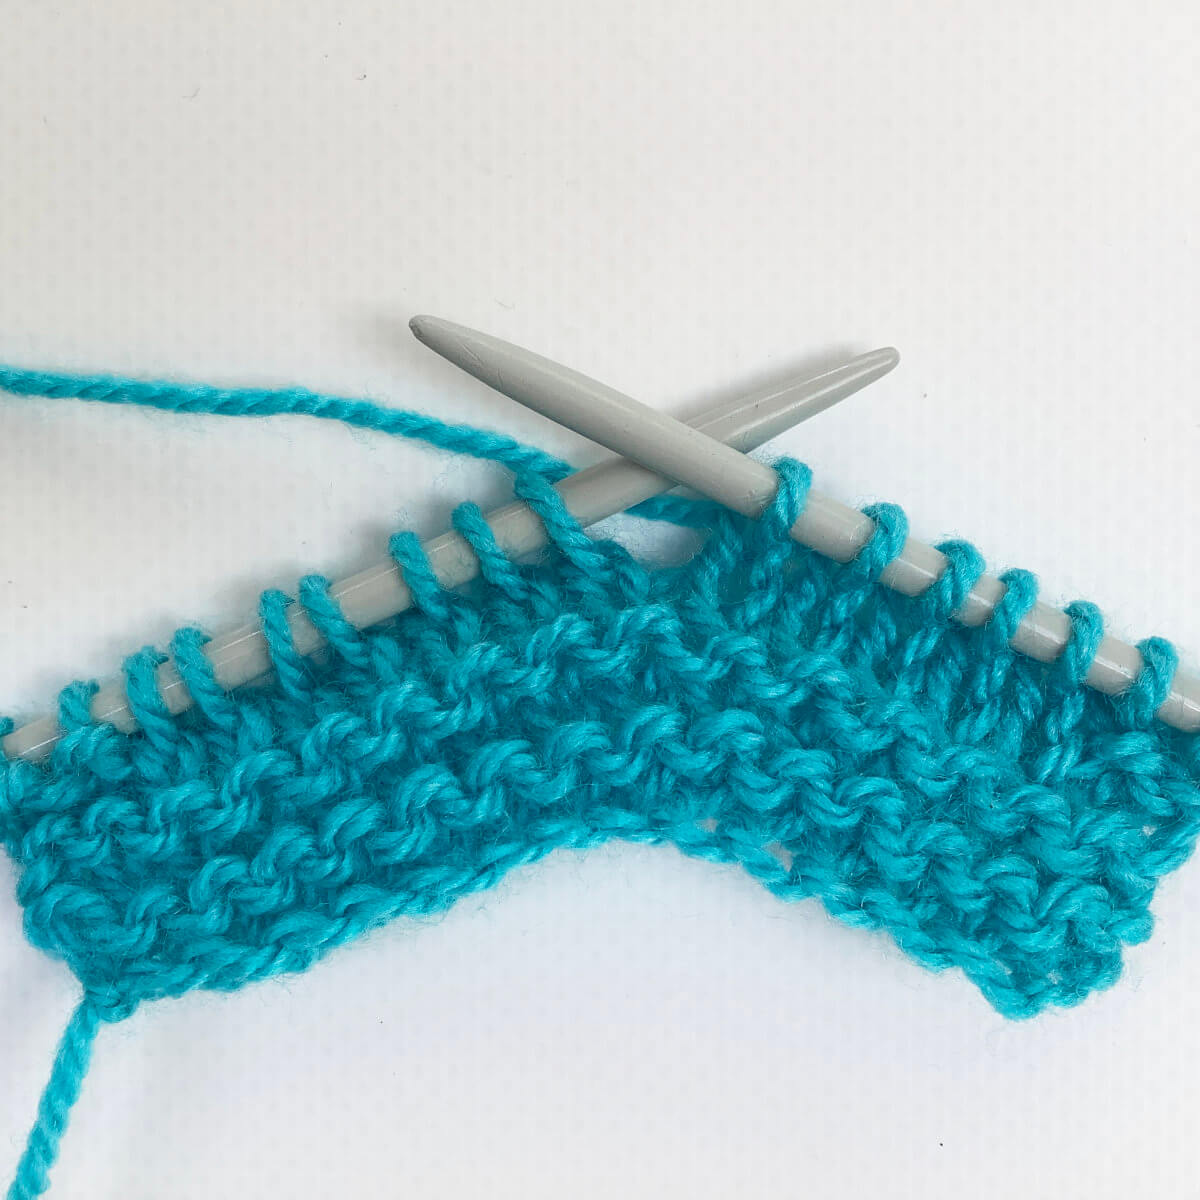
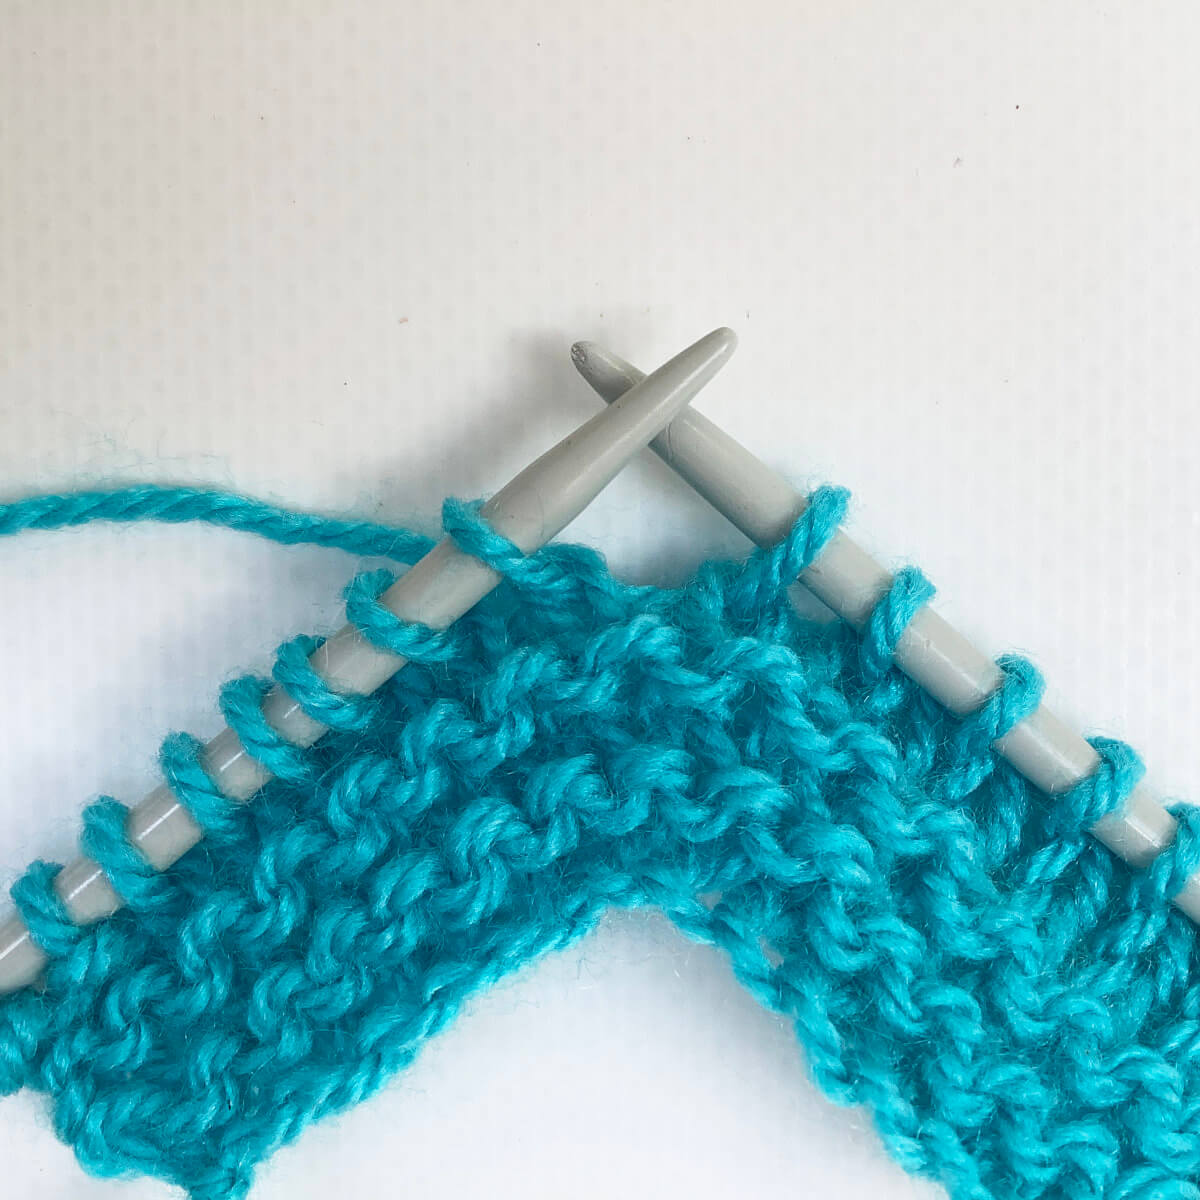
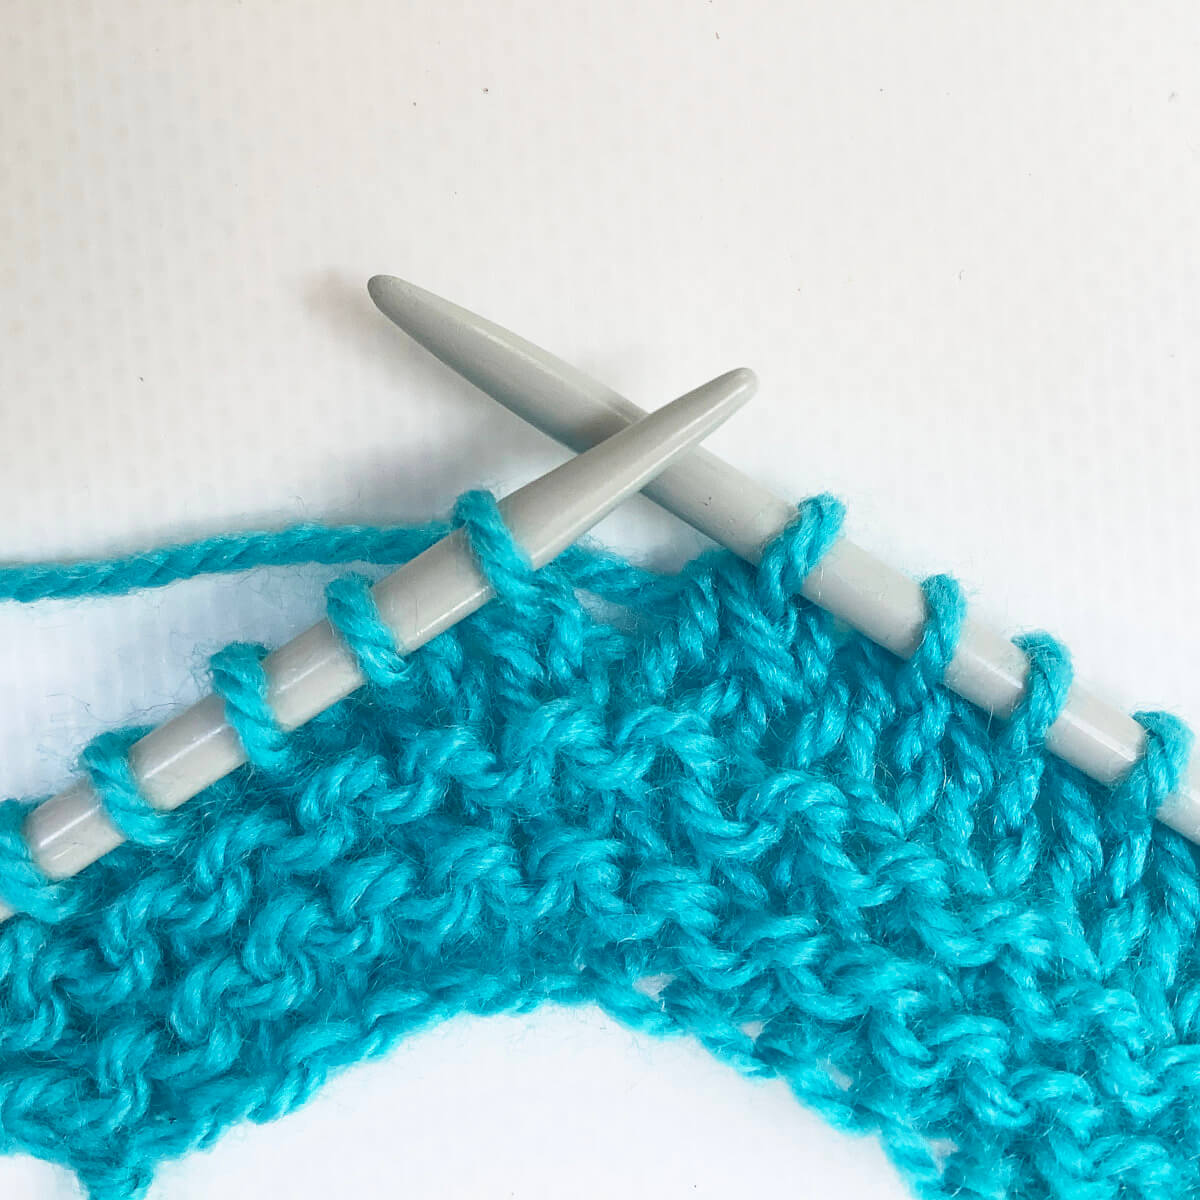
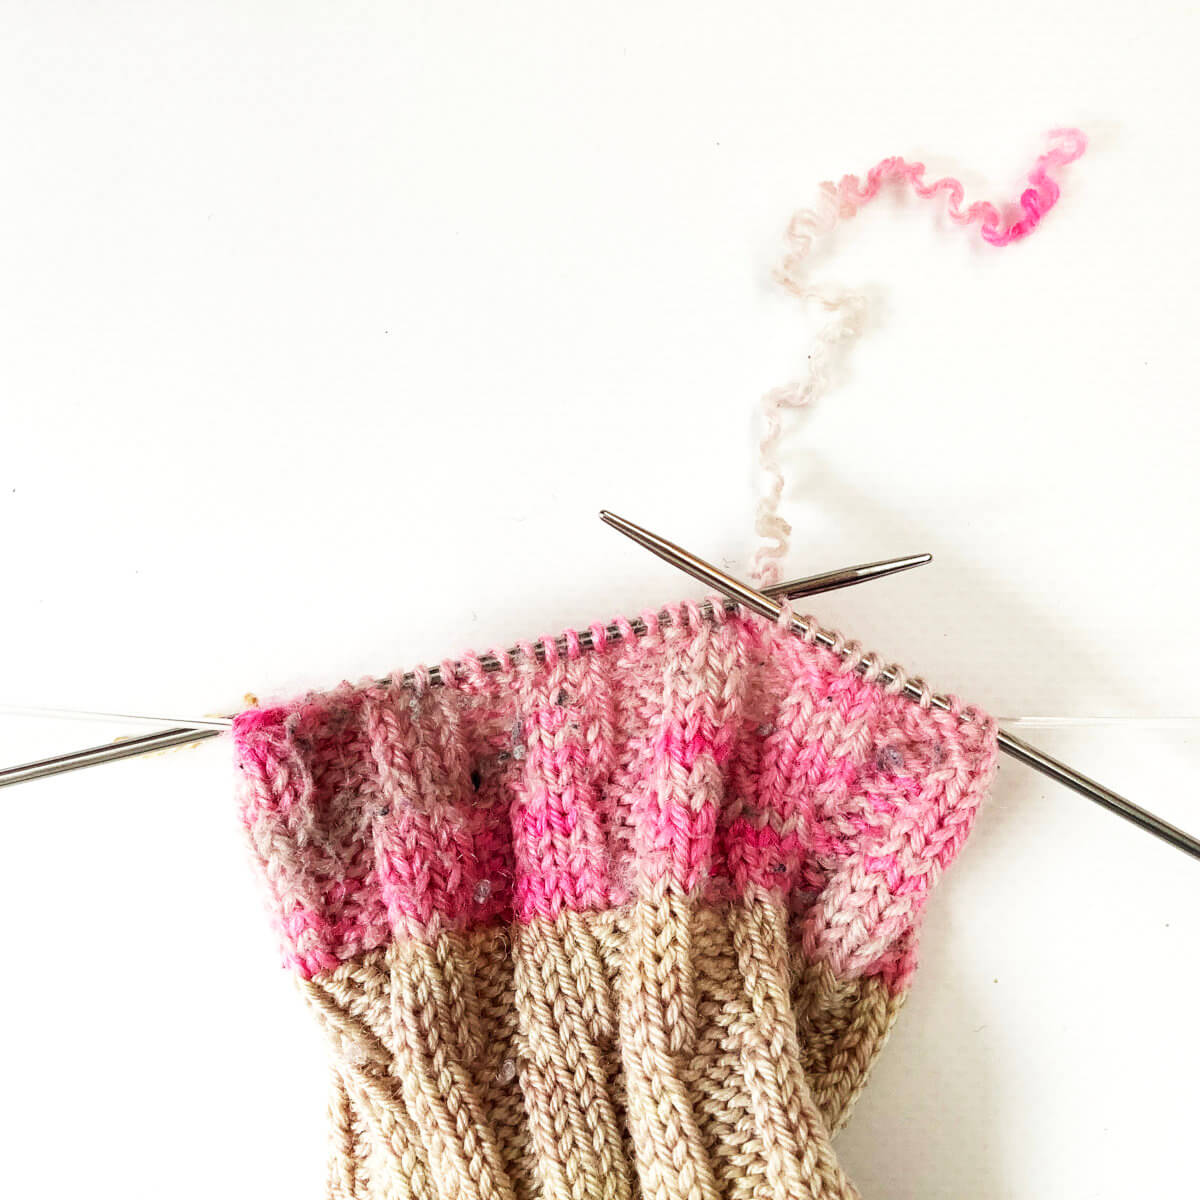
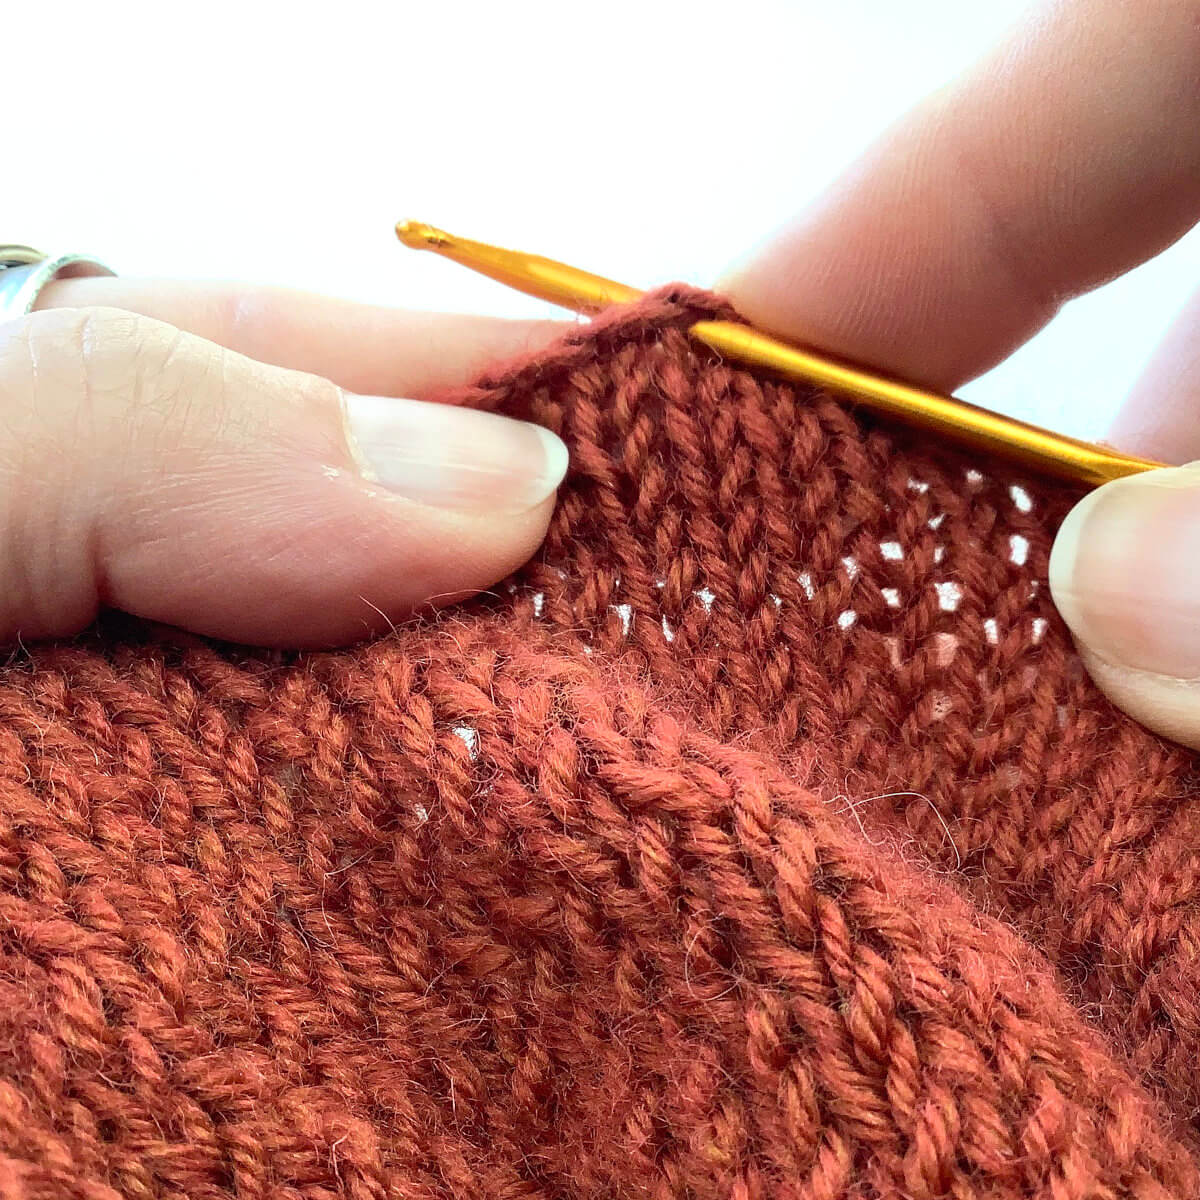
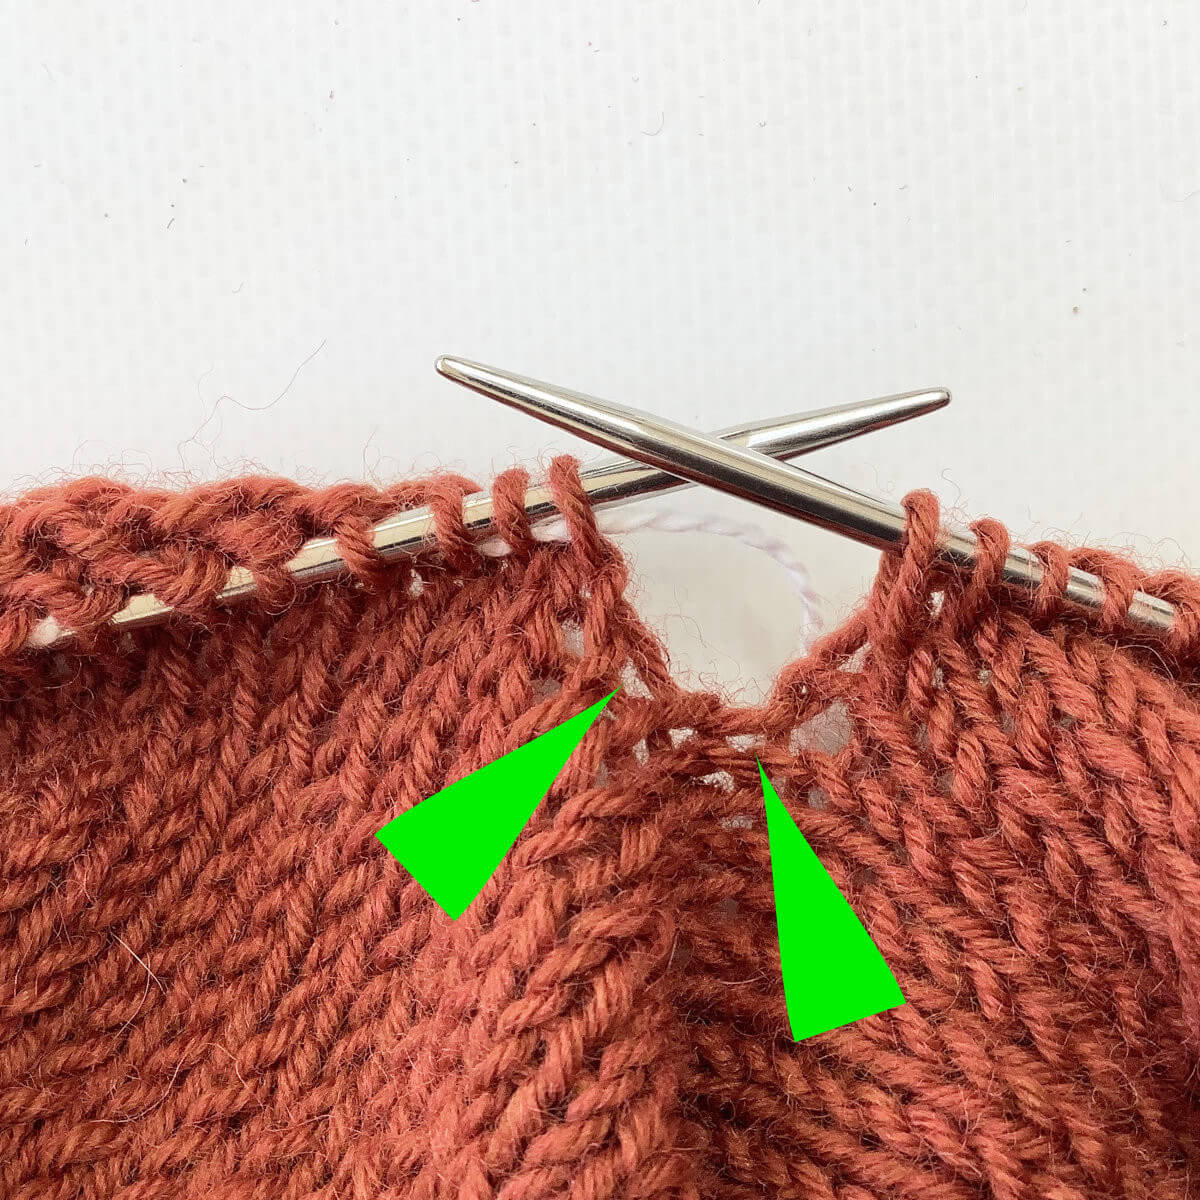
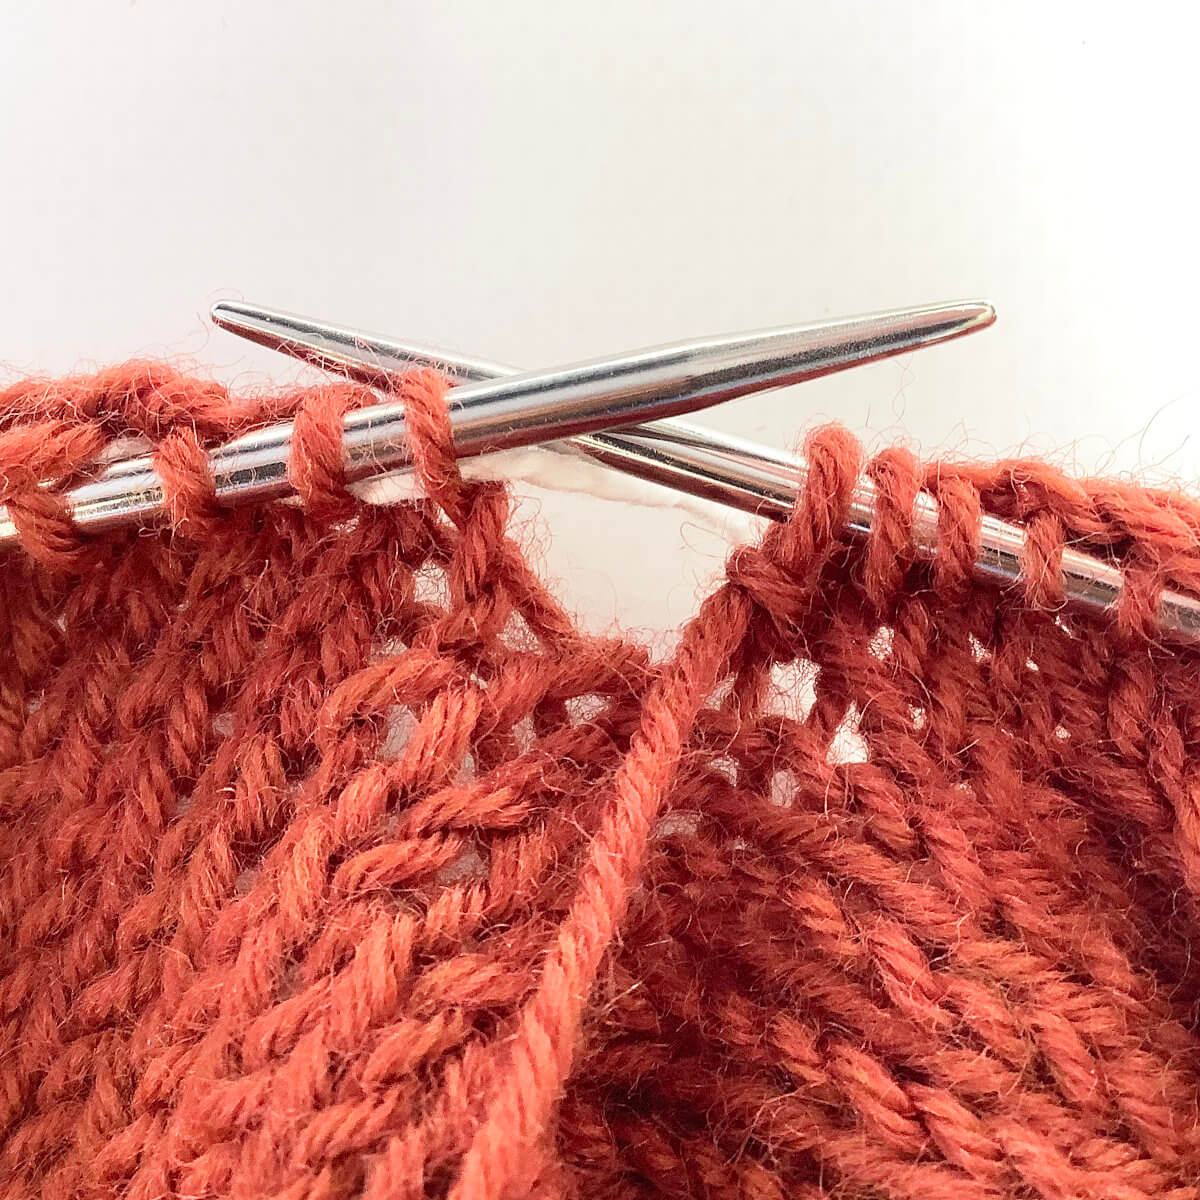
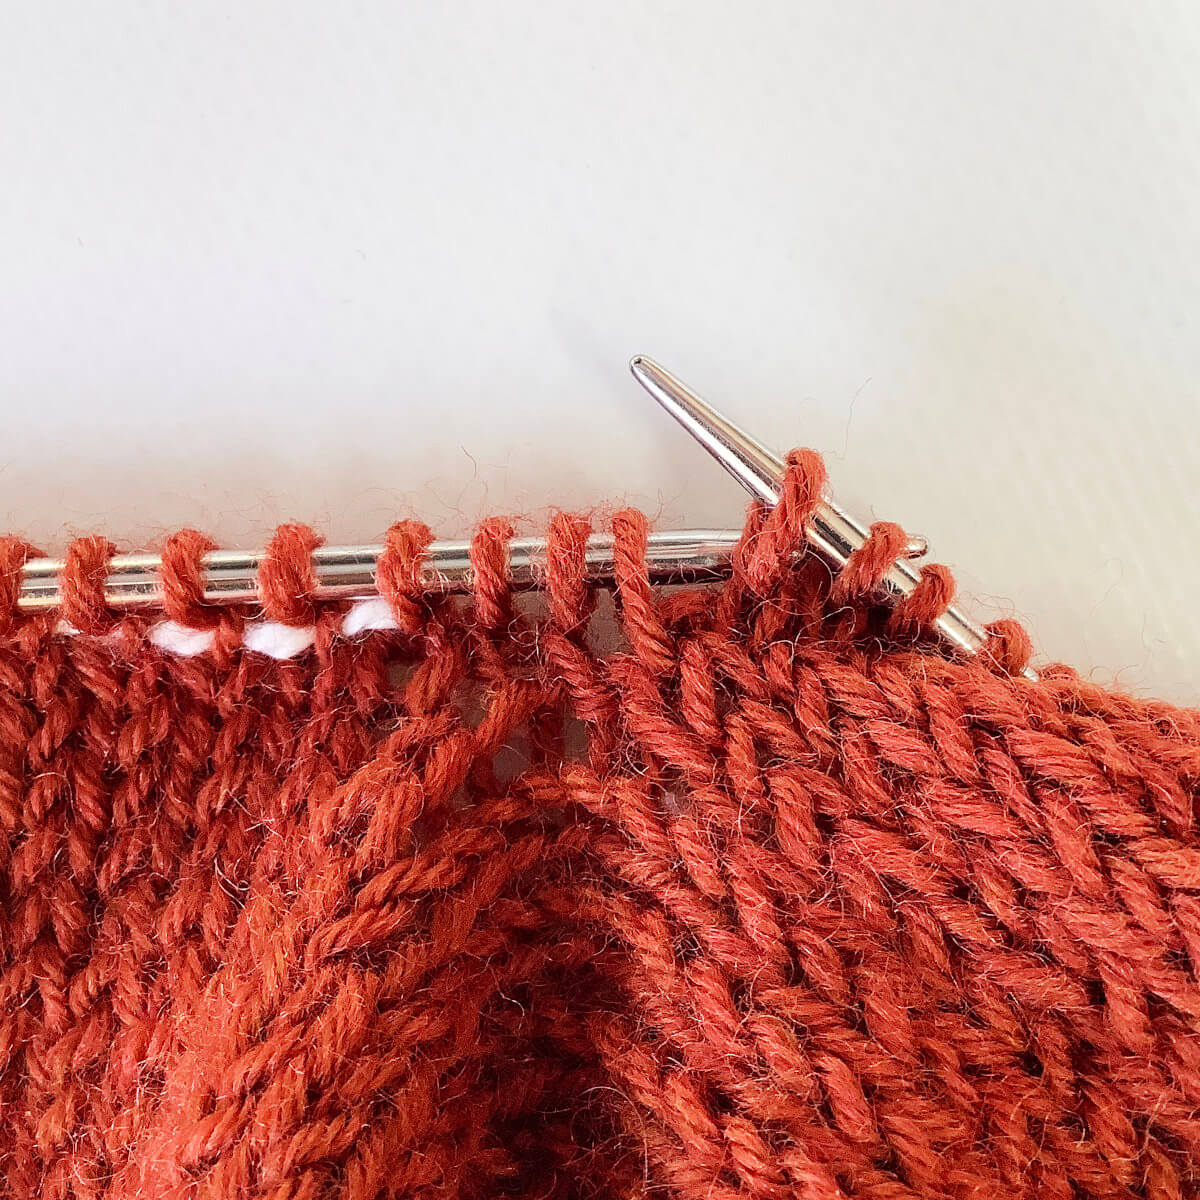
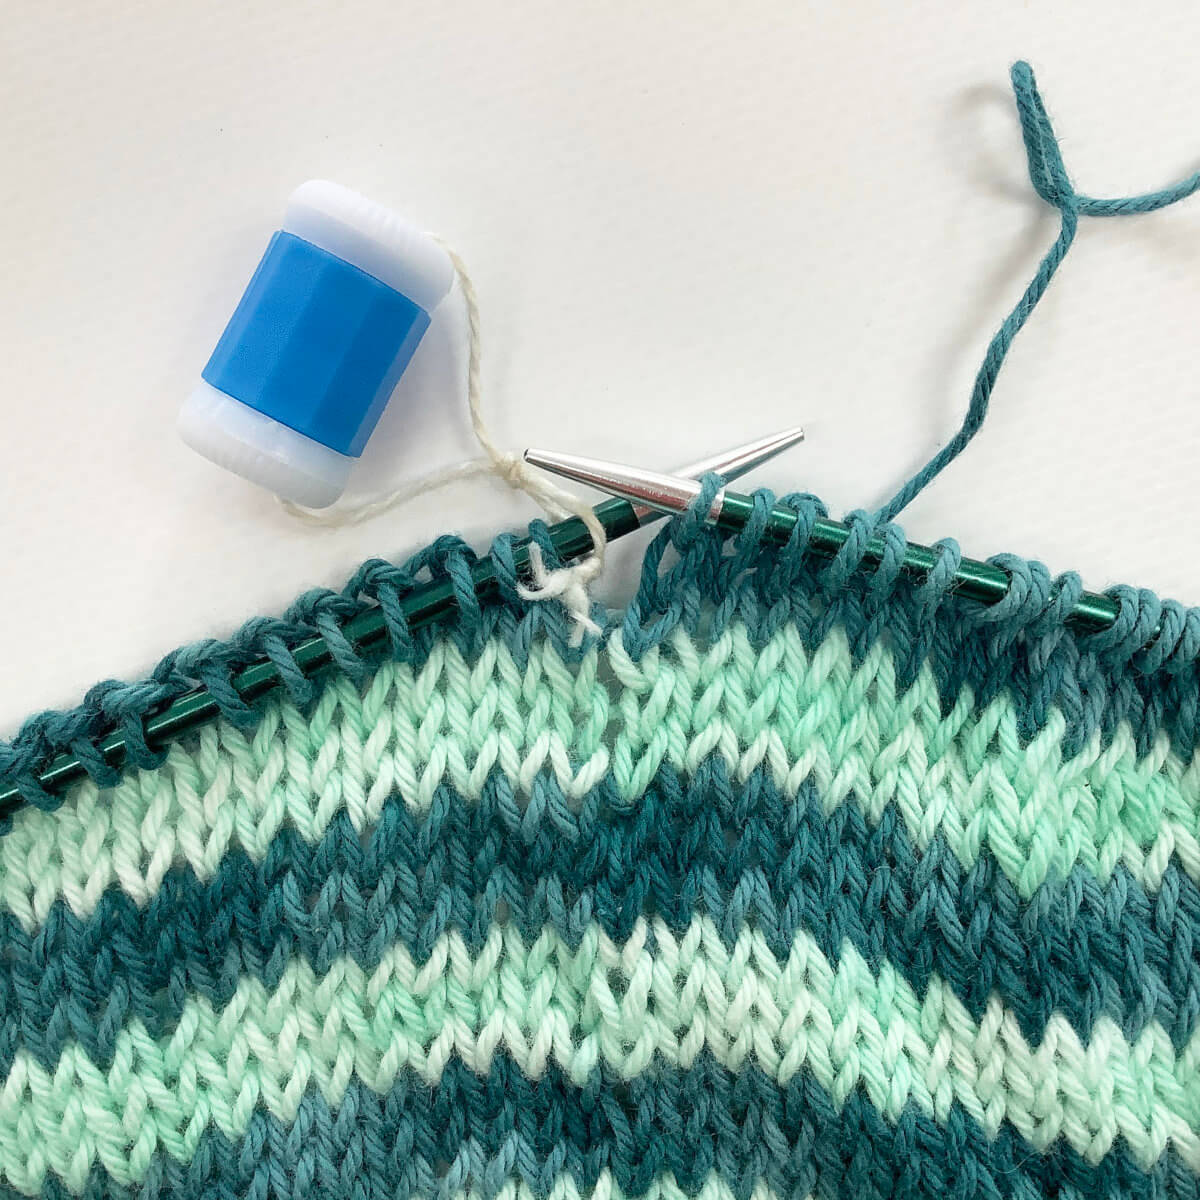
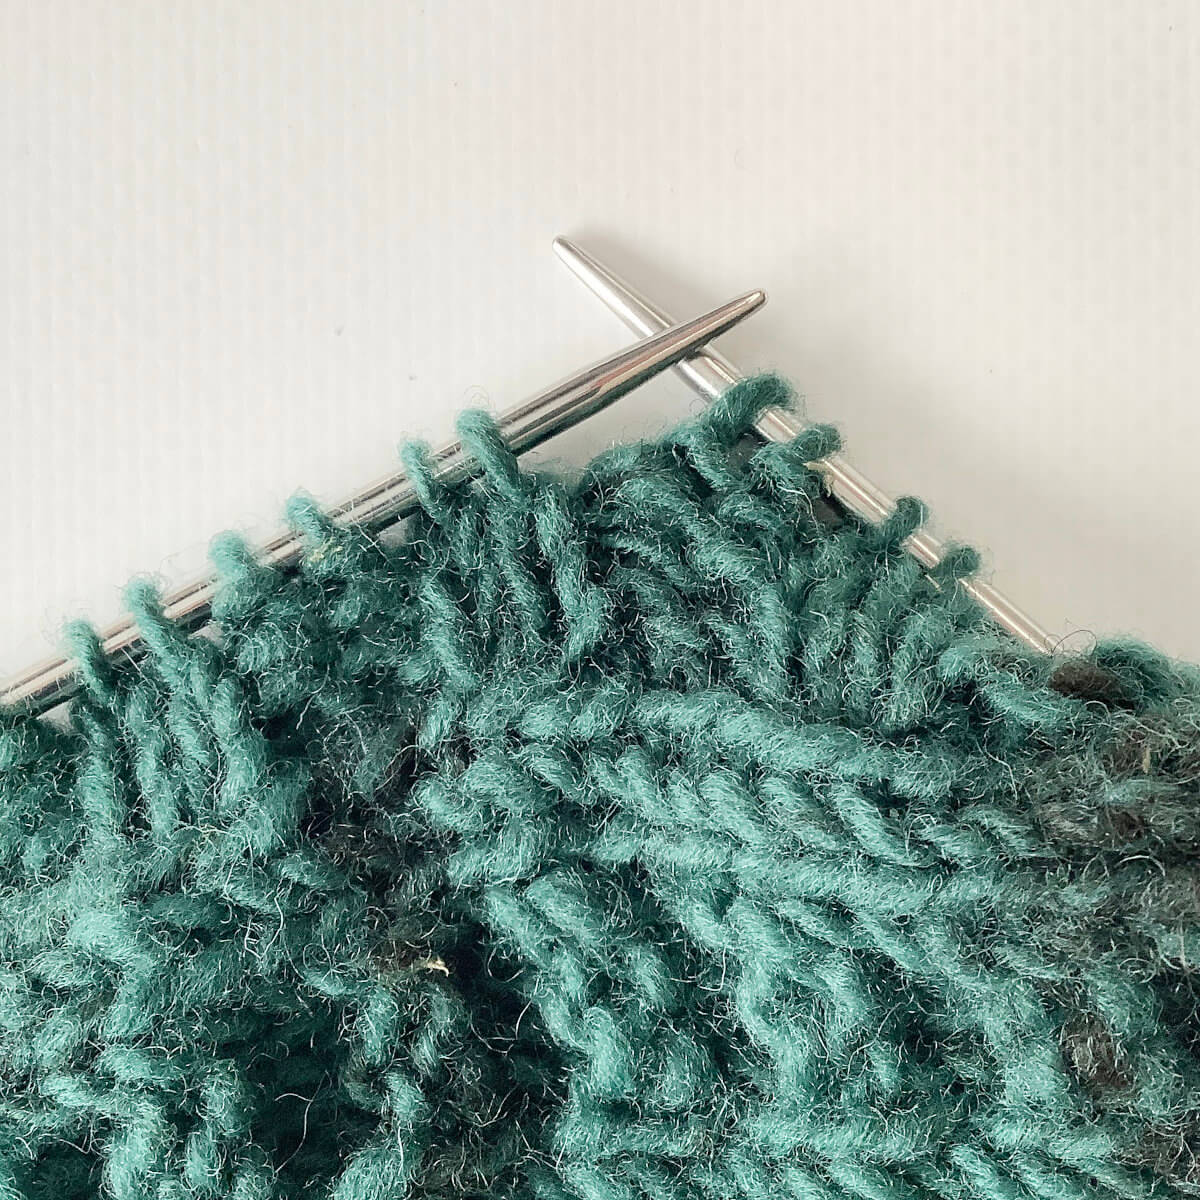
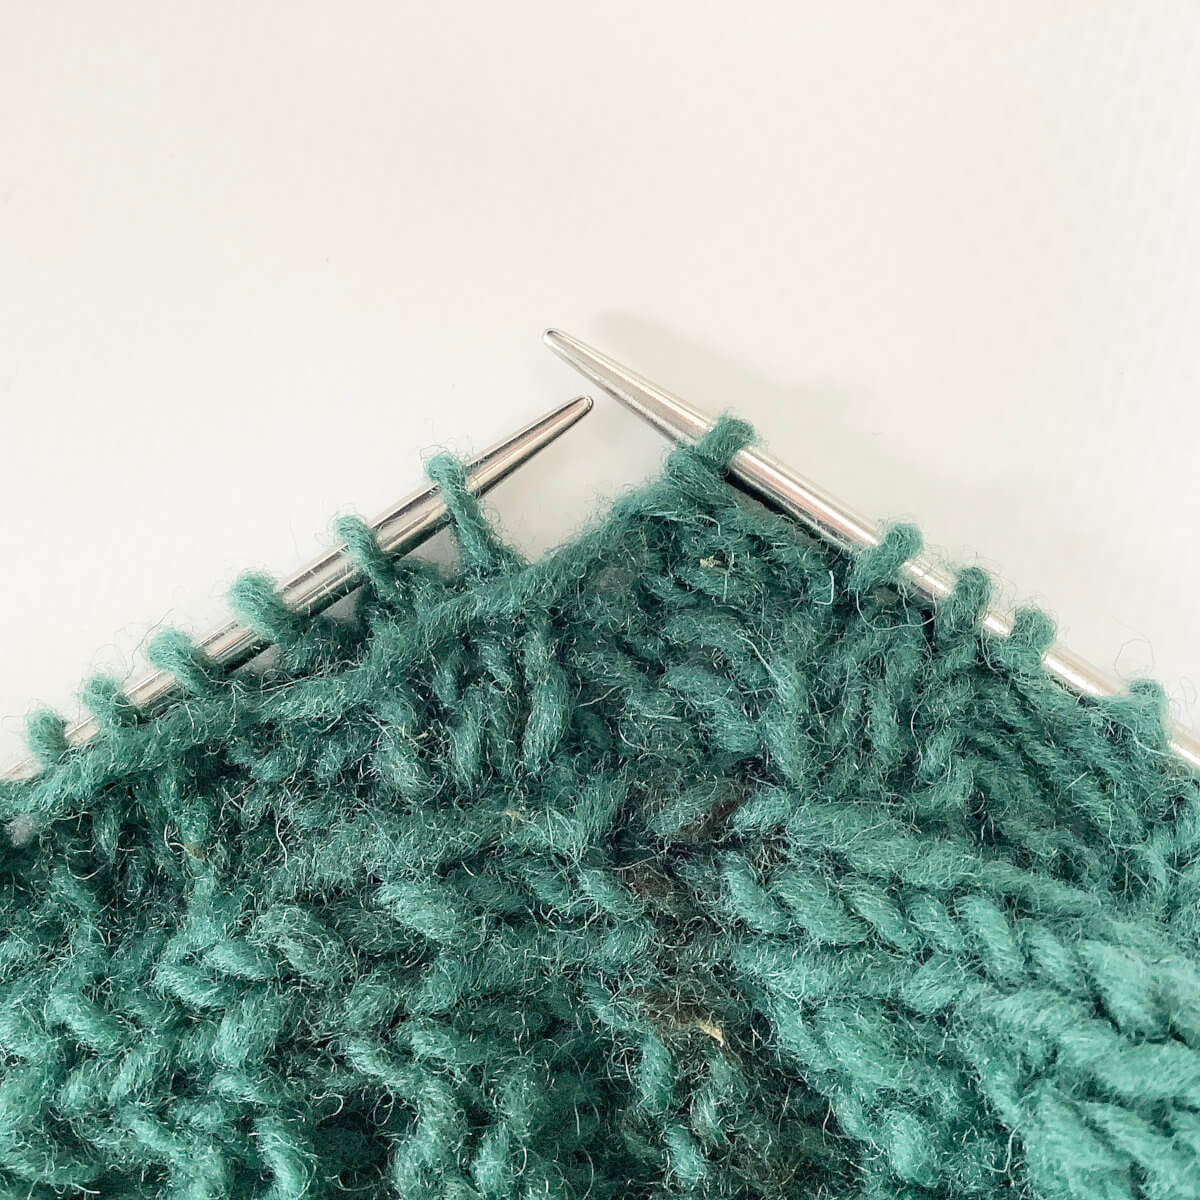
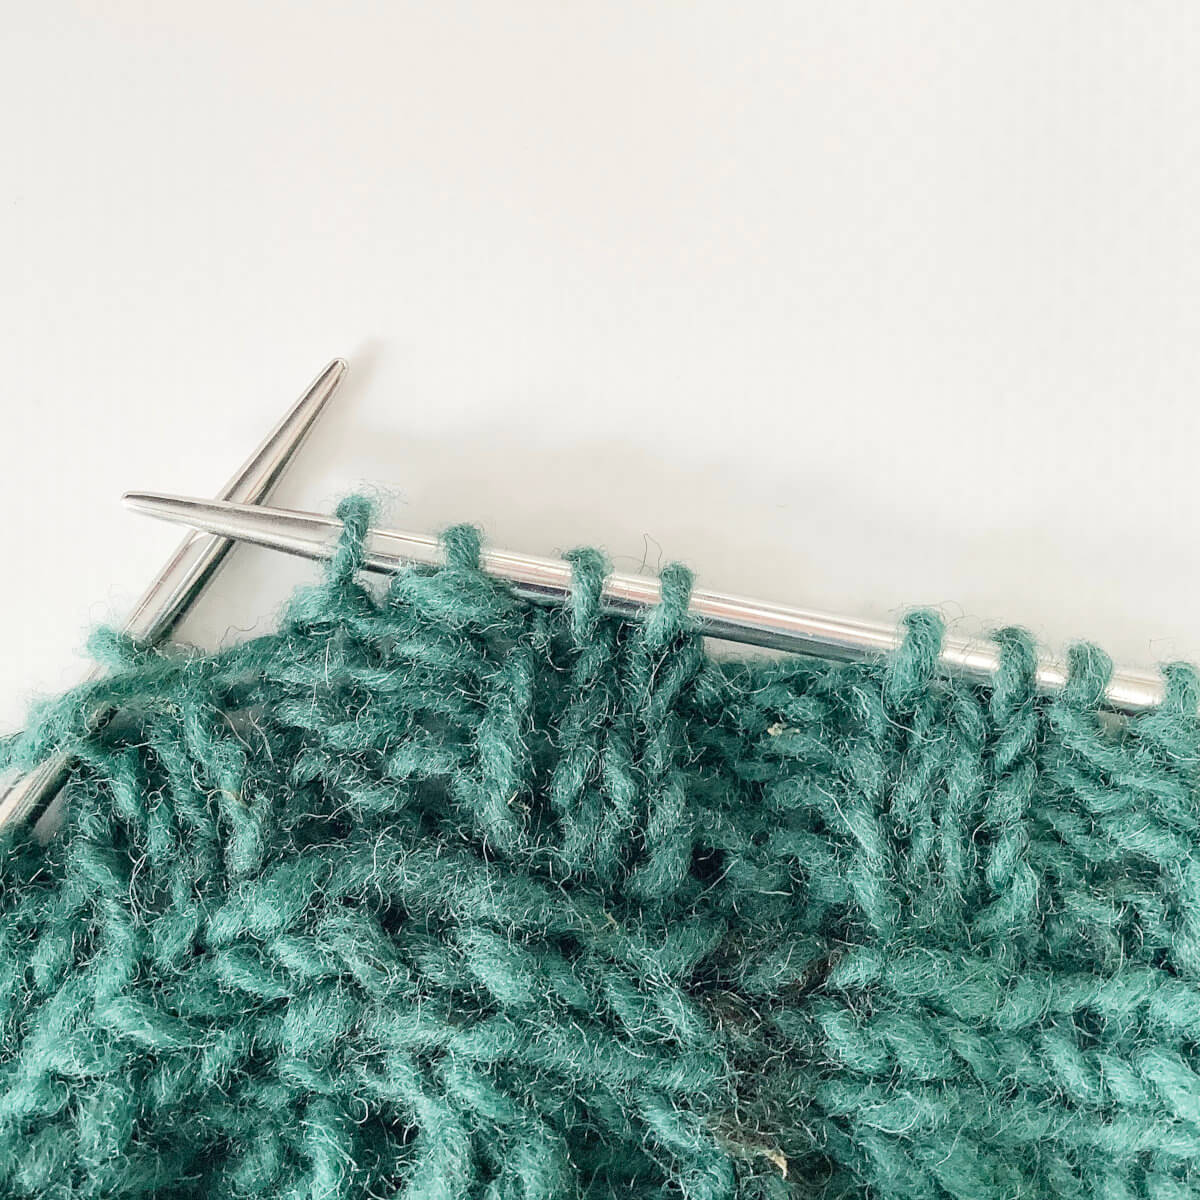
- To start, knit 2 stitches.

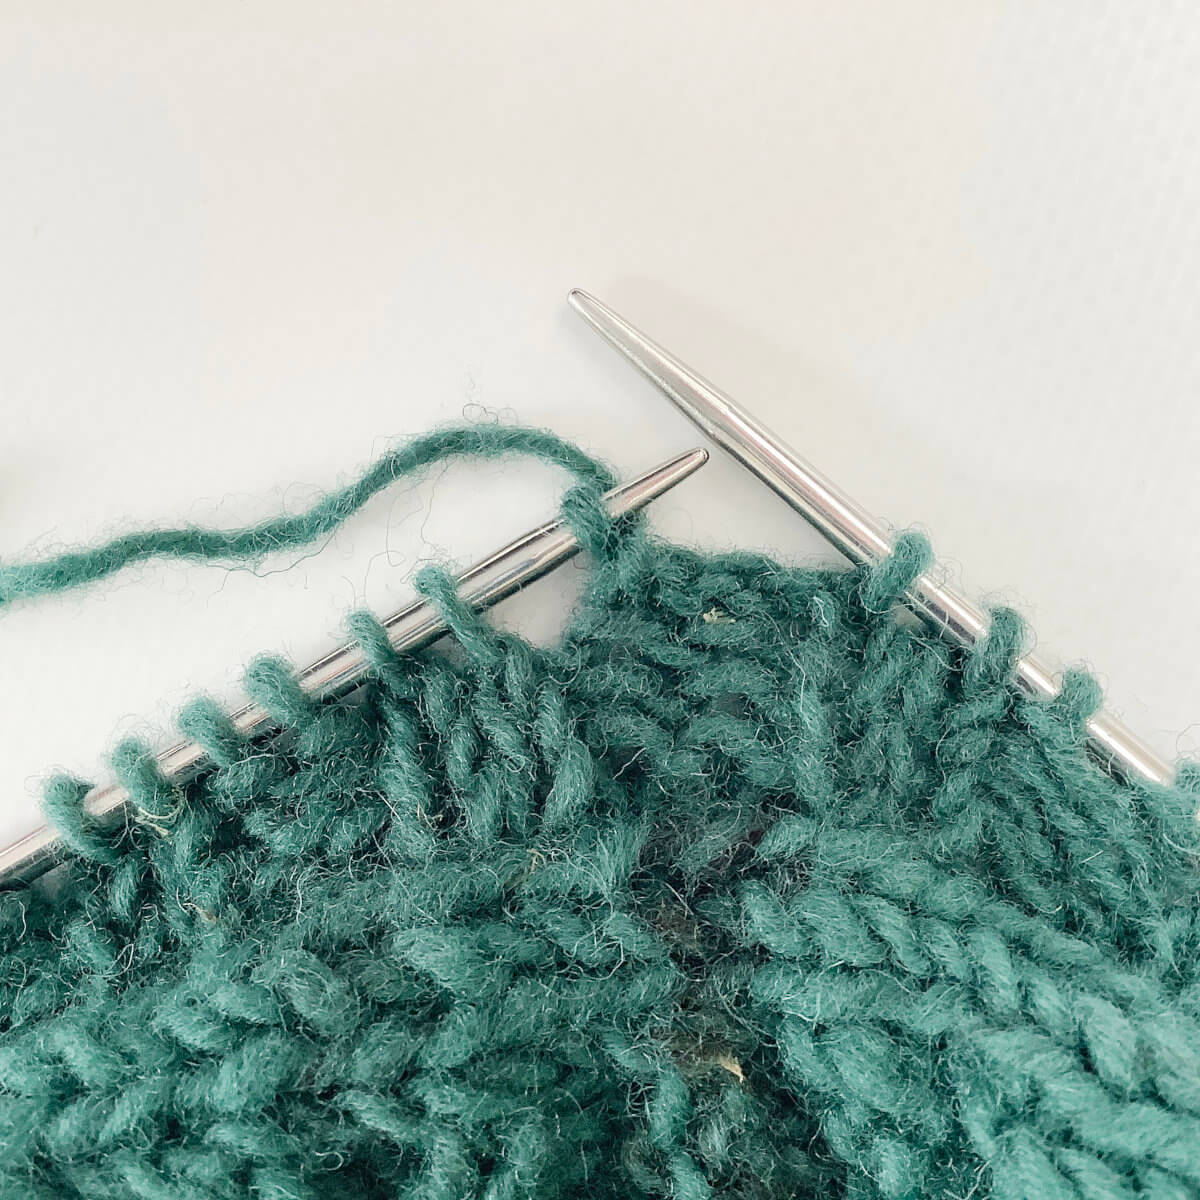
- Insert the left-hand needle into the stitch first worked…
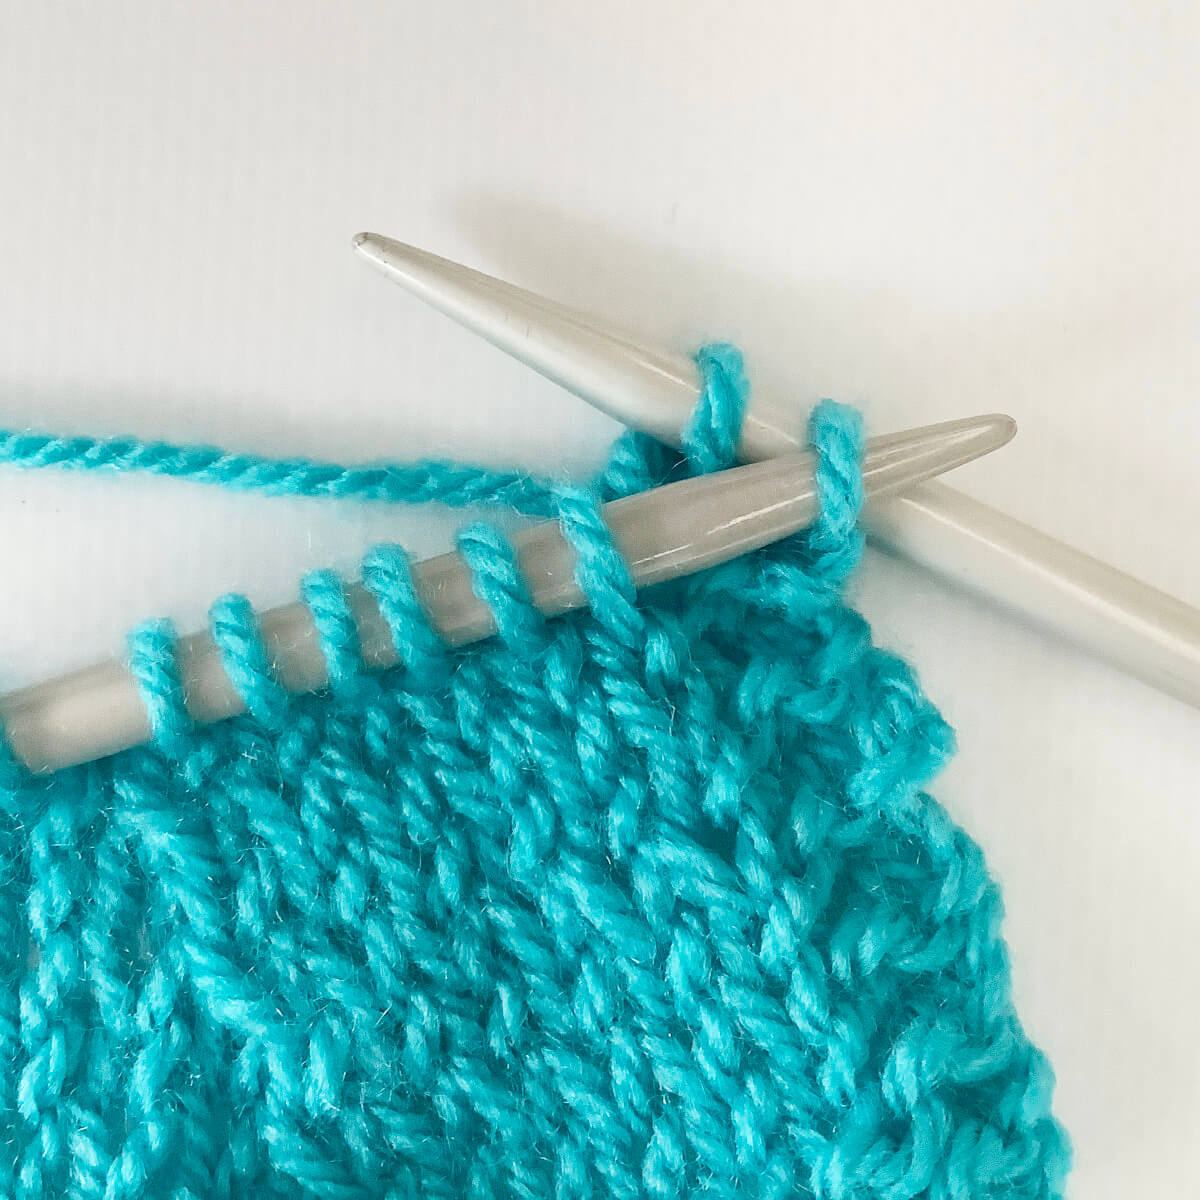
- … and lift it over the second stitch.
You have now bound-off 1 stitch.
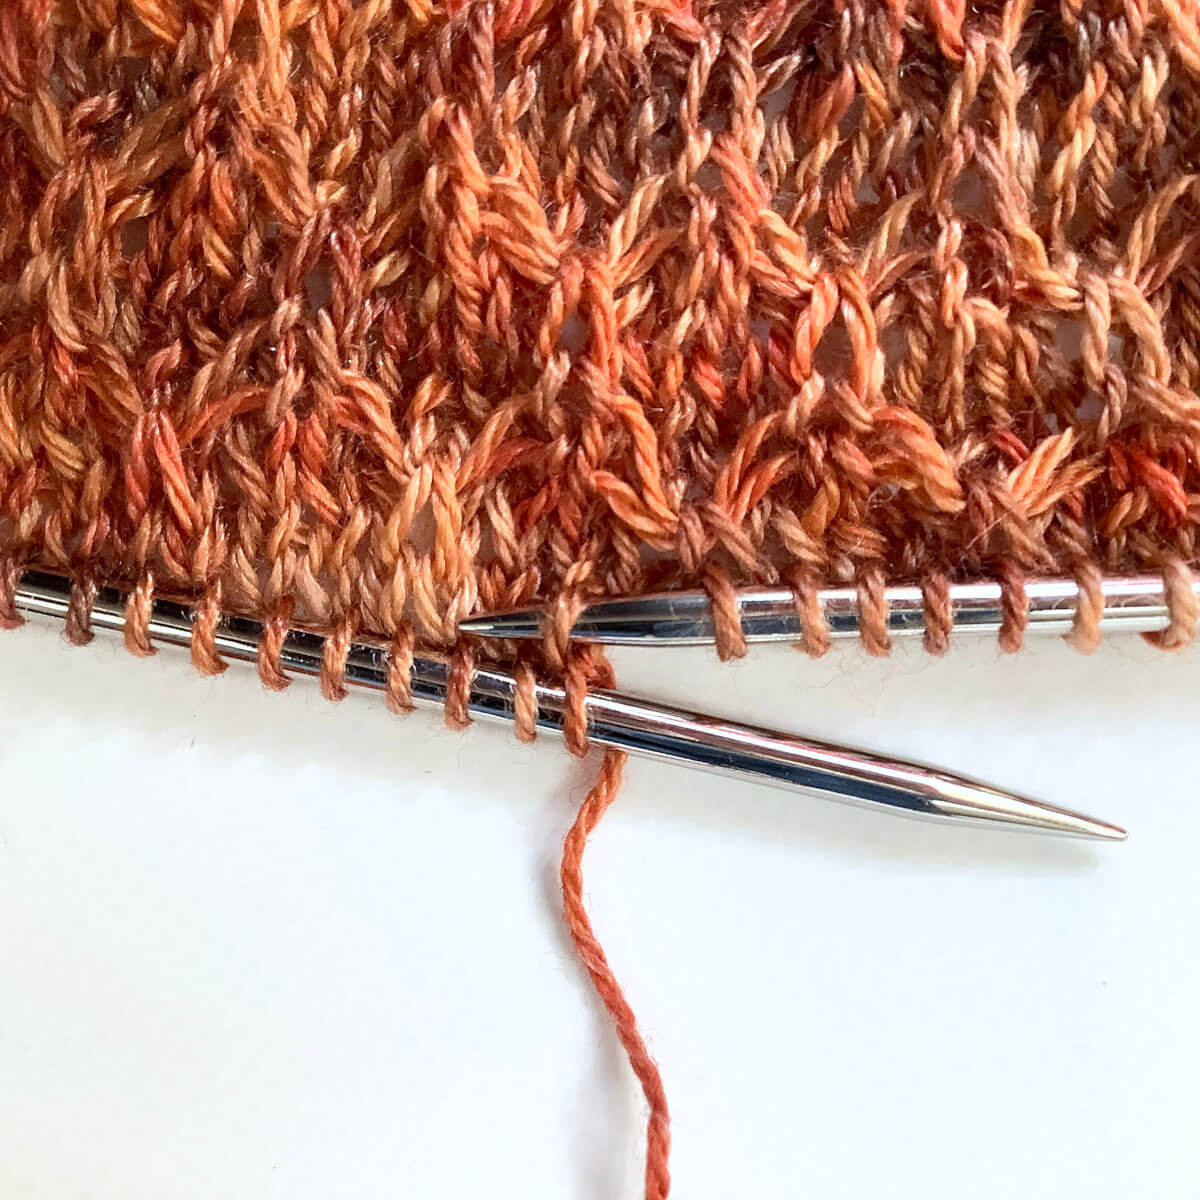
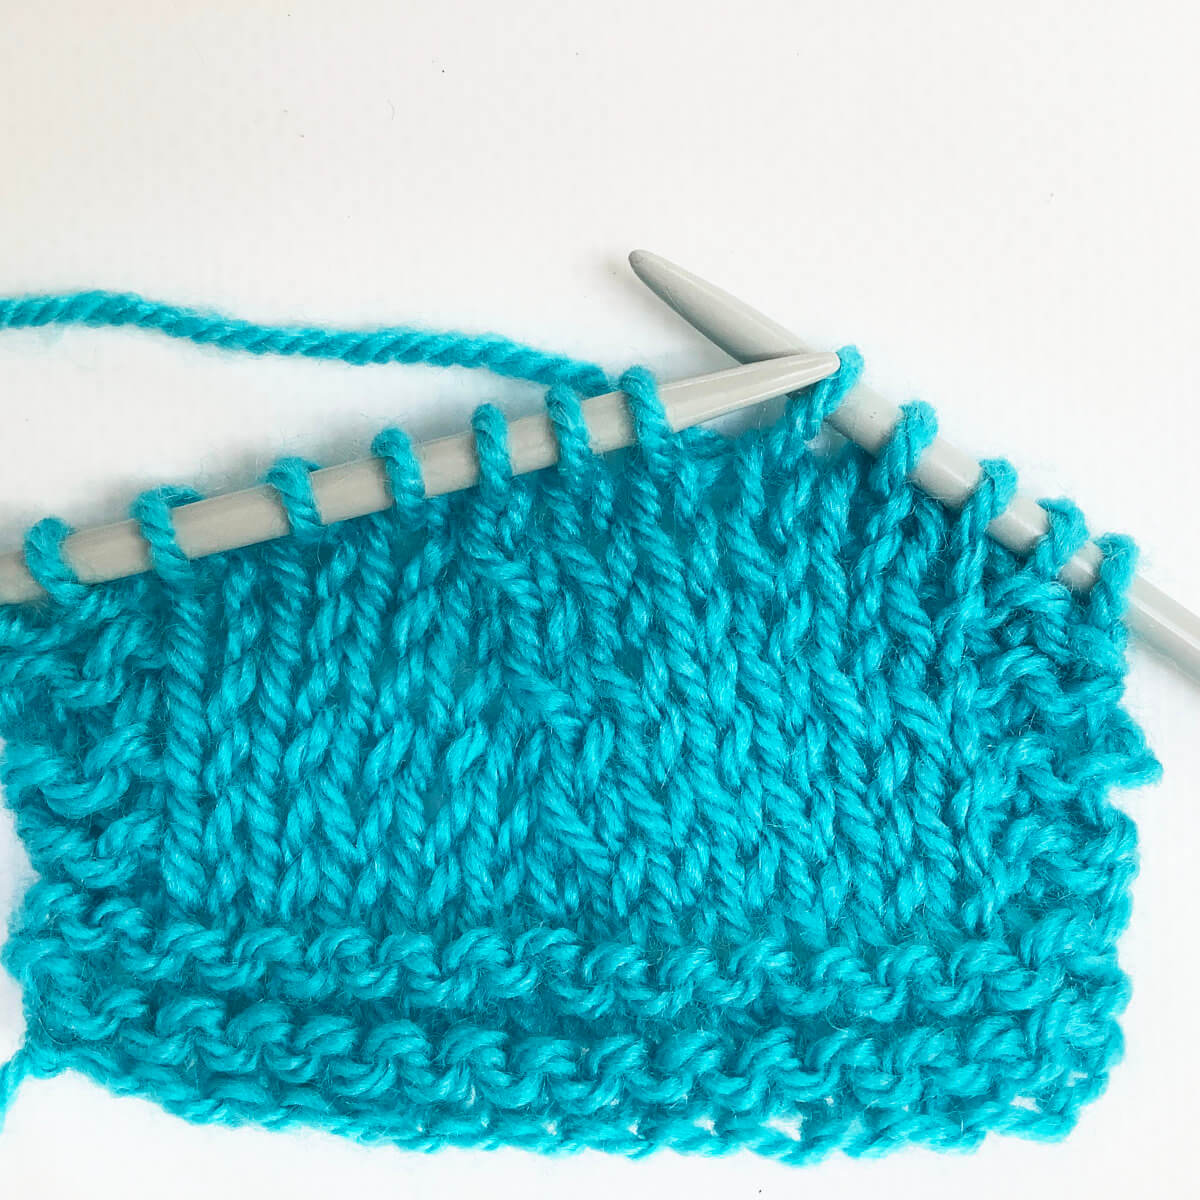
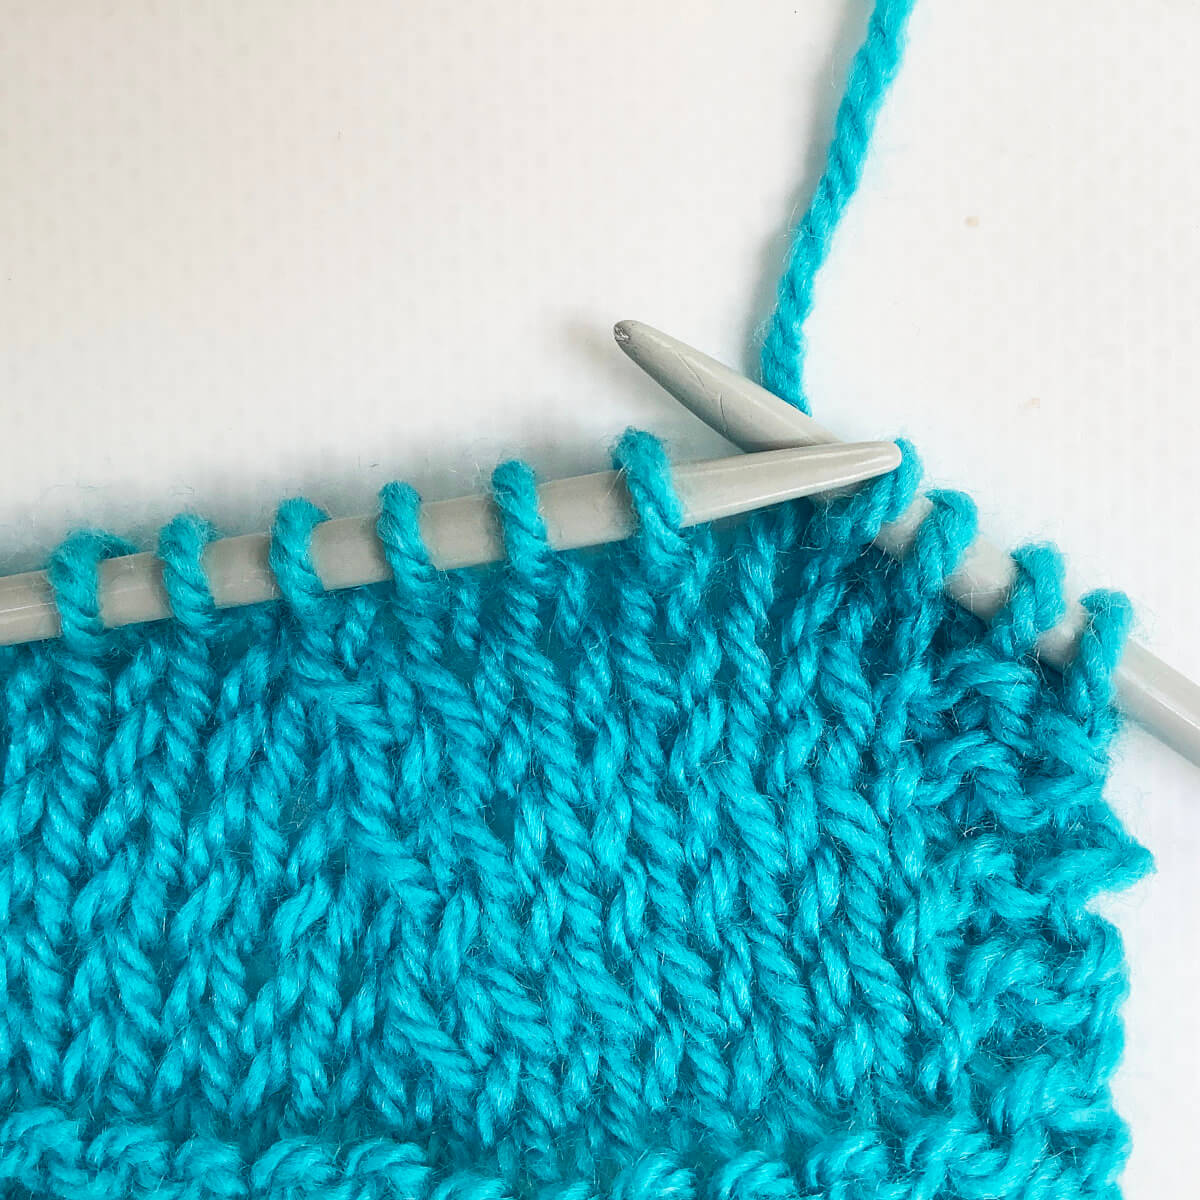
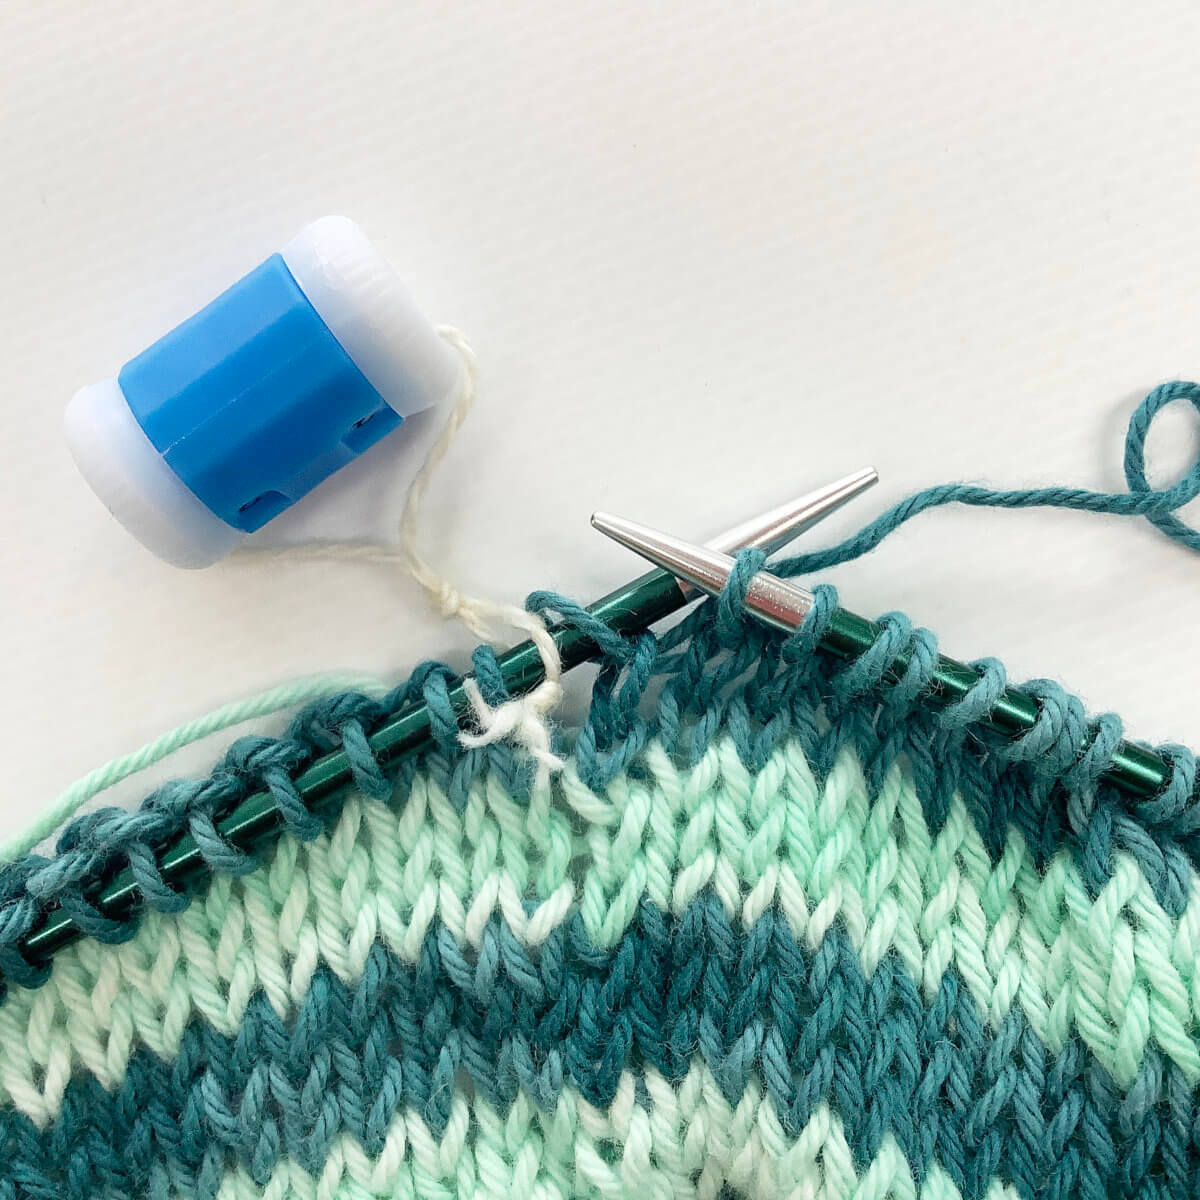
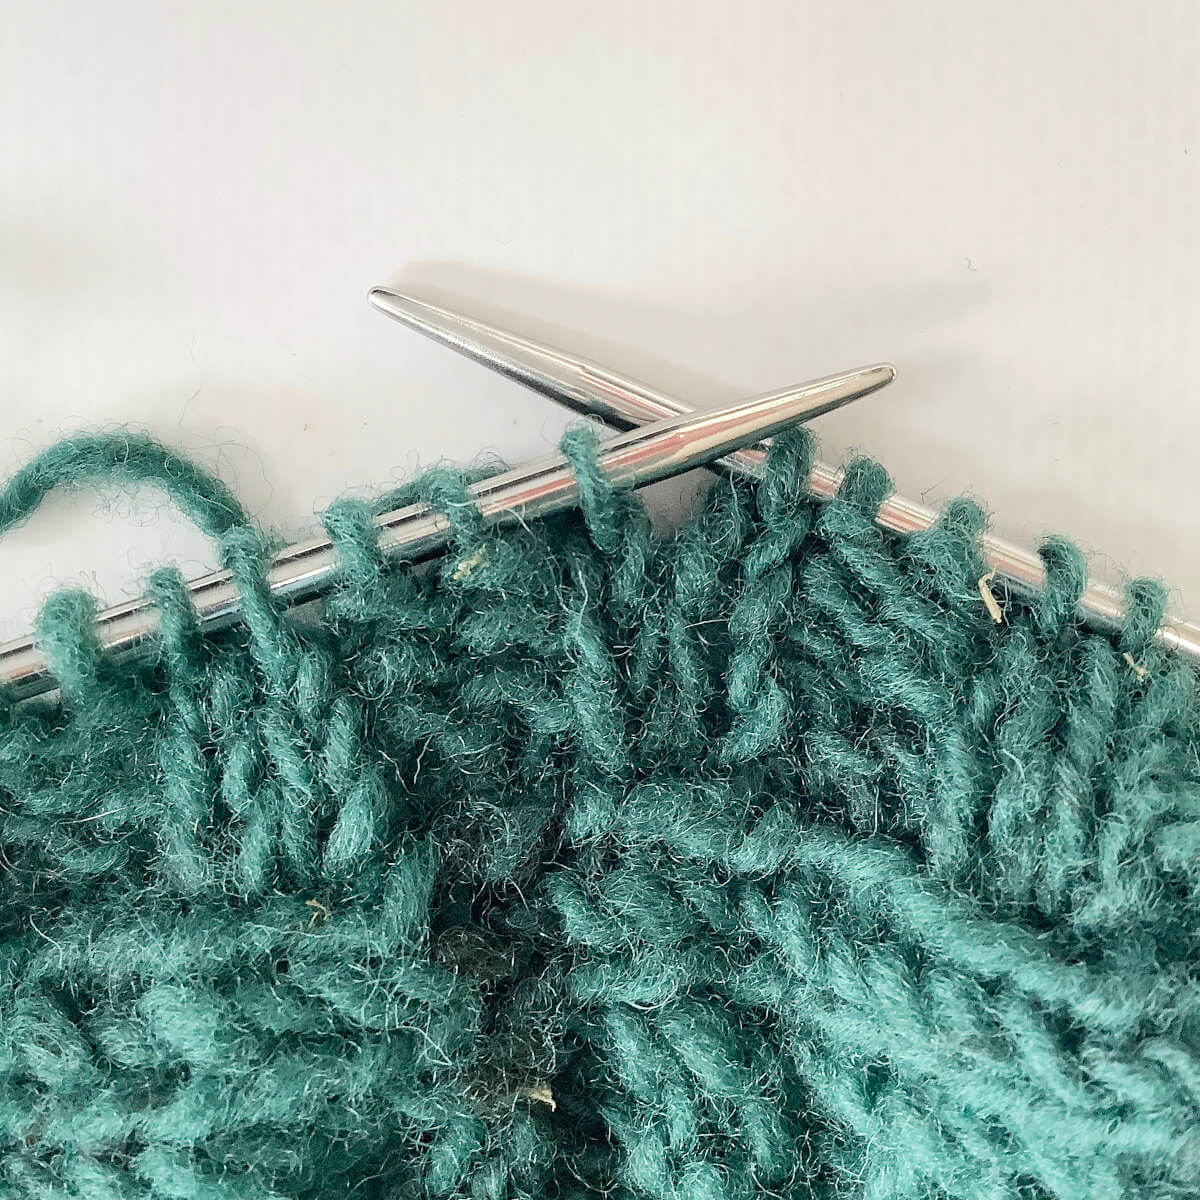
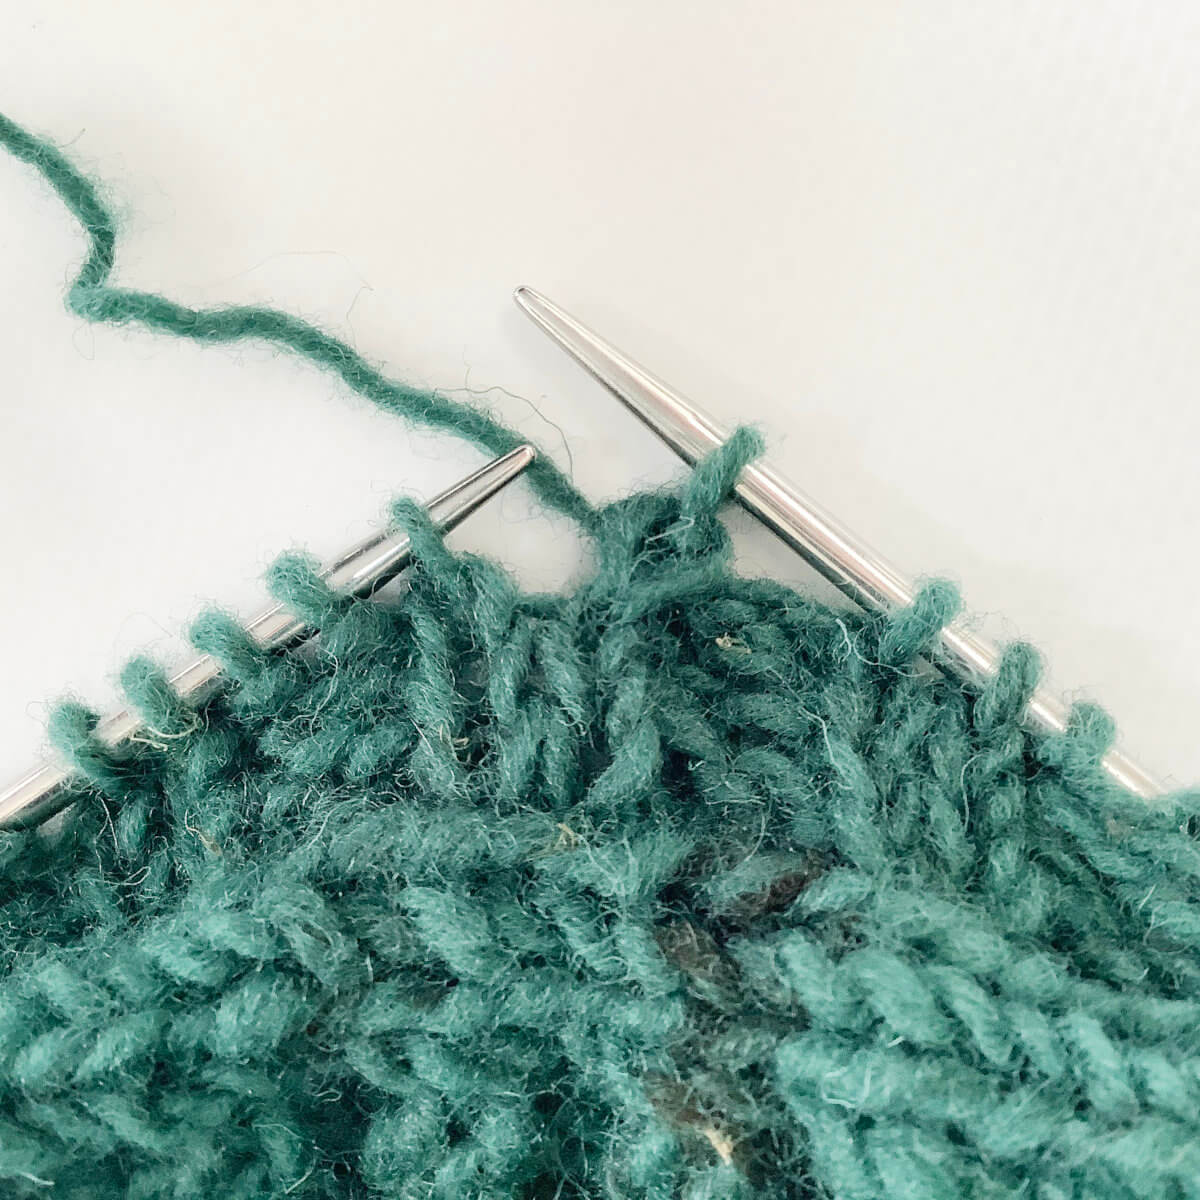
- Knit 1 stitch and repeat steps 3 and 4 to bind-off another stitch.

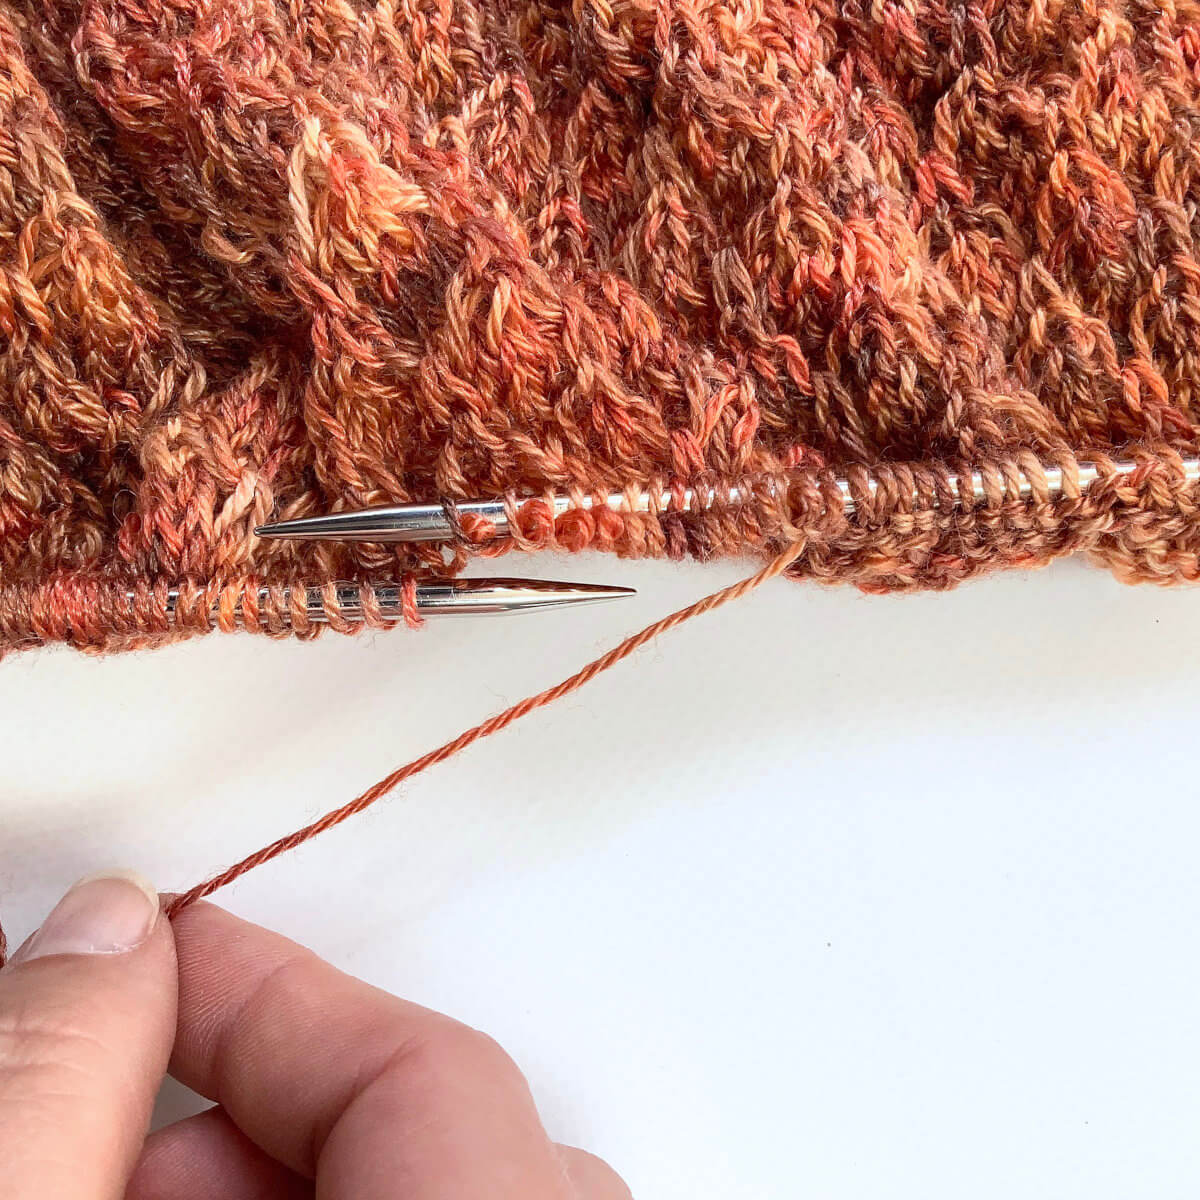
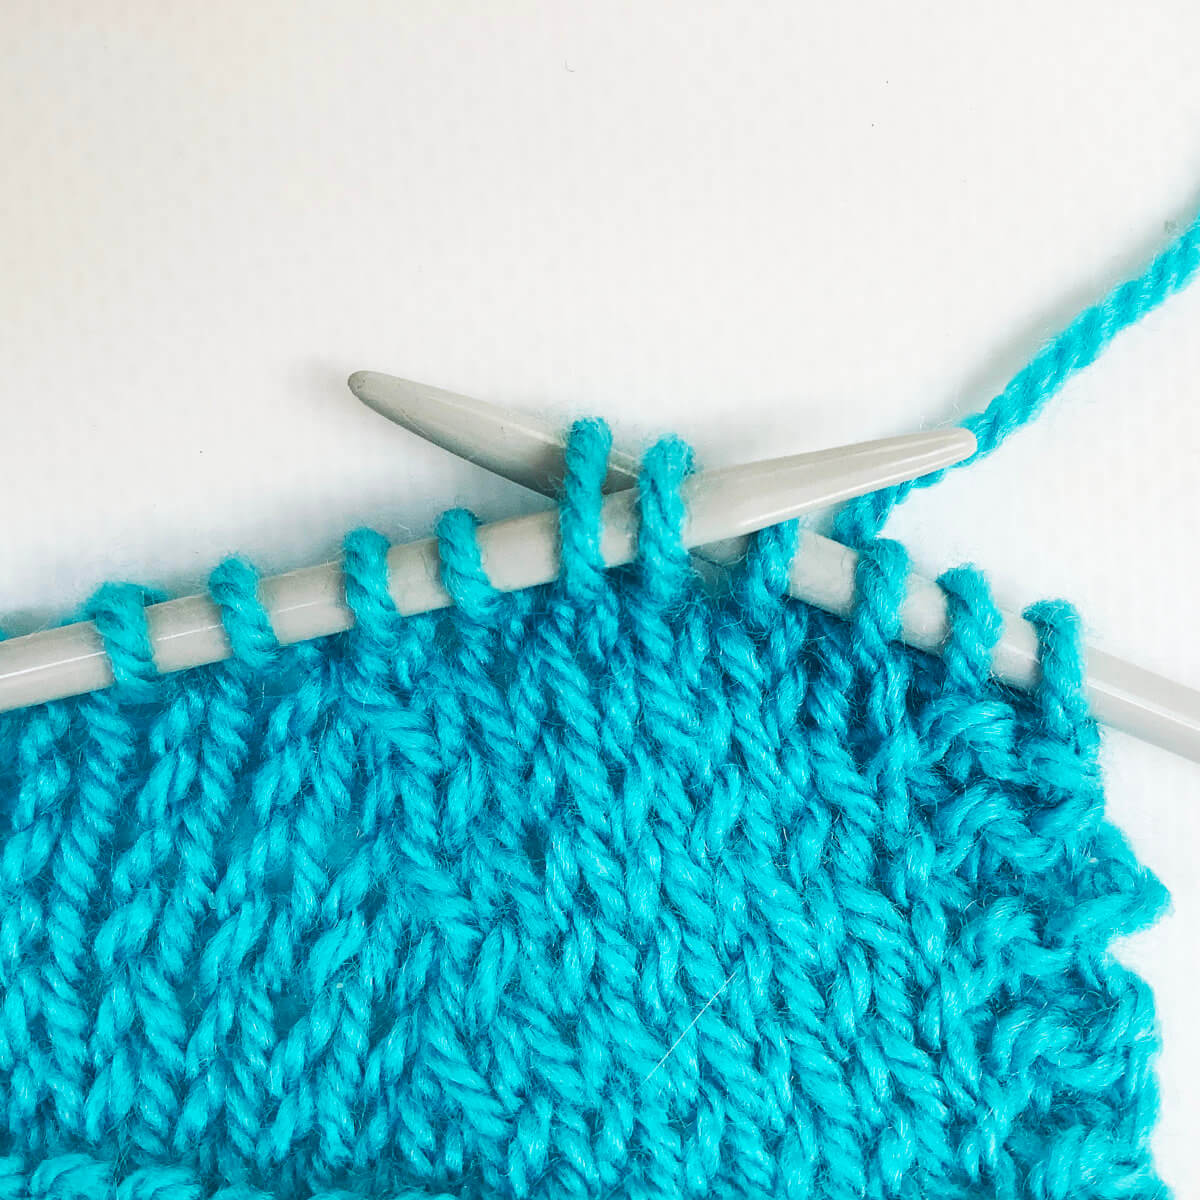
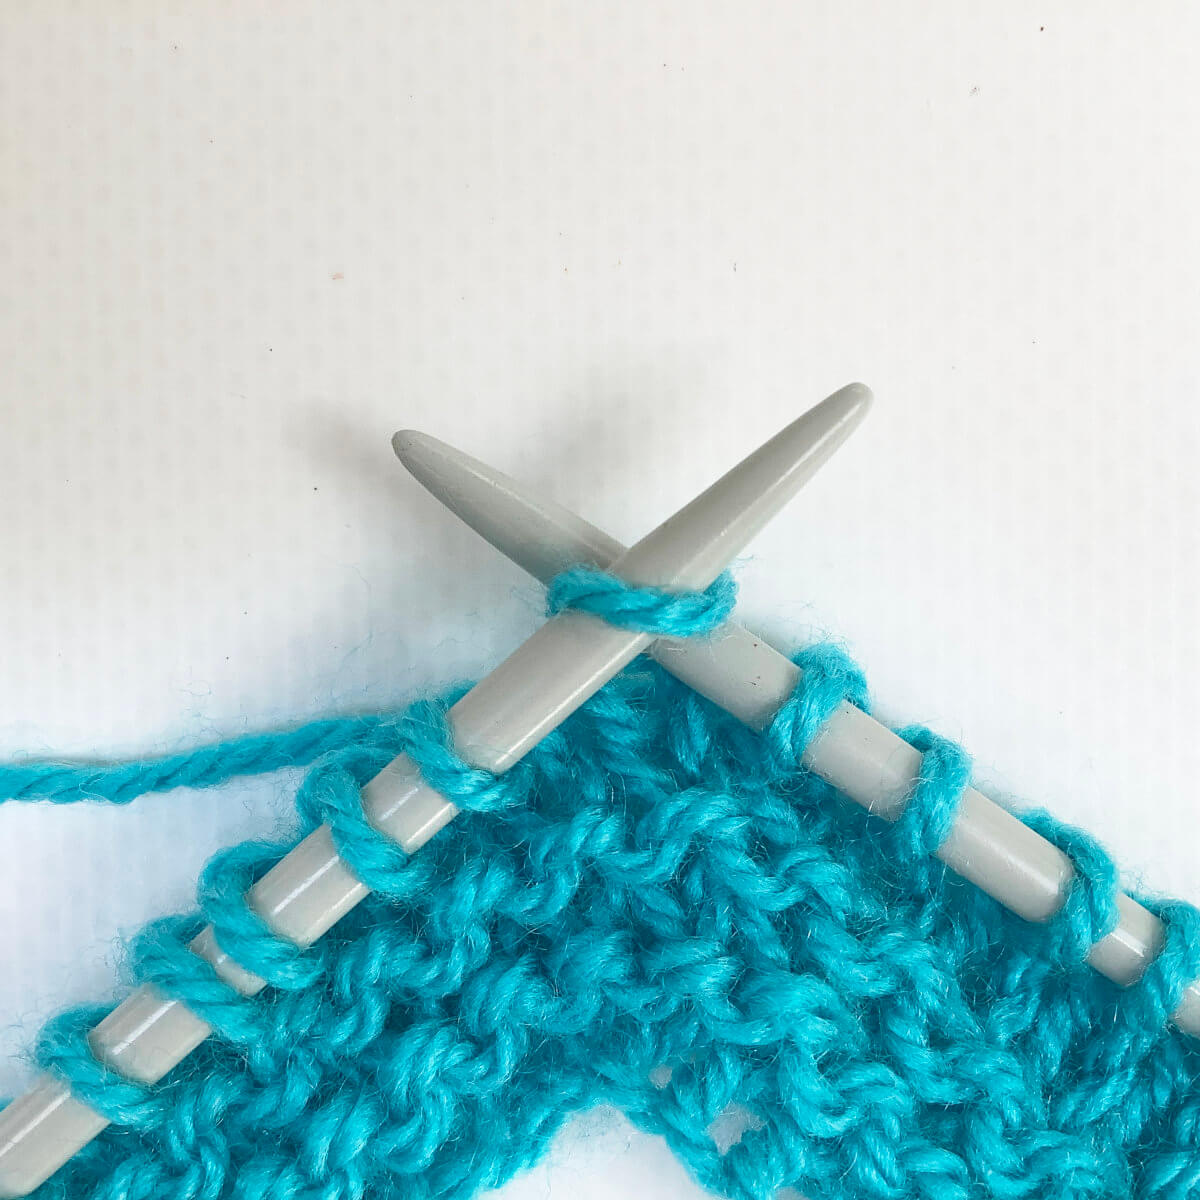
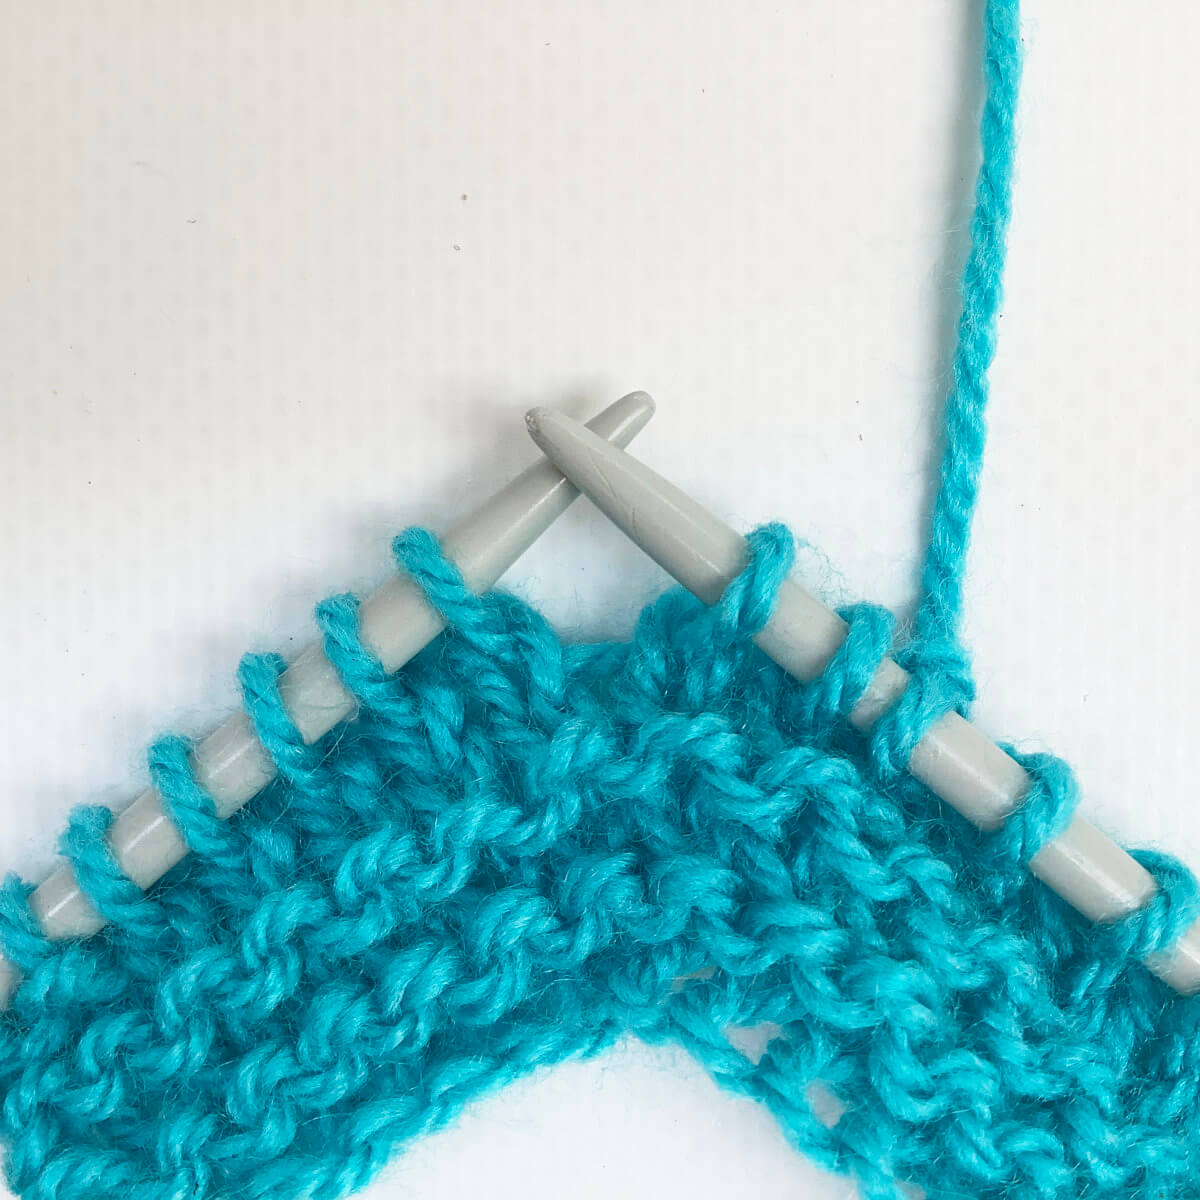
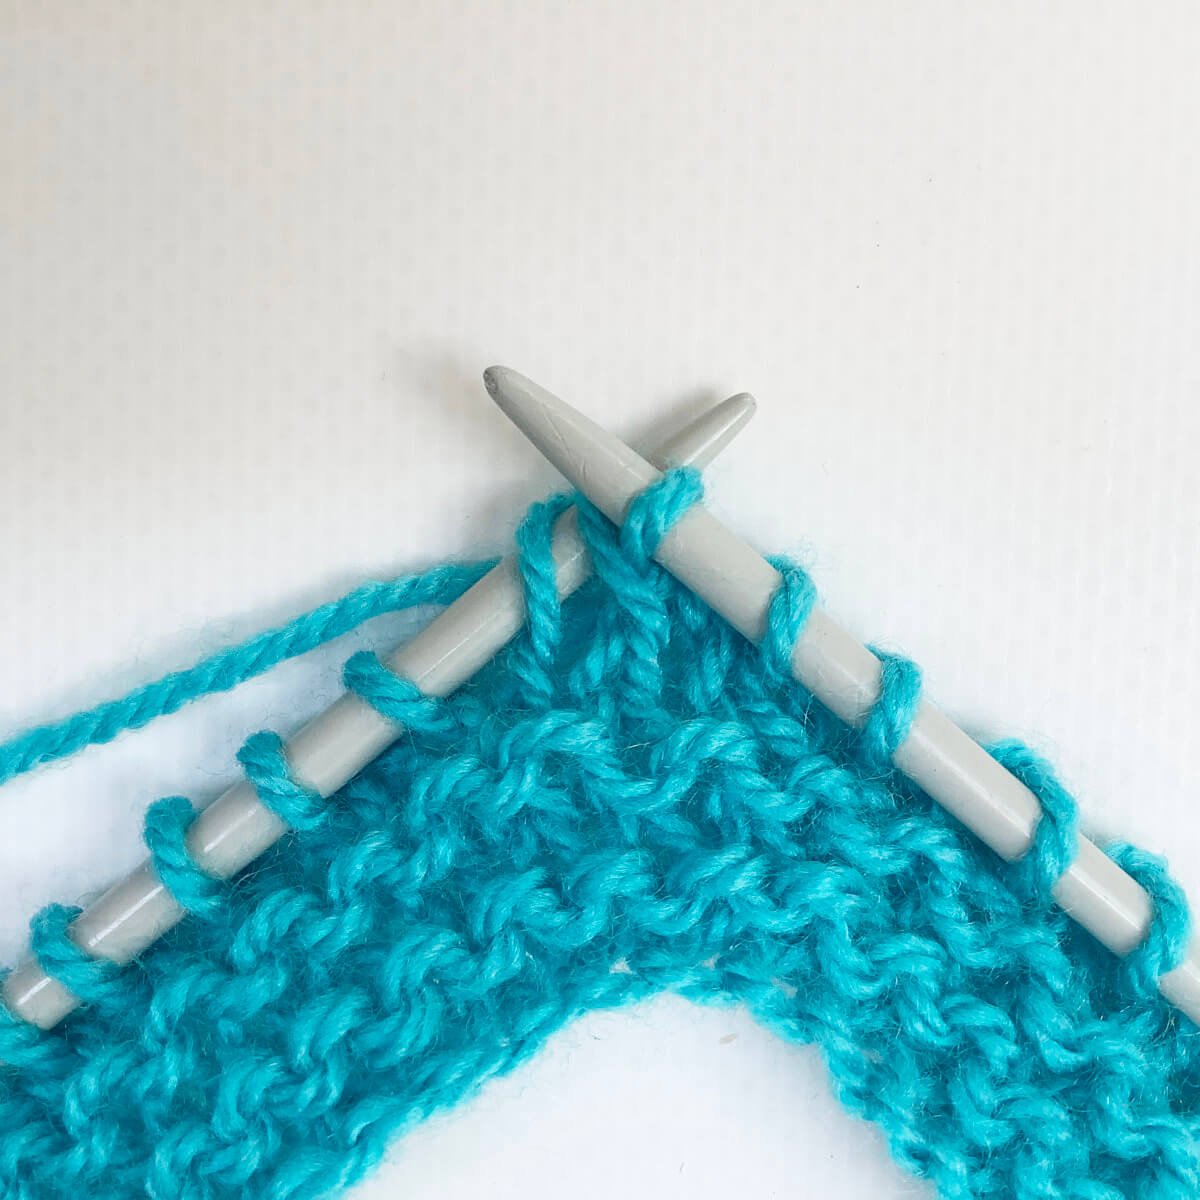
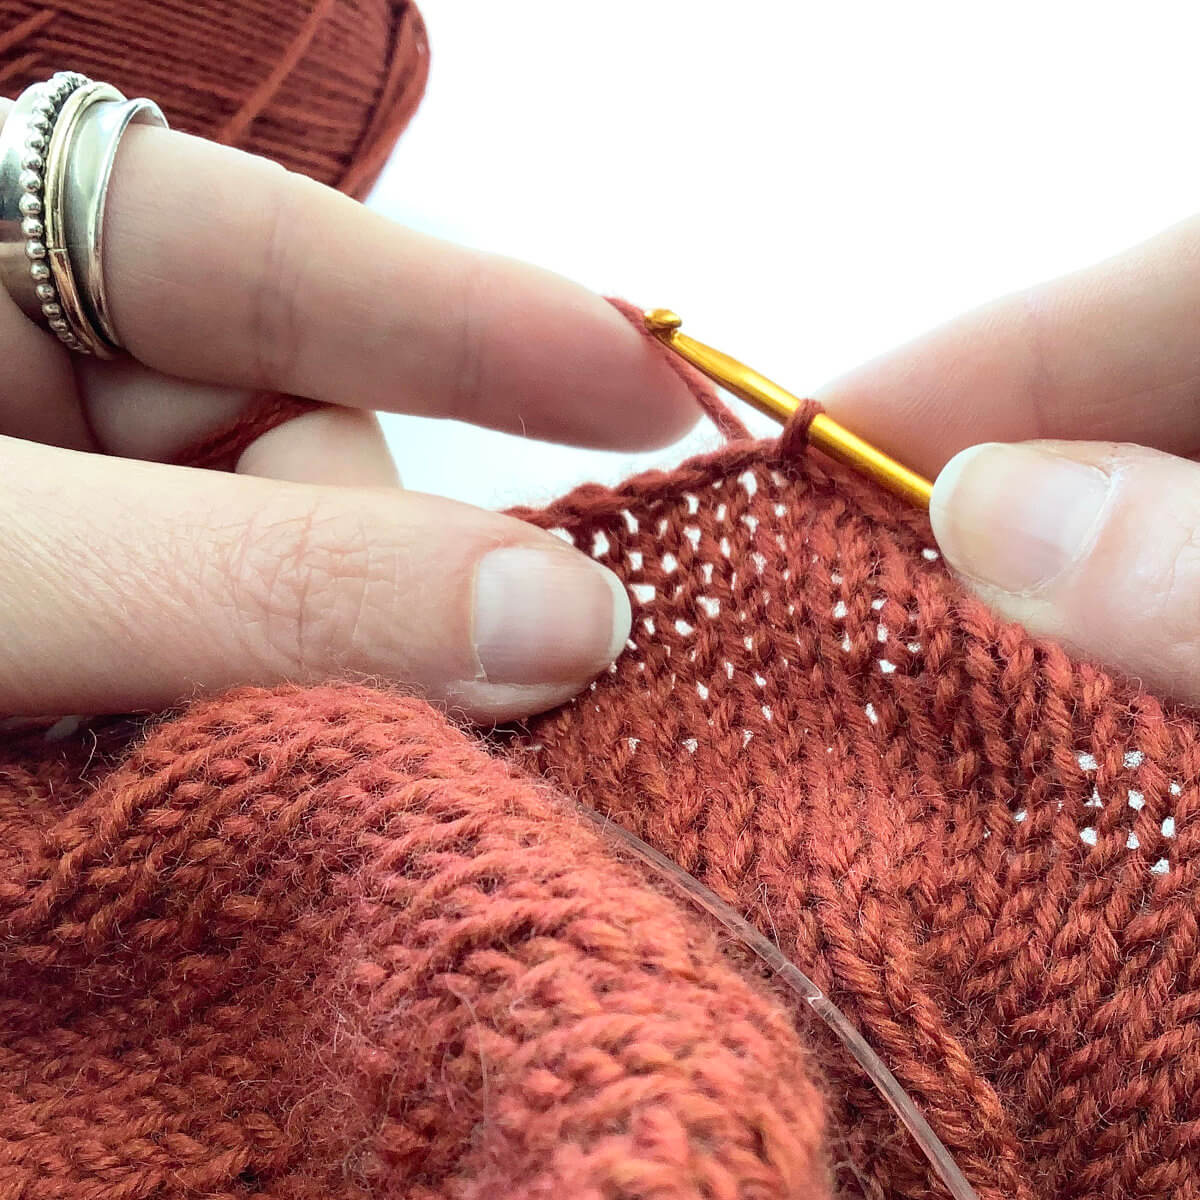
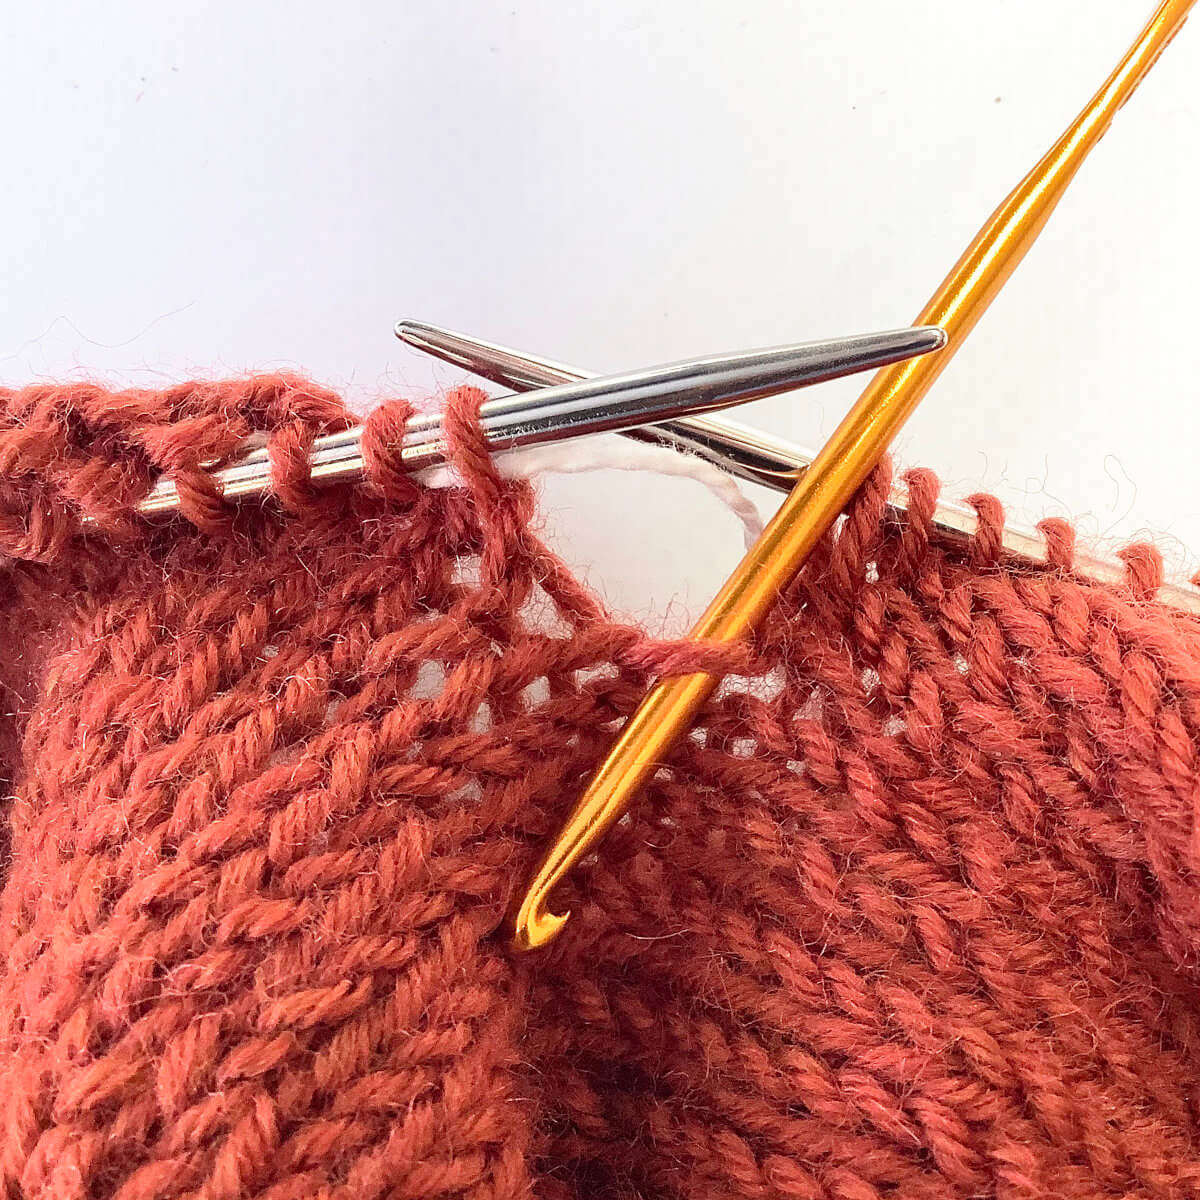
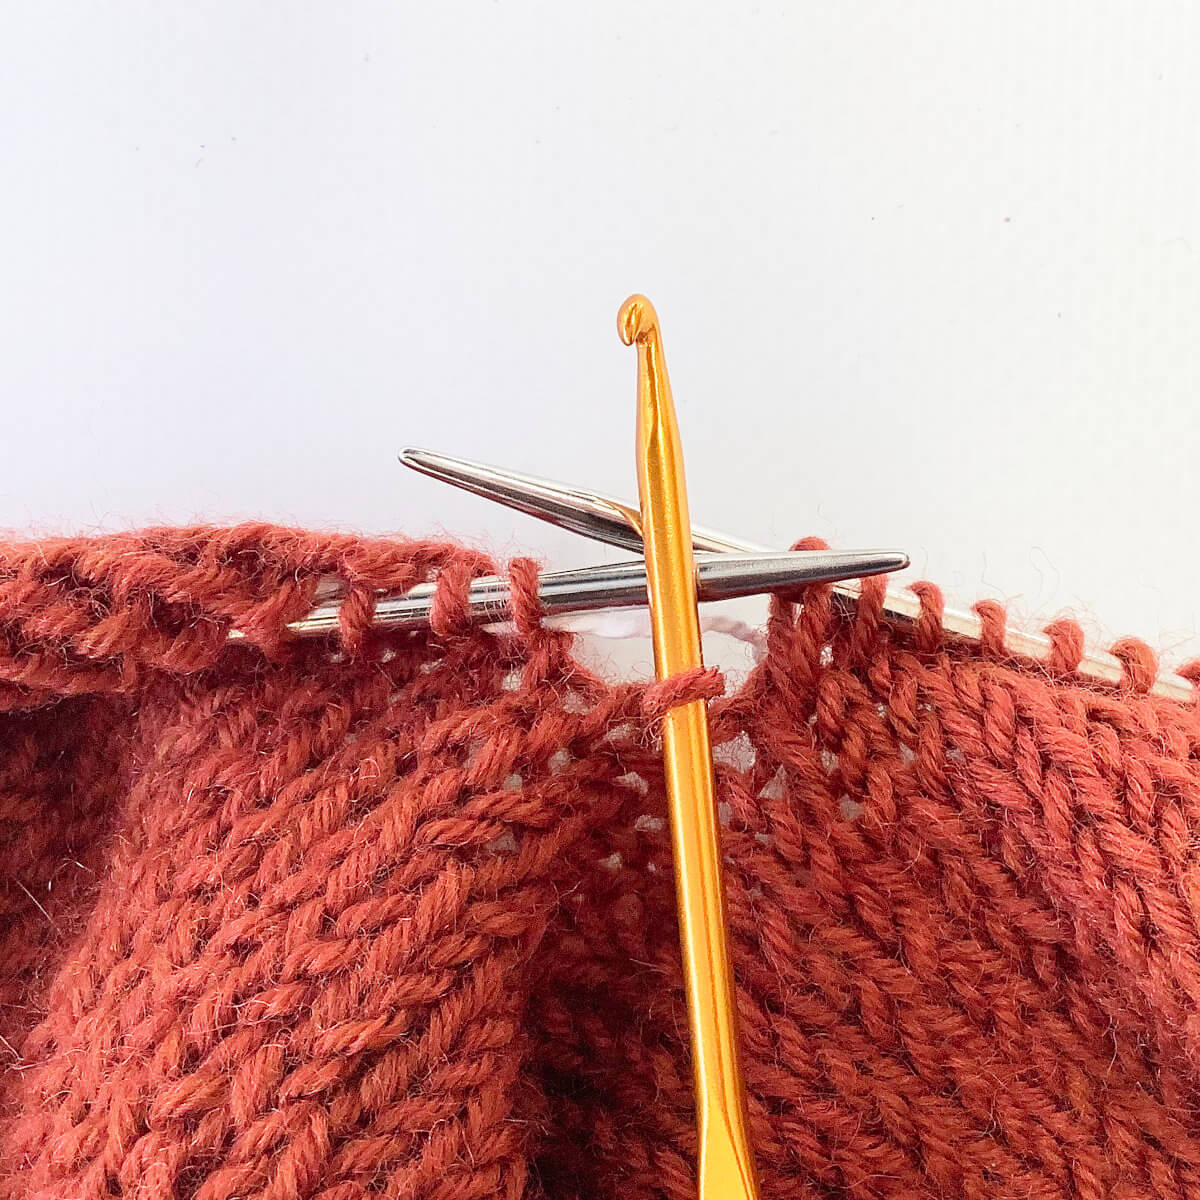
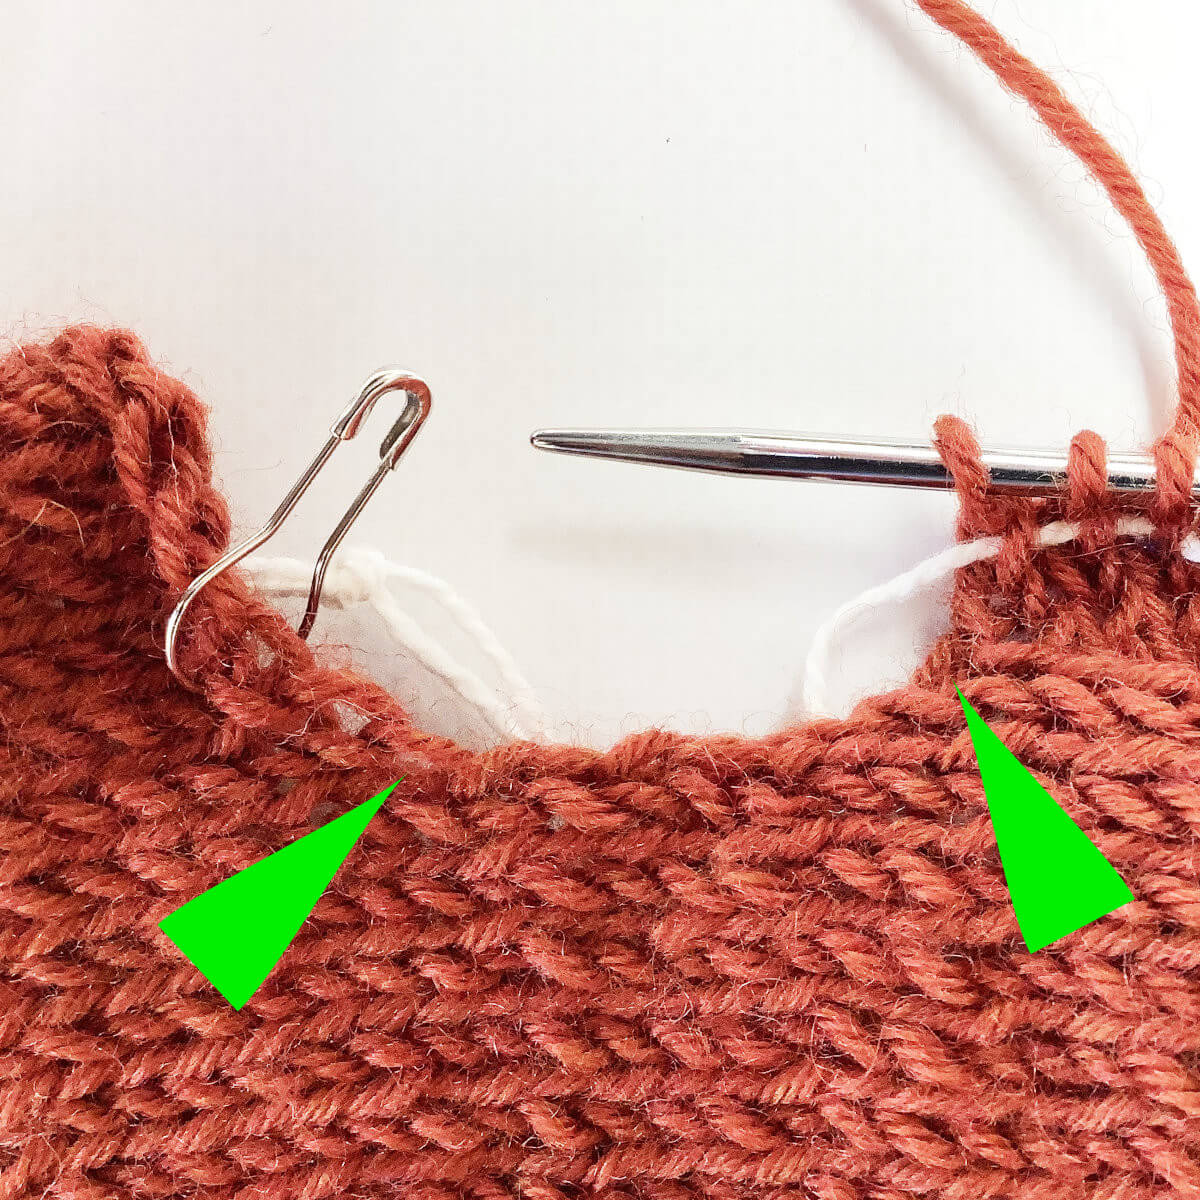
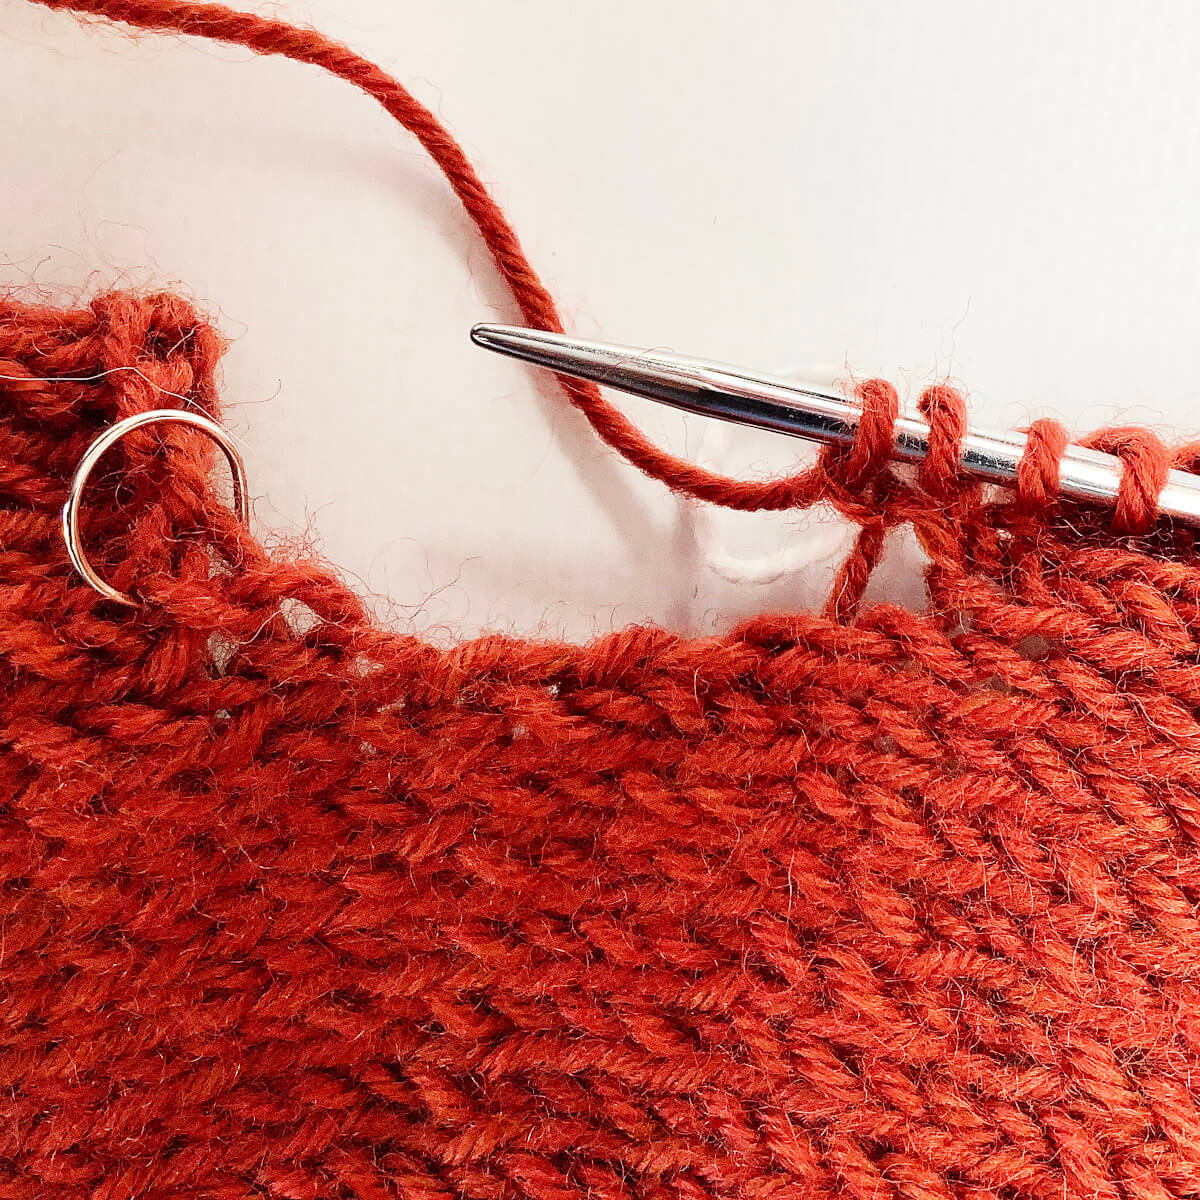
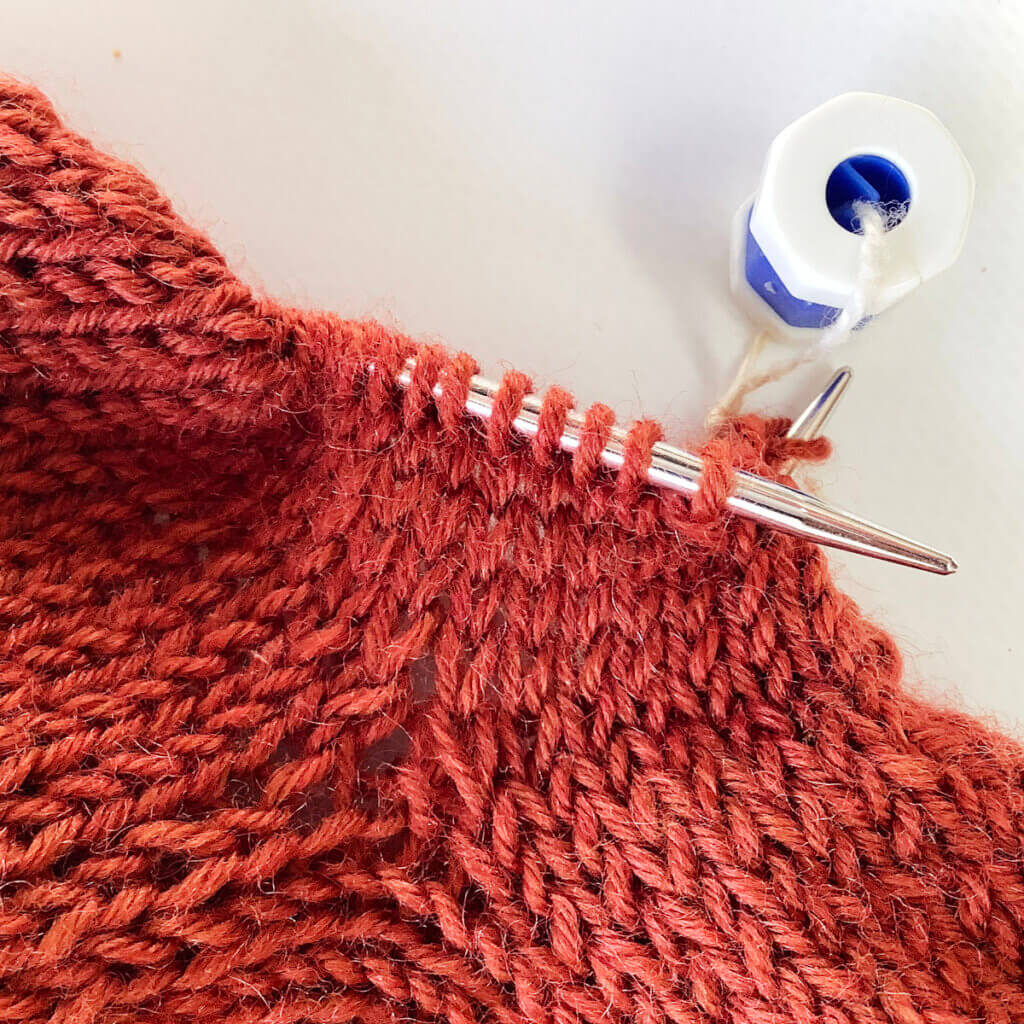
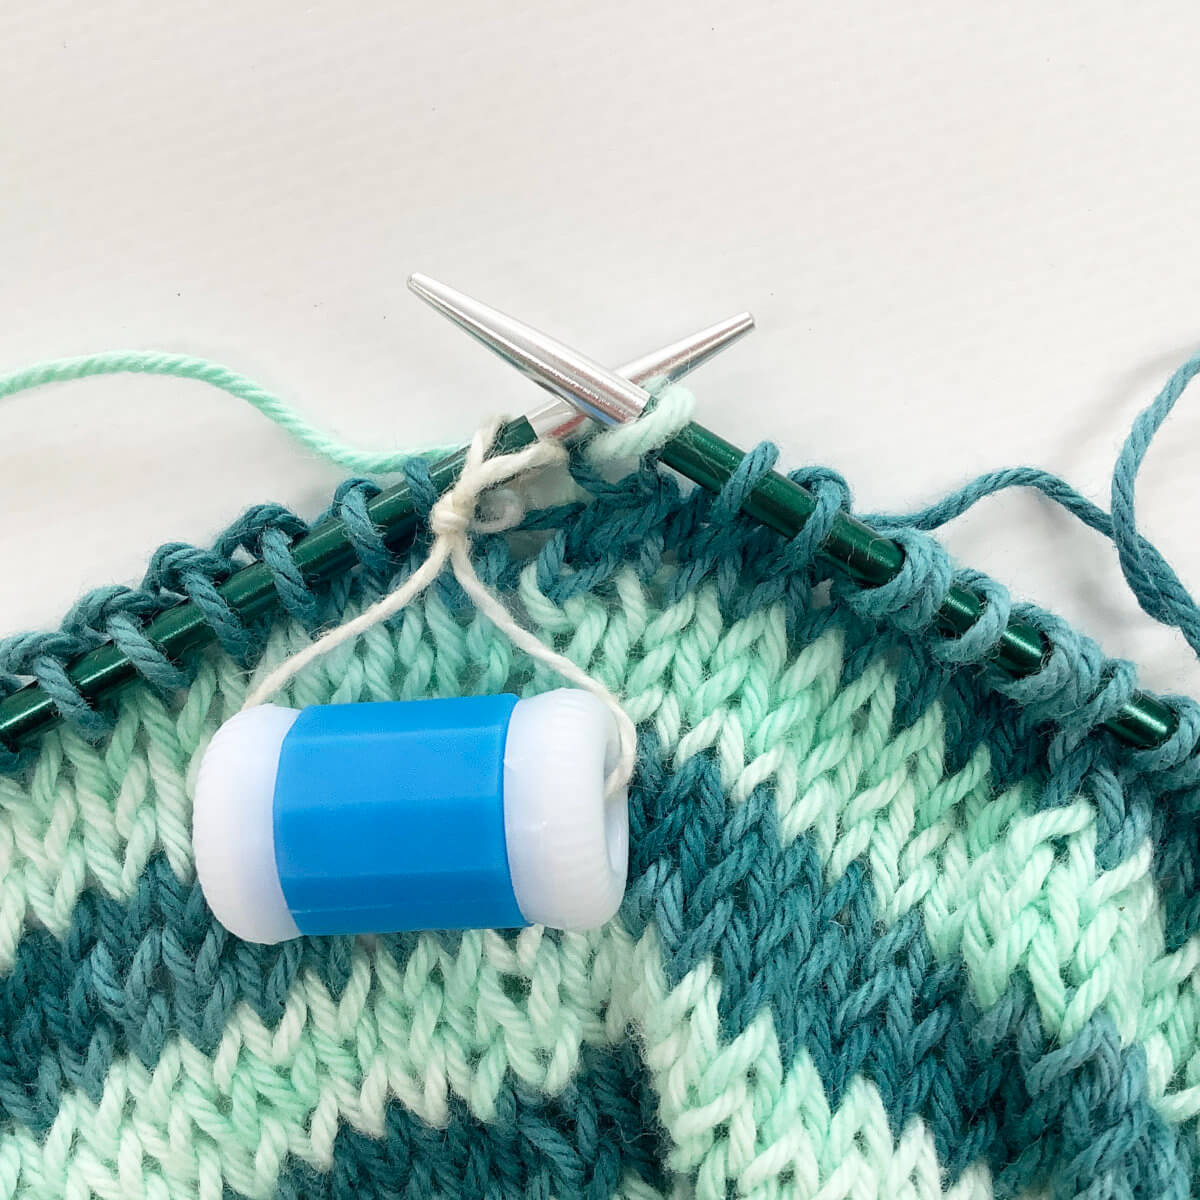
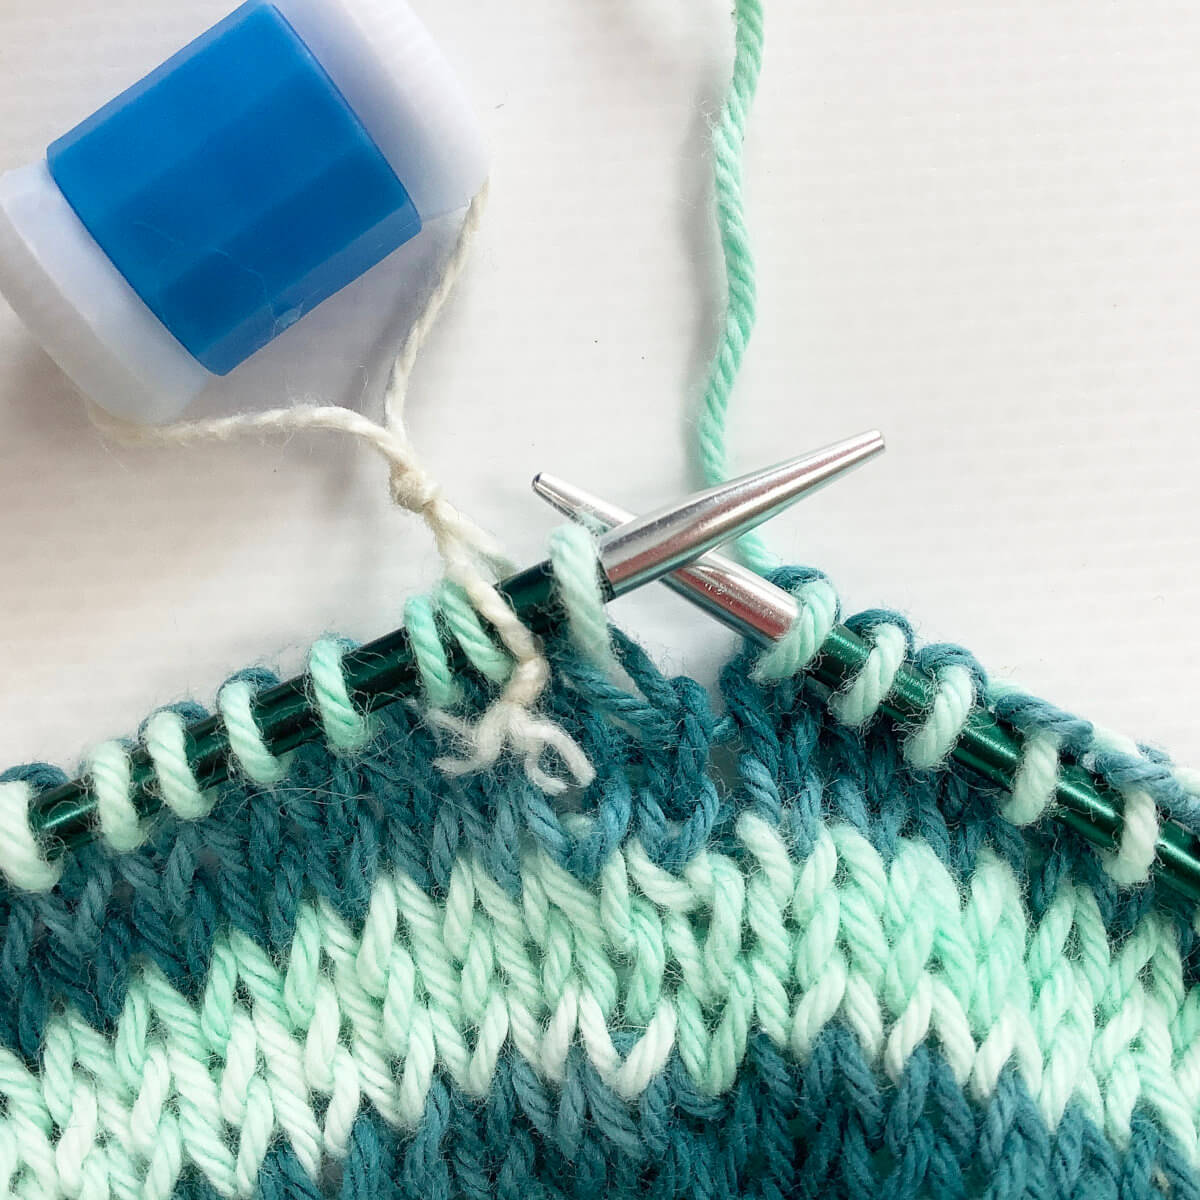
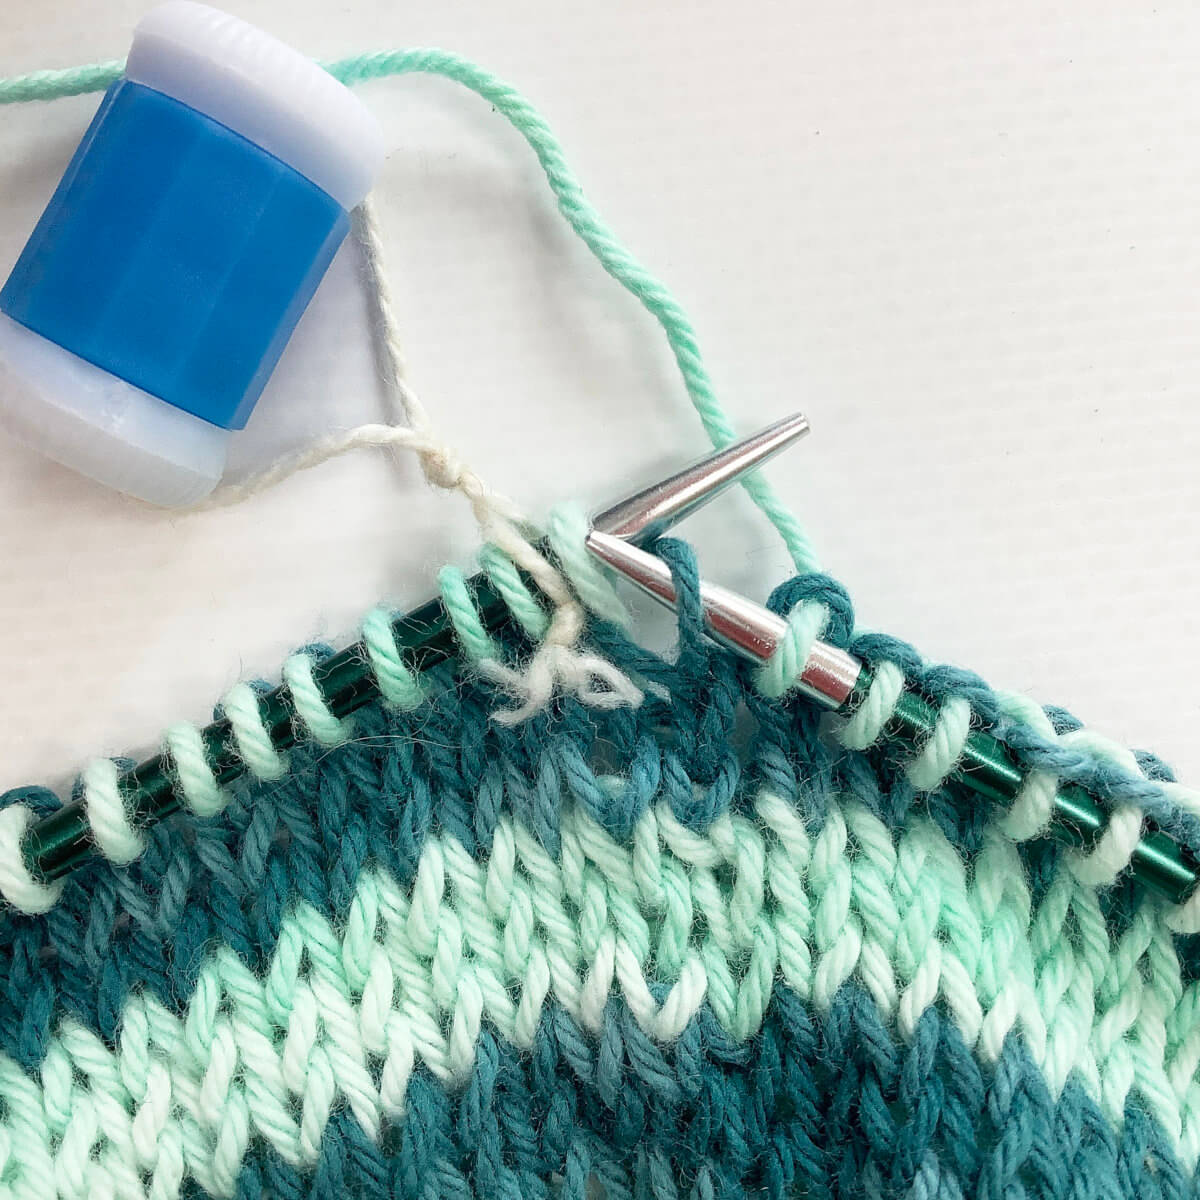
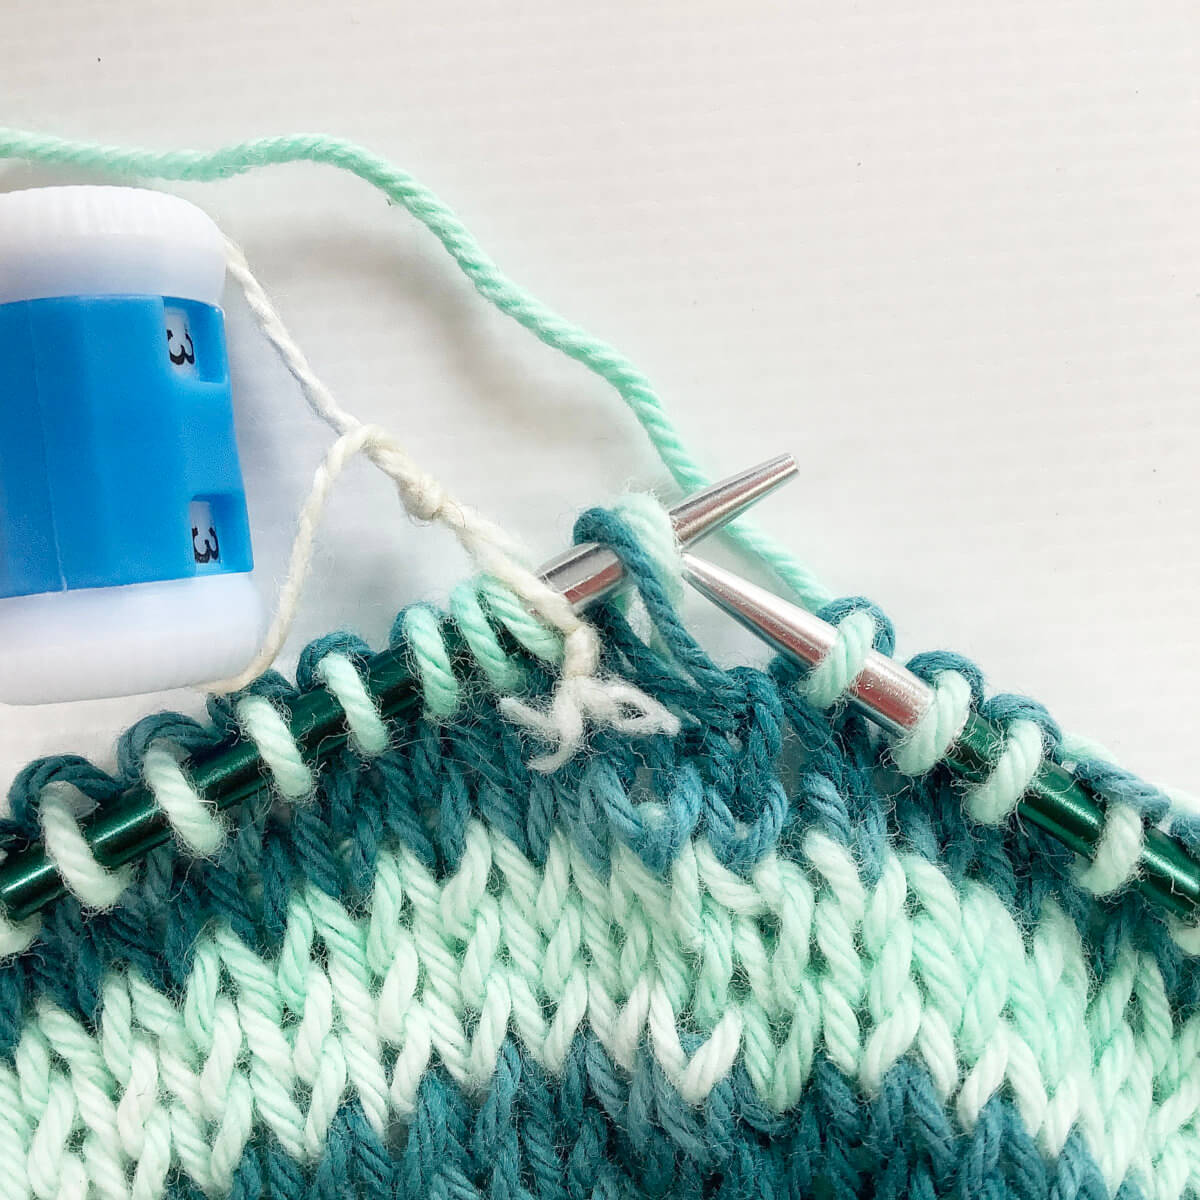
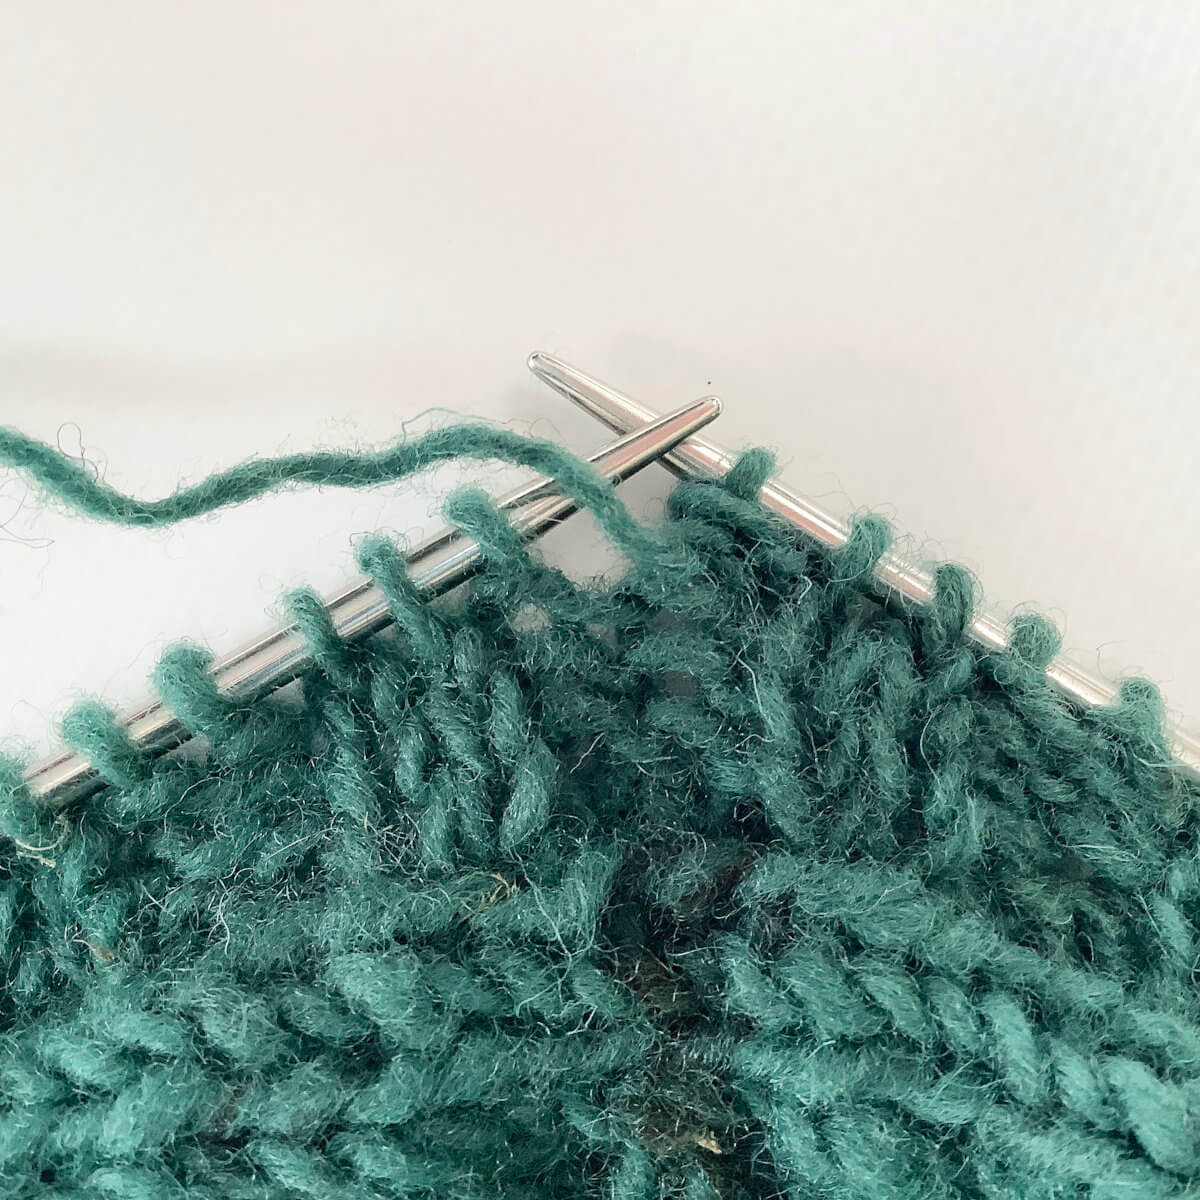
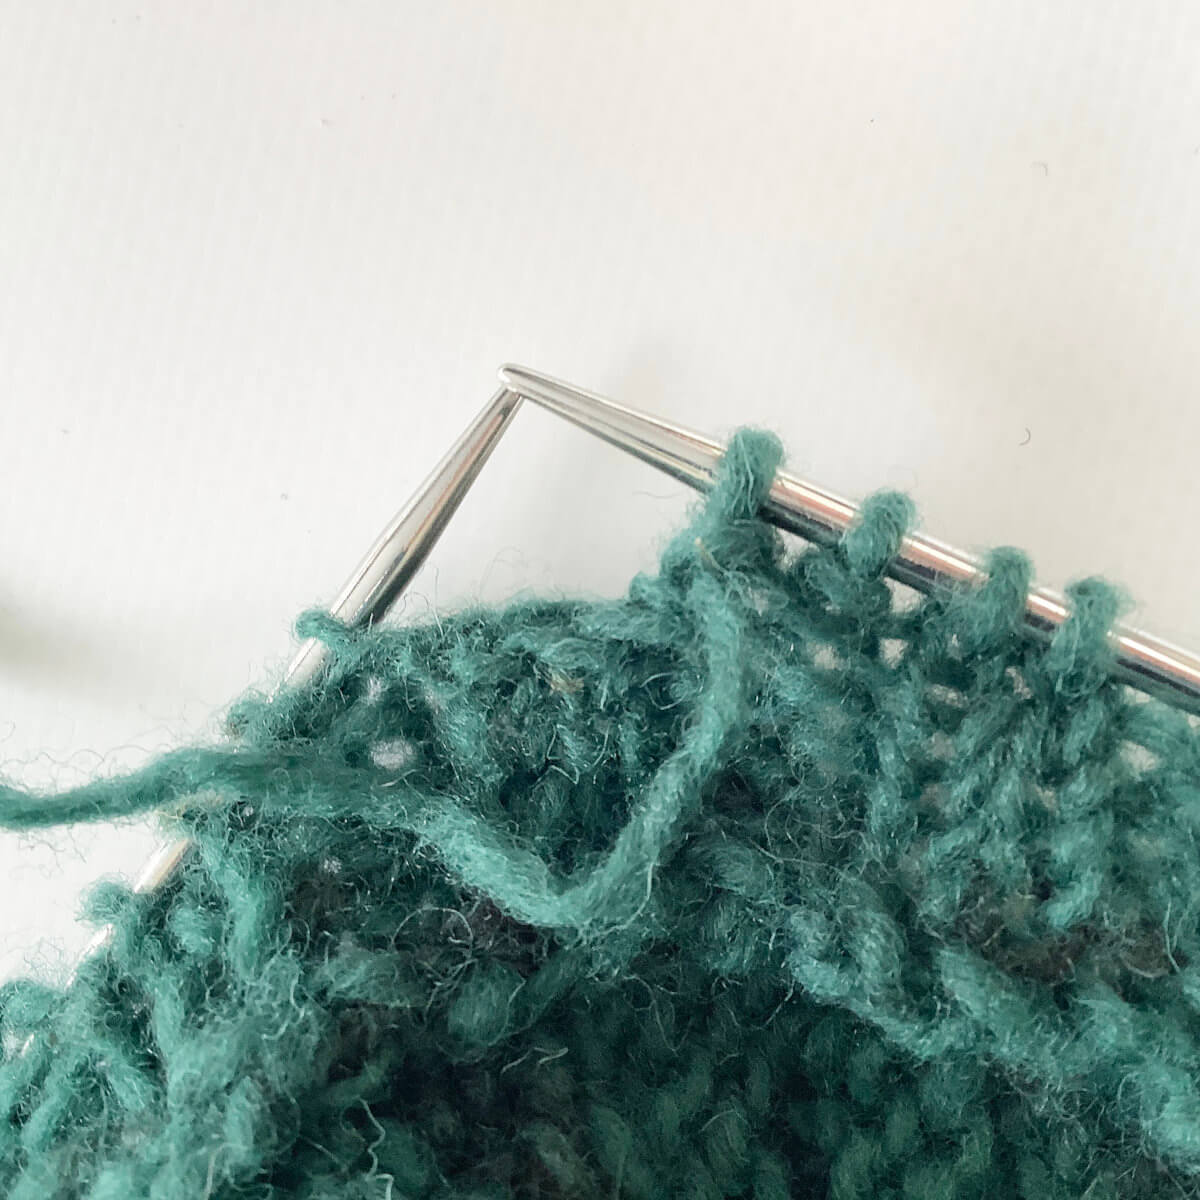
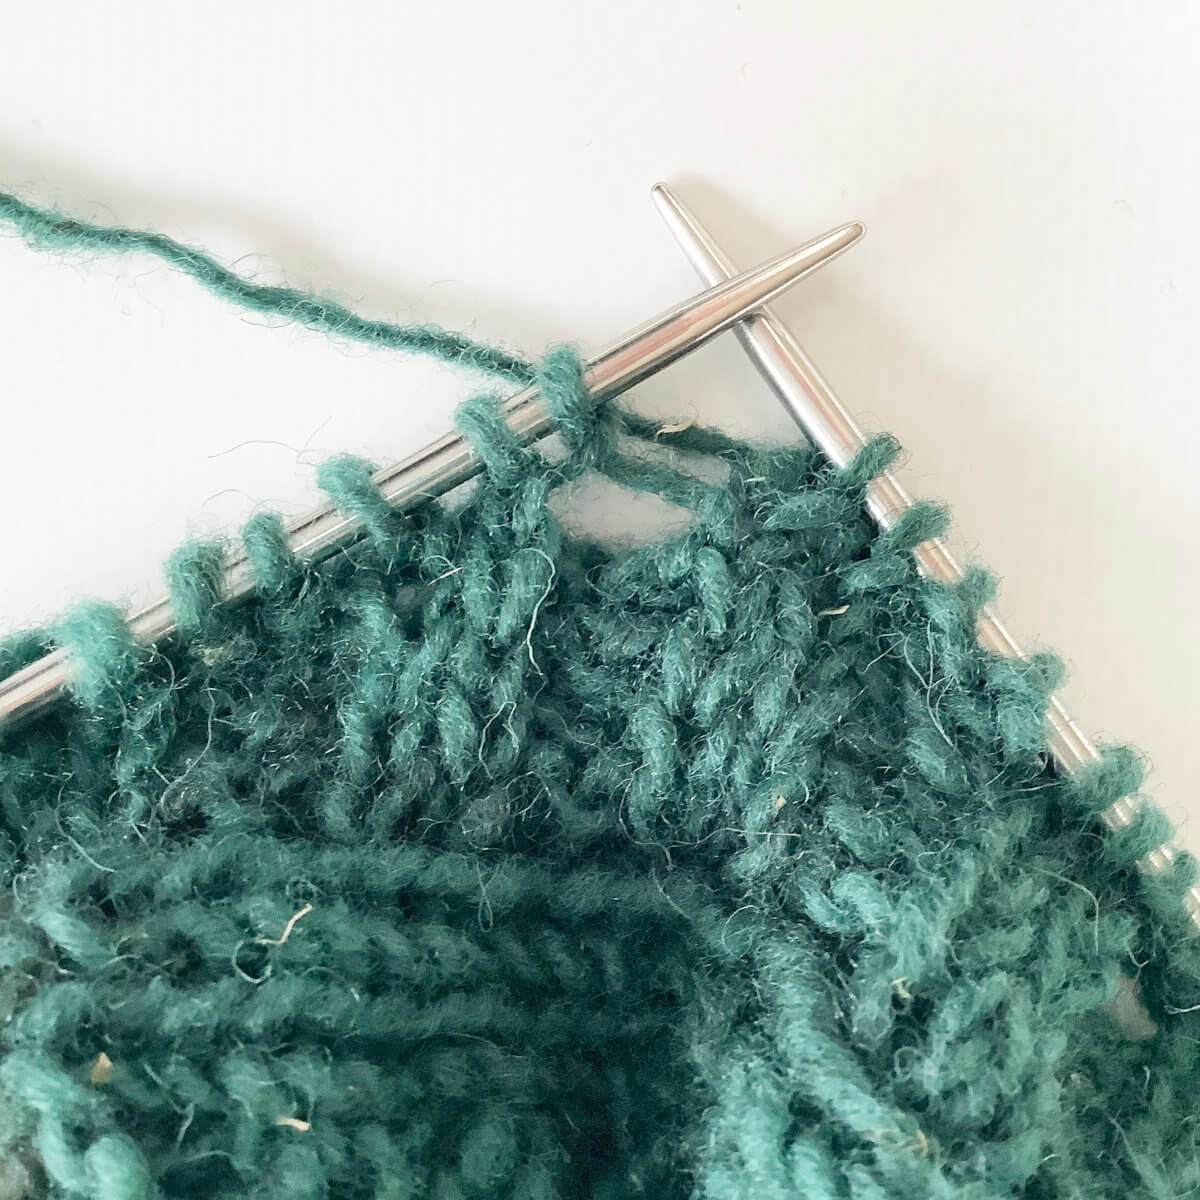
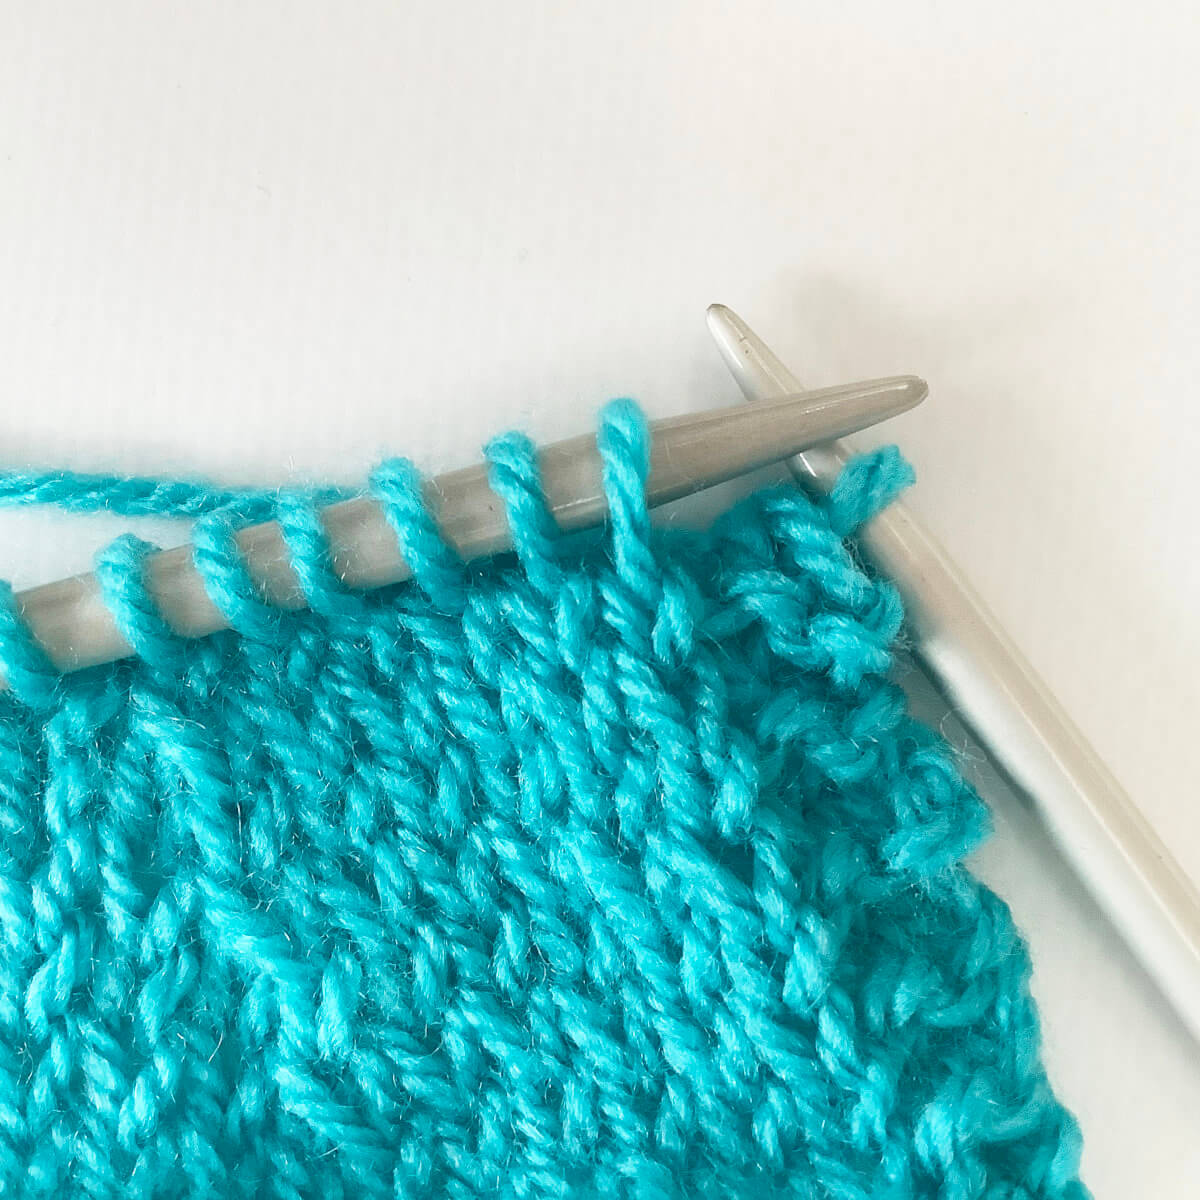
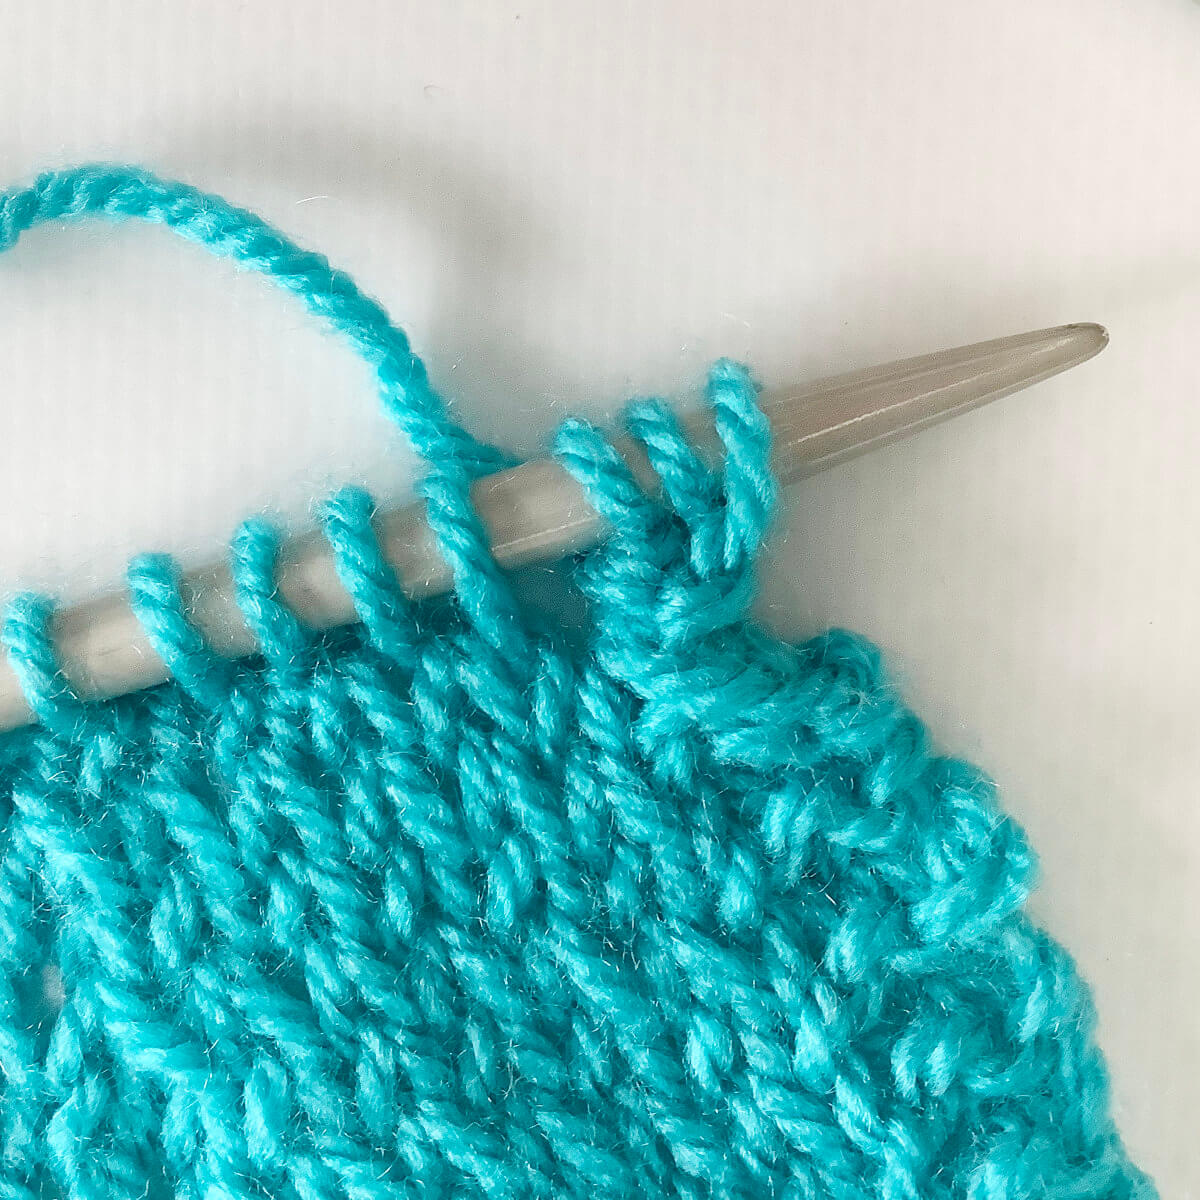
- Next, cast-on 2 stitches using the knitted-on cast-on.
To do so, insert your needle into the stitch, wrap the yarn around it and pull it through the stitch. Then, instead of slipping the original stitch off the needle as you’d do when working a knit stitch, slip the new loop onto the left-hand needle to create a new stitch. Repeat once to get 2 new stitches.
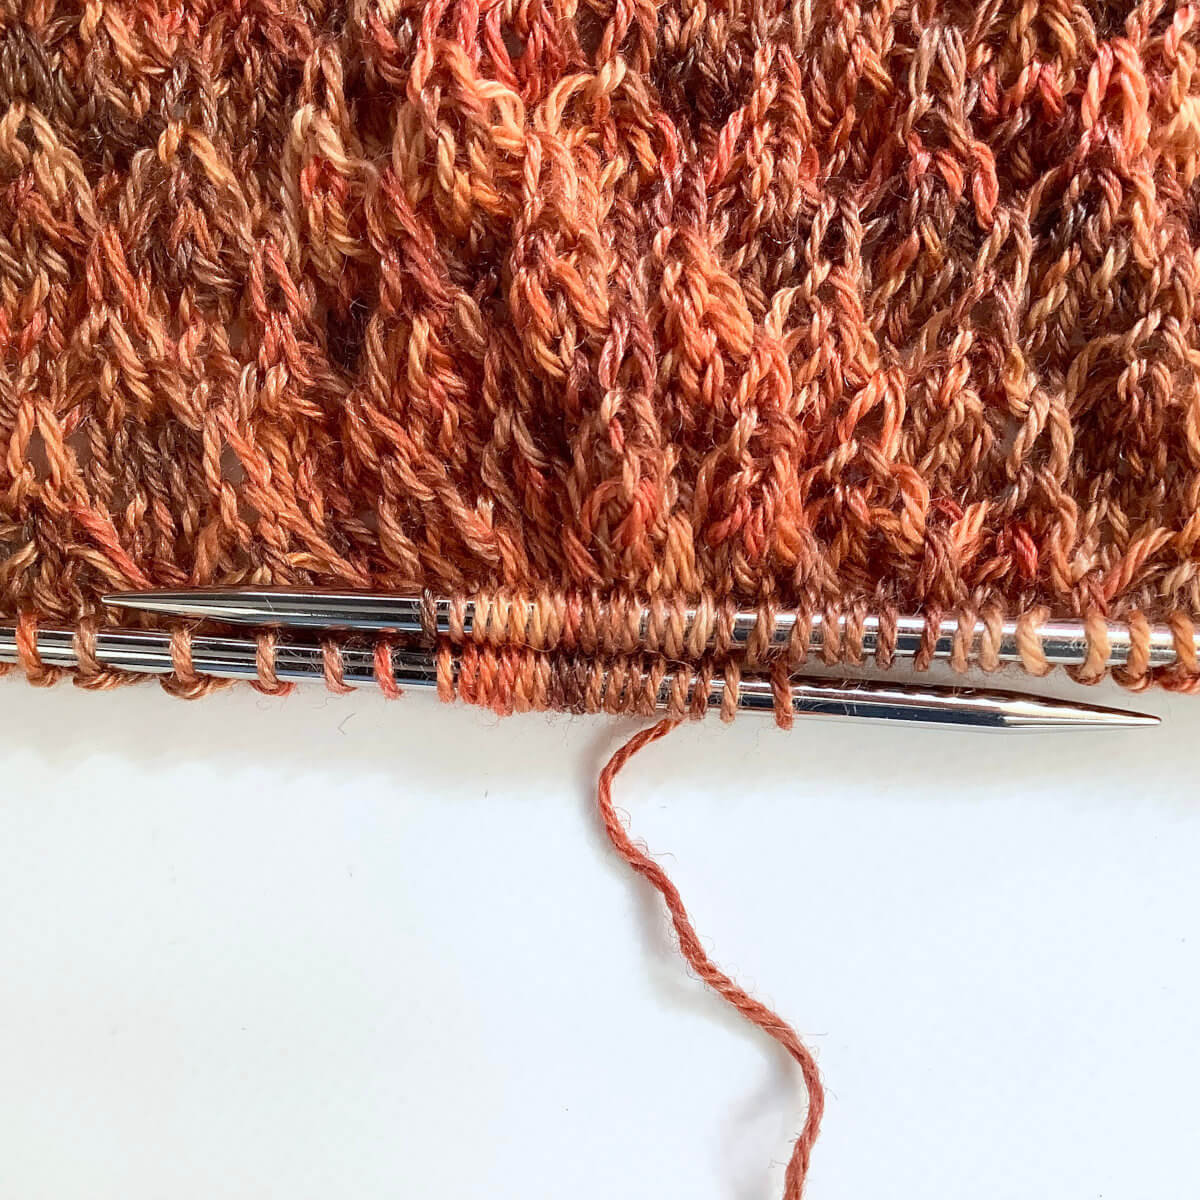
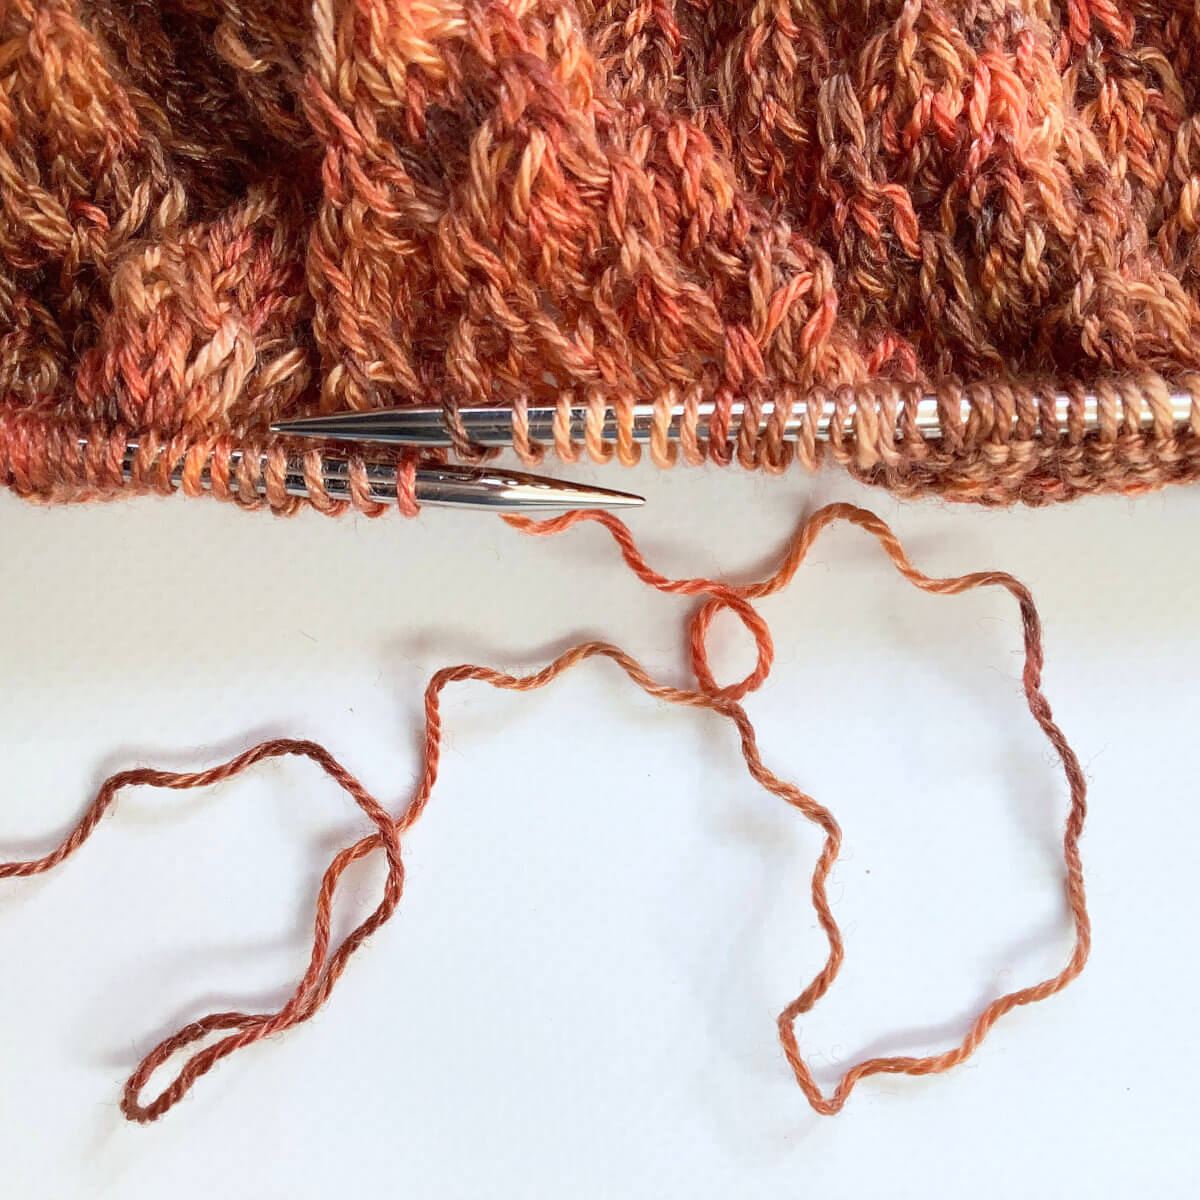
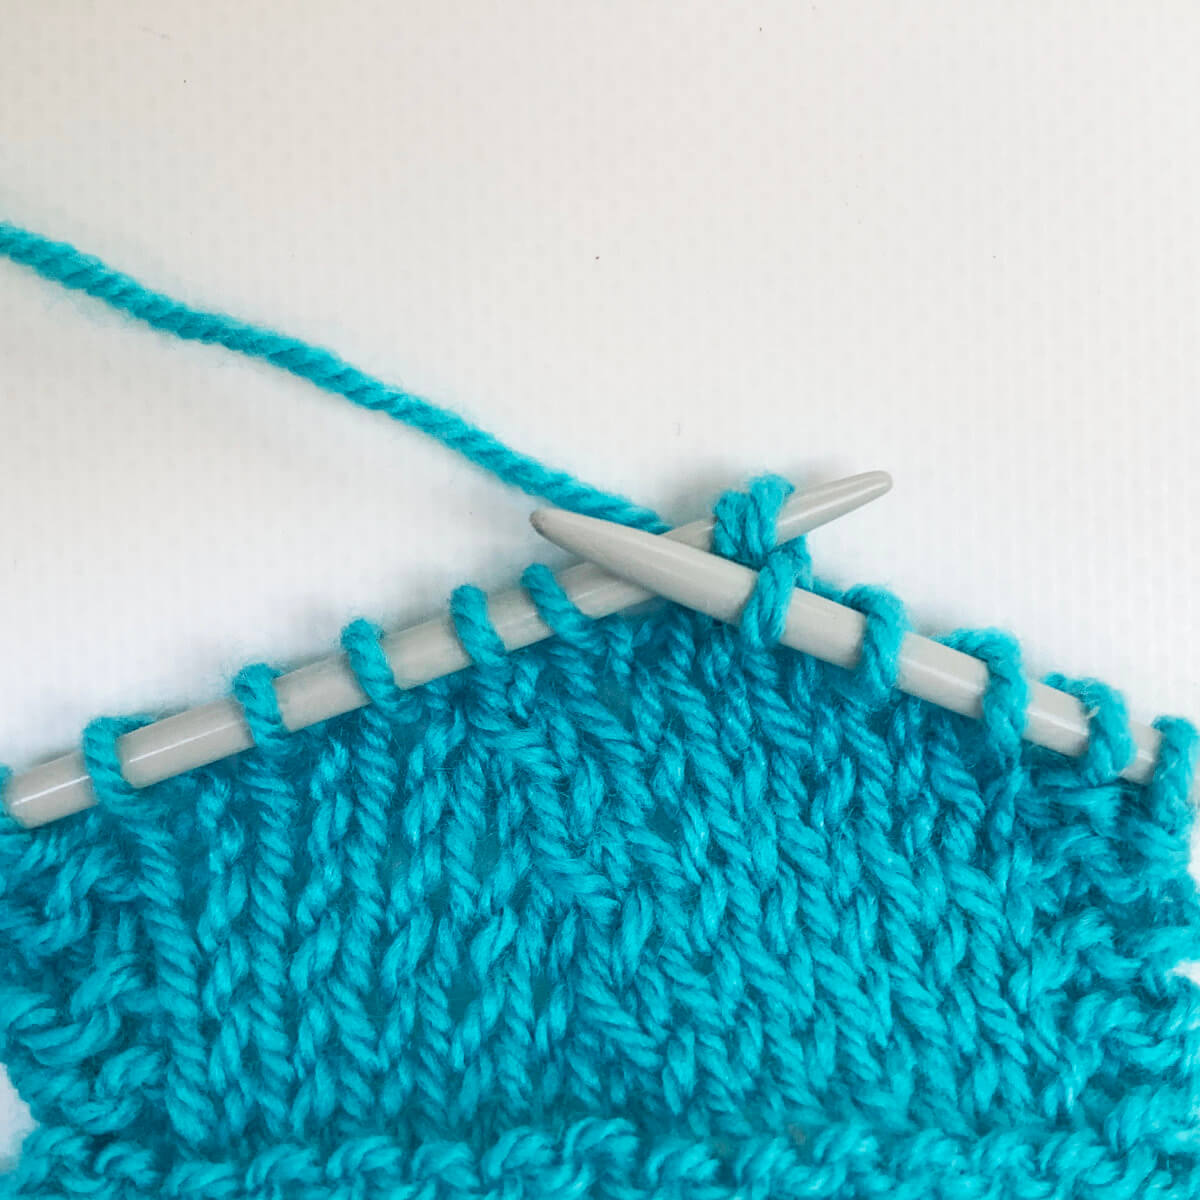
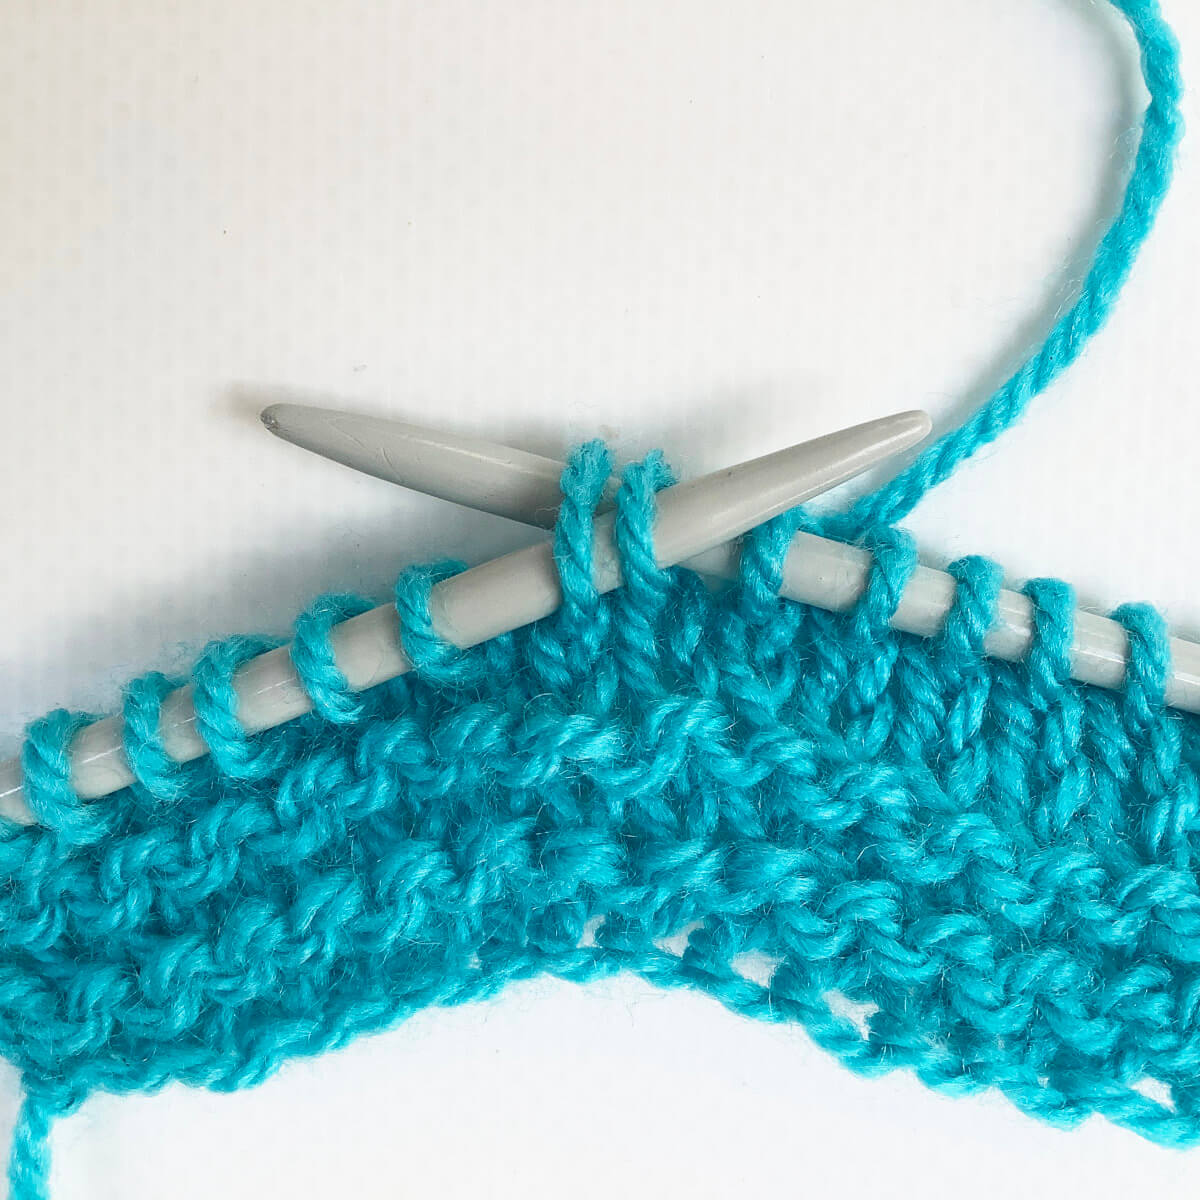
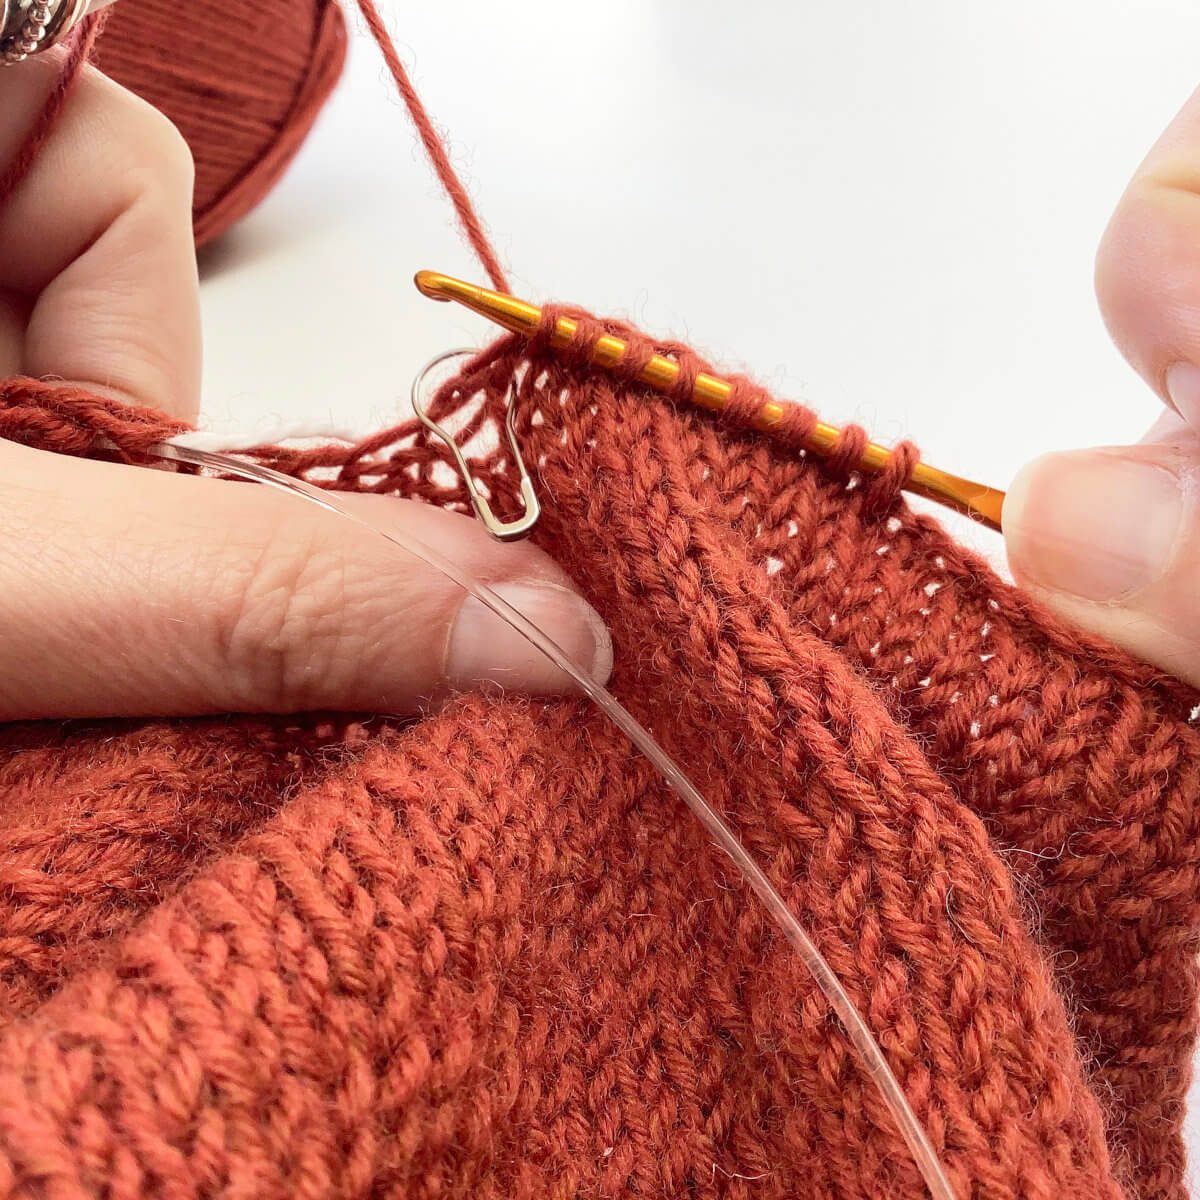
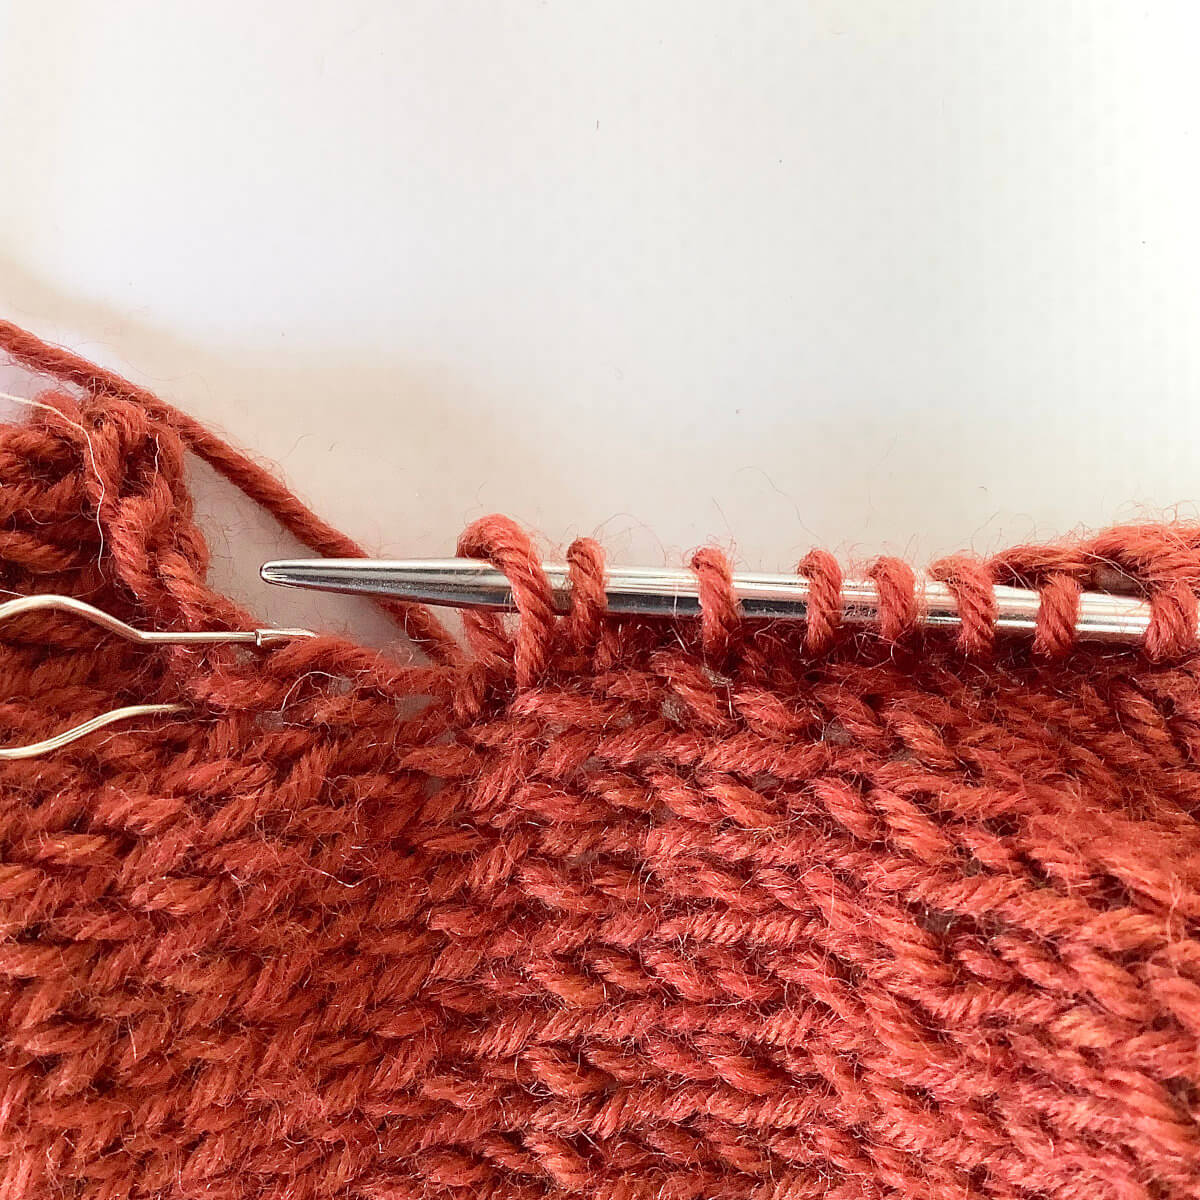
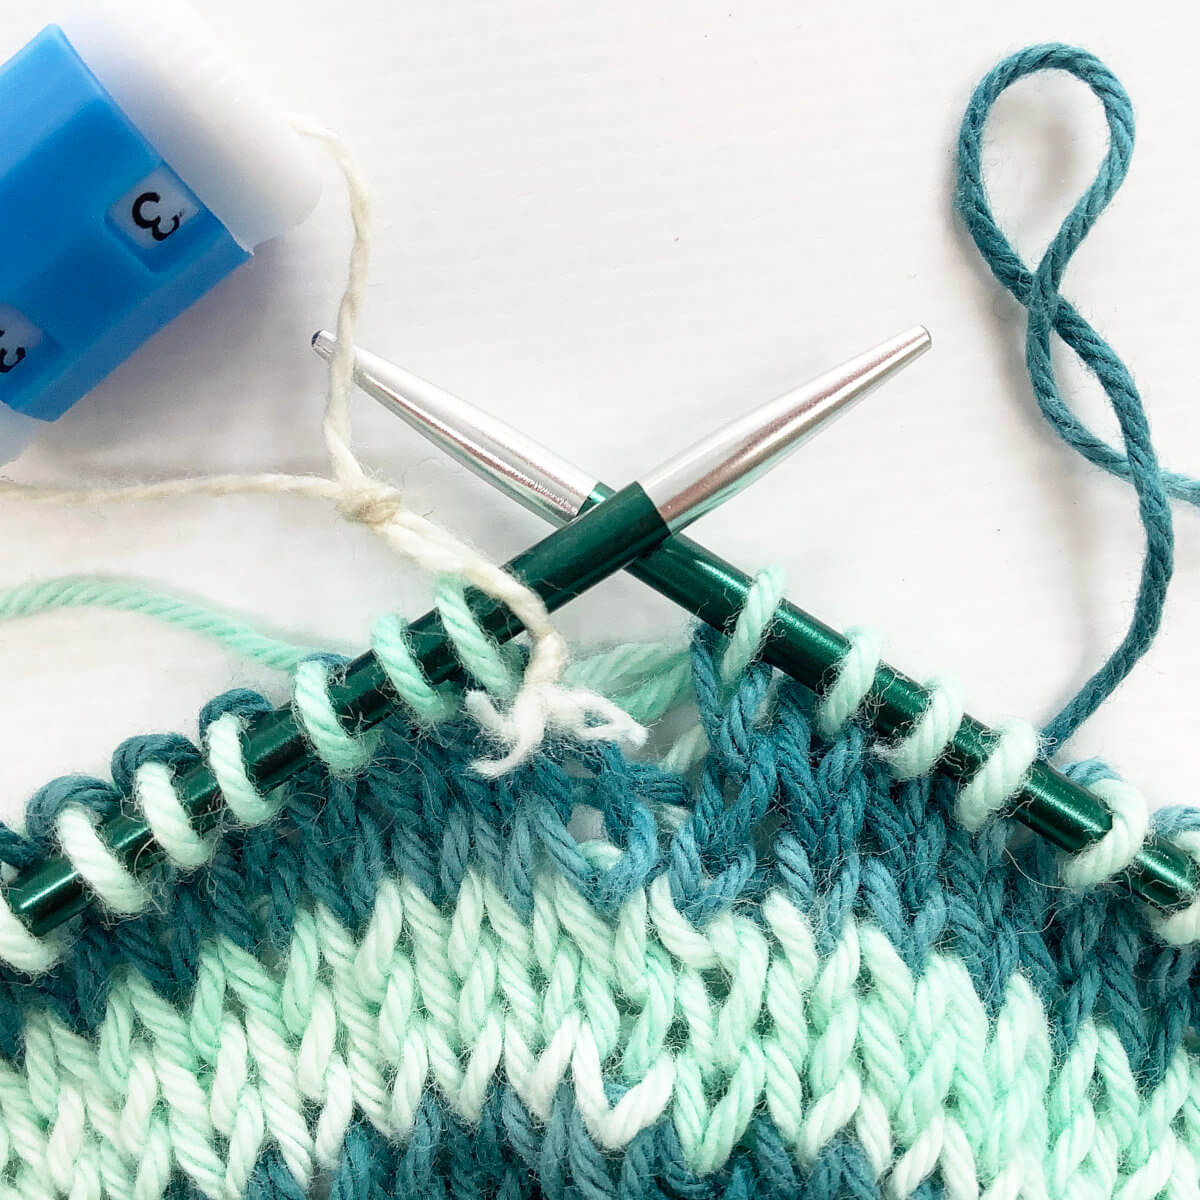
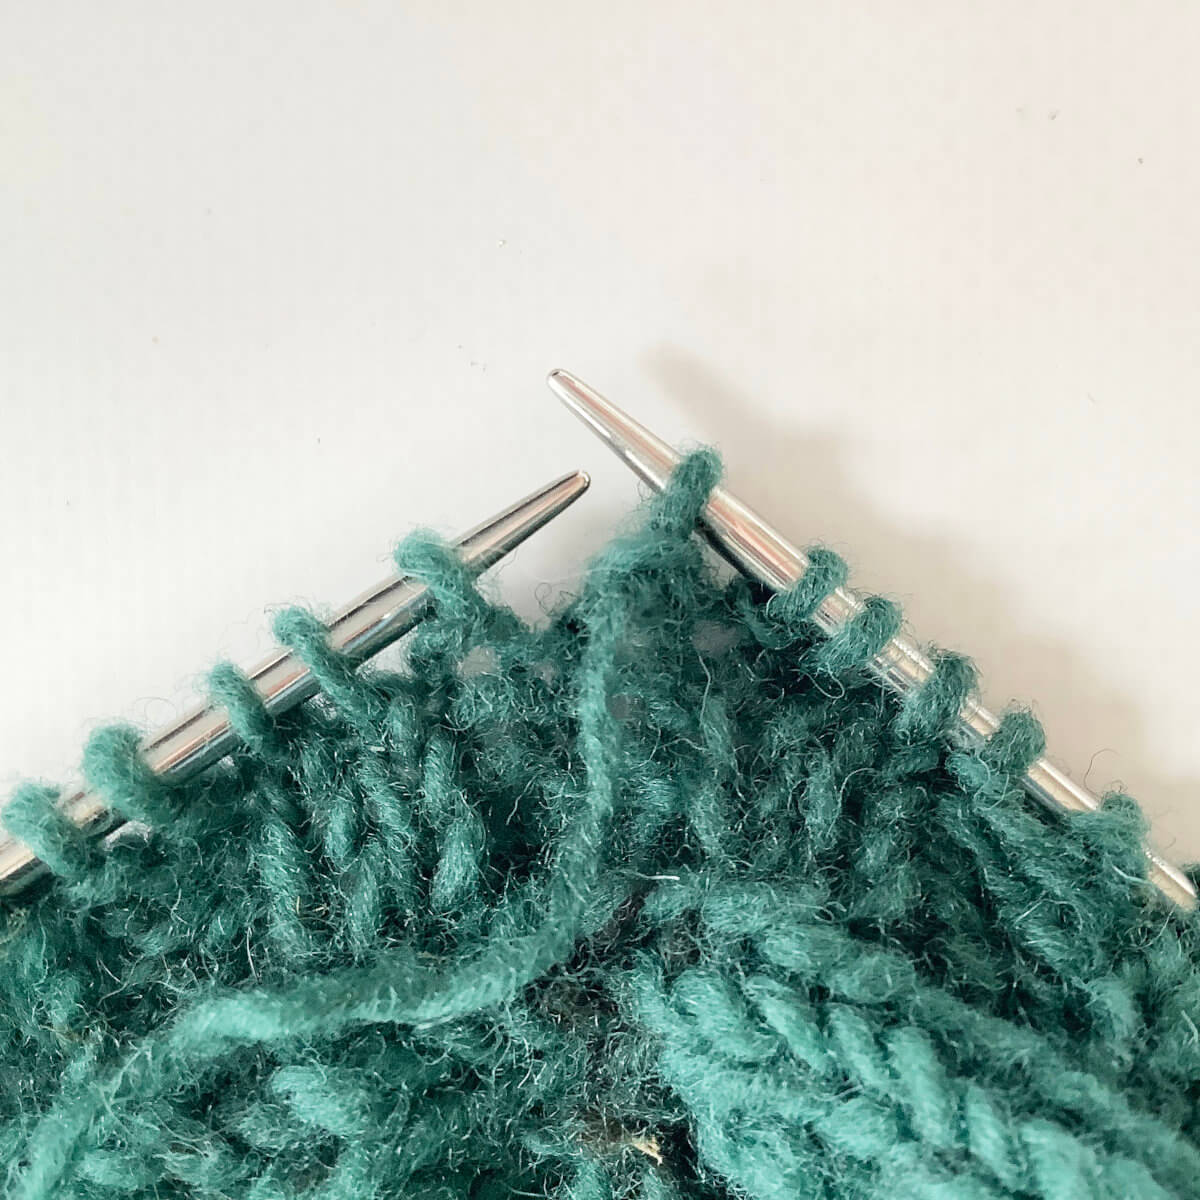
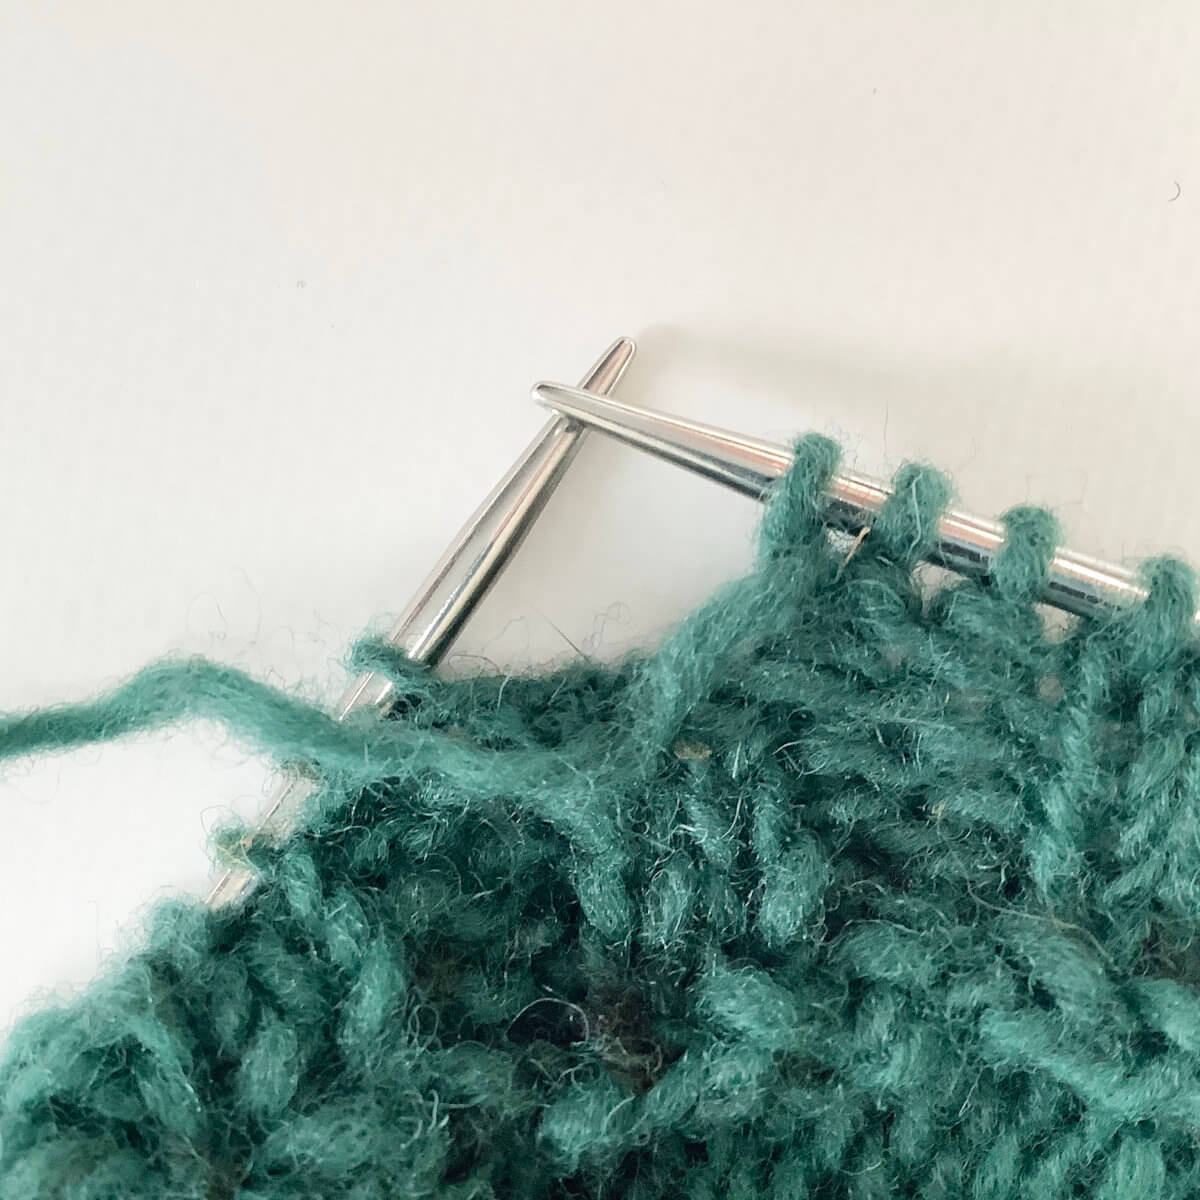
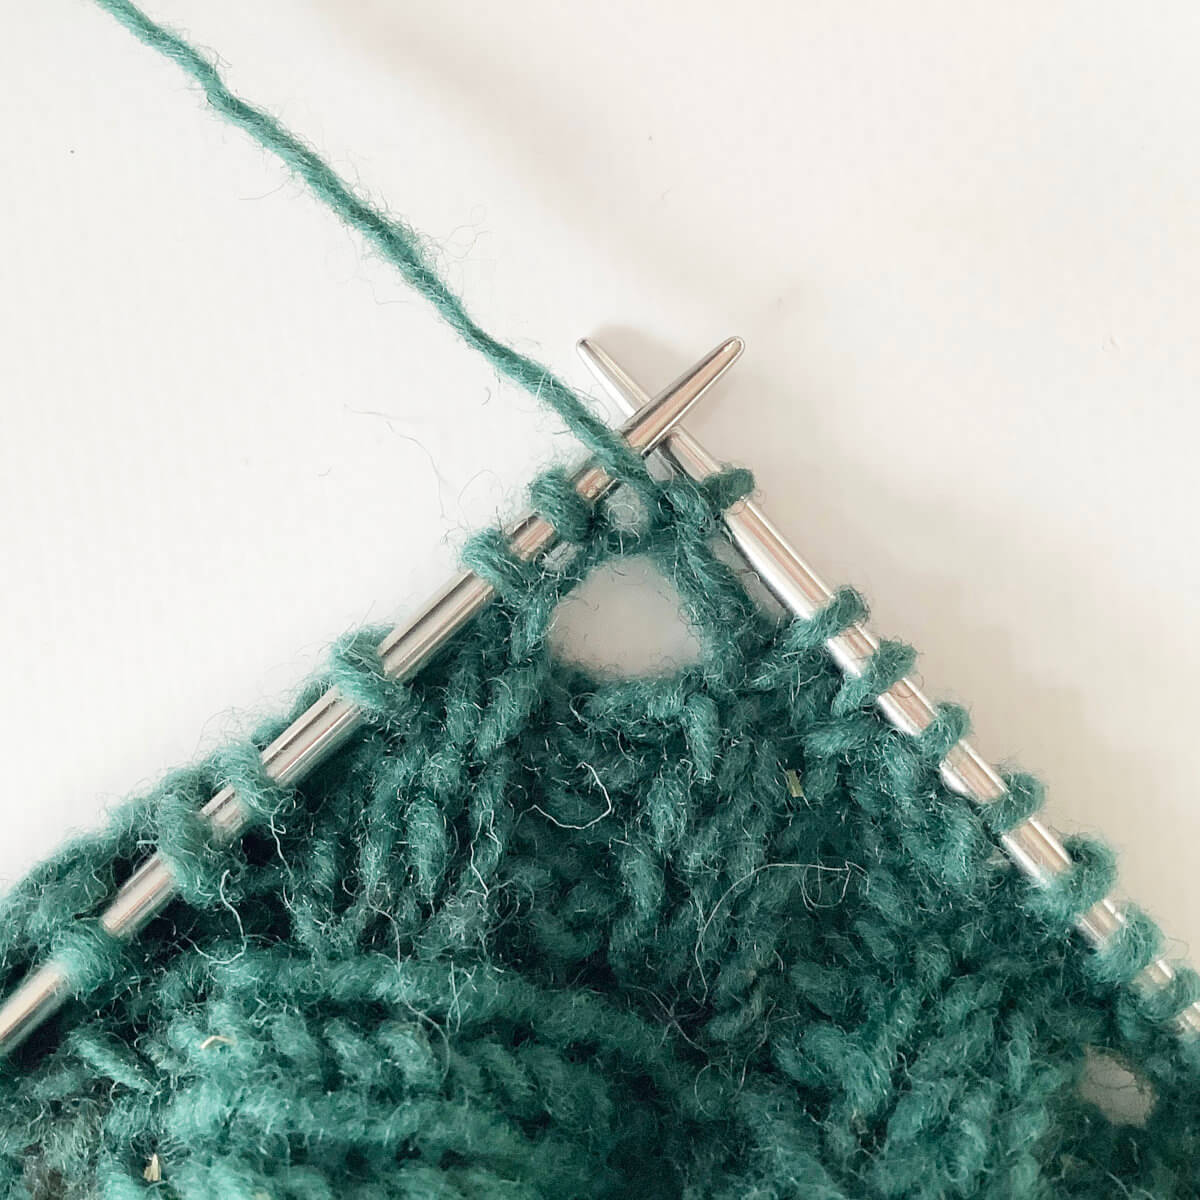
- To finish the first picot, work step 5 a total of 4 times.
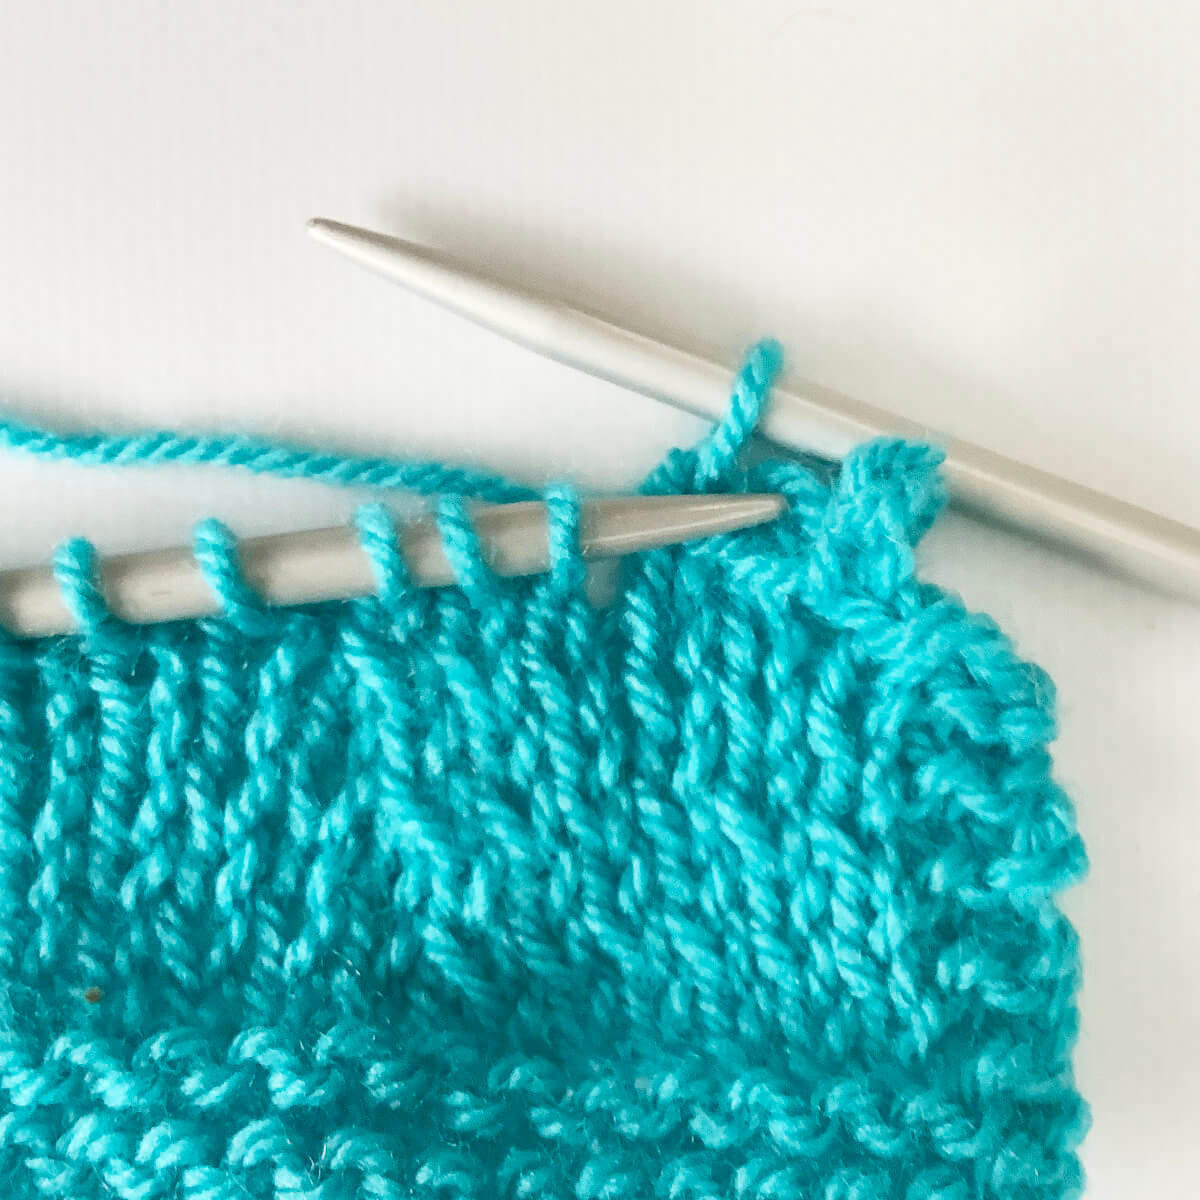
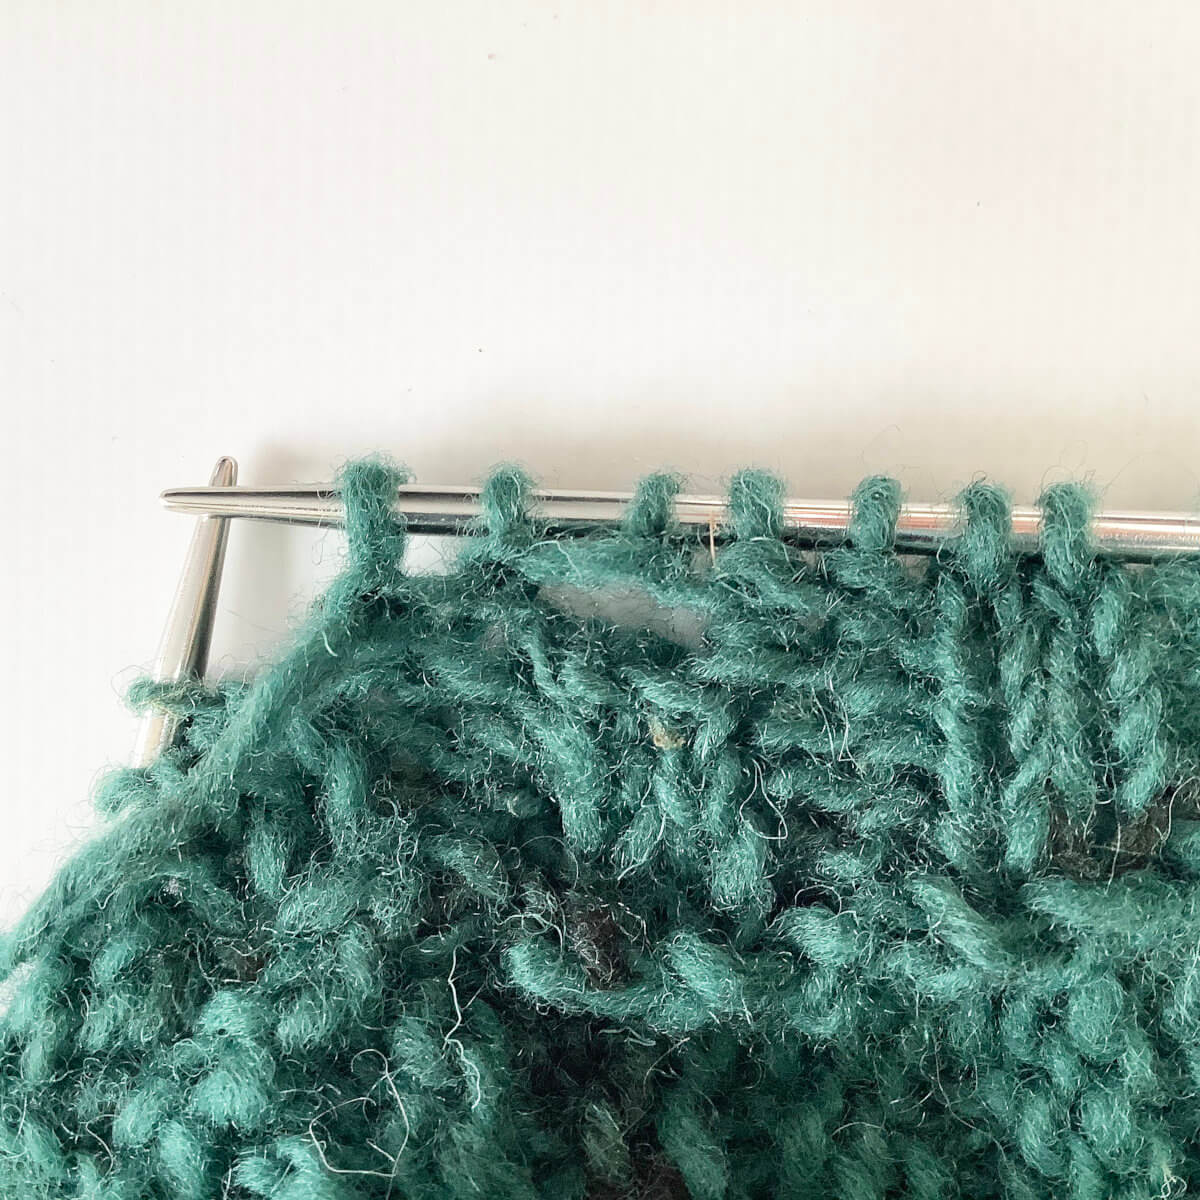
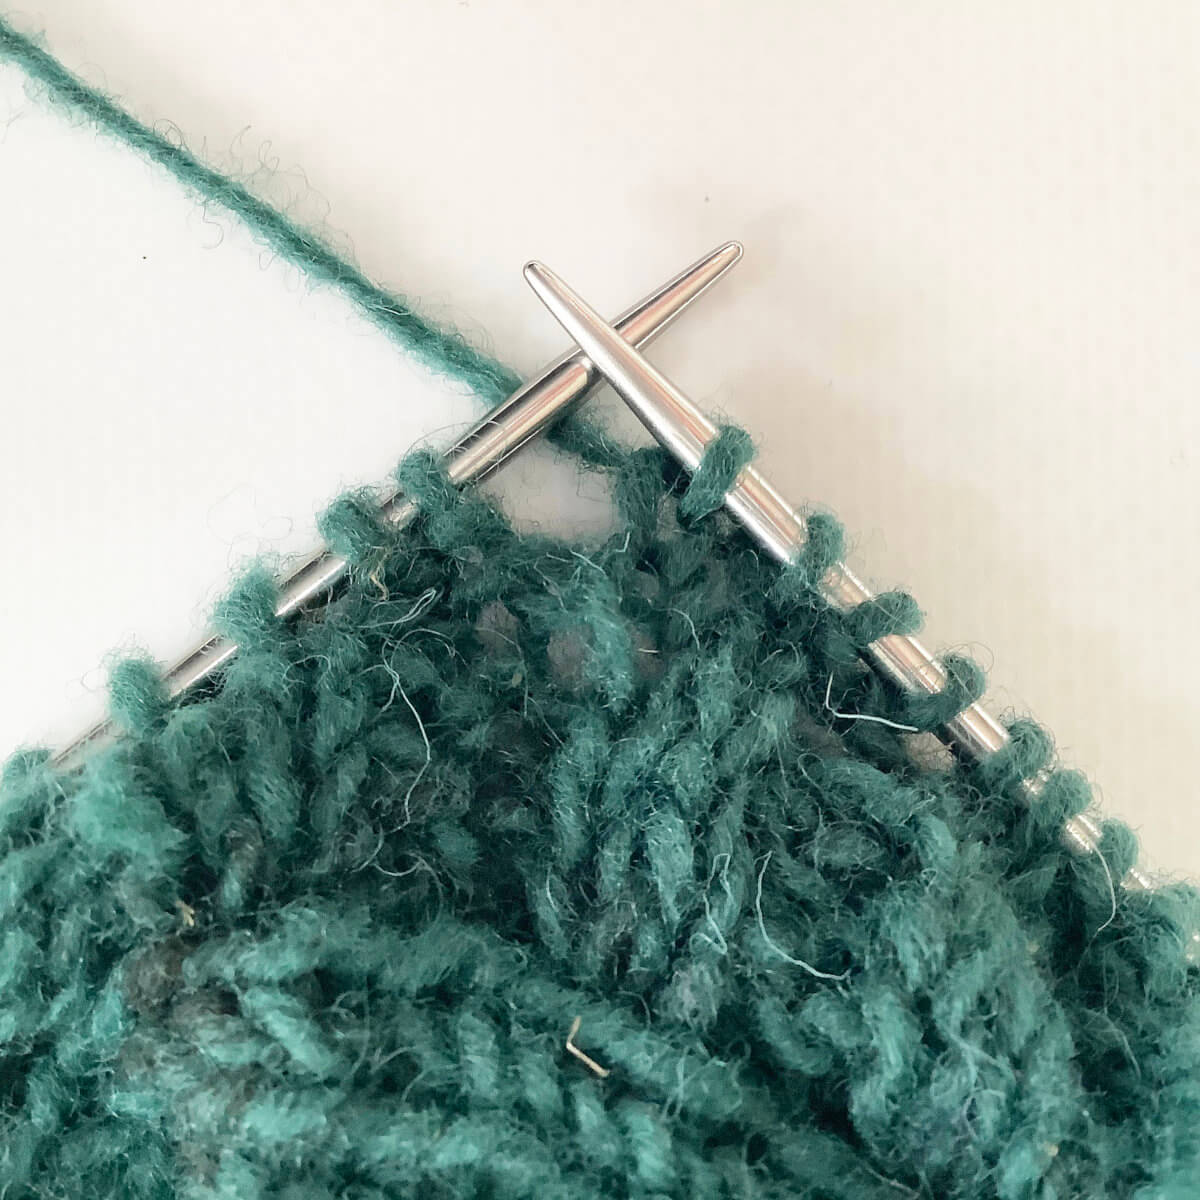
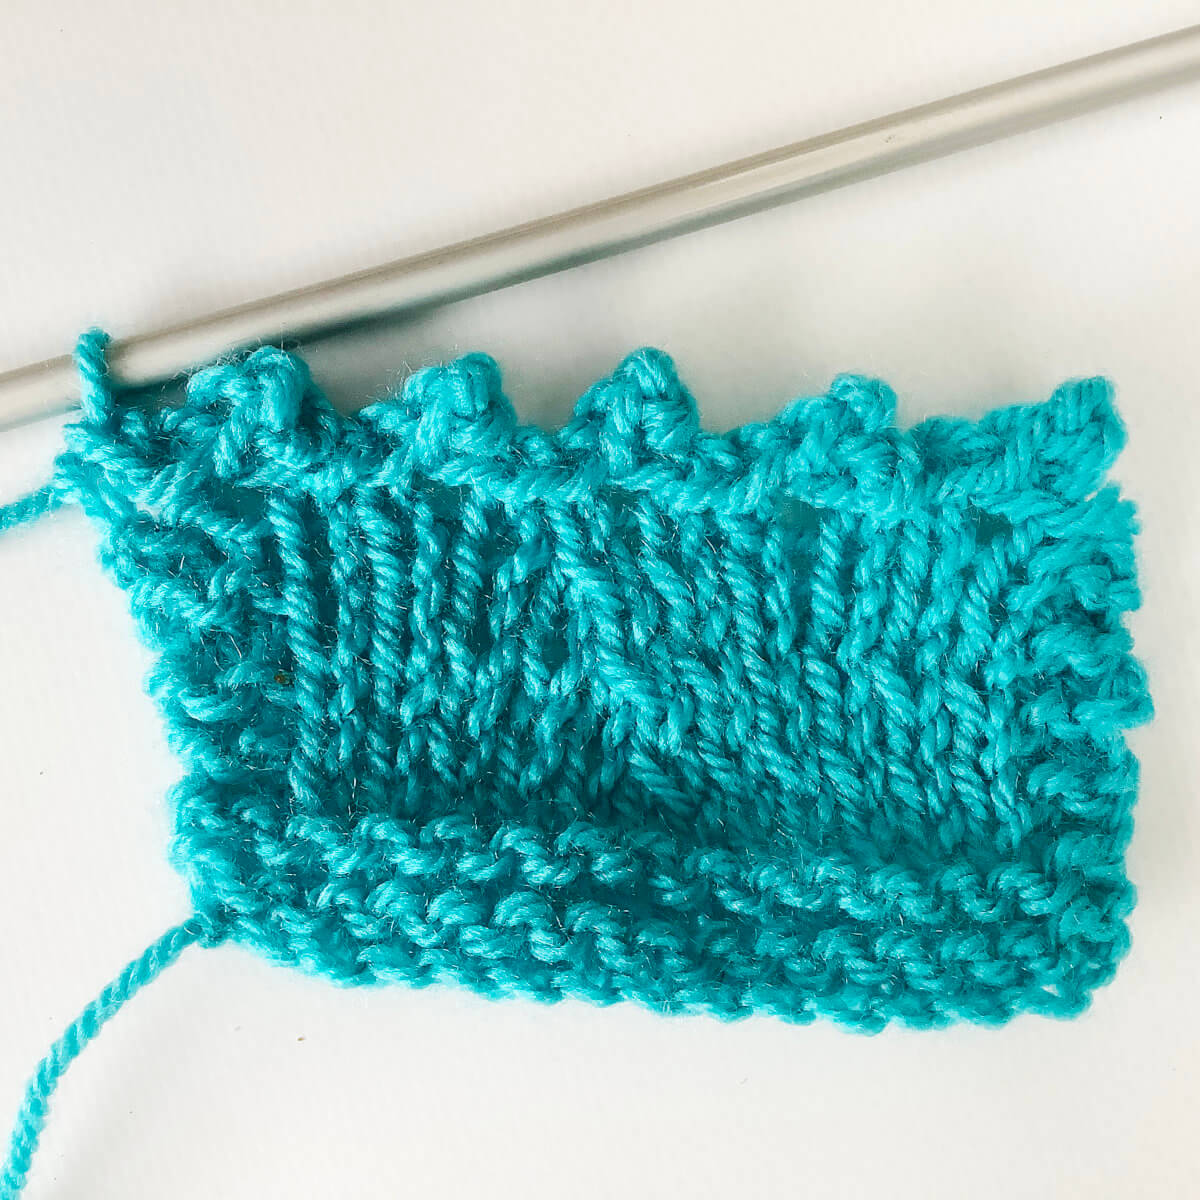
- Continue working steps 6 and 7 until your work has been completely bound-off.
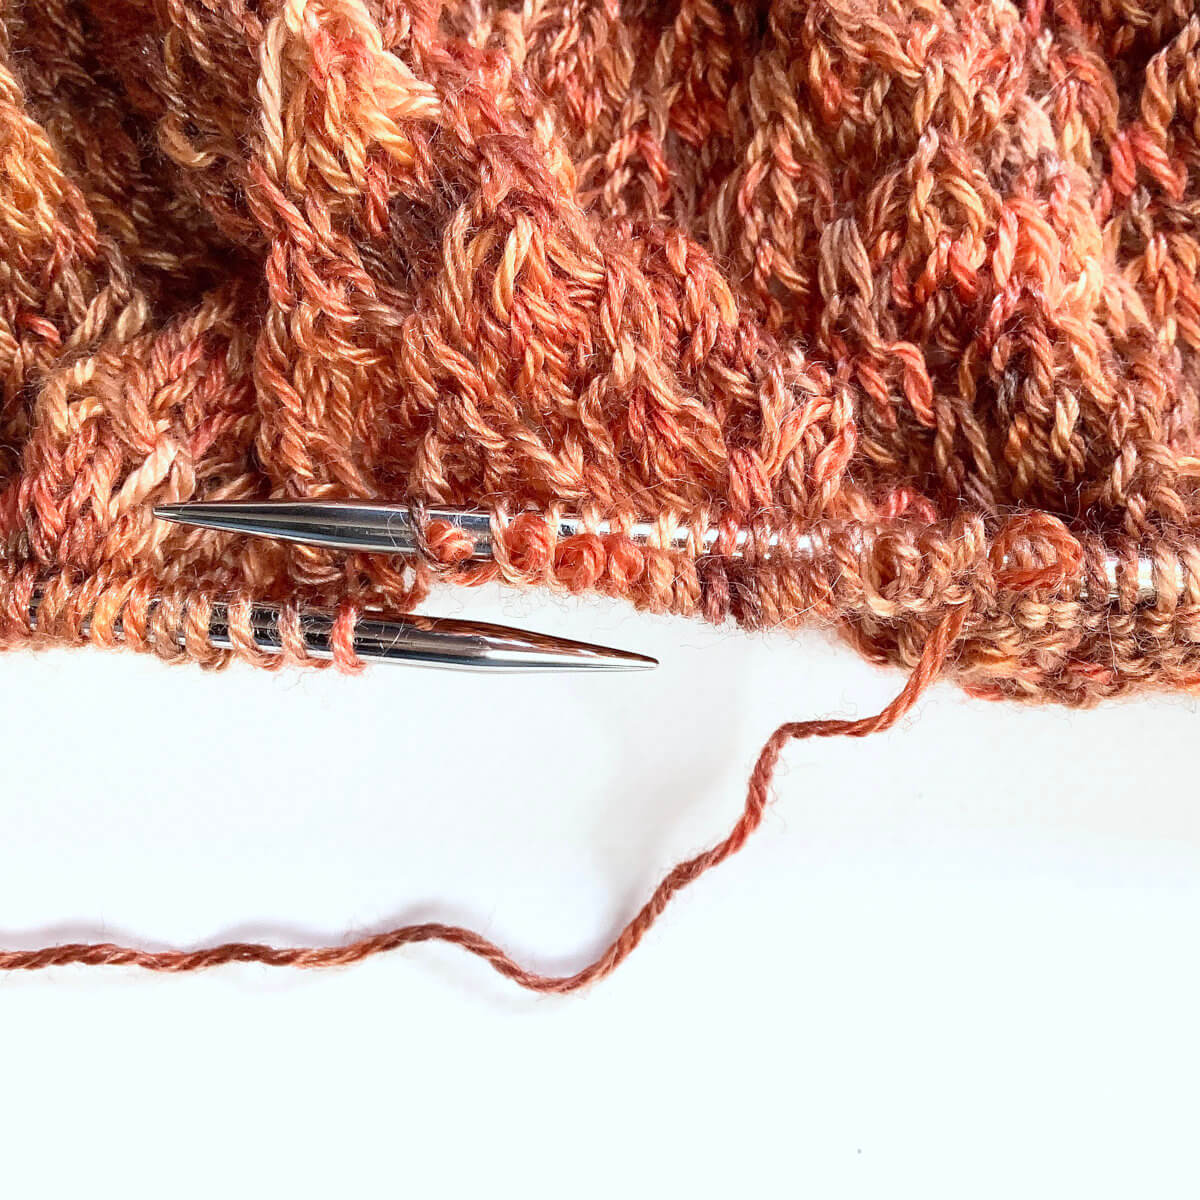
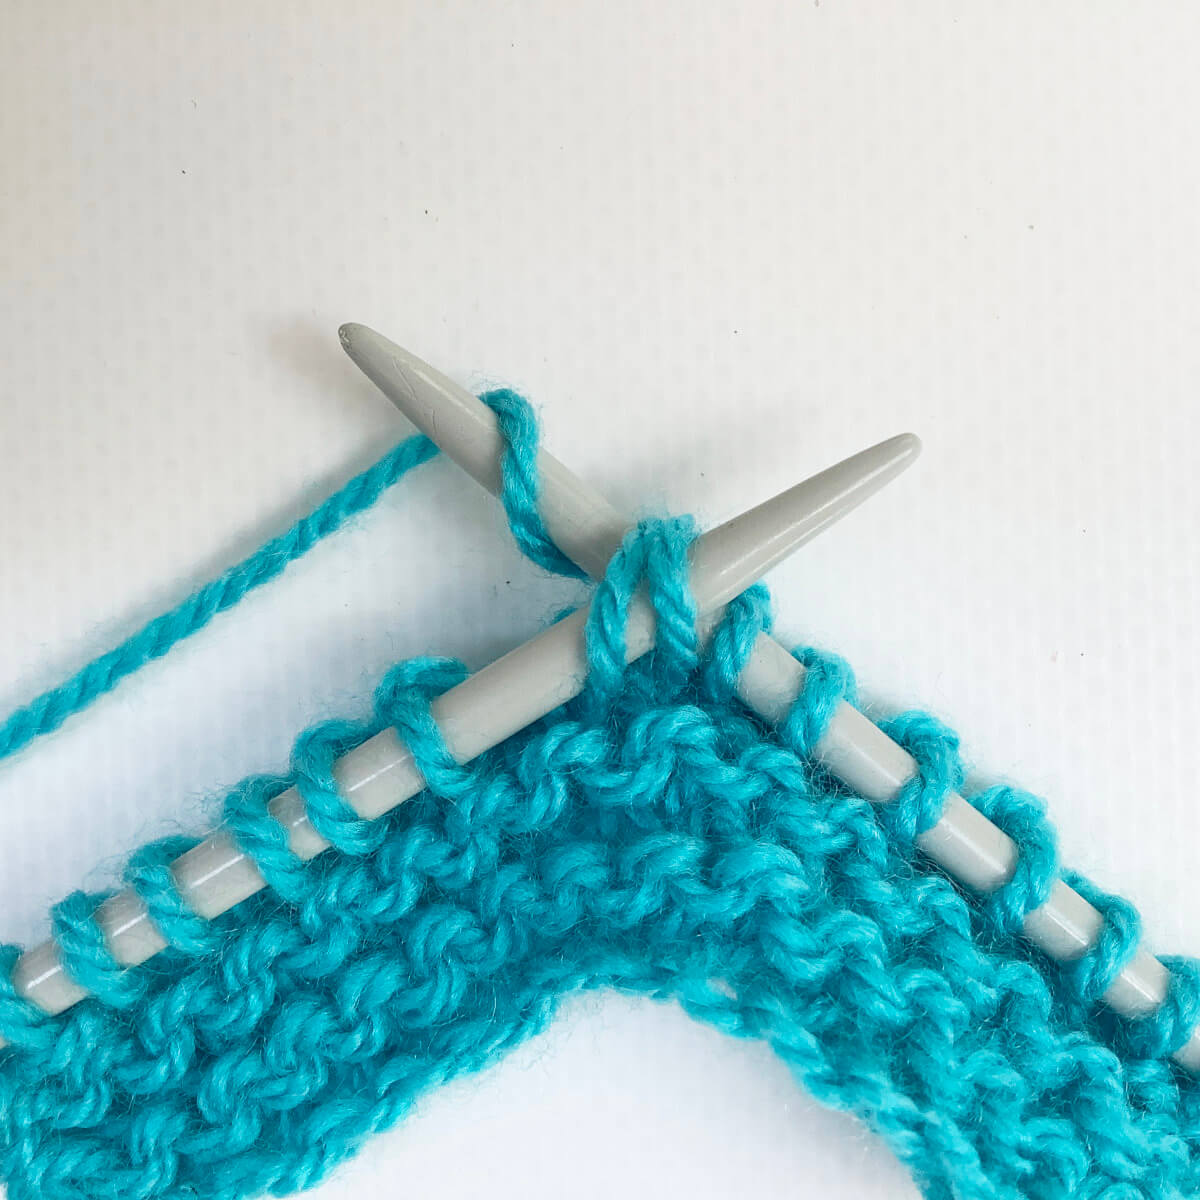
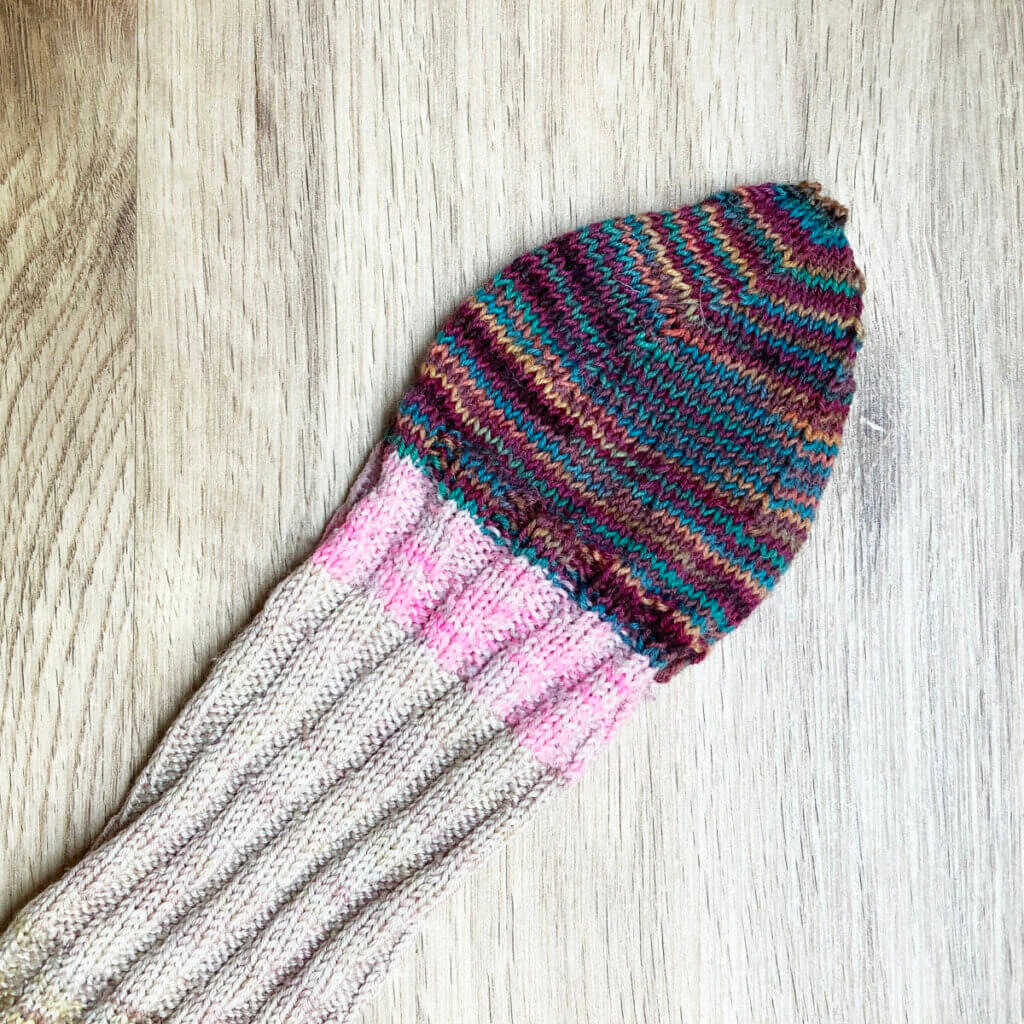
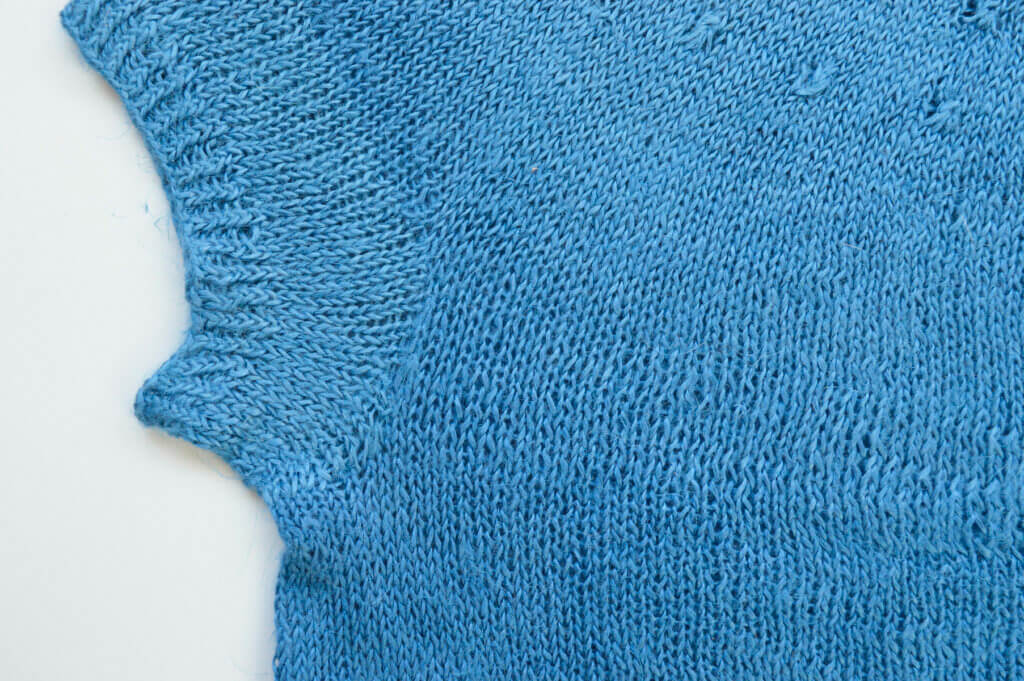
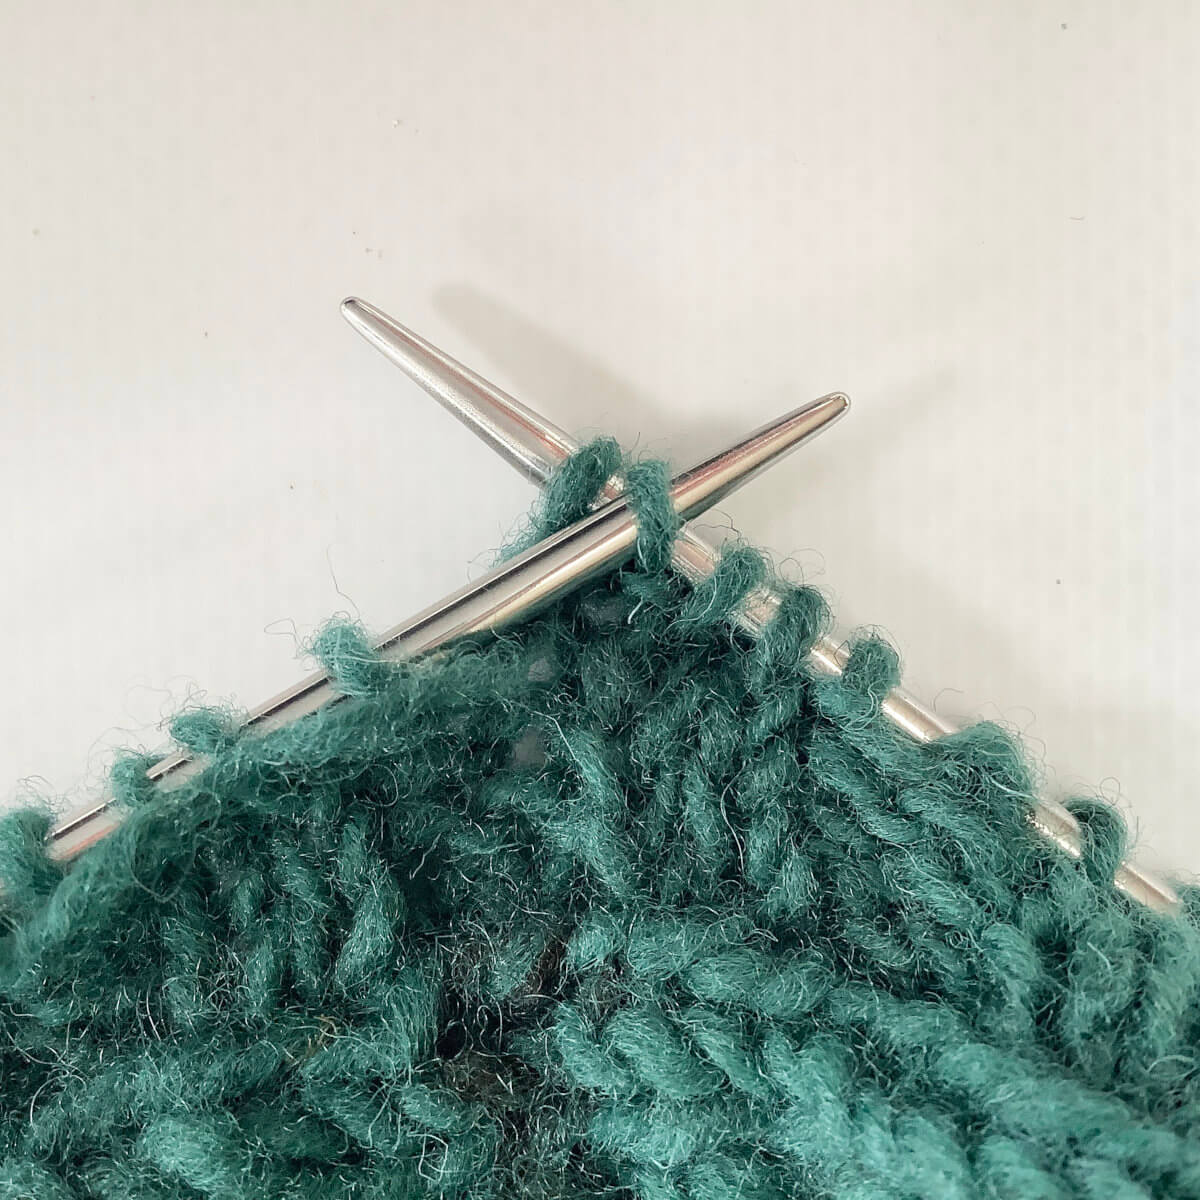
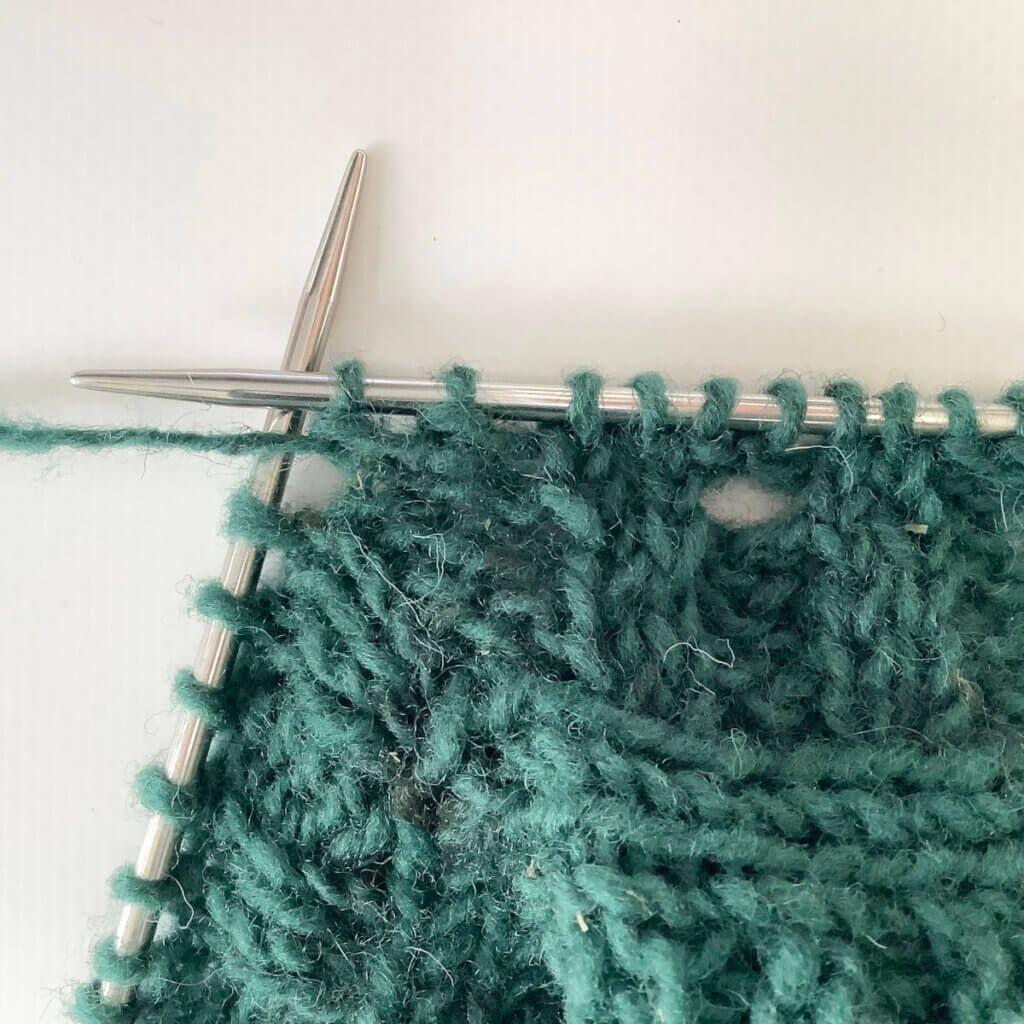
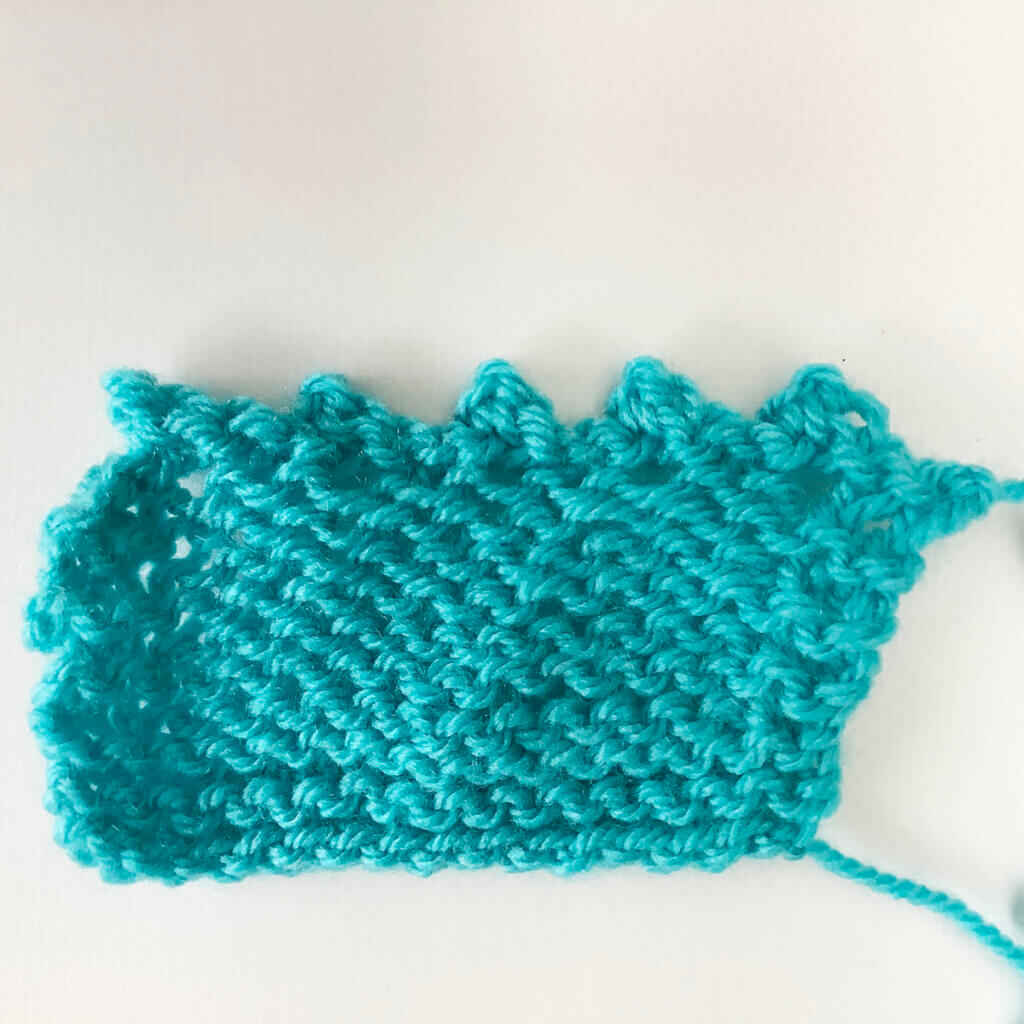
When viewed from the back, it looks like this:

Thanks to my Patreon supporters for bringing you this freebie! Creating quality patterns and tutorials is a lot of work and resource-intensive. However, I find it important to give you free content like this tutorial. Thanks to the generous support of my Patreon supporters, I can make it happen. Thank you, patrons! Click here to join, or click here to read more about La Visch Designs on Patreon.
tutorial – working a picot bind-off Read More »