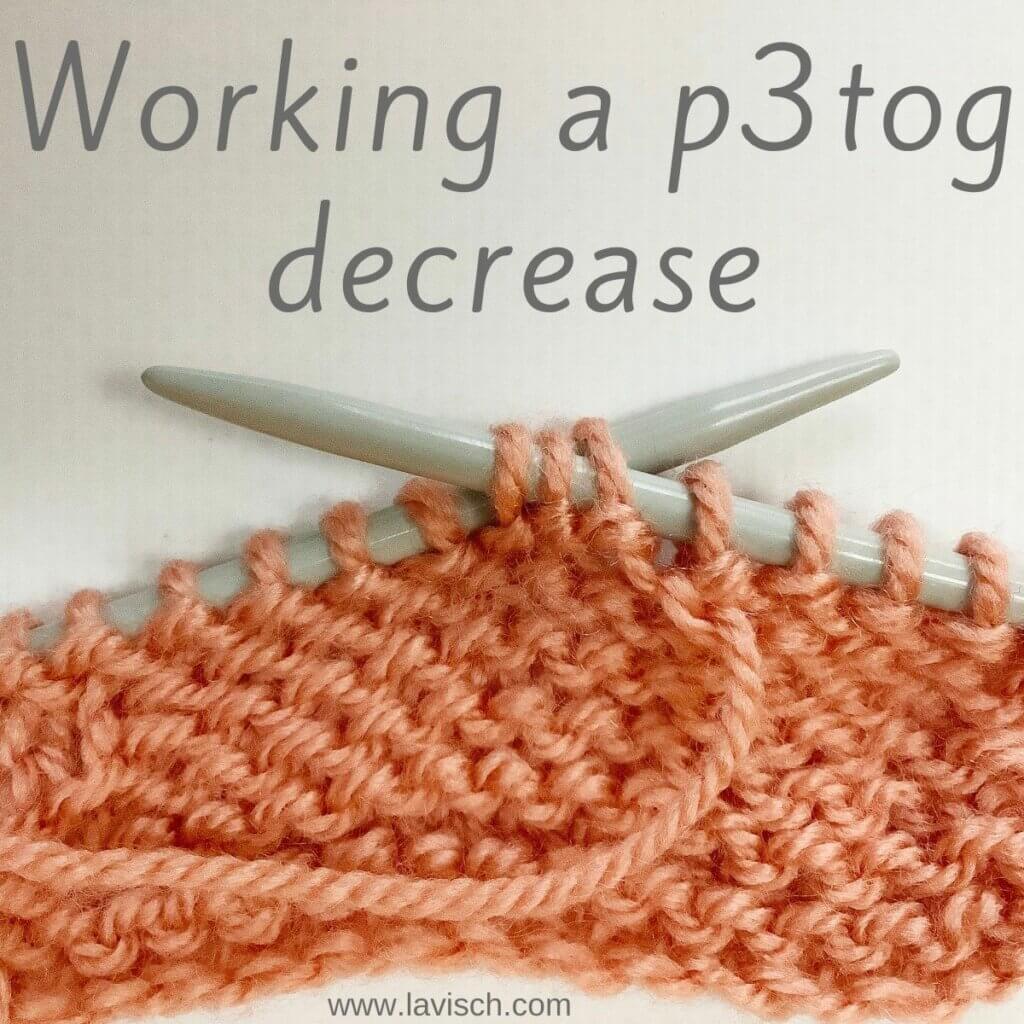
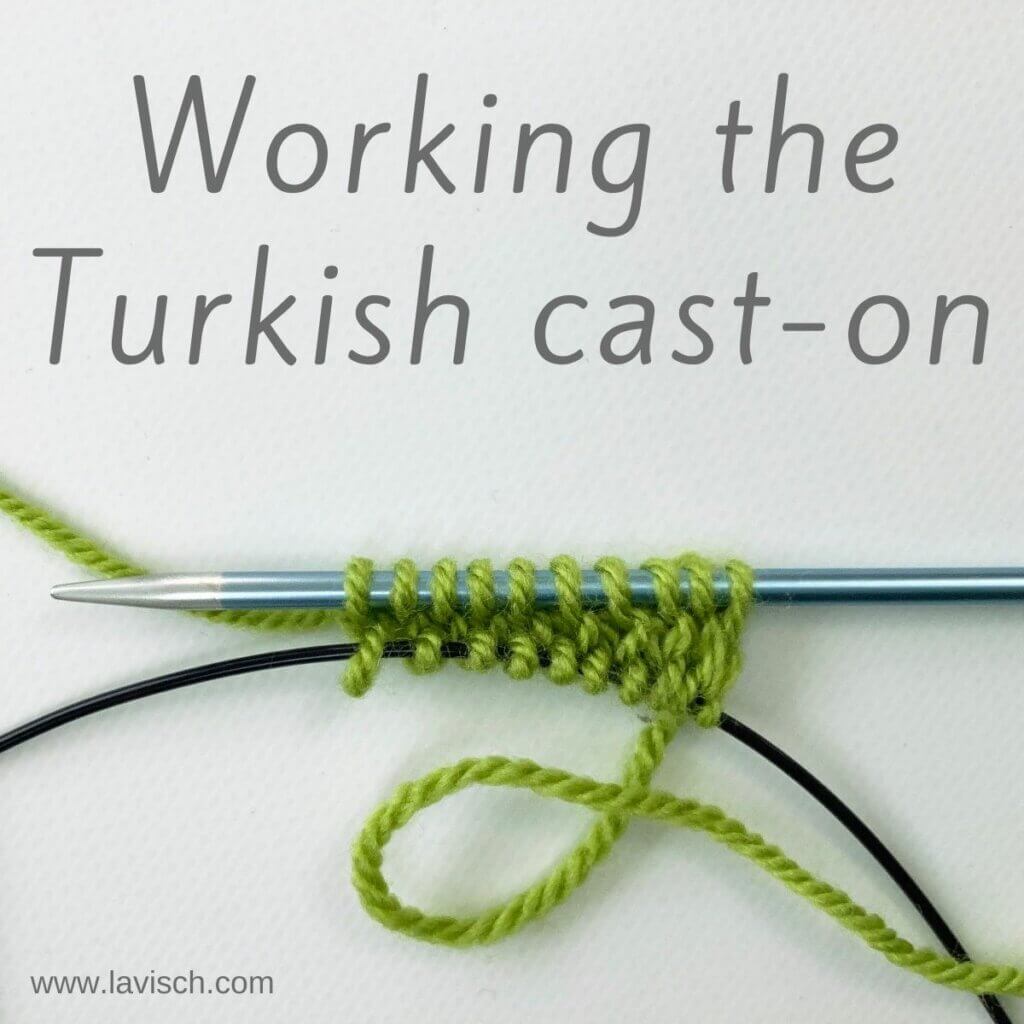
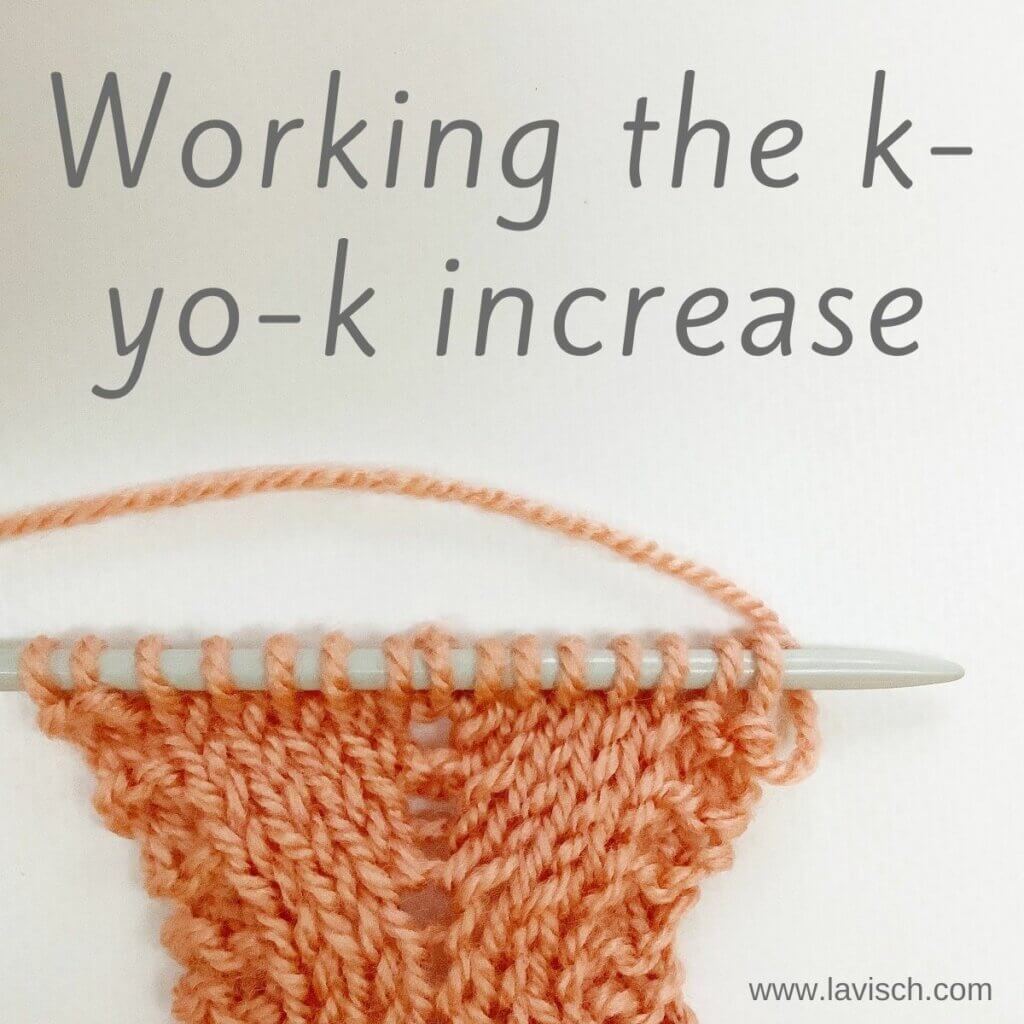
tutorial – working the k-yo-k increase
Double increases aren’t as commonly used as basic single increases. Nevertheless, they absolutely have their place in the knitter’s toolkit. Double increases, especially the ones including yarn overs, are most often found in lace stitch patterns. So if you like knitting lace, double increases are something you’ll want to be familiar with. In this tutorial, I’ll show you how to work the increase that consists of working (1 knit, 1 yarn over, 1 knit) all in the same stitch, thus increasing 2 stitches where there was only 1 before. Abbreviated, this increase would be k-yo-k. This double increase is symmetrical and quite decorative, and for this reason also a very good choice to use for the central spine in top-down triangle shawls.
Below you can find how to work this increase step by step, so get your materials and follow along!
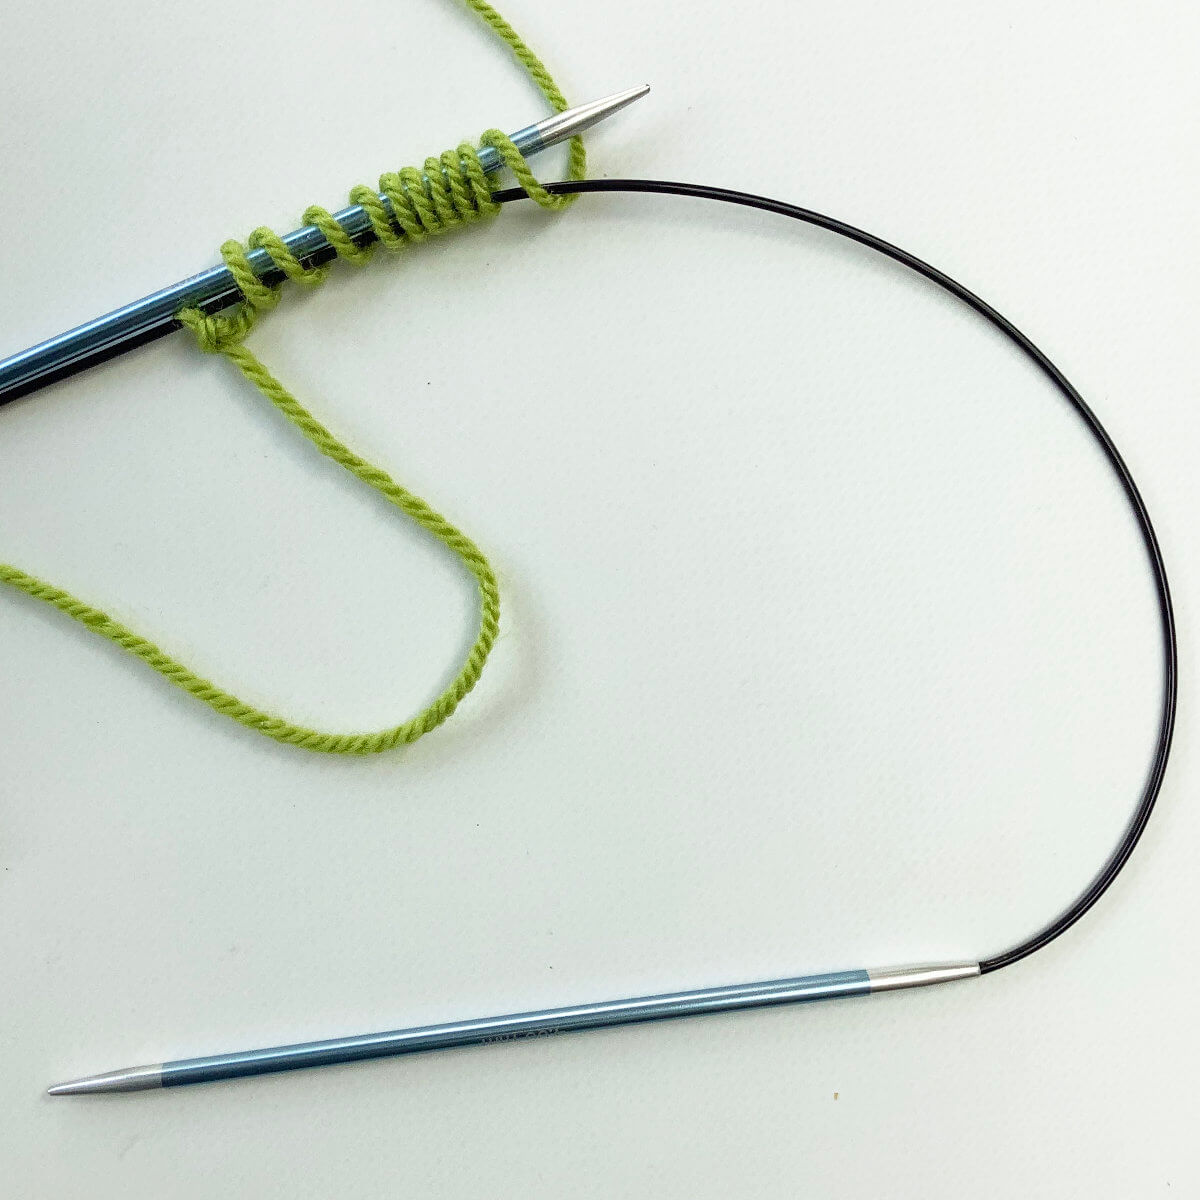
Materials


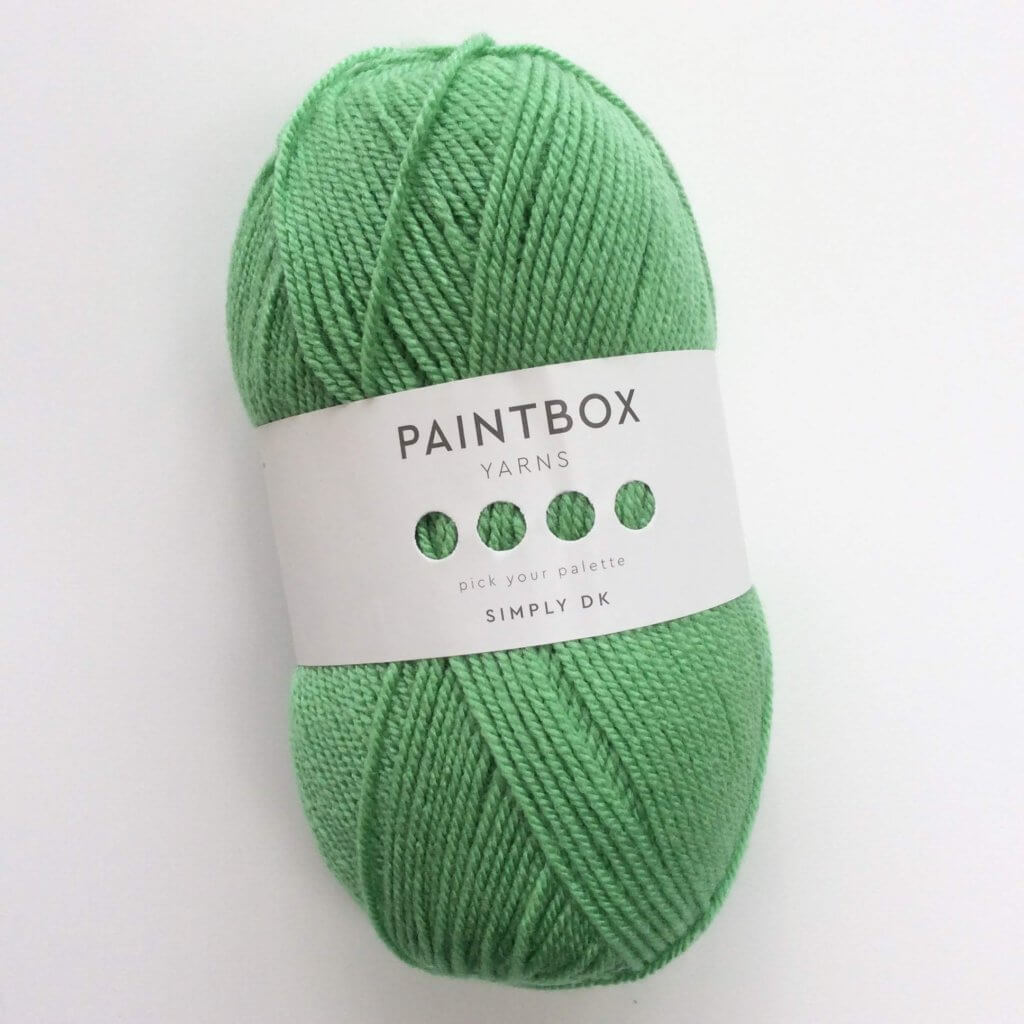
Yarn: Paintbox Yarns Simply DK, a good value, good quality 100% acrylic yarn, here in the color 155 Vintage pink.
Knitting needles: This is a pair of straights that I picked up at the second-hand store when I started knitting, brand unknown.
Working a k-yo-k step by step
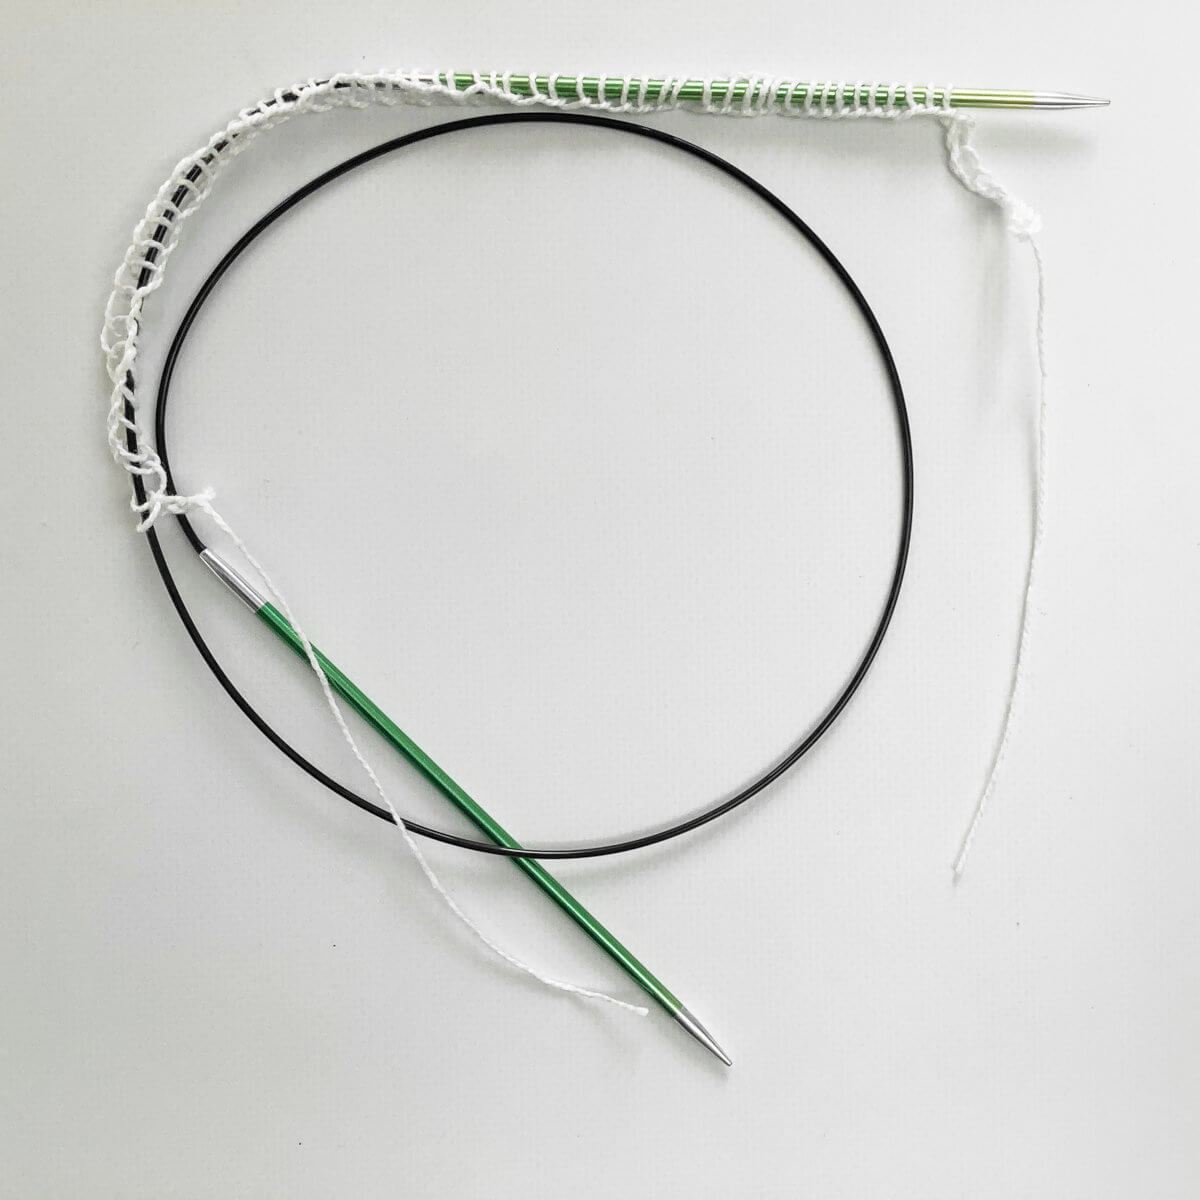
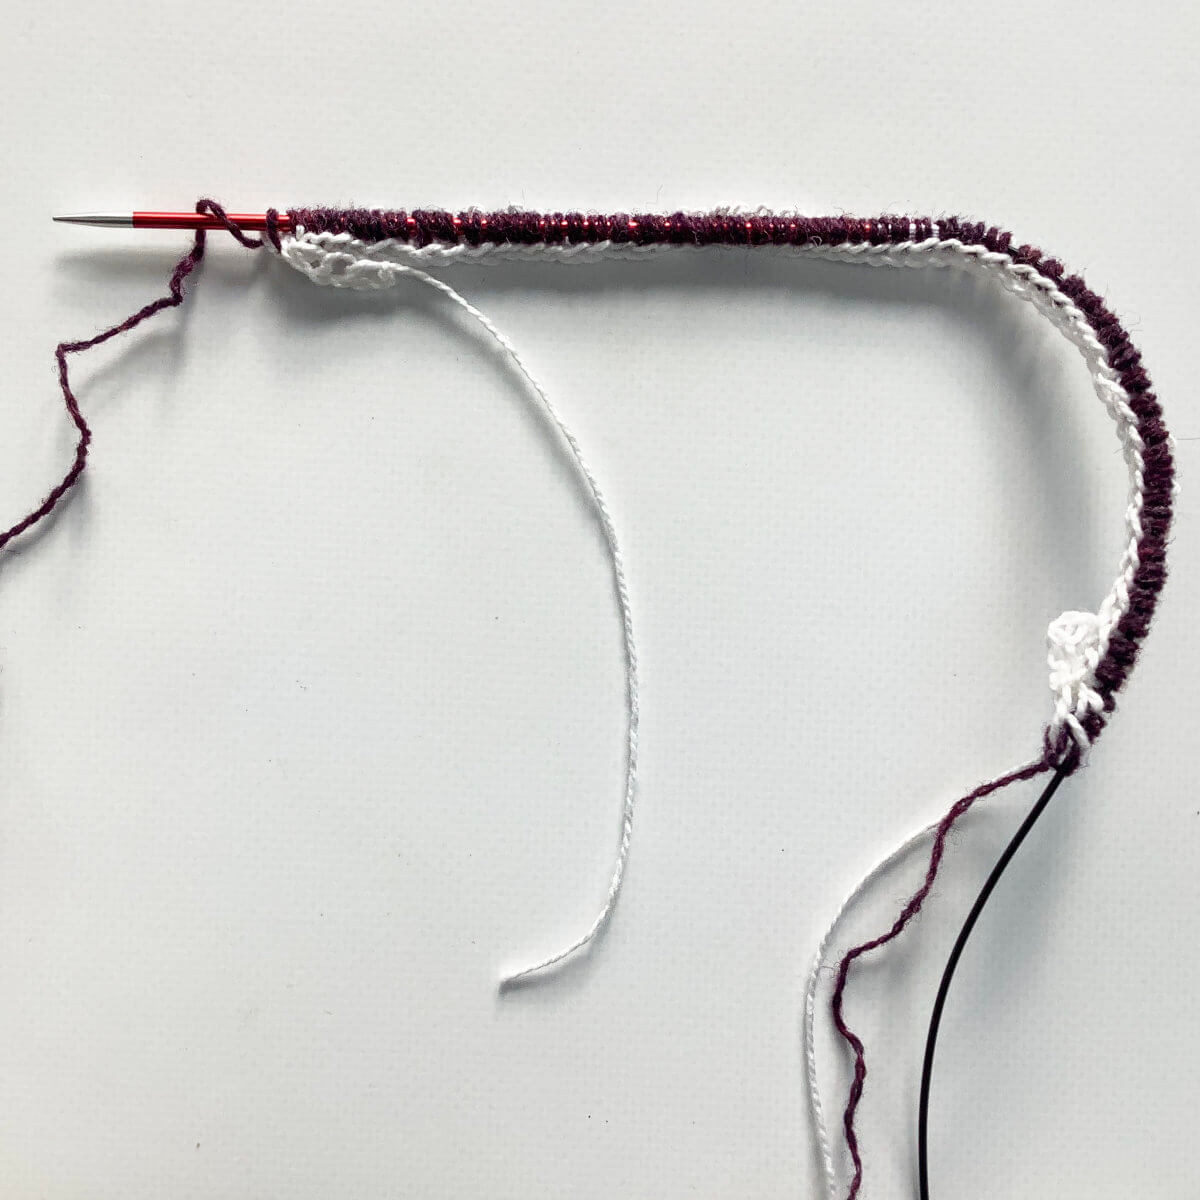
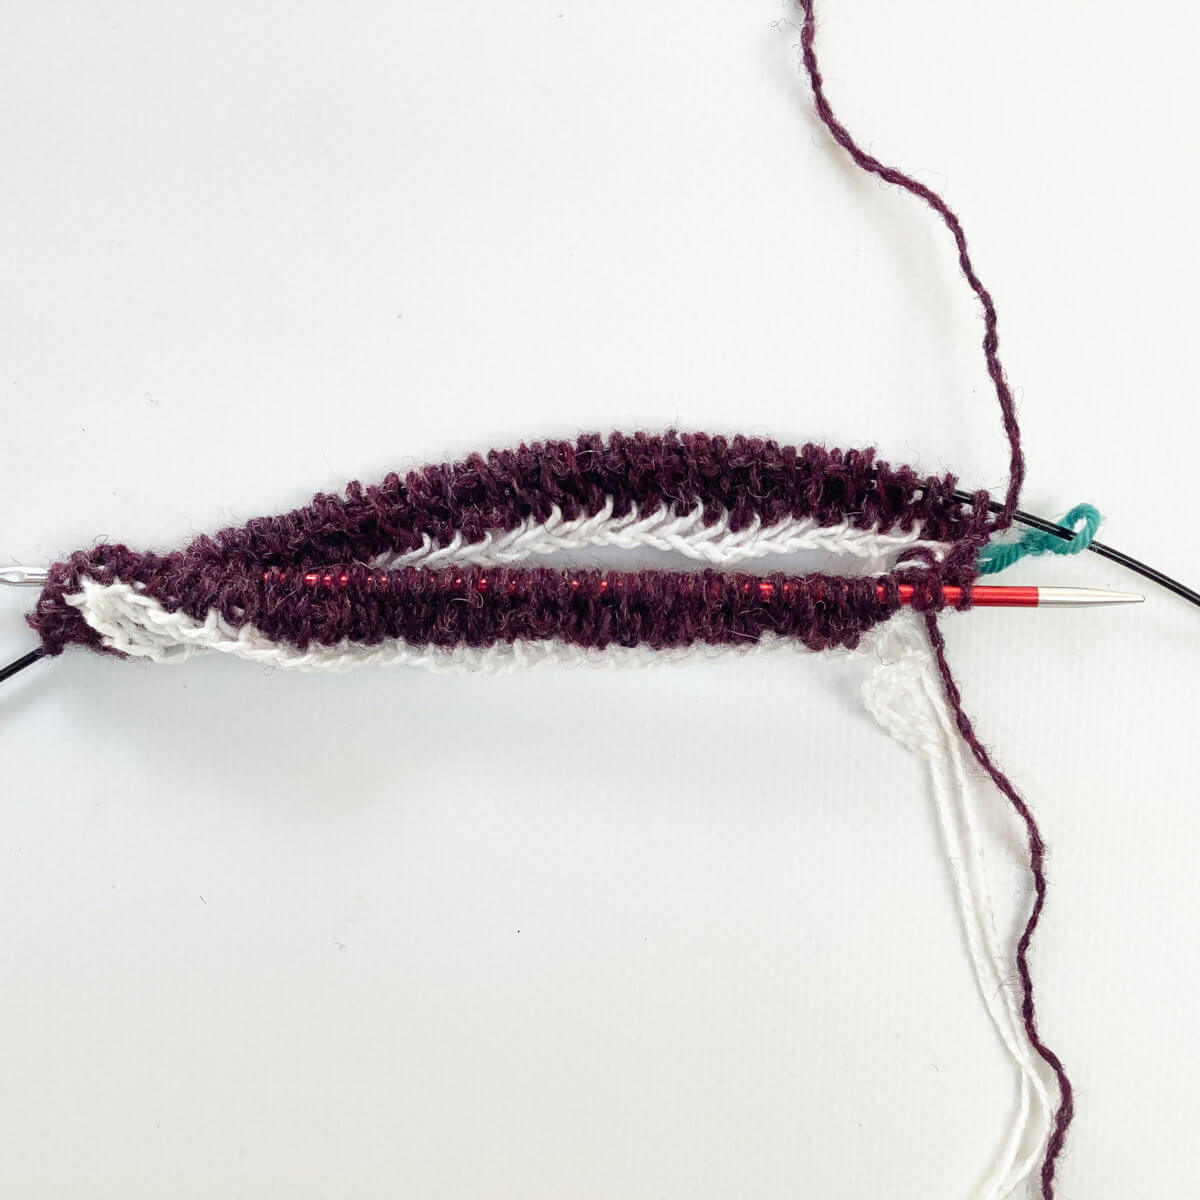
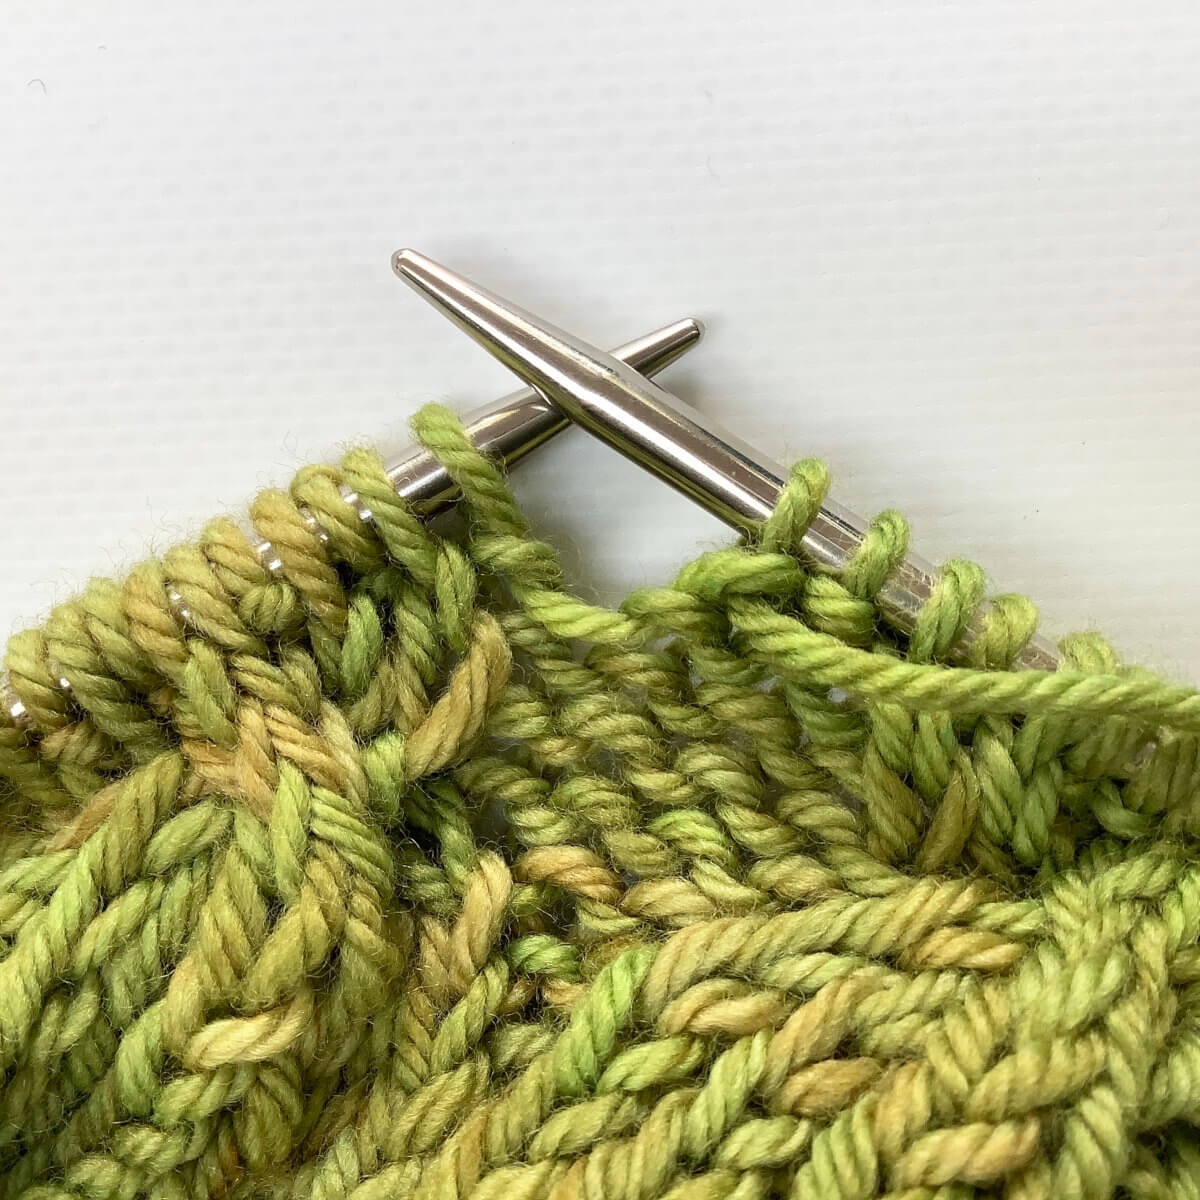
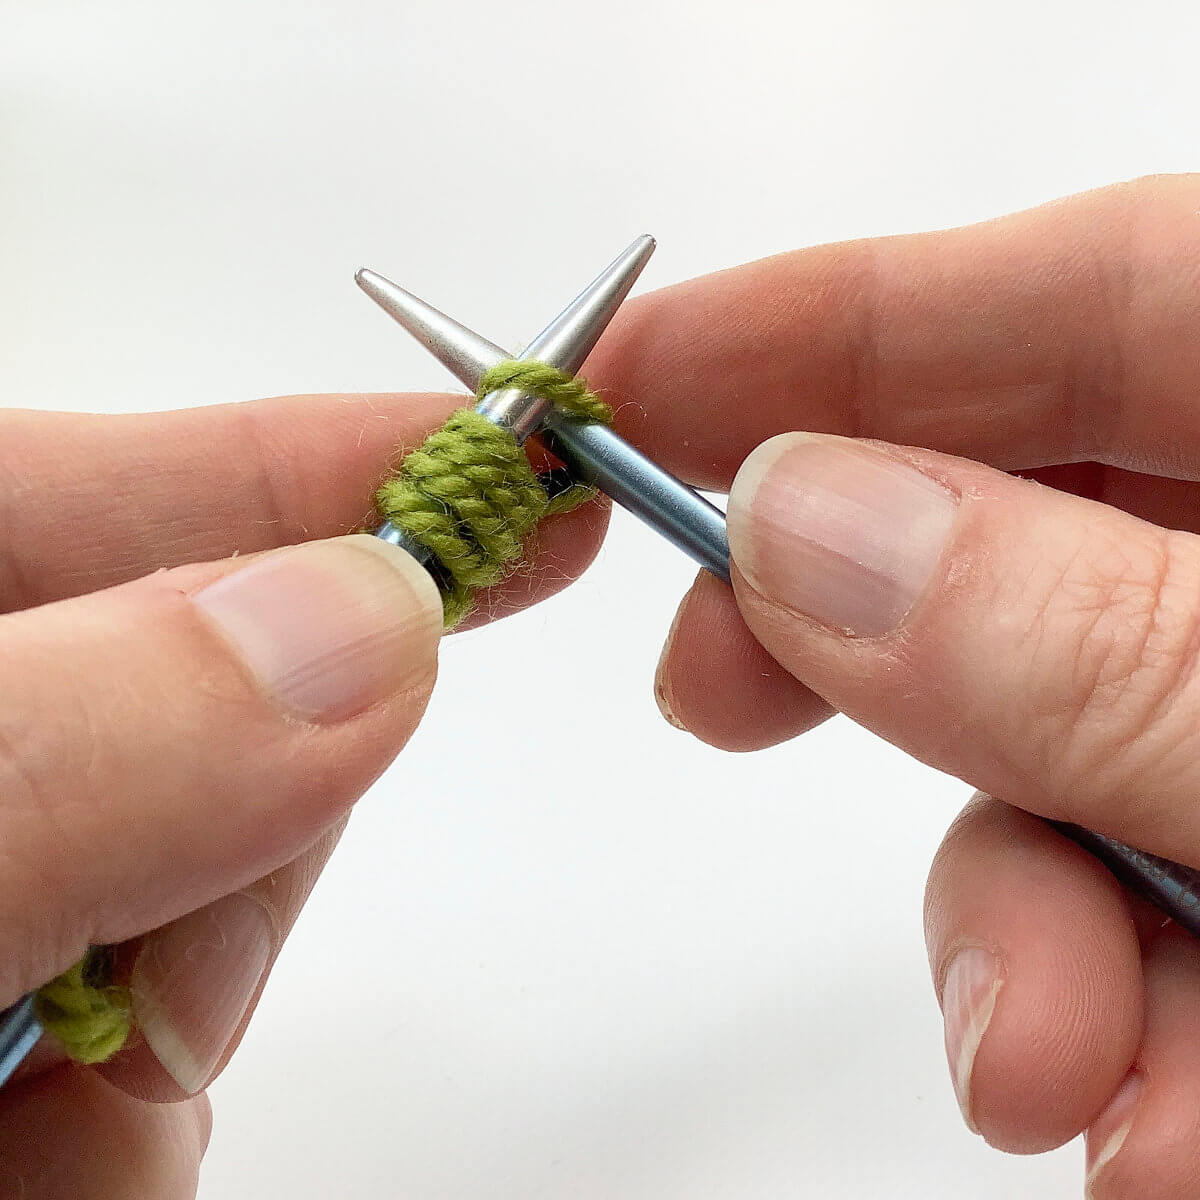
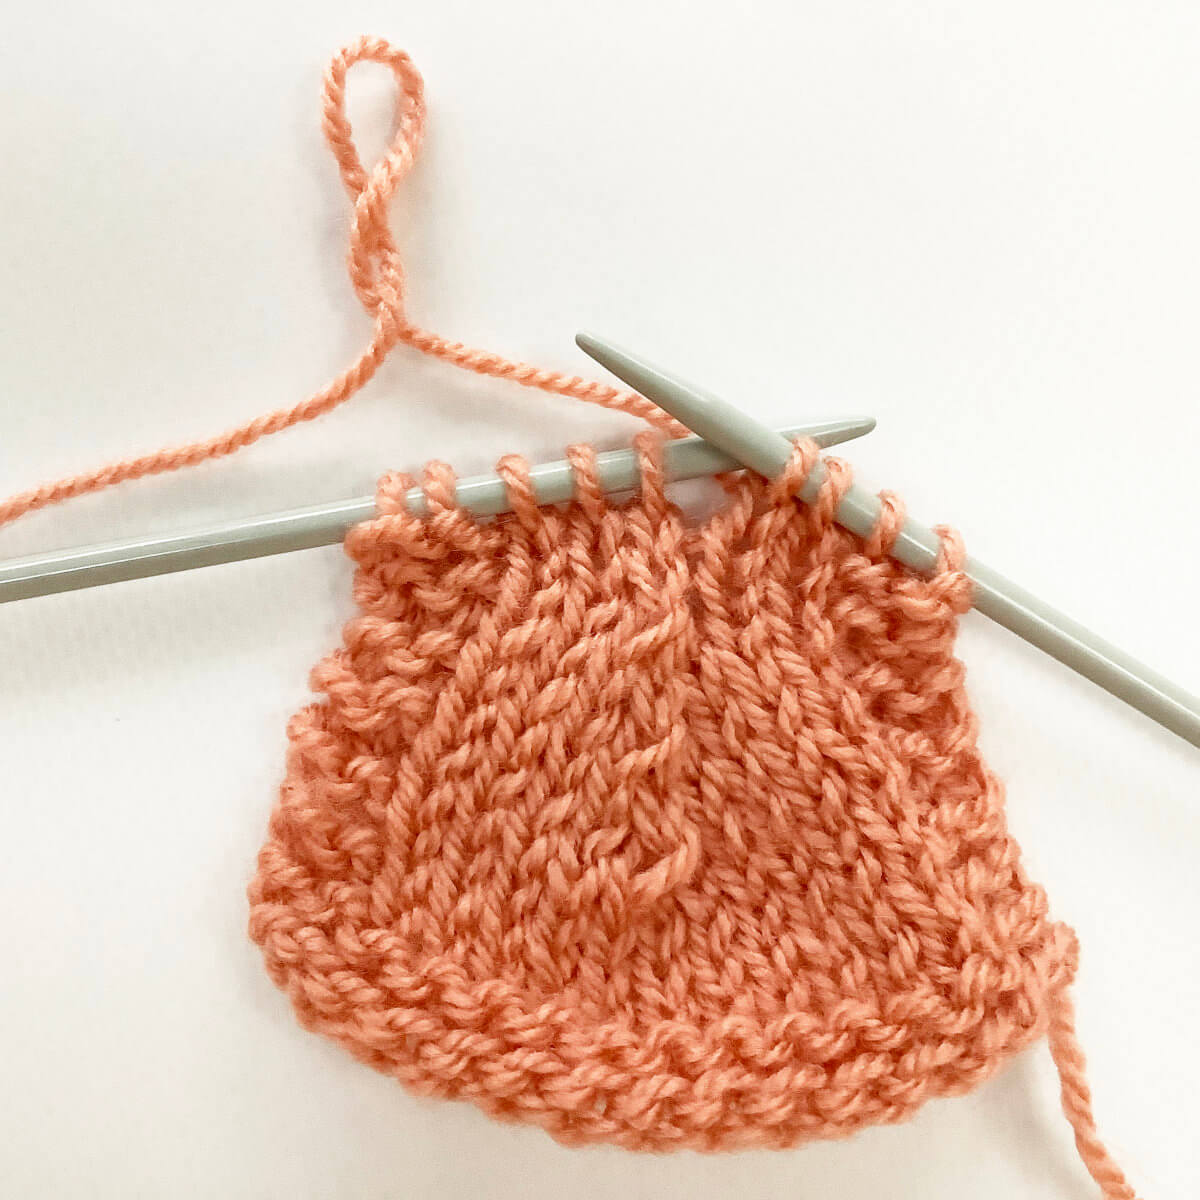
- Work your way across the row until you’ve reached the point where you want to make the double increase.
In this case, I want to work the increase in the center stitch of the swatch.
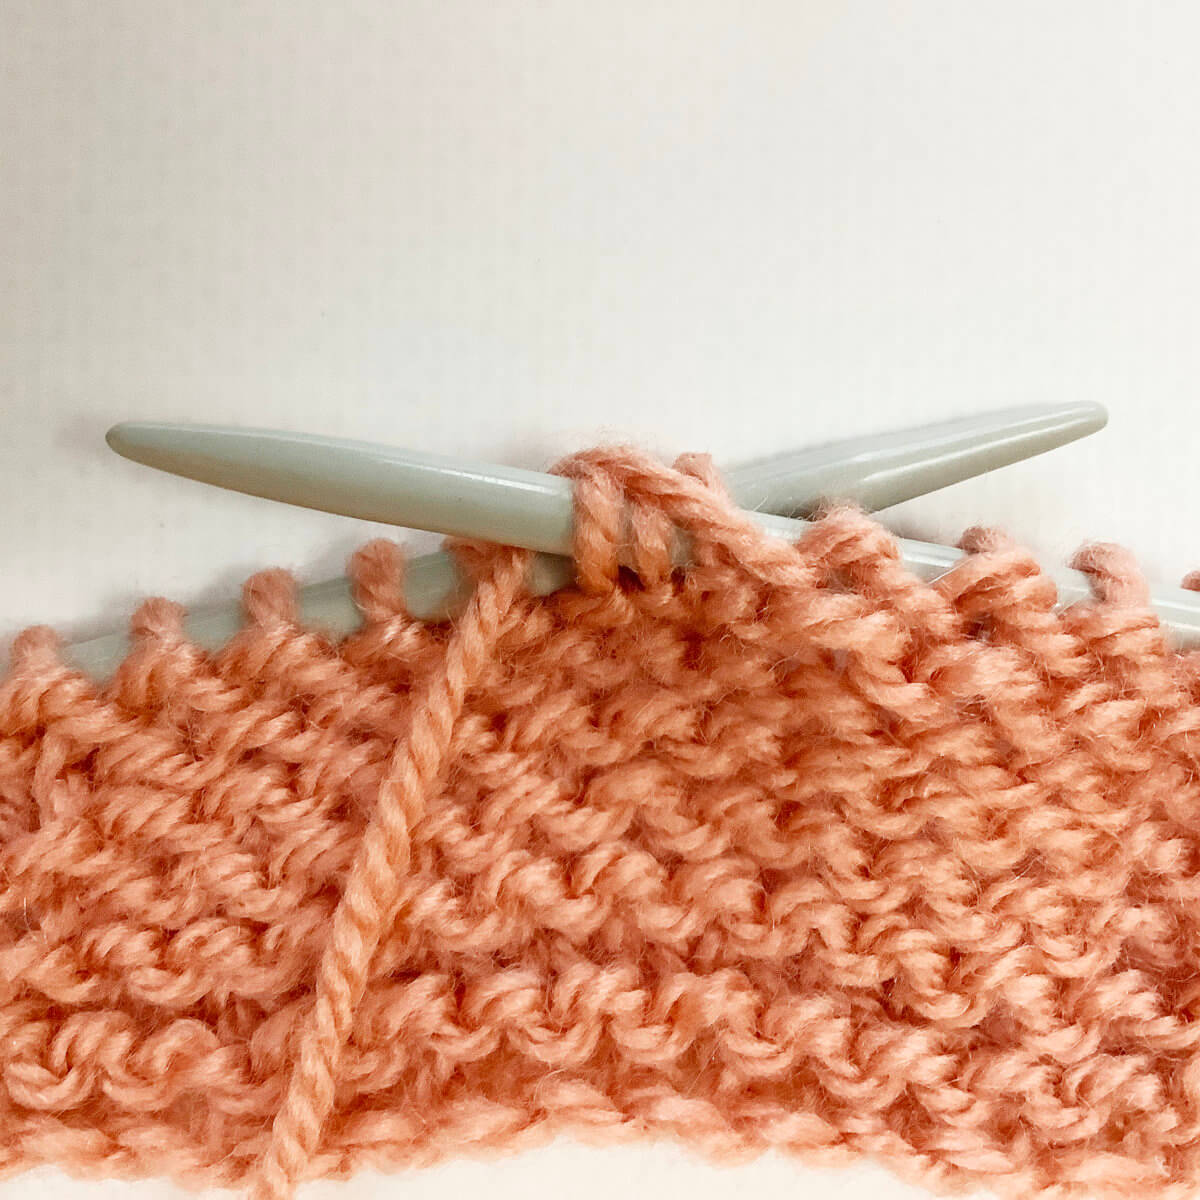
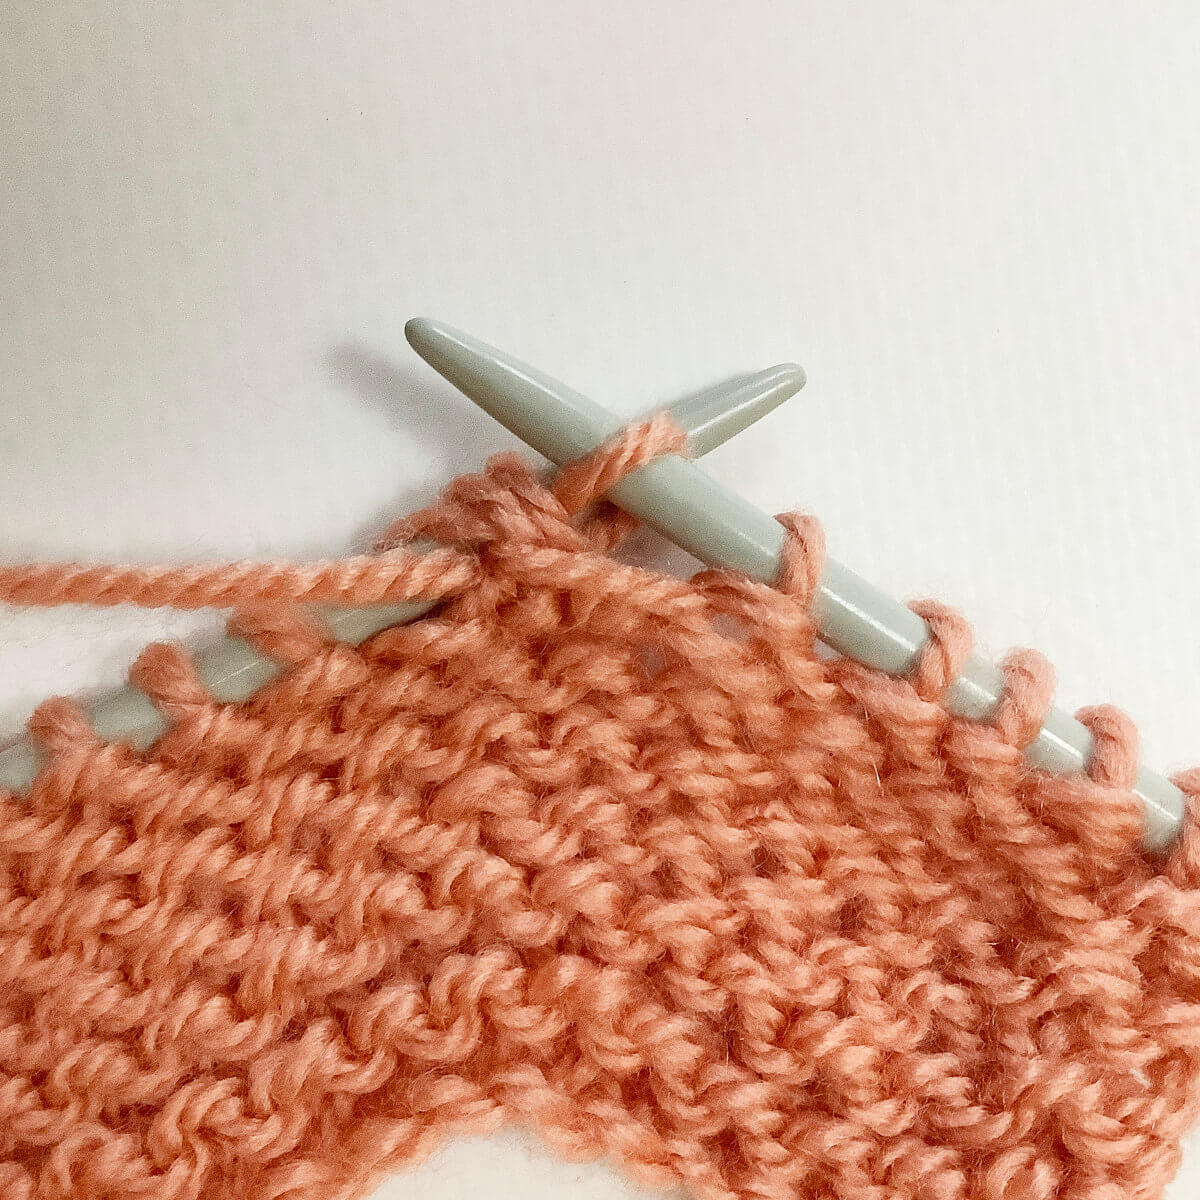
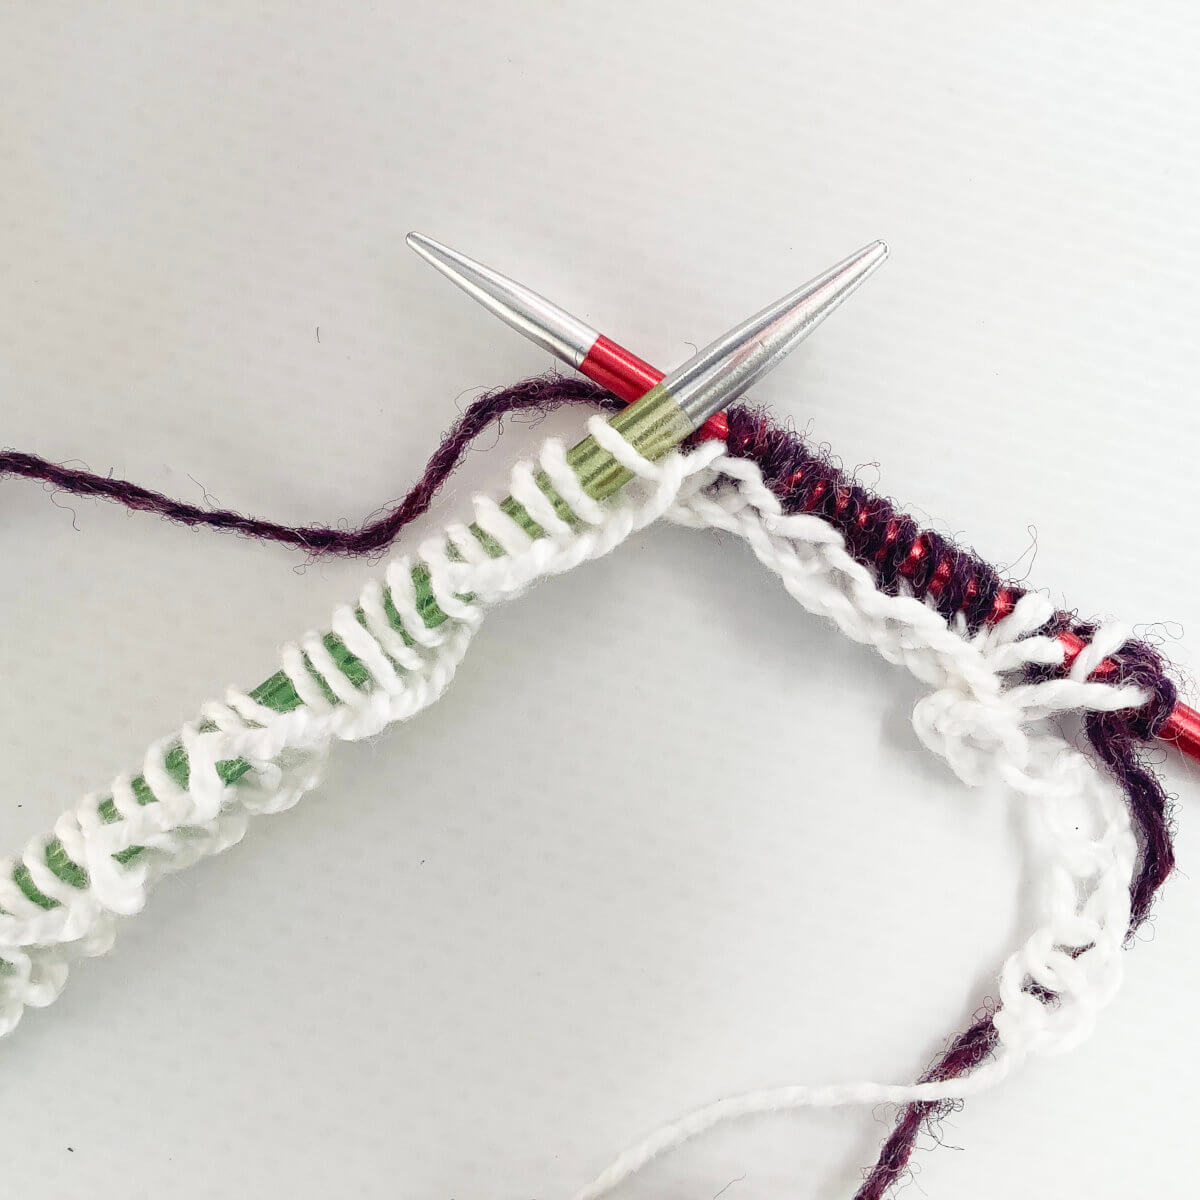
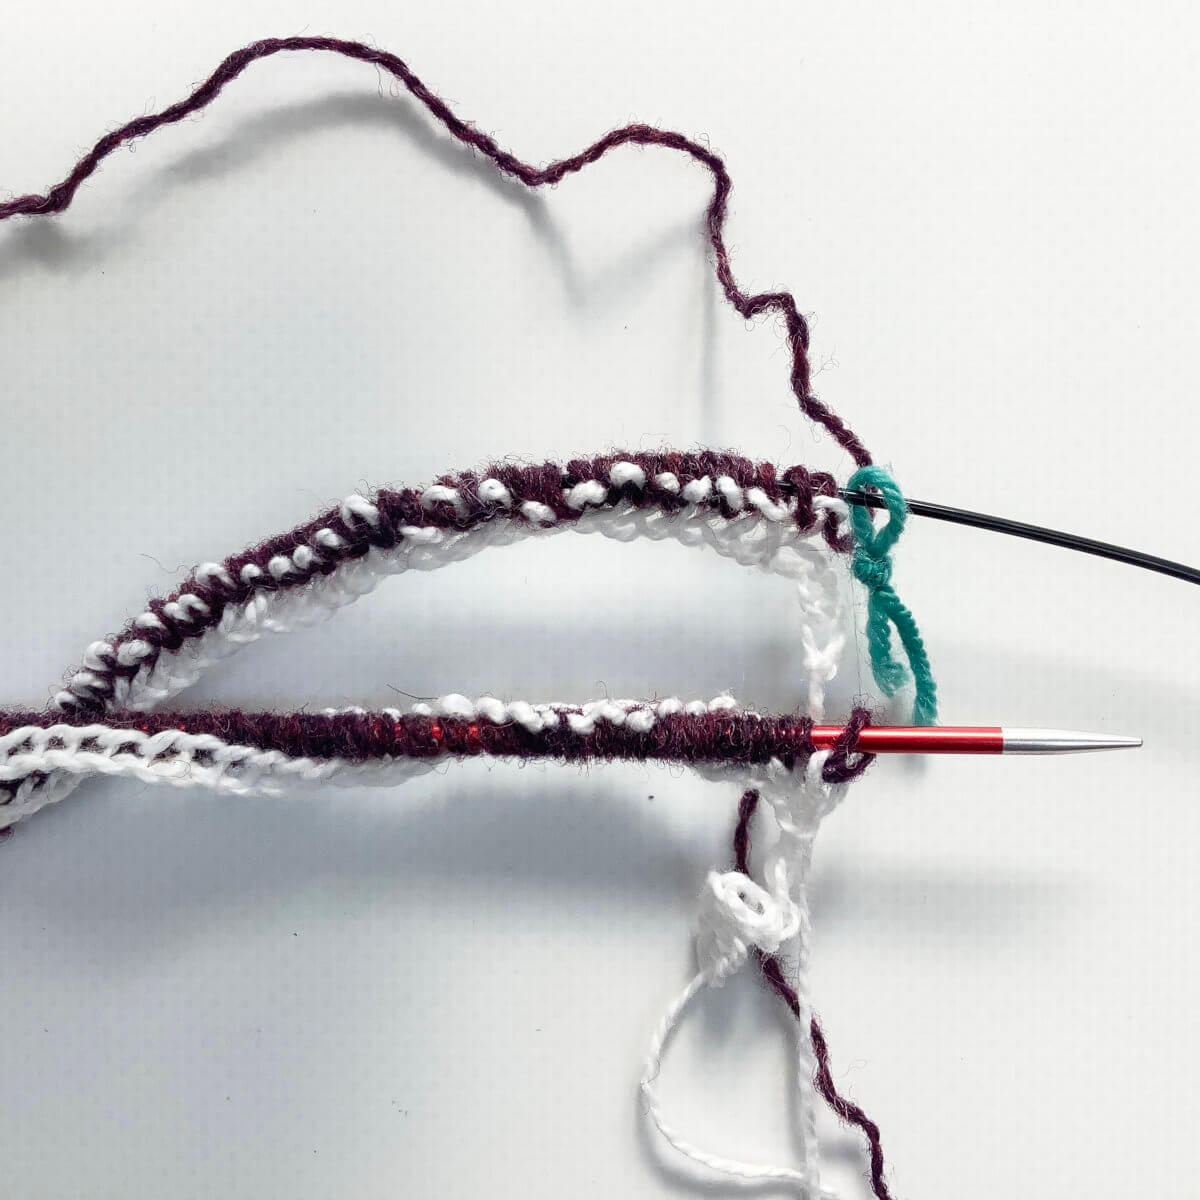
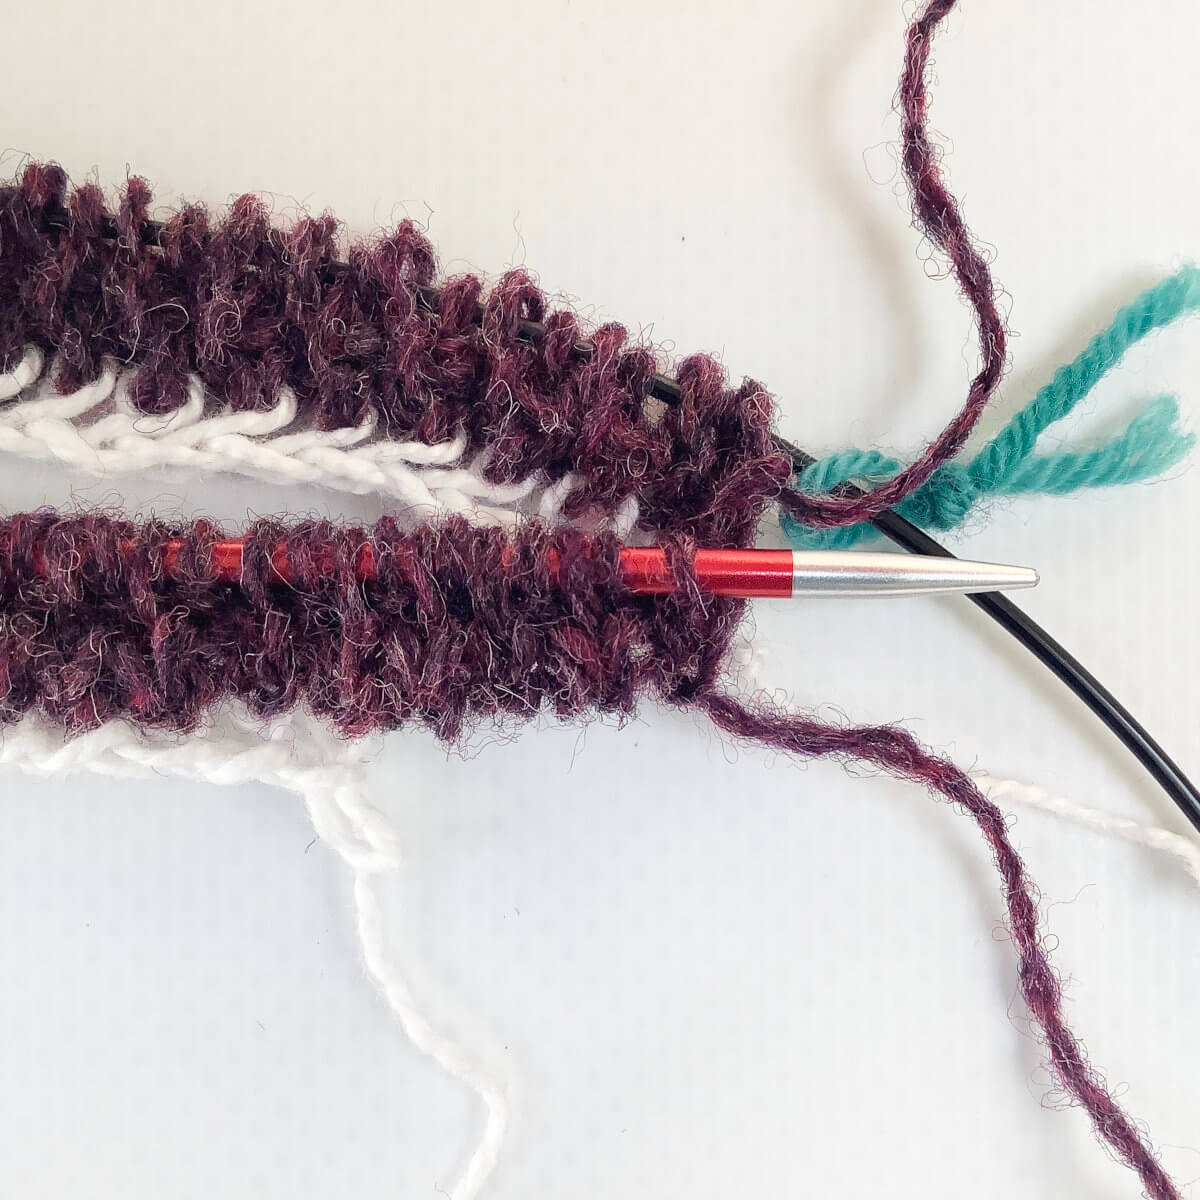
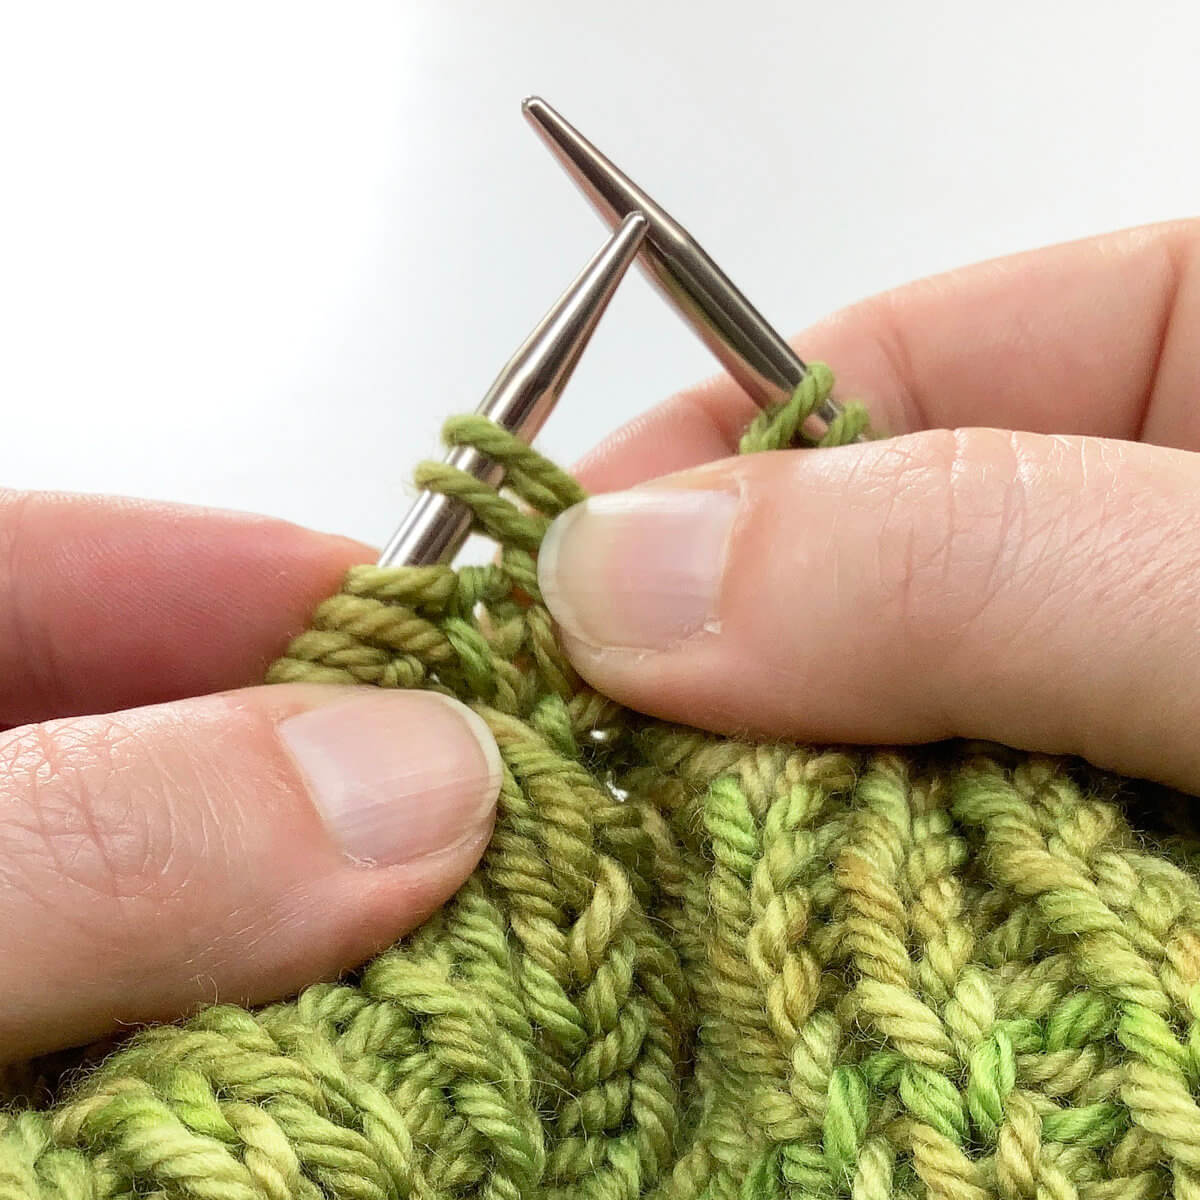
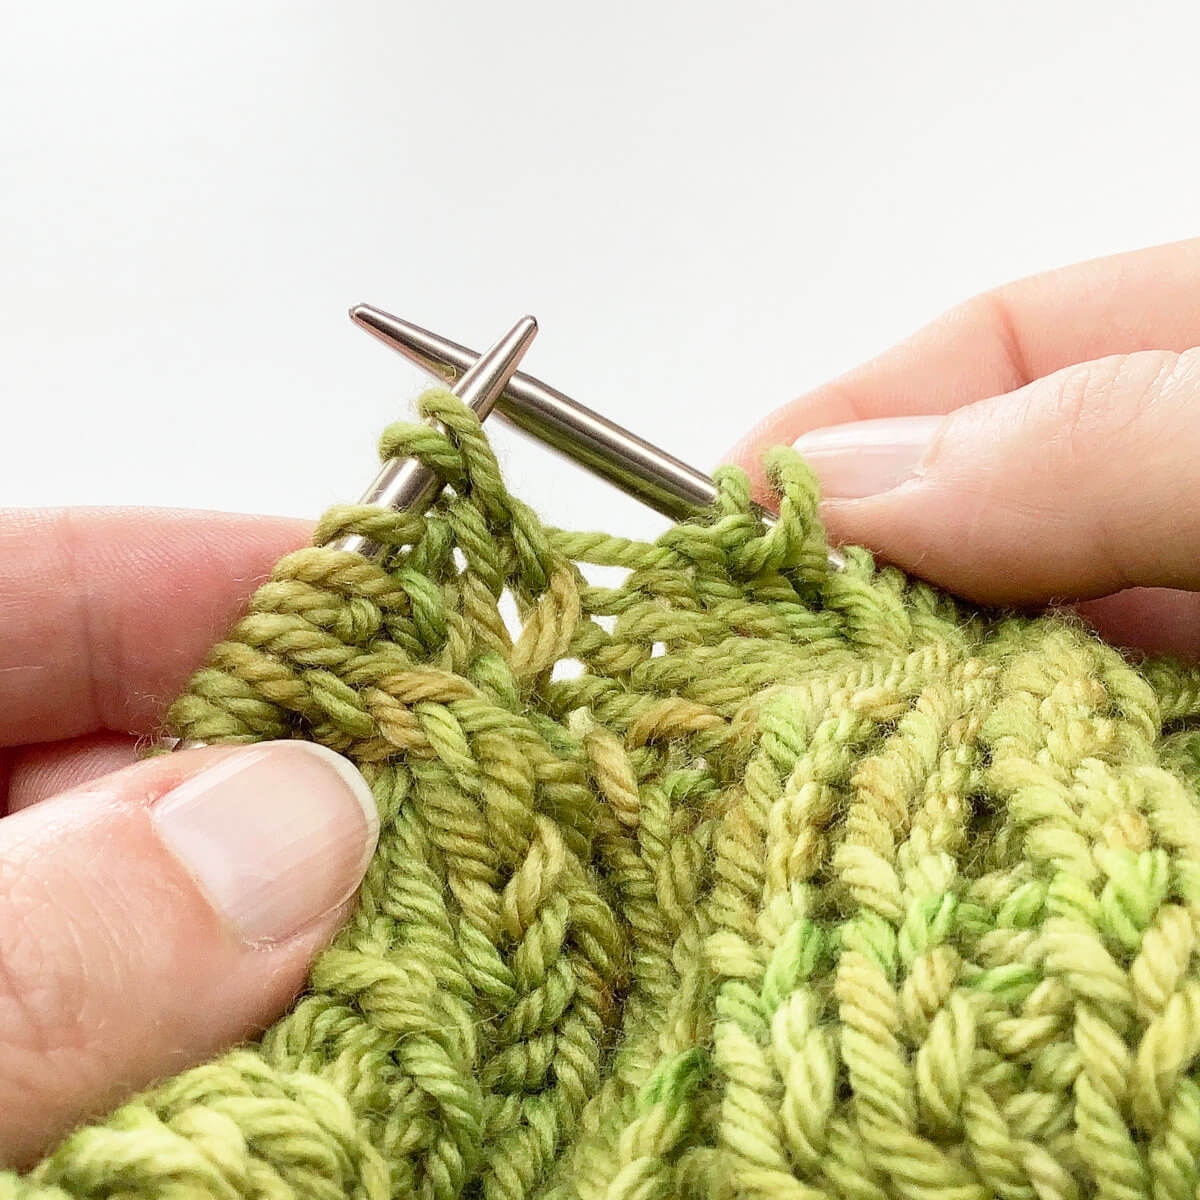
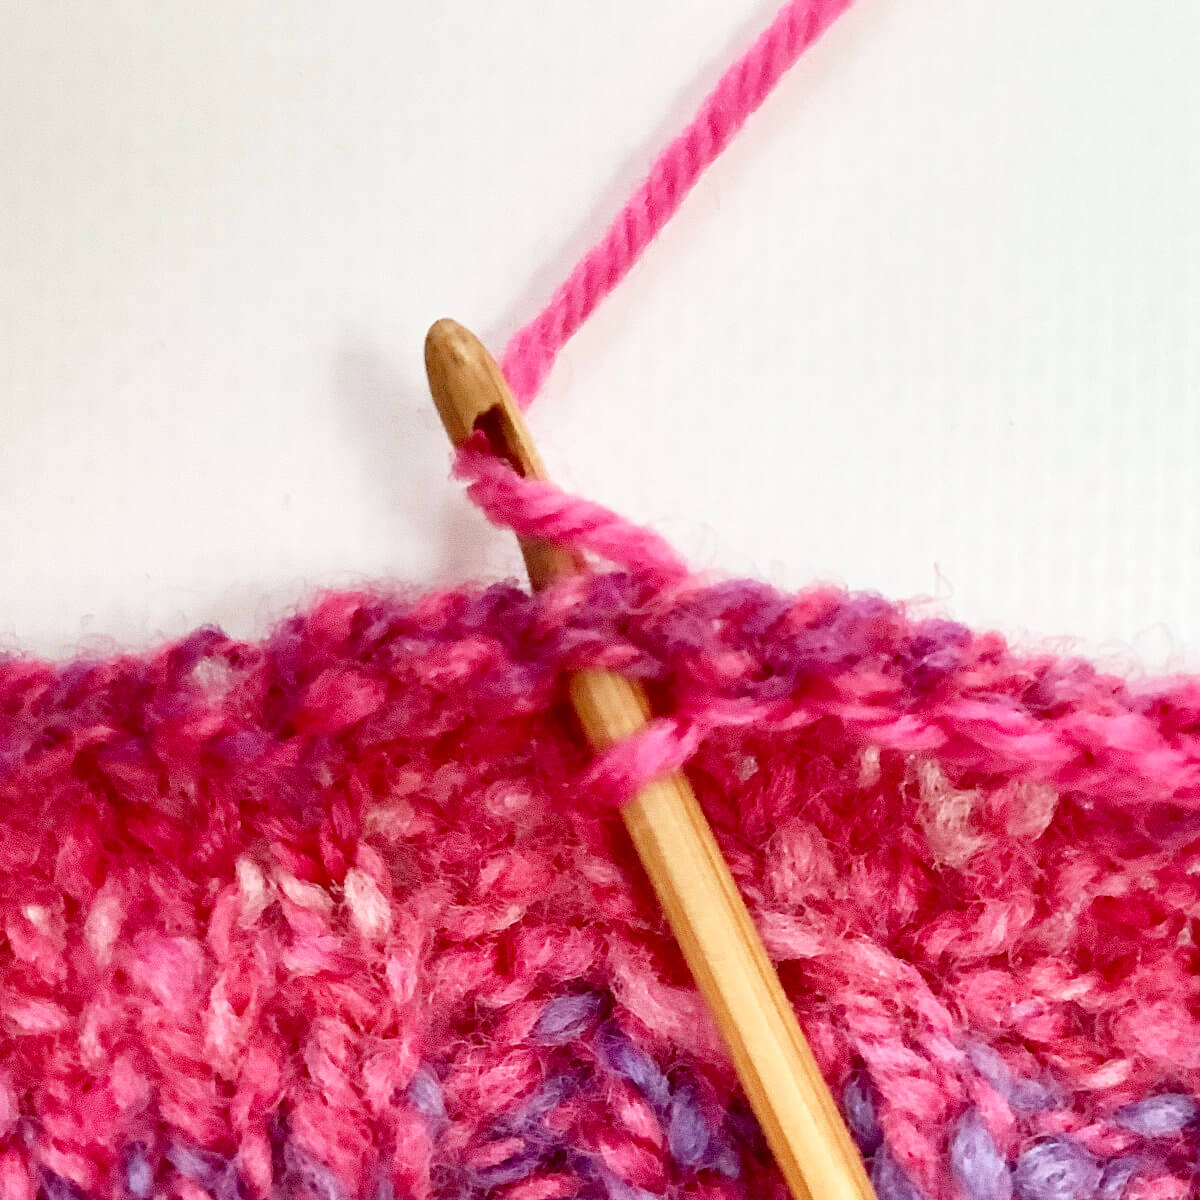
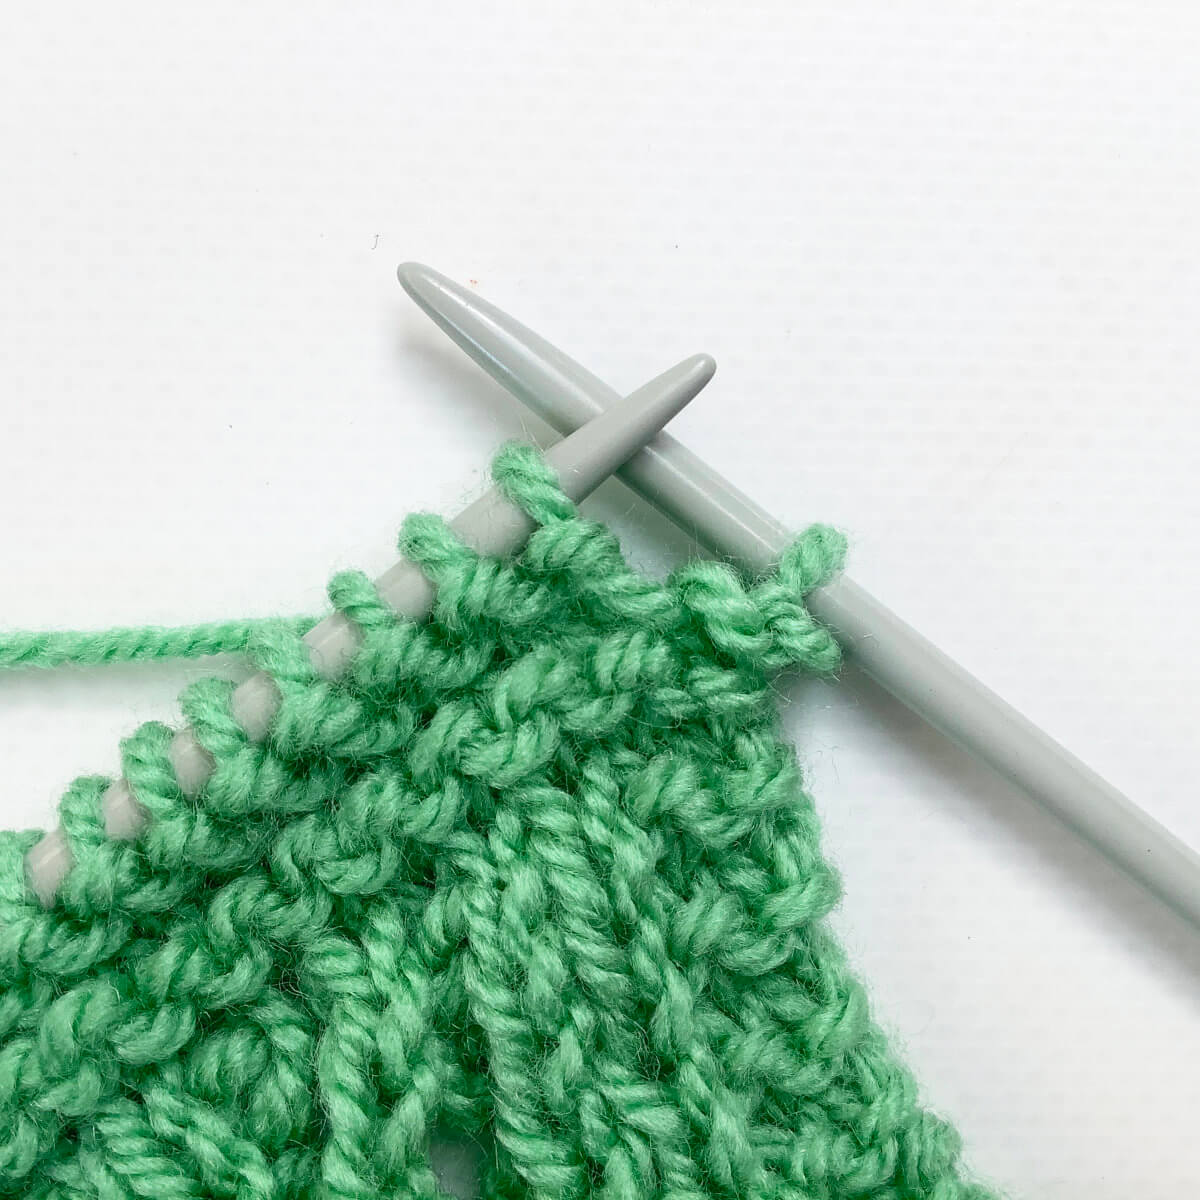
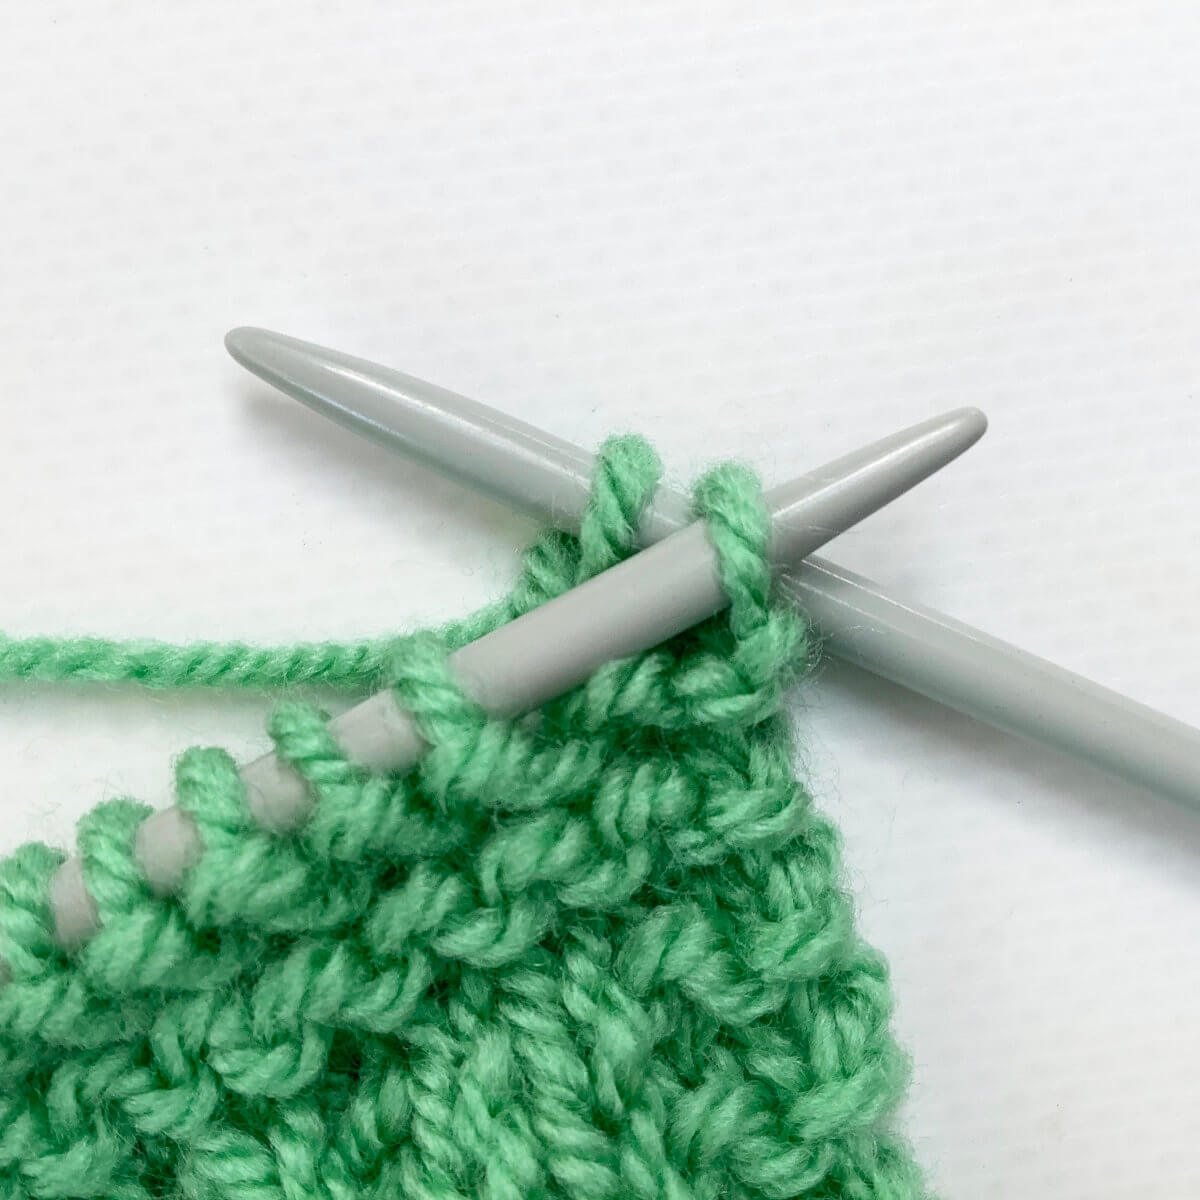
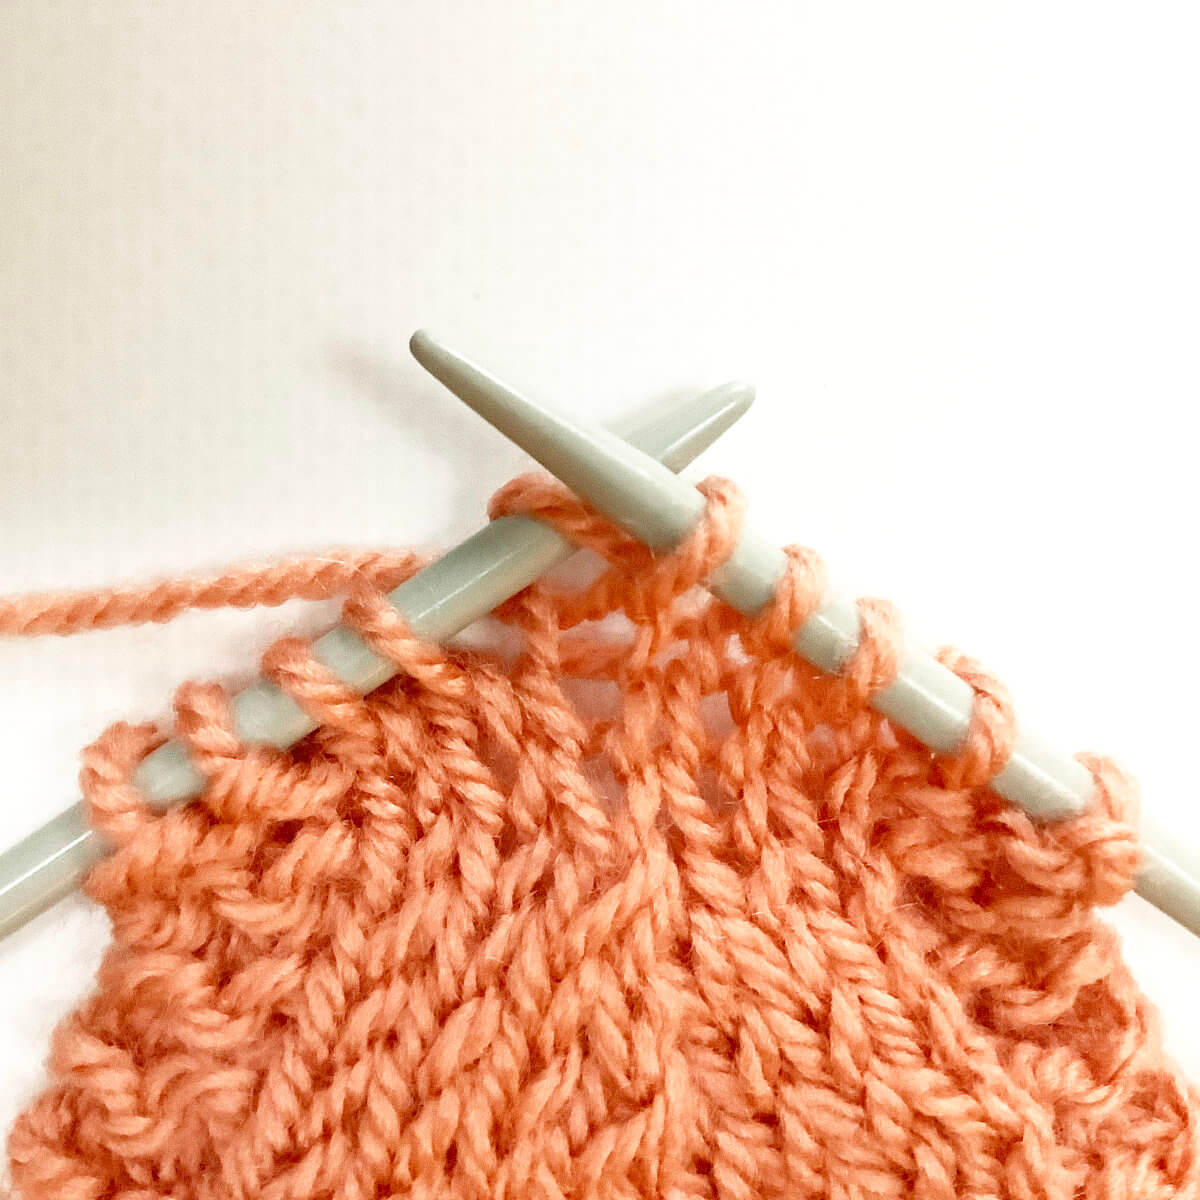
- First, work a knit stitch in the first stitch on the left-hand needle.
Don’t let the stitch slide off the needle yet!
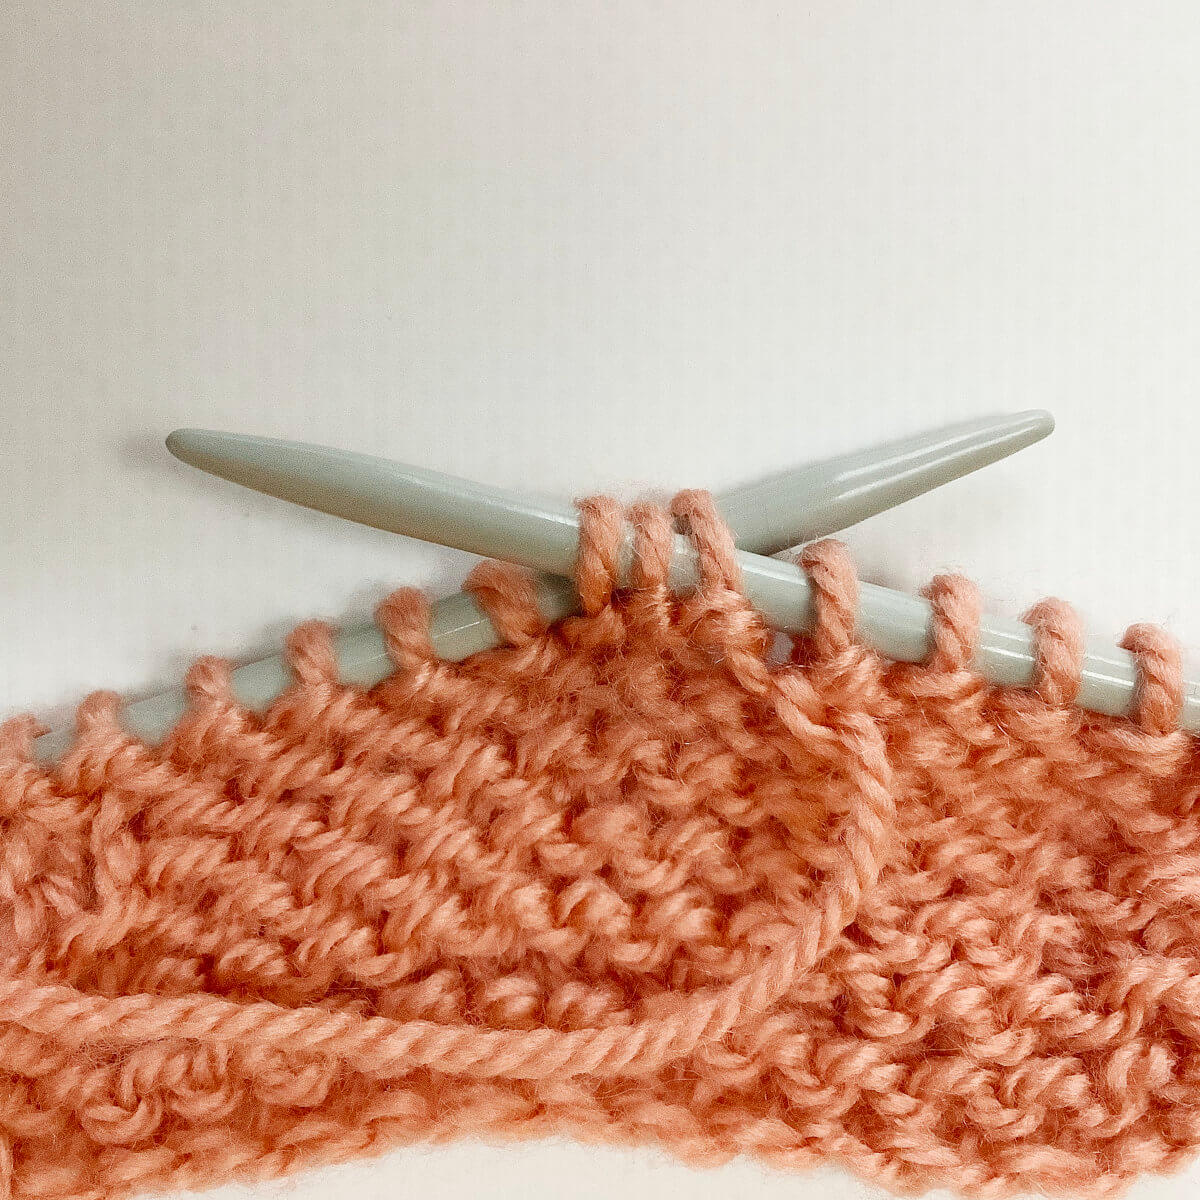
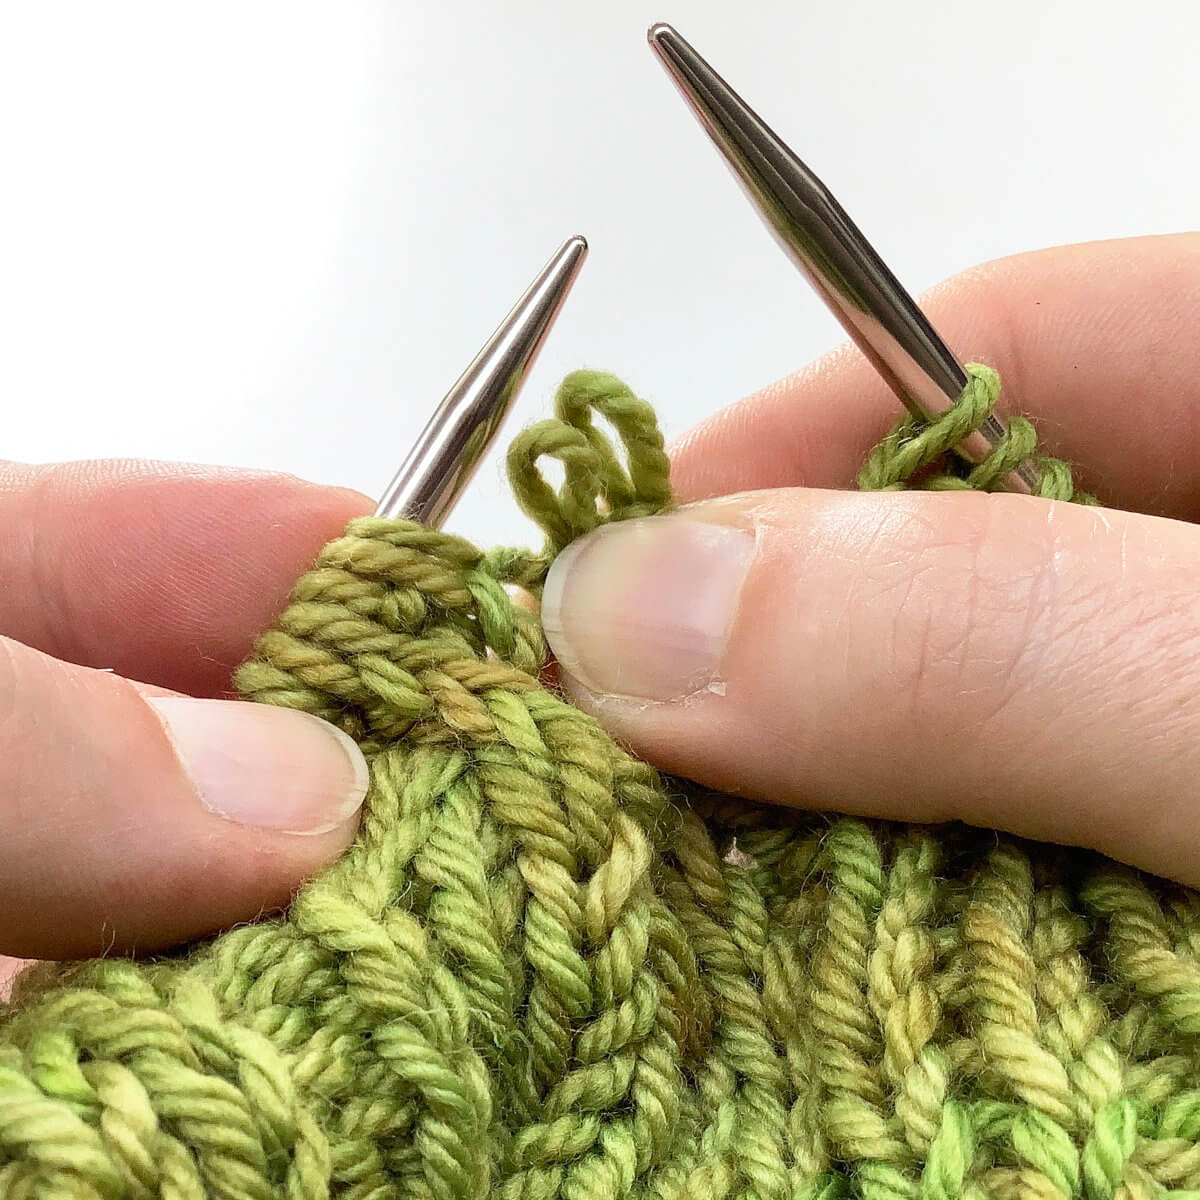
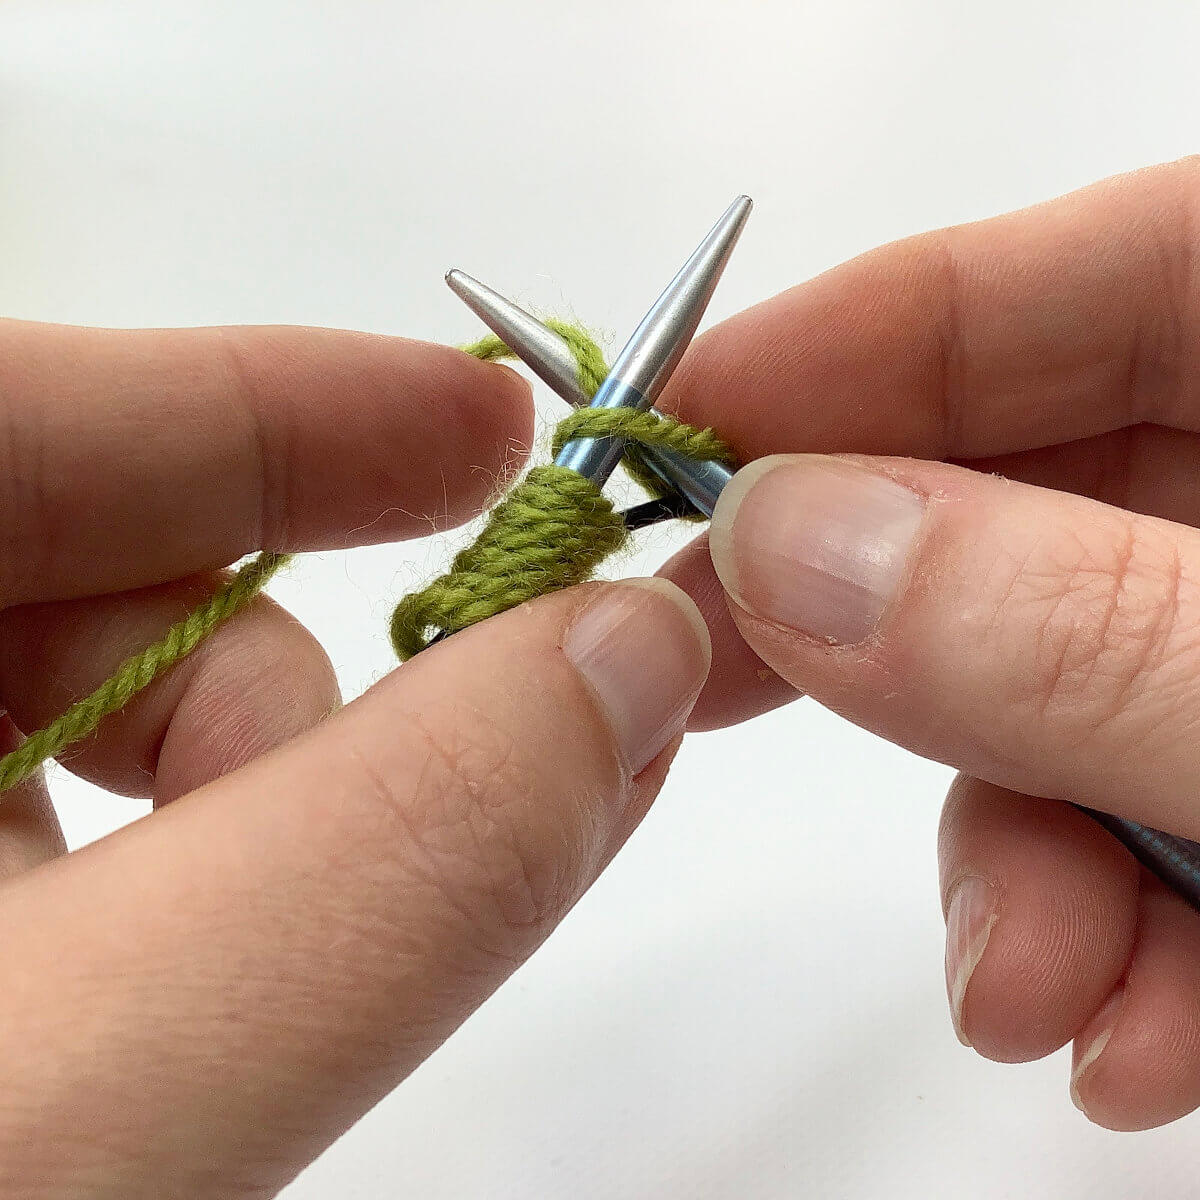
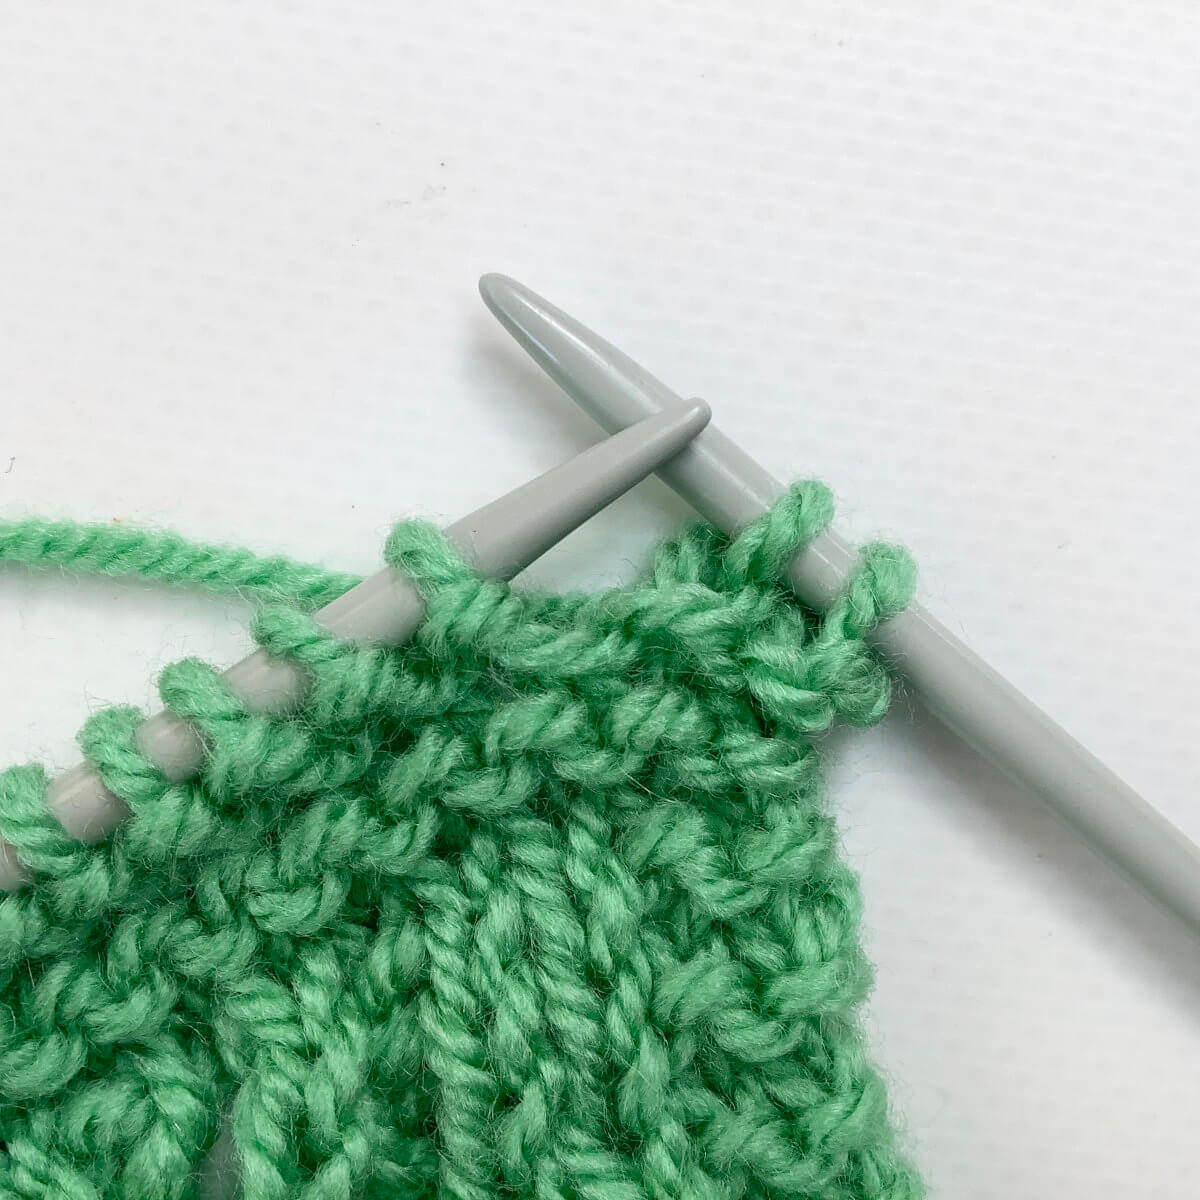
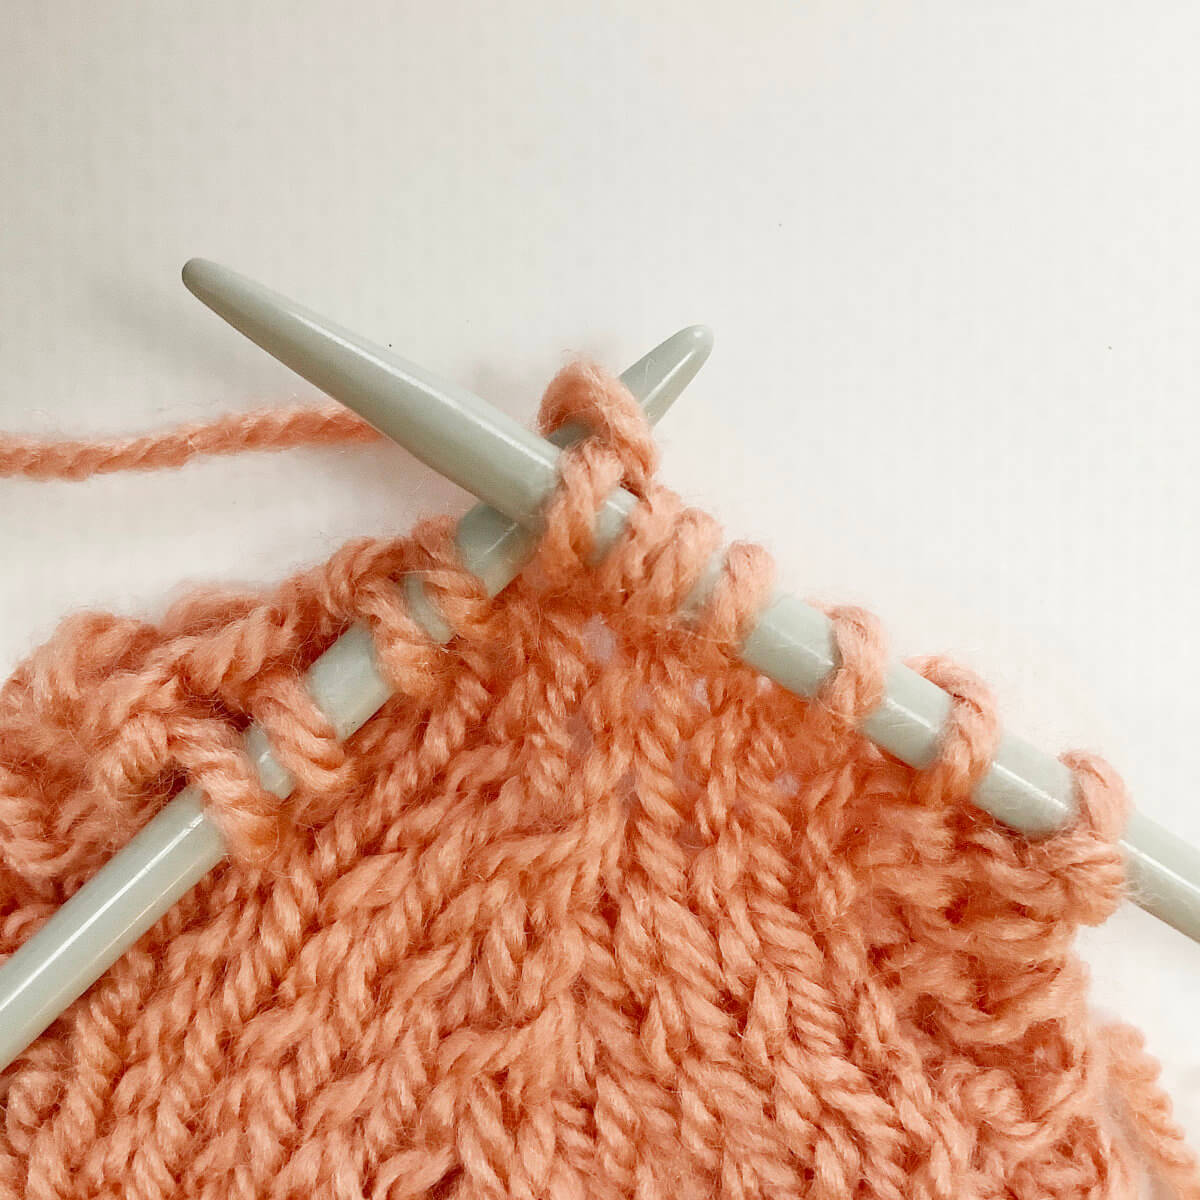
- Now wrap the working yarn around the right-hand needle for the “yo” part of the increase.

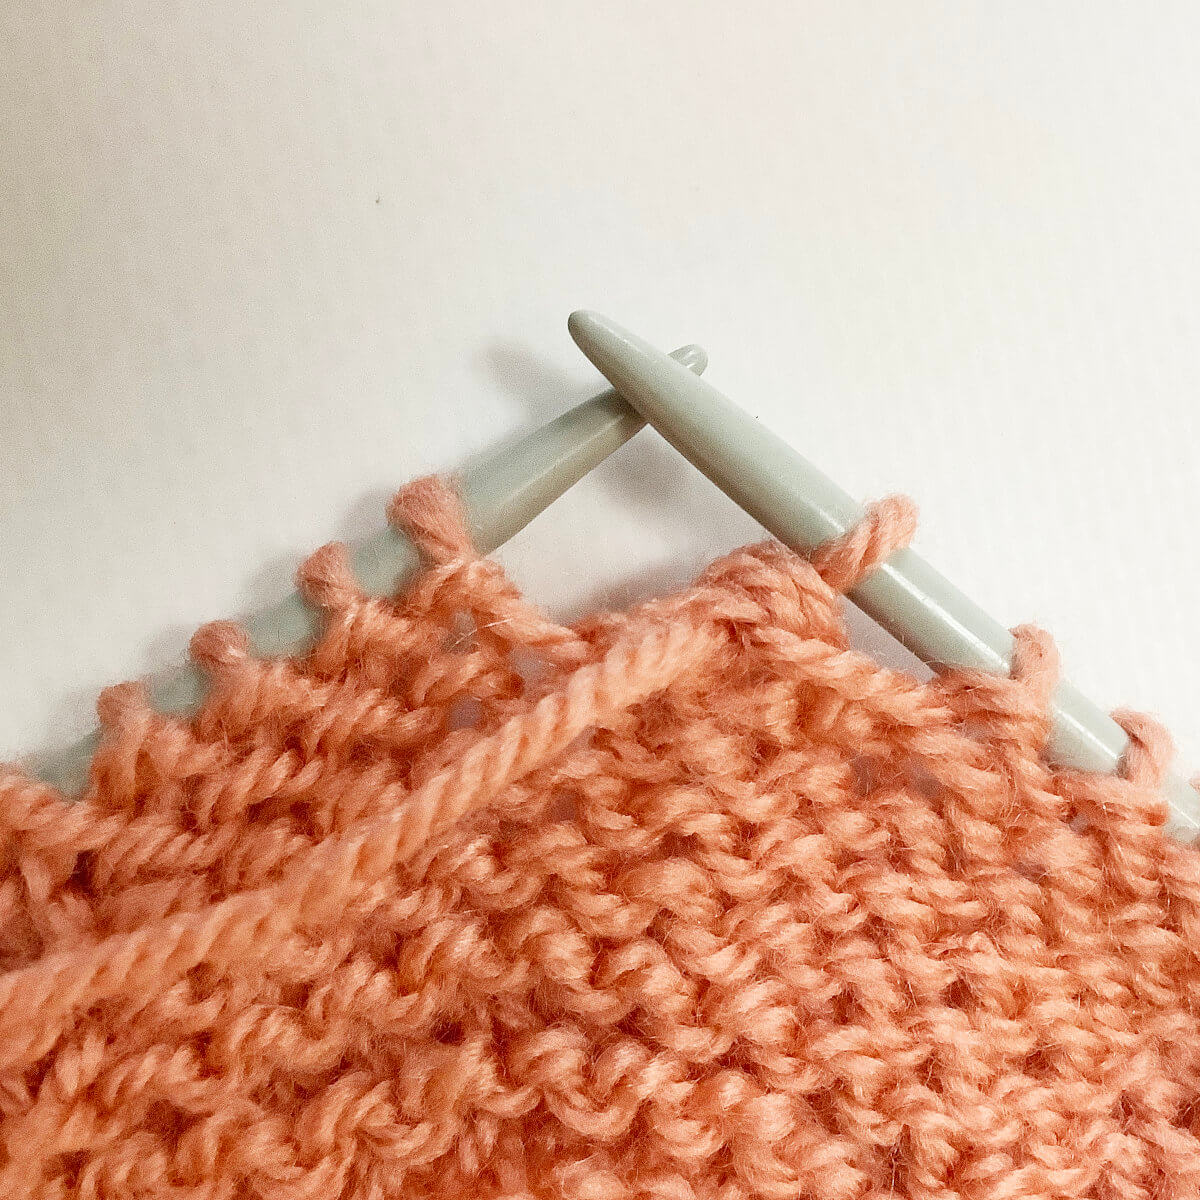
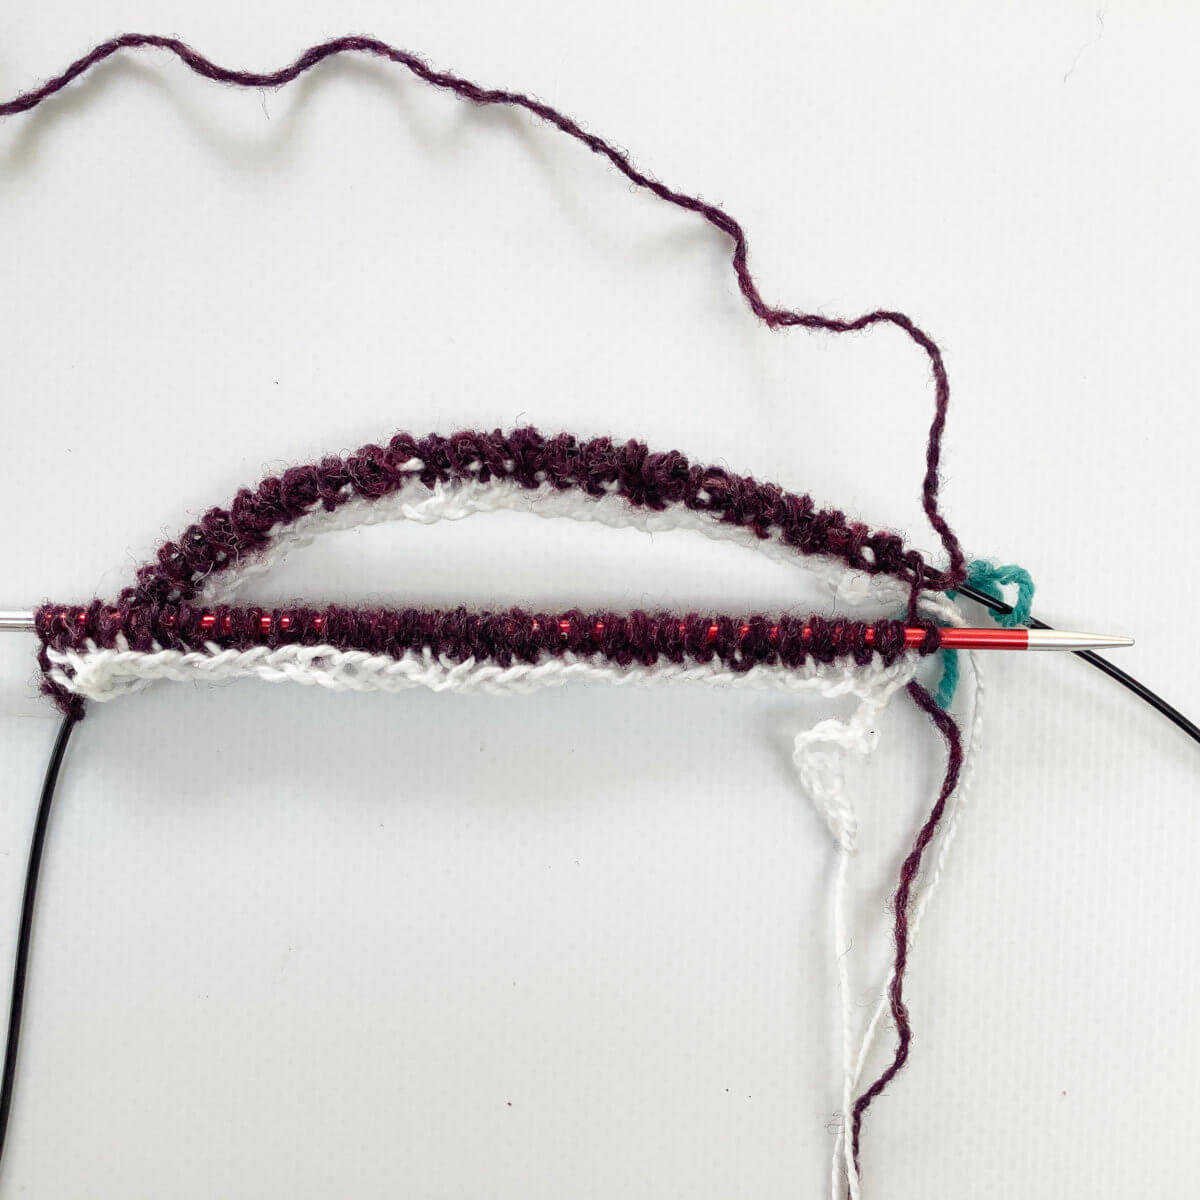
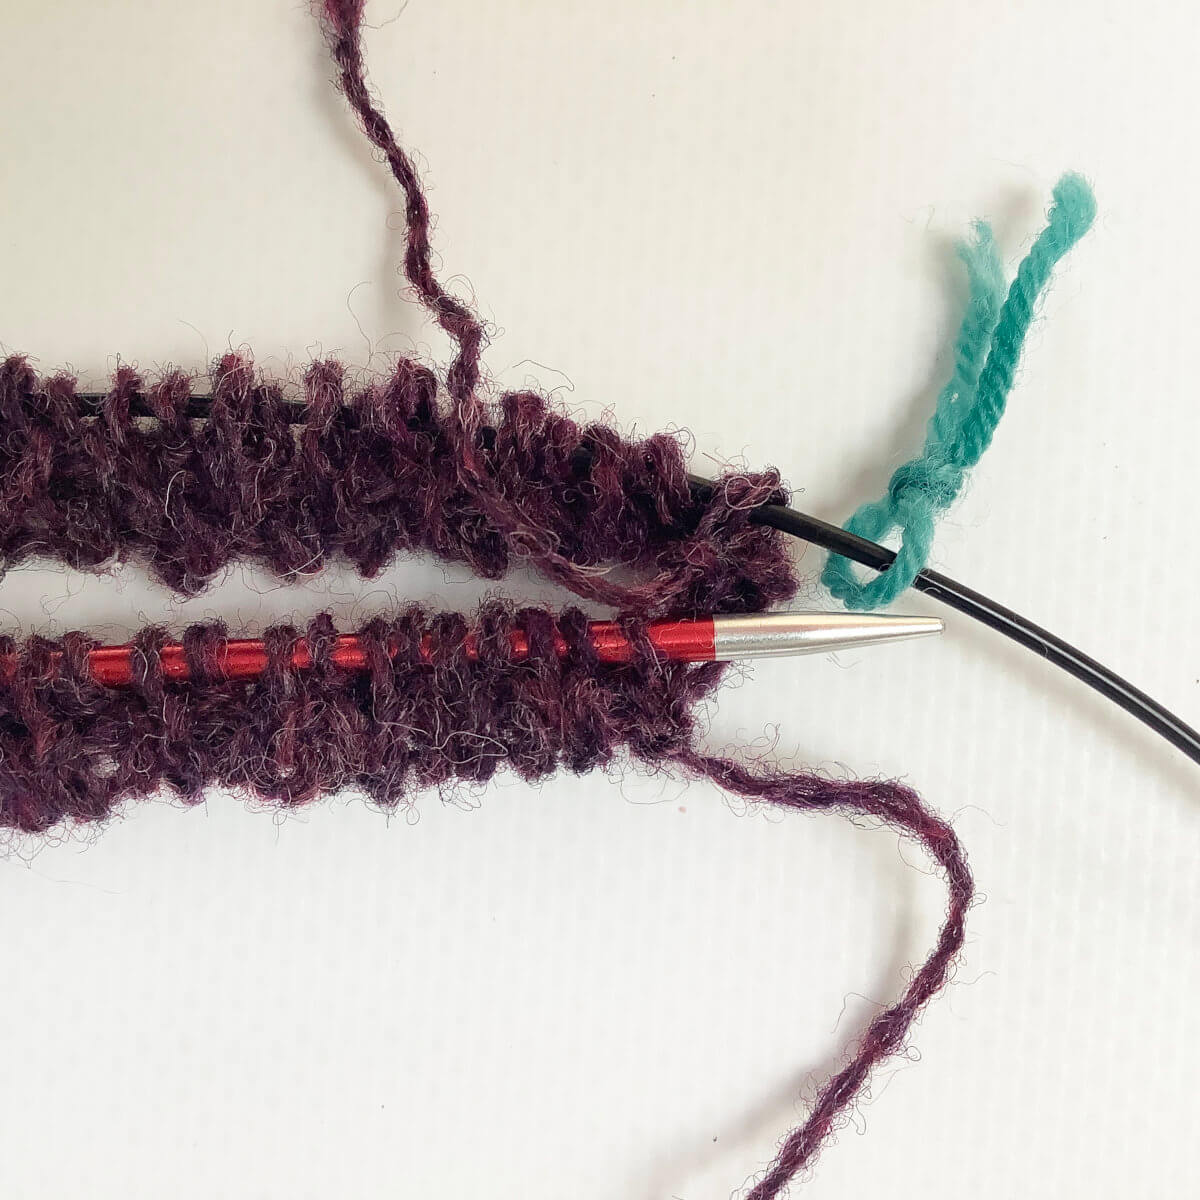
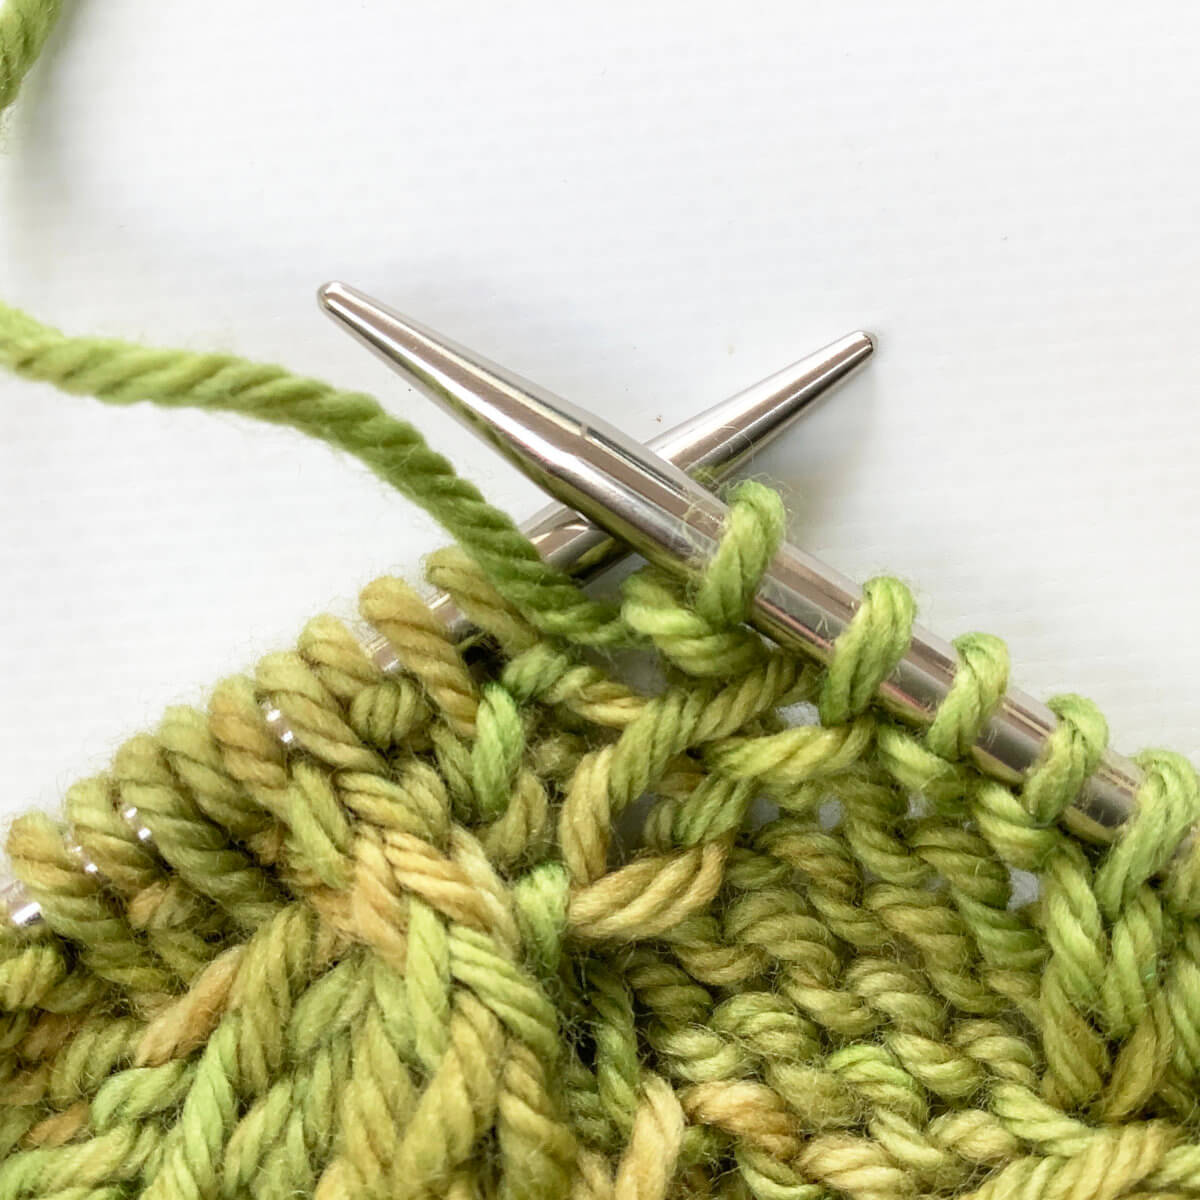
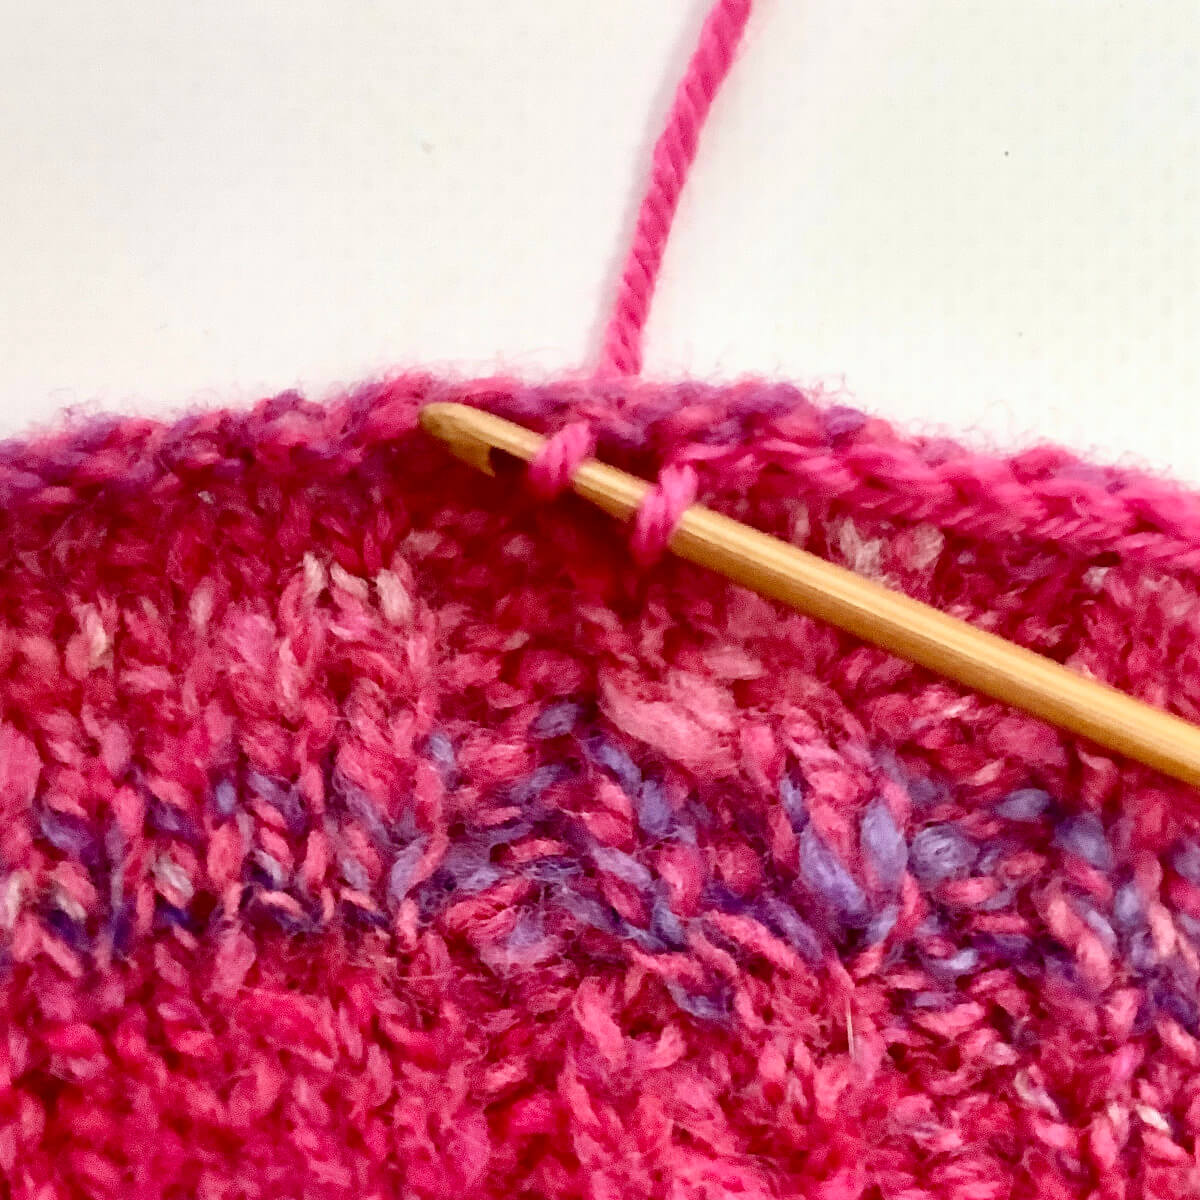
- Then work another knit stitch.
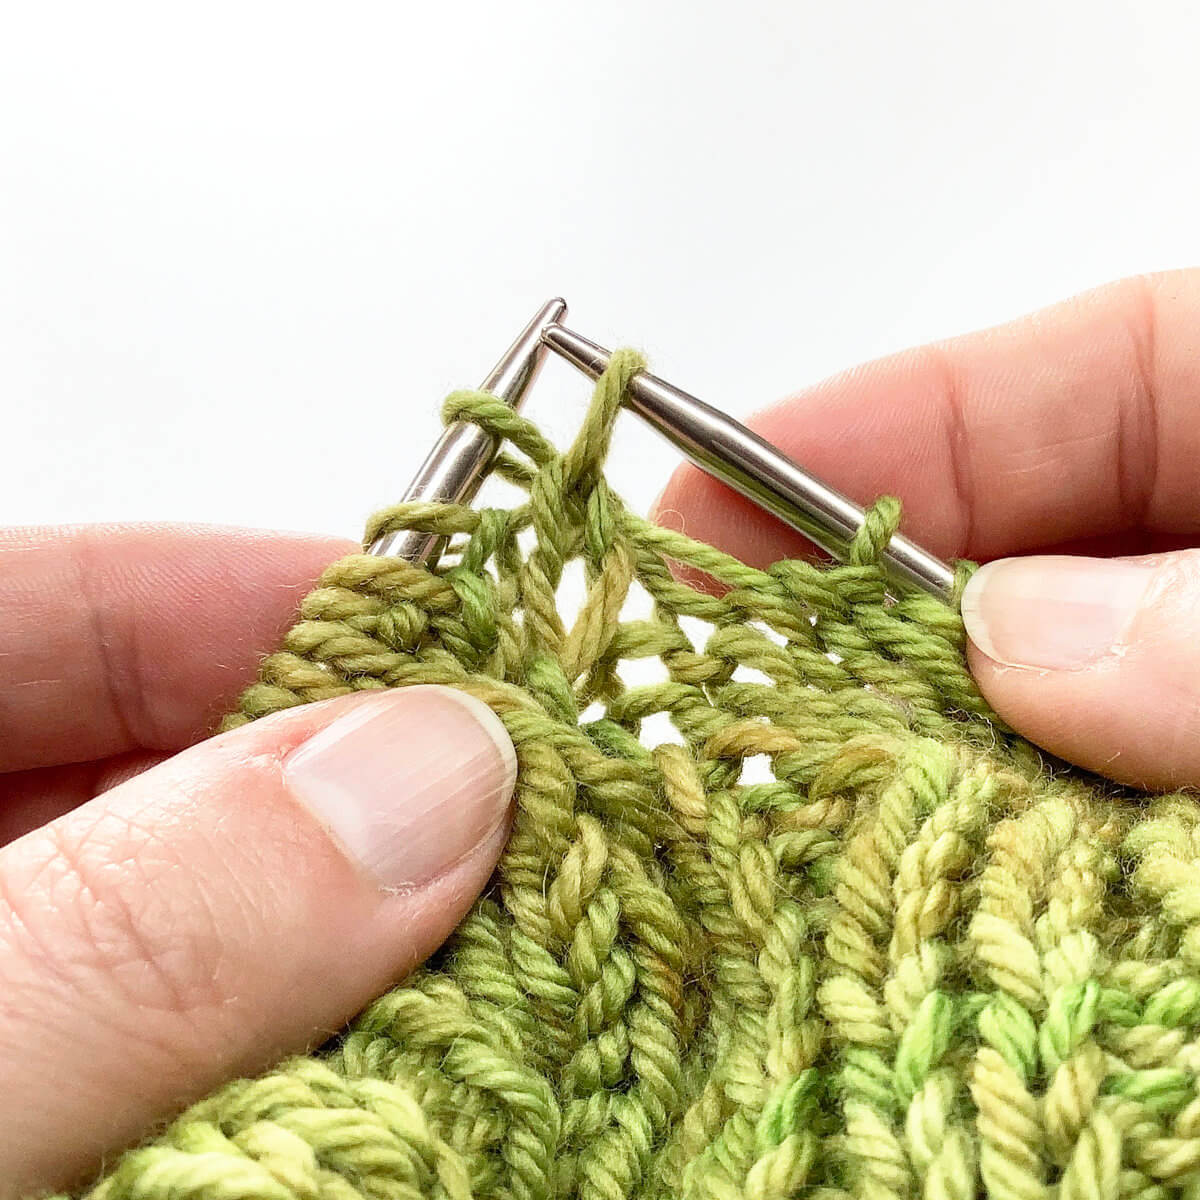
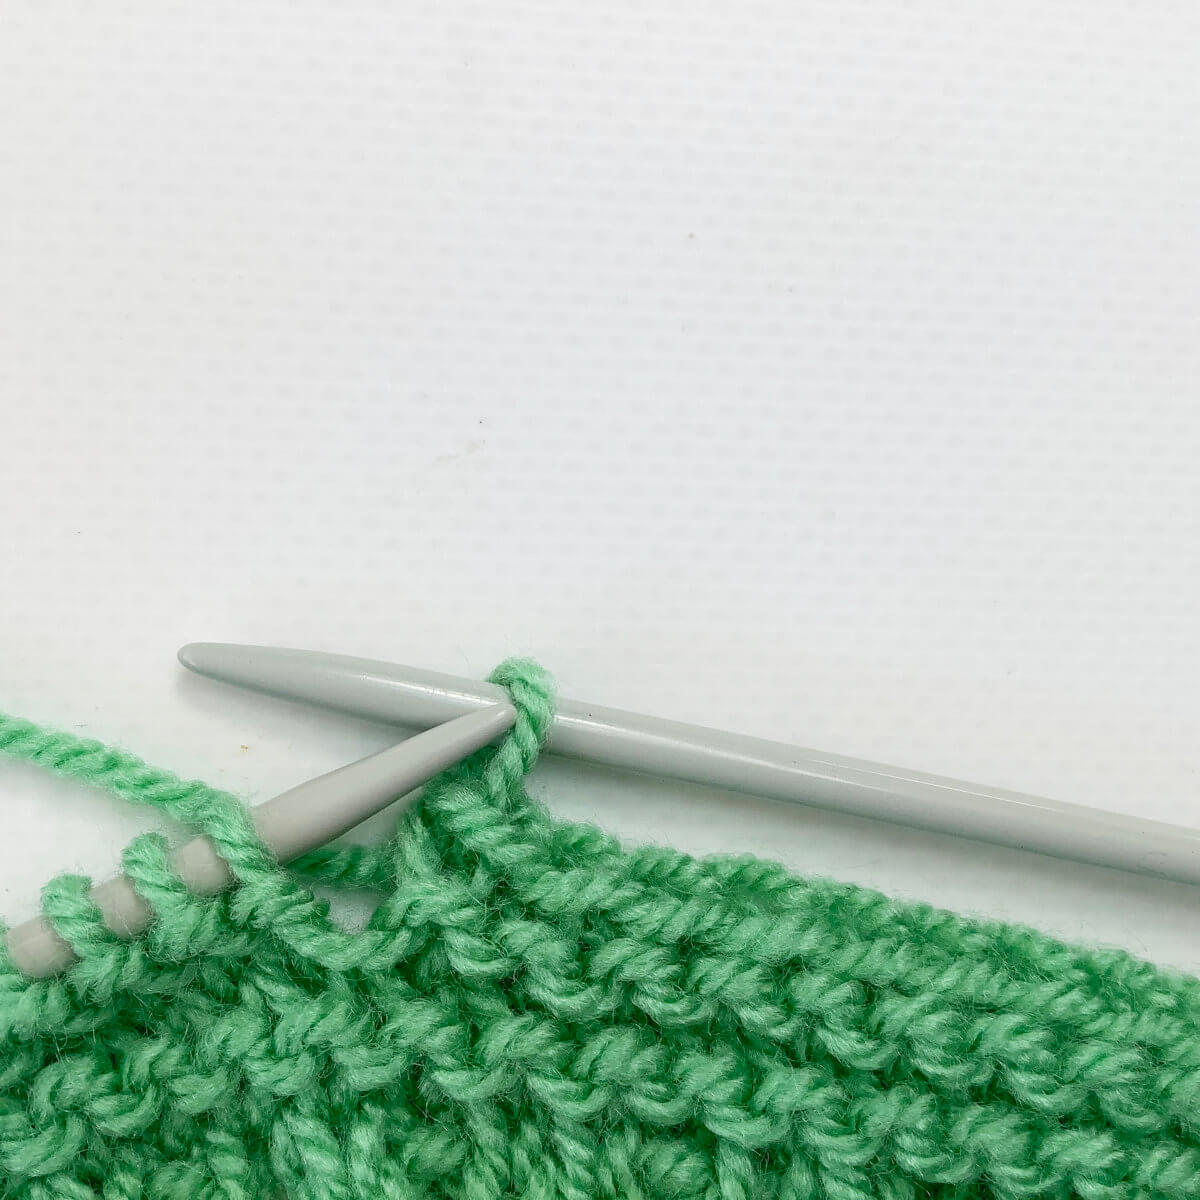
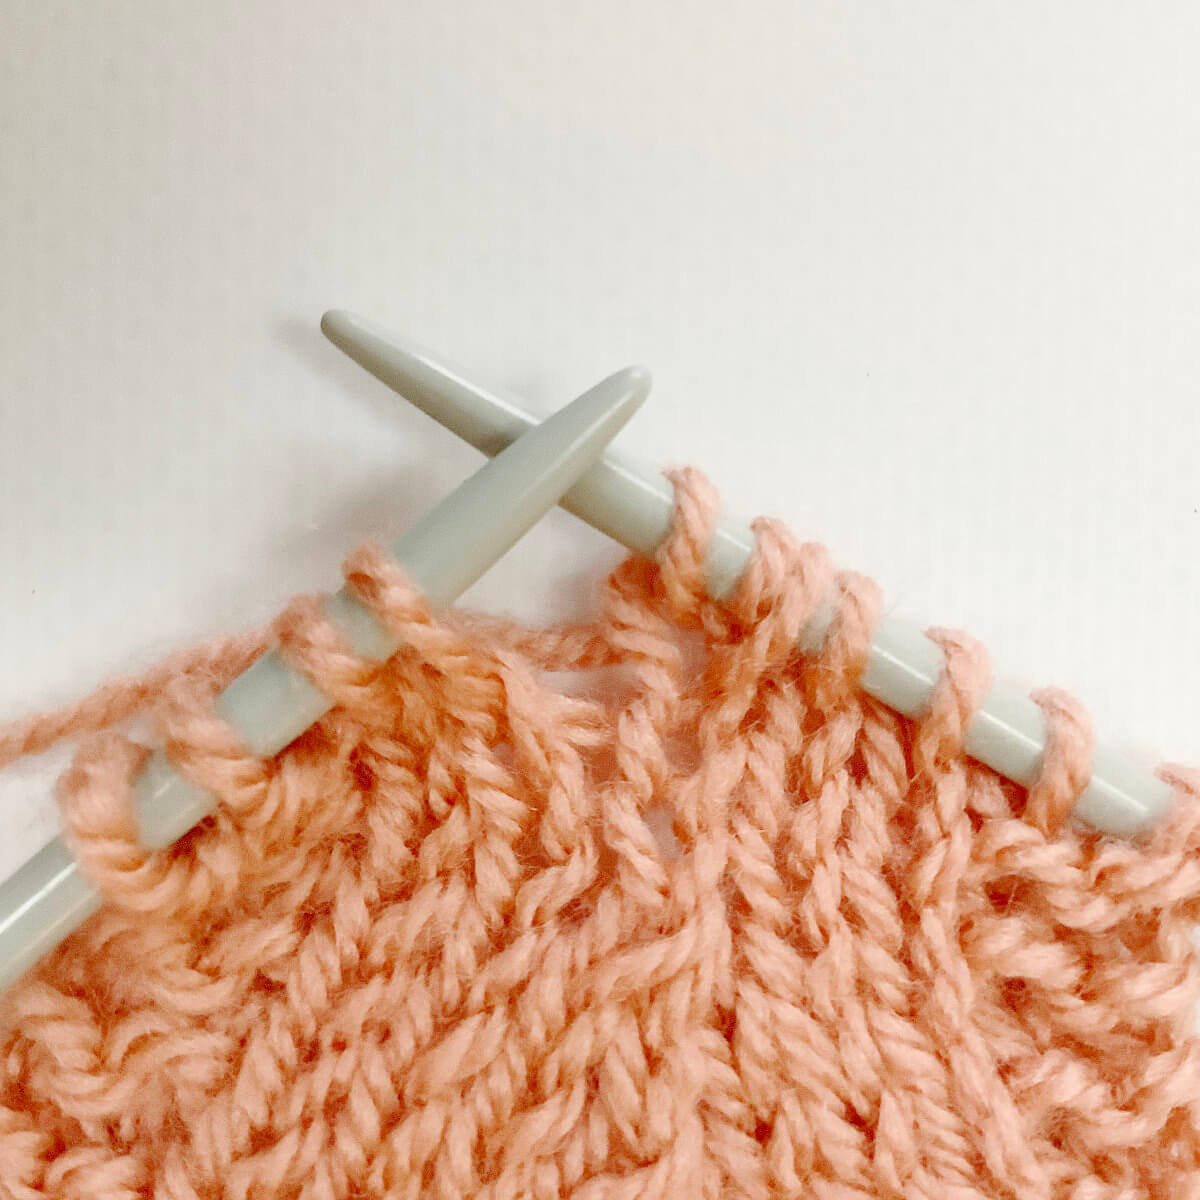
- To complete the increase, slip the stitch worked off the needle.
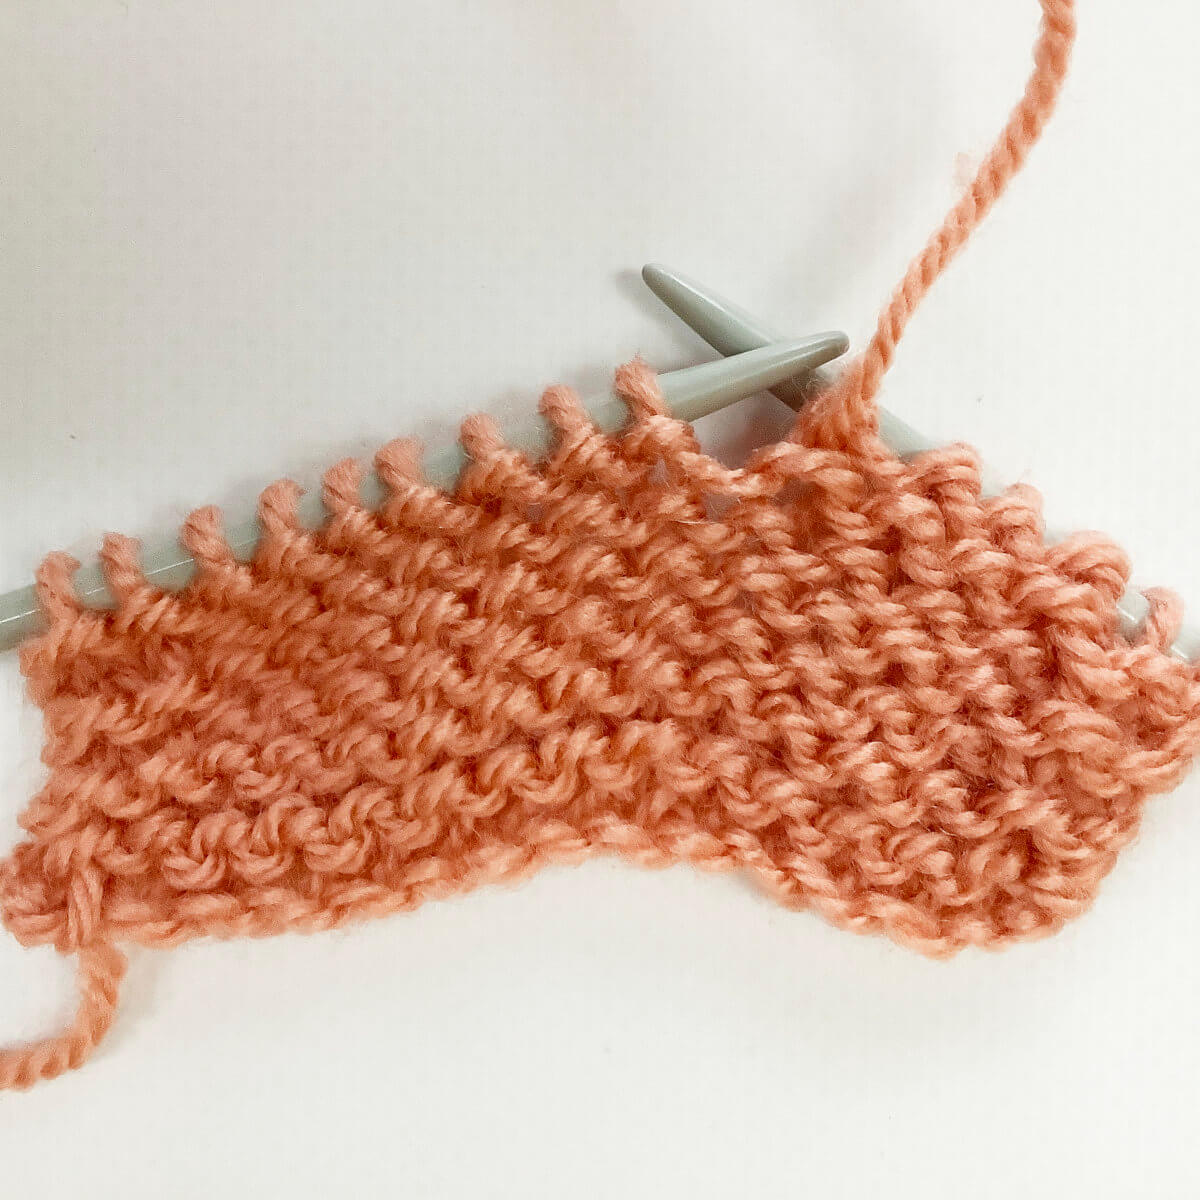
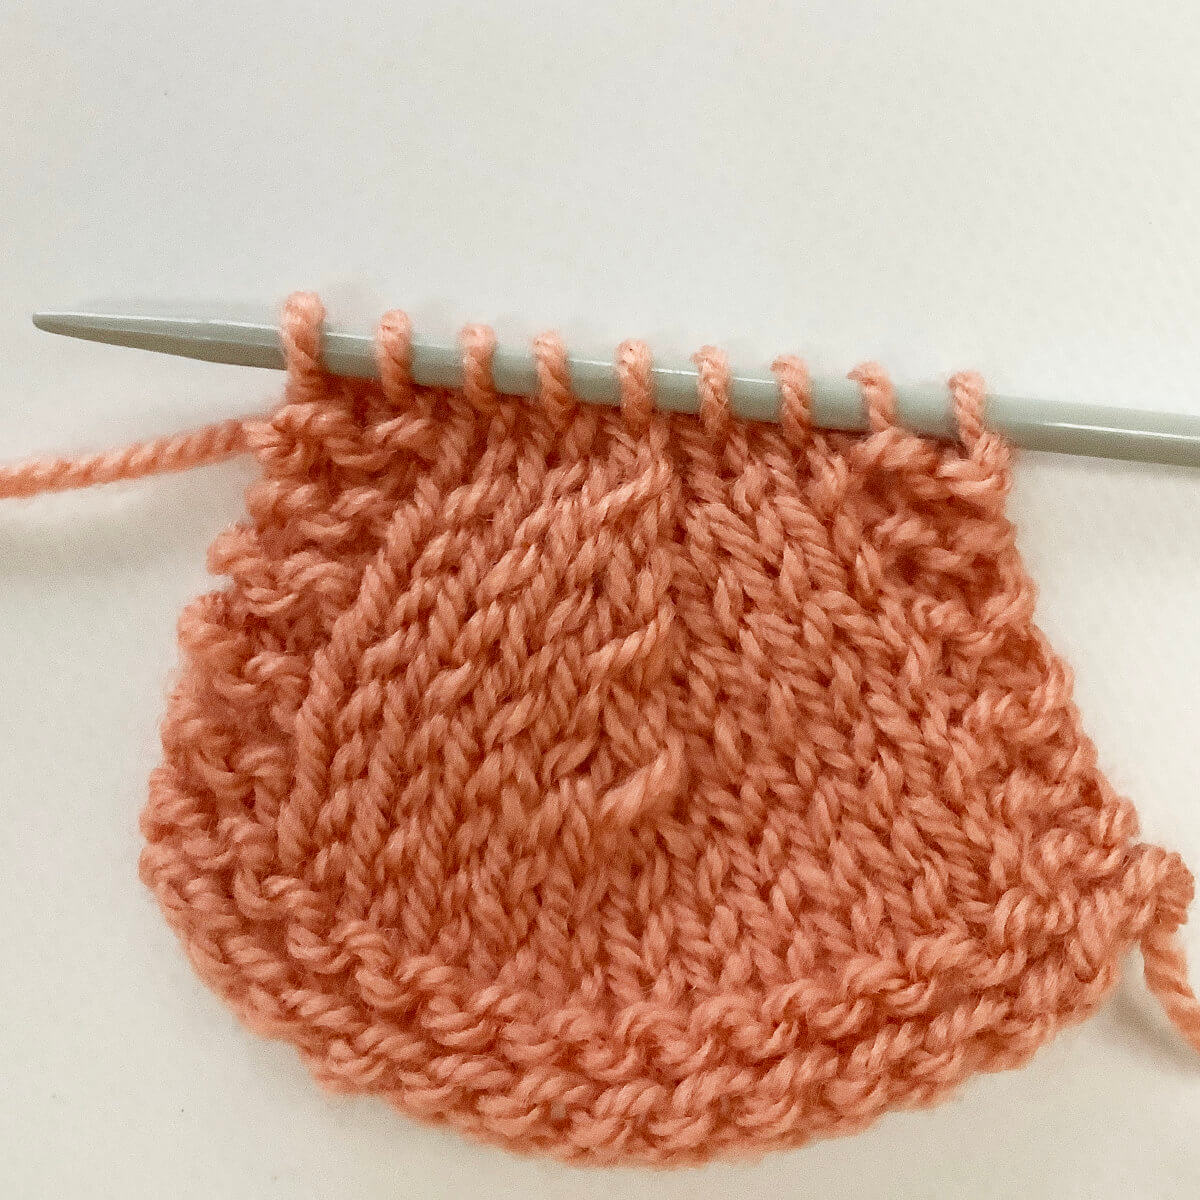
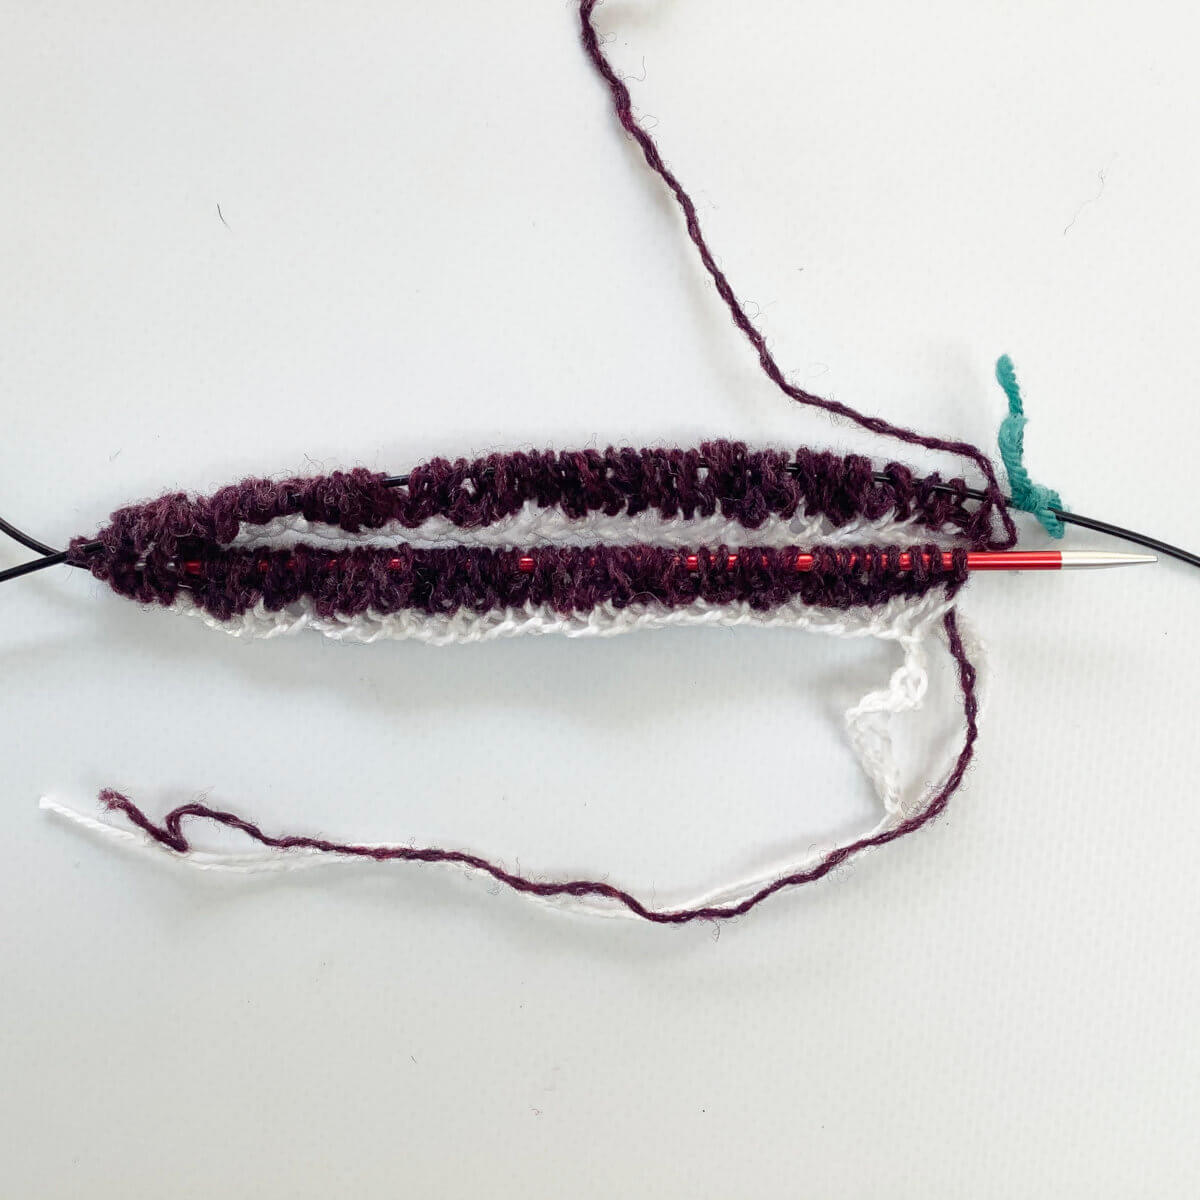
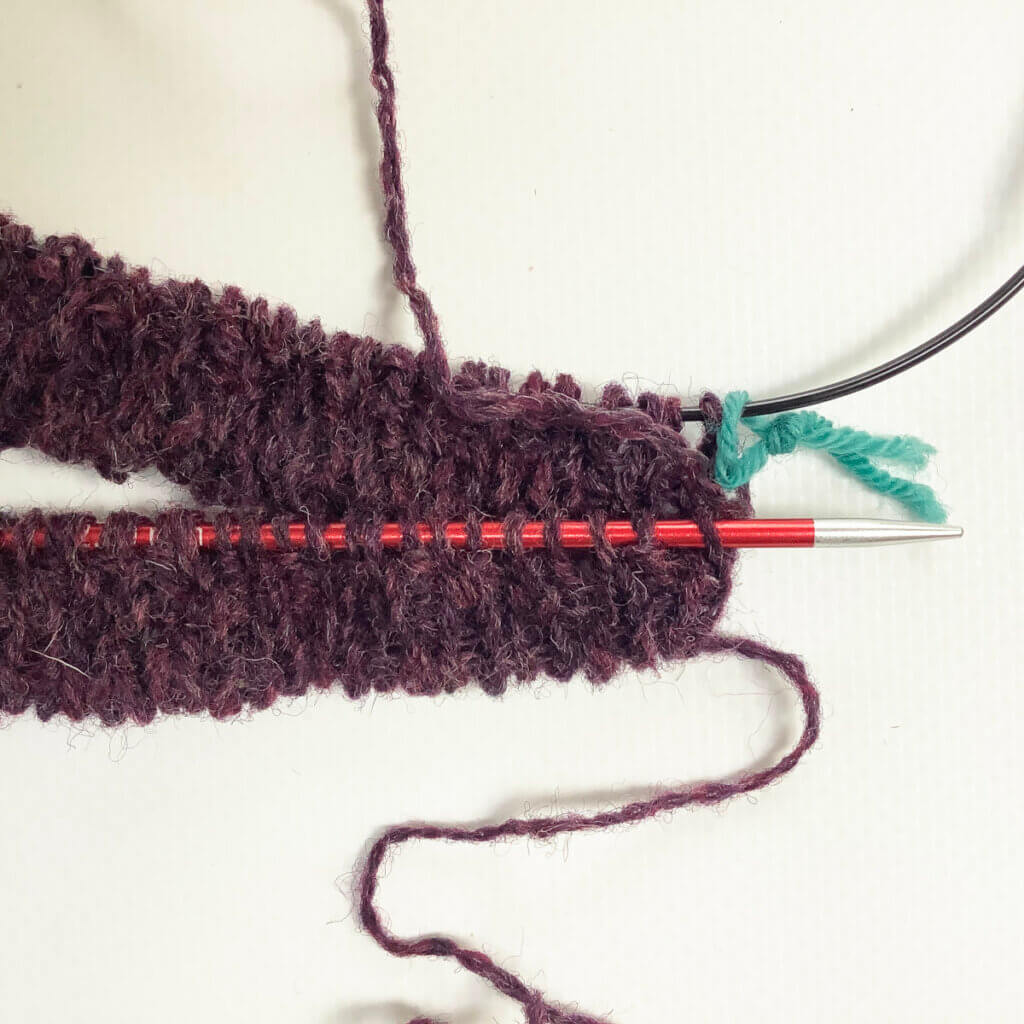
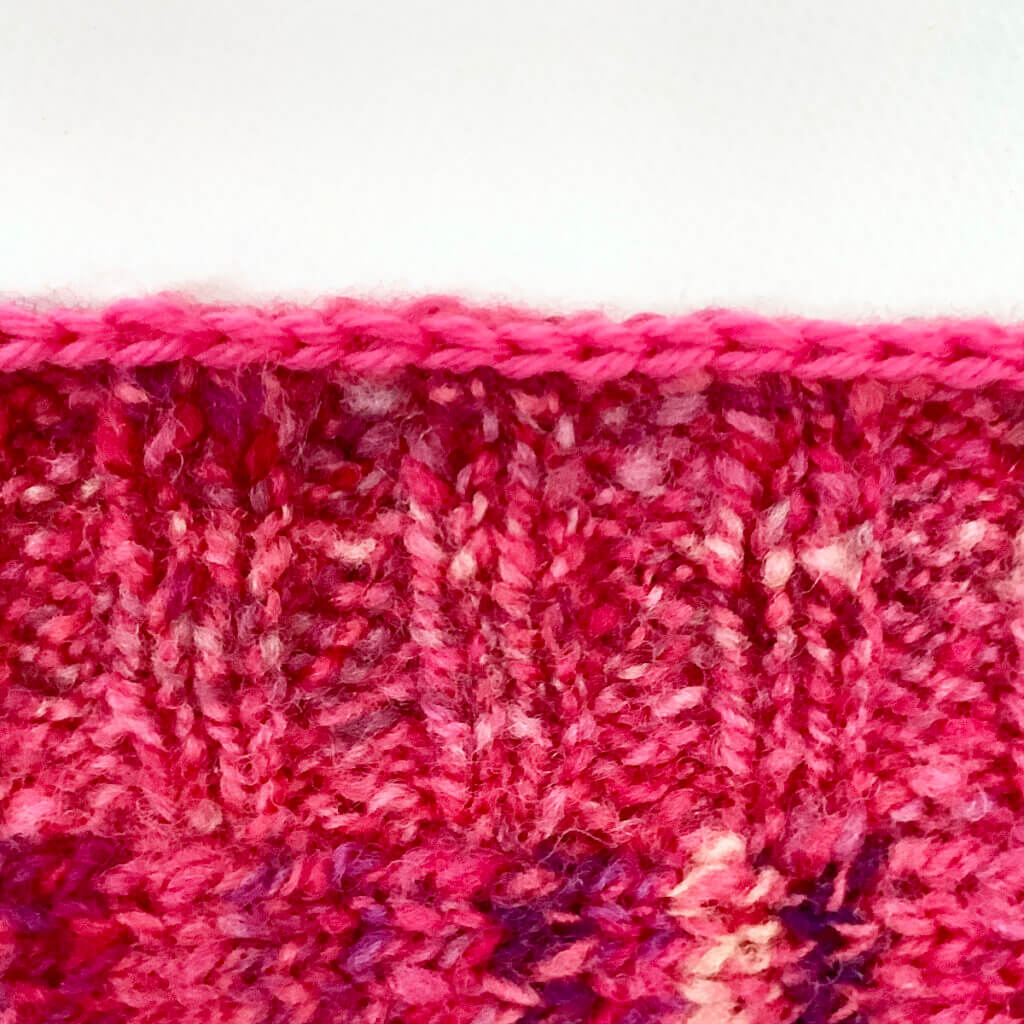
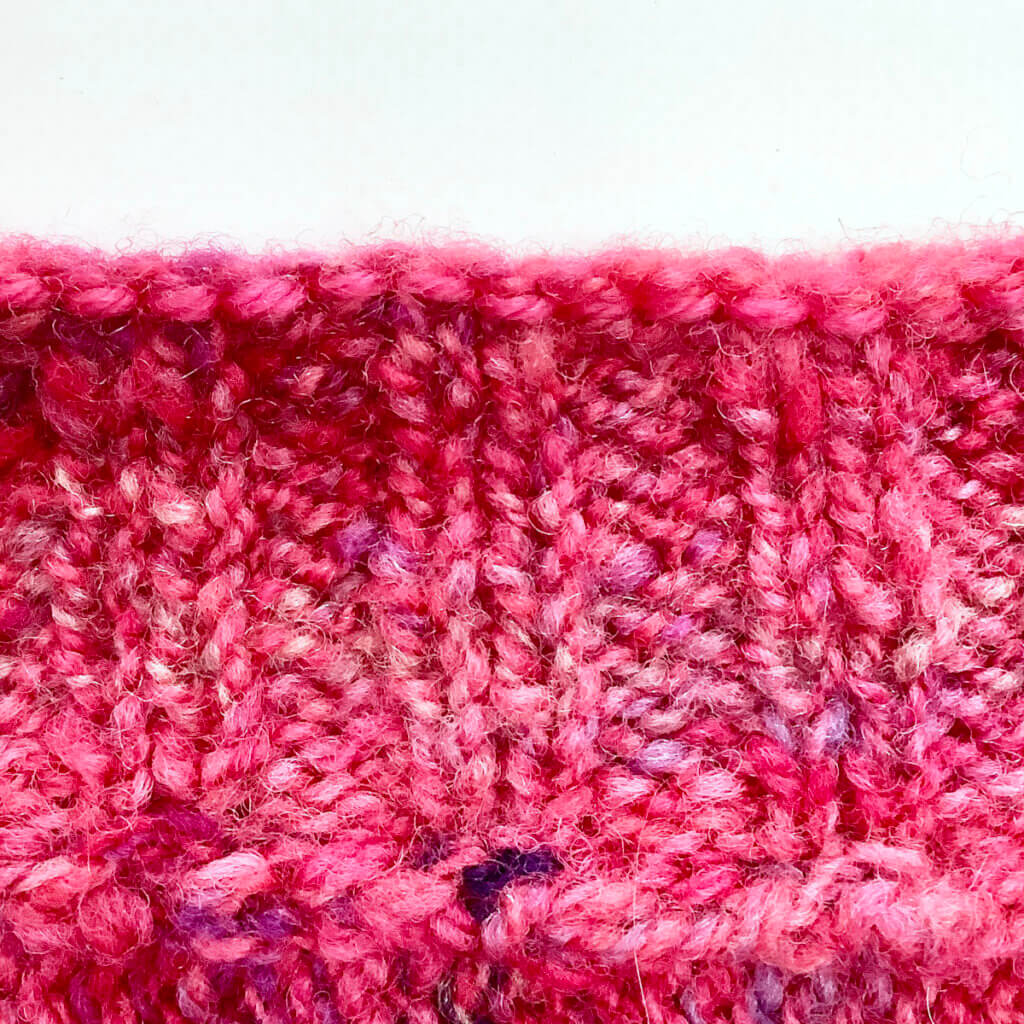
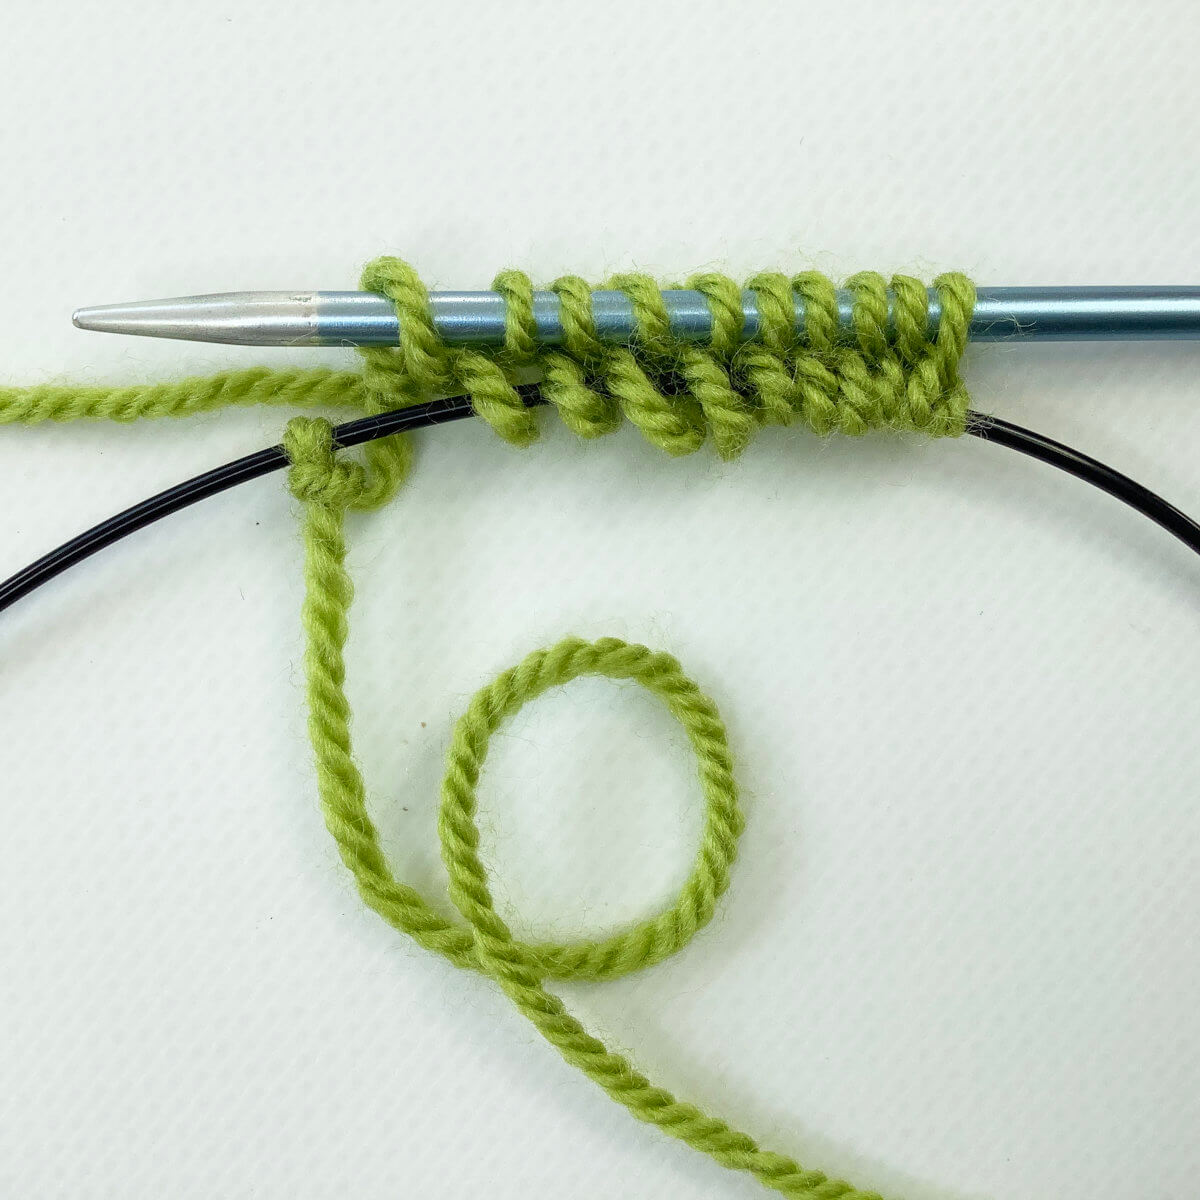
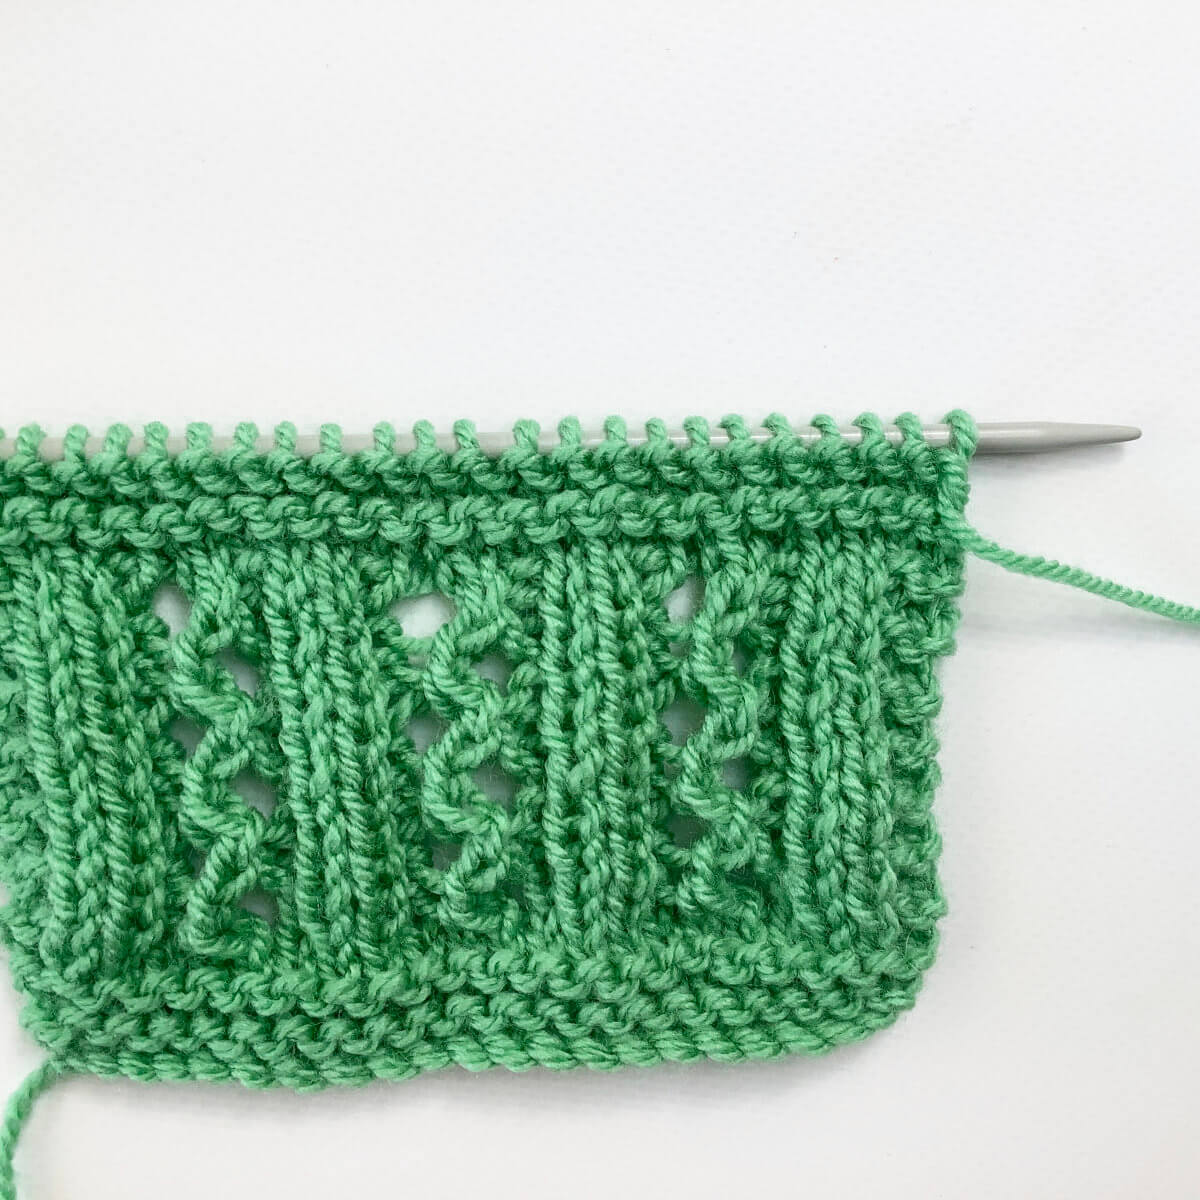
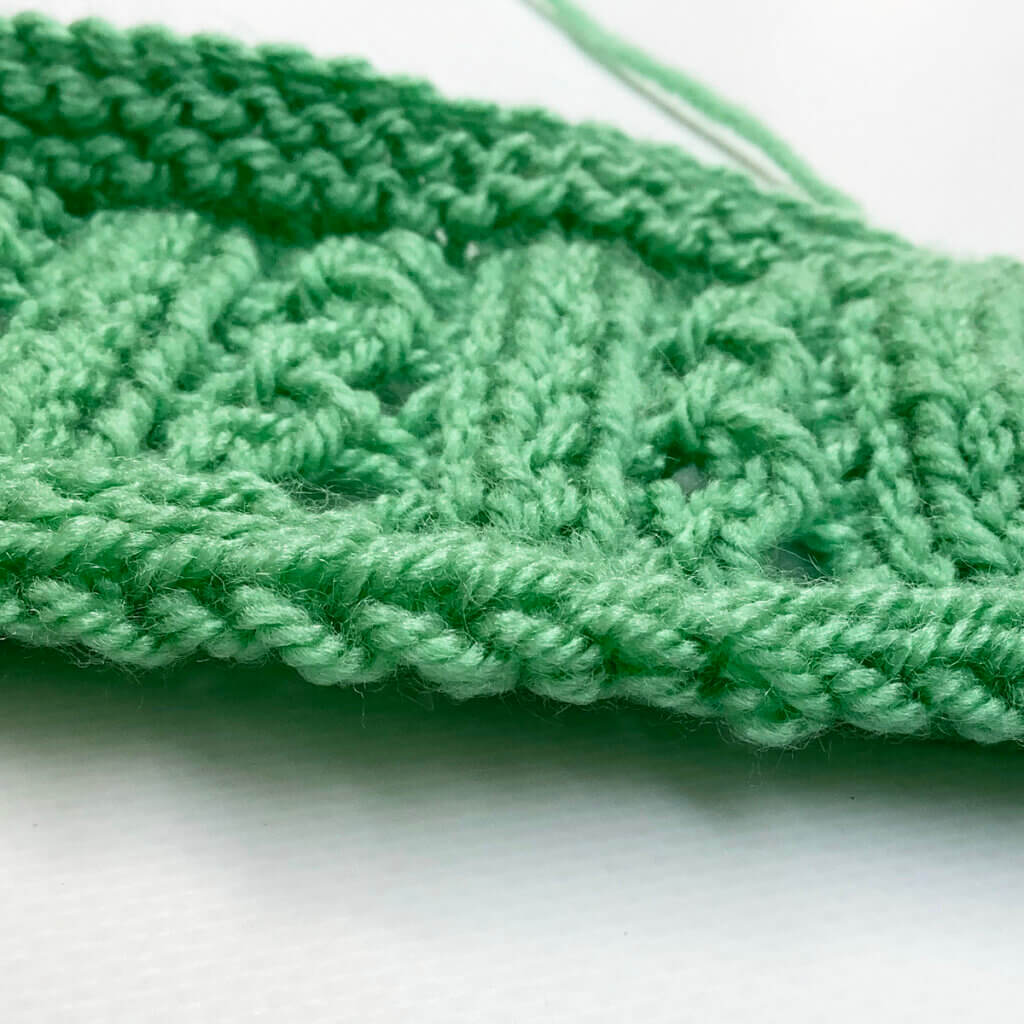
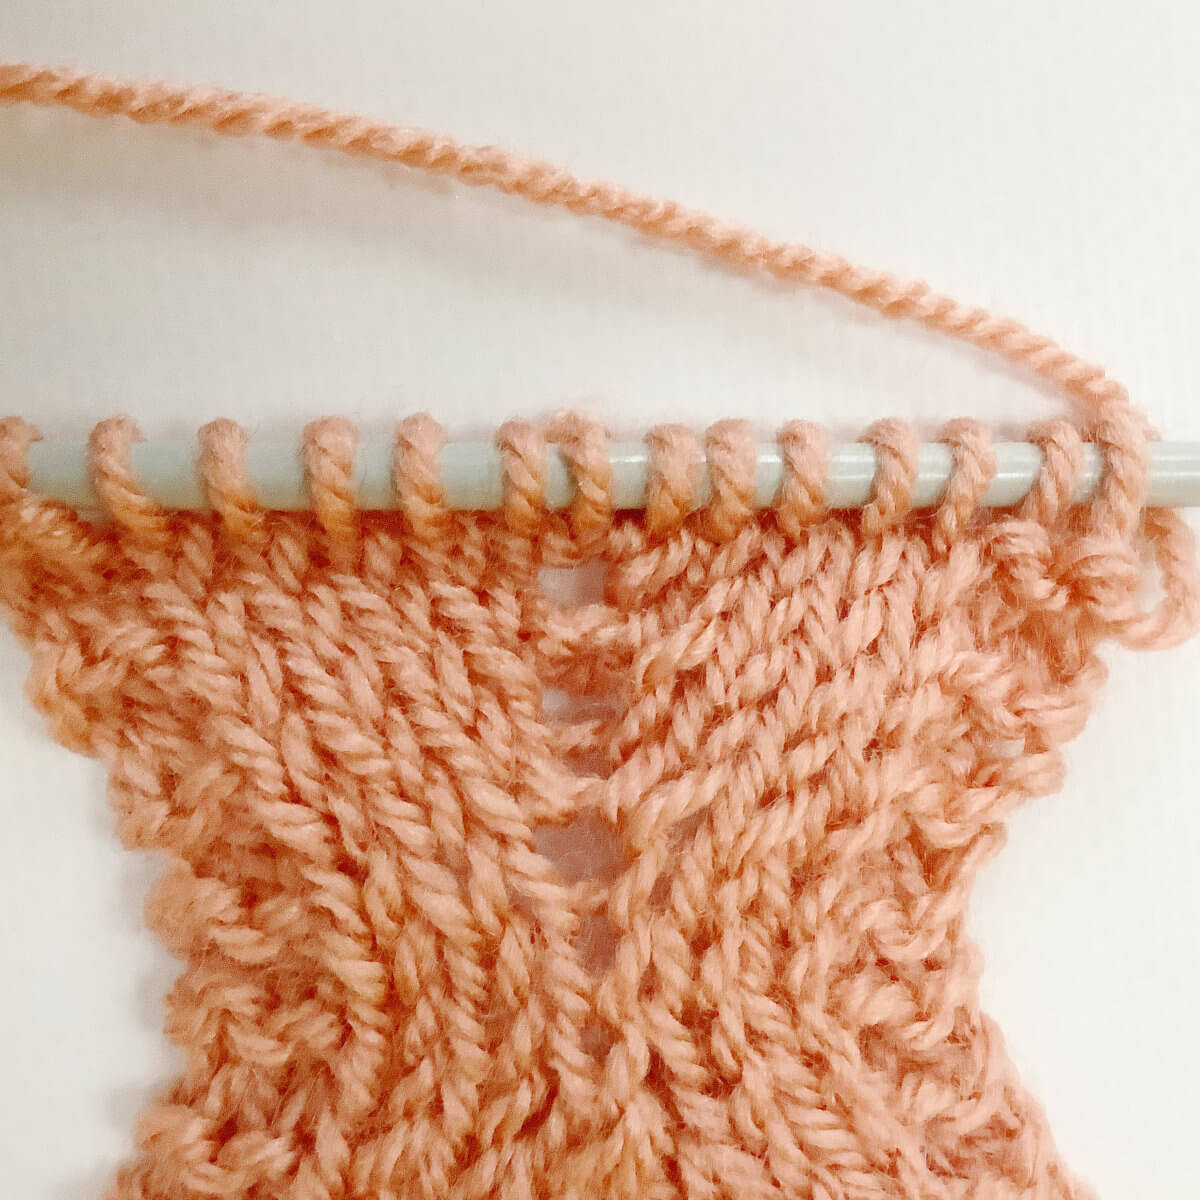
- The result when a few more increase rows have been worked on the right side of the fabric.
Doesn’t it look pretty?

Thanks to my Patreon supporters for bringing you this freebie! Creating quality patterns and tutorials is a lot of work and resource-intensive. However, I find it important to give you free content like this tutorial. Thanks to the generous support of my Patreon supporters, I can make it happen. Thank you, patrons! Click here to join, or click here to read more about La Visch Designs on Patreon.
tutorial – working the k-yo-k increase Read More »