second sock (or sleeve) syndrome
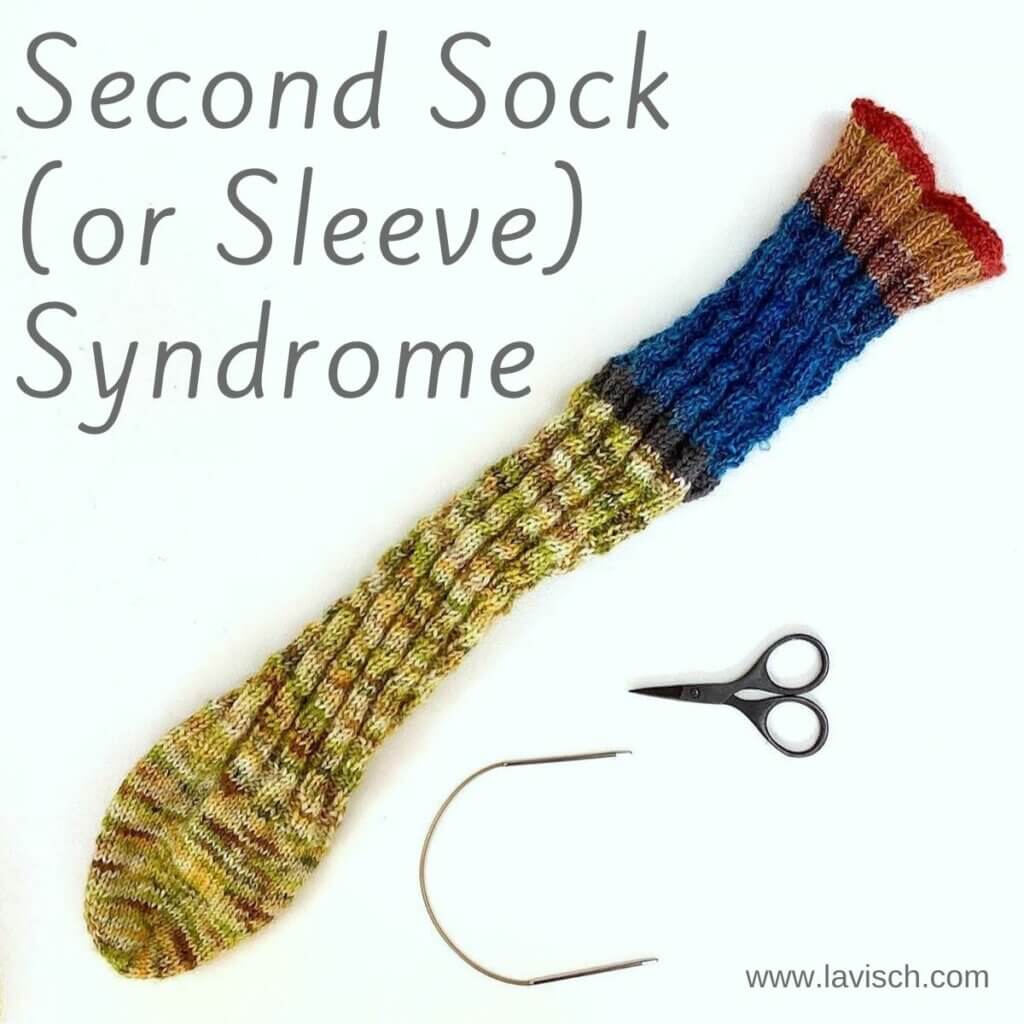
For anyone who has ever made socks, a sweater or cardigan, this will probably sound very familiar: You’ve finished your first sock or sleeve, and it’s just great. The fit is good, the length is exactly how you like it. And then you realize you HAVE to make another one. And you really want to cast-on something new, instead of doing that thing again. That, my friends, is second sock (or sleeve) syndrome.
I’m not really into sock knitting, although I’ve made a couple of pairs in the past. But I am into a me-made wardrobe, and have been knitting quite some sweaters, tees and cardigans for myself over the years. So yes, feeling bored and stranded on sleeve-island really is a thing, and carries the risk of having a growing pile of one-sleeved sweaters (or single socks) instead of things you can actually wear. Fortunately, there are ways to deal with second sock (or sleeve) syndrome. In this post, I’ll tell you all about it!
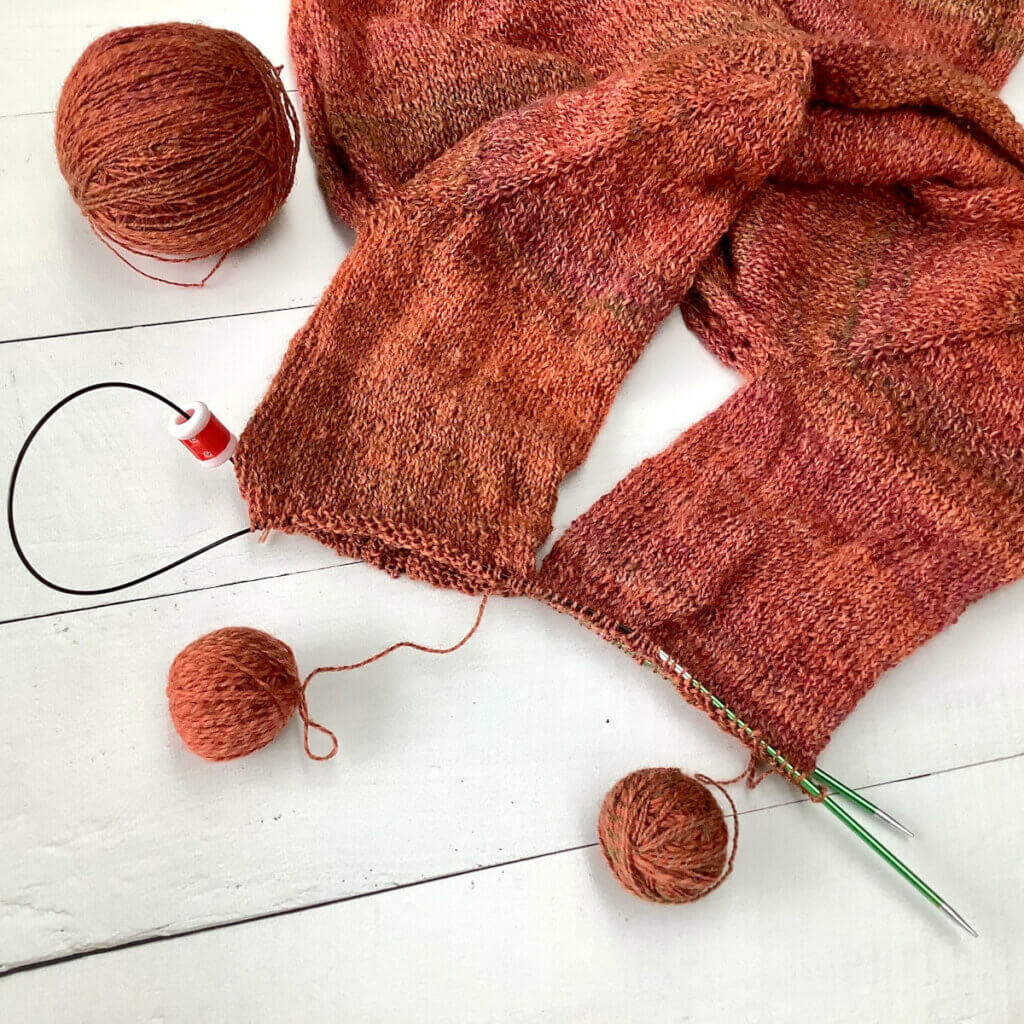
1. Working two-at-a-time (TAAT)
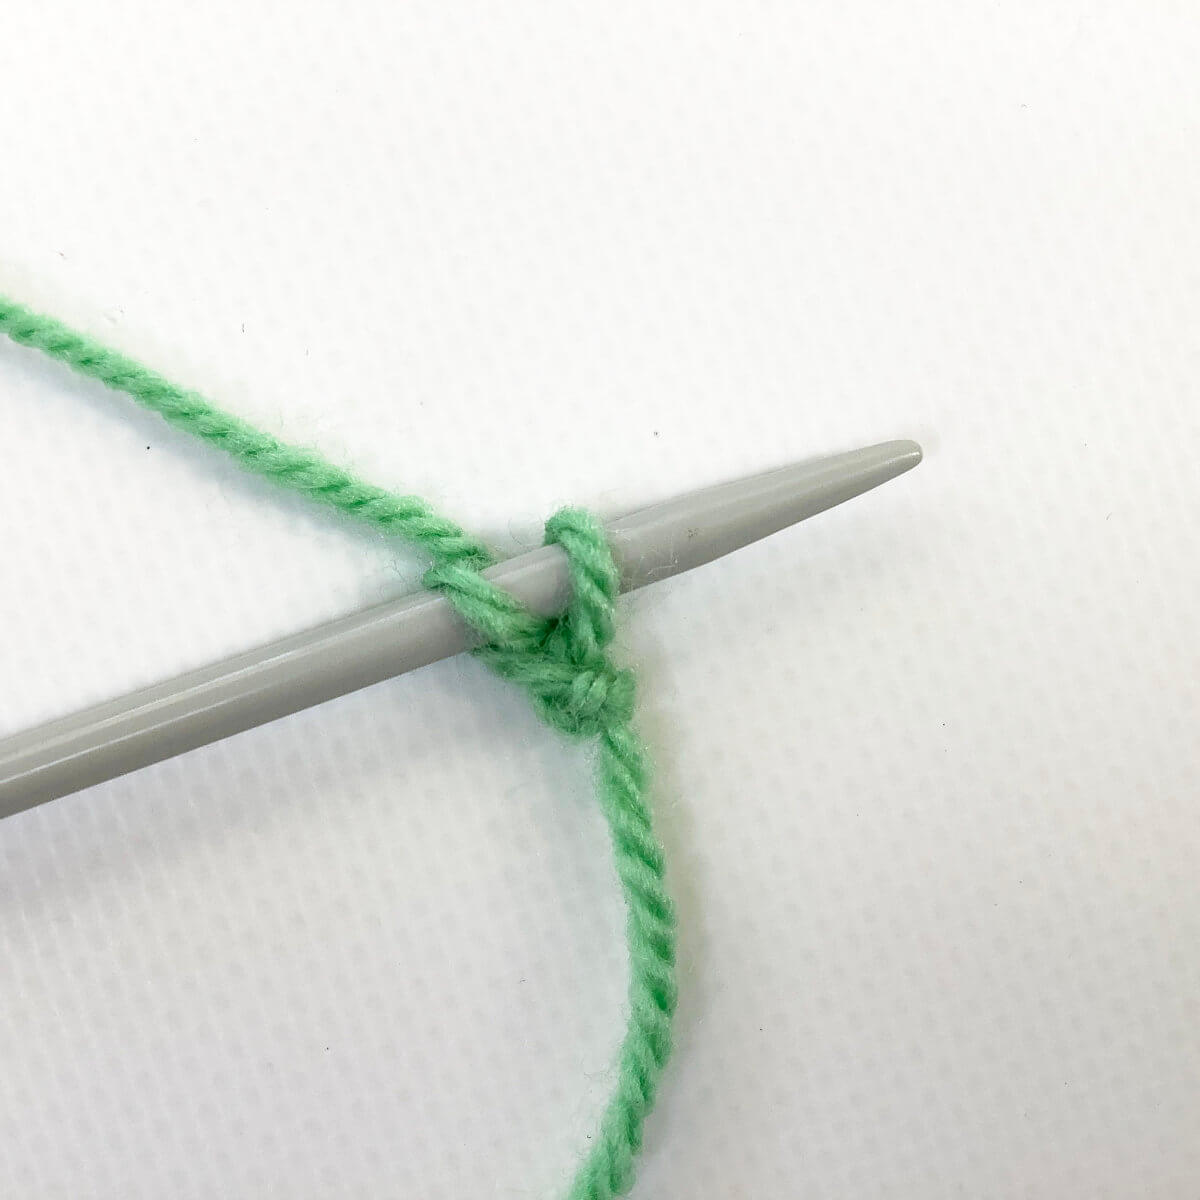
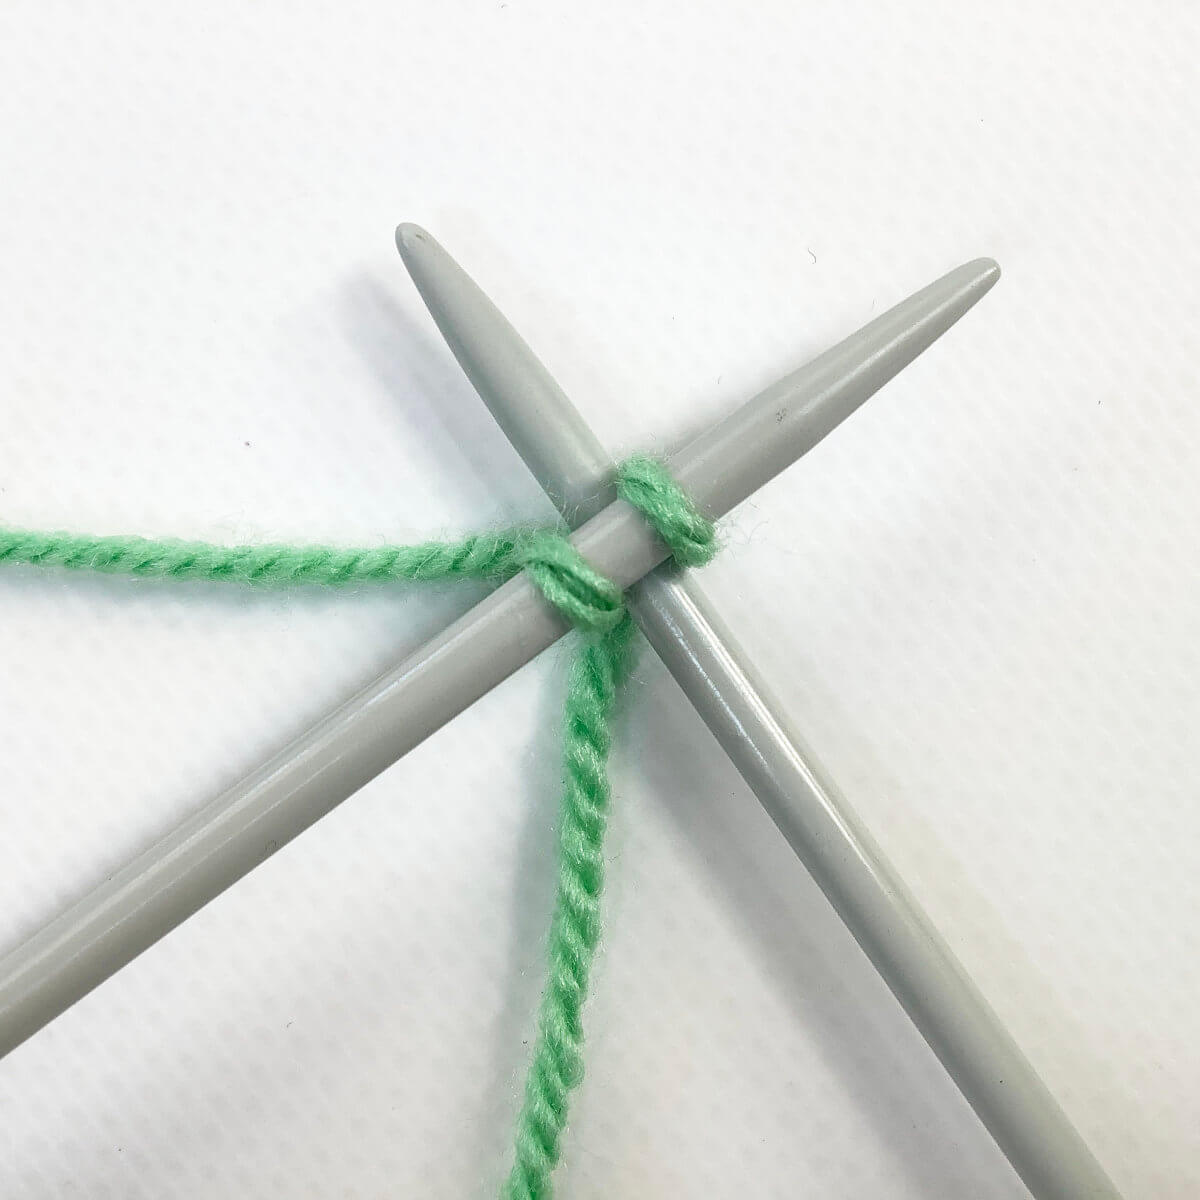
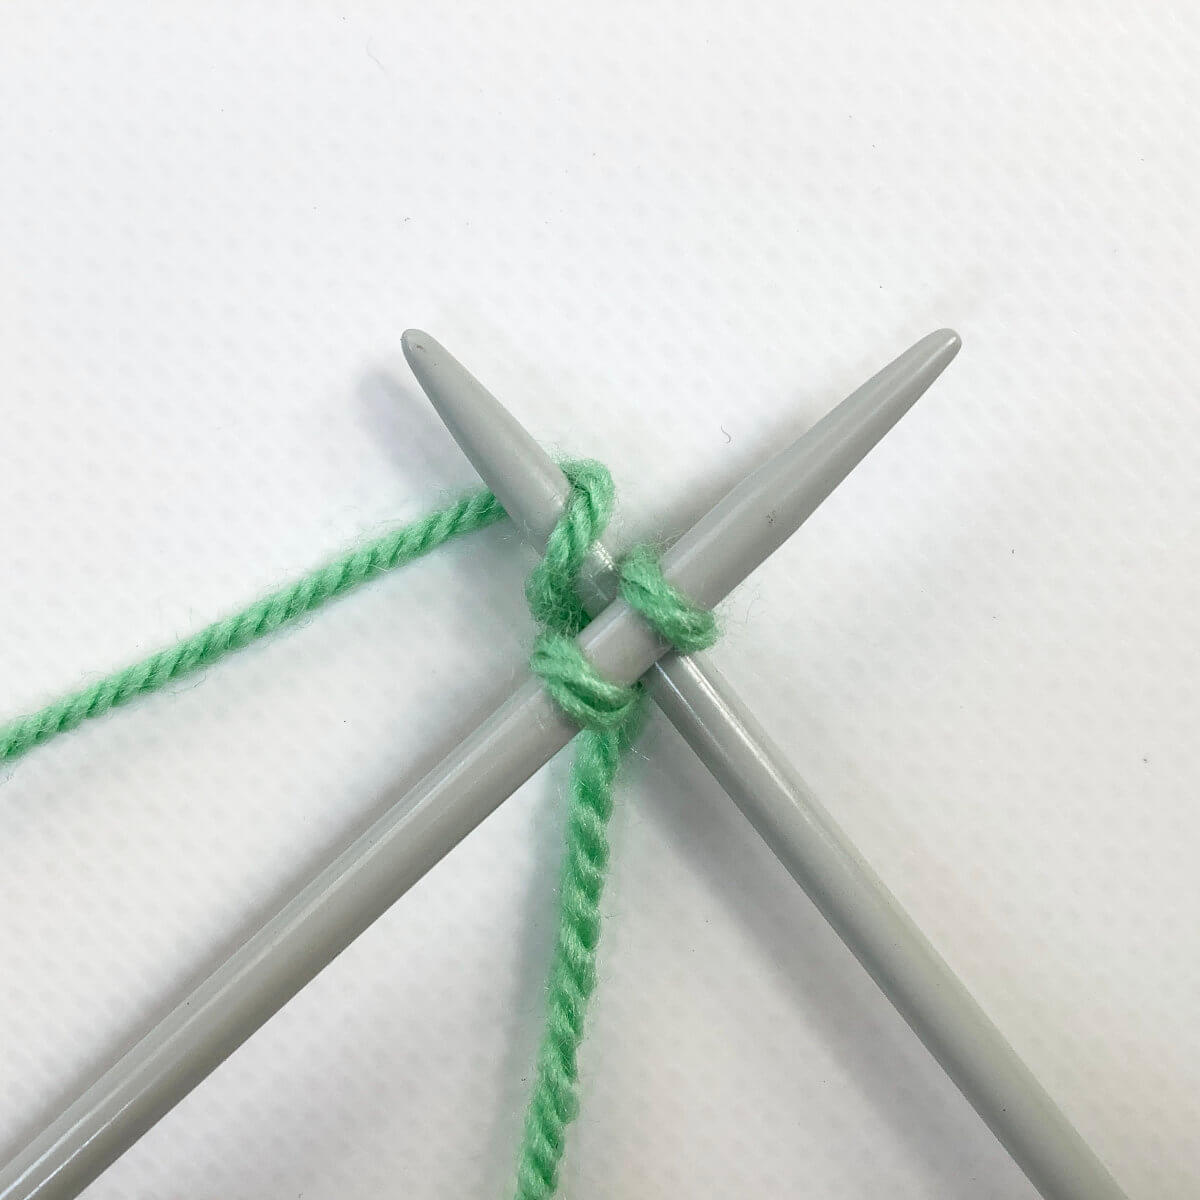
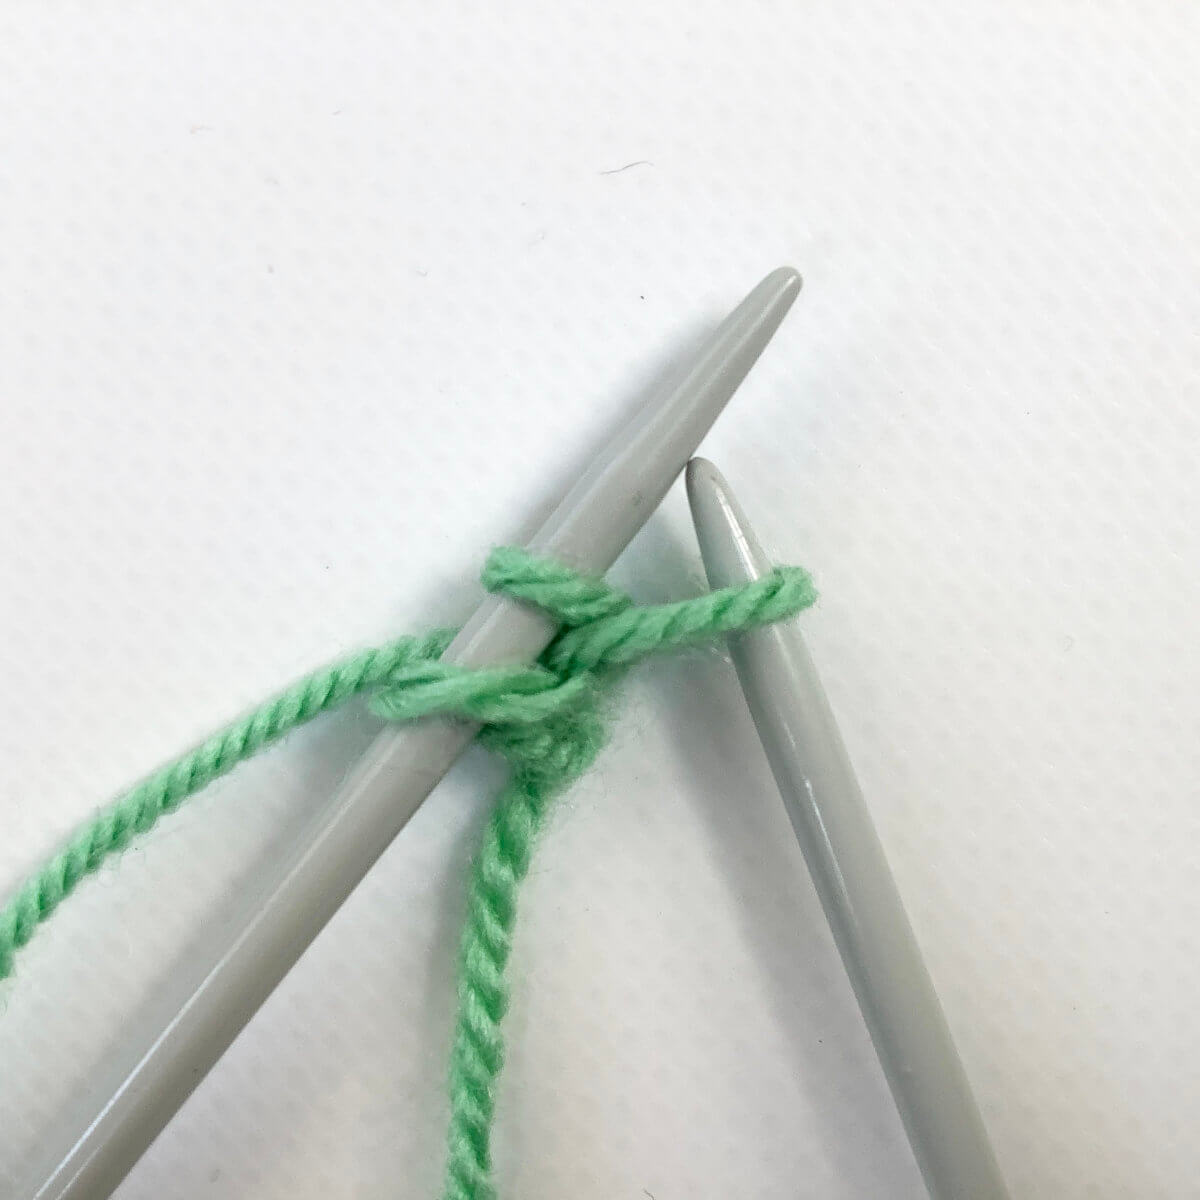
This is the method I usually go for, using circular needles with a cable length of either 80 cm / 32 inches or 100 cm / 40 inches. The basic premise with this approach is to work the sleeve or sock magic loop style, but instead of putting the stitches of only 1 tube on the circular needle, you put the stitches of both tubes (or even more!) on the needle. This forces you to work one round of each tube, before you can proceed with the next round. This also has the advantage that even if there are differences in tension from round tot round, they will at least be the same for both socks or sleeves.
Of course, there are also disadvantages to the TAAT technique. For one, progress seems to go very slow when compared with working on only one sock or sleeve. Also, you’re continually adjusting the cable and juggling the balls of yarn to prevent them from tangling. For me, this really breaks the knitting flow.
That said, getting both done and exactly the same is the main reason I often do choose this option.
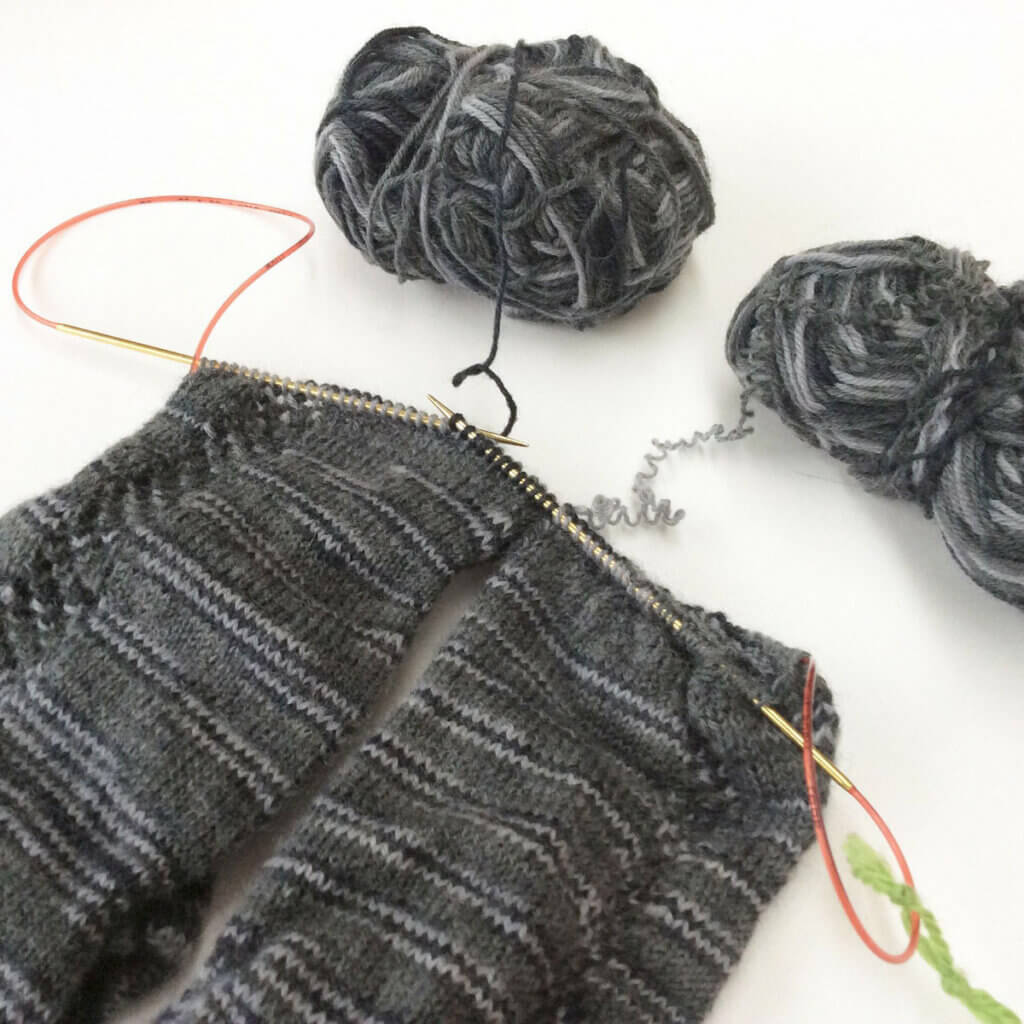
2. Using two circulars or sets of DPN’s and knit simultaneously
With this option, you’re working each sleeve or sock on their own needle. For this, it really doesn’t matter what your preference is for small-circumference knitting, being it DPN’s, tiny circulars, or longer circulars for travelling loop or magic loop knitting. The main take is, that each sock or sleeve is worked on individually, but that you switch back and forth between them in regular intervals. You can, for example, first work ribbing on both tubes, then the same number of plain rounds plus 1 shaping round etc. etc.
With this method, it is important to keep track of where you are, and that you end both tubes at the same point. Or, of course, keep good track of any differences to correct when starting a new knitting session.

3. Embrace the differences!
This option is, depending on design, possibly better suited for socks then for sleeves. That said, it really is a good option. The main issue with second sock (or sleeve) syndrome is the boredom associated with knitting the exact same thing again. So, if you make sure there are differences, this may be enough to keep your attention on the project.
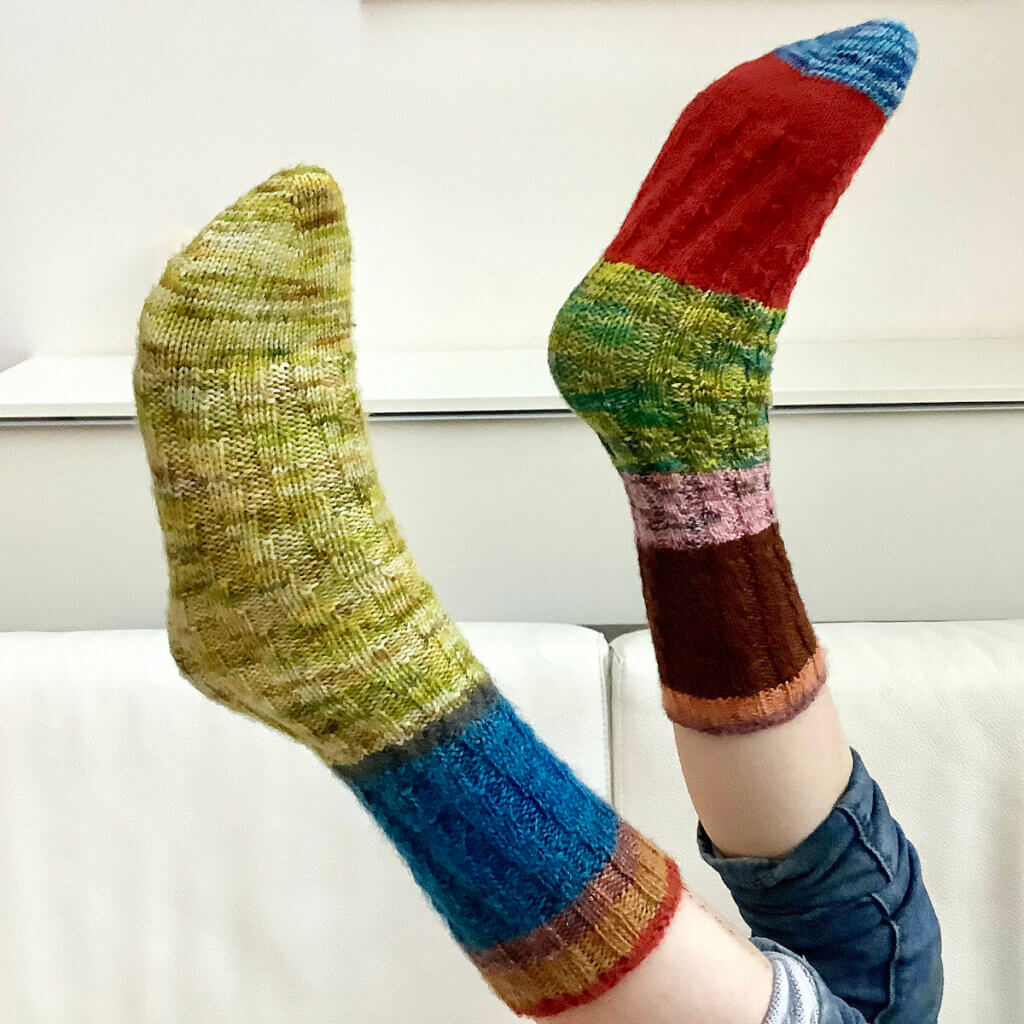
You can think, for example, of different stitch patterns or textures. For me, self-striping or gradient yarn never fails to want to work another round to see what happens next. Alternatively, you can really embrace the differences and go for mismatched socks on purpose. This is what I did with the socks pictured below for my youngest. I used up various odds and ends of fingering weight yarn for wildly unique socks. The pattern is No-Heel Spiral Socks by La Maison Rililie.
Let me know if there are more ways with dealing with second sock (or sleeve) syndrome. I’m happy to expand on the options already mentioned!

Thanks to my Patreon supporters for bringing you this freebie! Creating quality patterns and tutorials is a lot of work and resource-intensive. However, I find it important to give you free content like this tutorial. Thanks to the generous support of my Patreon supporters, I can make it happen. Thank you, patrons! Click here to join, or click here to read more about La Visch Designs on Patreon.
second sock (or sleeve) syndrome Read More »