tutorial – working a slipped stitch edge
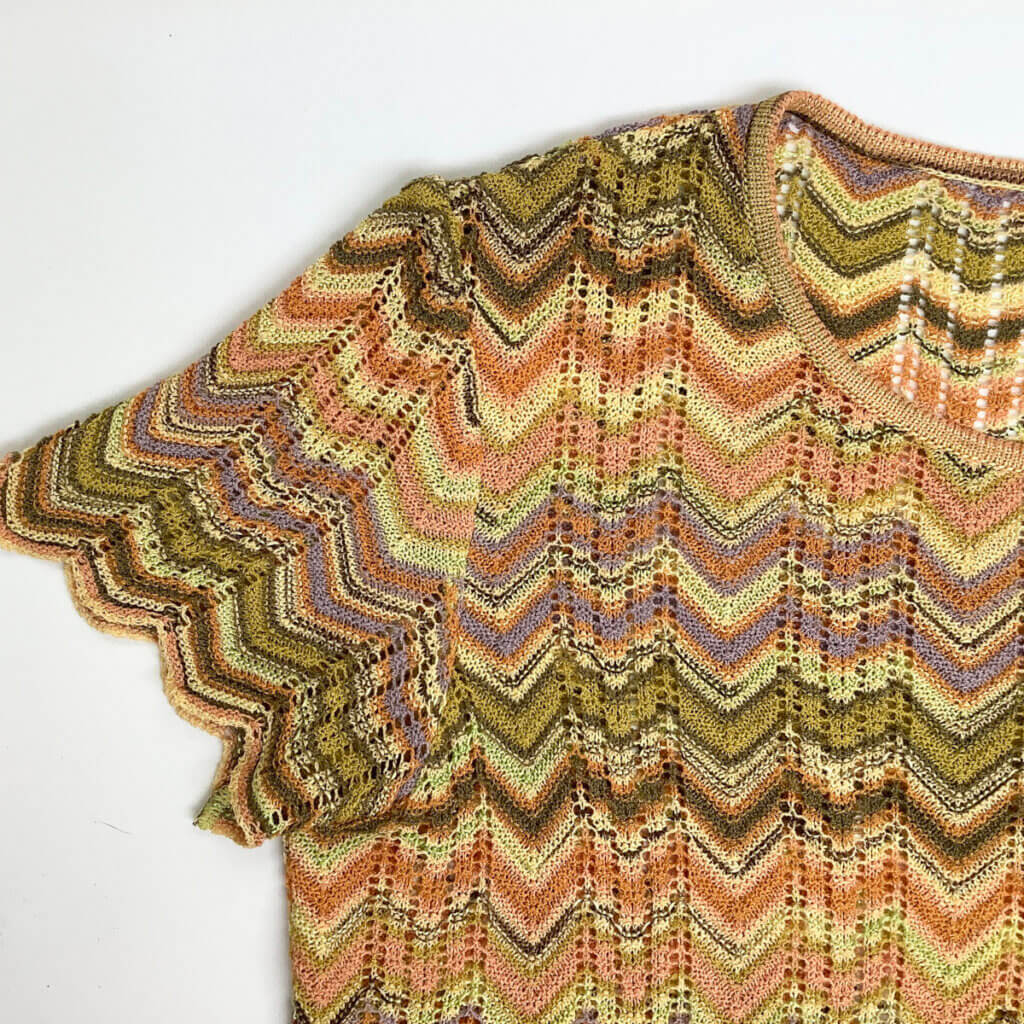
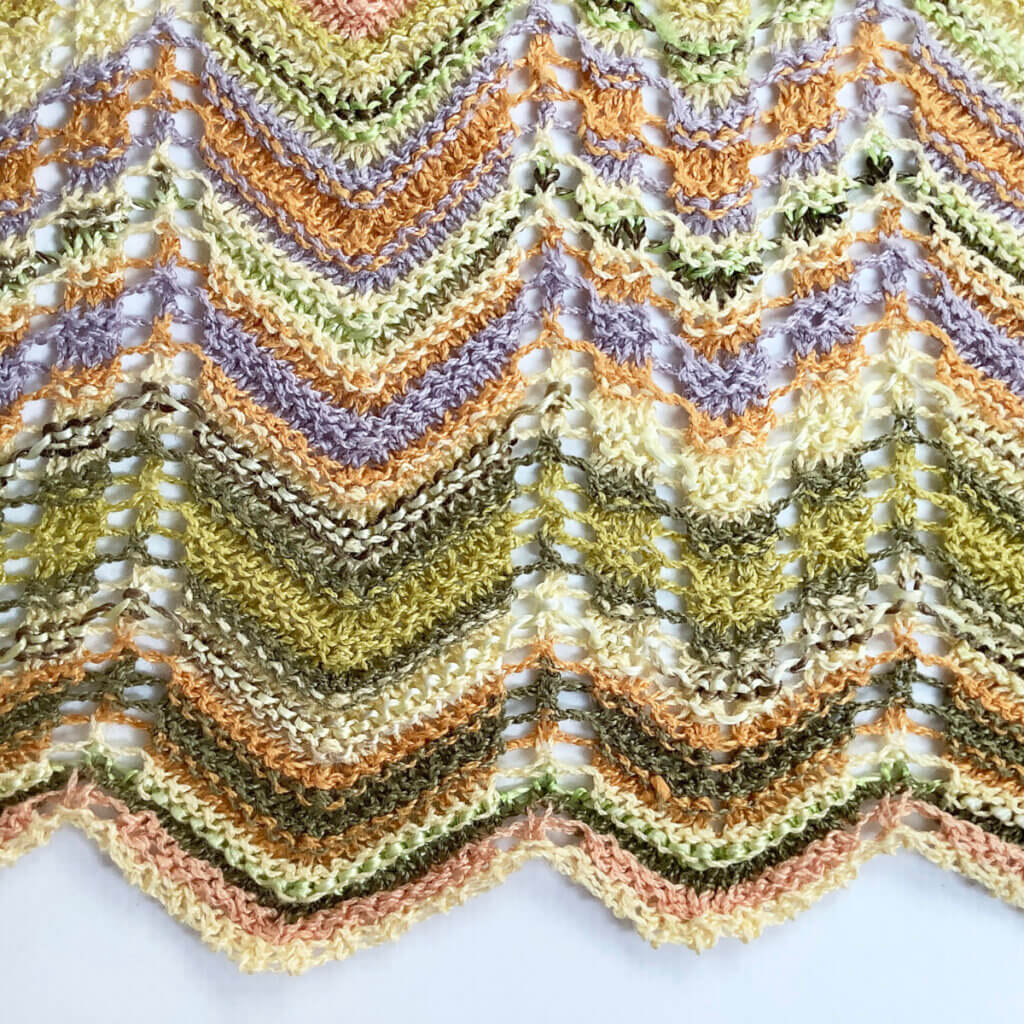
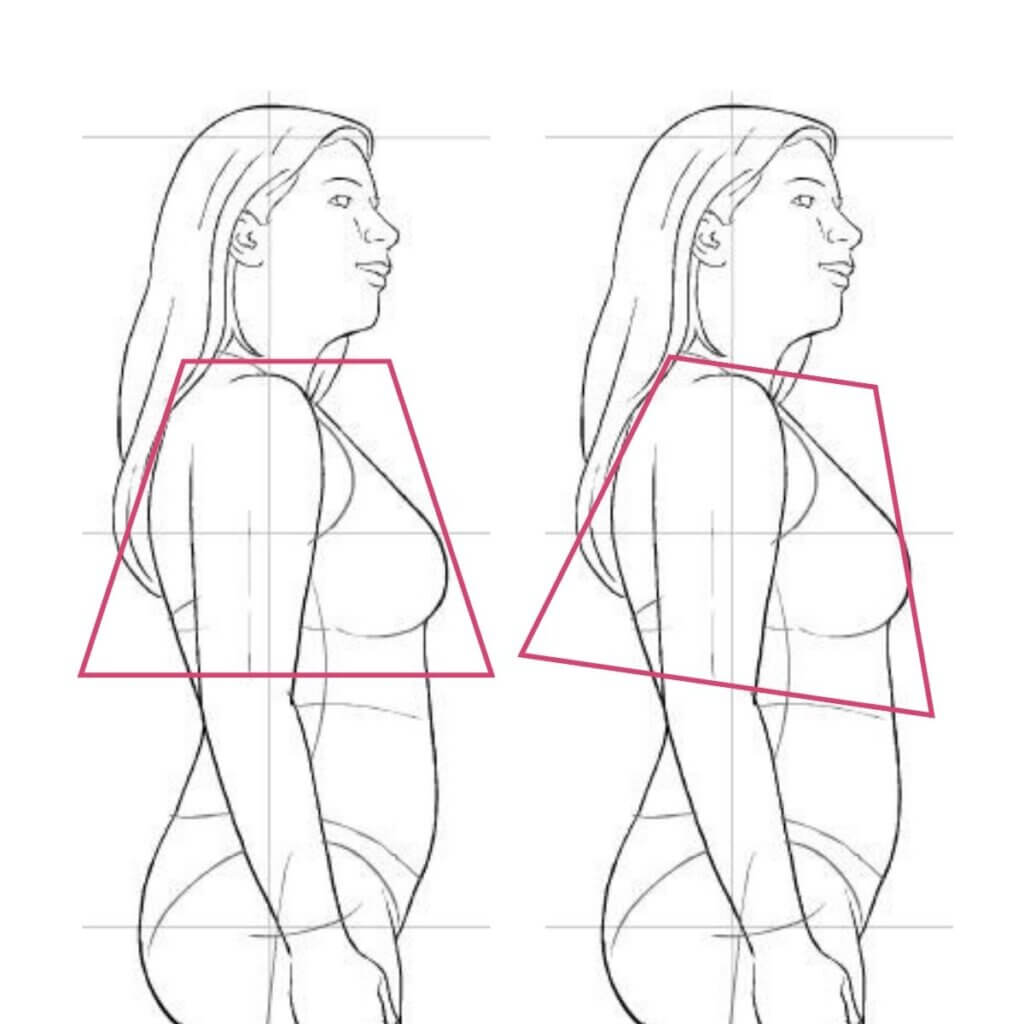
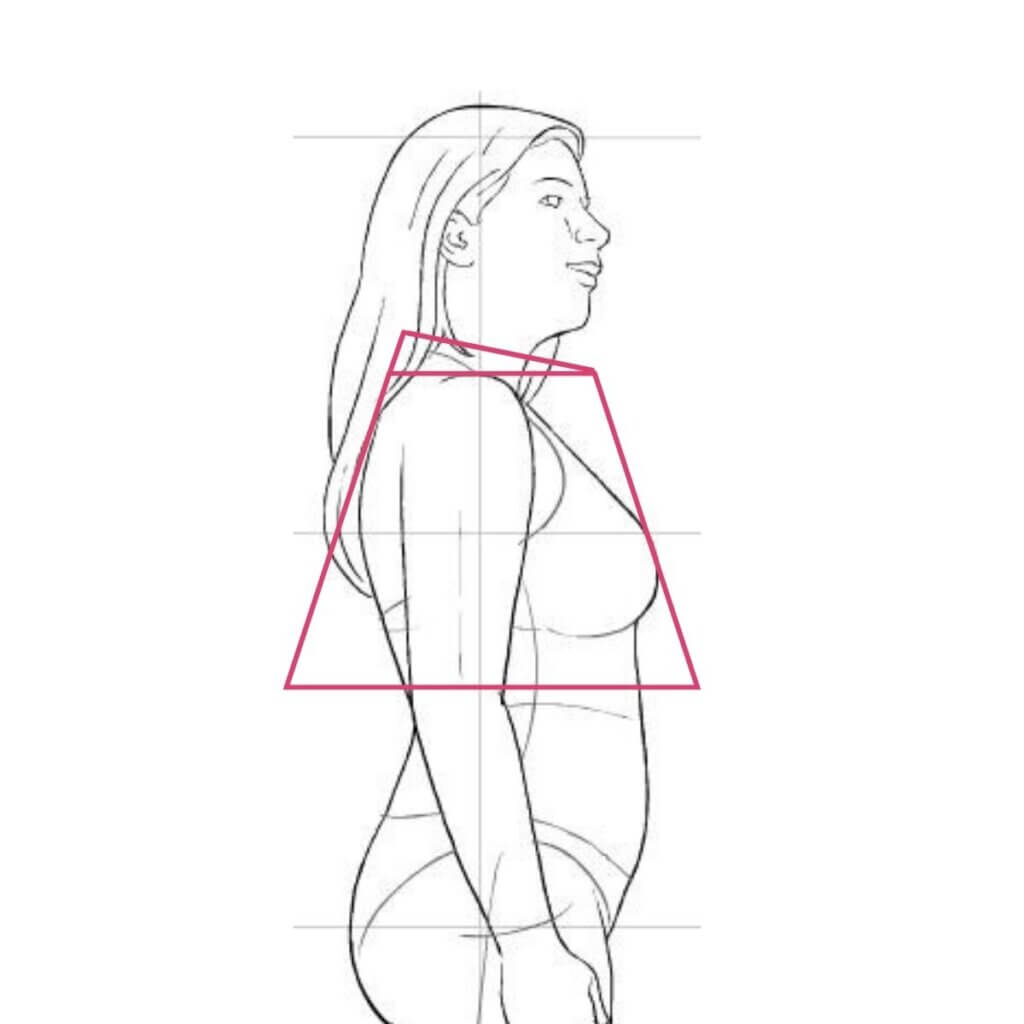
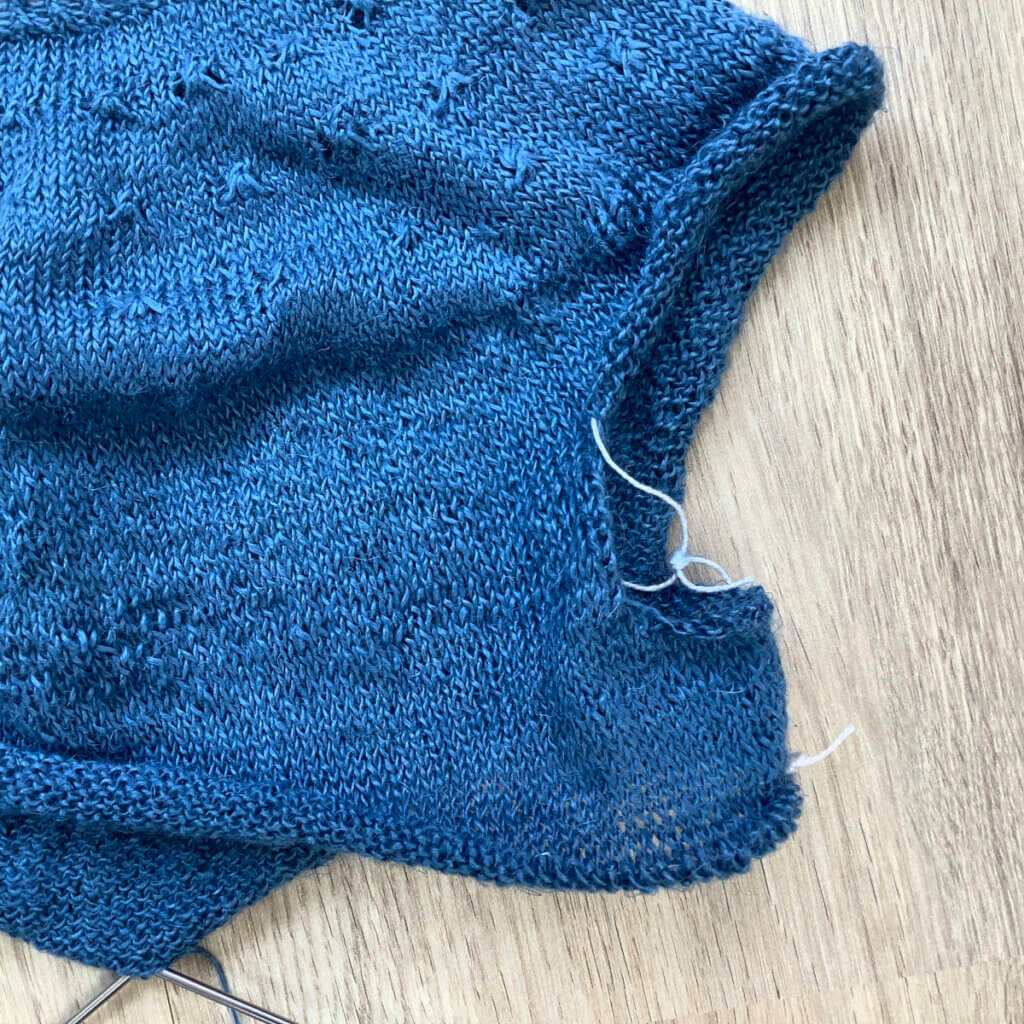
In some of my patterns, I use a slipped stitch edge as a finishing on the edges. Take for example the edges on the Sweet as Pi cardigan, or the upper edge of the sideways knit Morello Cerise shawl. What I like about this kind of edge, is that it looks like i-cord finishing. Only at the side edges of your fabric, instead of the top or bottom edges that you would get with an i-cord cast-on, or i-cord bind-off.
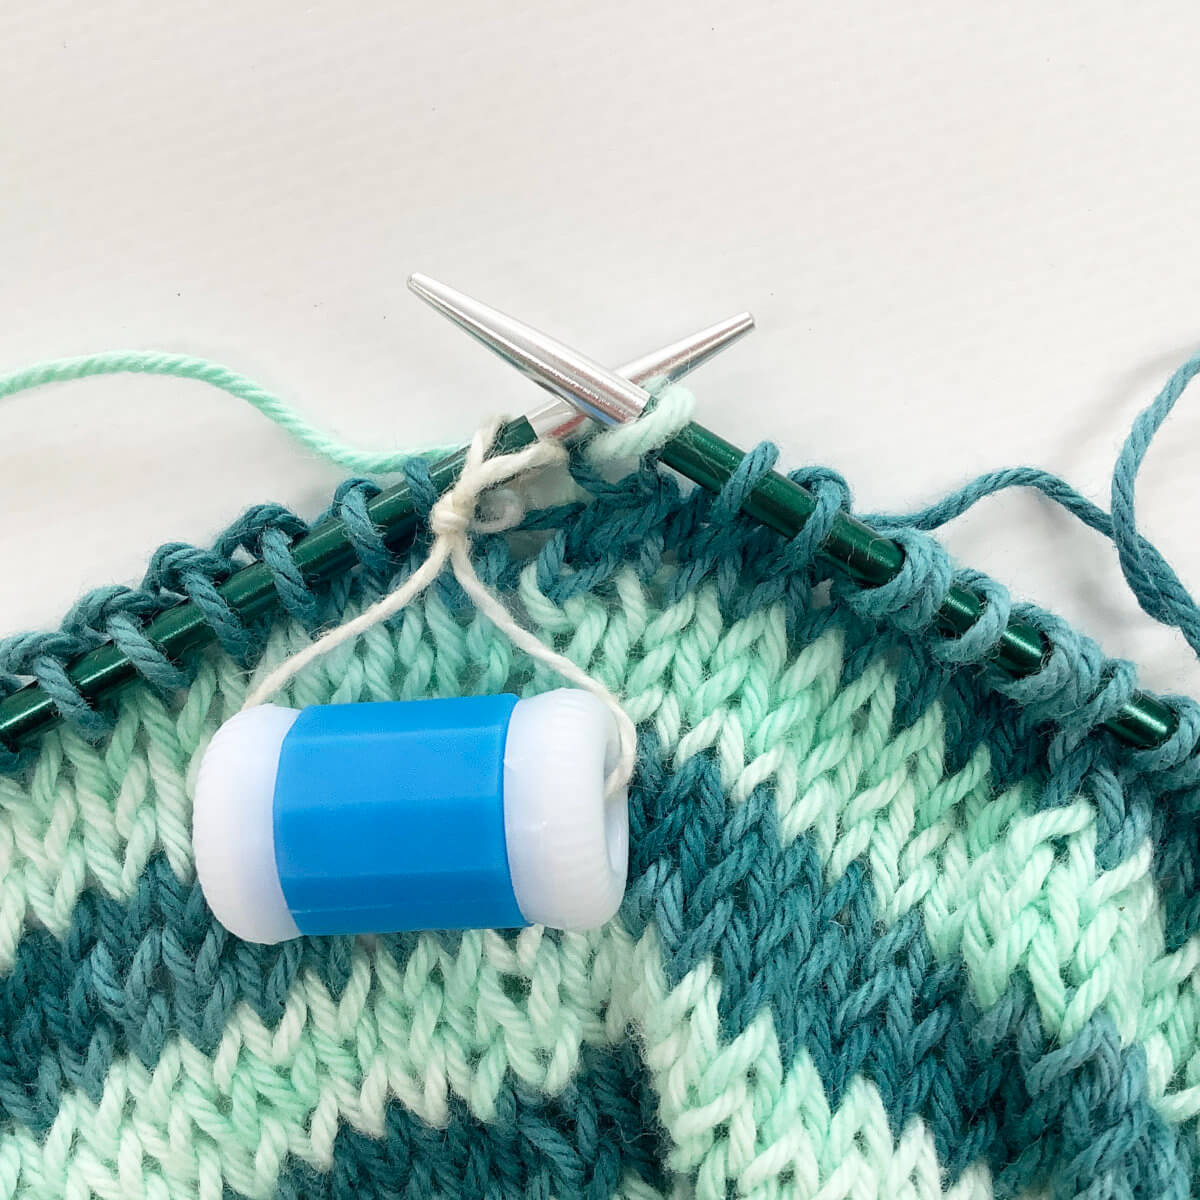
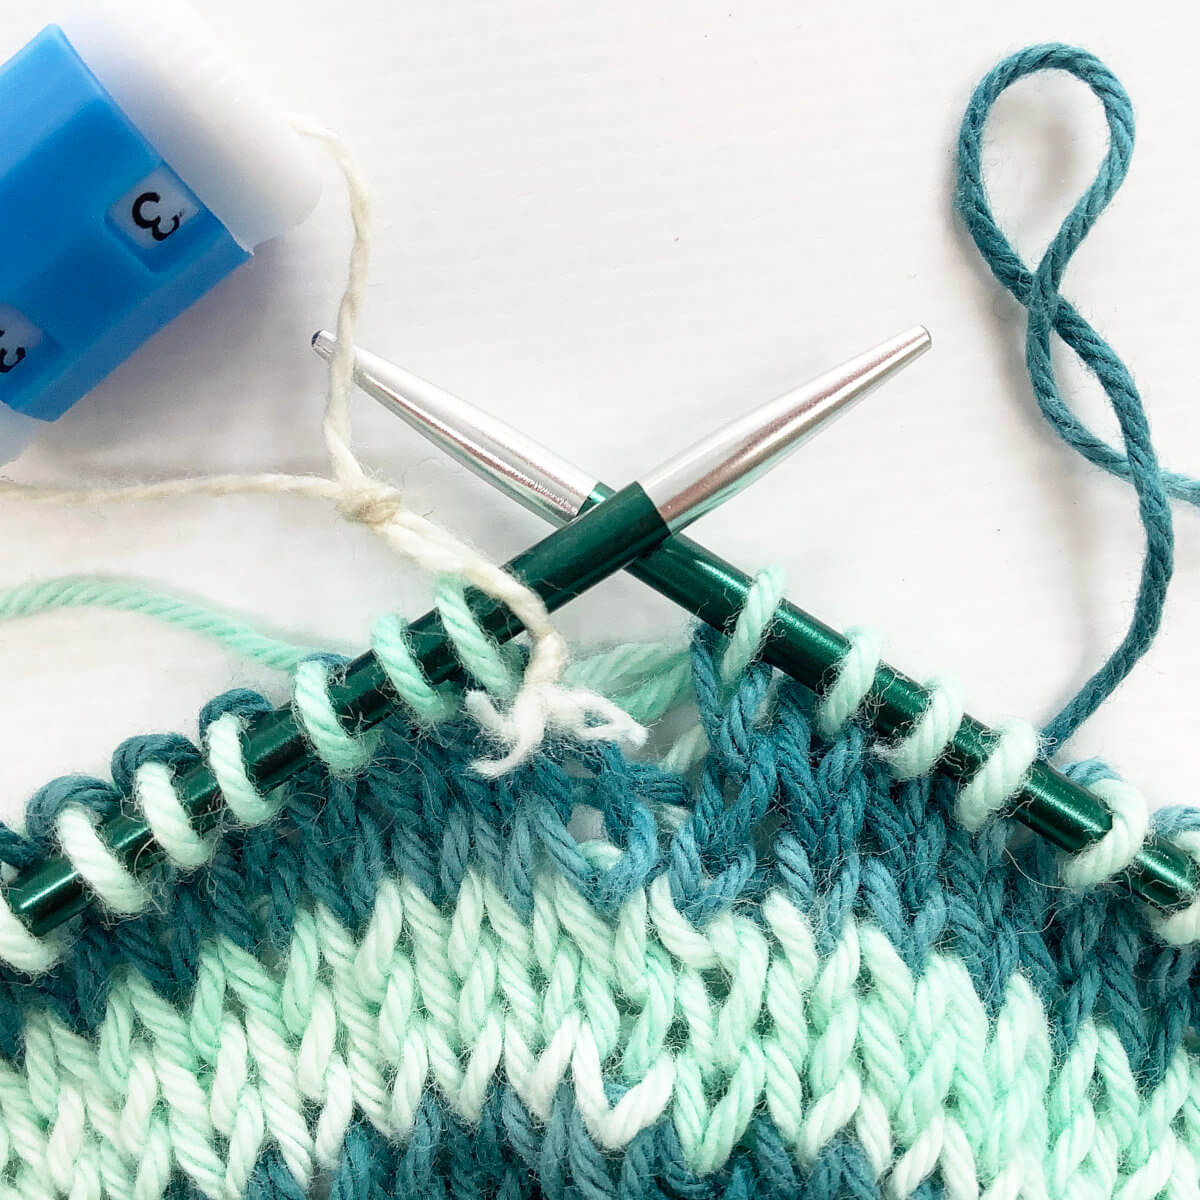
The slipped stitch edge is sometimes abbreviated as “SSE”. It is worked over the first 3 or last 3 stitches of a row. Or on both, of course. I find it helps to place an extra stitch marker 3 stitches in from the edge on each side of your work. That way there is always a clear demarcation of the stitches to work the SSE over.
Materials


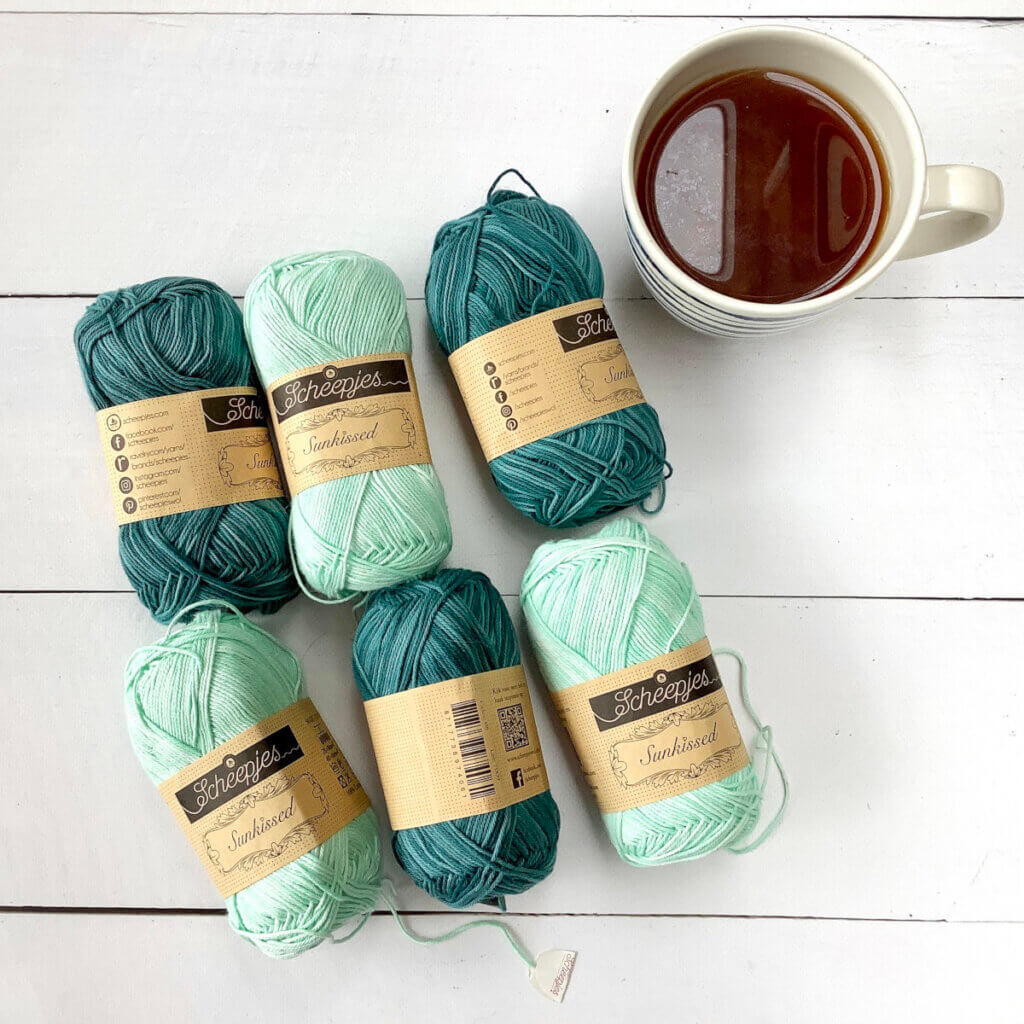
Yarn: Paintbox Yarns Simply DK, a good value, good quality 100% acrylic yarn, here in the color Vintage Pink.
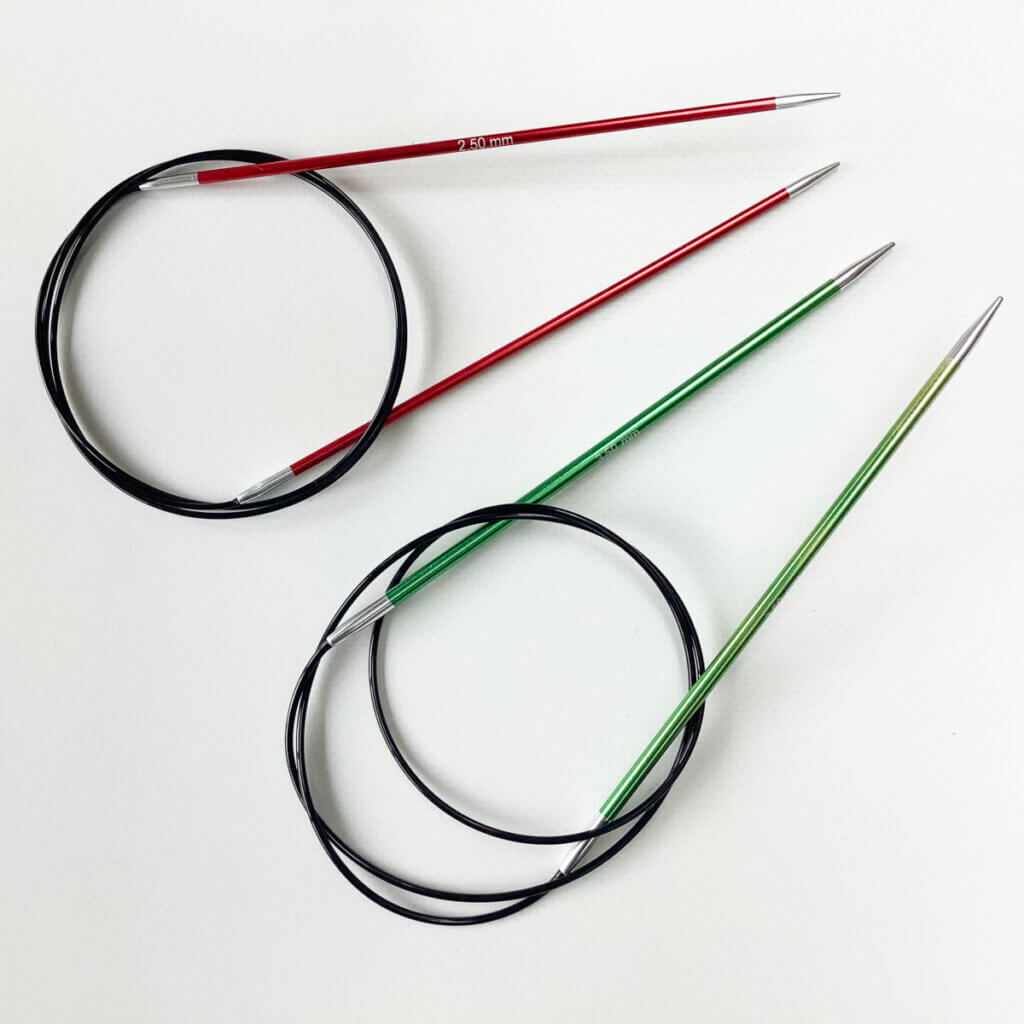
Needles: This is a pair of straights that I picked up at the second-hand store when I started knitting, brand unknown.
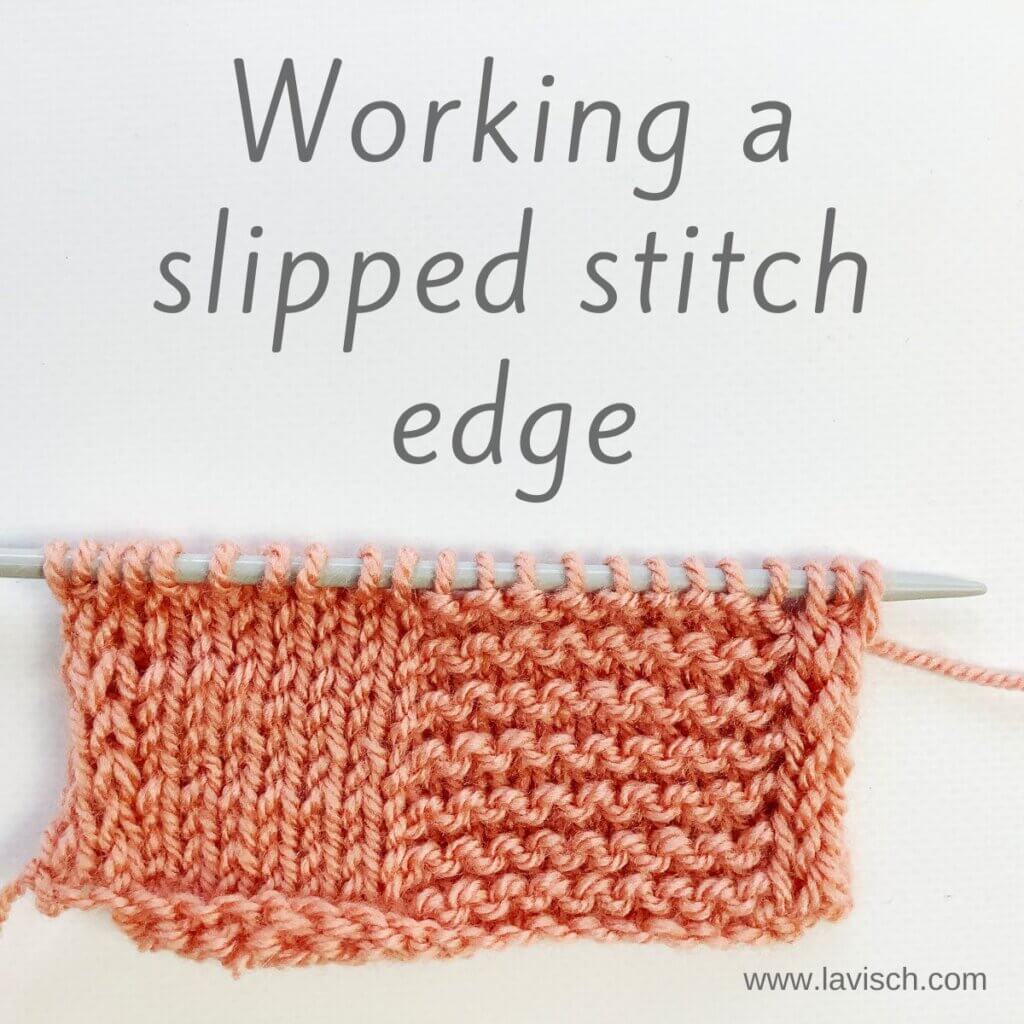
Working a slipped stitch edge step by step
In a pattern you may see the following instruction for the slipped stitch edge or SSE:
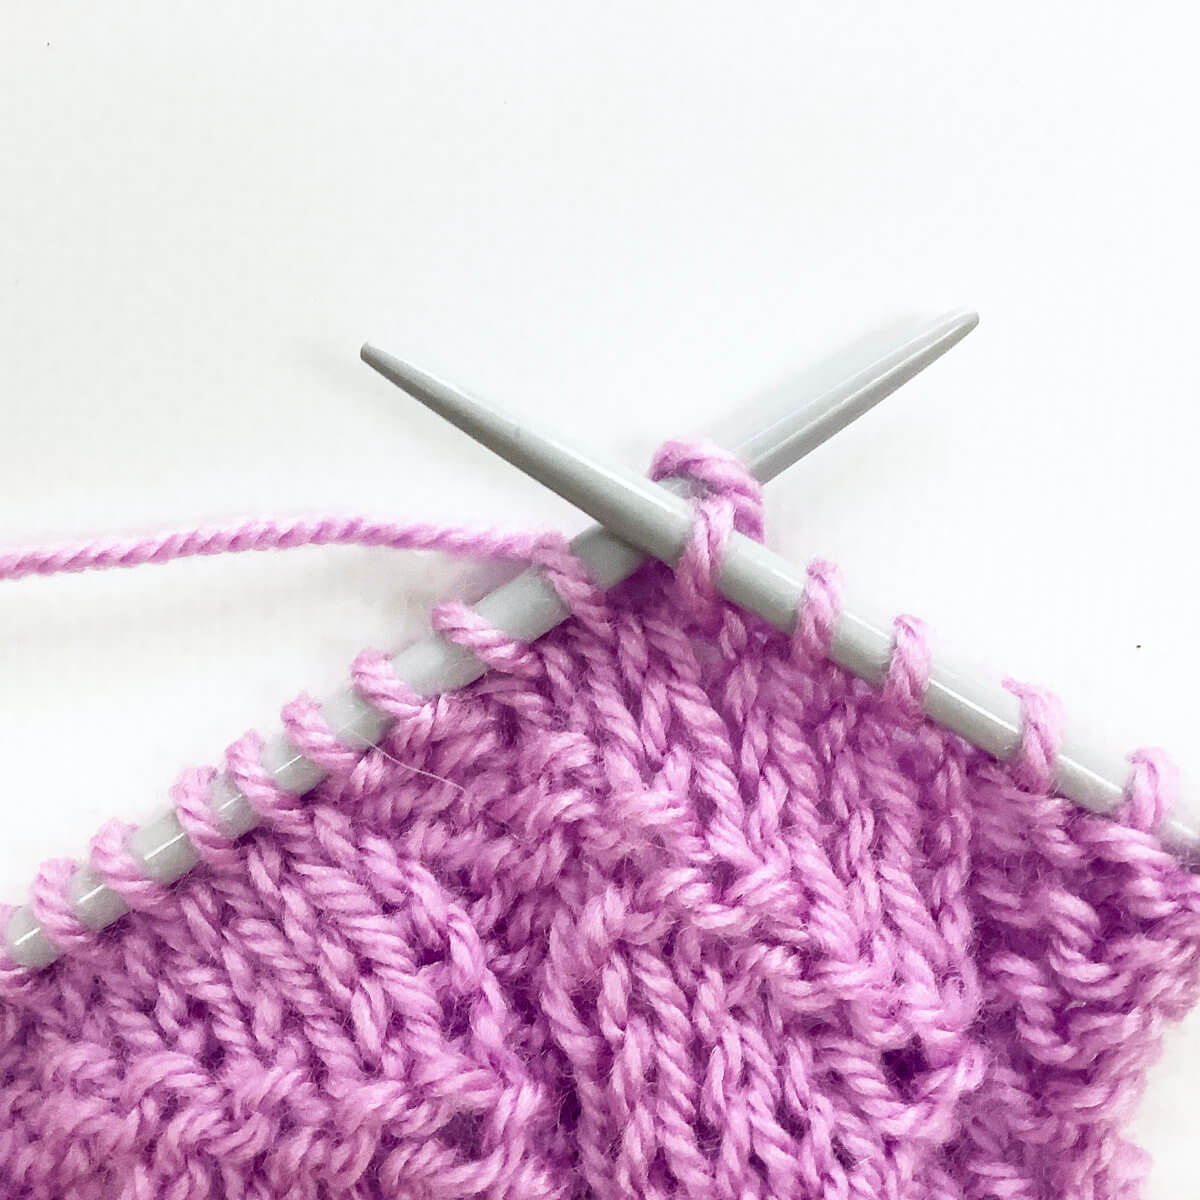
RS: K1, sl1 purl-wise wyif, k1.
WS: Sl1 purl-wise wyif, k1, sl1 purl-wise wyif.
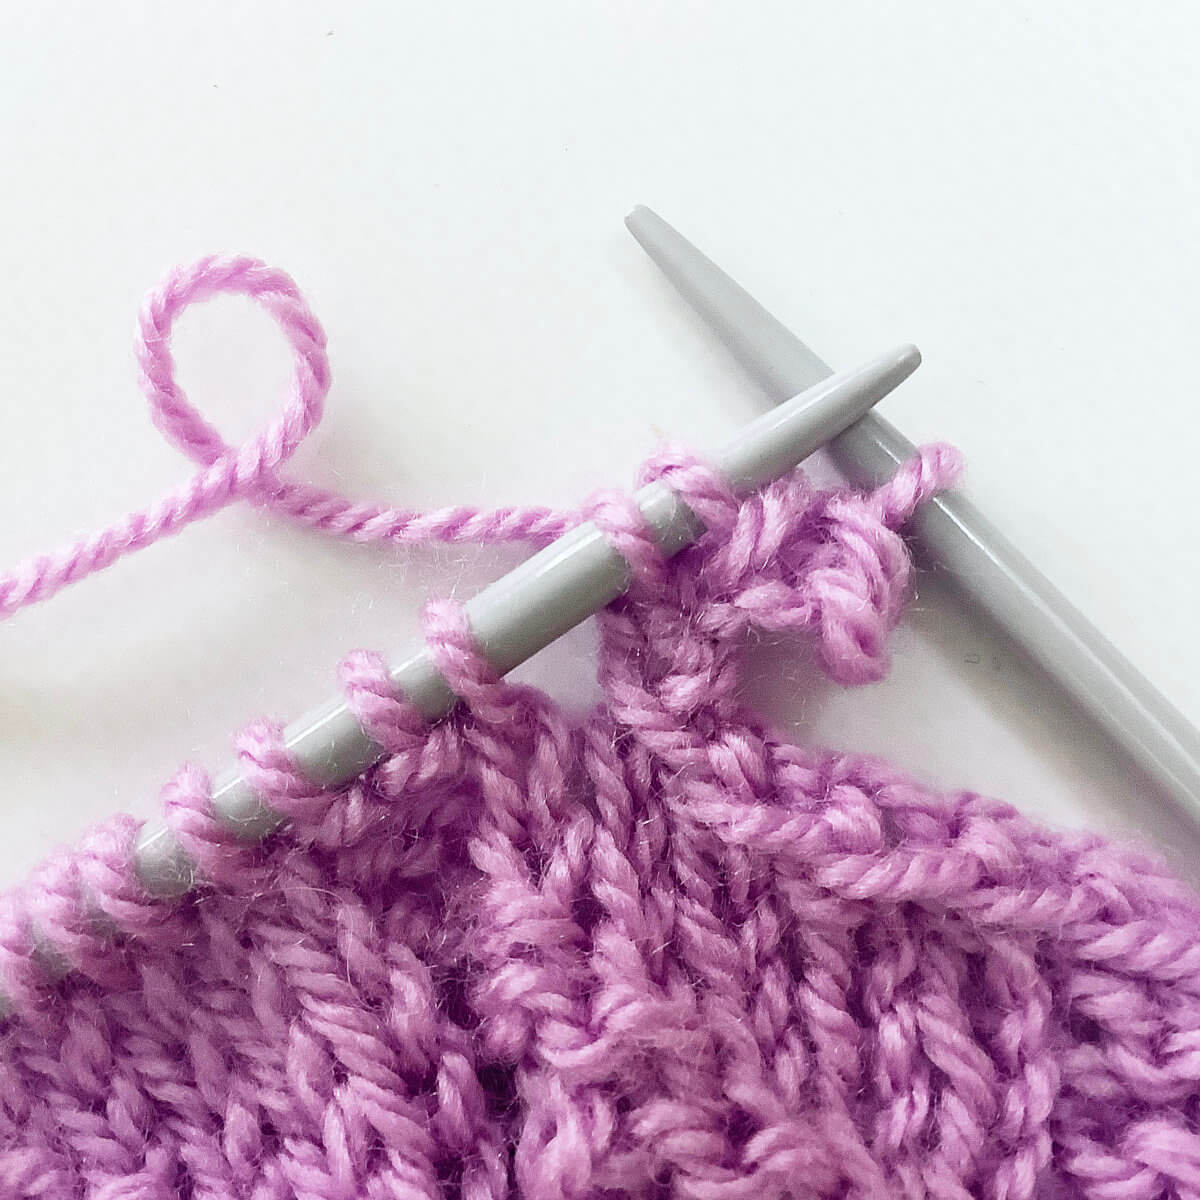
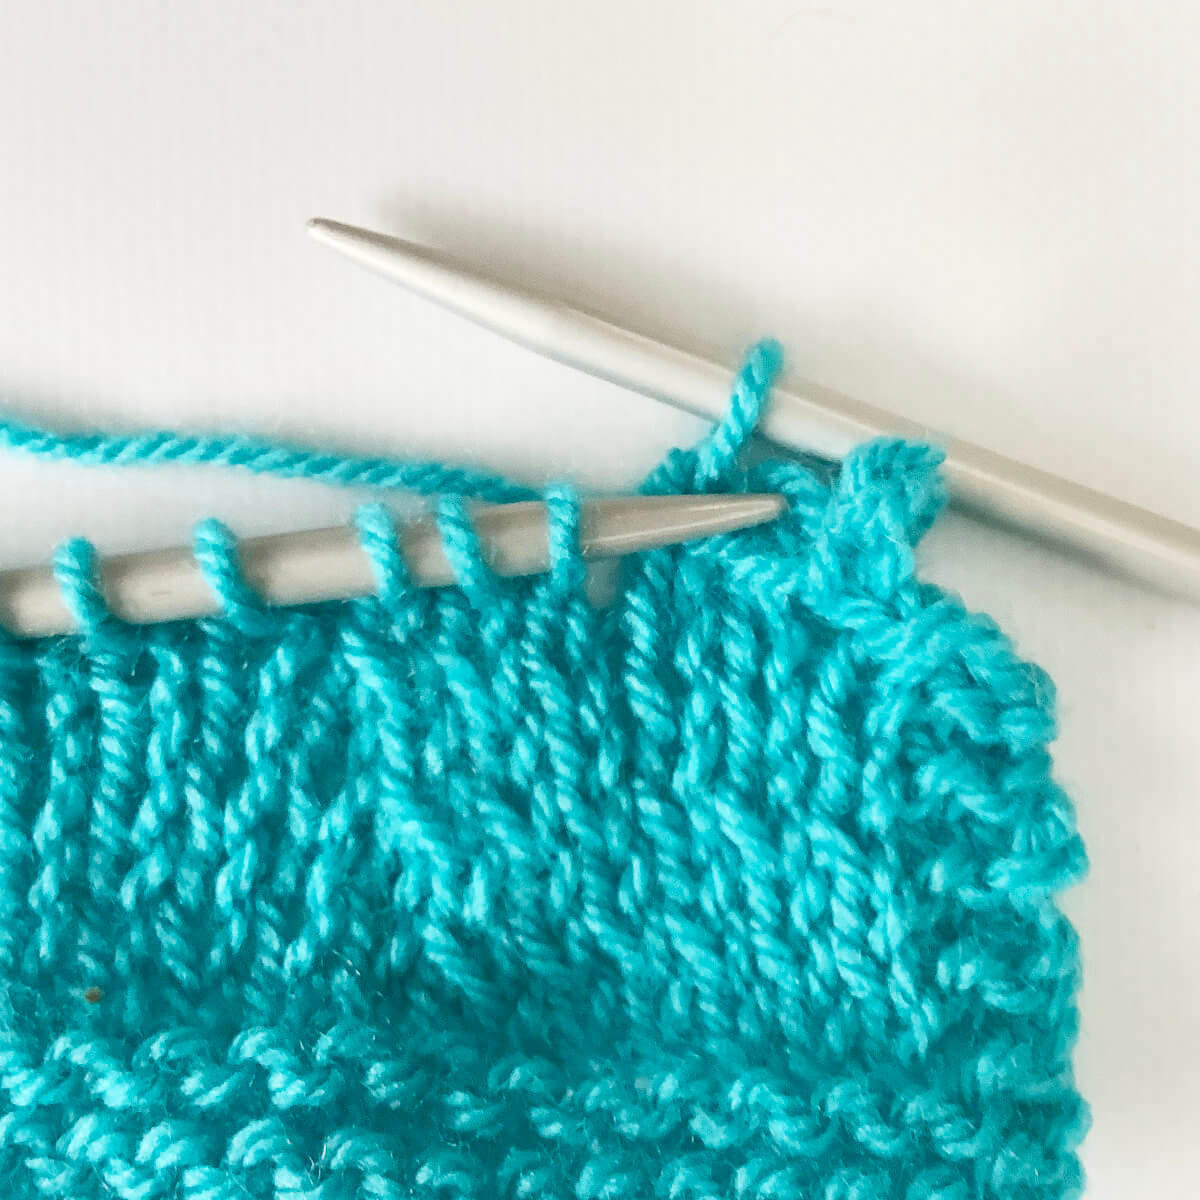
In other words: when slipping the stitches, you always keep the yarn in front of your work, and you never slip a stitch that you’ve slipped in the previous row. Ok, let’s take a look at how to do this.
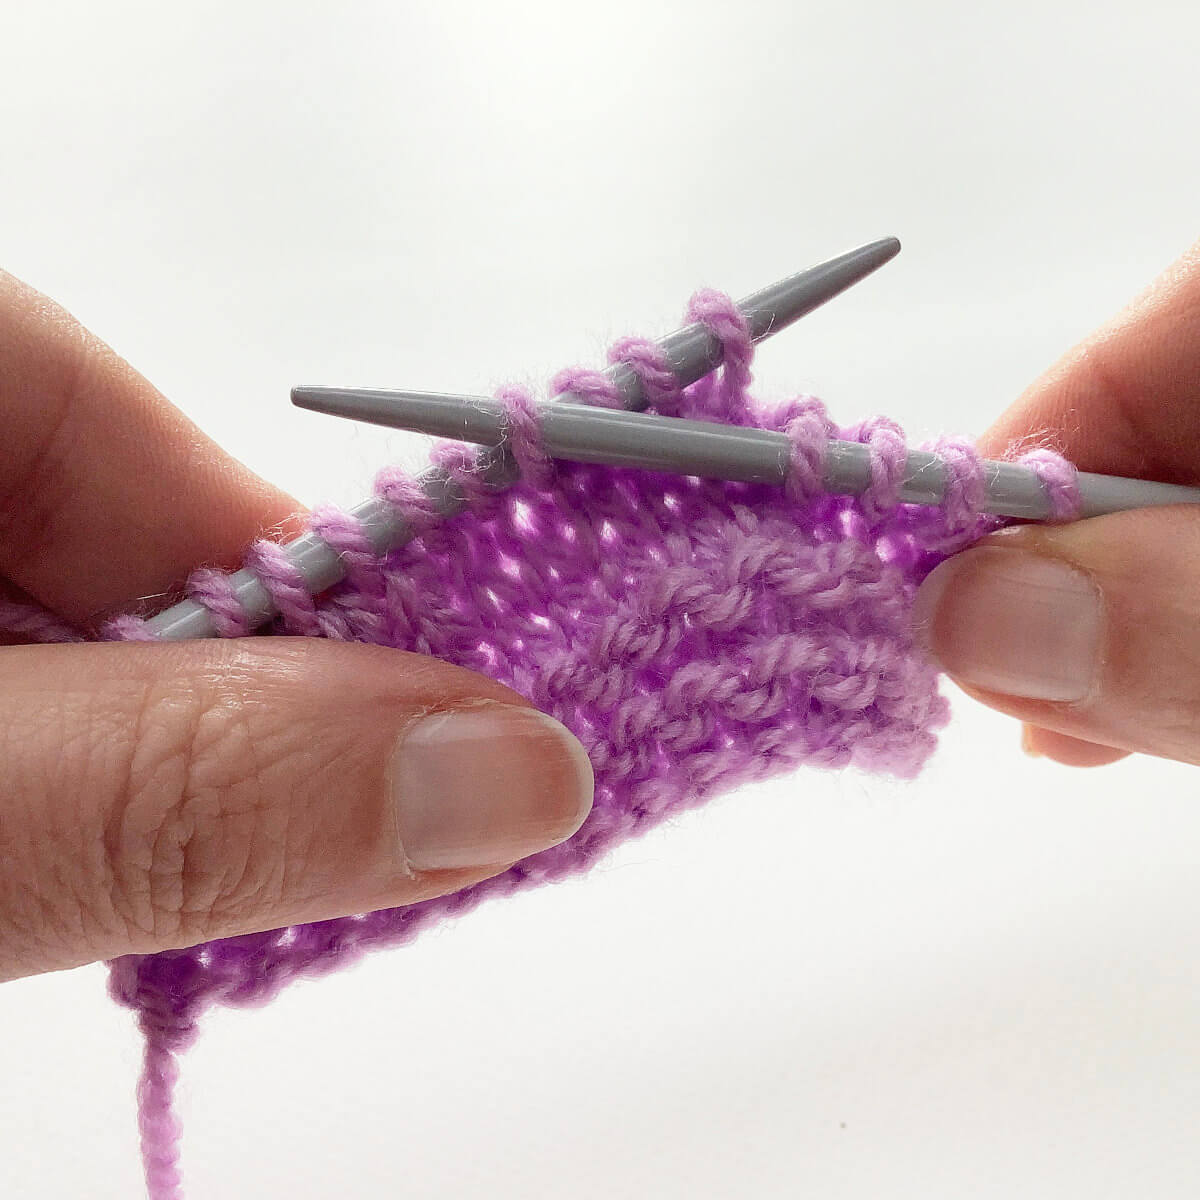
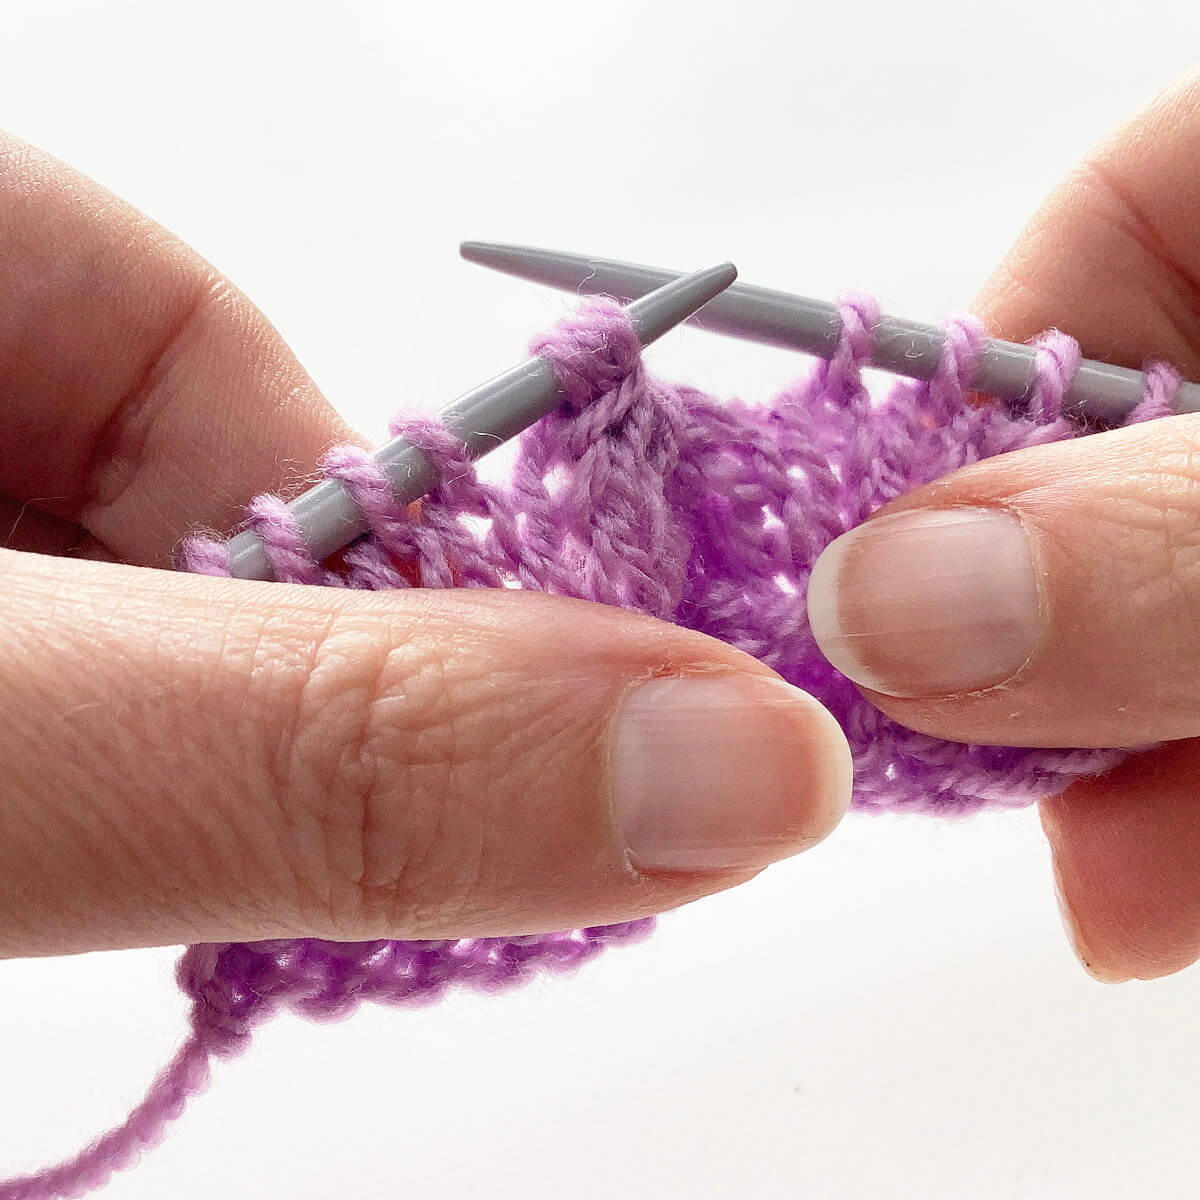
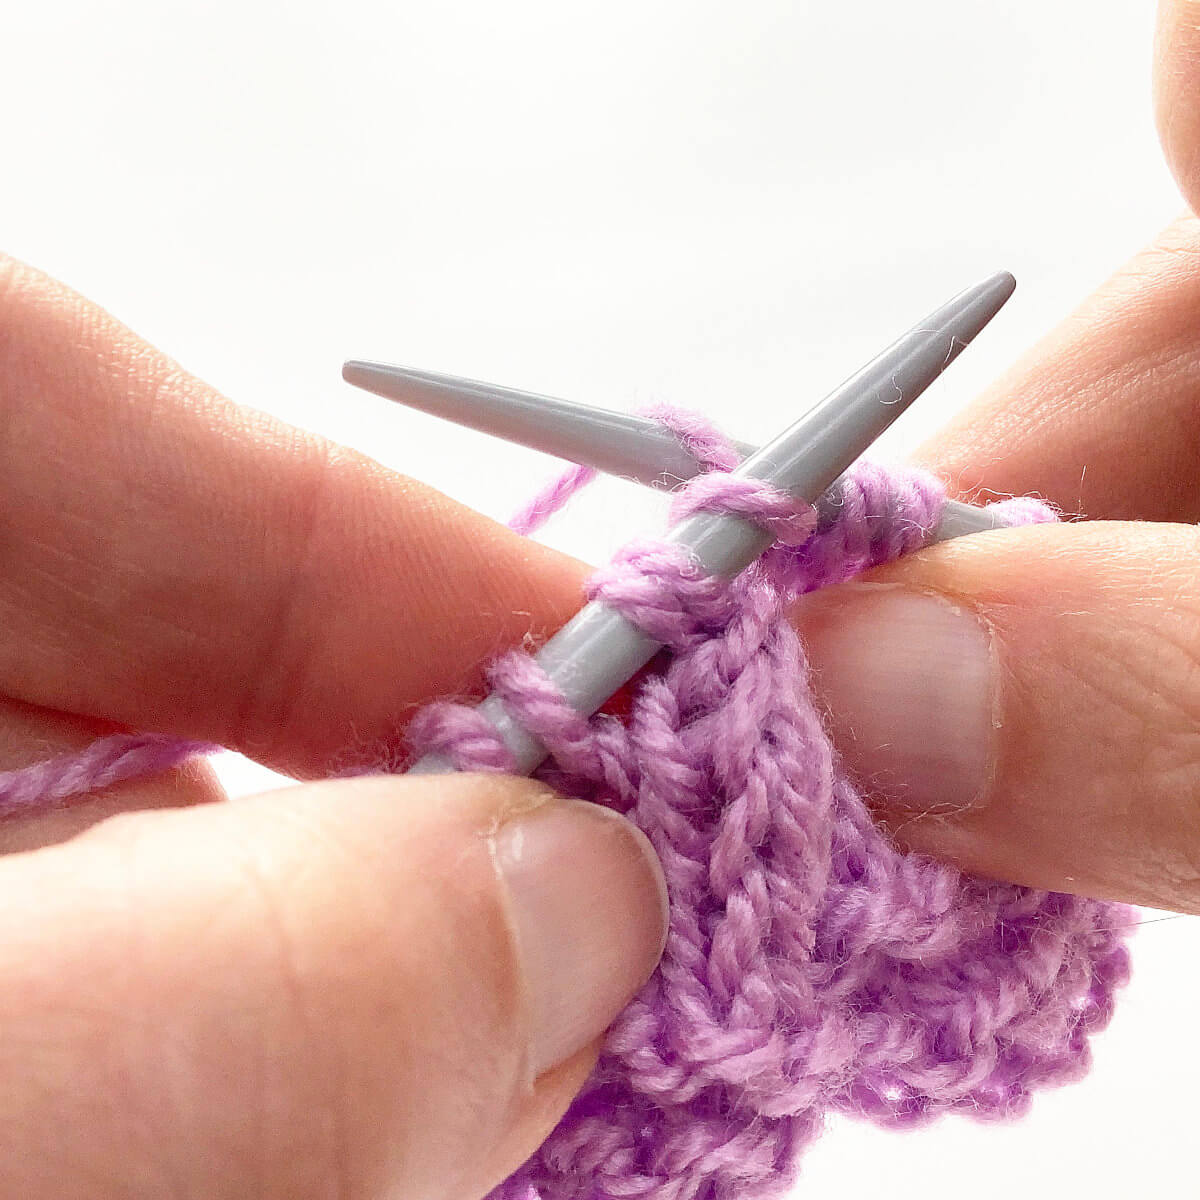
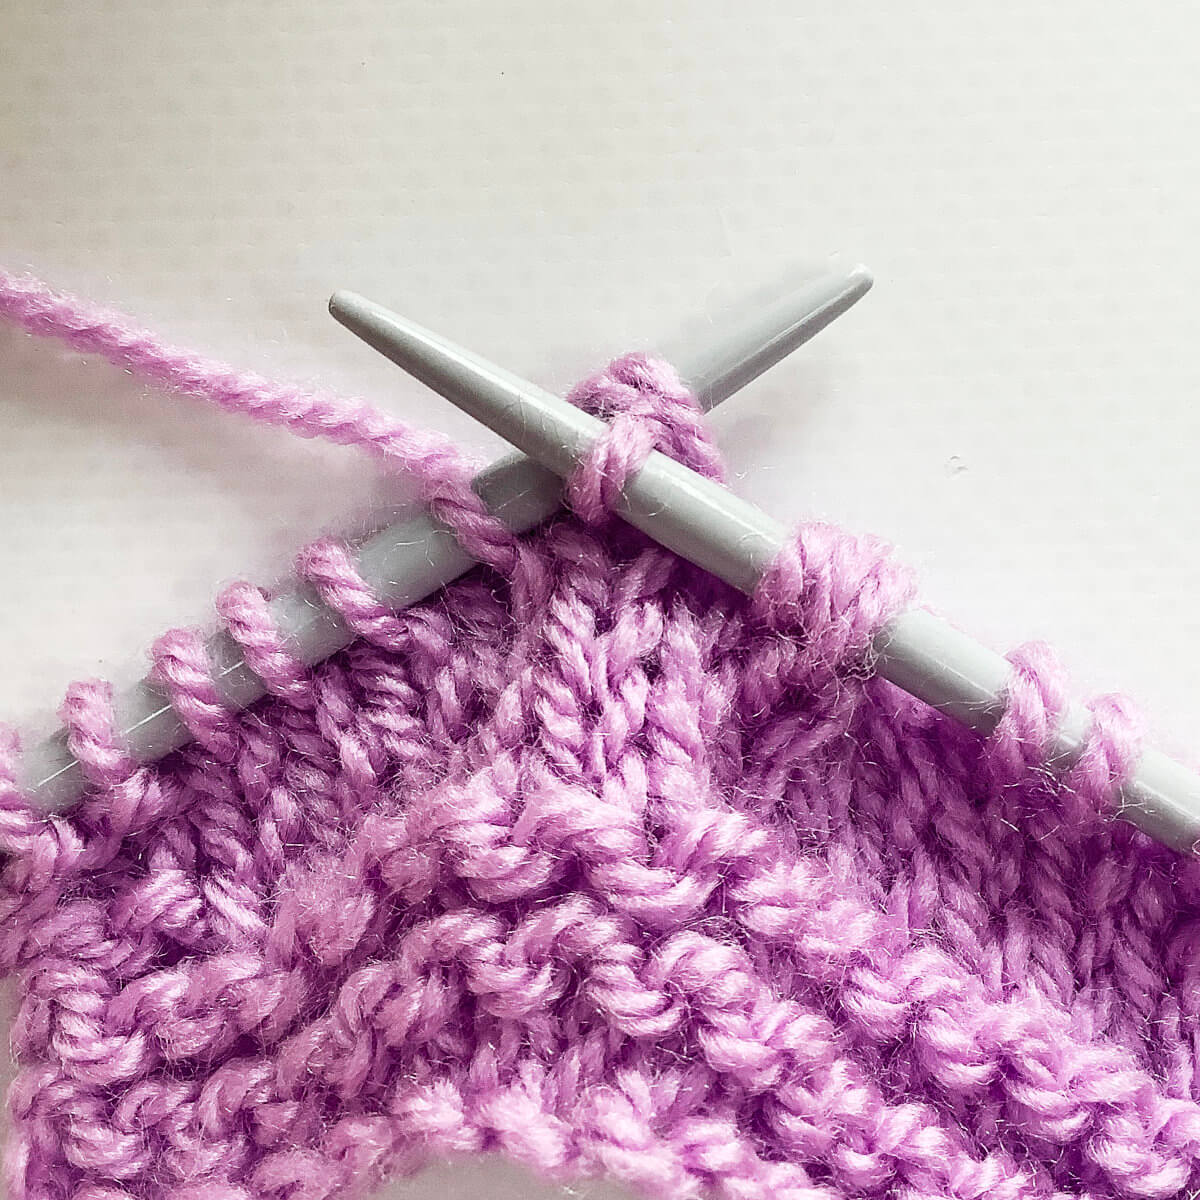
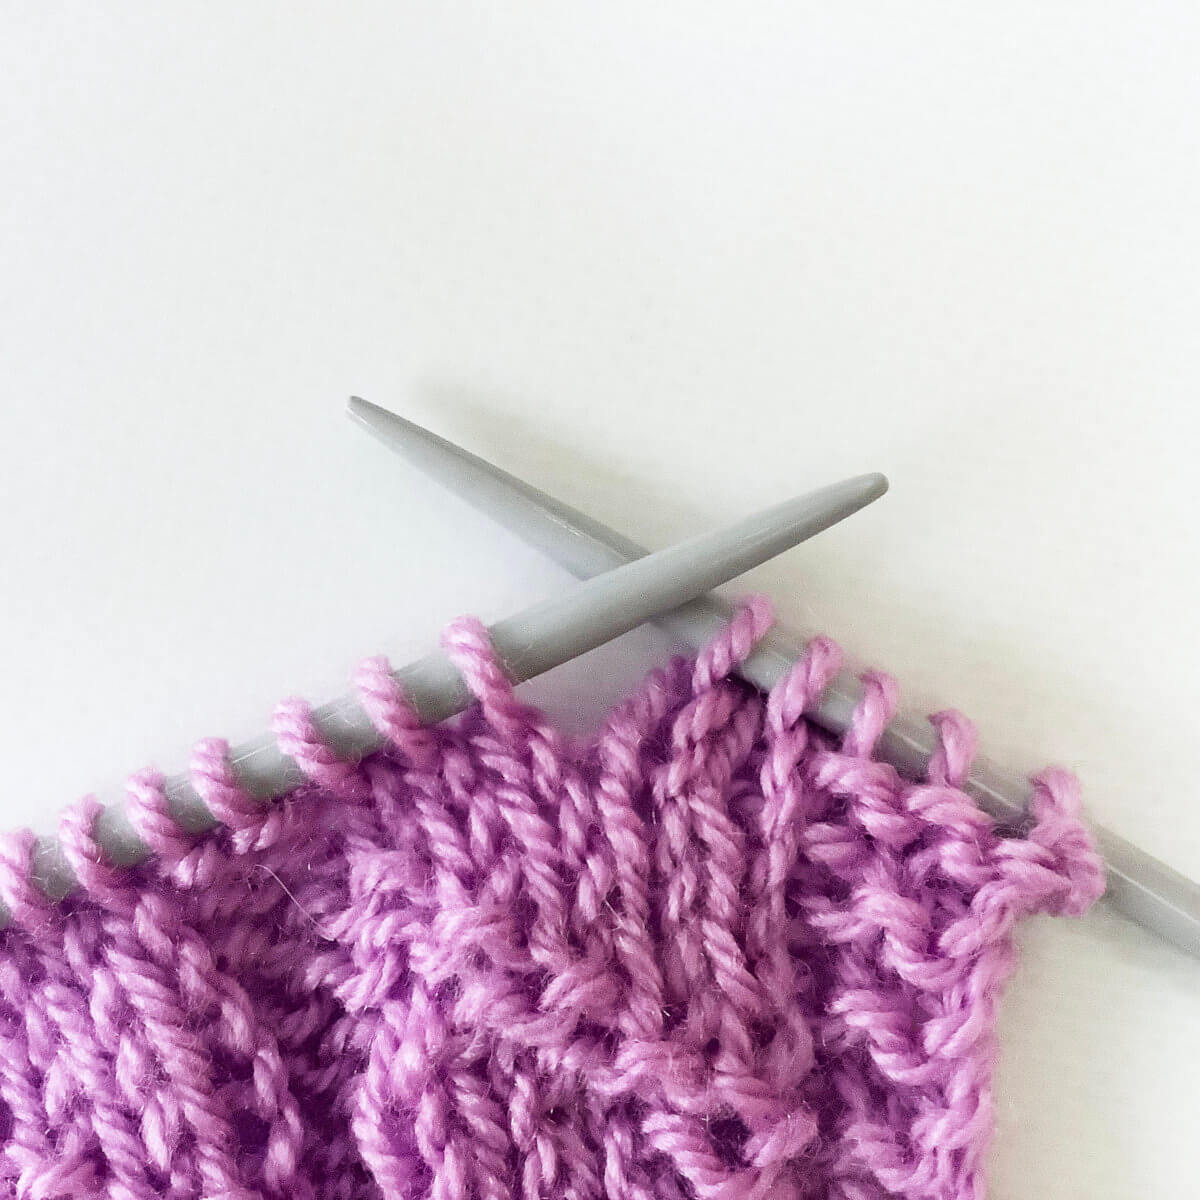
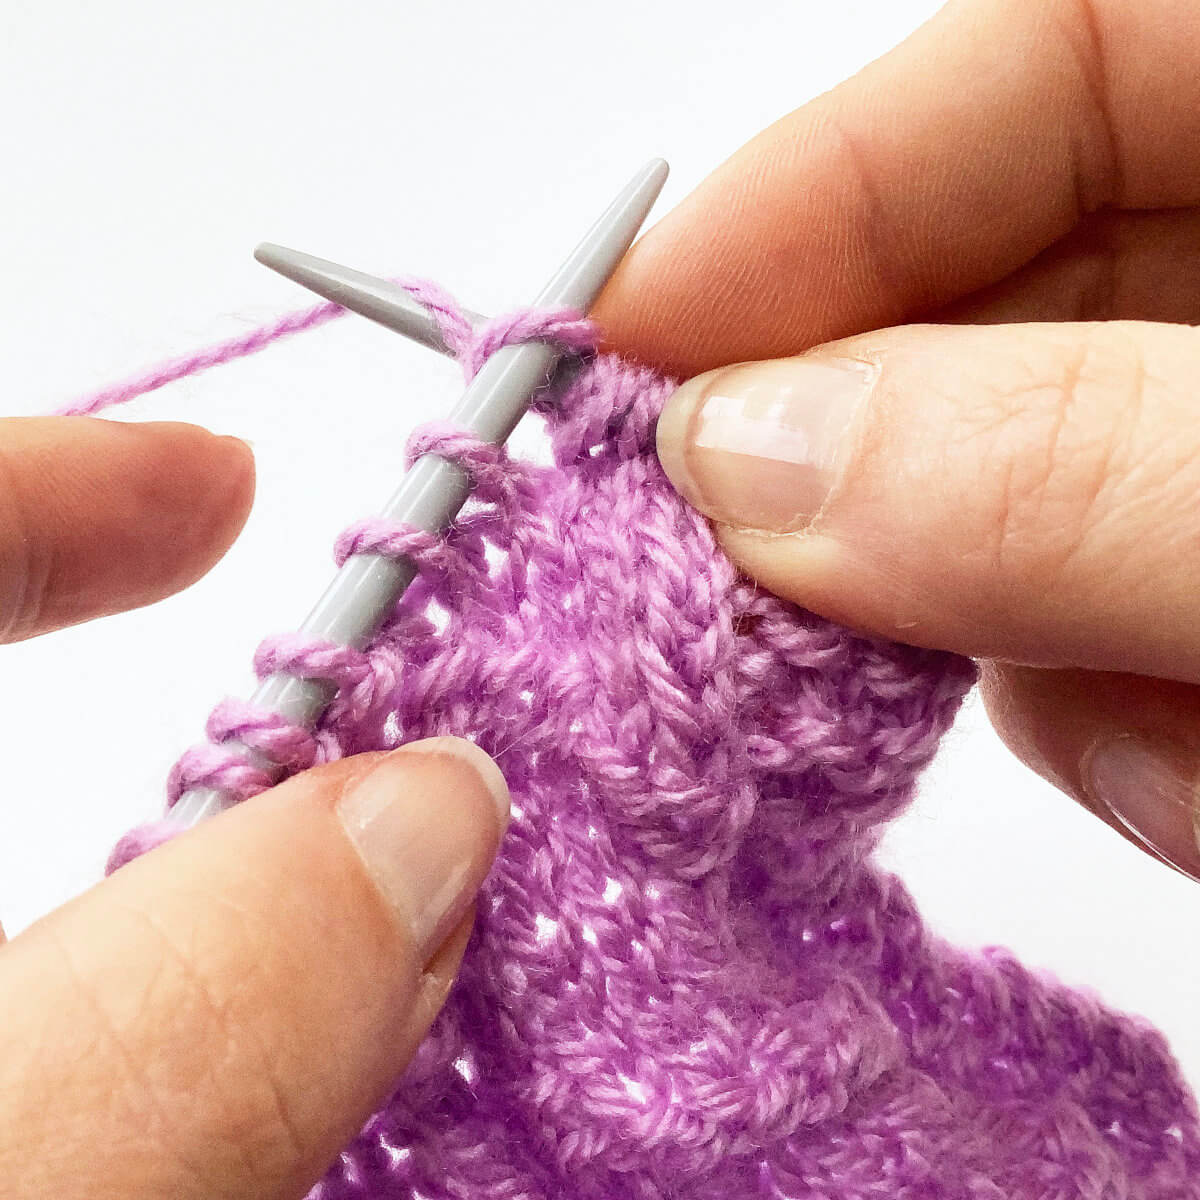
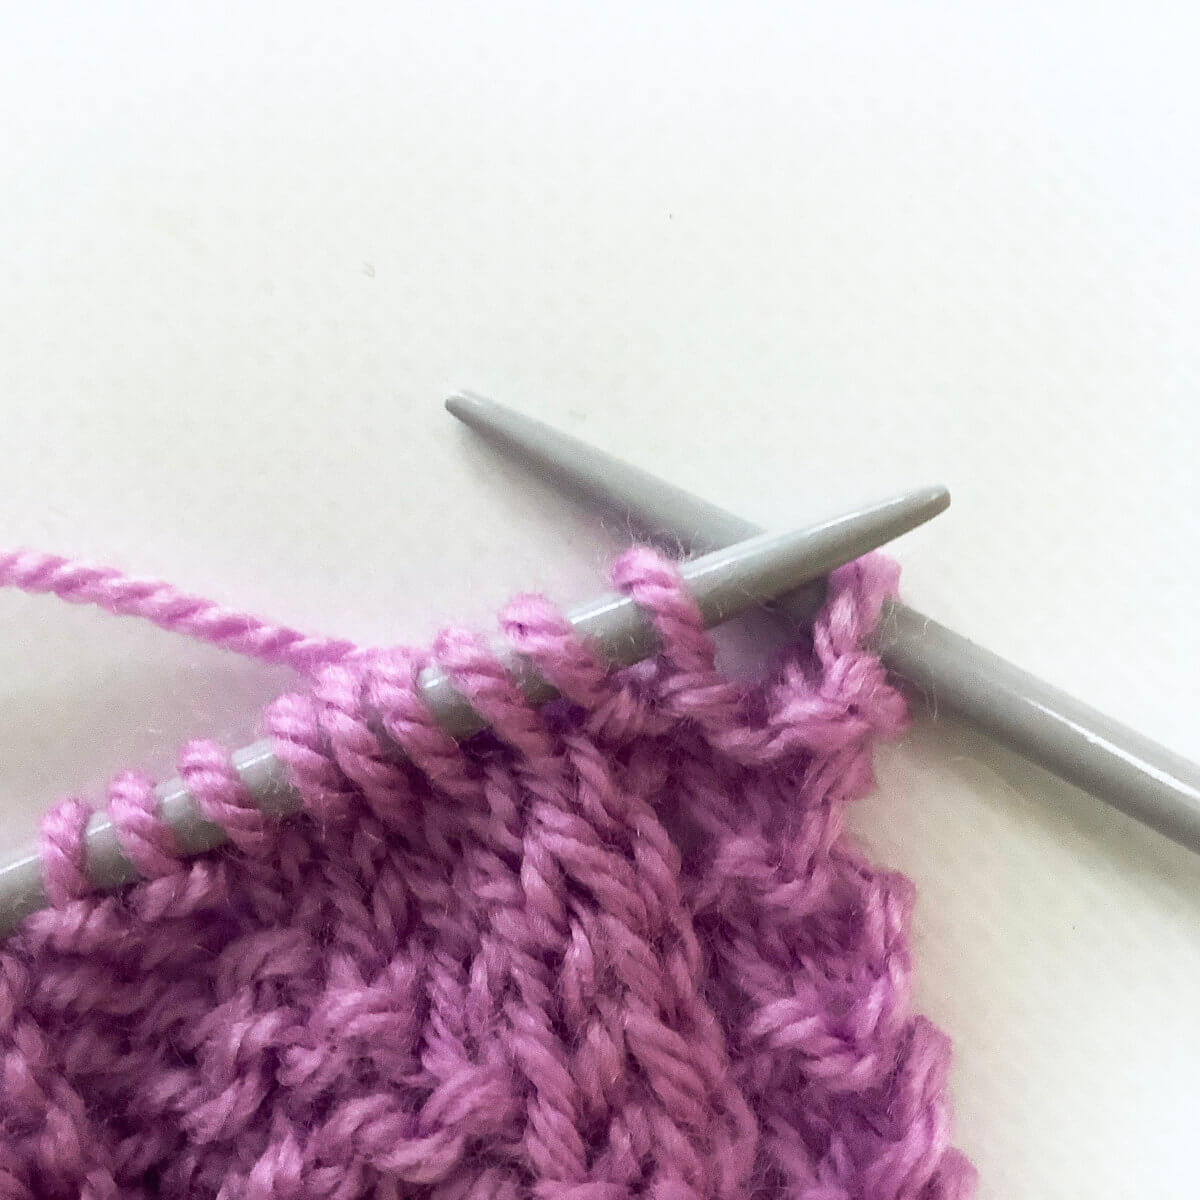
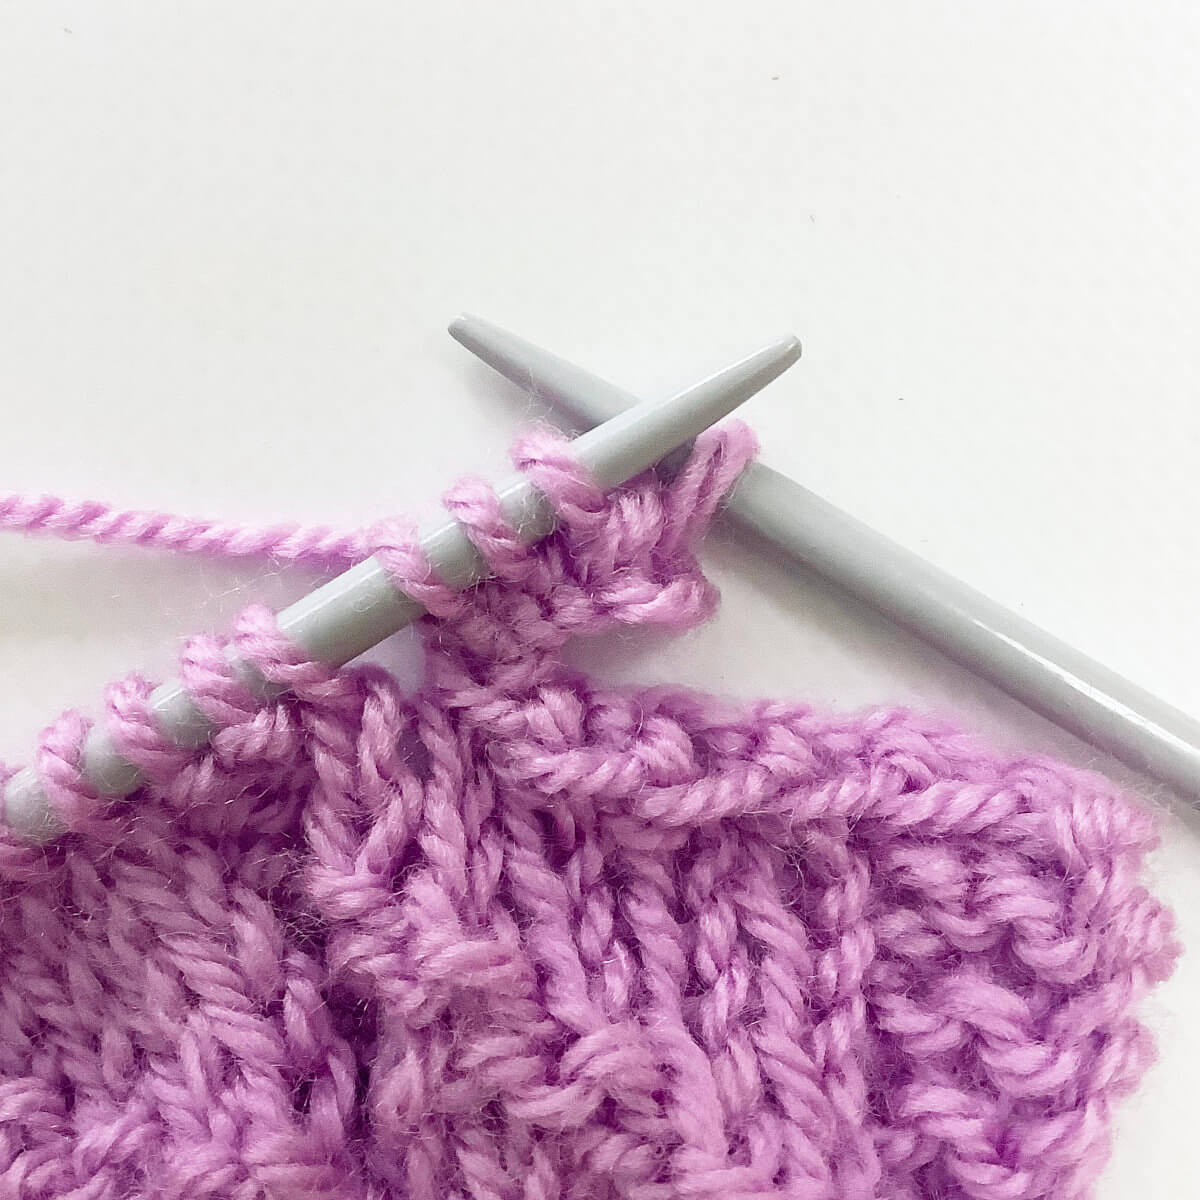
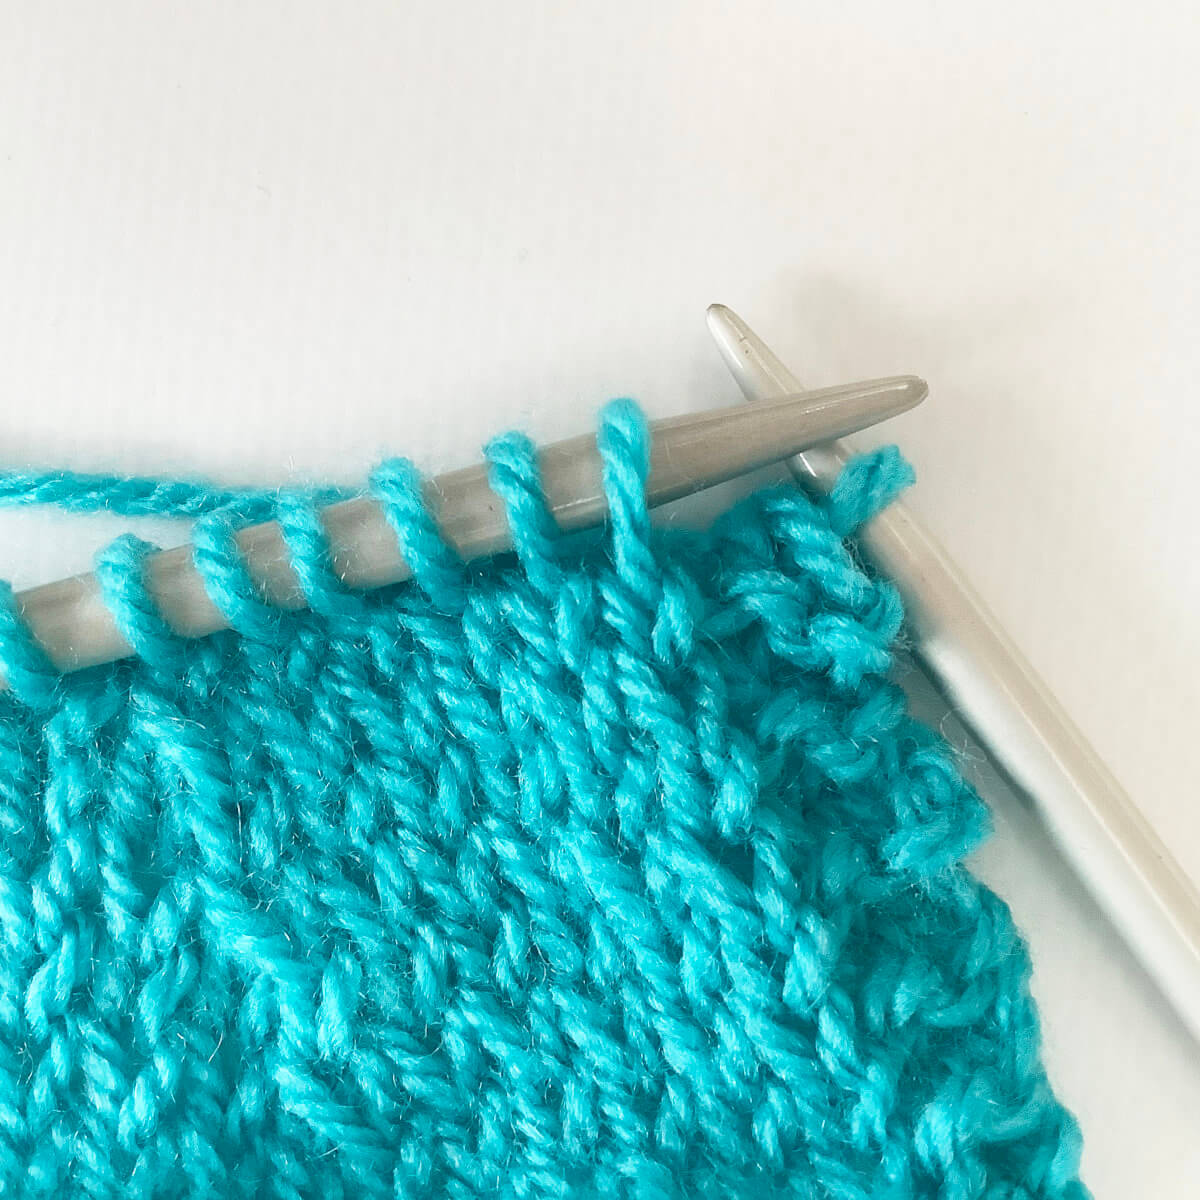
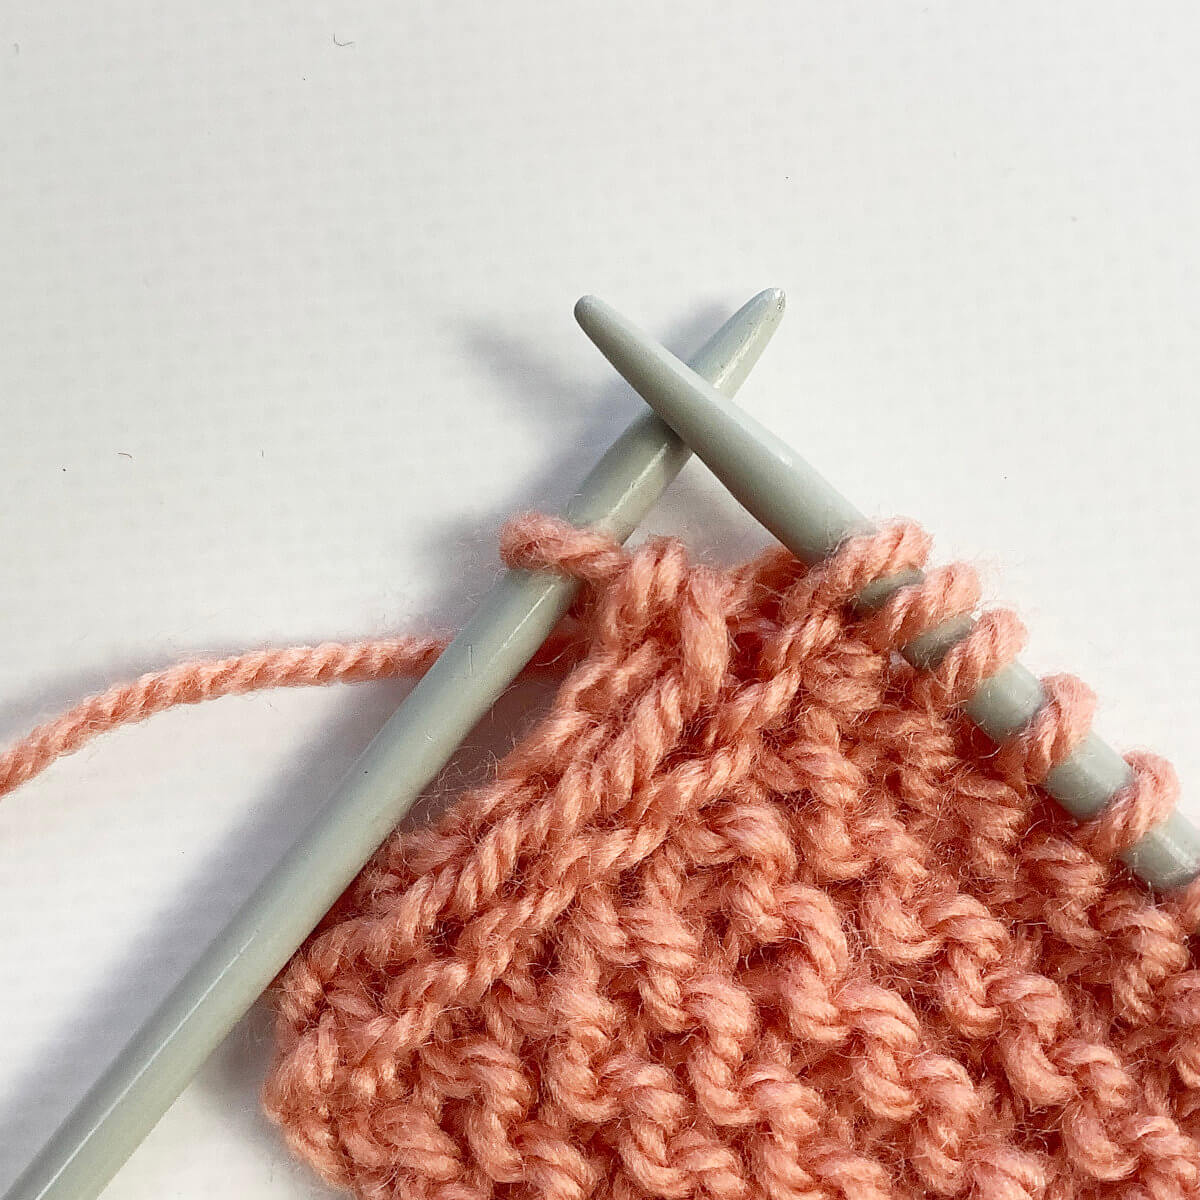
- On the RS: Knit the first stitch
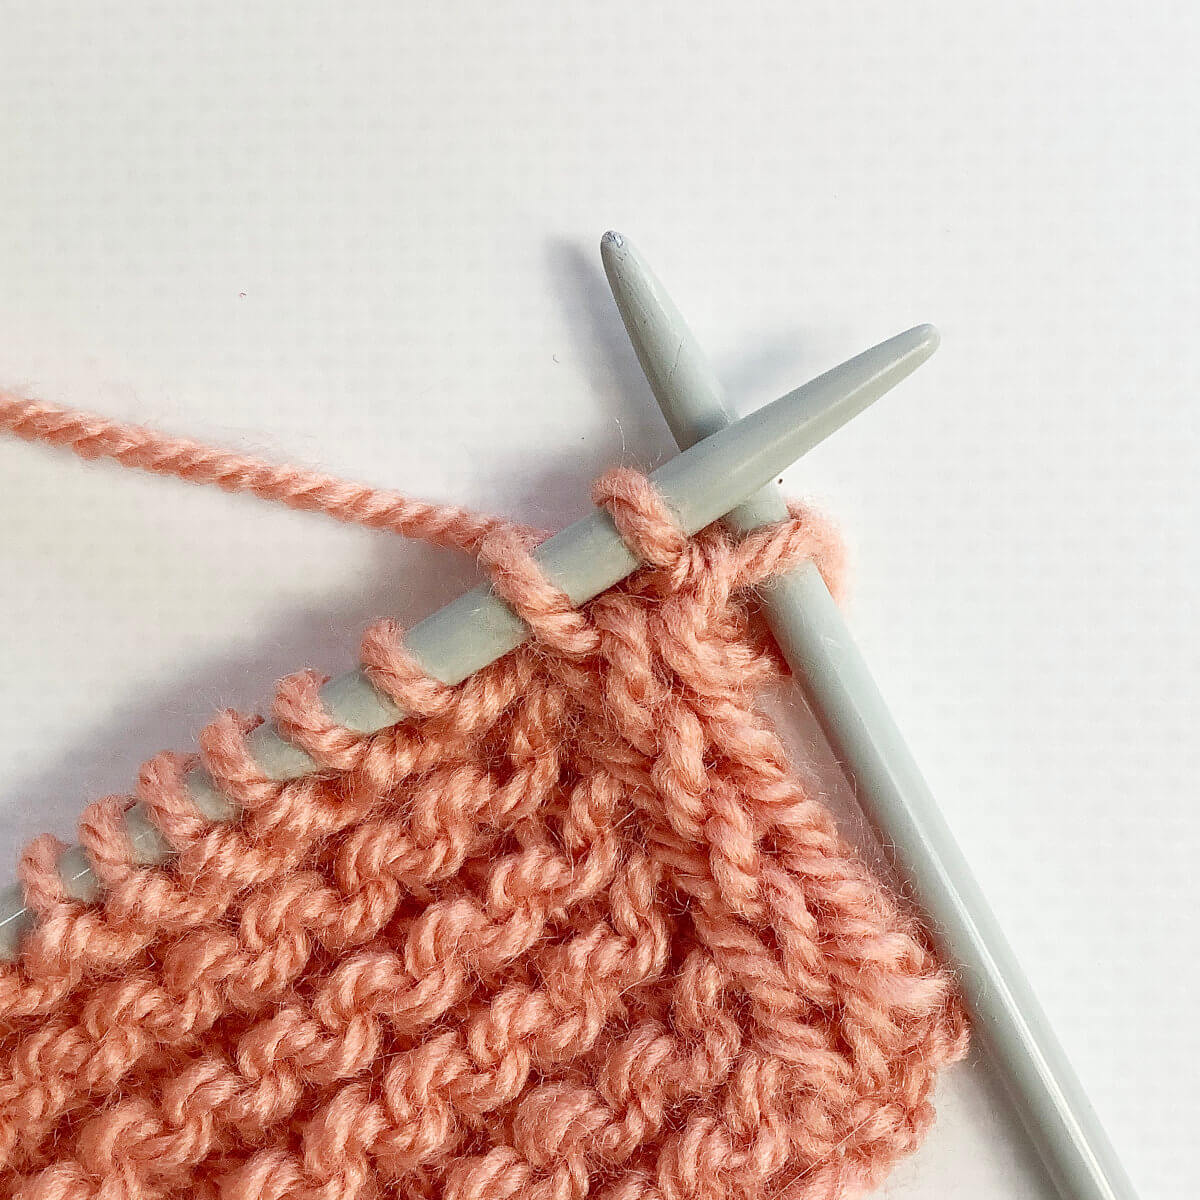
- Move the yarn to the front of the work, insert your right-hand knitting needle purl-wise into the stitch and slip it to that needle.
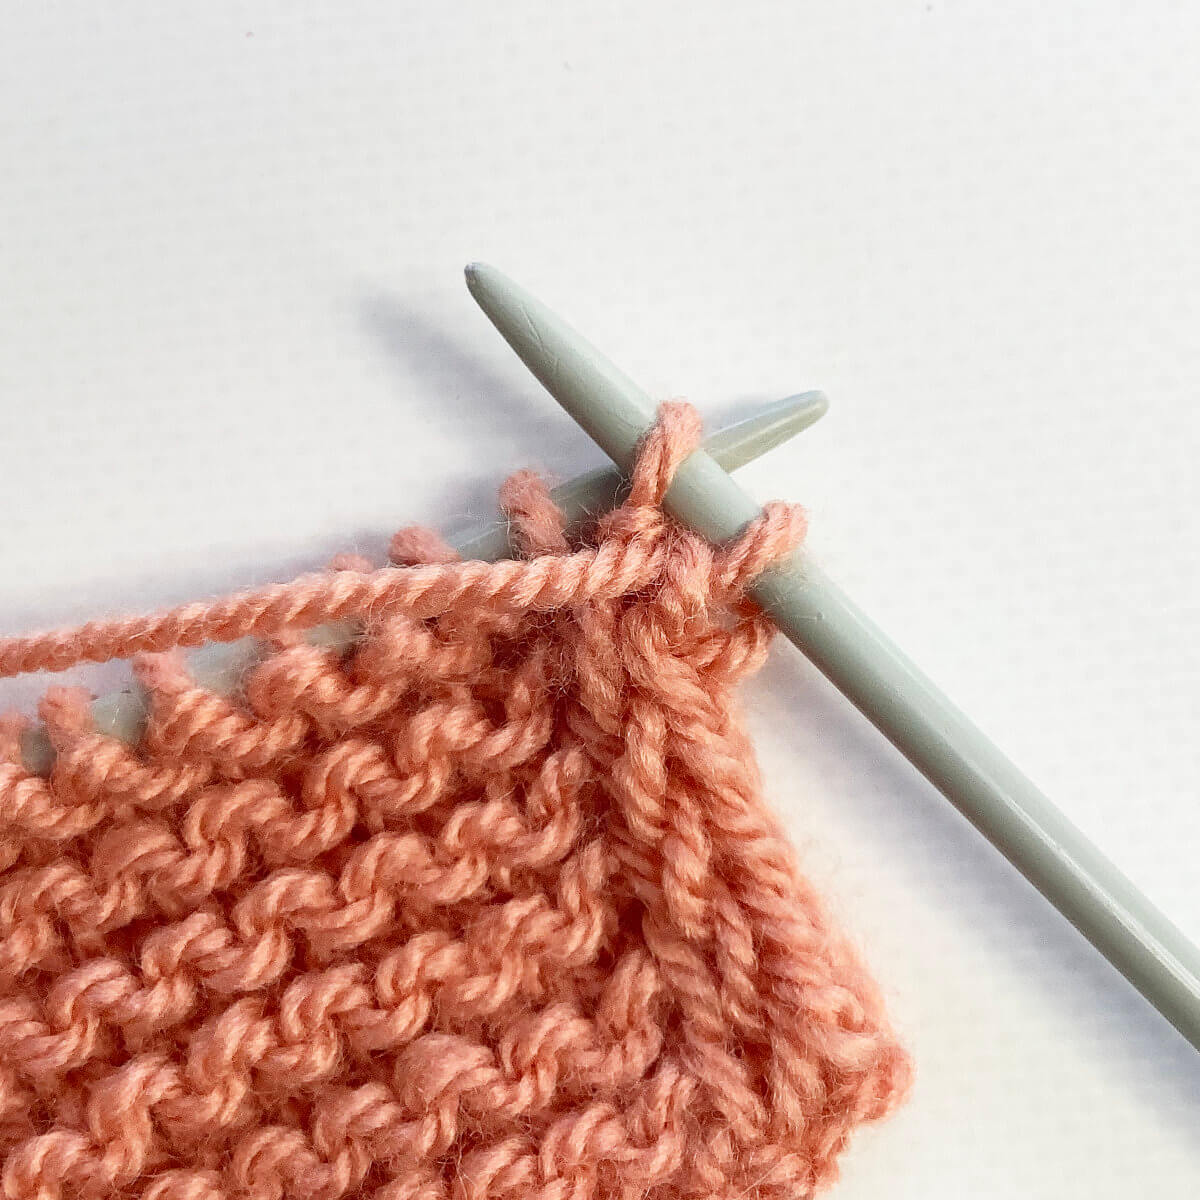
- Knit the third stitch.
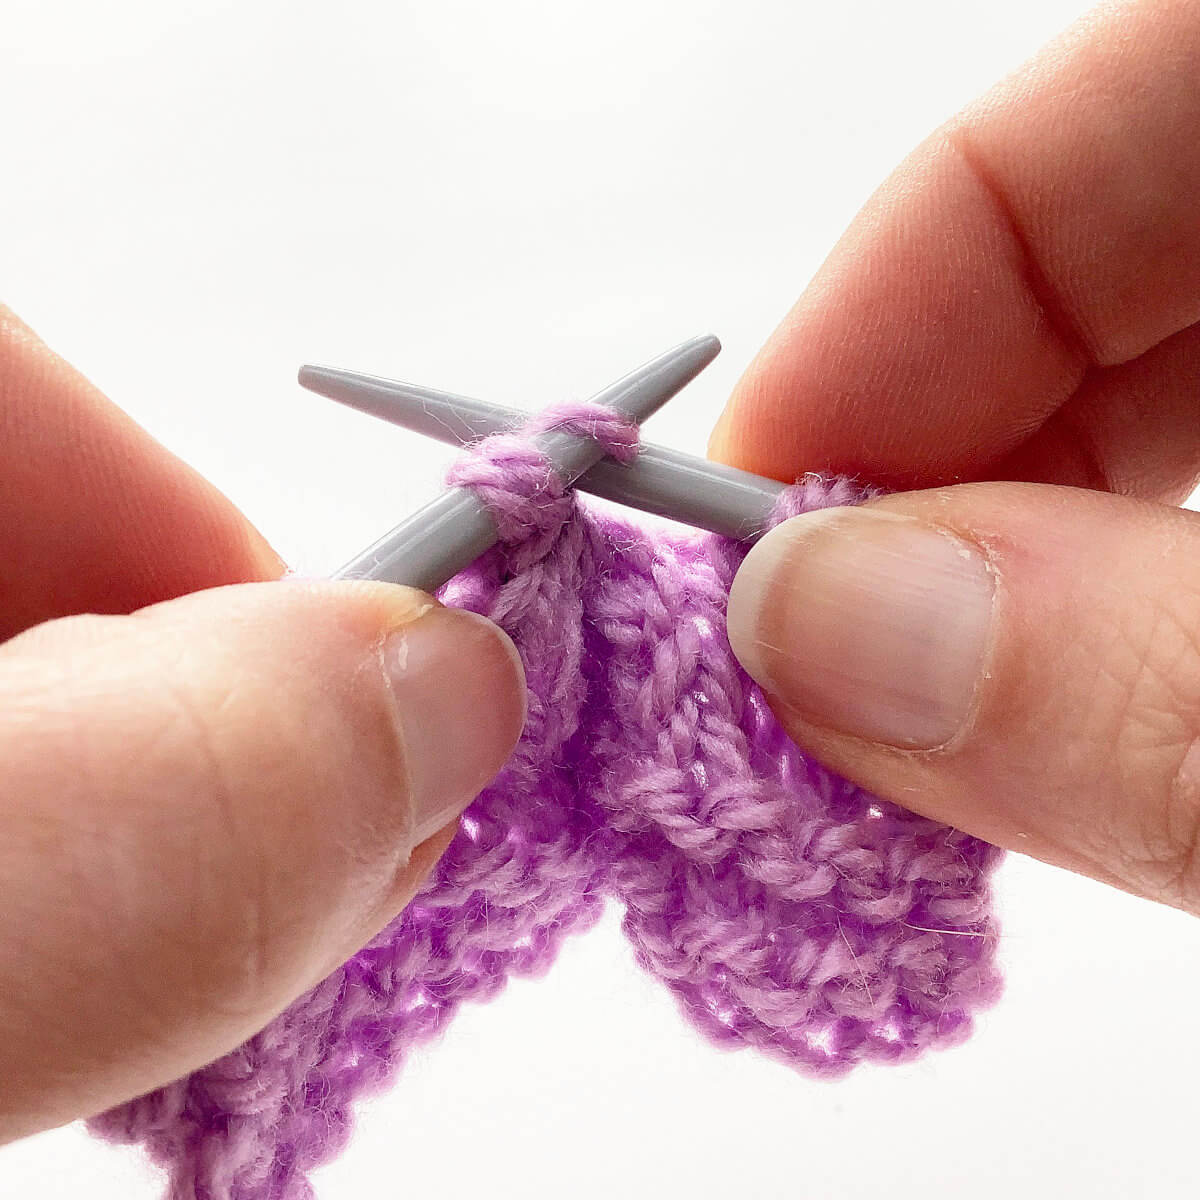
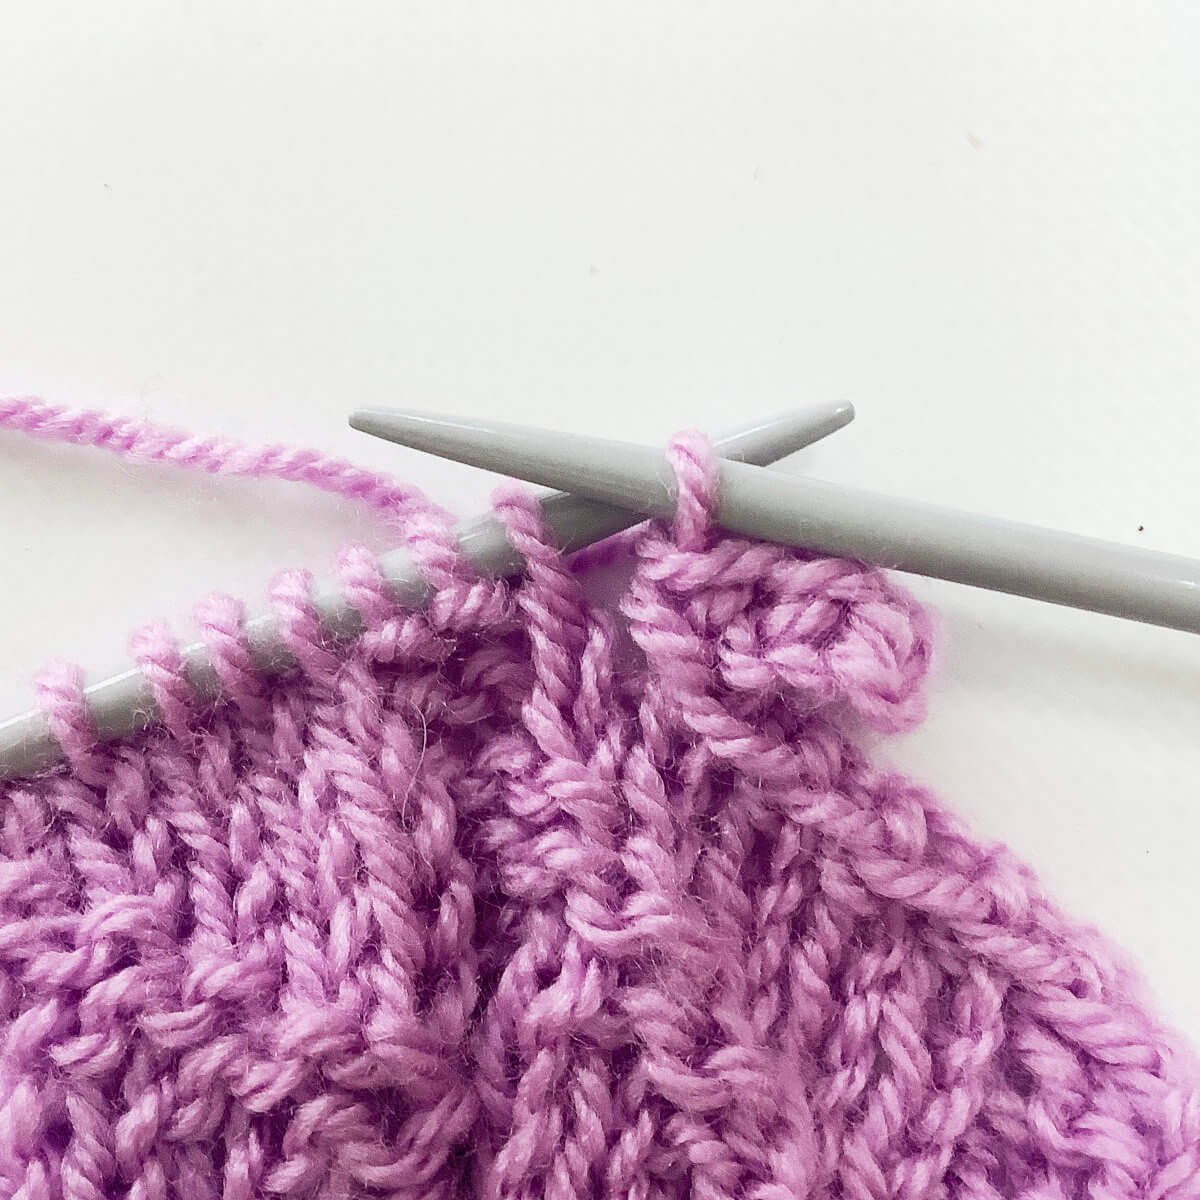
Now you can continue with the row according to your pattern.
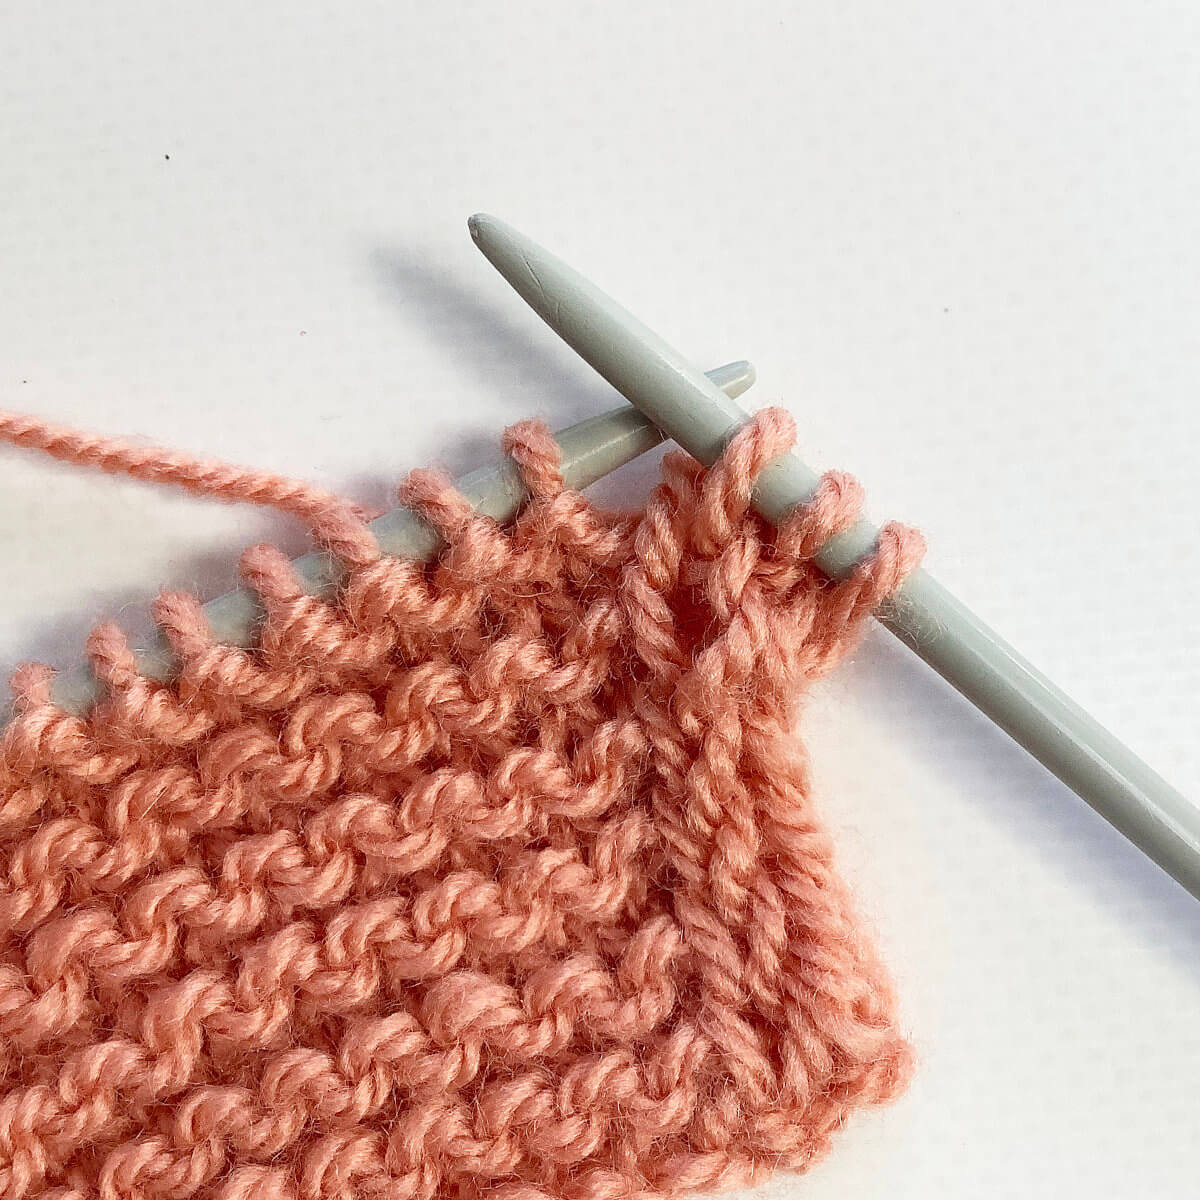
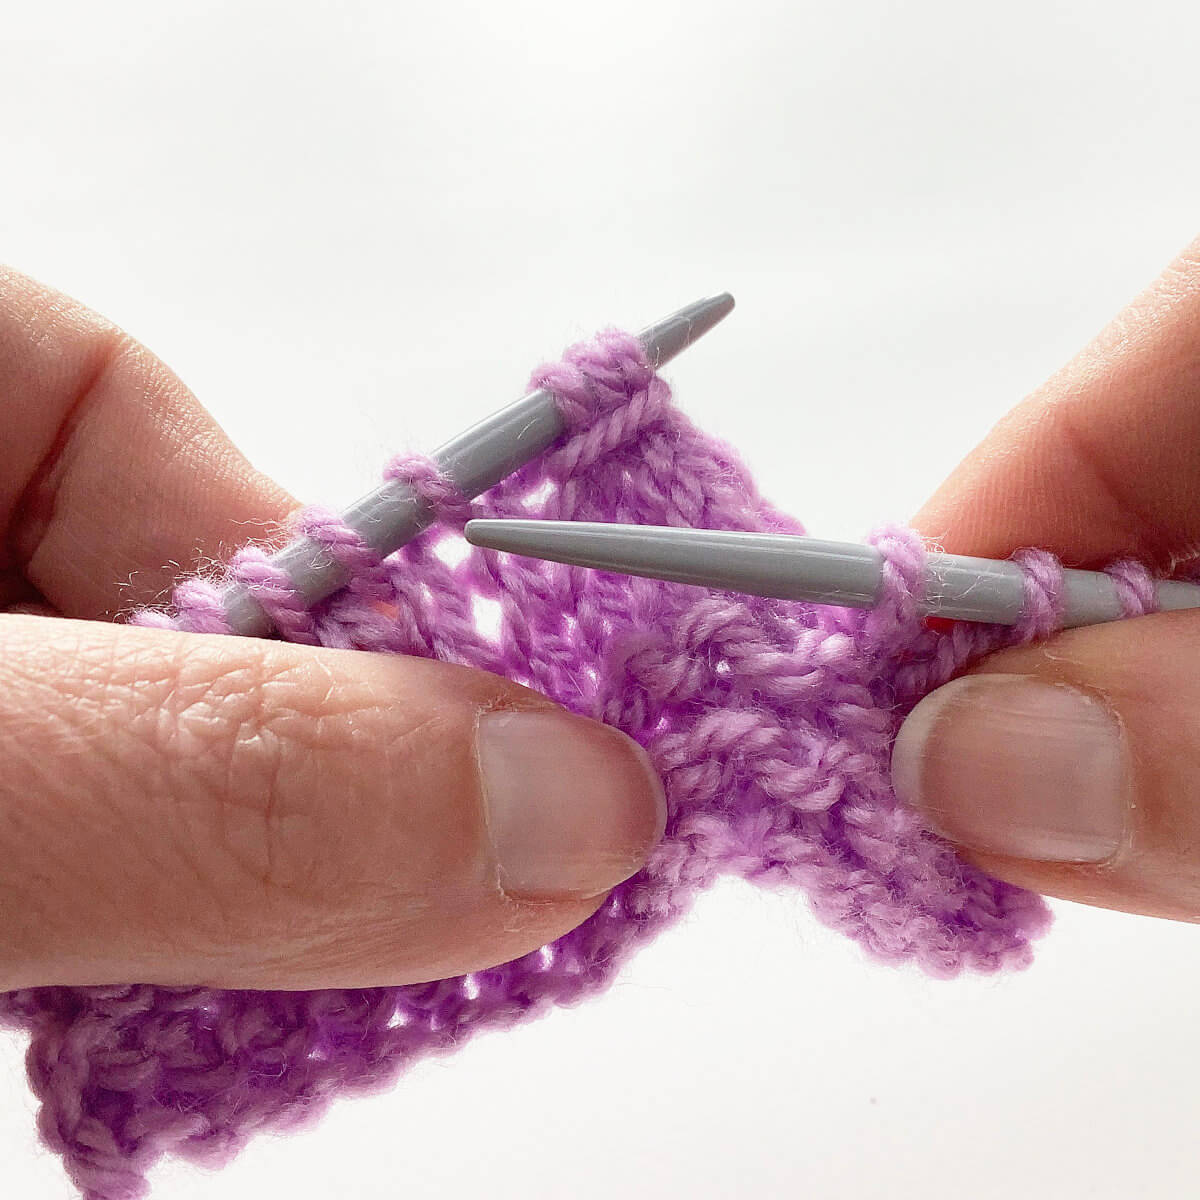
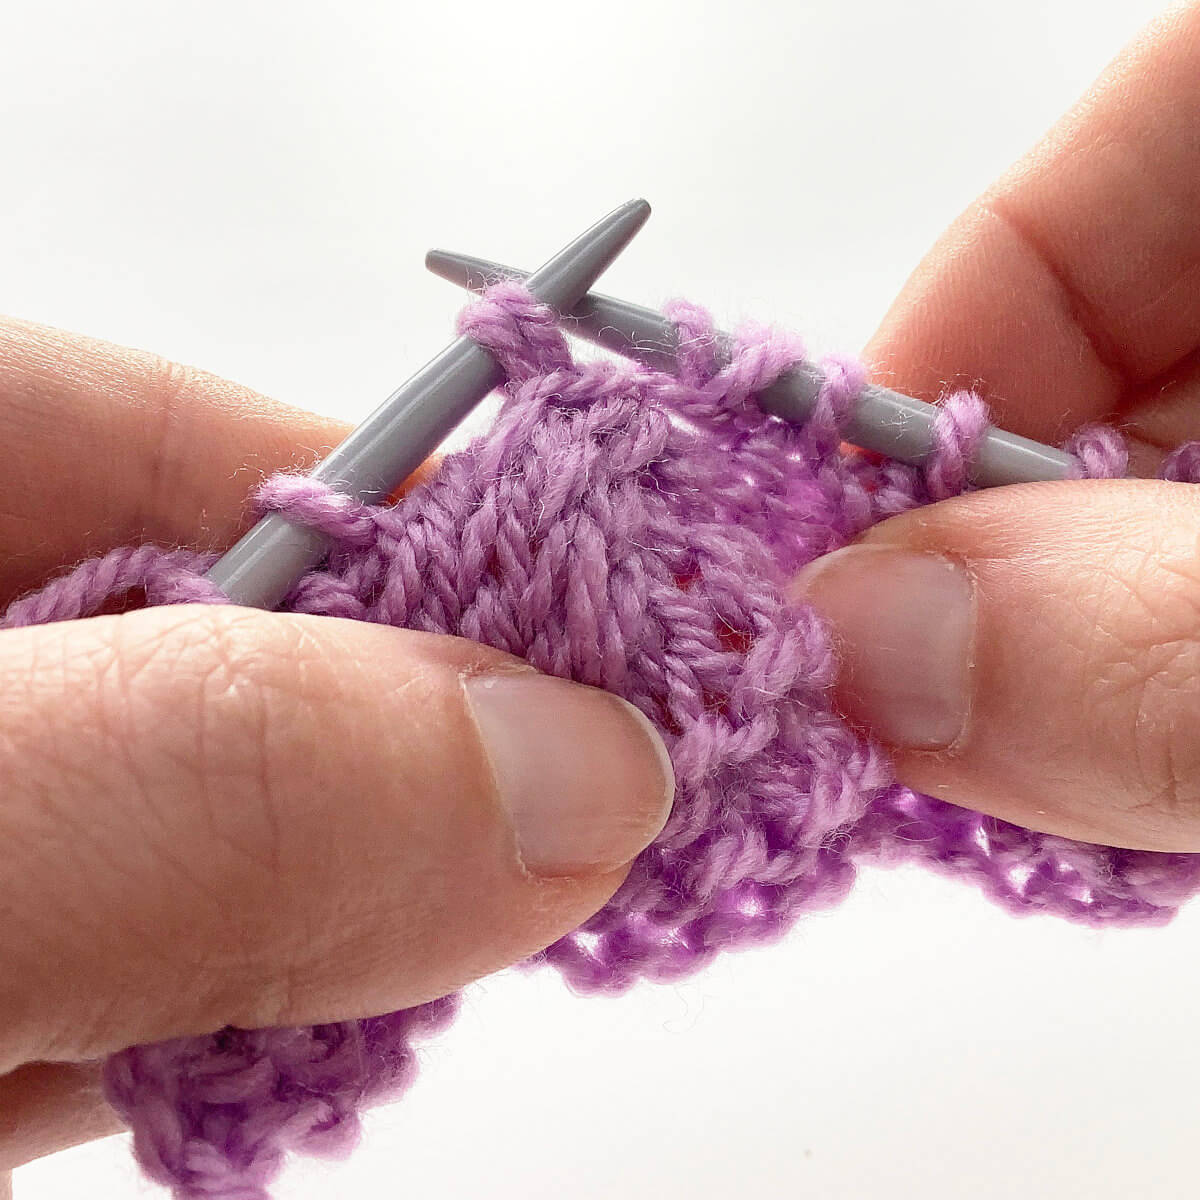
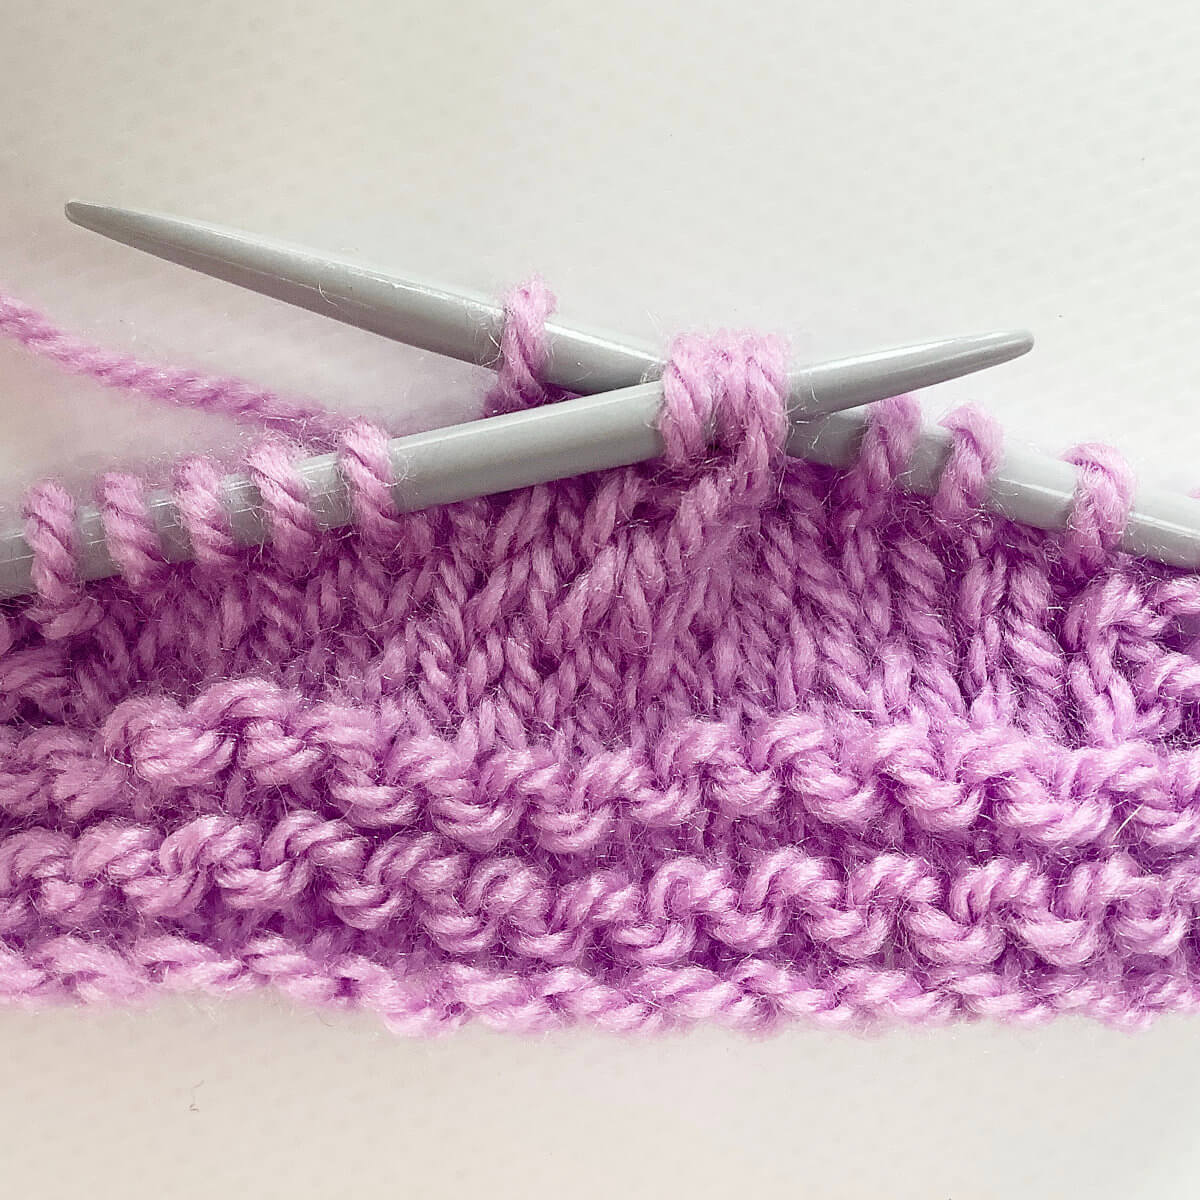
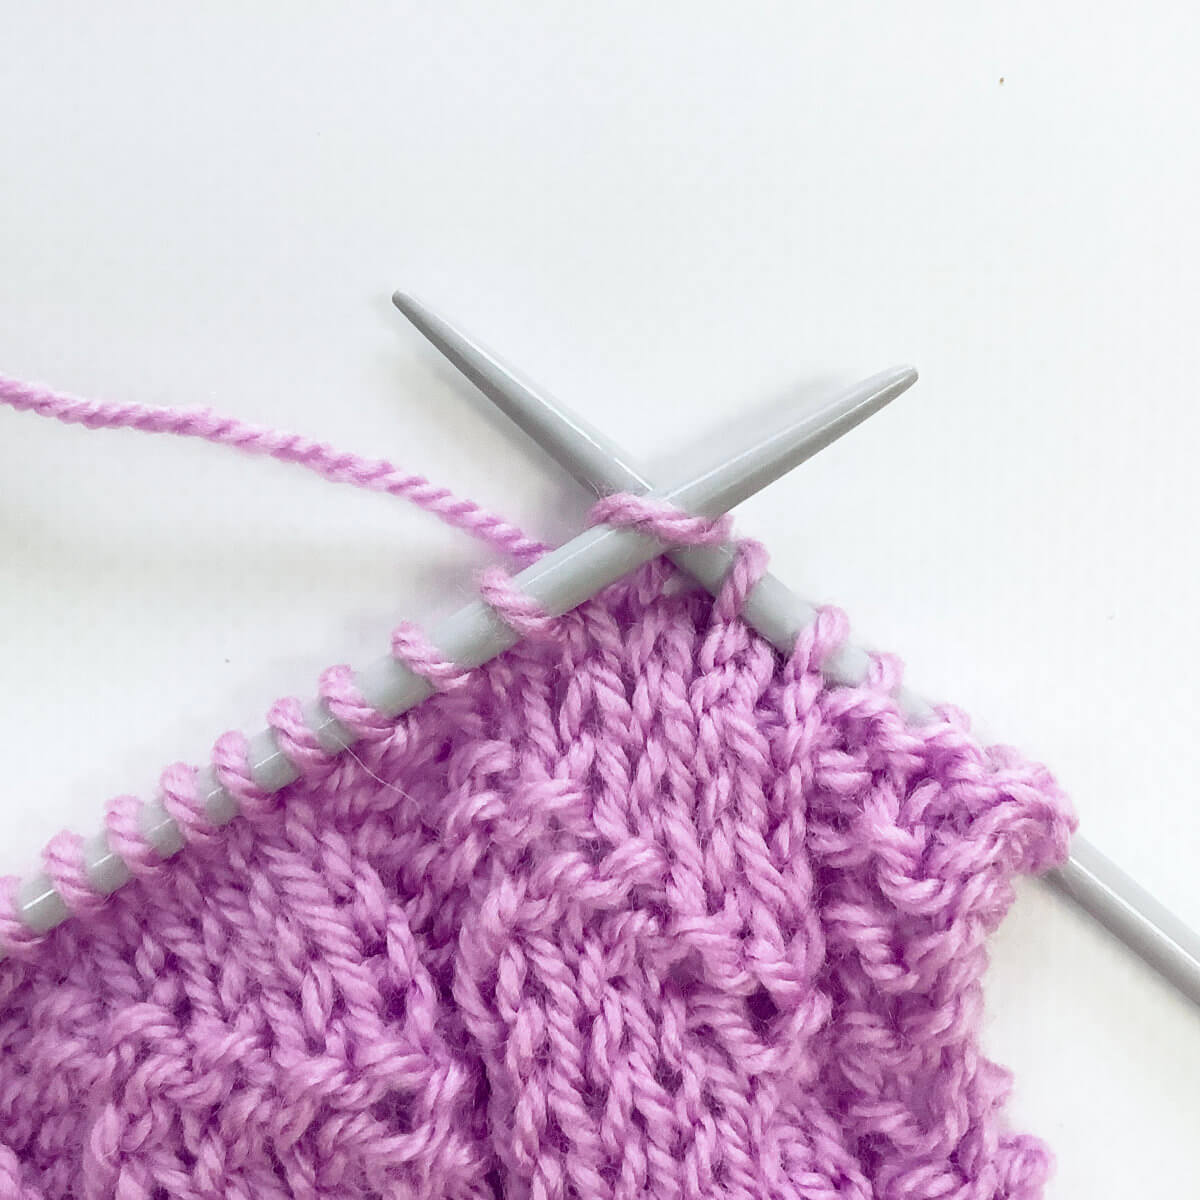
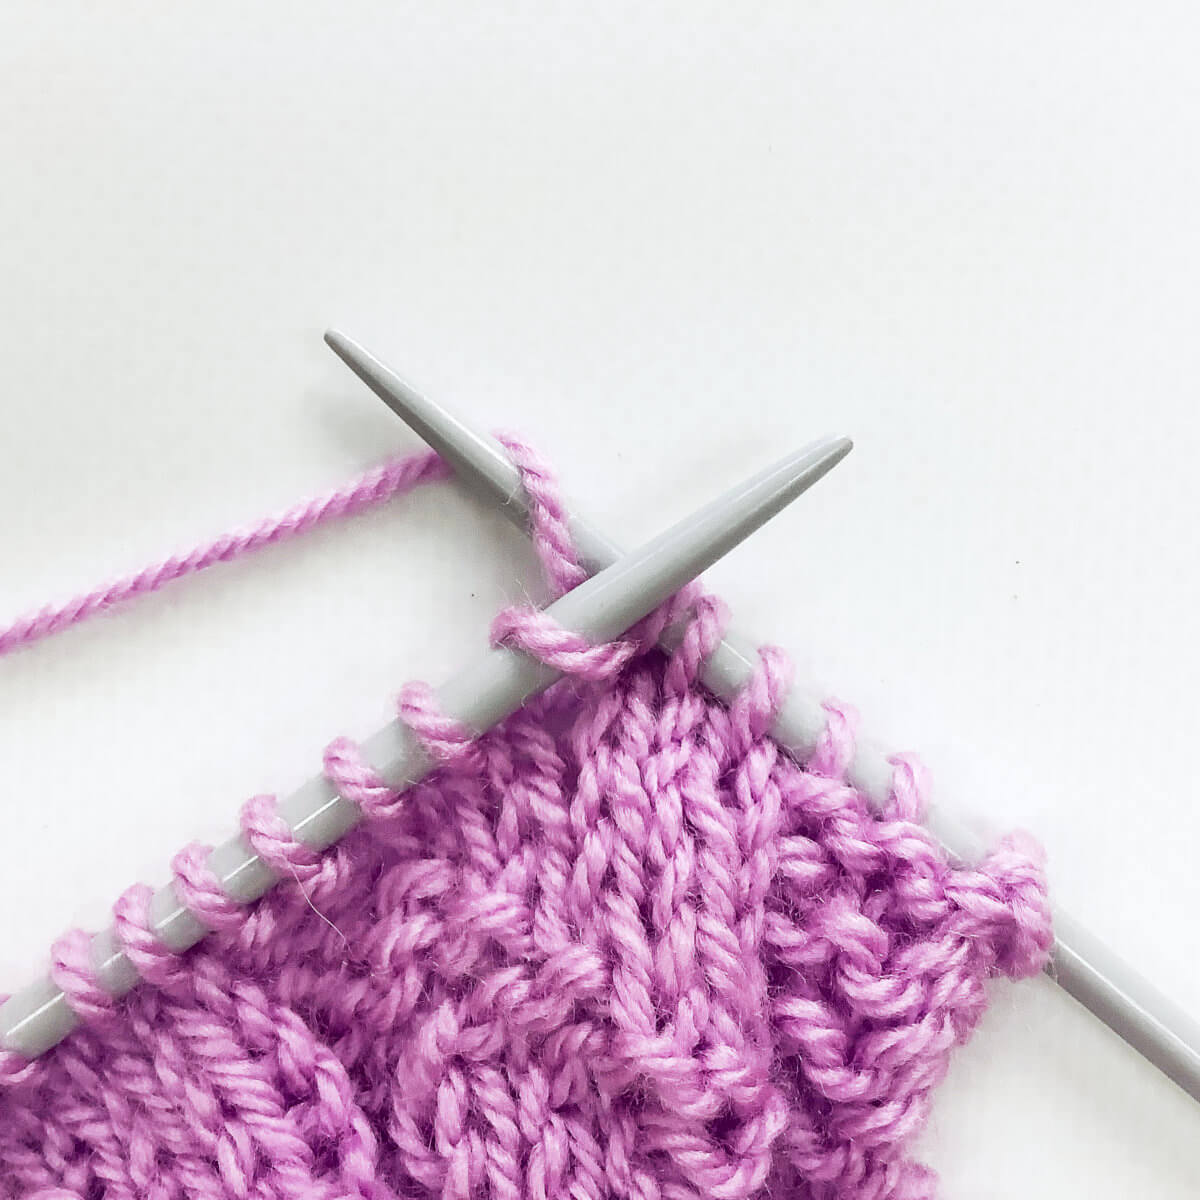
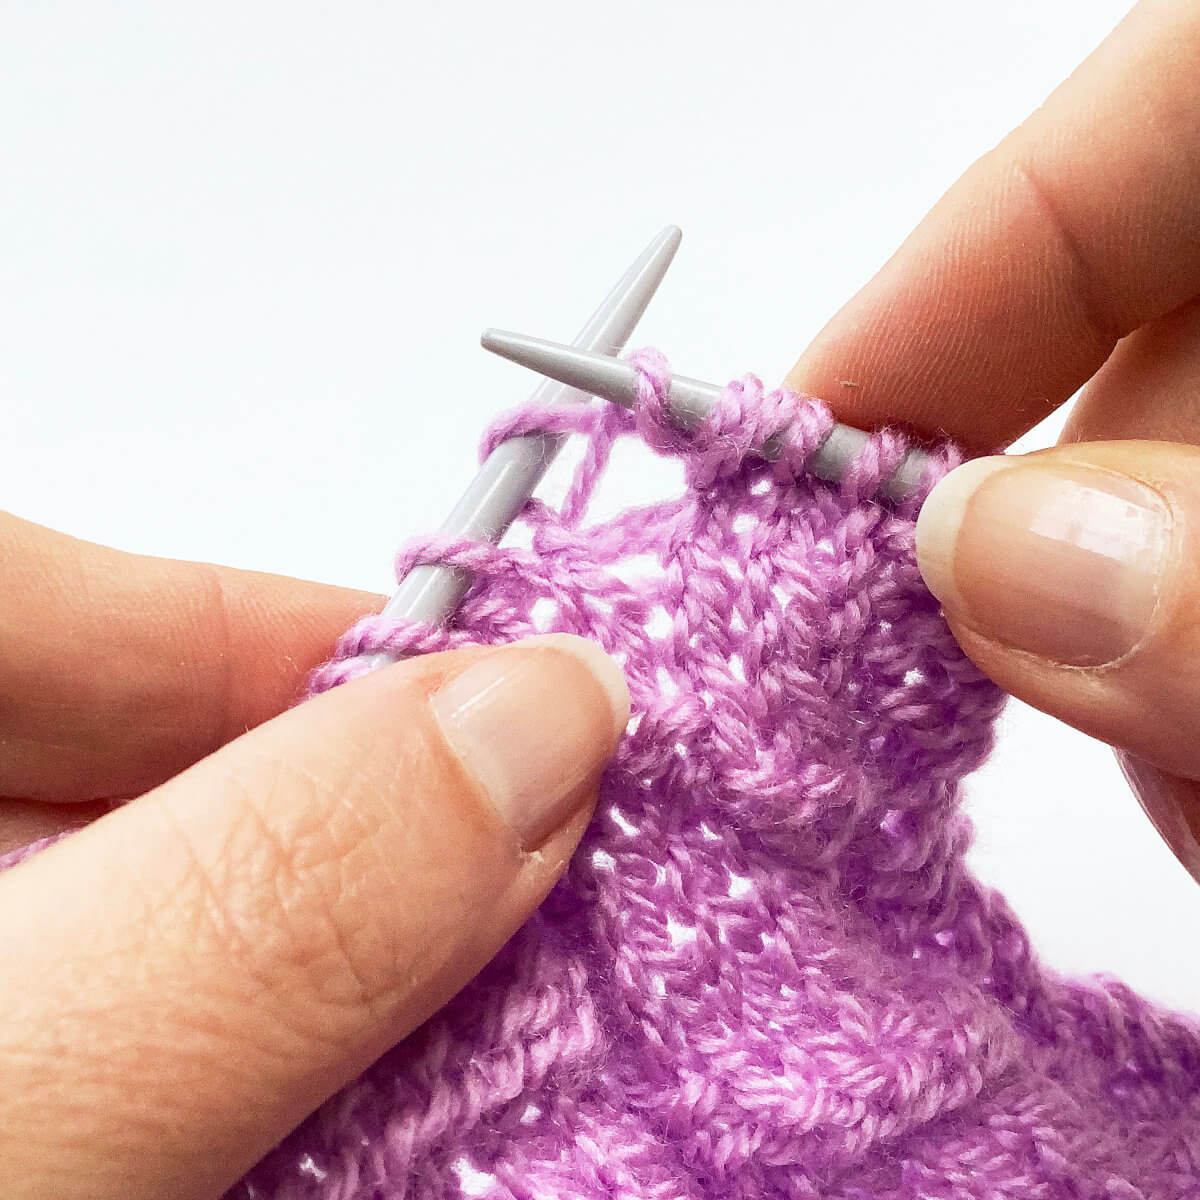
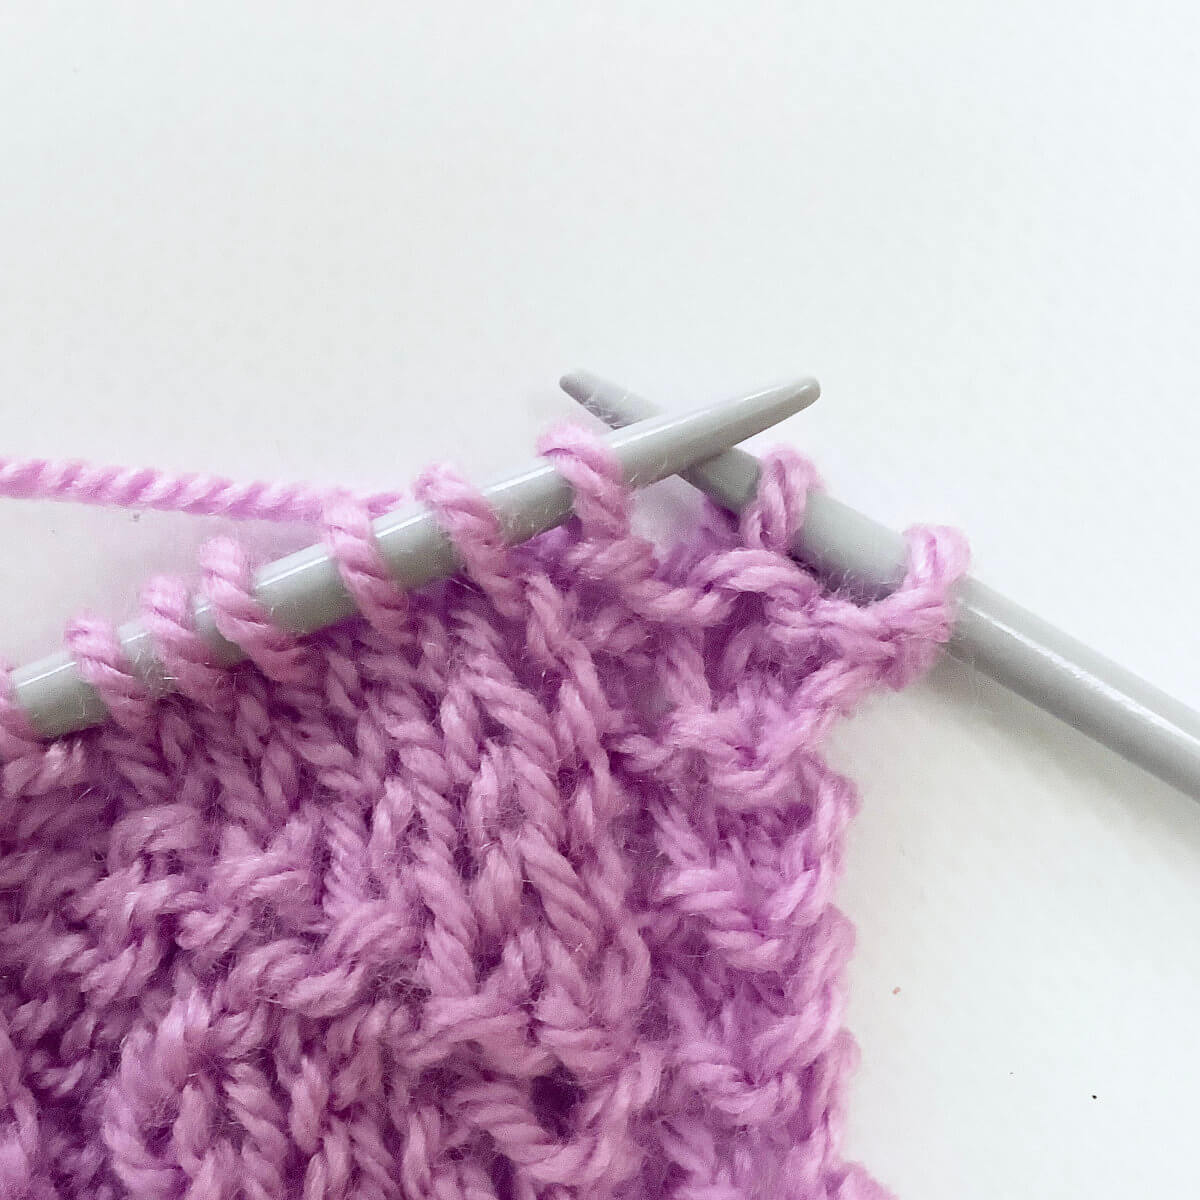
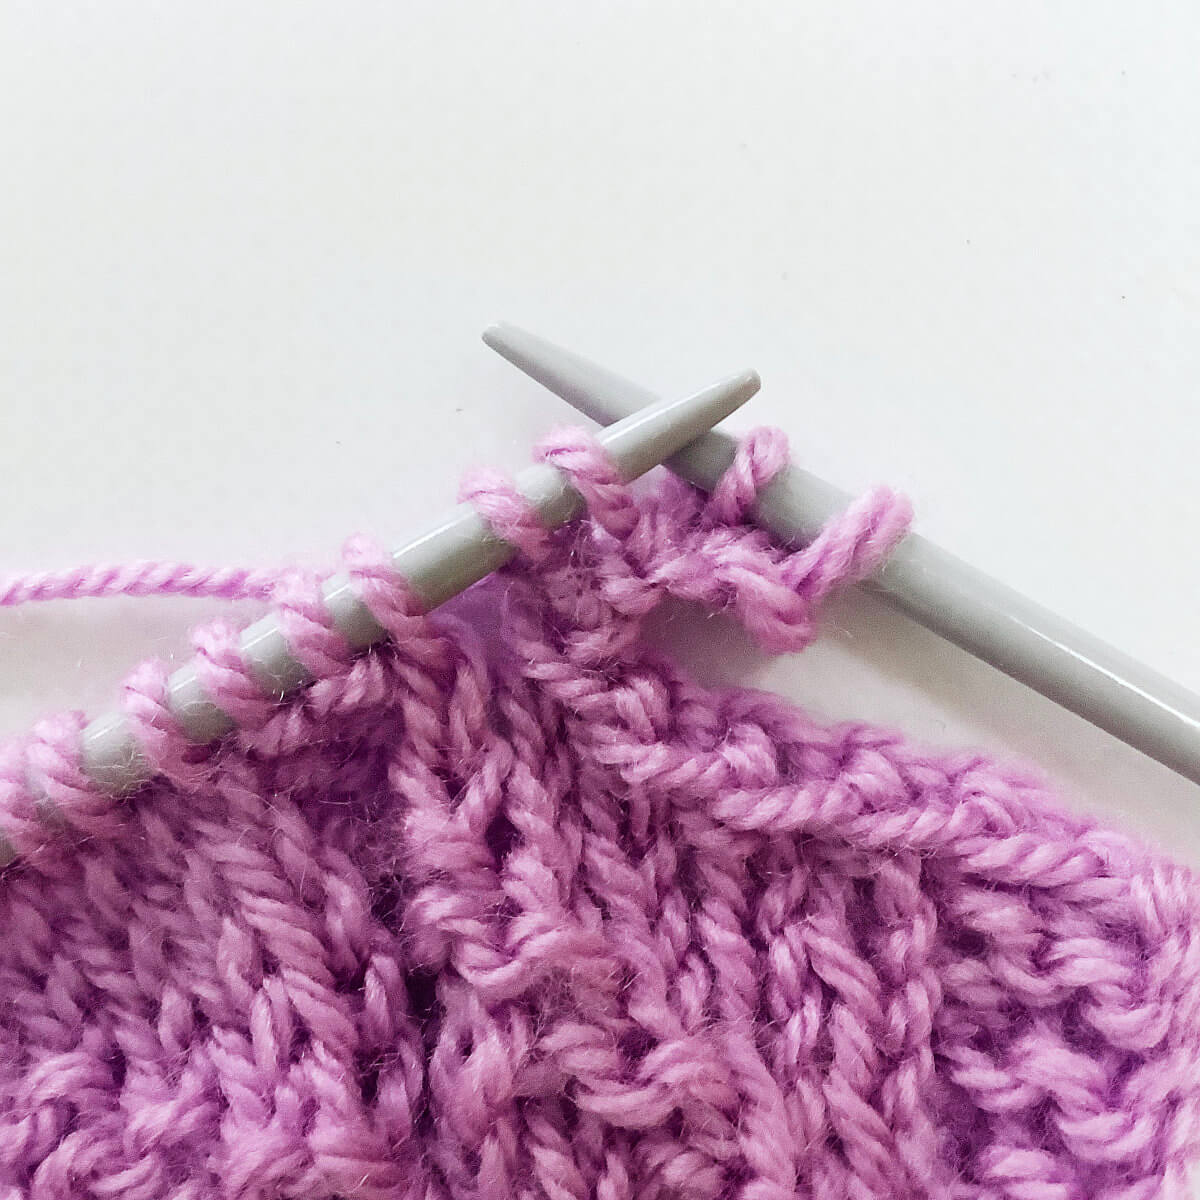
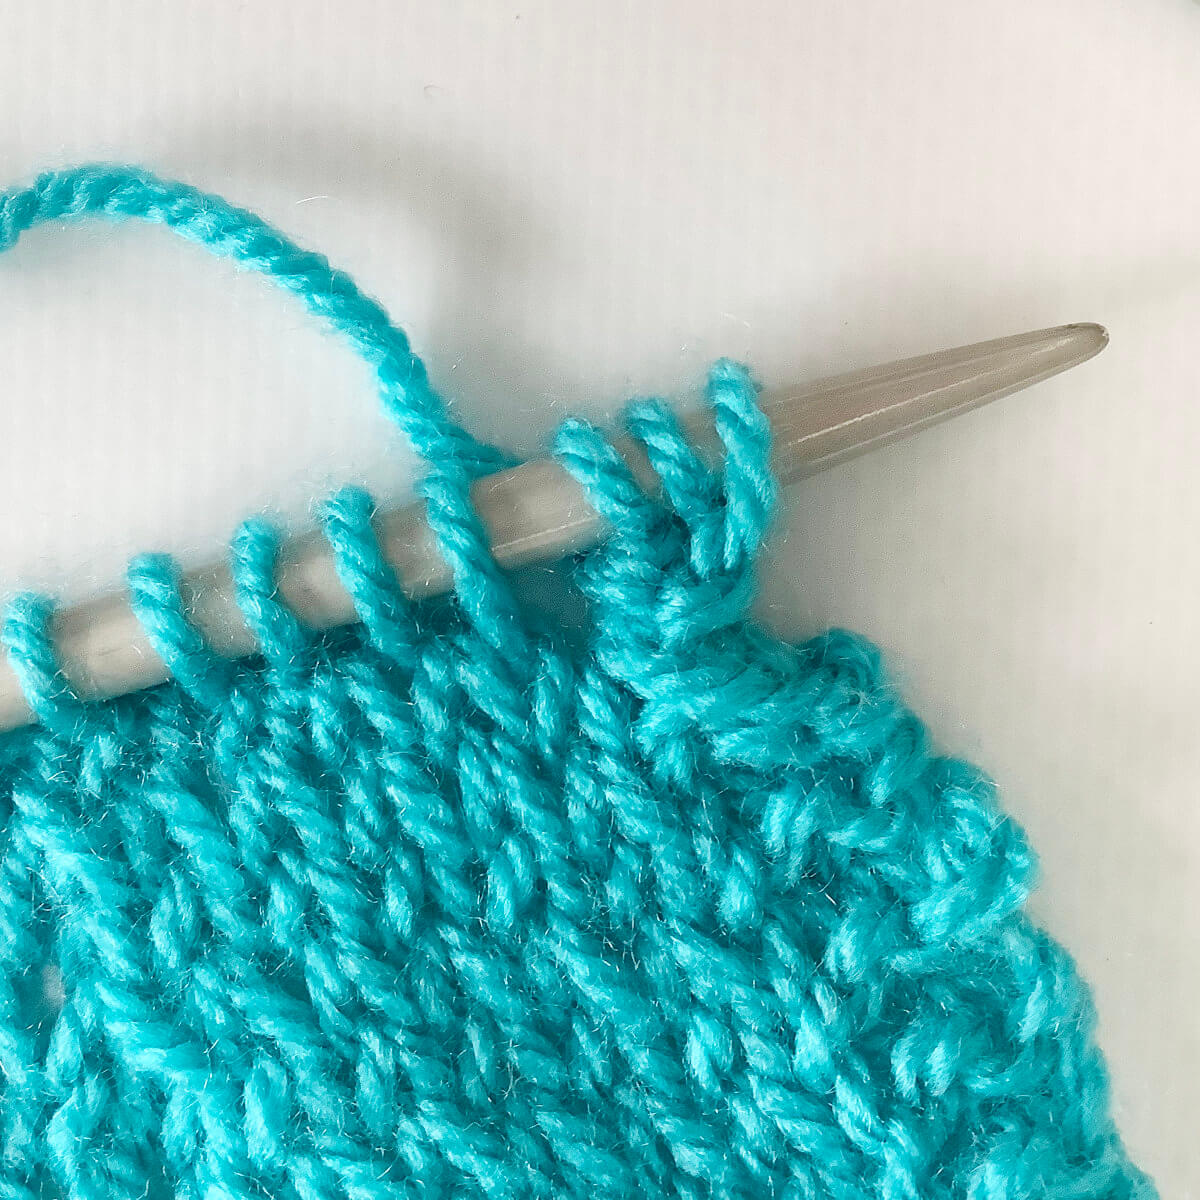
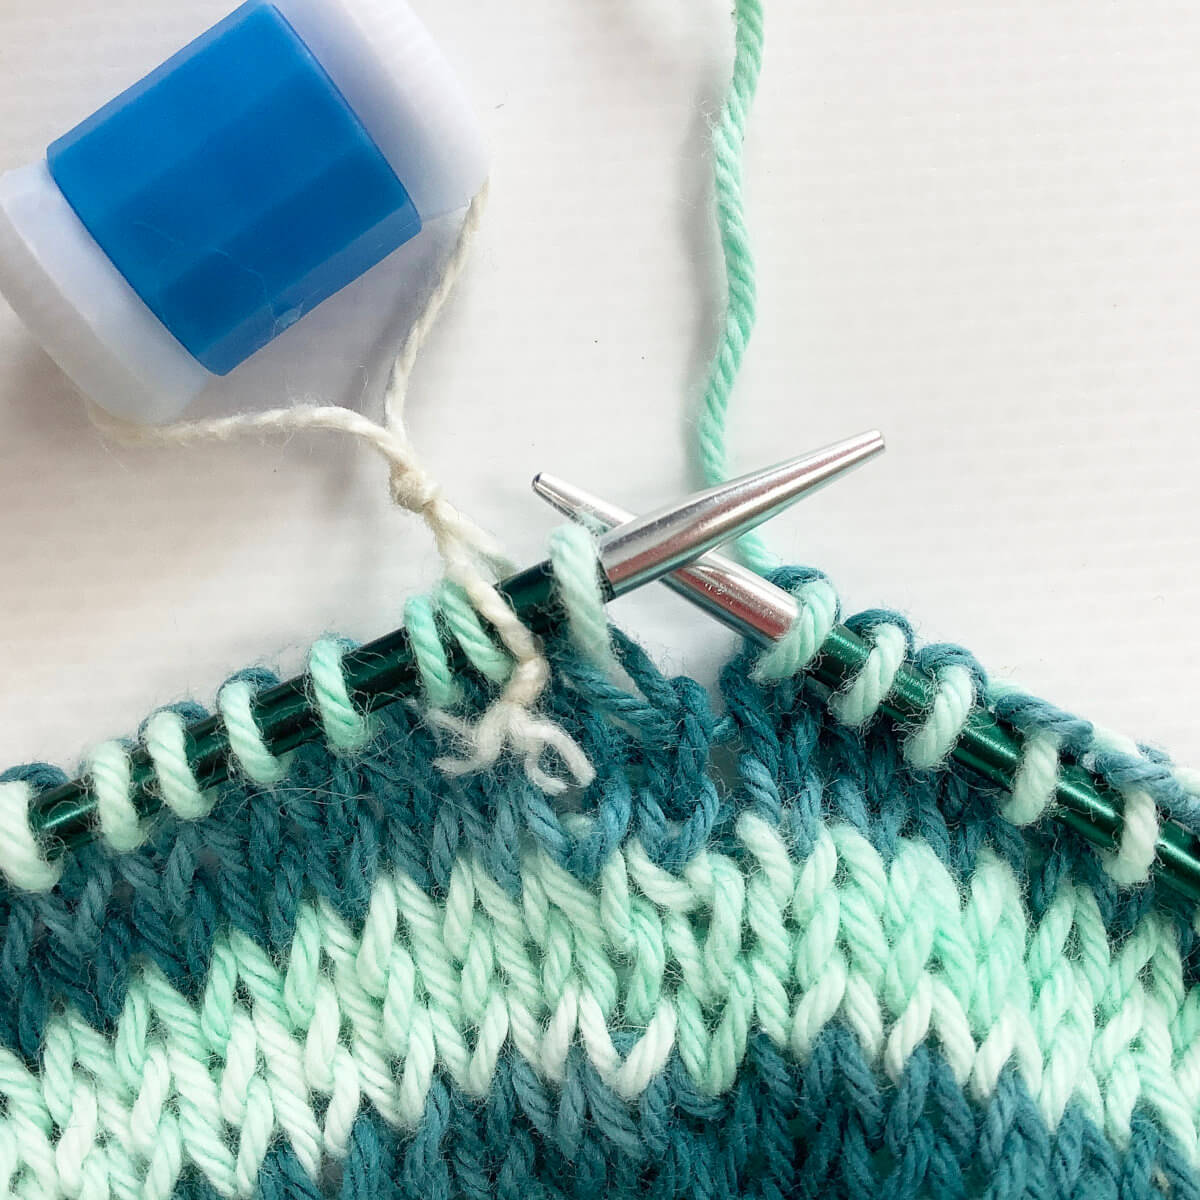
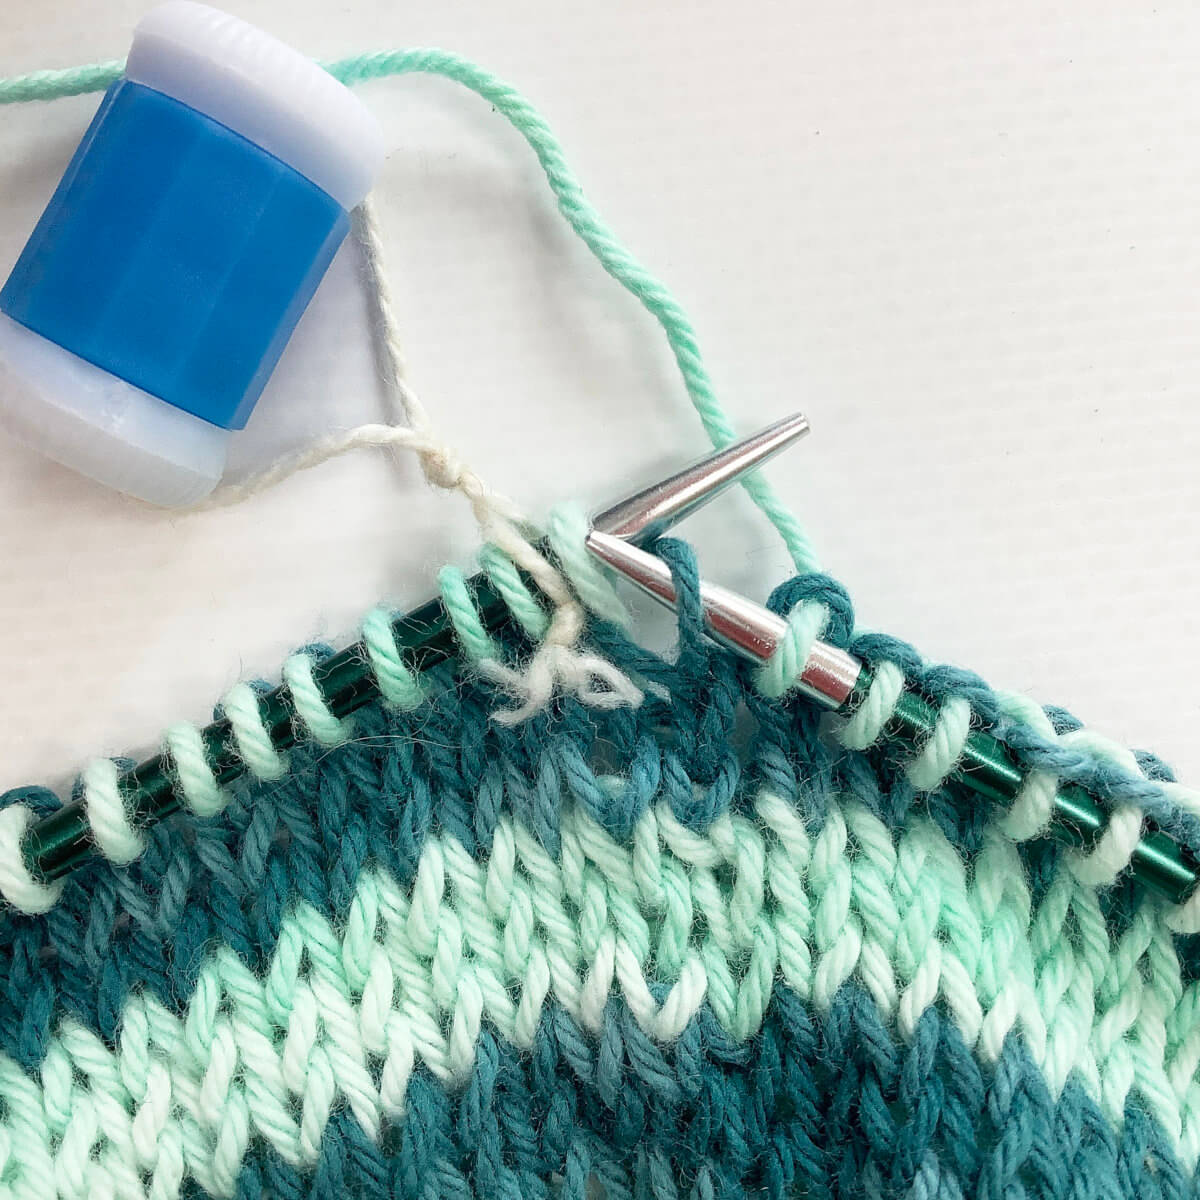
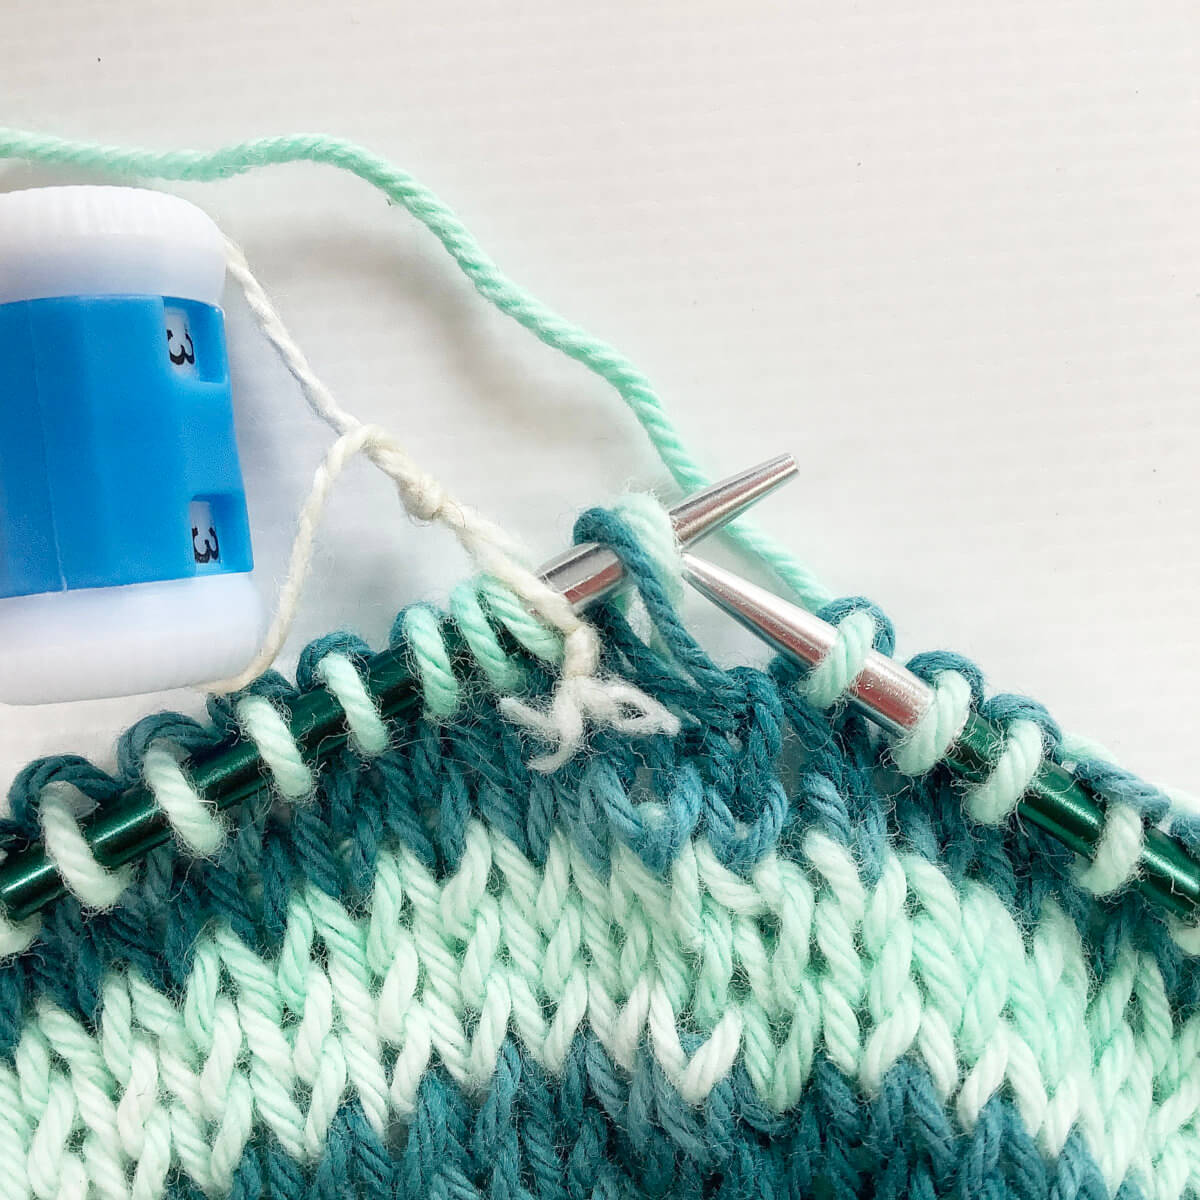
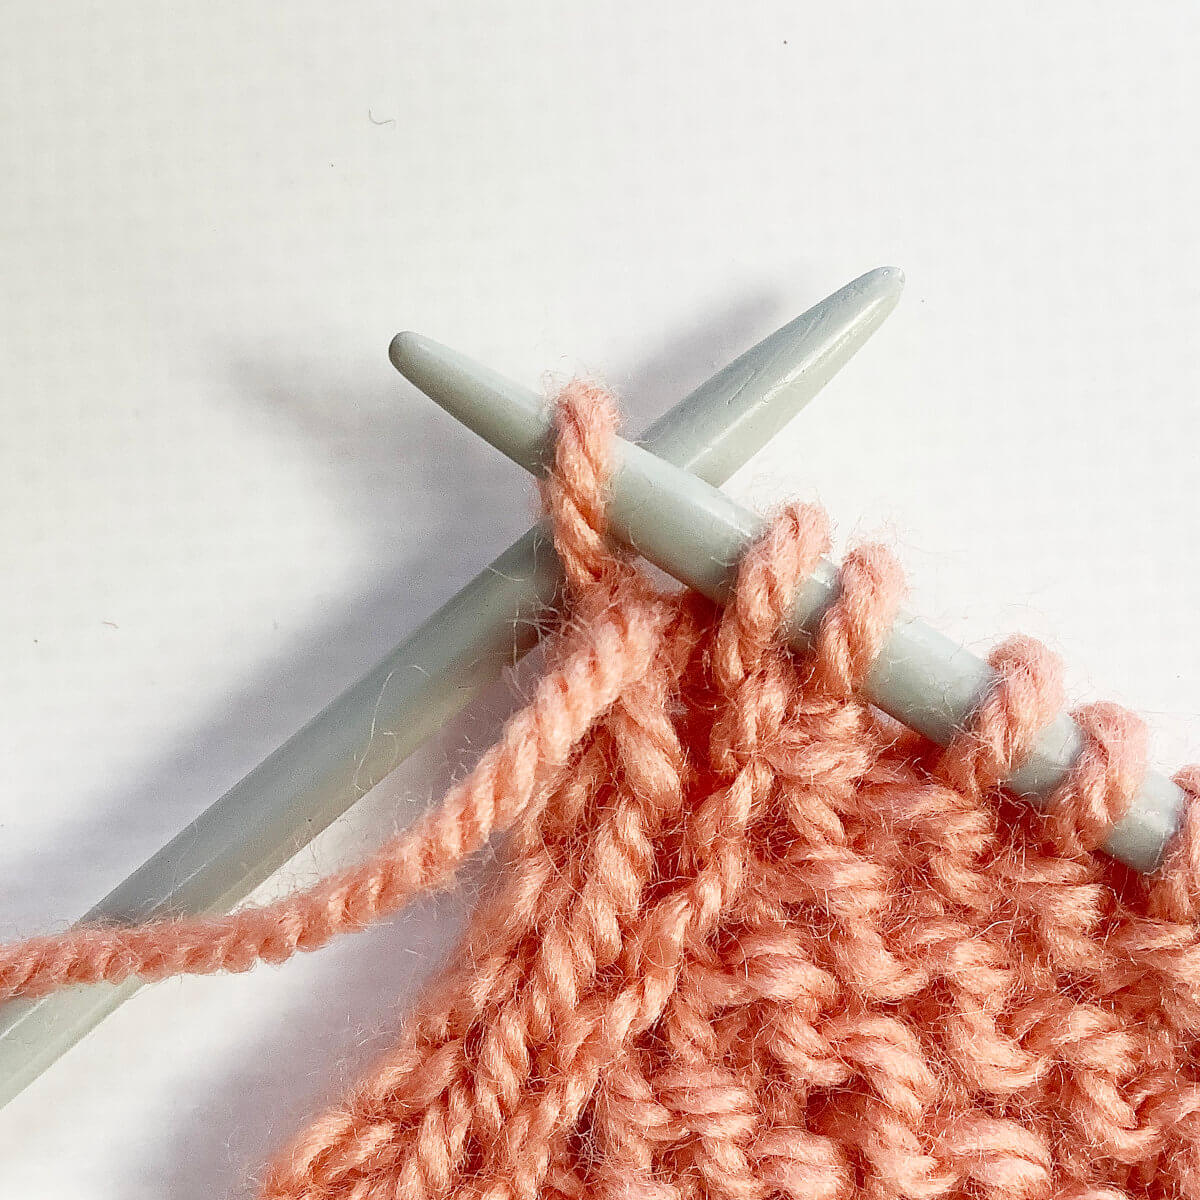
- WS: Move the yarn to the front of the work, insert your right-hand knitting needle purl-wise into the stitch and slip it to that needle.
- Knit the next stitch.
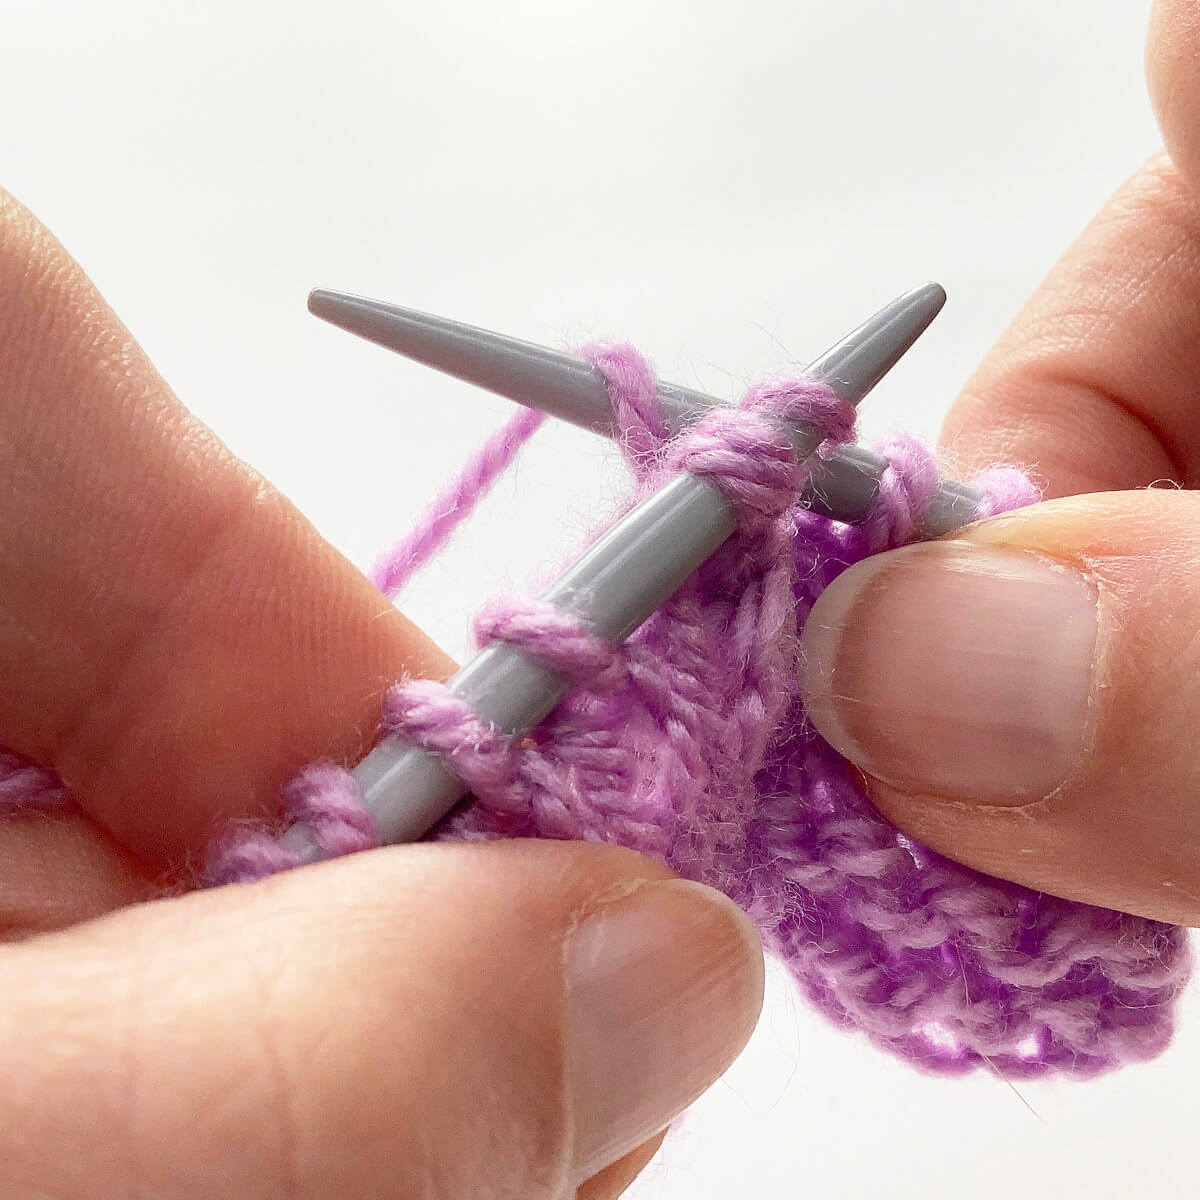
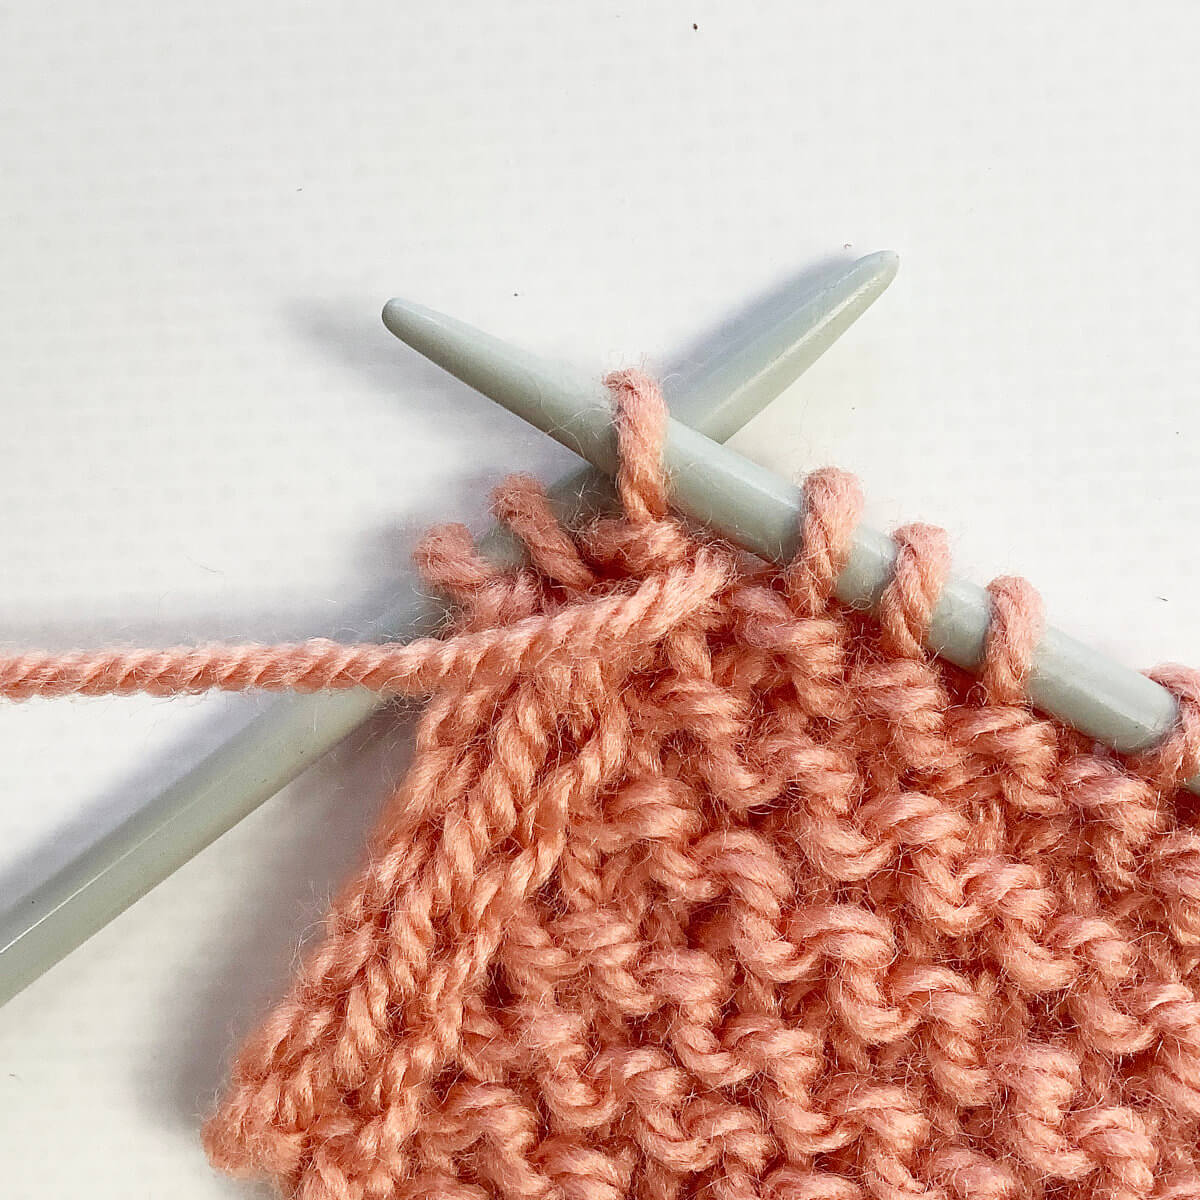
- Again, move the yarn to the front of the work, insert your right-hand knitting needle purl-wise into the stitch and slip it to that needle.
Now you can continue with the row according to your pattern.
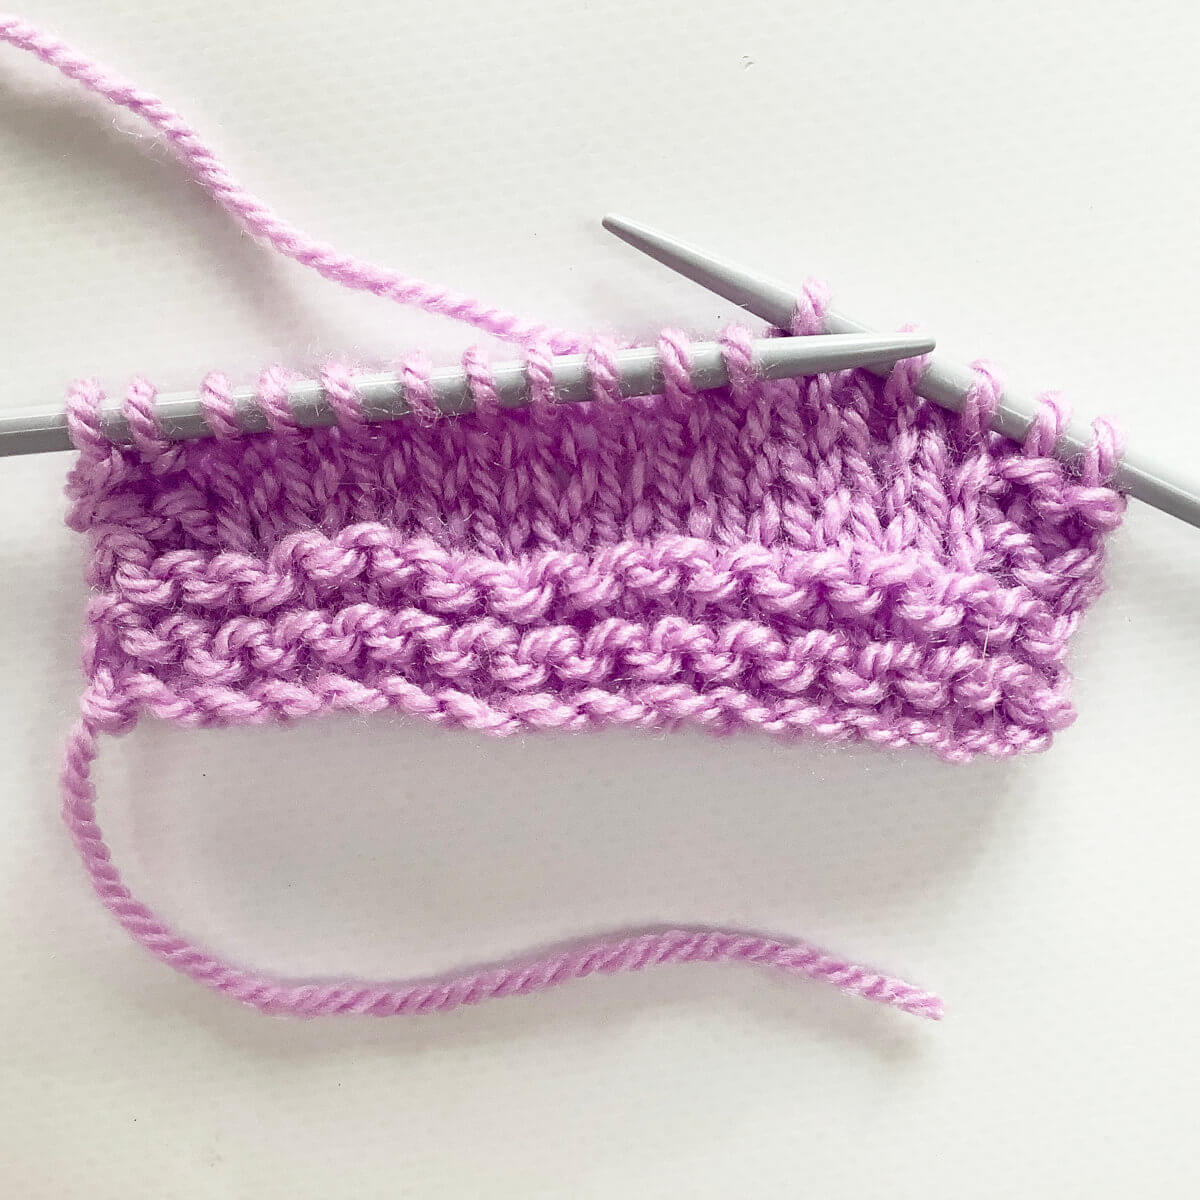
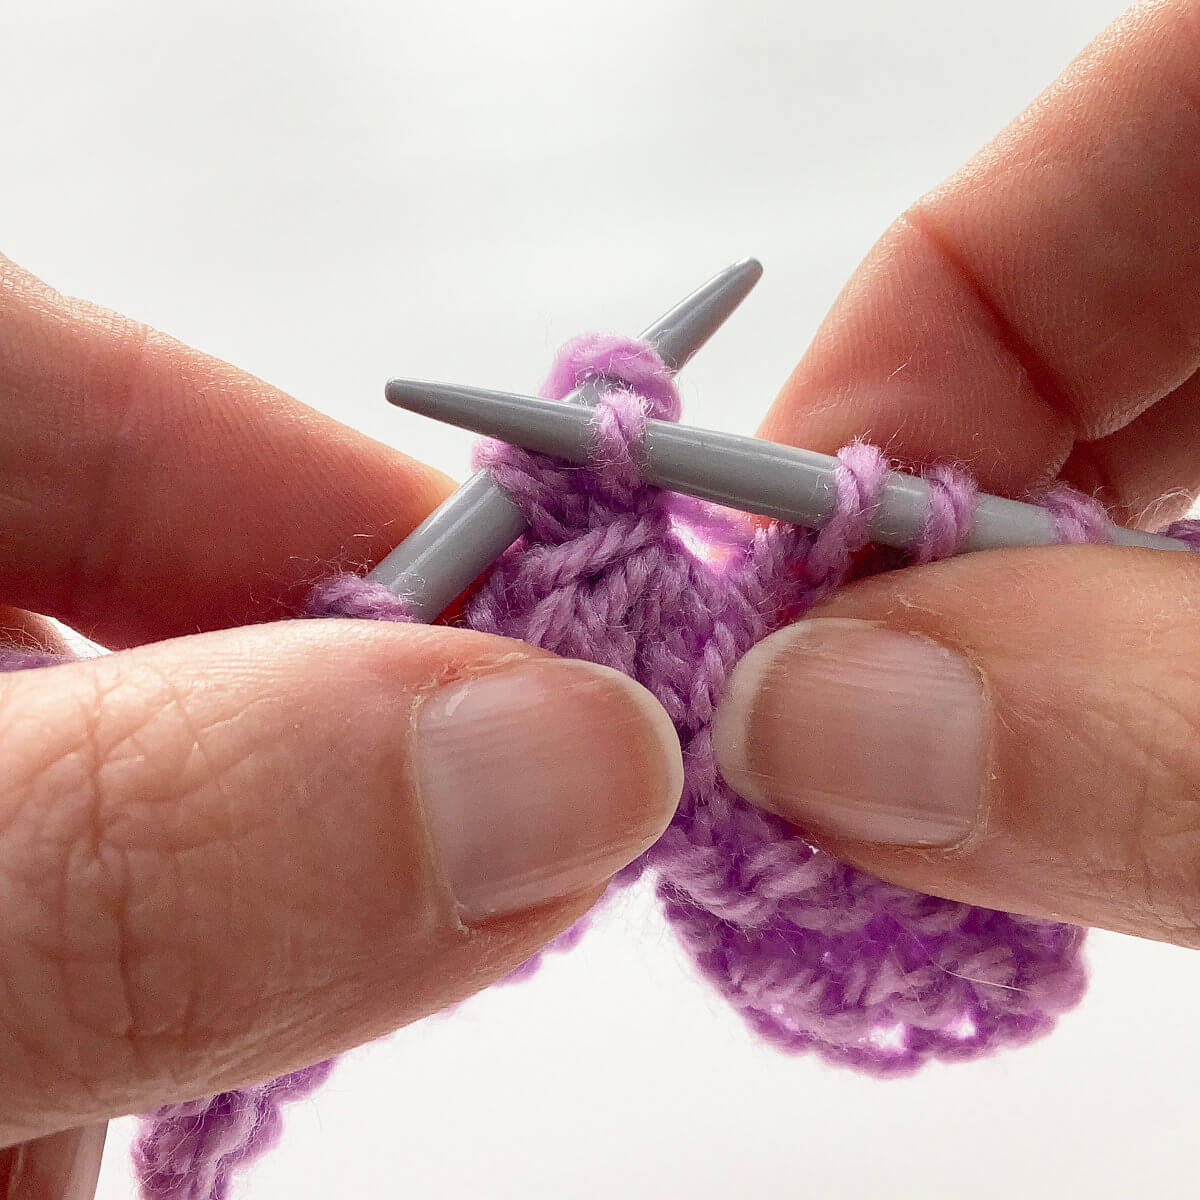
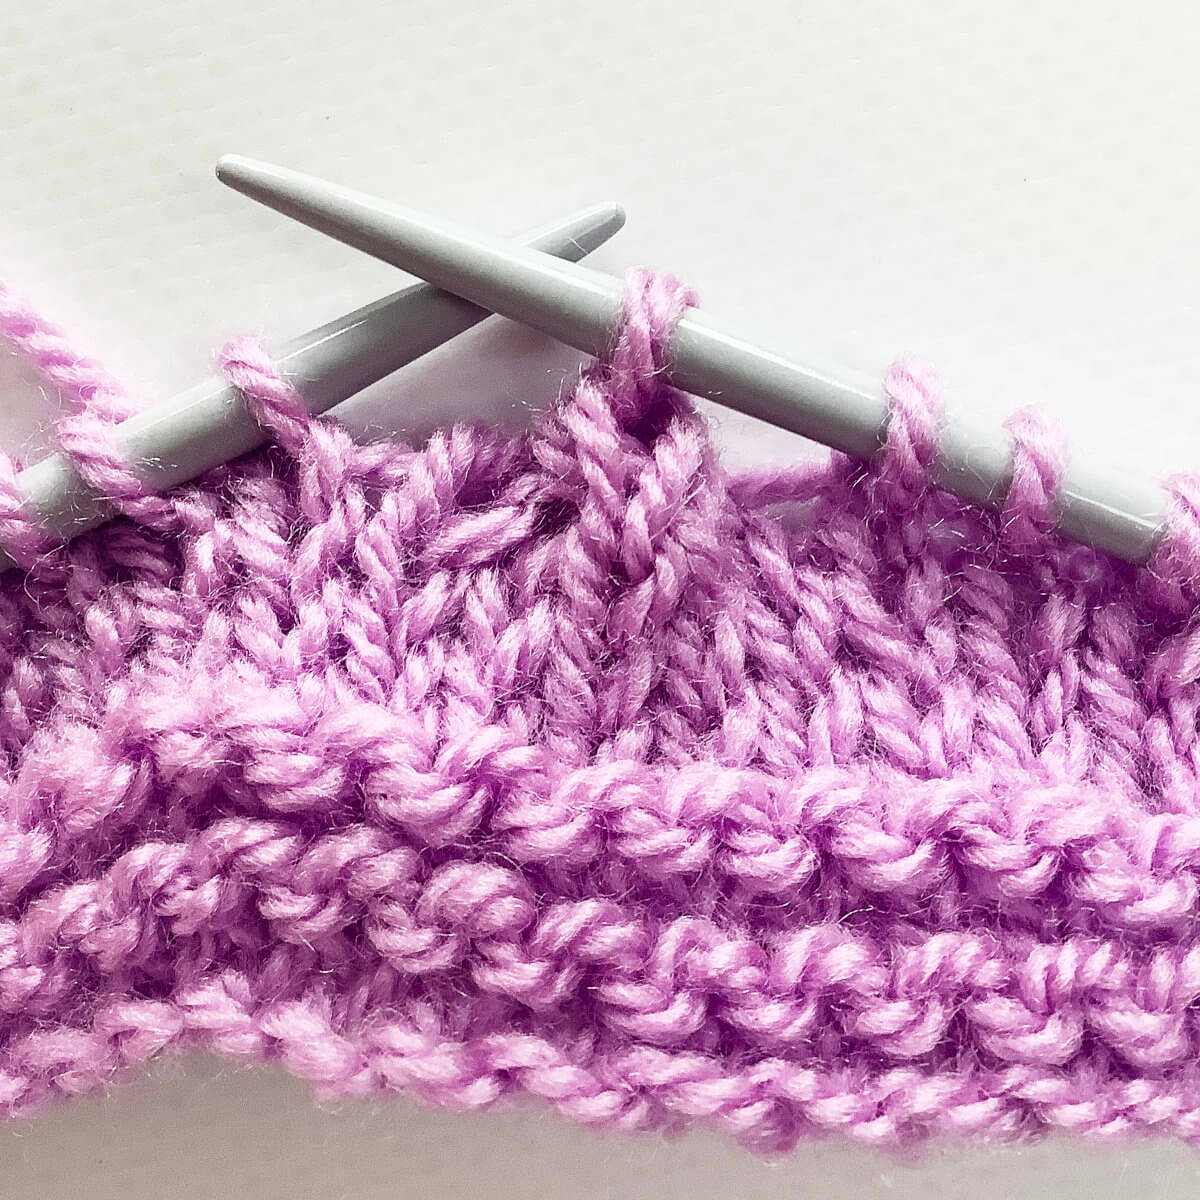
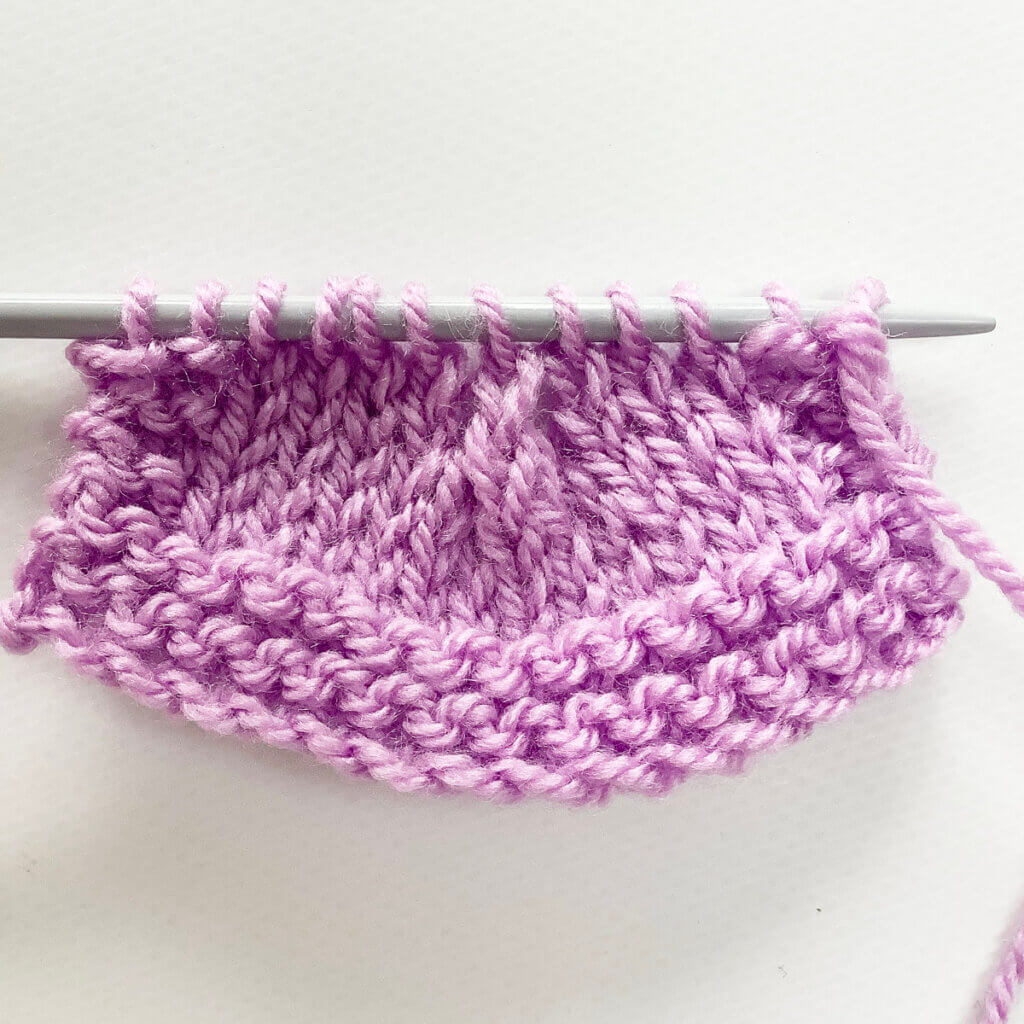
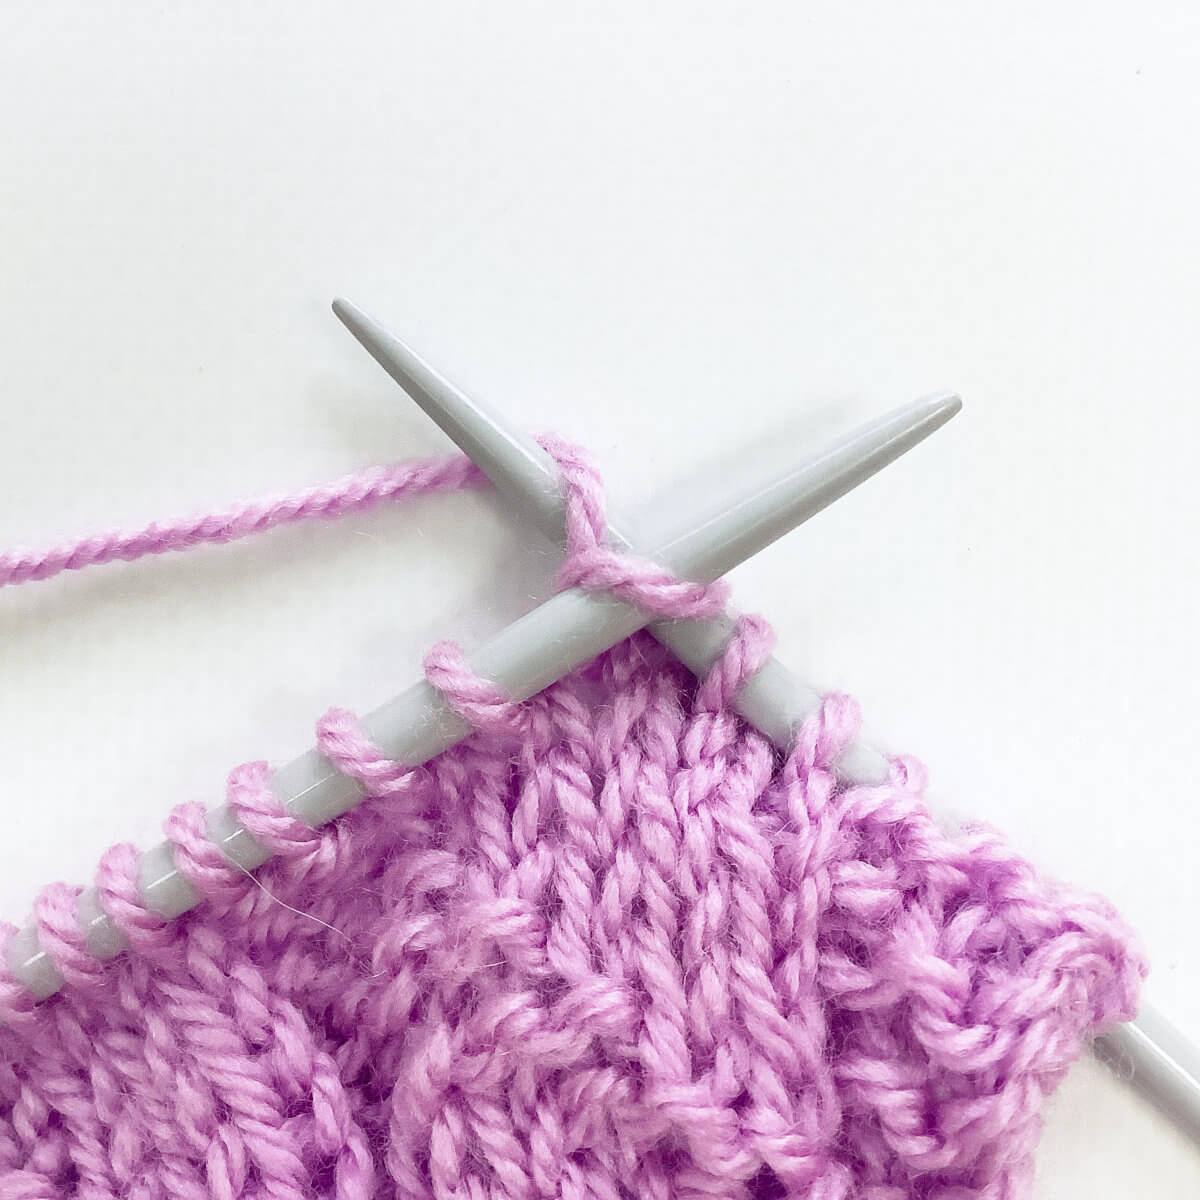
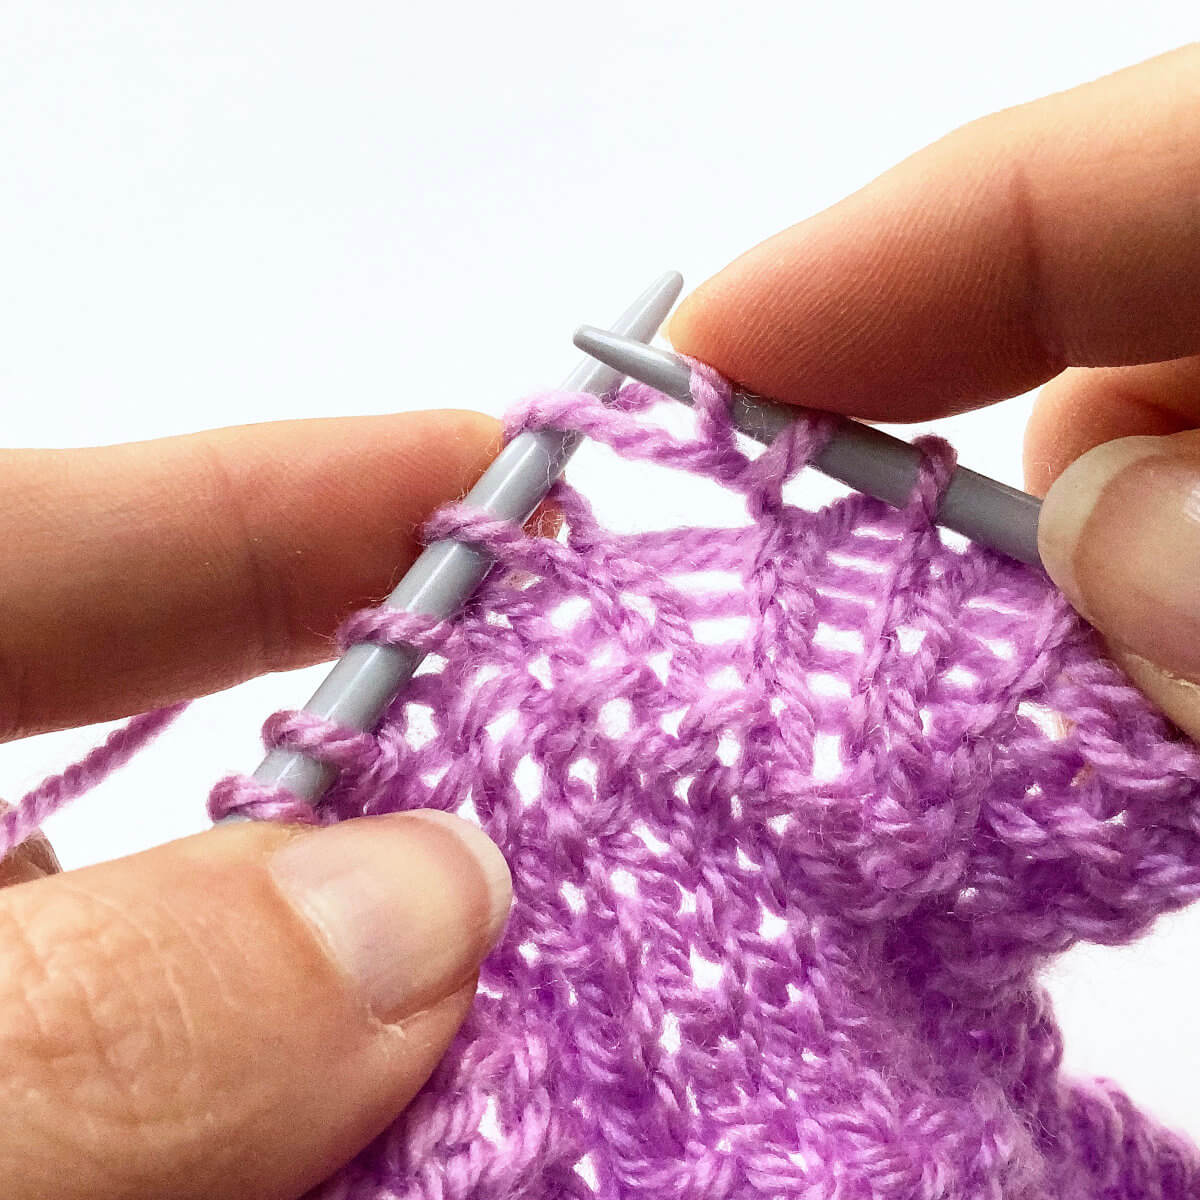
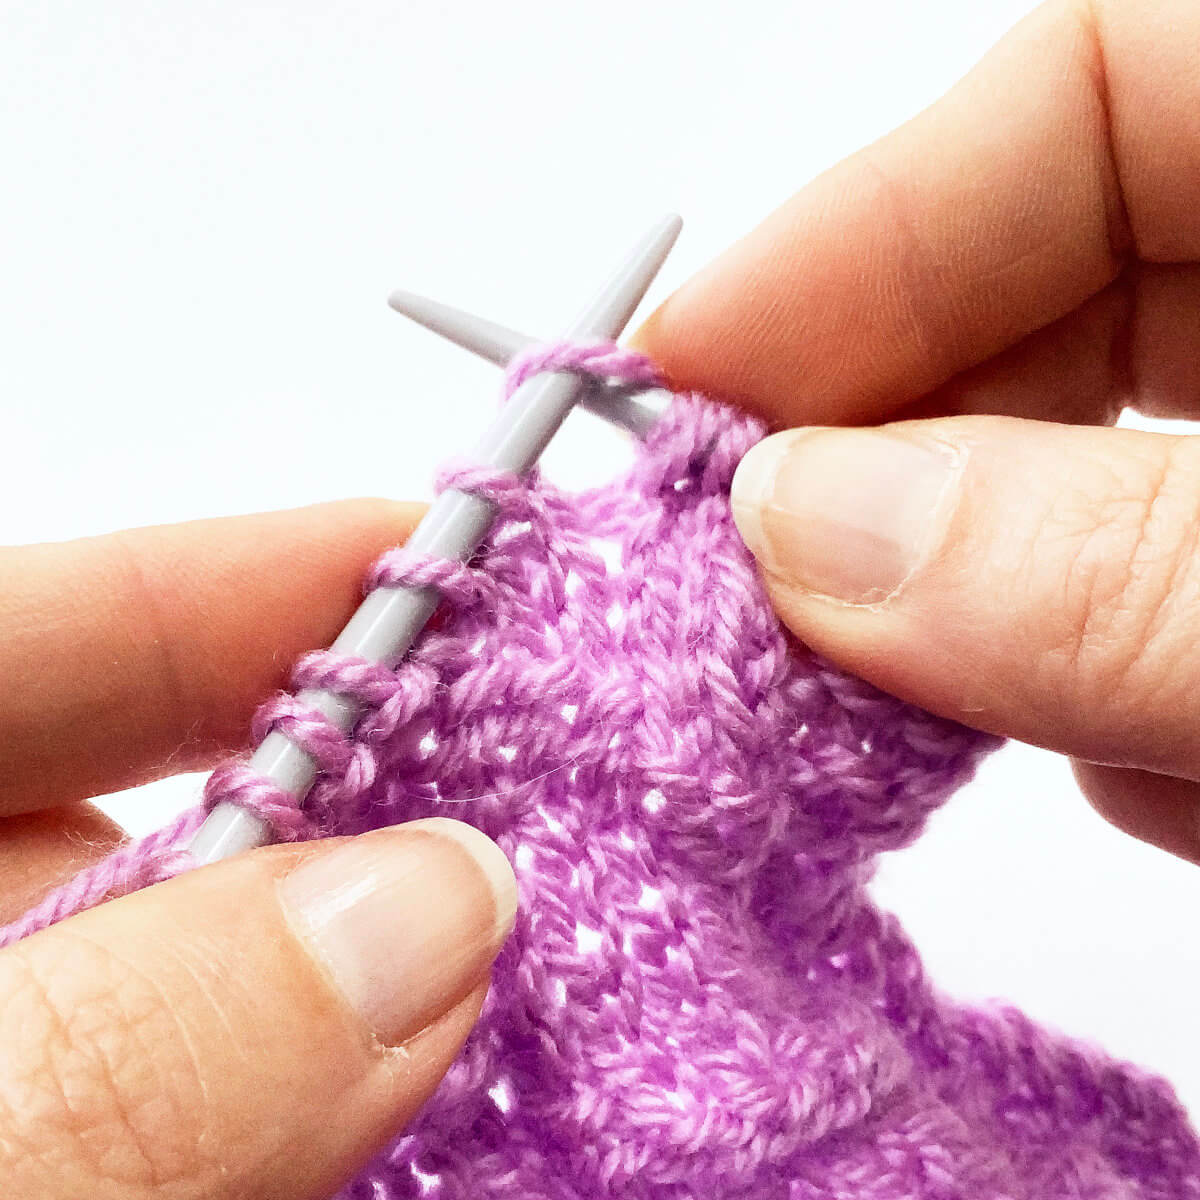
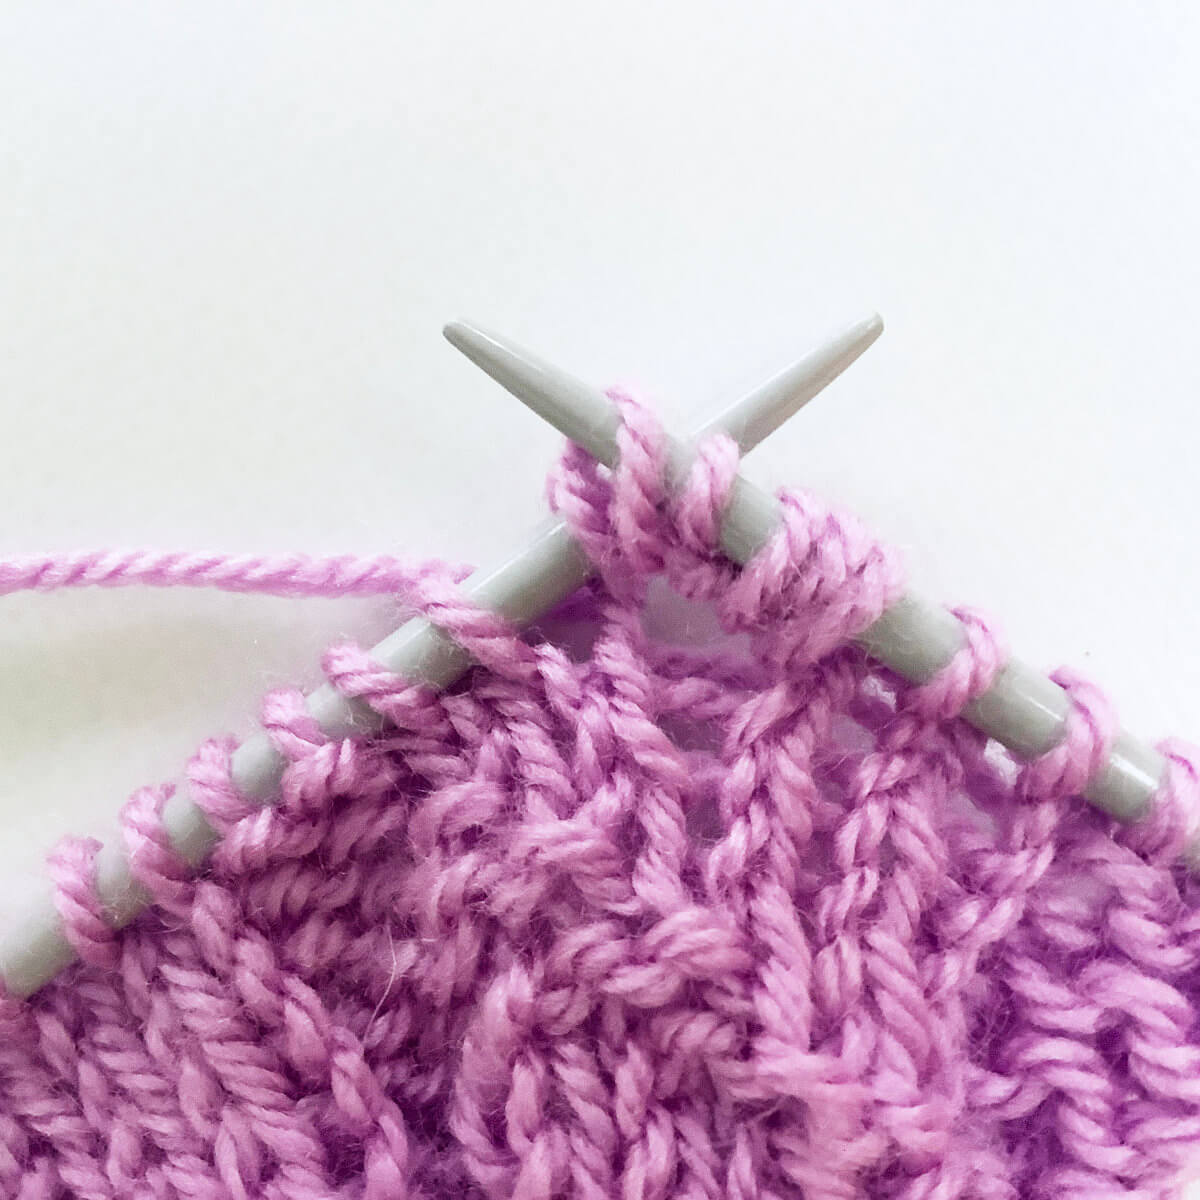
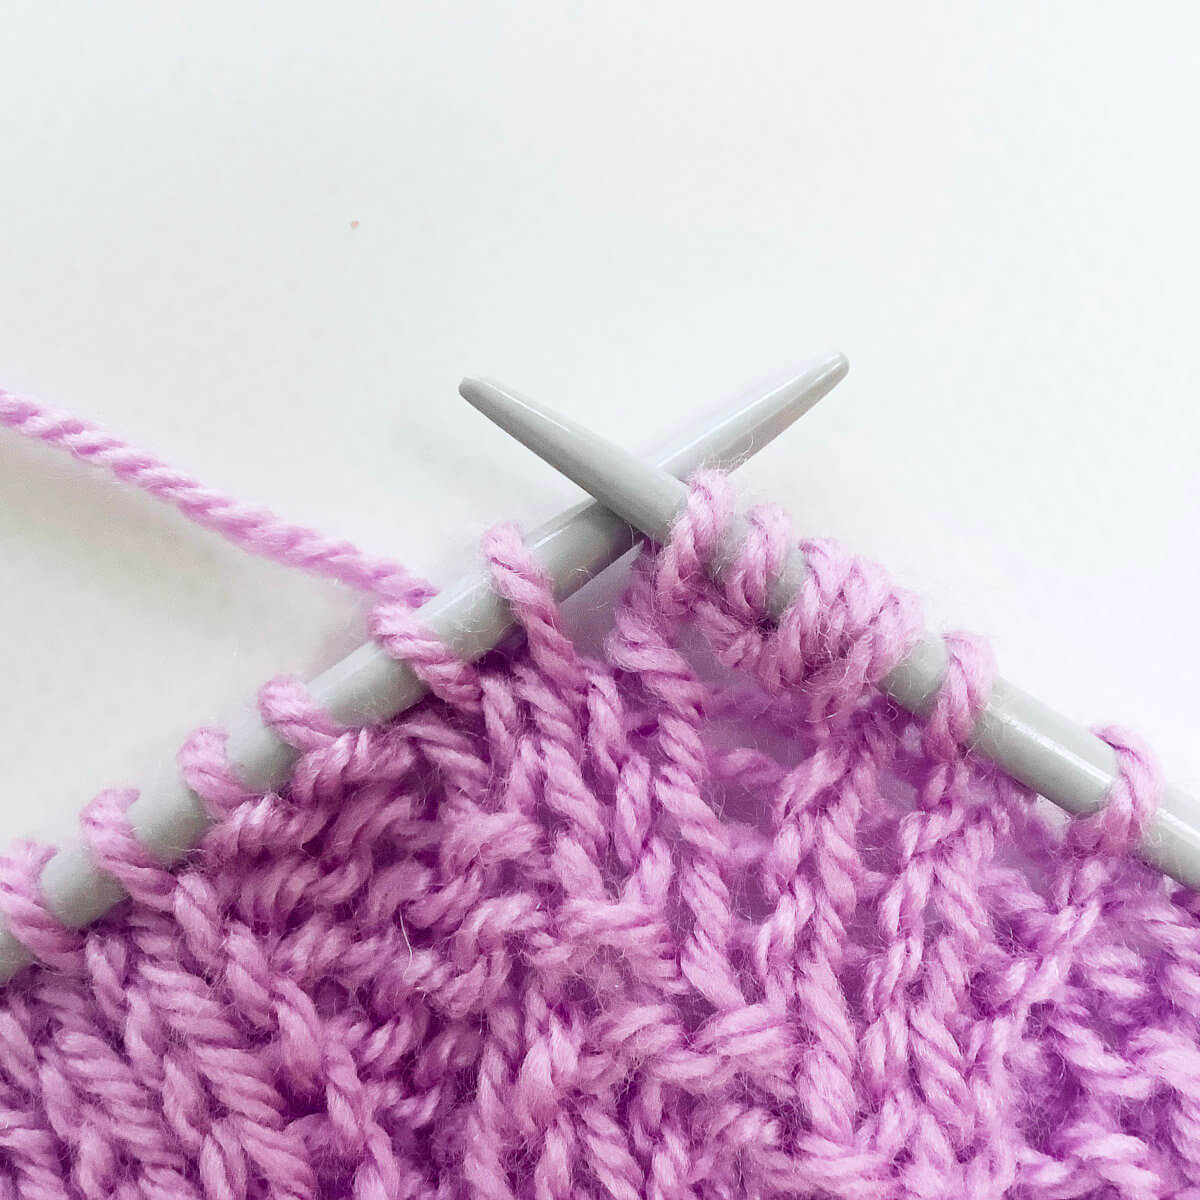
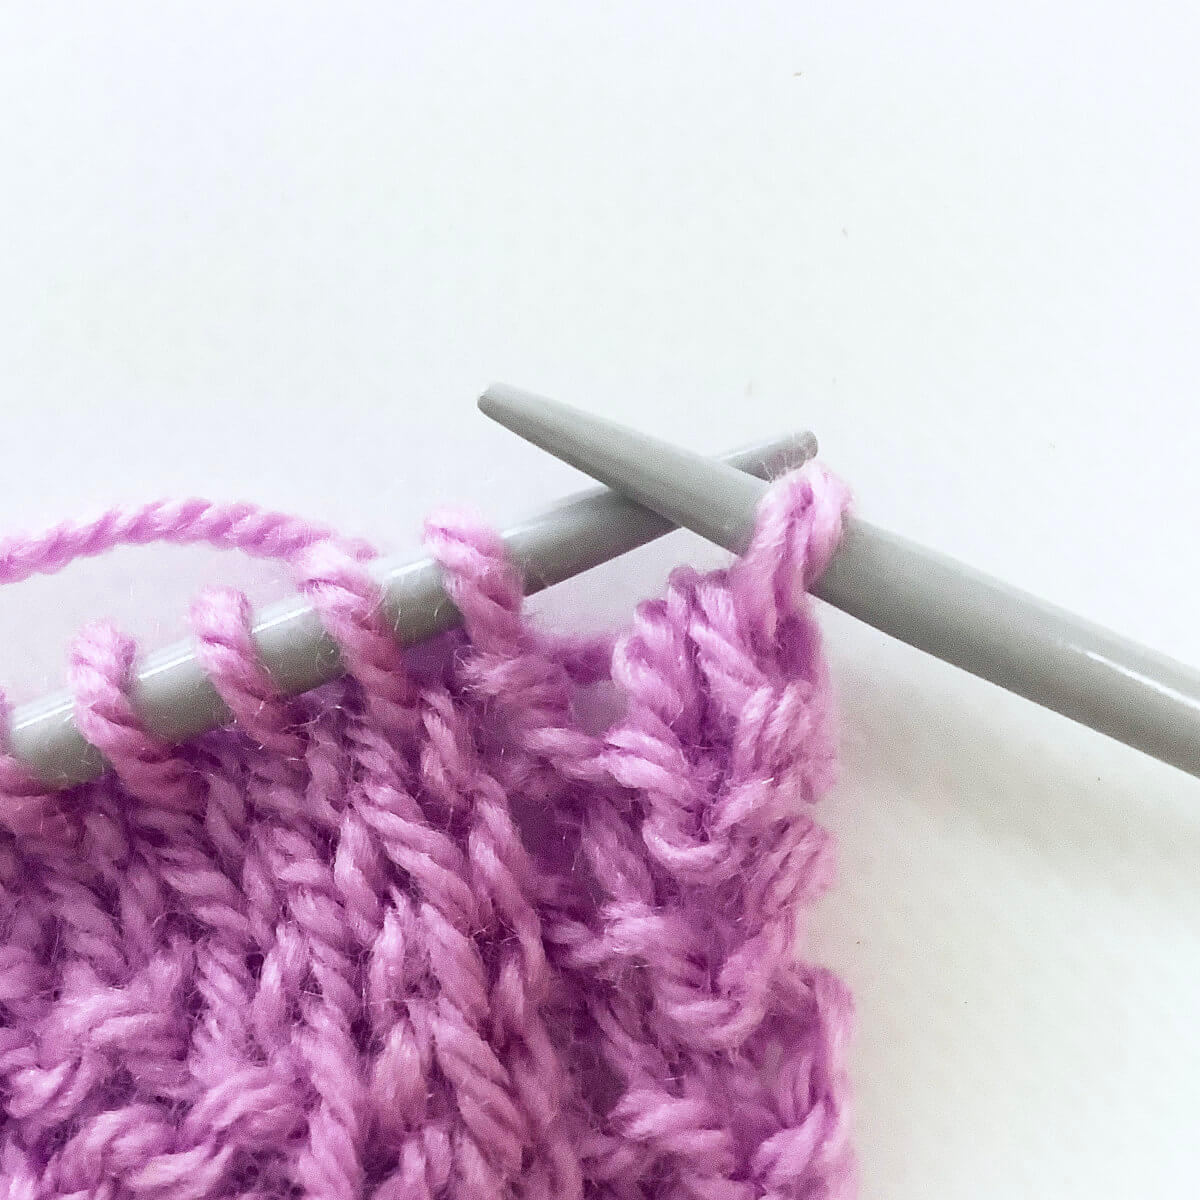
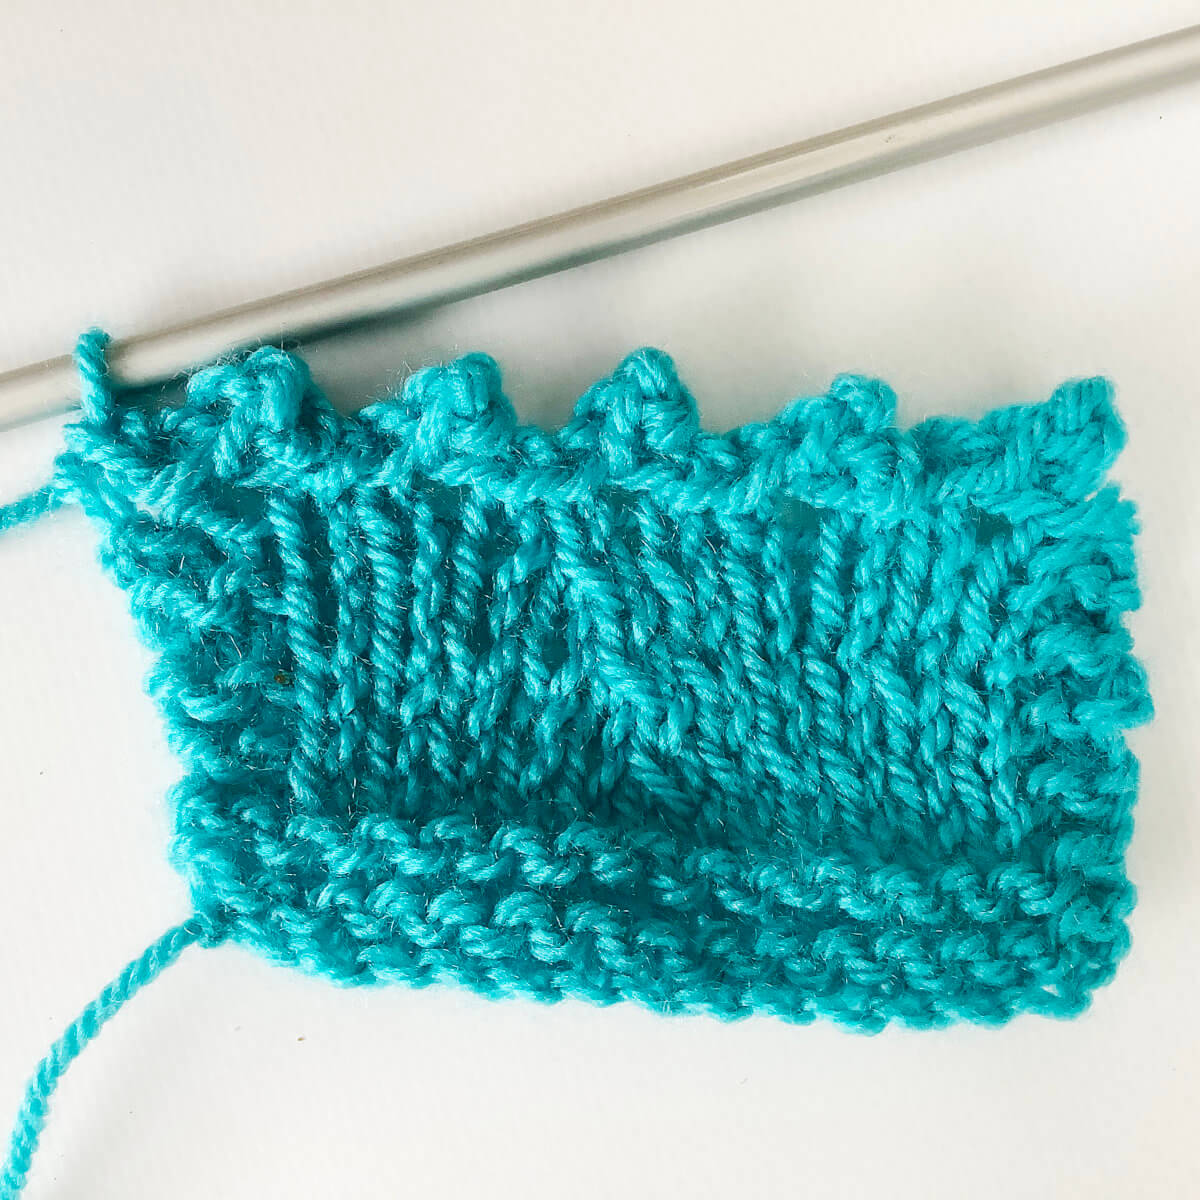
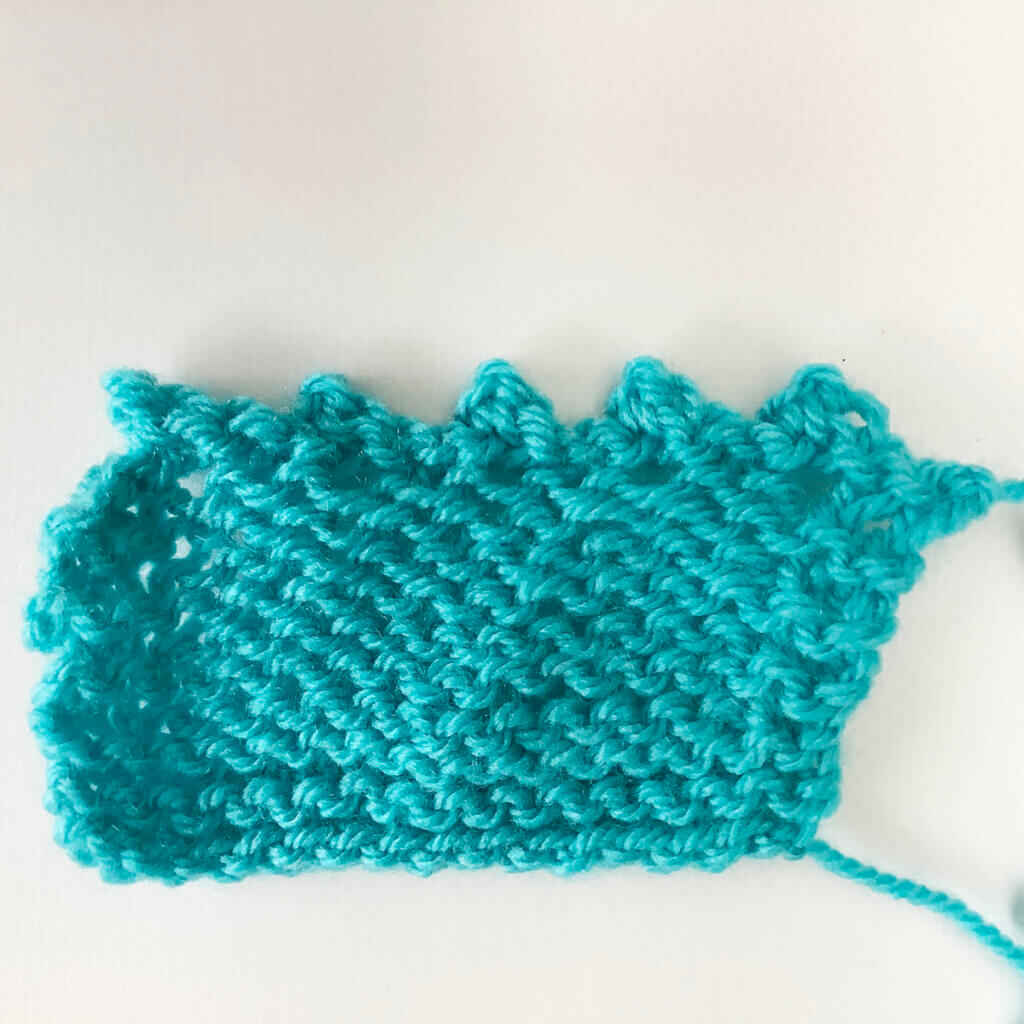
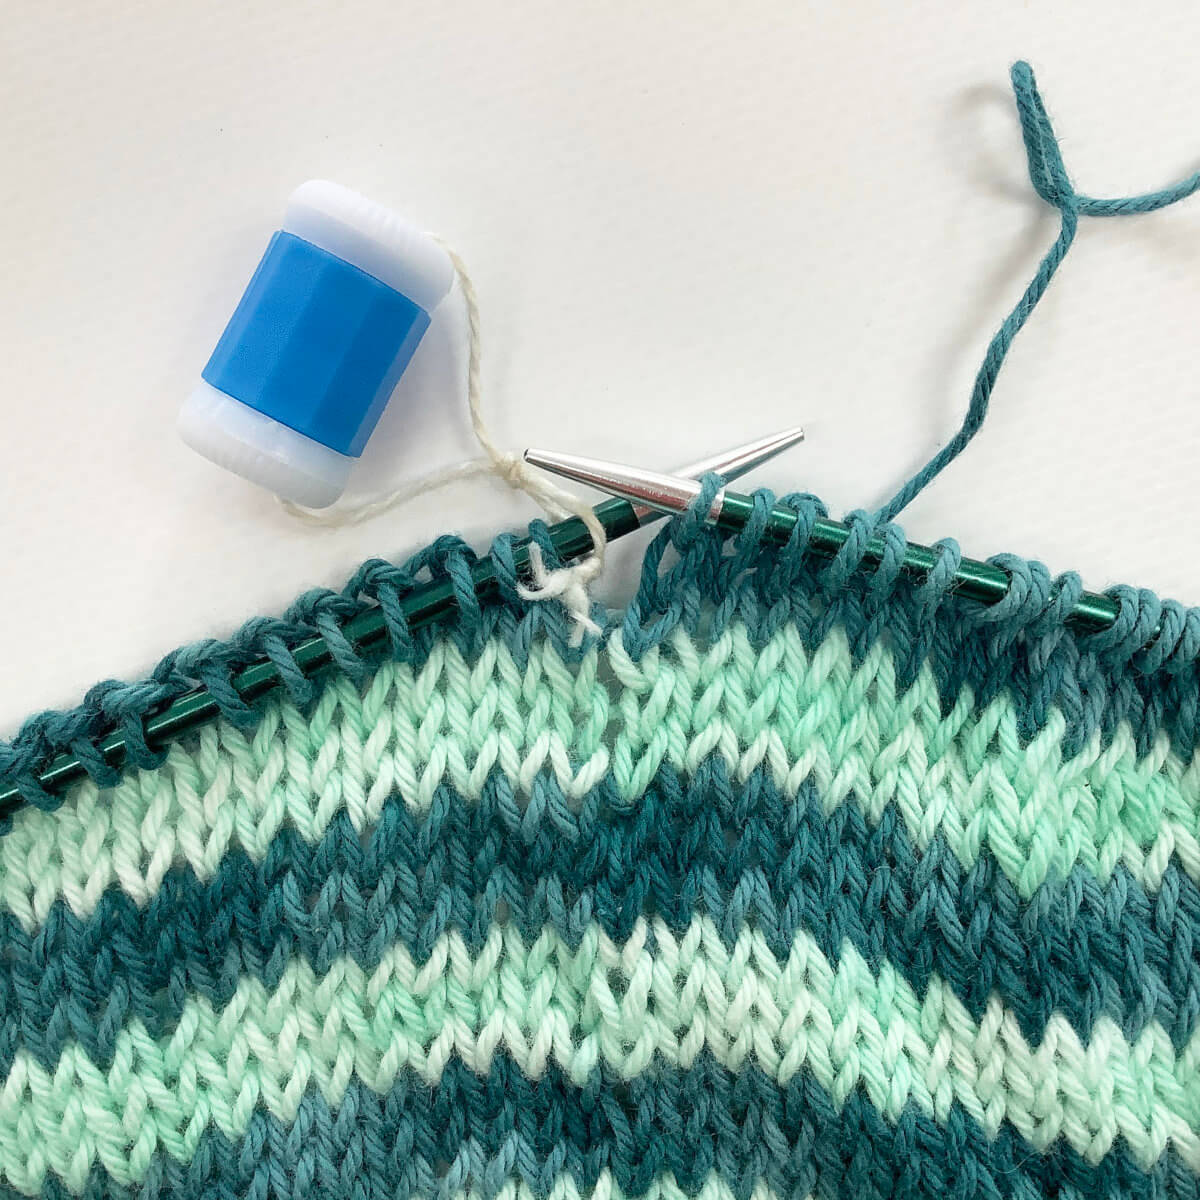
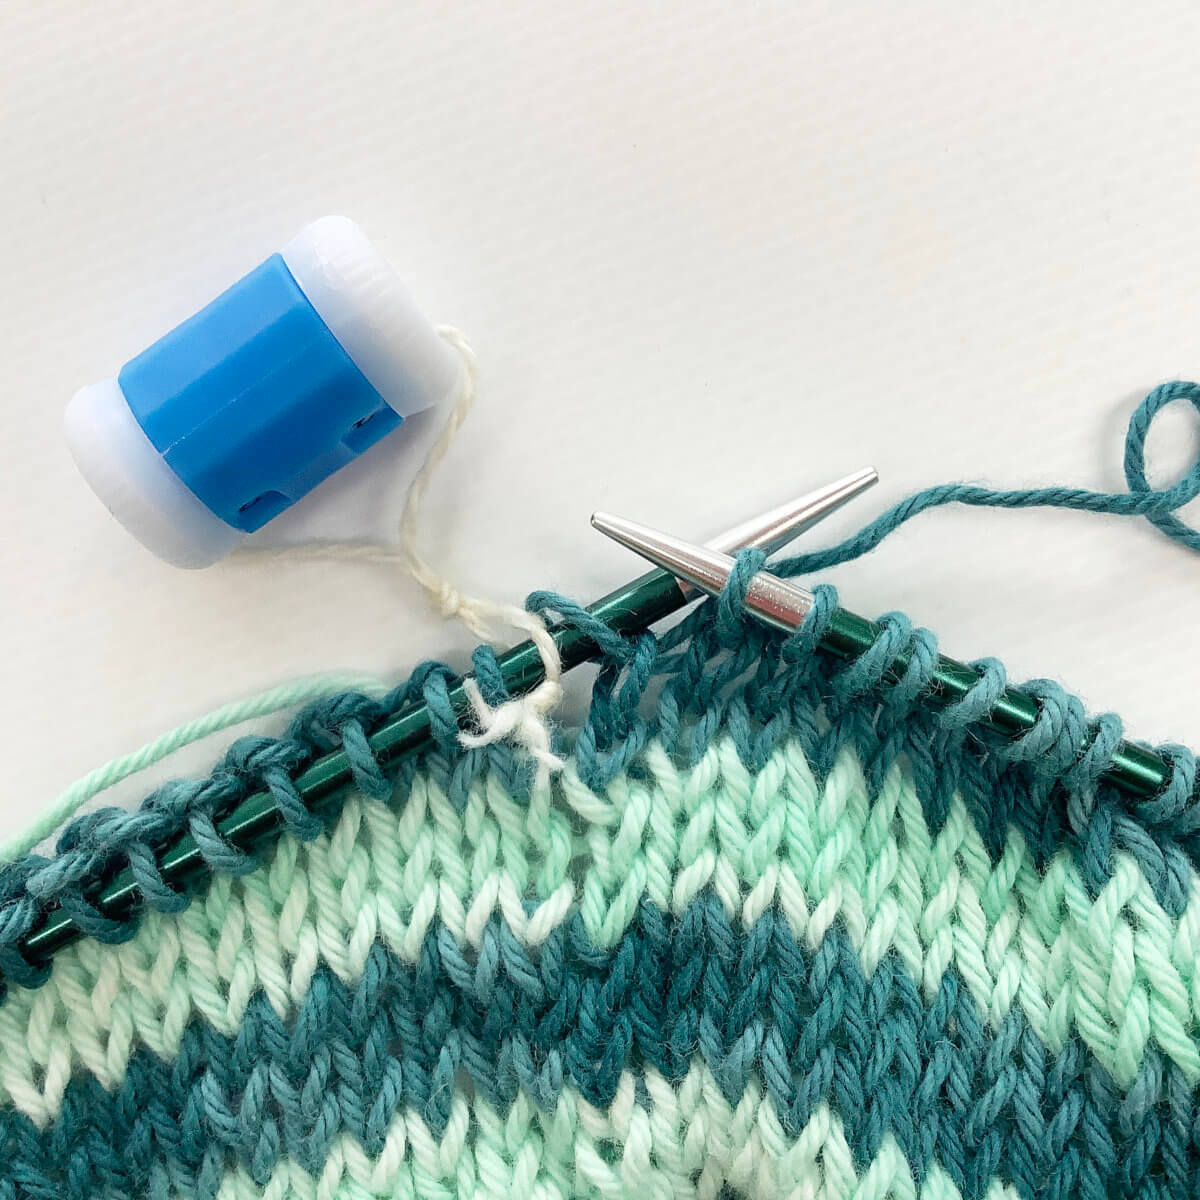
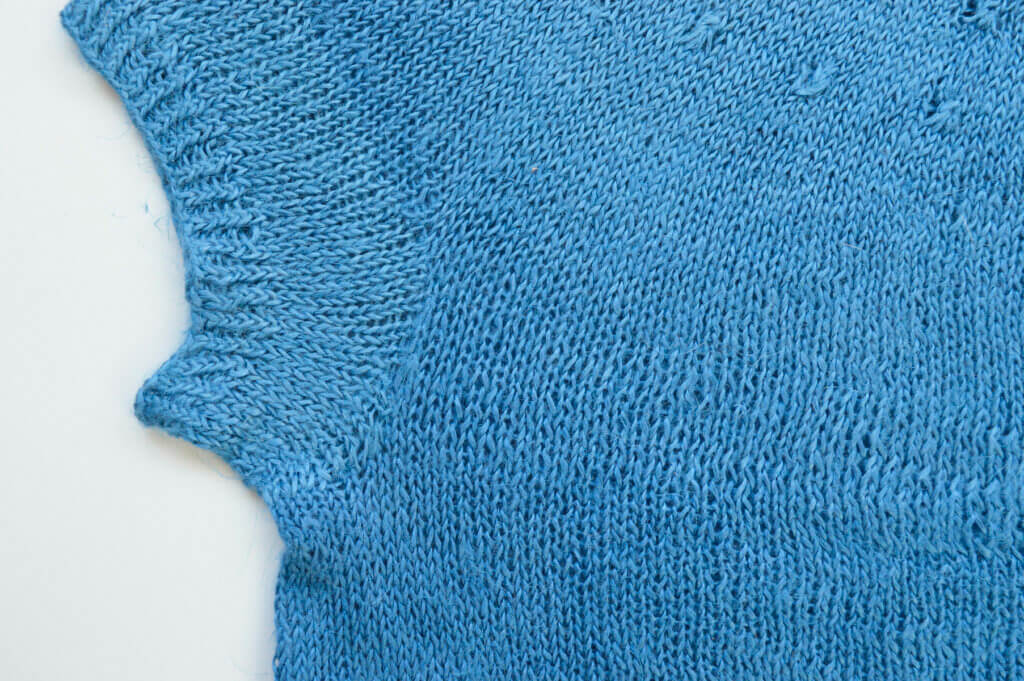
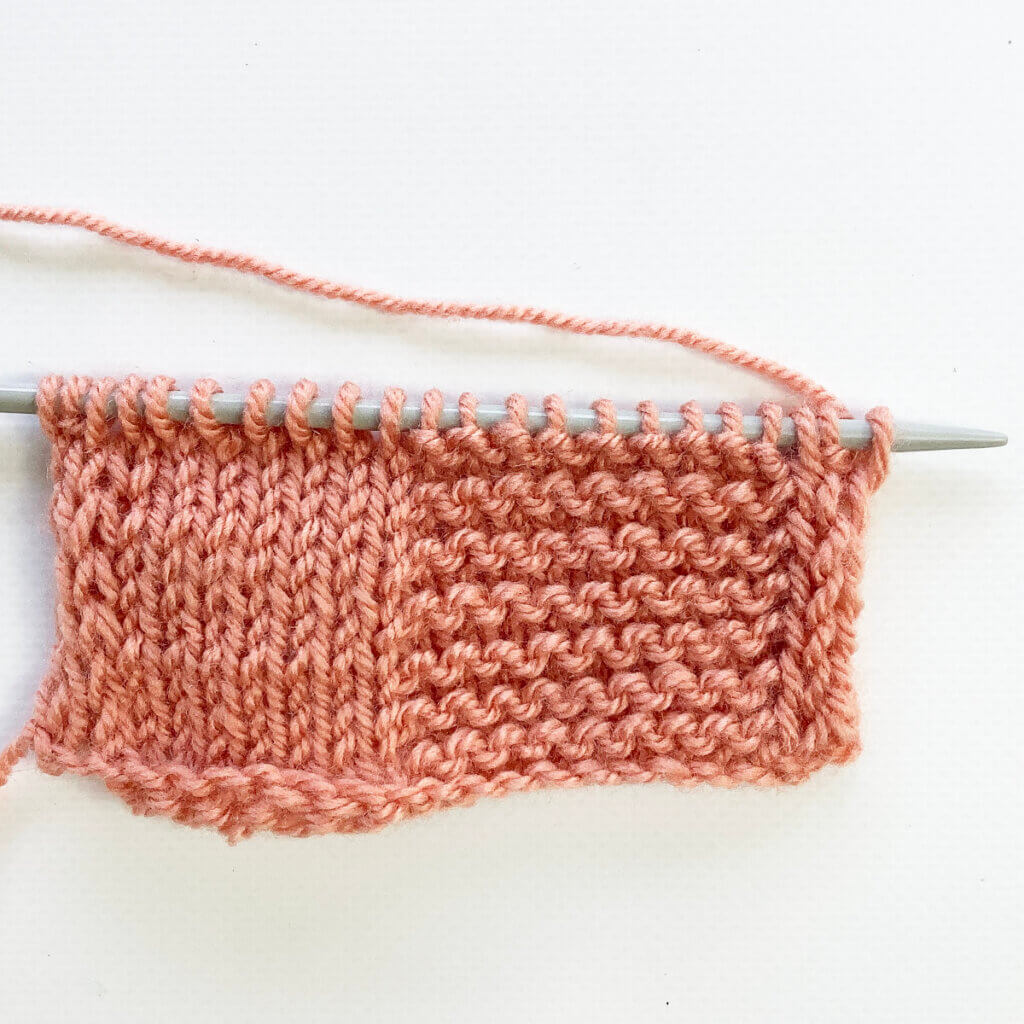
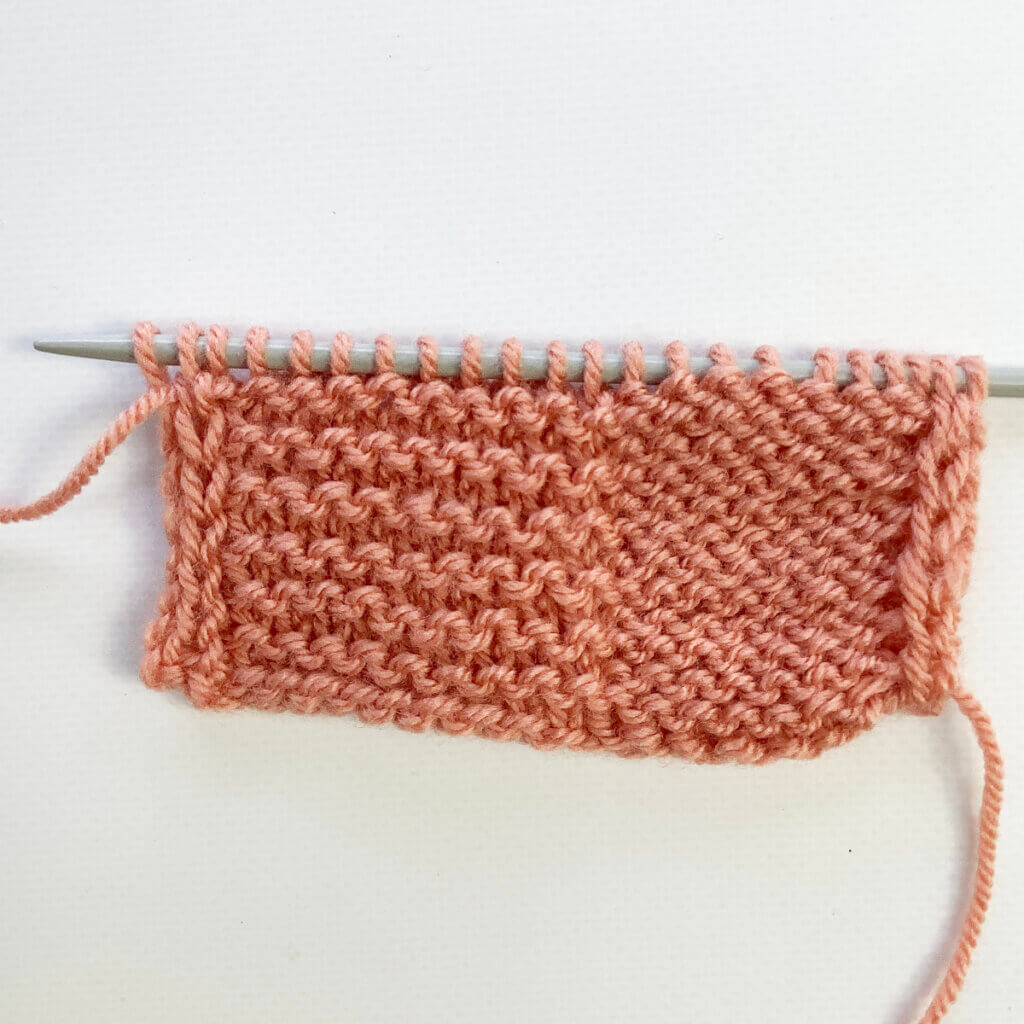
The result
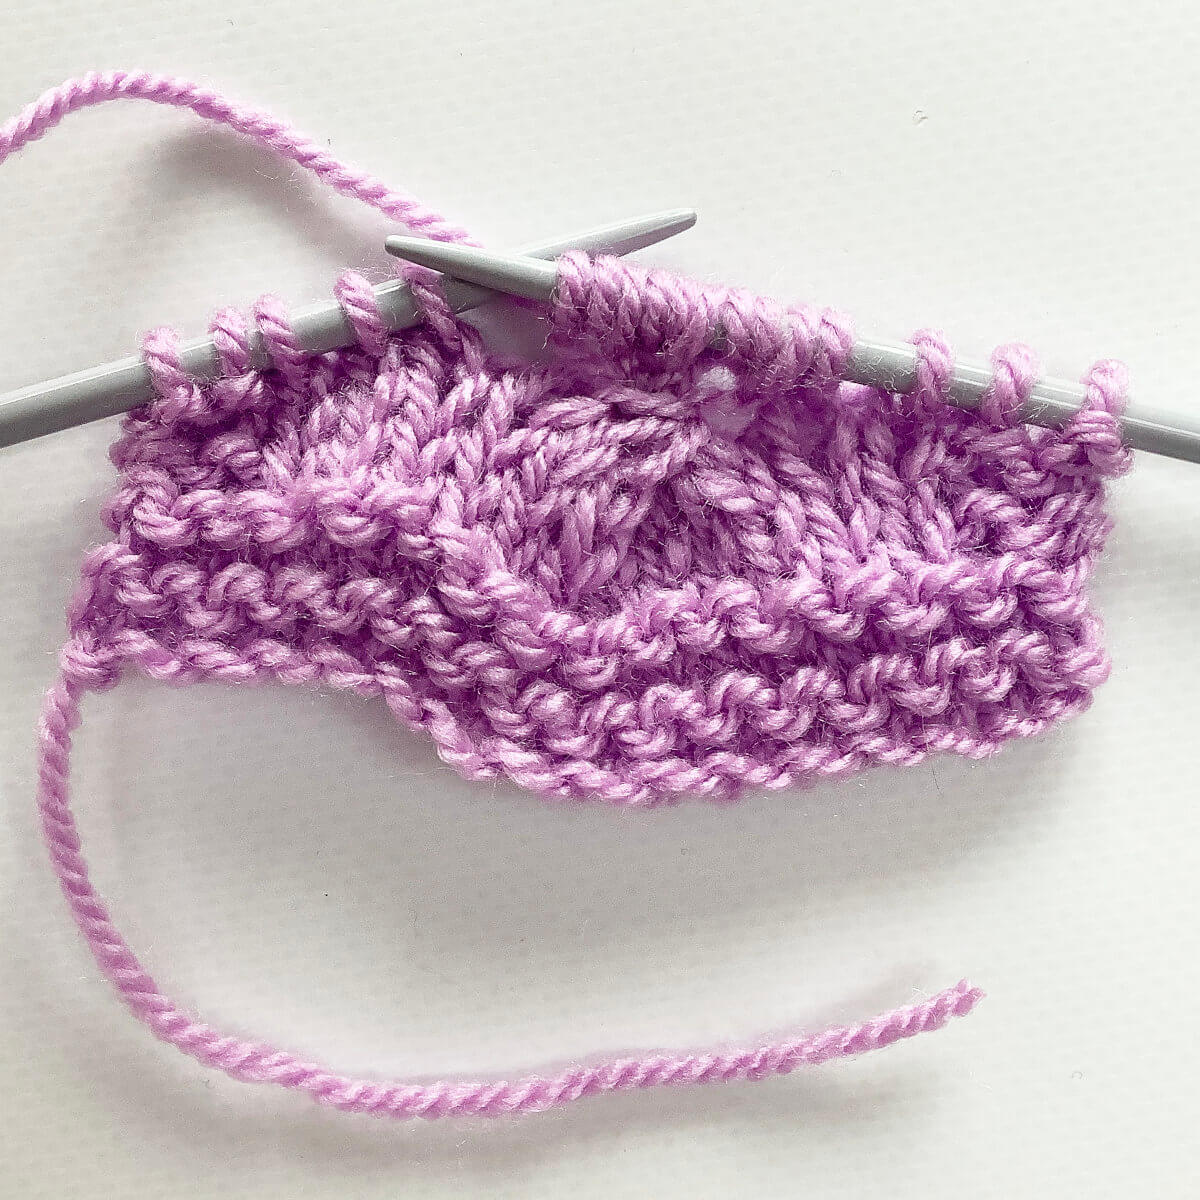
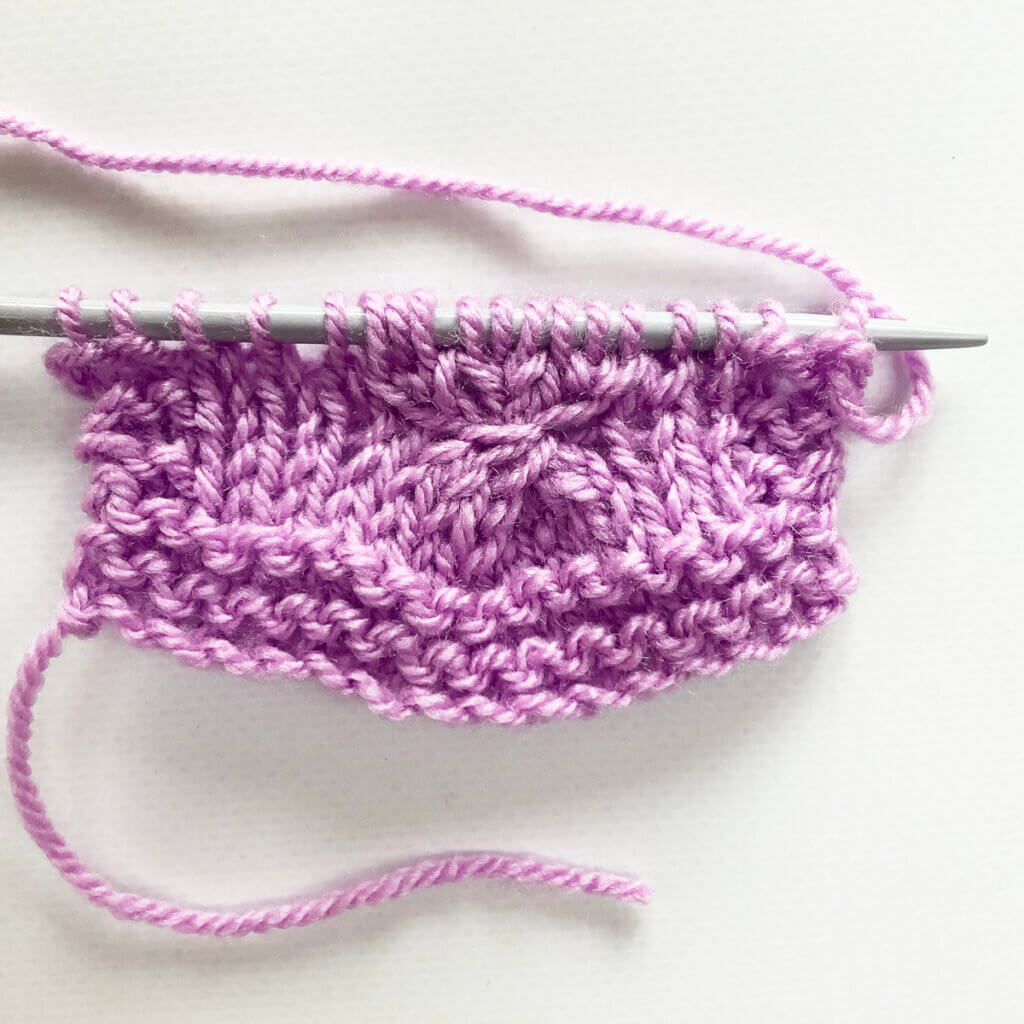
In the little swatch I made for this tutorial, I did half in garter stitch, and half in stockinette. This way, you can see what the effect is on both the right and wrong sides of the fabric. It really looks like an i-cord! What’s also pretty obvious in the below pictures, is that the row gauge of garter stitch is much more condensed than with the stockinette. This is something that you may want to take into account in your project. Because the SSE contains slipped stitches, it will give a tighter edge than other edge treatments. This may cause pulling.

Thanks to my Patreon supporters for bringing you this freebie! Creating quality patterns and tutorials is a lot of work and resource-intensive. However, I find it important to give you free content like this tutorial. Thanks to the generous support of my Patreon supporters, I can make it happen. Thank you, patrons! Click here to join, or click here to read more about La Visch Designs on Patreon.
tutorial – working a slipped stitch edge Read More »