tutorial – raising the back neck of circular yoke sweaters
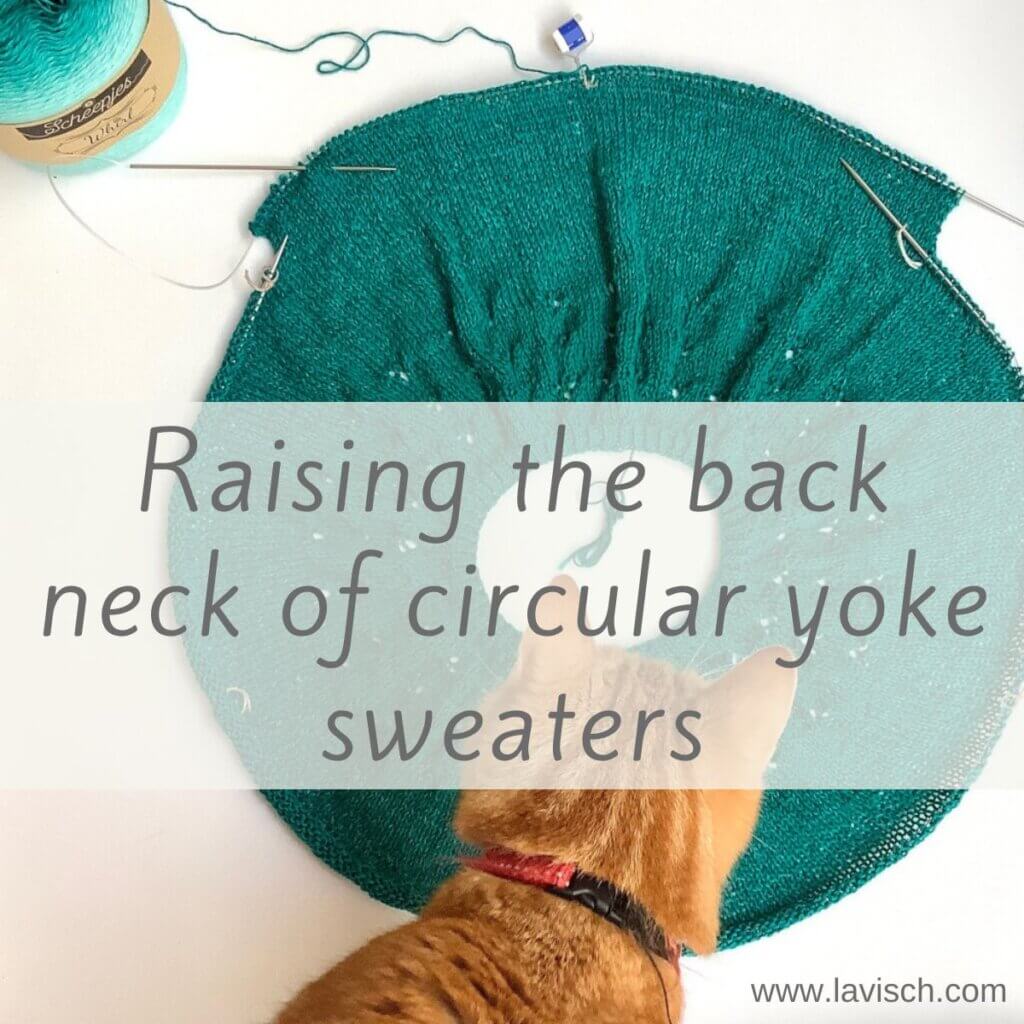
Circular yoke sweaters and tees are pretty popular. No wonder, because they are a great canvas for colorwork or lace. However, some shaping for raising the back neck is really necessary to make it sit right. Without any shaping, chances are that when it sits right at the back, it sits too high in the front, giving that undesired choking feeling. Likewise, if it sits well in the front, it will probably sit too low in the back. And no, this isn’t something that some rigorous blocking will fix.
In this tutorial, I’ll show you first what exactly the problem is. And, of course, also how to fix it.
The problem
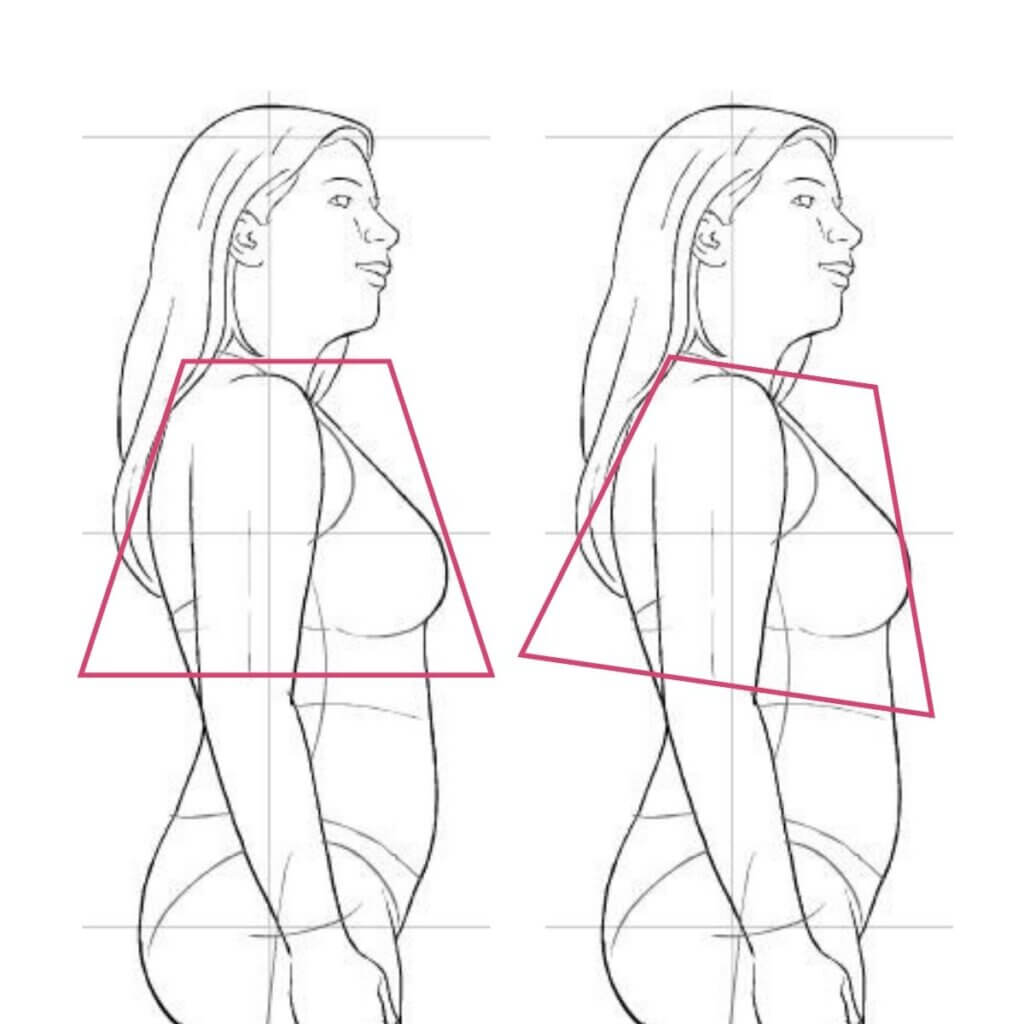
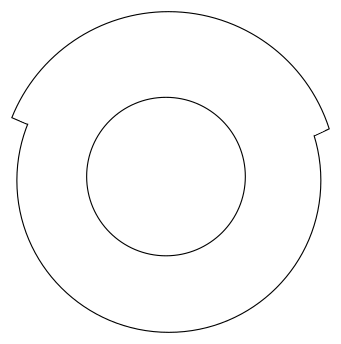
As you can see in the below picture, the main issue is that the human torso is not symmetrical back to front. The neckline is angled, which means that to arrive at the same level, there is more fabric length needed in the back than at the front. And completely circular yokes (as well as raglan sweaters) without any added back neck shaping are symmetrical and don’t have this extra length built in.
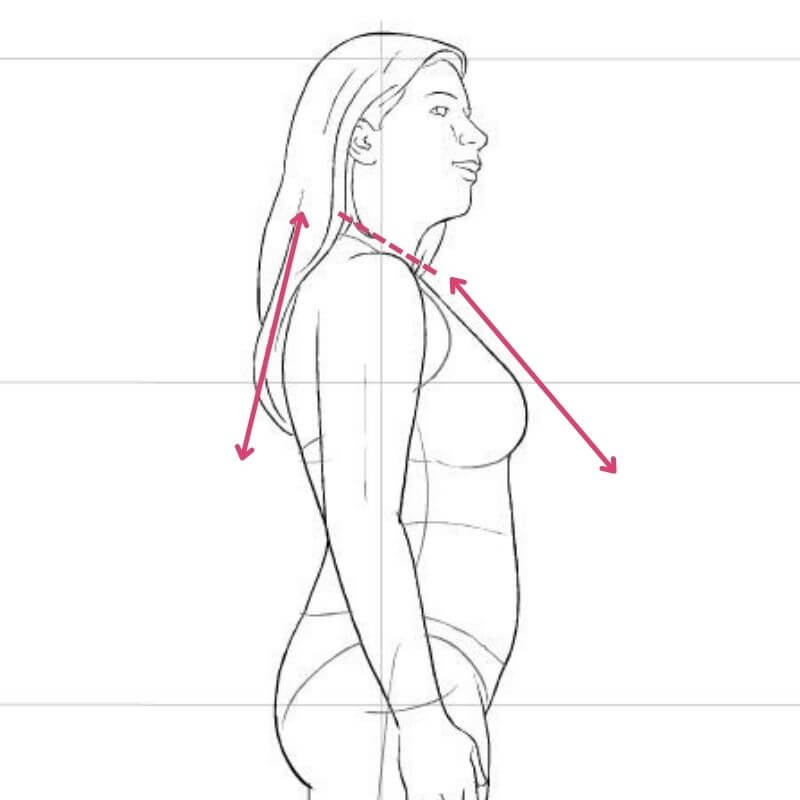
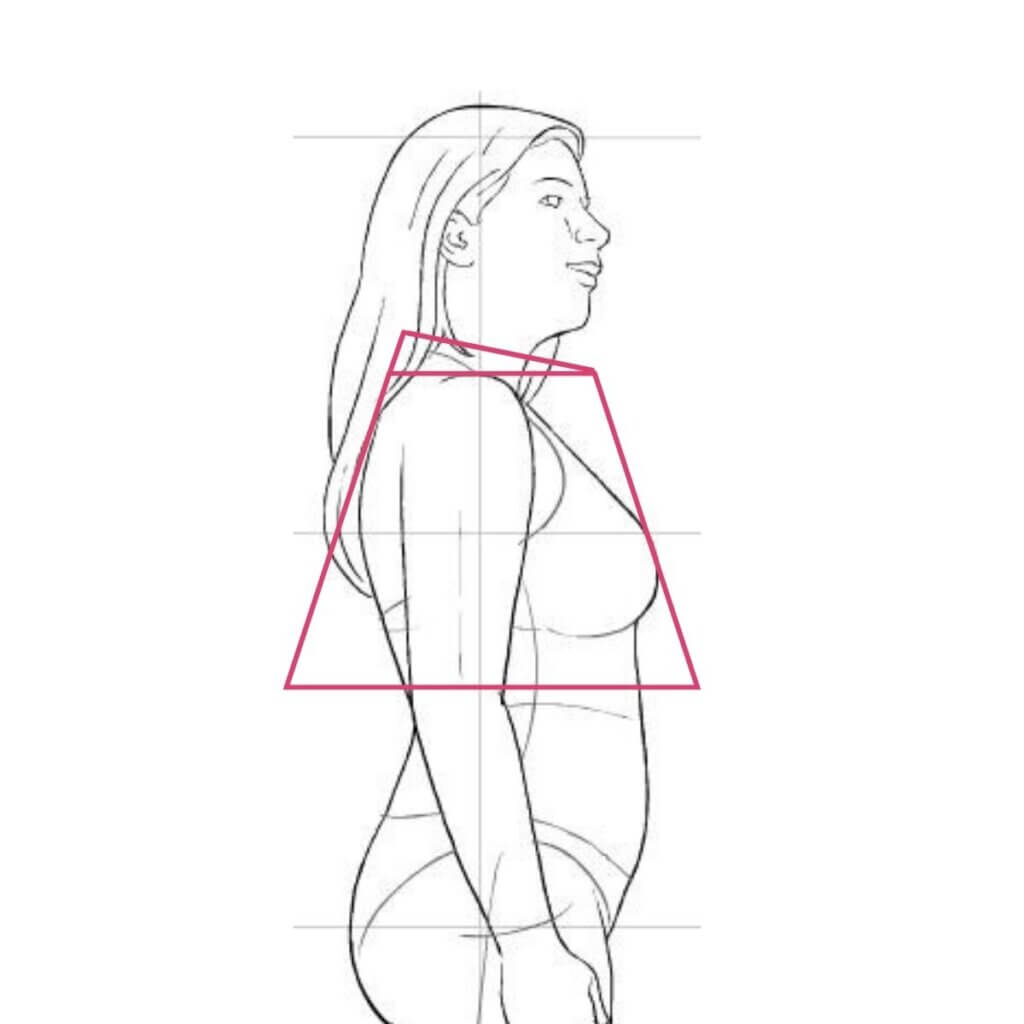
As visualized in the below picture, you may start out with the situation on the right. However, as the day goes by, the sweater will want to return to its base shape and the neckline in the front will creep up as pictured on the left.
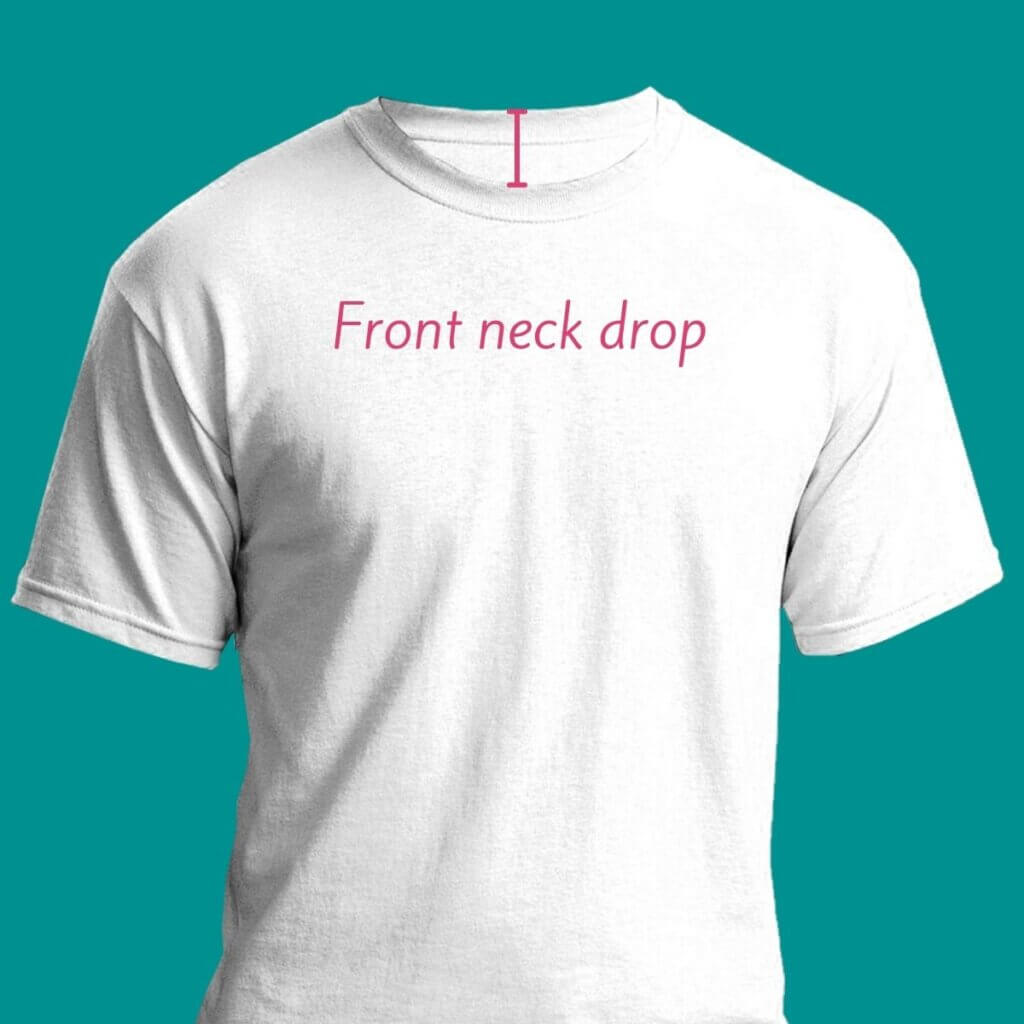
The solution, of course, is to add shaping to give the yoke the extra fabric it needs in the back. In ready-made garments, you also see a difference in the depth of the yoke in the back vs the front of the garment. That difference is called the “front neck drop”, which is in essence the same as raising the back neck by a certain distance. They both refer to a difference in vertical distance to create a better fit in your garment at the neck.
Raising the back neck: How?
The usual solution is to use short rows to add extra length over a certain number of the back stitches. These can be added close to the neckline, above any yoke patterning, below the yoke patterning to lengthen the back or a combination of these two. The short rows themselves can be of the wrap & turn kind, German short rows, or any other type of short row you prefer.
But this is not my preferred way….
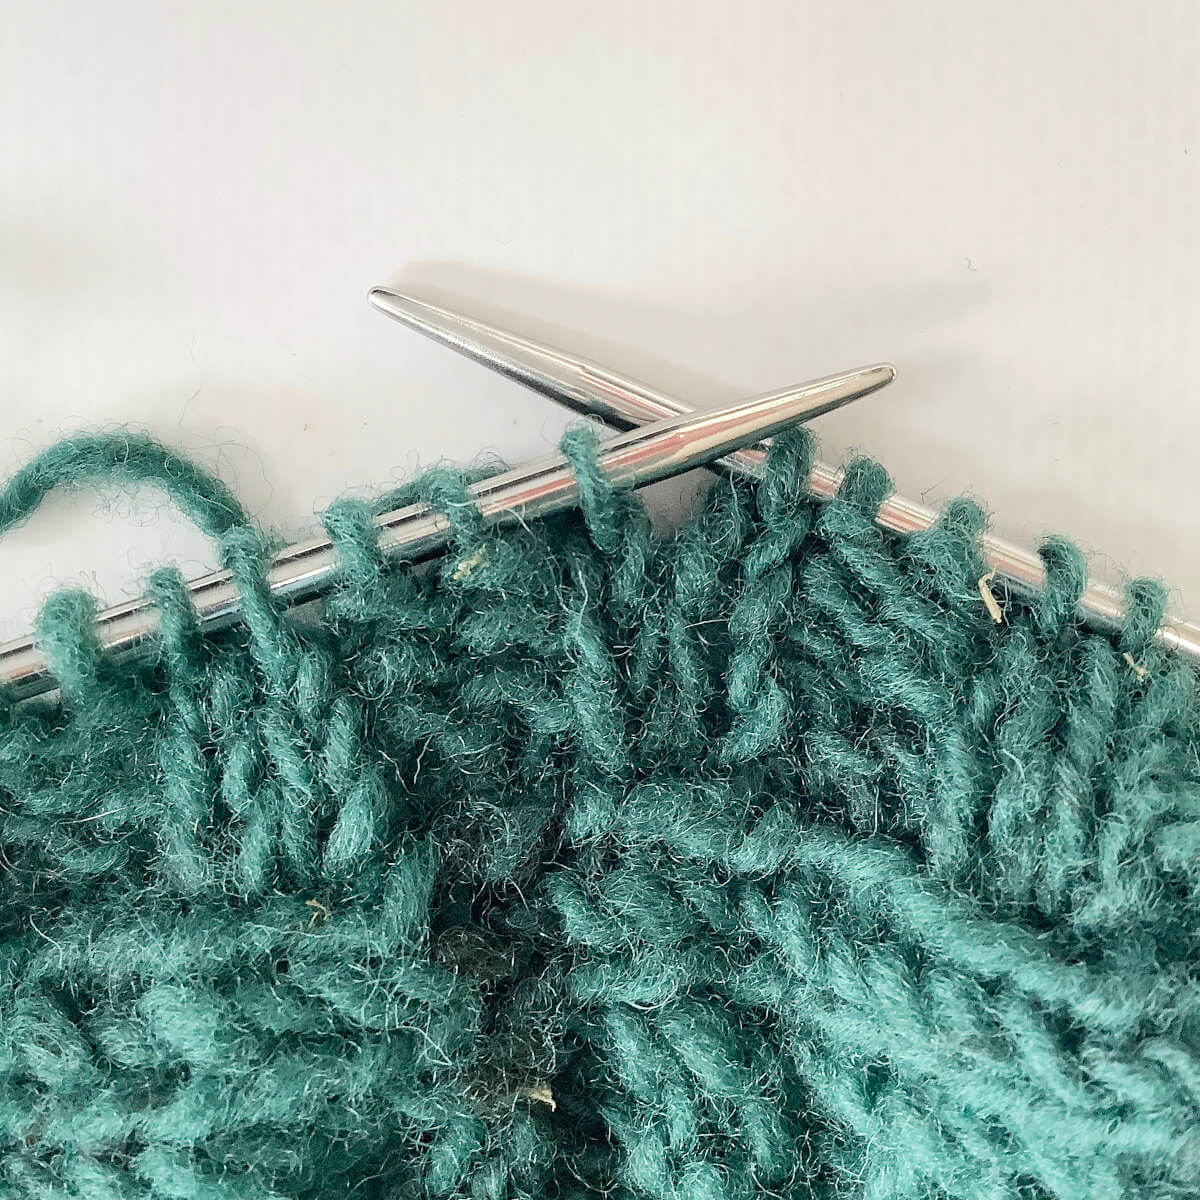
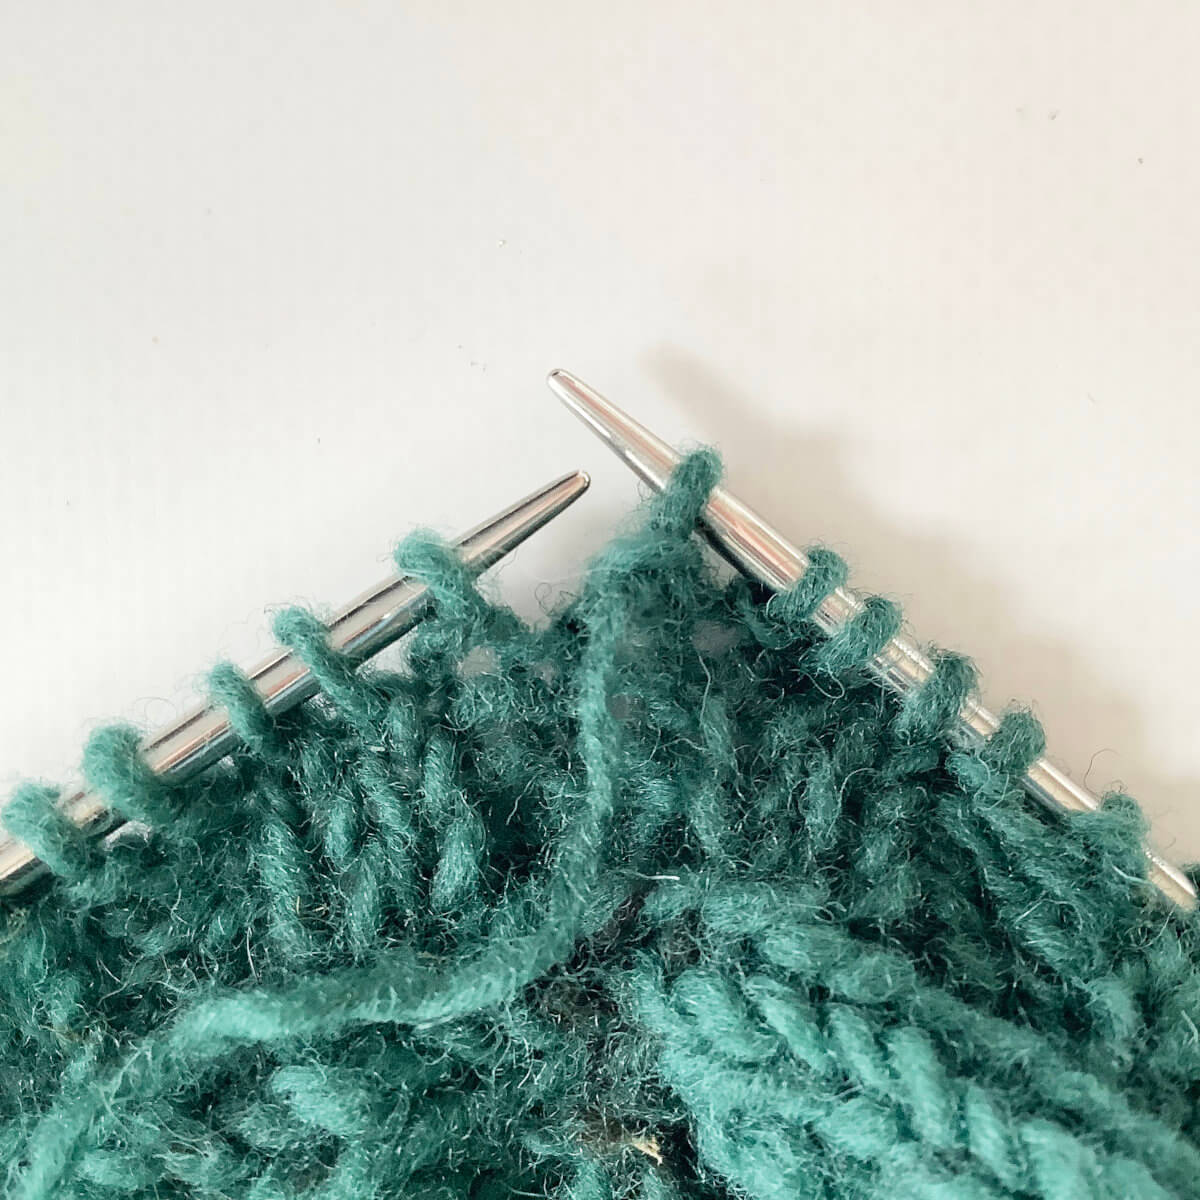
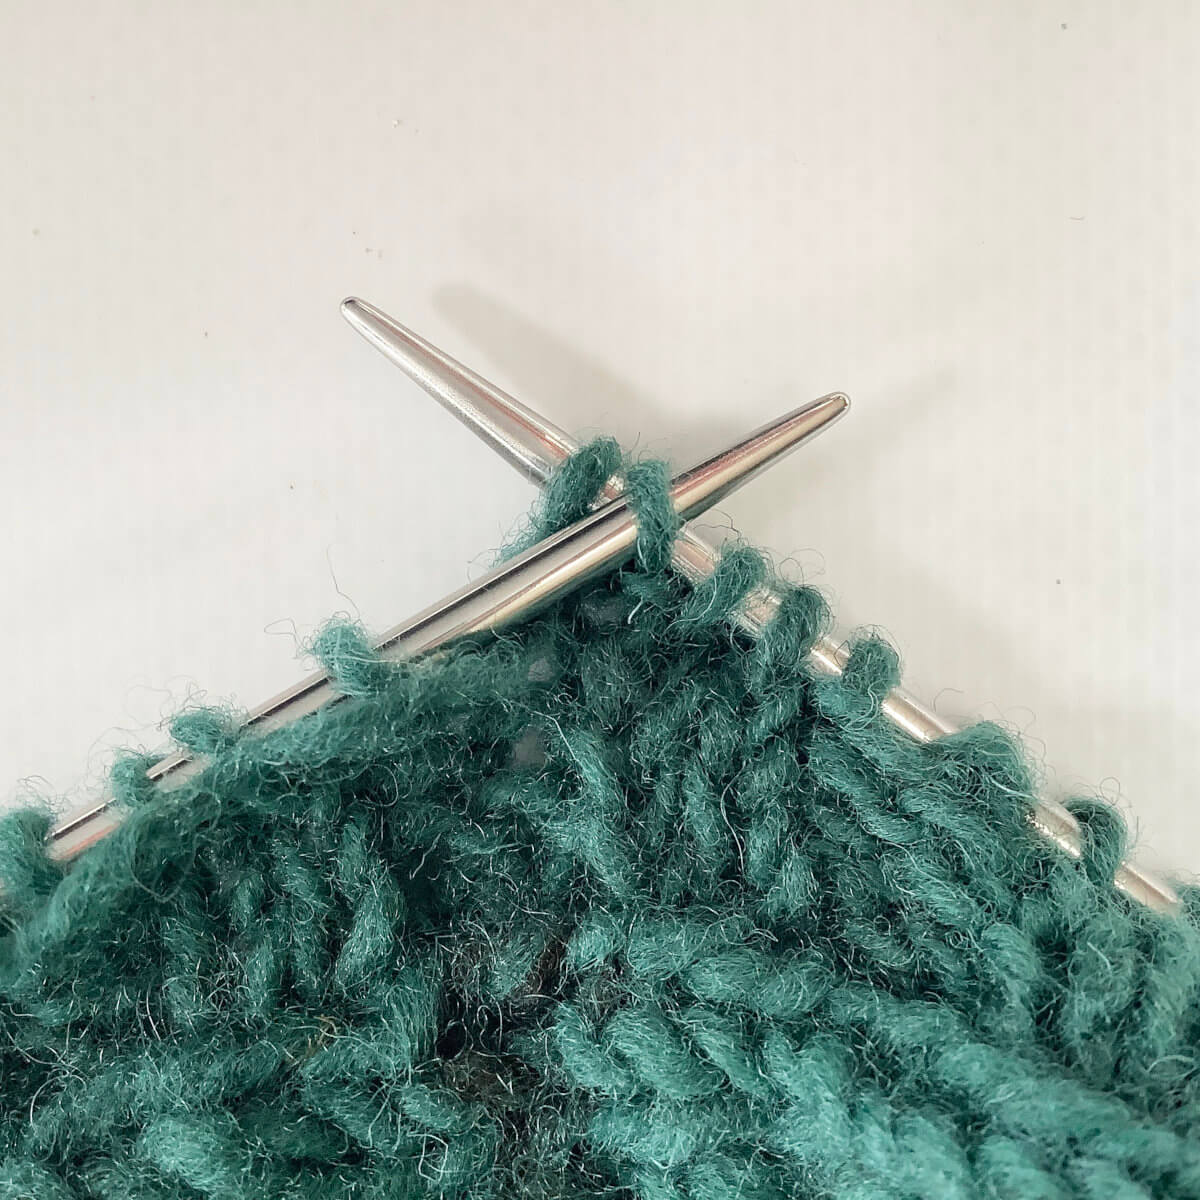
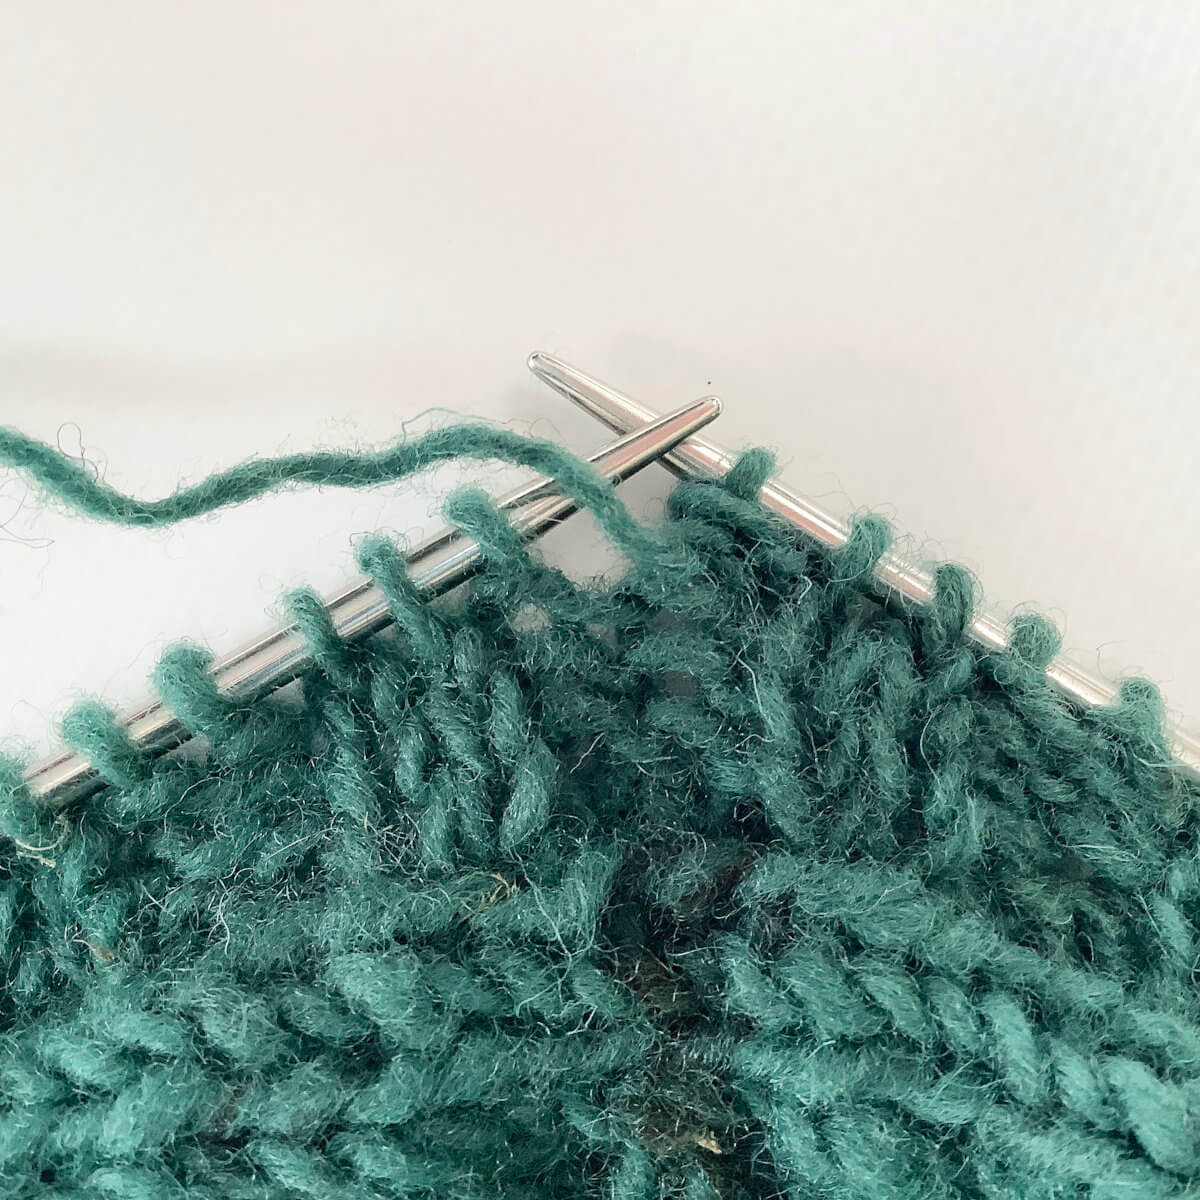
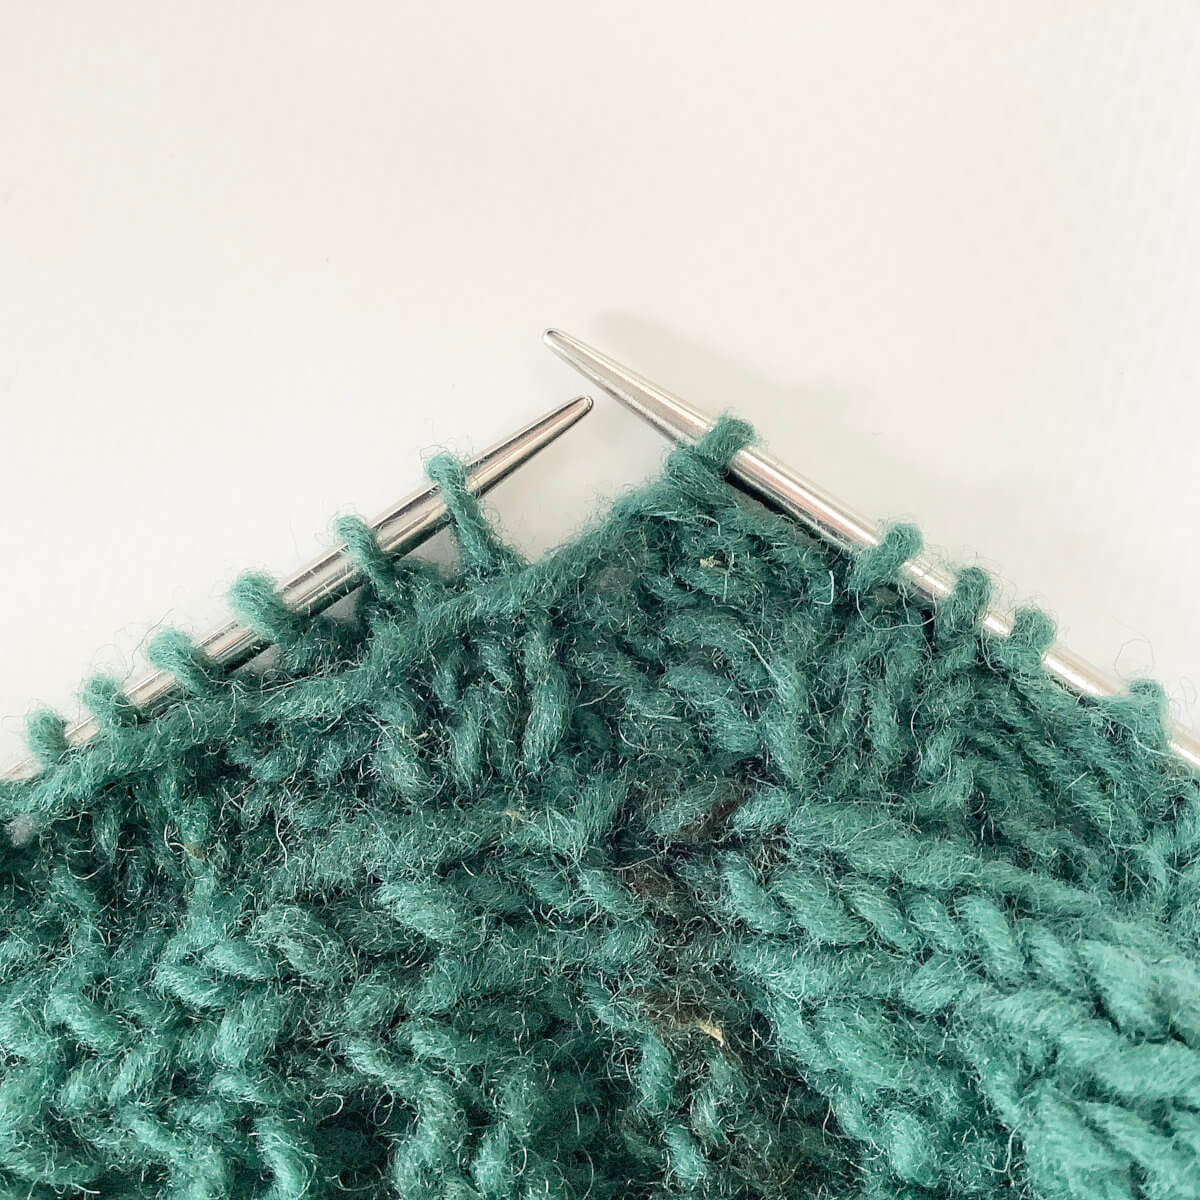
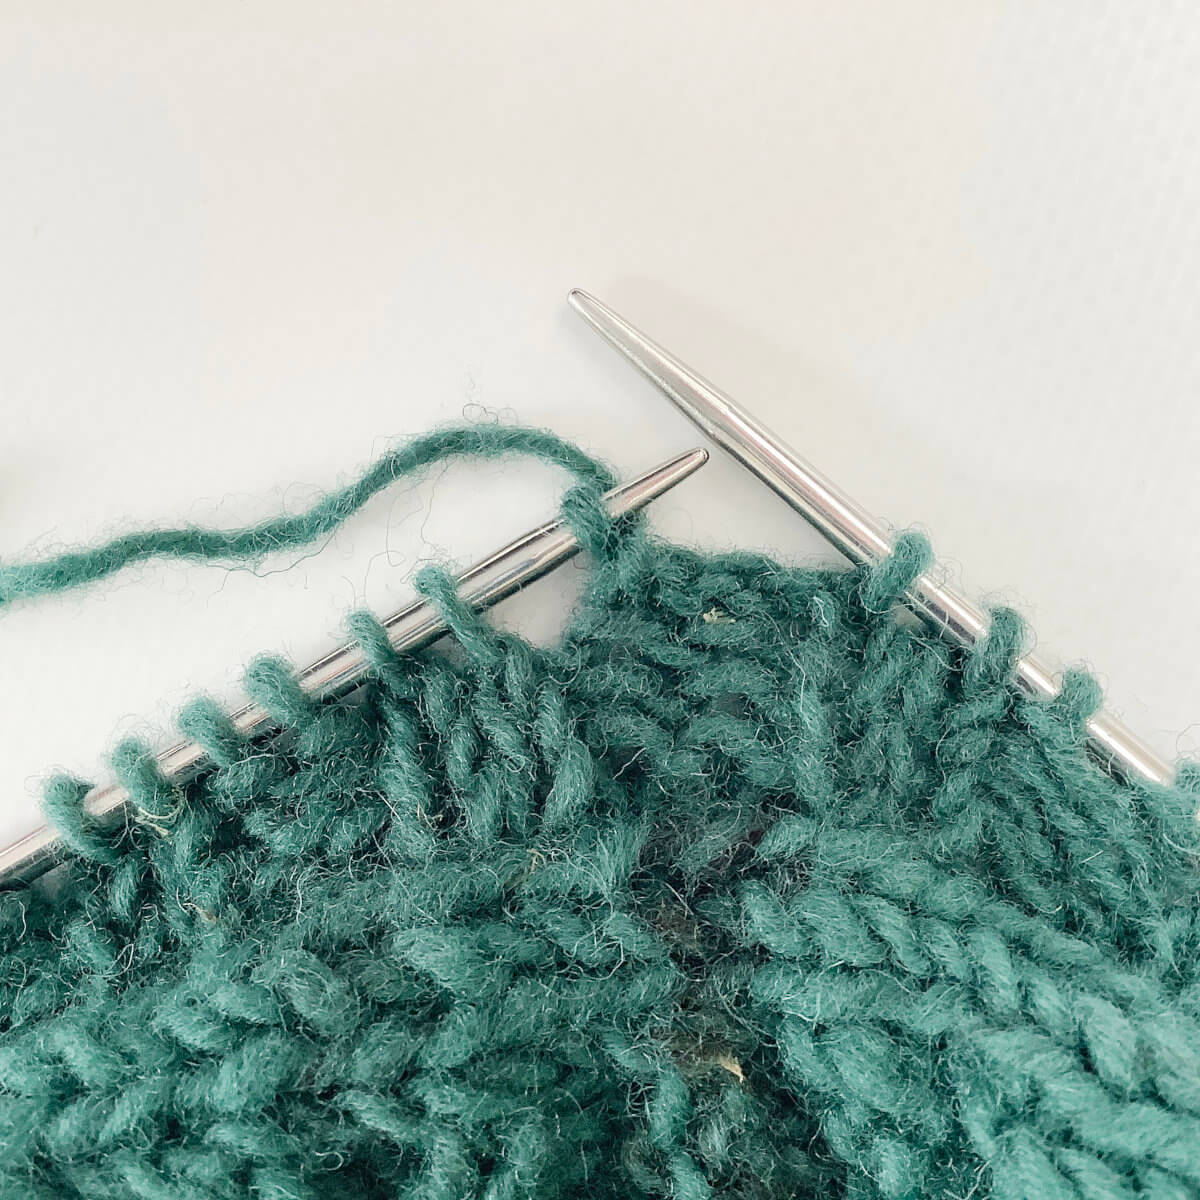
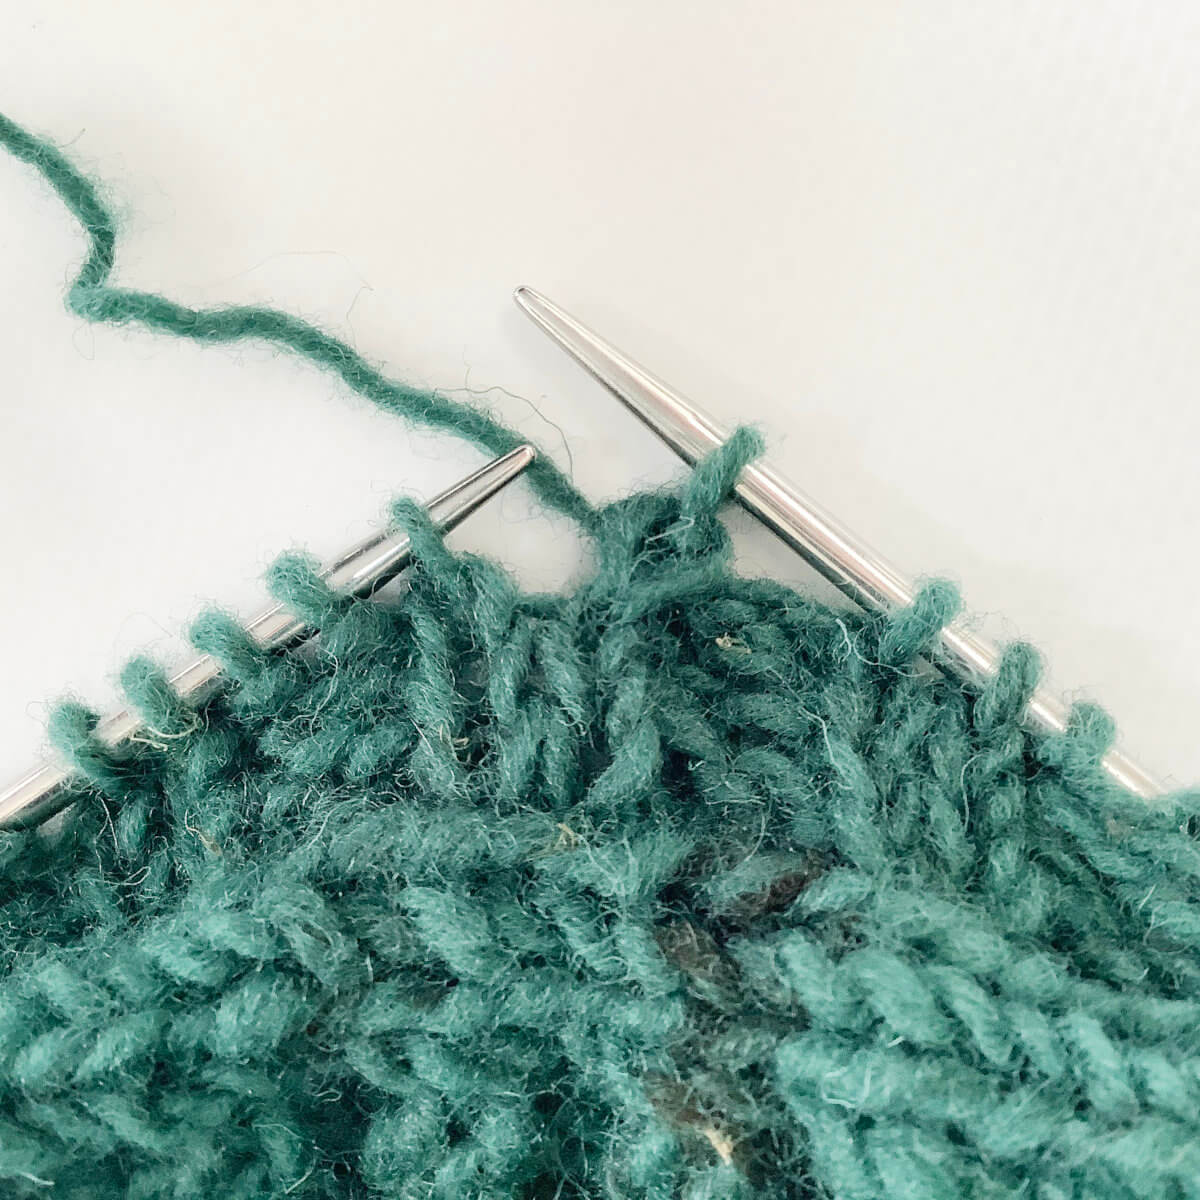
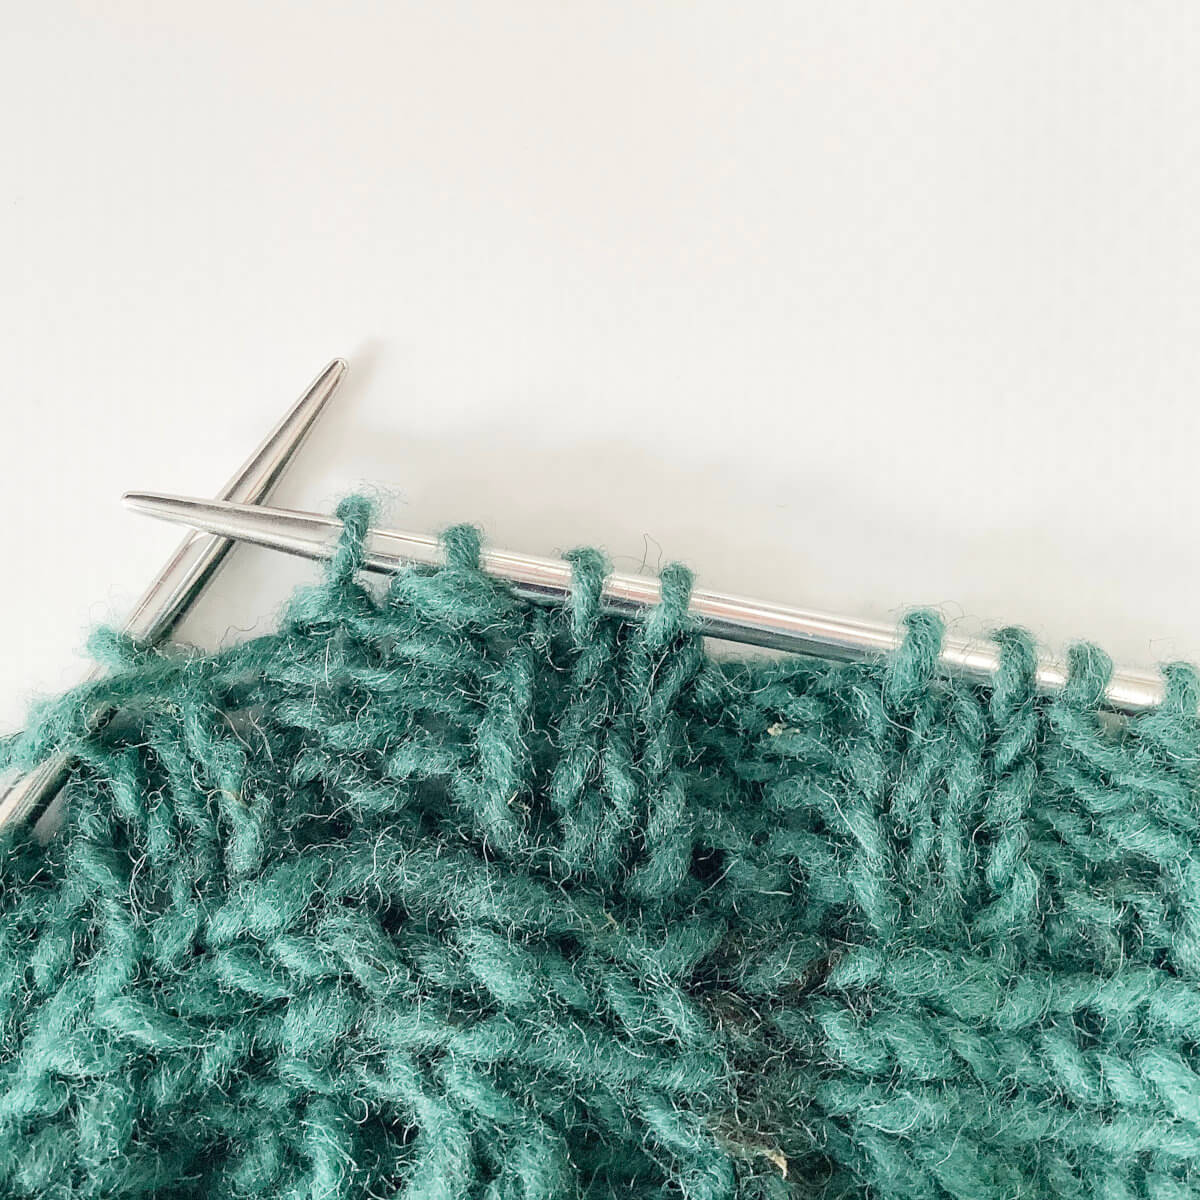
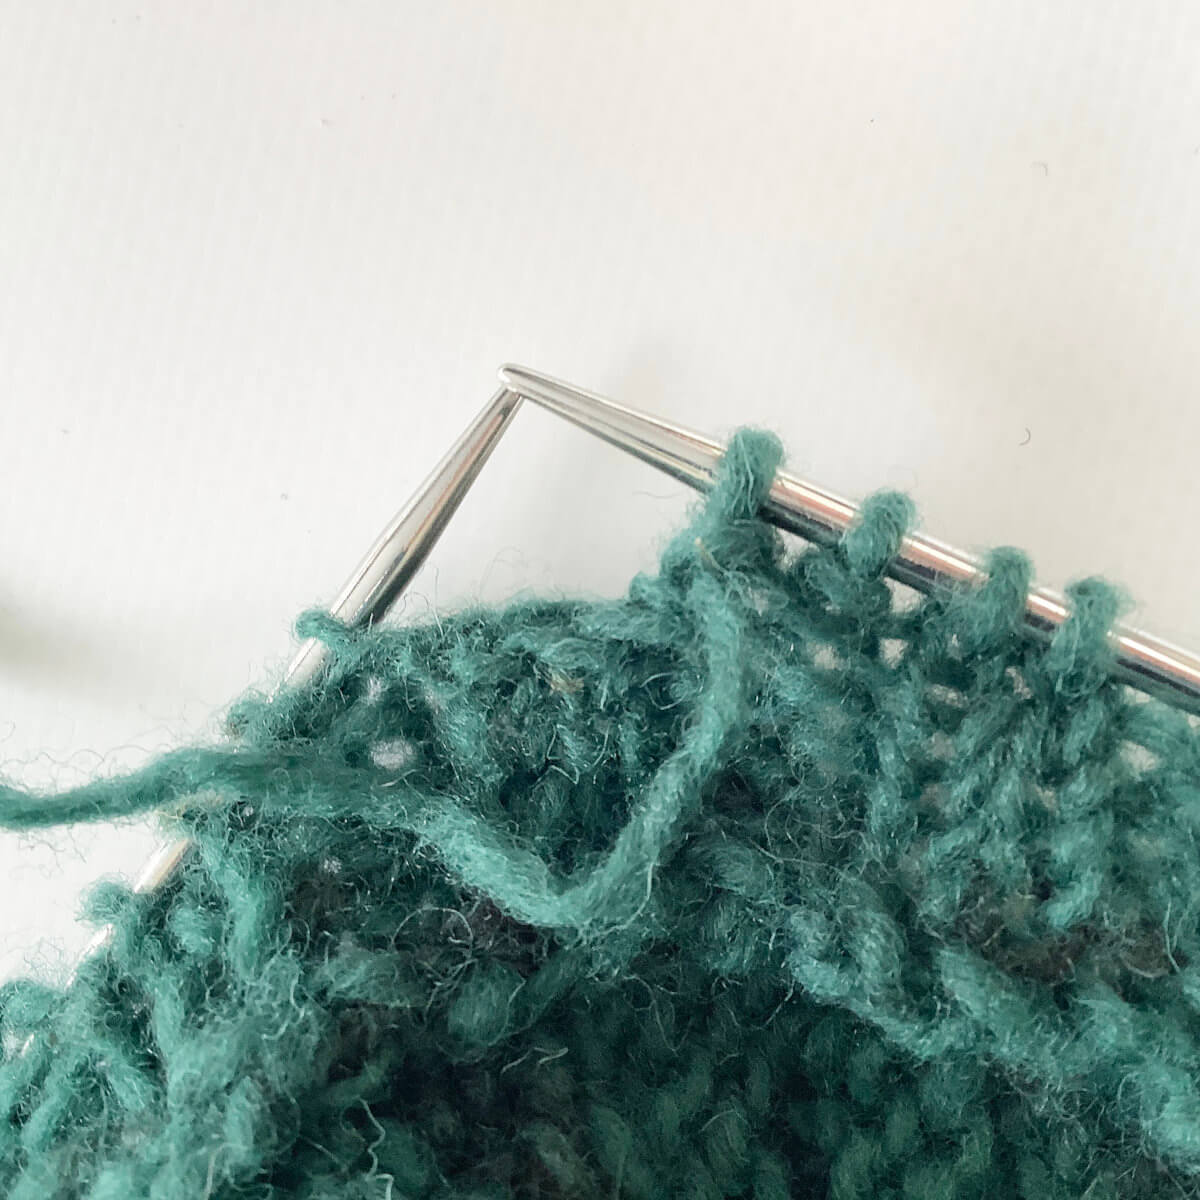
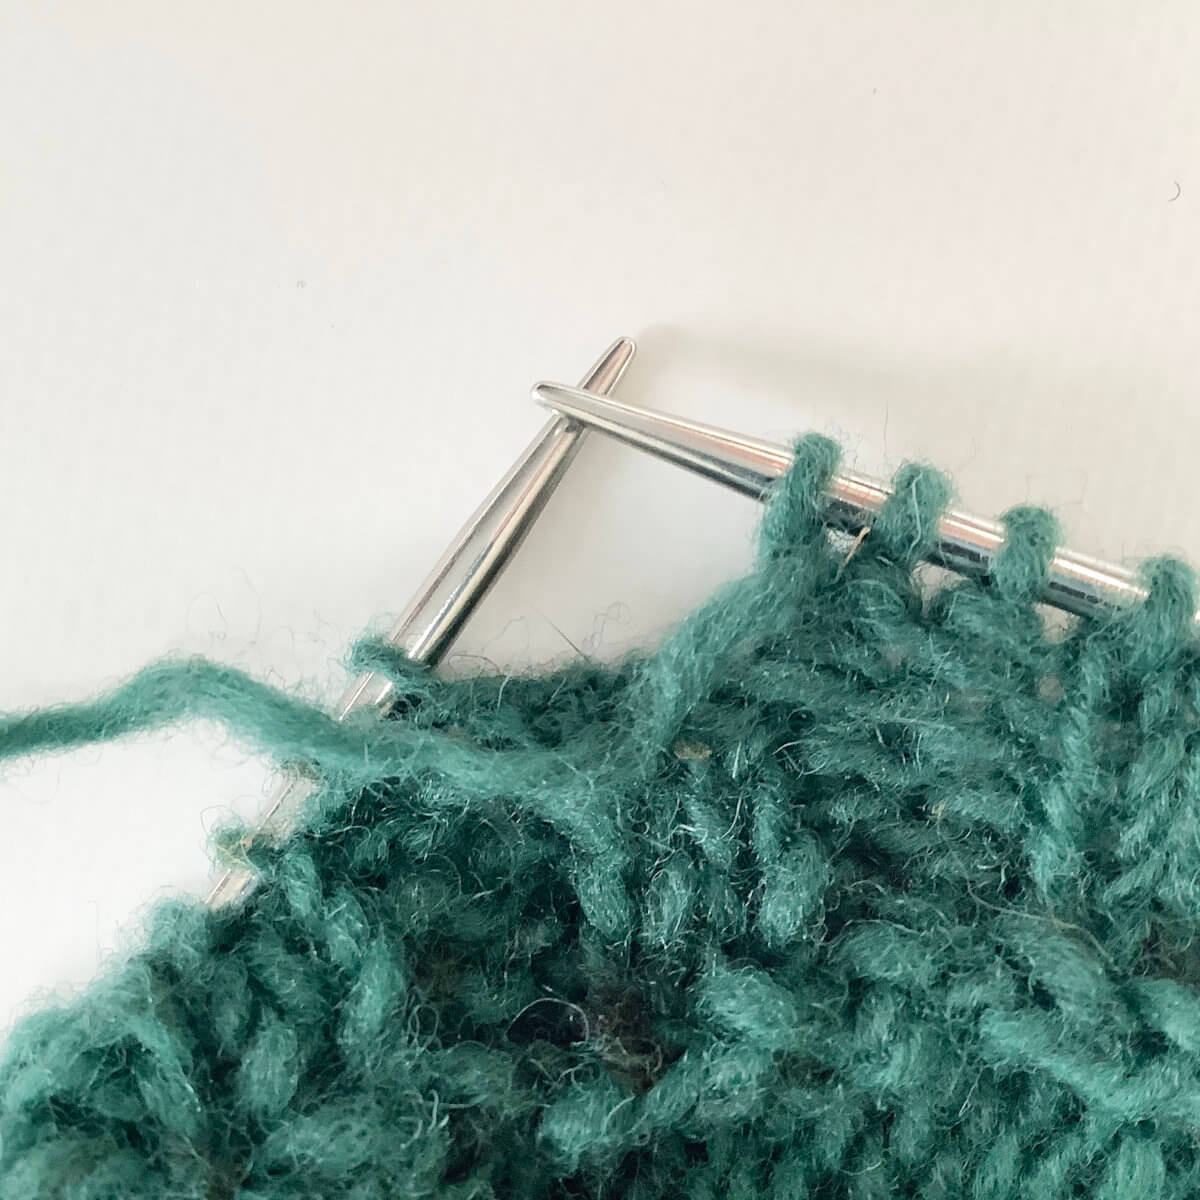
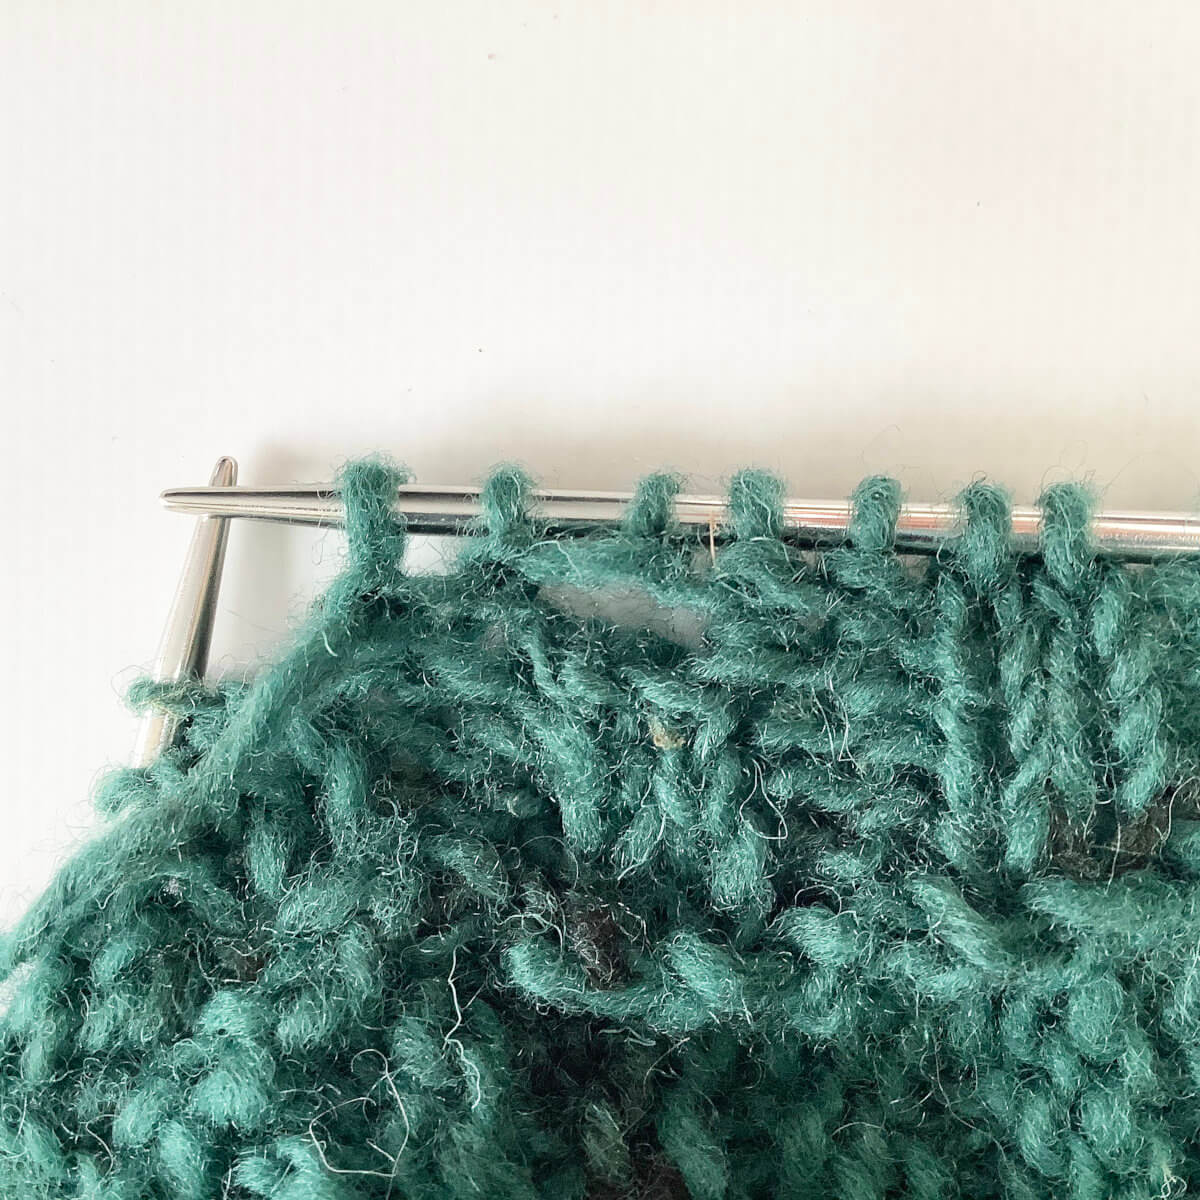
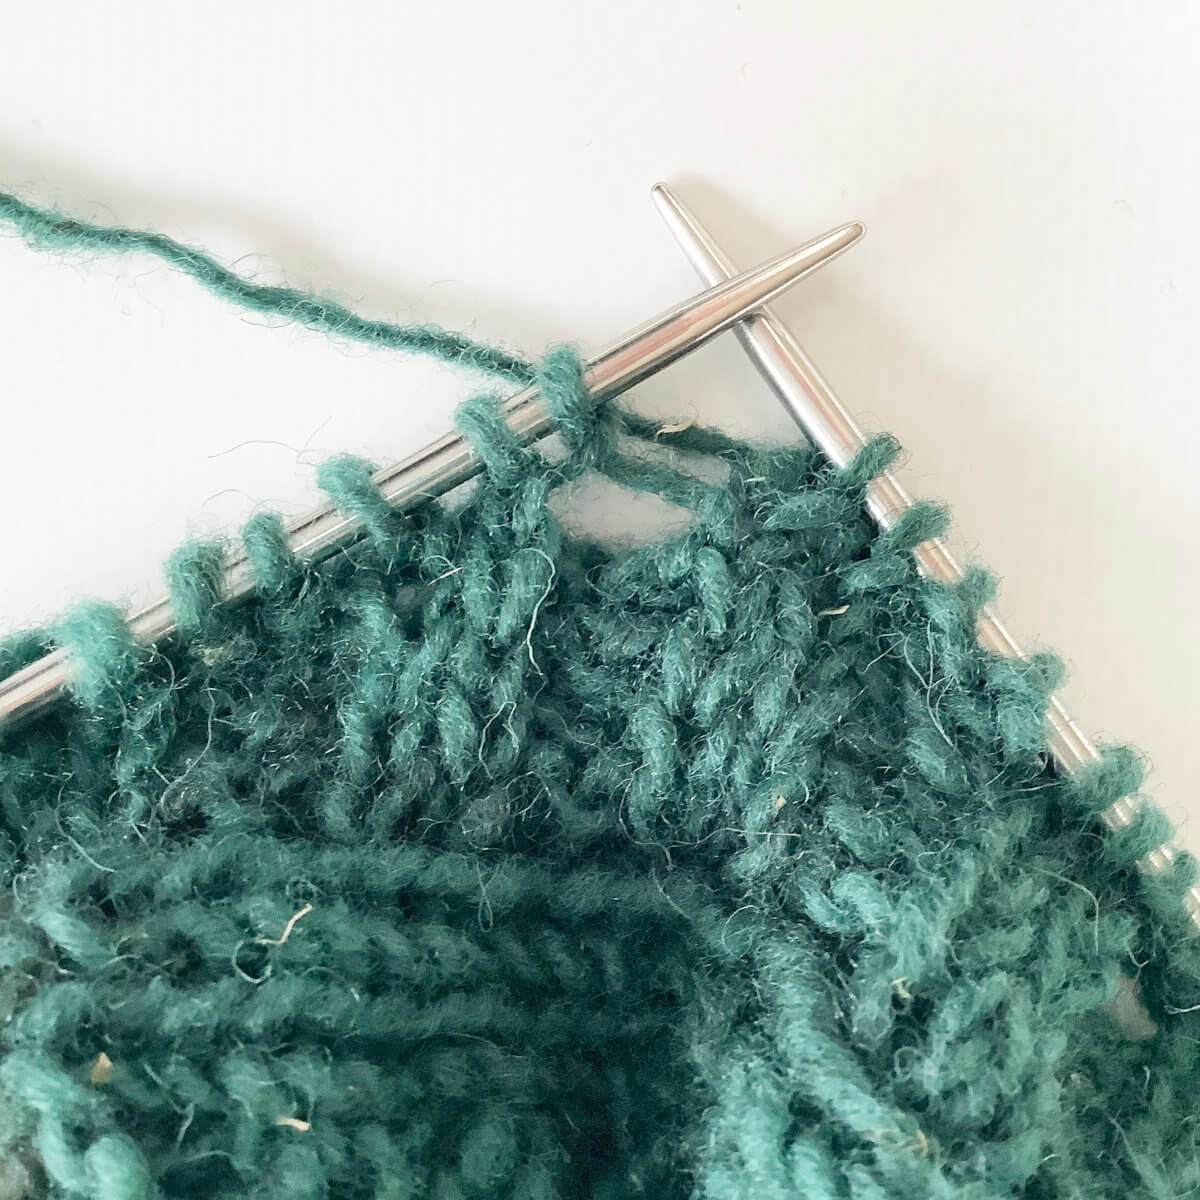
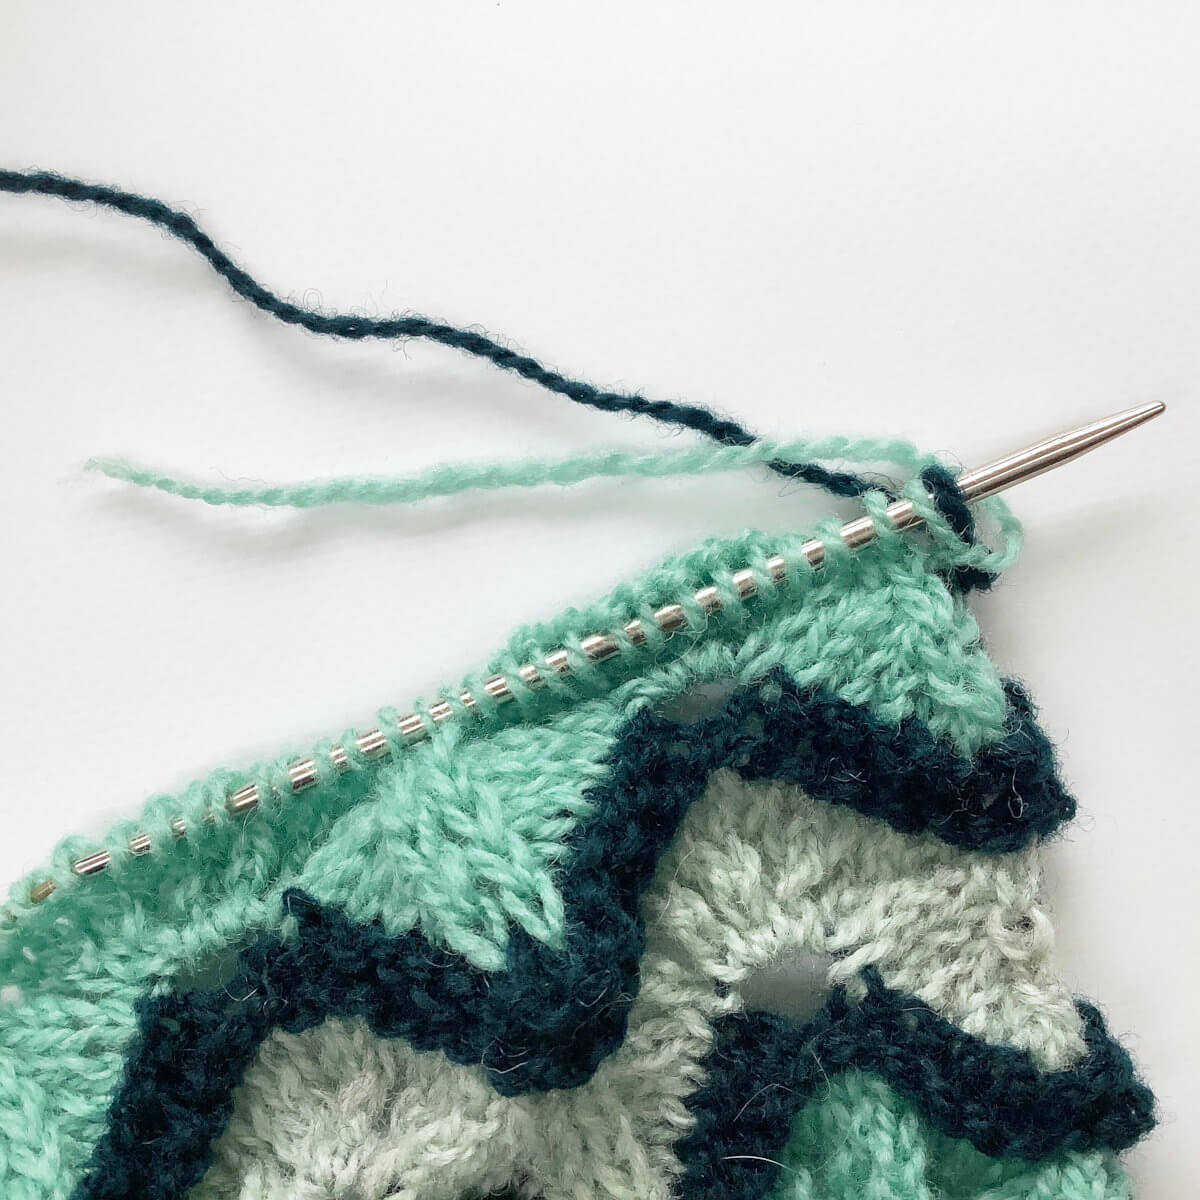
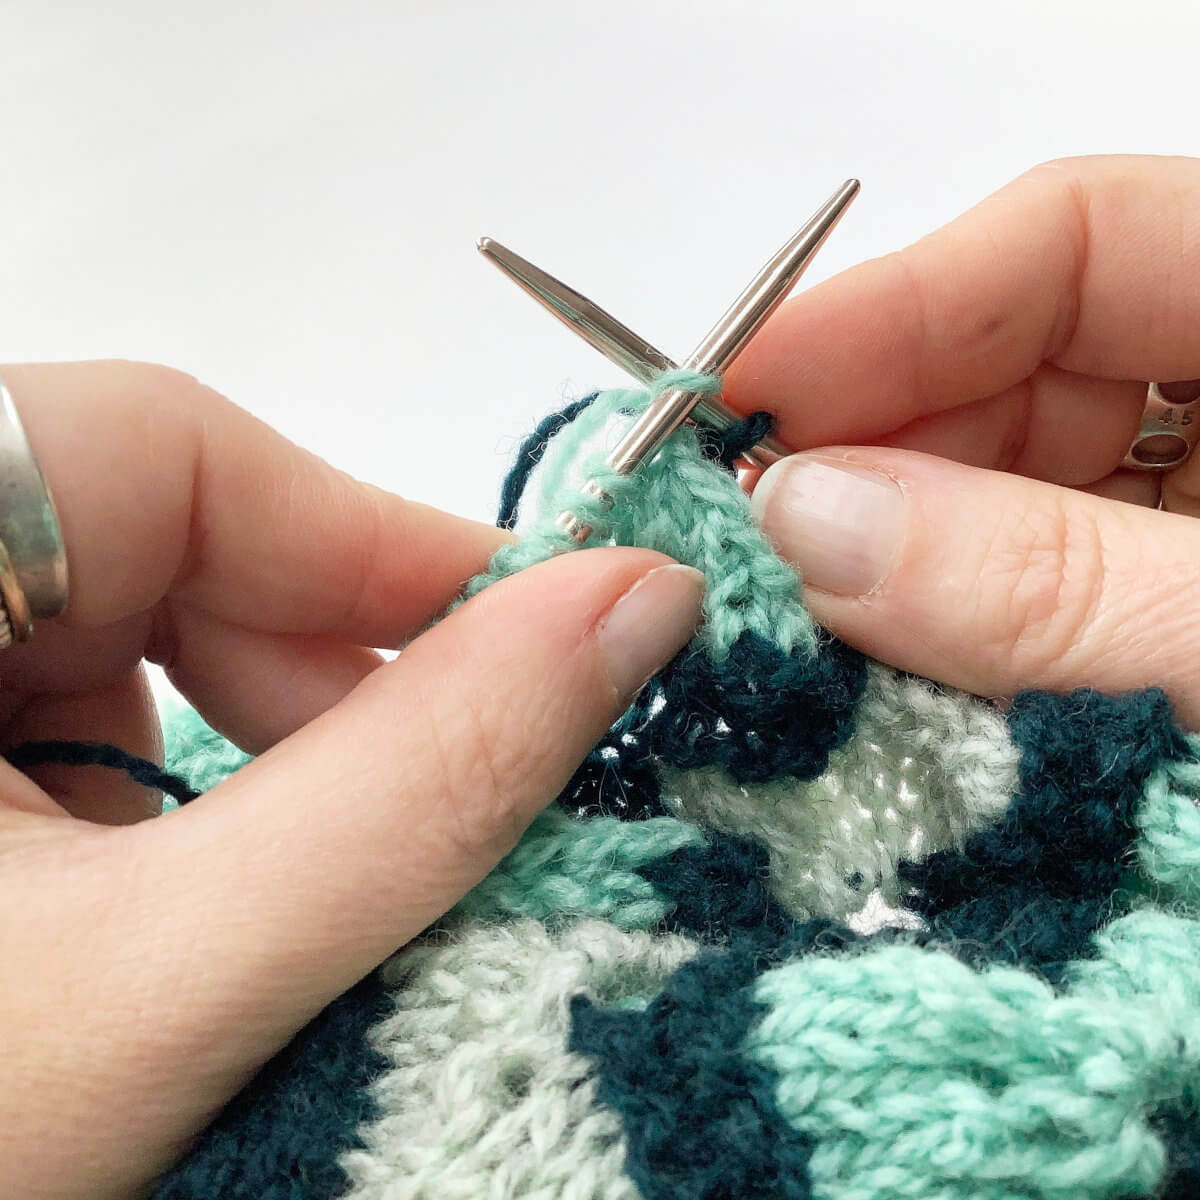
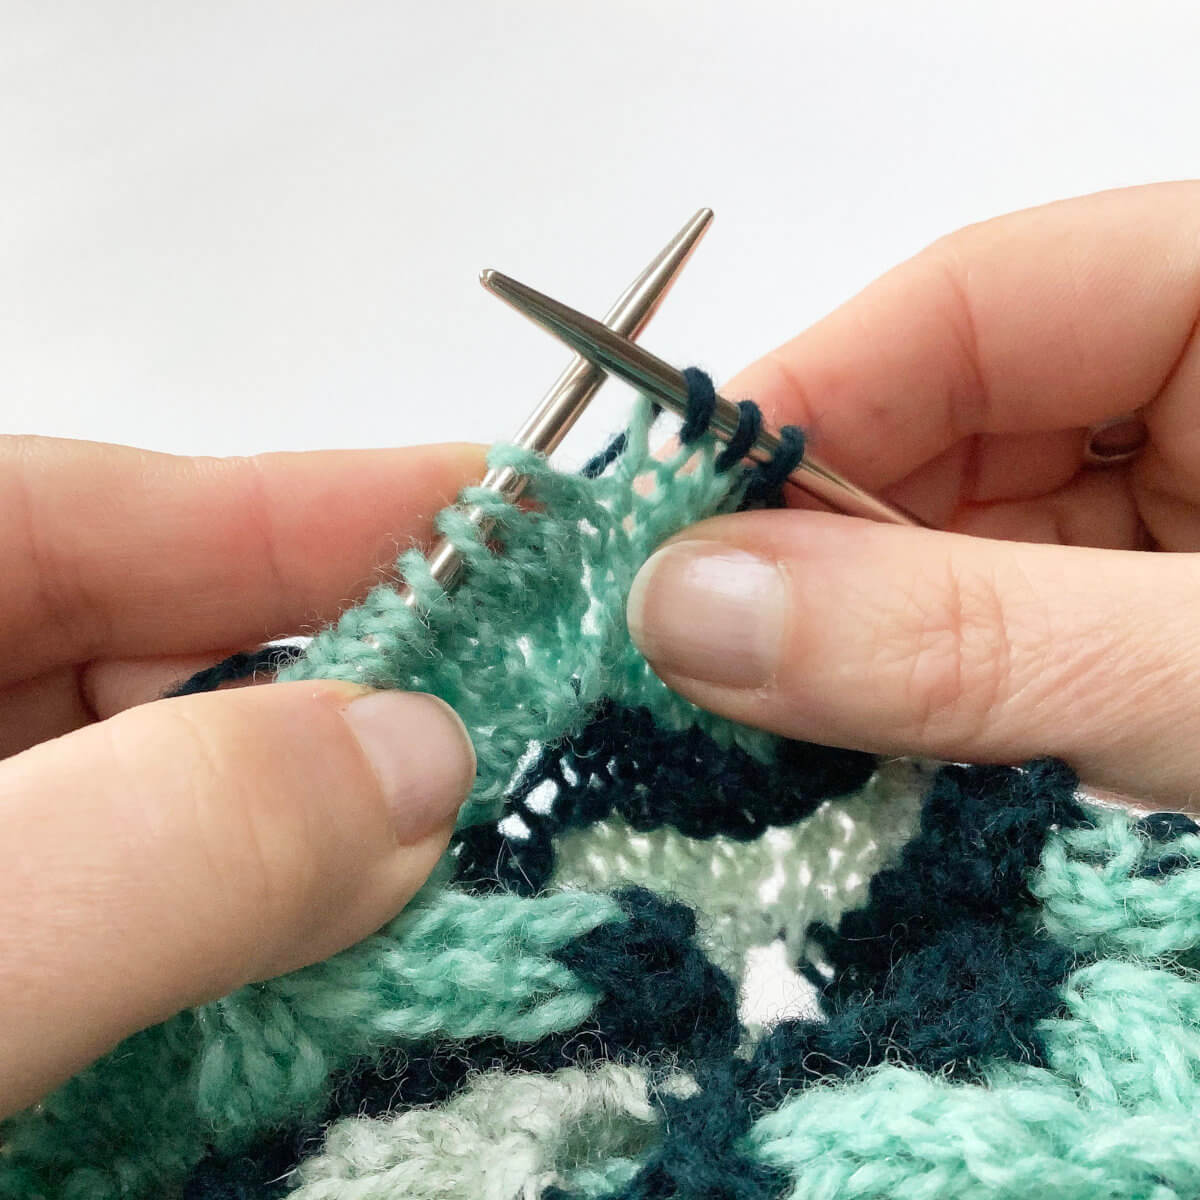
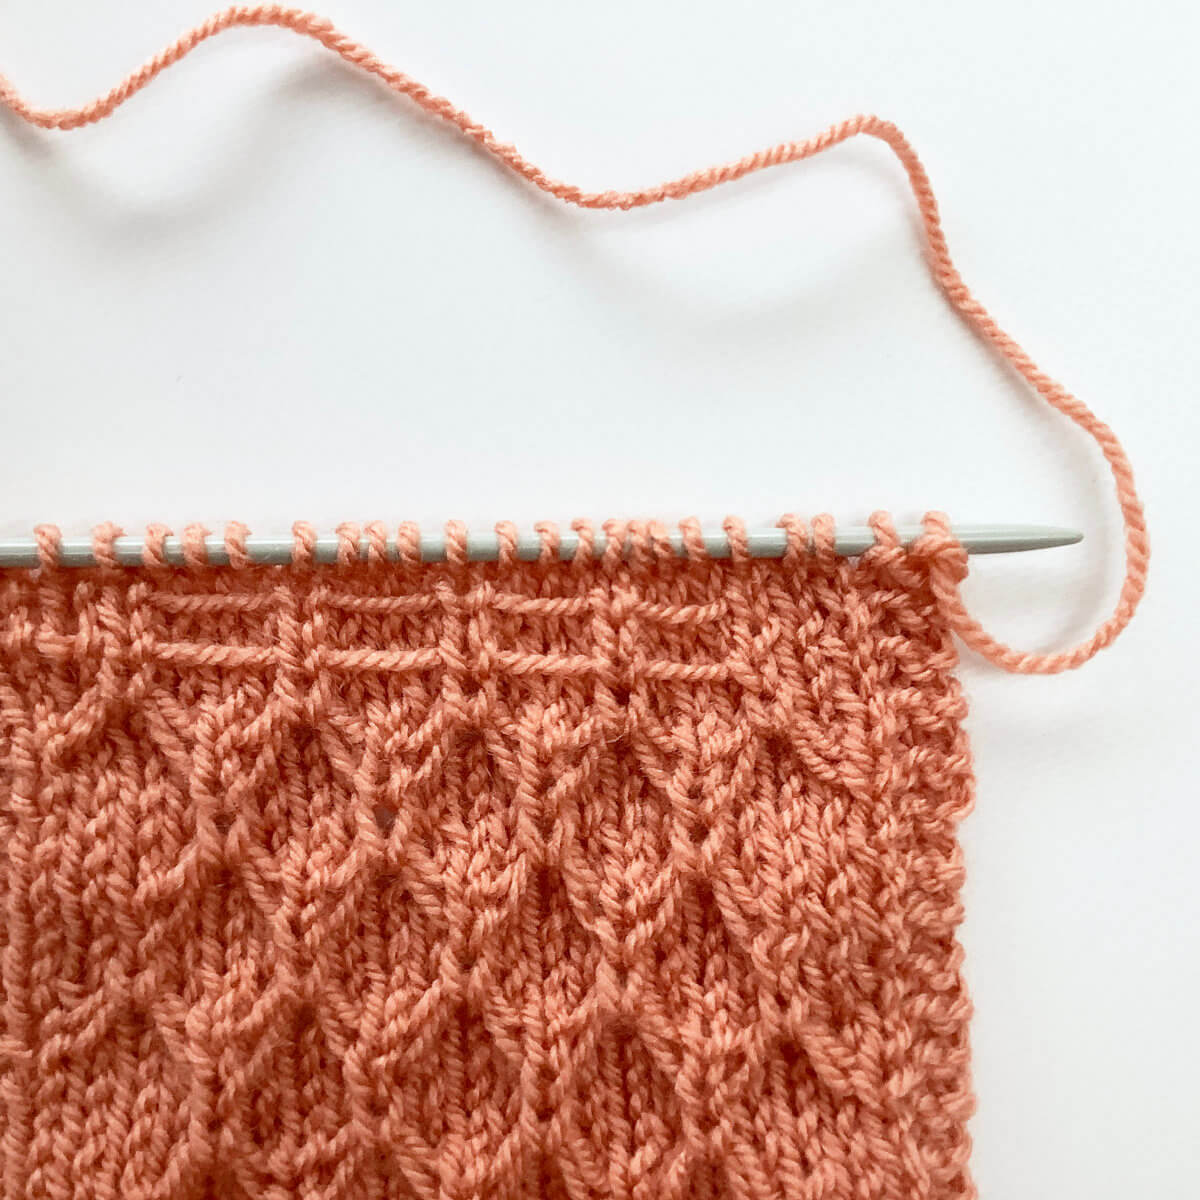
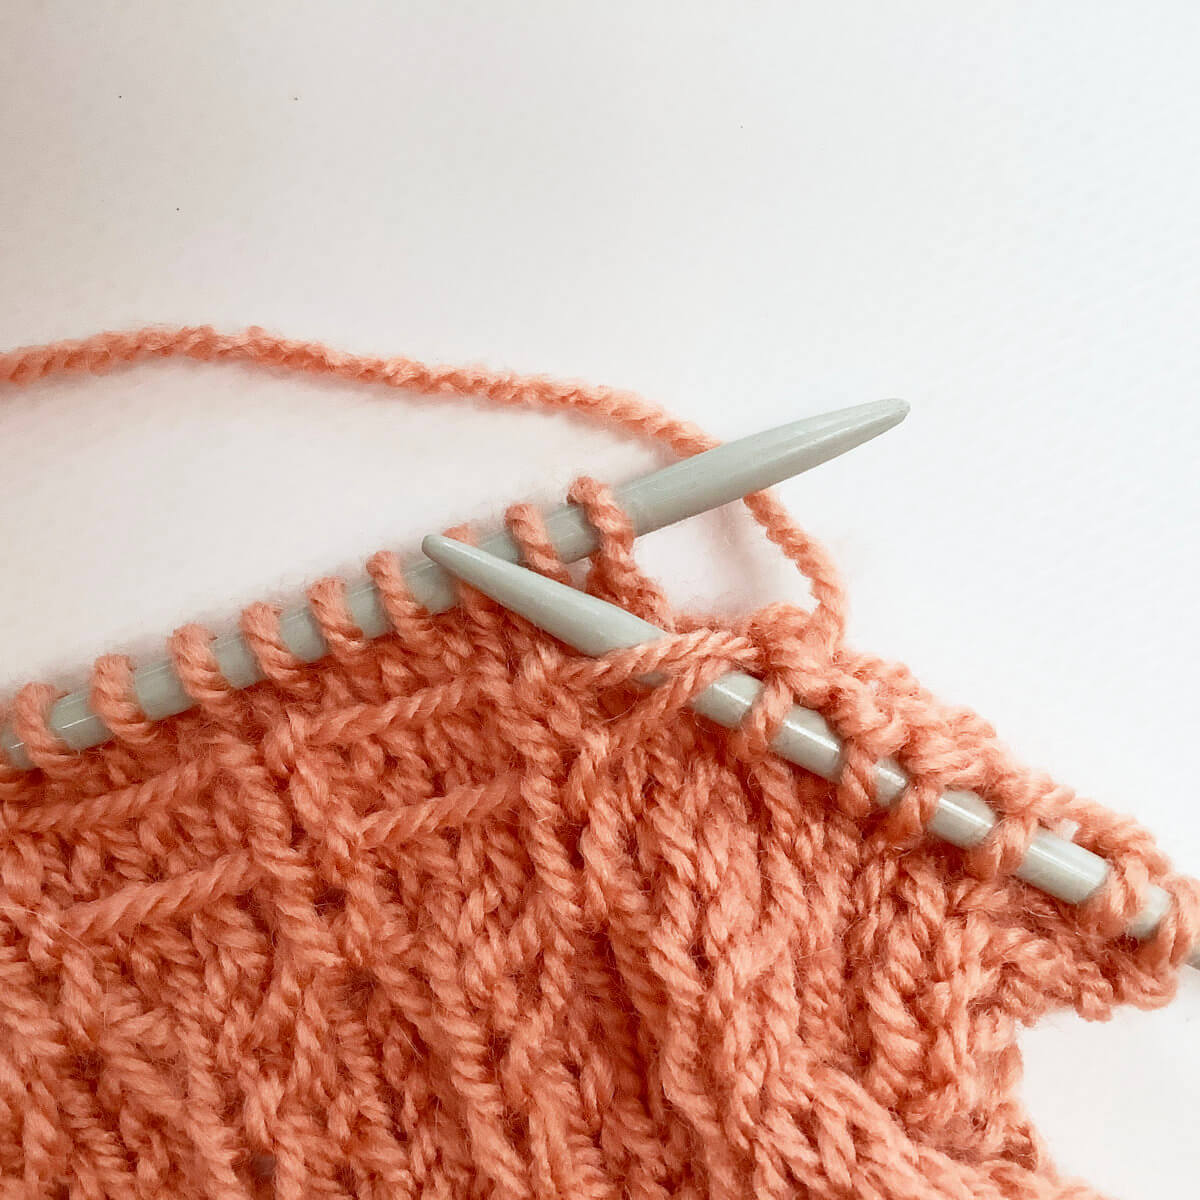
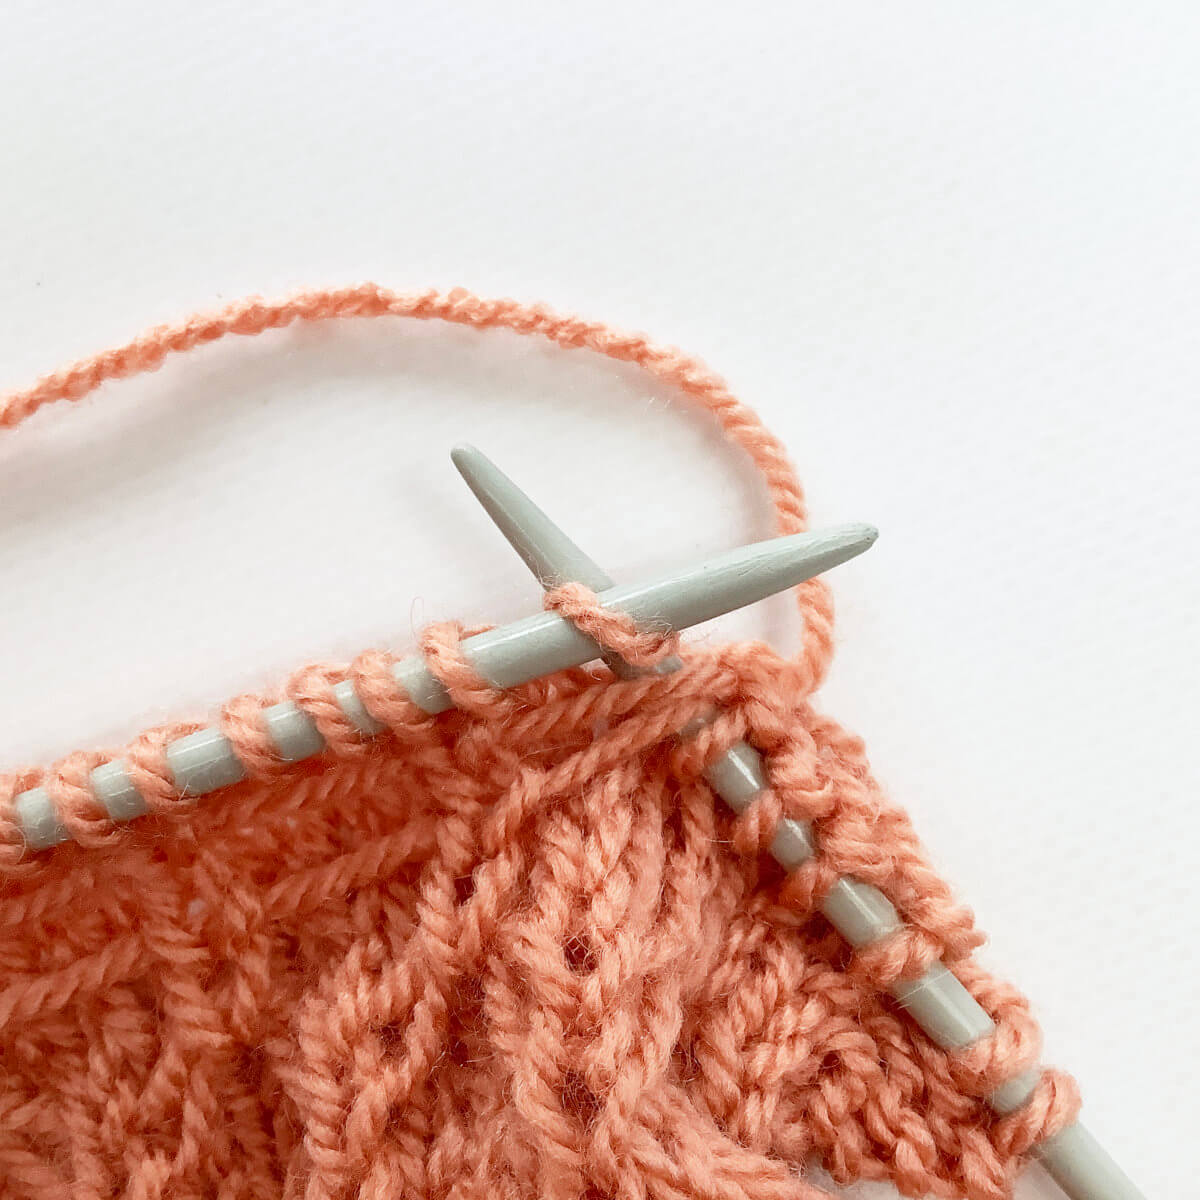
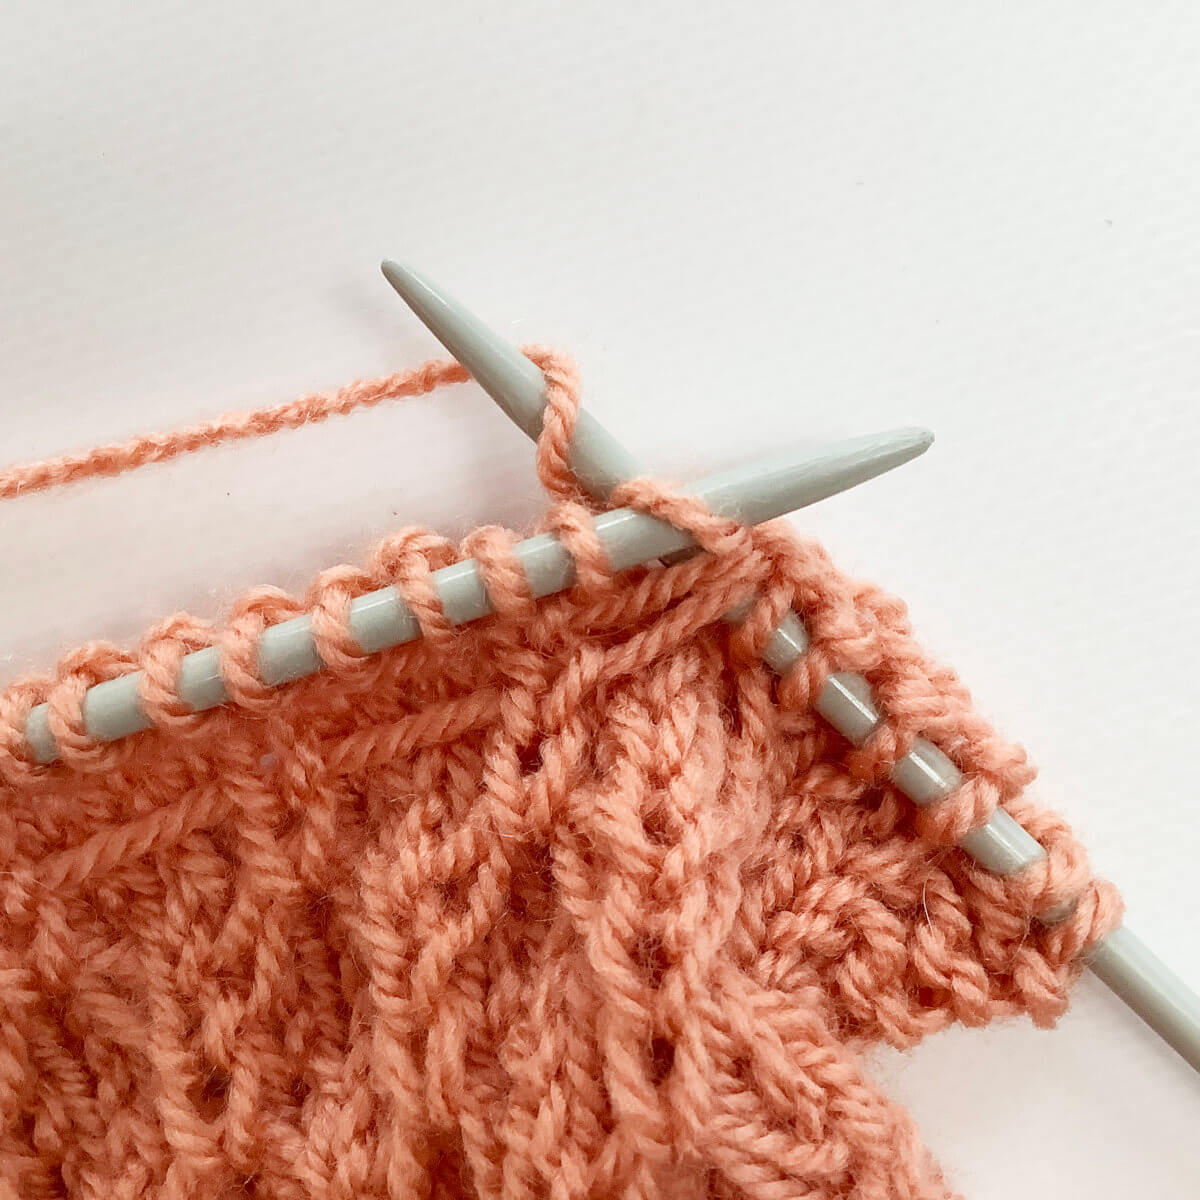
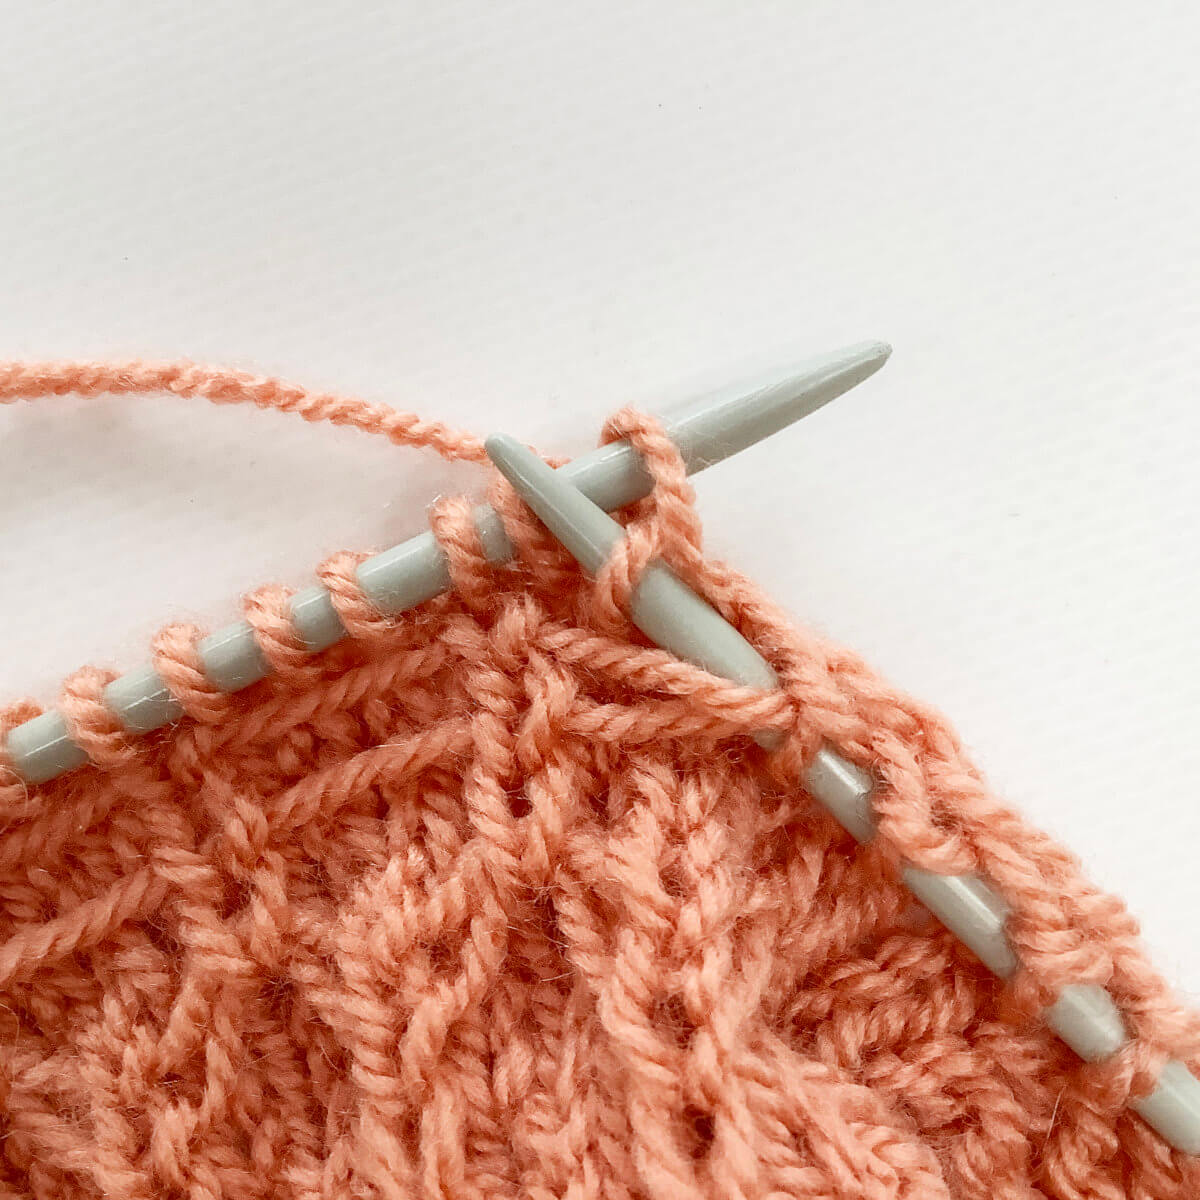
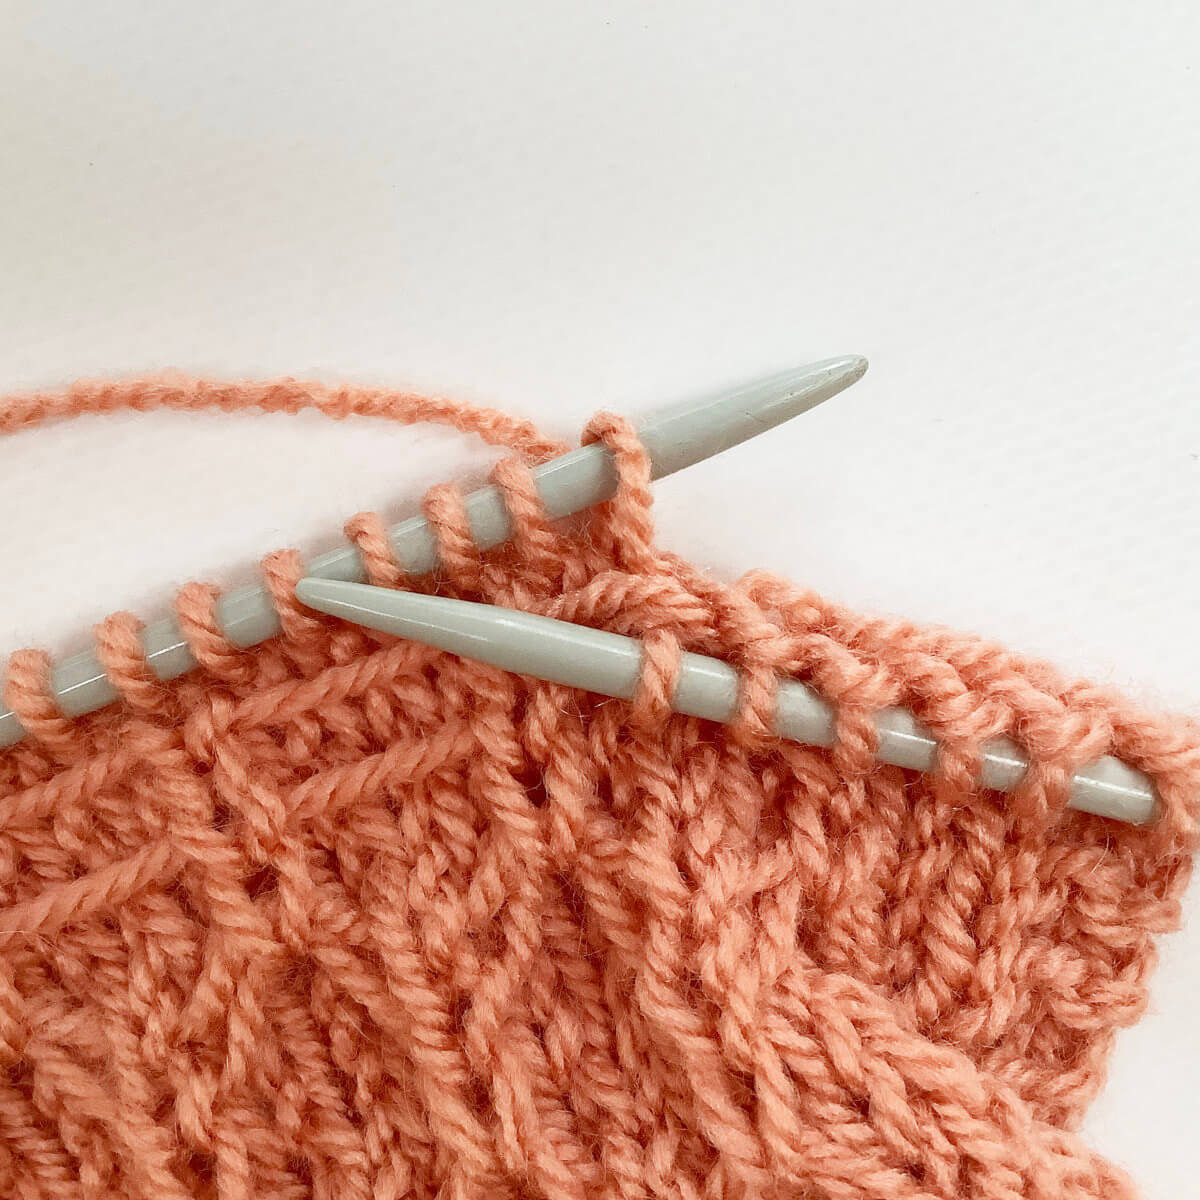
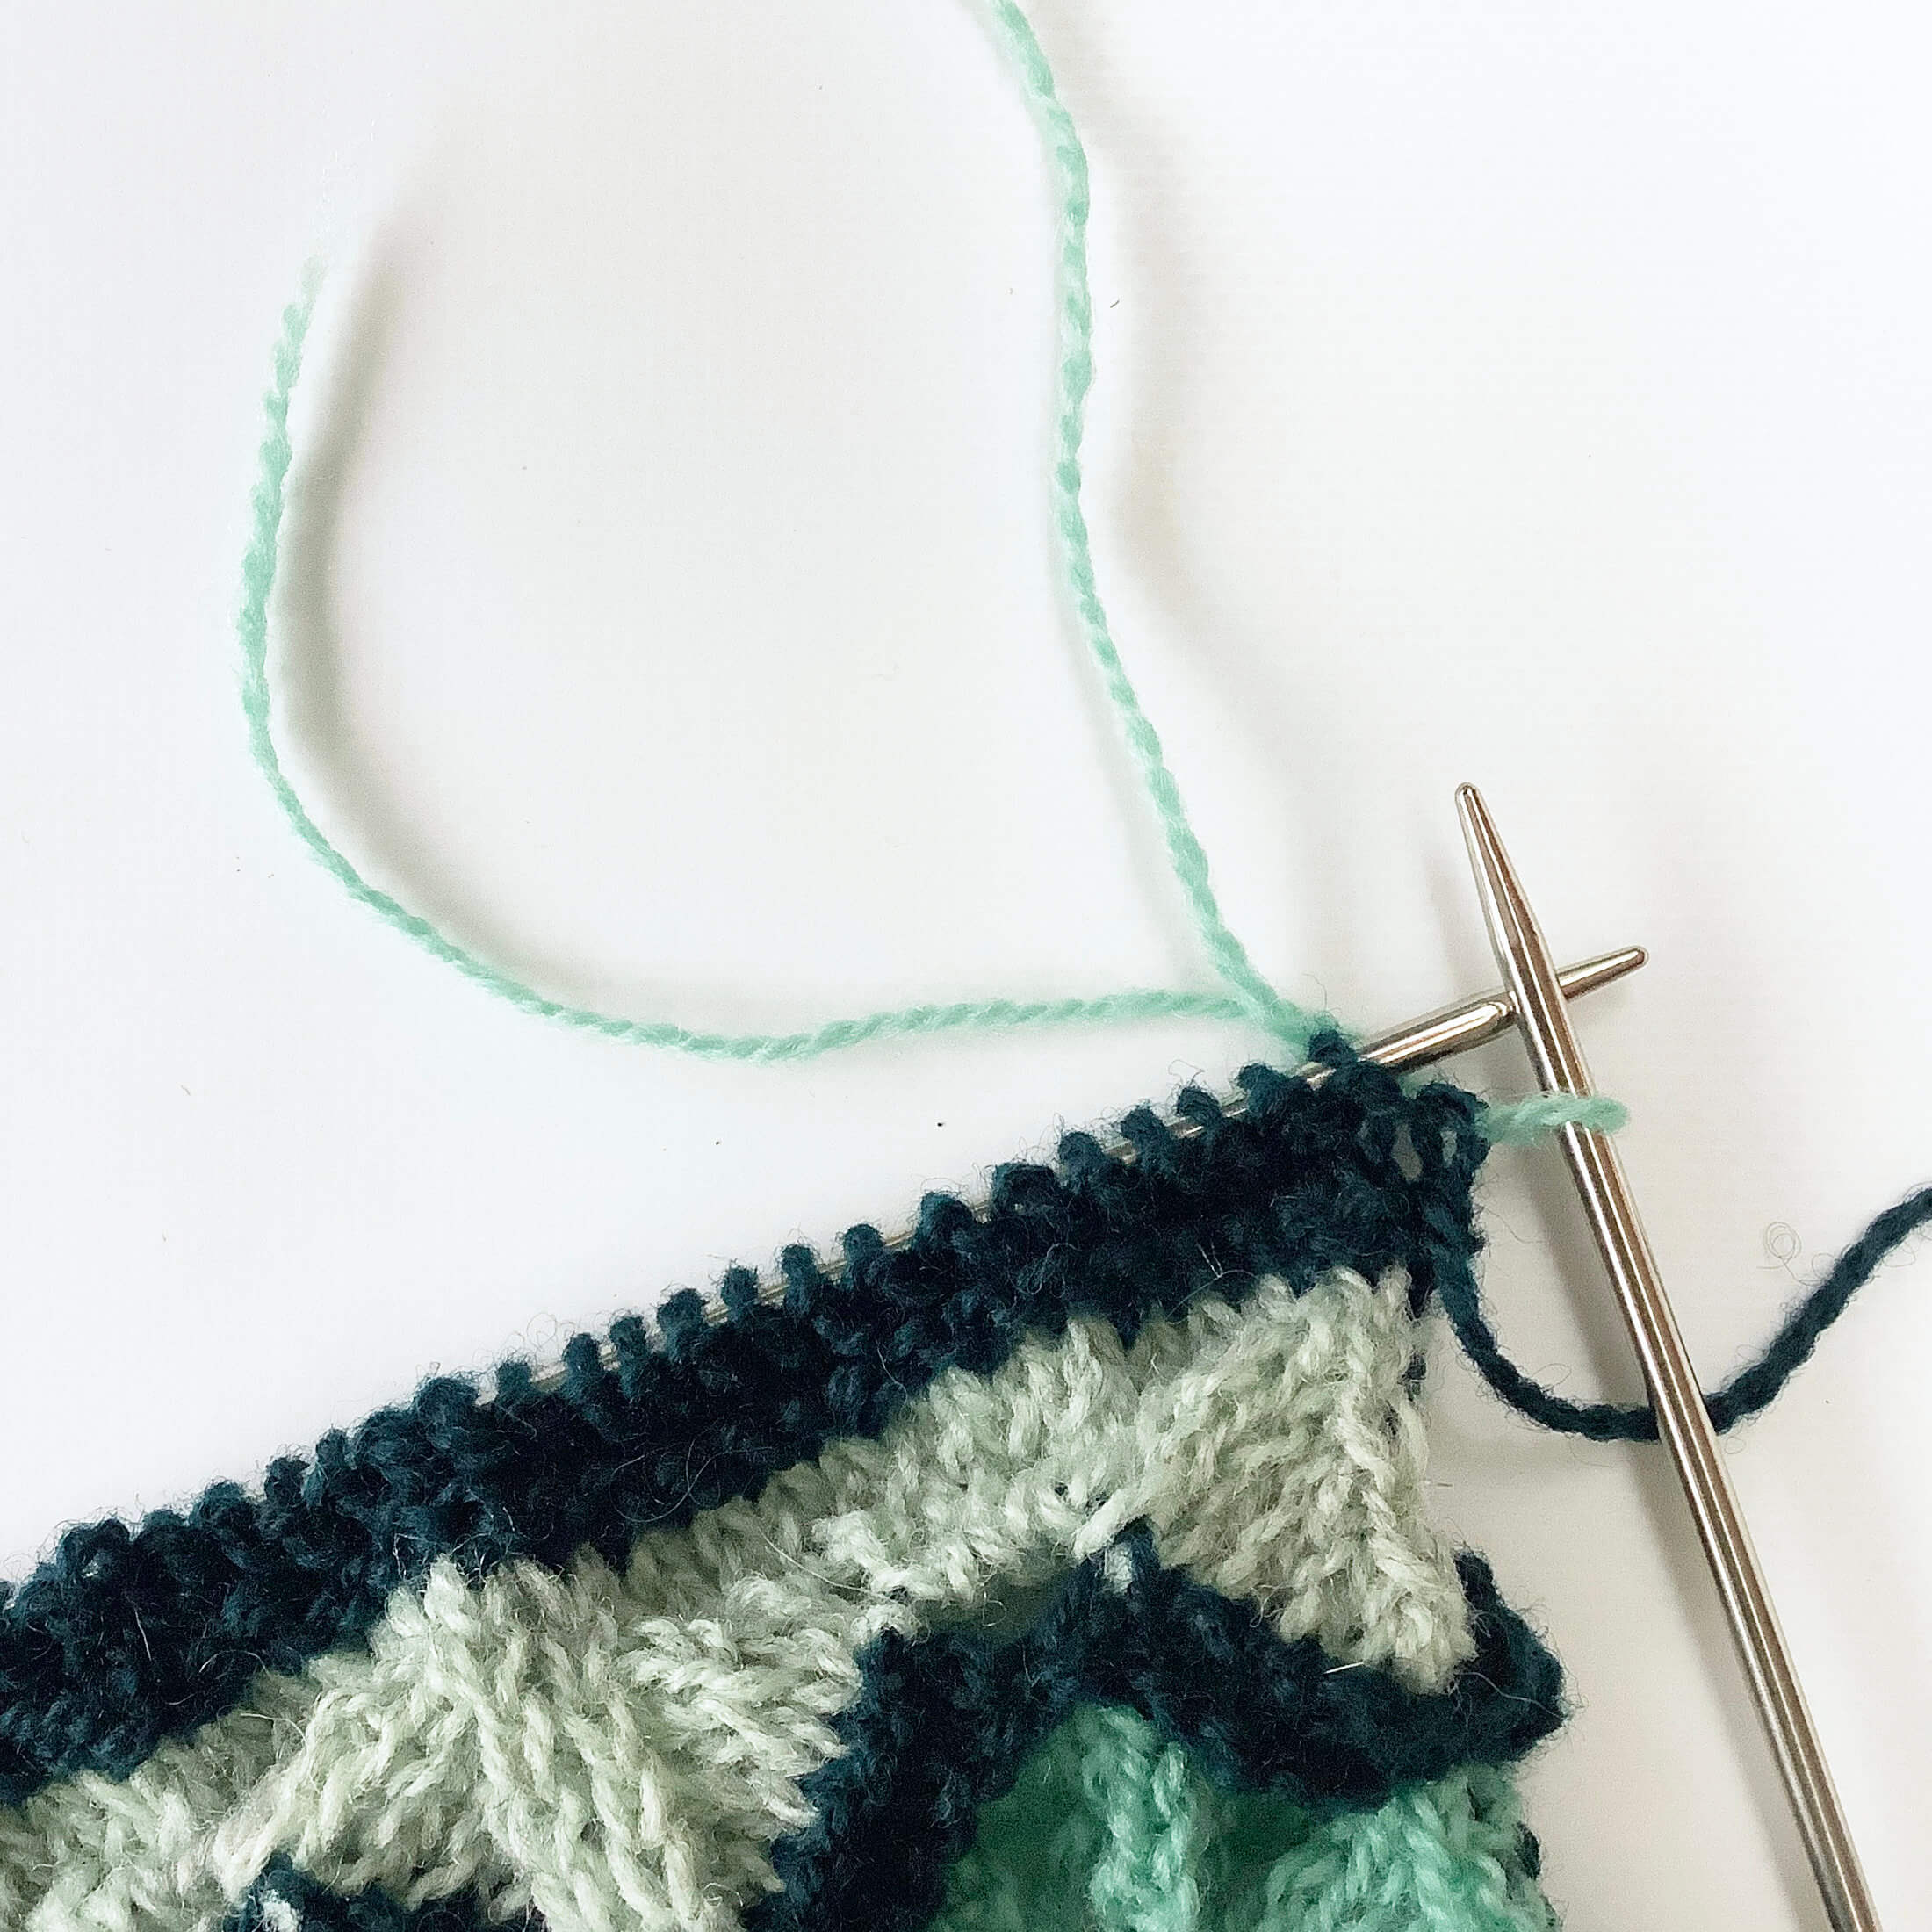
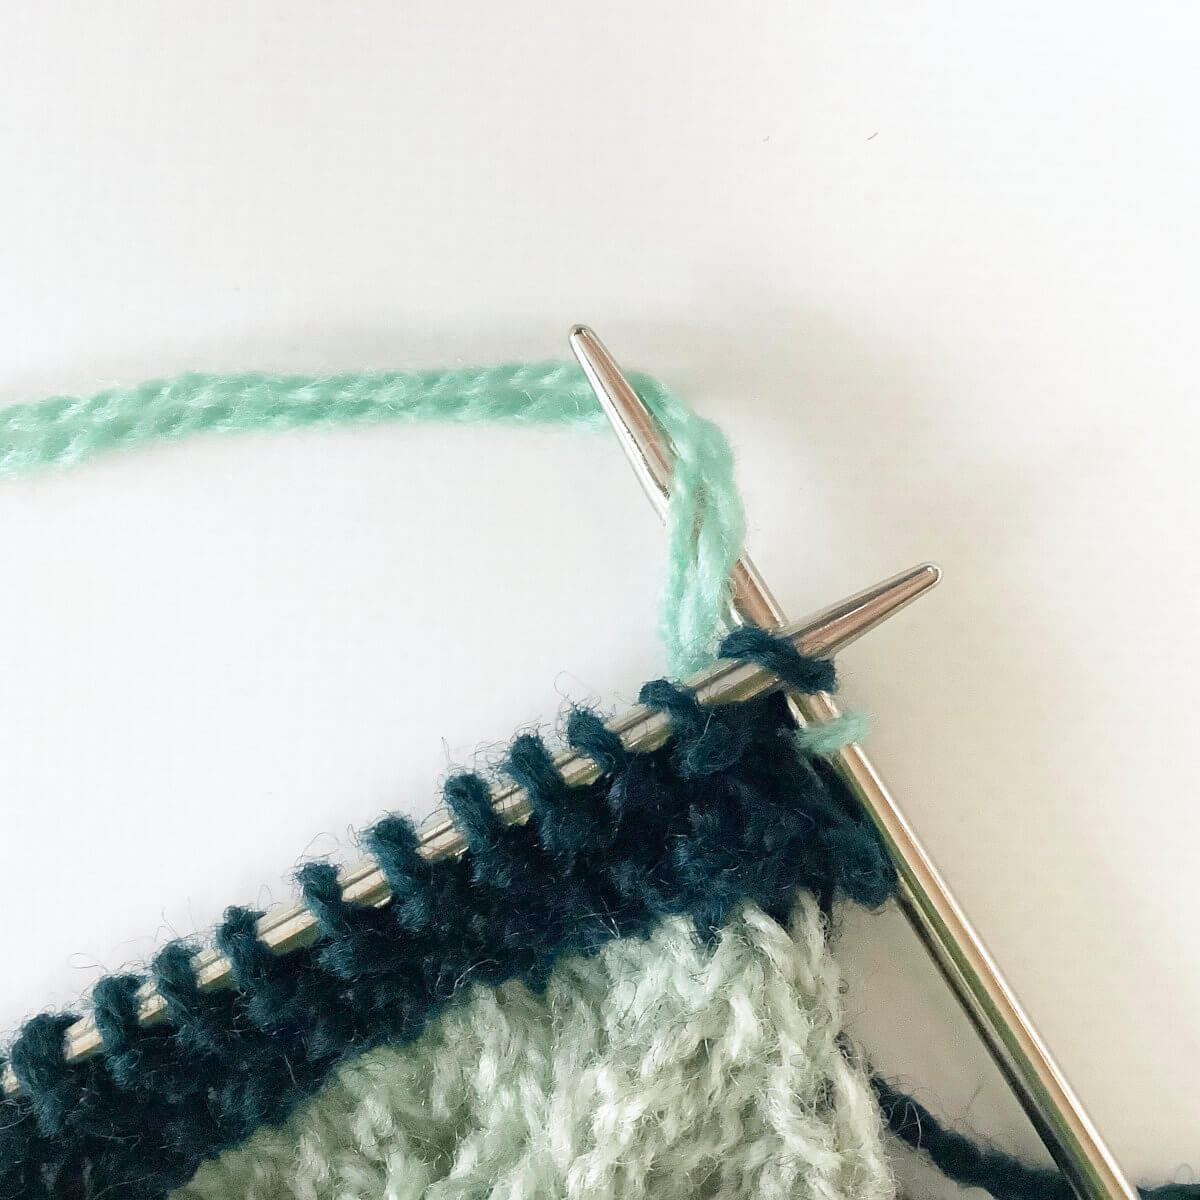
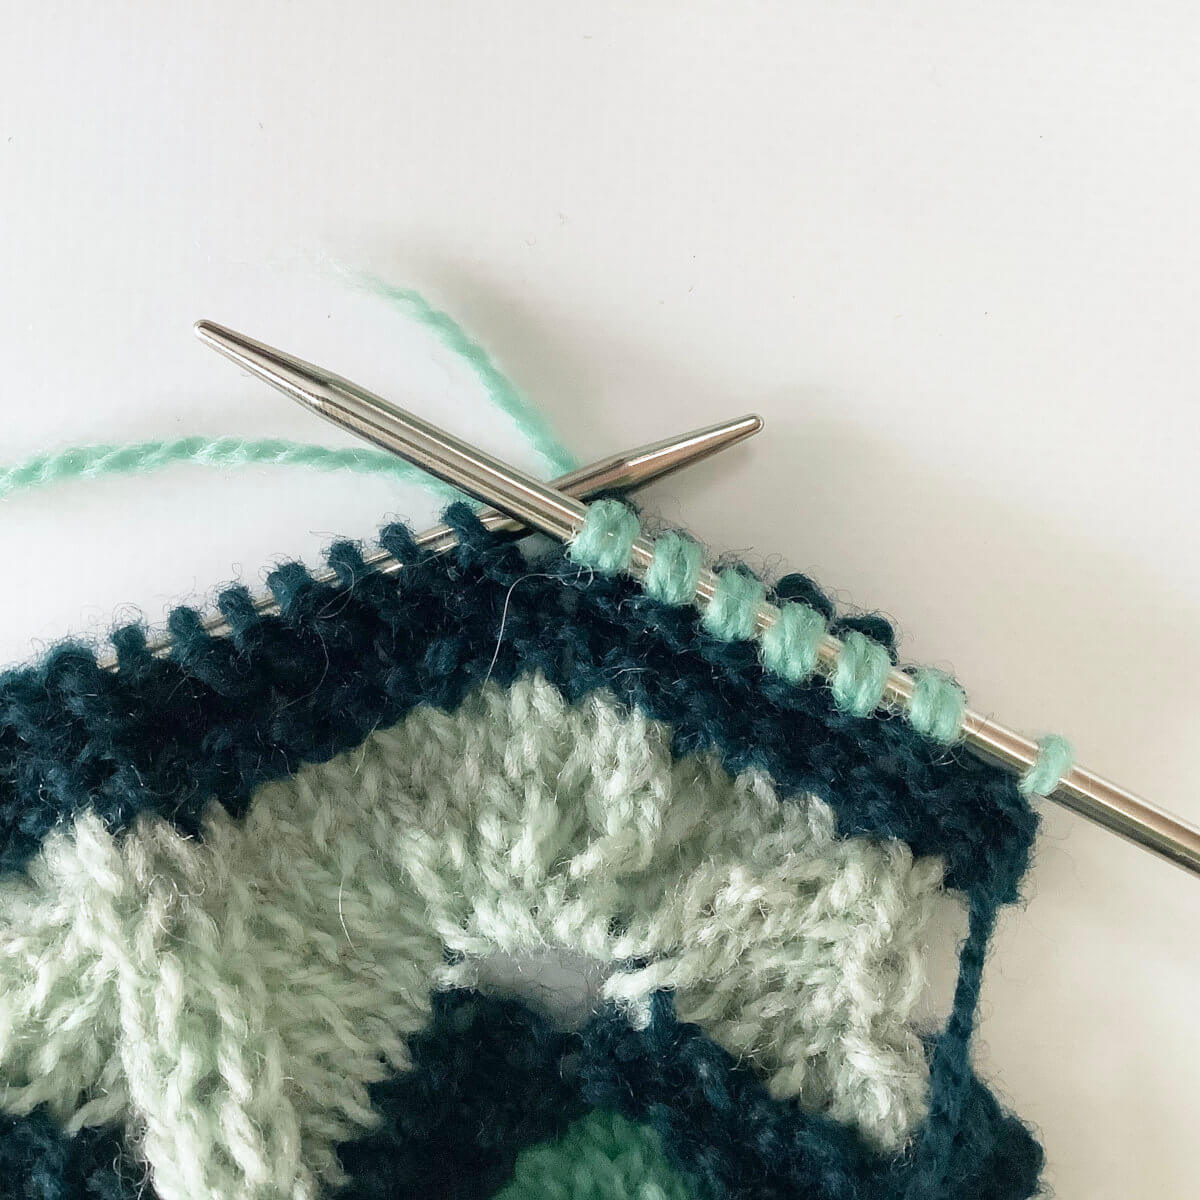
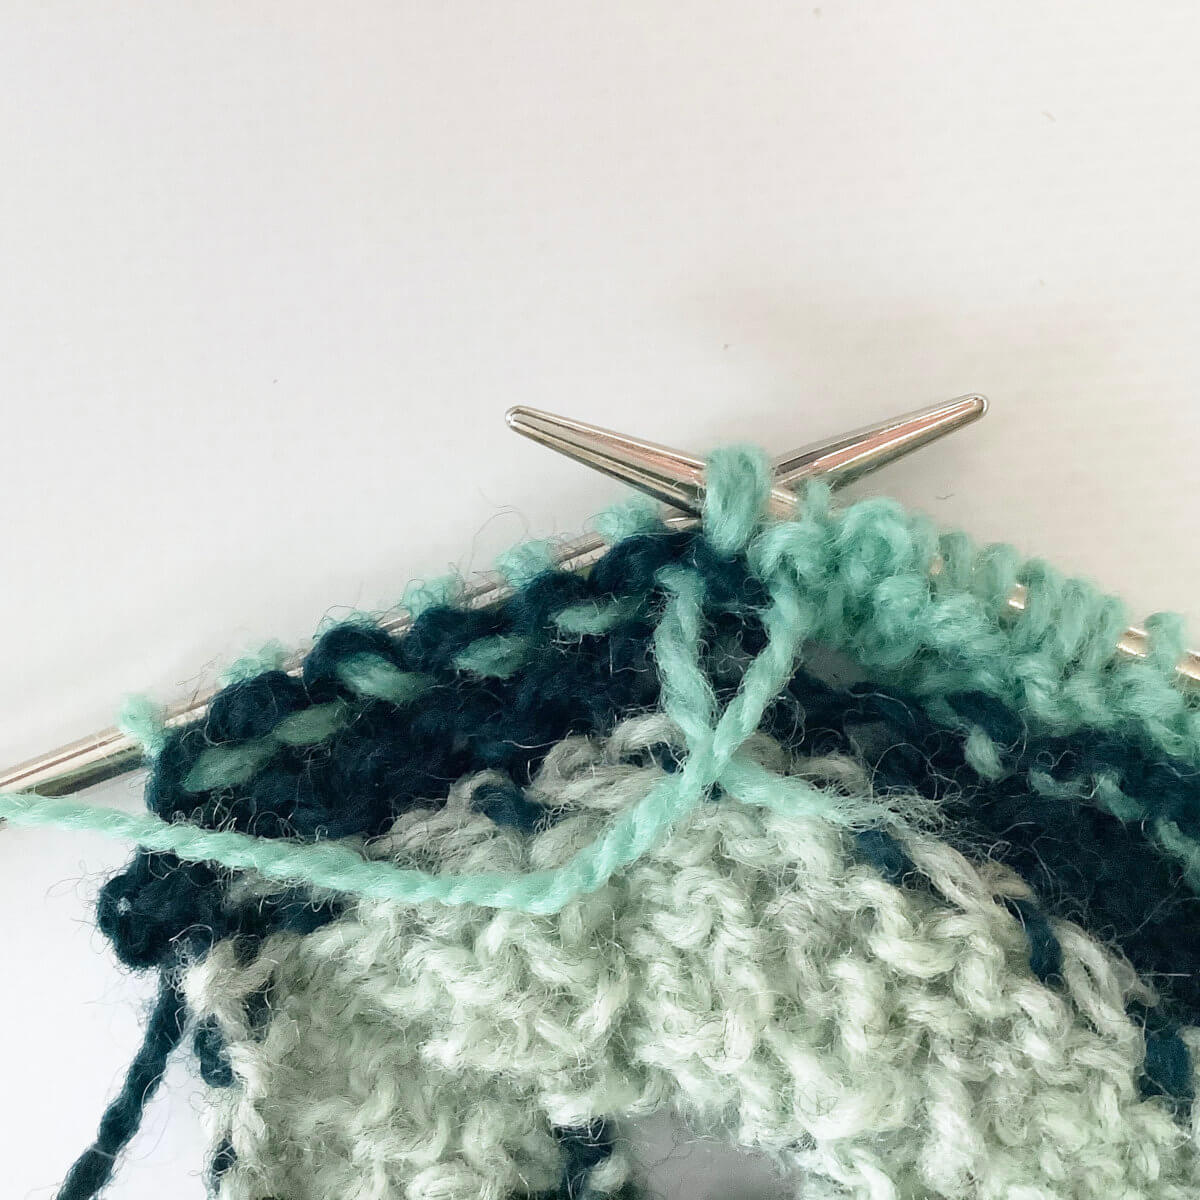
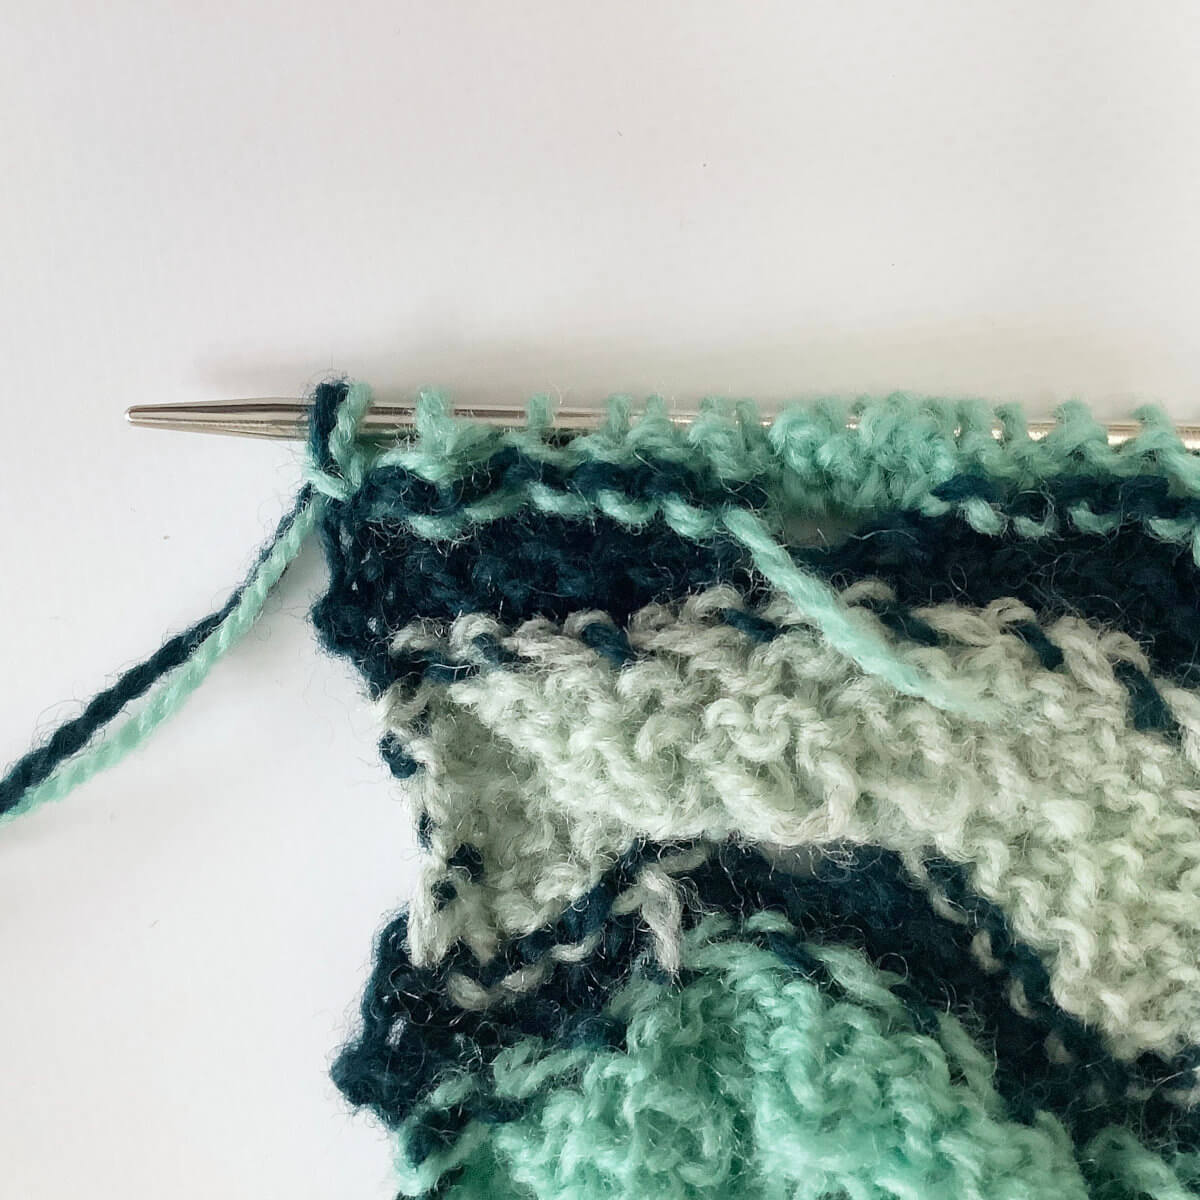
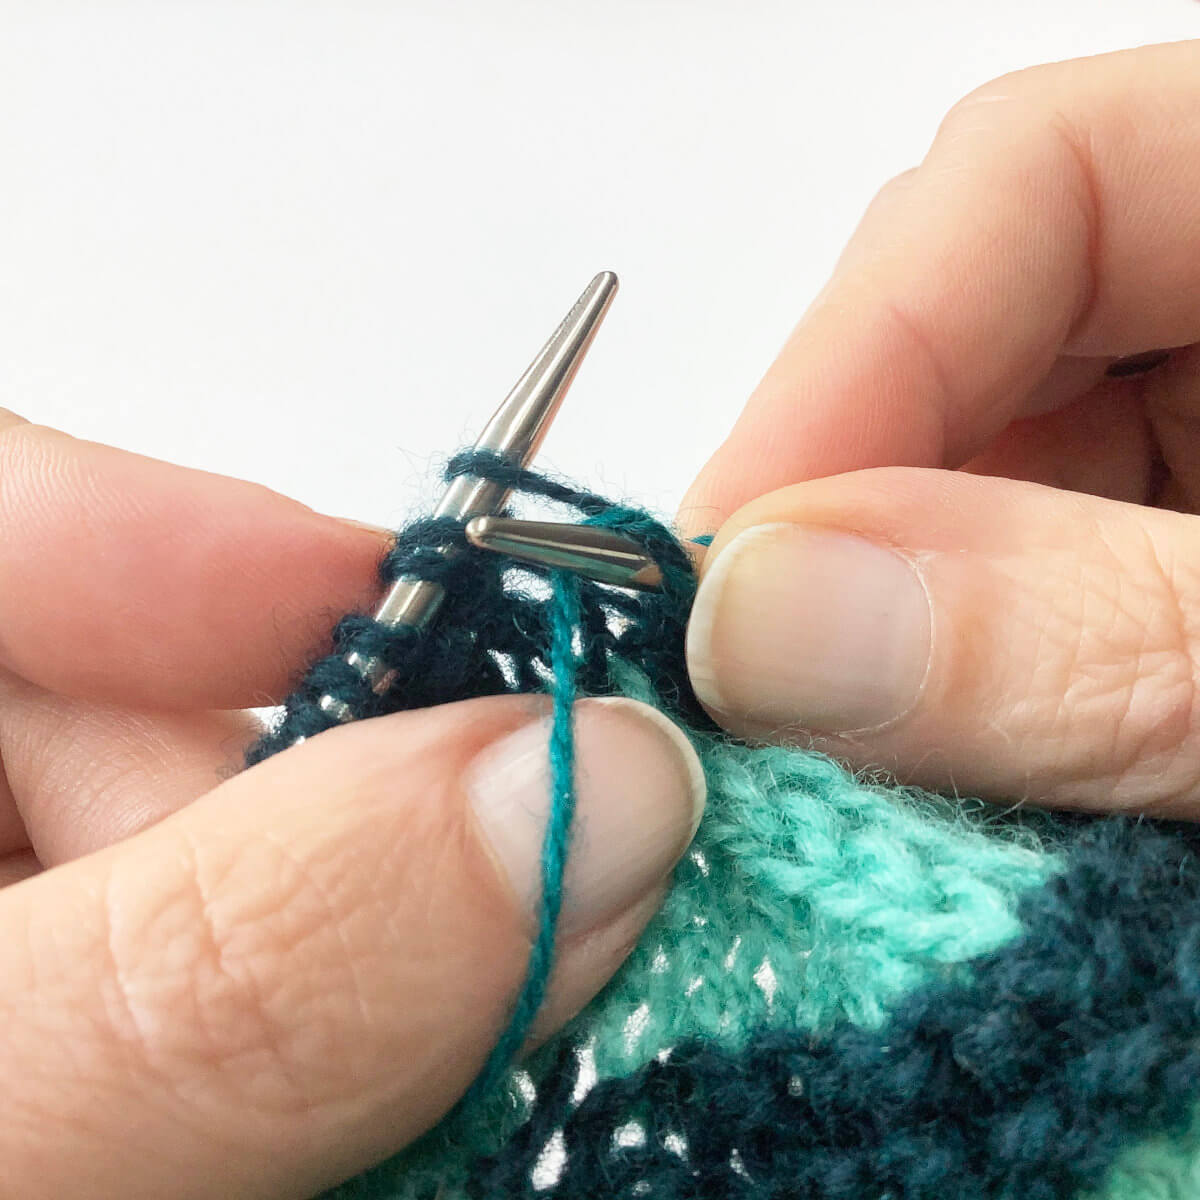
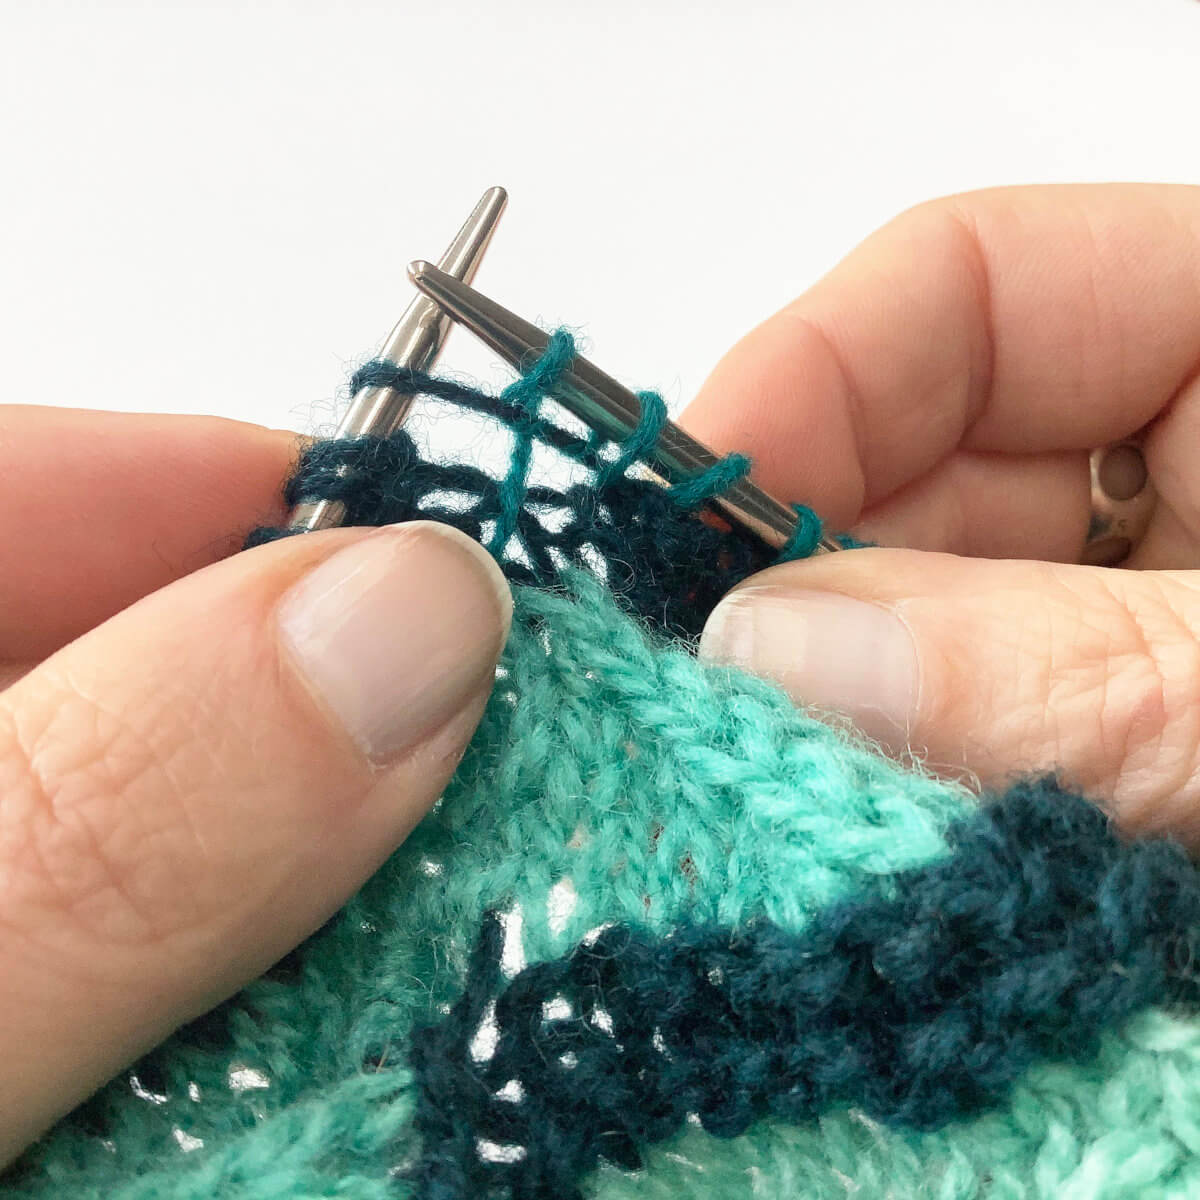
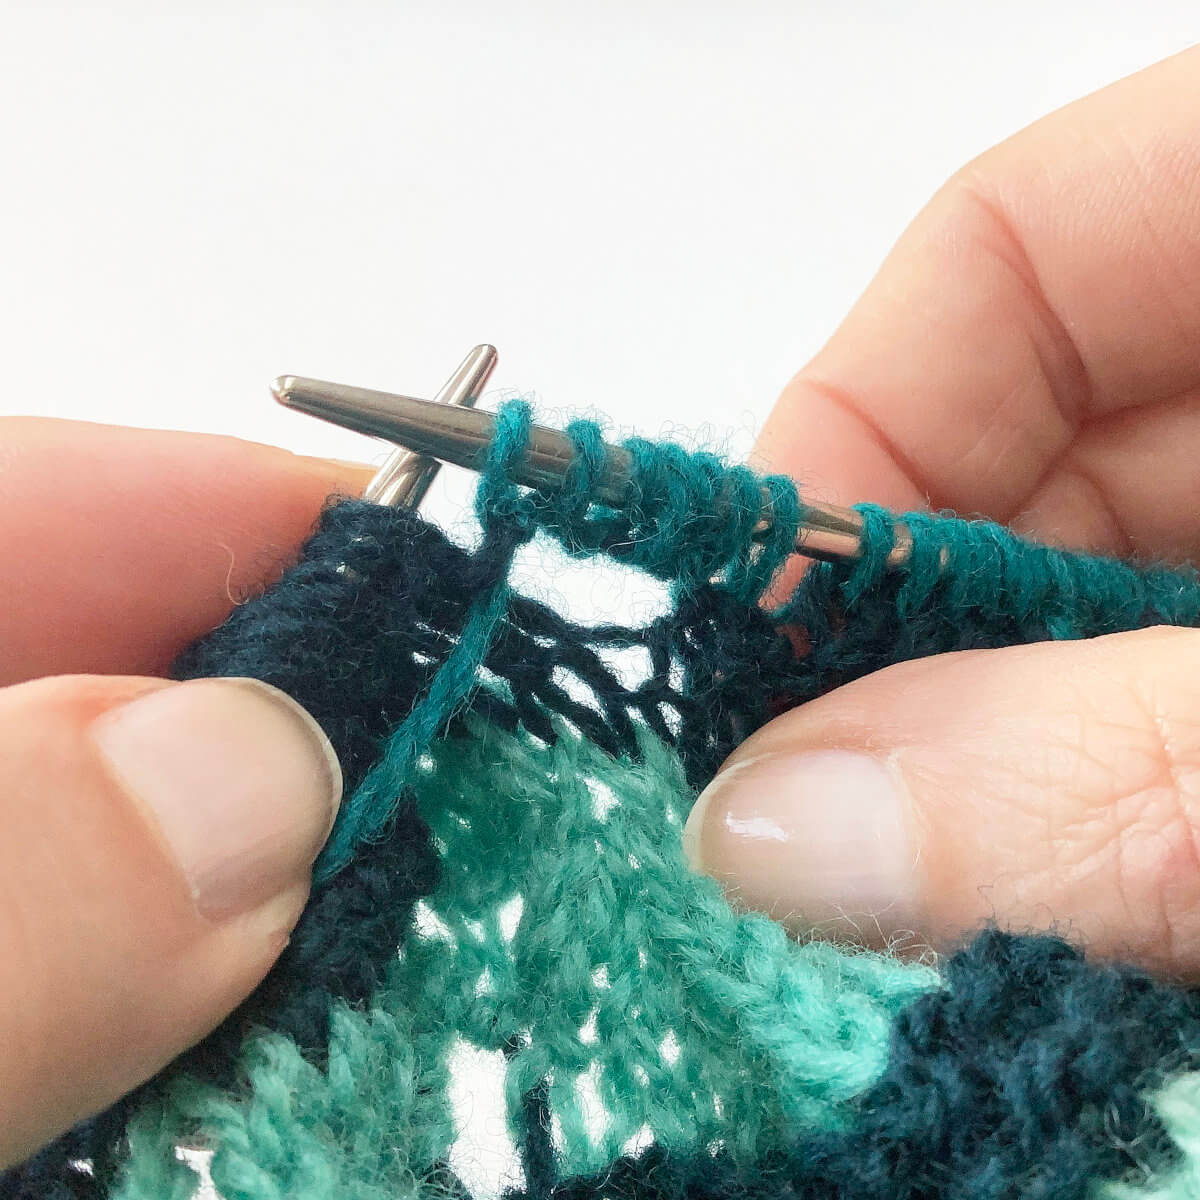
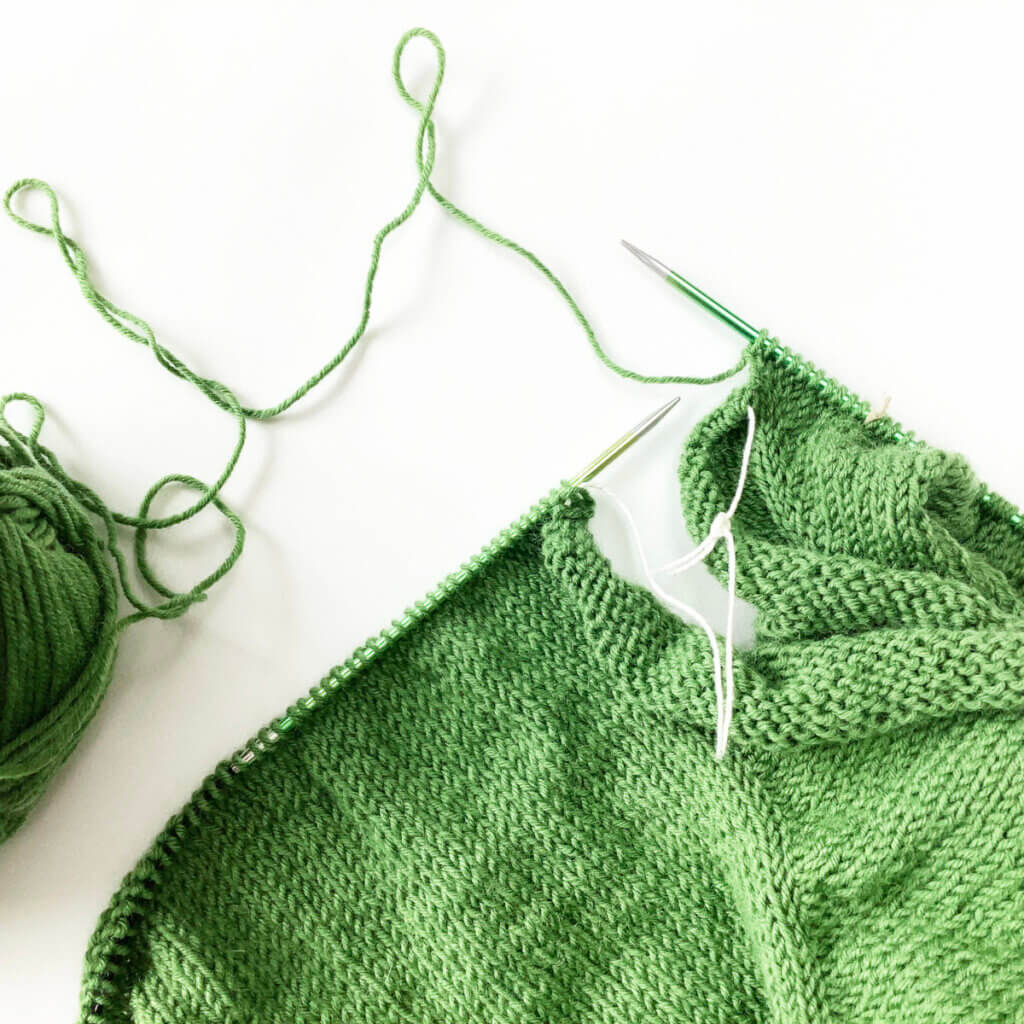
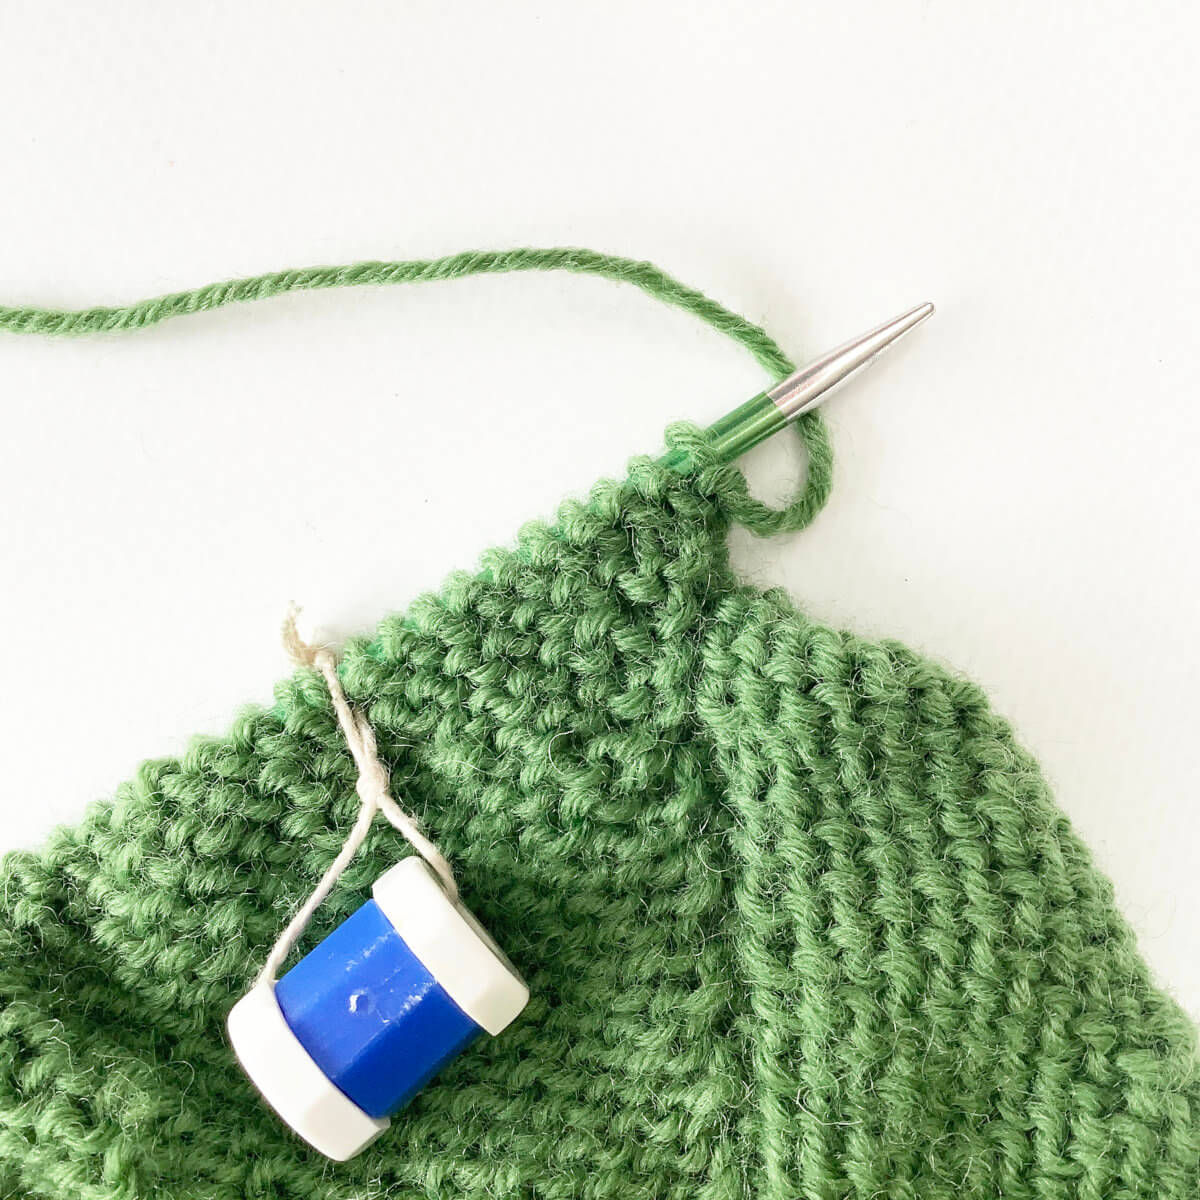
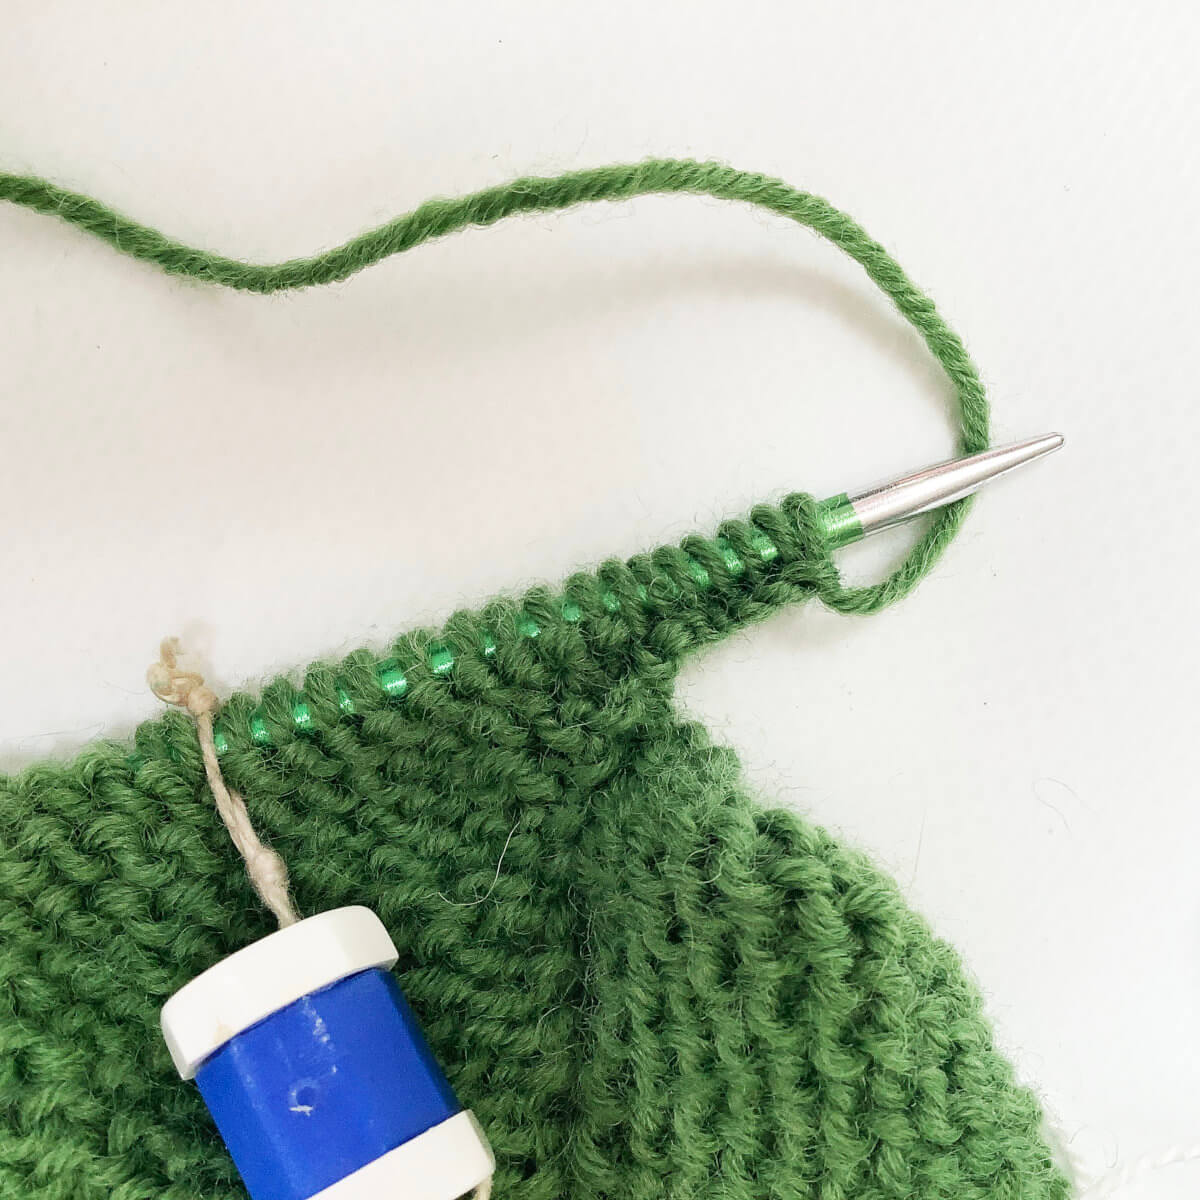
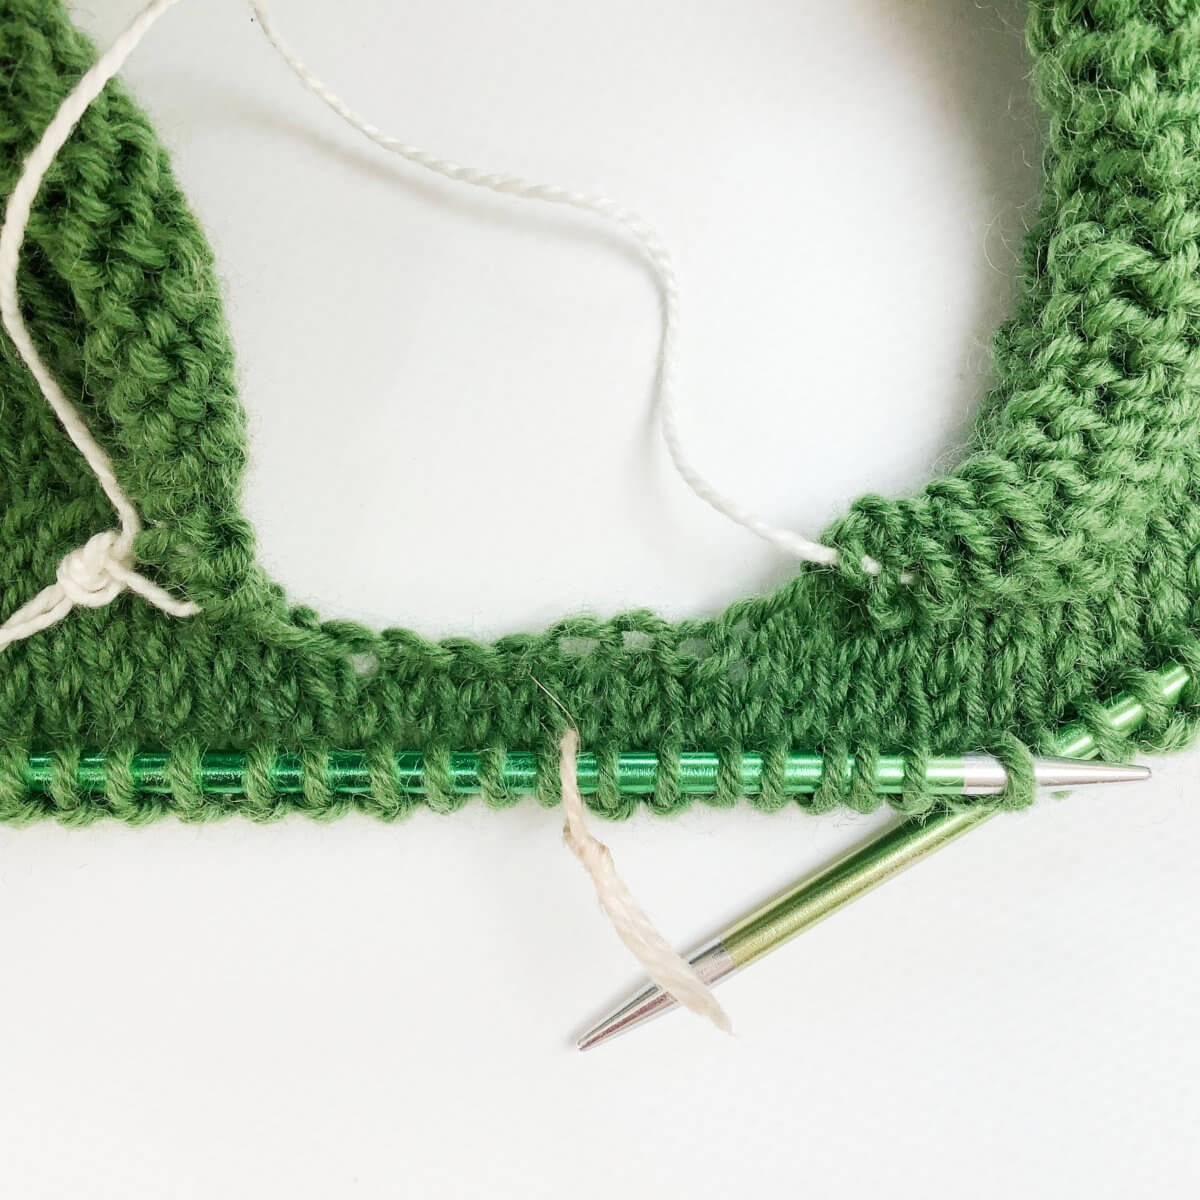
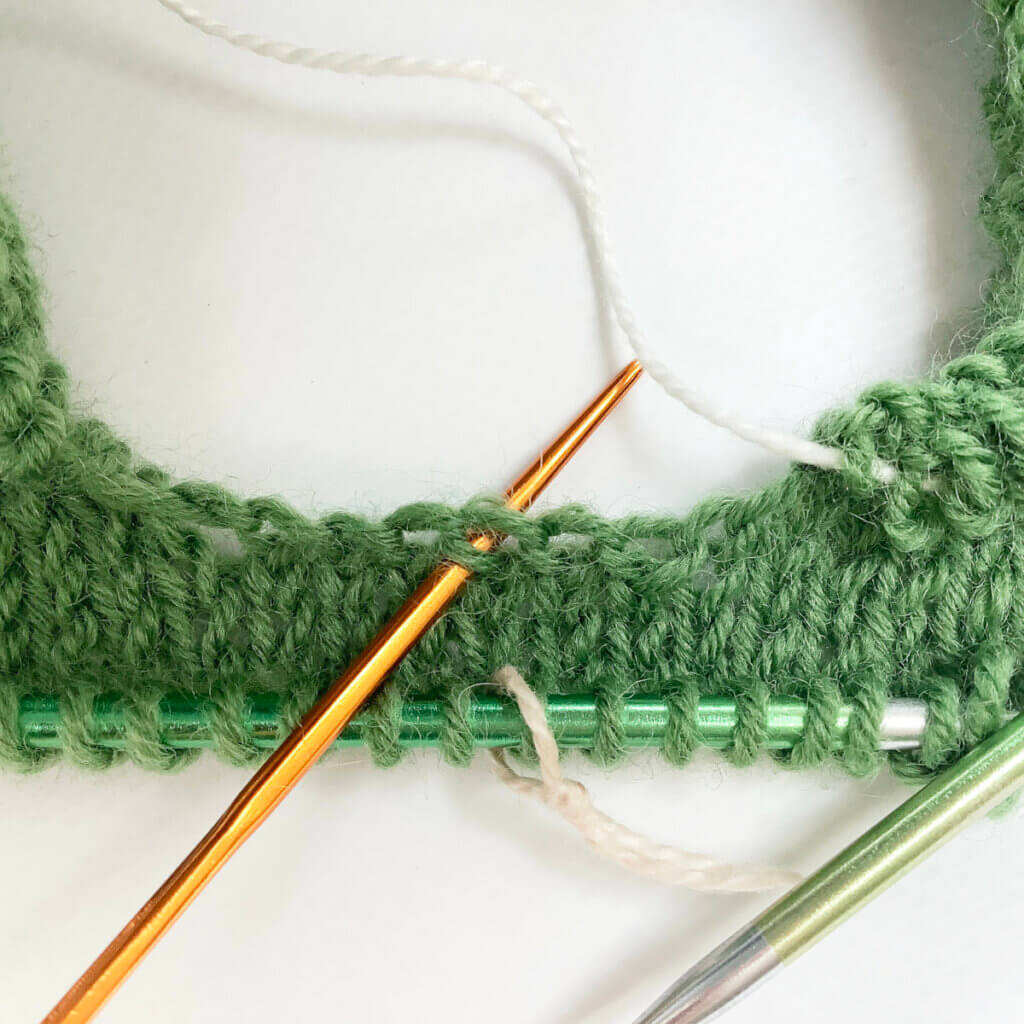
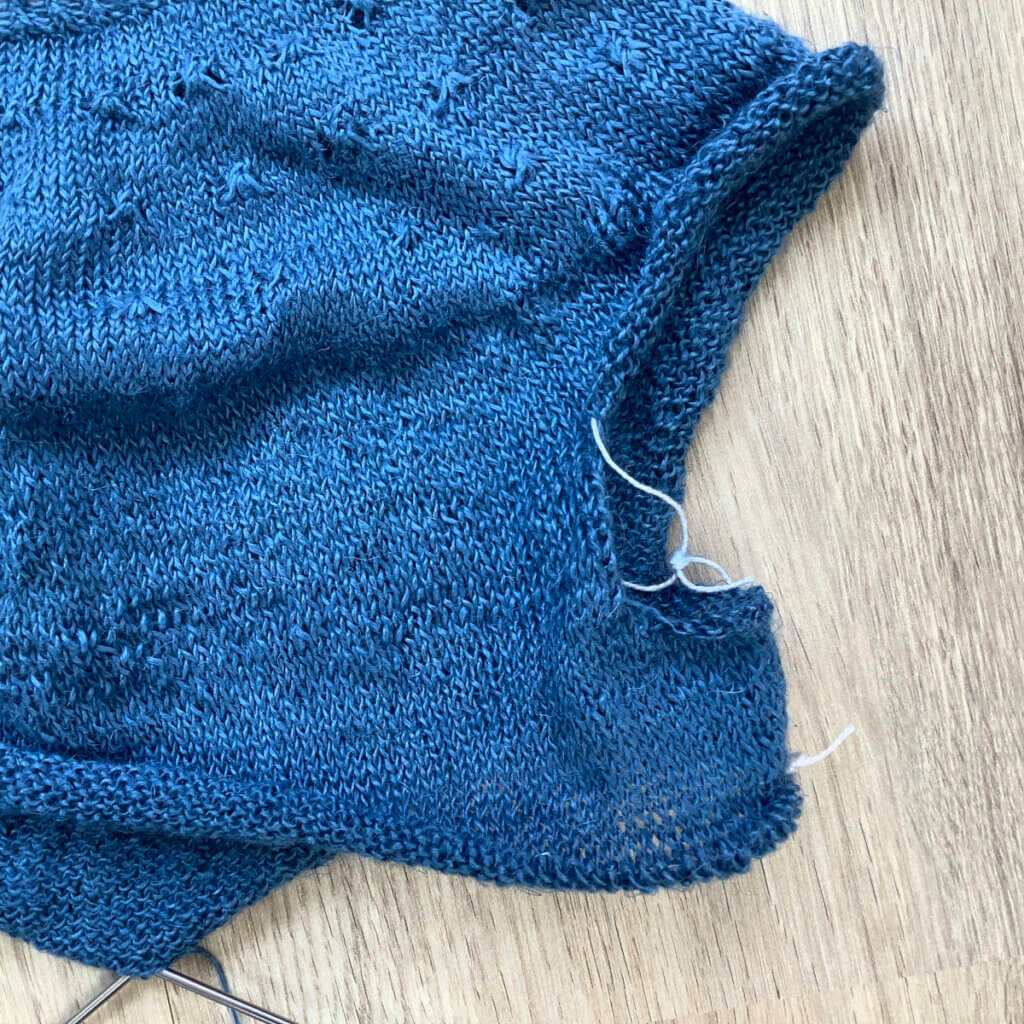
Instead, I prefer to work back and forth over the back stitches only to lengthen that part. I do this directly before dividing the stitches for the body and sleeves. Let me you show what I mean:
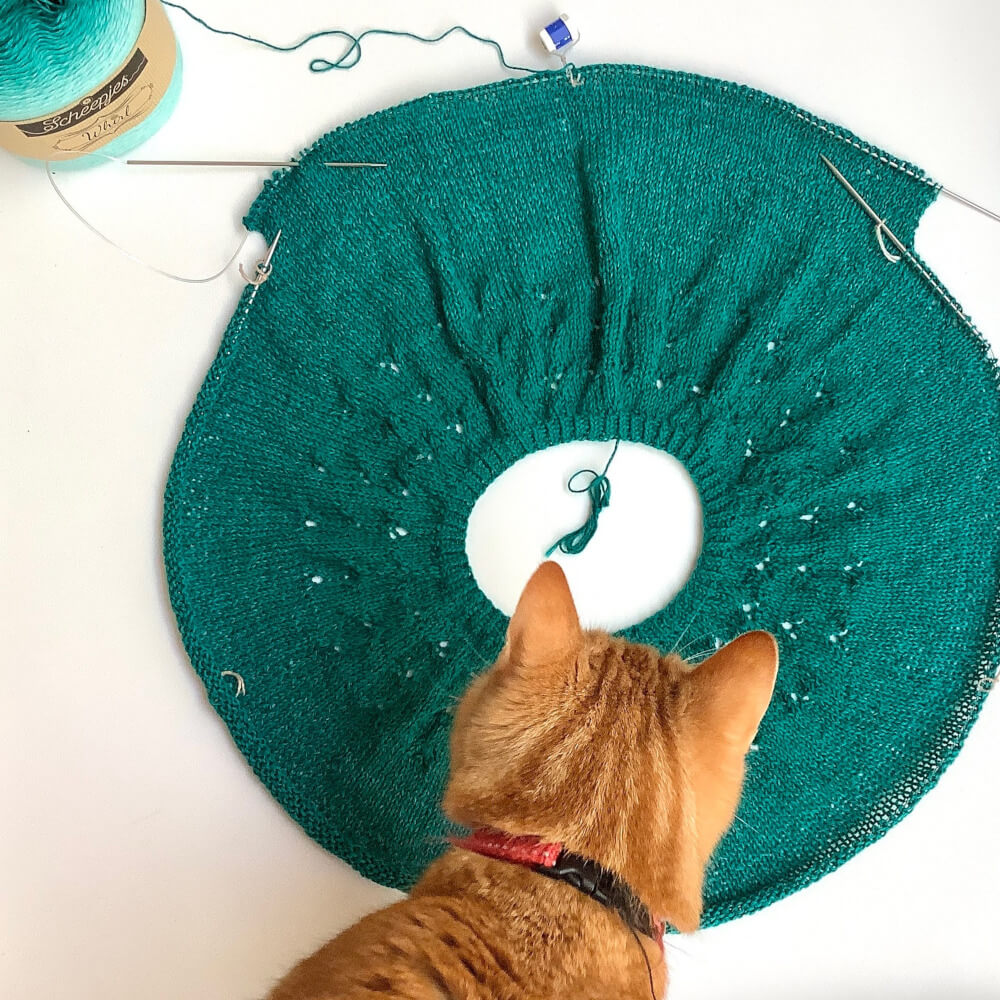
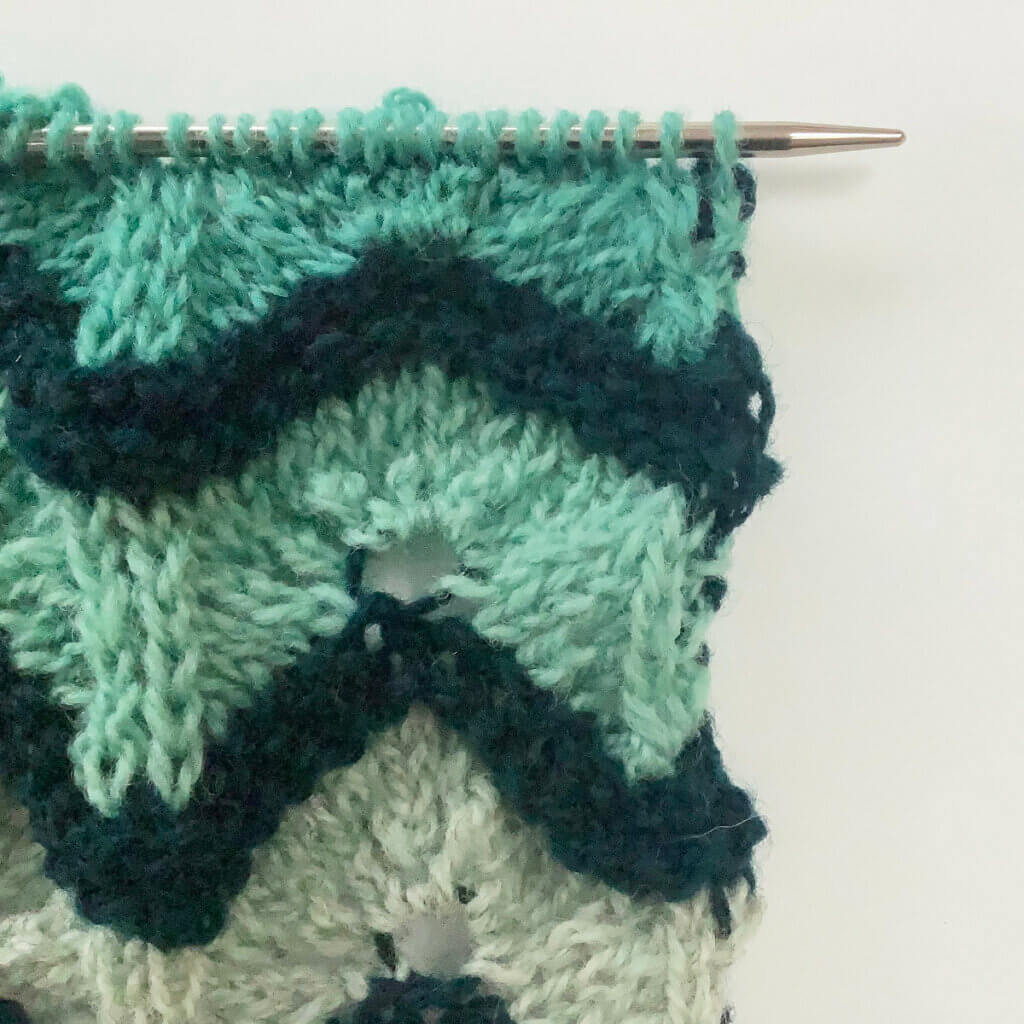
This is my Jade Clover design when it was still in progress. This is a really easy way to raise the back neck, because no short row calculations are needed. Just look up in the pattern how many stitches you have for the back of your garment. Next, work those back and forth for a bit. This is a very easy way to include back neck shaping in patterns that don’t have it. Or, to raise it a bit further than the pattern describes. I know I have done so occasionally. For example, when only a few short rows were included, and the sweater still looked a bit choky on the models.
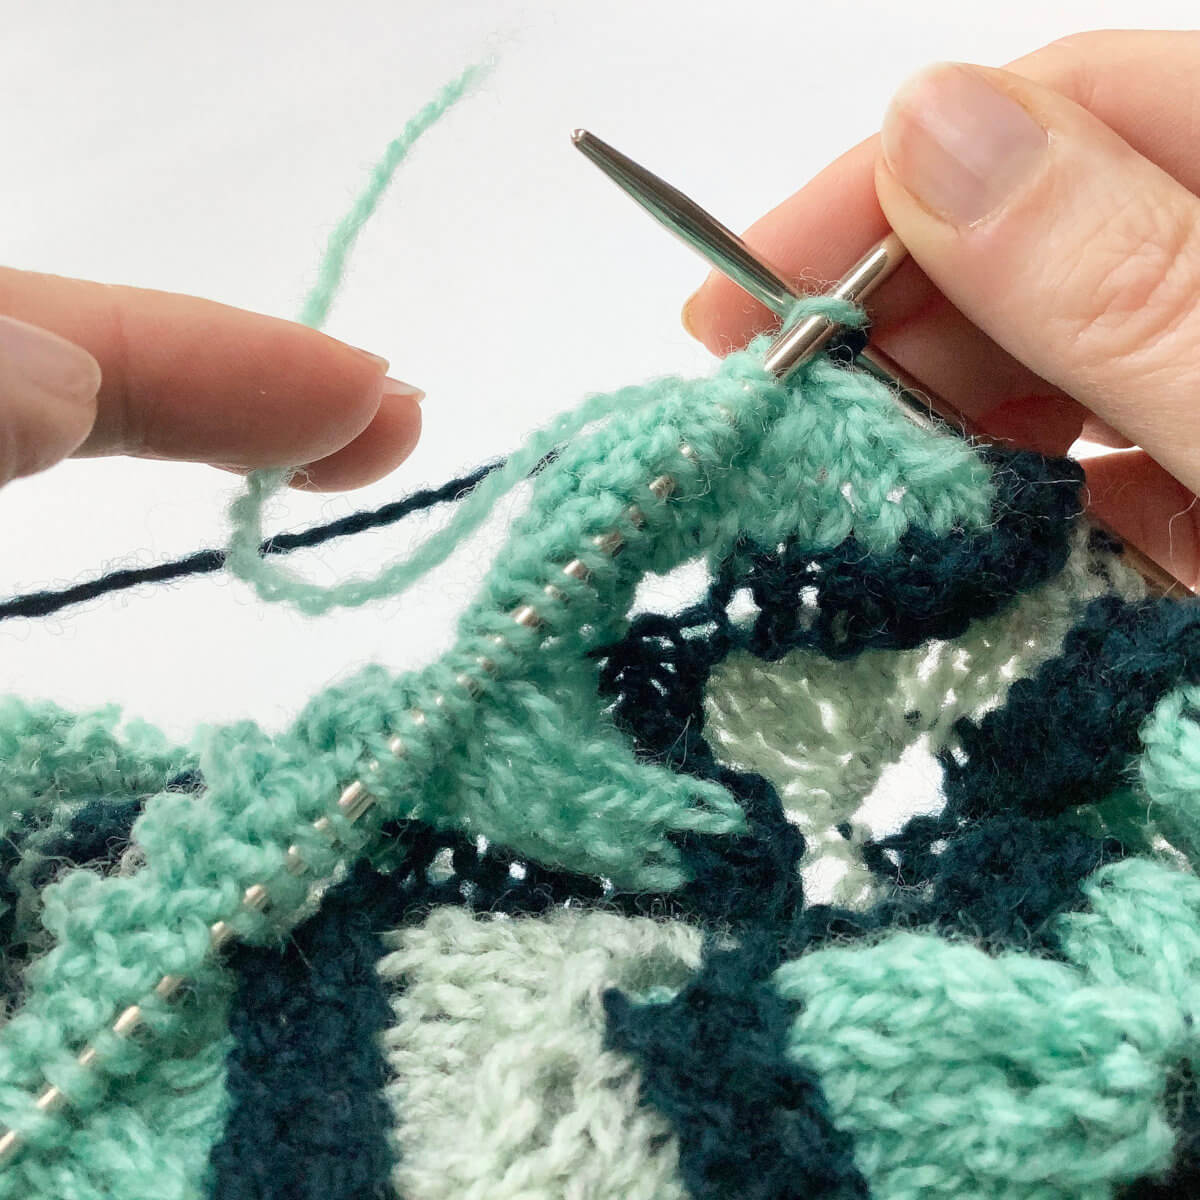
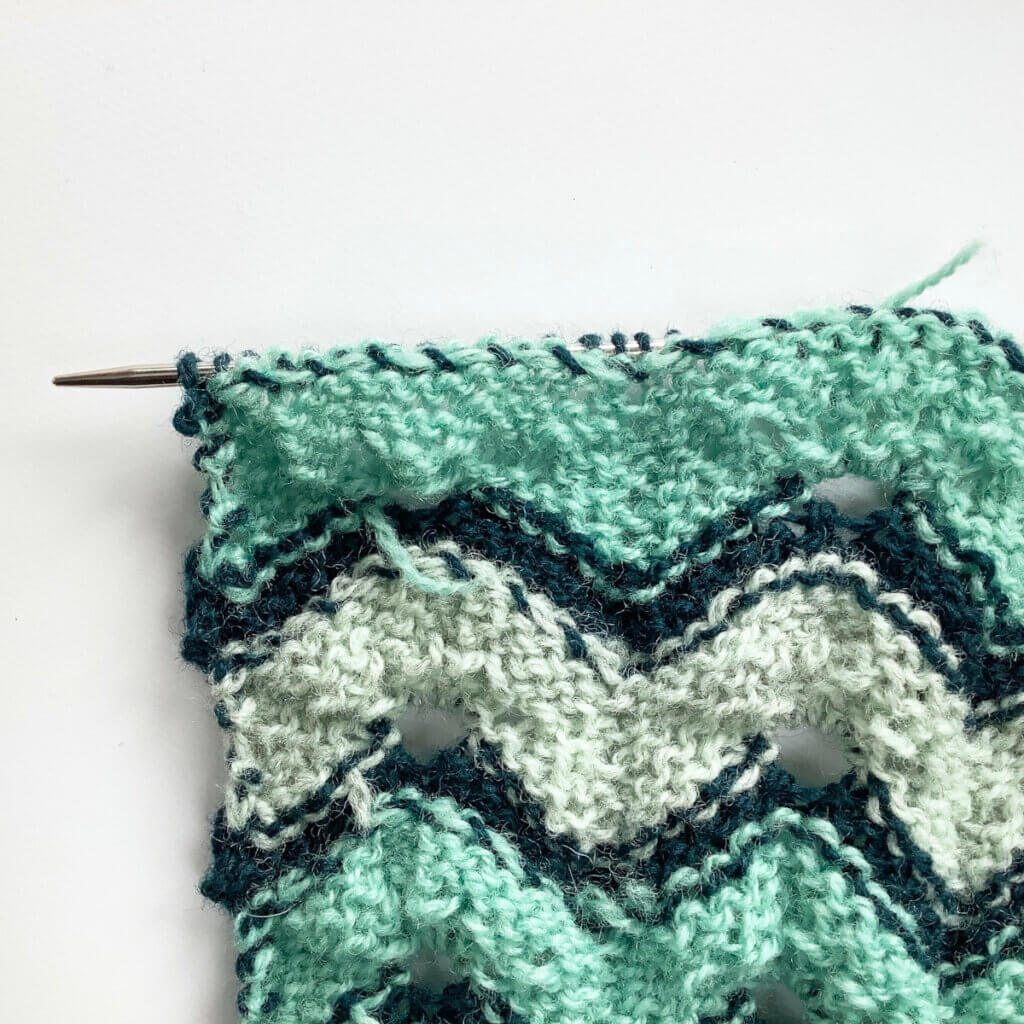
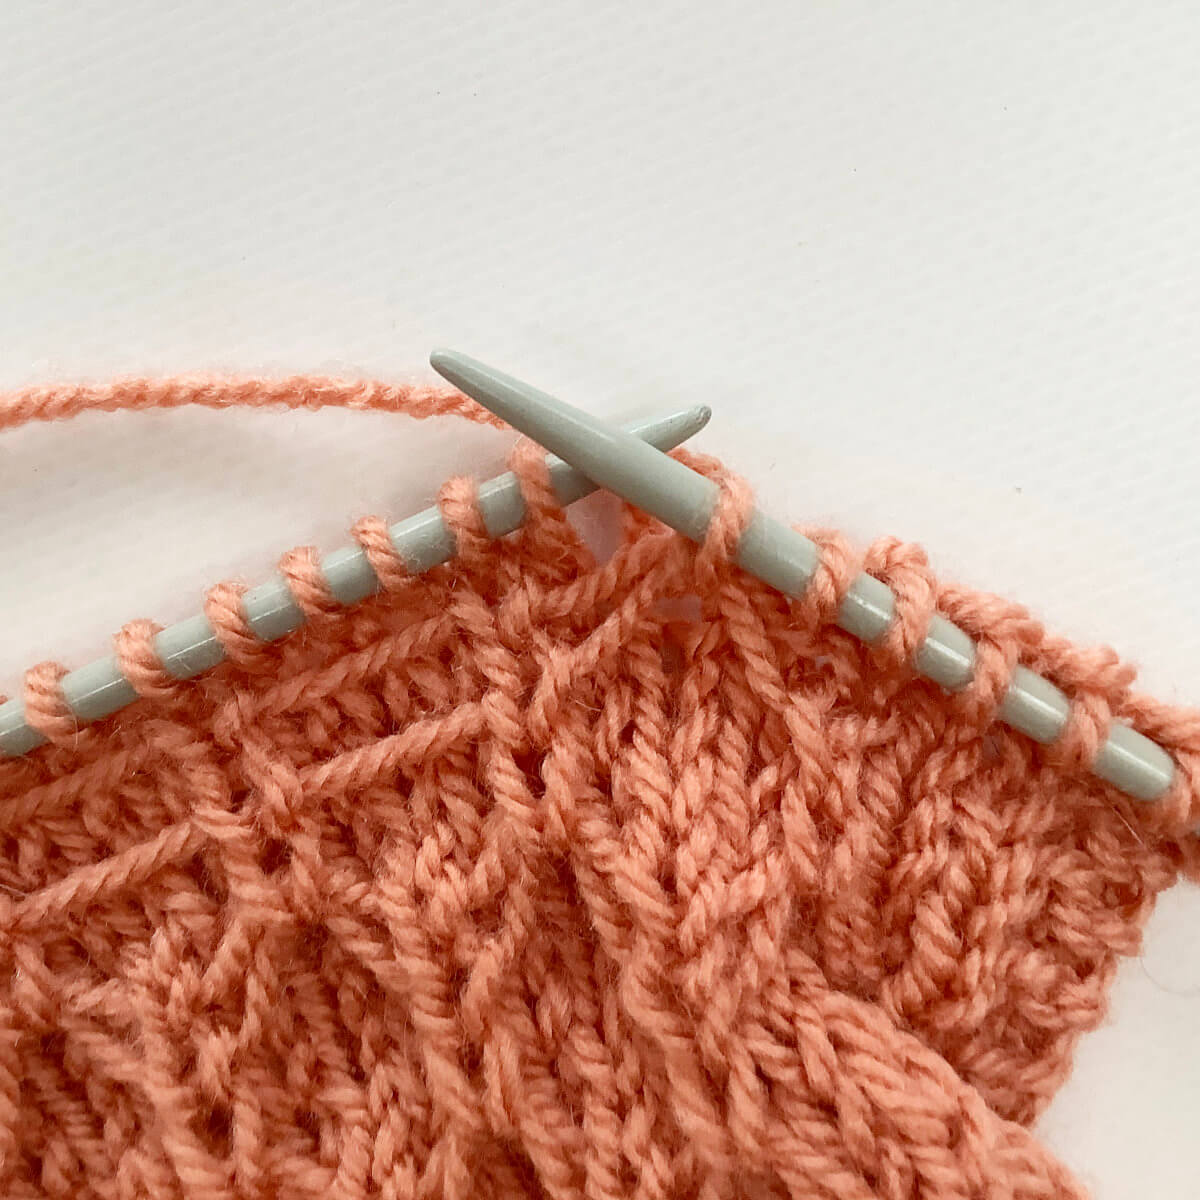
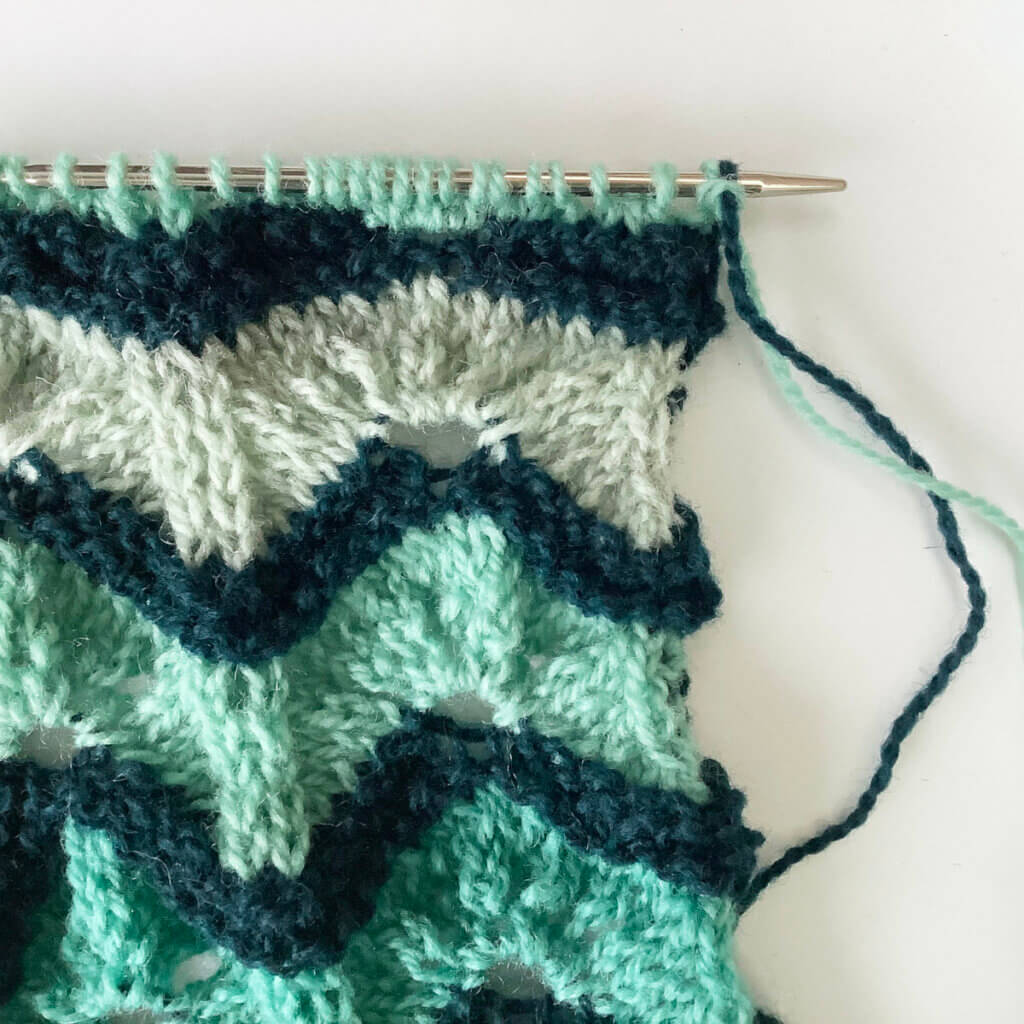
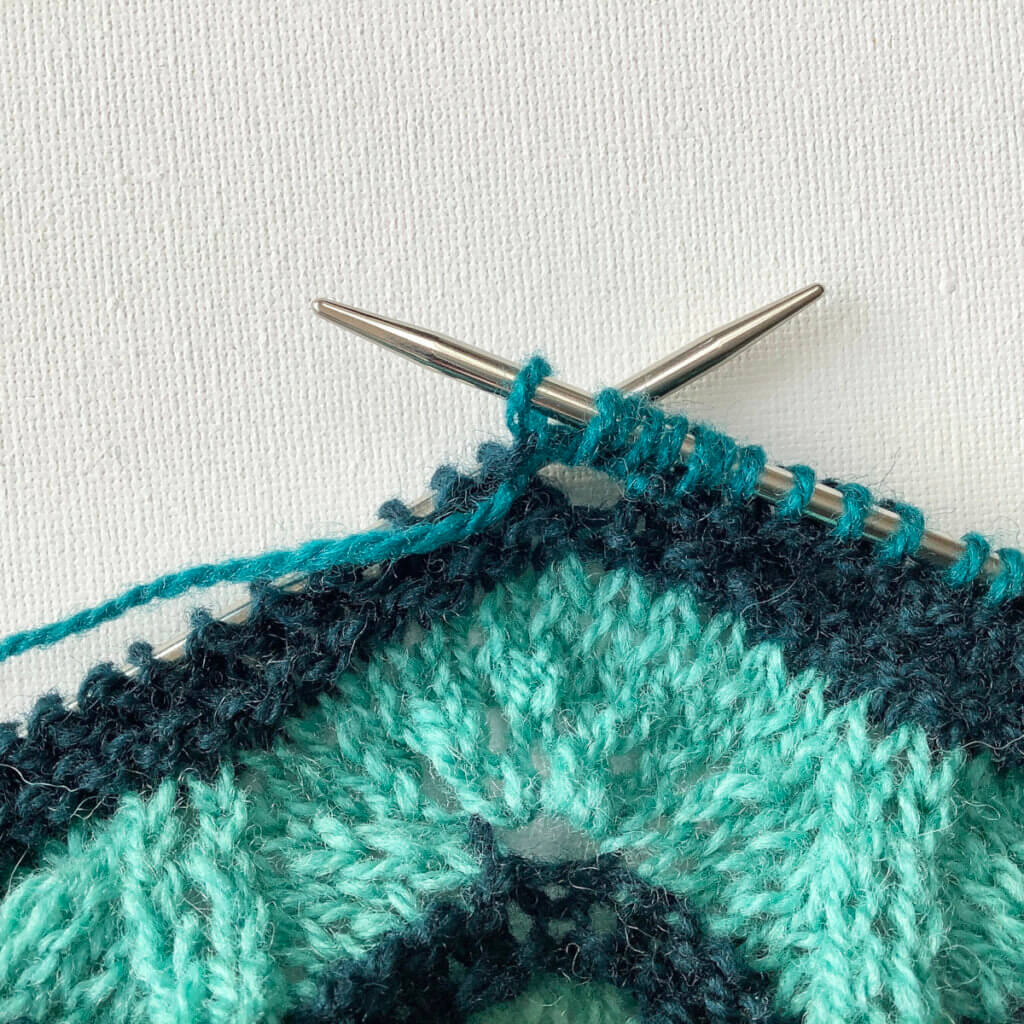
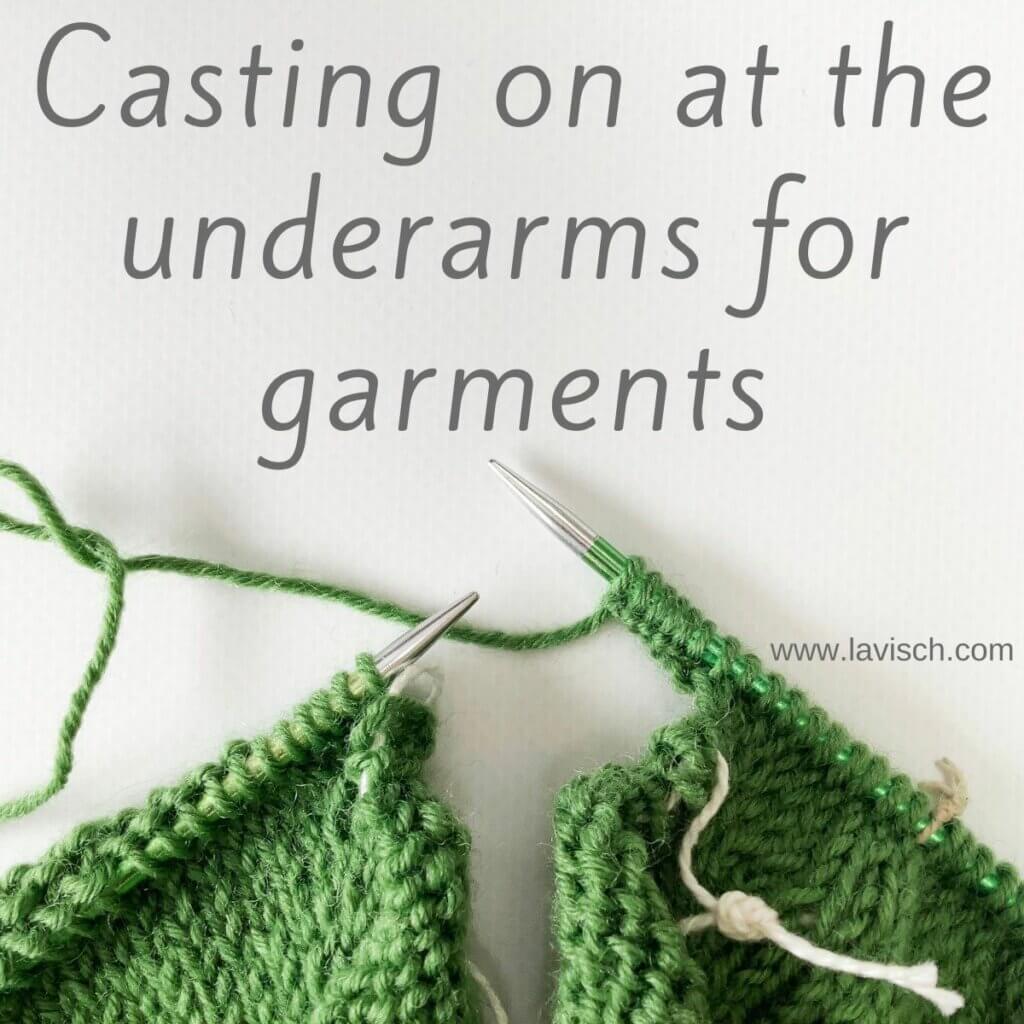
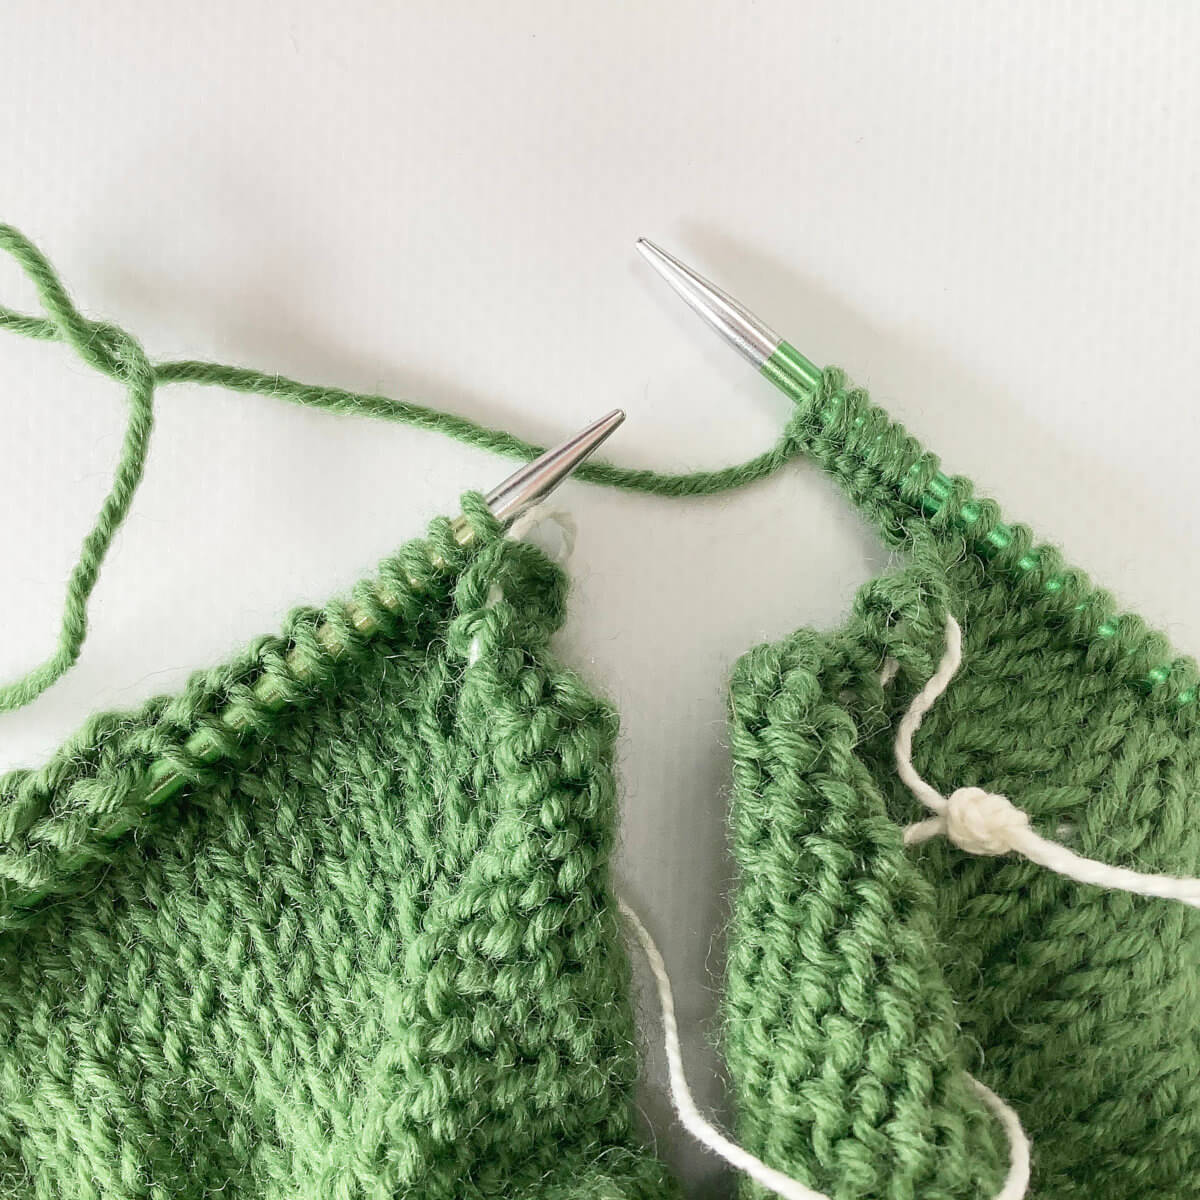
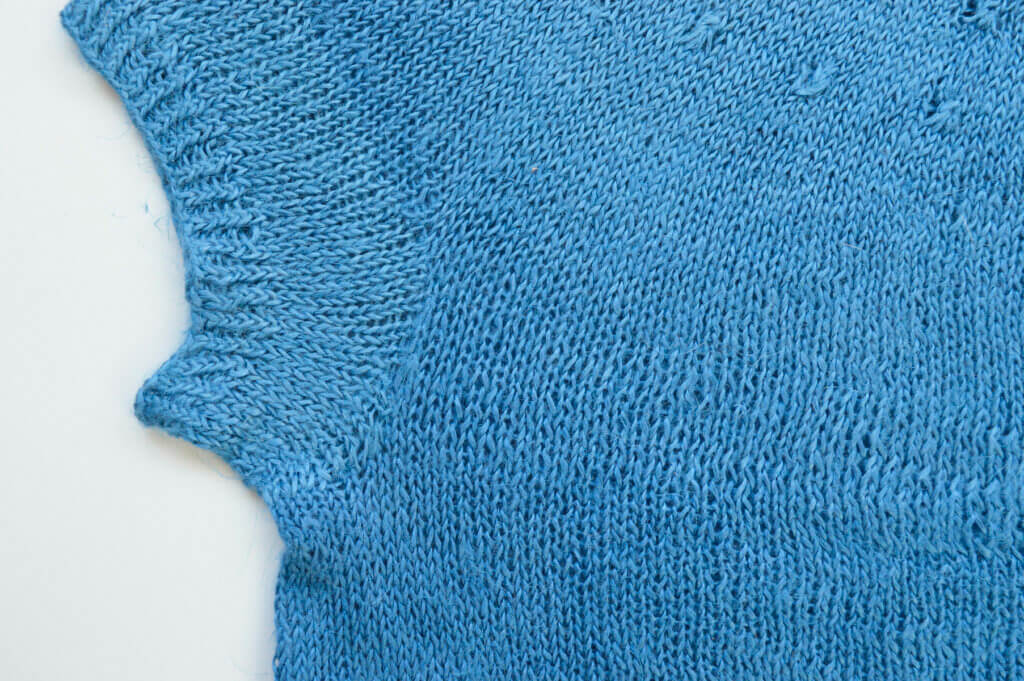
Below is my Shoreham-by-Sea tee pictured. You can see how that bit of knitting looks after the stitches are divided and a bit of the body has been worked.
What about the sleeves?
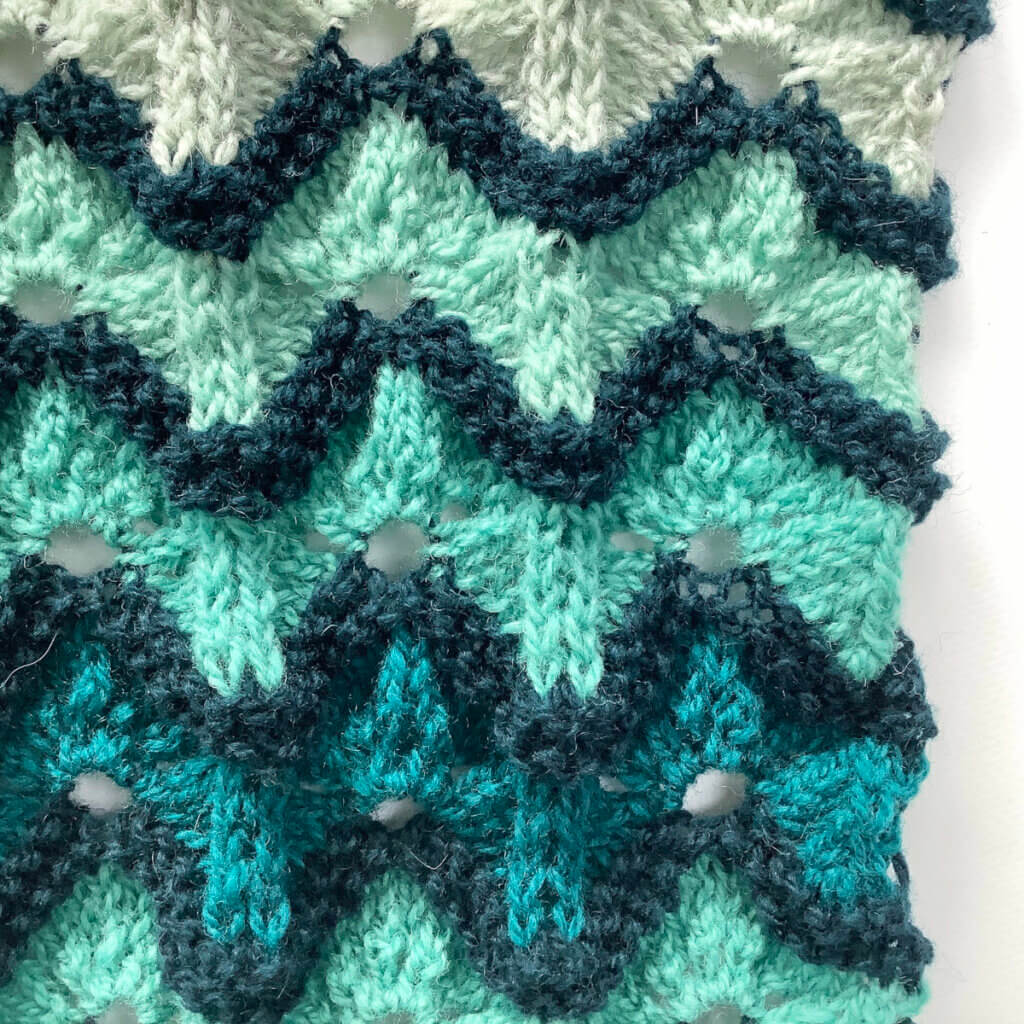
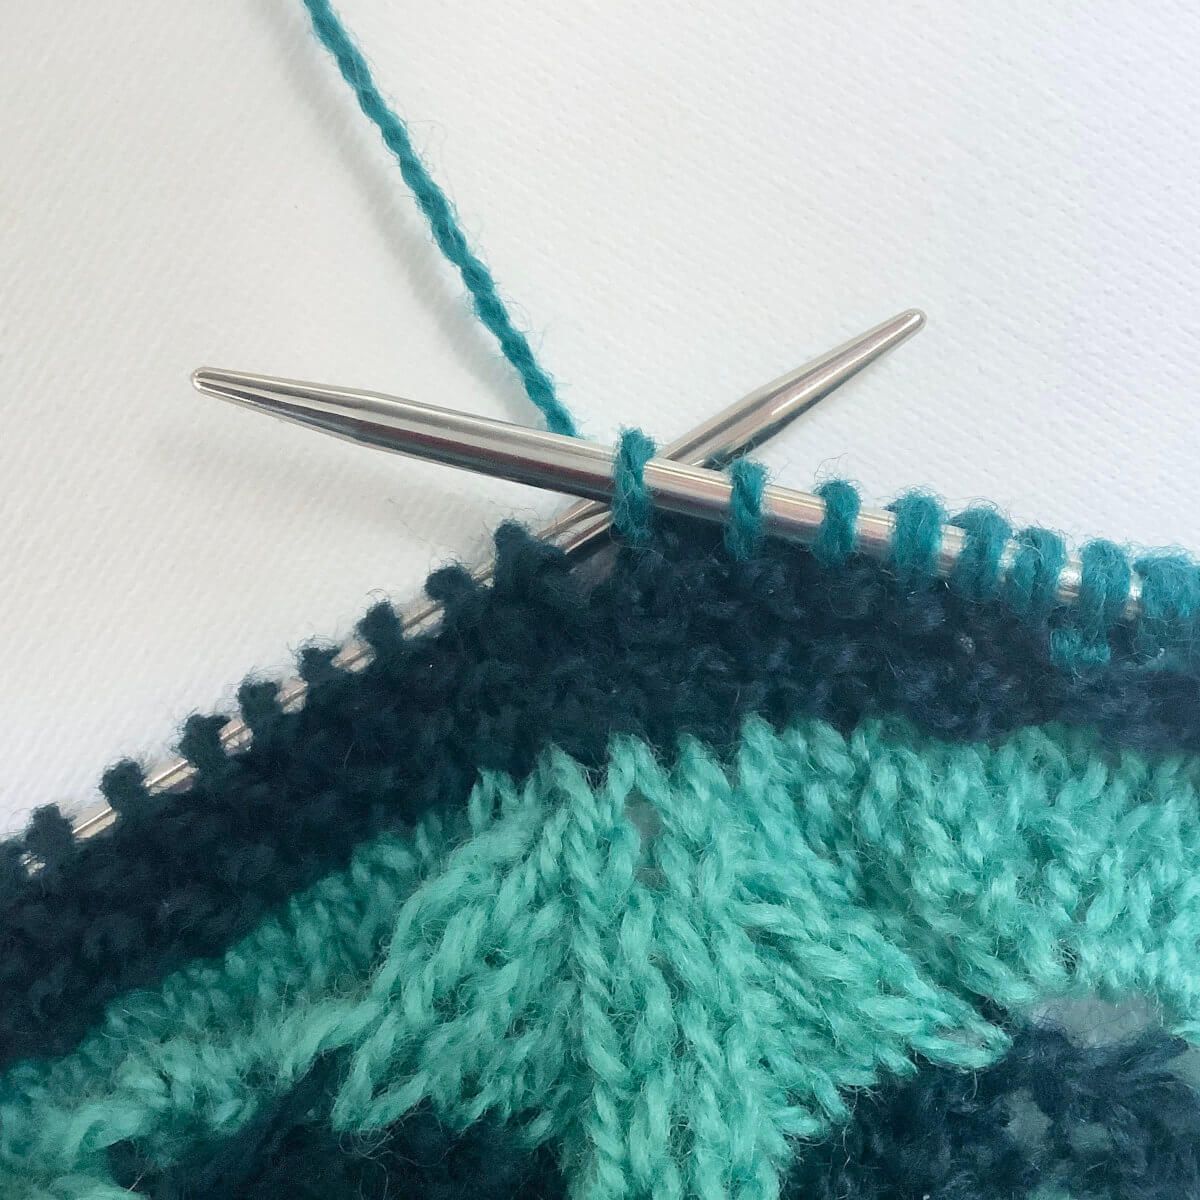
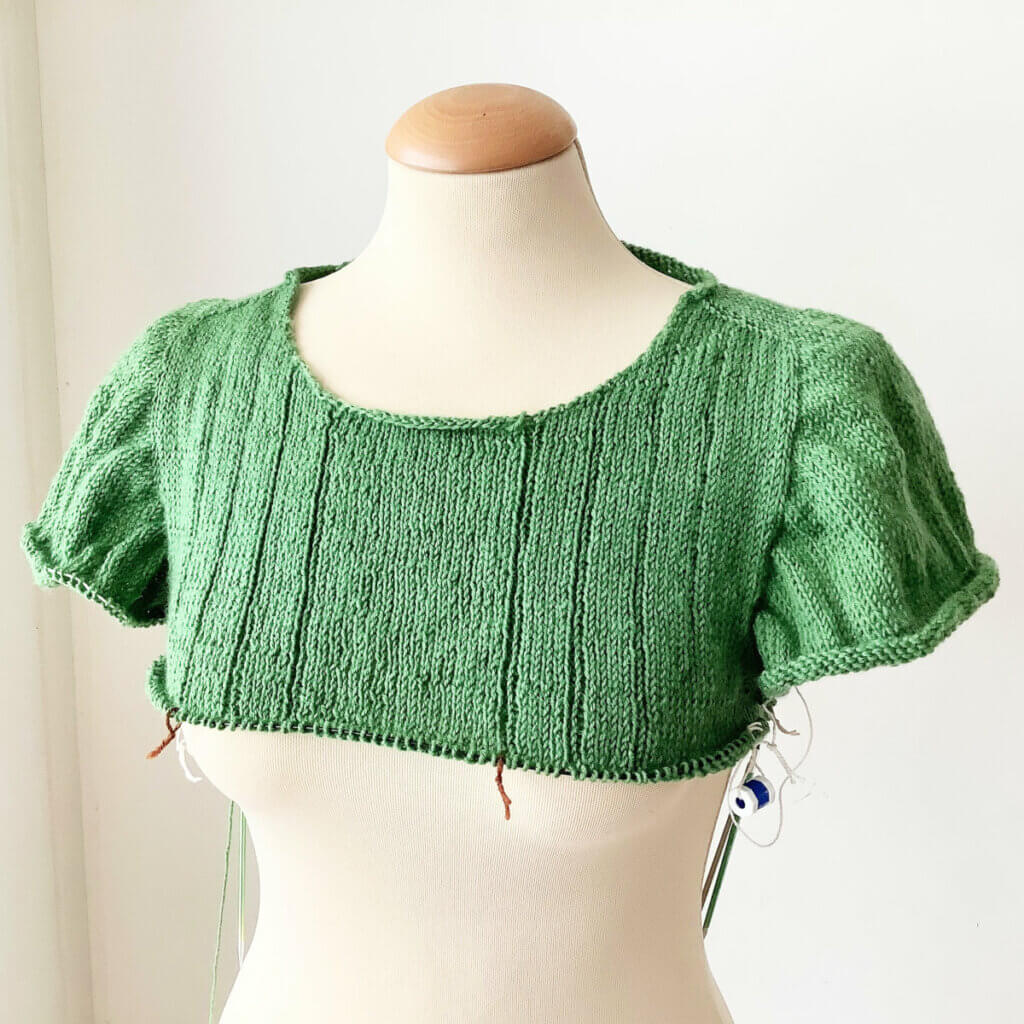
As you can see, there is now a vertical section between the held stitches and the stitches that were cast on for the underarm. And yes, this does mean that along that edge, stitches will also have to be picked up and knit for the sleeves. In my patterns where this technique is used, I have taken this into account when calculating all stitches and decrease rows for the sleeves. Take a look at the picture below to see how it looks when the garment was all done:
In sweaters where you add this yourself, you will start out with more sleeve stitches than the pattern describes. It may mean that you have some welcome extra ease in the upper arm. In that case, just follow the pattern for a larger size that has the same approx. number of sleeve stitches. If you want narrower sleeves, you may need to take an extra look at the number of decrease rounds and the number of plain rounds between them.
On a final note, I have not yet tried this technique with raglan garments. However, I strongly suspect it will work just as nicely there as it does with circular yoke sweaters. When I do try it, I will report back!

Thanks to my Patreon supporters for bringing you this freebie! Creating quality patterns and tutorials is a lot of work and resource-intensive. However, I find it important to give you free content like this tutorial. Thanks to the generous support of my Patreon supporters, I can make it happen. Thank you, patrons! Click here to join, or click here to read more about La Visch Designs on Patreon.
tutorial – raising the back neck of circular yoke sweaters Read More »